Datman - No Problem, I reckon if a few hours of my time can save others a few hours of theirs then it is time well spent
Diablo + Paul H - Glad to help
Oldnail - Welcome on board, you will have a whale of a time here, the spectrum of skill and ingenuity on this forum can be breathtaking at times.
Benzboy - If you mean can you use a shrinking hammer without the pucker, then no you cant, but if you mean would a shrinking hammer help in shrinking the pucker, then yes I am convinced it would, as its ultimate use is for shrinking high spots
After re reading the thread I felt a little further explanation re the wheelarch would be in order, as this is a very common repair needed to our Retro cars
Don't get me wrong there is no substitute for a proper arch repair panel, but if you cant get one, or you only need a small section then this might help
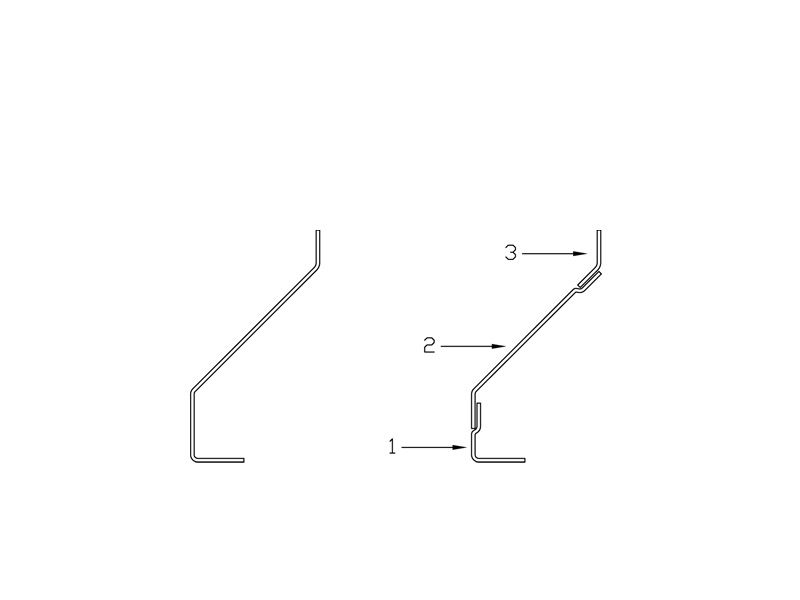
I have done a drawing showing what I meant
On the left is a typical wheel arch profile, and on the right, how it could be broken down into sections, that could be made using the shrinking and stretching methods. I have joddled the joints to make it a better and stronger and easier job to weld, and ultimately easier to grind flat
So starting with an angle section for part 1

But this time for ease I am going to use my Shrinker / Stretcher

The angle goes in like this, the secret to using these is not to put the piece too deeply into the jaws, just try to stretch the first 10-12 mm of the piece, you will get much better and quicker results, than trying push it all the way in.
As mentioned earlier there is a limit to the depth of flange that can be stretched or shrunk, if you stick to 20 -25 mm you should be okay

Then pull the lever, and stretch as required, move around the piece and repeat as necessary until you get the shape you want

Then you need part 2

This time the jaws are swapped over for the shrinking operation

And again repeat until you get the right curve.

As most wheel arches also curve in wards as they go down, then part 1 may need to be shrunk in to suit, so back it in goes and work on its other flange

you get this, not really sure if you can see it very well from the picture, but as it curves around the arch, it also curves back in front and rear. Part 2 is much harder to make follow this shape so if necessary you may need to make part 2 in smaller sections, or even cut it in places, but for this demo, I made my part 1 suit my part 2, hopefully you will get the idea

Offer the 2 parts together and tweak then until they follow the curve you need, and match each other

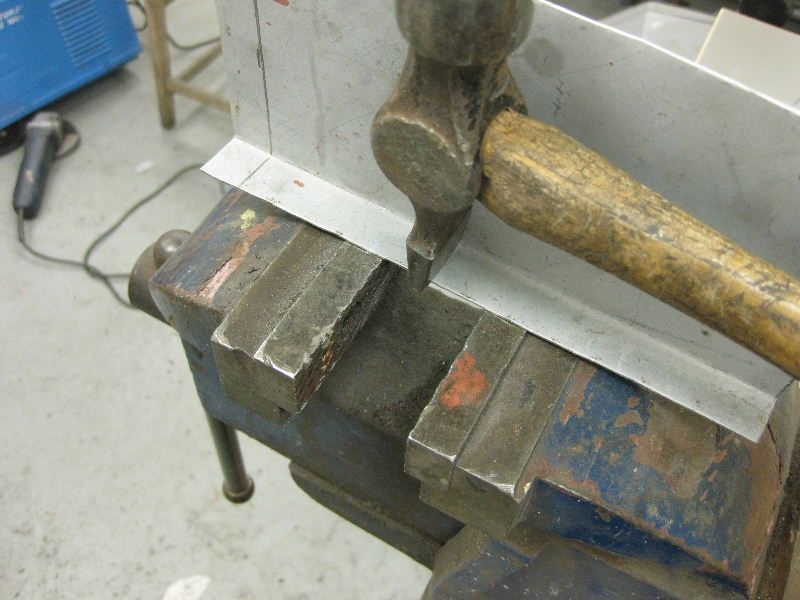
Once happy with that Joddle the edge of part 1, you can just see my air joddler to the left , they are a great piece of kit, much easier on the wrist than the hand operated ones.

Then trim part 2 as needed and offer them together, with any final tweaking as needed

Then again for ease I spot welded them together, but obviously any type of welding will do

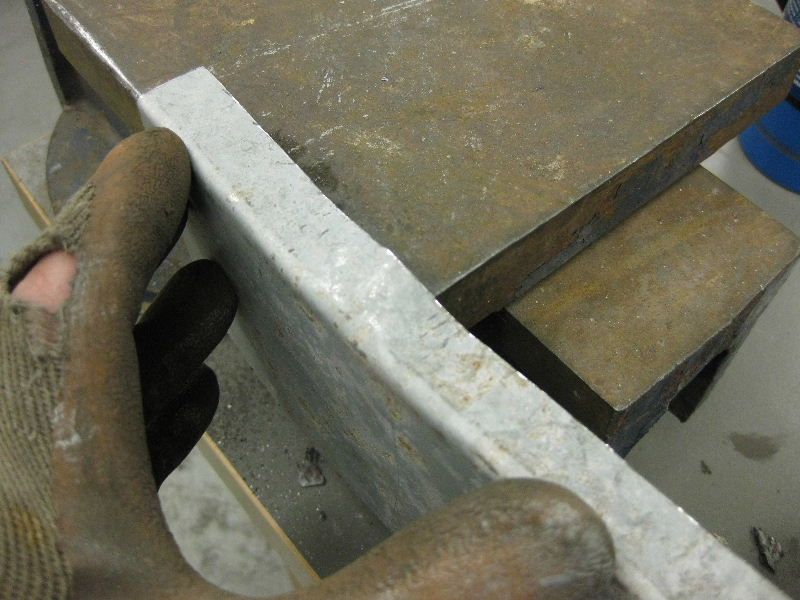
Here you can see the benefits of joddling the joint, all that needs now is a bead of weld, then grinding off, and as it is on the flat surface it should be straight forward enough, and nice and flat when you have finished

And the view from inside, a bead of seam sealer once it is welded should be all you need

I did not actually get as far as making part 3, but I am sure you get the Jist of it, in most cases that part may not even be needed, I always try where possible to join arches along the line of part 2, as this helps to minimize distortion,makes it easier to clean off, and means you don't have to spread filler all over the whole side of your wing to try to blend it in
Now that you know how to make an arch repair panel, I will quickly show you how I would weld one in
This is a sequence of photos, from a BMW 6 Series that I am also busy with for another friend, Neil
First cut out the rotten part of the arch, trying to keep the cut within the flare of the arch

Then trim your arch down to suit

Joddle as needed
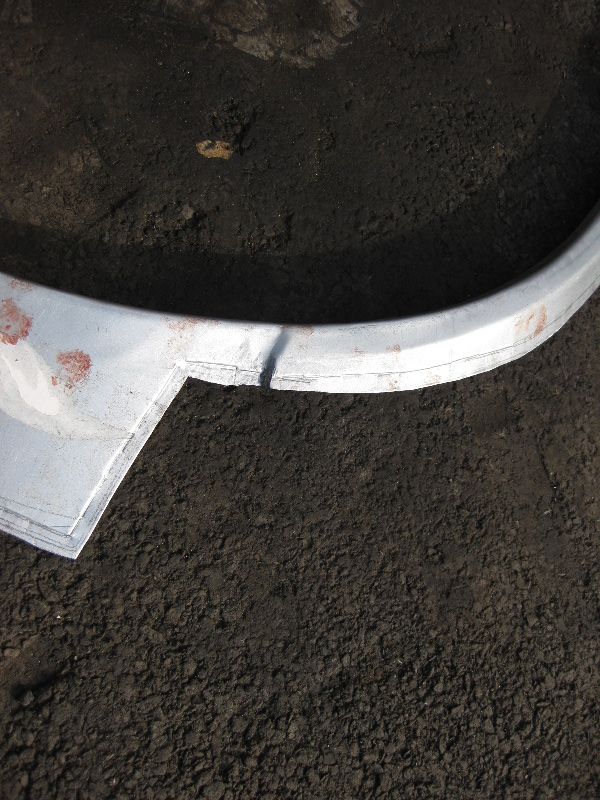
And then tack it in, make sure it is right before you start welding as once you start it will be too late to try to change it, use plenty of clamps if needed to make sure.
Then lots of tacks

Then fully weld it, not that it as easy as that, you must only weld in 1inch bursts, and move randomly over the length of the arch doing so, the tip is to prevent too much heat build up, or else you will end up buckling the rear wing, and then have to spend hours filling it to try to get it flat again, so little at a time and well spaced out, leaving it to cool between welds if needed


Then as before grind off using the edge of a grinding disc to start with to take the tops off the welds, and then a 40 grit flap disc, but again you have to be careful not to concentrate too much attention on 1 spot at 1 time, as even grinding can cause heat distortion
and all being well you should finish with this
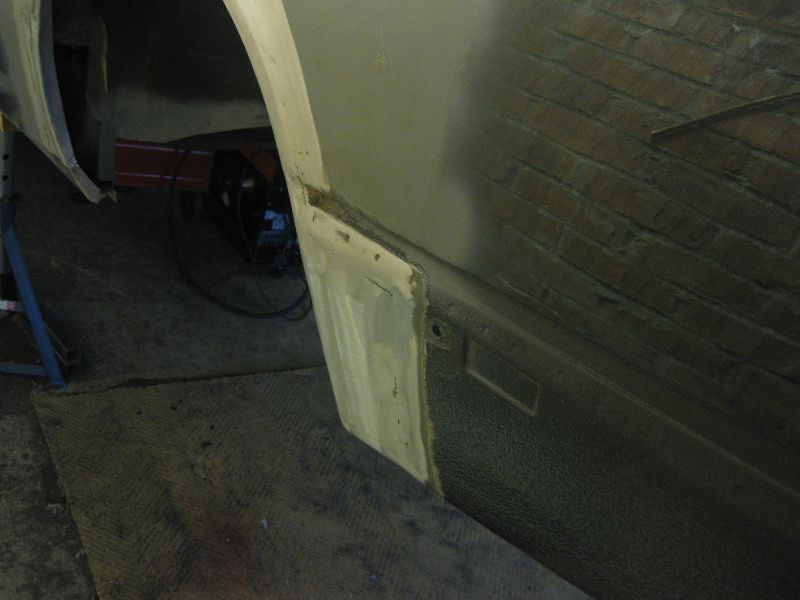

Just a light skim of filler should now see that looking just right
Well I had better stop there as I feel I am starting to get off topic, but if I have managed to pass on a few tips along the way, then hopefully it was worth it
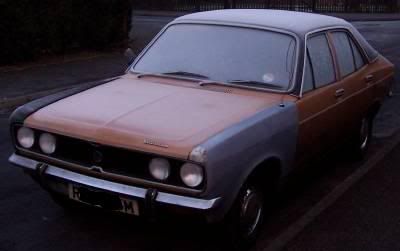
All being well I hope to get back on with the Victor at the weekend
Thanks again for your kind comments Guys








 + 2007 Octavia Vrs estate, 1971 Beetle project, 2004 Shogun Sport


