k18ary
Part of things
 
Posts: 120
|
|
May 25, 2010 20:34:08 GMT
|
|
Grizz,
I am really enjoying this build and I think it's also lovely to hear that you appear very happy with your missus.
I hope that the new improved Tanus and Teardrop (when finished) will give you lots of happy times.
Keep up the good work
Barry
|
| |
|
|
|
|
|
|
|
May 25, 2010 20:53:53 GMT
|
Grizz, I am really enjoying this build and I think it's also lovely to hear that you appear very happy with your missus. I hope that the new improved Tanus and Teardrop (when finished) will give you lots of happy times. Keep up the good work Barry Hi Barry, Thanks, I am enjoying the build too, but am looking forward to a weekend "off" Nicola is indeed a great woman. |
| |
|
|
|
|
|
May 25, 2010 21:12:11 GMT
|
Well, just back from a London business meeting. There is a wind and rain forecast, so I took the cover off the gazzebo as the wind lifts and moves it around, even in just a breeze. This will probably be the only pic of the trailer with hatch in place, and also the front ply, which still needs to be fixed down. 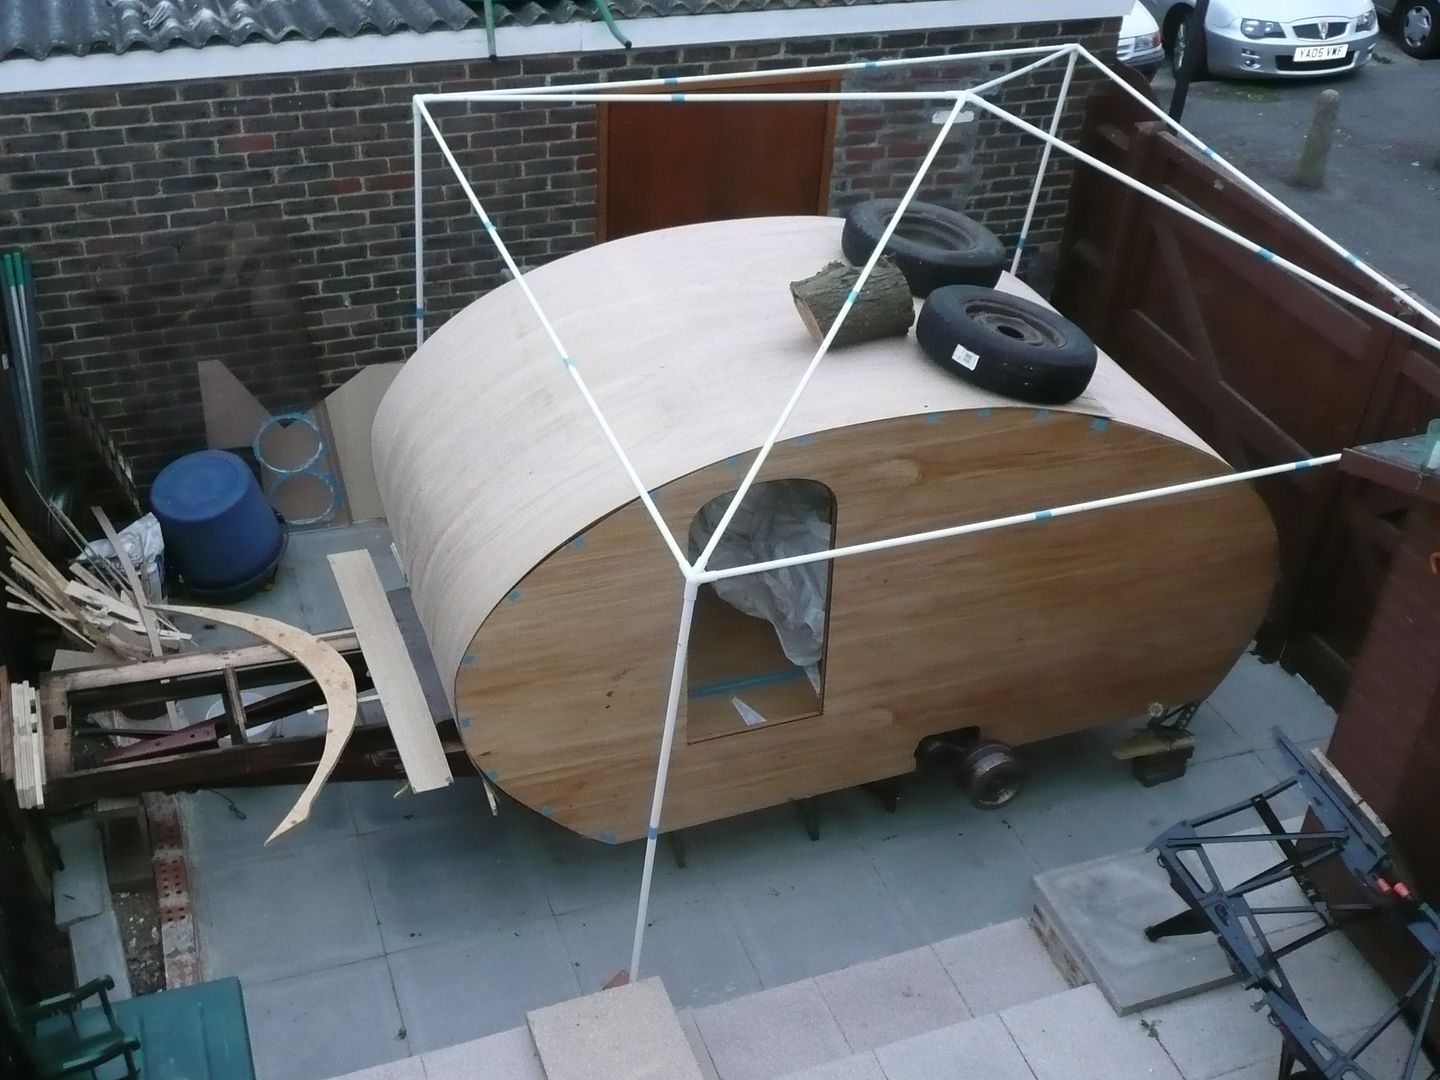 Nicola popped over to come show me her contribution to the trailer. She has a thing for the 50's and 60's.... so has been on Ebay internationally, and bought a few bits of fabric which will become pillow cases, and also cushions. Lets see if you can guess who gets which fabric for their cushion, and I will give you the pillow cases for free.... its the "Route 66" fabric. Her sister in law is a seamstress, so tomorrow after work she is off to Whitstable to get the covers made up. 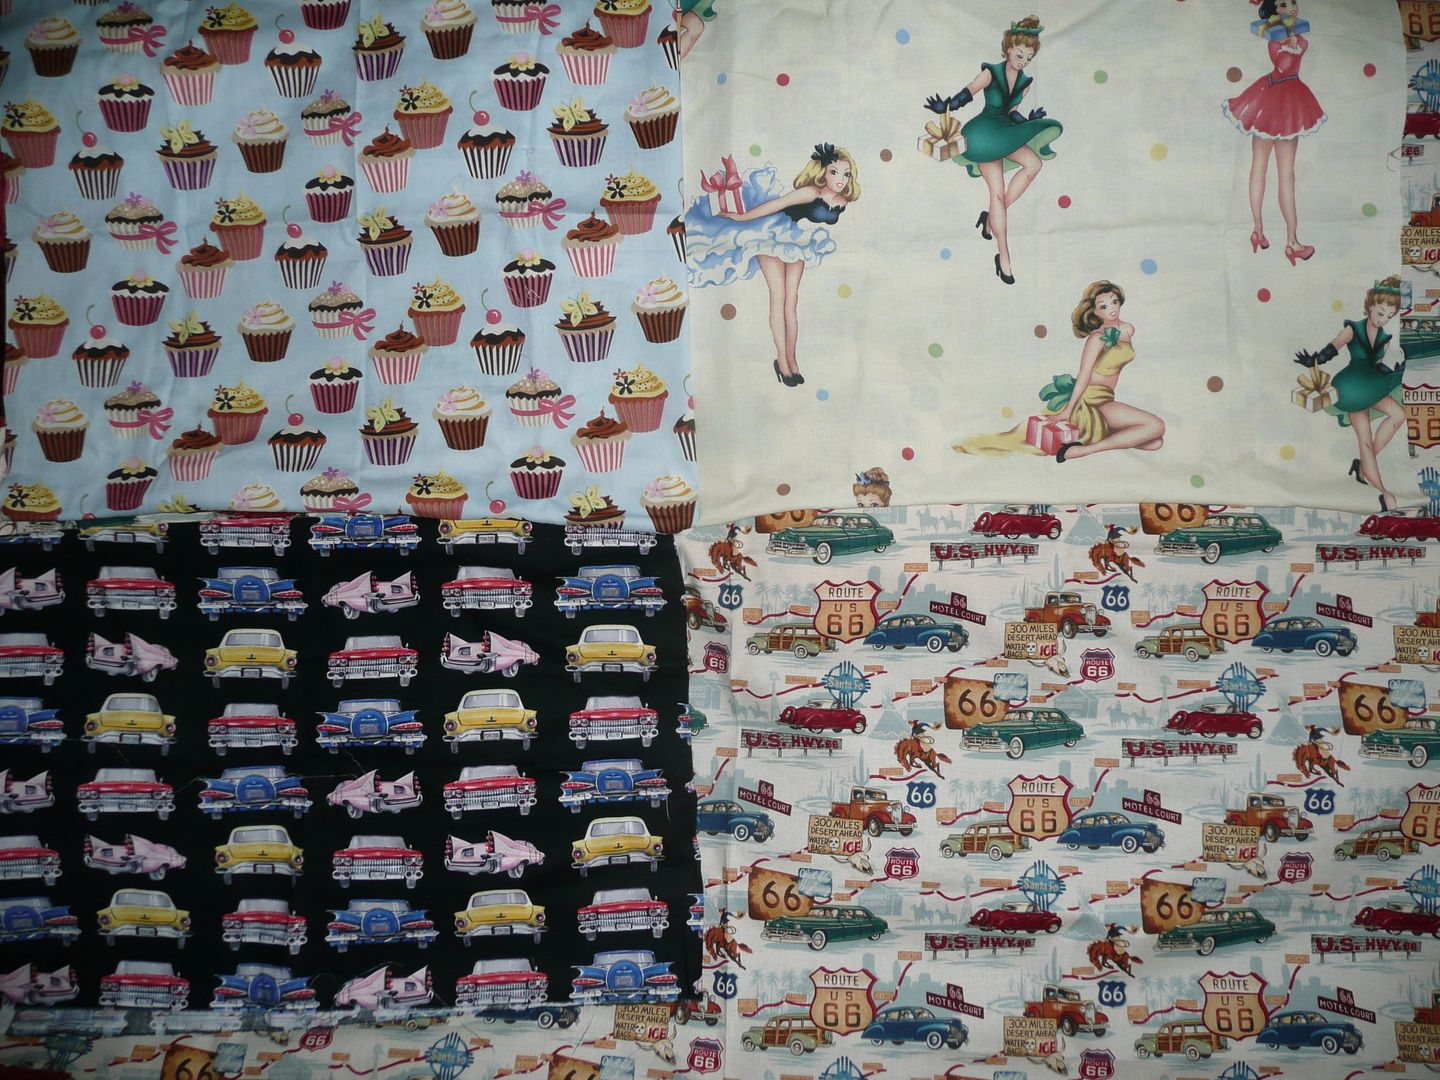 Also in the post today was another envelope from the USA, from Zach this time, he had sourced me a 1963 road map from Sinclair Oil corporation, as well as a small oil bottle keychain. This will fit into the theme of the bus, which will be Sinclair Oil Corporation colours. Thanks Zach !! All of this will go together to make this little trailer a real "Retro " gem. 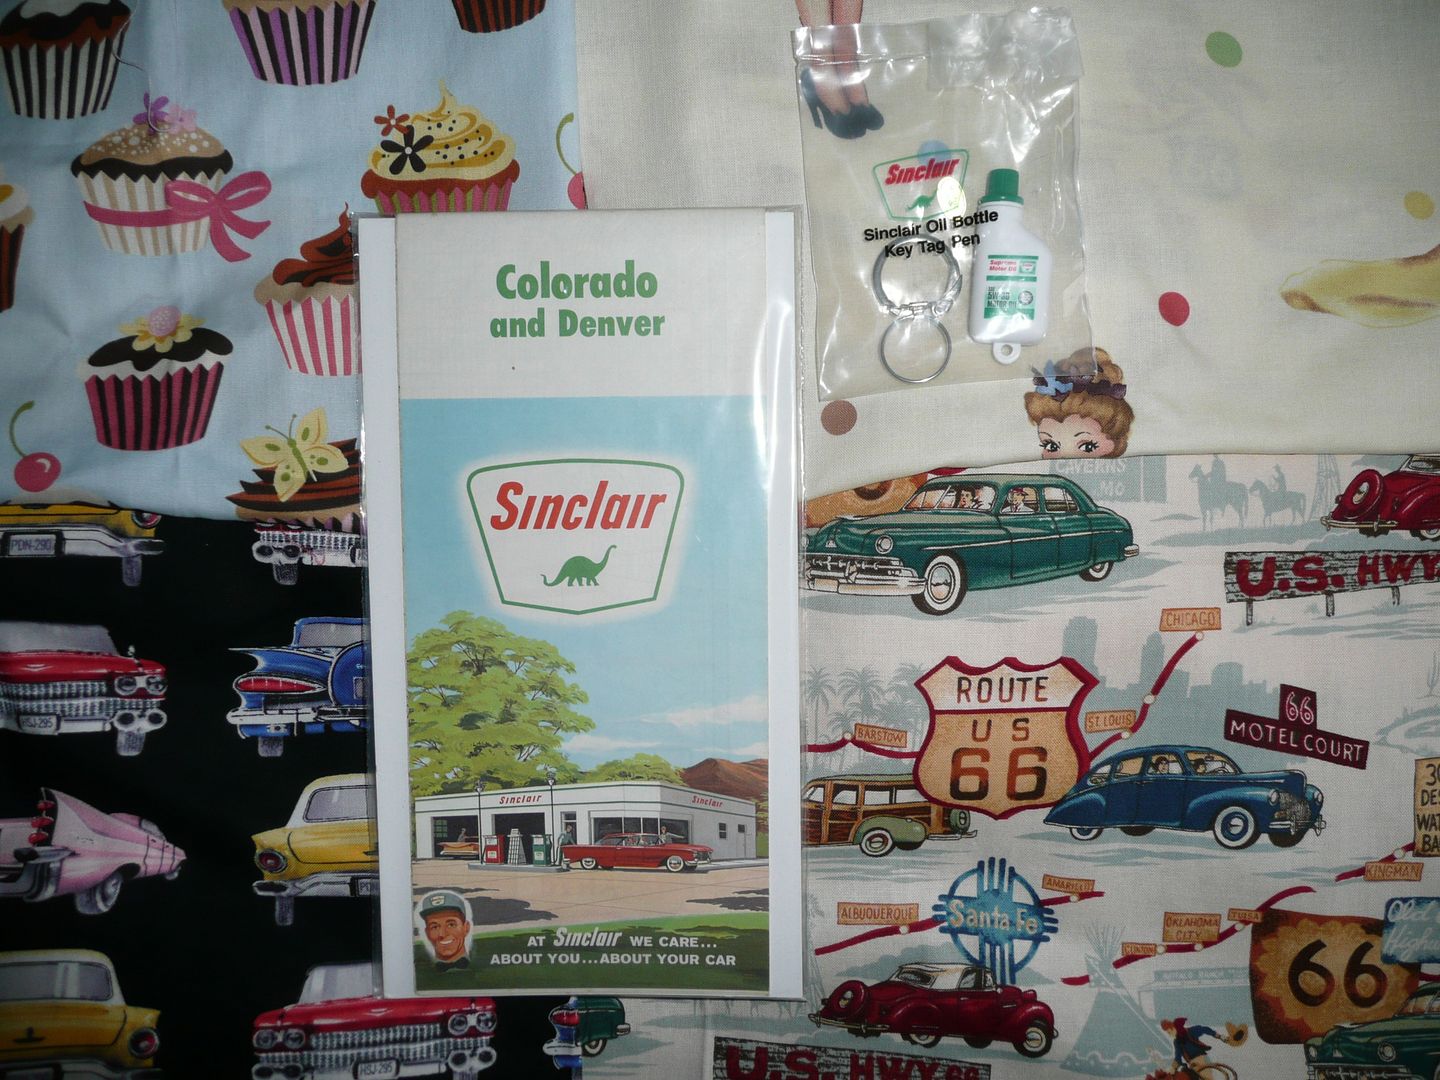 |
| |
Last Edit: Jan 13, 2011 9:48:27 GMT by grizz
|
|
|
|
|
May 27, 2010 18:22:59 GMT
|
Just a quick update. Nicola went to Whitstable to get the cushions and pillowcases made up yesterday after work. There are also a couple of curtains being made for the portholes at night. Simple, flat, with a dowel in the top and bottom, hung onto small cup hooks. 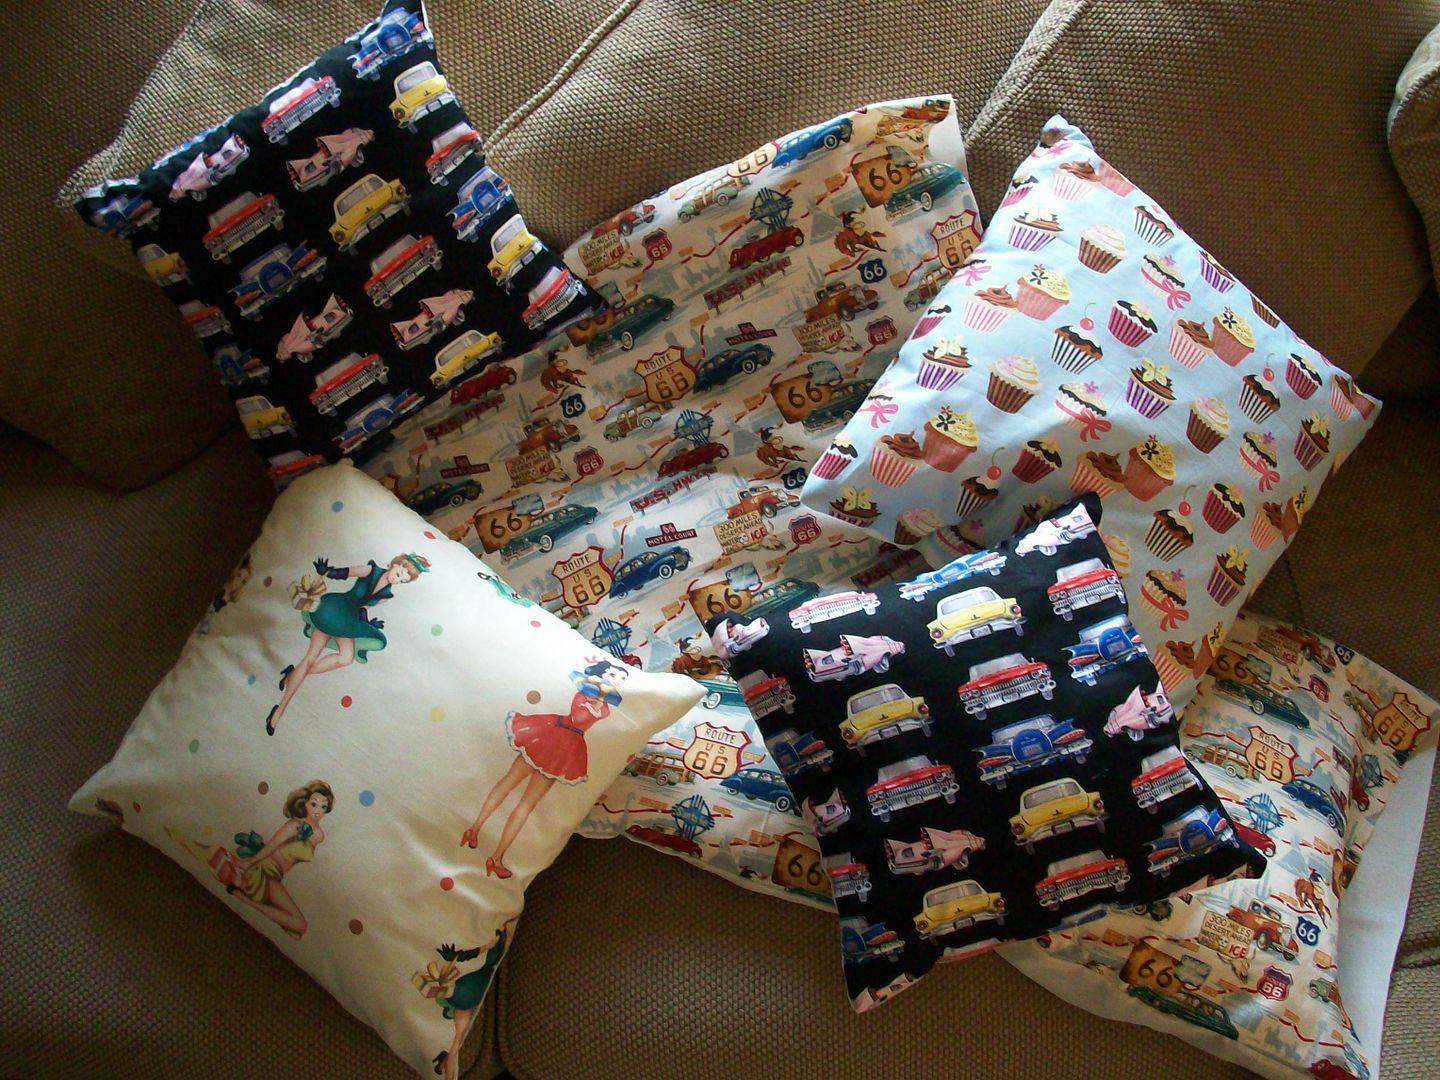 There were also a couple of metal signs for the galley that she had got off good old E-bay. 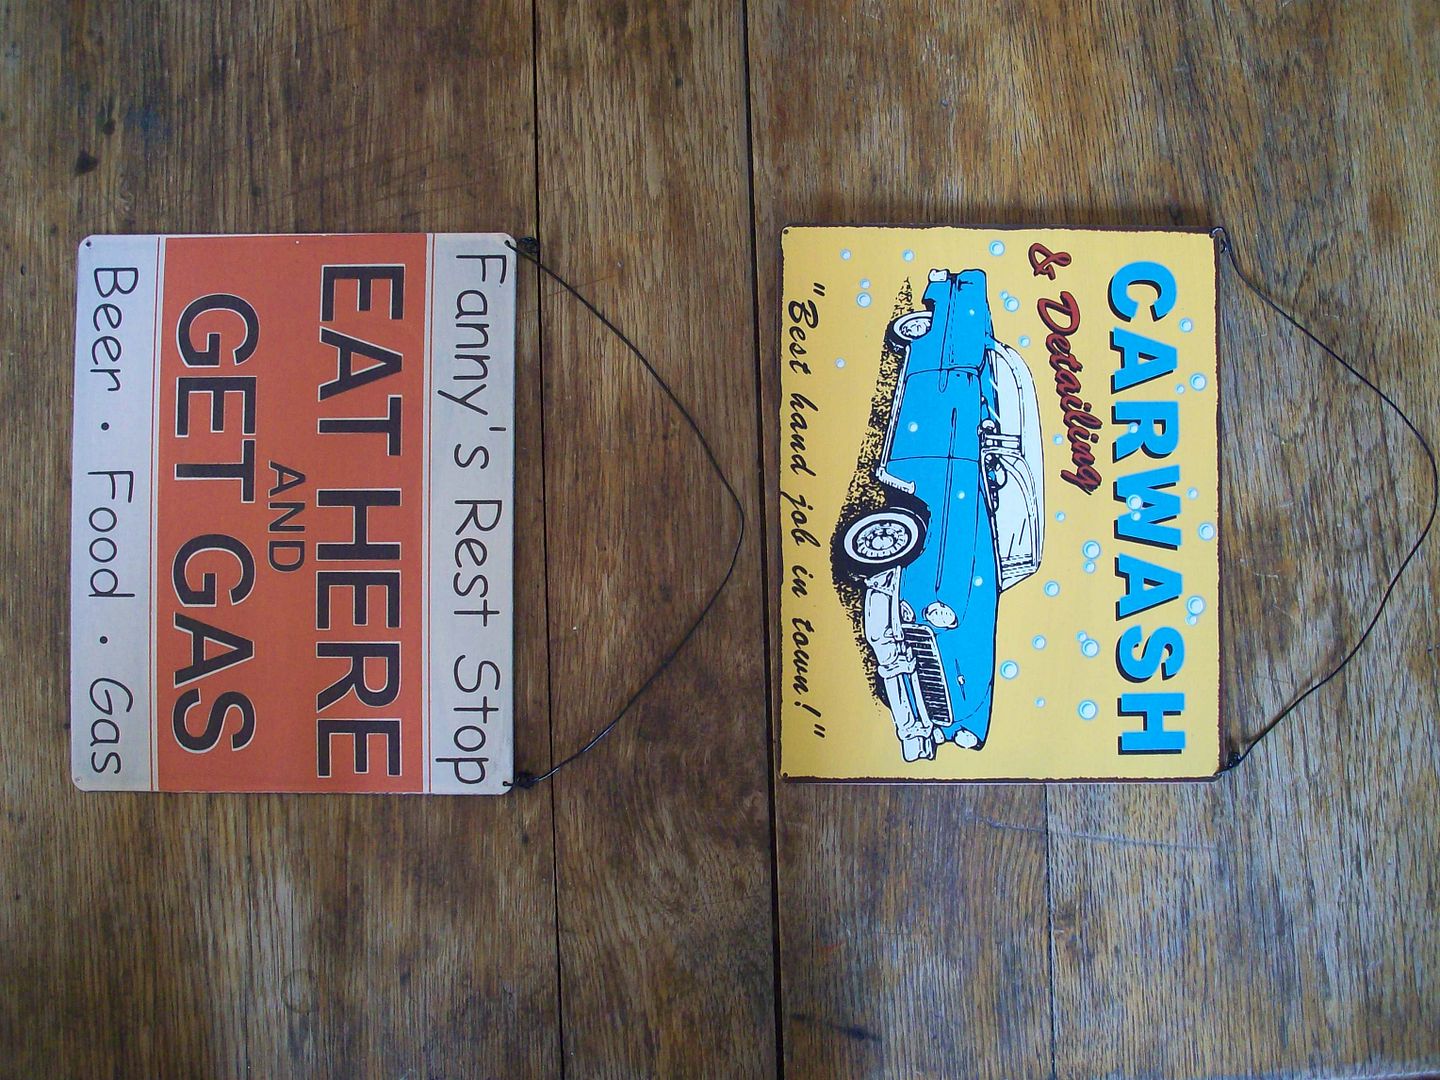 I have taken the day off work for tomorrow, to get more work done, as this weekend is the deadline for completion, before going to Santa Pod for Classic Ford next weekend. Fingers crossed I can get the whole thing roadworthy by Sunday afternoon....... |
| |
|
|
|
|
|
May 27, 2010 19:08:29 GMT
|
I have taken the day off work for tomorrow, to get more work done, as this weekend is the deadline for completion, before going to Santa Pod for Classic Ford next weekend. Fingers crossed I can get the whole thing roadworthy by Sunday afternoon....... If anyone can get it done, you can mate  This is really coming on at a great pace, fingers crossed the weather stays dry for you so we can see it finished. So, teardrop almost done, bus making great progress, what's the next Grizz project? |
| |
Currently driving a '68 Karmann Ghia as my daily. Don't ask about previous cars - there have been way too many and I stopped counting at 160!
|
|
|
|
|
May 27, 2010 19:19:14 GMT
|
I have taken the day off work for tomorrow, to get more work done, as this weekend is the deadline for completion, before going to Santa Pod for Classic Ford next weekend. Fingers crossed I can get the whole thing roadworthy by Sunday afternoon....... If anyone can get it done, you can mate  This is really coming on at a great pace, fingers crossed the weather stays dry for you so we can see it finished. So, teardrop almost done, bus making great progress, what's the next Grizz project? Next big project is "Payback" for Nicola tollerating me all along. There is always stuff happening, or stuff I am doing. Guess I still need to make the set of wheels for her Anglia.... Oooops. Amazing, I was looking at this earlier on...... glad its a bit milder. At least I have progressed from there. 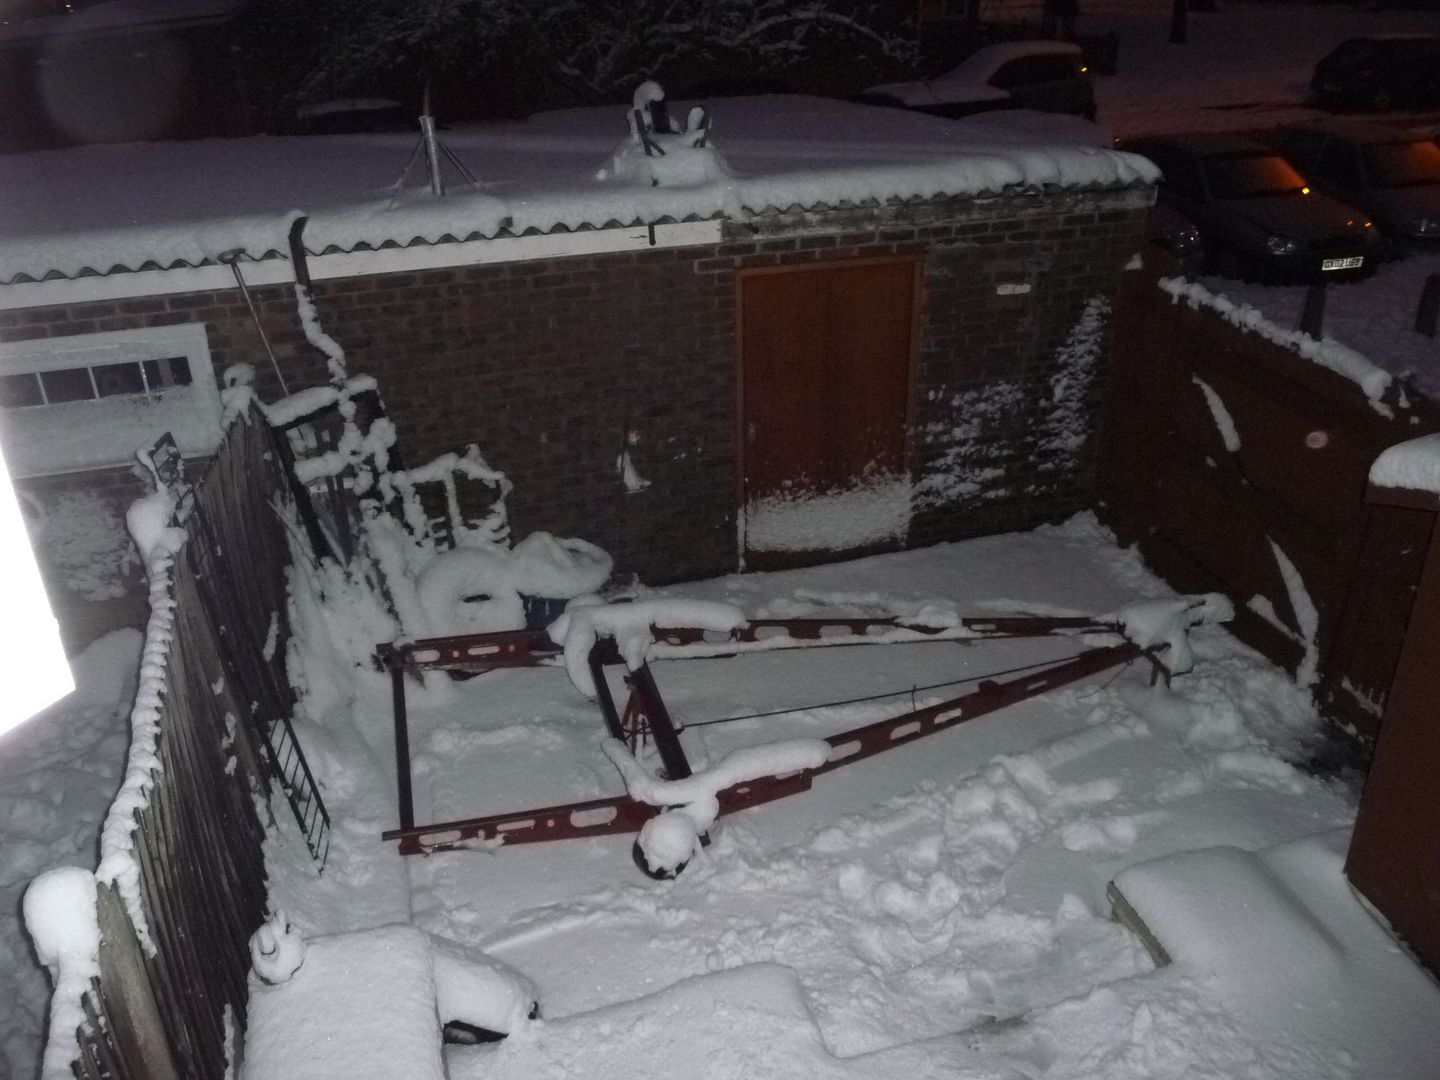 |
| |
|
|
|
|
|
May 28, 2010 21:39:08 GMT
|
Right, I had not planned any update today. But then it never goes to plan, does it. I had taken the day off, but actually only opened the garage by 10am. Did some bits about the trailer. Then started screwwing the ply down from the galley side. Eventually pulled my "bending tool" out of the way, and was greeted with this.... ply memory, almost gone, it took 4 days of watering twice a day, and also keeping a double winter sheet on it. Nicola came home at about 10.30, and my mate Scott "Jabbo" popped over shortly after that. Between the two of them, they helped me hugely with things I would normally have done myself, but having a spare set of hands makes all the difference I ended up putting a cross brace right at the bottom of the front of the profile, recessing it for the handbrake rod. Also added o a hardwood strip behind the ply, for the ally to screw into. Then silconed and screwed down all the ply, and also cut and shaped the rest of the ply that passes the front of the chassis. Ply memory. 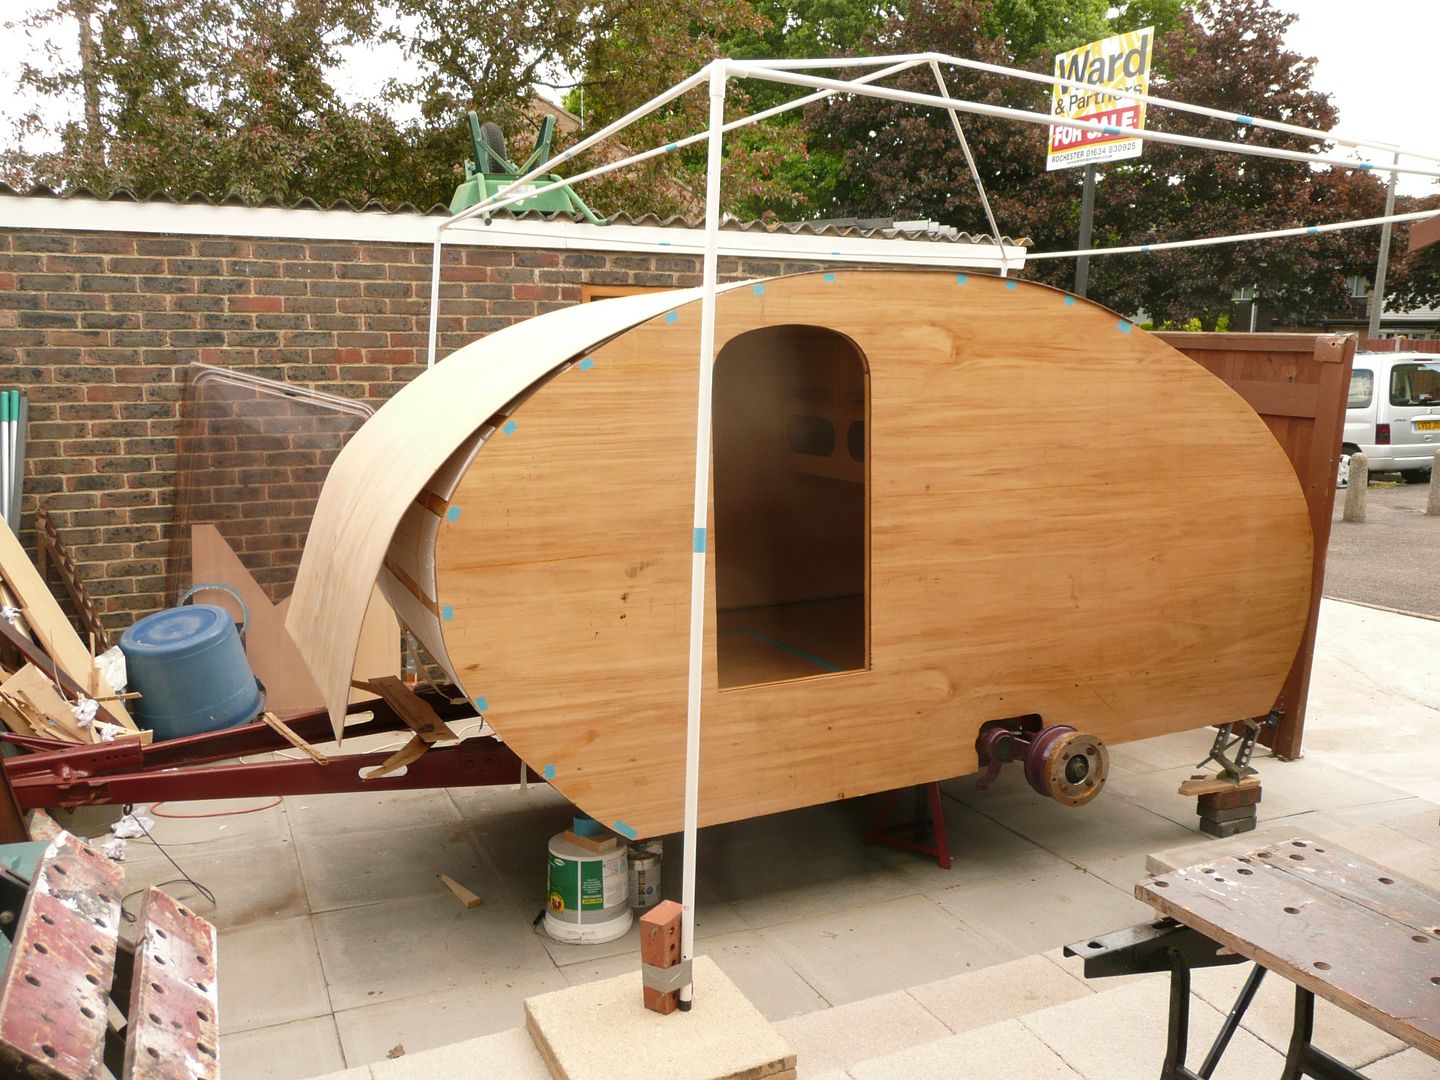 After all was said and done. The curve and ply to the lower end of the profile. Silicone smeared over the cracks from when I bent the ply. 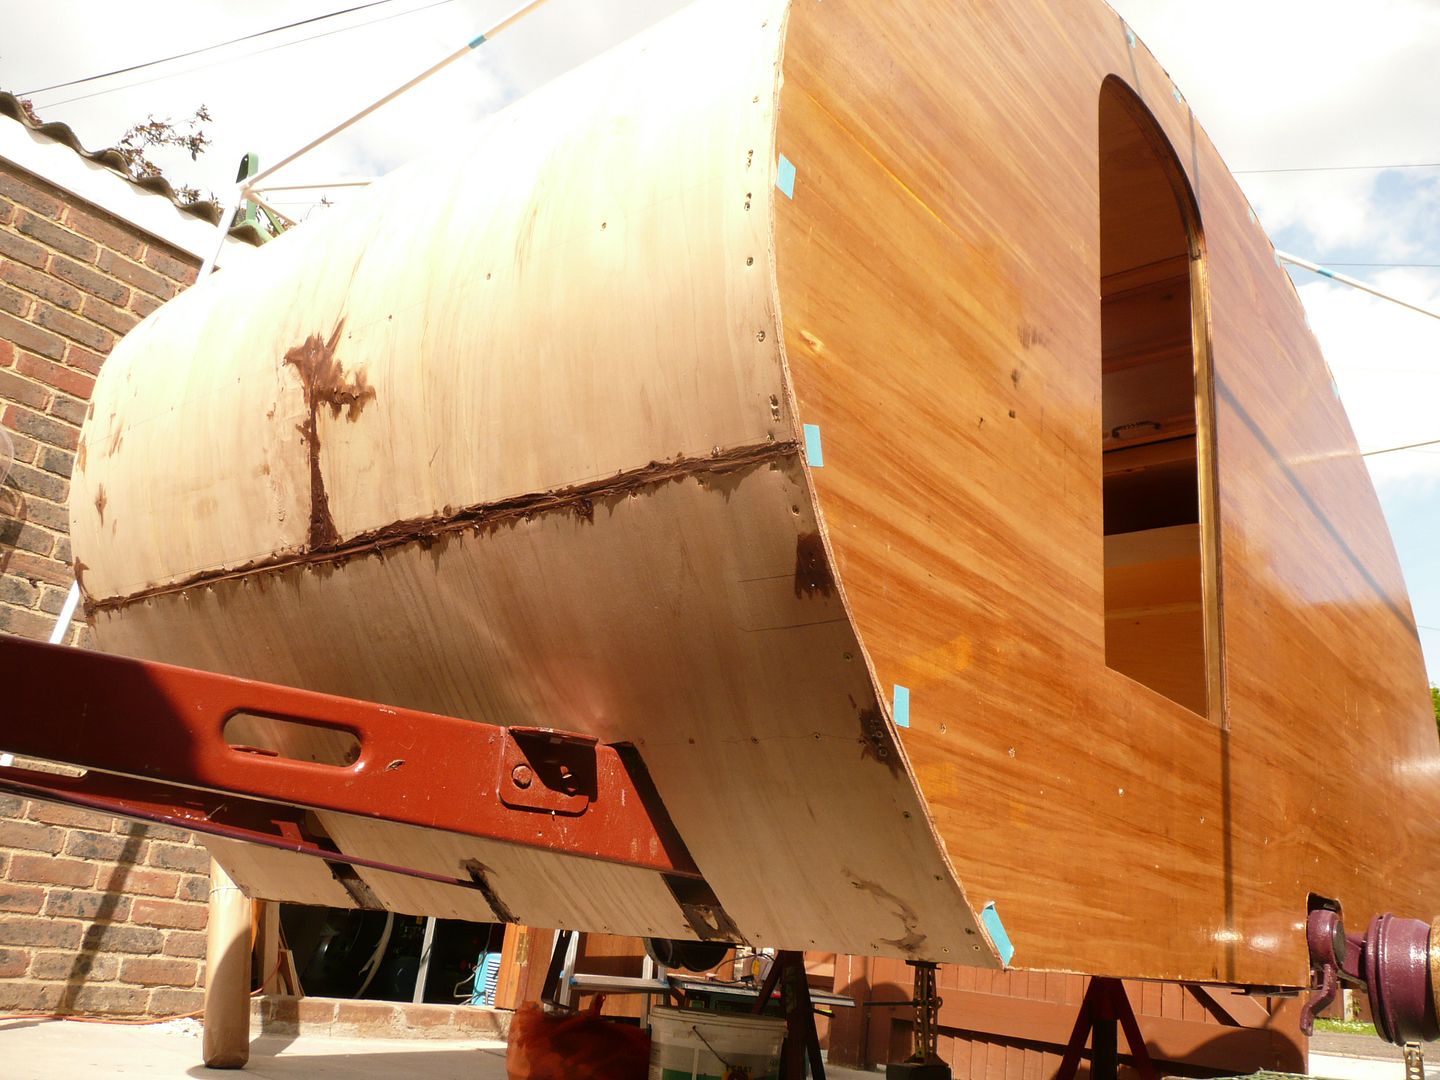 Later the afternoon the UPS guy popped in to deliver the mouldings I had ordered from Woolies. Mouldings were marked out, drilled and countersunk both sides, top to take the stainless screws I picked up on Thursday afternoon. 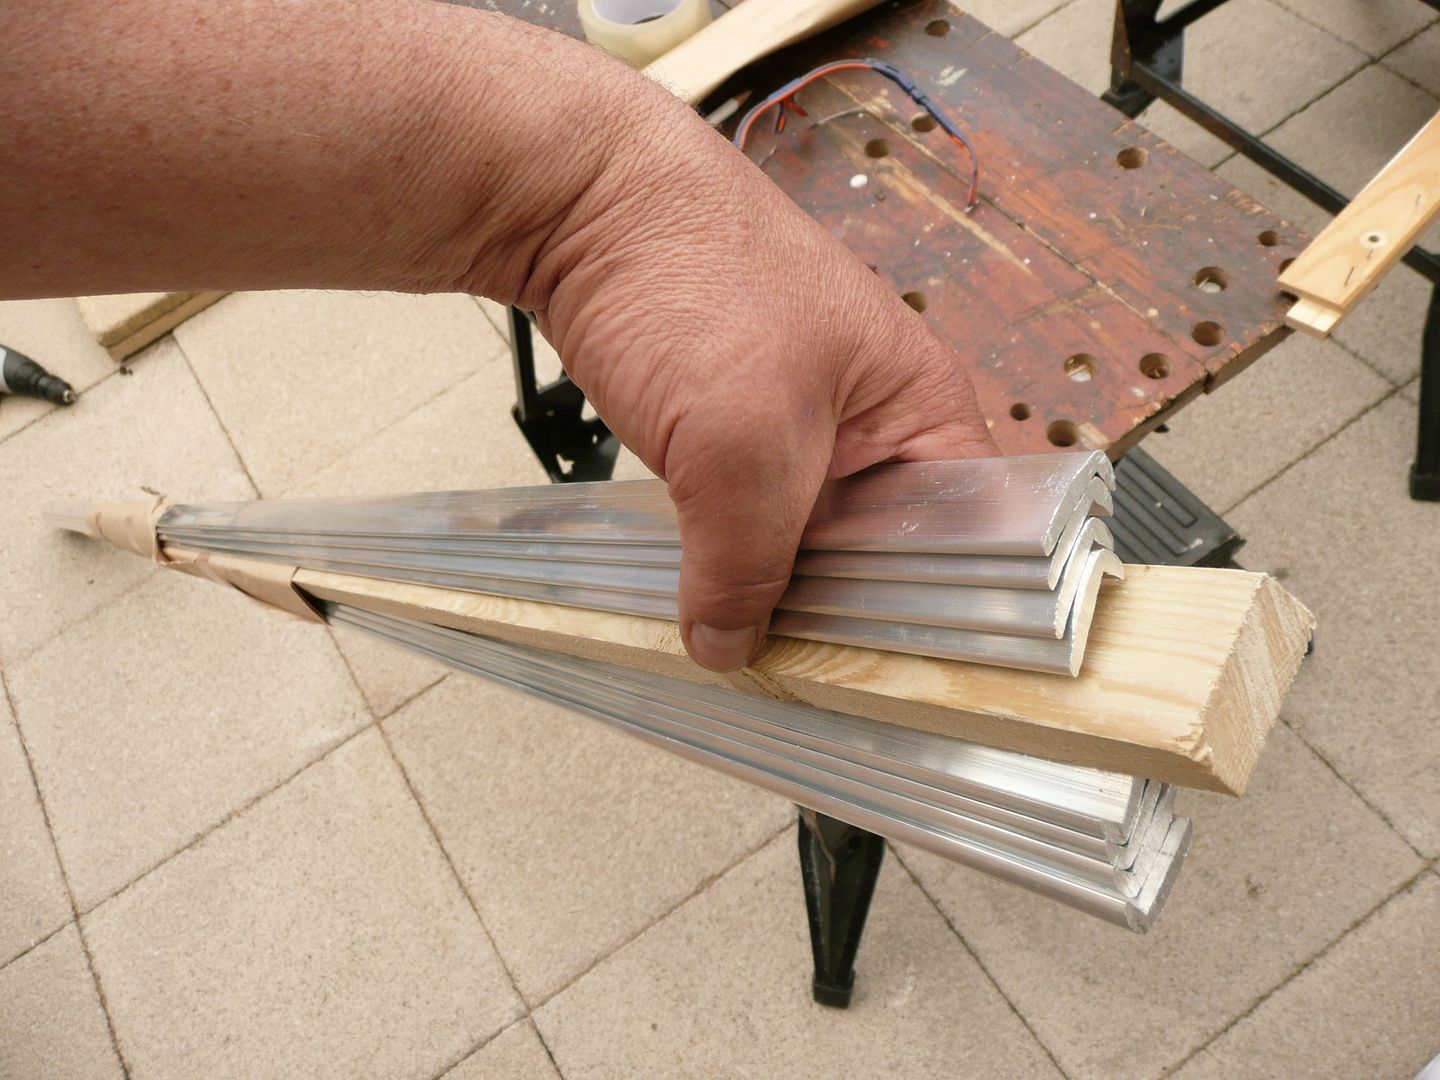 Also in the delivery, some high density foam strip to add to the galley for insulation. 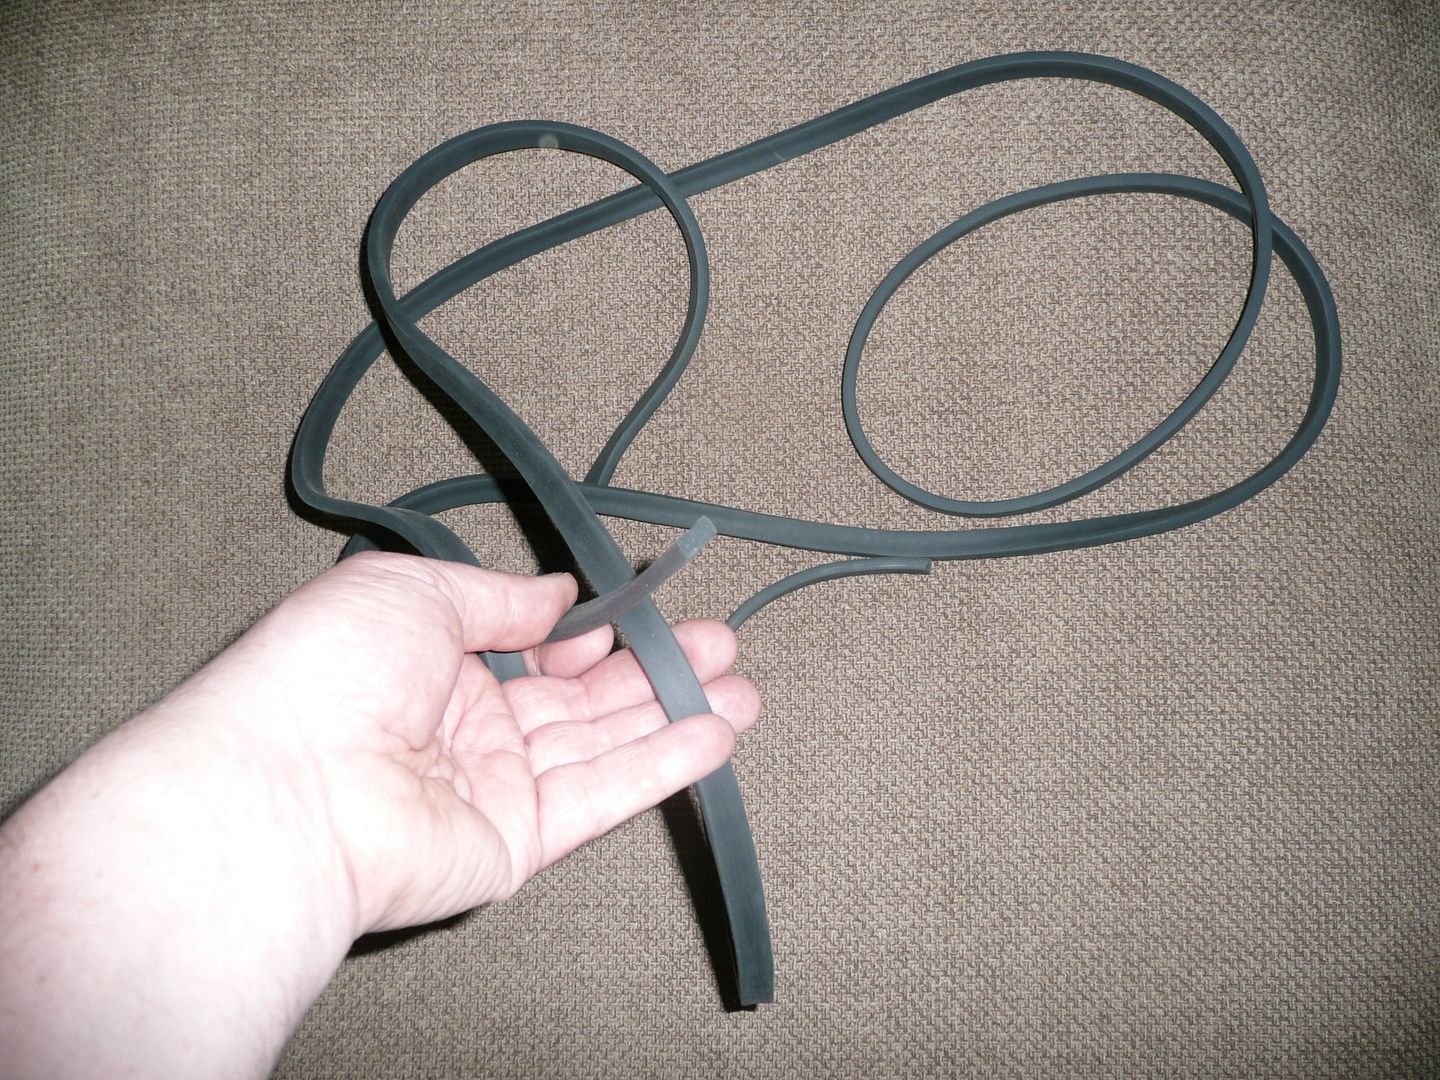 Last pic shows ally out and on top of the roof....... hopefully get it down tomorrow. 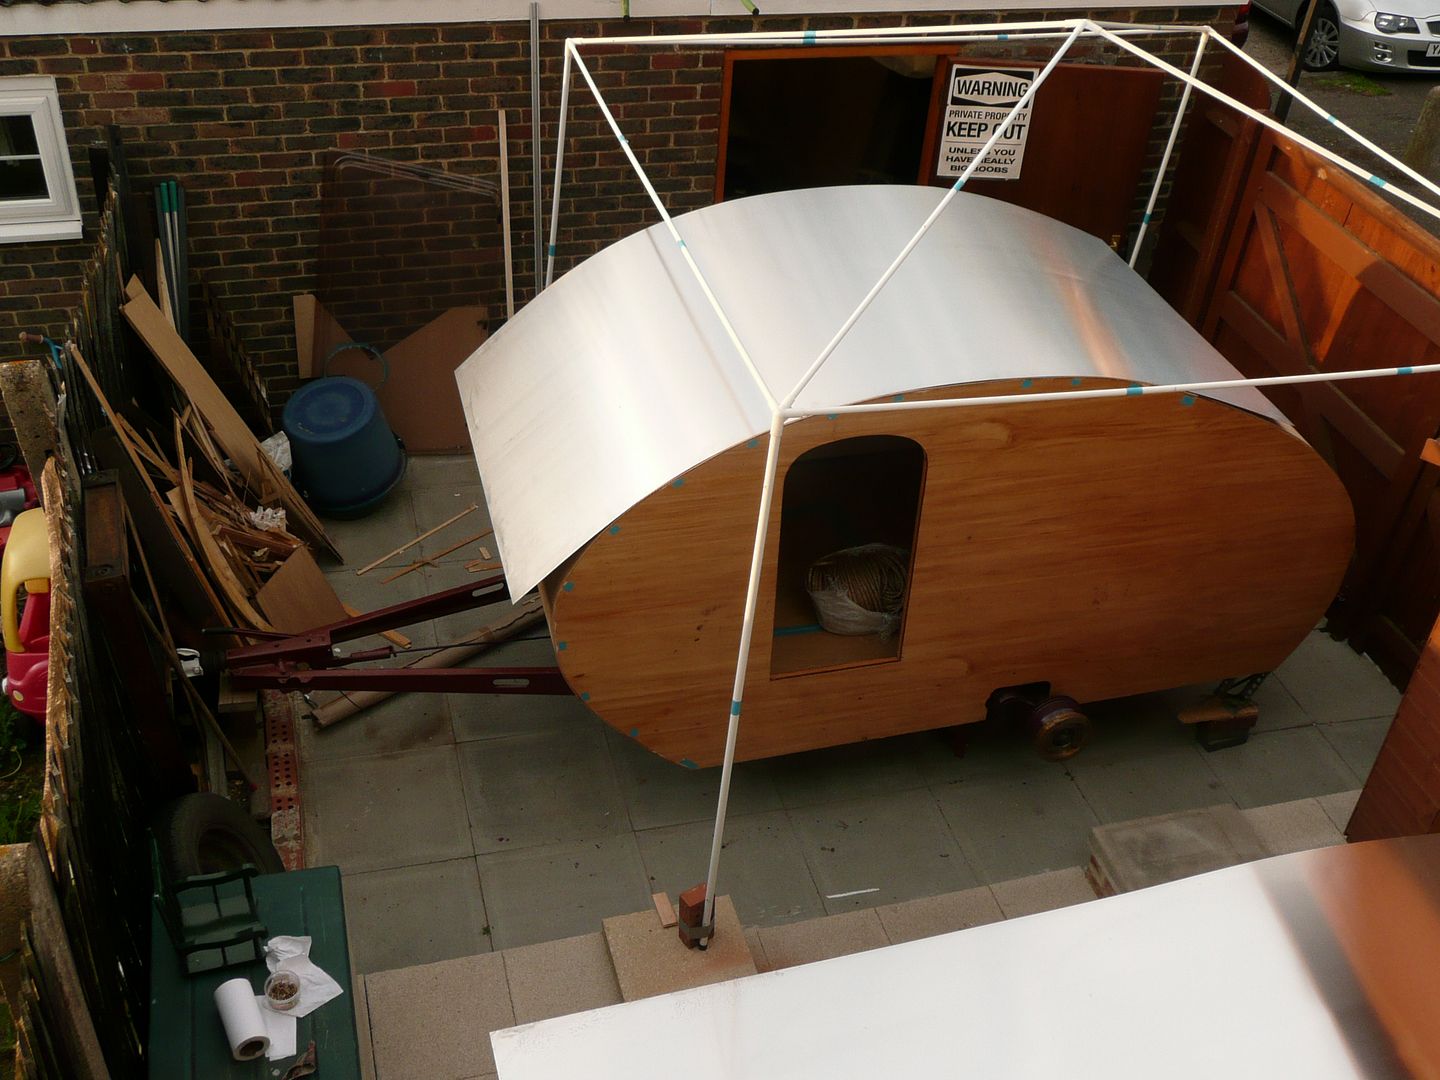 Thanks for looking in, I hope you liked what you saw. |
| |
Last Edit: May 28, 2010 22:03:41 GMT by grizz
|
|
|
|
|
May 28, 2010 22:11:13 GMT
|
like seeing updates on this build. i am defiantly building one for myself  |
| |
|
|
|
|
|
May 29, 2010 11:59:52 GMT
|
|
Really coming on now! Defo more skillz needed than what i have, I'm just gonna buy a normal caravan! :lol:
|
| |
|
|
|
|
|
|
|
like seeing updates on this build. I am defiantly building one for myself  Good idea. One suggestion though, make sure you have space, preferably enclosed, like a barn, or workshop. That allows you to work all year. Oh, and get on with it. ;D |
| |
|
|
|
|
|
|
|
|
|
Really coming on now! Defo more skillz needed than what I have, I'm just gonna buy a normal caravan! :lol: Nicola saw your entry and said: " SENSIBLE MAN " Skills are things you make up as you go along. Most of this build is out of my head, based on a few photo's I had seen before. Nicola still asks me how I am going to do certain things, and I have to admit to her that I have not thought it through. |
| |
|
|
|
|
|
|
|
ELECTRICAL GURU NEEDED - PLEASEWoke at 03.15 as result of eating take out Pizza and chicken wings  Parched, and thirsty. So Nicola, good woman that she is went down to make me a cuppa tea. Then could not fall asleep. I guess most of you know about the Teardrop Trailer I have been building. Yesterday the rain poured down enough for me to be driven into the garage for 6 hours and to force me to do other small jobs around the build. Those who remember, will recall that I bought a pair of Ausin 1100 or London Taxi Cab rear lights for the build at Battlesbridge before the Bus went over to BodieandDoyle Edd for the Zetec conversion. These were for the trailer. One of the jobs I started with was to make up the light board for the trailer, then my mate said "Why not cover it in Ally too? " Don't you just love mates like that ? I know nothing about Electrtics !!Right, I need some kind , generous soul to wire up the bits I have to a plug for me, to use as a light board for the trailer. I do have a complete lightboard (used once only) as donor to this part of the build.The lights I have only have 3 wires coming out the rear of both the brakes and indicators..... that is 2 wires from the brake lights and one from the indicators, this leads me to think that they were originally earthed to the car body. Now with a wooden bodied trailer and light board, it gets more complex, and I need a number plate light in there as well. At this point I need a wiring or electrical Wizard to help me out please. Any volunteers ?? Lights look like this: Note distinct lack of many wires.  This is what we have: This is what we have:
Wooden tailboard, that will be skinned in ally plate to go with the trailer, and screwed into the wooden frame from below.
Lights as held by my mate Steven, which will be mounted or recessed into board. Recesses being cut. Steven helping again. 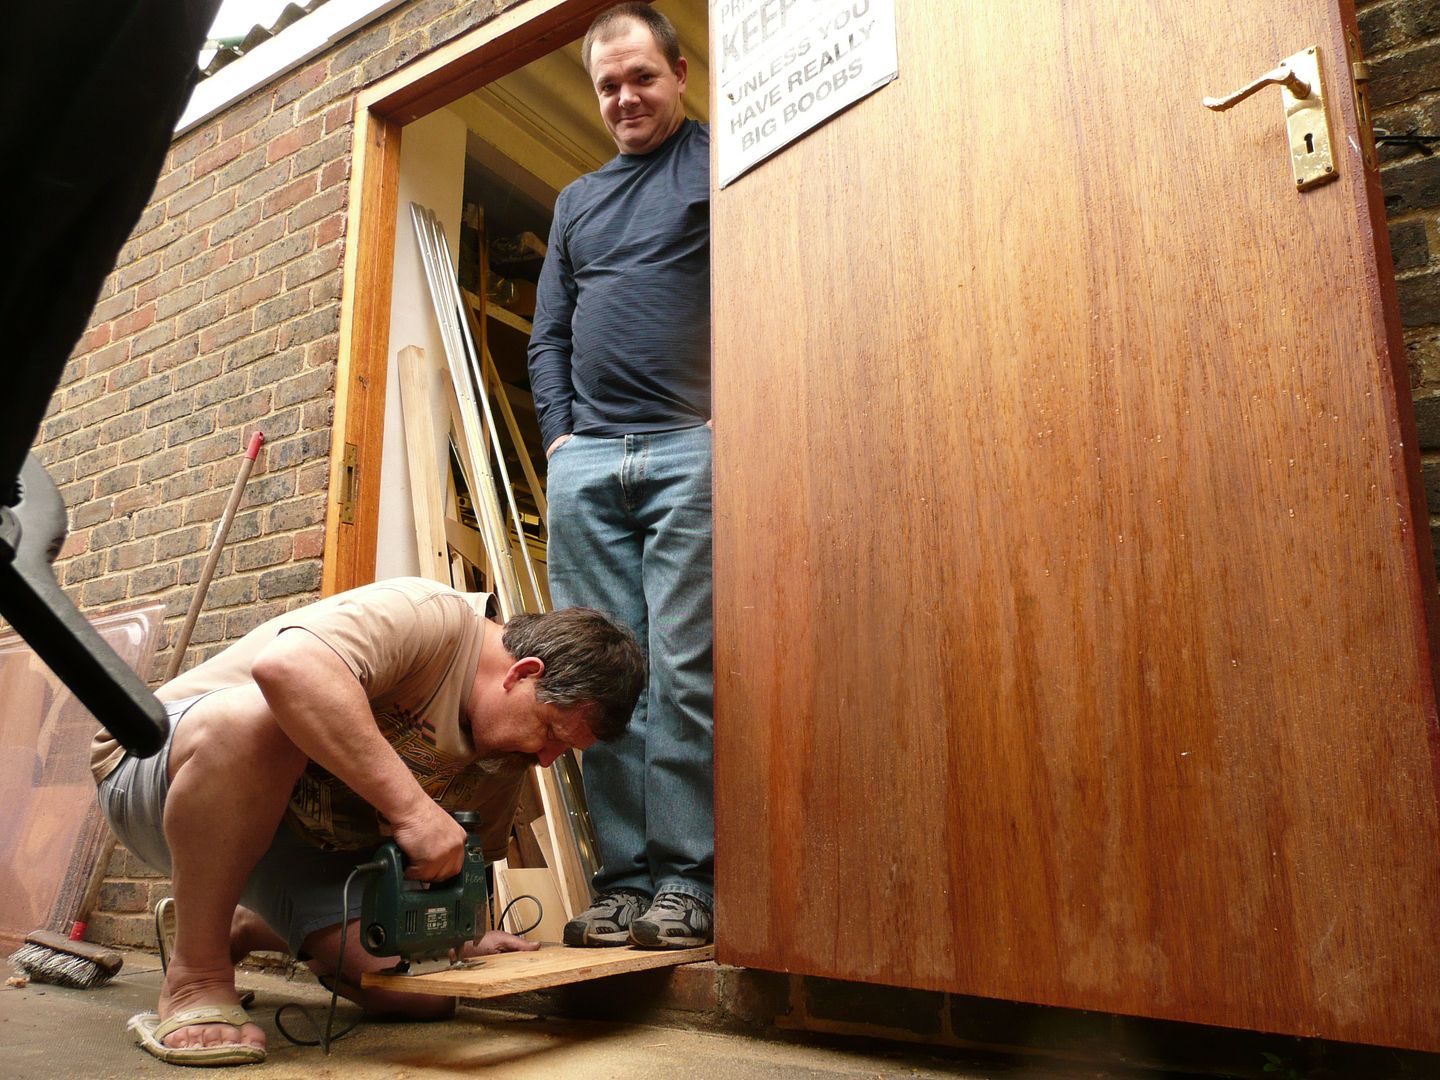 Completed board backing. 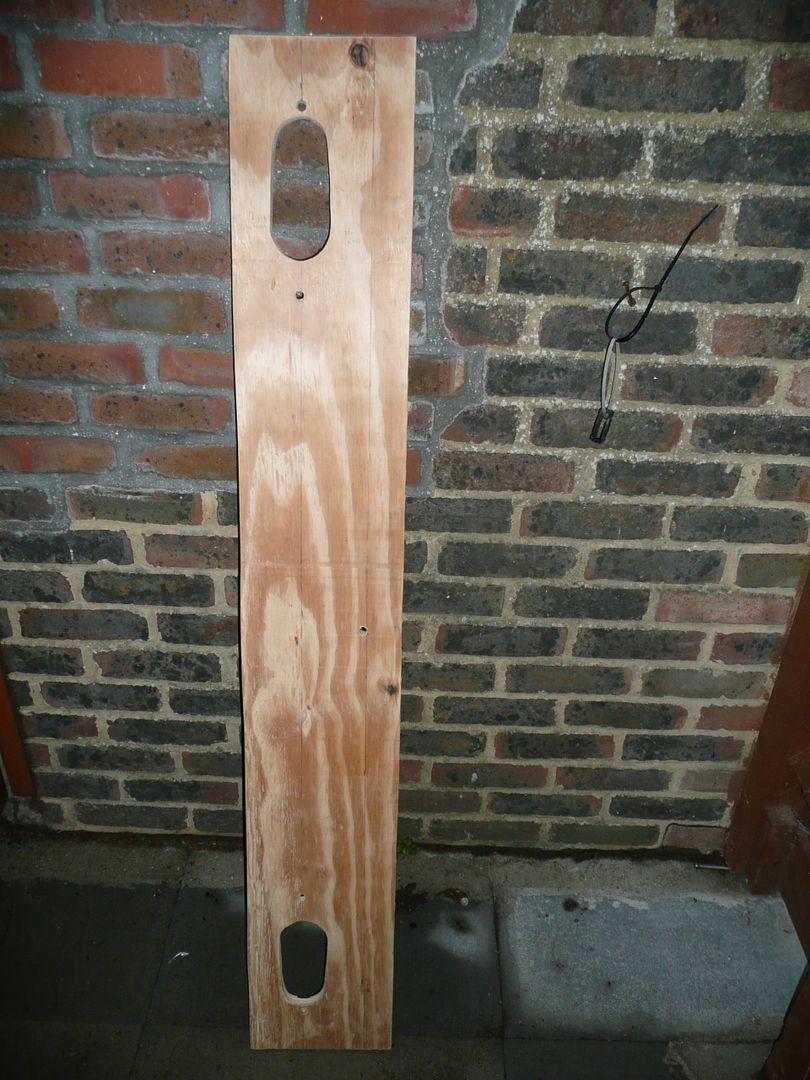 Payment to be in copious amounts of tea, and Digestive biccies, or whatever else is in the house at the time, that can be eaten. PS : I do have a complete lightboard (used once only) as donor to this part of the build.
|
| |
|
|
|
|
|
|
|
Right, update time for yesterdays build actions. I guess the neighbours would not be impressed if I were to start tooling about at 05.00am. I started out slow, doing the rope on the inner joins, using the Sikaflex Oldbus Dave had brought me. Not knowing, the first length was done with too much Sikaflex, but after that it went better. By 9am I was just about to start working with tools etc, when a gust of wind lifted the 3m x 1.5m ally sheet, bashing it into the gazebo frame and deposting the lot into the neigbours fence, resulting in what you see below..... council tip fodder. 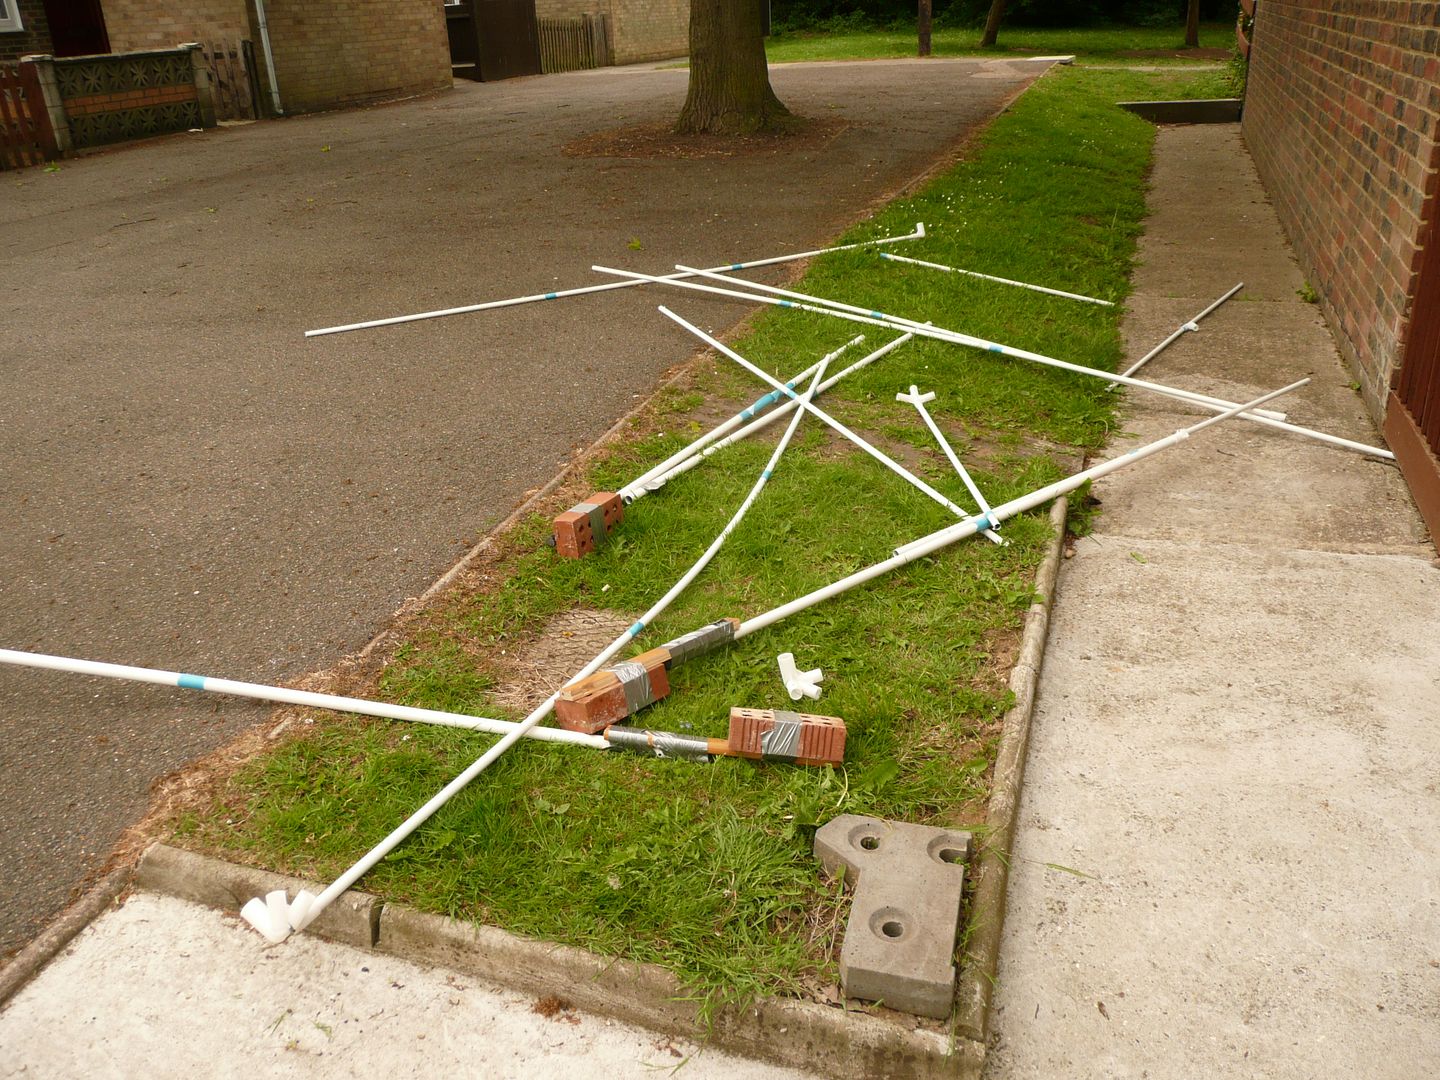 From there it just got worse. I did call my mate Scott "Jabbo" who is working 7 days a week for the last 40 days on a project, with a bit of flexibility, to come help with giving a hand. He was over here within 30 minutes to help me get the ally sheet down and give moral support as it had started raining too. Thanks again Scott, you really are a good guy !!!We got the first section down, by which time I had to call off any further progress due to the weather. Spare wheels on the roof are to get the silicone around the hatch to bond closely with the ally, to keep it all tight. 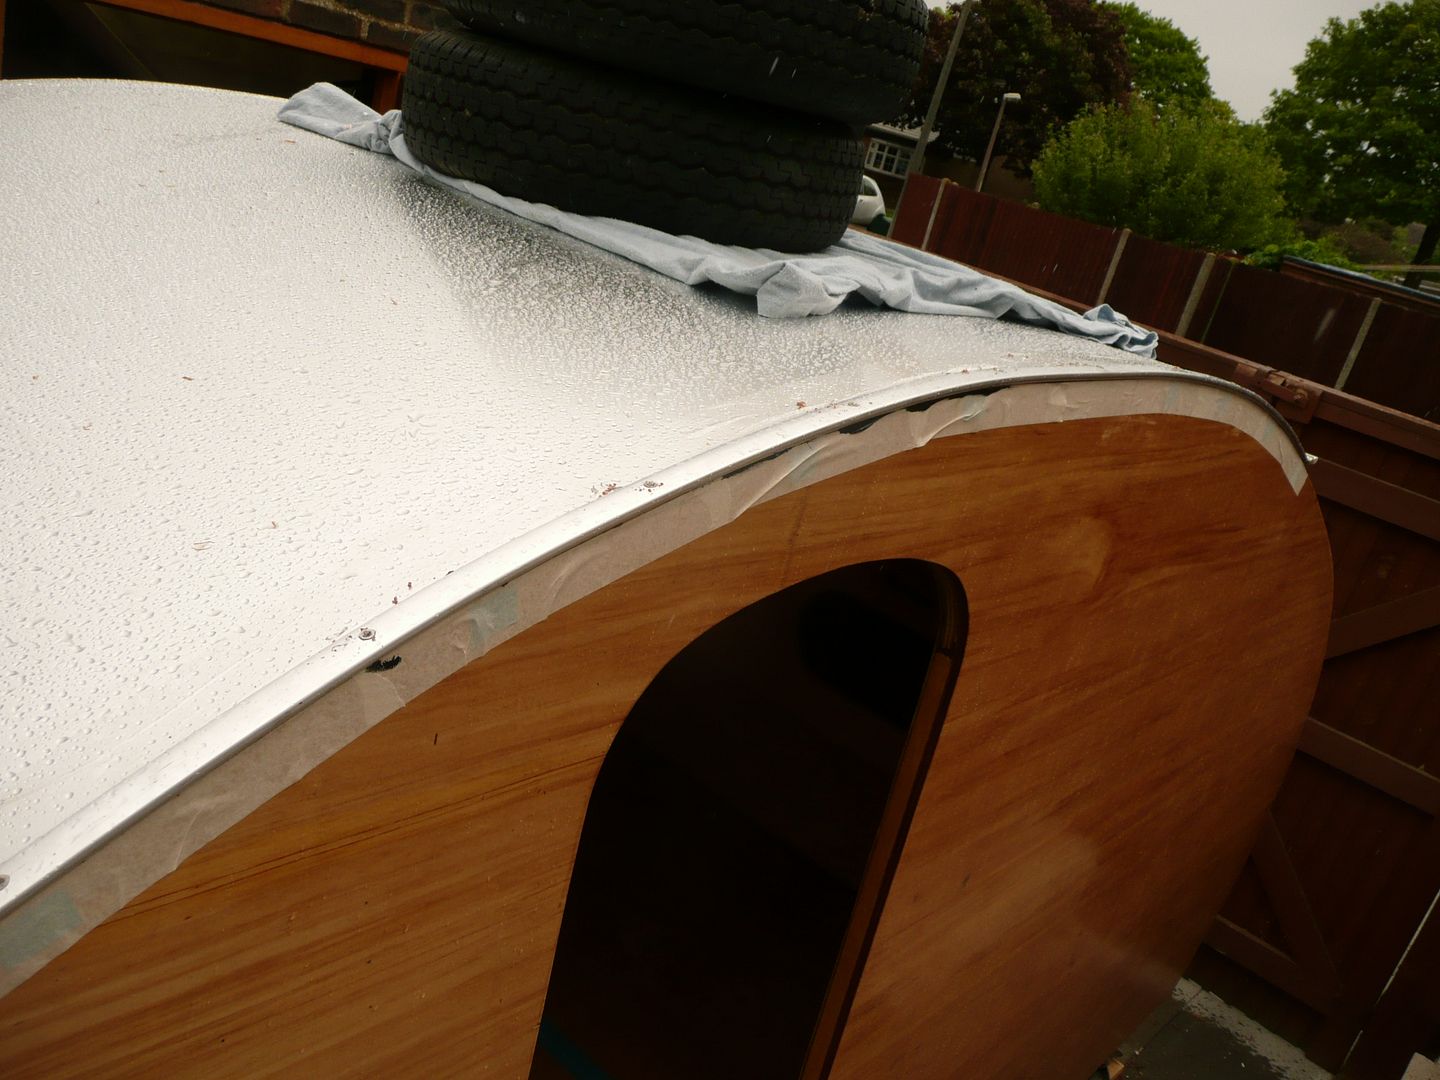 Because there is a join in the front of the ally sheeting, I decided to get on with cutting and chaping the ally for the front. This must have freaked out Scott's thinking, as he is a engineer and is obsessive to the N'th degree about preciseness. Armed with a rough drawn cardboard template, I drew it all onto the ally, grabbed the angle grinder and cut. Followed by prepping and smoothing all the edges. Perfect fit . 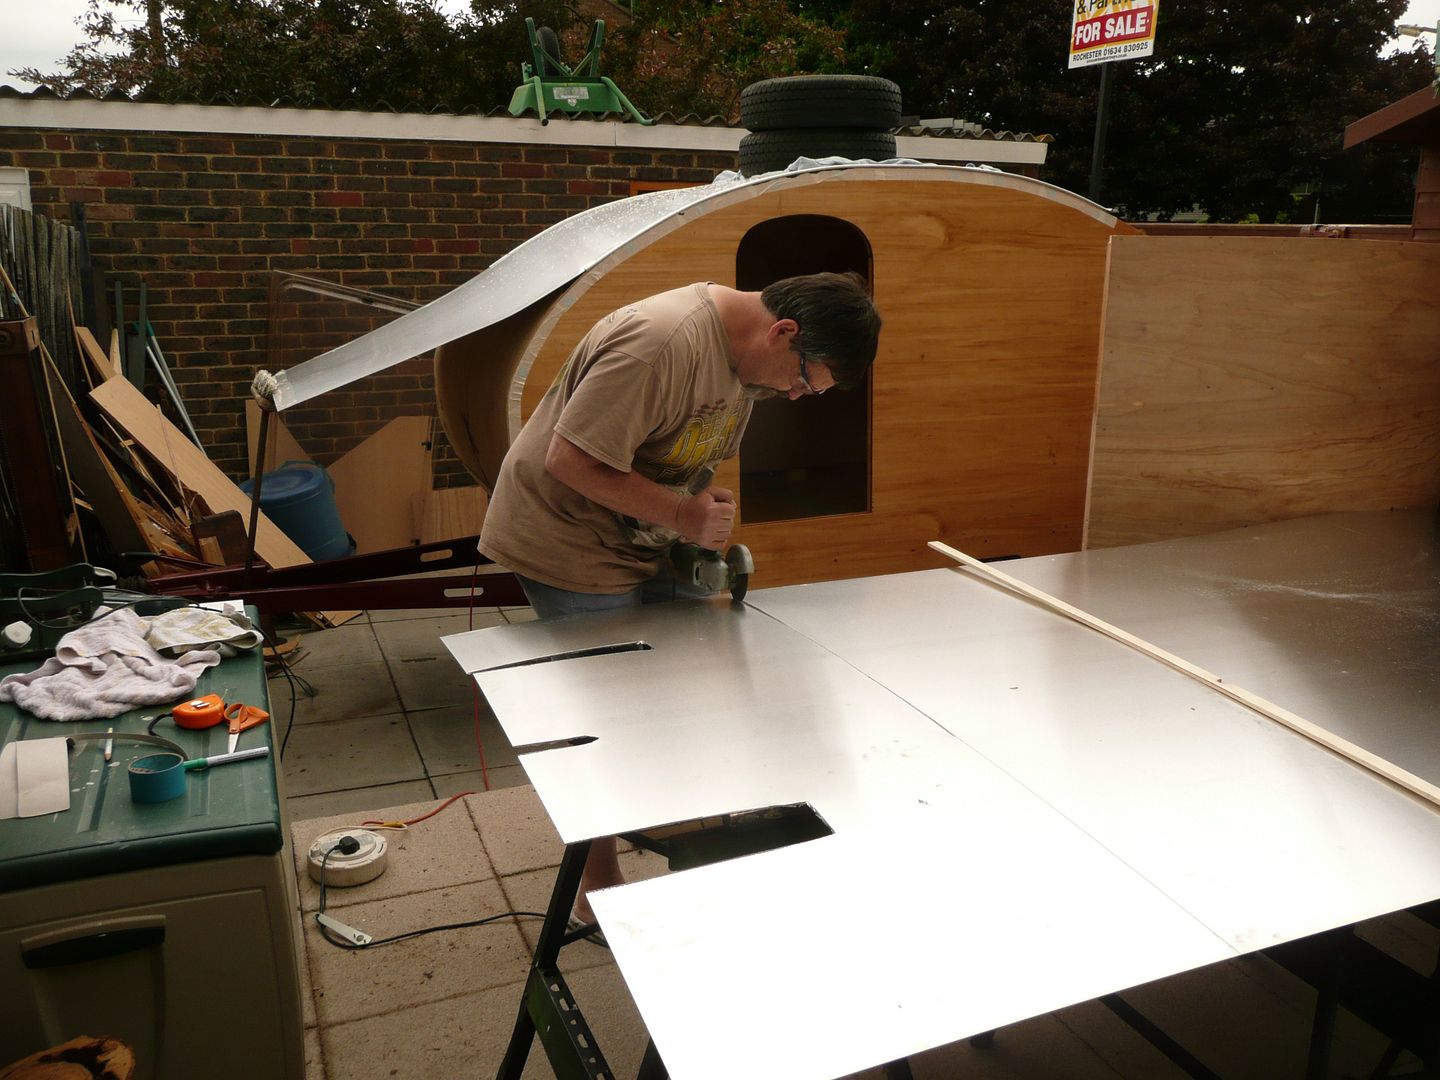 Progressing slowly. 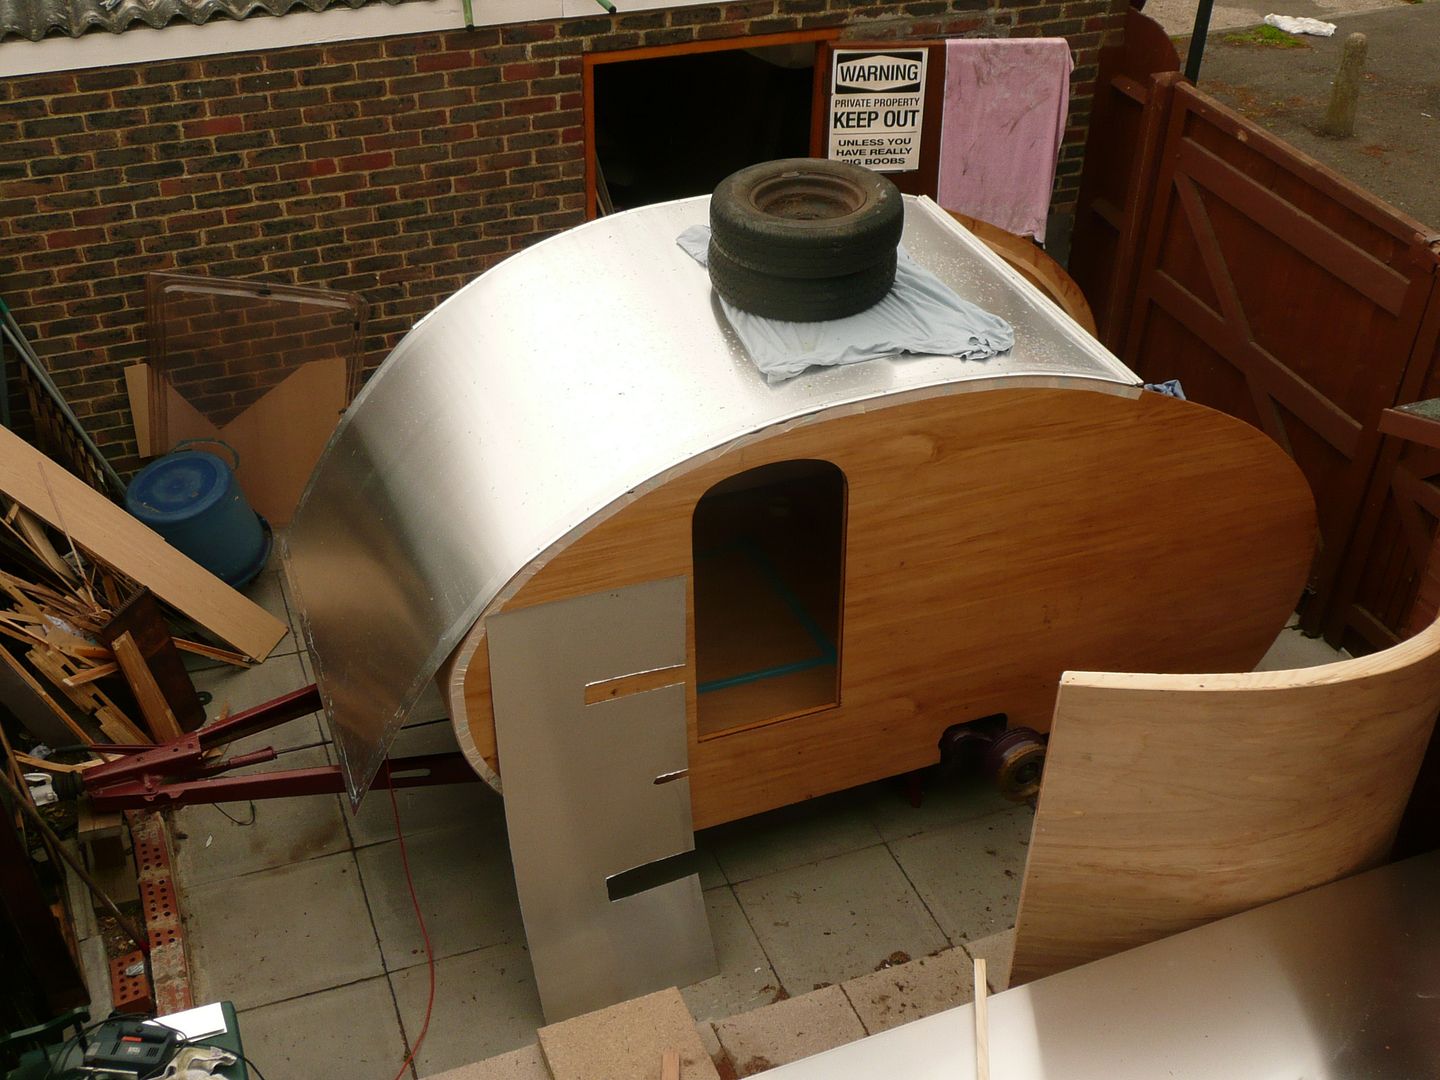 At this point Scott had to get back onto the site where he is working, and I carried on on my own for a while, till my mate Steven came around (he lives 40 miles from here) to drop off a bottle of brandy and to give moral support, make coffee and generally boss me around. This was usefull, as I got to make a start on the lightboard for the trailer as the rain was not letting up. Steven helping.  Steven left at about 5pm to go back to his wife and son. Followed at 6pm by the arrival of Nicola. By 7pm I went out and fixed the front bib piece to the body. It has a 100mm overlap from the large sheet of ally, so it is screwed down much higher than needed. I hope to get on with finishing that later today, and then to start on the skinning of the galley and attaching its hinge. 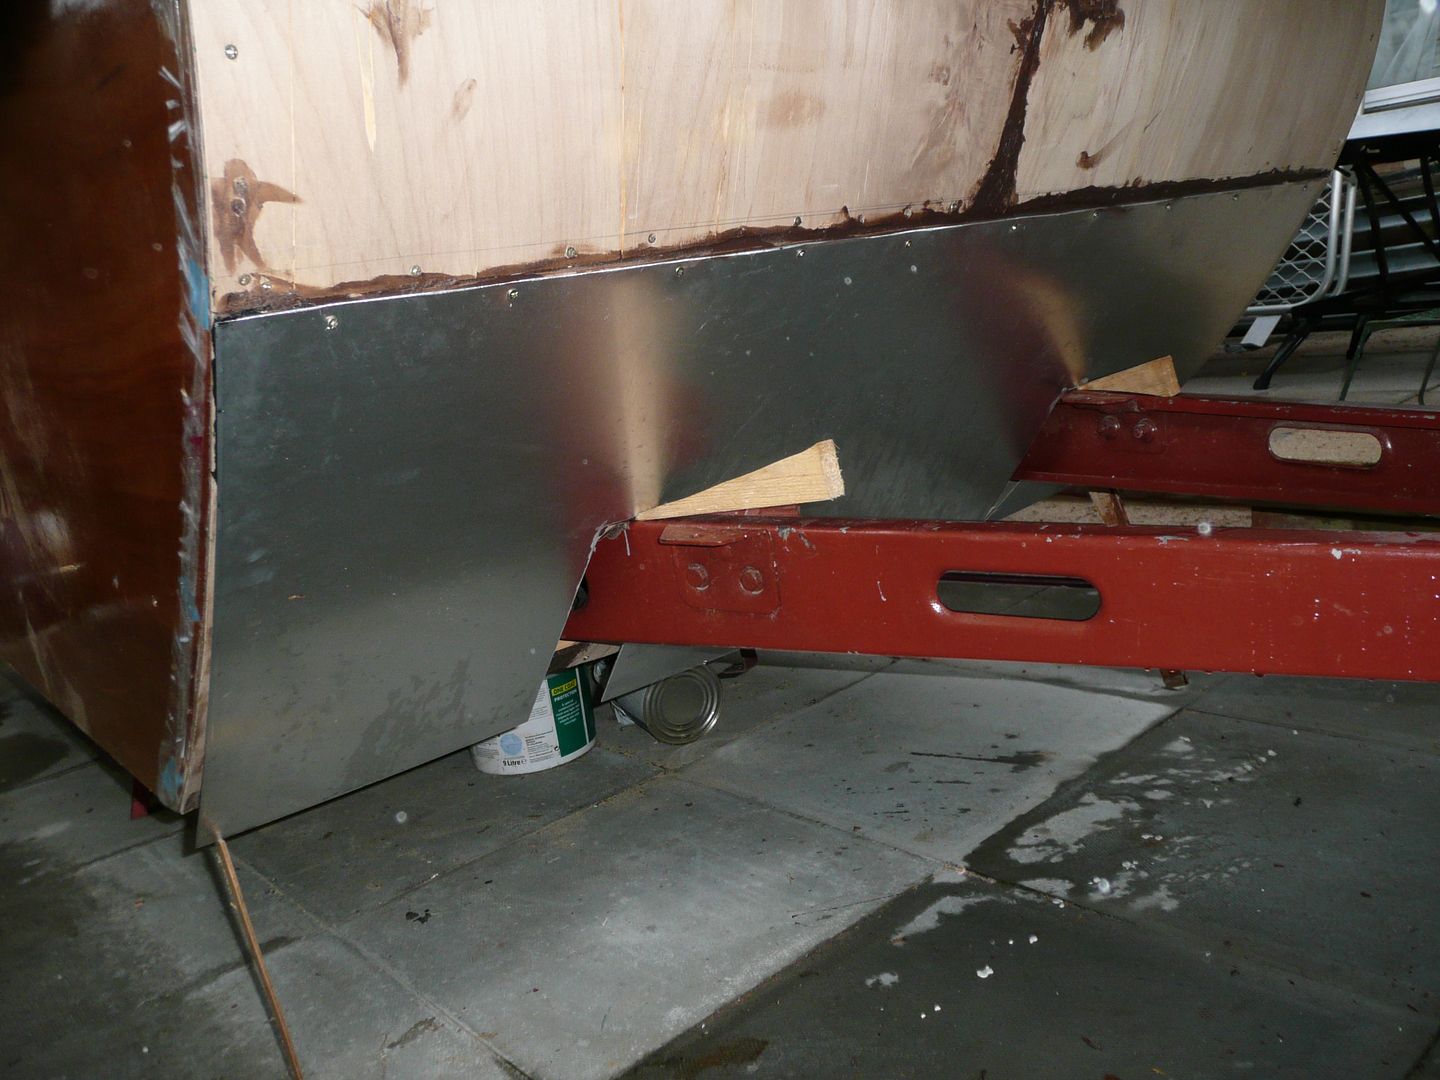 Looking outside, the clouds do not inspire me with confidence to complete what I want to do very quickly, but here's to optimism. Thanks for looking in. |
| |
|
|
nugget
Part of things
 
Posts: 840
|
|
May 30, 2010 10:13:48 GMT
|
Amazing progress! I think it's unreal how you can stay outside and work on this all day from 5am to 7! That's amazing! Keep it up  |
| |
|
|
|
|
|
May 30, 2010 12:21:03 GMT
|
|
Looking good Grizz!
Yes, those lights would have been grounded to the car's body. The wire from the indicator is for the, erm, indicator. One wire from the brake is for the 5w tail light filament, while the other is for the 21w brake light filament.
The thing to do is to use a ring terminal under the one of the mounting nuts for the earth. Just make sure to give it a (very) thin layer of copper-slip to stop it rusting.
Then you need to find out which wire from the brake/tail light is which. Ground the casing of the ilght, and then connect each wire in turn to a battery. Each should make the brake light light up - but one will be (much) brighter than the other. The brighter one is the brake light.
Connect the brake light leads to the brake light leads from the donor board's wiring. Connect the tail light leads and indicator leads similarly - make sure that you get theindicators the right way round.
The number plate light needs to be connected to the tali light wiring and also to earth.
I hope this helps,
James
|
| |
|
|
Rich
Club Retro Rides Member
Posts: 6,341  Club RR Member Number: 160
|
|
May 30, 2010 13:45:42 GMT
|
|
|
| |
|
|
|
|
|
May 30, 2010 16:09:55 GMT
|
Thanks Rich, I was hoping someone with more savvy than me would do the actual wiring...... ;D |
| |
|
|
Rich
Club Retro Rides Member
Posts: 6,341  Club RR Member Number: 160
|
|
May 30, 2010 19:21:25 GMT
|
Its easy mate, thats the colours that will be in your trailer loom, you only need to work out what the 3 wires are on the back of the tail lamps then, which is so seriously easy  |
| |
|
|
jabbo
Posted a lot
   soy un perdedor
Posts: 1,151
|
|
May 30, 2010 19:37:34 GMT
|
 Looking good buddy. I'm flat out with various bits this week, but if you haven't got the wiring sorted by Friday give me a shout and I'll come round and sort it for you.
|
| |
|
|
|
|
|
May 30, 2010 20:29:41 GMT
|
Well, what can I say ? The ally is on, the hatch is skinned. Thanks to Nicola, Scott and Steven for the last few days. Without thm I would not be where I am tonight. KNACKERED !! It has been great having a few people about, helping, supervising and generally keeping me going. The build is not done by a long shot, but the big jobs are done. Keeping in mind that I have done post of this build without plans of any nature, and just making it up as I went along, most of the cockups could be hidden as there is always another layer to cover up etc. Today Nicola saved the day...... When the ally sheet came to the end, to pass over the bib I fitted last night, there was a "bubble" up front. I was going to just cut 400mm up the centre, and then camouflage it later with something...... Not Nicola, she told me to have a coffee, come back and seek a different answer. I went away and came back, and realised that if I started mounting from the once side, the "bubble" would be at the one side, necesitating me to only cut a very thin sliver out the side. Both sides were already fixed at that point. This was the result of Nicola's input. 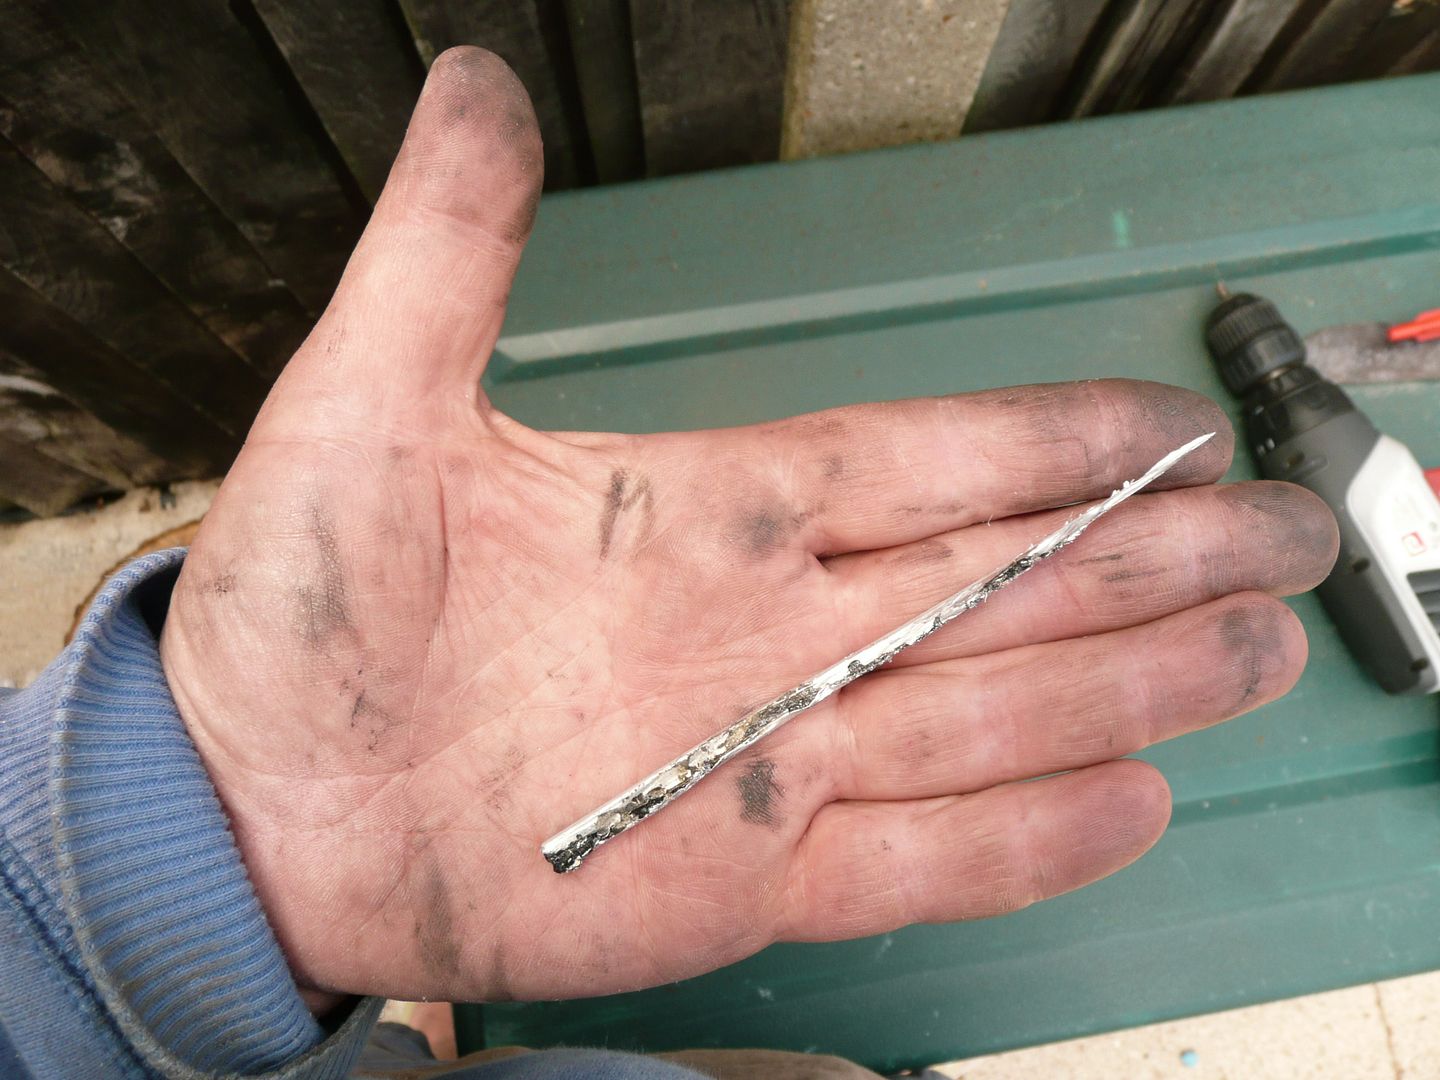 Once screwed down with one of the trip strips you would be hard pressed to point out the mistake. Next up the job I have been procrastinating for some time. Hatch skinning. At this point Nicola was weak in her Anorexic state and needed to fight her way into some chocolate covered peanuts, fortunately she made it before thigs turned ugly. 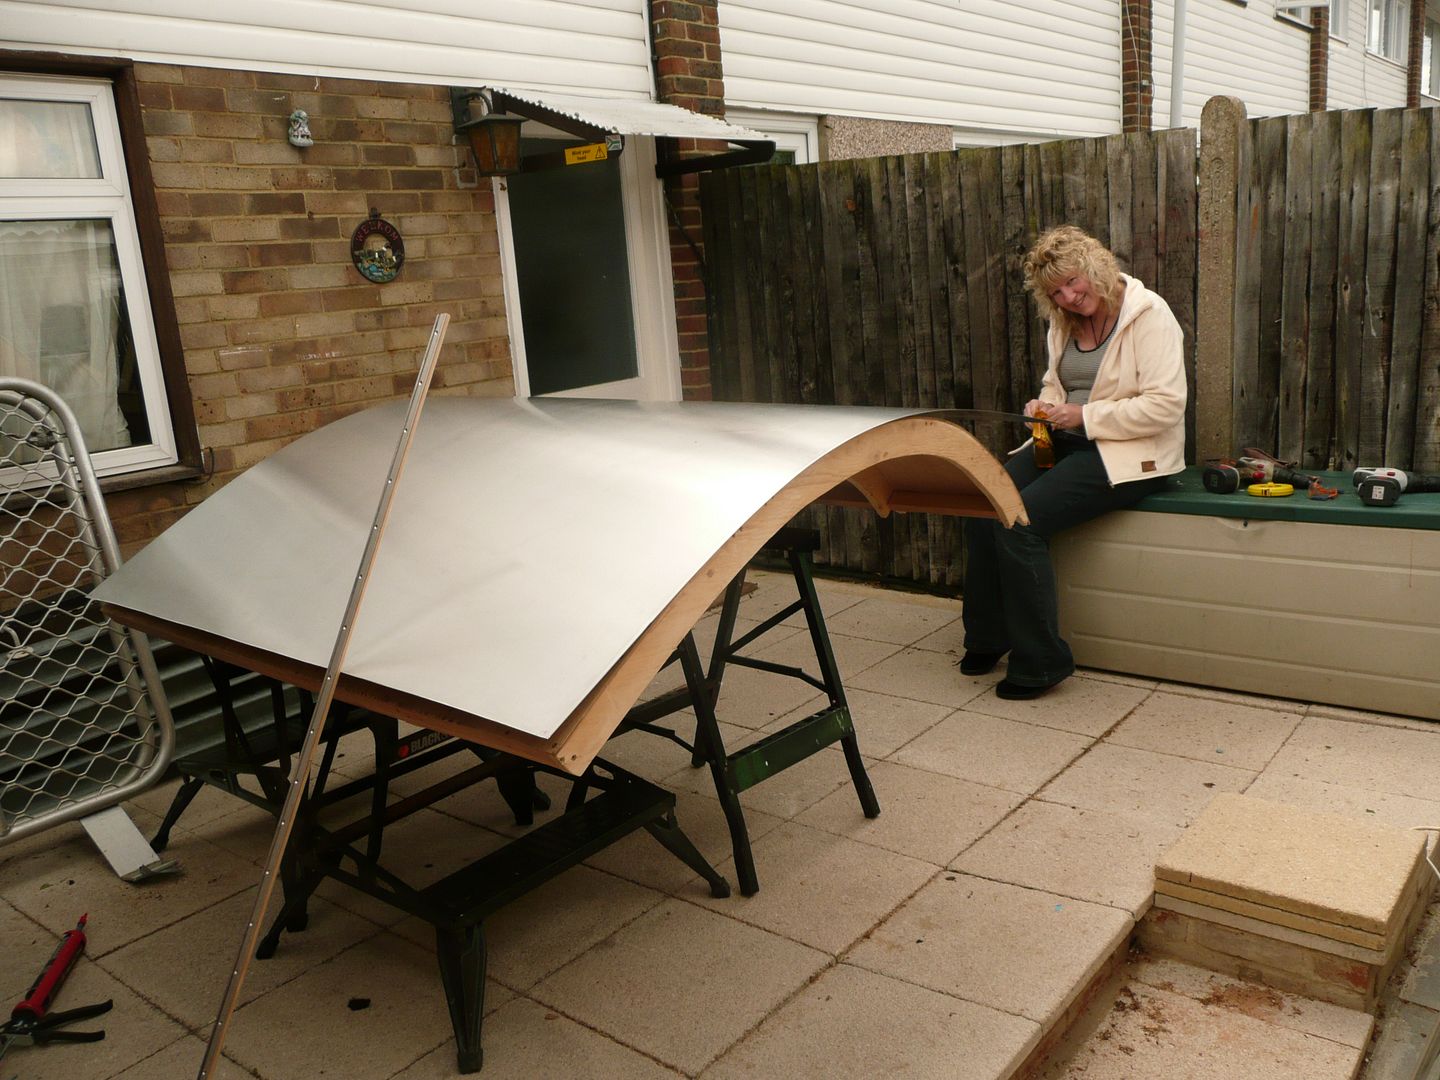 View of the front of the trailer, and the skinned hatch. 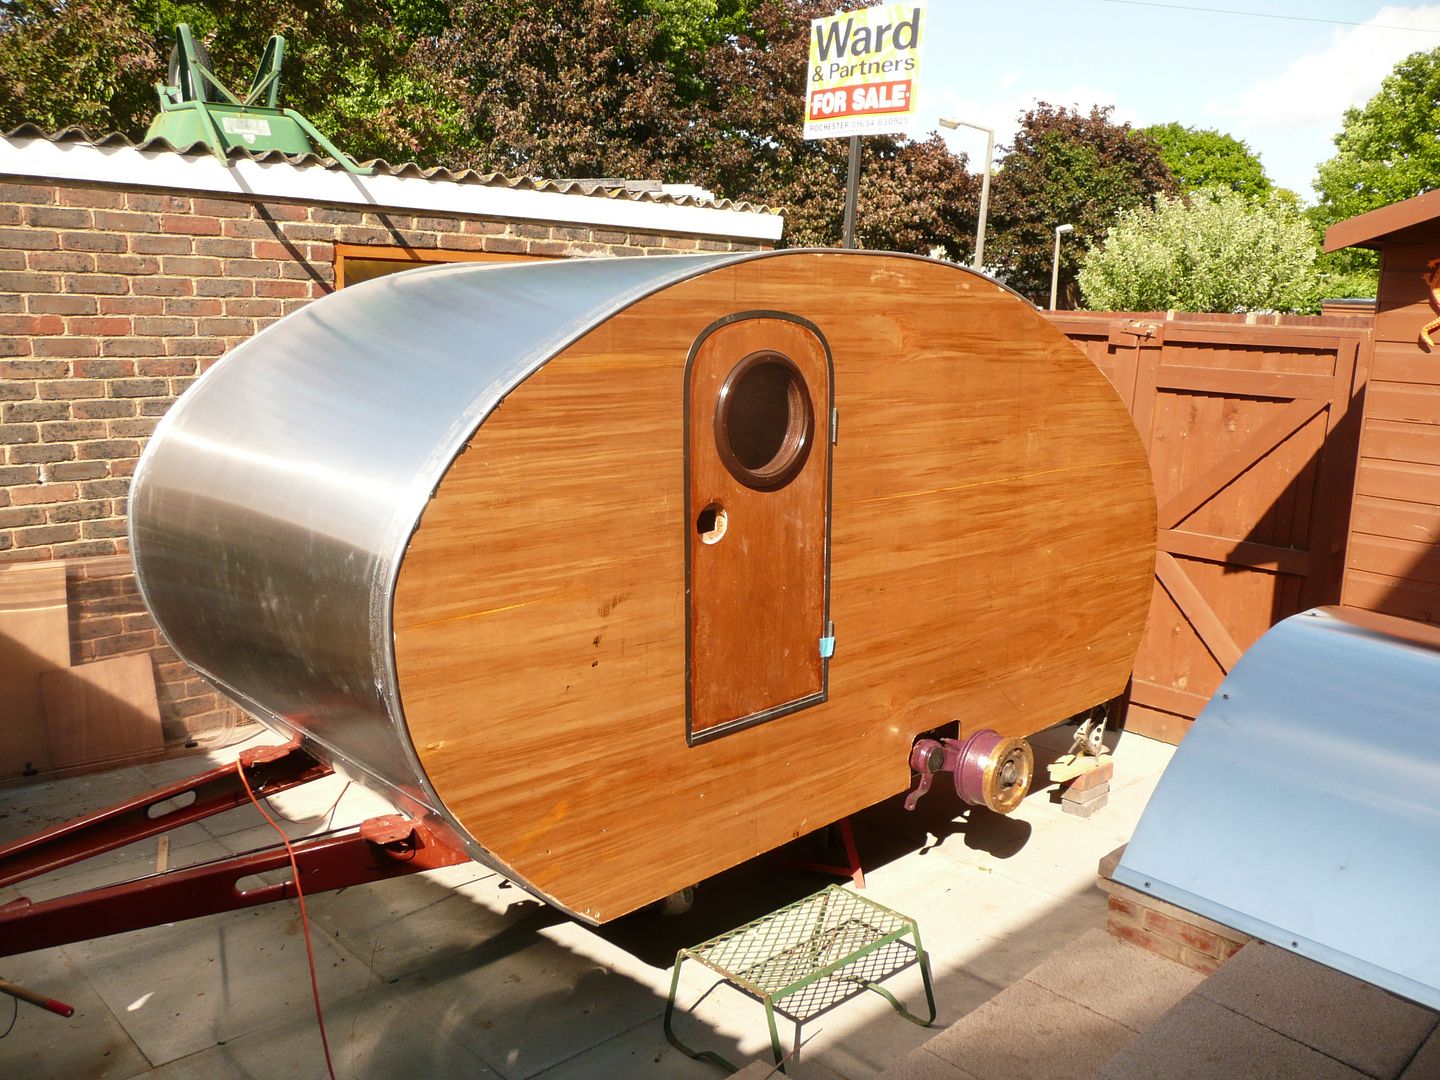 This was a hernia inducing procedure, getting the hatch cover onto the body, the shed next to me, and my rain meter were very obstructive, and the whole body is still on the ramps, so quite high. 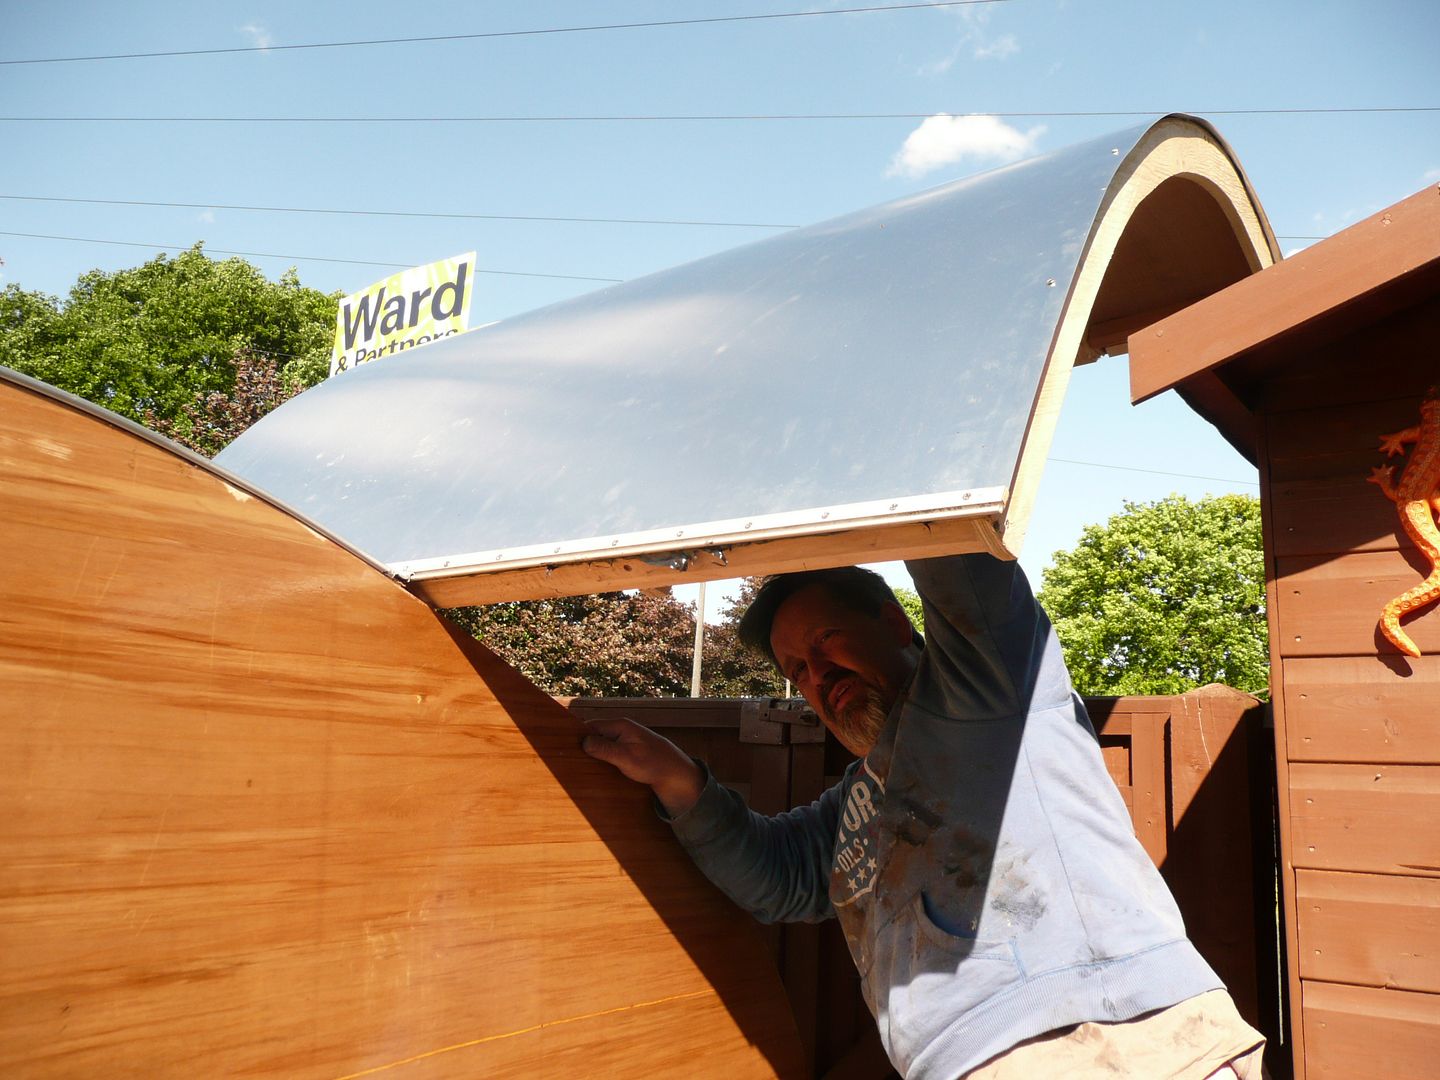 EUREKA ! ! ! Rear view of the trailer. After all this time, to see it like this had Nicola and I lauging out loudly and hysterically. Mad I know, but what a relief to get to this point. 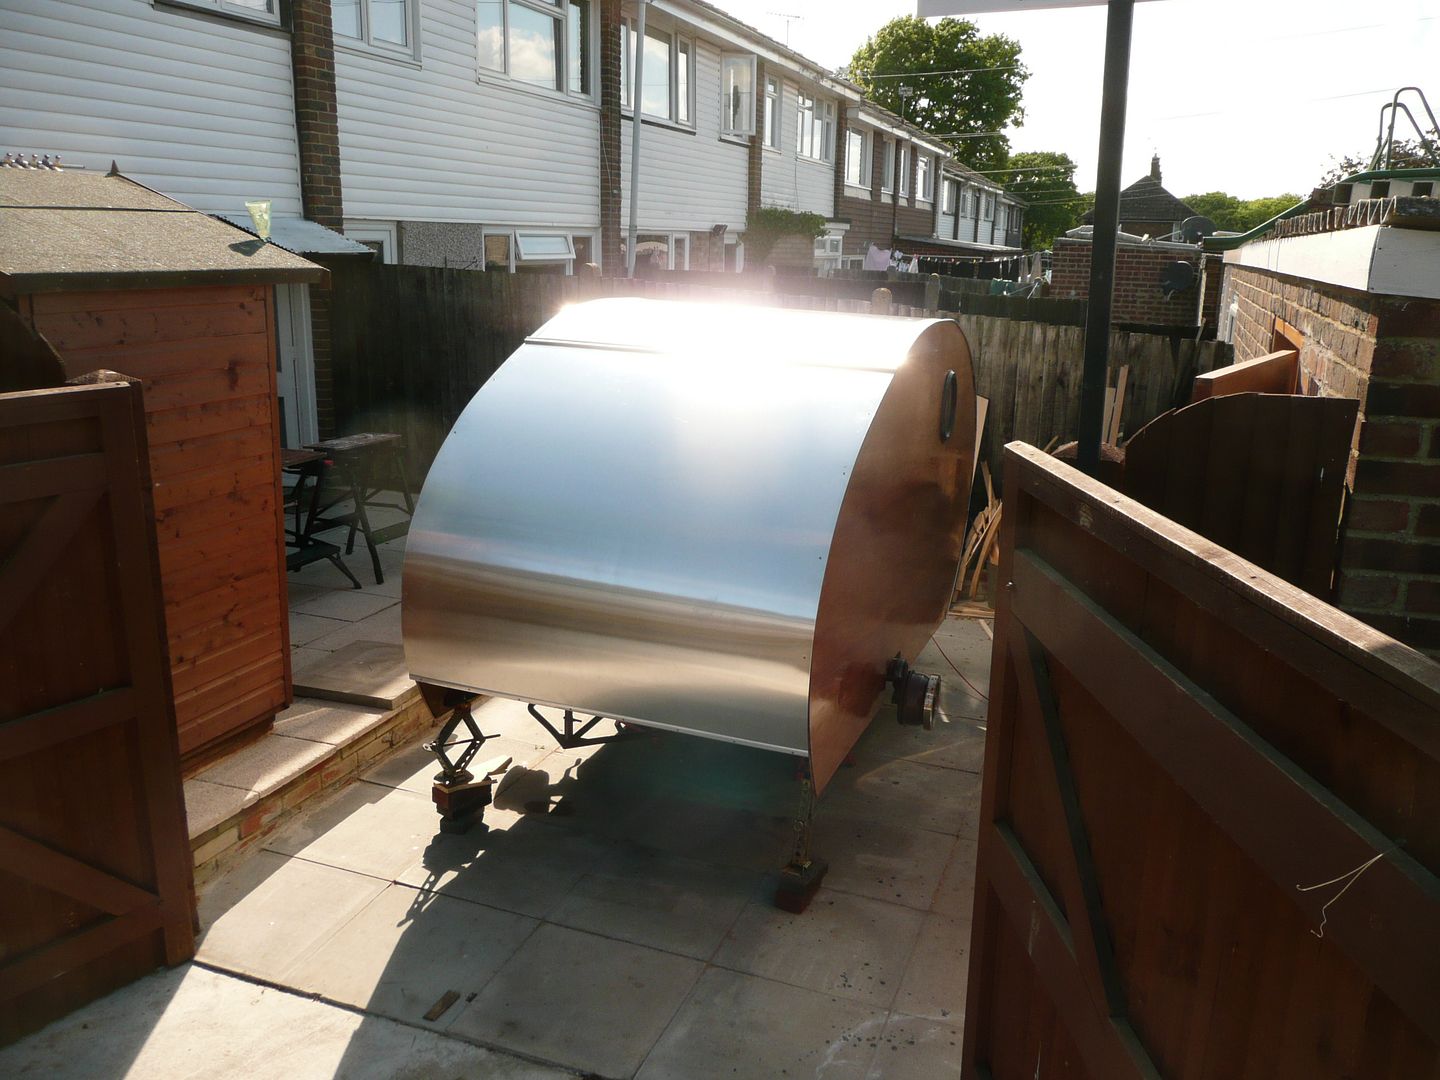 Pic taken from my bedroom window, I love the look of the galley hinge. Now I am tired, satisfied and ready for bed, after 2 very stiff brandy and Cokes. Thank you everyone for your support and interest to date in this build, it would not be as much fun, or as informed without everyone on this forum giving their input. There is clearly still work to be done, loads of it, but this has to be the most difficult part of the build. 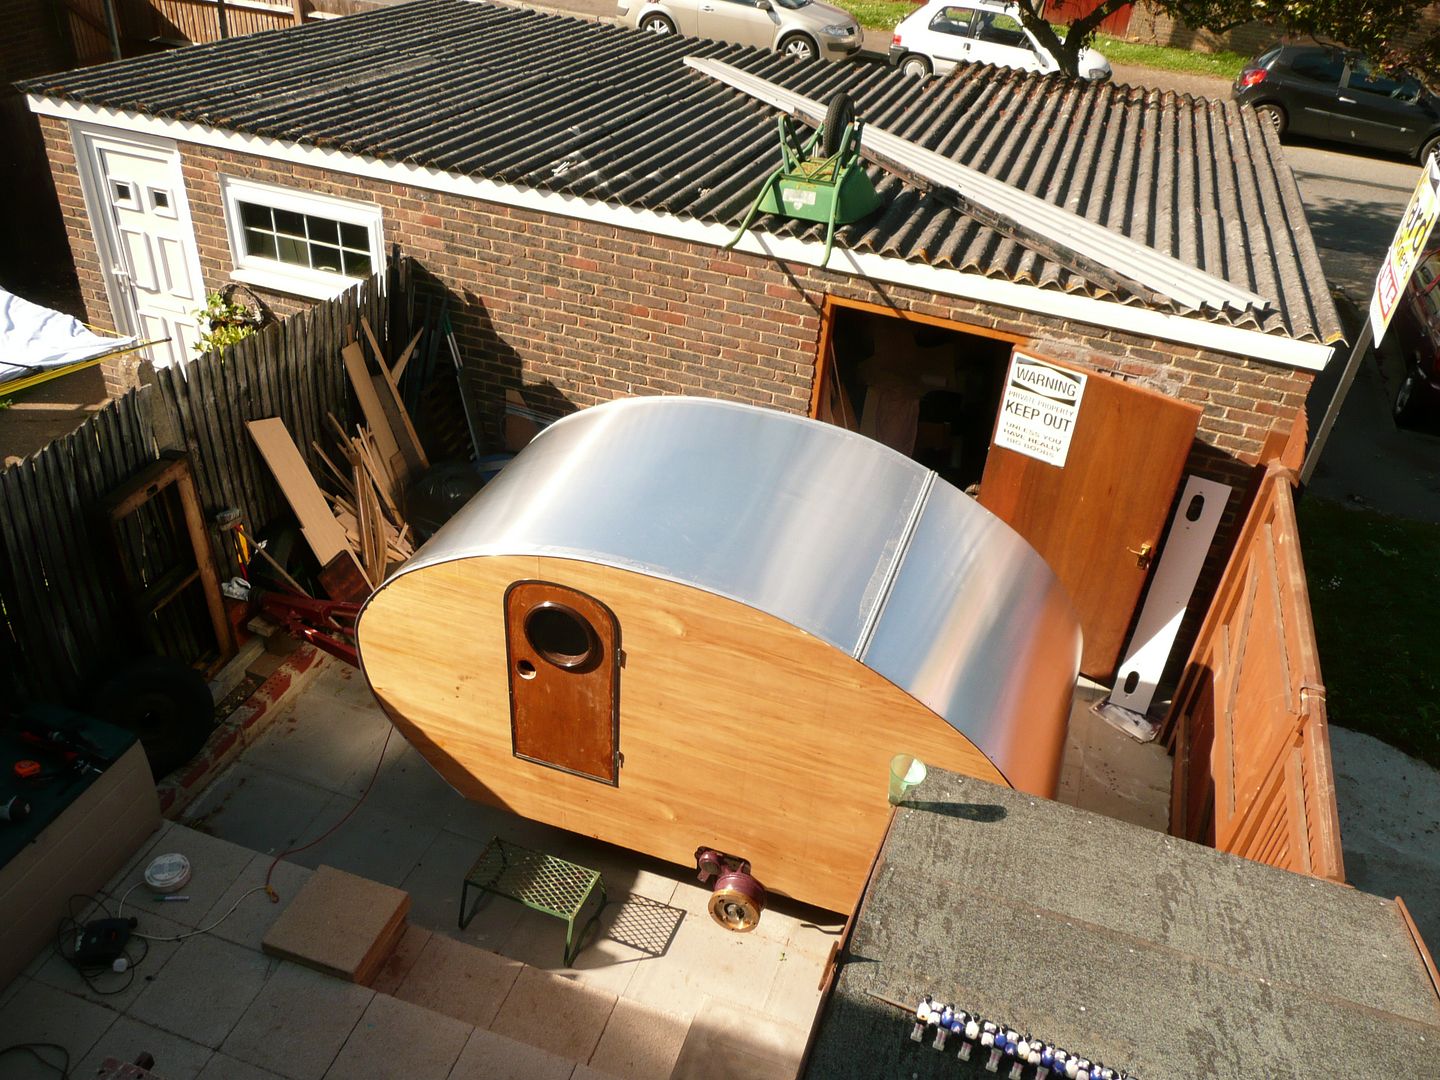 Jockey wheel, wheels, mudguards, fine tuning door amd a couple of hatch locks tomorrow, and also an attempt to get it out of my back yard so that I know it can be towed, and does not weigh a ton. |
| |
|
|
|
|


