|
|
|
|
|
|
Just read up about that Jotamastic Primer, sounds good stuff, I guess if its good for ships and oil rigs then its good enough for our old cars
I would be interested to know how it well it goes on and if you can spray 2 pack ontop of it
|
| |
|
|
|
|
hairymel
Club Retro Rides Member
avatar by volksangyl
Posts: 1,081
Club RR Member Number: 207
|
|
|
|
tony i wanted to use an epoxy primer as its non porous unlike normal primer and in theory you can fill over it (stop rust now - make pretty later  ) i did try to get some normal epoxy primer from my localish paint shop but they had nothing so unusual! my fairly haphazard research seems to suggest that rust.co.uk 's well rated epoxymastic 121 could well be the 1:1 mix version of jotamastic87 the 5L (4L+1L cold weather hardener) jotamastic87 was a similar price to 2L (1L+1L) 121 epoxymastic. this made my cheapness meter twitch  I am looking at spraying rustoleum for my finish coat but when i finally manage use the paint i will see if i can get some 2k squirted on a sample piece for you. |
| |
whats that burning smell?
oh curse word :-(
|
|
hairymel
Club Retro Rides Member
avatar by volksangyl
Posts: 1,081
Club RR Member Number: 207
|
|
|
|
sunday afternoon i managed to slip away for a few hours  i spent a while struggling with rusty bolts and screws that been added to the floorpan of the car - removing the fuel lines, wiring loom and battery box from the inside. i also removed the handbrake/cables and the top trailing arms. not much of a pile for 2 hours dis-assemble  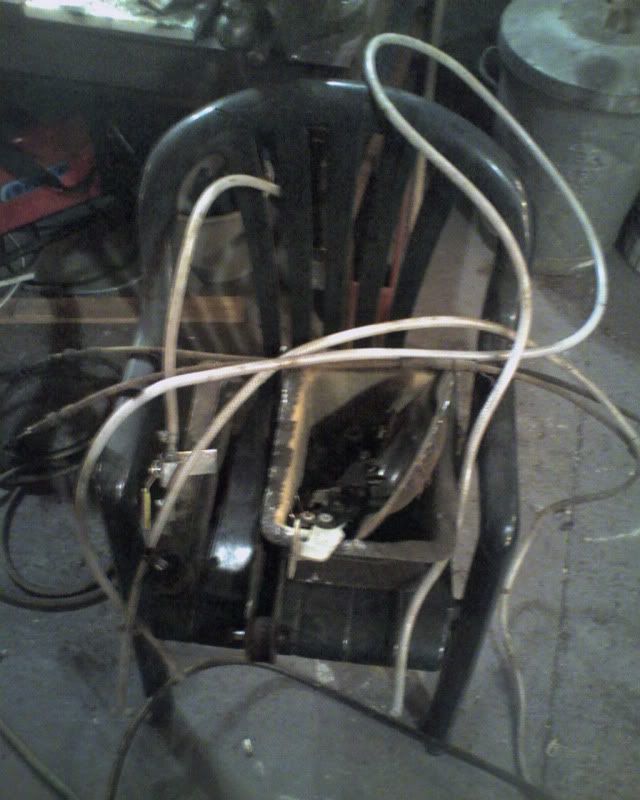 then out with the big boys  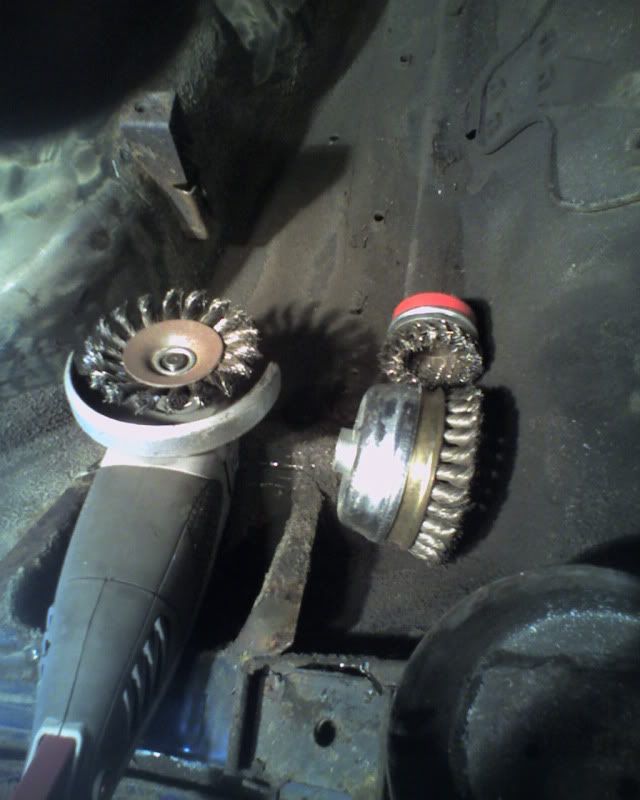 the big boys turned out to be a bit limp wristed, but i got some of the underseal off 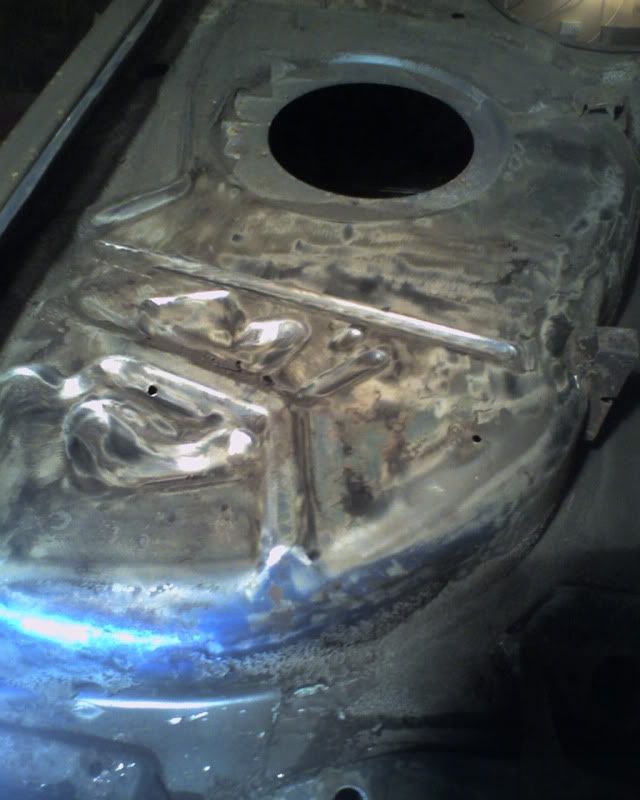 luckily the thicker underseal between the chassis rail and wheel tub chipped off in satisfyingly big chunks with a tapping hammer and chisel 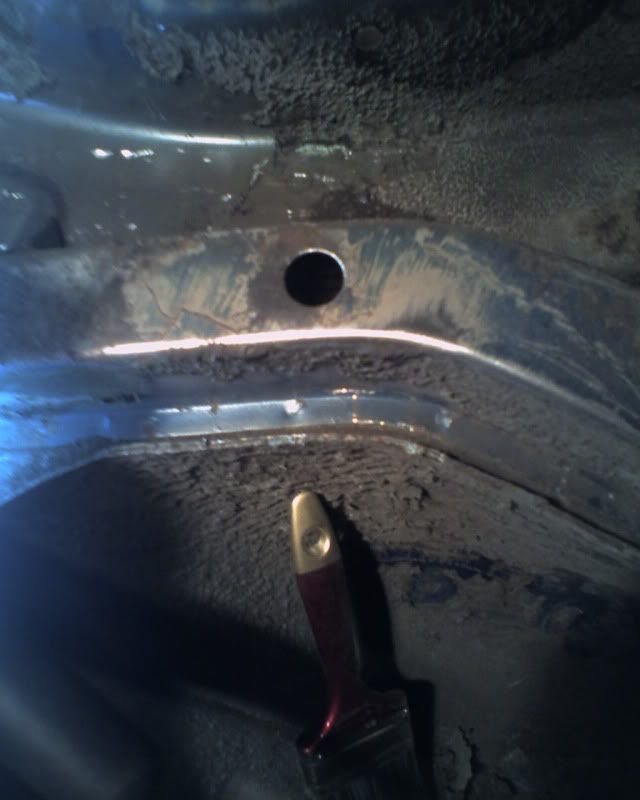 dusty and a bit bored already i chose to run away ;D 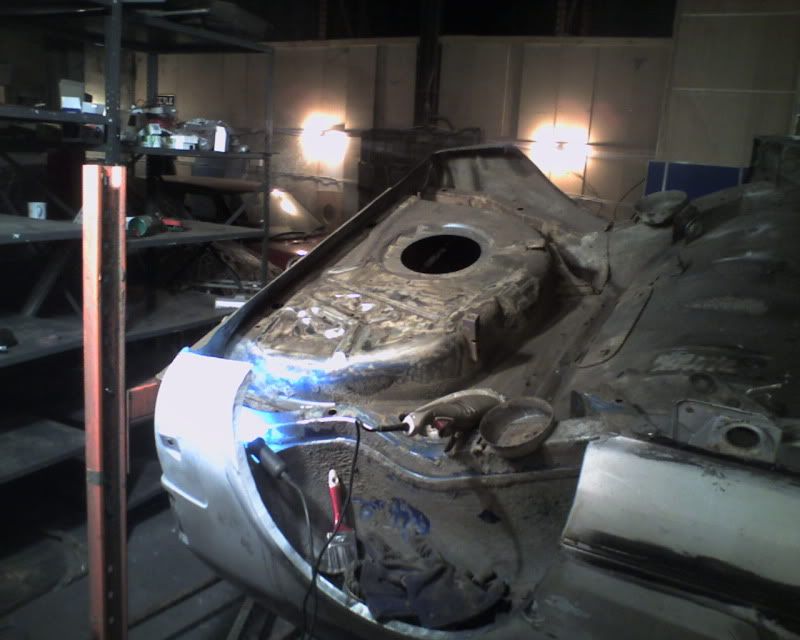 while drinking coffee i calculated i had vaguely cleaned off 3% of the underside  . i think i will try to dig out my heat gun next and give that a try  roll on the next 97%  total time spent (wheely slow progress) 223 hours total spend £1687ish (£90 epoxy primer £20 exhaust bits £7 random bushes £25 another headlight! £10 more sanding belts and a tube of pu sealer) |
| |
whats that burning smell?
oh curse word :-(
|
|
|
|
|
|
|
I had to double check it was the same car, I can't see any rust on that boot pan  |
| |
|
|
hairymel
Club Retro Rides Member
avatar by volksangyl
Posts: 1,081
Club RR Member Number: 207
|
|
Jan 10, 2011 10:46:18 GMT
|
the glare from the inspection lamp is camouflaging the rust in that corner  pics when i get to that bit  ;D |
| |
whats that burning smell?
oh curse word :-(
|
|
westy180
Part of things
  Project Jetta is go.
Posts: 147
|
|
Jan 10, 2011 13:31:23 GMT
|
|
I take my hat off to you sir.
Excellent thread.
|
| |
Who said VW`s don't rust?
|
|
hairymel
Club Retro Rides Member
avatar by volksangyl
Posts: 1,081
Club RR Member Number: 207
|
|
Jan 10, 2011 21:52:18 GMT
|
random bushes 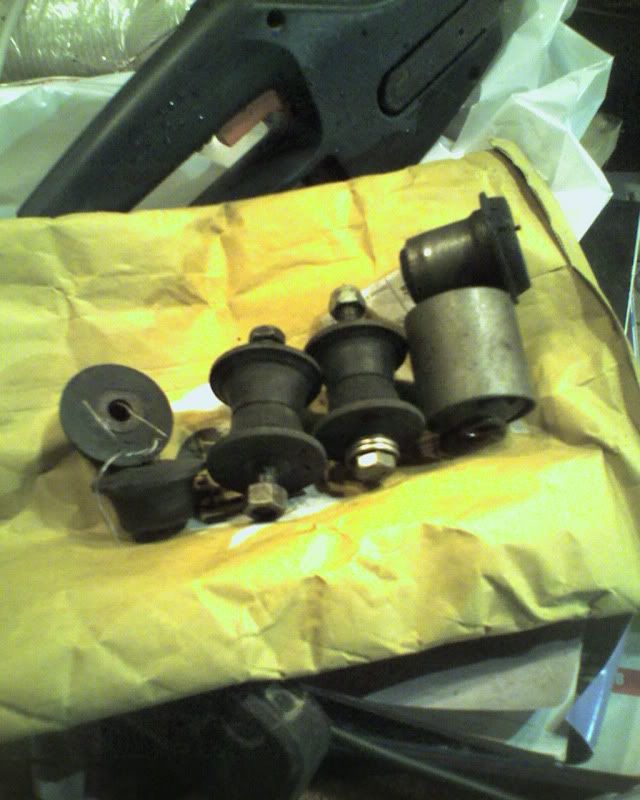 heatgun and chisel good 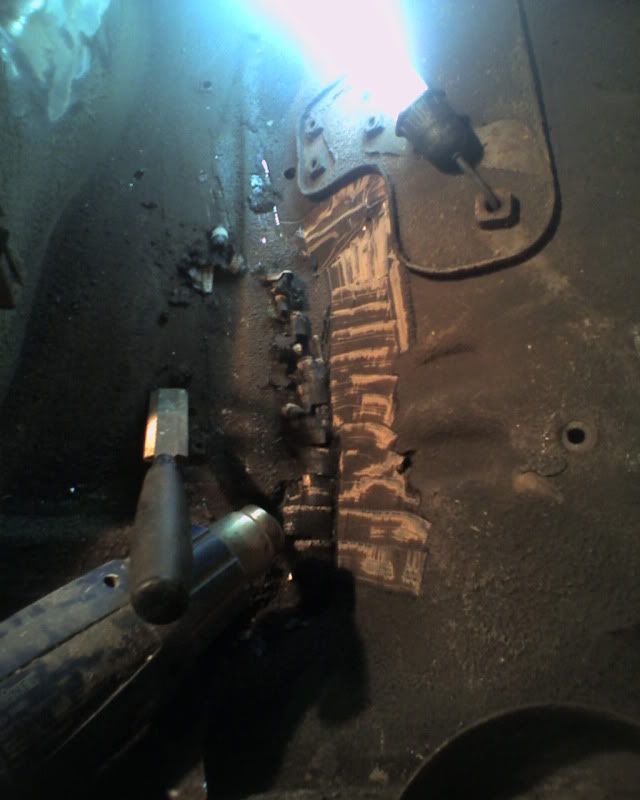 some time later 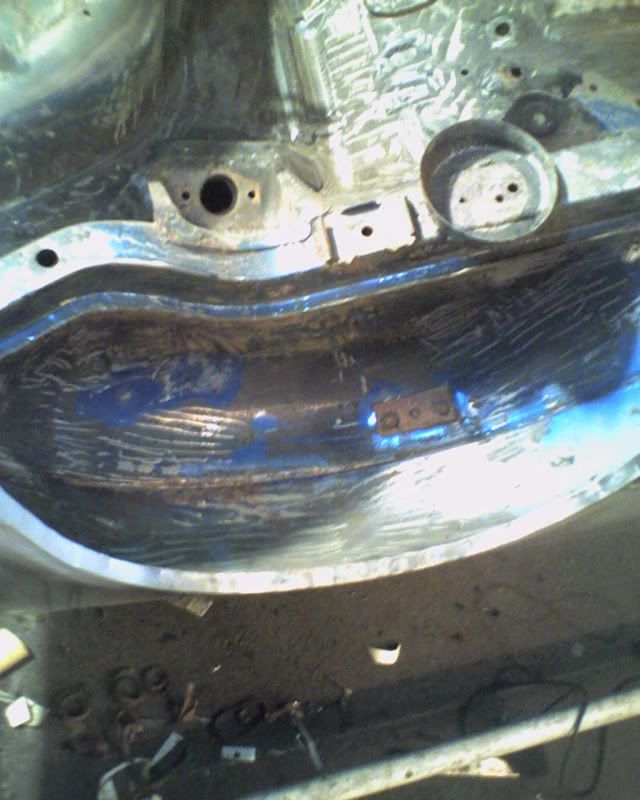 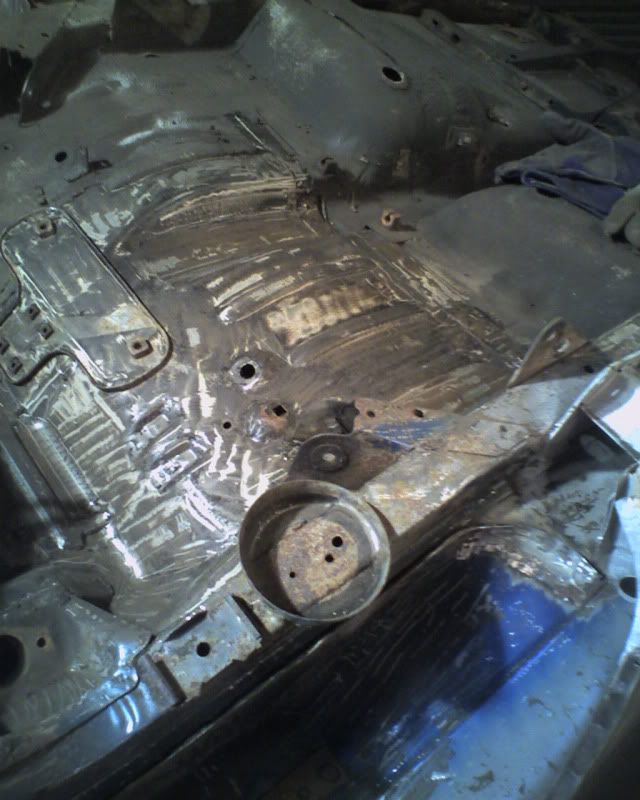 little bit of surface rust for volksangl's viewing pleasure  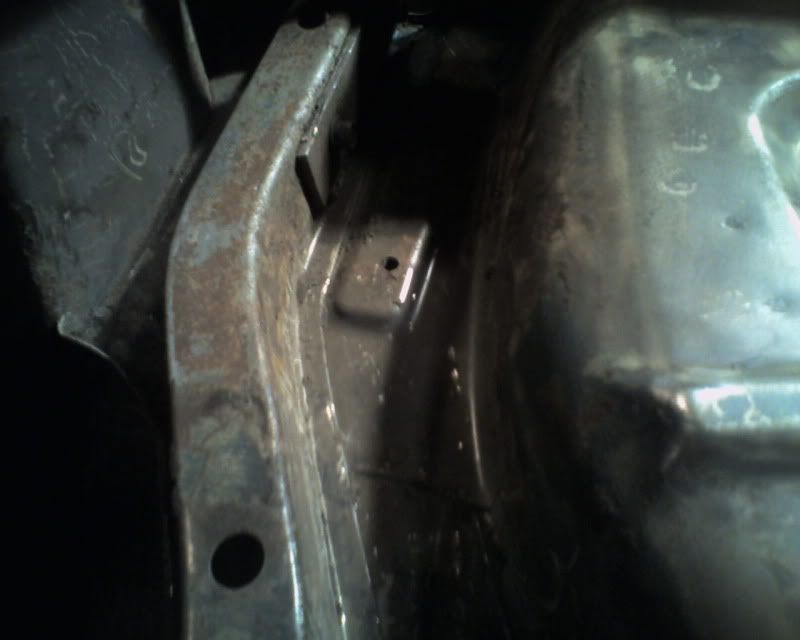 i need to find a solvent to clean the residue off and wire wheel the rusty bits, but 12.5%down  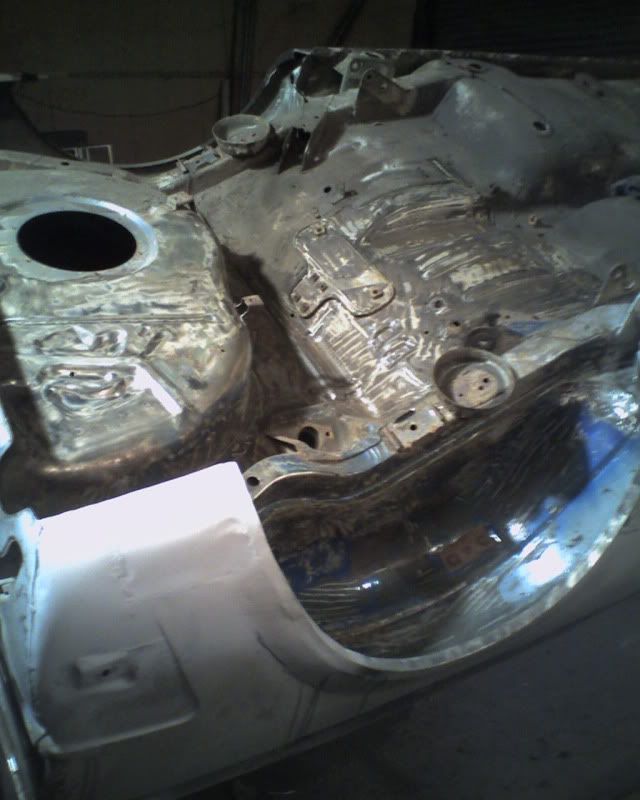 total time spent (things are hotting up  225.5 hours total spend £1687ish (can't be arsed to find my heatgun so borrowed one + chisels, need solvent to abuse  ) |
| |
whats that burning smell?
oh curse word :-(
|
|
hairymel
Club Retro Rides Member
avatar by volksangyl
Posts: 1,081
Club RR Member Number: 207
|
|
Jan 11, 2011 21:09:24 GMT
|
after i bit of experimentation with turps, celly thinners and panelwipe (all the solventy things i had to hand) i didnt like any of them much  i mostly seemed to be smearing underseal around rather than removing it. my next move was to chuck all the liquids in a tin and hope to create a super solvent ;D splosh it all over with a paintbrush and clean off with a cloth. repeat three times  fairly clean wheelarch 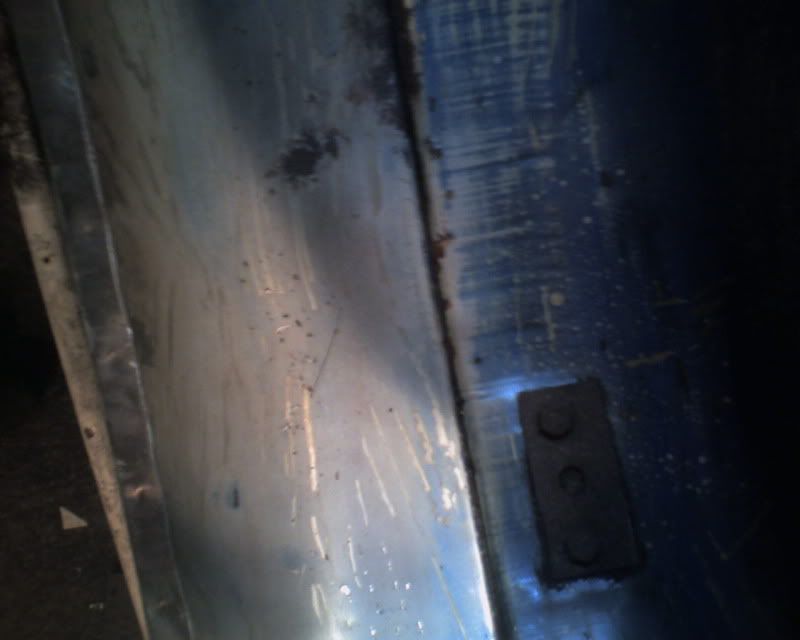 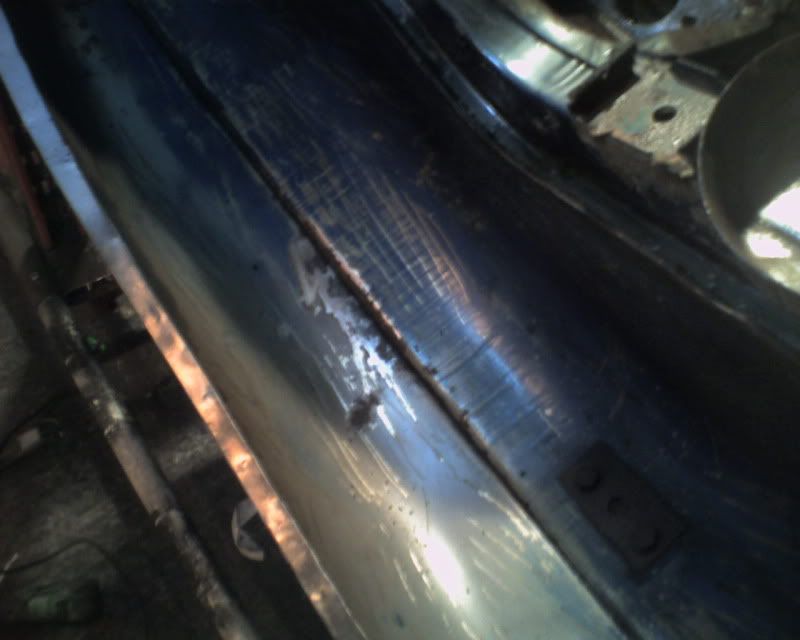 rear floorpan not too bad 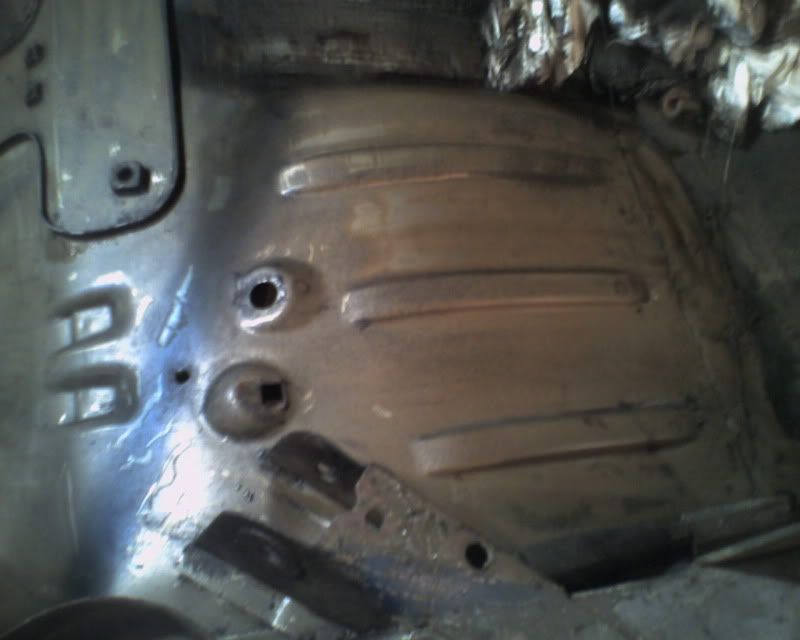 chassis leg 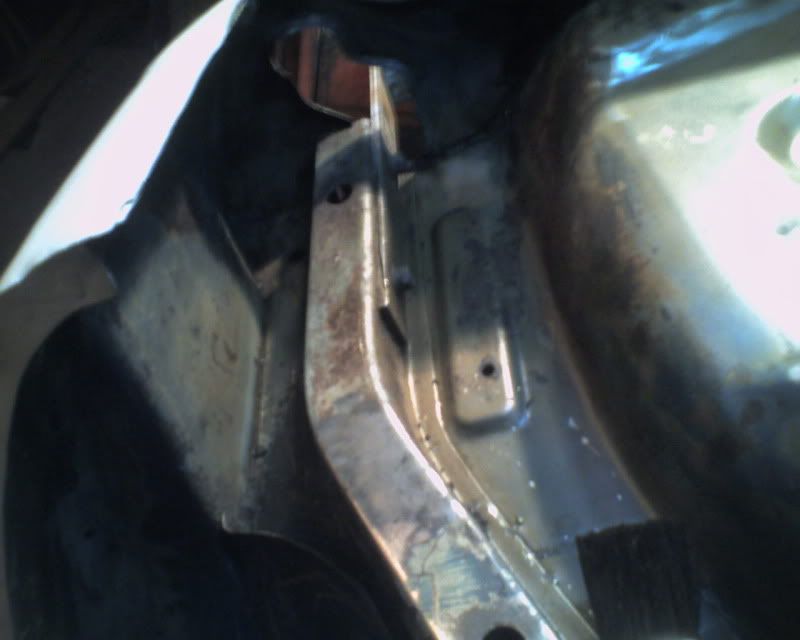 boot floor  still needs a couple of soaks 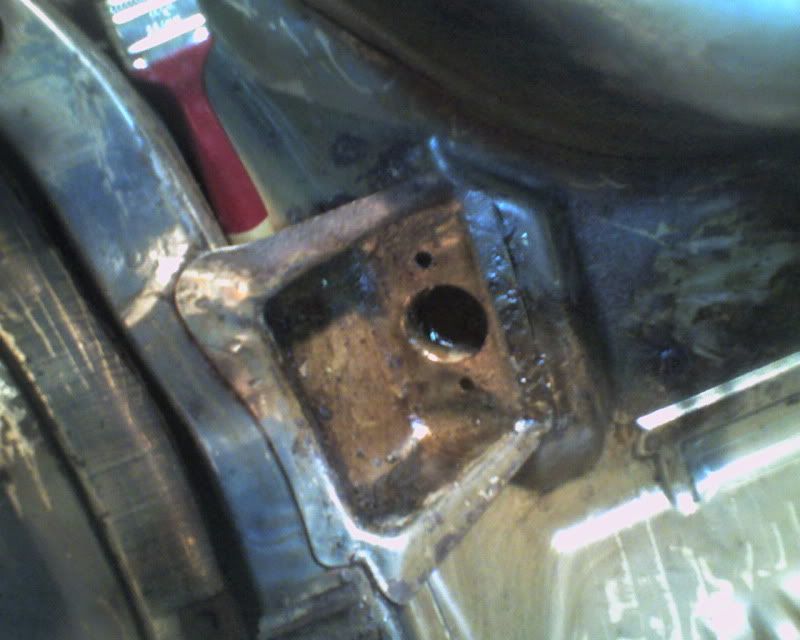 cleaned/not cleaned interface 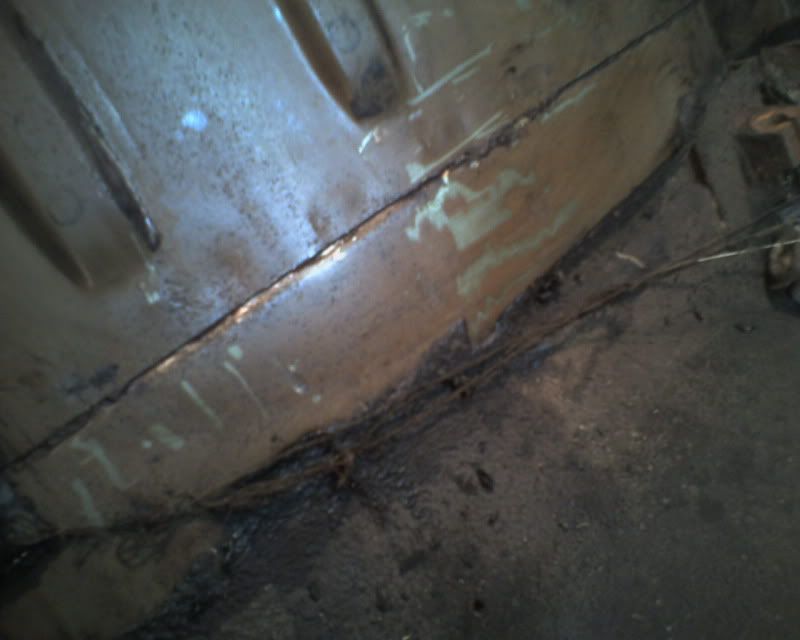 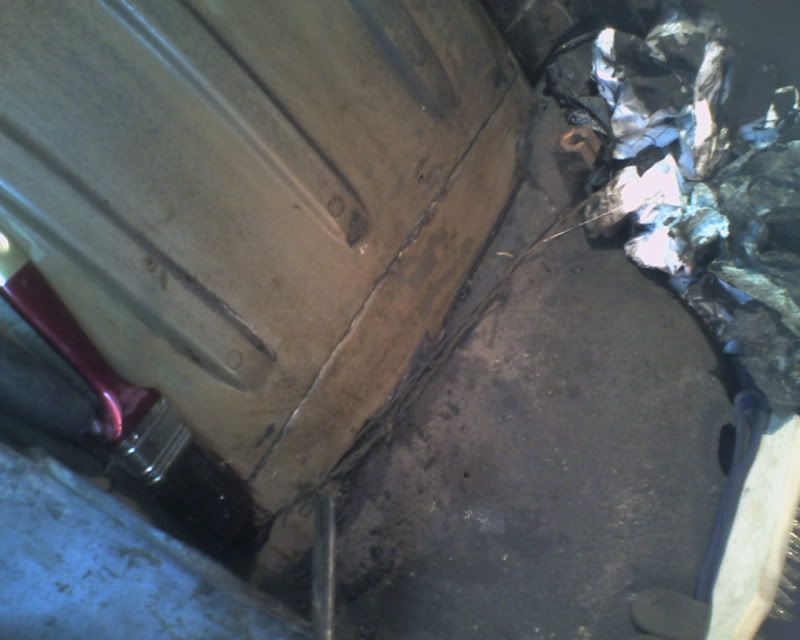 pile of cloths and 1/4 bucket of chipped off underseal 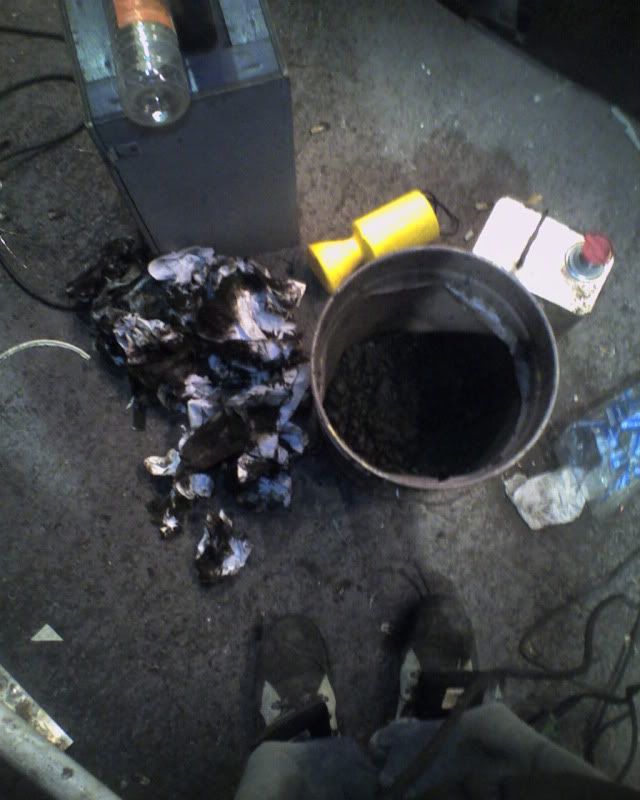 not as easy as i had hoped and will need a final going over before paint prep , but, another step in the right direction  total time spent (getting sticky and i'm little high  ) 227 hours total spend £1687ish (my huge pile of free rag is not absorbent enough  terry towel is good for wiping. i think i may get in trouble for emptying the airing cupboard though ;D) |
| |
whats that burning smell?
oh curse word :-(
|
|
|
|
|
Jan 11, 2011 23:41:02 GMT
|
|
Got to be reassuring seeing all that solid metal, especially since the floor is the first bit you expect to rot away.
|
| |
|
|
hairymel
Club Retro Rides Member
avatar by volksangyl
Posts: 1,081
Club RR Member Number: 207
|
|
Jan 11, 2011 23:56:38 GMT
|
yep - i need a break from welding  sure to be bored of scraping soon though ;D any progress on your car? |
| |
whats that burning smell?
oh curse word :-(
|
|
|
|
mk2dk
Part of things
 
Posts: 19
|
|
|
|
|
Hi hairymel
Scraping underseal is a very time consuming job, and BORING. . . . Looking good though, slowly getting there. Keep up the good work.
|
| |
|
|
|
|
|
|
|
any progress on your car? Soon.... this weekend in fact (the date of the trip has been shoved around quite a bit lately). I have various excuses for not getting more done, some of which are real reasons. Great, now you've gone and made me feel all guilty about not doing more on my car.  |
| |
|
|
Kai
Part of things
 
Posts: 276
|
|
Jan 12, 2011 11:51:57 GMT
|
|
WOW! Just....WOW!
Honestly, i'm amazed by the amount of work and sheer determination that's gone into this, well done mate, fantastic job!
This thread, is the sort of thread that puts all other builds/restorations into perspective!
|
| |
|
|
luckygti
Posted a lot
   I need to try harder!
Posts: 4,912
|
|
Jan 12, 2011 12:53:43 GMT
|
Just caught up on the festive updates. This just gets better  hats off as always! The underneath doesn't actually look too bad considering how bad the rest has been. Glad you enjoyed the garage build, it's a great space to work in, just keeps getting fuller though  |
| |
|
|
hairymel
Club Retro Rides Member
avatar by volksangyl
Posts: 1,081
Club RR Member Number: 207
|
|
Jan 12, 2011 21:12:11 GMT
|
before 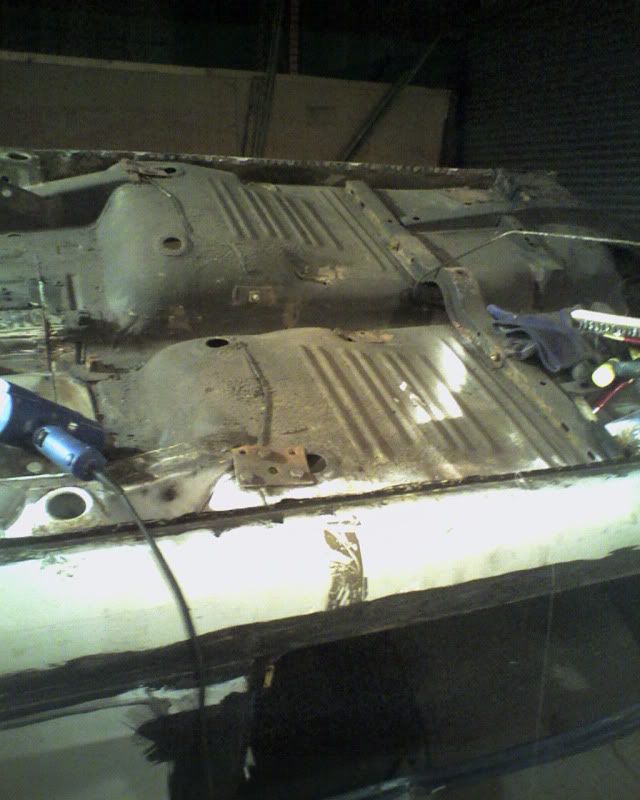 during 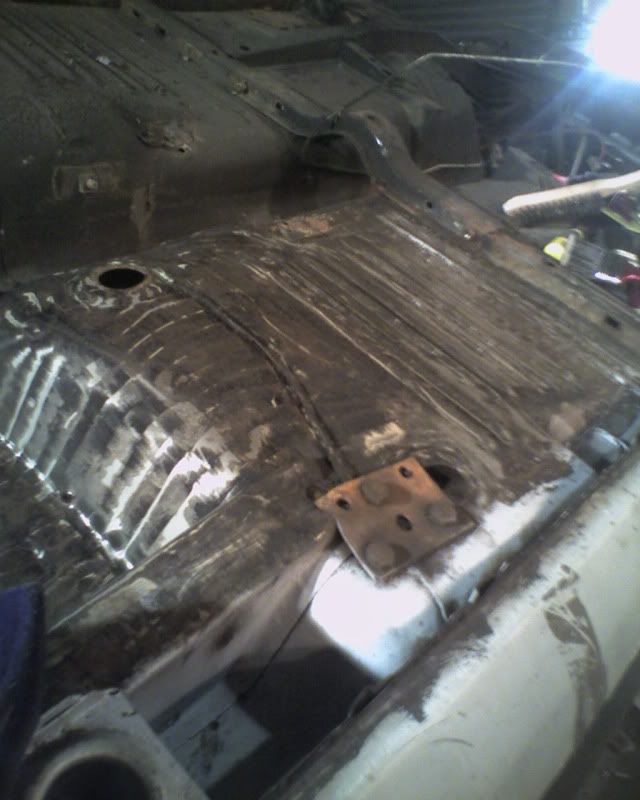 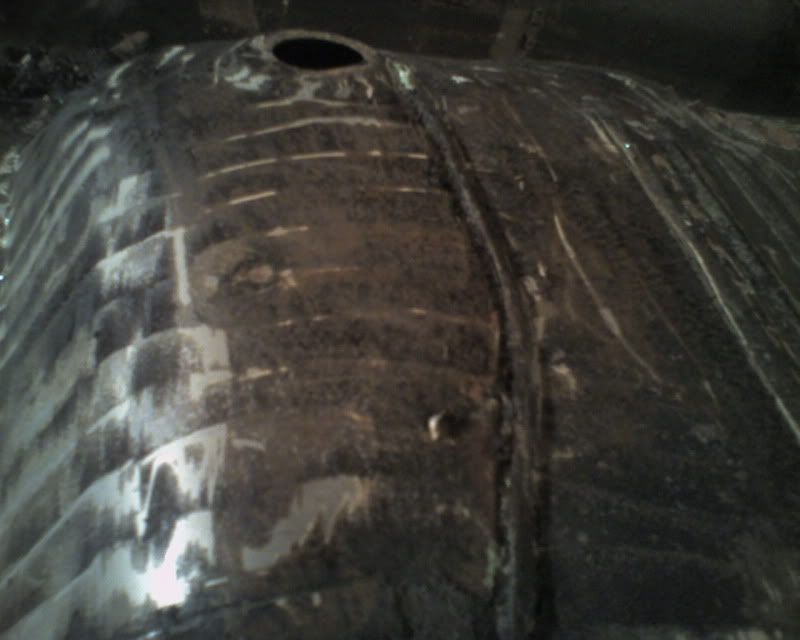 after 3 rinse & repeats 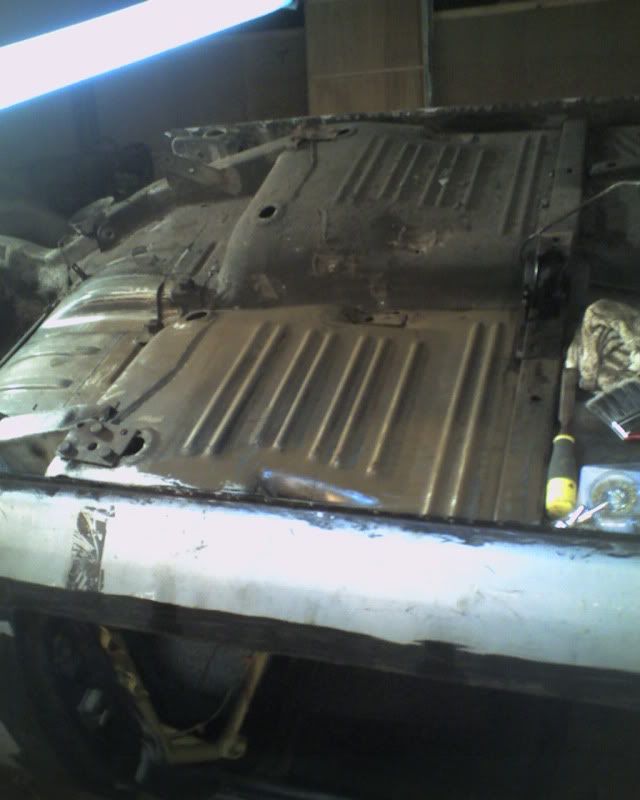 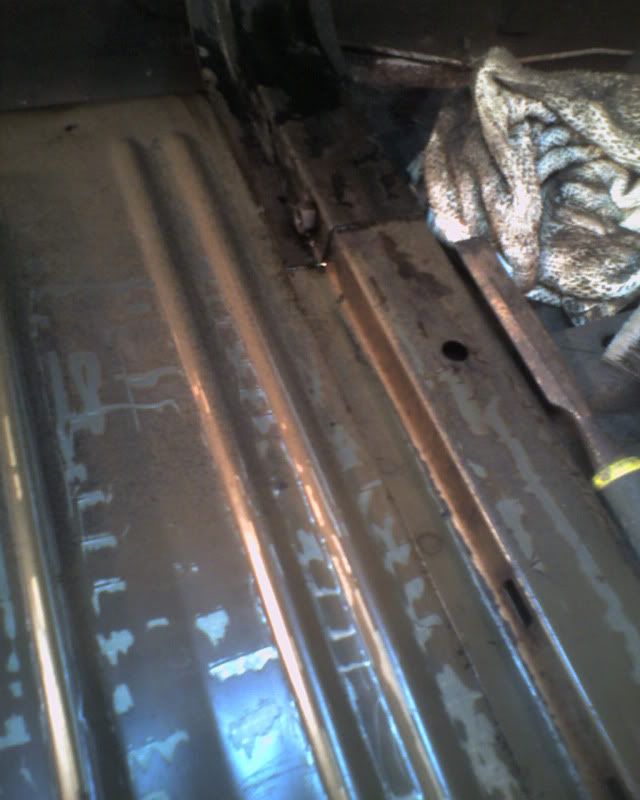 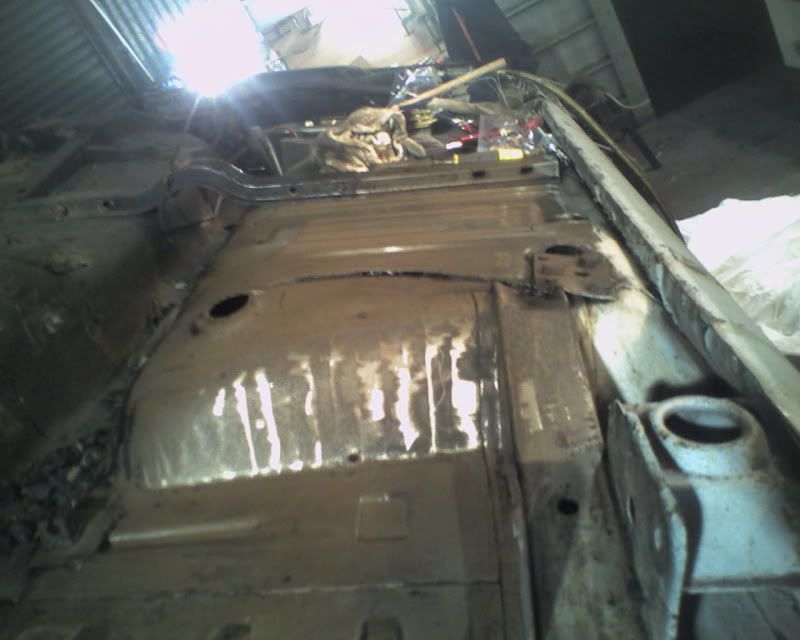 blazing a trail  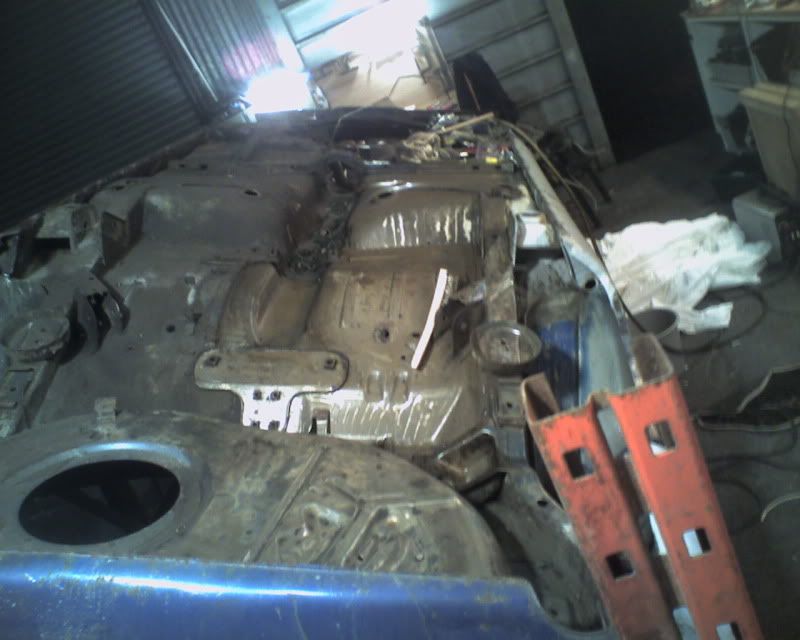 total time spent (18% scraping done  ) 228.5 hours total spend £1687ish (just using a towel for the final wipe over much more absorbent  ) |
| |
Last Edit: Jan 12, 2011 21:30:35 GMT by hairymel
whats that burning smell?
oh curse word :-(
|
|
hairymel
Club Retro Rides Member
avatar by volksangyl
Posts: 1,081
Club RR Member Number: 207
|
|
Jan 12, 2011 21:48:00 GMT
|
mk2dk - thanks  , getting in a rhythm now, hopefully ;D angyl - don't sweat it m8, take as long as you want. its your project after all  no guilt intended either, i have just realised my 3 month project is 10 months on now and its still upside down  kai - thanks , but not enough work/determination on my part as far as i am concerned. it should be finished already!  luckygti - not found any bad holes yet  still time though ;D @everybody - thanks for all of you that voted for my build. i was surprised seeing as its just a upside down wreck (still  ) roll on most anticipated car of 2012 2013 ;D |
| |
whats that burning smell?
oh curse word :-(
|
|
|
|
|
Jan 12, 2011 22:55:41 GMT
|
|
How about useing those little green washing up scrubbing pads to help the thinners, I have used them before to do a job like this and it worked a treat.
|
| |
1955 Austin A30
1981 Jawa Mustang
1990 Trabant 601 (Tommy)
1989 Trabant 601
2009 Jaguar XF
2012 Toyota AYGO
2018 Scomadi TL
|
|
hairymel
Club Retro Rides Member
avatar by volksangyl
Posts: 1,081
Club RR Member Number: 207
|
|
Jan 12, 2011 23:08:32 GMT
|
i am still experimenting , used a s/s wire brush on it this time but it was a bit too stiff. i did have a scrubbing pad kicking around but couldn't find it yesterday. you have jogged my memory though as i am sure i have some mixed up in with my painting tat. will have a look when i get to the unit next  |
| |
whats that burning smell?
oh curse word :-(
|
|
BiAS
Club Retro Rides Member
 Insert witty comment here
Posts: 2,231
Club RR Member Number: 147
|
19?? chrysler sunbeam no 2 (+½ ) BiAS
@cheeqi
Club Retro Rides Member 147
|
Jan 12, 2011 23:50:18 GMT
|
This is a truly inspiring build hairymel, you got my vote, it's amazing now looking back at the first pictures how far it's come. When you first started this thread and posted the pictures I don't mind admitting that I thought that the 'beam just wasn't rescuable but since then I have eagerly awaited each installment. The floor looks incredibly solid, the last Sunbeam I had, some 20 years ago was as rotten as a pear in most of the places yours has been but with a hell of a lot more rust in the floor. Have you tried white spirit on the underseal to get off what's left after the scraping? That's what I've had most success with when doing that to various cars, actually, whilst I say I've had success with, what I actually mean is SWMBO has had success with.  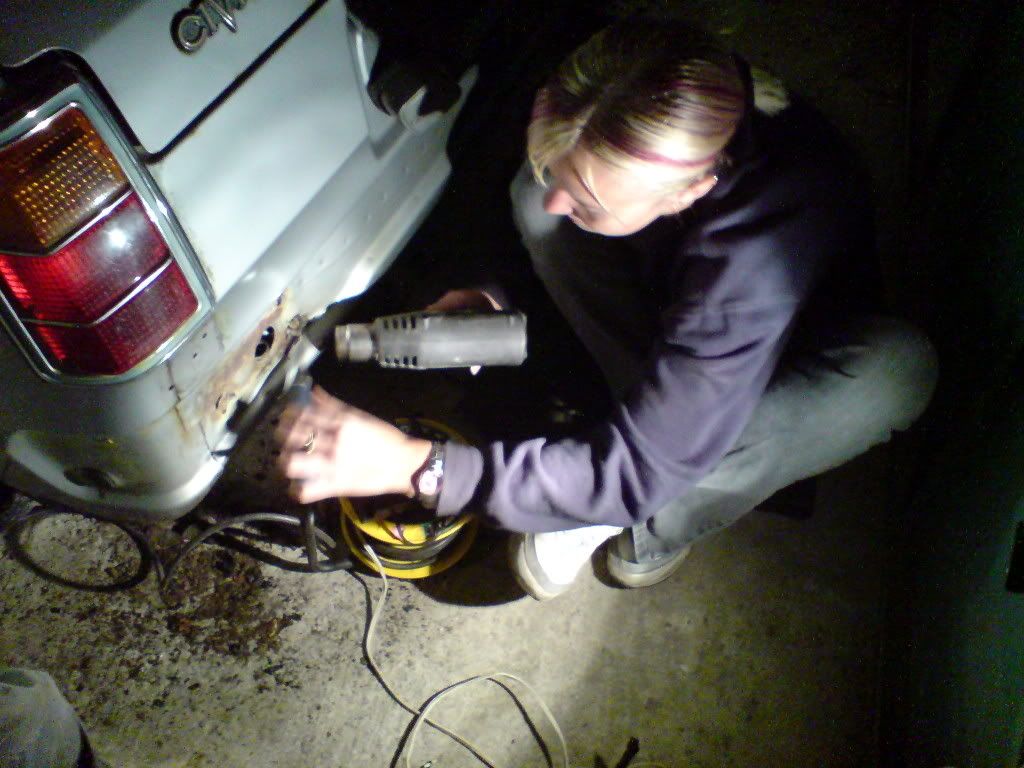 Keep up the good work Sir  |
| |
(car+wheels)-rideheight=WIN
|
|
hairymel
Club Retro Rides Member
avatar by volksangyl
Posts: 1,081
Club RR Member Number: 207
|
|
|
|
my mix of various solvents seems to work adequately considering its all i had at the time. white spirit will be added to the mix when i next go shopping  well done getting your other half at it. did you use the 'its just like the worlds most powerful hair dryer' ploy? you should get her to use welding gloves though - i find blisters make washing up a chore ;D |
| |
whats that burning smell?
oh curse word :-(
|
|
|
|


 )
)


 225.5 hours


