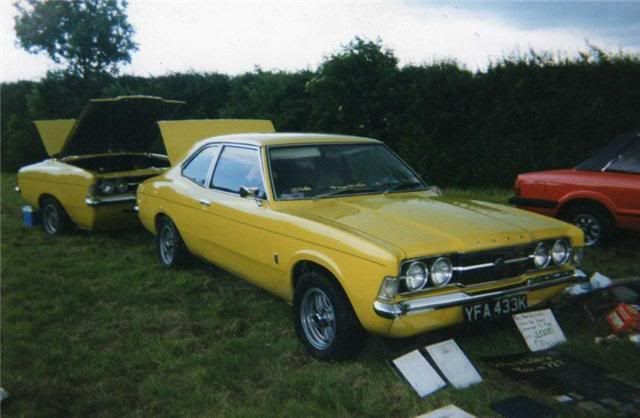
hairymel
Club Retro Rides Member
avatar by volksangyl
Posts: 1,081
Club RR Member Number: 207
|
|
Jun 12, 2010 17:29:47 GMT
|
quick update for today. got to go to a wedding reception damn inconvenient!  small infill with screw tacked to it  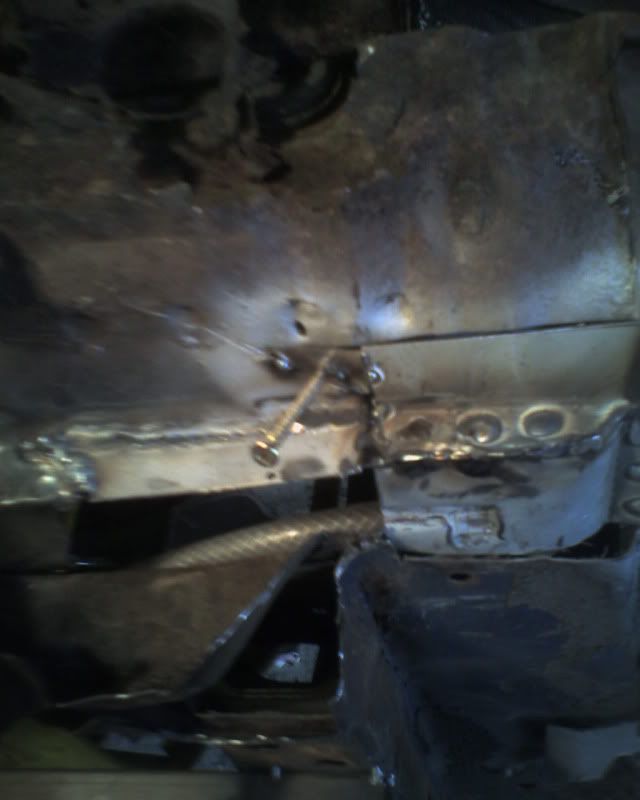 front of inner sill removed 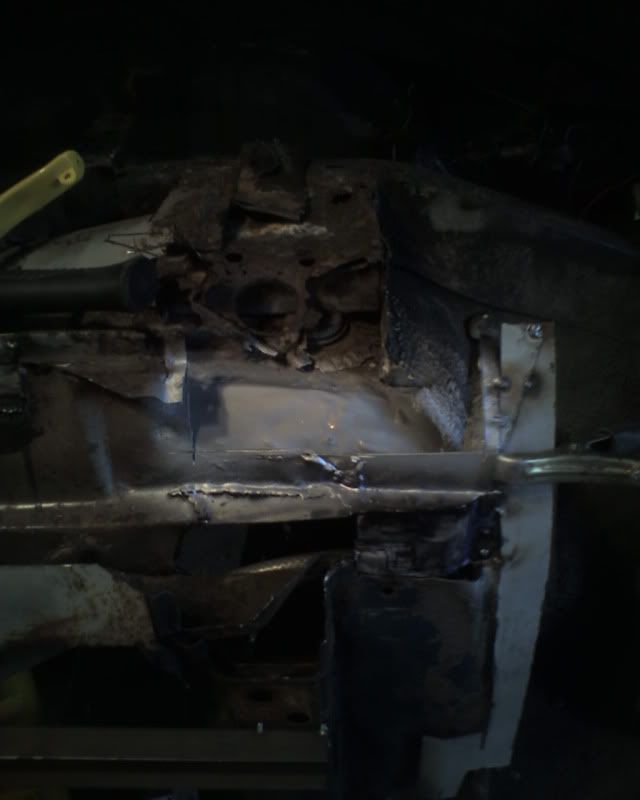 repair panel fabricated and welded 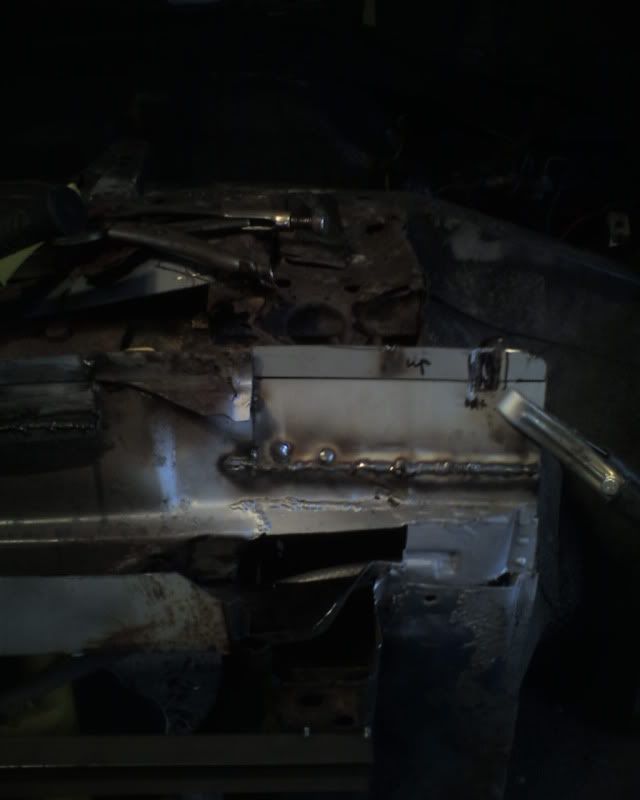 sill end from earlier finished, cleaned up and welded into position. 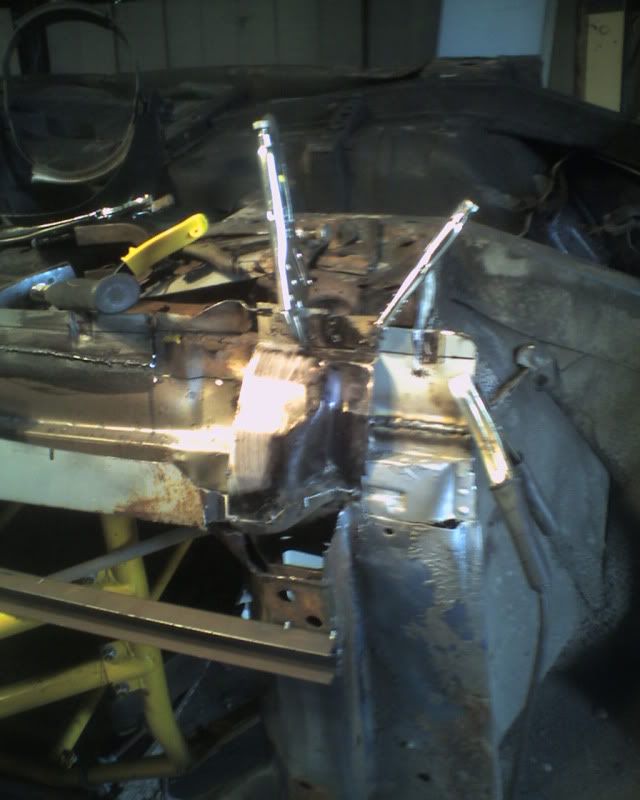 cover sill offered up to see if i have made any huge errors  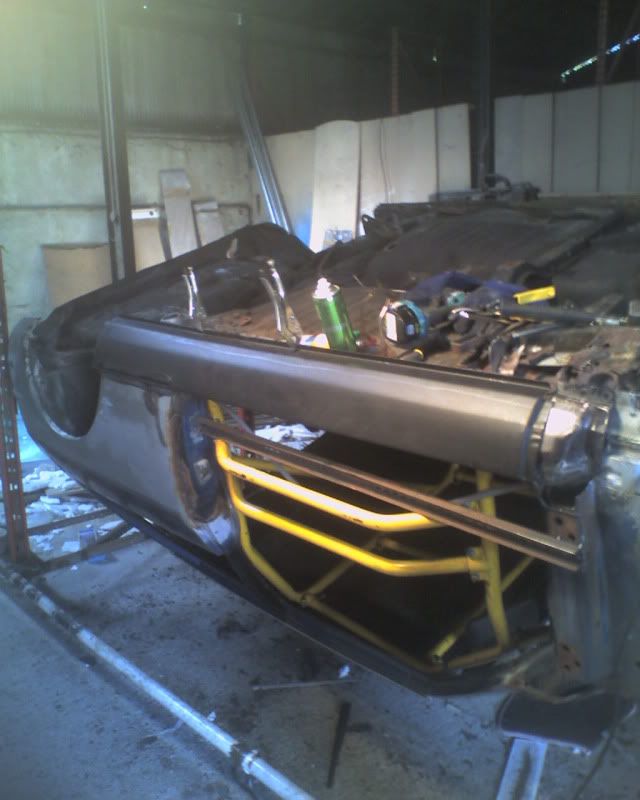 last but off inner sill welded in  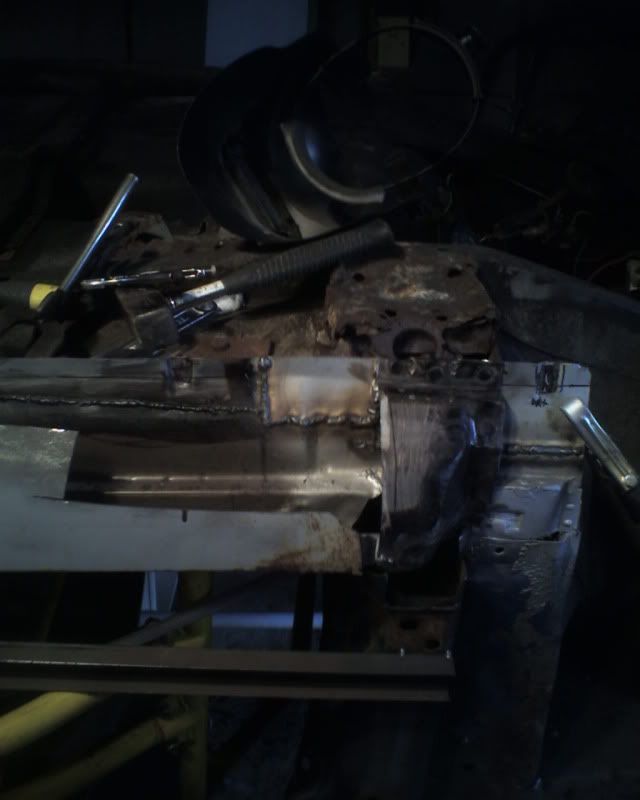 i also cleaned the storage coating off the inside of the cover sill and gave it a coat of etch primer. still a few repairs to do before the sill can go on  total time spent (getting a uv tan ;D ) 68 hours total spend £1080 (still no kettle  ) |
| |
whats that burning smell?
oh curse word :-(
|
|
|
|
hairymel
Club Retro Rides Member
avatar by volksangyl
Posts: 1,081
Club RR Member Number: 207
|
|
Jun 12, 2010 17:40:59 GMT
|
I'm amazed at how fast you're making progress on this monster of a challenge... you're making it look almost easy! hay while the sun shines  i only have the unit until the end of july at the latest as i am just filling in until a full time tenant comes along. unless someone wants to share a unit in cm22 (stansted)  the landlord has been showing people around, and if anyone takes it i am out earlier  . |
| |
whats that burning smell?
oh curse word :-(
|
|
hairymel
Club Retro Rides Member
avatar by volksangyl
Posts: 1,081
Club RR Member Number: 207
|
|
Jun 13, 2010 19:44:51 GMT
|
cover sill screwed to old sill top. 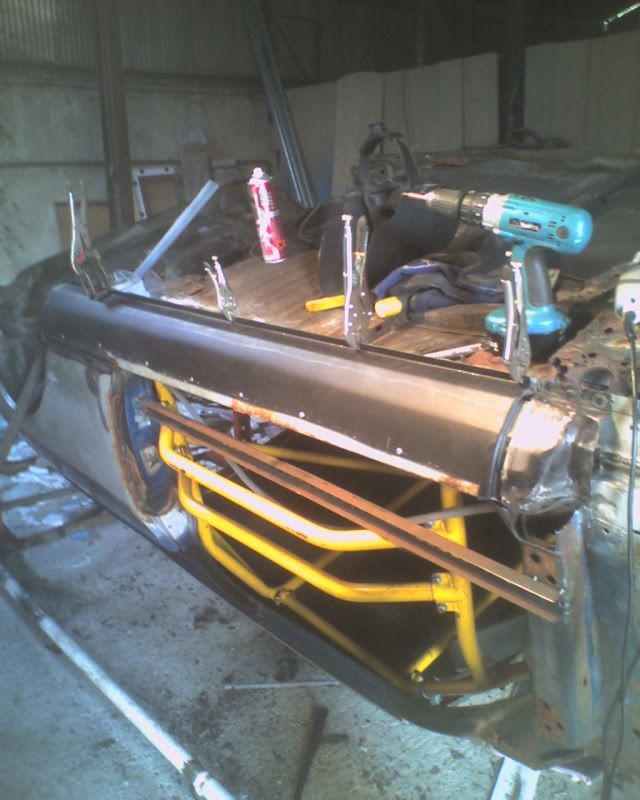 sill marked at cut line. 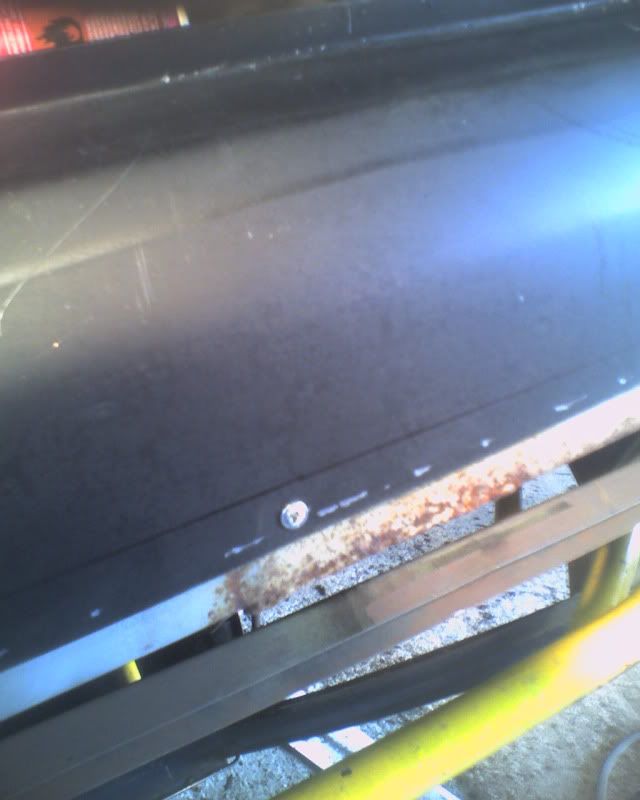 both sills cut through with a 1mm cutting disk. i have only just started using these and they are like a scalpel compared to the axe like 3mm disks  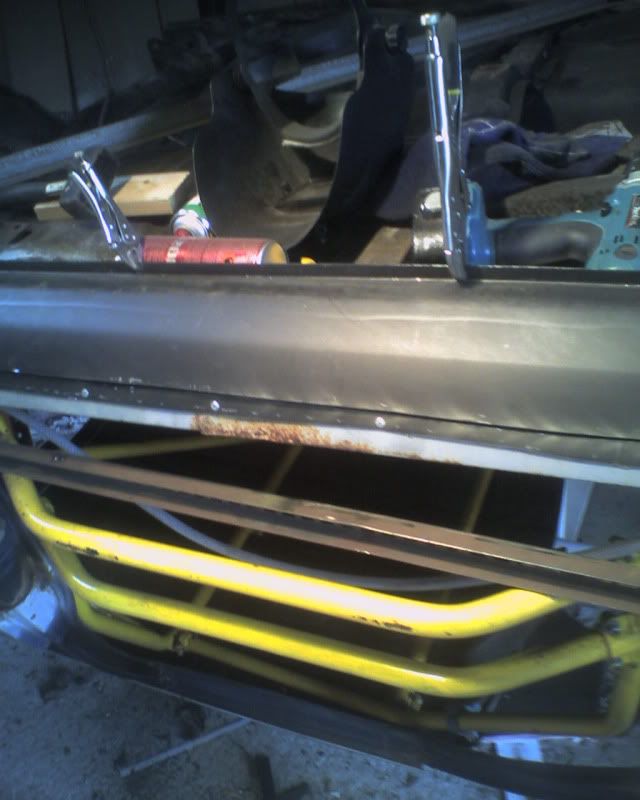 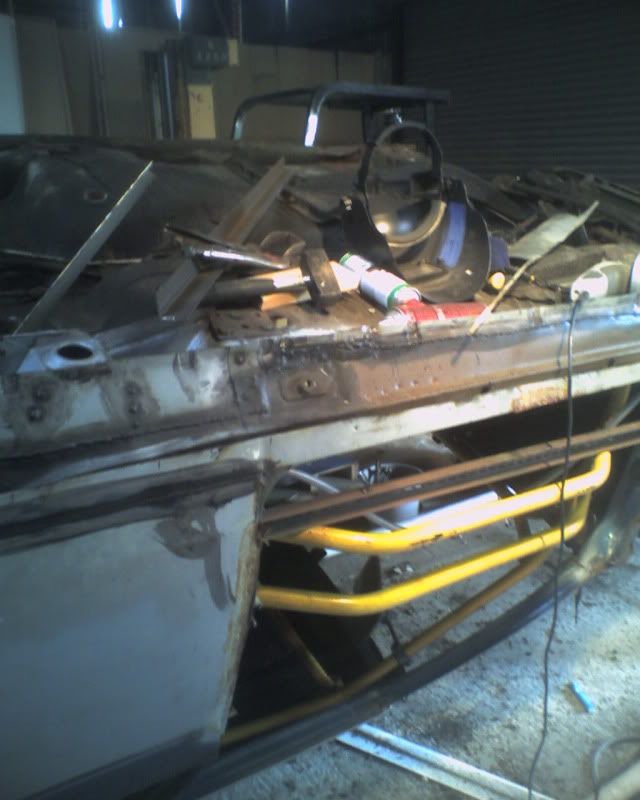 the join between the rear quarter and the upper sill is a bit rotten 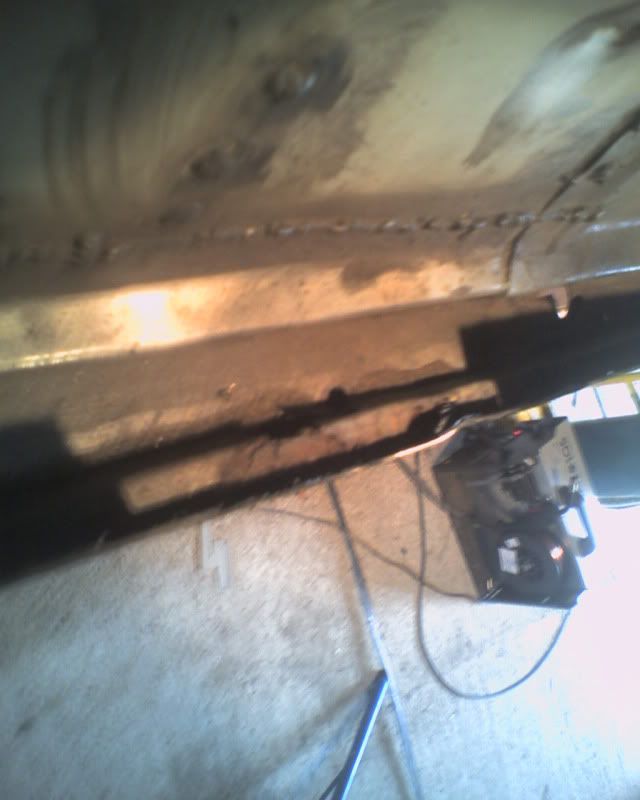 sill join cut out and separated from rear quarter 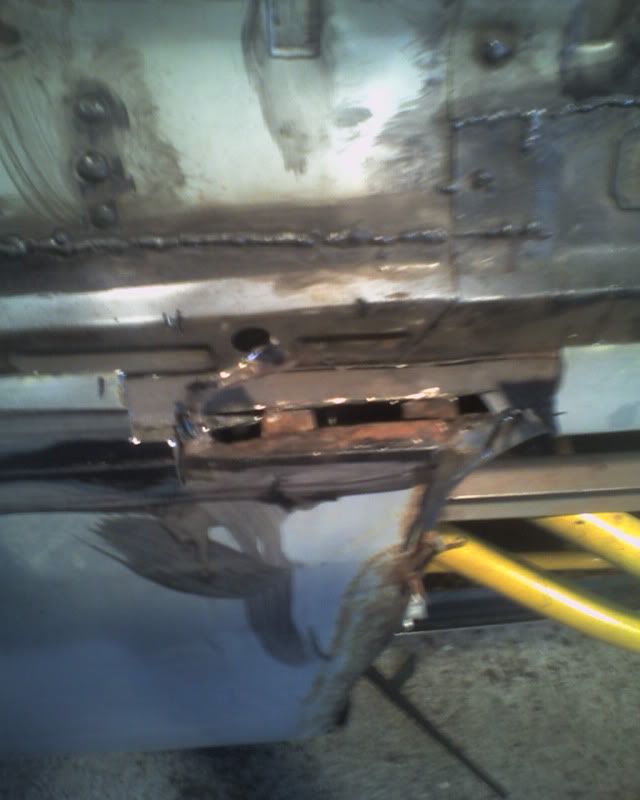 the back wing flange is rotten too so this is cut out and a repair made using a offcut of the new sill 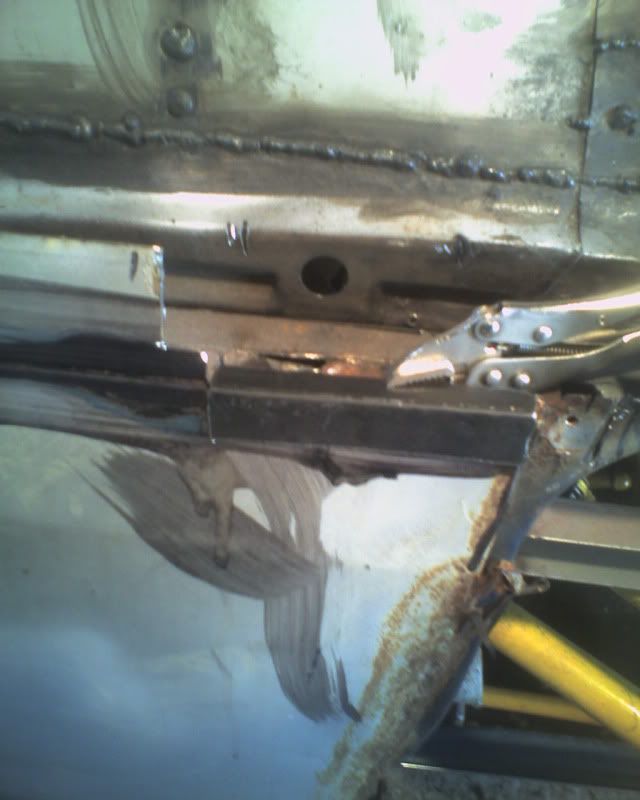 welded in 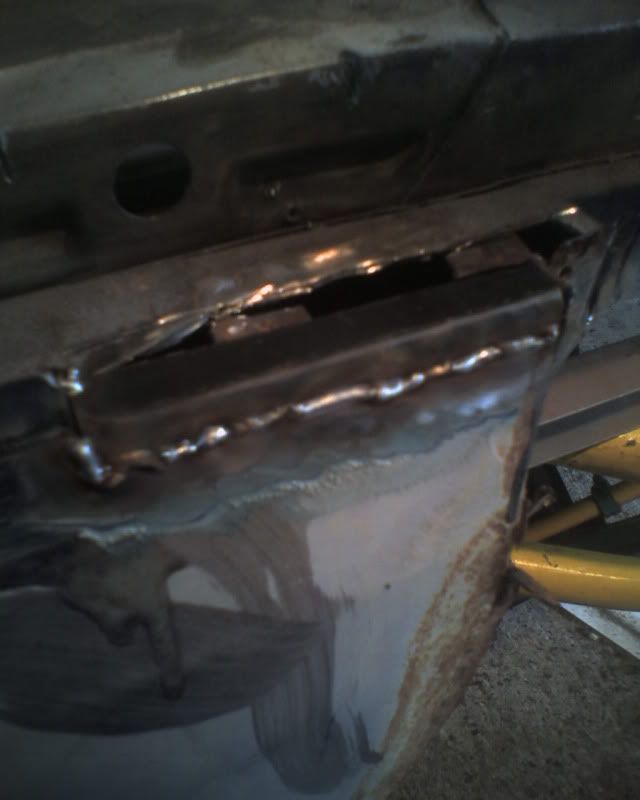 ground back 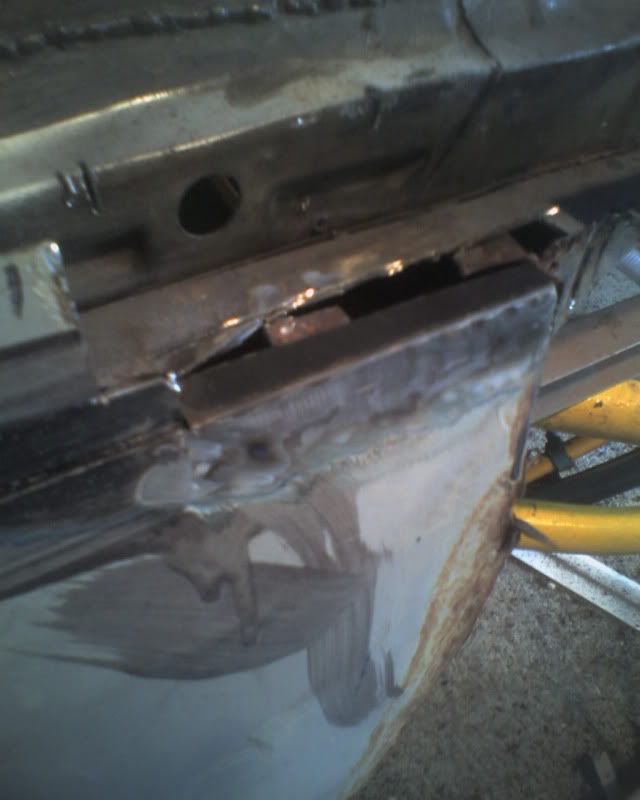 weld through primer and upper sill repair part made 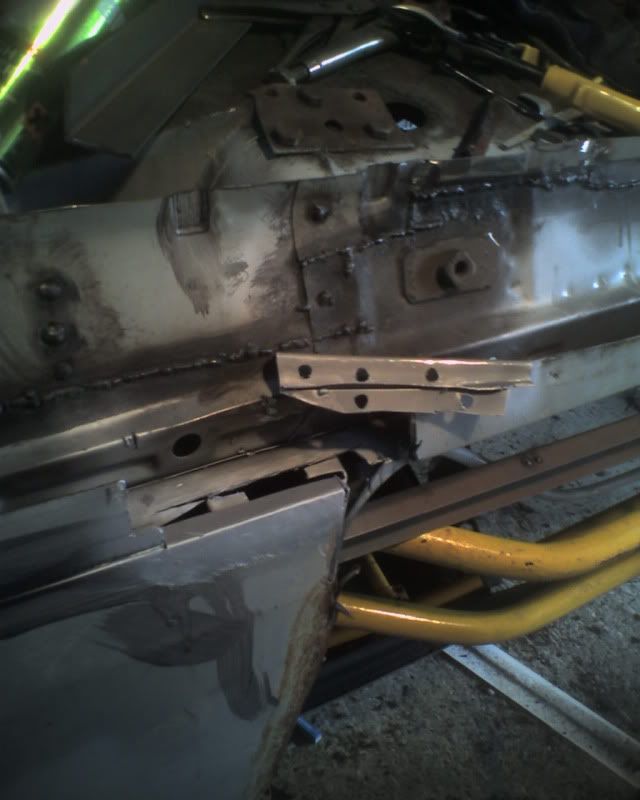 welded in 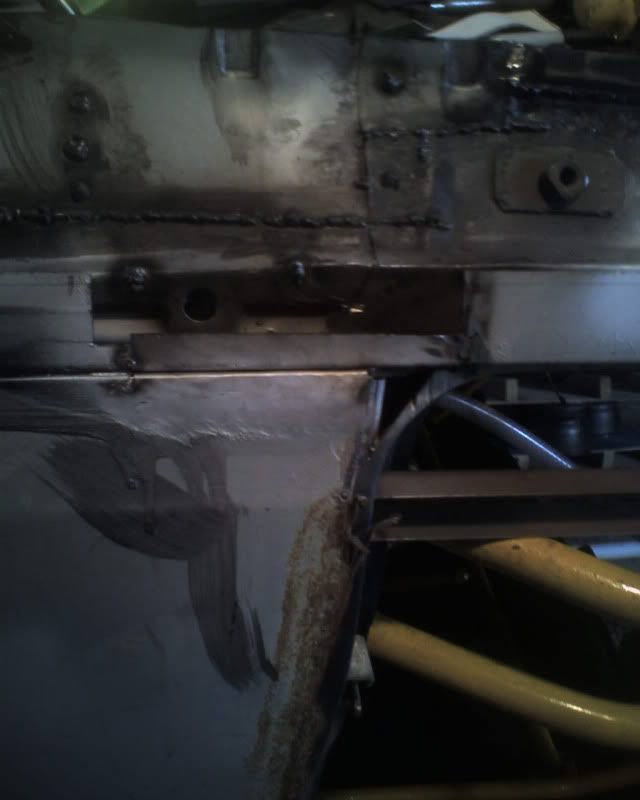 gap filled and ground off i am fairly pleased with this repair as it could have gone very badly ;D 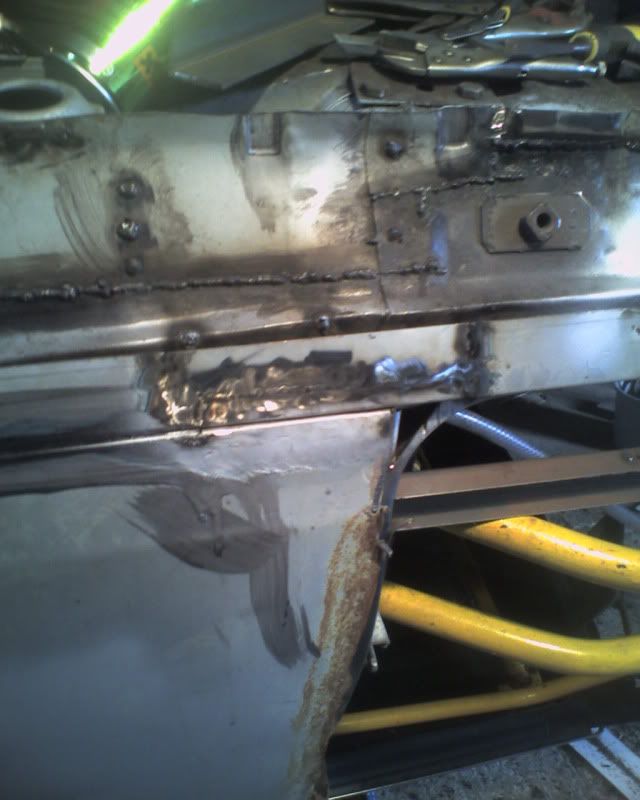 inner sill gets a wire brushing and a coat of etch primer 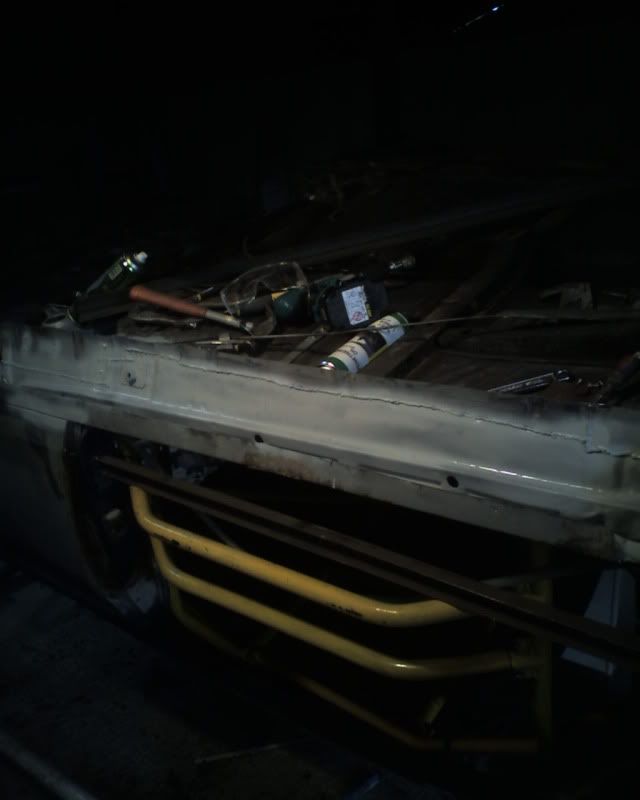 new sill already primed gets a coat of random spray on the inside 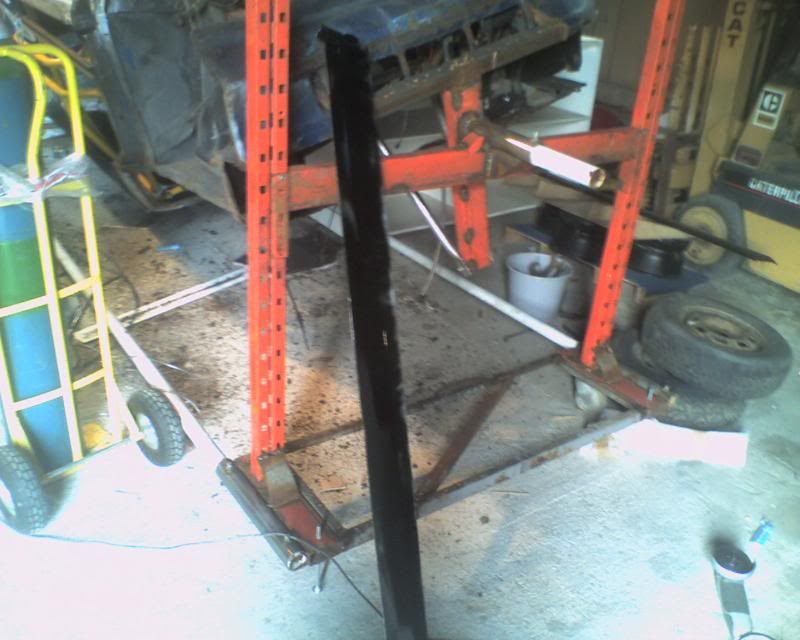 seam sealer on welded joints 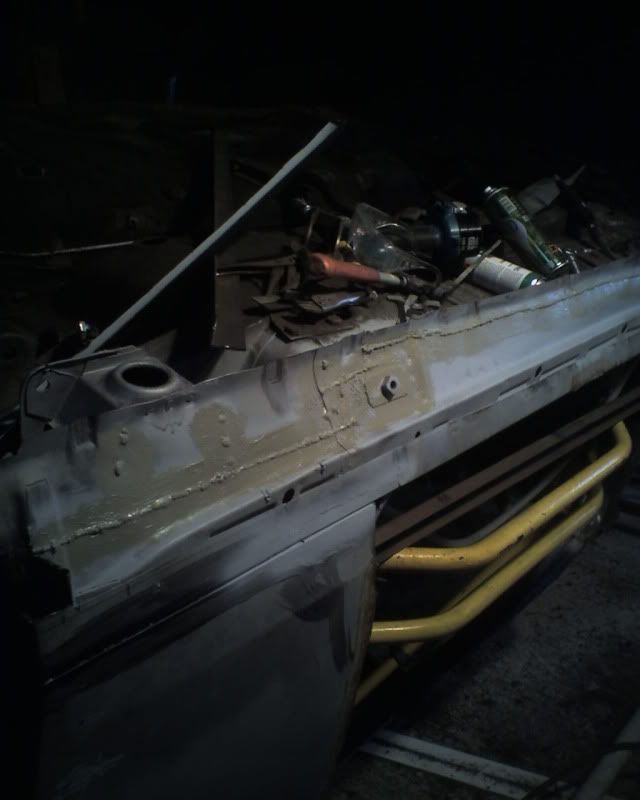 more random spraying 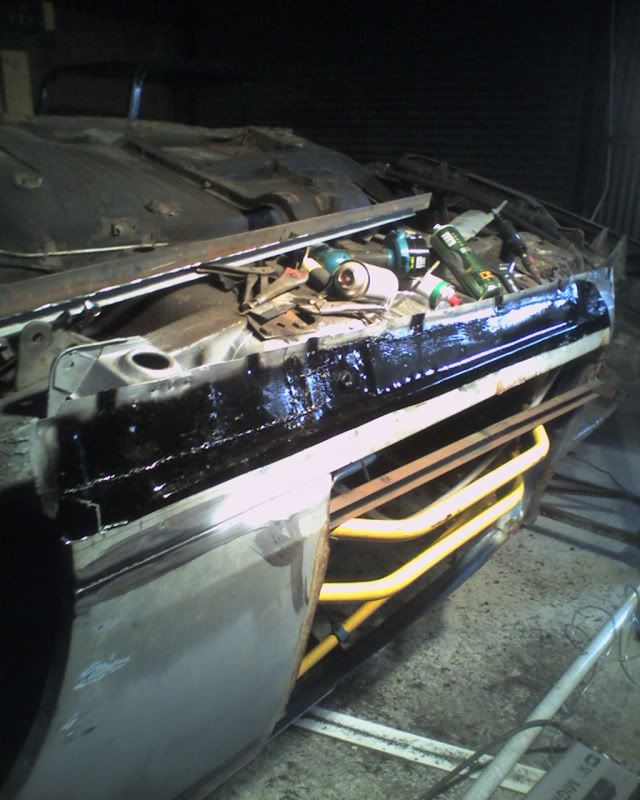 sill positioned and tacked on 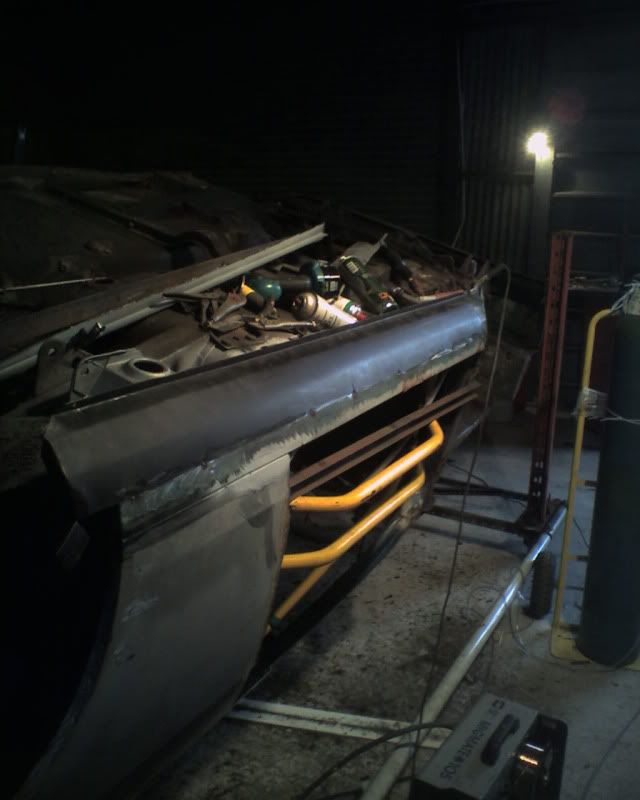 sill join welded and ground off. 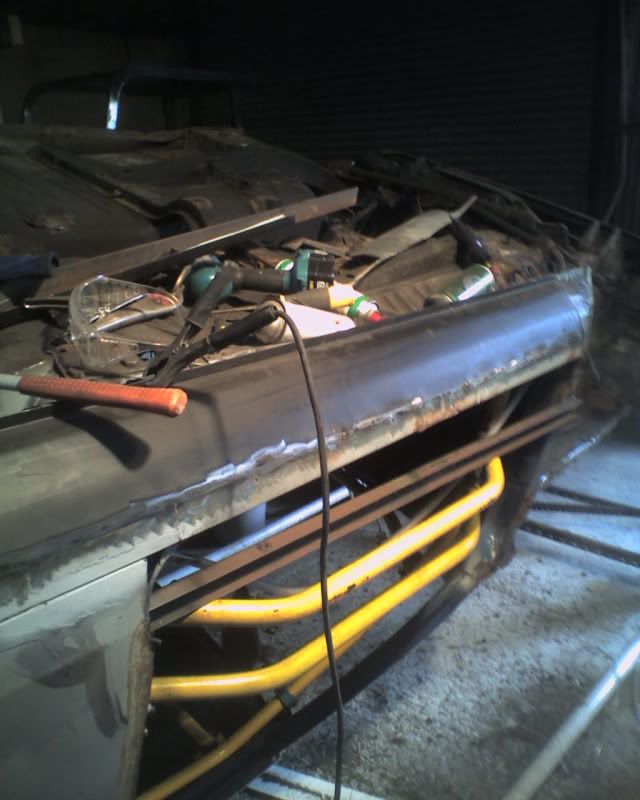 I am unhappy about this bit  my welding is not as good as it needs to be (rubbish wire feed on the mig and an idiot holding it  ). there are patches where the penetration isn't good enough. there is a bit of distortion. i guess that although i skipped about i didn't wait for it to cool before moving on  i have also ground back a bit enthusiastically and the sill is blowing through when i tried to touch up the crappy bits  left it at that, i will go back to it later curse word  total time spent (wishing i had bought a joggler  ) 74 hours total spend £1080 ( might need to buy another sill ;D ) |
| |
whats that burning smell?
oh curse word :-(
|
|
|
|
|
Jun 13, 2010 23:58:38 GMT
|
|
Do you know, everytime I see an update I ponder how expensive it would be to get a kettle out to you XD
|
| |
|
|
hairymel
Club Retro Rides Member
avatar by volksangyl
Posts: 1,081
Club RR Member Number: 207
|
|
|
|
thanks for thinking of me  hot beverages are available a 2 minute walk away, but i am lazy  my workrate would be even slower if i had a easier supply of coffee  i popped back to the unit to have another look at the sill. i have started cutting the weld area out and infilling a strip in its place. looks promising so far  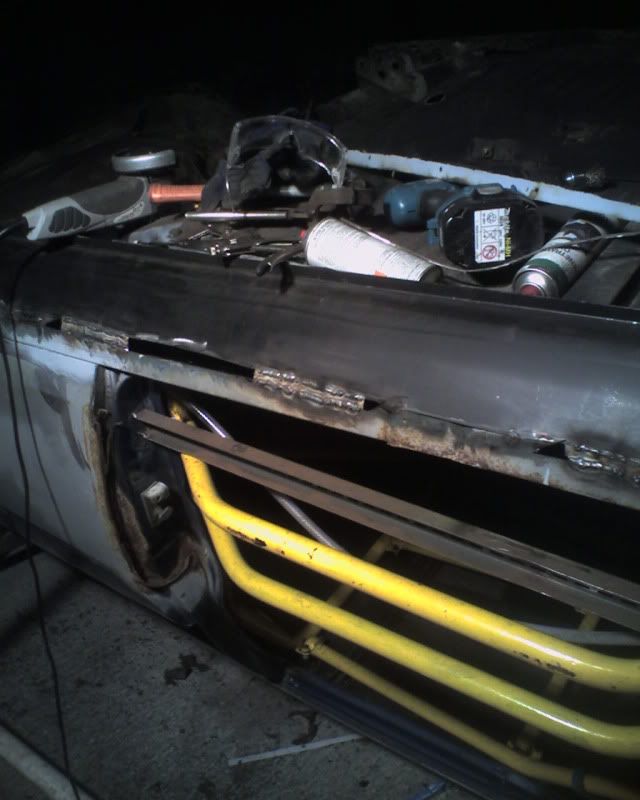 looking on the bright side, this project to supposed to be a learning experience and I'm learning how it shouldn't be done  total time spent (wishing I had done a better job the first time  ) 75.5 hours total spend £1080 ( might need to buy another roll of wire and some grinding disks  ) |
| |
whats that burning smell?
oh curse word :-(
|
|
luckygti
Posted a lot
   I need to try harder!
Posts: 4,912
|
|
Jun 14, 2010 21:59:59 GMT
|
Looking like some real progress there  I have family and friends round Stansted (I went to school at the Mountfitchet High School [cough]a long time ago[cough] I'll ask around if anyone knows anywhere, there's a guy on here who has a unit at Birchanger, whose name escapes me at the moment..... tcsperformance  |
| |
|
|
|
|
|
Jun 17, 2010 18:53:50 GMT
|
|
Loving the lotus sunbeams...same goes for the ae 86's
|
| |
|
|
|
|
|
|
|
|
got a pair of sill to floor panels a ns skin sill & pair of strut top repair panels £50 inc P&P if your interested?
|
| |
theres more to life than mpg & to much power is just enough.
|
|
hairymel
Club Retro Rides Member
avatar by volksangyl
Posts: 1,081
Club RR Member Number: 207
|
|
Jun 22, 2010 22:00:53 GMT
|
sheffieldcortinacentre you have mail  my mojo has taken a bit of a dive due to the appalling lack of skill on my part  i have spent an hour a night on the sill for several nights and it is solid but looks rubbish  i have also been working a lot which has cut into my car time  i may go again on the sill , but for tonight, i have moved onto something else to get up some inertia  rotten jacking point - spotwelds drilled out and removed with a bit of chiseling 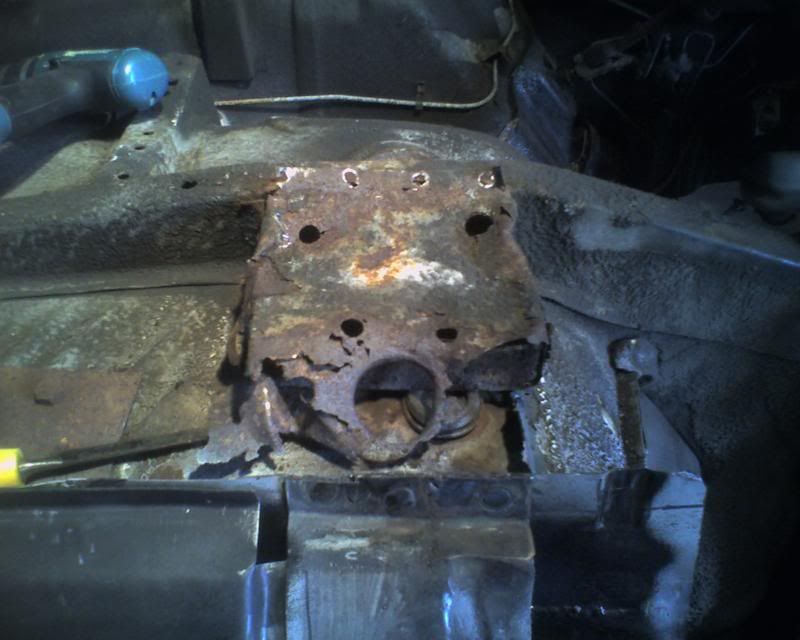 not too bad  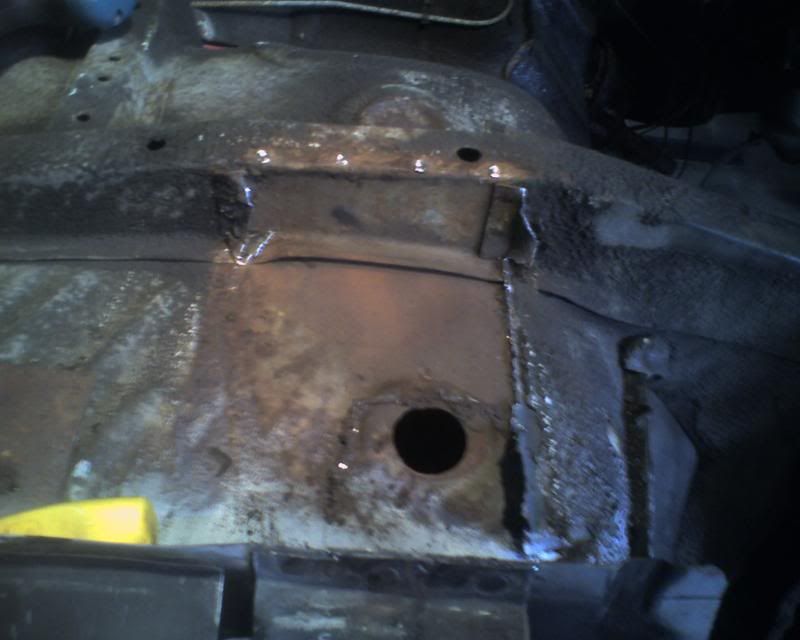 wire brushed 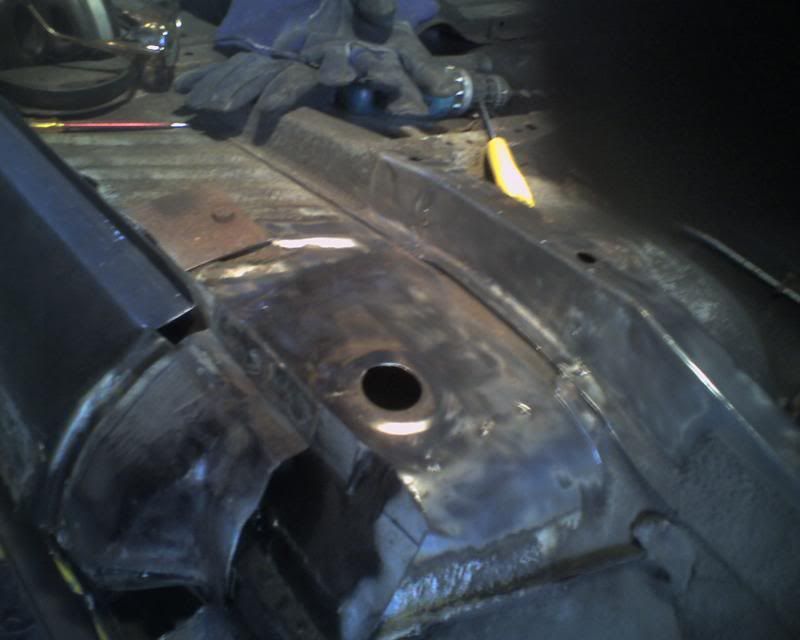 measurements roughly taken from o/s jacking point and transfered to metal 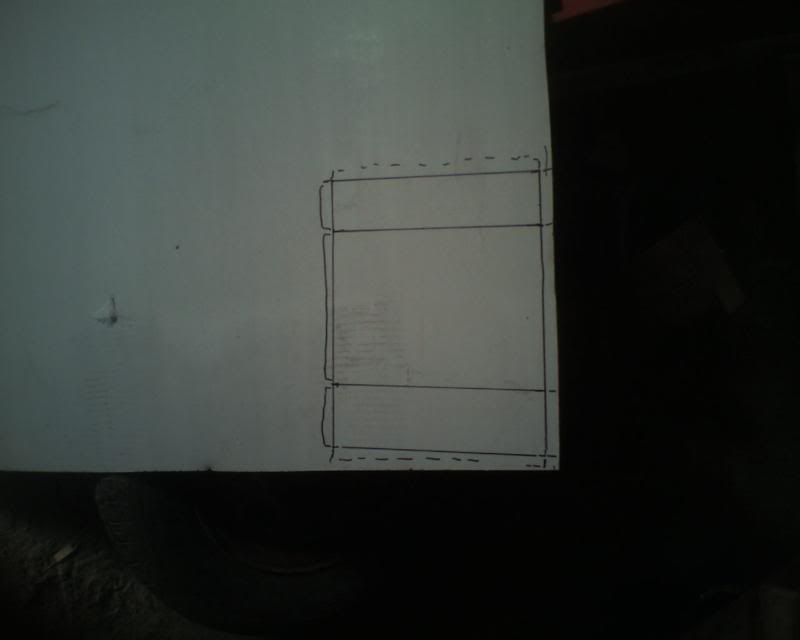 rust treated, primed , painted with random topcoat and then weld areas taken back to metal and weld through primer sprayed on. 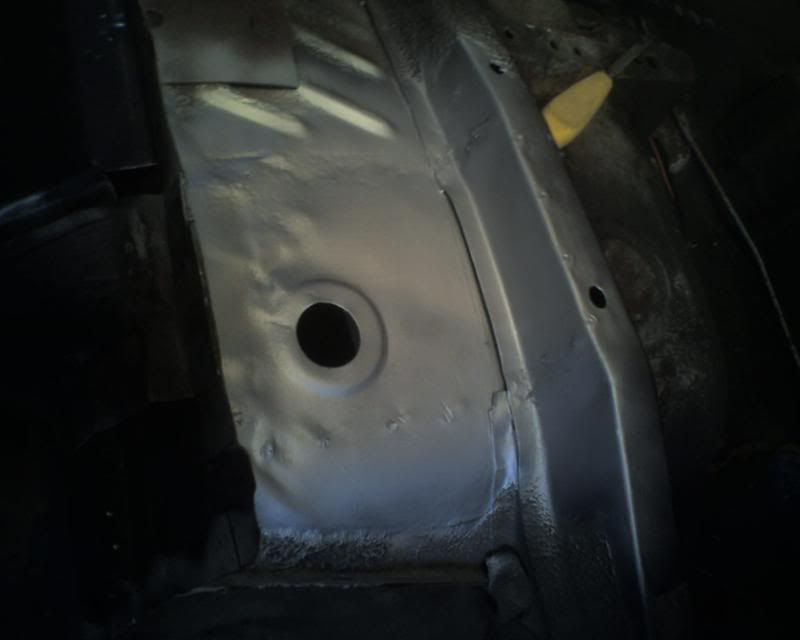 cut out , folded , bent, bashed and stiffeners welded internally. the internal stiffener has been placed to allow the jack hole to be cut in later if needed. 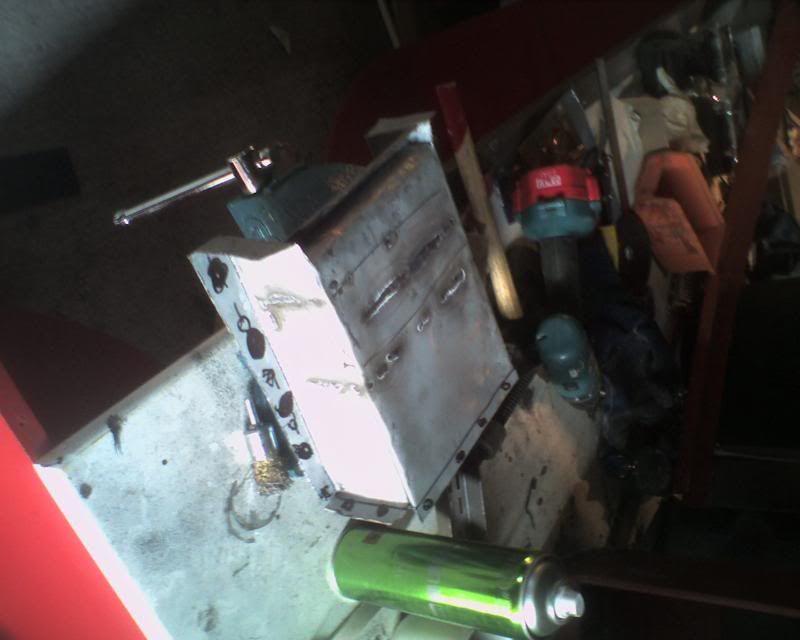 plug welded into place. still having issues with my mig (bad workman and all that ;D ) plug welds more like mountains  than pools but seem to have penetrated  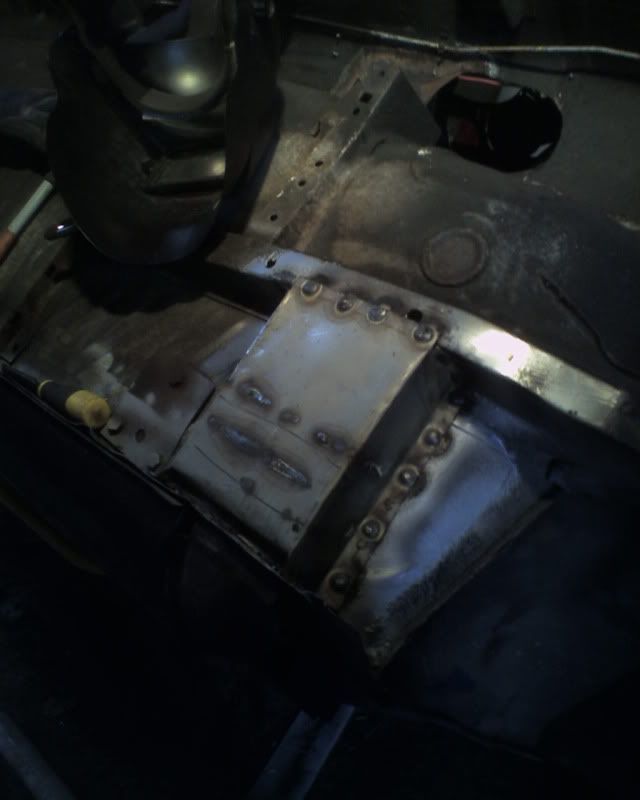 thats all for today. total time spent (happy to see some progress  ) 84.5 hours total spend £1080 ( definitely need wire soon  ) |
| |
whats that burning smell?
oh curse word :-(
|
|
qwerty
Club Retro Rides Member
Posts: 2,419
Club RR Member Number: 52
|
|
Jun 22, 2010 22:08:04 GMT
|
|
I'm glad to see this progressing still! The progress rate is amazing and kudos for getting stuck in!
|
| |
|
|
|
|
Rob M
Posted a lot
  
Posts: 1,915
Club RR Member Number: 41
|
|
Jun 22, 2010 22:24:16 GMT
|
Quote: my mojo has taken a bit of a dive due to the appalling lack of skill on my part I have spent an hour a night on the sill for several nights and it is solid but looks rubbish Bloody hell!! How could you possibly say that? You are demonstrating skills and no small amount of patience that many of us, me included, could only dream of attaining! What you are doing is akin to going to a scrap yard, buying a cube of freshly crushed car and "straightening it out" till it, once again, not only looks like the car it was before it was cubed but actually 100s of times better. This project, along with the B8D Viva TD is all about being that much more off the wall, totally inspirational stuff! I don't see any problems with your welding, you are a seriously enthusiastic guy that is doing something way beyond the norm. The workmanship looks spot on, you are trying to polish a turd and, by god my man, you are slowly but surely succeeding!! don't be so critical of yourself! Top, top work fella!!  |
| |
|
|
hairymel
Club Retro Rides Member
avatar by volksangyl
Posts: 1,081
Club RR Member Number: 207
|
|
Jun 22, 2010 22:43:30 GMT
|
...you are trying to polish a turd ... thanks Zeb - you have made me smile positively about the car for the first time in days   I wish my workmanship lived up to your enthusiasm ;D this build is way beyond anything i have done before. if anything i am in my comfort zone with the underneath, god knows what will happen later when i try to make it look presentable  the only reason i am forging ahead is because the car would probably been a lost cause otherwise. this makes it easier to practice on without worrying too much about making a balls up  i do sometimes wish i had started with a much more complete car though ;D |
| |
whats that burning smell?
oh curse word :-(
|
|
|
|
|
|
|
I do sometimes wish I had started with a much more complete car though ;D Yeah... but where's the fun in that? This thread is my Perspective Thread. If I think a job is tough, any job at all, I come and read this thread to remind myself that I should stop being such a cry baby. |
| |
|
|
|
|
|
|
|
|
Great work there Mel,keep at it mate ,I'll have to dig some more photo's out to keep your mojo up!!
|
| |
|
|
|
|
|
|
|
 awesome stuff, great save...! have a piccy of an ex Richard Burns Rally car for inspiration: 
|
| |
Full of automotive and culinary delights visit:  1994 Subaru Legacy Estate Turbo 1985 Vauxhall Nova SR 1995 Fiat Cinquecento Sporting |
|
|
|
|
Jun 23, 2010 12:21:19 GMT
|
|
WOW Beric Erwin (ad on side of sunbeam) I remember that name from many Years ago on the Epynt Ranges He used to drive a Sunbeam too,quick boy as I remember.
|
| |
|
|
|
|
|
Jun 23, 2010 13:35:38 GMT
|
|
Can't believe I missed this one. Excellent stuff Mel. Just told the GF that she won't see me this weekend..... going to lock myself in and get on with finishing the project car. (also a Sunbeam). I thought mine was rough when I started but...... You are the man who knows no fear.... that's for sure!!
|
| |
'71 Arrocuda.... '71 Sunbeam Rapier Turbo (The Grim Rapier).... '63 Hymek D7076..... Audi GT5S
|
|
Tim
Posted a lot
  
Posts: 3,340
|
|
Jun 23, 2010 16:24:43 GMT
|
|
Awesome project - must be brilliant seeing skanky metal ending up shiny and new.
I really want a project, but i'd need somewhere to put it first, and the funds to allow for somewhere to put it :-)
how is the spit holding up?
|
| |
|
|
hairymel
Club Retro Rides Member
avatar by volksangyl
Posts: 1,081
Club RR Member Number: 207
|
|
Jun 23, 2010 20:43:37 GMT
|
thanks for your comment/pics guys  i also find other peoples builds really motivate me to get off my behind and do something on the car and then show the internet how useless i am (guess who's found a new button to play with) ;D the spit hasn't fallen over (yet ;D ) |
| |
whats that burning smell?
oh curse word :-(
|
|
hairymel
Club Retro Rides Member
avatar by volksangyl
Posts: 1,081
Club RR Member Number: 207
|
|
Jun 23, 2010 20:45:32 GMT
|
todays update starts with everyone else going to the pub and watching bloody football  todays update starts with this: 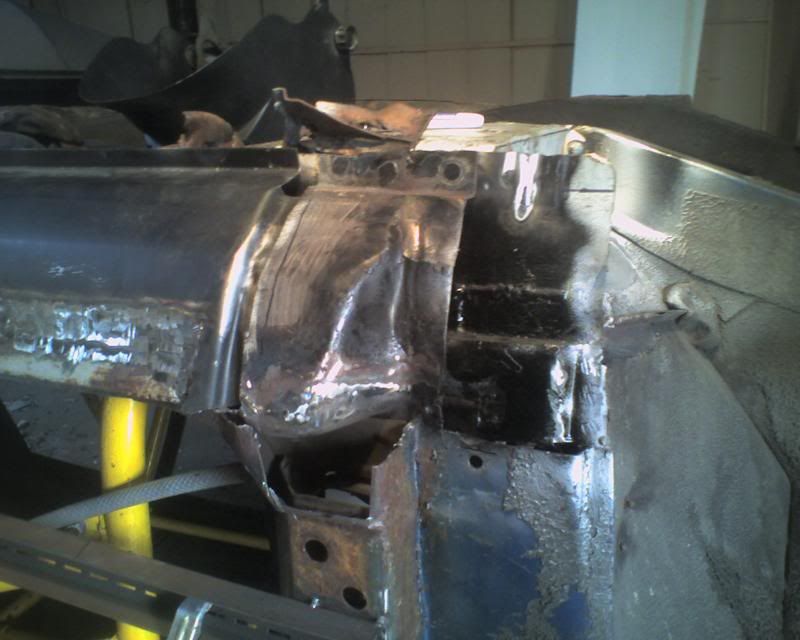 in an ideal world it should be a less rusty (mirror image) version of this: 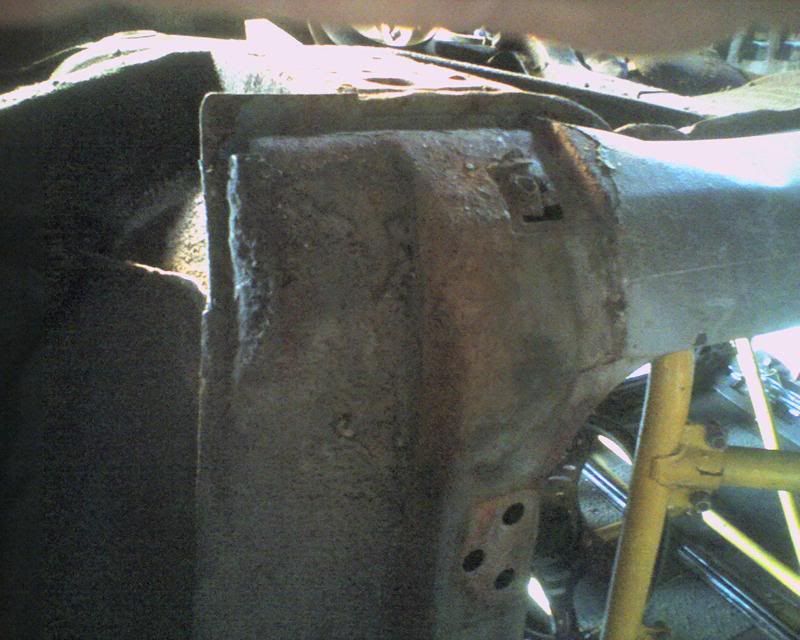 I started with a template cut out of vinyl (sticky back plastic for the blue peter fans  ) 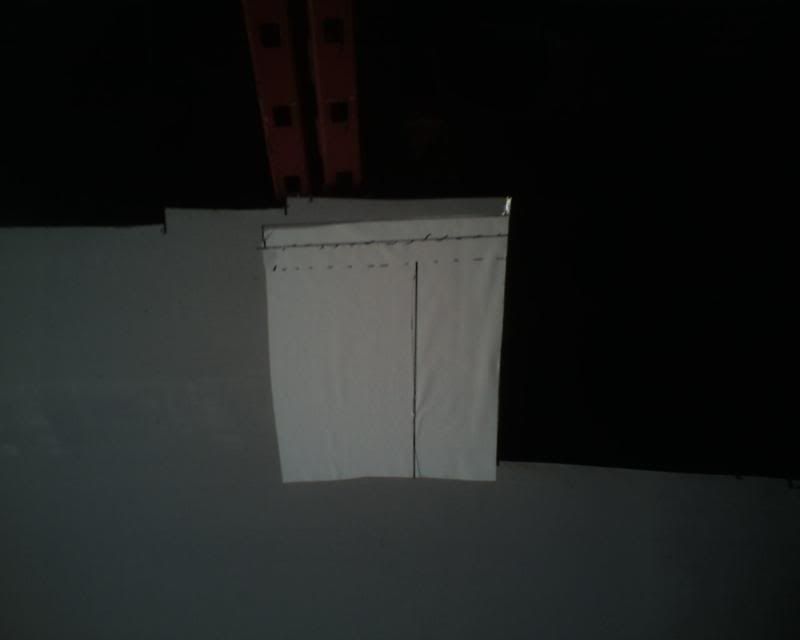 skip a few dodgy pics showing cleaning and painting the sill end/inner a post..... shaped to (roughly) fit and a filler piece tacked on 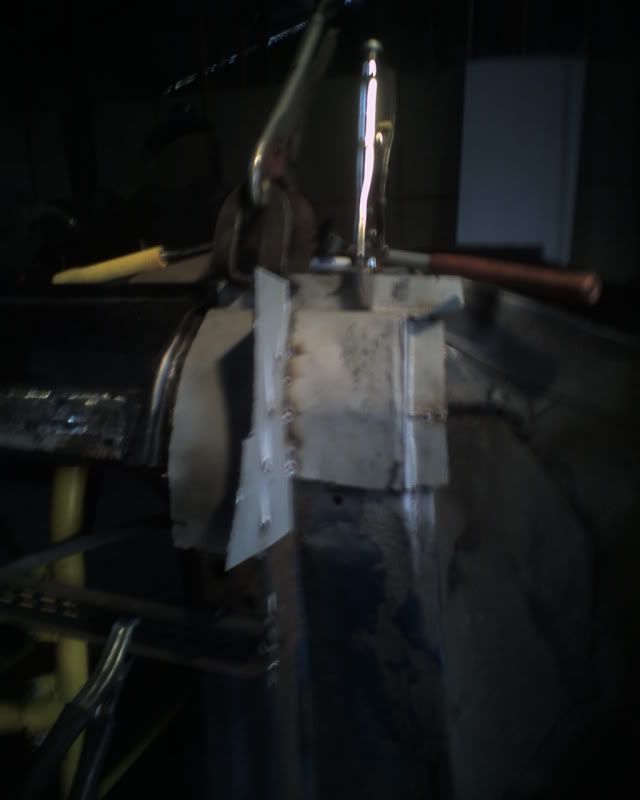 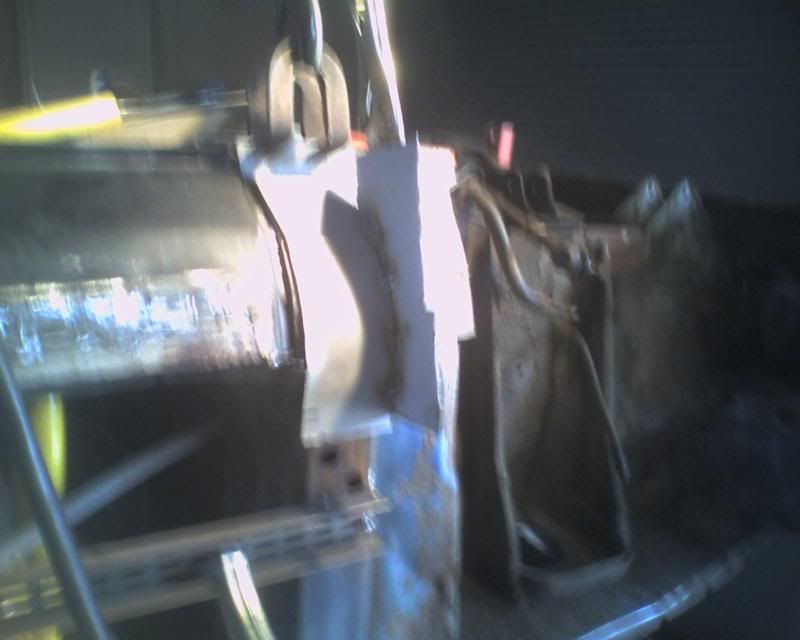 sorry for the shaky pics  deep breath/ skip forward past welding the repair panel from the inside, painting the inside, trimming to size , drilling holes for the plug welds and tacking and welding into place /deep breath 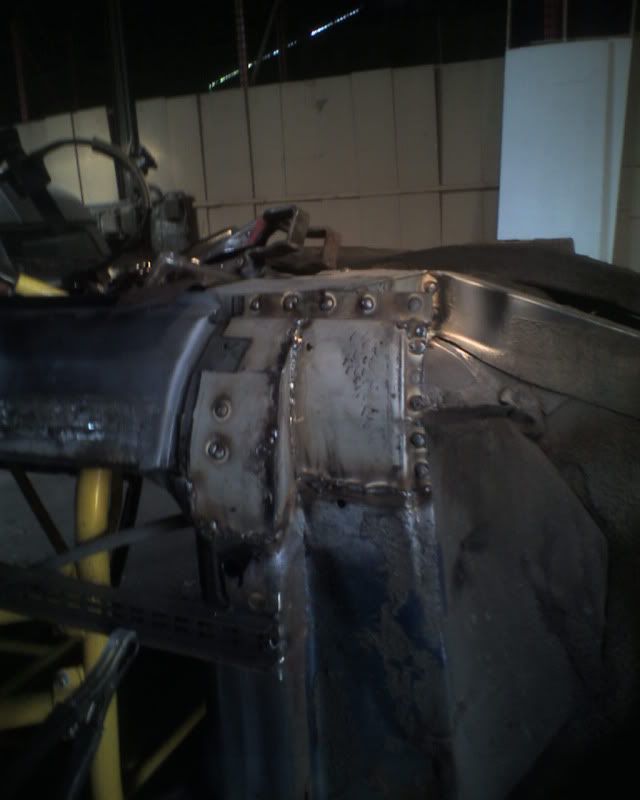 roughly ground off and given a coat of etch I will probably give it more of a clean up when I finish/redo the sill 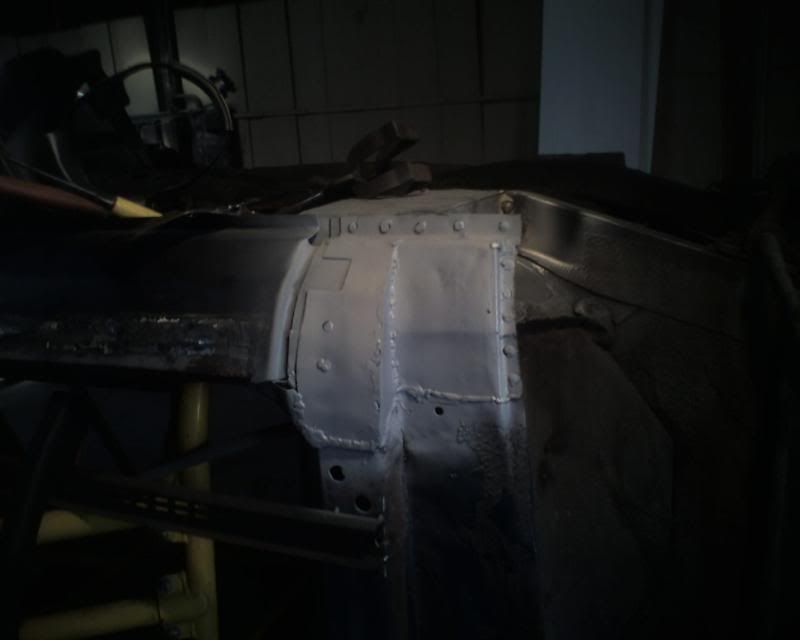 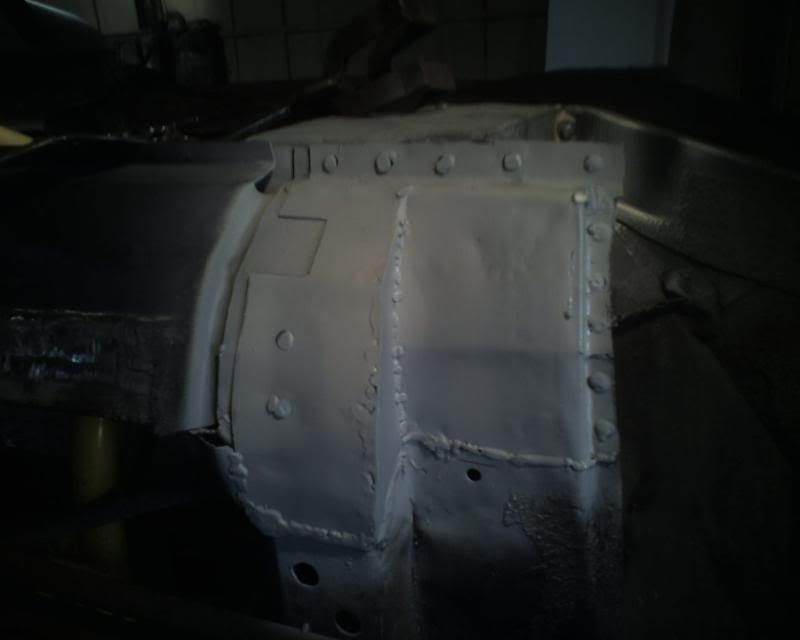 not ideal but about as good as I can manage without losing sight of the time available. (who am I kidding - my reach is longer than my grasp  ) anyway that left me:- 1. too hot 2. unable to find an easy job to start 3. wondering who was looking after my daughter if my g/f was watching football in the pub? so I went home and cracked open a cold one ;D total time spent (mostly burning my fingers and bending flanges the wrong way  ) 87.5 hours total spend £1080 ( bad voice says 'mig wire very low buy new mig' ;D ) |
| |
Last Edit: Jun 23, 2010 20:49:17 GMT by hairymel
whats that burning smell?
oh curse word :-(
|
|
|
|


 )
)


 )
)


 .
. 


 )
)

