luckygti
Posted a lot
   I need to try harder!
Posts: 4,912
|
|
|
|
Thanks OB, going to use the 5 speed that was in their before. I bought another Scooby lump on MS with an adaptor plate. Tried it briefly, and struggled to get them together, but managed without the clutch so know it fits in the flywheel and everything. And it came off of a T25 before so I know it fits! Quick update while I eat my lunch. So, I mentioned before the crusty rear quarter. I knew this would be a problem, It has had a prang on that rear corner and all of the seams are a bit mashed as well as having way way too much filler in! The plan at the moment is to see what's what and go from there, but an overriding factor is that the rear quarters are (a) ridiculously expensive, (b) only available for a van so twice as tall as needed and finally (c) I'm pretty sure that the offside one is not available anywhere. So, grinder, spot weld drill and chisel and here we go..... What we're looking at 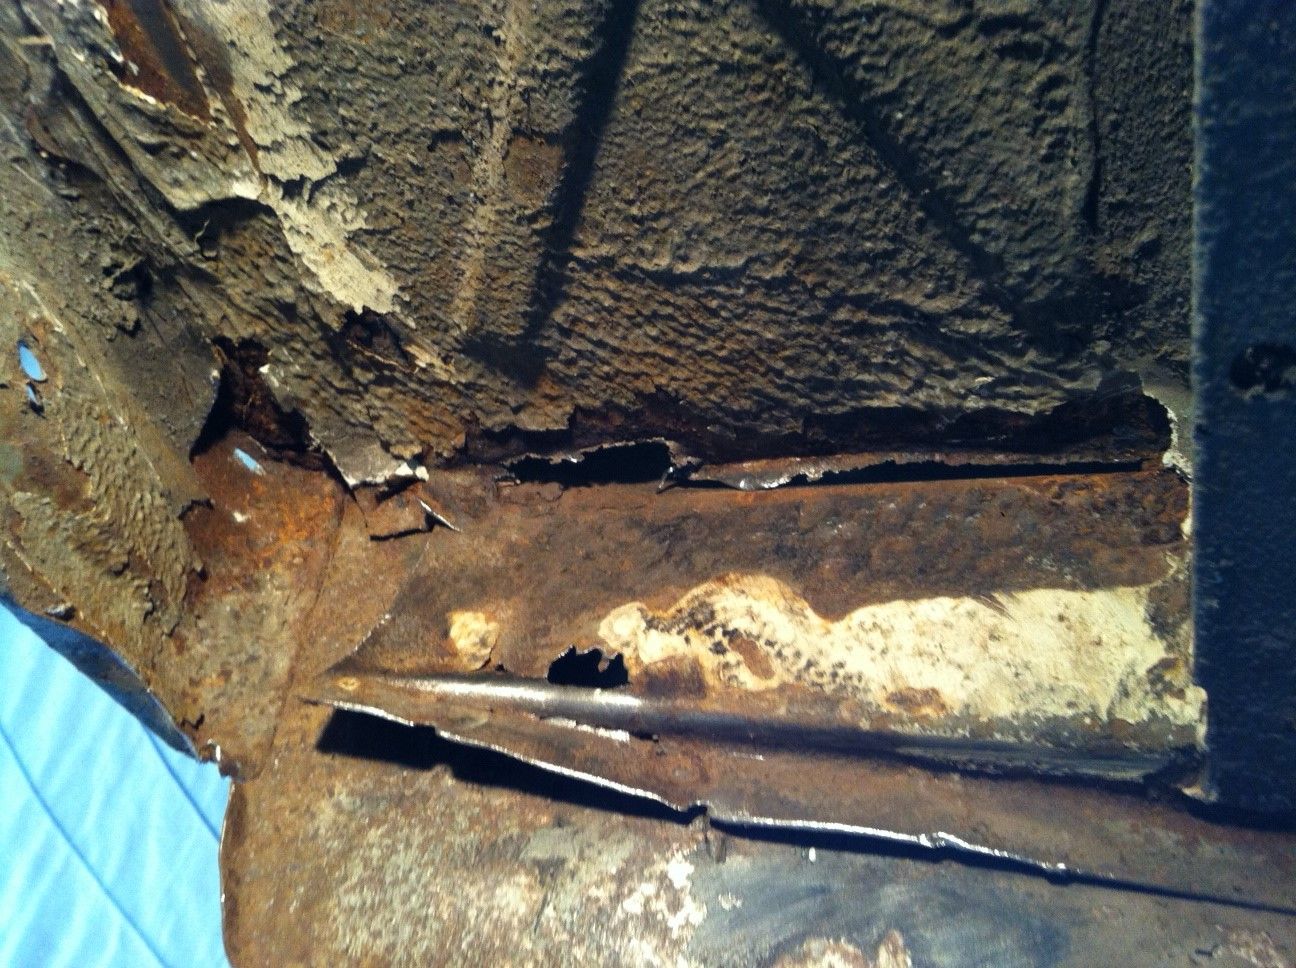 This area is rusted out and spotwelded to the rear valance. It also forms part of a piece that stretches across the whole van (apologies for the picture, had to have a quick play so you can see it  ) 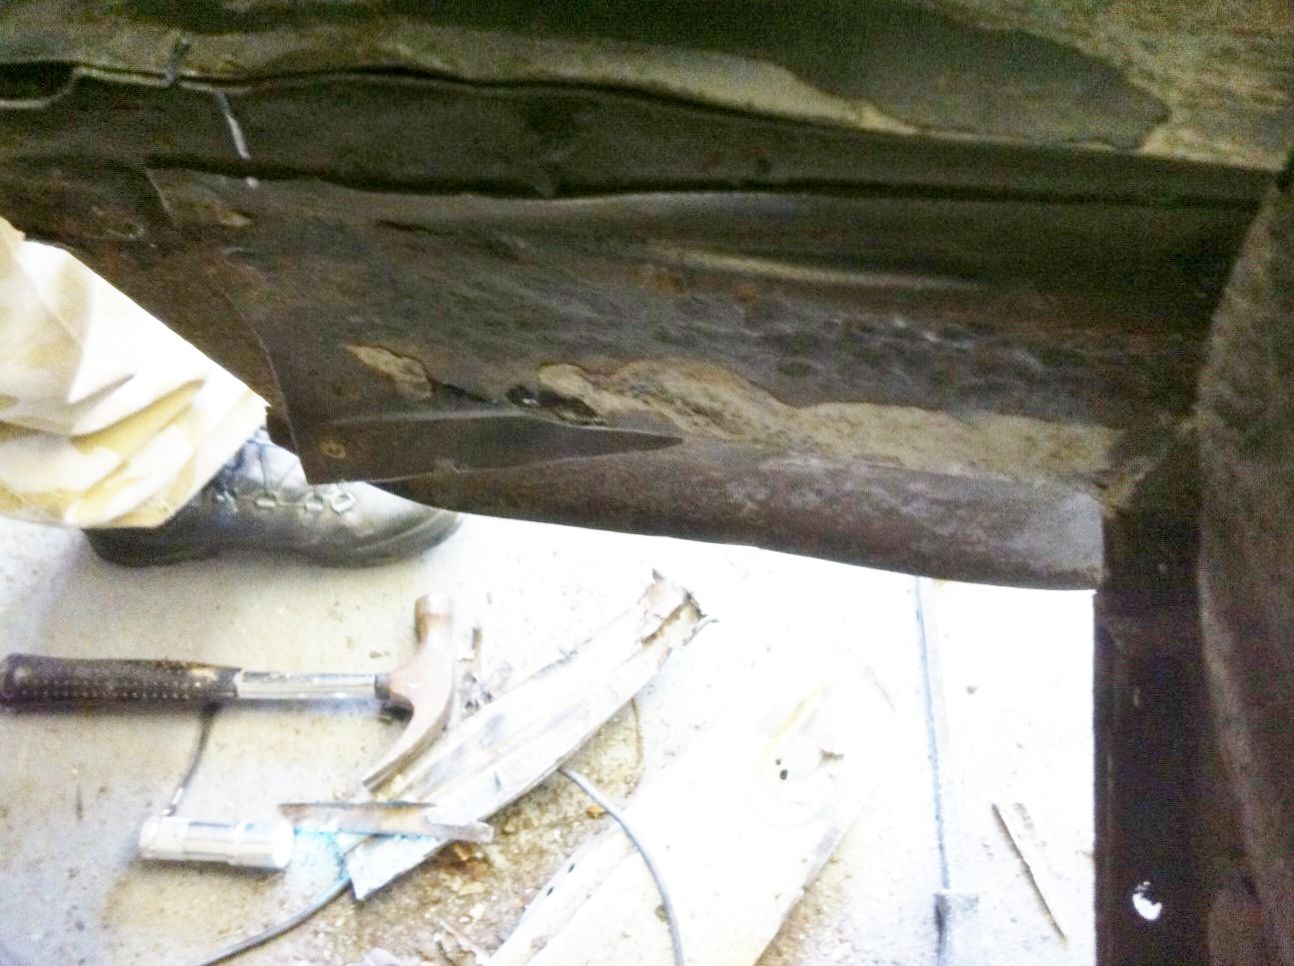 This is where we are now, I've sliced the battery tray area and folded it up out of the way so I can access the rear valance! 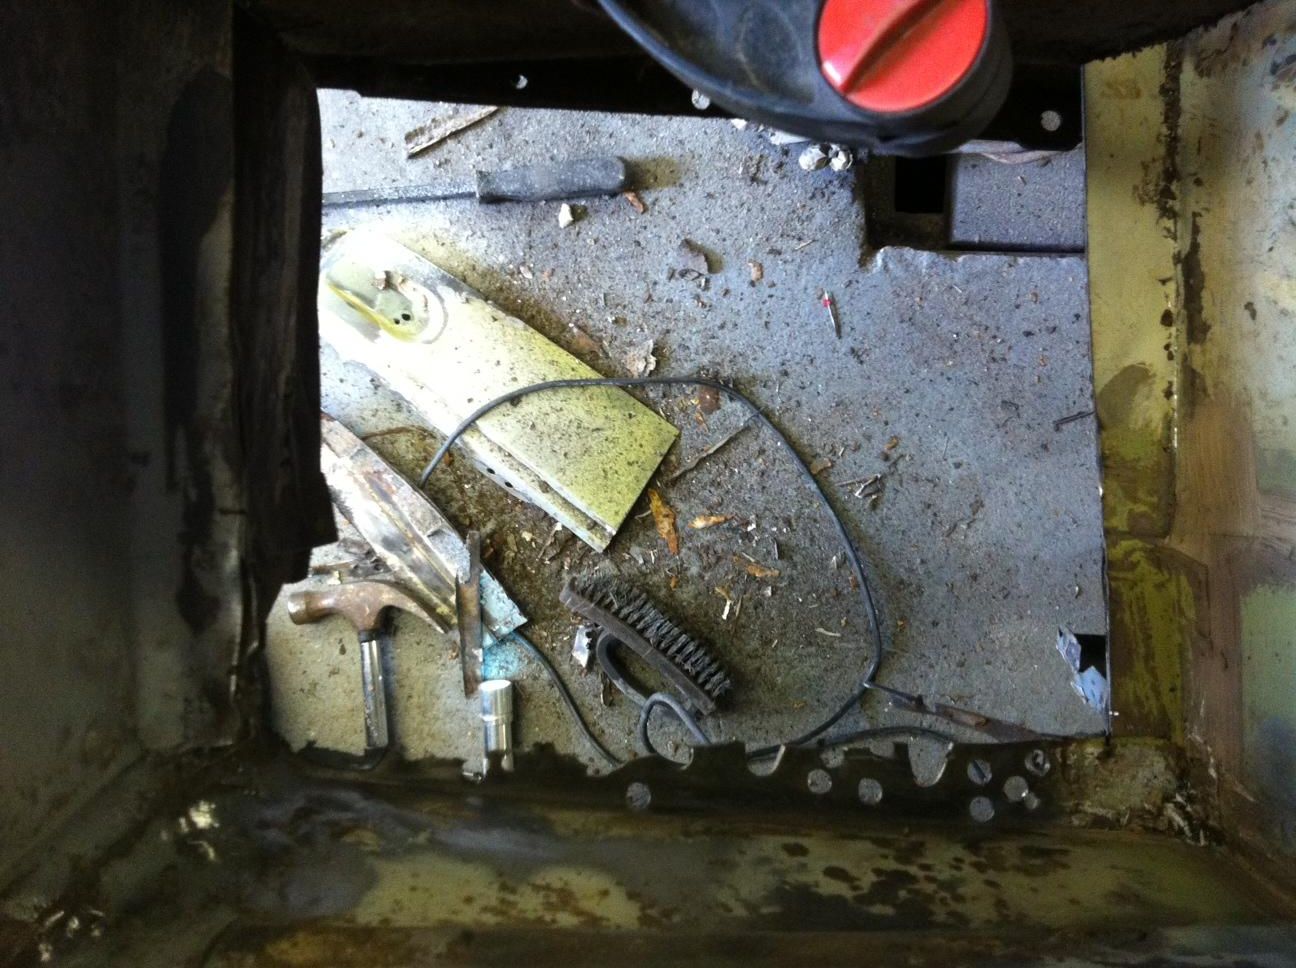 You can see the crash damage here as well. Just need to order a new lower corner now and then back into the garage! More to follow....... Pete |
| |
|
|
|
|
luckygti
Posted a lot
   I need to try harder!
Posts: 4,912
|
|
|
|
So, more rust chopping. Out came that bar and this is what's left 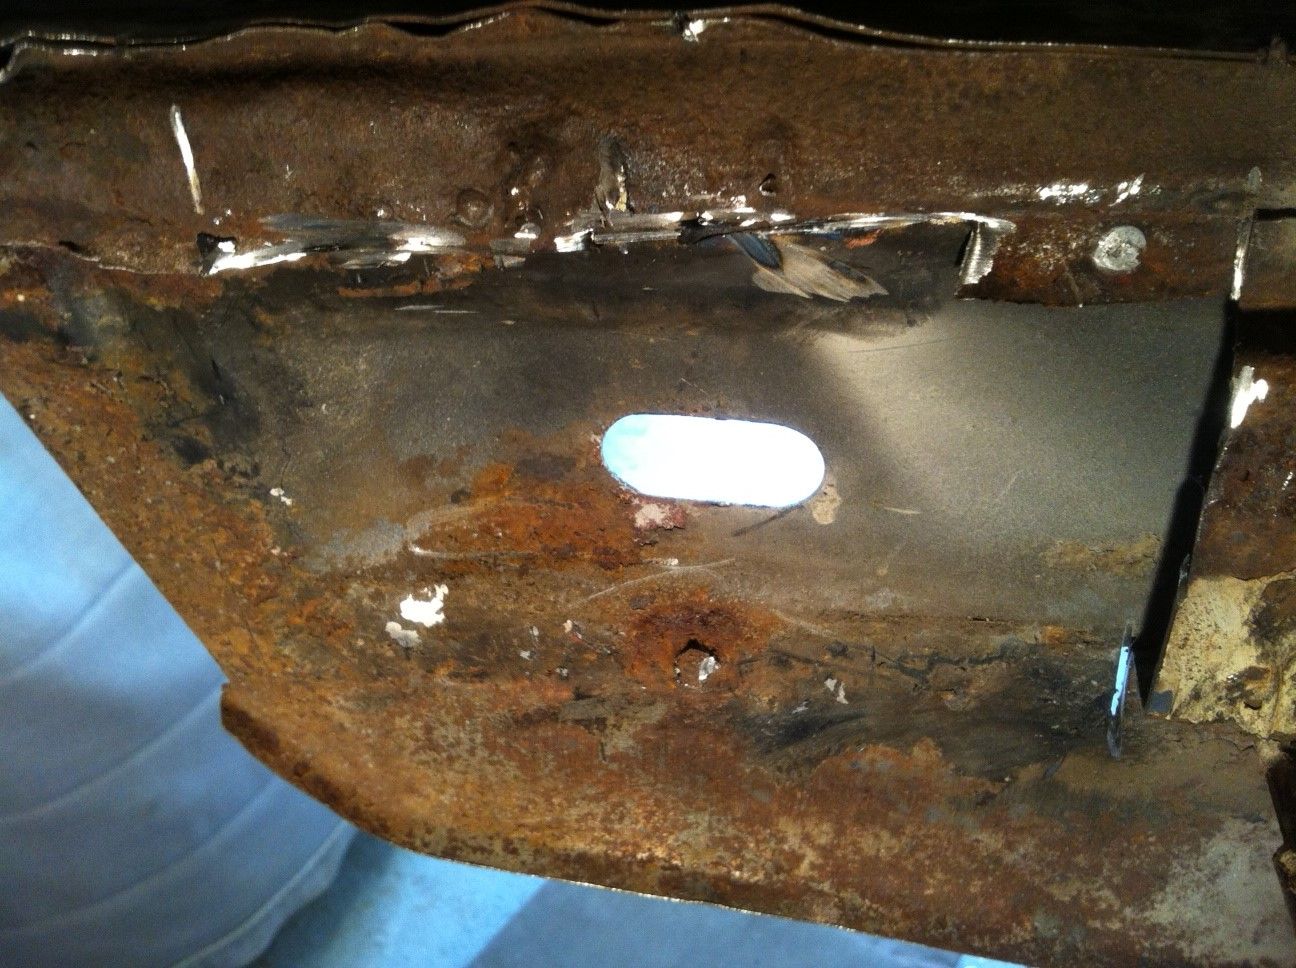 And the bar itself 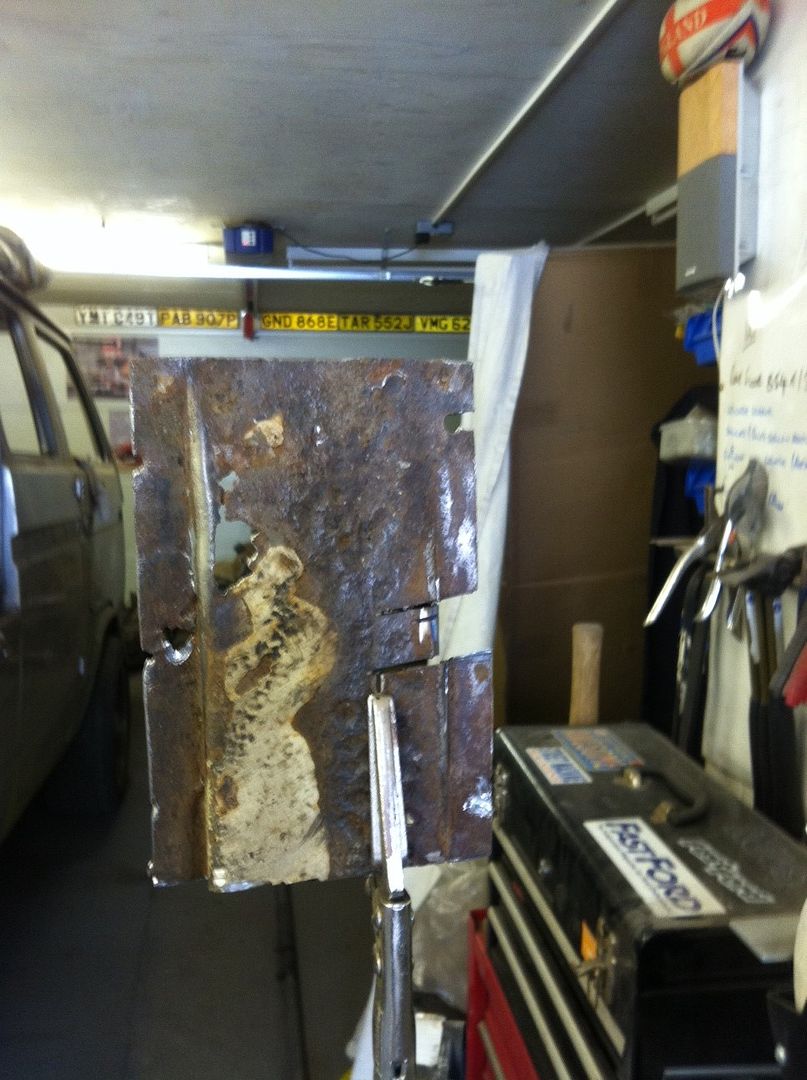 Then, sick of sucking in rust dust I decided to remake it in 16swg steel Template from masking tape and transferred onto the steel. I also made a cardboard version to make sure I had the folds right. Luckily this showed that I had it the wrong way round as one side is broader than the other. 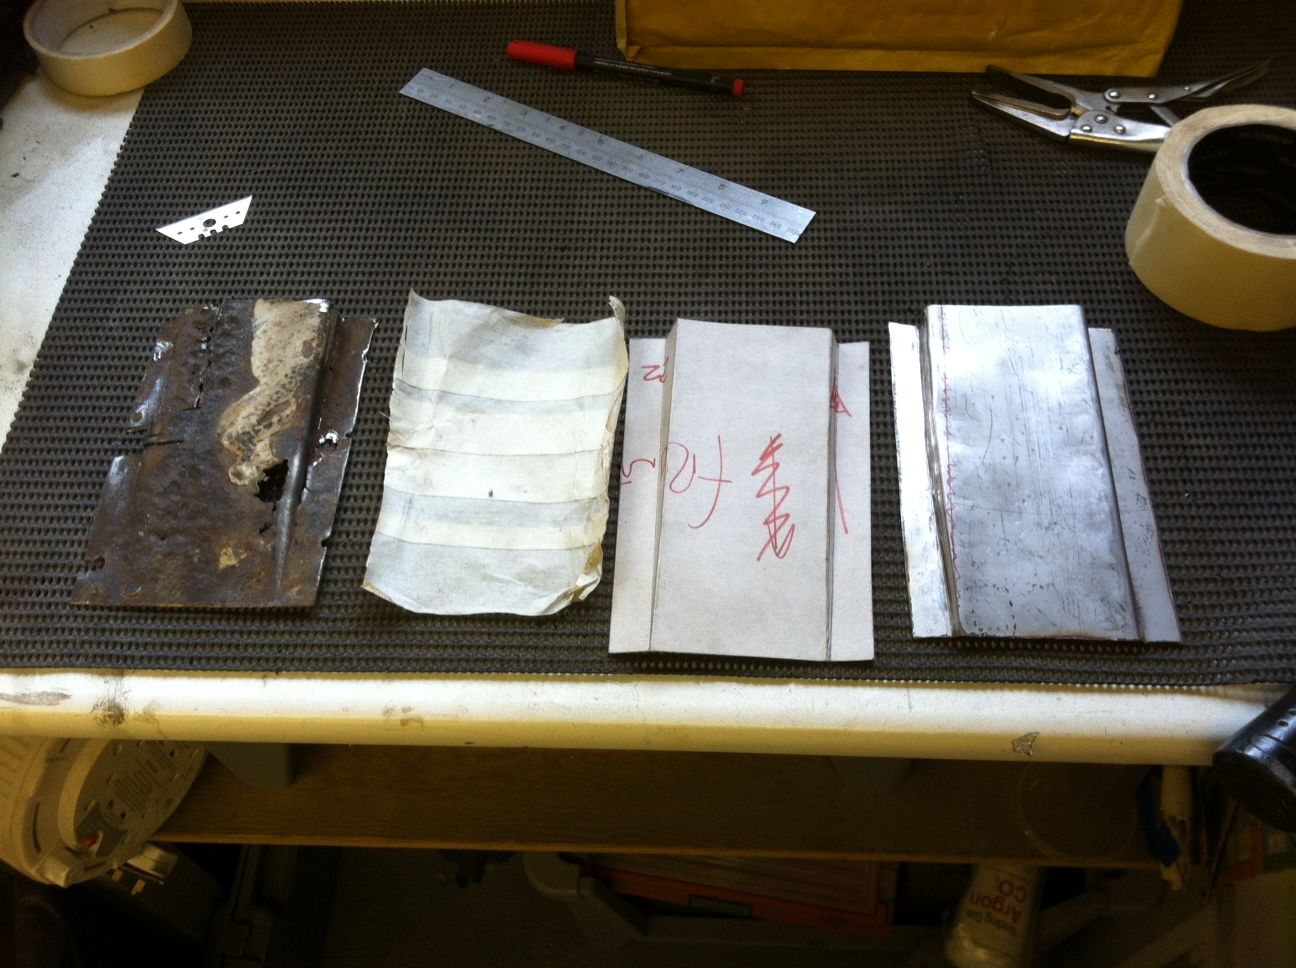 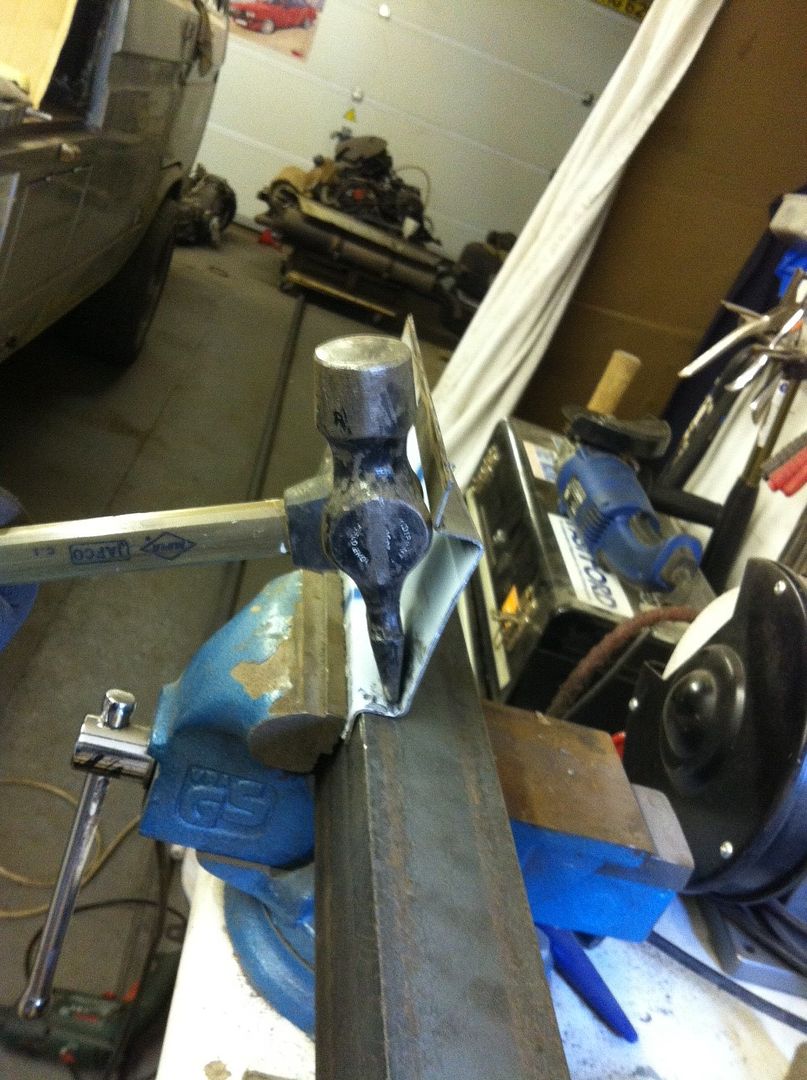 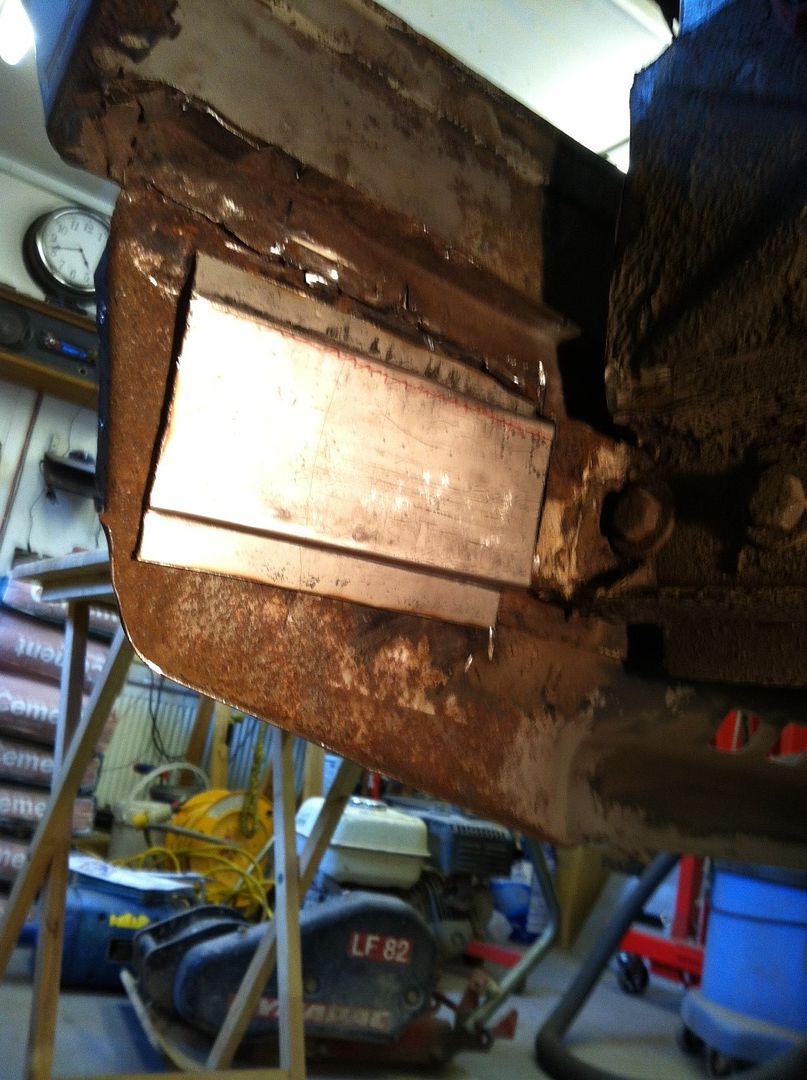 and in it's place for a bit of fettling! At this point it was clear that that the accident damage had an awful lot of filler in it so I took to it with the 1mm cutting disc. Always disconcerting when cutting a body panel from behind and getting a mouthful of filler dust  I ended up with this slit, which will be replaced with fresh steel once it's all been cleaned up. 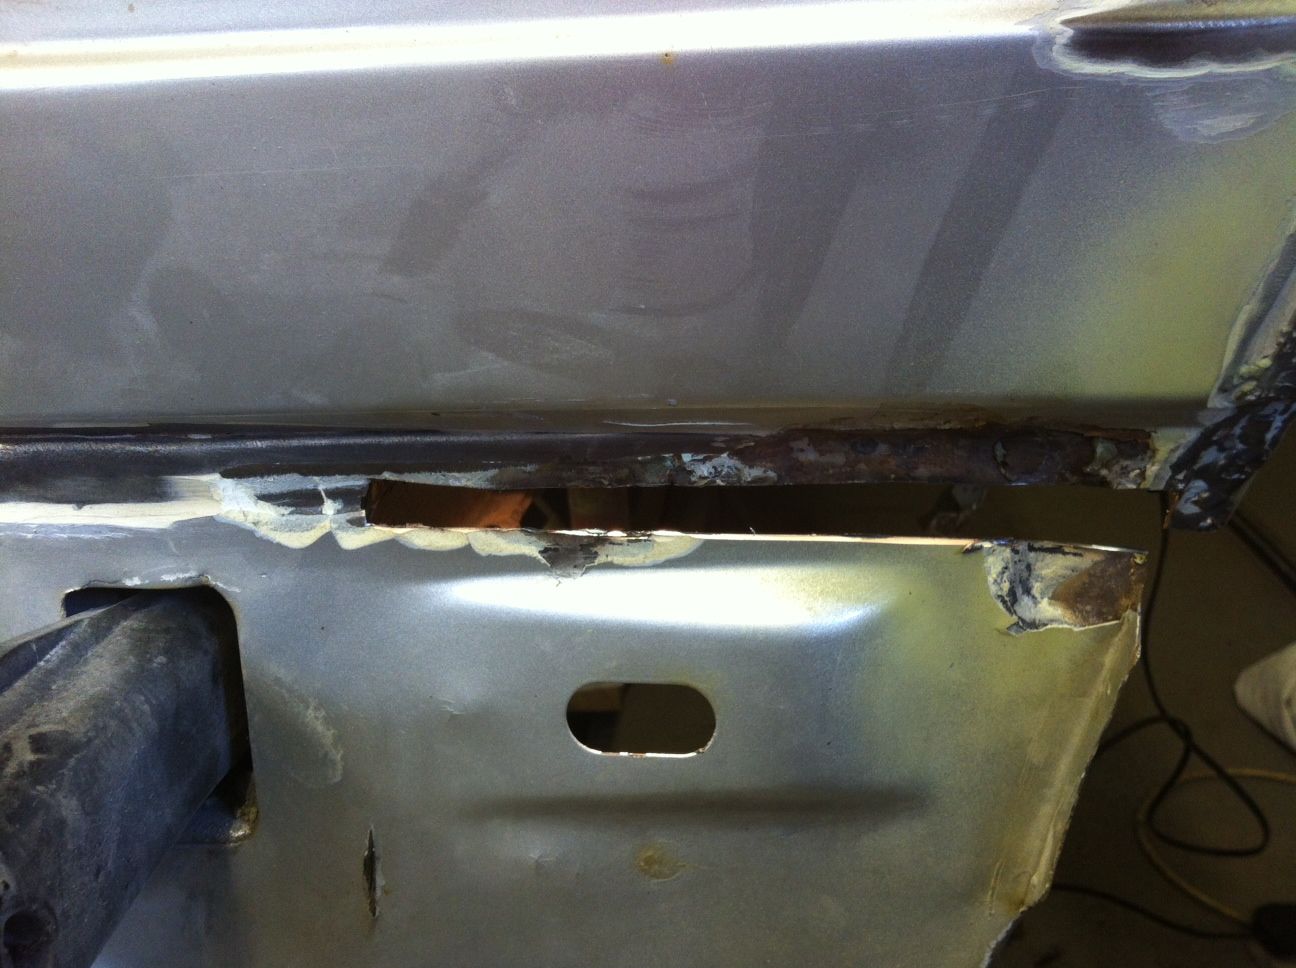 And the reason! 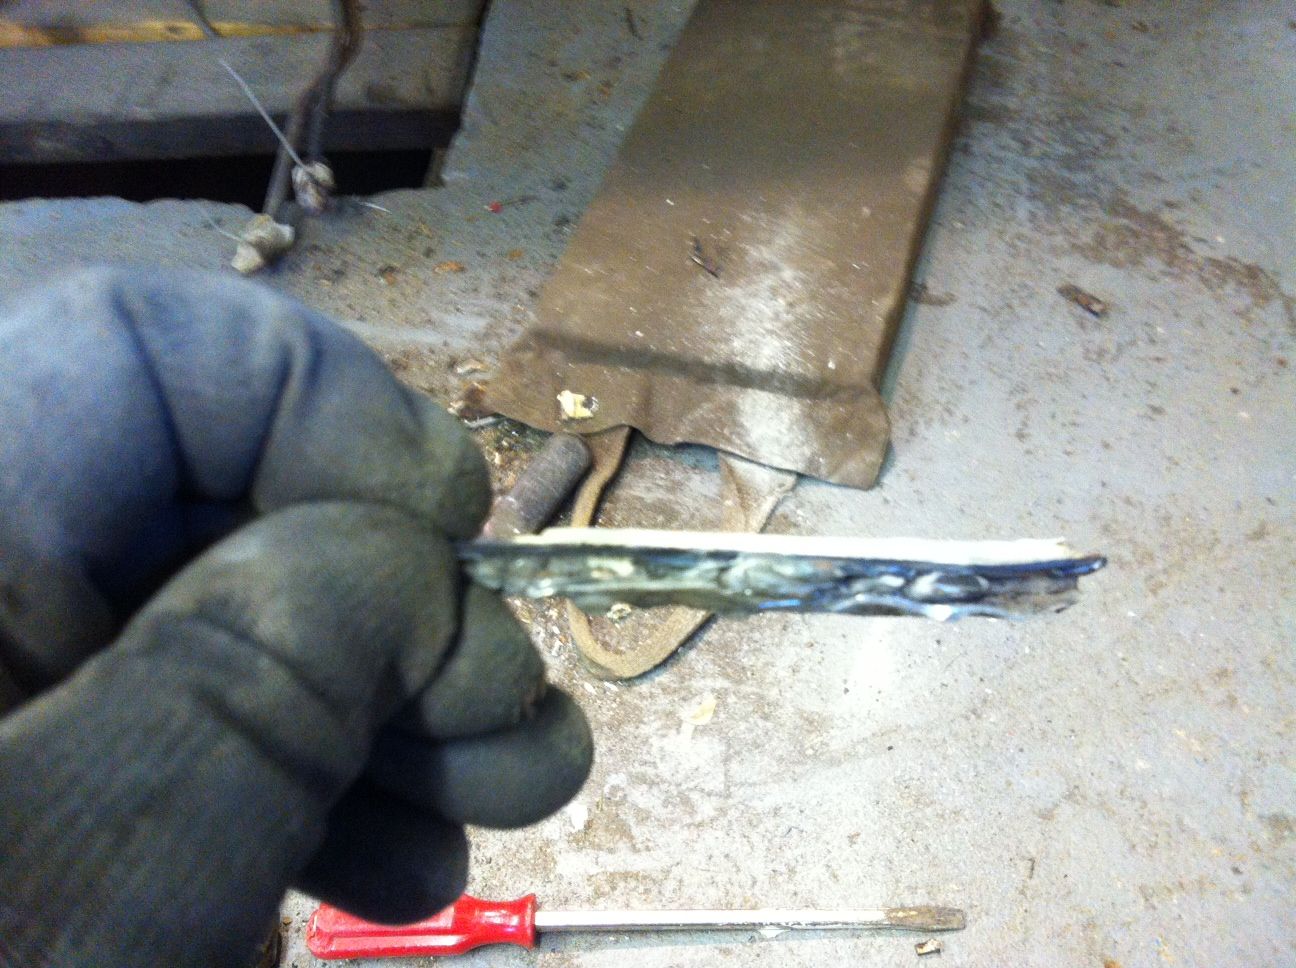 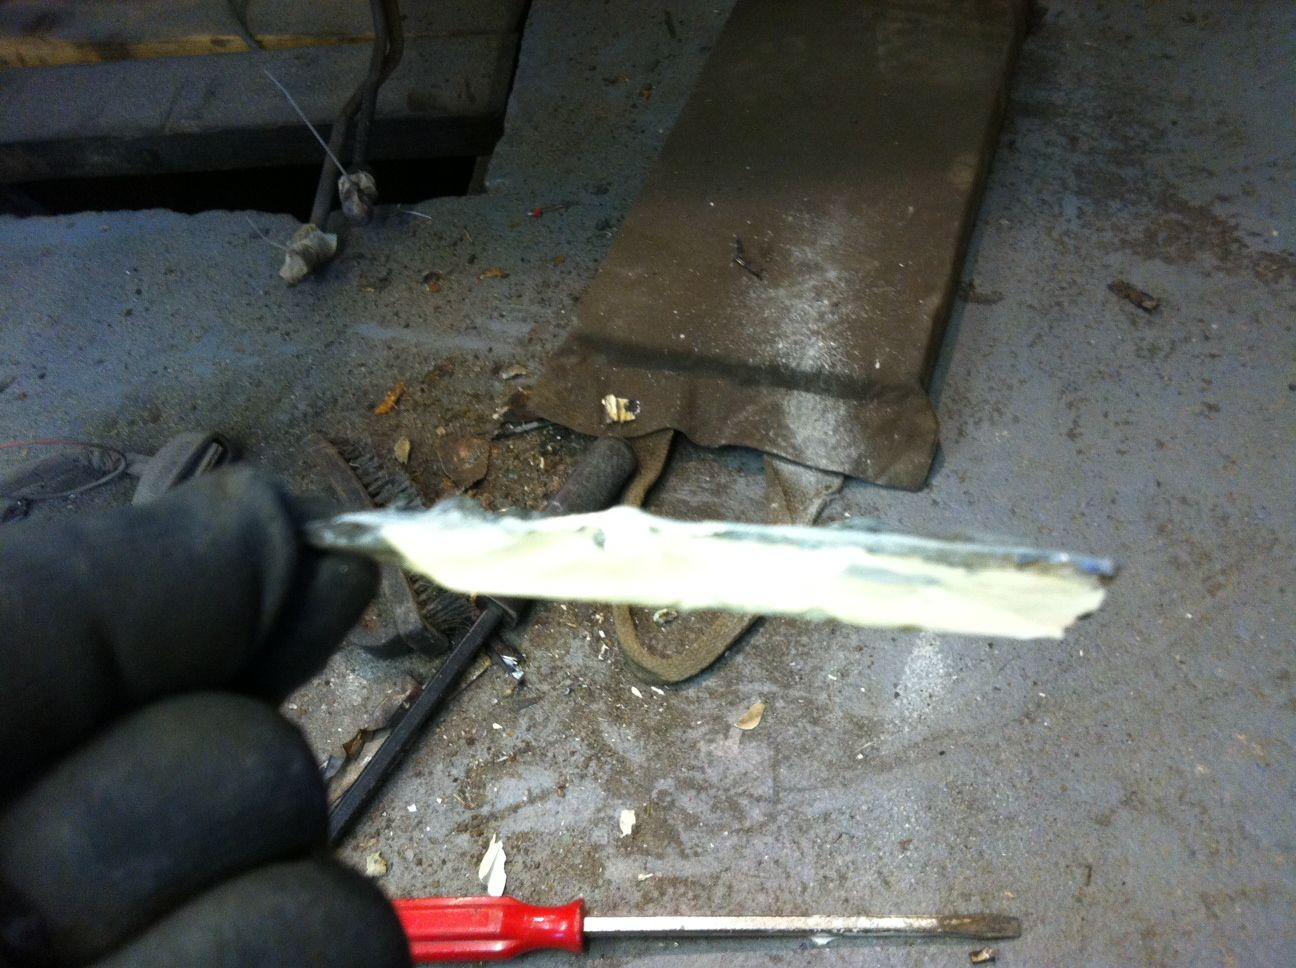 More of this then  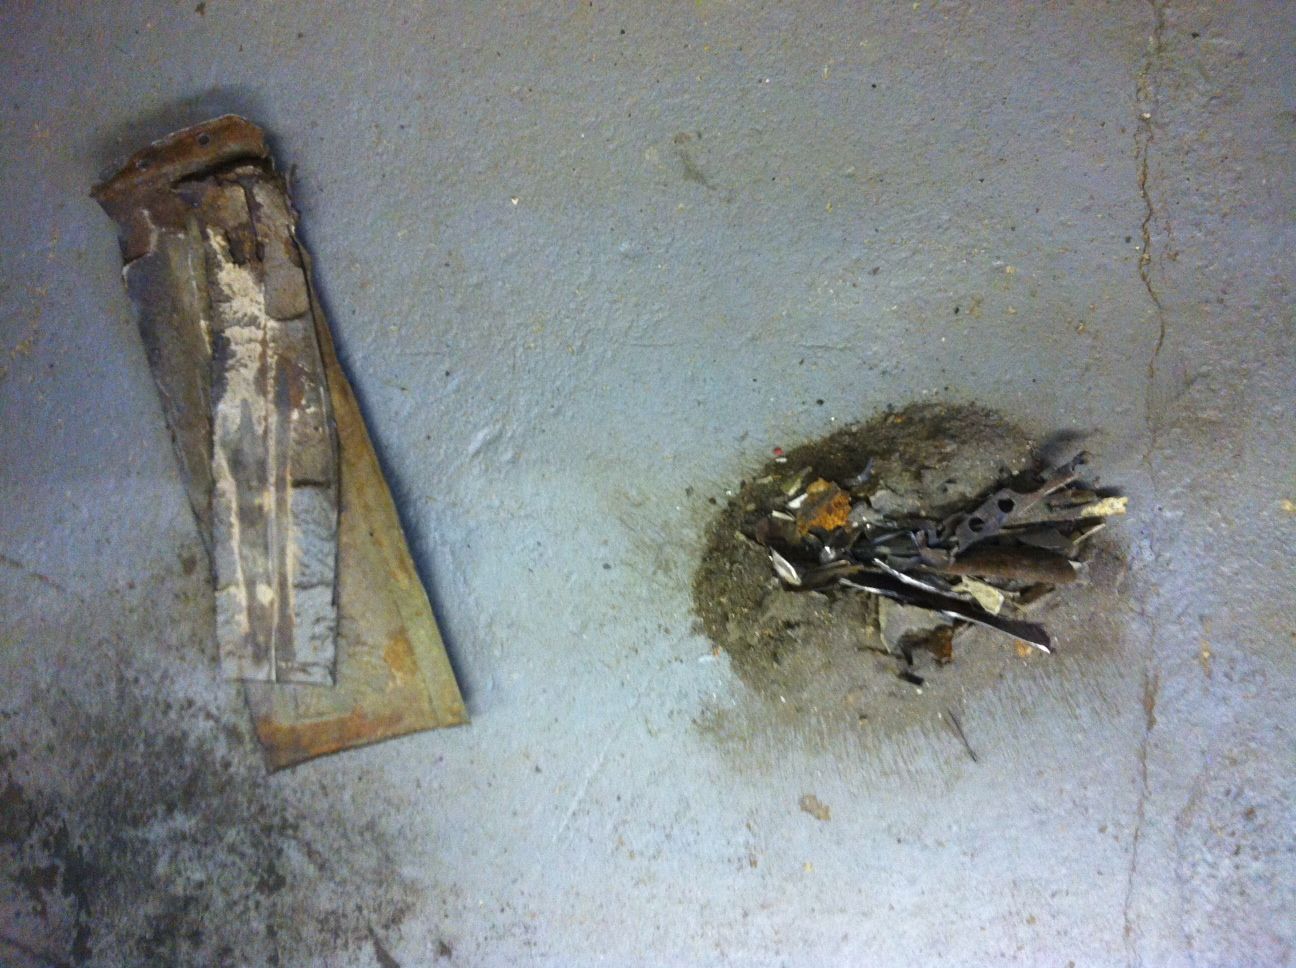 And how it is now. 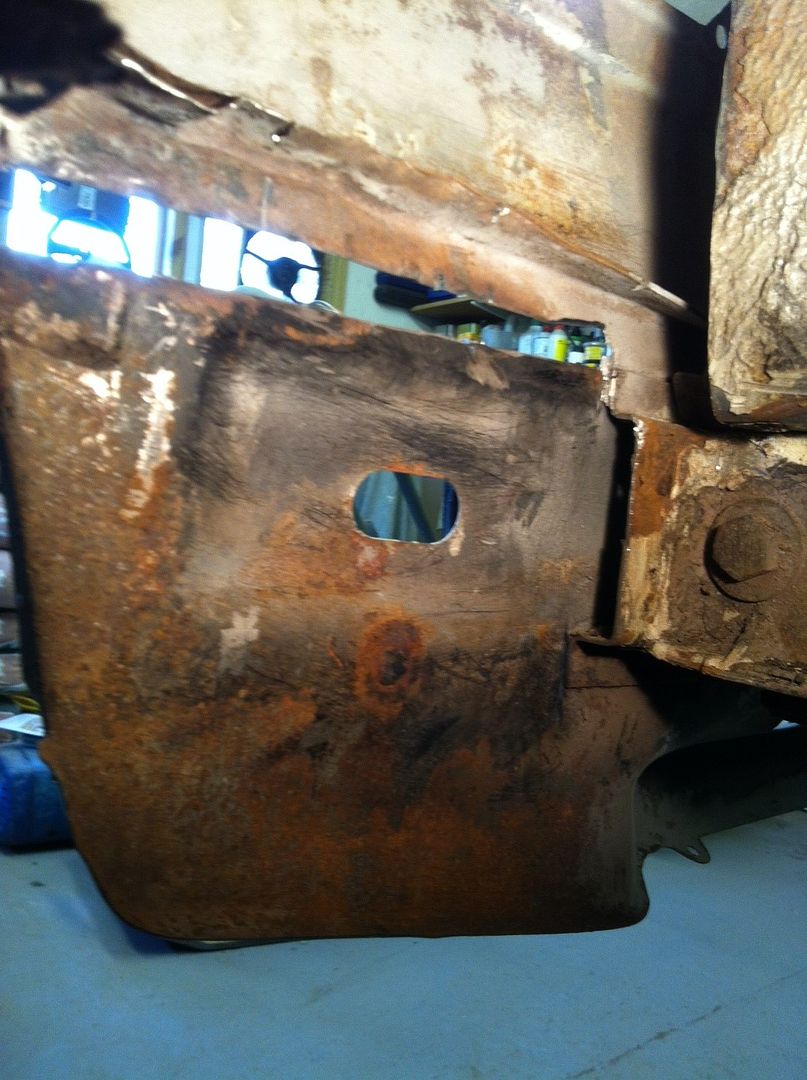 New part ordered, hopefully it'll be here tomorrow, I'll give it all a blast with the grit gun, then I can fit it in and then line up the rest of the pieces! More tomorrow. Pete |
| |
|
|
|
|
luckygti
Posted a lot
   I need to try harder!
Posts: 4,912
|
|
|
|
And so I did! Drilled the holes for plug welding and got it in place. 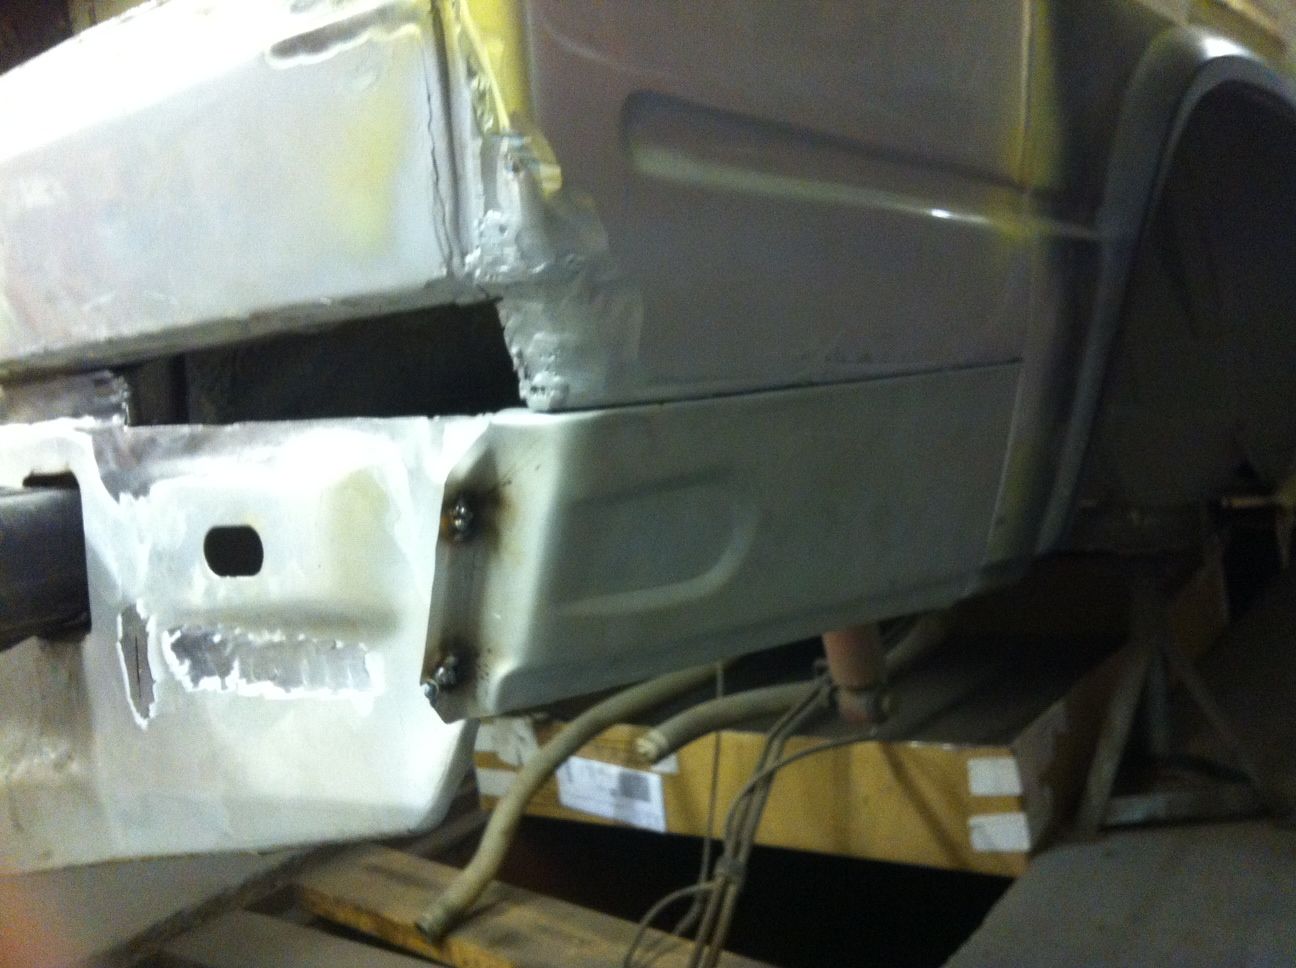 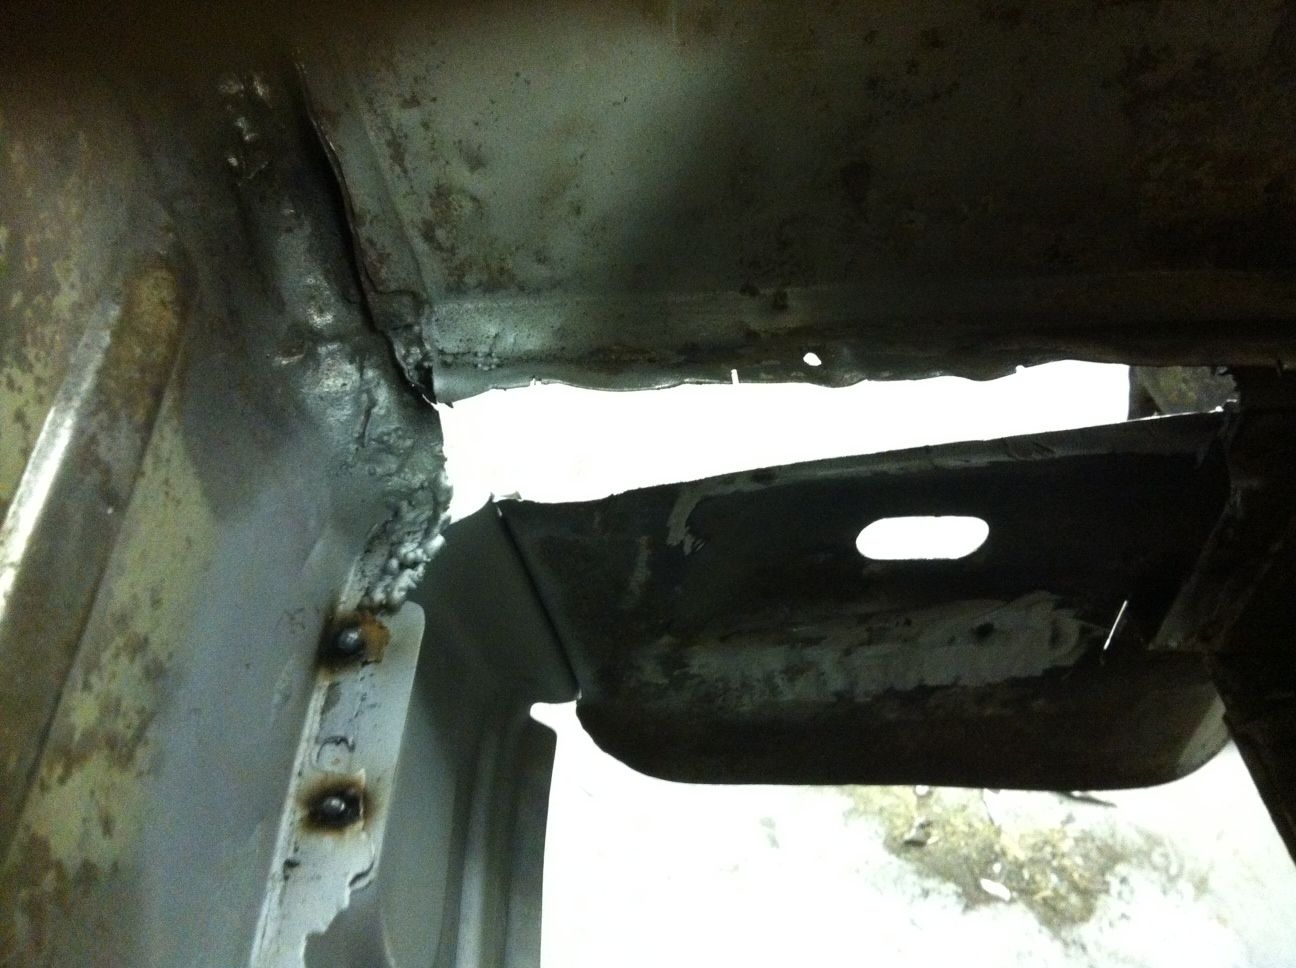 Not the prettiest but I've given it a good tug and it didn't come off in my hand....... Tomorrow I'll make a start on this! 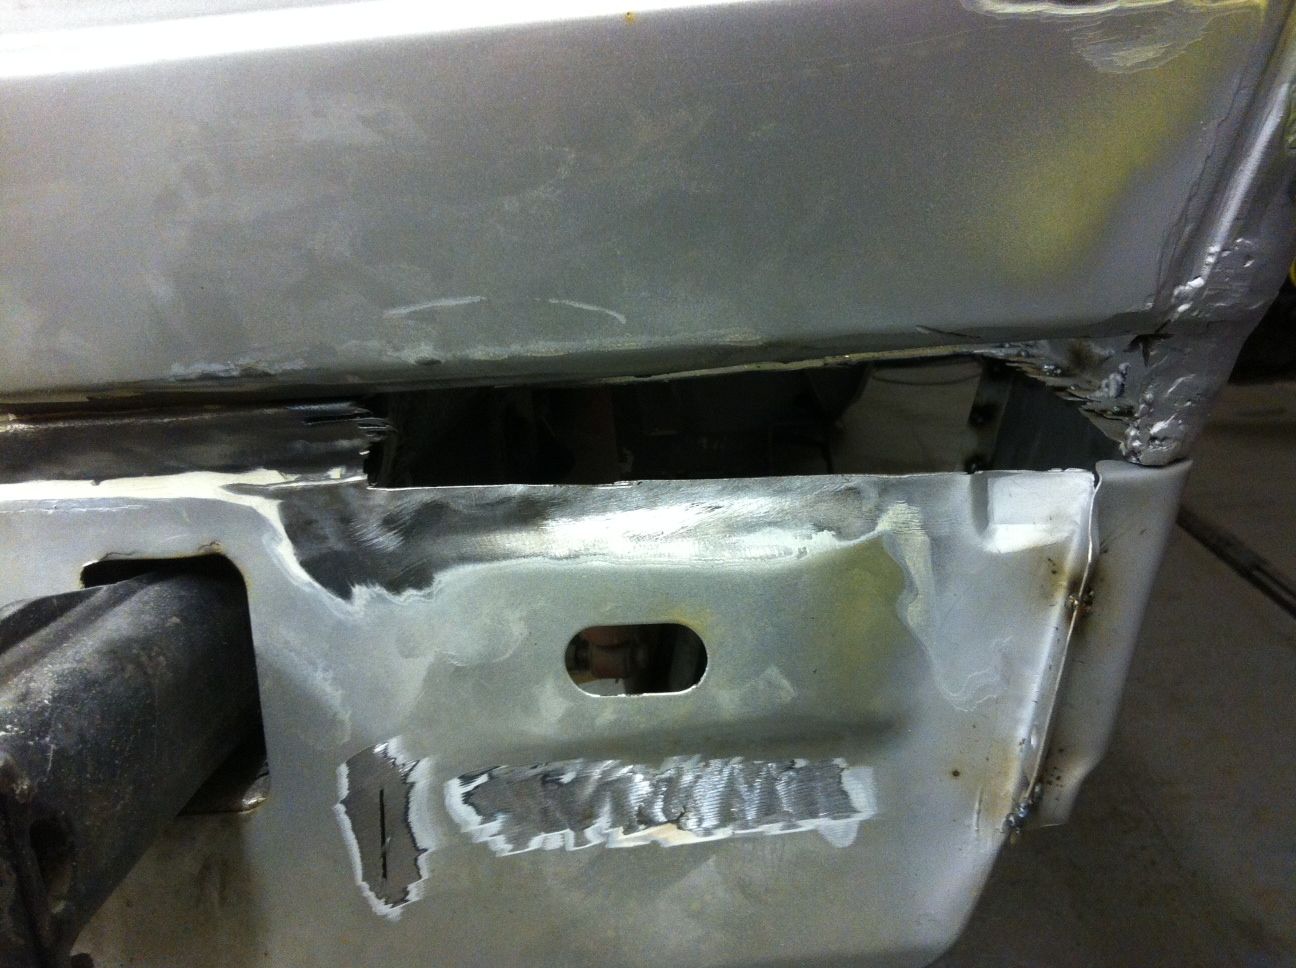 |
| |
|
|
luckygti
Posted a lot
   I need to try harder!
Posts: 4,912
|
|
Apr 15, 2013 20:44:37 GMT
|
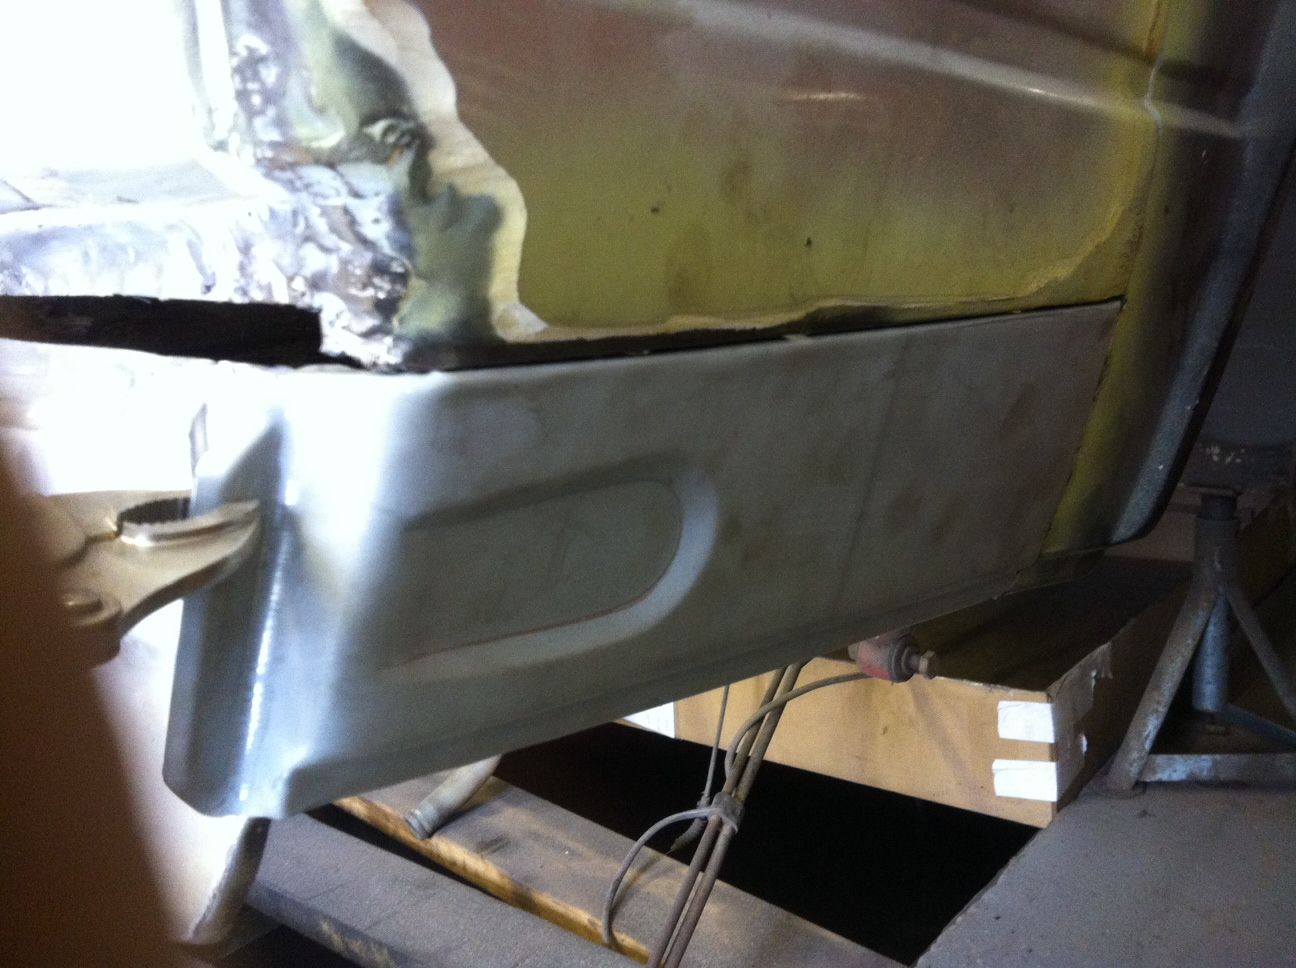
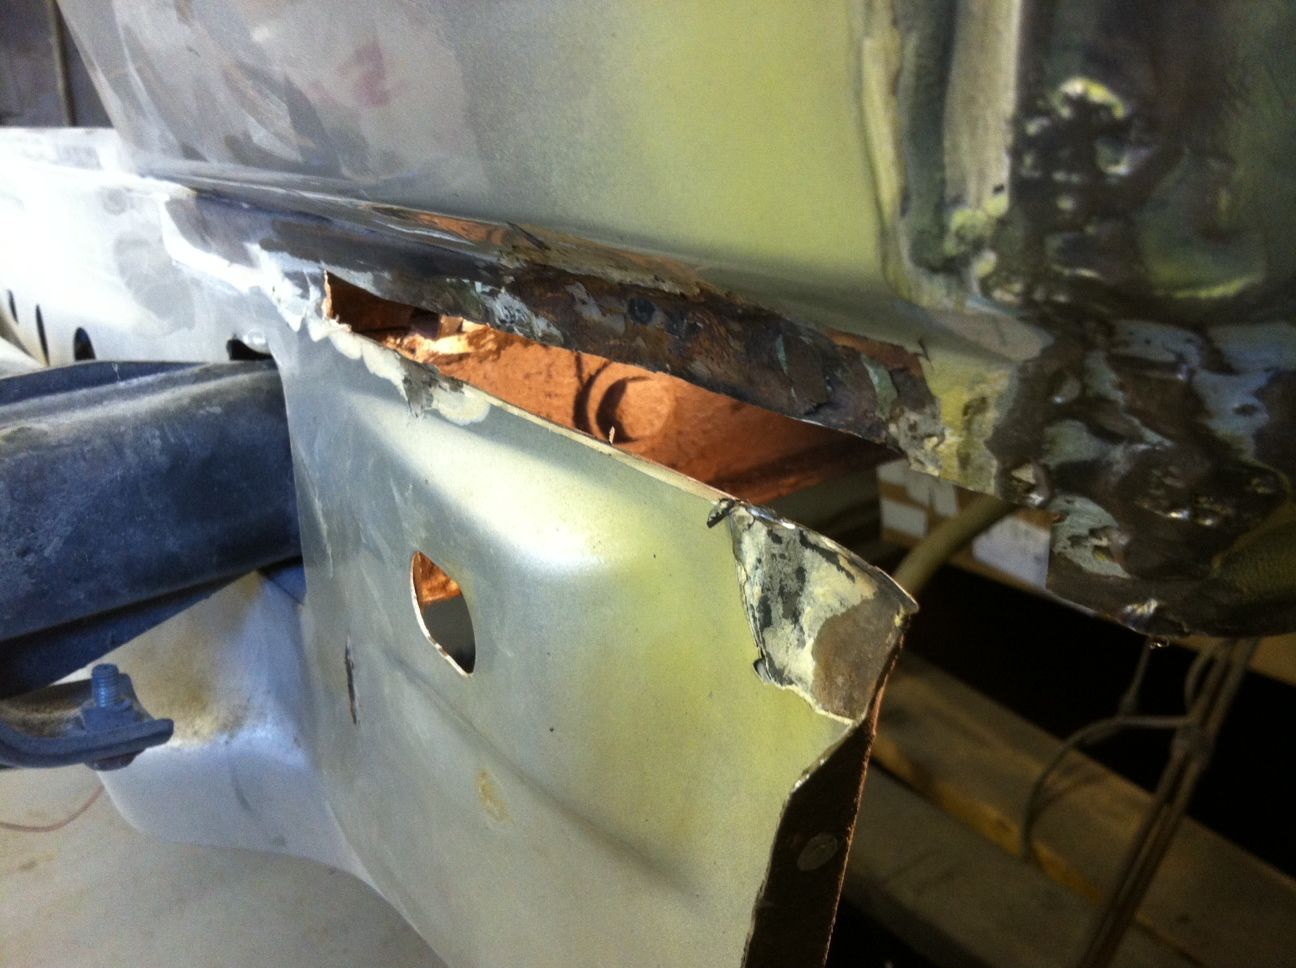
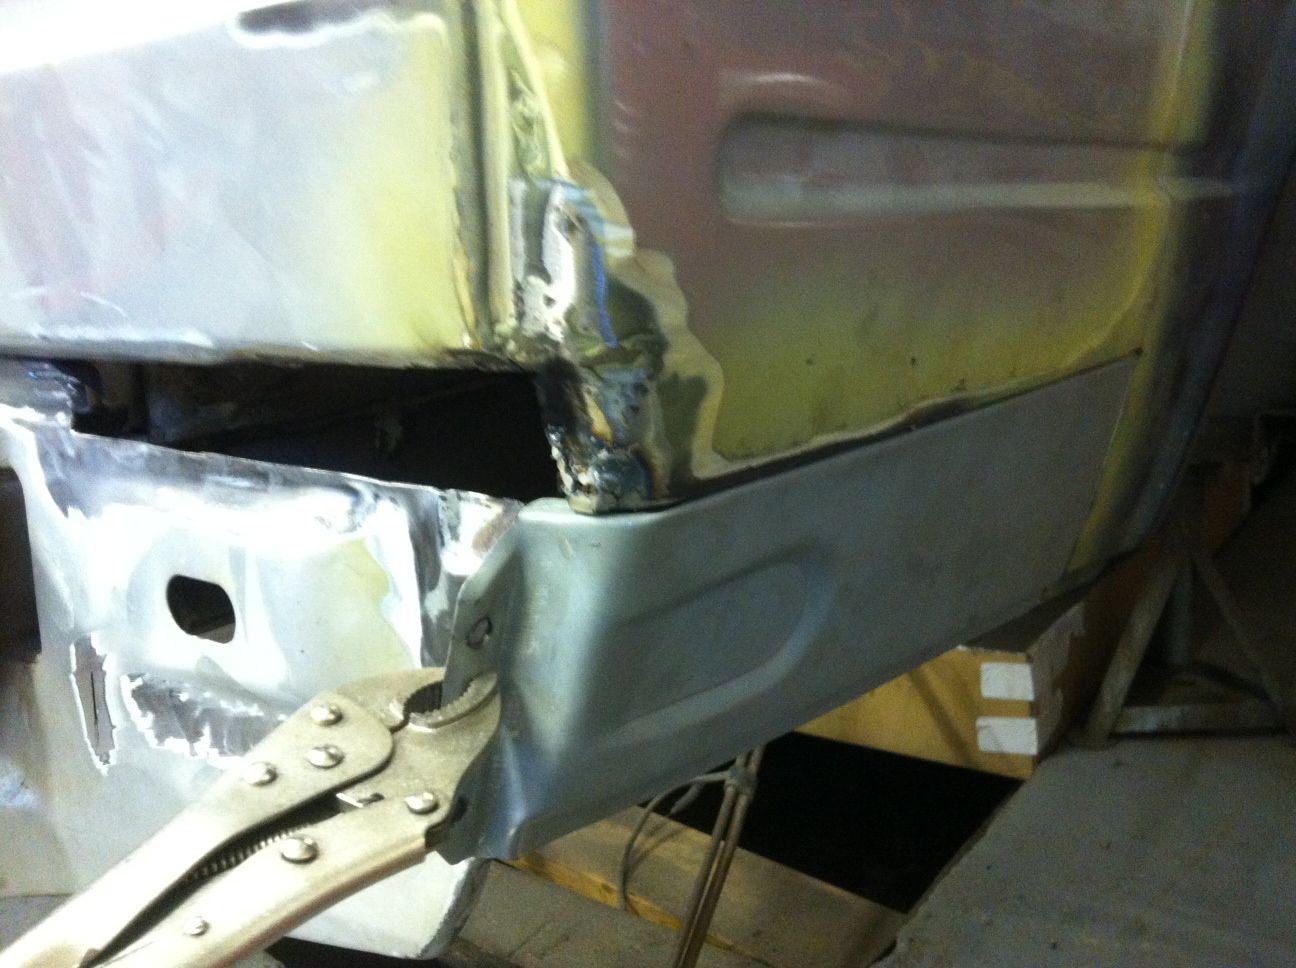
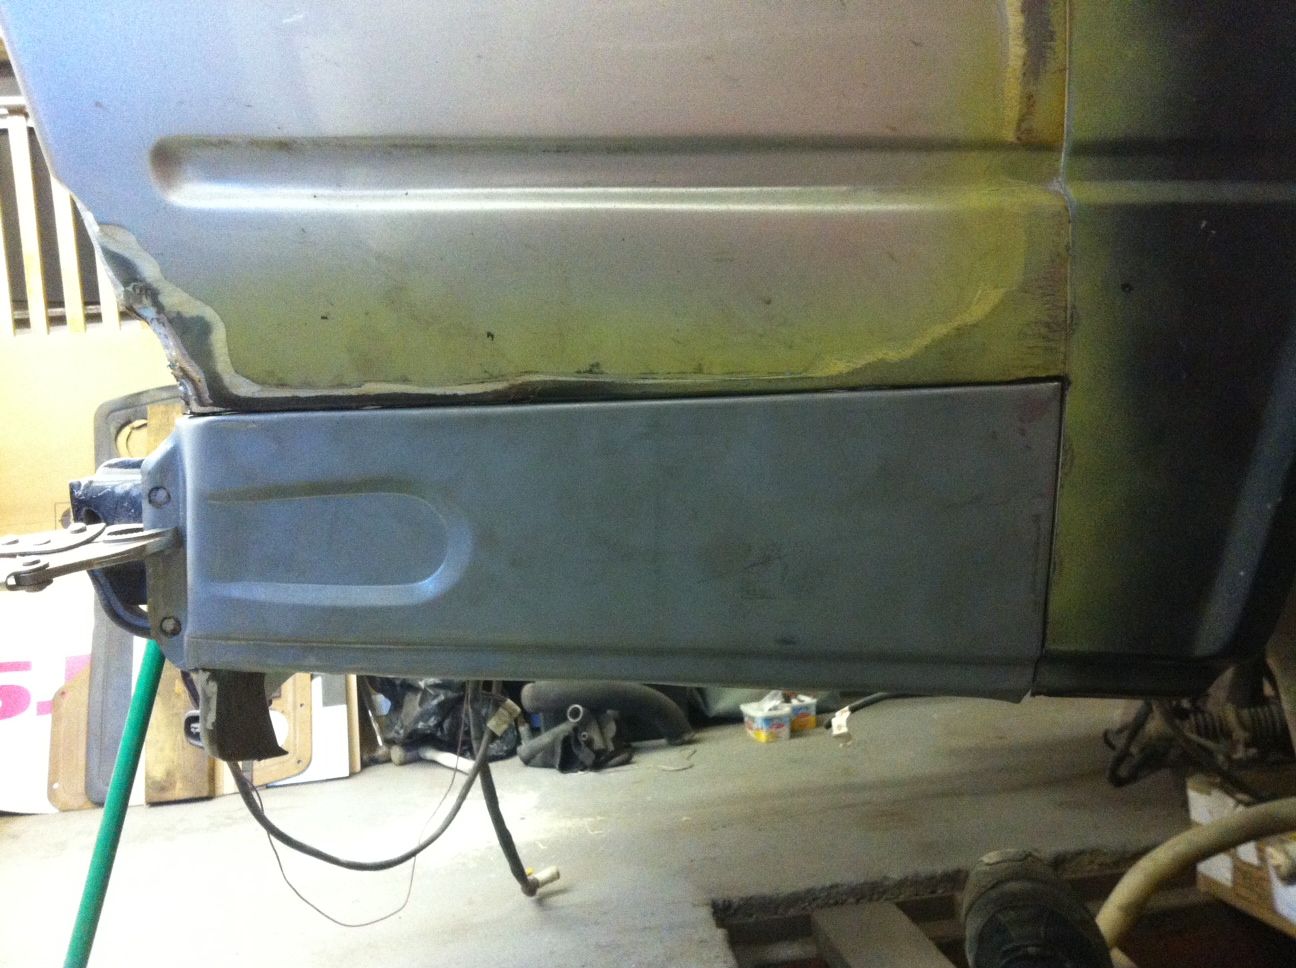
Another day another update. Start back at work in 2 weeks so need to make the most of the 3 or so days I have in the garage before then  (Don't ask what I've been doing for the last 8 months as I'm not entirely sure.....) Today I wanted to close up the hole in the rear valance, so out came the CAD (Cardboard Assisted Design) and then transfer over to some shiny steel. 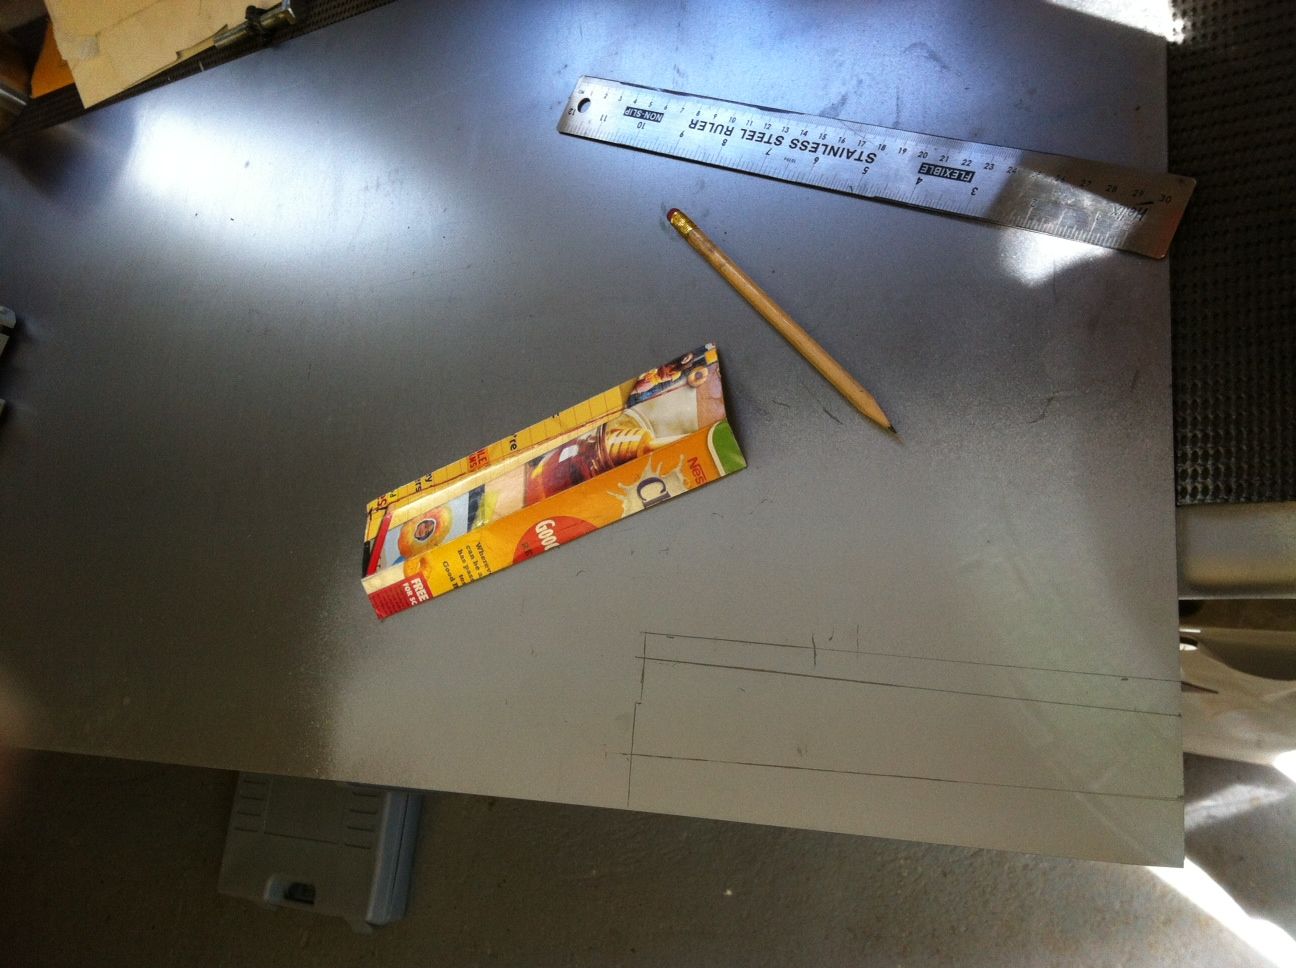 Choppy choppy (with a jigsaw, noisy but so much easier than my knackered snips!) and into the metal folder. 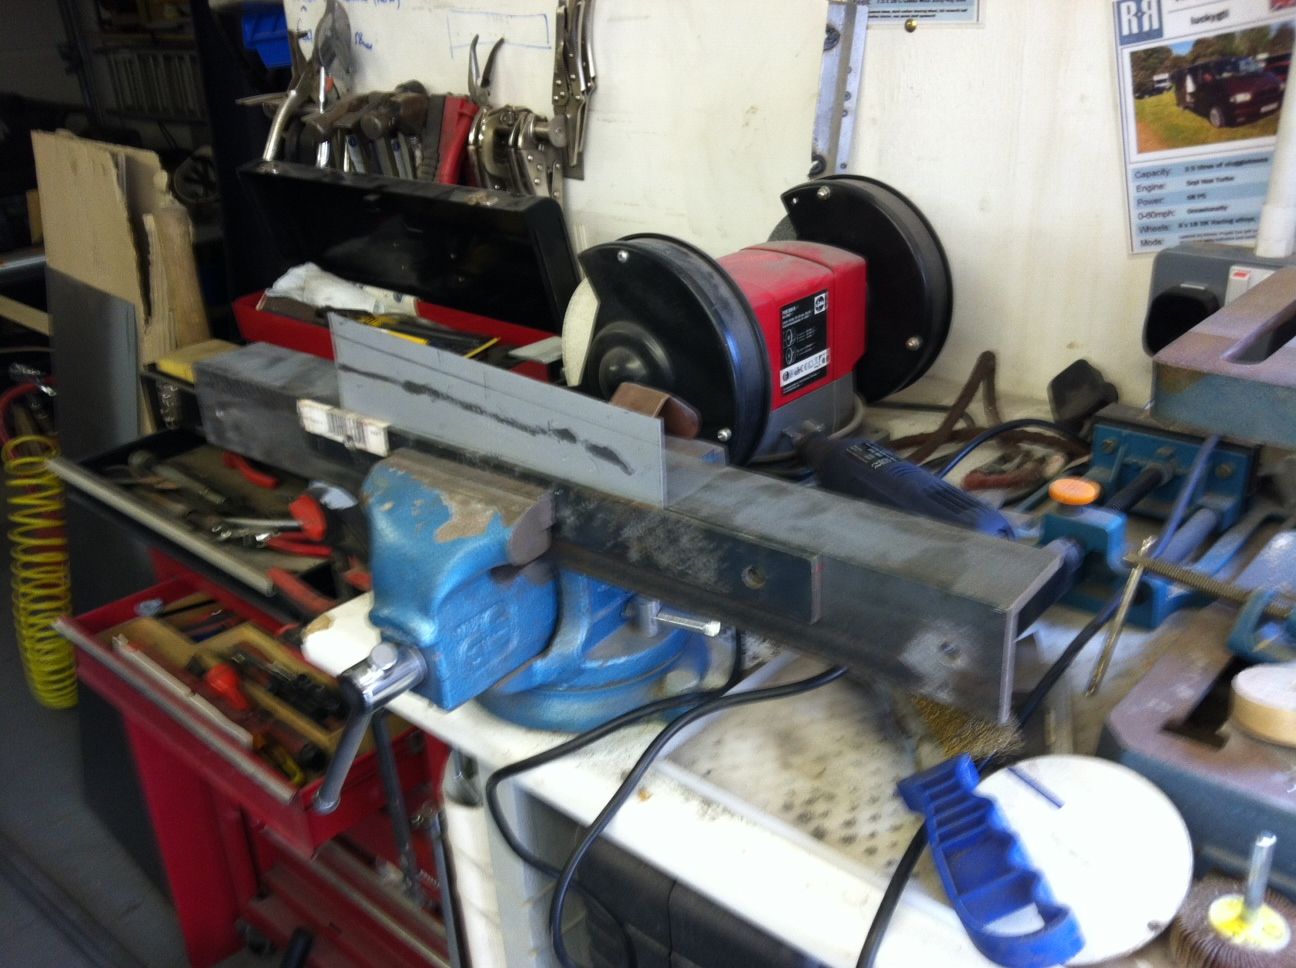 I do have a Tony BMW folder that I made but it needs a bit of "adjustment"  I wanted to try and replicate this swage line so cut a small template to use to tweak the bend 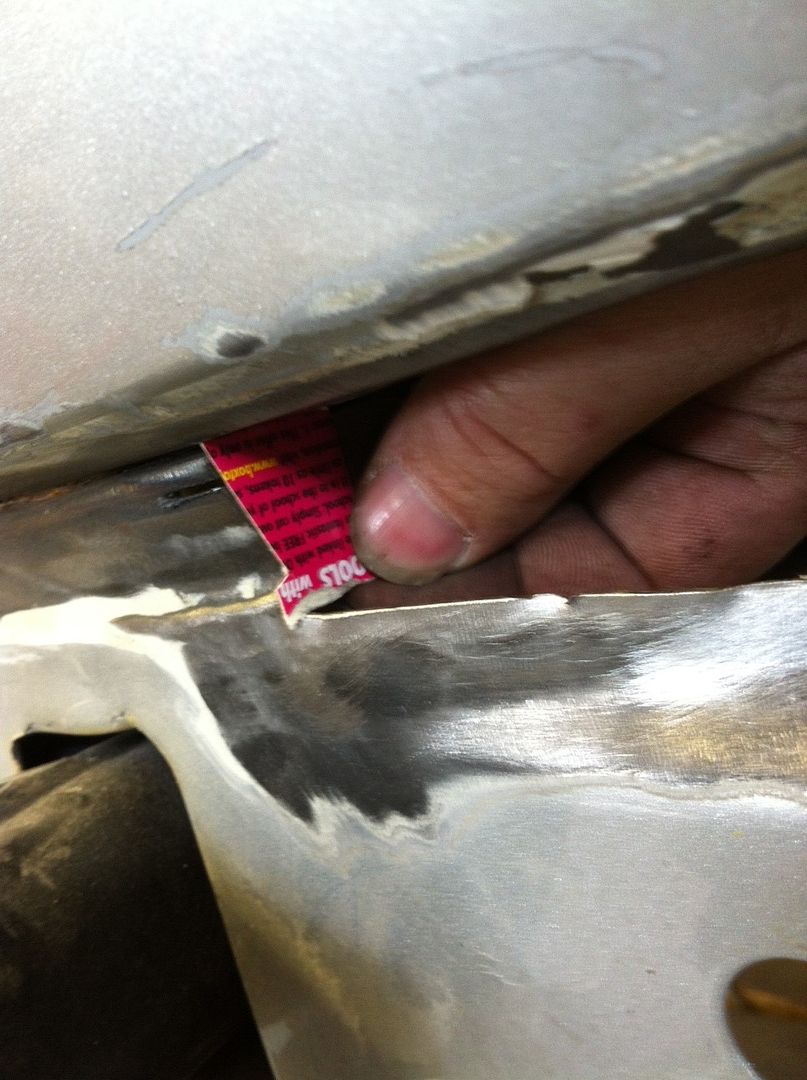 The angle is right, 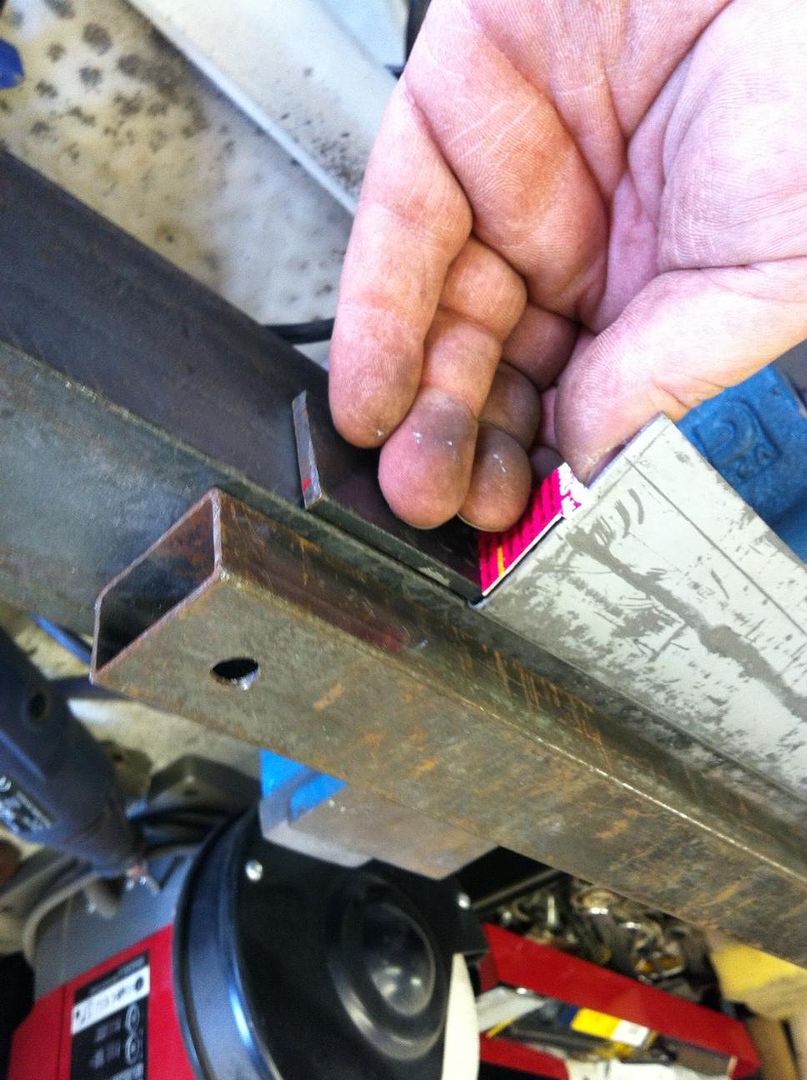 Just needs the swage putting in 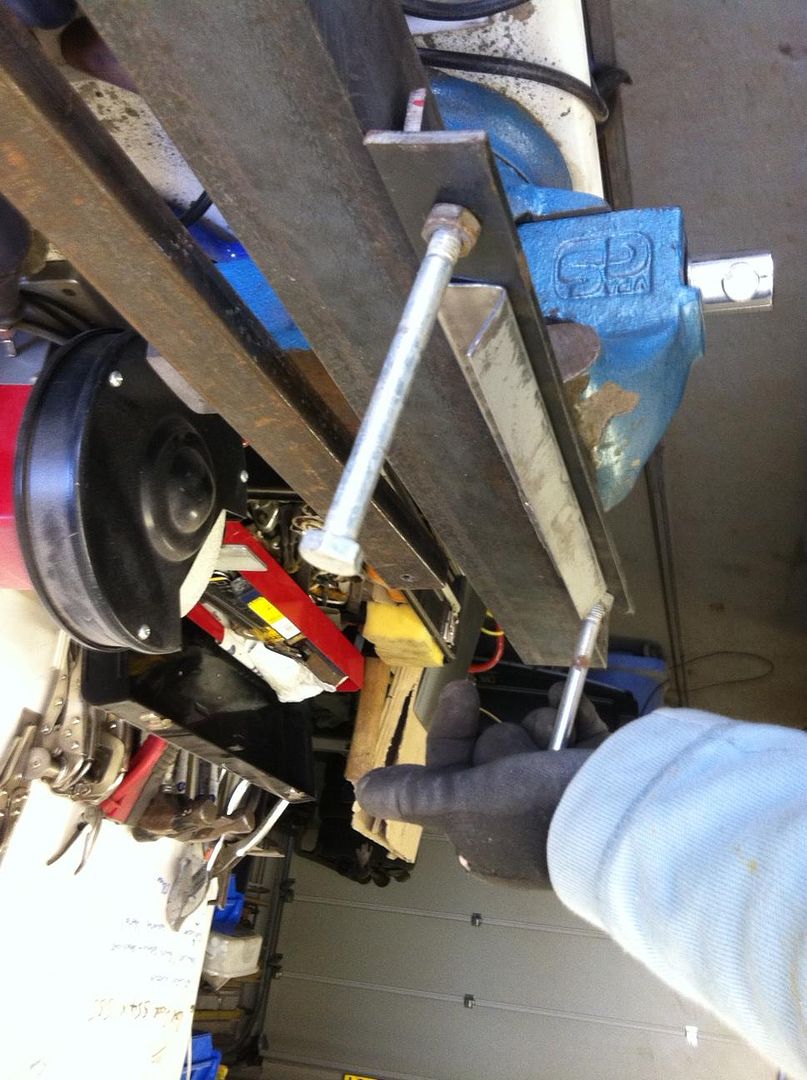 It kind of worked...... 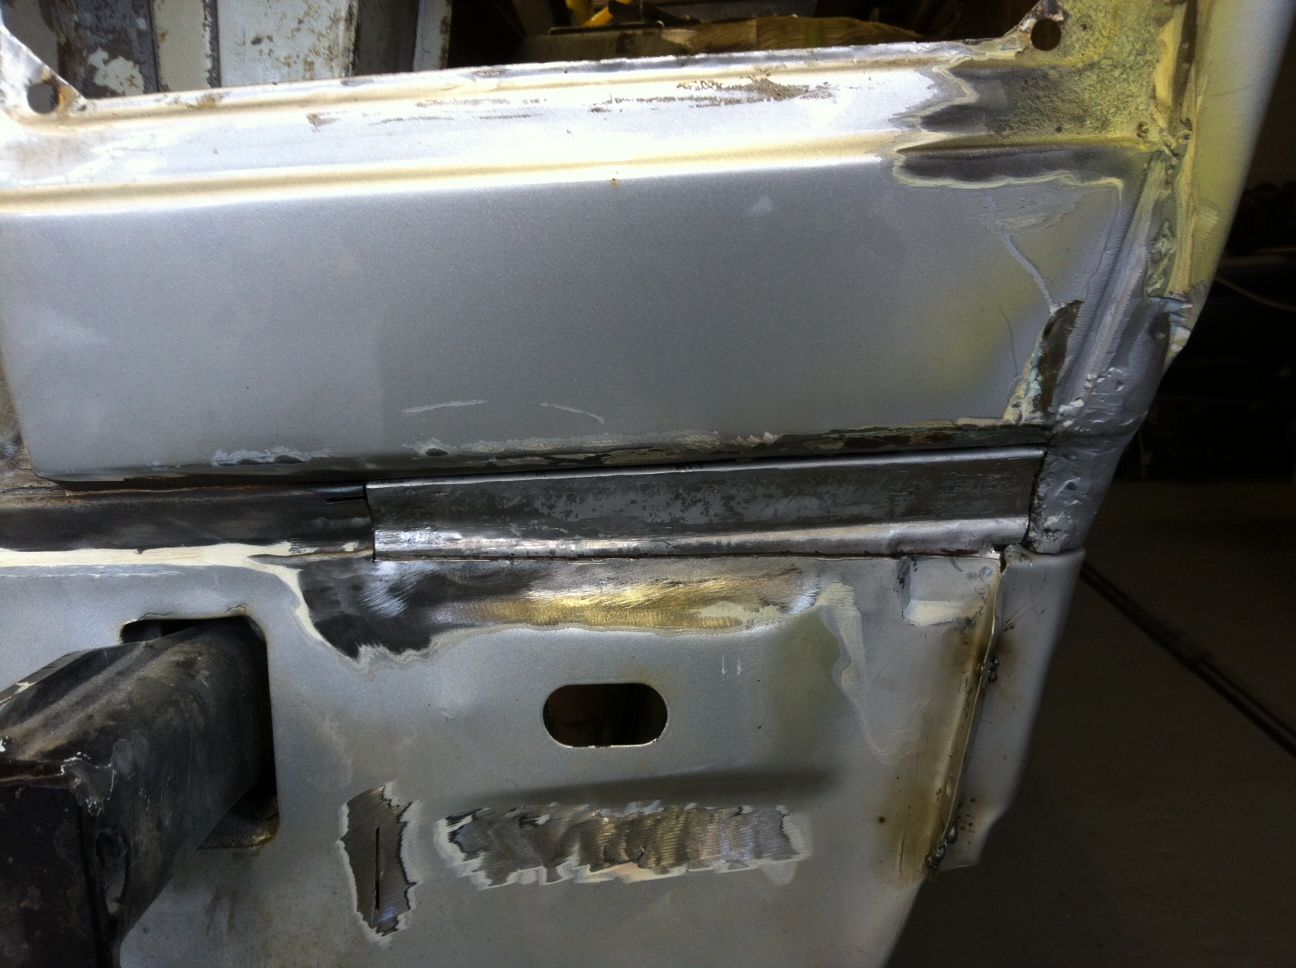 But seeing as how the other side has been filled in flat 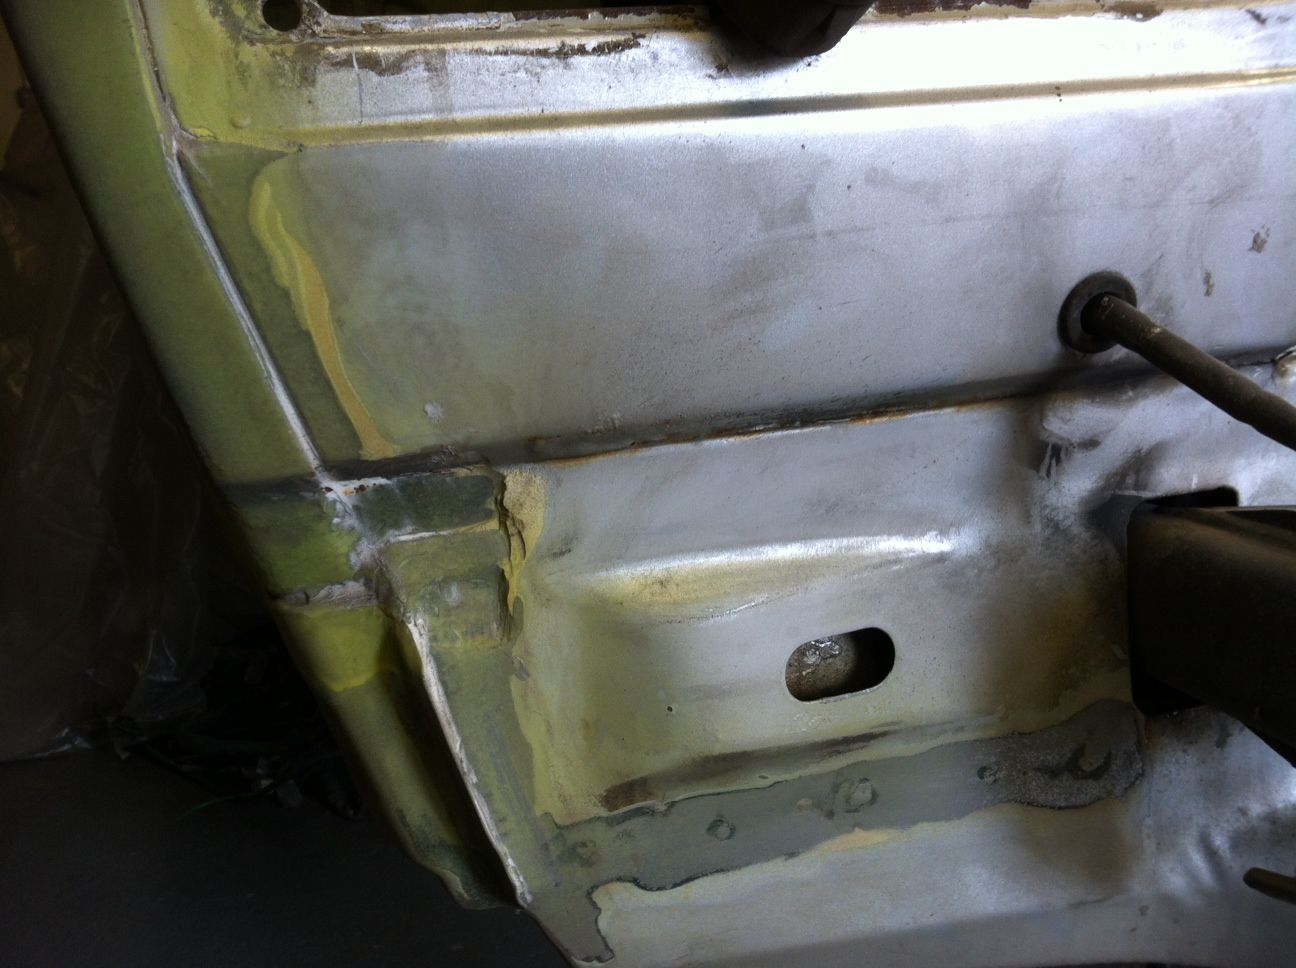 I'm not to worried about it after all.  Then I waved the melty stick in it's general direction 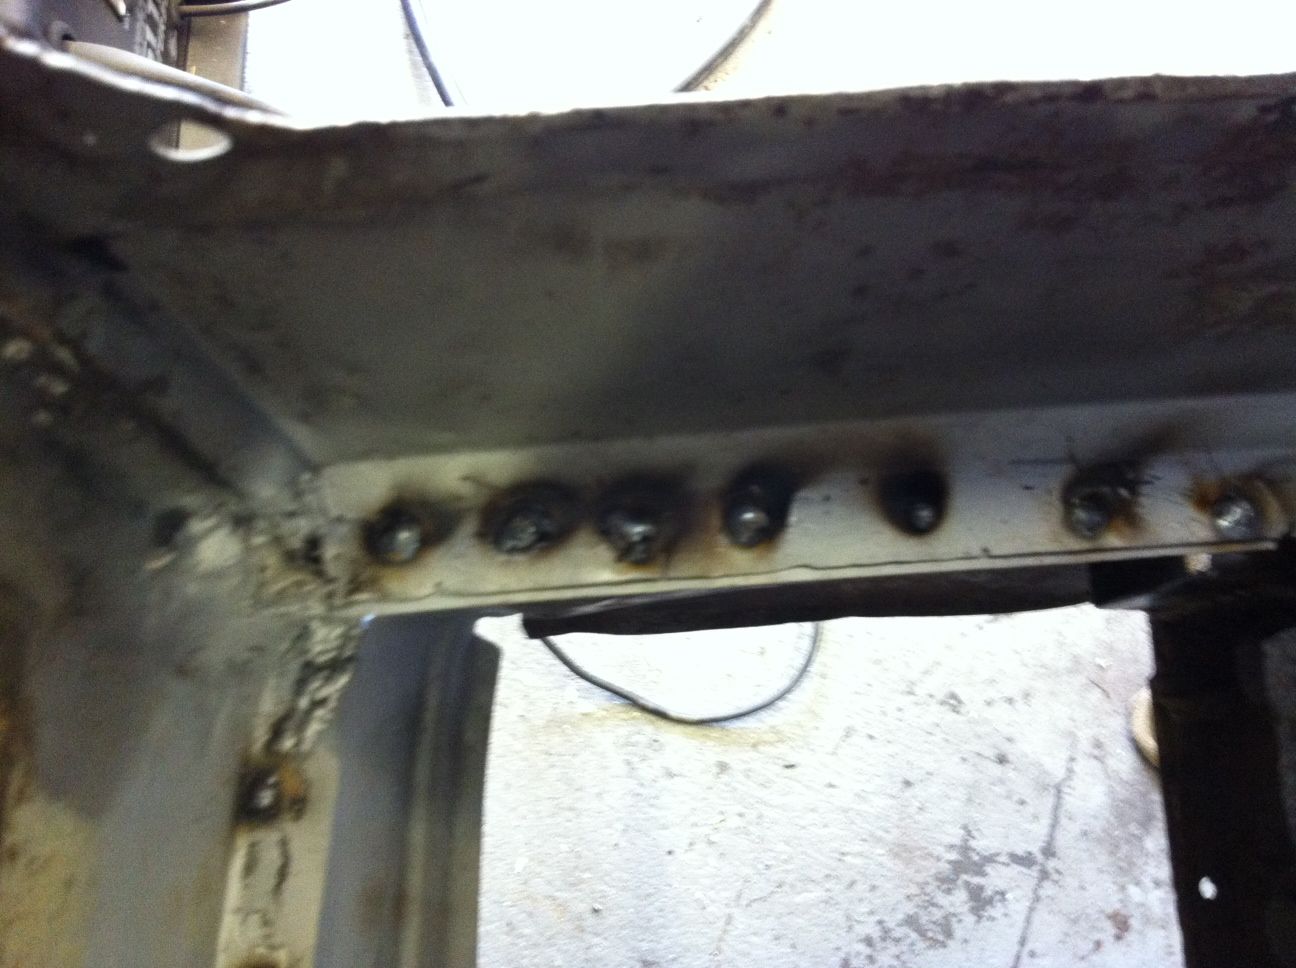 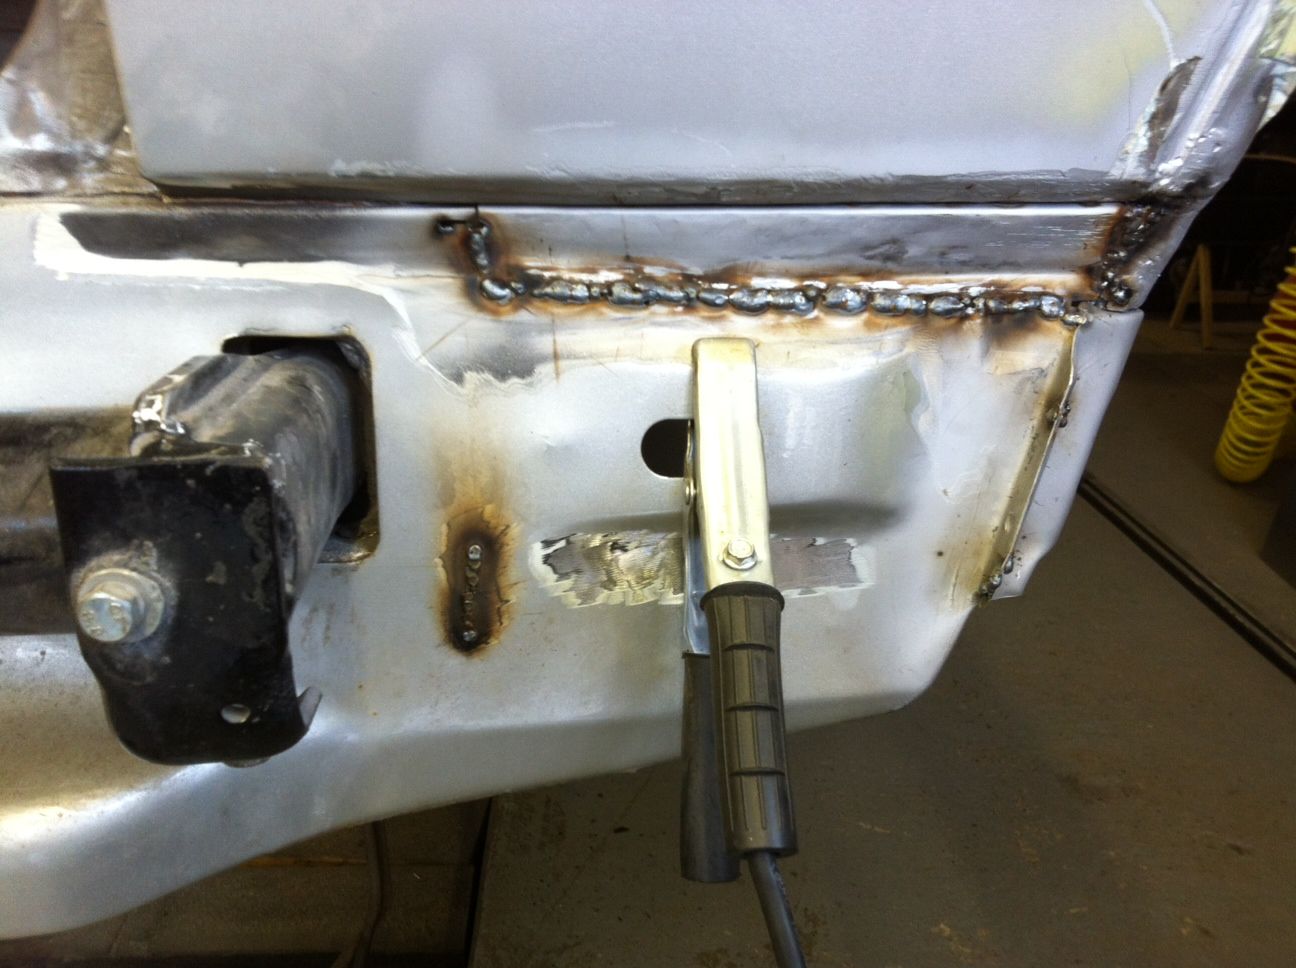 and gave it a whizz with the grinder 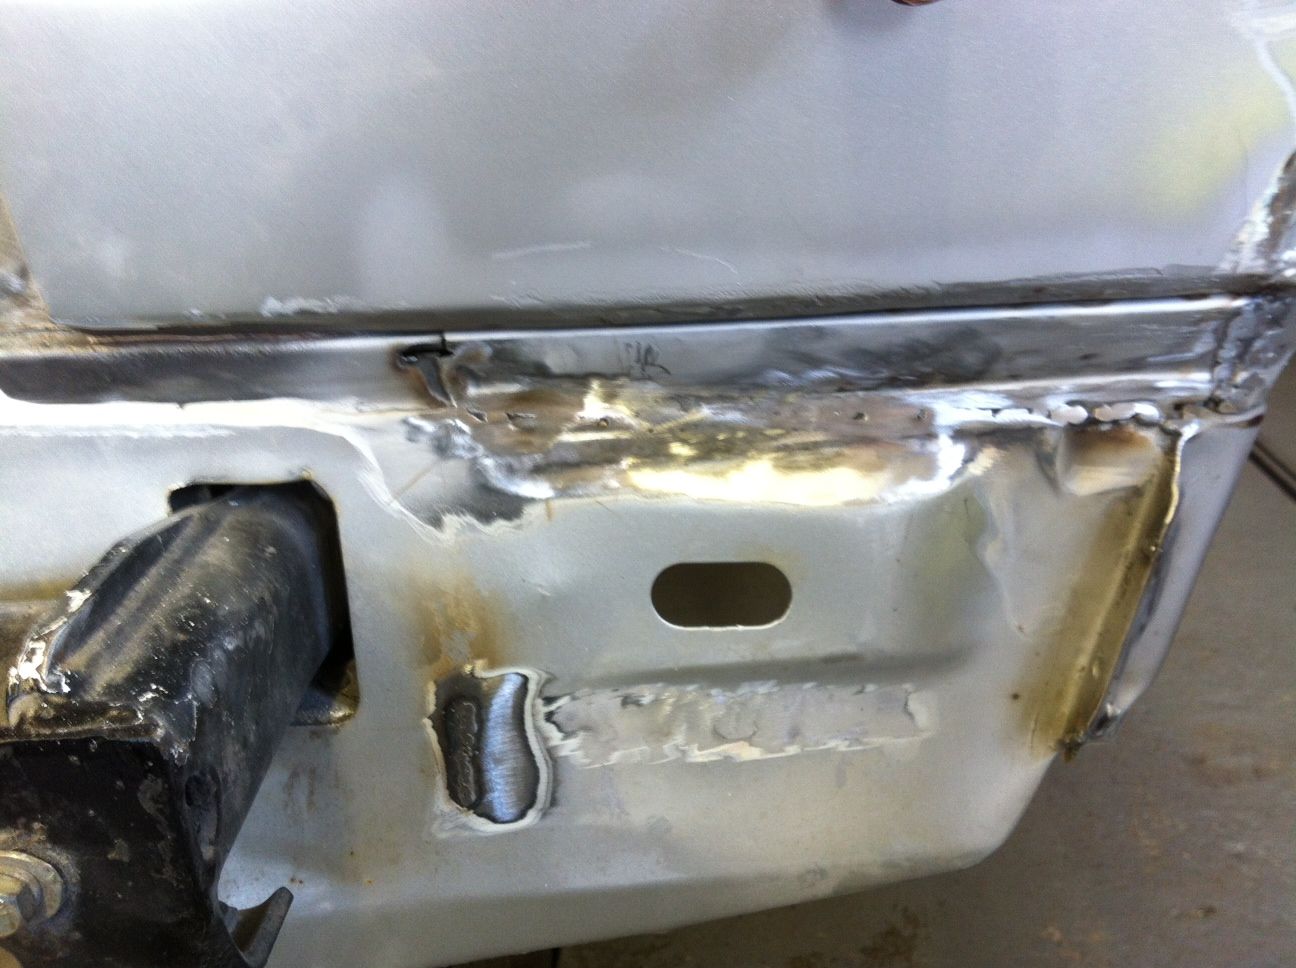 There's a bit more been done, but I just need to get the pics off of my phone. In other news I gave the rear trailing arm a good clean. If I'd thought this through properly I would have had the hub off and everything and got them dipped and stripped. But I didn't  curse word! They'll get a coat of chassis black for now and new poly bushes and when they're back on the van I'll strip the hubs off and give them a good degunge and freshen up as well. (They'll need it, they're full of grit blasting grit  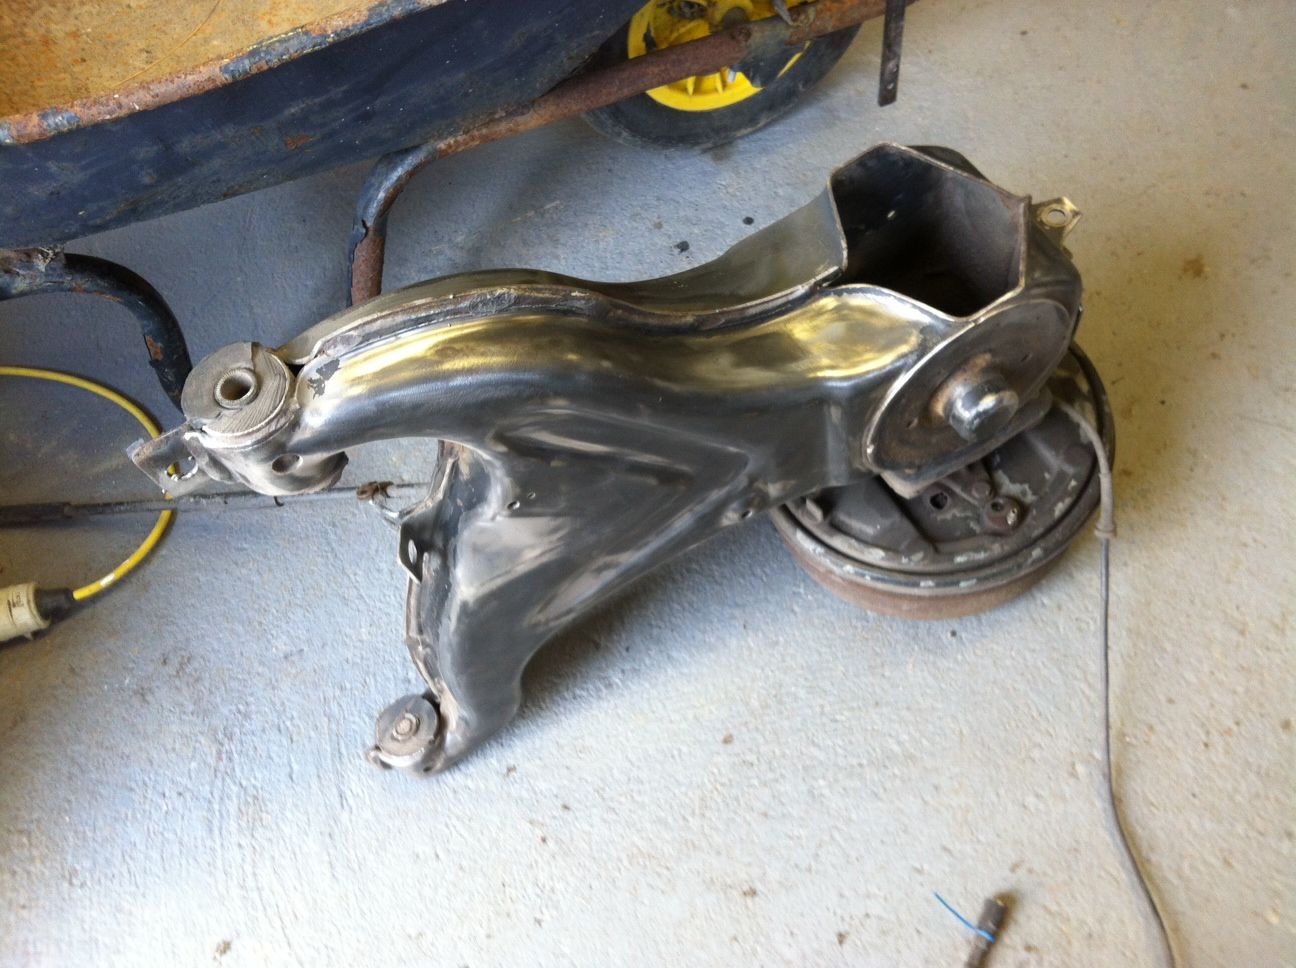 |
| |
|
|
luckygti
Posted a lot
   I need to try harder!
Posts: 4,912
|
|
Apr 15, 2013 21:20:29 GMT
|
Last bit, I had made this support bracket before so it just needed a bit of a tweak after filling the hole in the valance, so held on with some new clamps (very handy!) 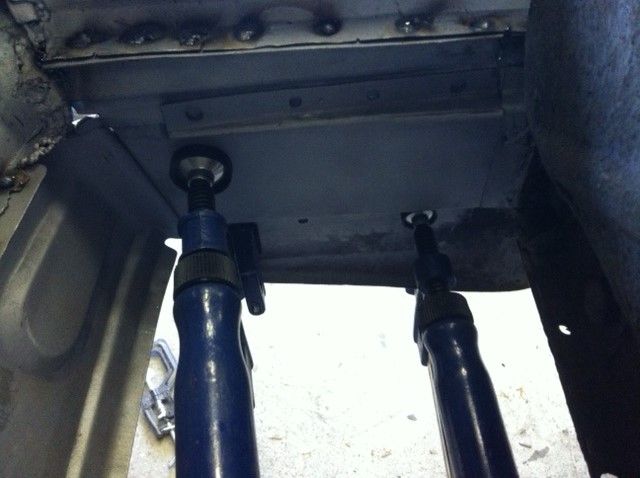 Some welding 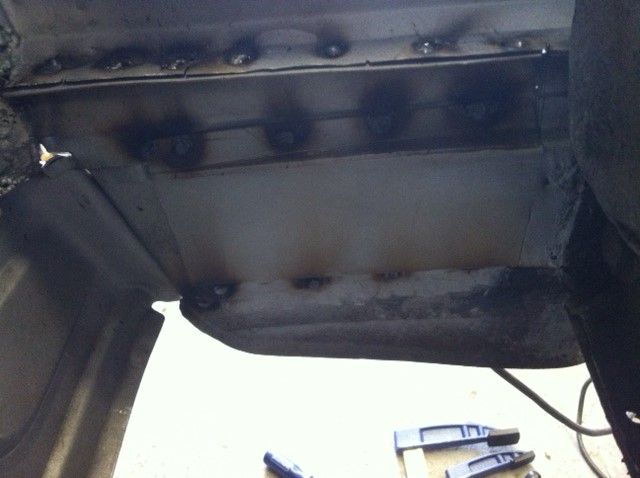 Job done. I've cut the piece as well to close up the bottom of the box, but that will have to wait until tomorrow! Thanks for looking in. Pete |
| |
|
|
luckygti
Posted a lot
   I need to try harder!
Posts: 4,912
|
|
Apr 16, 2013 19:51:02 GMT
|
Getting a bit lonely in here  Anyway, Today was all about closing up the battery box. We start here 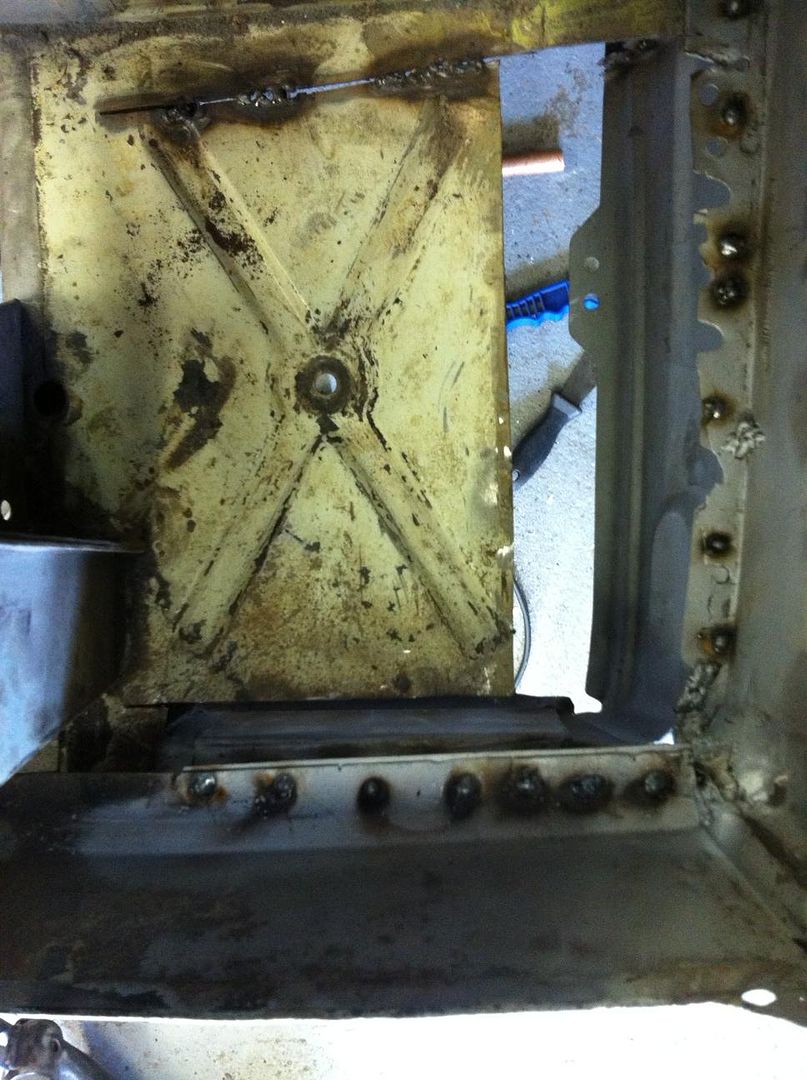 and I make a piece to fill the gap 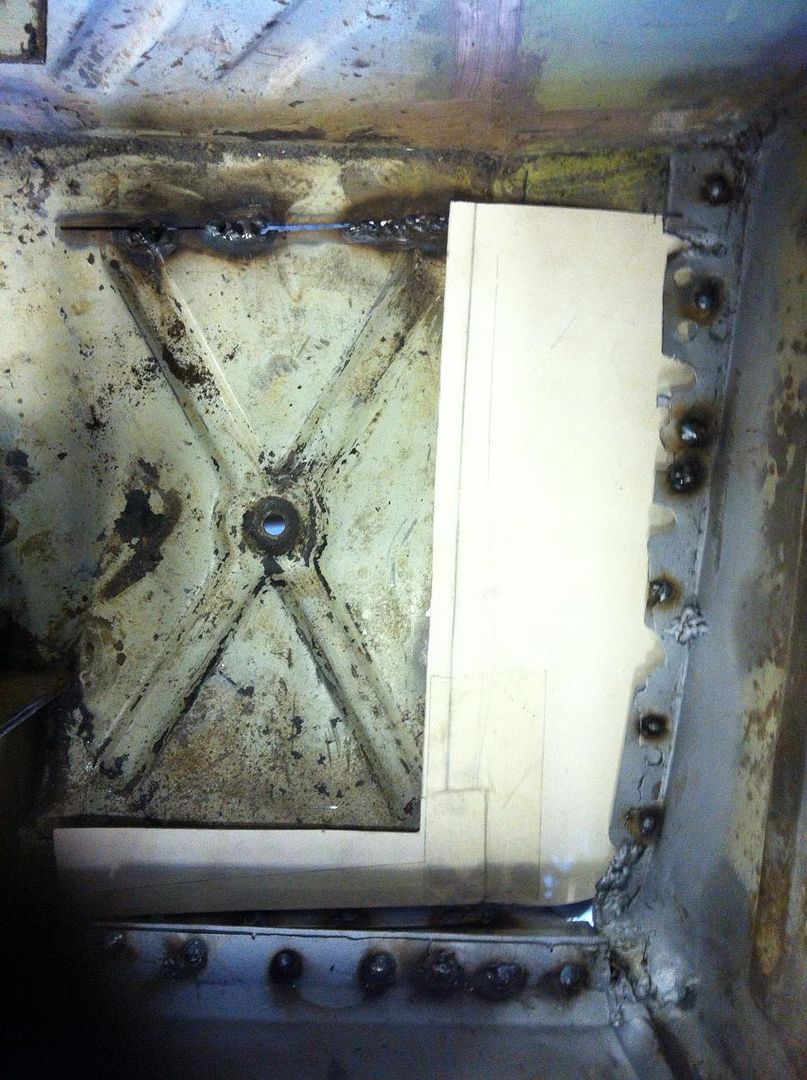 But, to be frank, it looks wibblepoo, so....... 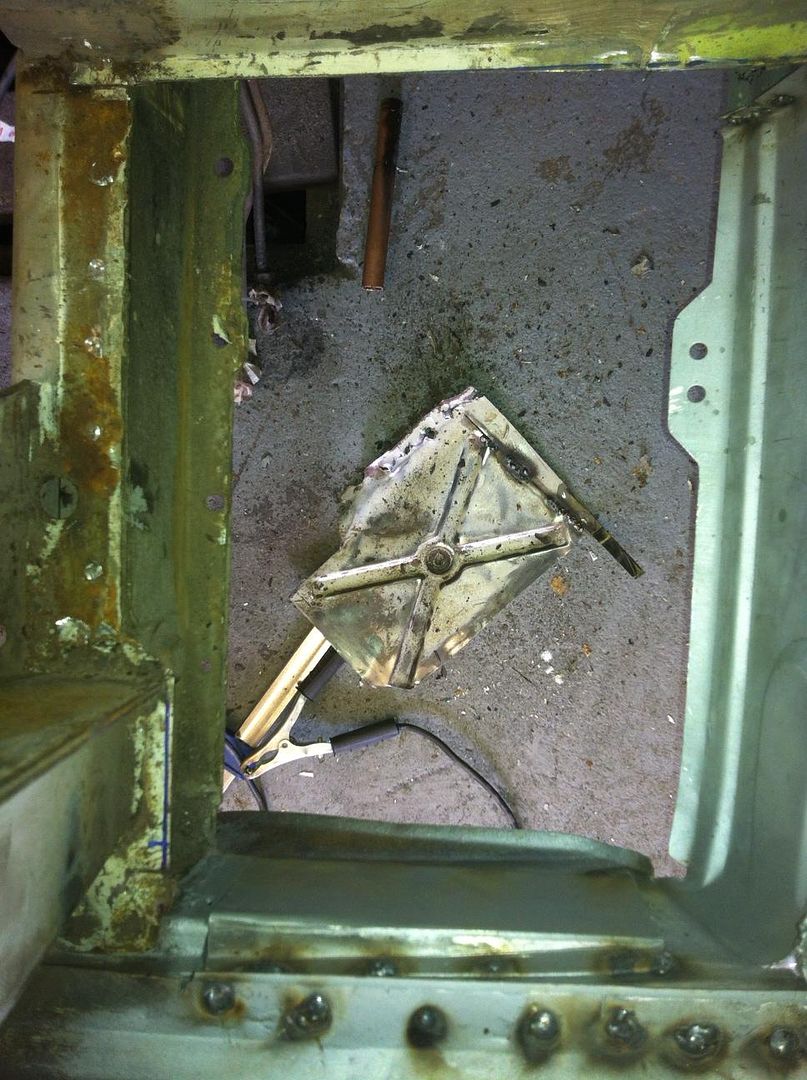 I also got rid of the fillet between here and the engine bay. Shock Horror!! More rust 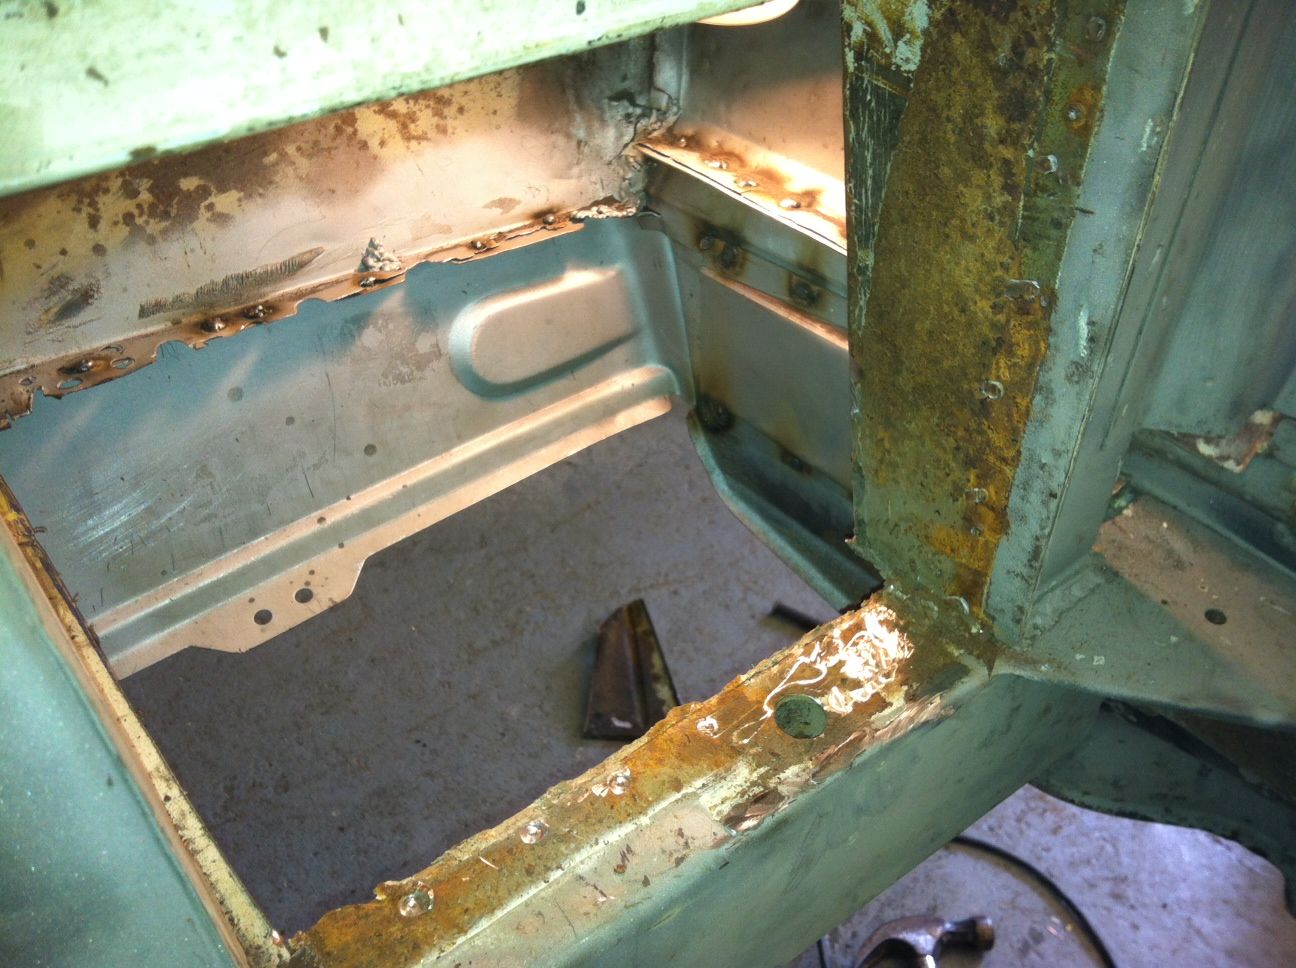 CAD and more cutting bending (starting again..... ) I'l let the pics do the talking 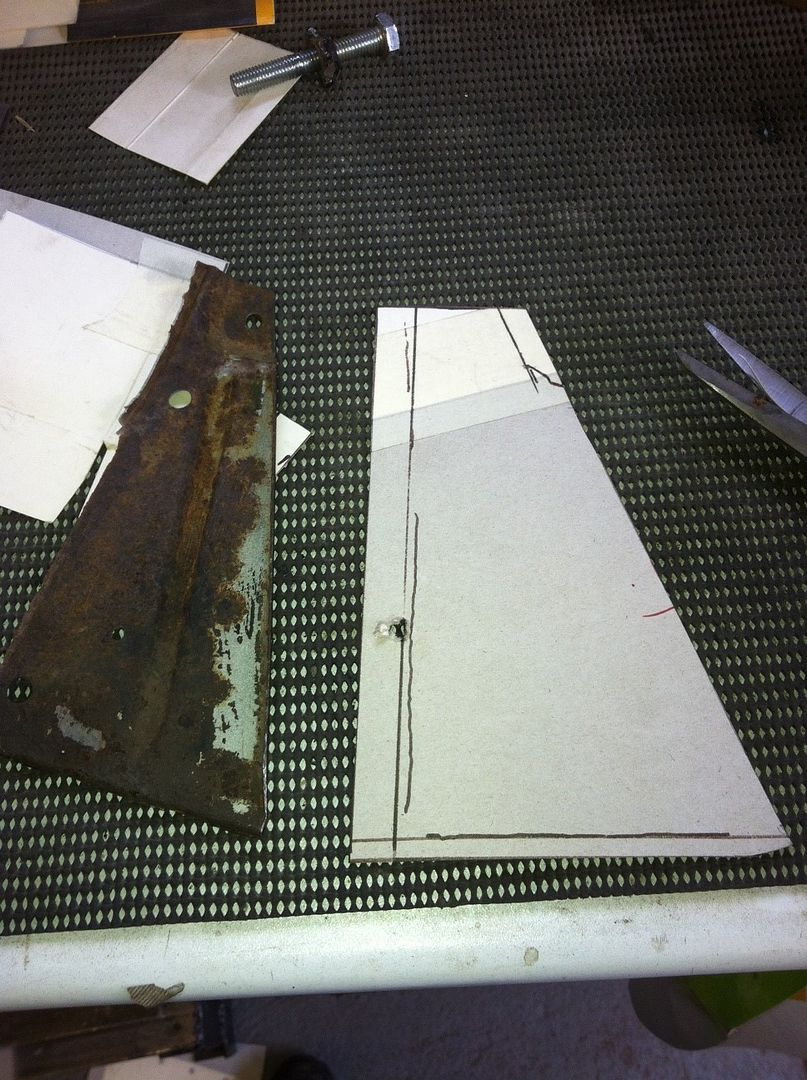 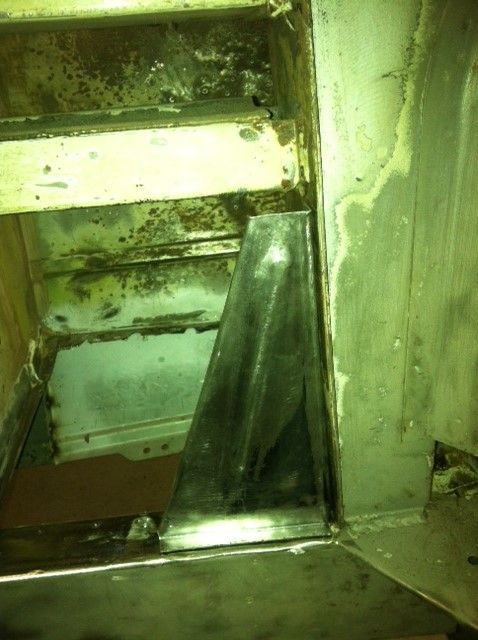 And the bottom 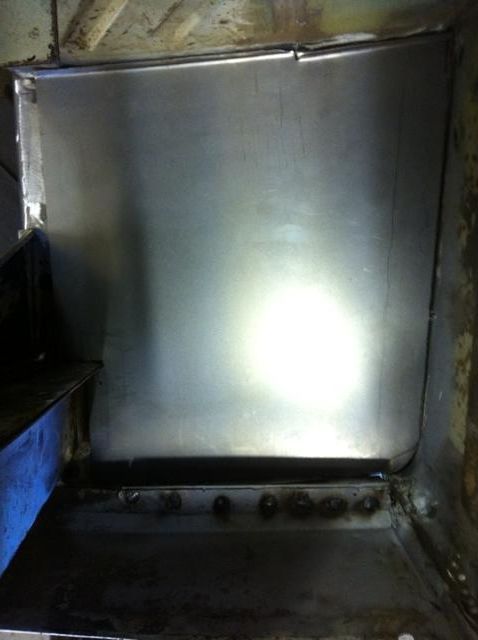 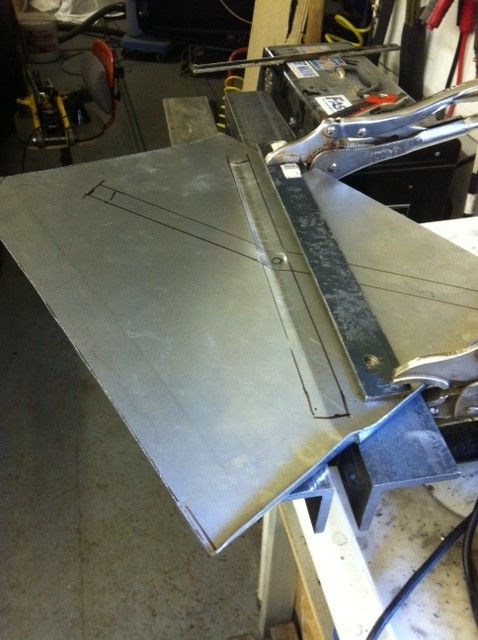 I've drilled the holes for plug welding and this is now sitting in place, just needs welding up which I'll do tomorrow Pete |
| |
|
|
gazjon
Part of things
 
Posts: 632
|
|
Apr 16, 2013 20:50:20 GMT
|
|
Wow just read this from the start. Wish I had the confidence to give a job that big a go. Top work :-D
|
| |
Mk2 Cavalier saloon
Mk4 Astra Van z20let
|
|
luckygti
Posted a lot
   I need to try harder!
Posts: 4,912
|
|
Apr 16, 2013 20:55:03 GMT
|
Wow just read this from the start. Wish I had the confidence to give a job that big a go. Top work :-D Lol, well, if I'd known when I started I might not have started  Thanks for the compliment though ;D good mojo booster! I think this will be the last major bit of welding and fabrication now, there are a few bits that need doing round the windscreen and the back window and I need to redo the bed bracing, but once they're done I can start prepping for paint (i.e. putting a lot of filler on, and sanding it back off again  |
| |
|
|
|
|
|
|
|
x2. Getting there now. Looks good. |
| |
|
|
|
|
EmDee
Club Retro Rides Member
Committer of Autrocities.
Posts: 5,934
Club RR Member Number: 108
|
1980 VW T3 Double KabEmDee
@emdee
Club Retro Rides Member 108
|
Apr 17, 2013 12:32:13 GMT
|
|
HERO!
Awesome work again Pete, I can't wait till August to sit with you and Denise and knock back some bevvies in the sun and admire this baby in the tin.
Think about taking it up the hill! I know it seems a long way off but it won't be long. Now get out there and finish it off!
|
| |
|
|
luckygti
Posted a lot
   I need to try harder!
Posts: 4,912
|
|
Apr 17, 2013 12:36:26 GMT
|
Too kind Martin, think I'll skip the hill this year, missed too much if the show last year and I'll just be chuffed if this gets there  start a new job soon so it'll be evenings and the odd weekend but hopefully it'll start to come together a bit more now! We shall see! Bevvies sound gooooooooood ;D |
| |
|
|
EmDee
Club Retro Rides Member
Committer of Autrocities.
Posts: 5,934
Club RR Member Number: 108
|
1980 VW T3 Double KabEmDee
@emdee
Club Retro Rides Member 108
|
Apr 17, 2013 12:51:07 GMT
|
Too kind Martin, think I'll skip the hill this year, missed too much if the show last year and I'll just be chuffed if this gets there  start a new job soon so it'll be evenings and the odd weekend but hopefully it'll start to come together a bit more now! We shall see! Bevvies sound gooooooooood ;D Yeah actually funny you should say that, I'll be skipping the hill this year too. As you say it tends to take over the day and I forget to walk around and take tons of photos and just enjoy the show. I might come to Ipswitch and see Krimbo sometime before RRG, let me know if you fancy knocking a few back while I'm there. Keep up the good work hombre. |
| |
|
|
luckygti
Posted a lot
   I need to try harder!
Posts: 4,912
|
|
Apr 17, 2013 16:47:34 GMT
|
Will do mate, definitely up for a few beerios if you're up this way, just let me know when  |
| |
|
|
luckygti
Posted a lot
   I need to try harder!
Posts: 4,912
|
|
Apr 29, 2013 21:03:25 GMT
|
Not a great deal to tell, but did manage an hour in the garage the other day. Didn't really feel like getting dirty so thought I'd put the new clock set together as I'd finally got round to spraying it up in matt black. 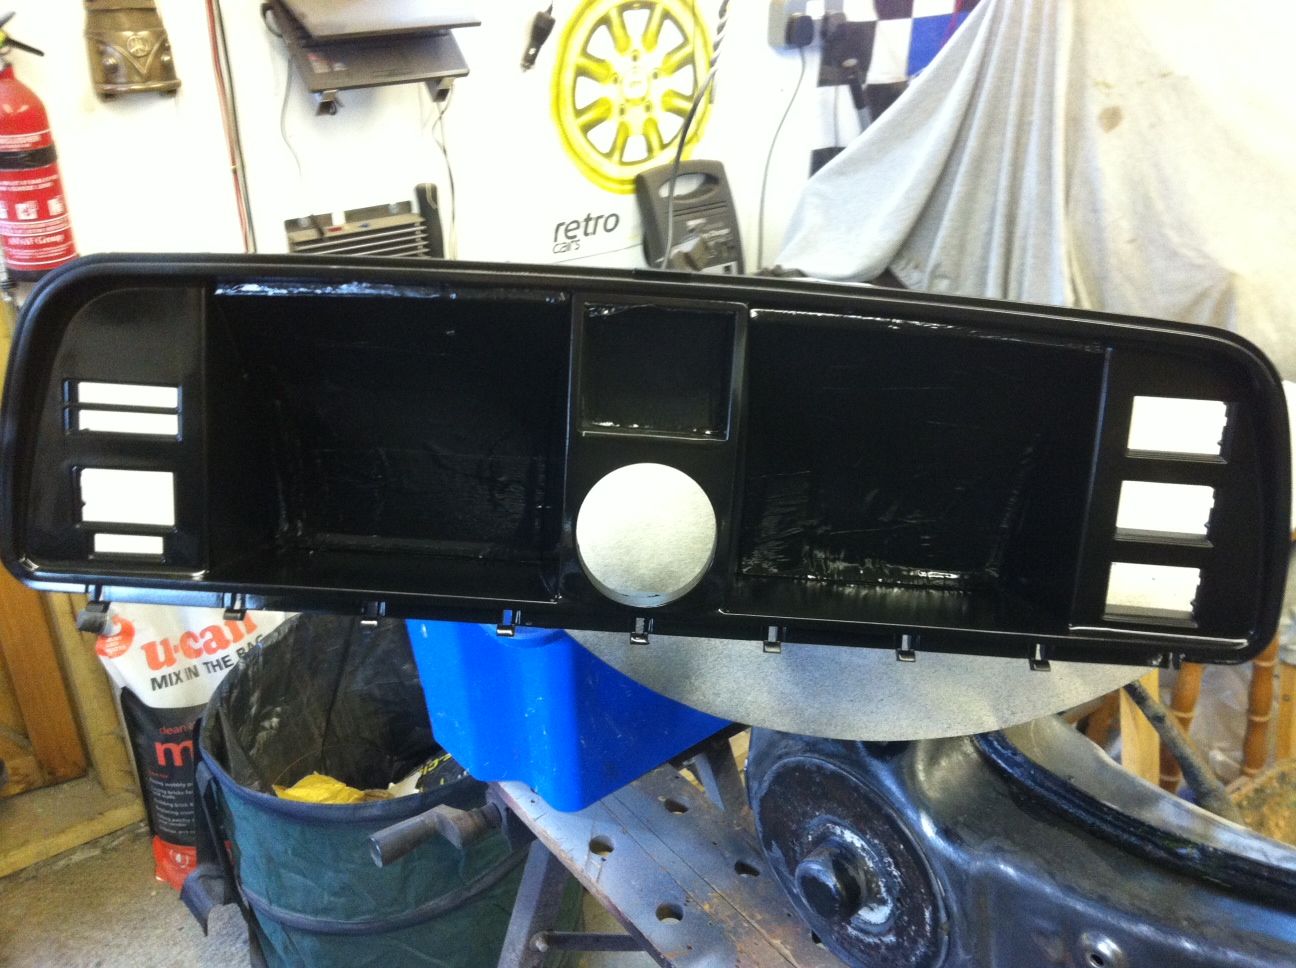 Stripped the old ones down. They have a plastic backing for all of the connections, these can be pretty knackered but mine actually looks to be in quite good nick. All off and cleaned up, and then onto the new one (The reason for changing was that most of the screw holes that hold on the clocks themselves were broken or missing. The new one had all but one I think in a fit state. What they didn't have was a hole for the trip  Quite how I missed that..... well, my attention to detail can be a bit lacking sometimes  Anyway, a bit of heat gun use had the old clear covers loosened. I haven't got them glued in yet, just a couple of the last bits of plastic to scrape out! 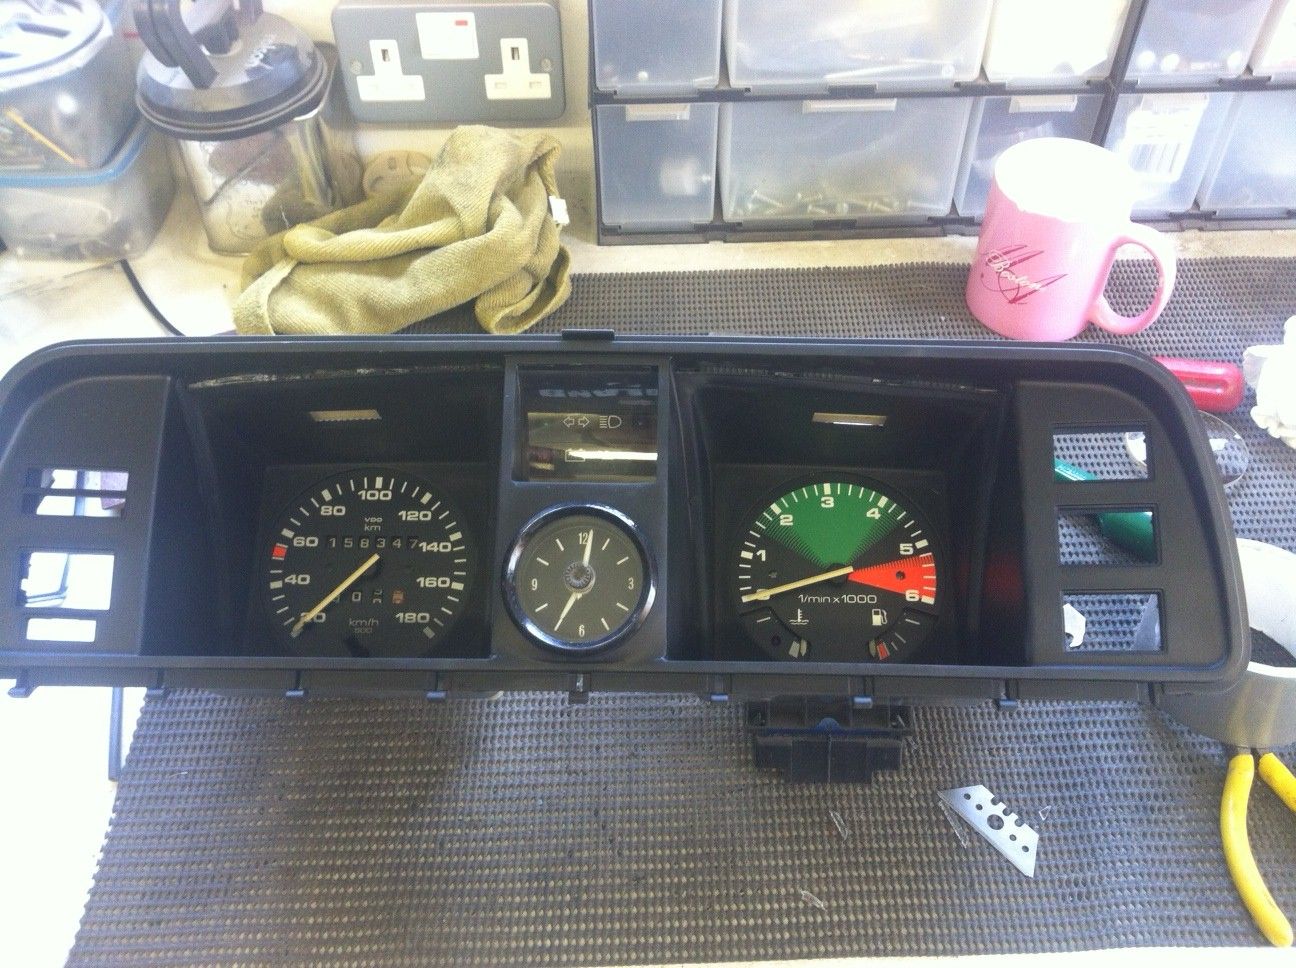 I'm pretty pleased with it, and the new clock in the middle. Just need to check it all works now........ |
| |
|
|
luckygti
Posted a lot
   I need to try harder!
Posts: 4,912
|
|
May 28, 2013 21:10:54 GMT
|
Well, it's been a while, and I've had a total mojo breakdown. Let ,me tell you why..... First off, I have dropped the rear suspension. This saga is detailed somewhere up there ^^ and after giving them a quick blast and grind, I gave them to a mate who runs the local garage to remove, and refit the bushes. Removal? Easy! Refitting? Not! I got some new bushes, Lemforder, which are (I think) the company who make the VW ones, but with a smaller price tag. Now apparently, there is a tool, cone shaped, that will ease the bushes into place, but they seem to be like the proverbial poor quality wobbly children's play pony poo, so the advice is lots and lots of lubrication and they'll go in. Or, they'll chew themselves up on the way in and become unusable. One down, I've called a halt to proceedings...... Now investigating whether I should go VW (£80 plus VAT) or Poly £84 plus post!) This investigation is ongoing!!!! The second mojo buster came when a mate was here, and with an extra pair of hands available, I thought this would be a good time to try and mate the Scooby lump with my 5 speed gearbox. Now, the engine was sat on a couple of wooden trestles, which in hindsight, weren't really up to the job when we starting doing a bit of engine - gearbox mating action (the gearbox was on the engine crane) The first issue was that on pushing them together, we ended up with a 1 inch gap between the two, that no amount of shoving would reduce. Then, we removed the clutch, placed it over the gearbox shaft and then tried fitting them together. Lo and behold, it slotted together straight away  Clutch reattached to flywheel? Yep, still the 1 inch gap. Now I'm starting to get a bit frustrated..... Keen not to have a tantrum in front of one of my oldest mates, I decide that now would be a good time to stop, take stock over a beer, and do some internet knowledge searching. "That trestle doesn't look too clever" says said mate. "Nah, it'll be fine says I........" The inevitable outcome is that the engine fell off the trestle, smashed the plastic pulley covers, one of the pulleys, and bent the bolts that connect engine and gearbox. Needless to say, it is now sitting under a cover, so that I don't have to look at the fu*****g thing. I have emailed smallcar.com to ask their advice though as the adaptor plate is theirs. 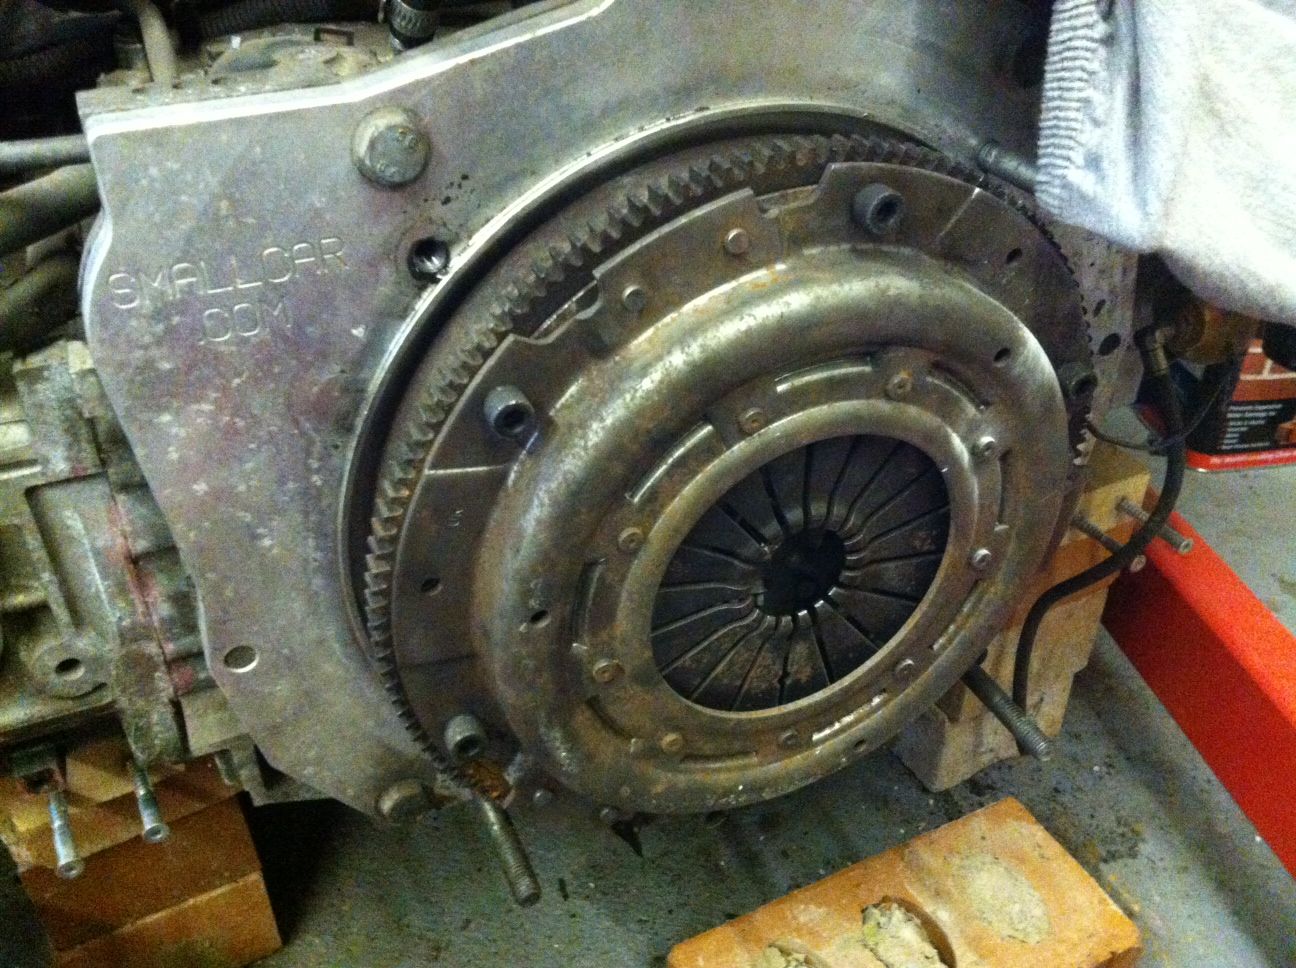 Sick of mechanical shenanigans, I started to sand down the back end in preparation of filler, filler, filler,filler, sanding, sanding,sanding,sanding,sanding, and eventual paint. Primer to start, and that's where we're at. 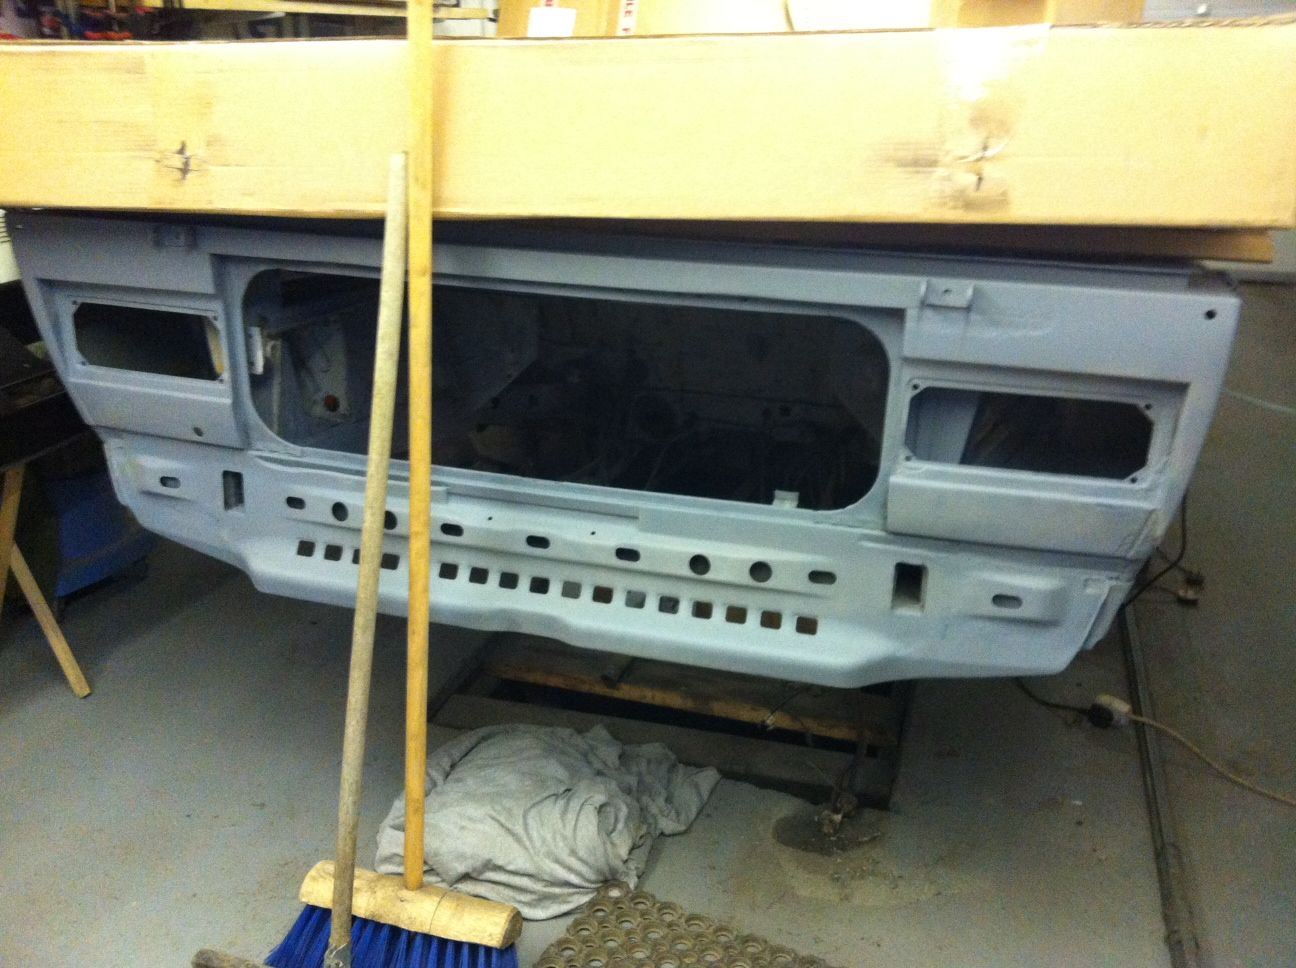 At least I have the Escort for Retro duties. This may take a while  |
| |
Last Edit: May 28, 2013 21:14:41 GMT by luckygti
|
|
luckygti
Posted a lot
   I need to try harder!
Posts: 4,912
|
|
May 28, 2013 21:28:21 GMT
|
Just realised that I hadn't put up the finished pics of the rear battery tray! So, first fix, 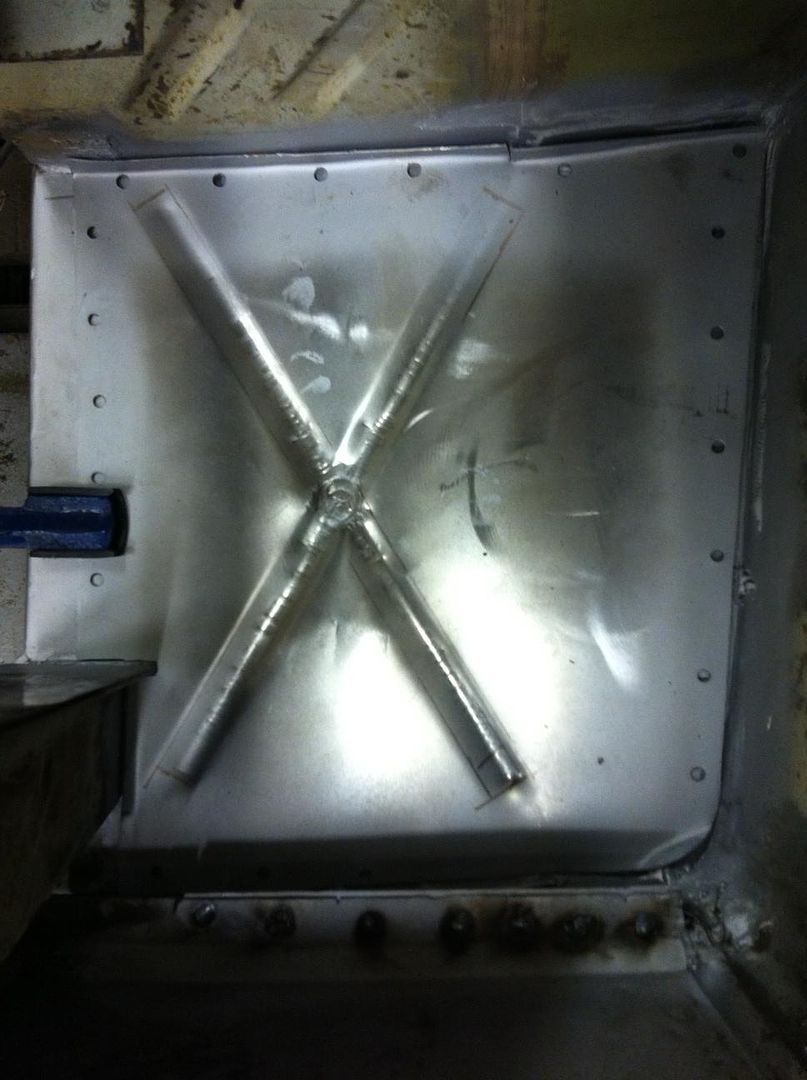 Then plug welded in. 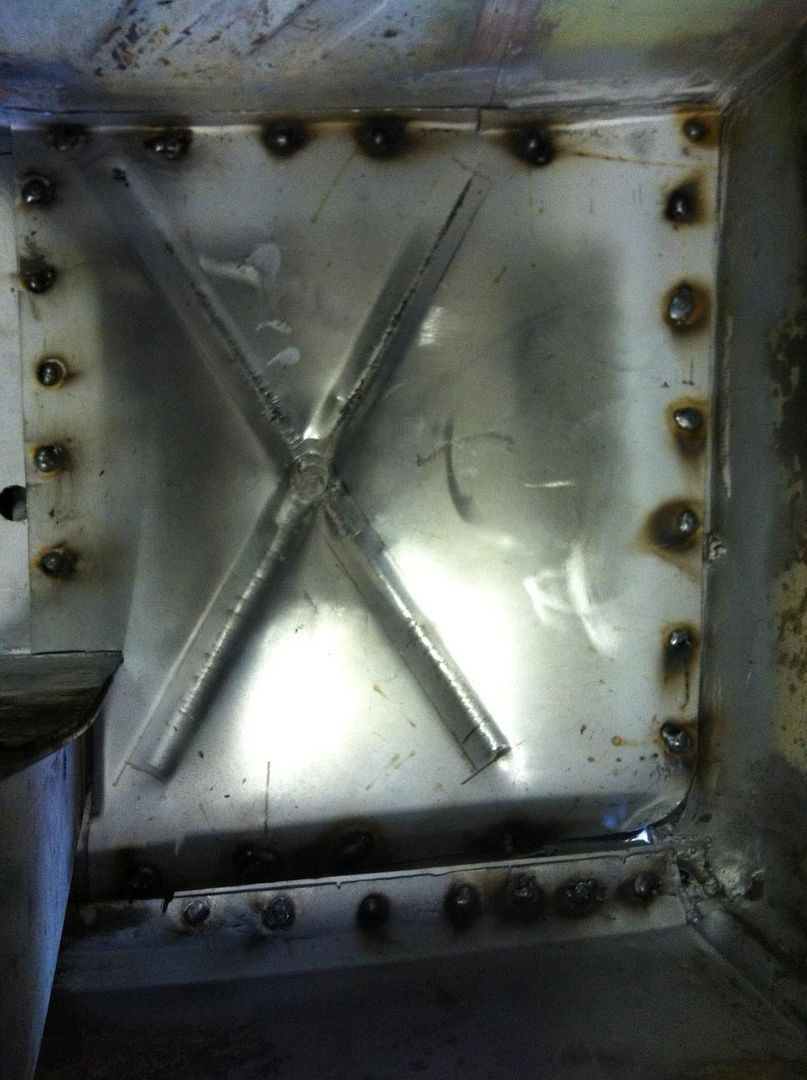 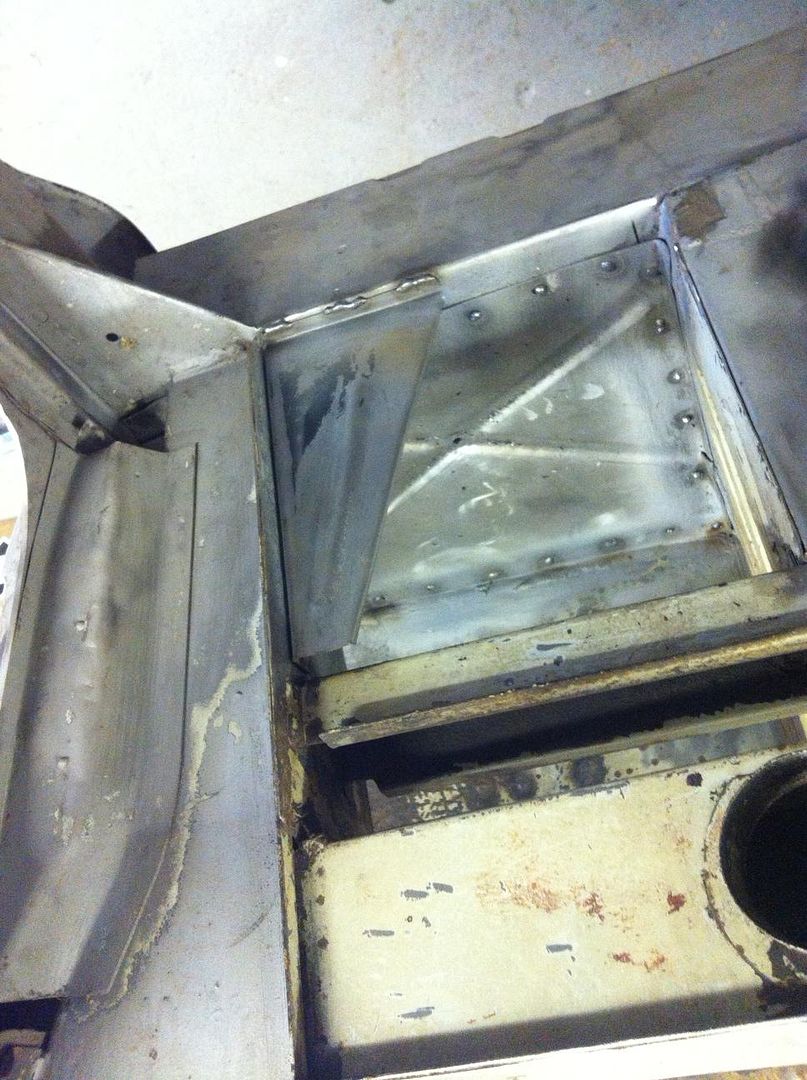 Pretty pleased with it all really, goes to prove that chopping everything out before starting repairs is 'NOT' the way to tackle a job like this  |
| |
|
|
luckygti
Posted a lot
   I need to try harder!
Posts: 4,912
|
|
|
|
Had some news last week from smallcar.com, and it seems that the engine and adaptor plate will fit the gearbox (or should) no problems. Although I've been using a clutch alignment tool to centralise the clutch, it doesn't look central when I remove it, so I'm going to try and adjust it by eye, and then try again! Now the big question is do I use the adaptor plate and MS on the 2.5 lump now I've dropped the other one..........? Still sanding  |
| |
|
|
Dez
Club Retro Rides Member
And I won't sit down. And I won't shut up. And most of all I will not grow up.
Posts: 11,790
Club RR Member Number: 34
|
1980 VW T3 Double KabDez
@dez
Club Retro Rides Member 34
|
|
|
give me a ring or text tomorrow pete to remind me to chuck the VW input shaft cut out of a gearbox that i have in the car when I'm at the workshop, then you can pop round one night and grab it to save driving youself mad getting it alligned  |
| |
|
|
luckygti
Posted a lot
   I need to try harder!
Posts: 4,912
|
|
Jun 16, 2013 21:10:56 GMT
|
give me a ring or text tomorrow pete to remind me to chuck the VW input shaft cut out of a gearbox that I have in the car when I'm at the workshop, then you can pop round one night and grab it to save driving youself mad getting it alligned  Just seen this! I'll give you a shout in the week. Anyway, got the paint out and started making it look pretty (Well, tidier anyway!) I've also been sanding and doing some rust treatment with some furtan. Seems to work pretty well, and the rust has turned a nice black. So, it was roller painting on the top, and chassis black underneath! Not very interesting, but it's a job that has to be done. 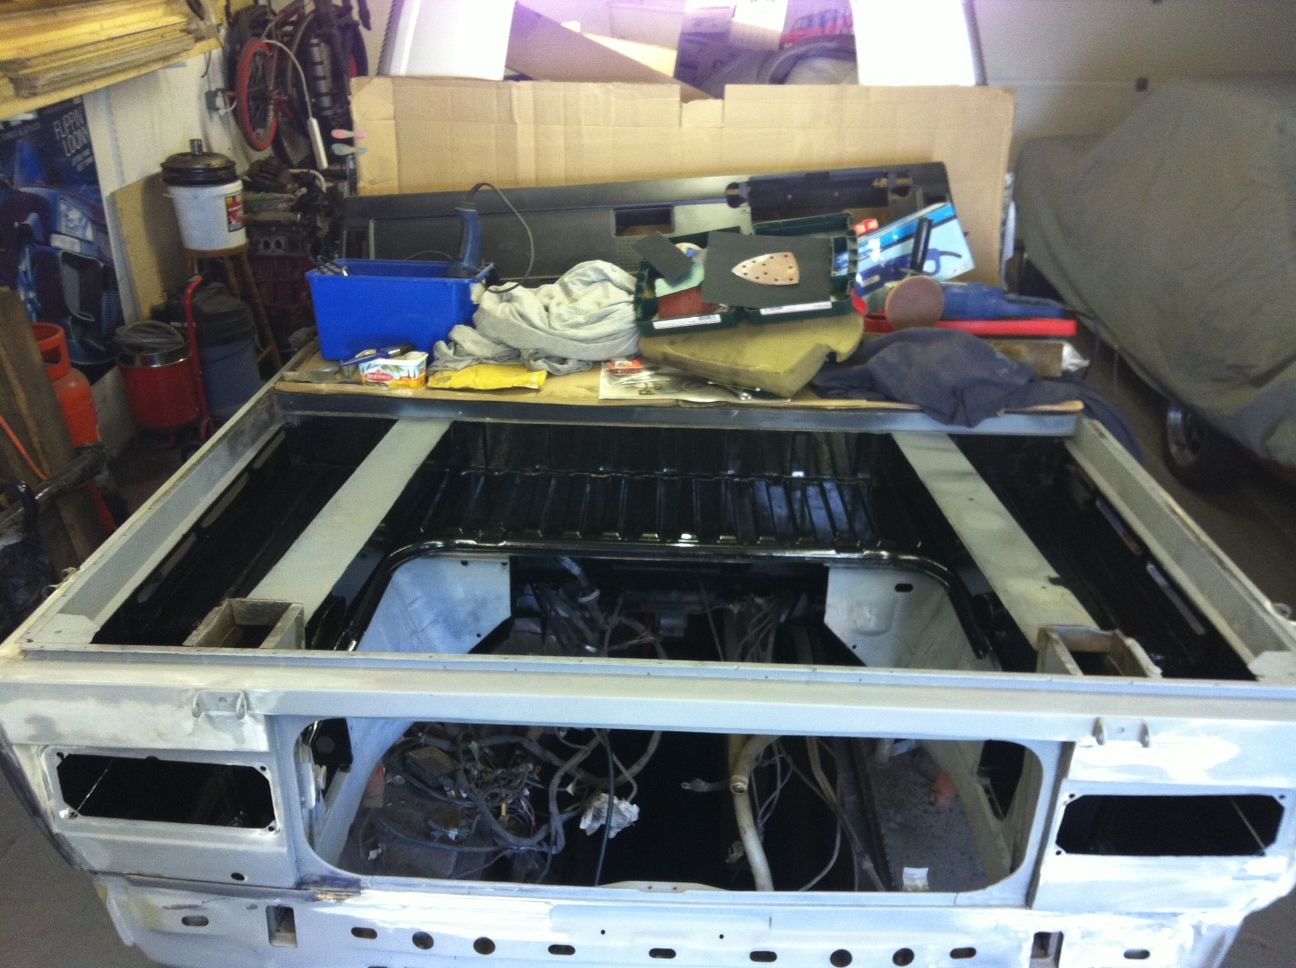 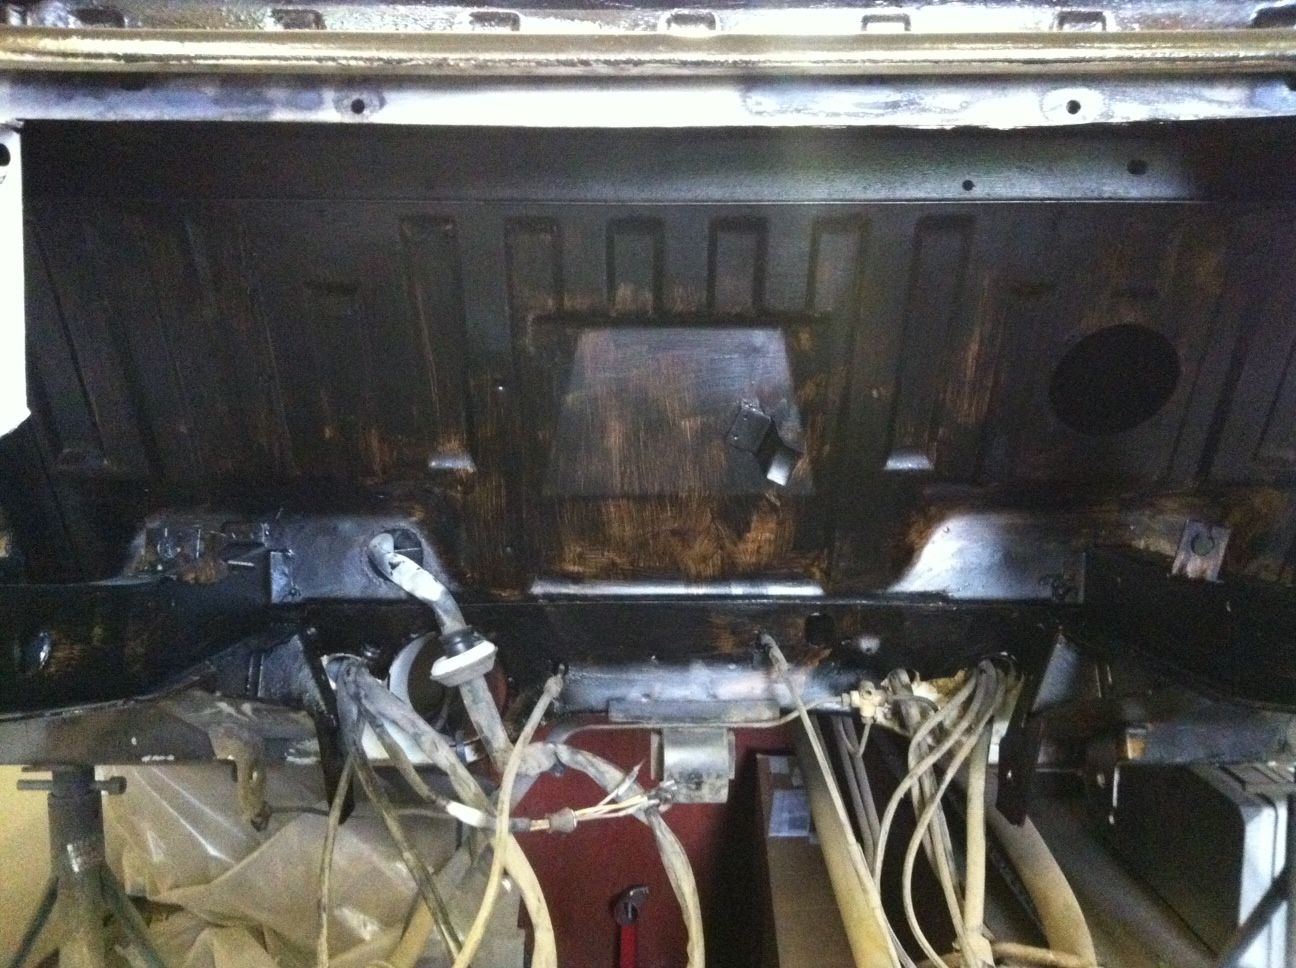 Then, as it needed some time to dry, I thought I'd drag the other Scooby lump out and see how complicated it might be to get that attached to the gearbox with the adaptor plate on. First I need to get rid of this lump of pig iron! 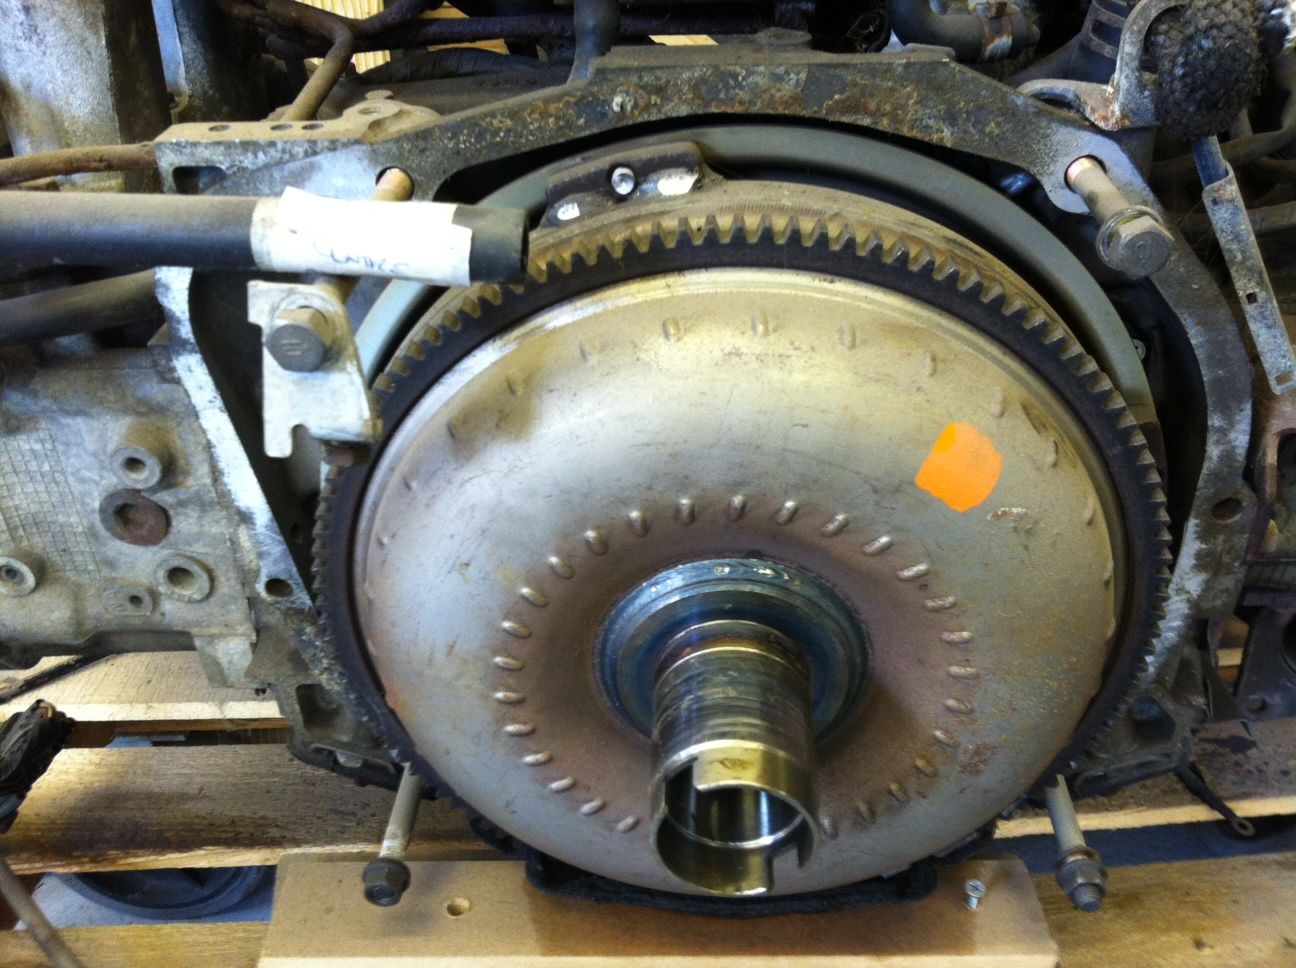 It took a while, the bolt heads are a bit tricky to get to when it's sitting on a pallet  Still, I managed 3 of the 4, and then after rounding only 2 of the 8 flywheel bolts, the thing was on the floor. 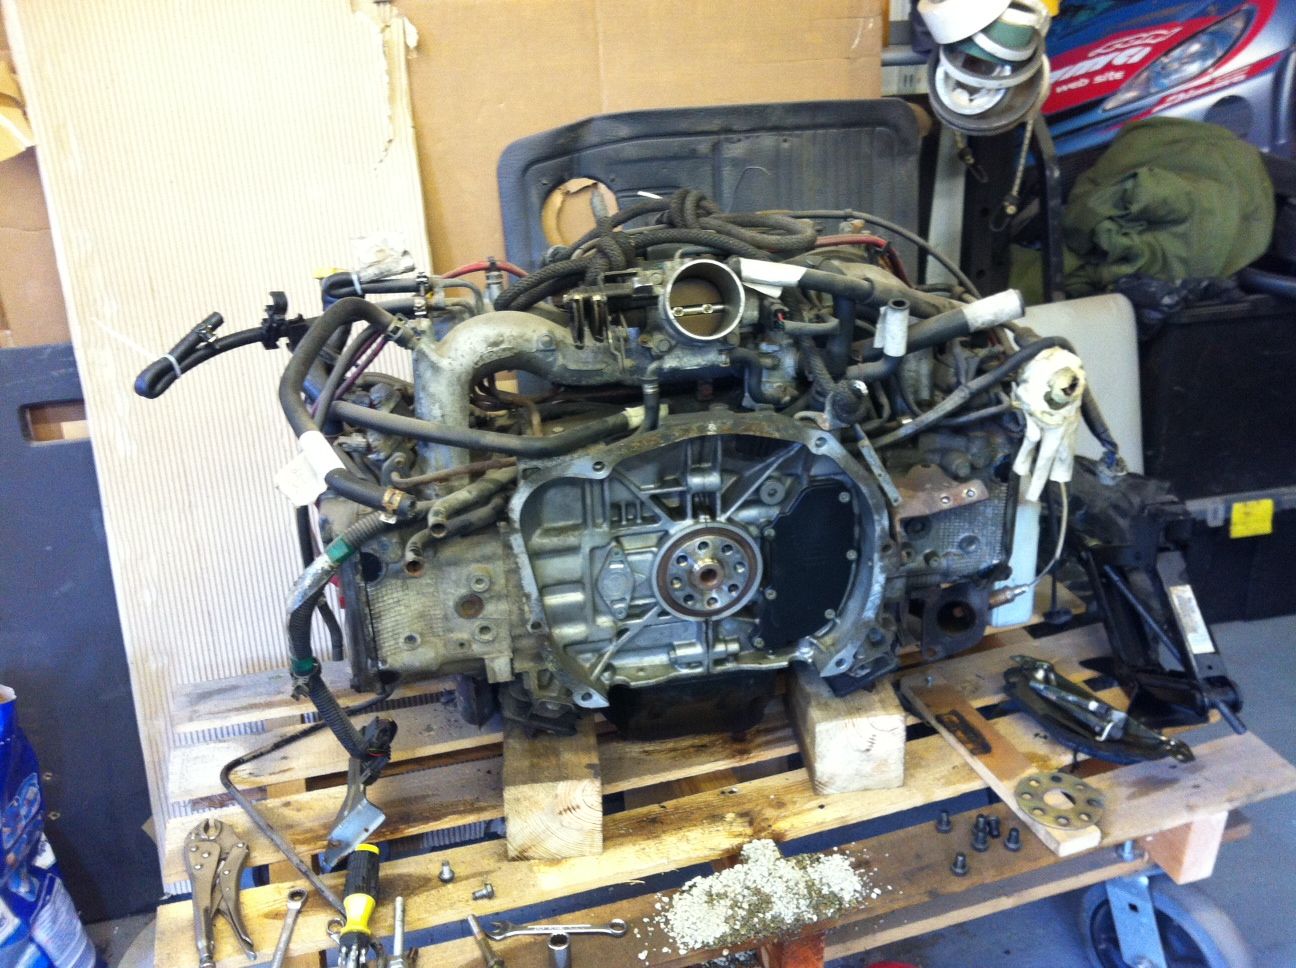 That's enough for today, more paint and engine stuff tomorrow. I hope! |
| |
Last Edit: Jun 16, 2013 21:16:20 GMT by luckygti
|
|
|
|

 )
)


 )
)




 Then I waved the melty stick in it's general direction


