luckygti
Posted a lot
   I need to try harder!
Posts: 4,912
|
|
|
|
Few more bits and pieces done over the weekend, mostly tidying up the current wiring and getting rid of the hard covering to make splicing in the new cables easier. I've sold the 2.0 Scooby lump that had the Megasquirt fitted, so I spent a bit of time sorting that out and tidying around the garage. As I plan on routing the wiring into the underbed locker I needed to get in there and give it a good scrub. That was fun! Before 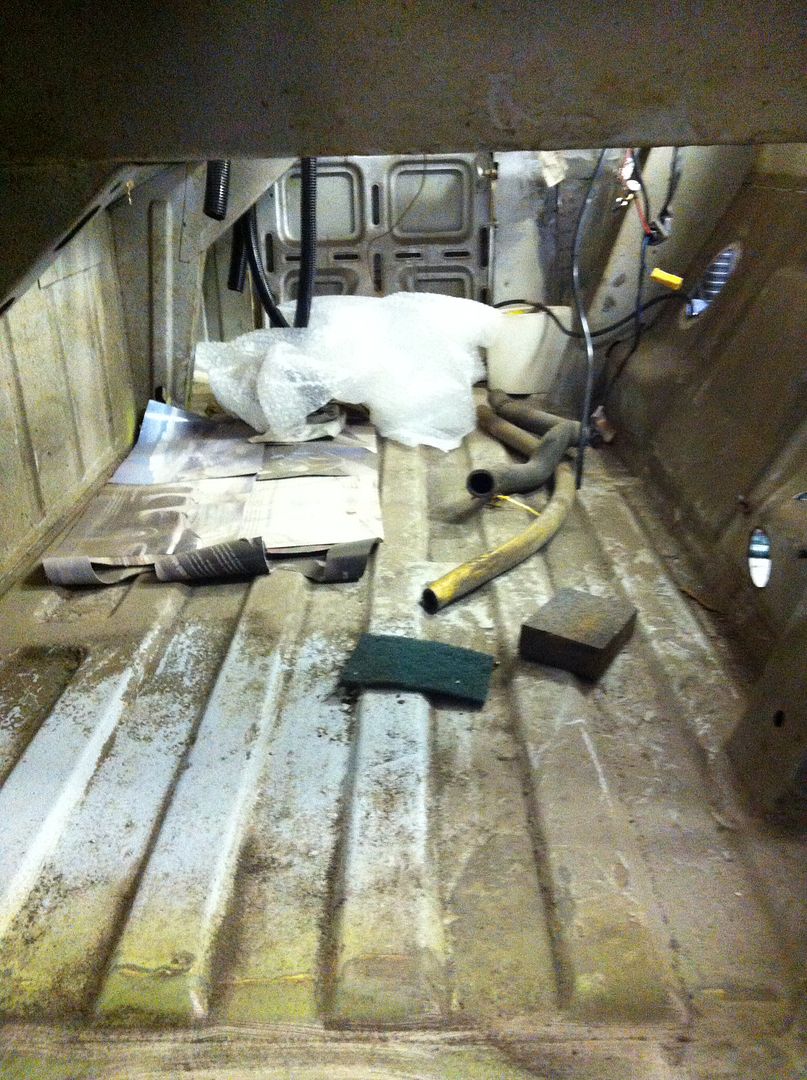 And after 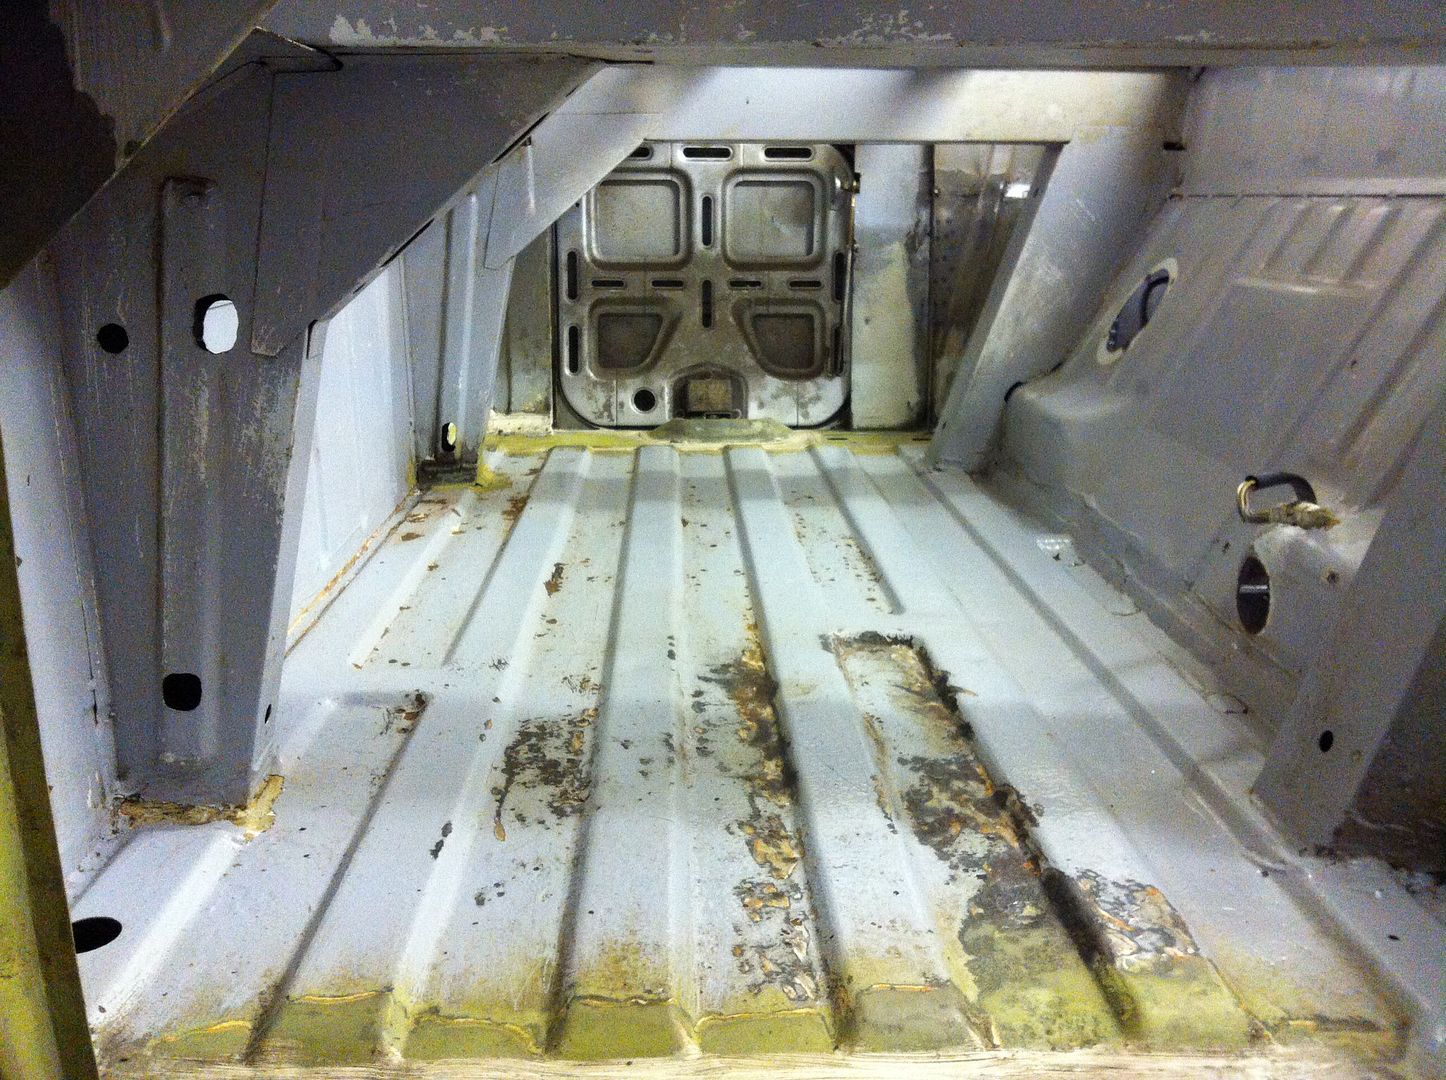 Not sure what's been used but there's a few rust scabs. Luckily, it's only surface in all but one place, I'll treat it and then put on a new coat of paint. Have plenty of underseal and thinking of using that? Thoughts? |
| |
|
|
|
|
luckygti
Posted a lot
   I need to try harder!
Posts: 4,912
|
|
Mar 18, 2014 19:22:58 GMT
|
|
|
| |
|
|
foldy
Part of things
 
Posts: 710
|
|
Mar 18, 2014 22:24:50 GMT
|
|
I'd somehow managed to miss the last few pages of this.
Some damn fine work going into this. And the wiring - well that looked like an absolute nightmare, and I don't blame you for getting an expert to jump in on that one!
Anyways, good work and keep chipping away.
(The comment about talking to yourself did make me chuckle.)
|
| |
|
|
stevietuck
Posted a lot
   Never argue with idiots,they drag you down to their level then beat you with their expertise!
Posts: 1,350
|
|
|
|
Its all coming together nicely mate  |
| |
|
|
hkr91
South East
Posts: 562
|
|
|
|
|
I've just read from start to finish... All nine pages. I can't wait to see the final product.
I used to have a toy car when I was younger of a T3 Doka - always loved how they looked. Keep up the good work!
|
| |
|
|
|
|
|
Mar 19, 2014 10:27:20 GMT
|
First I've seen of this, but I'm a relative newbie to the forums (lurked a while, though). Cool old motor, looking forward to seeing video of it rolling down the road under it's own (upgraded) steam.  Your conversion looks vaguely simple, I hope mine goes the same way! (not expecting it to be particularly smooth  ) Heh. And in the time it's taken me to read all of this over dinner, it seems a few others have as well.  |
| |
Last Edit: Mar 19, 2014 10:28:22 GMT by varelse
|
|
luckygti
Posted a lot
   I need to try harder!
Posts: 4,912
|
|
Mar 19, 2014 19:24:19 GMT
|
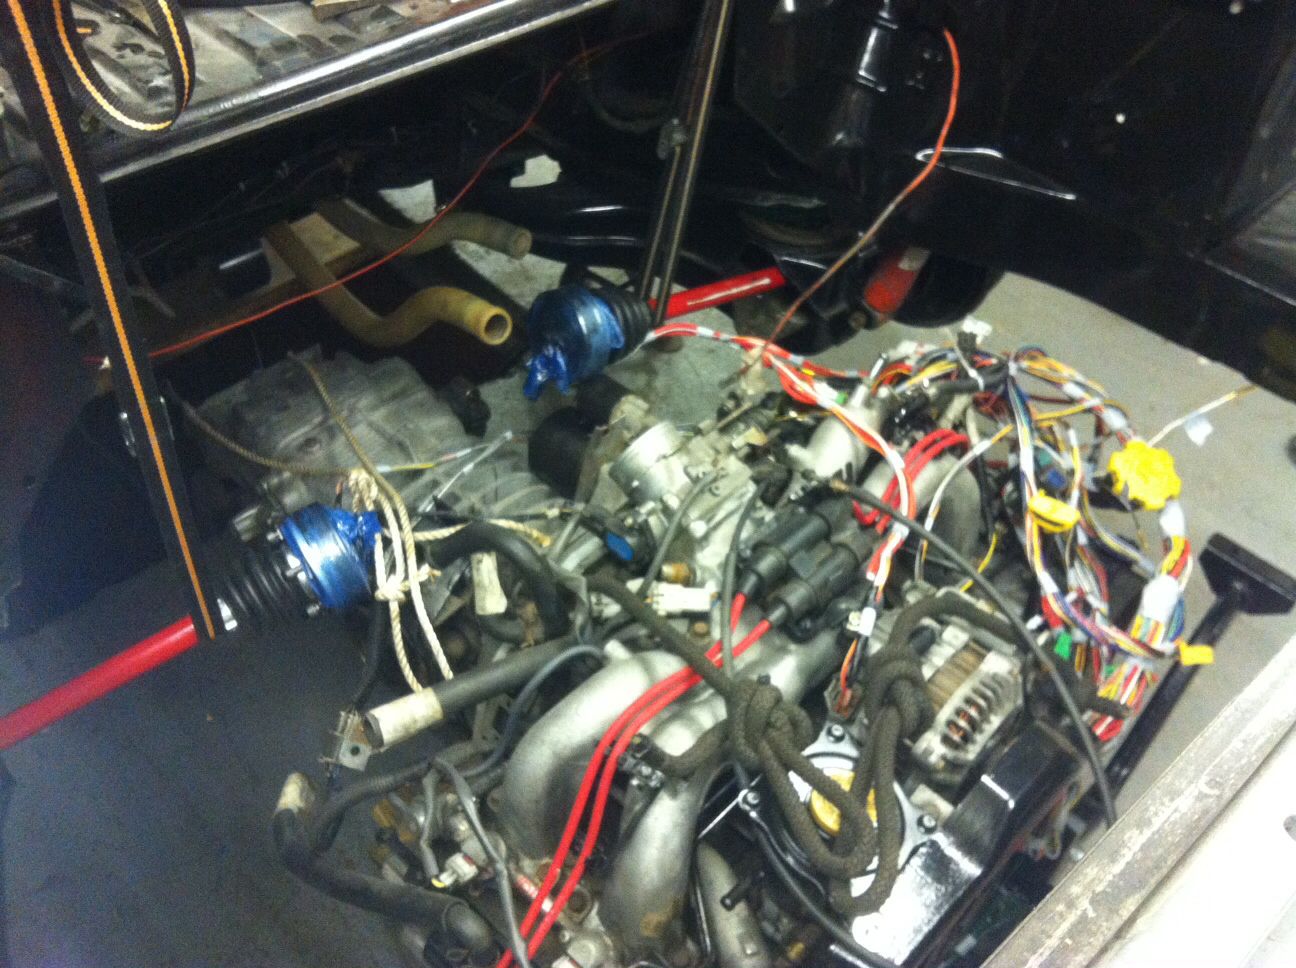
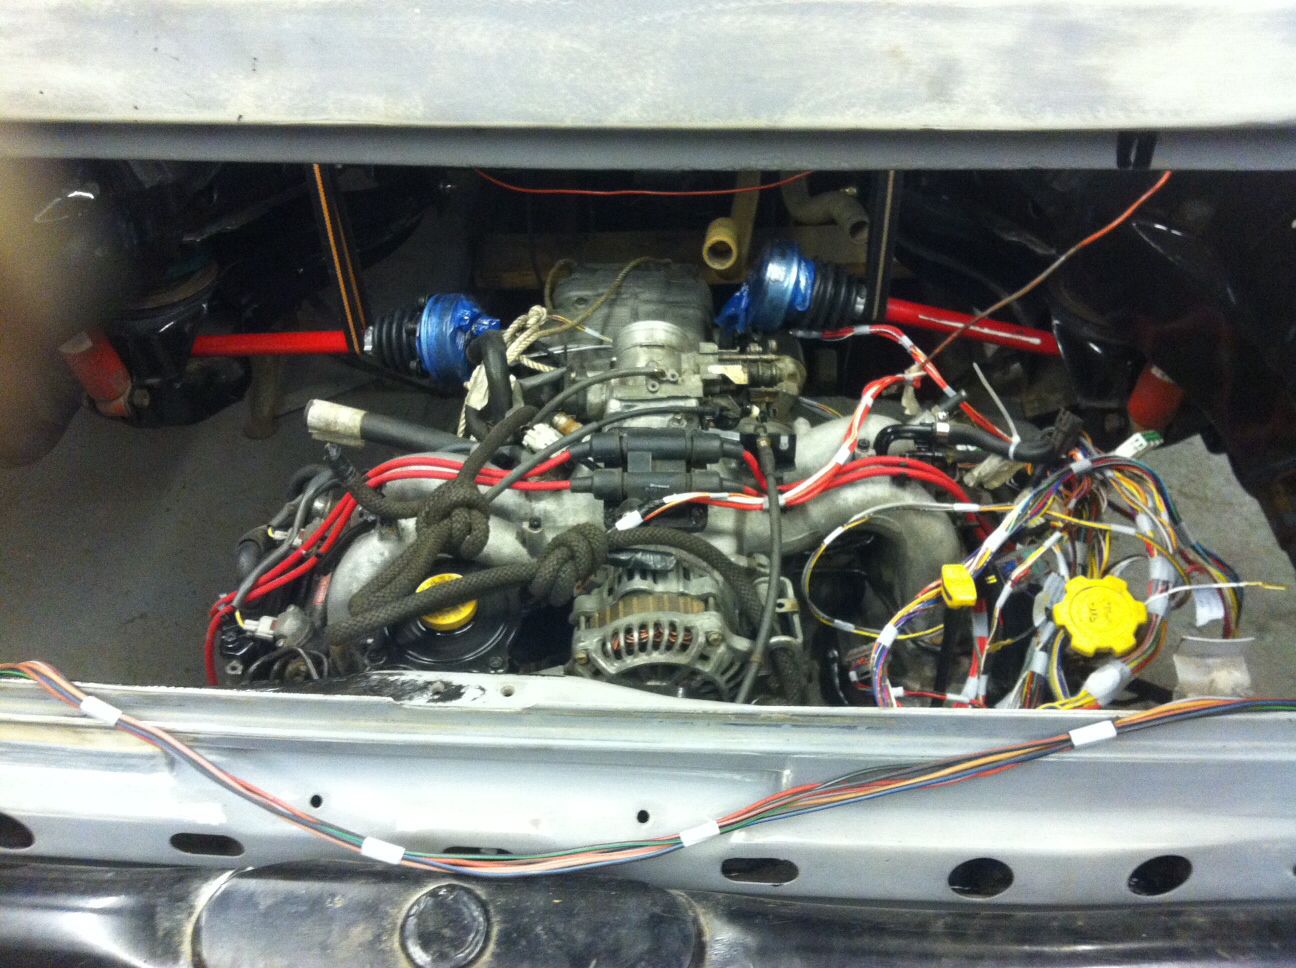
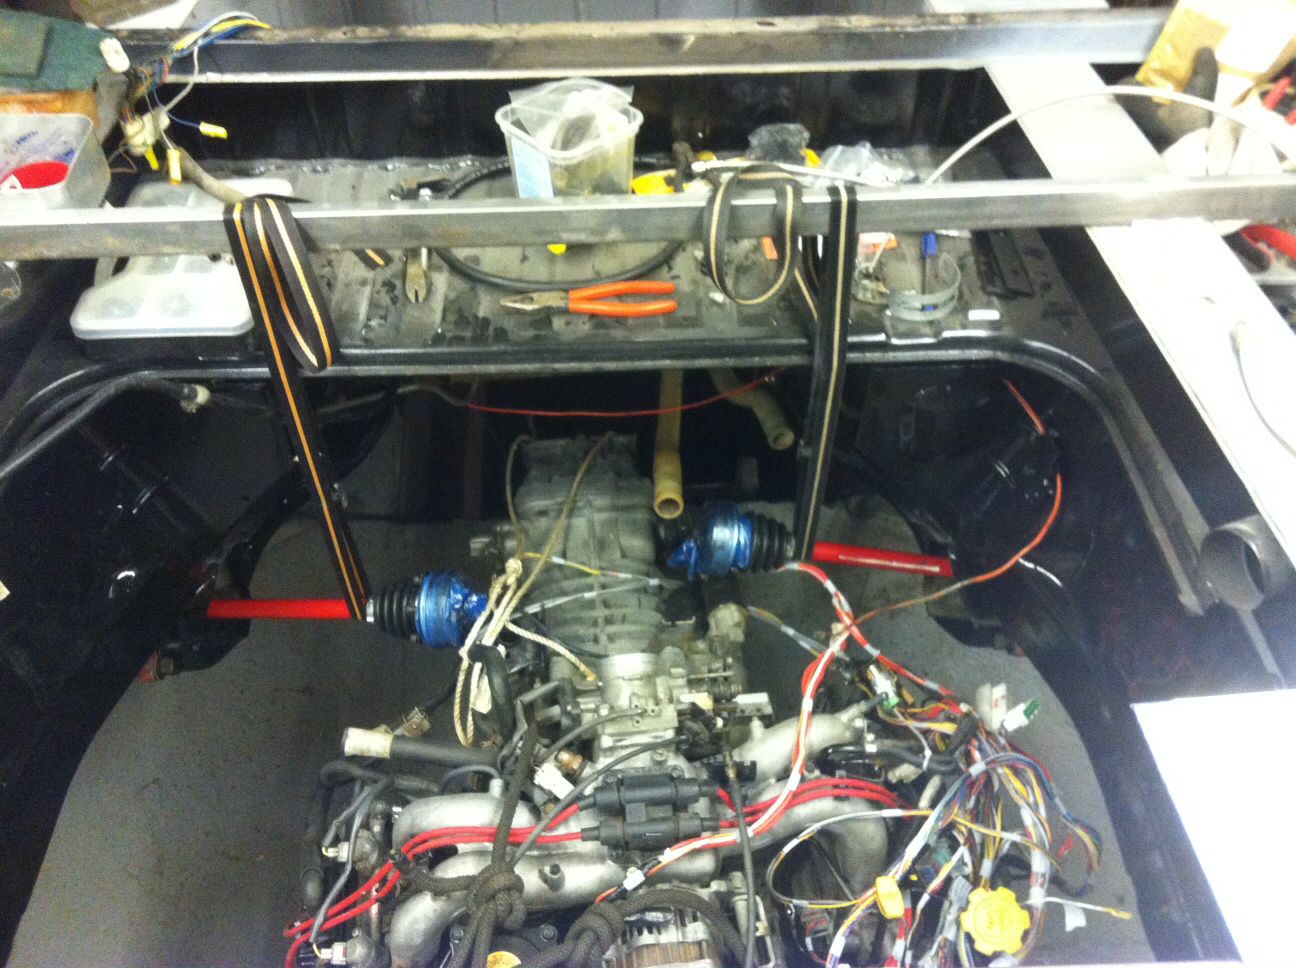
Thanks all, nice mojo boost knowing that others are looking forward to seeing it finished! So another night of messing about, but after some epic swearing, jiggling the engine backwards and forwards (to move sideways why the hell don't engine crane castors move around?) climbing under the van and jacking the gearbox mount up (great idea to have a gym session yesterday  insert sarcastic grimace here!) 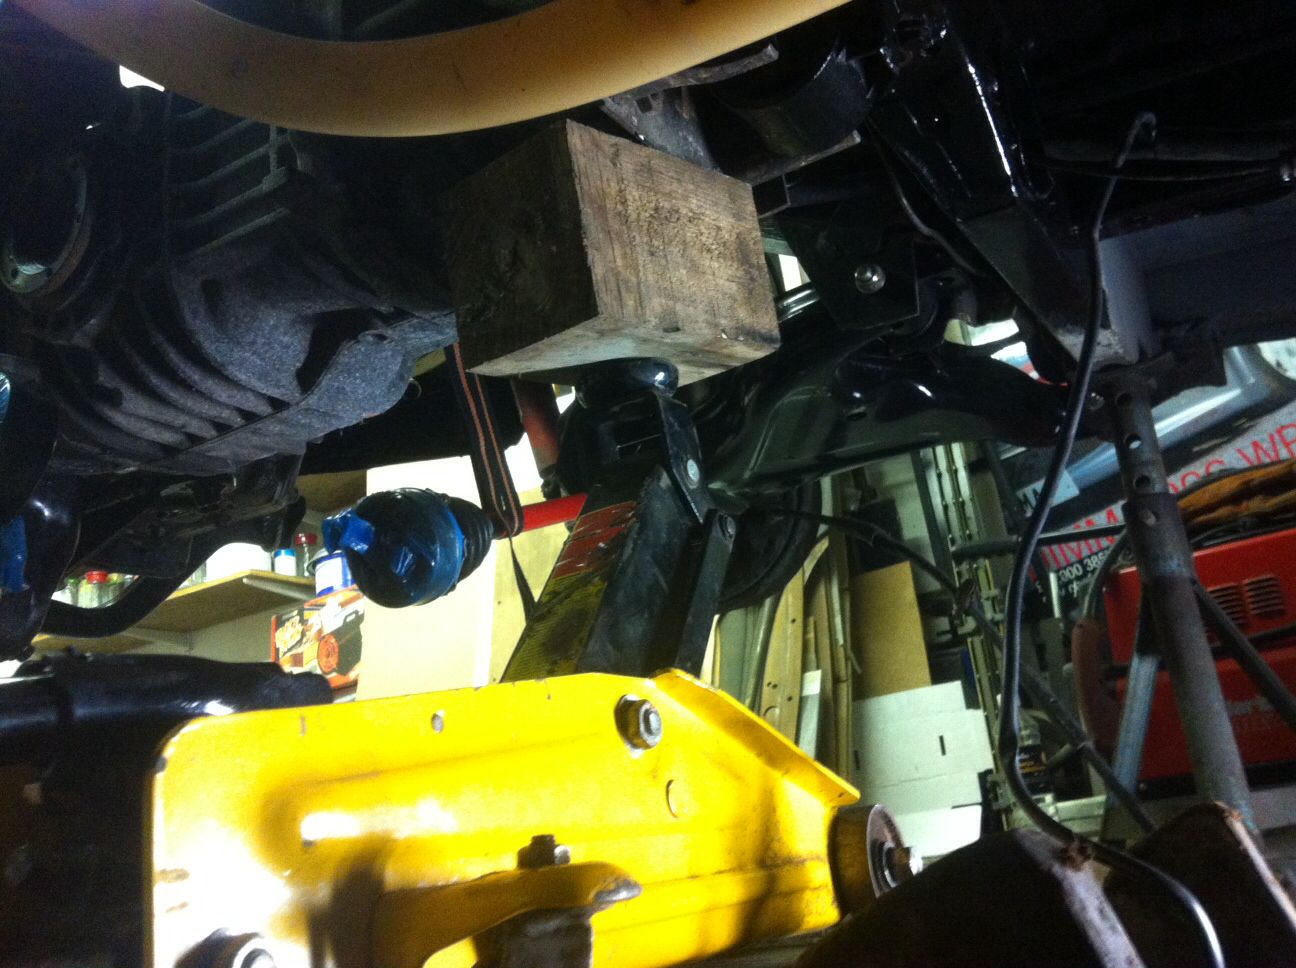 I finally managed to get the gearbox bolted up! Then I moved onto the engine mounts. The smallcar.com kit uses the original mounts but moves the cradle back a few inches so I needed to drill some new holes. But for some reason the bar looked like it had stretched and was actually now extended beyond the chassis rails!!!!! Wtff? So in my normal calm manor.......... I applied some science (read a ratchet strap) and closed it up a bit. As it goes I don't think that actually happened, but after much judicious measuring, tapping this way and that with a hammer and upside down drilling (hot swarm down the neck anyone?) I finally managed to bolt it up by about 11 last night  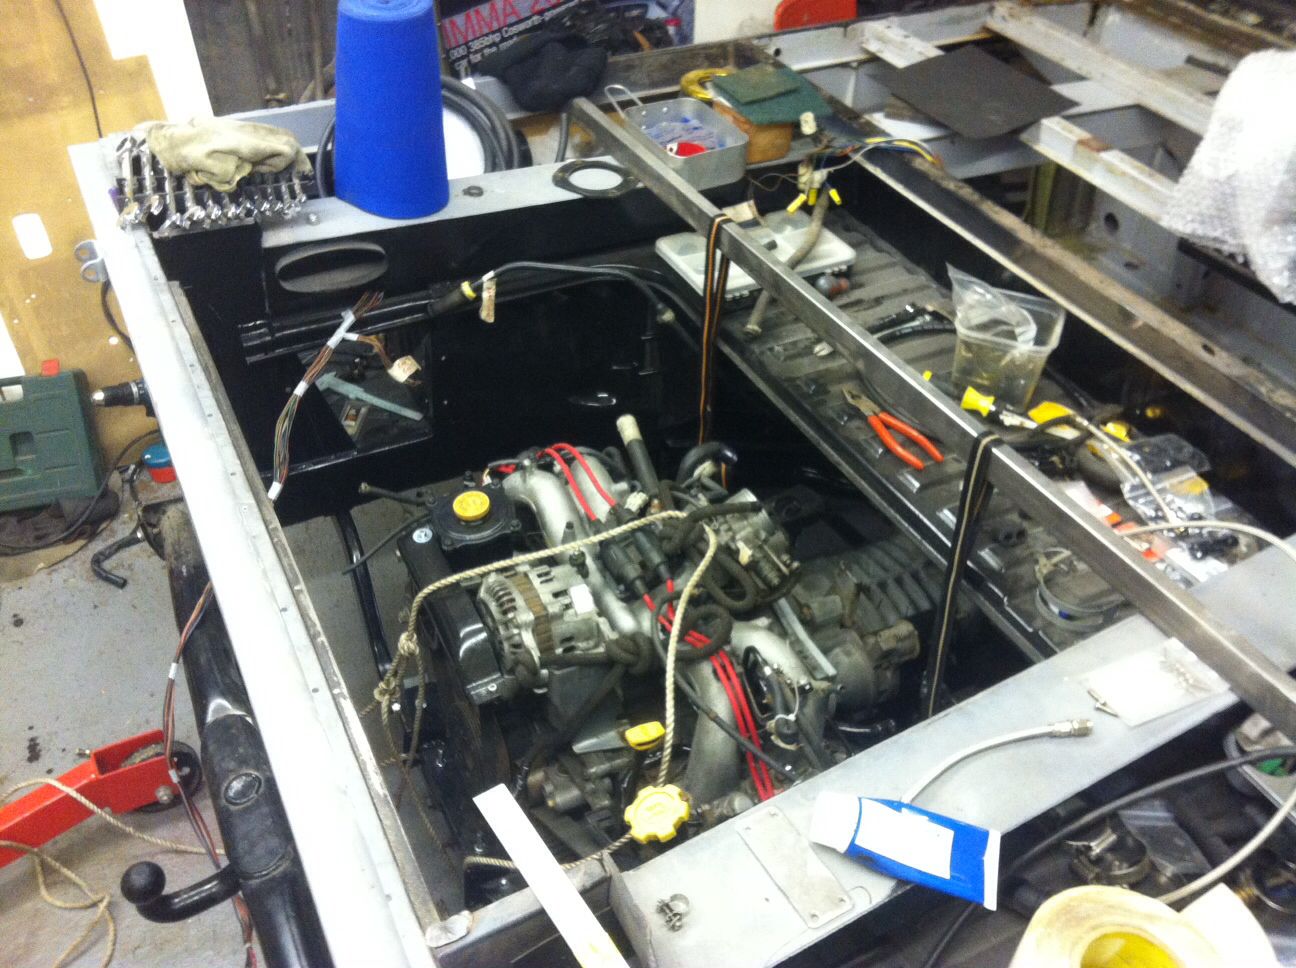 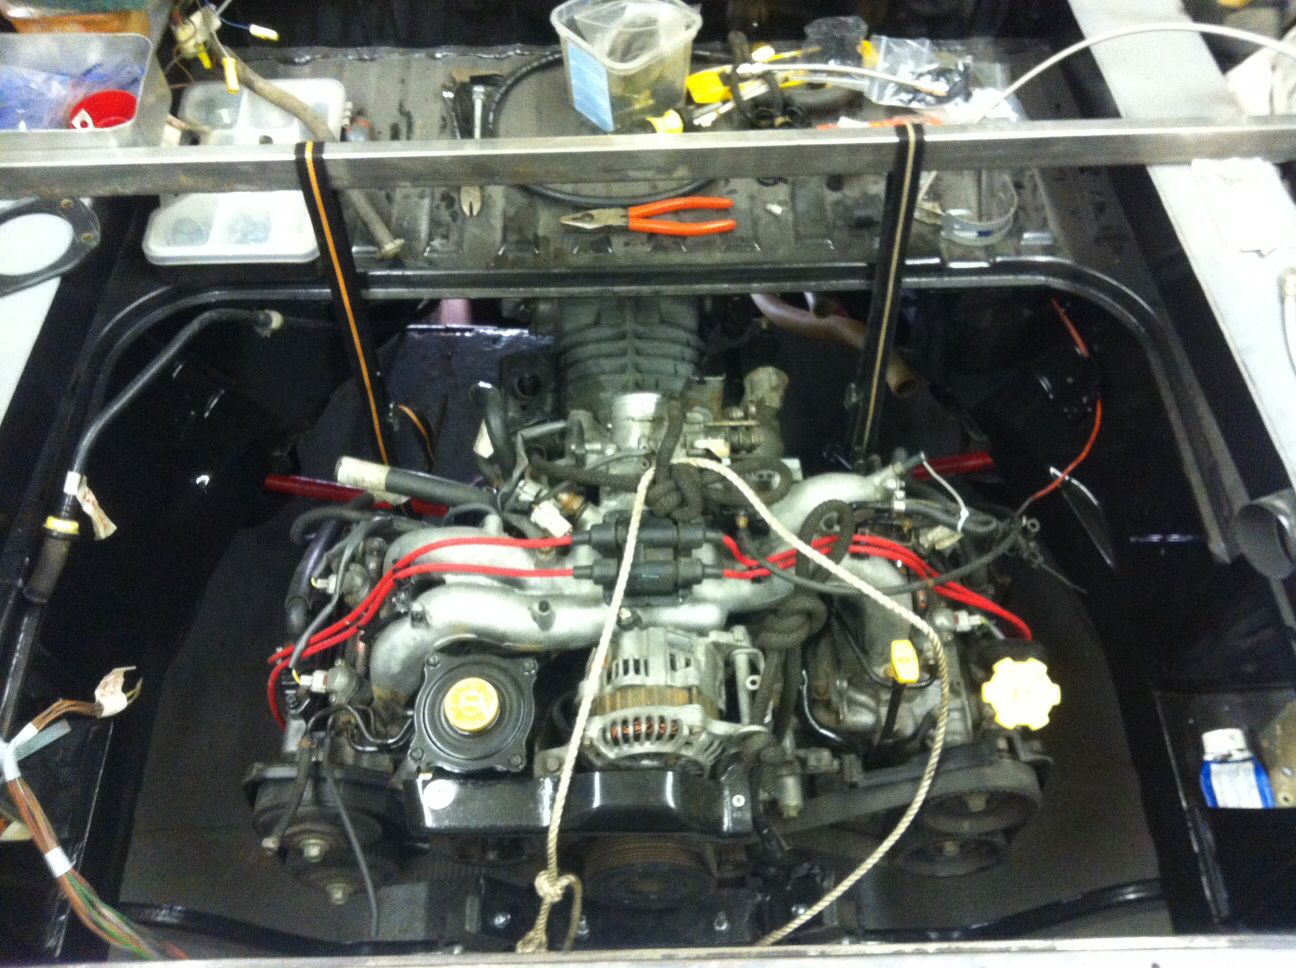 Looks pretty good in there and is a massive morale boost to finally have it in there. Next up, plumbing, wiring and torquing up a lot of bolts! |
| |
|
|
luckygti
Posted a lot
   I need to try harder!
Posts: 4,912
|
|
Mar 19, 2014 19:31:42 GMT
|
First I've seen of this, but I'm a relative newbie to the forums (lurked a while, though). Cool old motor, looking forward to seeing video of it rolling down the road under it's own (upgraded) steam.  Your conversion looks vaguely simple, I hope mine goes the same way! (not expecting it to be particularly smooth  ) Heh. And in the time it's taken me to read all of this over dinner, it seems a few others have as well.  Thanks, if you're converting a T3 to Scooby power I would definitely recommend getting everything from RJES, I mucked about and got bits and pieces from all over and it would have cost me a lot less if I'd just gone to Richard in the first place! A mate of mine has a turbo'd caravel lie, reckon it's pushing out about 350 brake. It's a bit bonkers. He sent me a link to an Australian company who do a convertion kit to use the original Scooby box! Expensive, but worth it for his set up. |
| |
|
|
|
|
|
|
|
Nope, just your standard Morris Minor with something gruntier under the hood.  Hopefully I'll have a new shell to drop my motor in to soon. Only a measly 100hp (ish) but more than enough for what I want to do for now. Until I decide to drop something larger in of course! Not the largest selection of lumps that fit without chopping up the car though. As for feeling like no one's listening, don't let the comment count fool you, take a look at your view count when you post an update and you'll soon see that people are interested.  They just don't always have anything useful to add!  (this comment for example) |
| |
|
|
stevietuck
Posted a lot
   Never argue with idiots,they drag you down to their level then beat you with their expertise!
Posts: 1,350
|
|
Mar 20, 2014 11:12:10 GMT
|
Nice work bud, its always good getting an engine in its new home  |
| |
|
|
|
|
EmDee
Club Retro Rides Member
Committer of Autrocities.
Posts: 5,934
Club RR Member Number: 108
|
1980 VW T3 Double KabEmDee
@emdee
Club Retro Rides Member 108
|
Mar 20, 2014 14:06:42 GMT
|
Strong work Pete. I reckon once Denise goes for a spin in the new improved Fish Van she might even warm to it a bit! Cant wait to see this at Shelsey, I've got plenty of slivovice if you need some extra courage to take it up the hill  |
| |
|
|
luckygti
Posted a lot
   I need to try harder!
Posts: 4,912
|
|
Mar 20, 2014 18:58:28 GMT
|
Strong work Pete. I reckon once Denise goes for a spin in the new improved Fish Van she might even warm to it a bit! Cant wait to see this at Shelsey, I've got plenty of slivovice if you need some extra courage to take it up the hill  Thanks dude, erm, not sure about taking this one up the hill! We'll see what the sketch is  |
| |
|
|
|
|
|
Mar 20, 2014 19:08:22 GMT
|
|
I bet that's a weight off the mind, just having it sat bolted up in there. I've got all that swearing and arsing about to do again this weekend, only without a crane (Trolley jack and swearing for the win)
|
| |
|
|
luckygti
Posted a lot
   I need to try harder!
Posts: 4,912
|
|
Mar 20, 2014 19:16:42 GMT
|
I bet that's a weight off the mind, just having it sat bolted up in there. I've got all that swearing and arsing about to do again this weekend, only without a crane (Trolley jack and swearing for the win) Mate, if you were a bit closer you could borrow my engine crane! Not very helpful that, but I'll spare you a thought! And, yep, it's a massive weight off my mind! Just need to start plumbing it in now! In fact I'm going to spend a couple of hours on it now....... Kettle on Pete! |
| |
|
|
luckygti
Posted a lot
   I need to try harder!
Posts: 4,912
|
|
Mar 26, 2014 23:06:42 GMT
|
So had a couple of days to tinker before jetting off for my hols tomorrow. First up was a good tidying session, I was started to get a bit threaders with lying down and getting covered in wibblepoo. Took a few hours but much better! 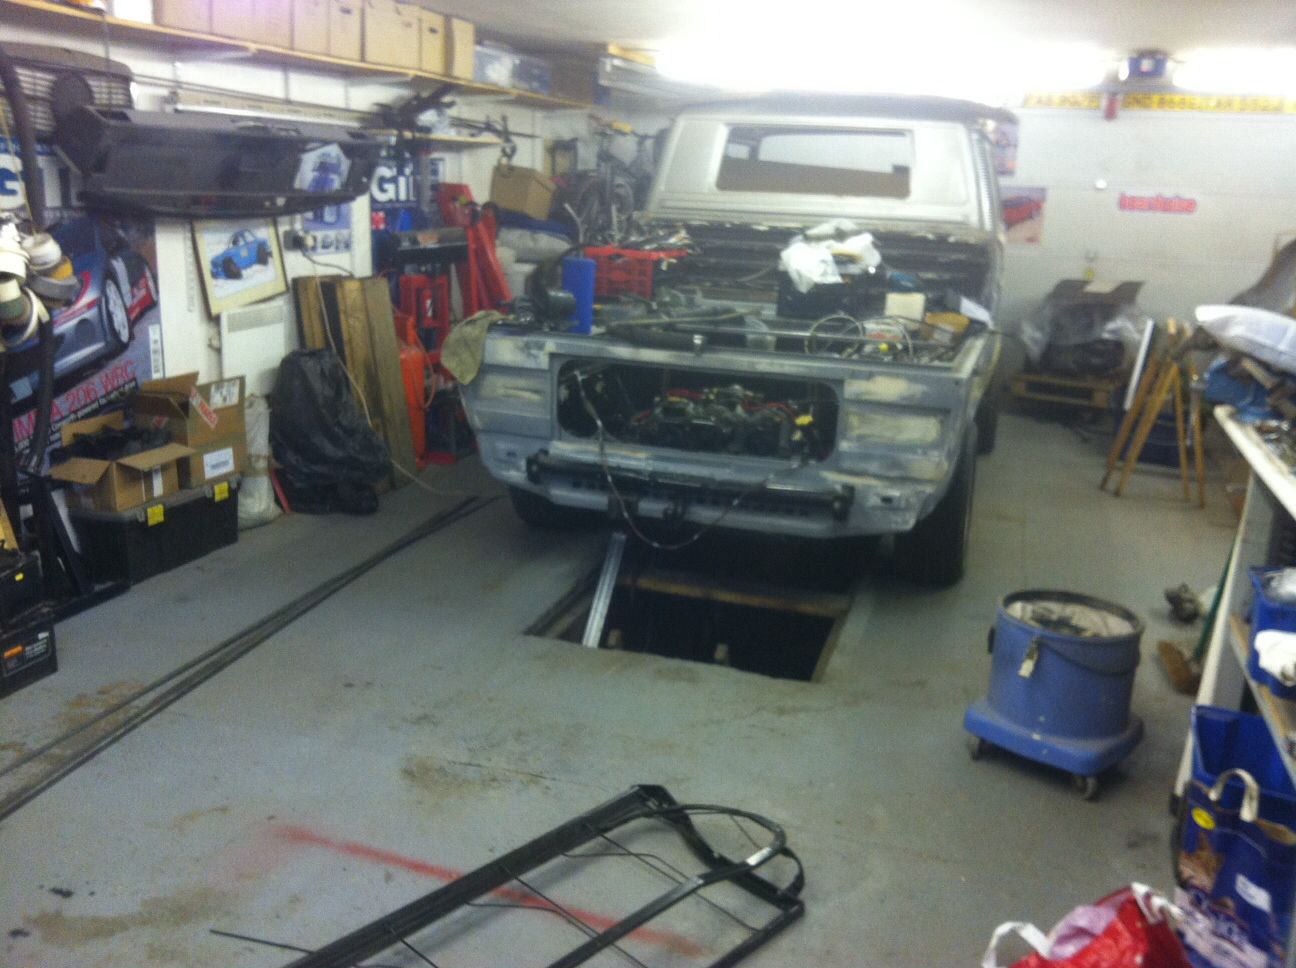 Then I started looking at connecting things. I've kept the Scooby fuel filter and welded the mount in, so now the inlet is connected up, just waiting for more hose to do the return. And then photobucket stopped working........ |
| |
Last Edit: Mar 28, 2014 21:43:51 GMT by luckygti
|
|
luckygti
Posted a lot
   I need to try harder!
Posts: 4,912
|
|
Mar 26, 2014 23:23:22 GMT
|
And, we're back! 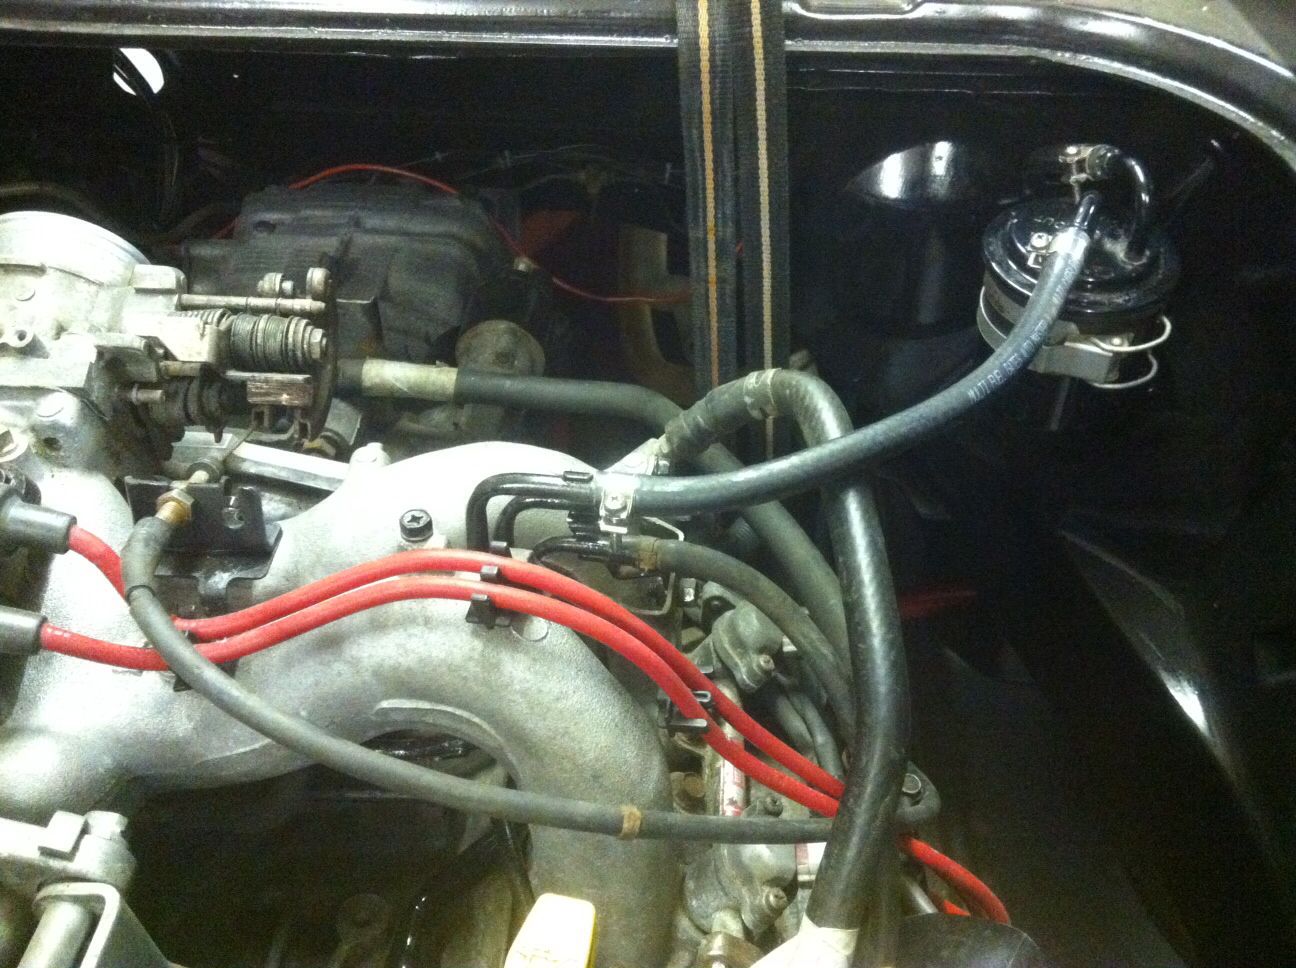 Next up, header tank. Somewhere here looks good, Oh, FFS, keep going back to photobucket to grab links and it keeps freezing  anyway, I found a place to mount it, chopped some flat bar, filed the ends , welded it in place and bolted the tank up!! Pictures to follow when poxybucket starts working again!! |
| |
|
|
|
|
|
|
|
That there engine looks right happy in that hole.  Keep up the good work. |
| |
|
|
luckygti
Posted a lot
   I need to try harder!
Posts: 4,912
|
|
Mar 28, 2014 21:40:26 GMT
|
That there engine looks right happy in that hole.  Keep up the good work. Thanks mate, no work now for a week, off skiing tomorrow, but I'll throw up the pics that wouldn't load the other day. 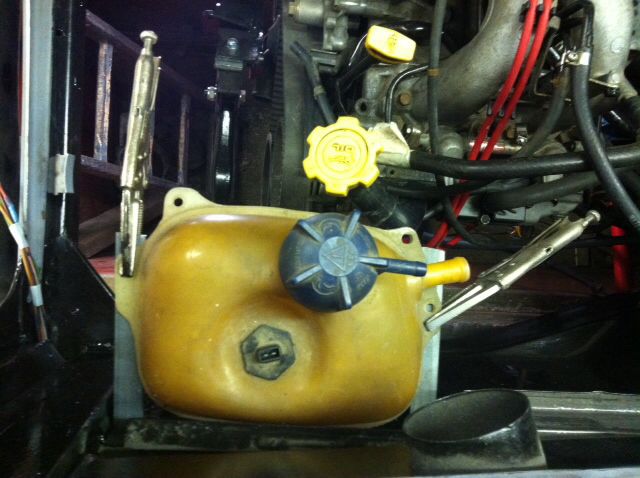 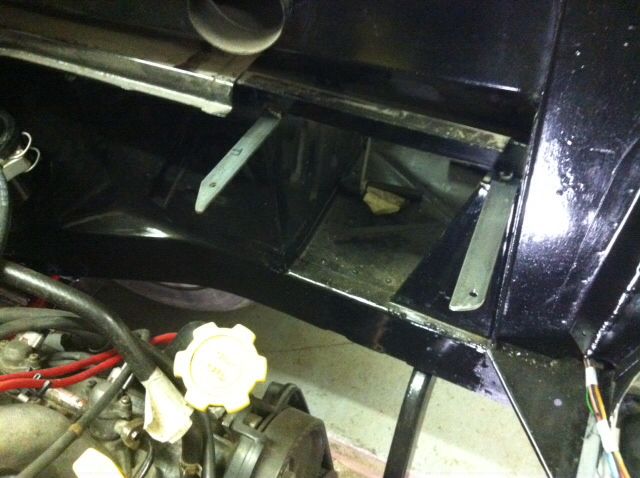 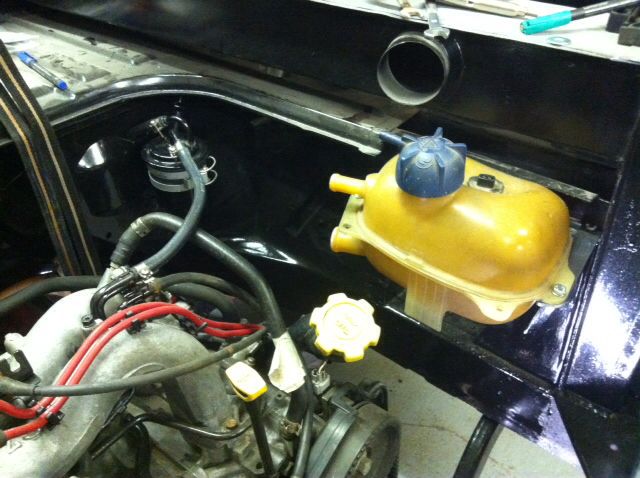 I'll chuck some paint on before it all gets bolted in properly. Next up, coolant pipes! Pete |
| |
|
|
luckygti
Posted a lot
   I need to try harder!
Posts: 4,912
|
|
Apr 16, 2014 21:38:22 GMT
|
Update time. Been plugging away at the engine and bits, ticking stuff off of the rather long list! Stuff done, well, I changed out the handbrake cable for a new one, just need to connect it to the rear drums. Then I moved onto the gear selector and rod. Bought plenty of bits, 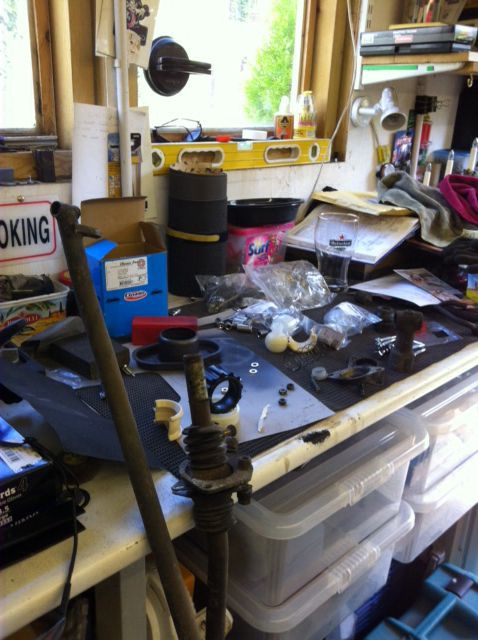 Then spent a few hours cleaning and painting, 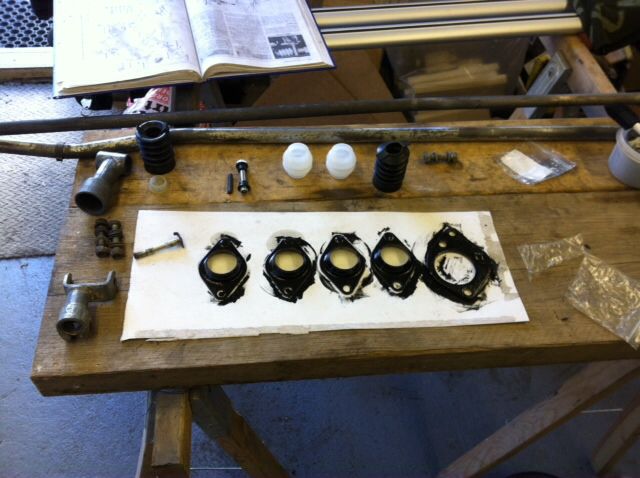 Then removed the gear lever, 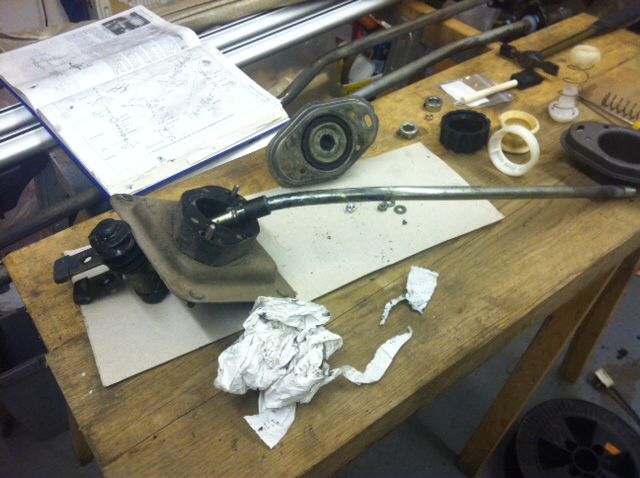 And realised that I needed to order more bits  as well as look at how the hell the new bits fit together and getting some sort of grease for lubrication. Any ideas on what would be best? This morning more bits came  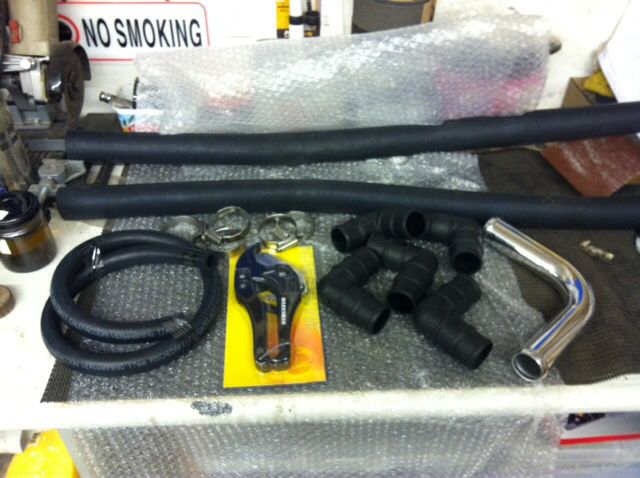 I think there's enough there to get the coolant hoses all connected, in fact, as usual, I probably went slightly overboard! This is where we're at now, 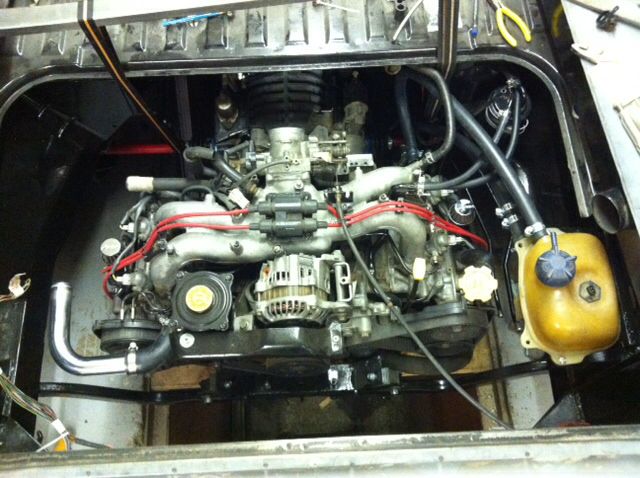 Oh, and I refitted the clutch slave cylinder and the brake servo/vacuum hose. Feels like I've done more...... Thanks for checking in, more to come over the weekend. Pete |
| |
Last Edit: Apr 17, 2014 16:53:47 GMT by luckygti
|
|
stevietuck
Posted a lot
   Never argue with idiots,they drag you down to their level then beat you with their expertise!
Posts: 1,350
|
|
Apr 19, 2014 13:28:25 GMT
|
Good work bud wont be long till your cruising in it  Where did you go sking? good snow? I'm off mountain biking to Chatel in july cant wait! |
| |
|
|
|
|


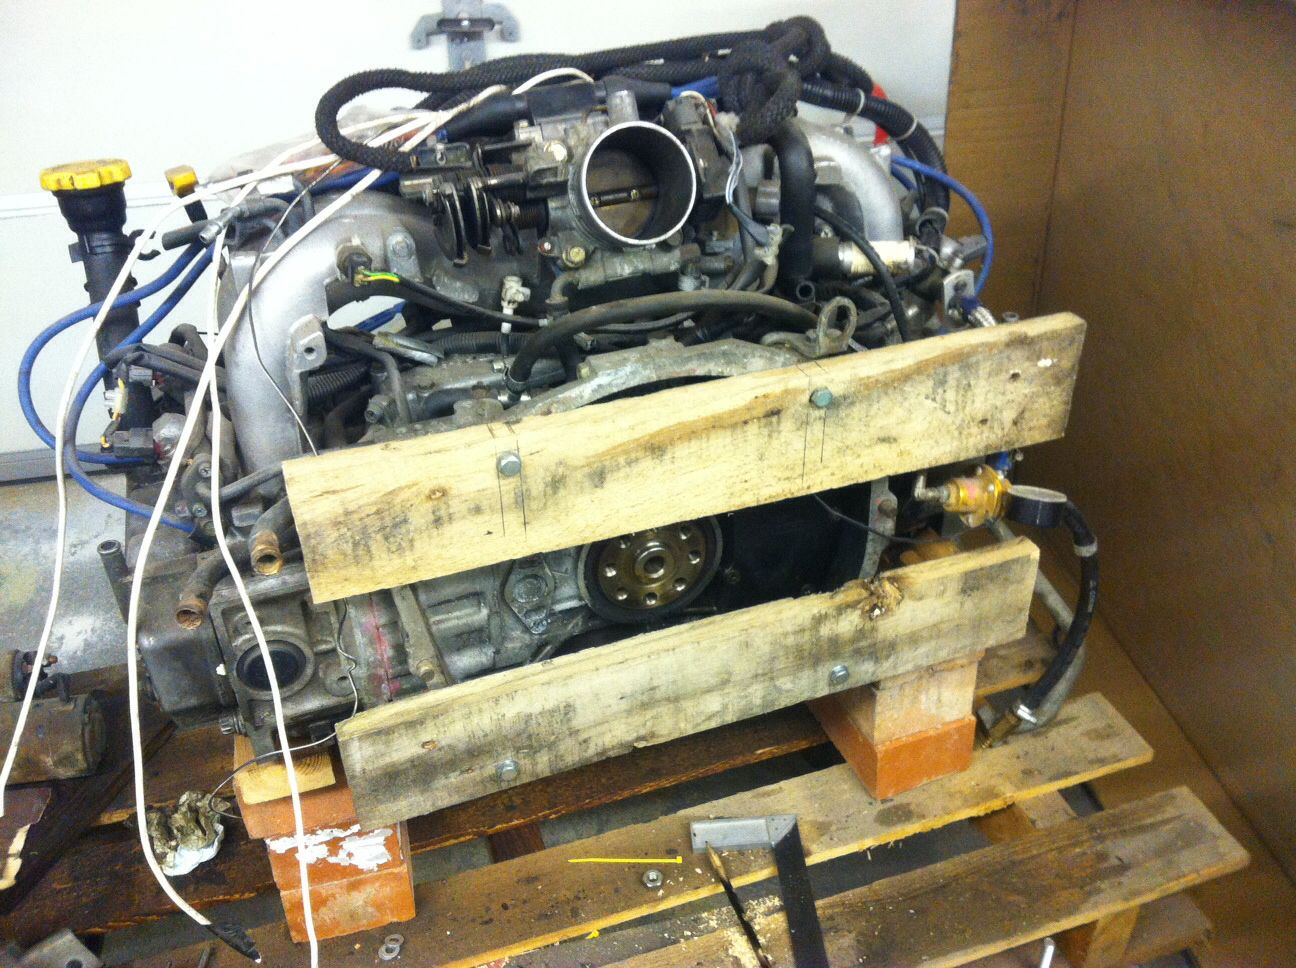

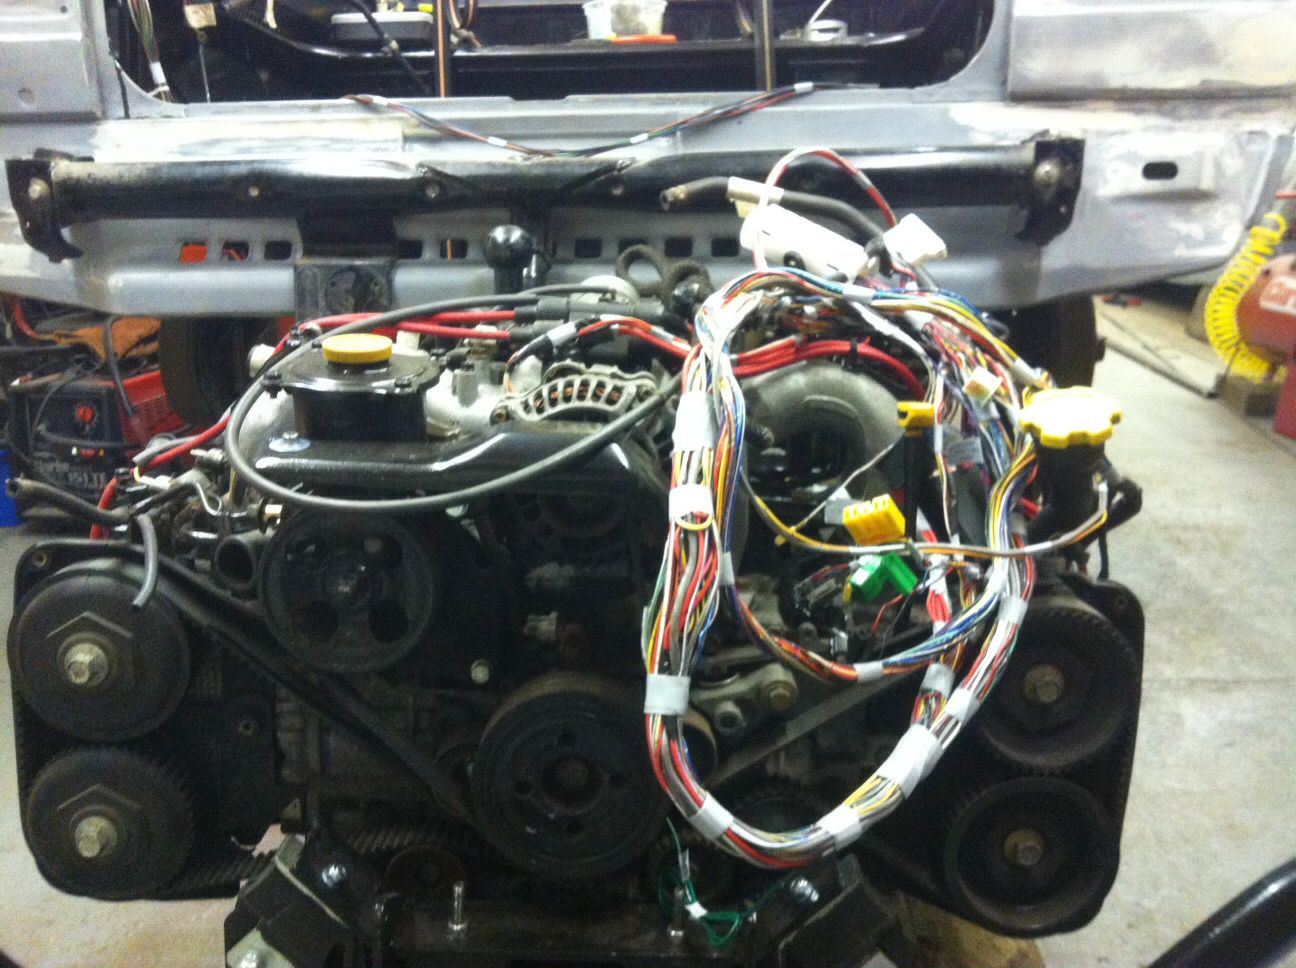
 so, a bit of wiggling, removing bits and then just hoiking the
  end of the van up with the crane saw it sitting in roughly the right place
