luckygti
Posted a lot
   I need to try harder!
Posts: 4,912
|
|
Jun 11, 2014 23:02:50 GMT
|
So, few more hours tonight. Pics from yesterday, dash out, few rust spots but only surface  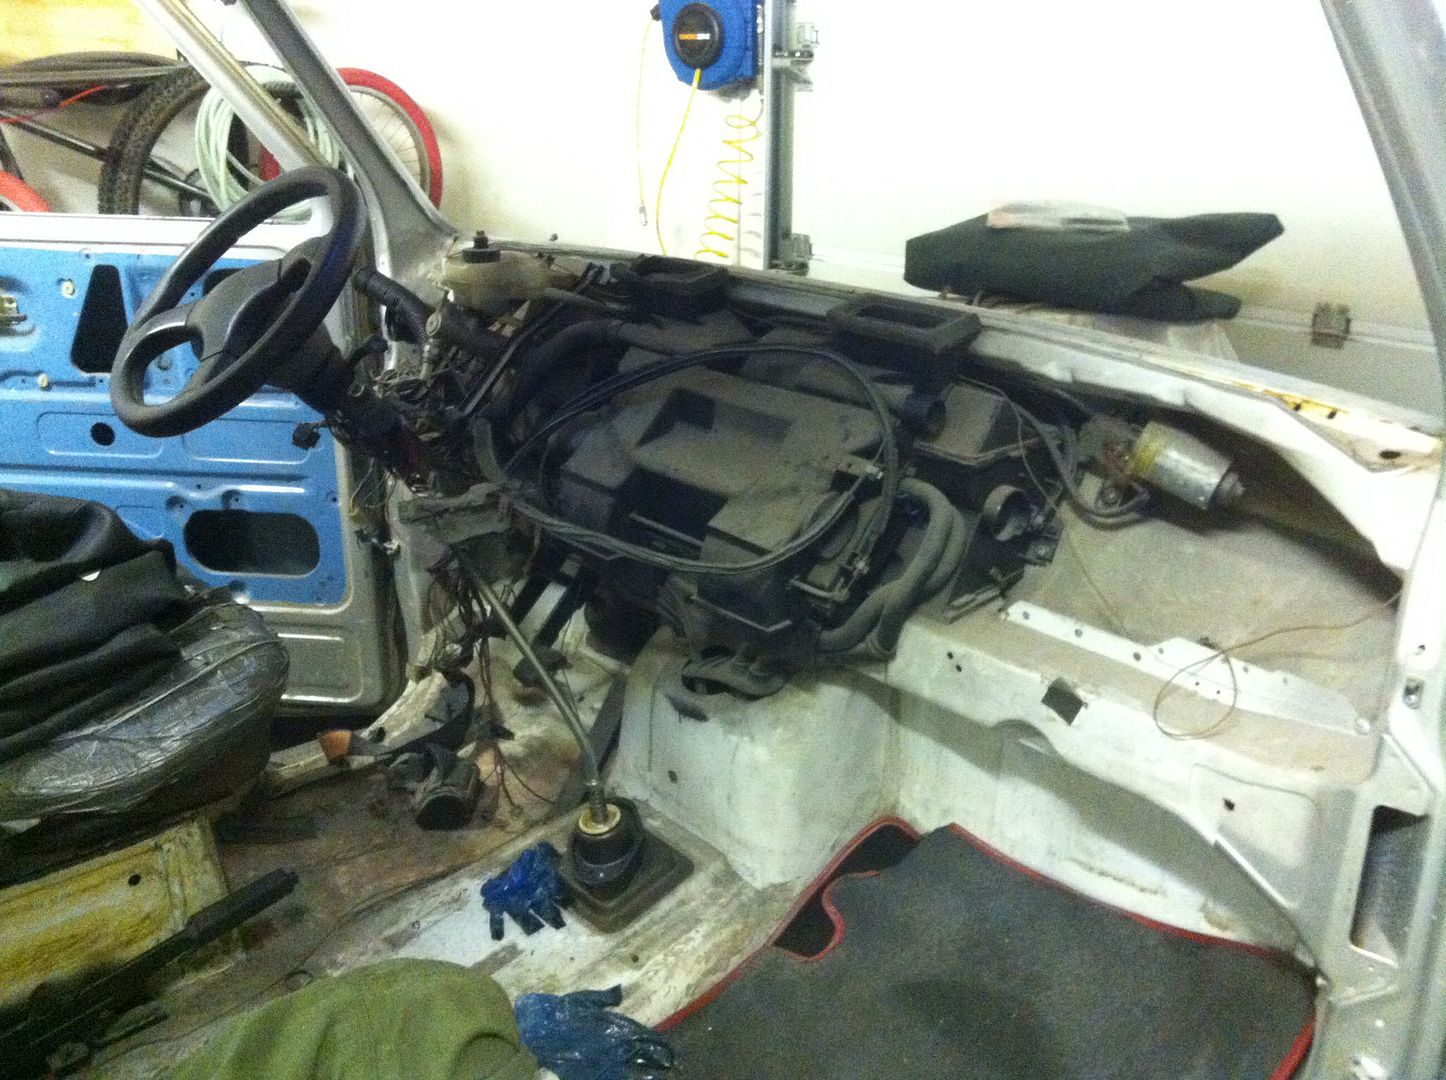 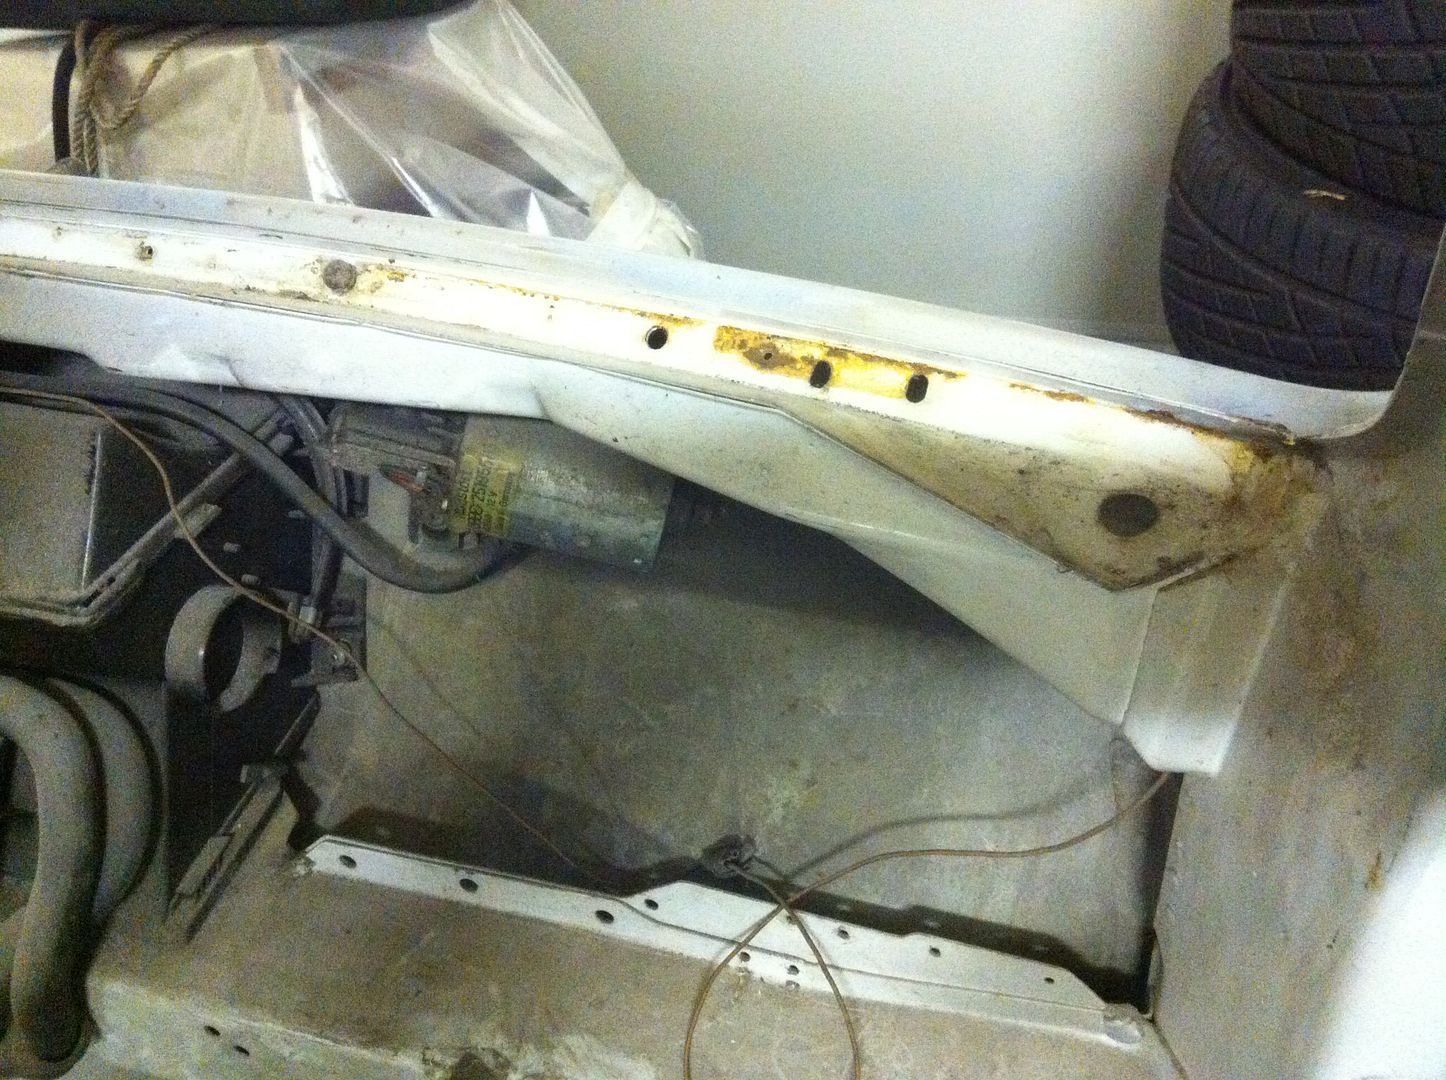 and wiring cut out. 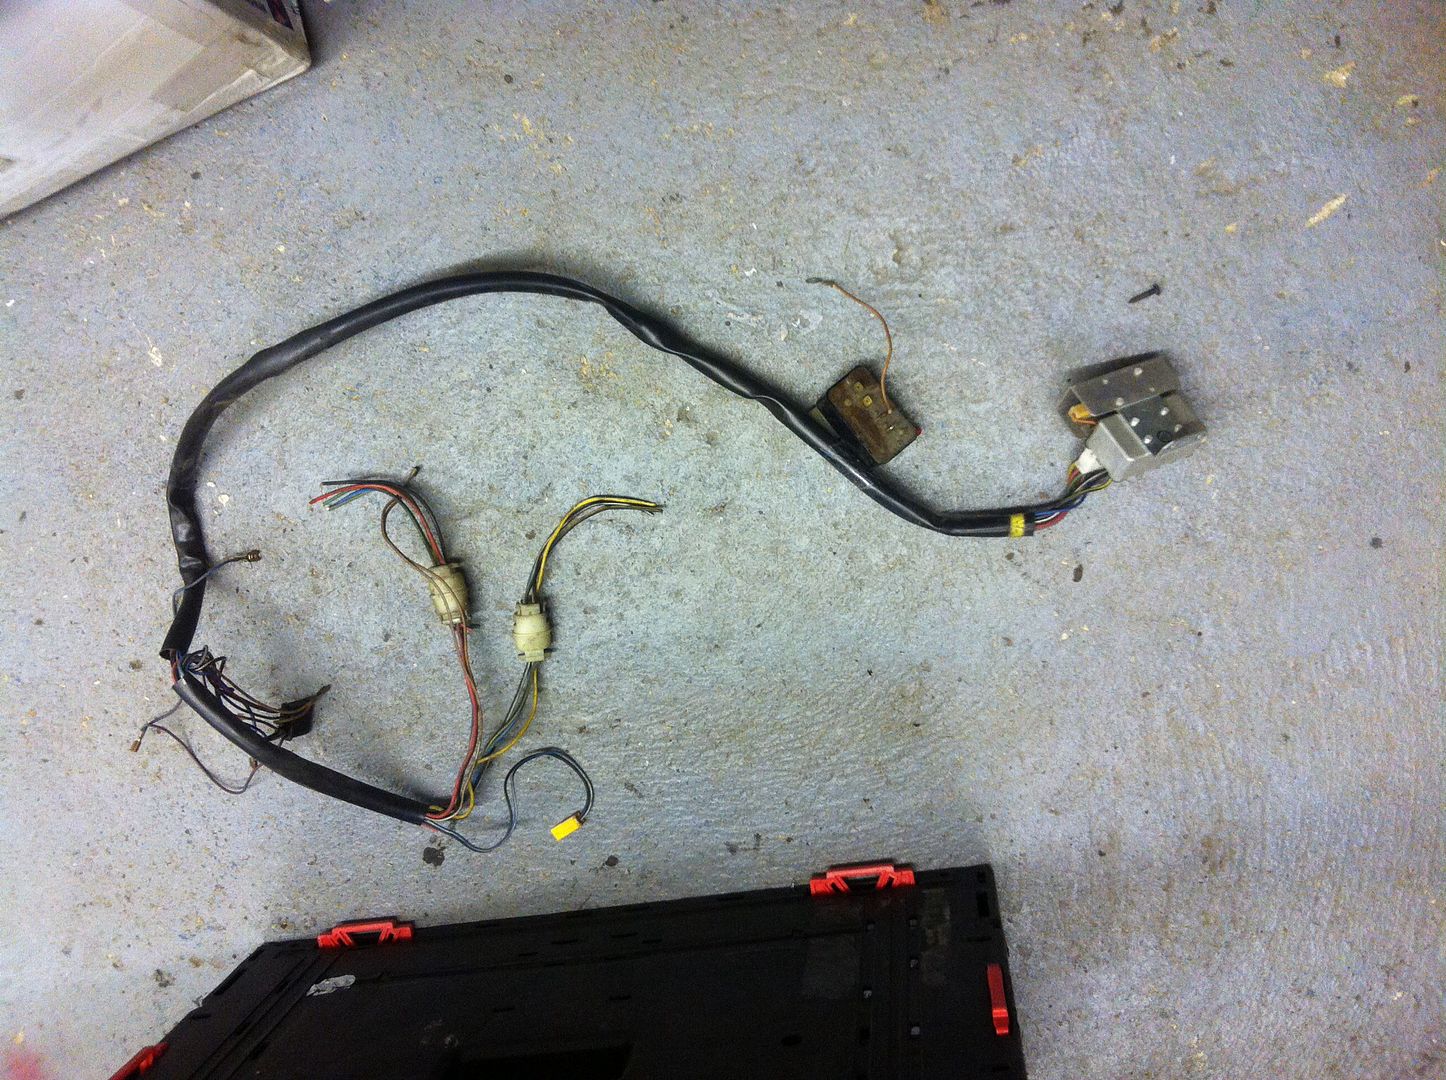 Tonight, more wiring and fitting of the intake gubbins. Looking tidy though  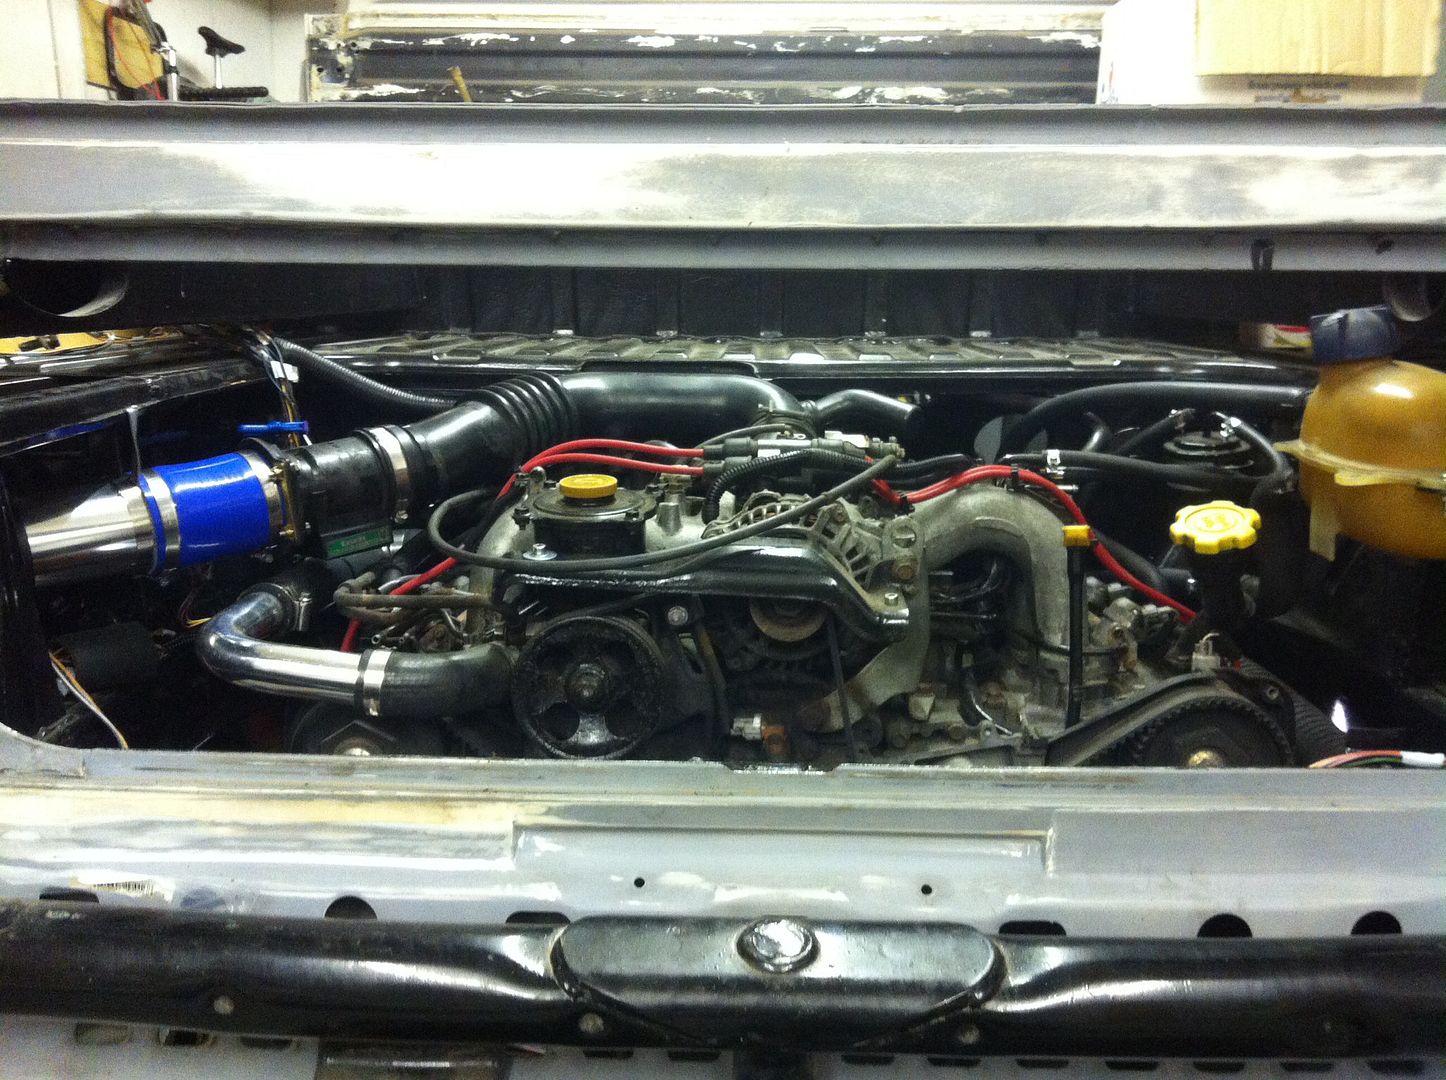 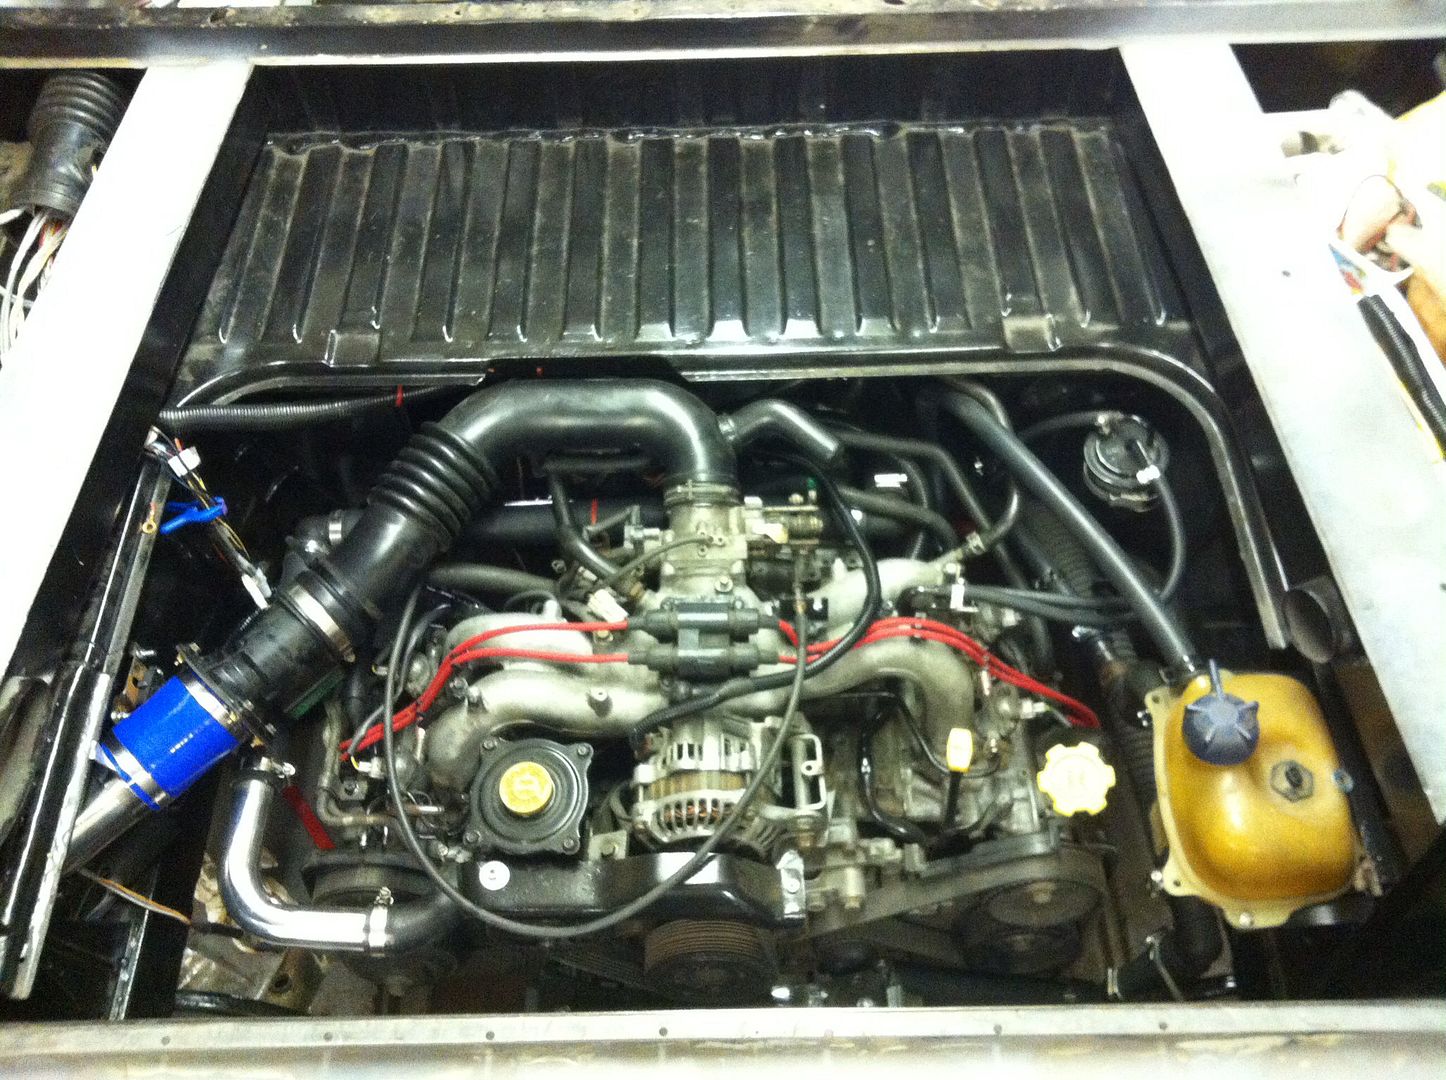 The eagle eyed May spot the little bracket holding the air filter pipe. Quite pleased with it and it keeps it central in the hole. 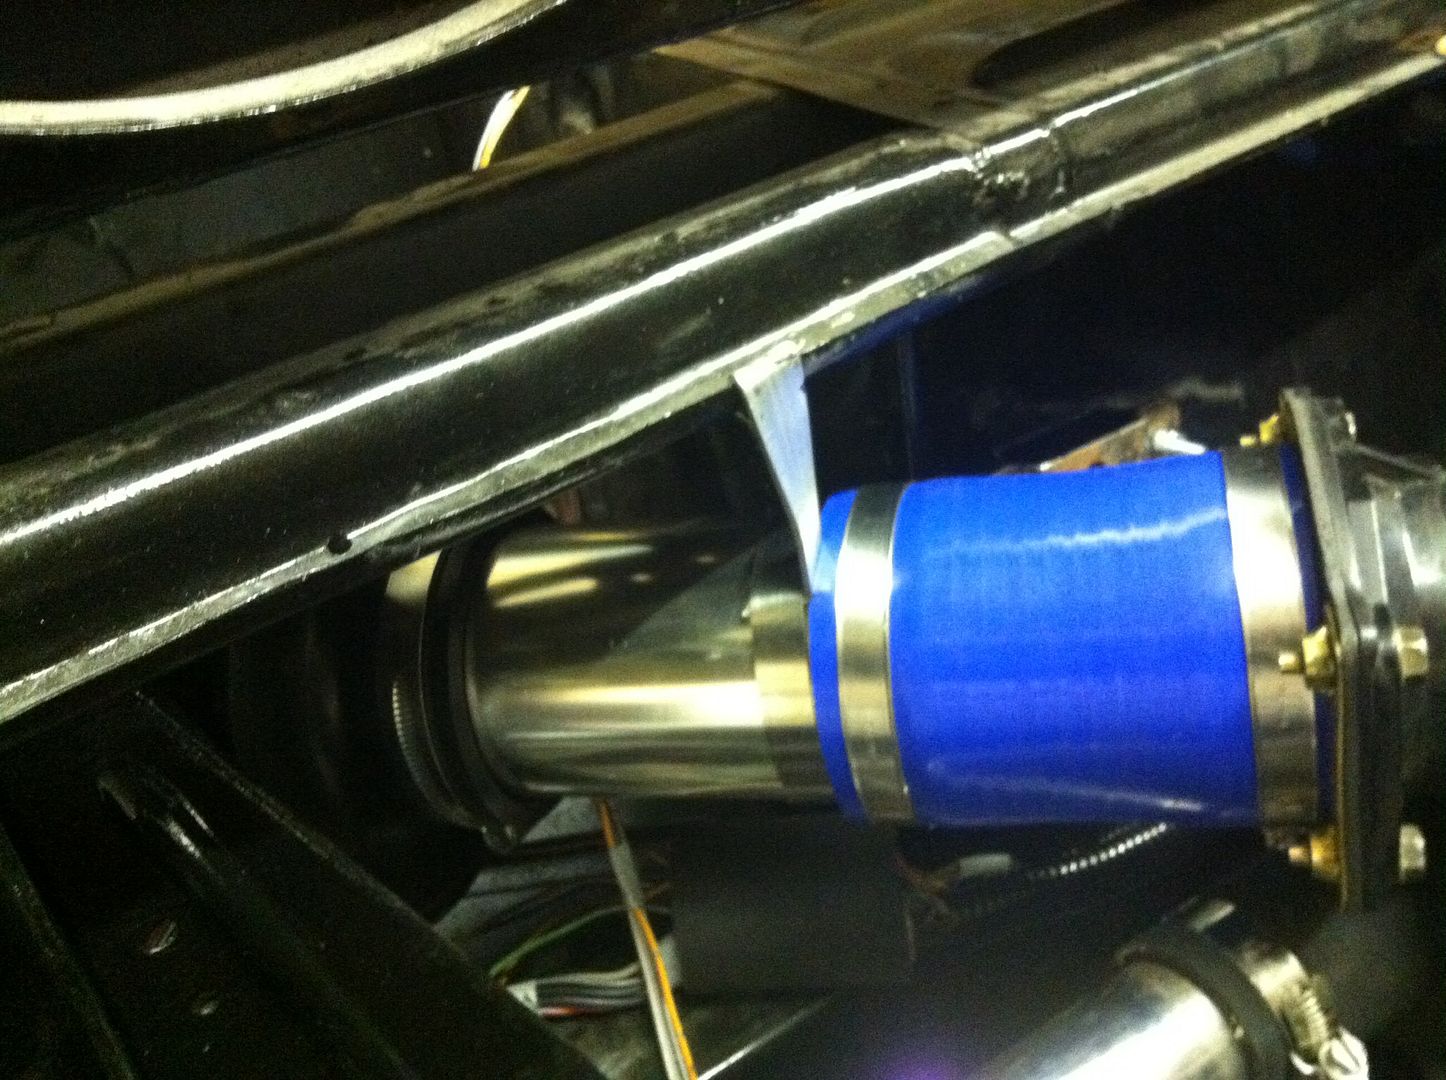 Positions it nicely behind the light, should be plenty of cool air there as well.  Still some bits to do, couple more wires to join, bought a gas soldering iron, guess what, they don't come with gas in! And it seems that not many places sell gas  also, I tried to screw the lambda sensor in and the thread on the exhaust is fubar'd. Guess that'll be the exhaust coming off again then  that can come off the same time as the sump then! |
| |
|
|
|
|
bstardchild
Club Retro Rides Member
Posts: 14,976
Club RR Member Number: 71
|
1980 VW T3 Double Kabbstardchild
@bstardchild
Club Retro Rides Member 71
|
Jun 11, 2014 23:42:44 GMT
|
|
Blimey this has been moving on at a pace since I last checked in - that lump looks right at home in there
|
| |
|
|
luckygti
Posted a lot
   I need to try harder!
Posts: 4,912
|
|
Jun 12, 2014 20:59:53 GMT
|
Blimey this has been moving on at a pace since I last checked in - that lump looks right at home in there Thanks Ian, got a deadline! Want to use it for a round robin holiday that will see us at the gathering at the end! Hoping to have it running, even if it isn't very pretty!! |
| |
|
|
luckygti
Posted a lot
   I need to try harder!
Posts: 4,912
|
|
Jun 26, 2014 19:53:01 GMT
|
More done. First up the thread for the lambda sensor was rusted out so onto eBay for a new one. Meanwhile I had to remove the old one, 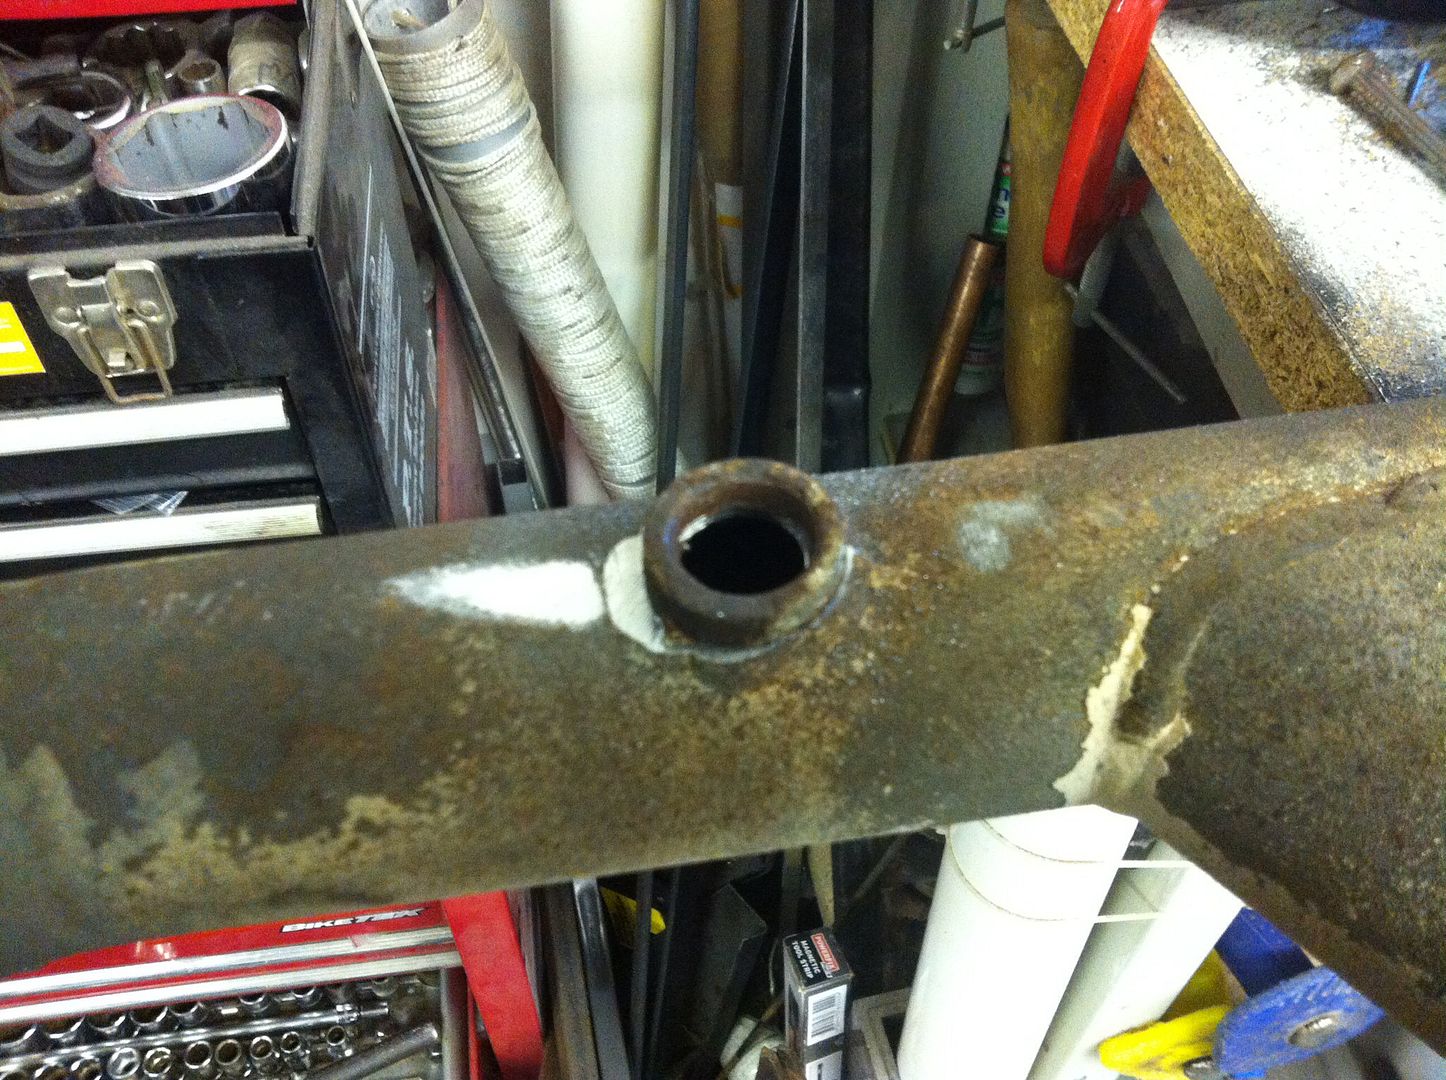 Then file flat and drill out with my new step drill (great bit of kit  ), 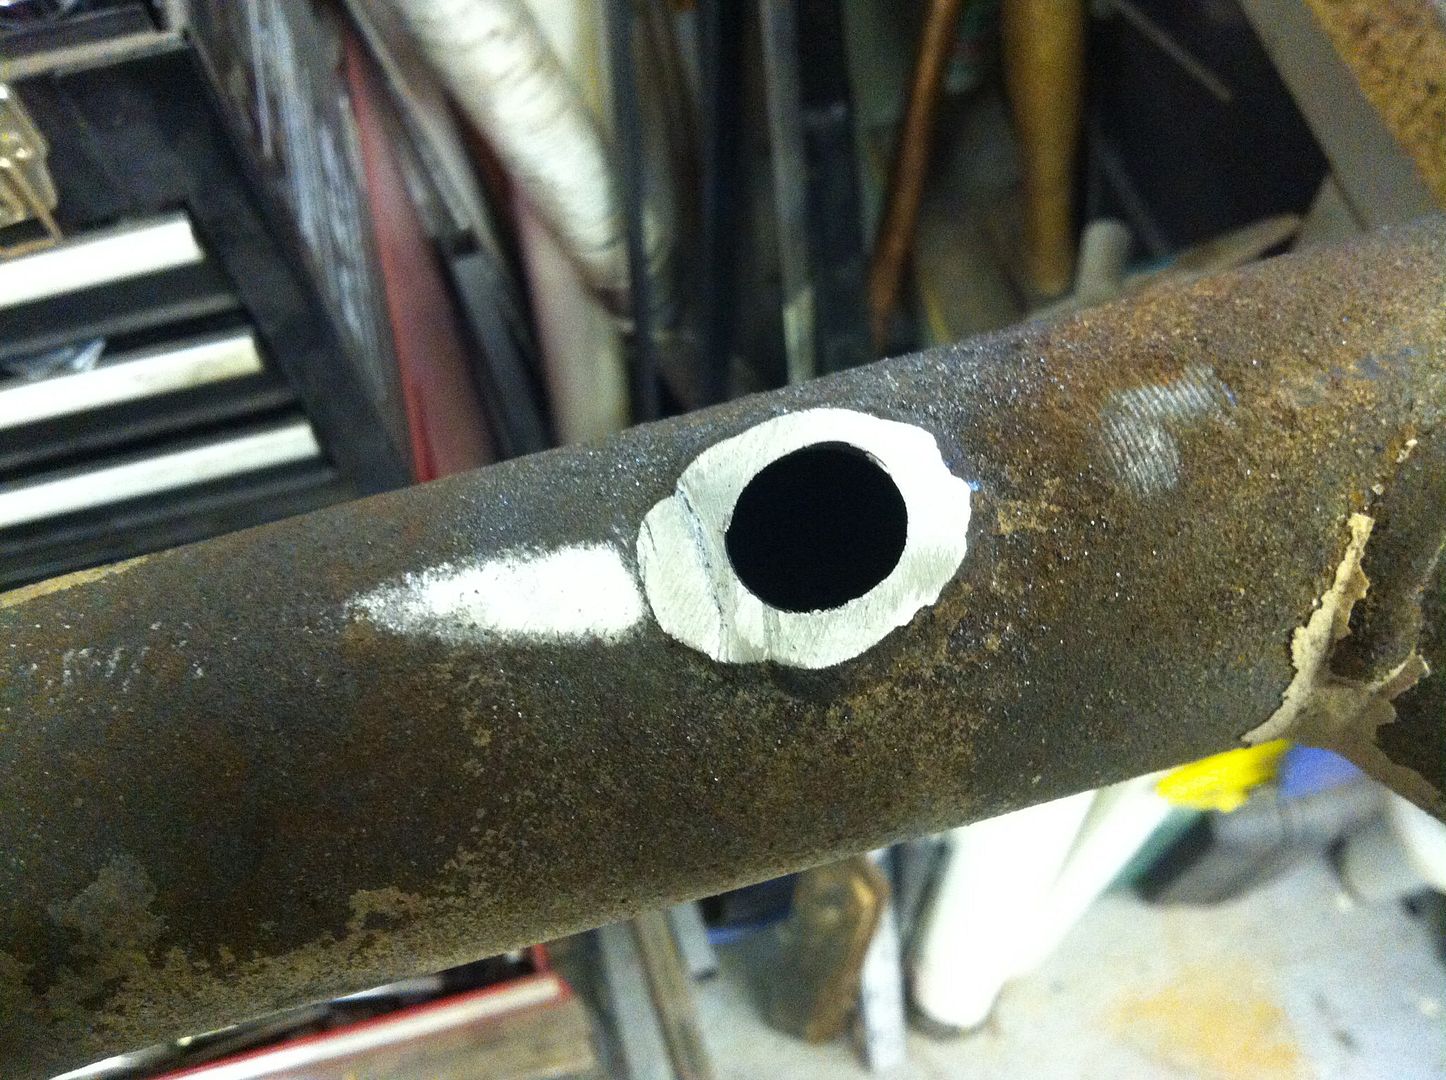 and fit new threaded insert and weld! 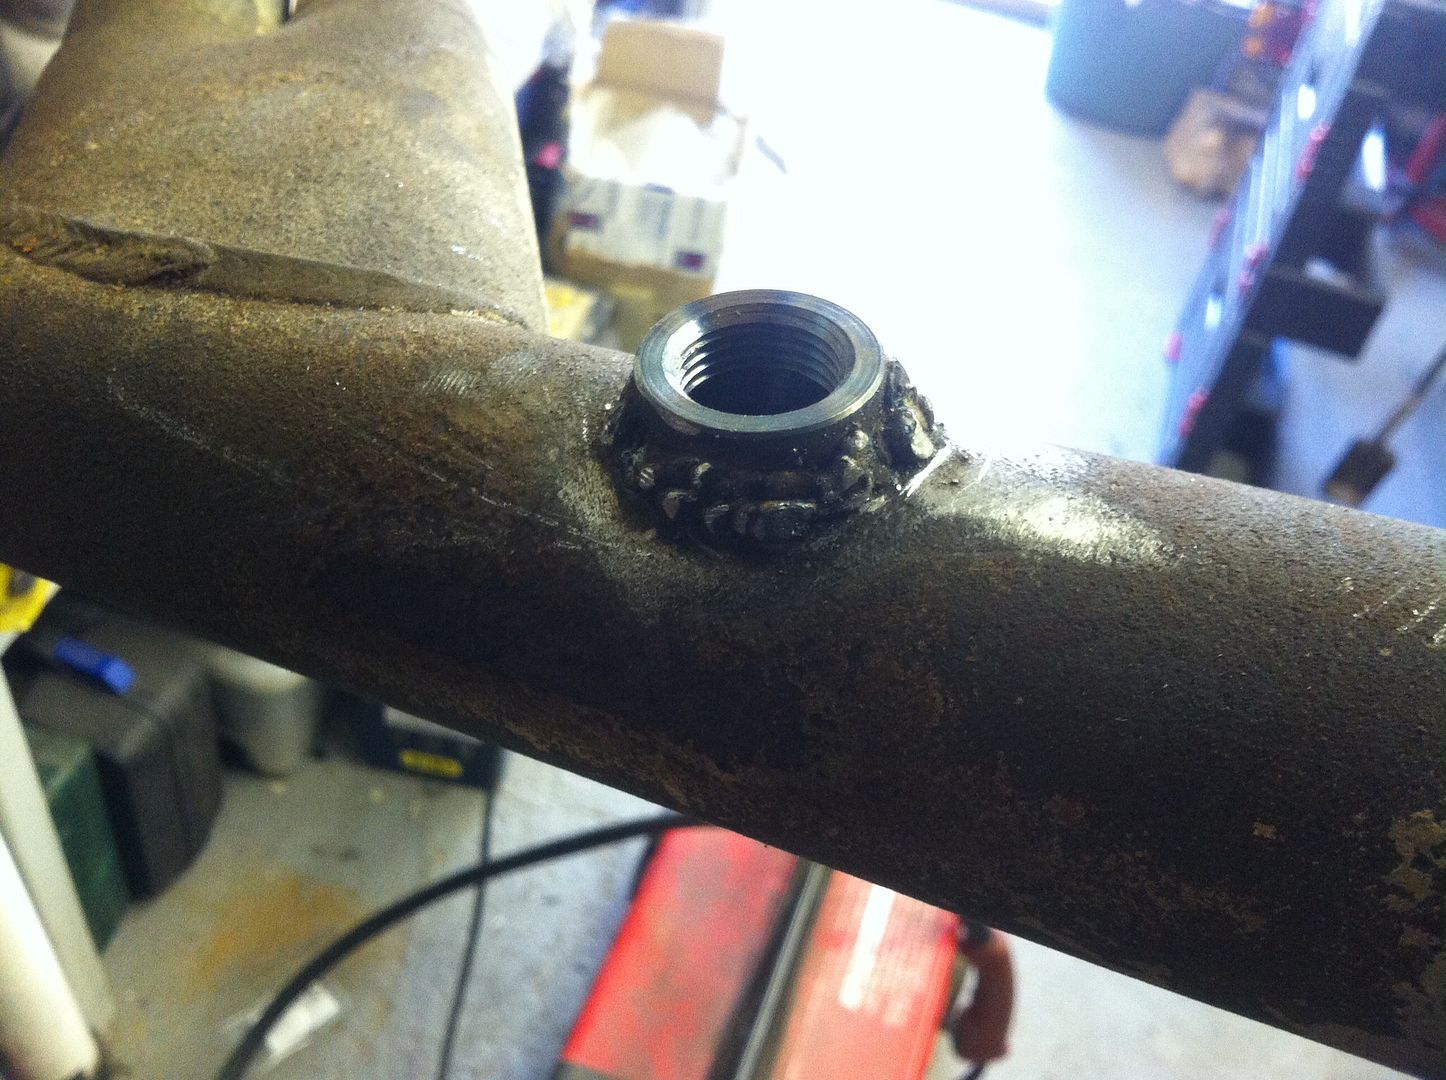 My welding still leaves plenty to be desired!!!!! Then moved onto the wiring. My OCD cut in again and I wanted to tidy up the relays. Grabbed the old junction box and had a play. Mounted in the box and box mounted onto a piece of sheet steel. This will sit next to ECU box, and I'll upload a photo of that lot in a minute. Pete |
| |
|
|
luckygti
Posted a lot
   I need to try harder!
Posts: 4,912
|
|
Jun 26, 2014 20:18:43 GMT
|
Relays! 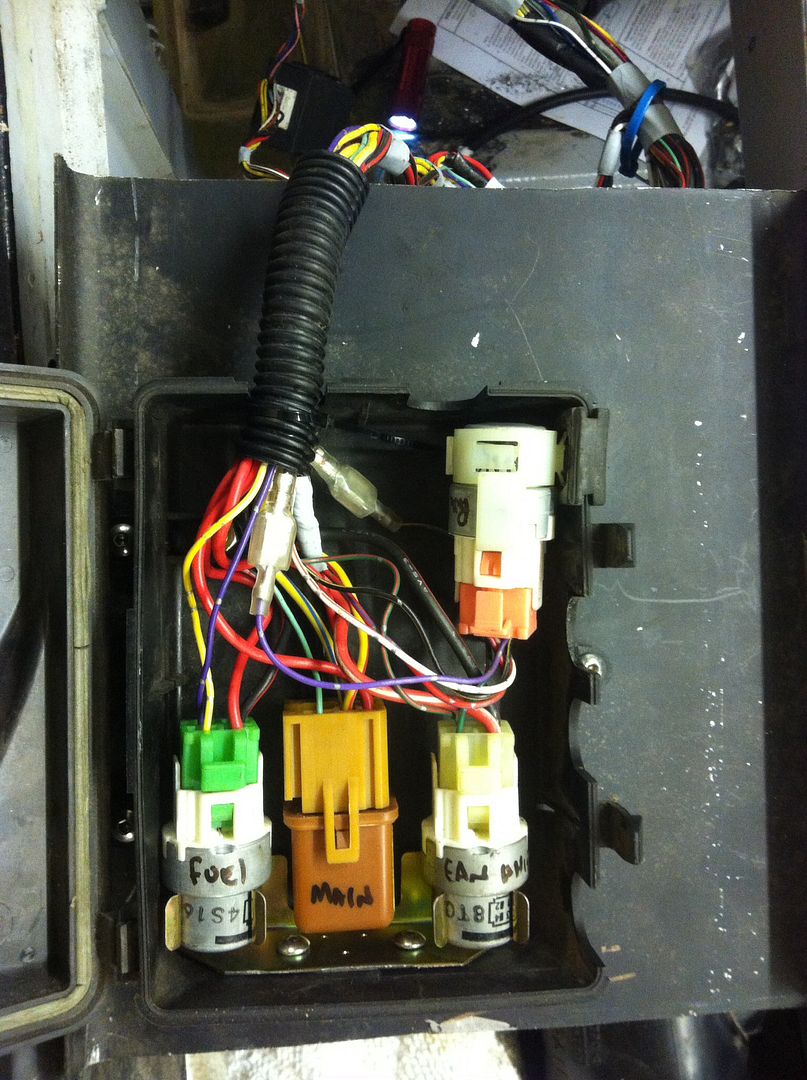 I finished the exhaust bracket, 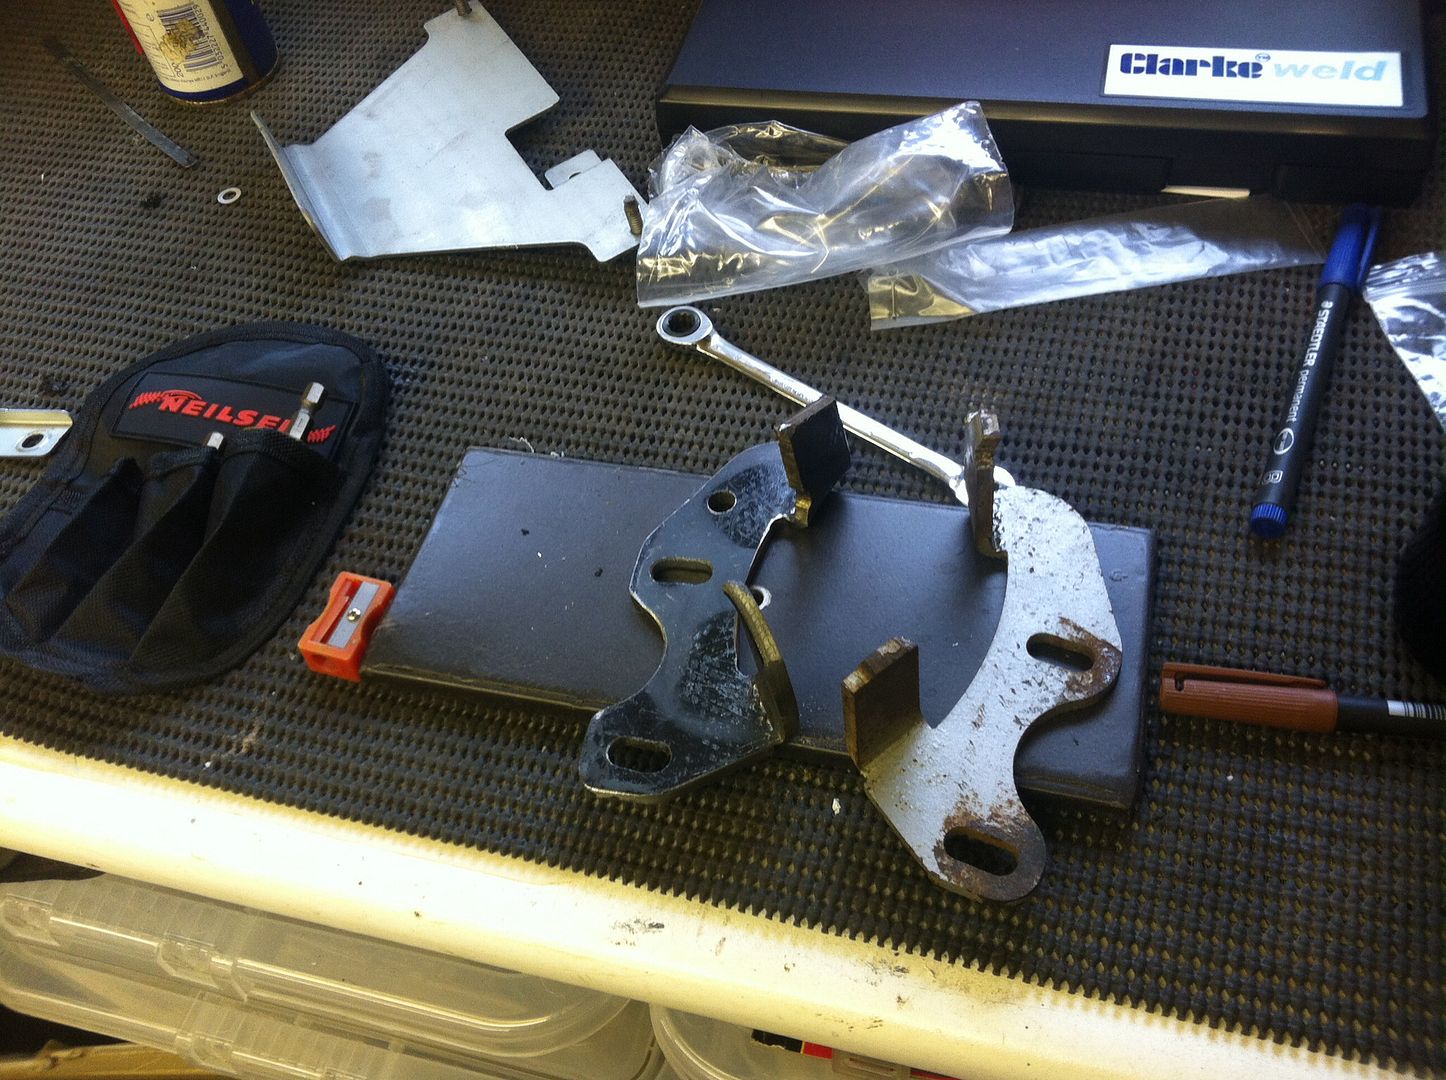 Chucked on some paint, and then mounted them loosely in place, gave the exhaust a quick scrub and fitted that as well. 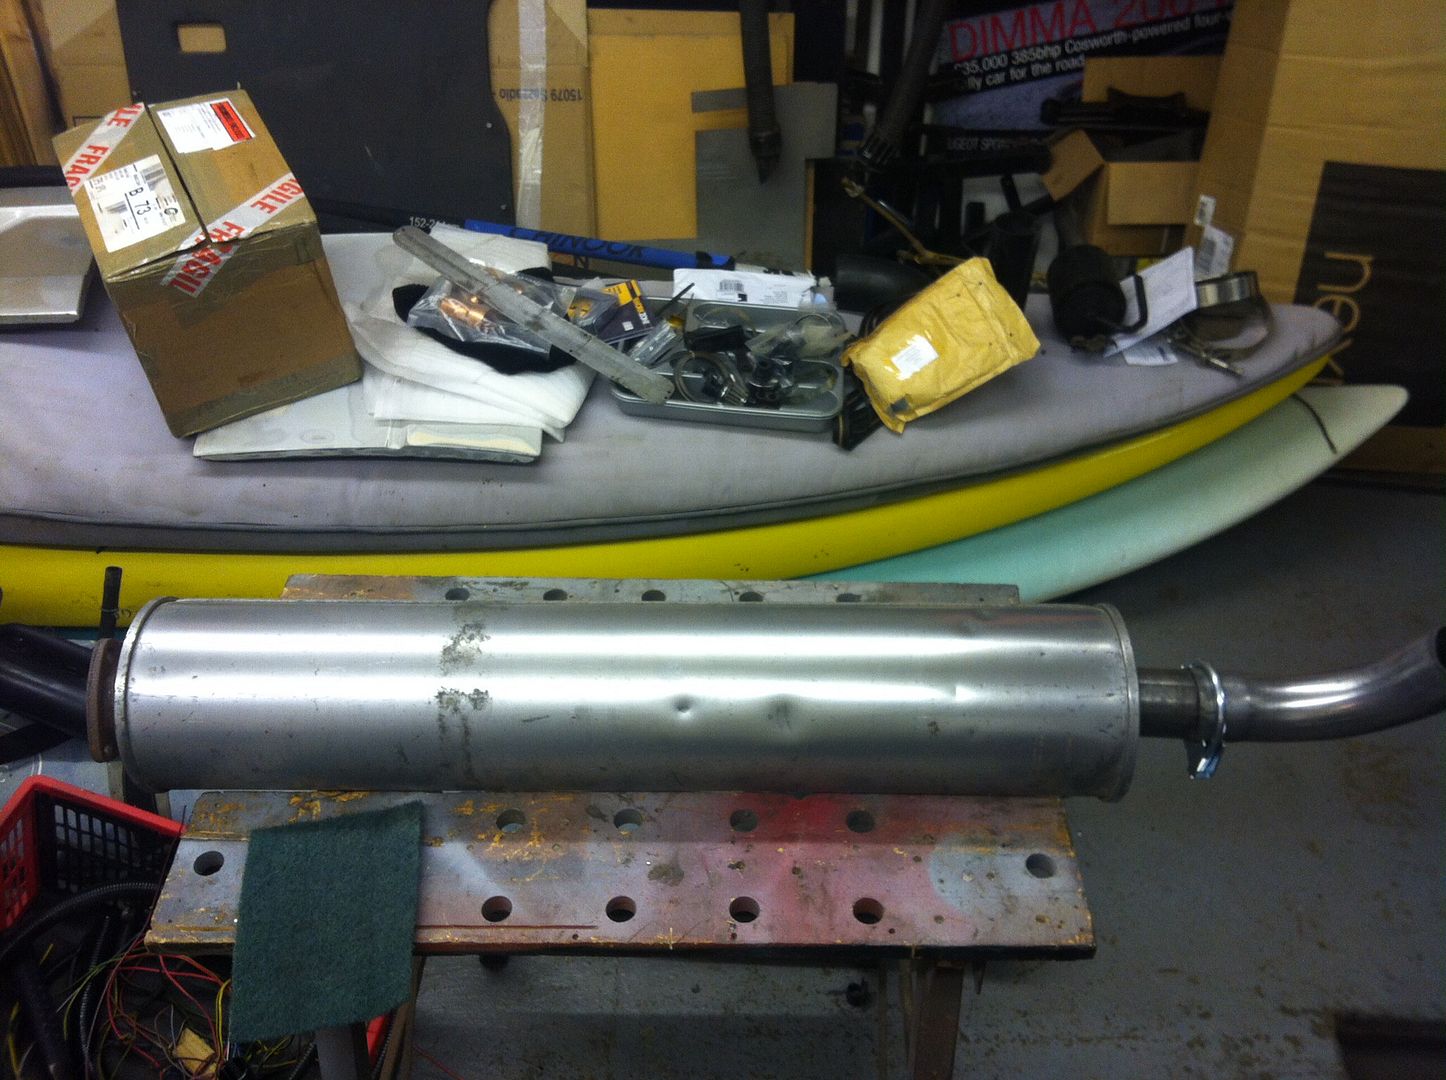 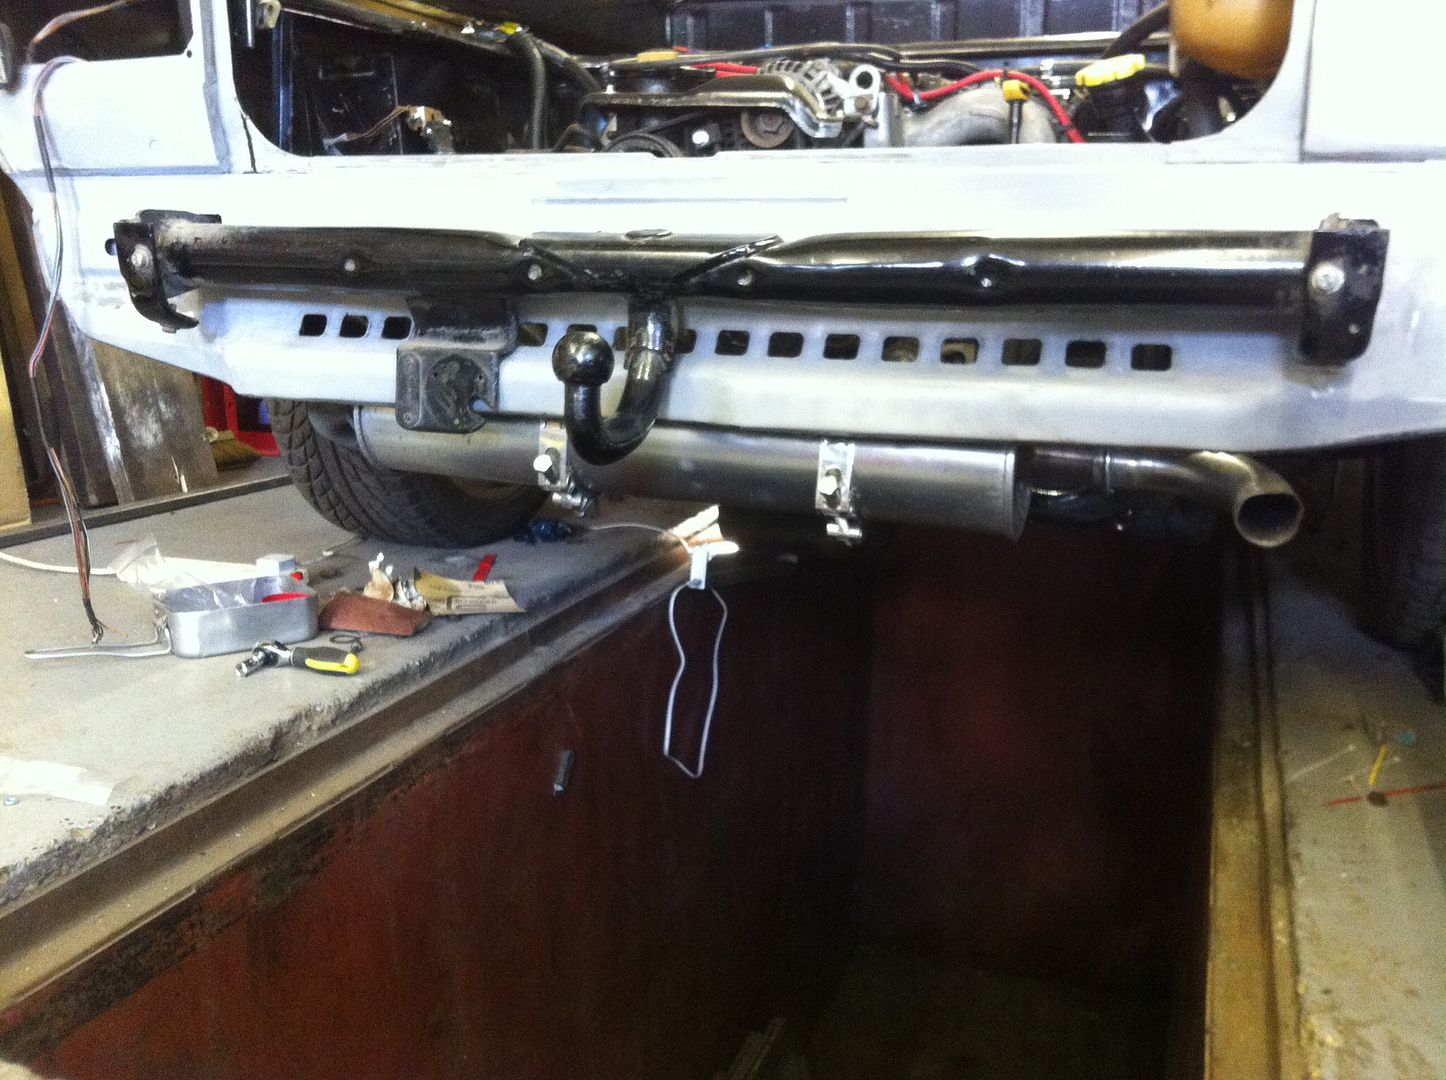 It's not quite level, and the joint is a little out of alignment but bolted up, I'll have to wait til it's running to find out whether it leaks or not! Oh, and how the brackets work! 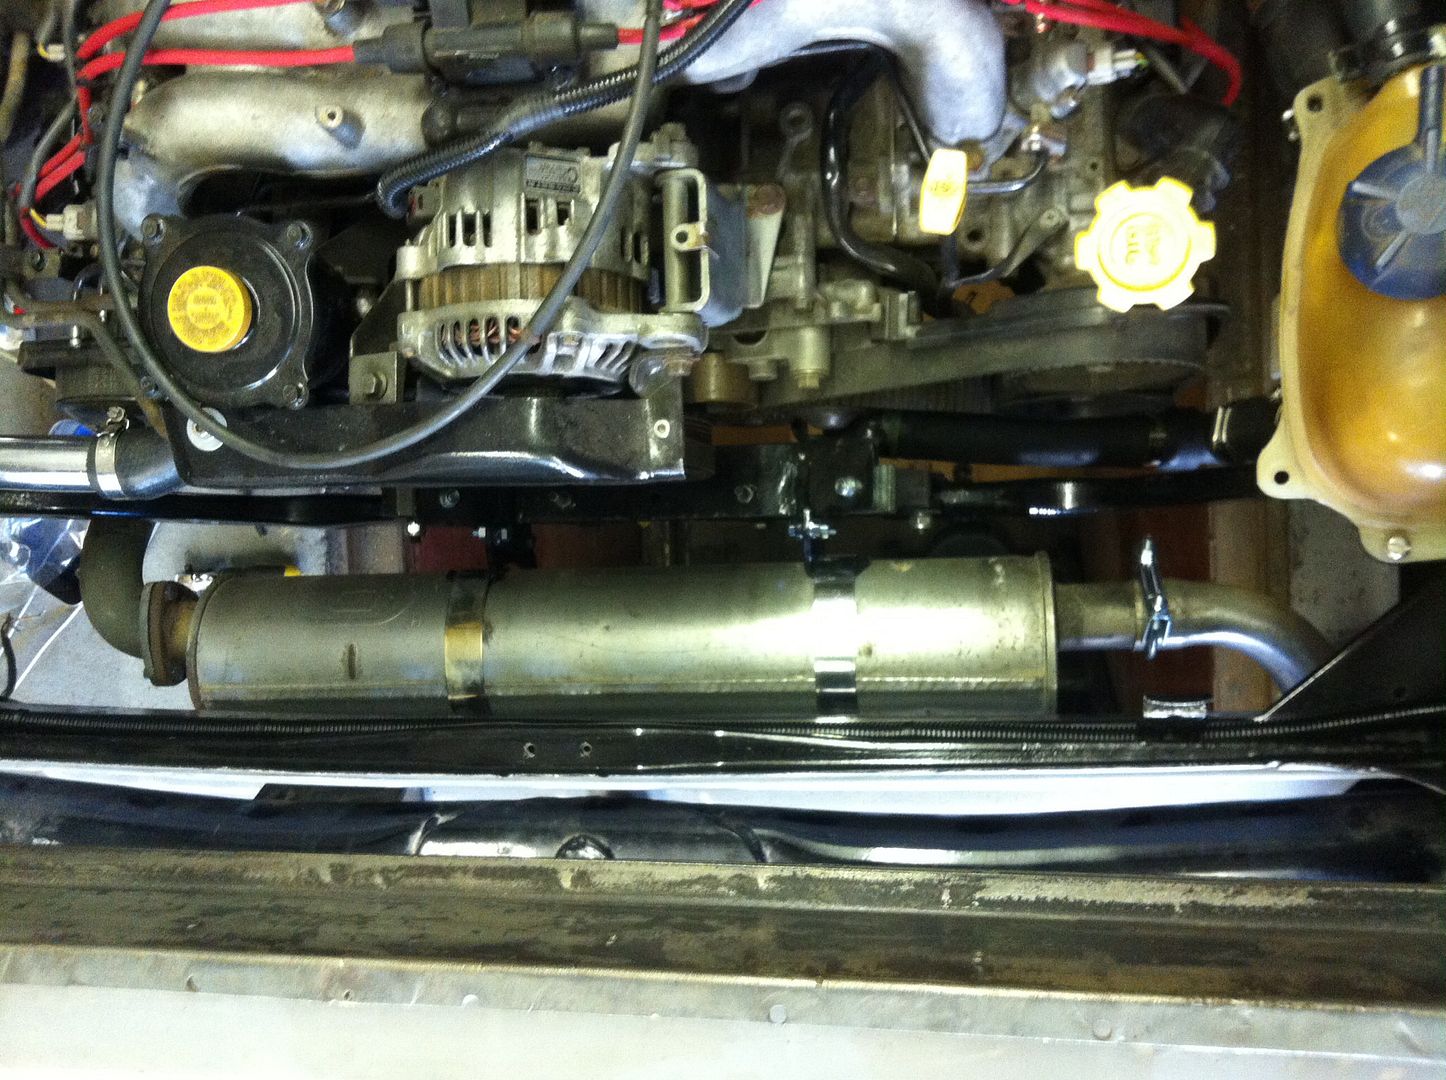 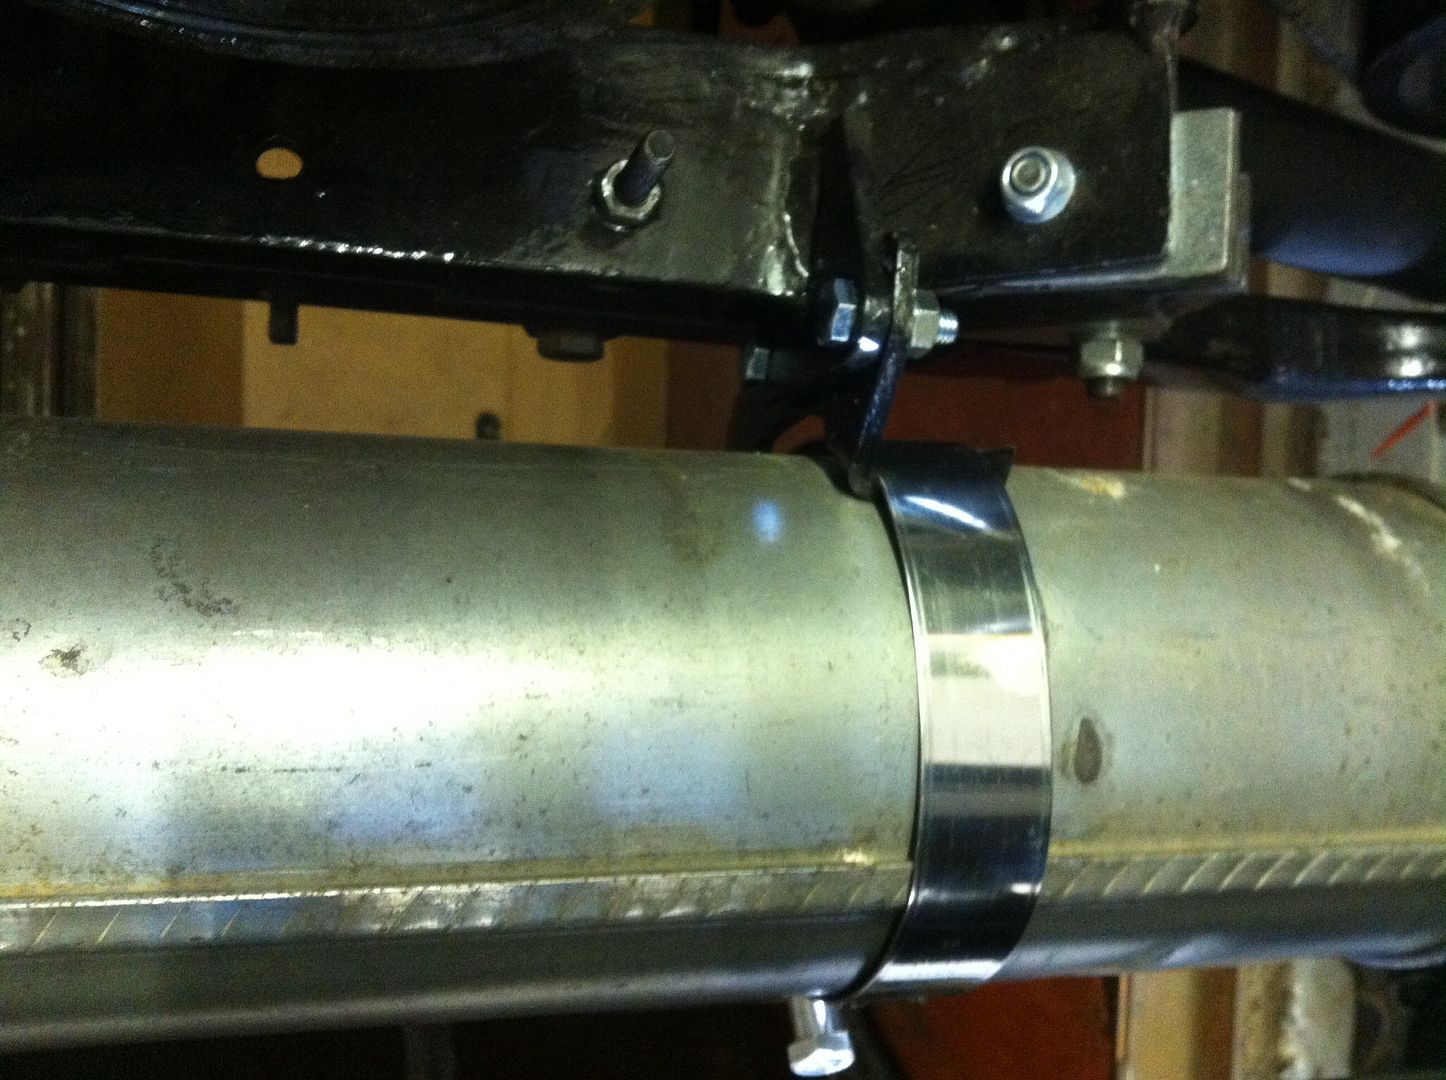 More tomorrow!. Pete |
| |
|
|
stevietuck
Posted a lot
   Never argue with idiots,they drag you down to their level then beat you with their expertise!
Posts: 1,350
|
|
|
|
You are rattling through the to do list now bud good on ya  |
| |
|
|
oldisbetter
Part of things
  If it has a ECU it's complicated :)
Posts: 478 
|
|
Jun 29, 2014 17:16:31 GMT
|
Been plugging away and heading back out in a minute but over the weekend I gave over a couple of days to collecting something I've been after for a while! First I took these And attached them to some angle and pit boards Which made a big dolly so I could collect this  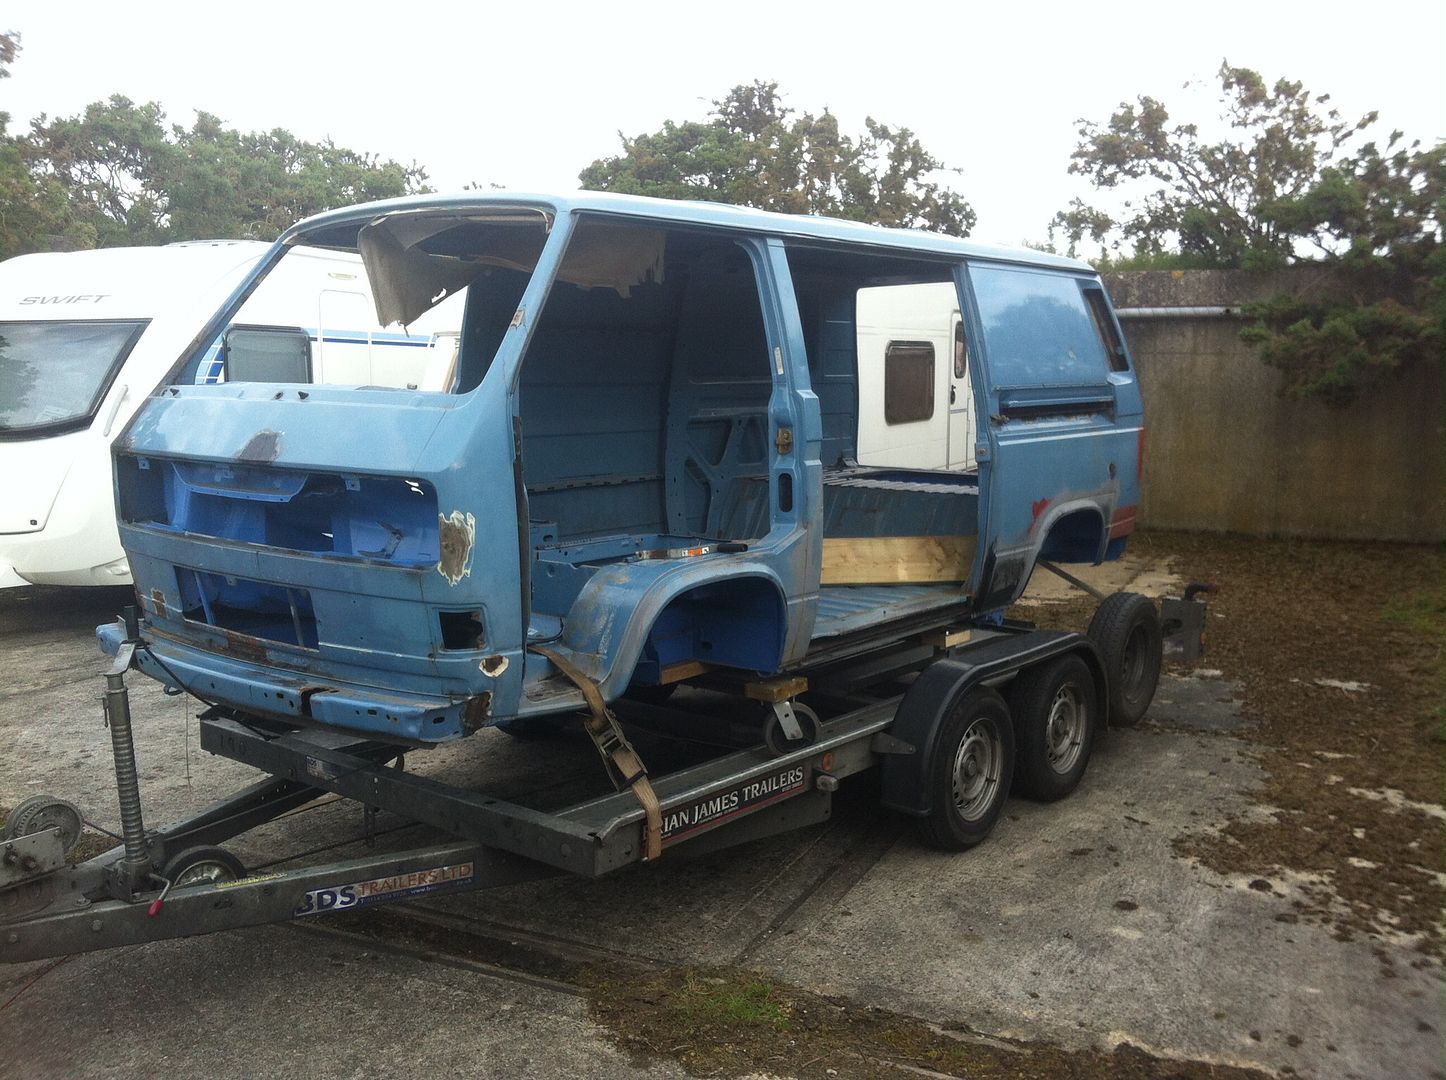 Wtf have you bought that for I hear you ask. Well I've had an idea to get the back end of a van for a while and for two reasons, 1 to make a canopy for the back of mine, and 2 to make a trailer! And this one was such a bargain I couldn't resist  anyway, turns out to be immaculate pretty much underneath, and overall, in better nick than mine as well!! Anyway, stashed it at wrk and I'll comeback to it when I get this one done. Carried on playing with the electrics, needed to make sure the back to front end harness was long enough with the ECU located where it is (yes, probably should have checked that first!) Still, that's where we are so out came the dash so that I could strip out the rest of the old petrol heater wiring? What a mess under there, and some of the other wiring looks a bit dodgy as well! Still, all out and new cable partly in place. Couple of cables/connectors that I 'think' are for the radiator fan but need to make sure before I feed any more of the cable. So, that's this evenings job. Well, along with anything else that takes my fancy! Laters, Pete This looks such a good shell, I almost picked up a bare van shell in that colour for £250 last year, It had been used for parts then stored but it was crushed for scrap in error, project denied . Anyway i'm watching your project and it looks tidy and going together nice.  |
| |
|
|
luckygti
Posted a lot
   I need to try harder!
Posts: 4,912
|
|
|
|
Thanks stevietuck and oldisbetter, yep, it's a good shell alright. So, more done,wiring is pretty much complete, just need to connect up the fuel pump and fan, in the meantime I'm trying to sort out the cab so the dash can go back in before the big fire up (or not!) anyway I'd been thinking about some Raptor paint for the locker and thought while I'm at it I'll give it a try in the cab. Don't want to spray as I don't have a air fed mask so tried rollering. Apart from the fact that it disintegrates the rollers in about ten minutes I'm pretty chuffed so far. Some pics, paint 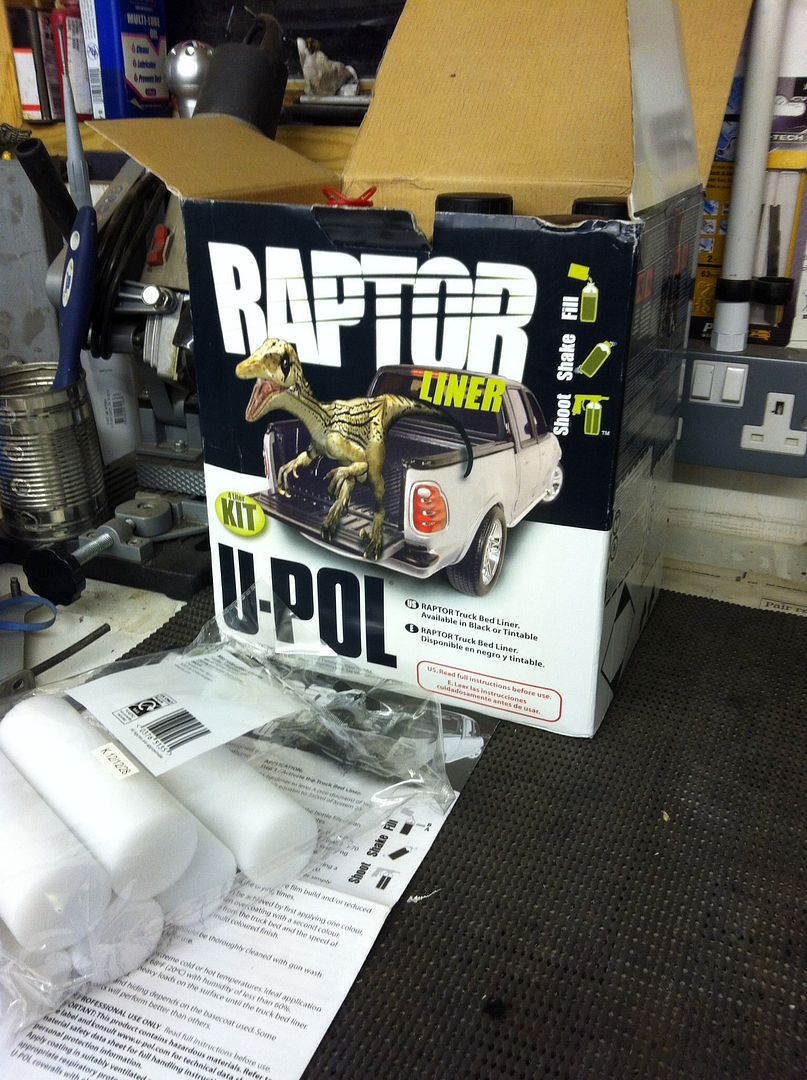 Prep,  First coats. 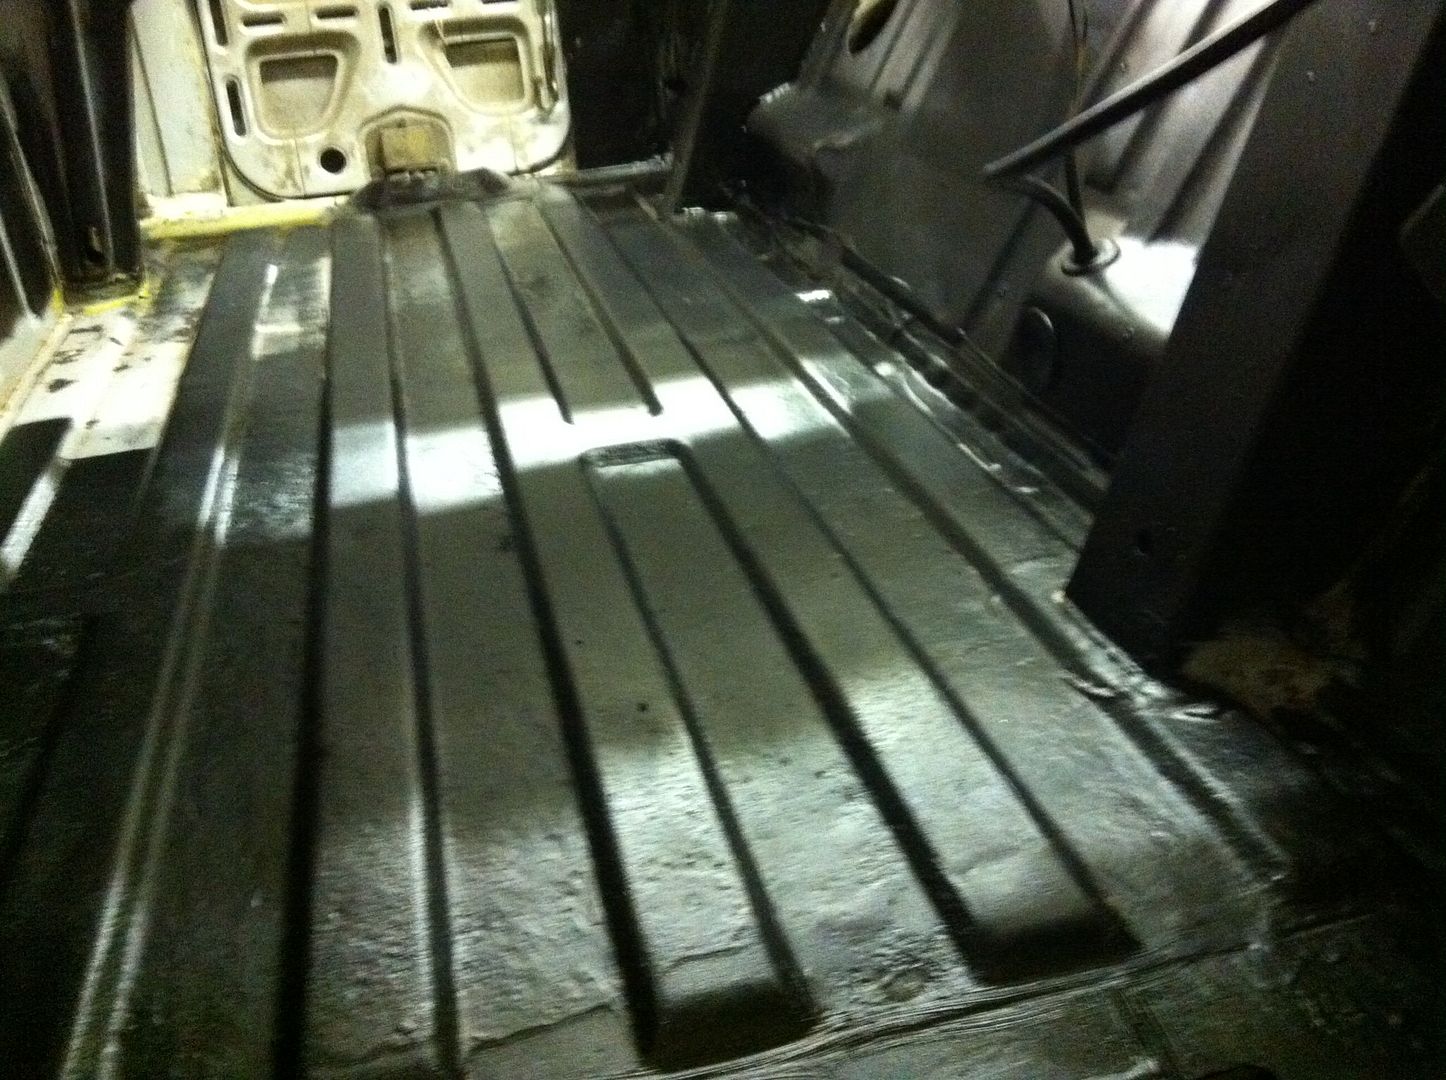 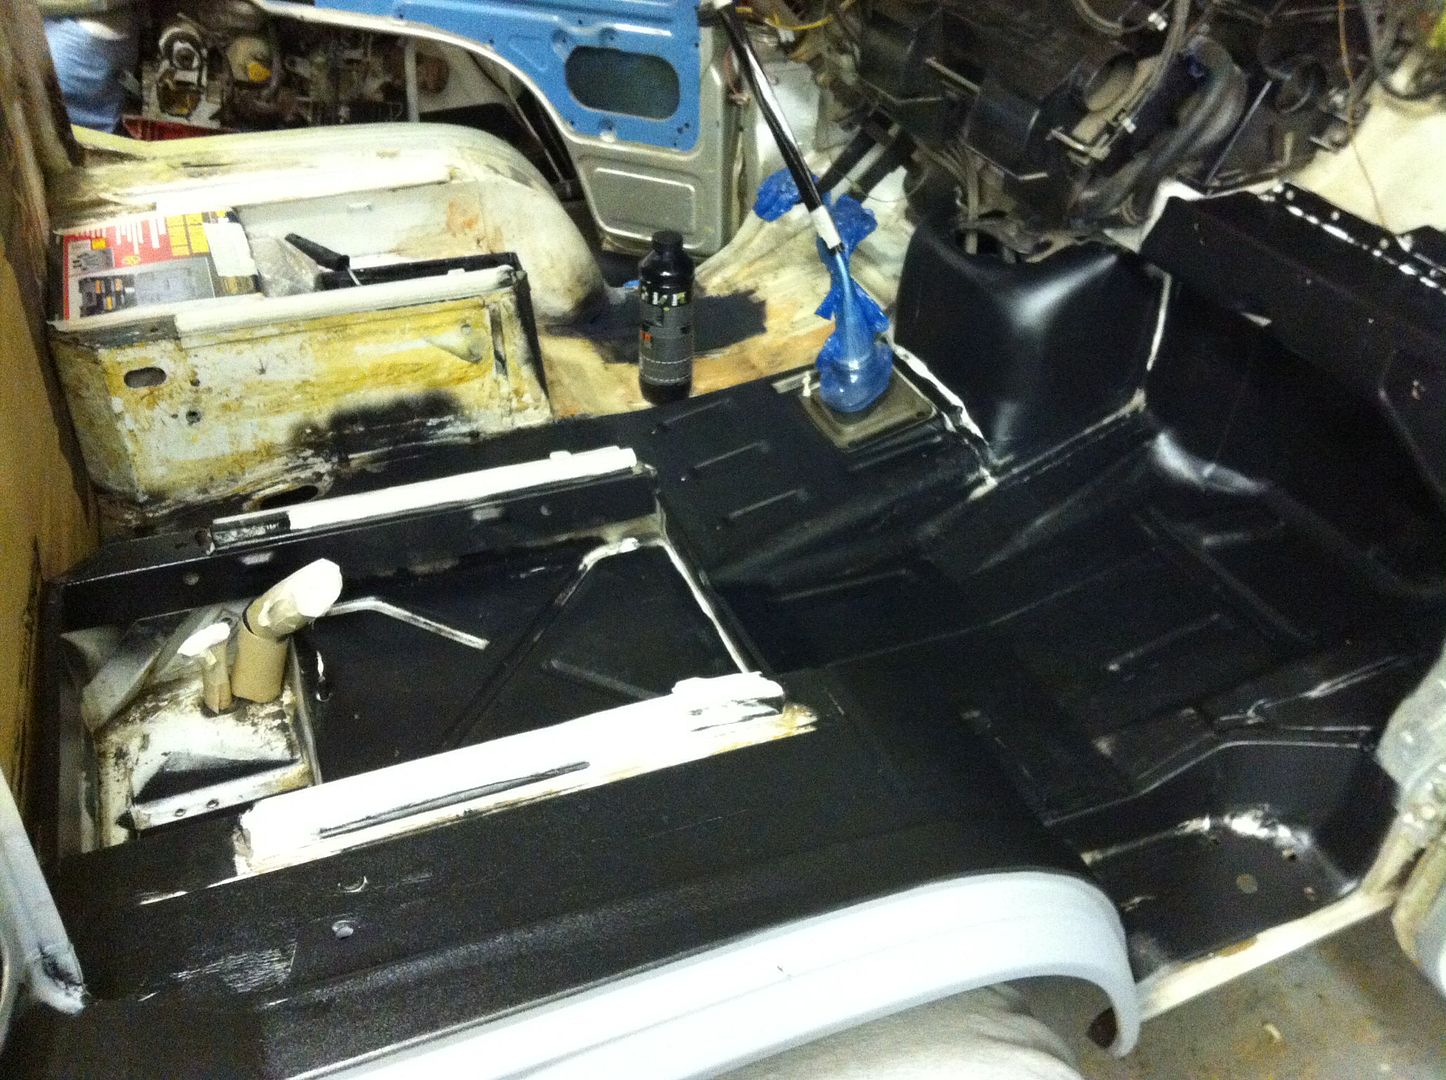 Off to do another coat, may actually use it on the dash as well, really like the texture! |
| |
|
|
luckygti
Posted a lot
   I need to try harder!
Posts: 4,912
|
|
|
|
so, a bit more done, I went to do some more painting and the f@@@@ng paint has dried in the bottle! curse word. So, with that in mind I have started prepping everything that will painted with this stuff so that I can do it all in a oner. Had to empty the van and start scrubbing. 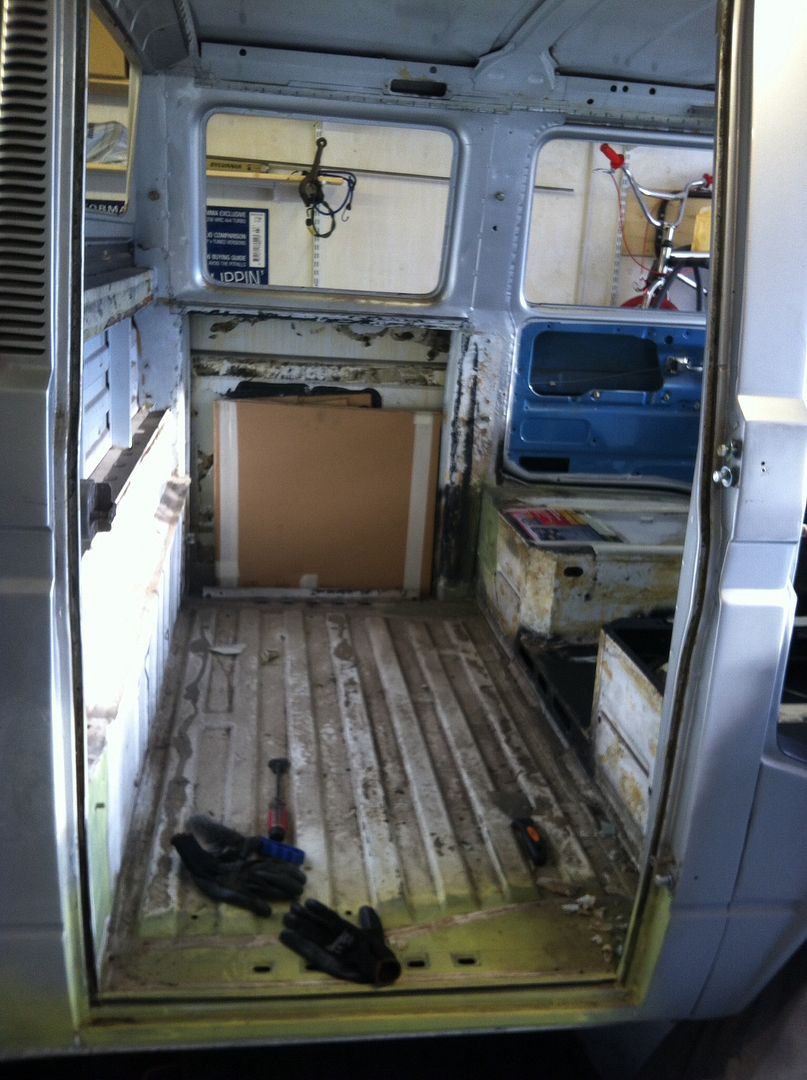 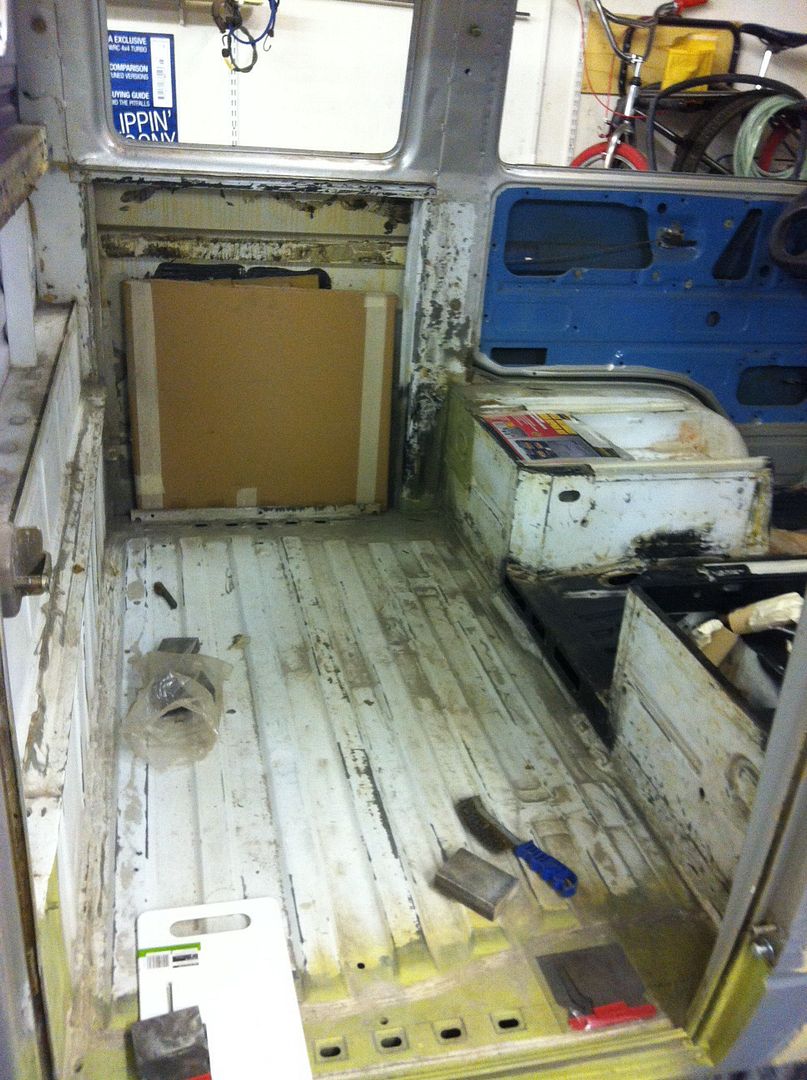 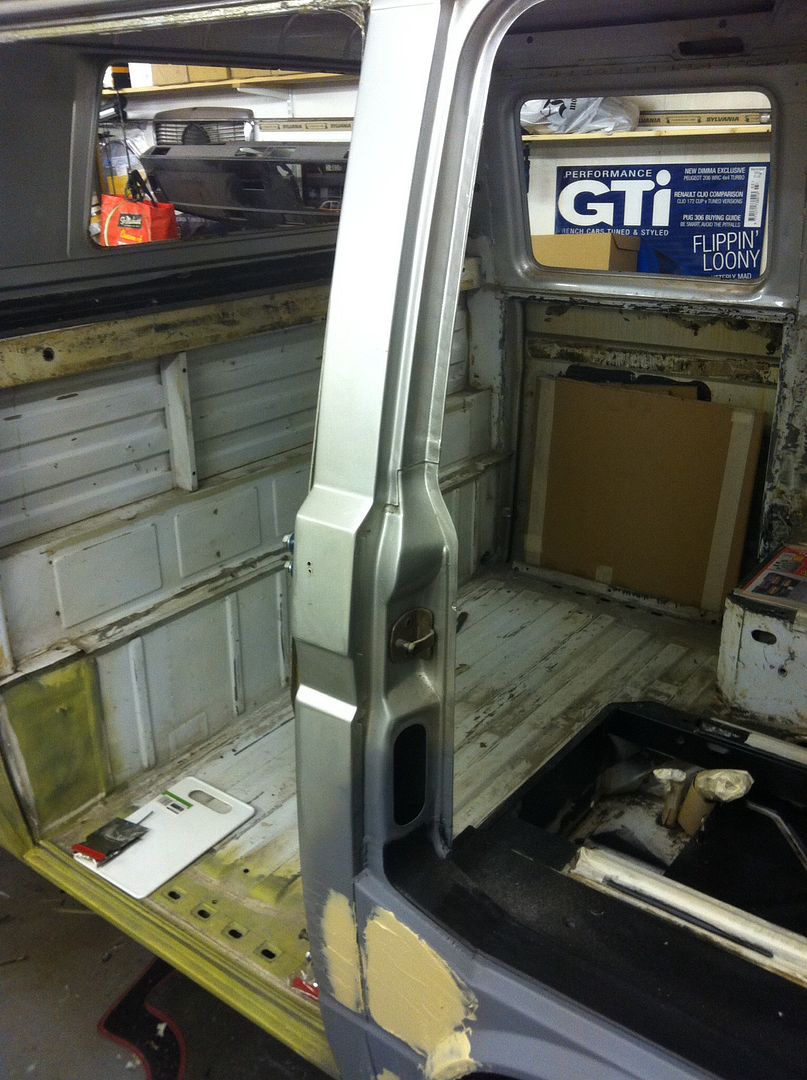 Hoover and rust treatment tomorrow. Oh, and this is what it looks like up close. Really nice texture with a roller! 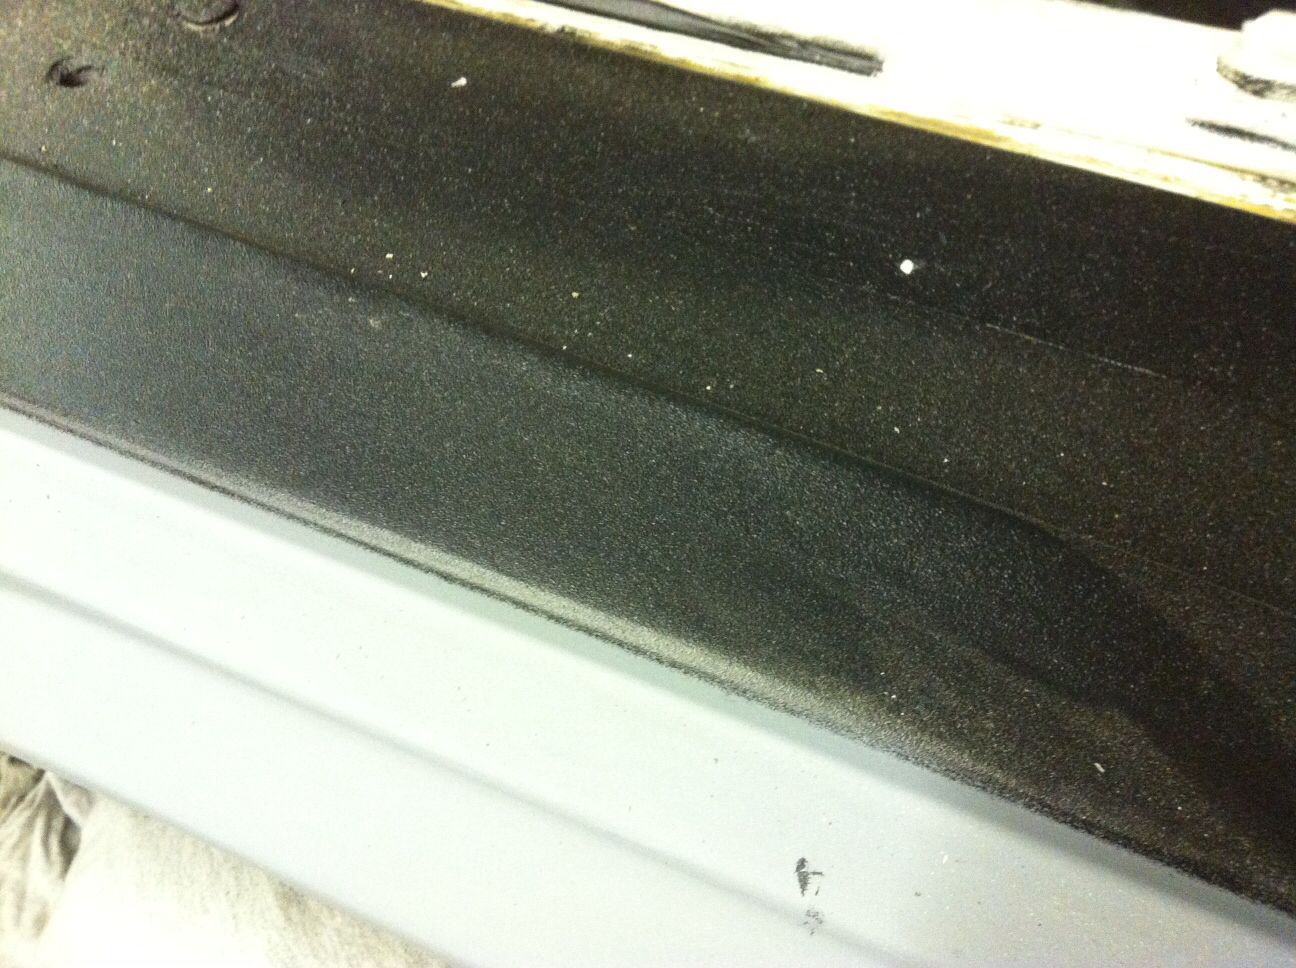 Car meet at the local,tomorrow, so back on it on Friday! Pete |
| |
|
|
oldisbetter
Part of things
  If it has a ECU it's complicated :)
Posts: 478 
|
|
|
|
|
Looking nice, I wish i had more confidence in welding, I have an ok mig but need to practice then i might get into doing things like this, Anyway i'll keep an eye on your build and try and learn.
|
| |
|
|
|
|
|
|
|
|
|
Looking nice, I wish i had more confidence in welding, I have an ok mig but need to practice then i might get into doing things like this, Anyway i'll keep an eye on your build and try and learn. Best advice I can give you is just pick up a rotten bonnet or door or even car and just give it a go, you will soon learn whats the best pace to work at, and best ways of setting a mig up! you only learn by your mistakes so go make them ha  btw the whole build is so cool would love to do something like this that raptor upol paint looks the business!  |
| |
|
|
oldisbetter
Part of things
  If it has a ECU it's complicated :)
Posts: 478 
|
|
|
|
|
Yes i think your right i'll try welding some bits on an old door this week end, I don't think i can make scrap worse but if i do i'll post pics so we can have a laugh at least, lol
|
| |
|
|
|
|
|
|
|
|
Looking good!
I'd been looking for something to seal the "work area" of my work wagon... I'll be looking into Raptor more closely...
|
| |
Ich habe kein Geld!
|
|
luckygti
Posted a lot
   I need to try harder!
Posts: 4,912
|
|
Jul 11, 2014 15:48:36 GMT
|
Yes i think your right i'll try welding some bits on an old door this week end, I don't think i can make scrap worse but if i do i'll post pics so we can have a laugh at least, lol Well, practice makes perfect as they say! And I need to do a lot more practice. Finally cleaned up all the metal that I wanted to spray. Norniron, it's definitely good kit! 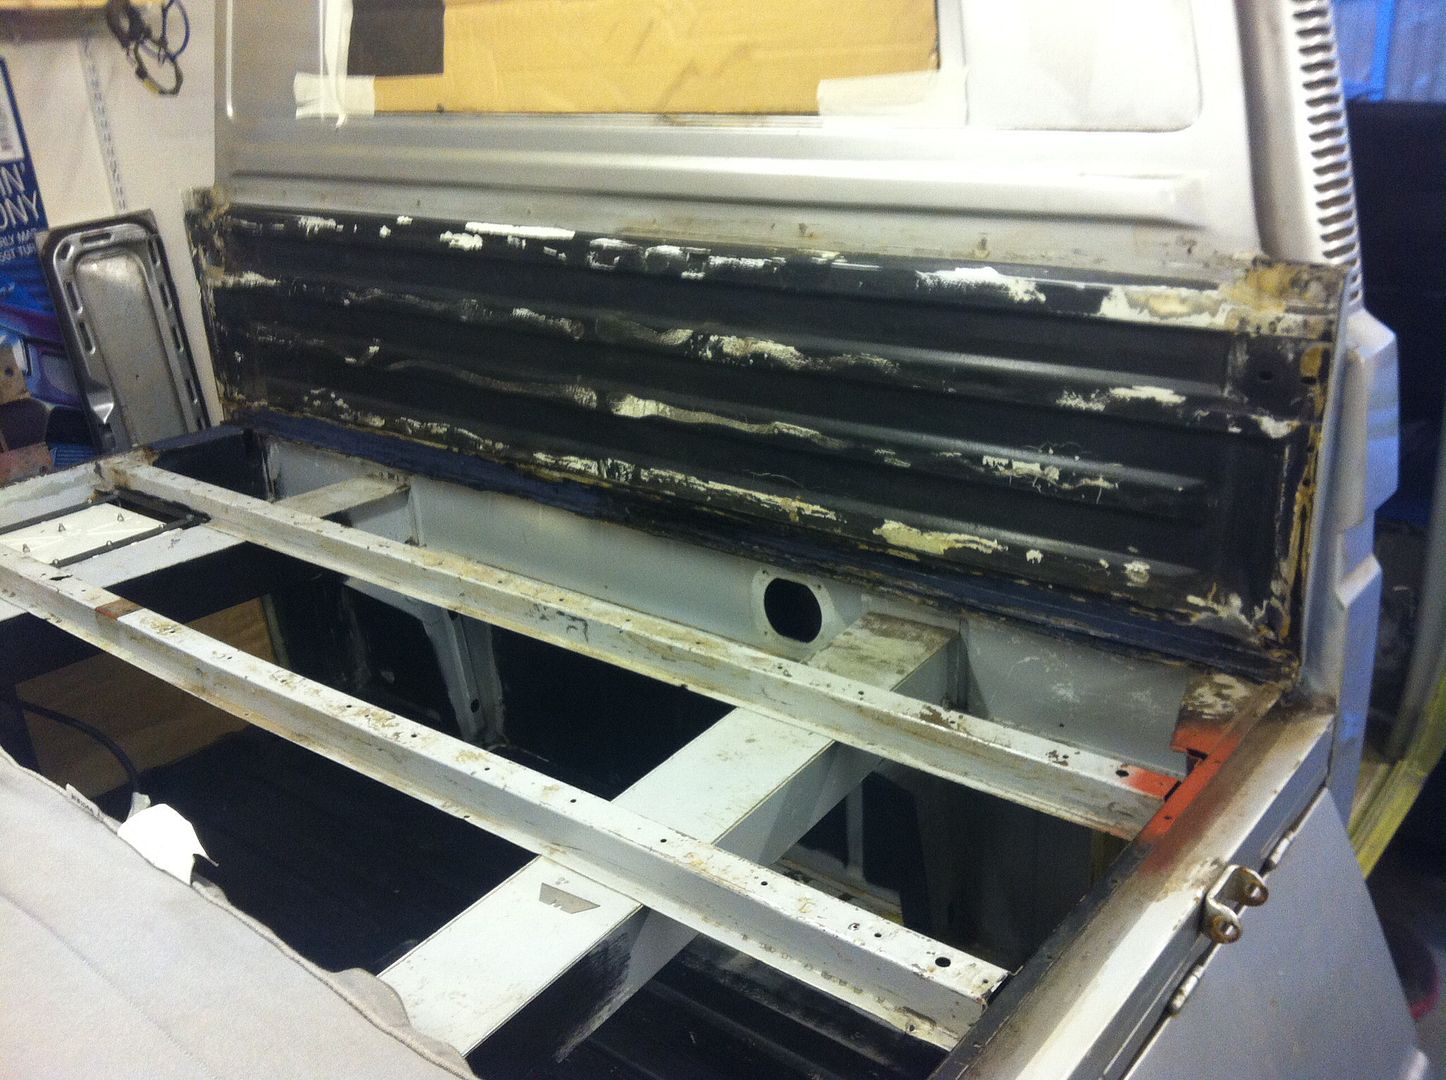 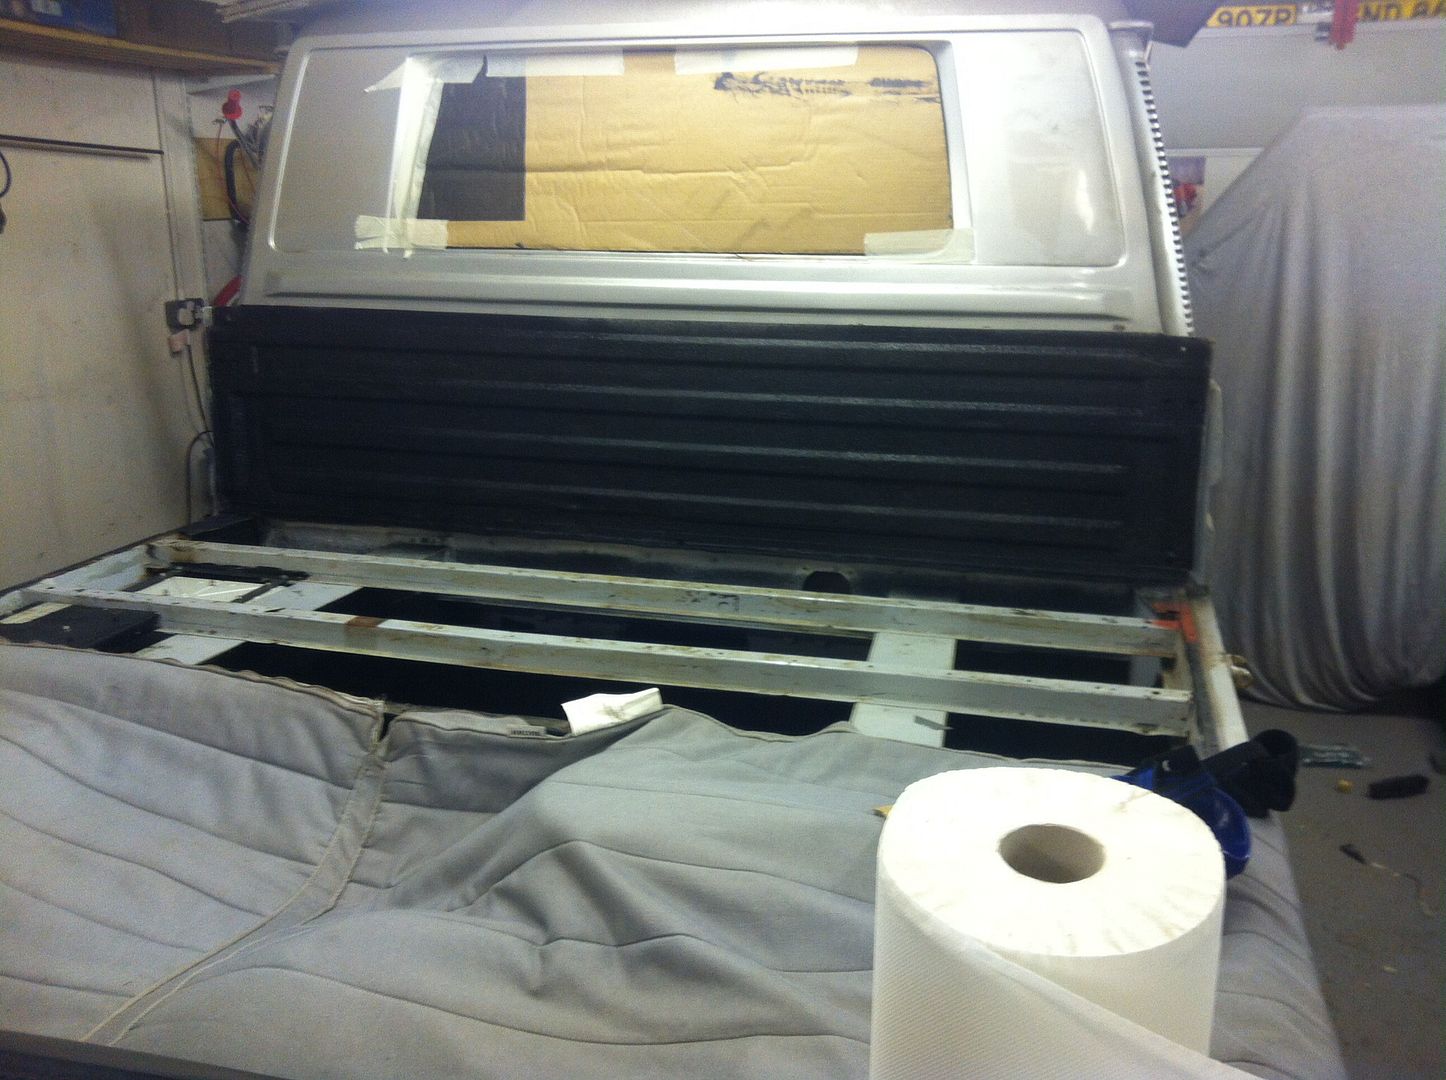 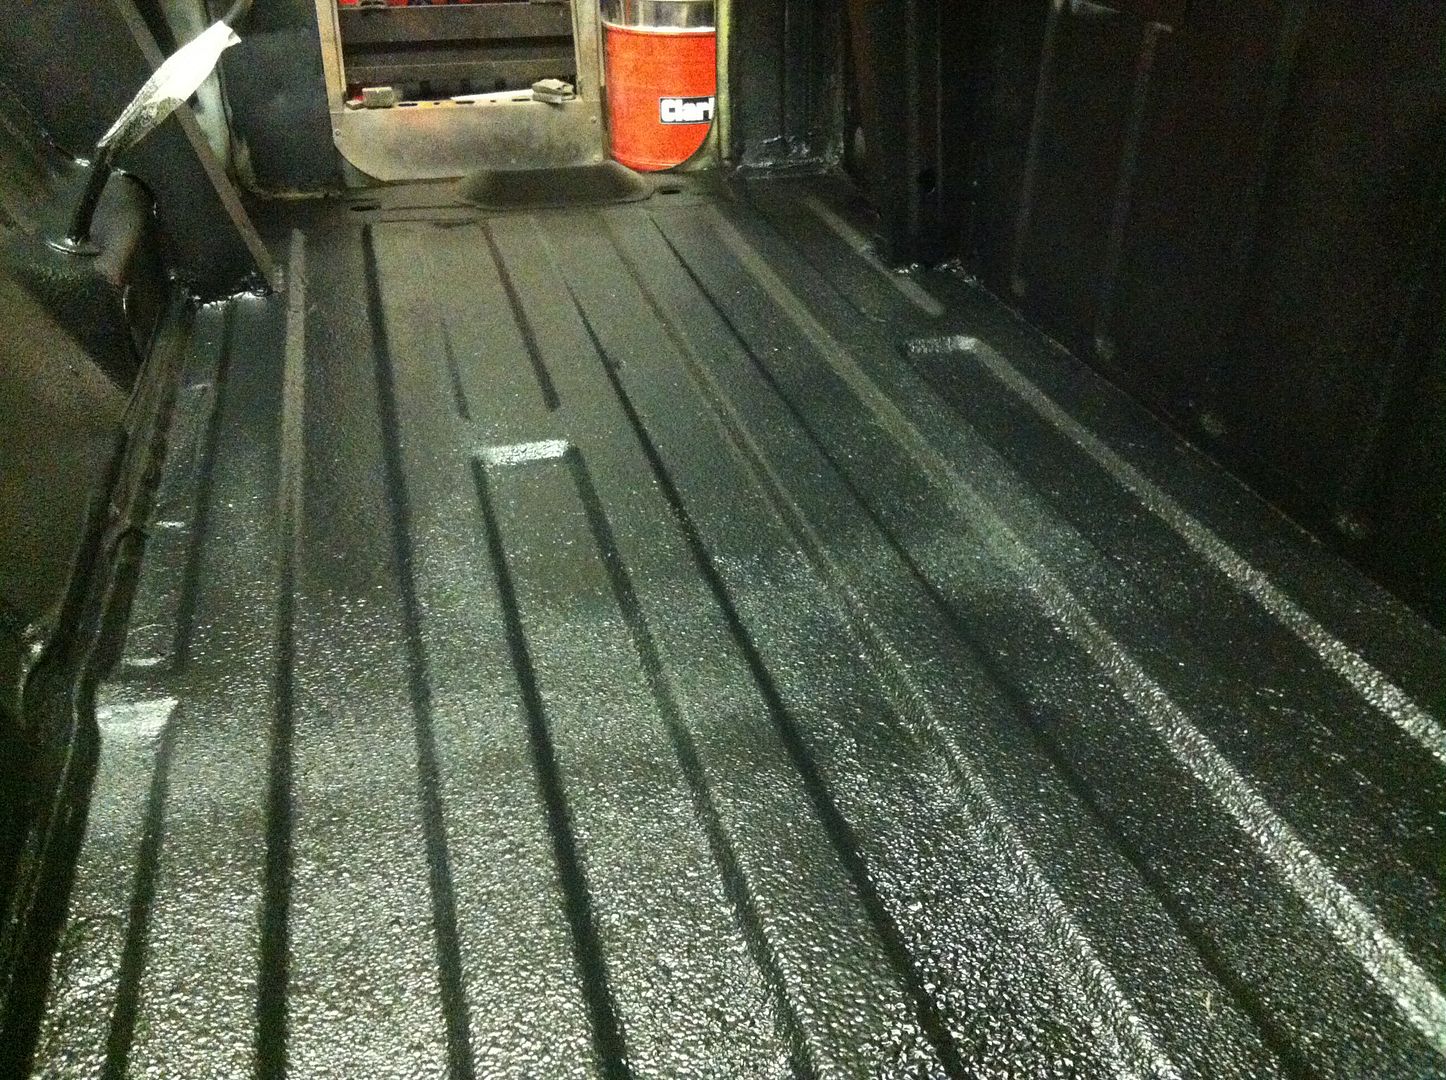  The texture is very different out of the gun so I went back to rolling, with the tight spaces done with a brush. Still pretty happy with the look though. 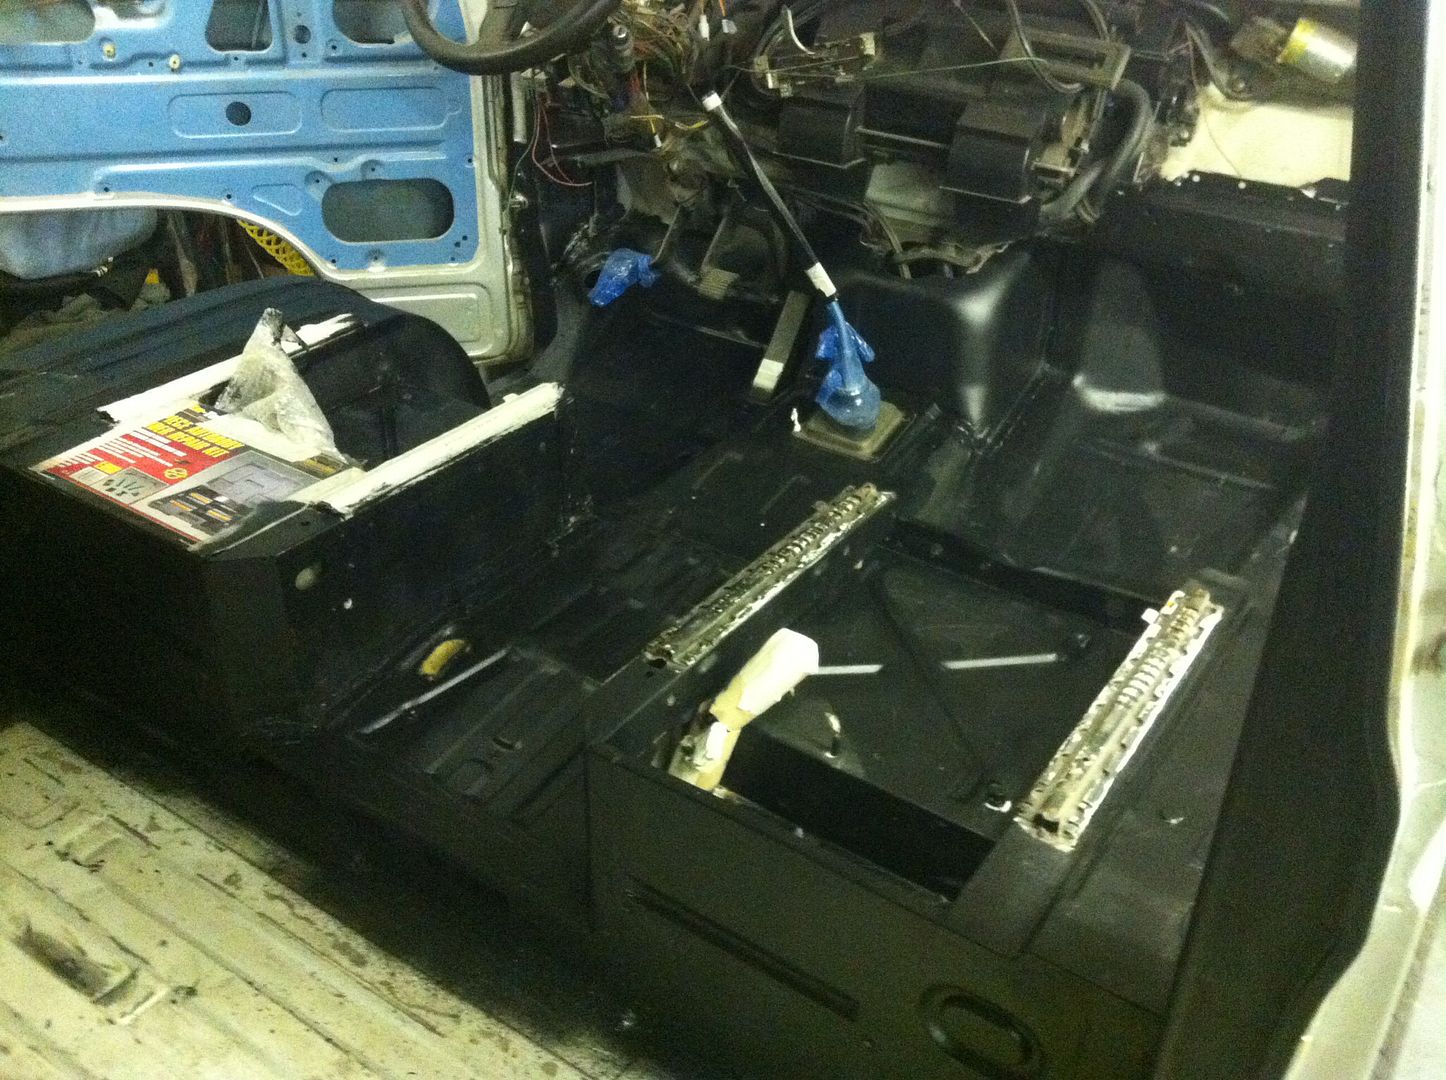 Didn't get all the floor done, have one bottle left so will probably do it but need to look at what else needs doing! Then, as it was late and I wanted a little project I started on the winder handles. I bought some bits from the auction at RRG last year, 2 brand new vw handles which are spot on and some mini ones, which obviously aren't. Knowing that I had a good pair, I spied a mini skateboard I bought ages ago. Now I've seen this done before so I can't claim any imagination points, but with a bit of drilling..... 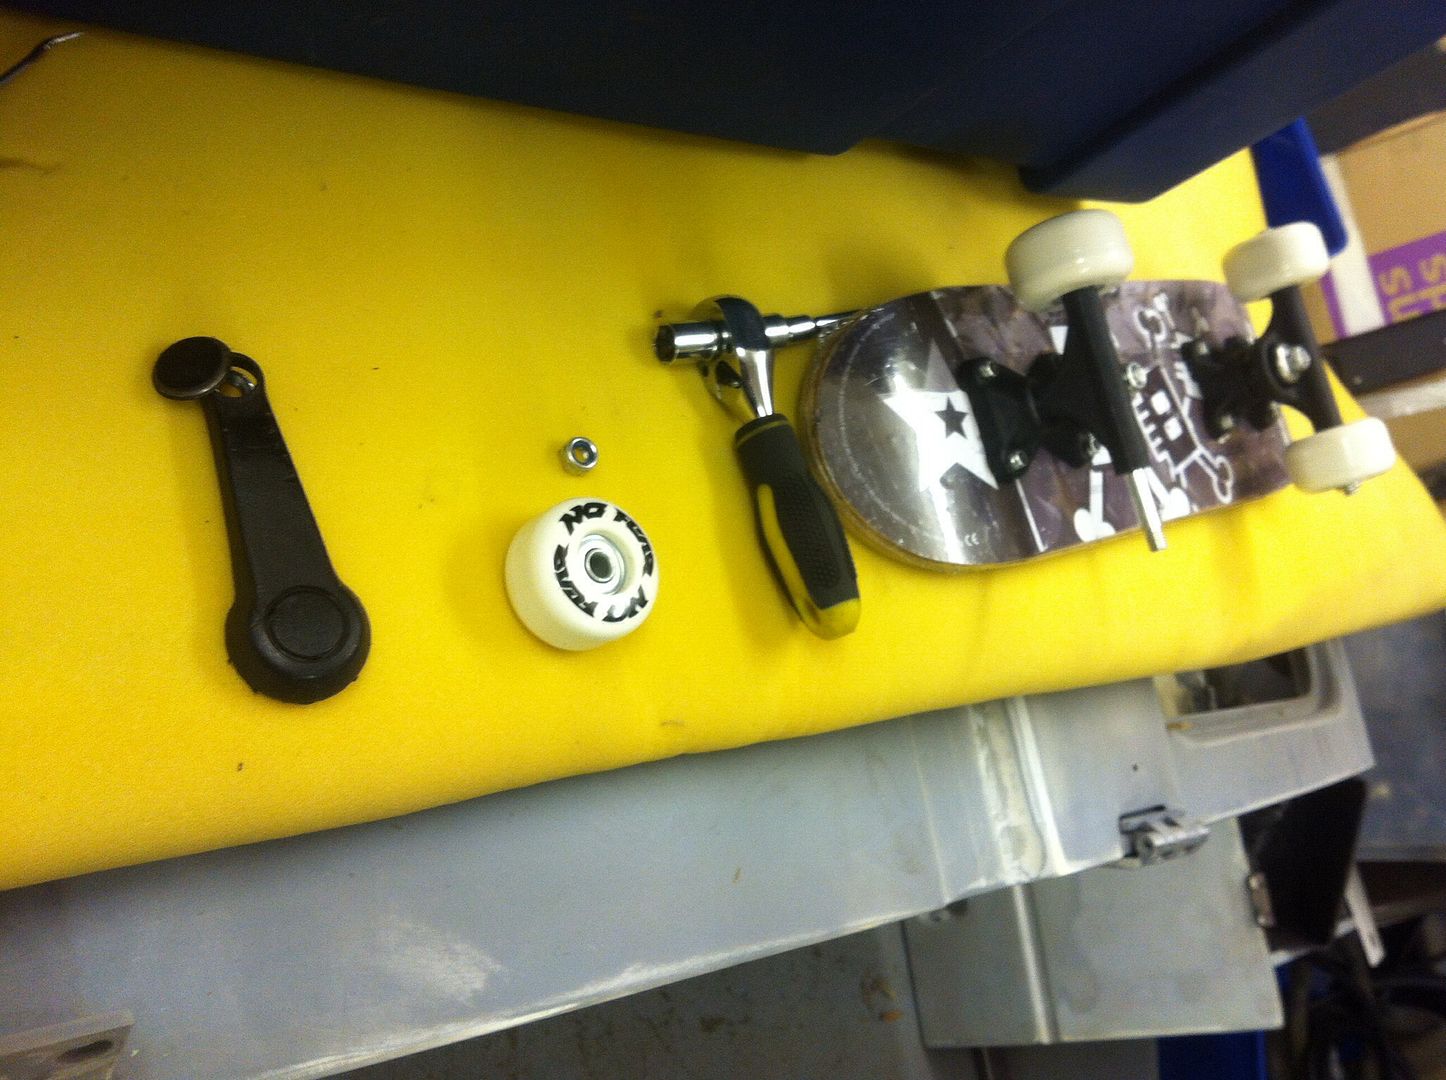  And without the plastic, I actually think this looks better, I'll paint them black though. 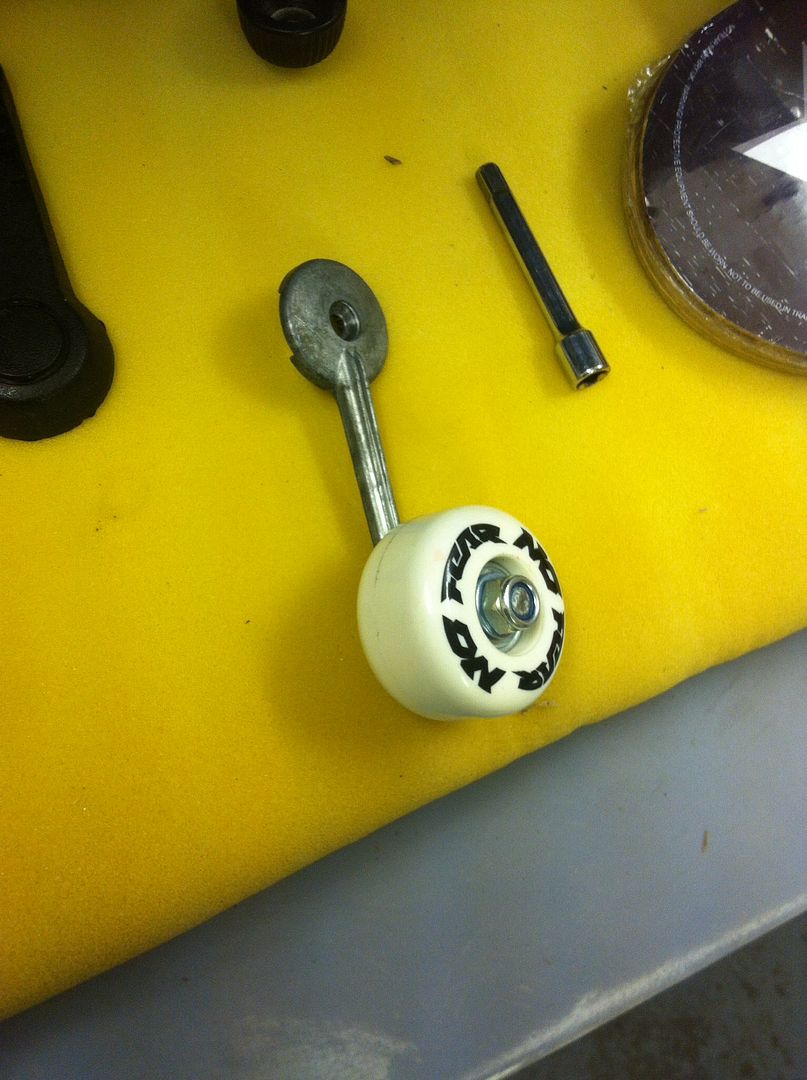 Next up, seats. Dragged out of the loft, I'd forgotten how good they look! 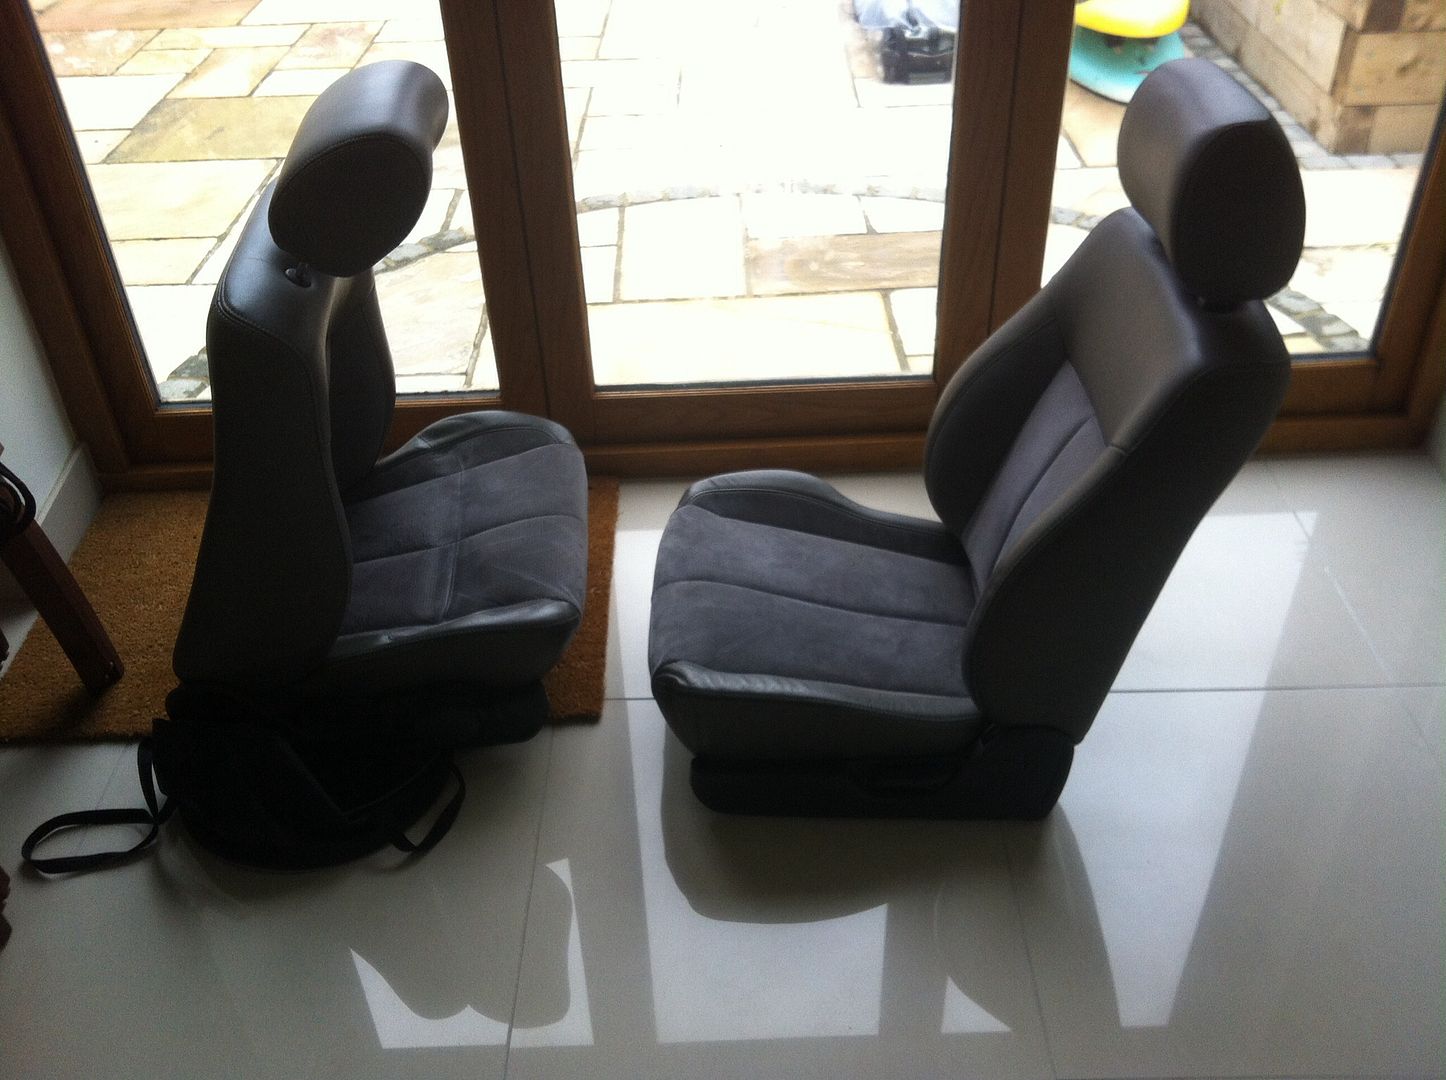 Got a day on it tomorrow so hoping the interior will start going back together! |
| |
|
|
|
|
|
Jul 11, 2014 17:13:46 GMT
|
|
i always use the audi window winders, got 'em on everything now
|
| |
|
|
oldisbetter
Part of things
  If it has a ECU it's complicated :)
Posts: 478 
|
|
Jul 12, 2014 17:05:02 GMT
|
|
After welding on the bench over the last few days i'm much happier, I think most of the problem is i had the mig set up badly and i was going to fast, short bursts seem to suit me better, I think those handles look chunkier and i might go for making some as i have a few old wheels,nice work
|
| |
|
|
luckygti
Posted a lot
   I need to try harder!
Posts: 4,912
|
|
Jul 13, 2014 19:22:43 GMT
|
Good to know guys, I'll keep those winder handles while it's looking a bit rough, but will go back to the nice ones when I plush the interior up! Couple more jobs done yesterday. First up I had a power steering pipe made up, expensive, but needed doing. Typically it's too long so need to do some rerouting! Measure twice and all that! 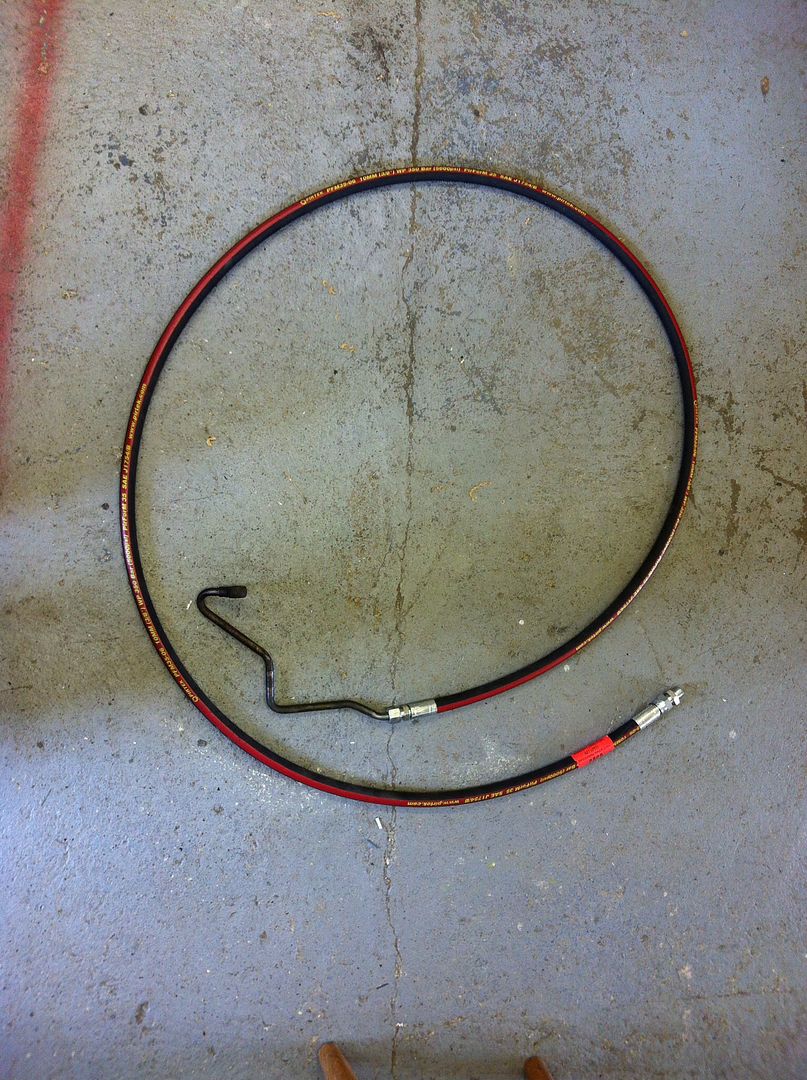 Got them made at Pirtek and had them use the old connection to the power steering pump which saved a few quid. Next up I started to sort out fitting the seats. They obviously don't bolt straight in..... But after lots of mucking about we have success! 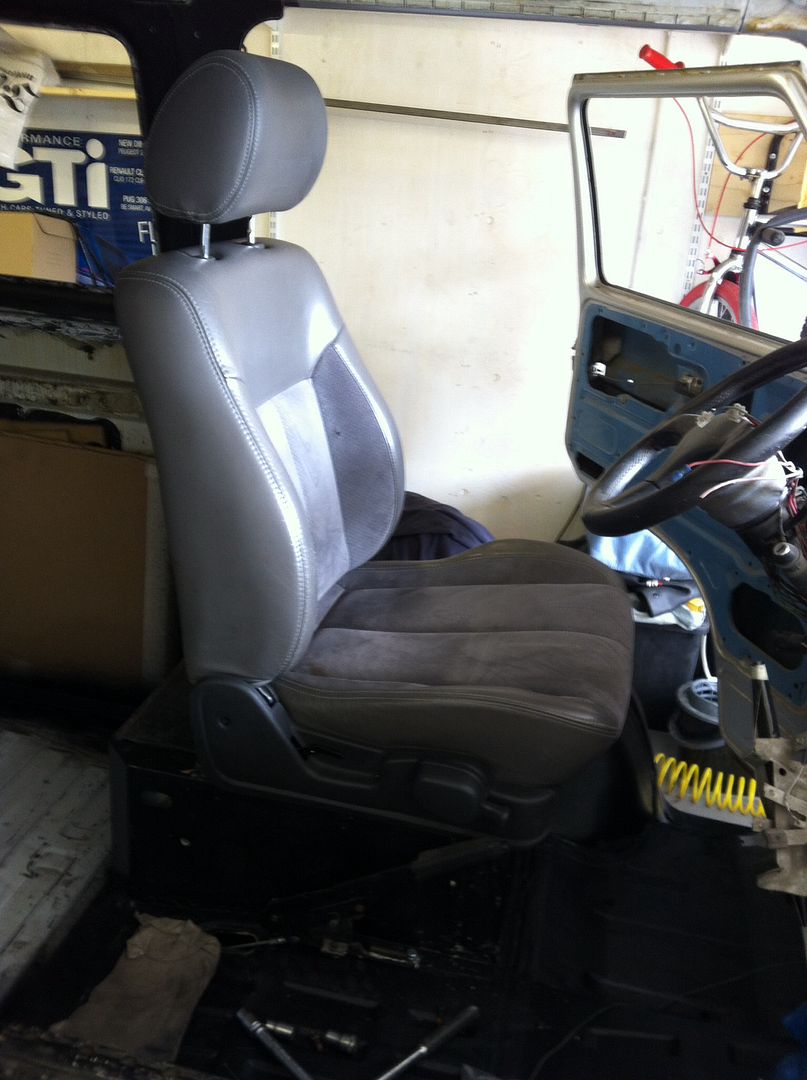 Not the best picture, but well happy. This is the drivers seat out of the Subaru so can be raised and lowered and has lumbar adjust. Still need to do some tweaking of course, but yay, a seat  More tomorrow |
| |
|
|
|
|
|
|
|
|
Not sure if you need it still, but Weller make good butane for gas soldering irons. I'm cheap though, so I have used butane cans from portable camp stoves. Be warned though.. cheap butane and cheap gas irons don't mix. It can turn to jelly inside your iron if left too long.
|
| |
|
|
luckygti
Posted a lot
   I need to try harder!
Posts: 4,912
|
|
Jul 15, 2014 15:48:18 GMT
|
Not sure if you need it still, but Weller make good butane for gas soldering irons. I'm cheap though, so I have used butane cans from portable camp stoves. Be warned though.. cheap butane and cheap gas irons don't mix. It can turn to jelly inside your iron if left too long. Thanks dude, managed to track some down in the shop that sells everything! The Range  (was in your neck of the woods 2 years ago, one of my favoutite cities down there  ) So, been in the garage and got some more done tonight. Passenger seat was a lot easier as it is just 4 bolts, and it was going on a swivel plate. If anyone's ever wondered how they work, take a round bit of ply, stick 8 ball bearings in et voila, spinny spinny! 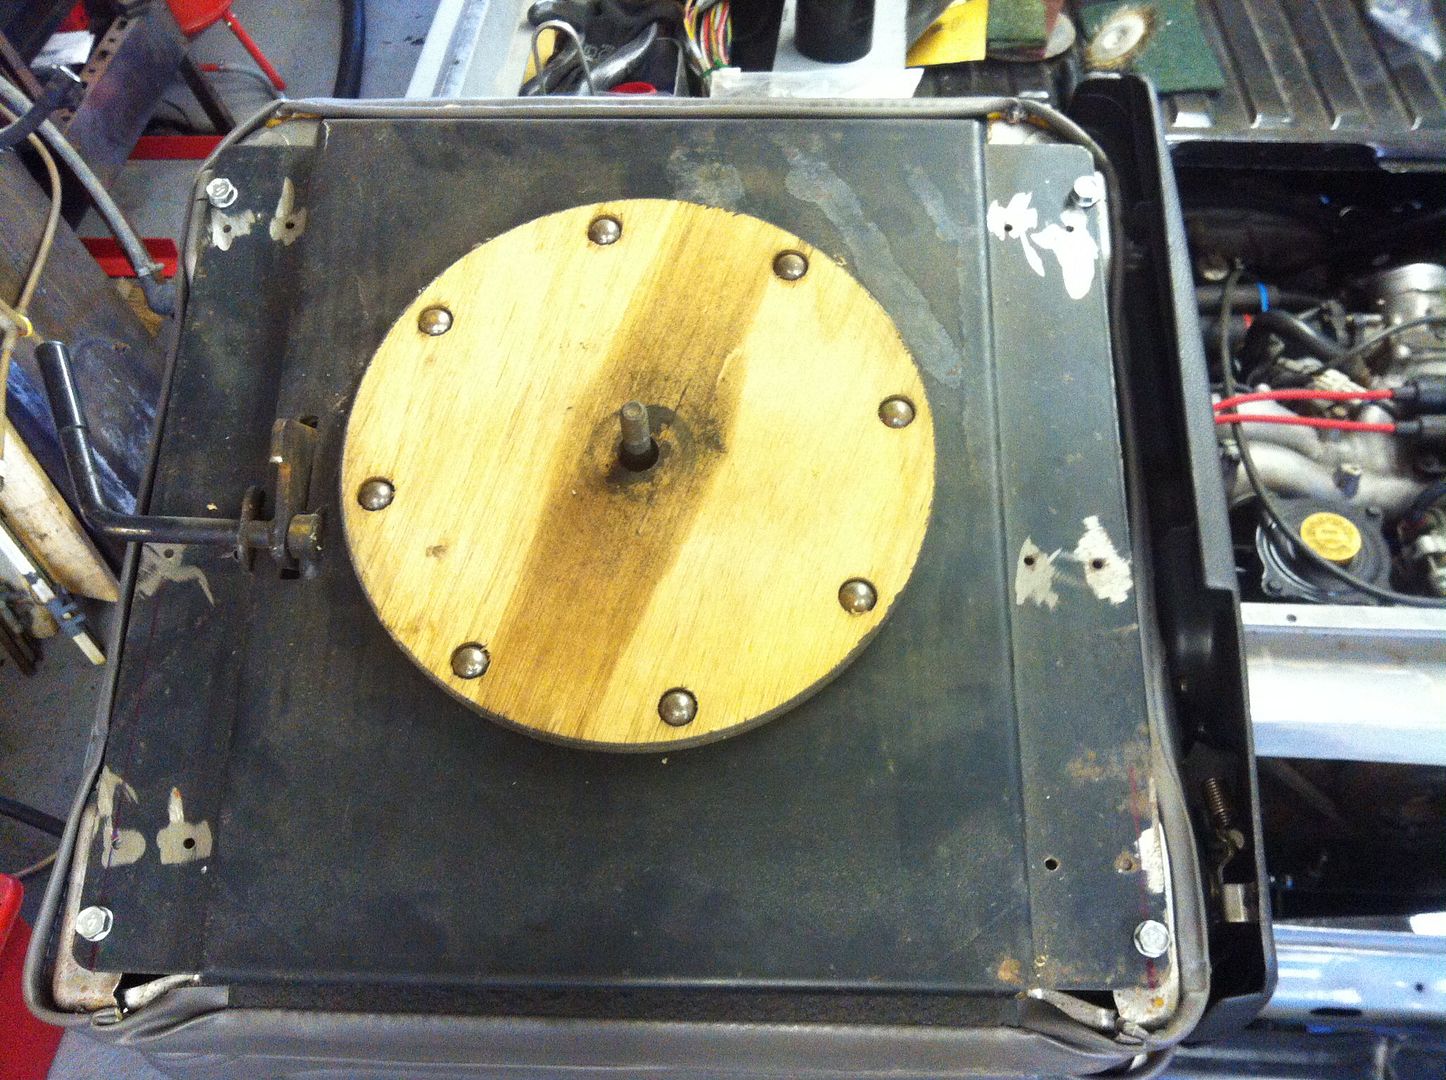 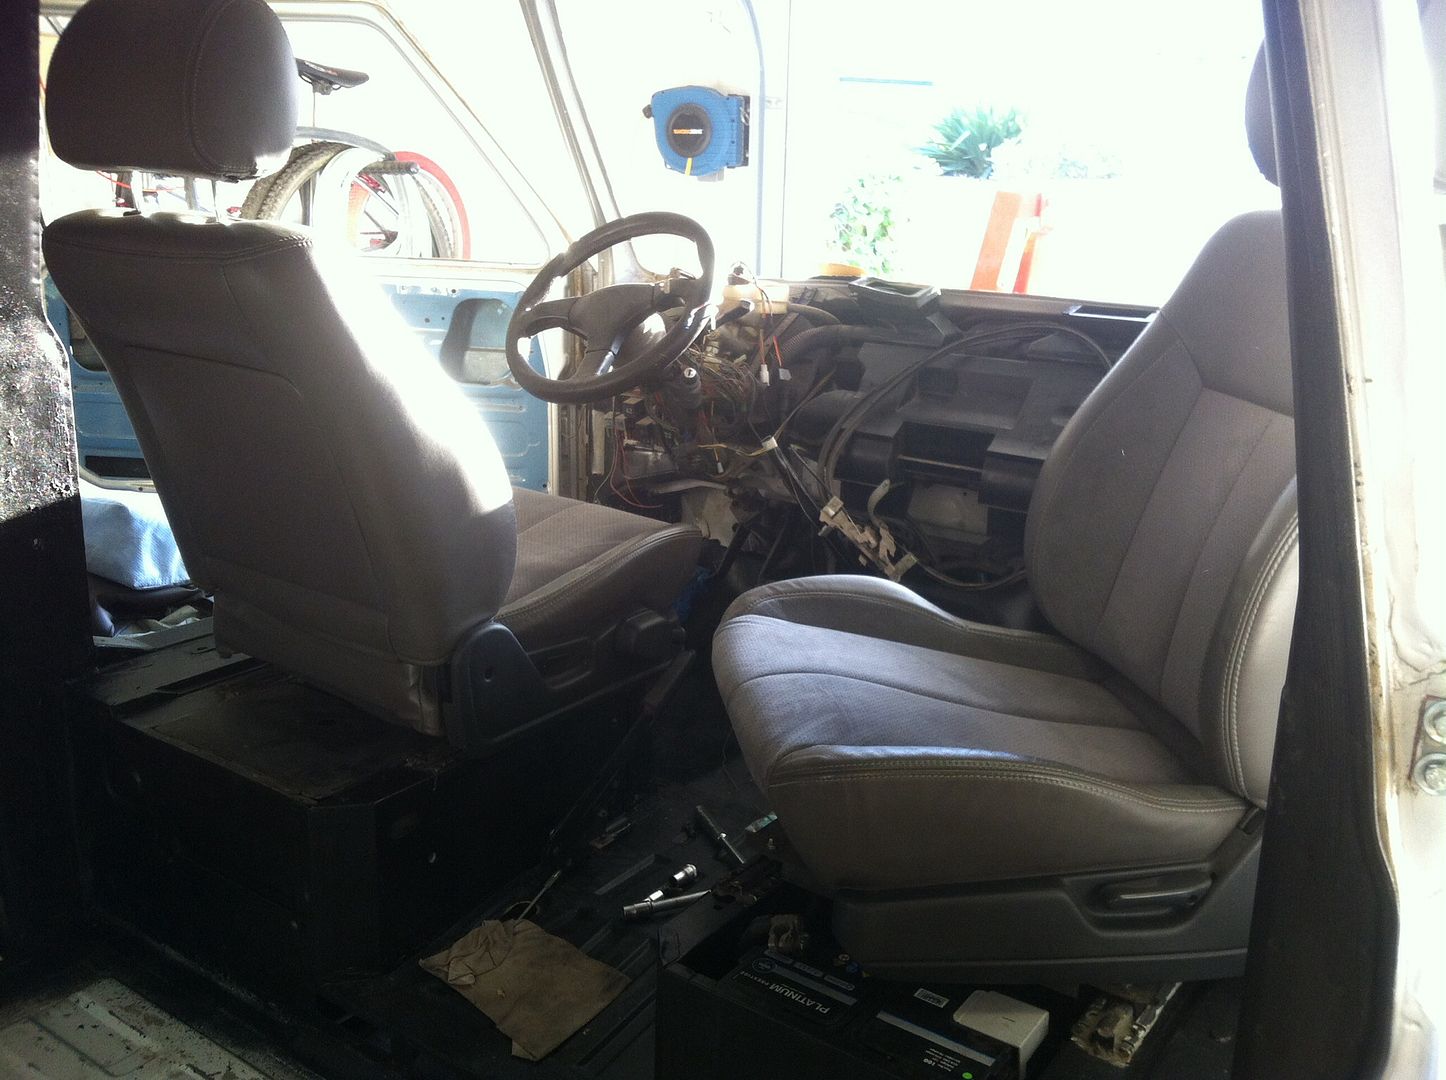  That done, I got the dash down and gave it a wet sand and rinse off as it was mingling. I'm quite liking this look.....  But decided to give it a good coat of matt black instead (it was supposed to be satin but had a slight misinterpretation issue with SWMBO!) looks good anyway.  Then had a play with the clocks, there are 2 LED's with the loom that can be used for fault finding, I wanted to try and fit them in the spare LED holders, but there's stuff in the way, maybe if I change out the clocks, the tacho won't work with the Subaru wiring, so may try and do something different in the future. In the meantime, I drilled a couple of holes above the switches. 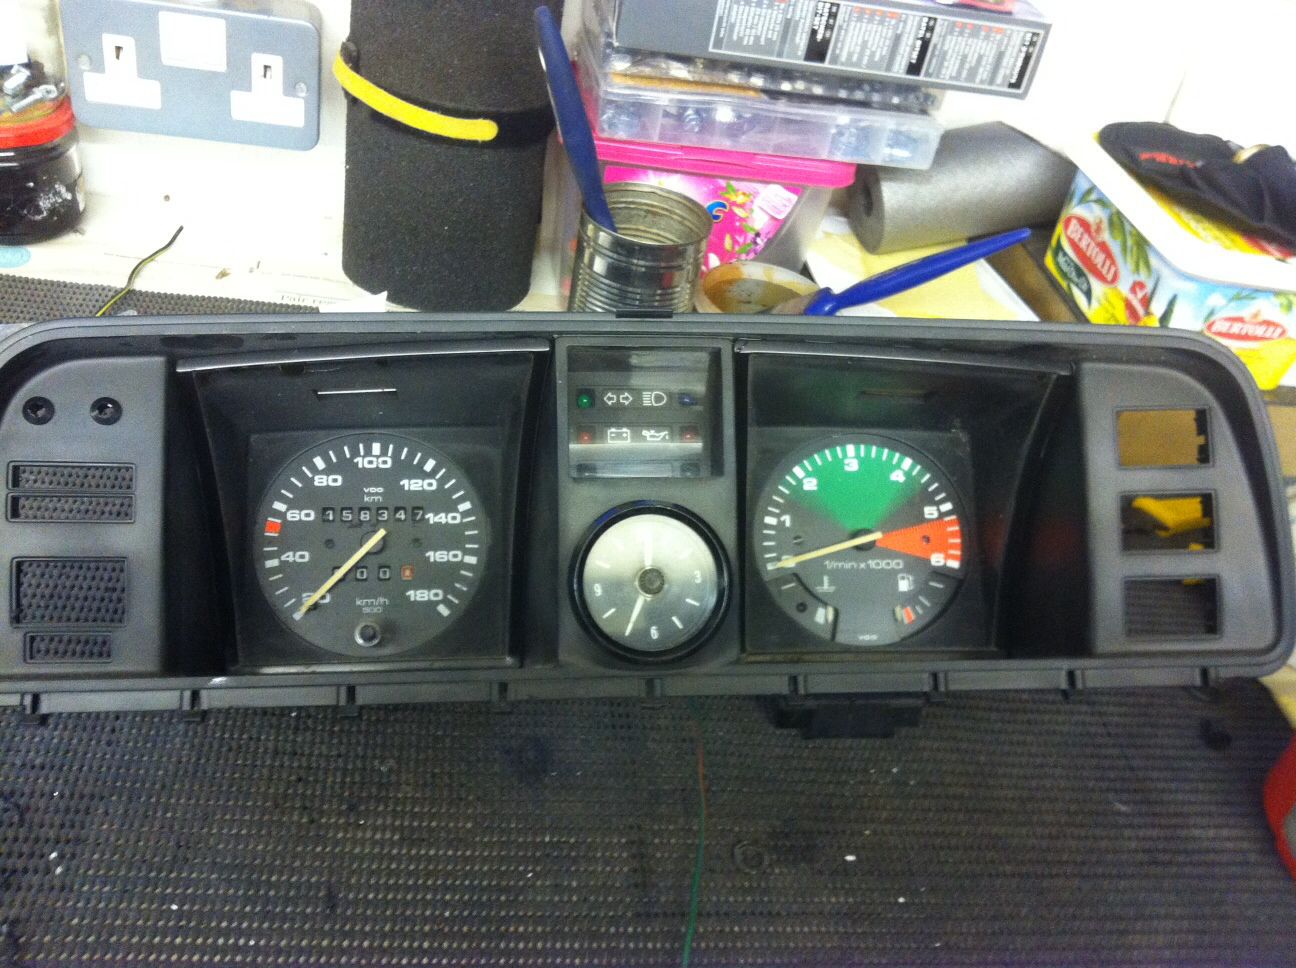 Getting closer to the point of connecting the battery........... |
| |
|
|
luckygti
Posted a lot
   I need to try harder!
Posts: 4,912
|
|
|
|
Blimey, it's been a while. So the deadline came and went, we took the modern daily on holiday and the Escort to RRG. The van probably felt a bit neglected and I've left it alone for a bit to try and regenerate my mojo for it. In a way I'm glad we didn't get to Shelsley in it as it would have meant cutting corners, and after all the work so far that seems like a bit of a waste! So, update time. I carried on with the painting, and added in various bits of satin black to match the raptor paint inside, 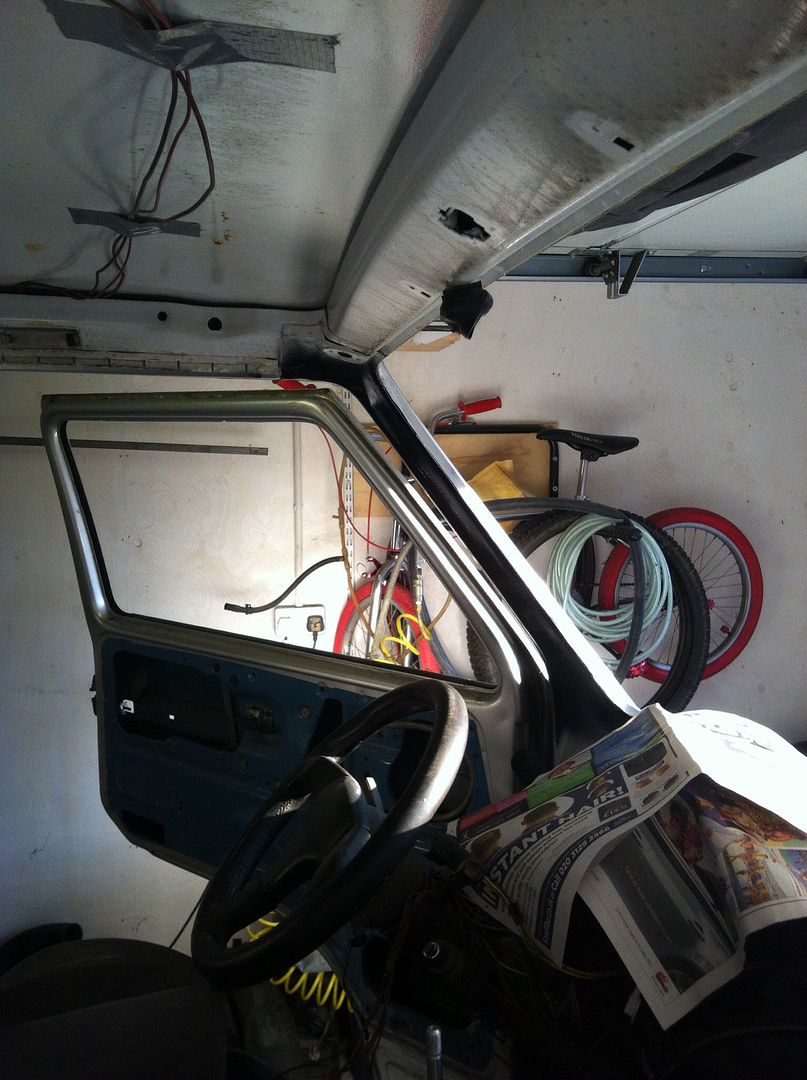 Then the dash went back in (scratched the new paint)  Onto some wiring. Spent some money at RJES and fitted a gizmo to the speedo so that the ECU will allow the engine to rev properly and the same for the Rev counter to work. I also identified and added in wires for the new cigar lighter/voltmeter that I've fitted into the ash tray, and wired in a power lead for the stereo. Next up, bleed the clutch and brakes. Had to fit a new clutch slave cylinder, and typically, after filling the reservoir, it started peeing out of the old pipe  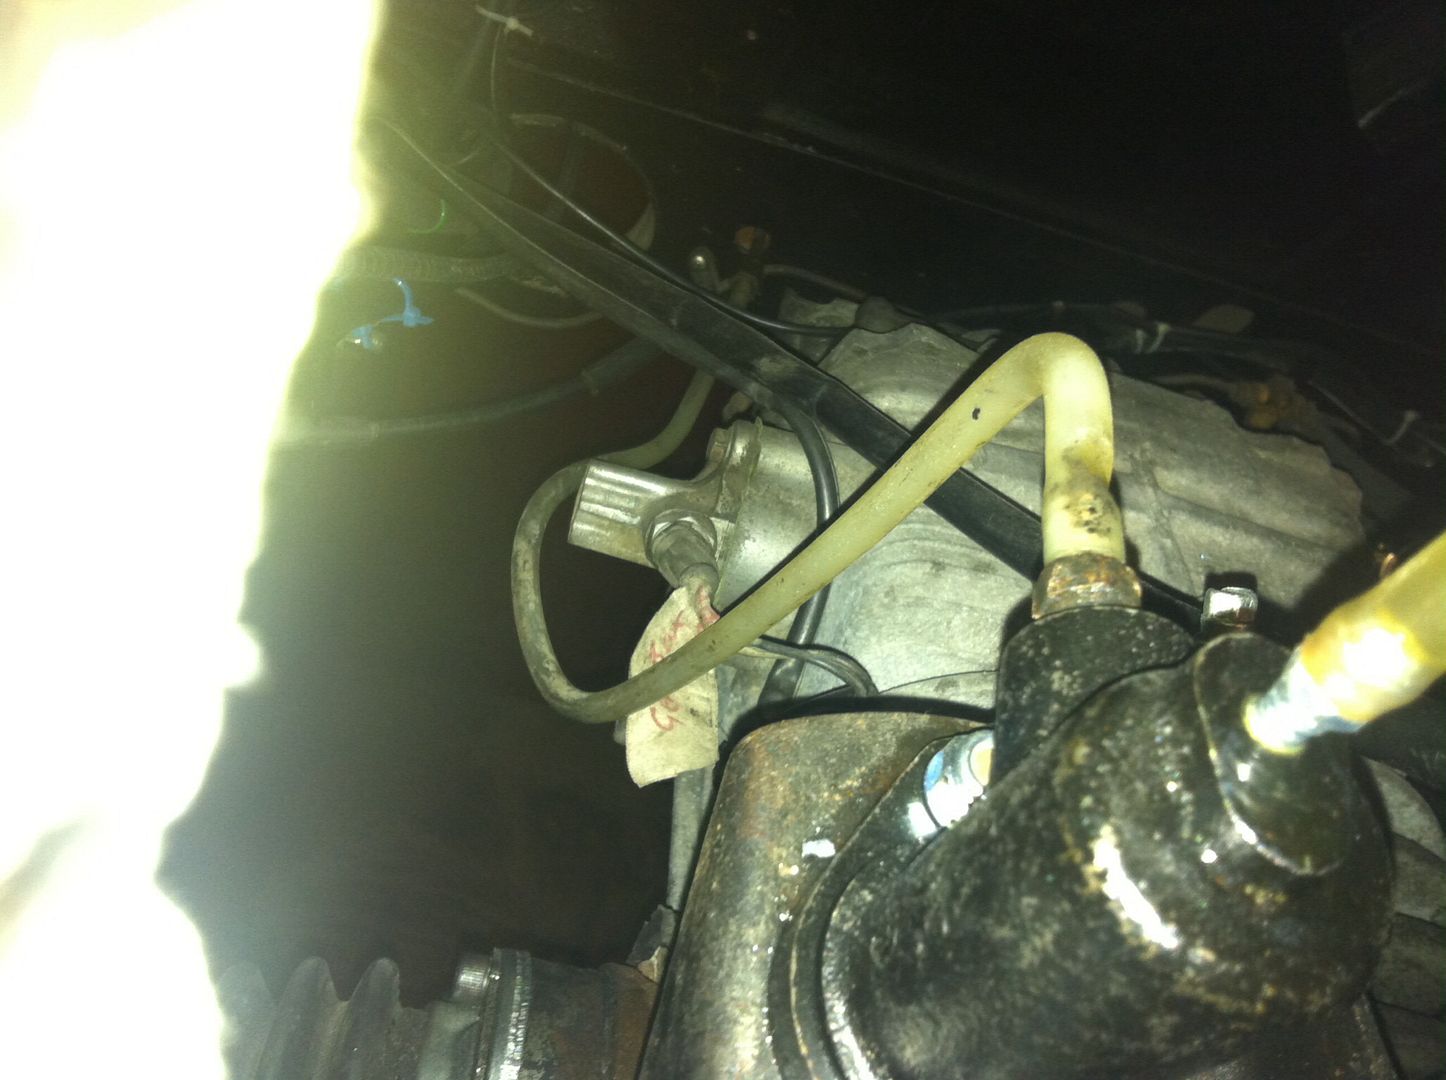 Fitted a new braided pipe from brickwerks and bled it through (eventually!!) 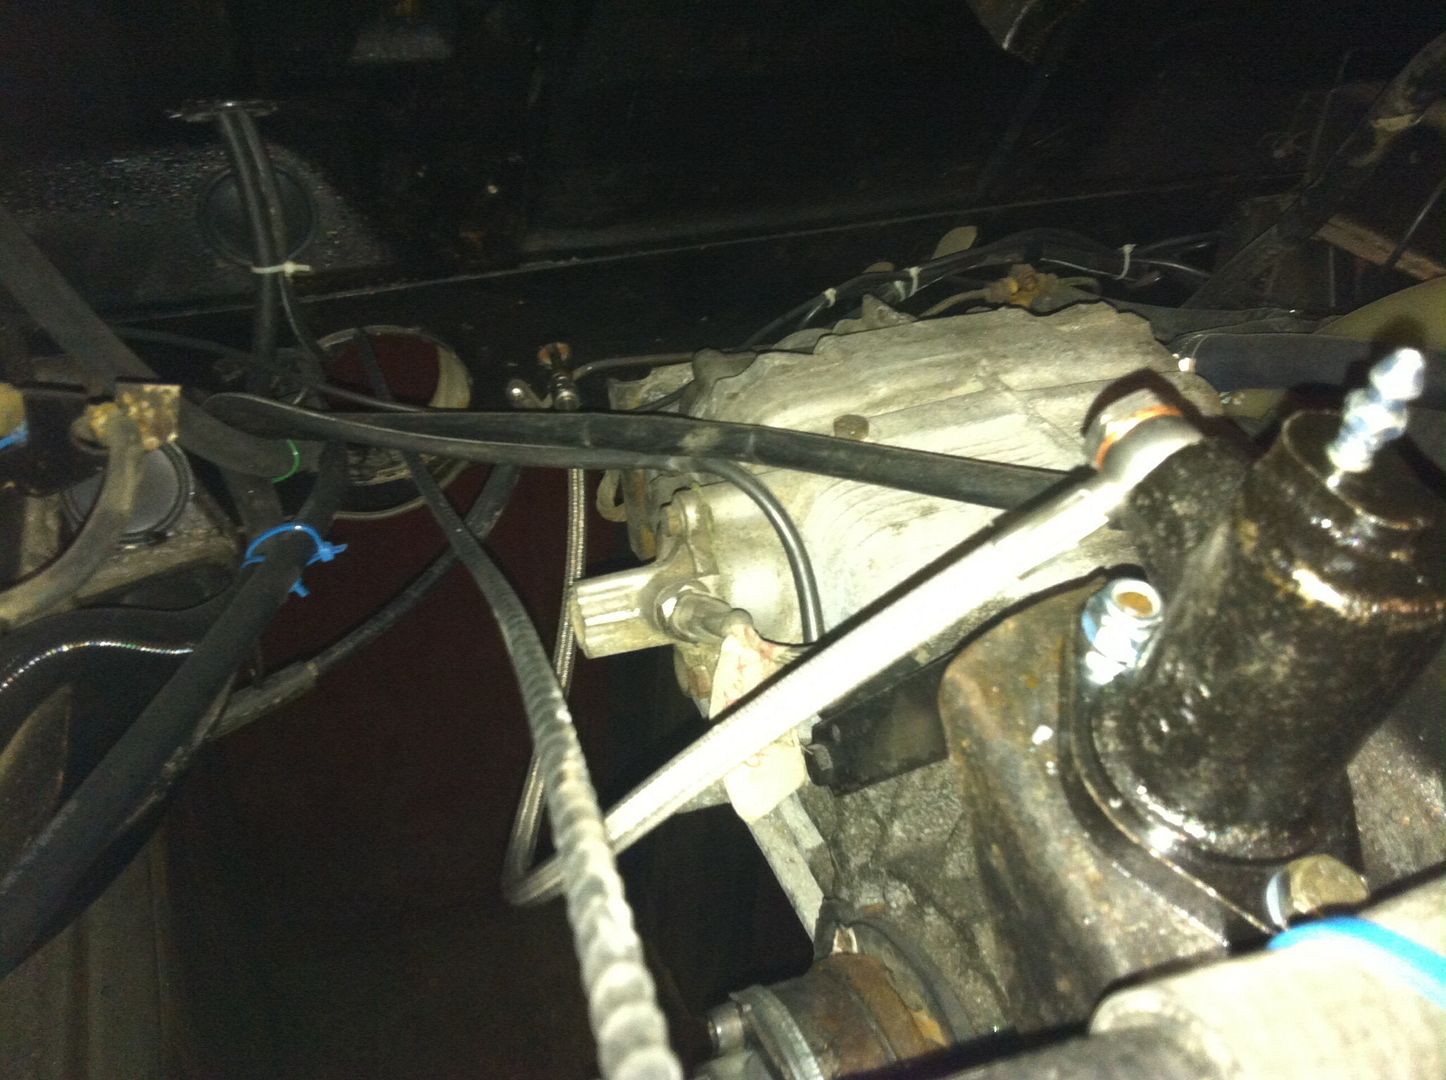 then the brakes. Backs done, front left done, front right...... Yep, snapped the nipple off. Grrrrrreeeeaaaatttttt as that tiger would say! I'll come back to it, as I just need to get the POS running now. With that in mind, I thought, well let's see what happens when the keys turned? Well, ladies and gents, it only turns over...... Typically there's no power to the fuel pump or the spark plugs, so currently the wiring is unwrapped around the relays and I'm trying to figure out what the hell to do next. |
| |
|
|
|
|


 also, I tried to screw the lambda sensor in and the thread on the exhaust is fubar'd. Guess that'll be the exhaust coming off again then
  that can come off the same time as the sump then!


 also, I tried to screw the lambda sensor in and the thread on the exhaust is fubar'd. Guess that'll be the exhaust coming off again then
  that can come off the same time as the sump then!


 ),
),


