|
|
|
|
|
A small update, Popped the new aerial in the roof last night. Its an amplified aerial and seems to work really well. I've decided to stick with the current CB aerial set up as it worked pretty well and I've found I even grounded it to the chassis when I first put it in so it'll be alright. I bought a cheapy mechless stereo and a set of speakers, which have now been tested and work really well. I got the stereo ISO connection wired in too (obviously). The stereo plays music loud and clearly off my phone, from the radio and plugging the "ext speaker" from the CB into the "aux in" even works a treat too  Still waiting on the wideband gauge before the whole dash can go in proper and finished. I did find one mistake I'd made though, while the CB turns on in the ACC position, the Radio require the key to be turned to the IGN position before it'll work. I'll be changing this! A couple of the aerial.   More to come. |
| |
|
|
|
|
|
|
|
Sept 13, 2012 6:15:04 GMT
|
Updates are a little at a time now, but I got some done in the couple of hours last night Got the wideband gauge through from Latvia (I think), it took a while but it was only £36 for a genuine Innovate one , it'll go where the clock used to be. 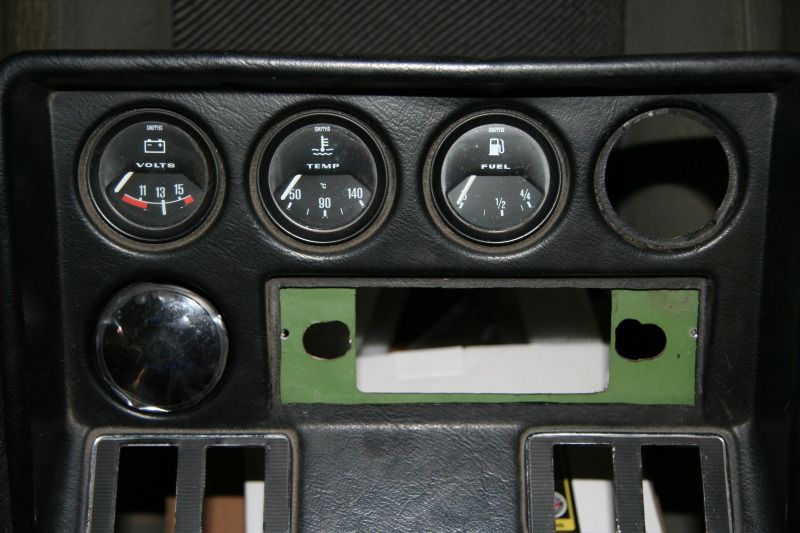 Testing it (not connected to sensor so 0v signal = 7.4 AFR) 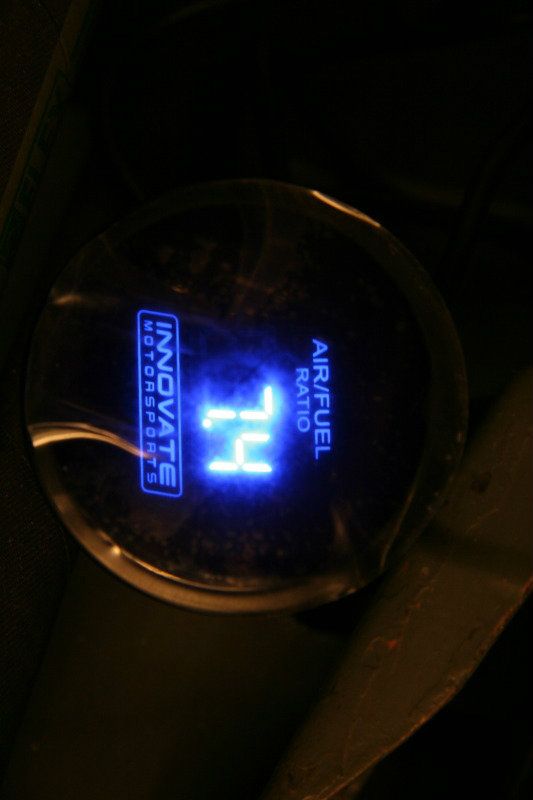 The I left torquing the CROWN wheel until the diff was in as the diff is very round making it kind of tricky to clamp in the vice. Instead I used a small socket to stop it rotating in the axle casing after the bearing caps had been tightened. 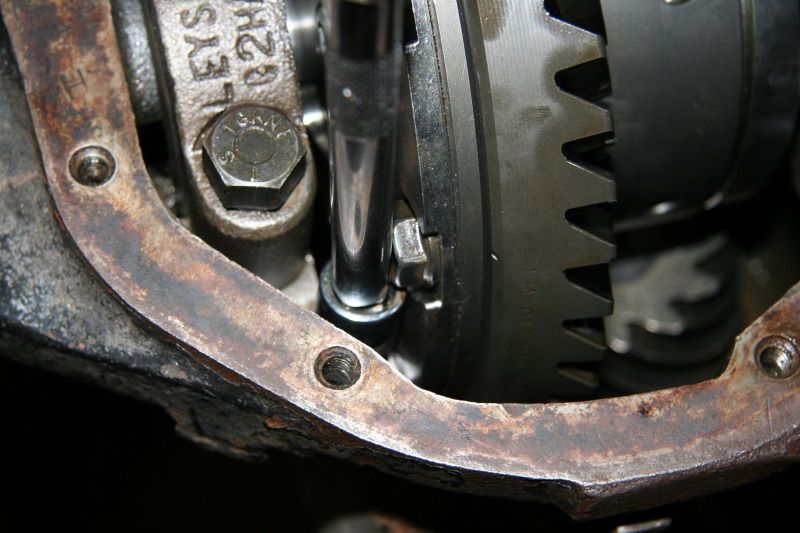 And here's the last I saw of the Quaife differential after it was all torqued up the casing went back on. 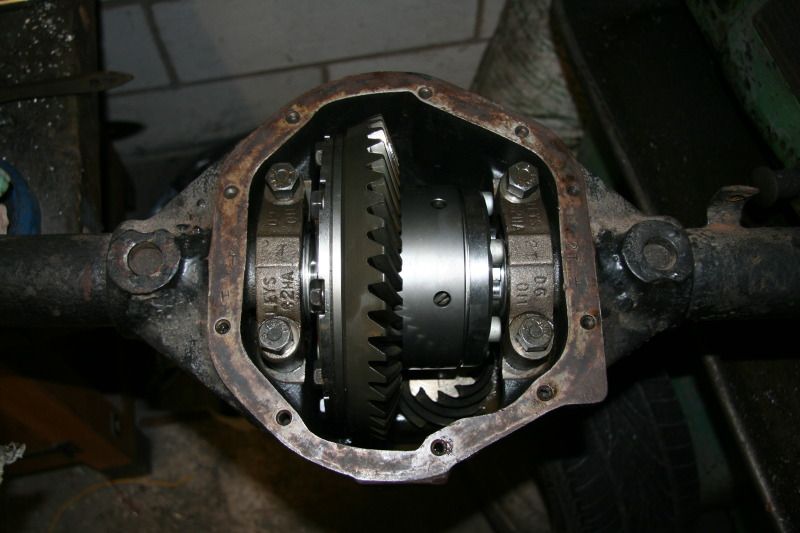 And the final thing with discs fitted ready for the new caliper plates to be made. 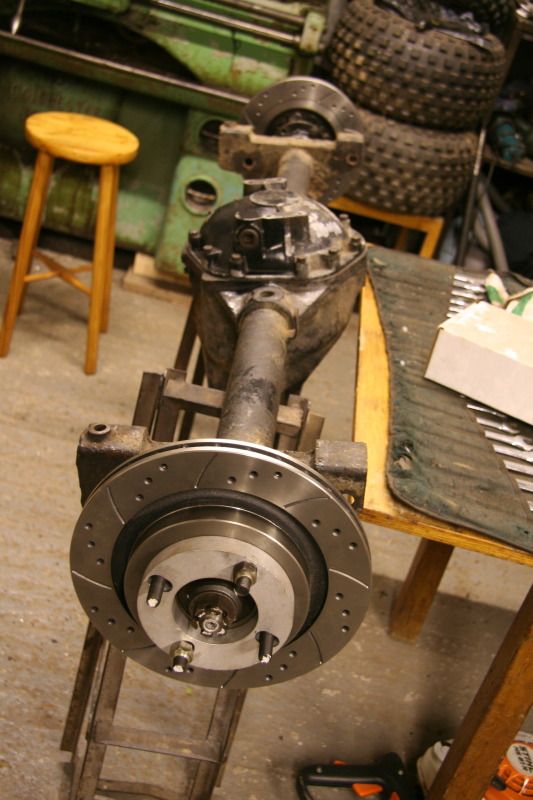 More to come |
| |
|
|
|
|
|
Sept 13, 2012 9:57:18 GMT
|
|
lovely lovely, i retrofitted one of those bee-sting to my mk2 astra, cant stand the wing mounted ones.
i was pondering. is being mounted to a steel roof is intrinsic to its design, either as ground plane for radio signal, or indeed for the amplifier (which as you know is only fed 12v. not individually earthed)
|
| |
|
|
|
|
|
Sept 13, 2012 19:10:13 GMT
|
I thought about the ground plain thing so i tried it before tying all the wires up, and it worked ok so i'll leave it. I tried disconnecting the amp wire and seeing if there was a difference, there wasn't! The aerth wire explains that |
| |
|
|
|
|
|
Sept 16, 2012 18:20:52 GMT
|
A little update, I had this afternoon on the car and I'm quite pleased with how far I got, although there isn't that much to show for it. I think I'm getting near the point where the dash will all suddenly go together and look good... but not quite yet. The hydaulic handbrake needed redoing. The first time round I used a clutch slave cylinder from some rover, it worked well but ended up leaking, so I've gone with a wilwood cylinder to it can be replaced in future if needs be. This is how it needs to be all assembled with the bias valve in front (first int he line) 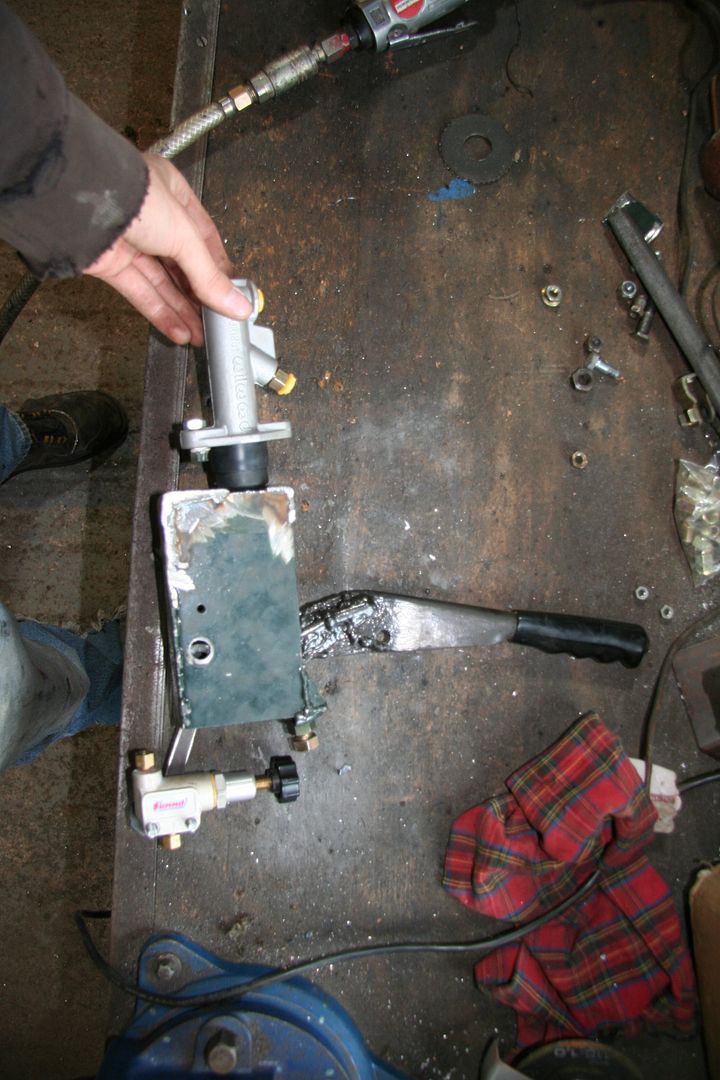 I cut the old mountings off and started again and made a little extention out the front to hold the valve. 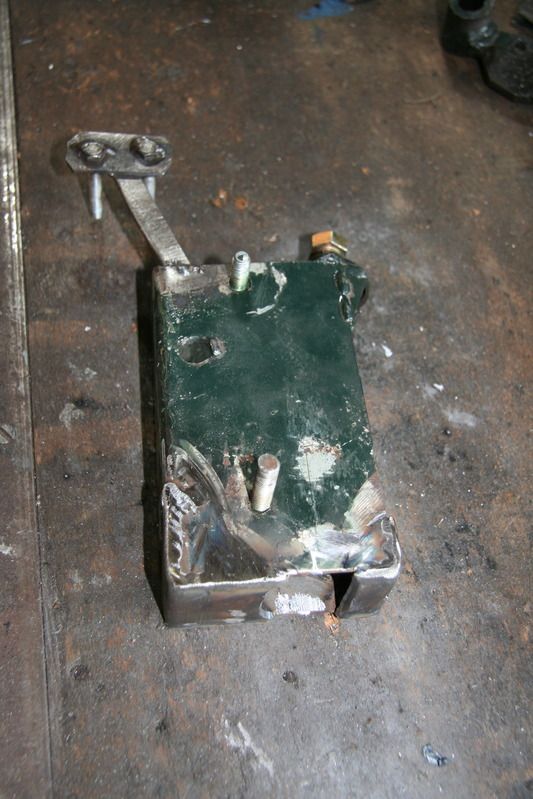  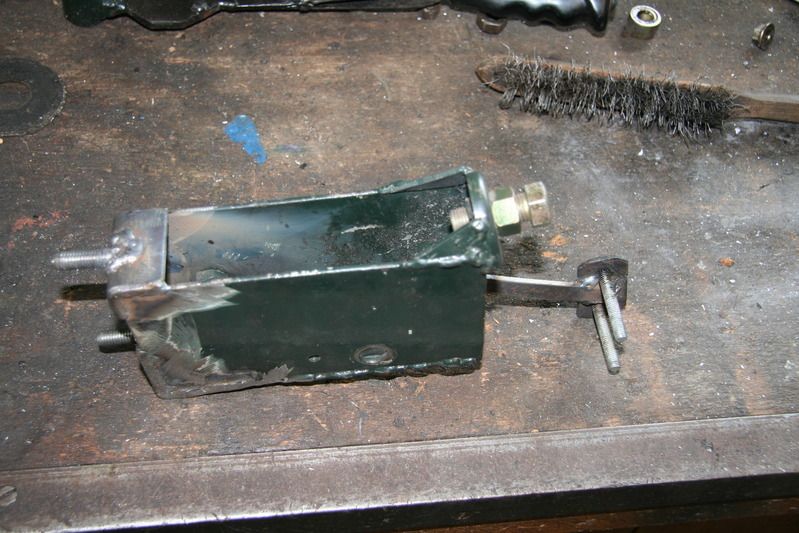 Now its sat drying with a coat of (rubbish) hamorite on it. 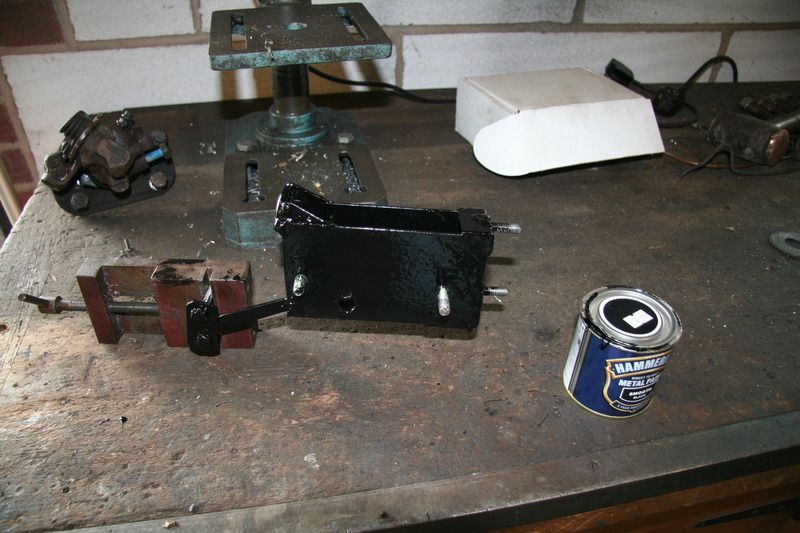 Had to do some forceful adjustments to the treads to get the conection between the cylinder and the lever. 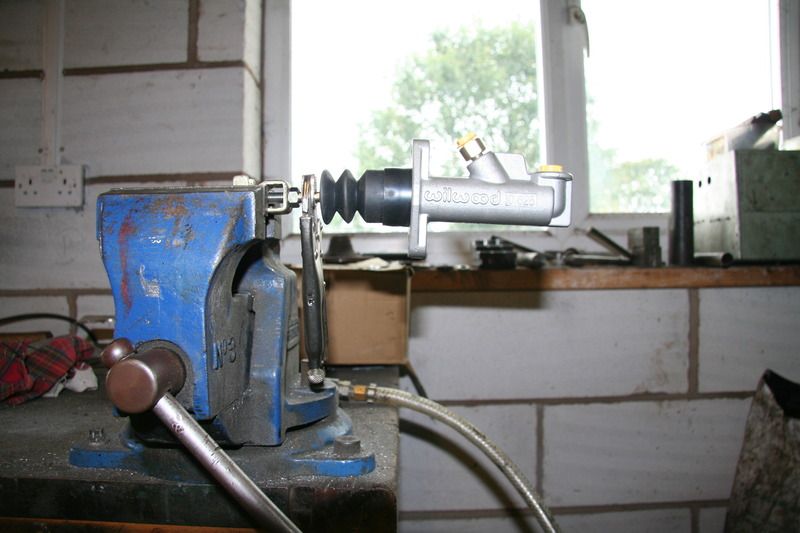 Put the stereo cage in (in a fairly serious way with fibre fill and all), and drilled some more holes for some extra switches. I'd originally put the fan light and the LPG switch up next the speedo, but its turned out the steering wheel got in the way so they're now down with the other switches in the cetral dash. 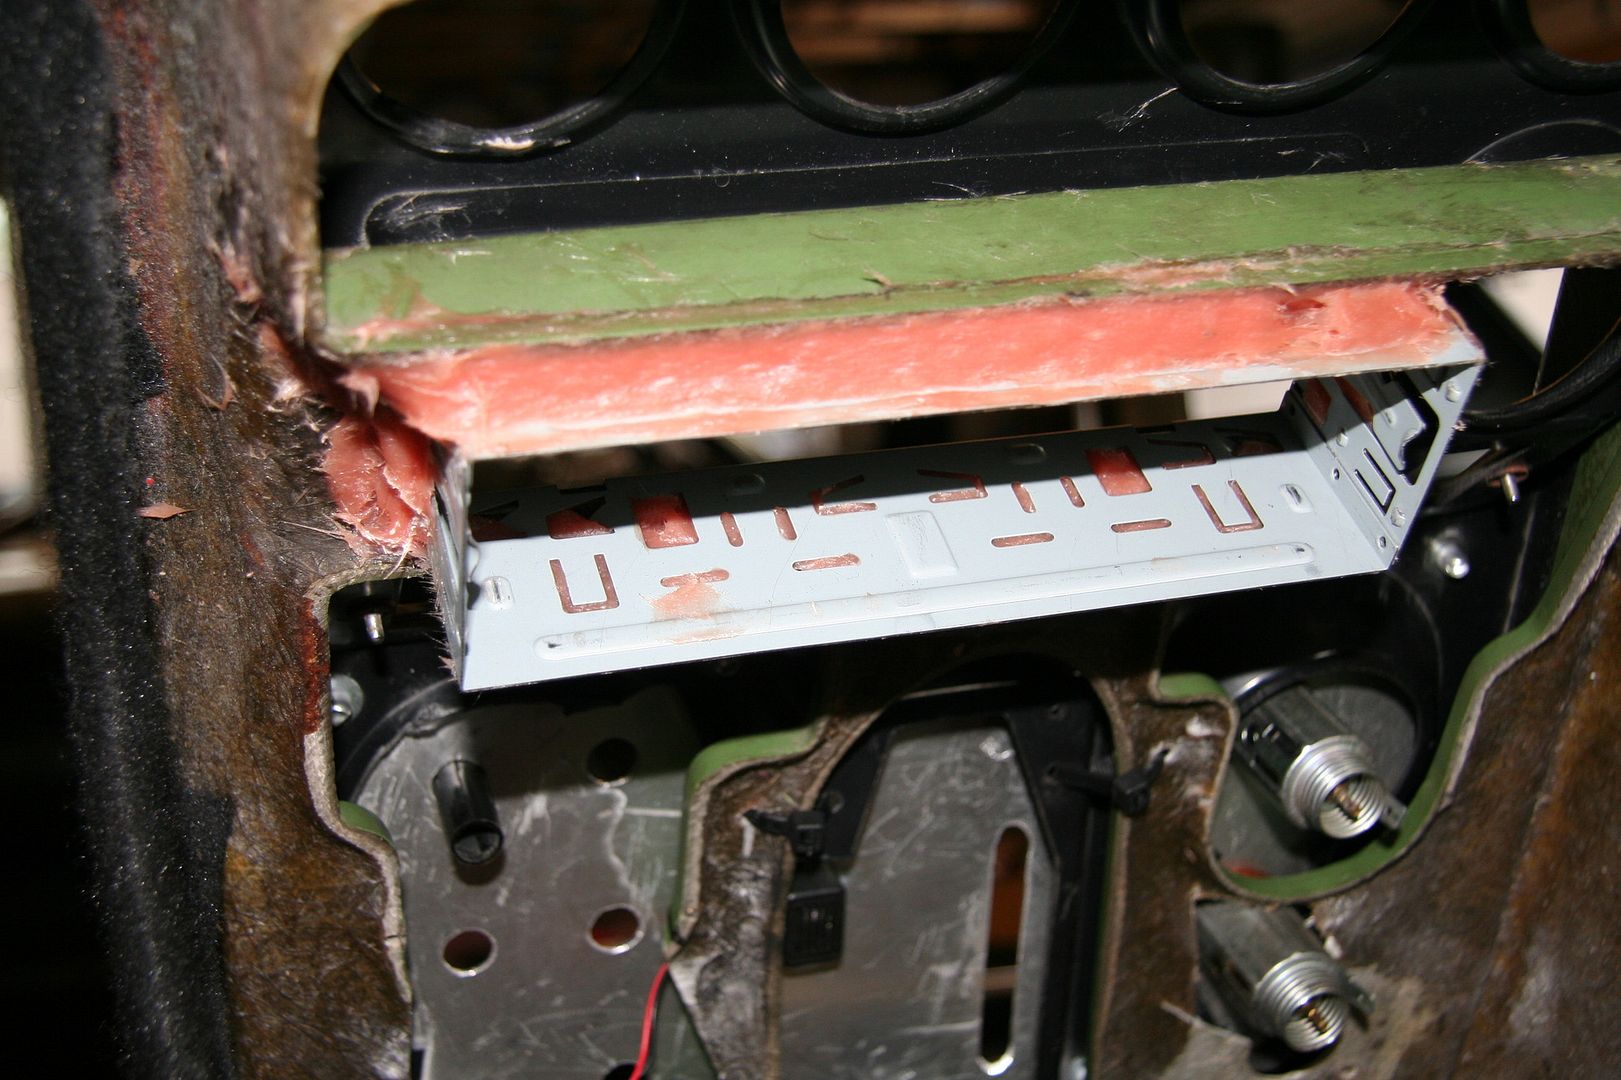  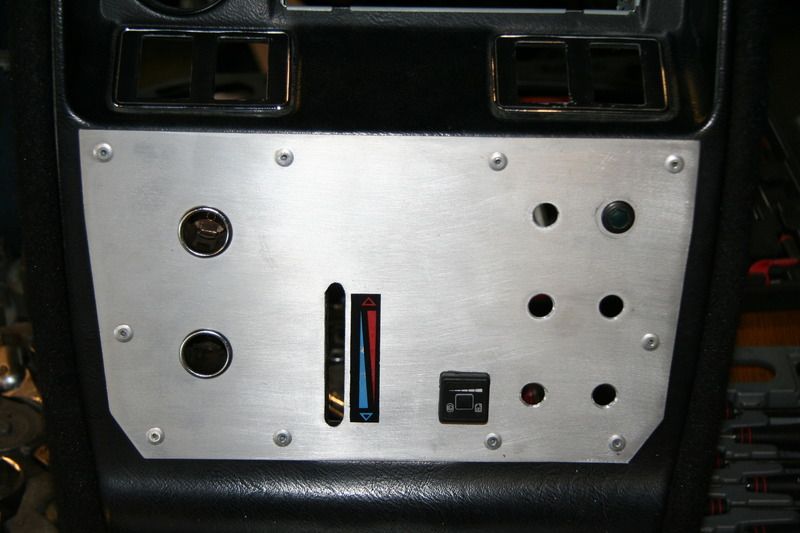 I'm in the process of making a phone mount now so I can play music from the phone through the stereo and use it as satnav mounted in the middle of the dash. More on that to come. |
| |
|
|
|
|
|
Sept 20, 2012 6:23:05 GMT
|
Had some more time on the car last night. Finished the hydraulic handbrake and bias valve assembly, it just needed.... assembling and the hose making up to bridge the gap between the valve and cylinder. The hose from the master (the brake pedal one) goes into the bias valve then through the handbrake cylinder, then out the back of this assembly to the rear brakes. 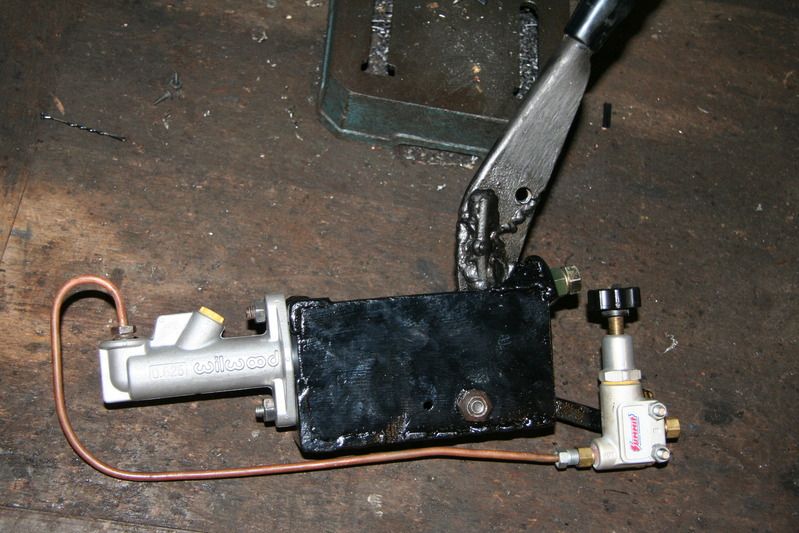 I spent the rest of the night (nearly) finishing the central dash, I've made up the phone mount and the wires that'll go to the "aux in" on the stereo. The yellow one from the phone for music/satnav/calls, and the grey wire comes down from the CB so the stereo can be used to overcome the noise of the car (they might not hear me however ). So this is how it'll look with nothing being used. 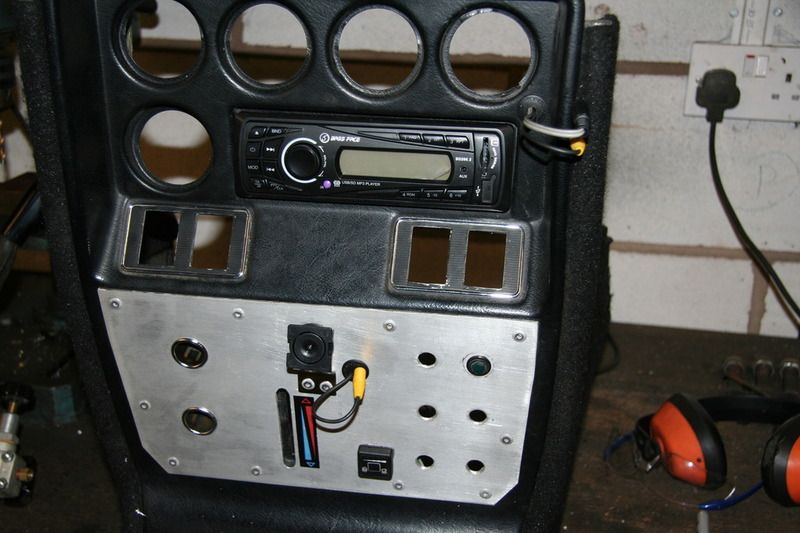 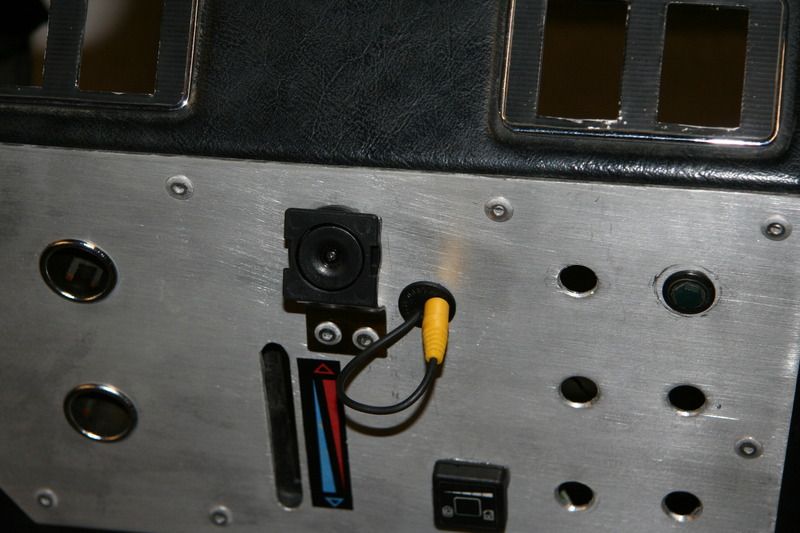 And with the phone mounted 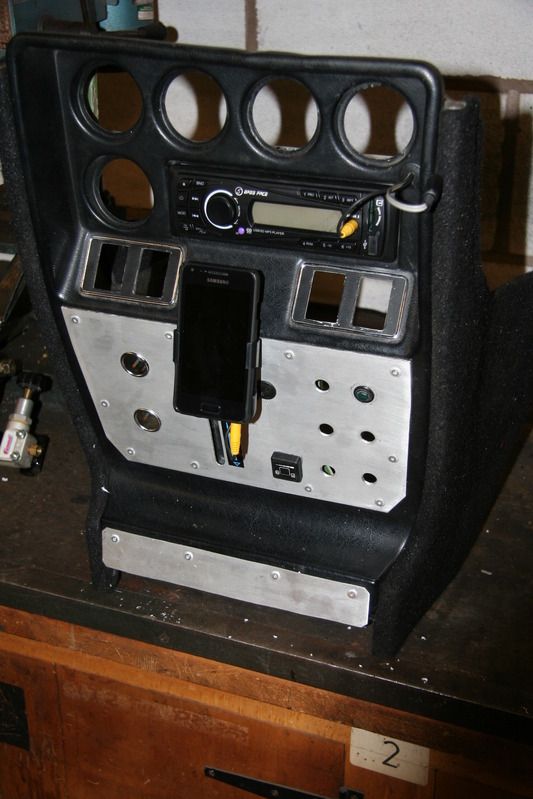 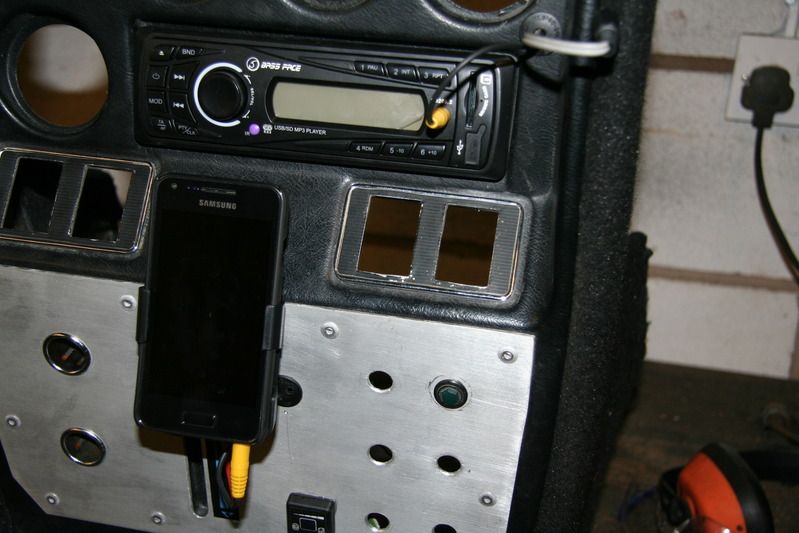 Last thing to do is to take all the wires concerned with my added bits and pieces and put them through a giant multiplug connector thing to make taking the dash apart easy in future. Next on the list is another solerthon! The thought has crossed my mind that I'm spending lots of attention and time getting the dash looking good (well I like the results so far), but the whole car might not work if I haven't got the front suspension wishbones right!! Time will tell, More to come |
| |
|
|
|
|
|
Sept 20, 2012 21:12:27 GMT
|
I should think people are getting tired of looking at the dash over and over. But I got it finished tonight, that it the part that goes in is finished, I've still got to do the soldering on the cars loom before it'll plug in. So the finished assembled thing with radio, switches (might need to label them) and gauges 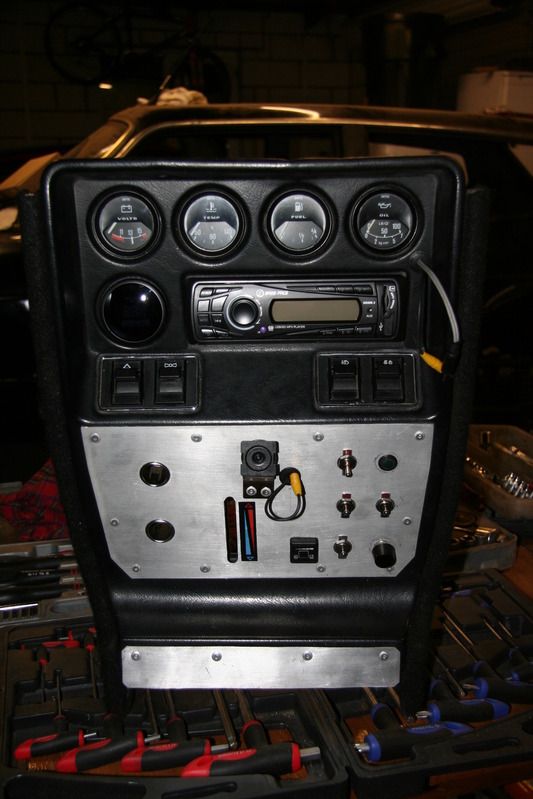 And the multi plug thingy to make installation easier, (this is the thing I've still got to do on the cars loom end) 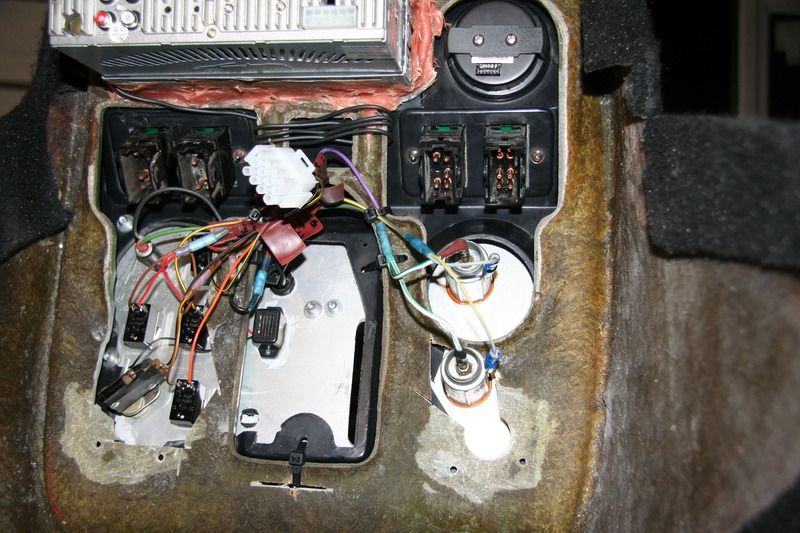 I've ordered to LED's to replace the interior bulbs, so hopefully they'll stop blowing More to come |
| |
|
|
|
|
|
Sept 23, 2012 7:20:58 GMT
|
A micro update... I did some of the most shocking work yesterday, I fancied fitting a little switch next to the AFR gauge as it is bright blue and I think it might be nice to be able to turn it off at night. I drilled a little hole and tried to turn it into a slot with the drill bit, that went wrong and its a really messy hole, then I glued a tiny switch in, that went wrong it turns out its on an angle (and did I mention it looks pants), then went to try to switch and the glue had got in  not pleased. Anyway i've freed it up now and I think I'll stick with it as its so tiny its not a massive eye-saw. Here's that mess 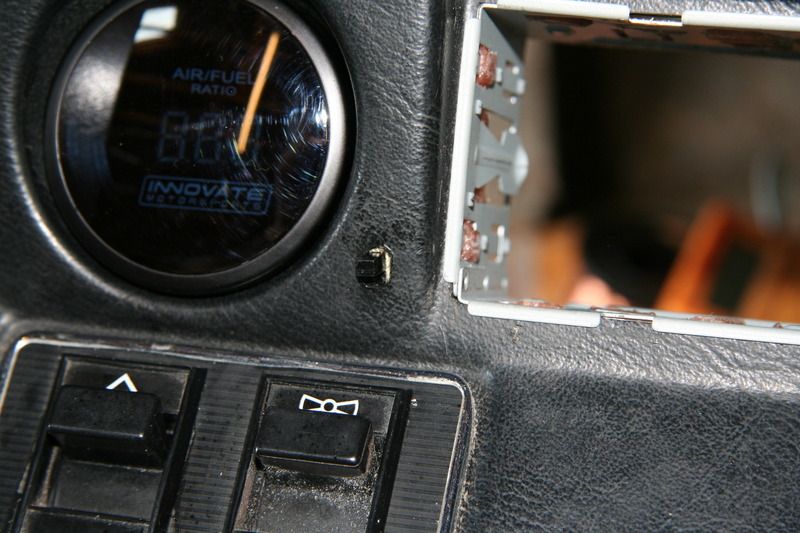 Also some of the LED bulbs arrived, you can see one on the far right next to the old bulbs, this will hopefully mean I don't have to remove the dash every month to change bulbs. 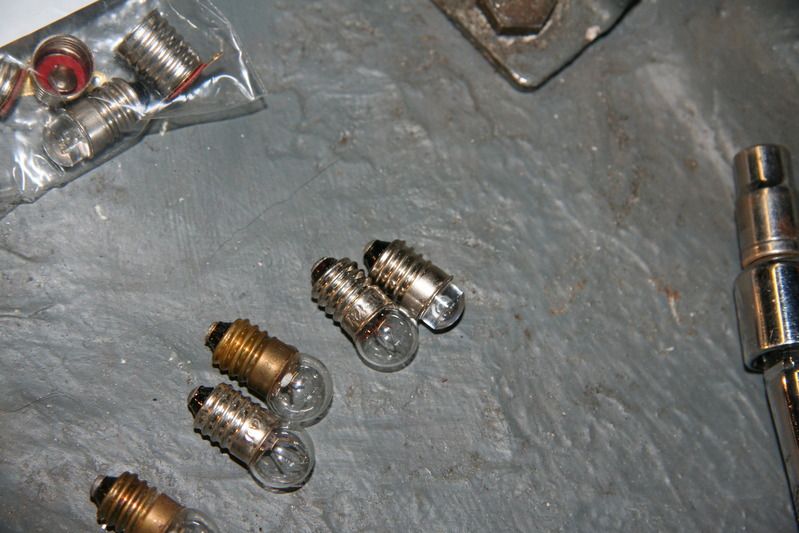 I was on it all Saturday morning and afternoon, but most of that time was absorbed sorting the last few wiring gremlins, the radio now turns on with ACC rather than IGN and retains its memory. And I've wired in another buzzer to sound if the lights are left on, it needs the doors open, the IGN off and lights on before it gets noisy. Thinking about it I'll do one last thing and change it so it won't sound if its on ACC rather than IGN. The last LED bulbs should arrive soon and dash will FINALLY BE FINSHED, what a marathon its been. More to come |
| |
|
|
|
|
|
Sept 28, 2012 6:17:24 GMT
|
And it's done the dash is together (fingers crossed it stays that way). I've tested everything and it all seems to do what it should so far. 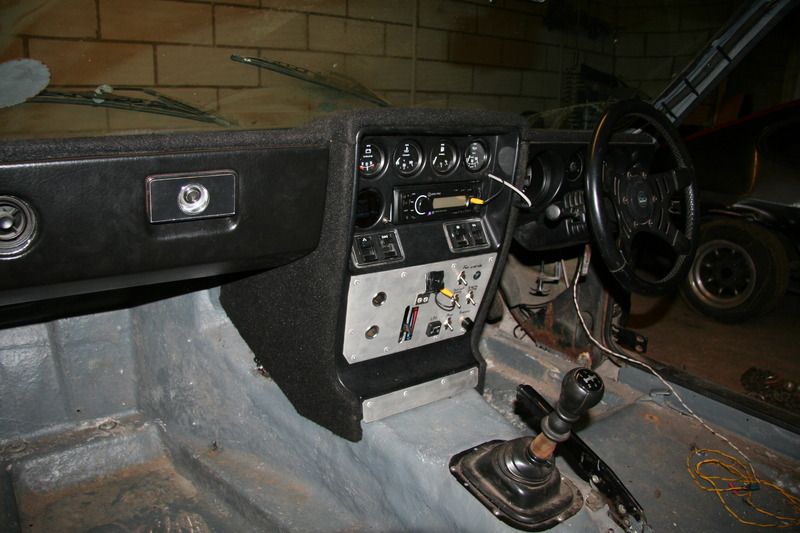 I'm not sure if you can see in the photo but I changed the little switch by the ARF gauge for a mini toggle switch to neaten it up a bit. And I decided to just write what the switches do above them, in my best handwriting. Hopefully picking up some stainless sheet this weekend from the best scrap yard in the country to finish the front of the engine bay. More to come |
| |
|
|
|
|
|
Sept 30, 2012 9:07:00 GMT
|
Made a bearing press yesterday, all for about £40, well perhaps a little more if you include discs and welding wire. Hopefully we'll be rebuilding his axle today. I got some stainless steel from the scrap yard to remake the radiator cover and some pipe to take the engines air feed through the cover to cold air. 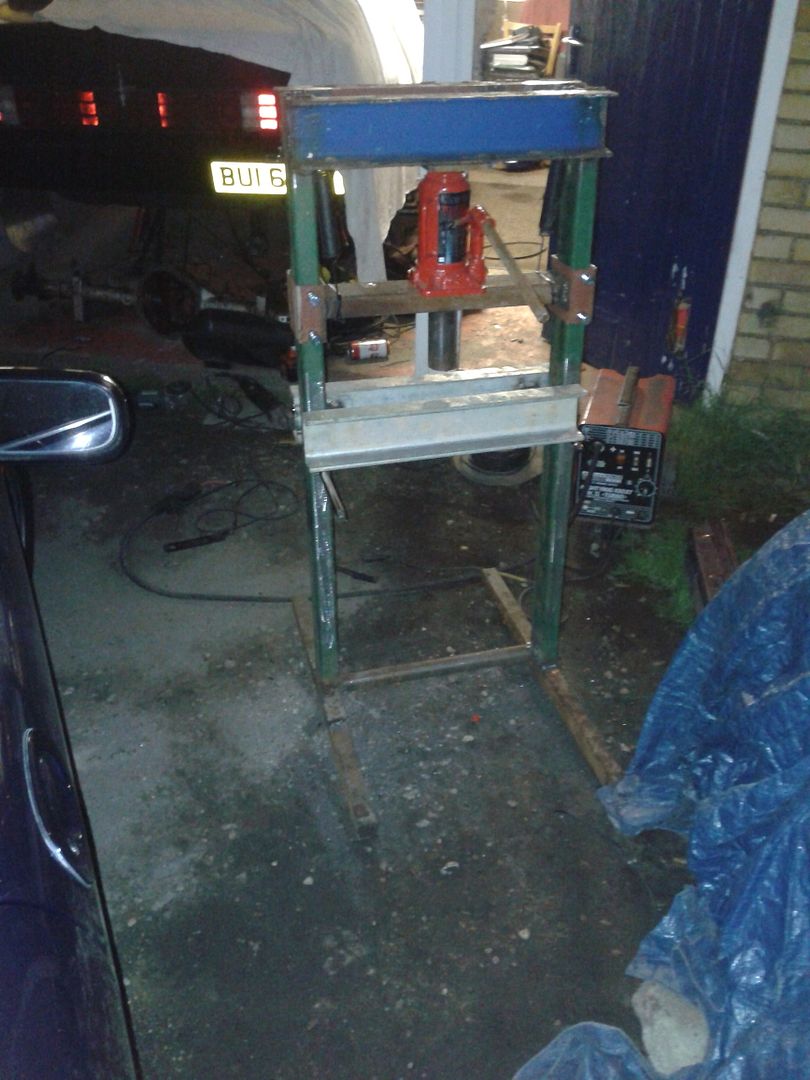 More to come |
| |
|
|
|
|
|
|
|
|
|
Got a cheaky couple of hours in this week (getting less and less time on it now ) Finally made a decision about the roll hoop, I'm going to make some strong short pillars and take the car to a local cage maker to make the hoop and possibly the down bars too. Here are a couple of photos so you get the idea what I'm up too. 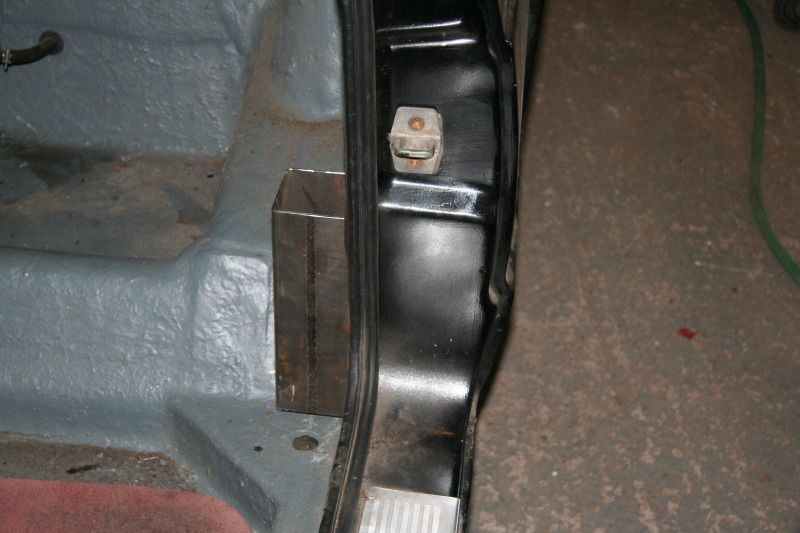 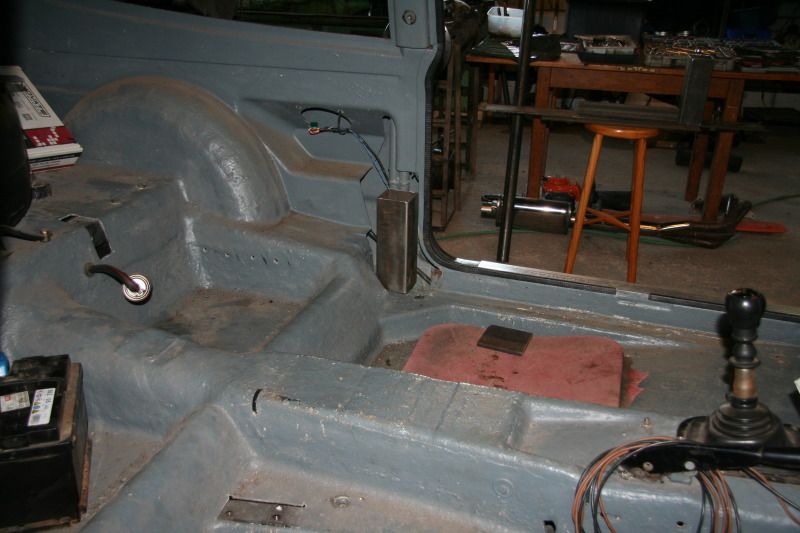 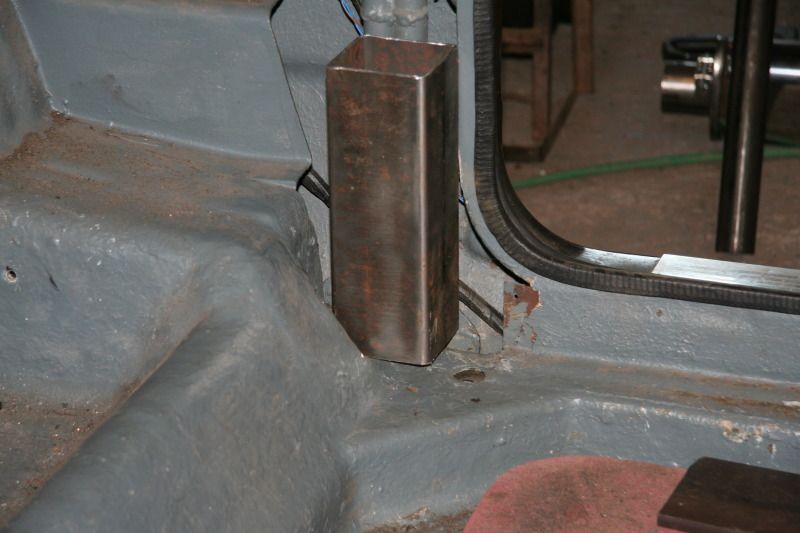 I've also got some more metal for making the brake brackets for the rear axle, then that can go back on. This is so time consuming though, and I can't get the lathe fast enough for the small diameters when the hole is small (when going from the biggest drill bit to the boring tool), so I'm blunting the bits. I need to get a hole saw I think. 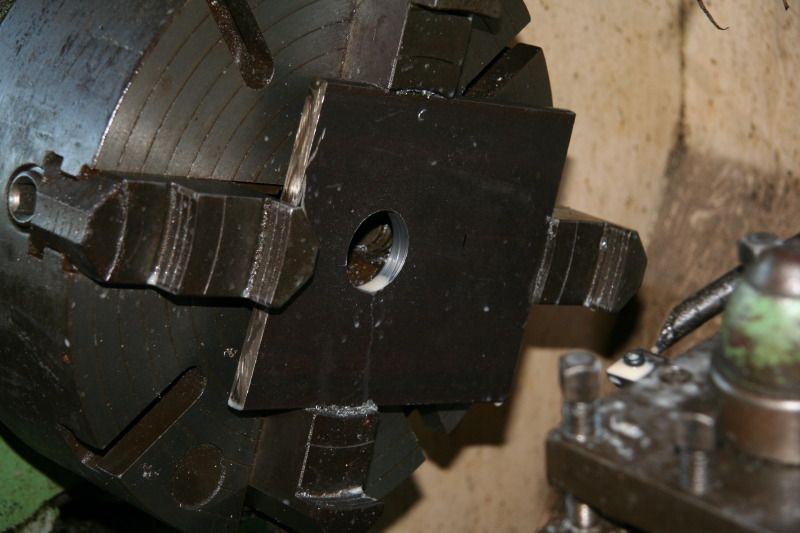 More to come. |
| |
|
|
Smiler
Posted a lot
 I no longer own anything FWD! Or with less than 6 cylinders, or 2.5ltrs! :)
Posts: 2,492
|
|
|
|
|
Looking good.
|
| |
www.Auto-tat.co.uk'96 Range Rover P38 DSE (daily driver) '71 Reliant Scimitar SE5 GTE 3.0ltr Jag V6 Conversion '79 Reliant Scimitar SE6A 3.0ltr 24valve Omega Conversion '85 Escort Cabrio 2.0 Zetec - Sold '91 BMW 525i - Sold '82 Cortina 2.9i Ghia Cosworth - Sold '72 VW Campervan - Sold '65 LandRover 88" - Sold
|
|
|
|
|
|
|
very cool project,I enjoyed reading through it (though a lot seems to have been deleted ) The chassis was mild, but mine is now half SS, every that didn't stand the last 34 years too well should now stnad the next 34 years with no problem i know a few of the TVR boys have discussed SS chassis and from what i gathered the general consensus seemed to be that it'd be somewhat heavier and whilst it wont rust it will be prone to cracking the welds. so i wondered if you had any idea of the weight penalty your car will gain, and have you had any issues with cracked welds ? |
| |
|
|
|
|
|
|
|
Bounty hunter, I hadn't thought of the weight penalty, there are two parts used that are quite a bit thicker than the mild that they replaced too. I'm worried about the weight actually, with the LPG kit, the tank, the roll hoop about to go in and all the extra wiring and fuel pump gear. The extra few kilos in chassis weight will probably be a small portion of that lot, so not too fussed about that specifically. I did some reading up before tackling the stainless, and didn't come across any talk of cracking. I'll keep an eye out for it when the car starts feeling more forces though. I've done lots of very detrimental things to it, I've stressed the fibreglass body out in places, and the front suspension geometry could end up being all wrong, there are a lot of "risky" upgrades that could go pair shaped. Back to the welds... I used 316 welding wire that was recommended for joining mild and stainless, and did the welds all a bit at a time giving some cooling time. I know its not going to be quite as good as if I'd used mild again, but I was willing to take that risk. I want the car for a long time and hate doing jobs twice so hopefully it'll be strong enough and it shouldn't rust. Fingers crossed I guess. Sorry for deleting the posts, but looking at the number views the thread was getting on retro rides, I'm pretty sure it was this that locked my photobucket account so I had to remove them. The account activity went over 10GB, and they wanted money for that so I waited a month till it reset and got rid of a load of photos. Sorry |
| |
|
|
|
|
|
Oct 10, 2012 20:31:45 GMT
|
Had a couple of hours with the car this evening, and I didn't feel in the swing of things really, I was in a "there is so much still to do" frame of mind But I think I made a half decent bit of progress anyway. I've giving up boring out the brake caliper mounts 5 thou at a time and taken to work where they did all four in a pretty short time. All are the same 79.8mm diameter to slide up agains the back of the end of the axle tubes. Here are a few pics. There are 4 because I'm doing a set for my good friend (Supra powered Capri). 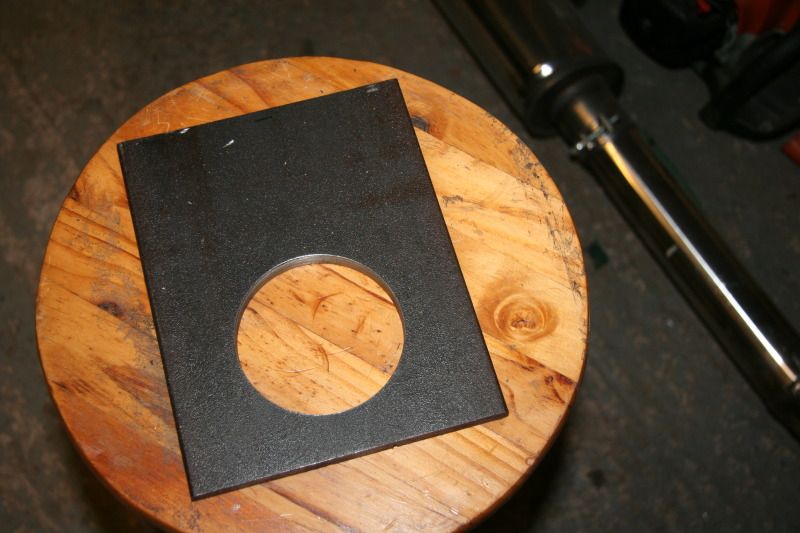 Got this Idea from a thread I saw on Scimitarweb somewhere  Petes will need to be upright due to the arrangement on his capri 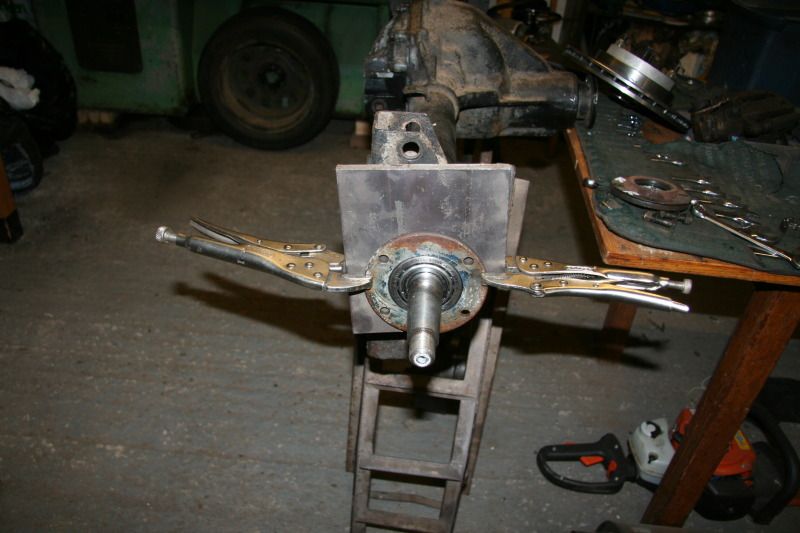 and mine will need to be sticking out the front (making bleeding a pain in the  ) 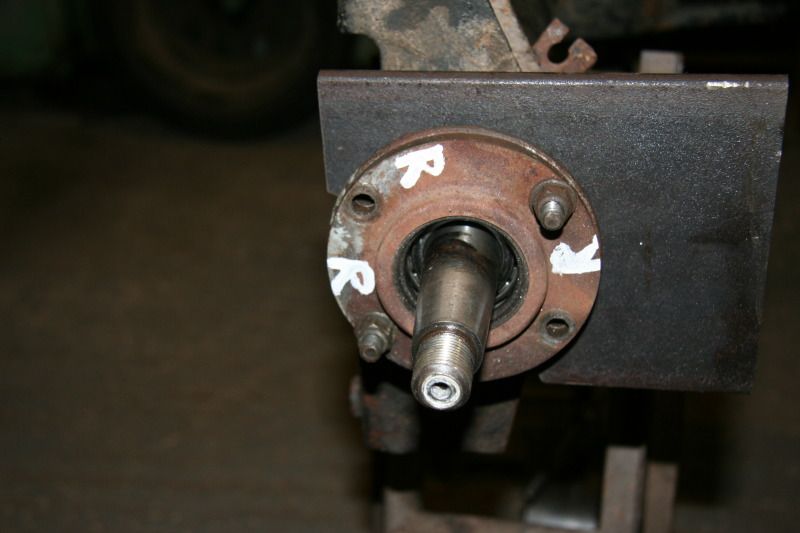 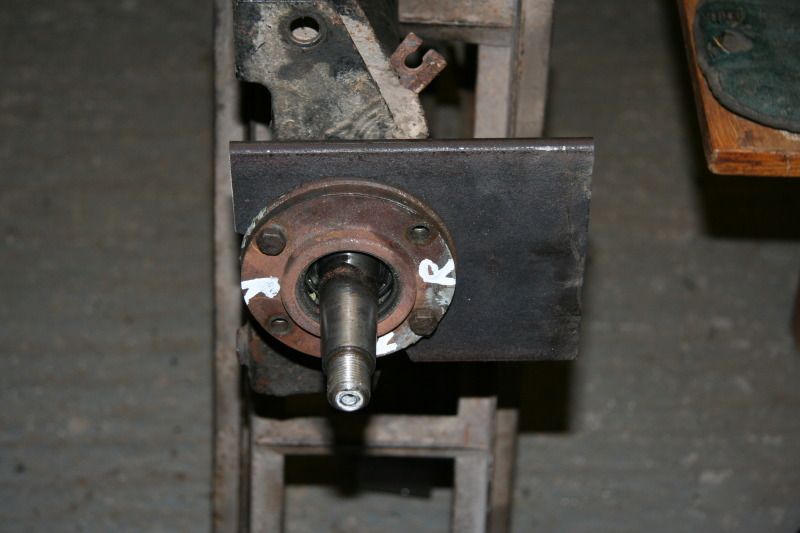 And thats about as far as I got tonight, all the holes that locate on the axle are done, I gave up at the tricky part of marking up where the caliper holes go. More to come |
| |
Last Edit: Oct 10, 2012 20:36:48 GMT by lozzzzzz
|
|
v8ian
Posted a lot
Posts: 3,768
|
|
Oct 10, 2012 22:14:59 GMT
|
|
curse word, Just seen this and read some of the other stuff on the scimitar site, I was/am seriously thinking about 3.2 vauxhall v6 in my viva, omega gearbox, , etc, I also have a Scimitar SE5a 4ha to fit under the viva, there seems to be a lot of similar things going on here with my project, even down to emerald ecu M3Dk I had that on my cortina
|
| |
Atmo V8 Power . No slicks , No gas + No bits missing . Doing it in style.
Austin A35van, very different------- but still doing it in style, going to be a funmoble
|
|
|
|
|
|
|
|
Ian, go for it, the 3.2 has a forged crank, that'll be my next upgrade, with a supercharger, when this is all up and running.
The Scimitar axle is a good choice, it seems to be able to take a lot of pain, although my mate has a scim axle under his 400hp capri and he has managed to damage it, we're not sure if it was through sheer brute force and nasty driving habits or whether the hub nut wasn't tight enough, but he's sheared the woodruff key.
I wanted an emerald ECU, but I bottled cos of the price and got the much cheaper Canems in the end.
I've had a little look and can't find a thread on the project, do you have one?
|
| |
|
|
|
|
|
Oct 16, 2012 20:07:56 GMT
|
Got a little done tonight, I'm not getting the big chunks of time it needs at the mo, its slow but steady progress (too slow). Measured three times and cut once, well drilled once actually 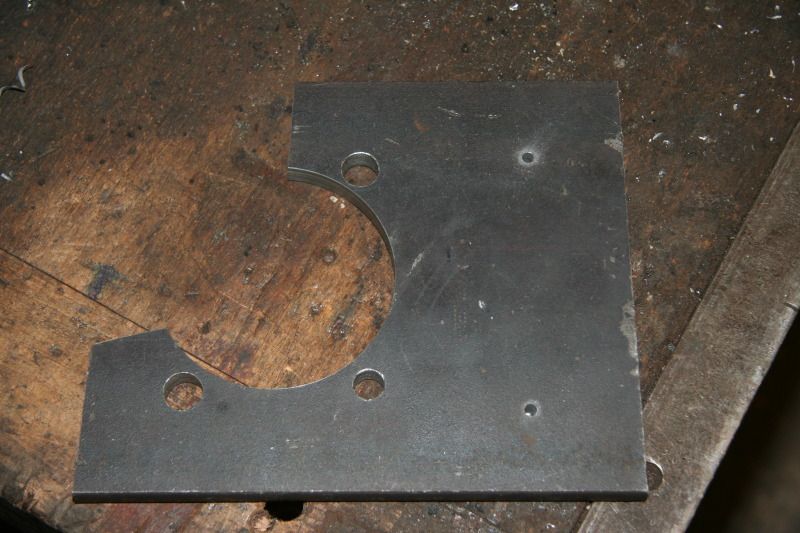 Used this one as a template to drill the next, then took the holes out to 10mm (and 12.55mm to take acount of an inaccuracy in the drilling ) 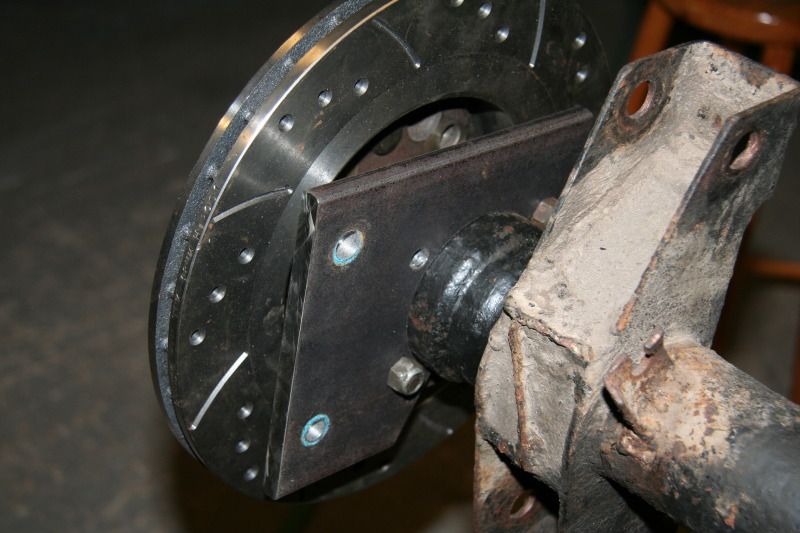 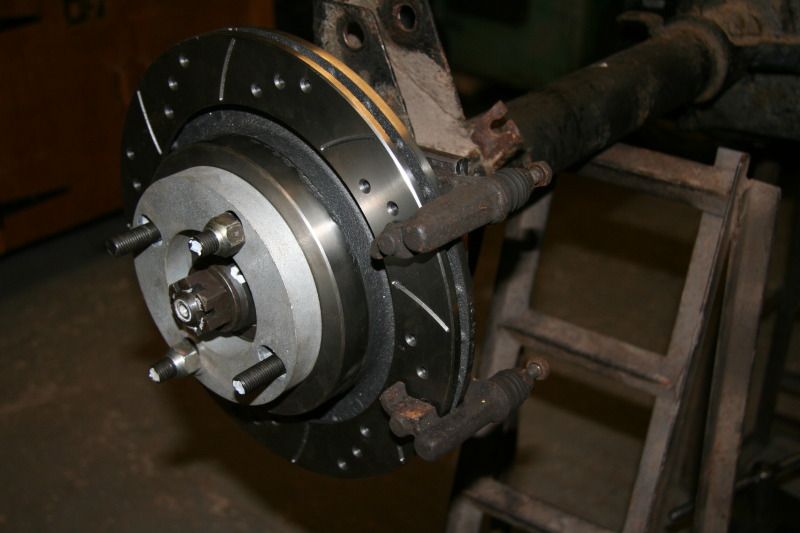 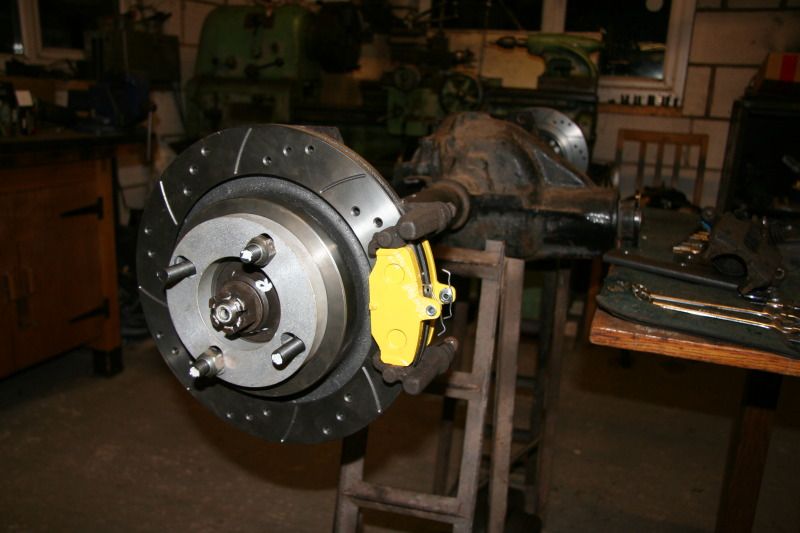 But it all seems superb now I'm really pleased with the 1mm ish clearance at the edge of the disc. 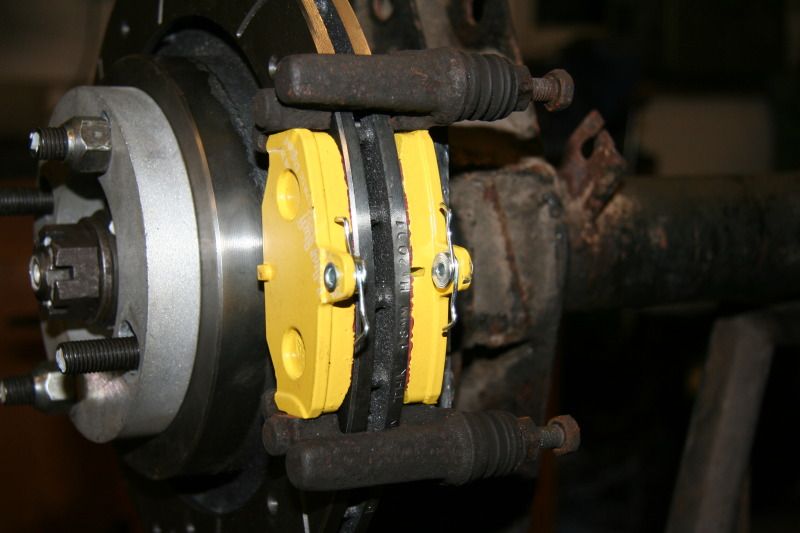 Then I trimmed it down a bit and ran out of cutting discs, so its on hold for a little while. 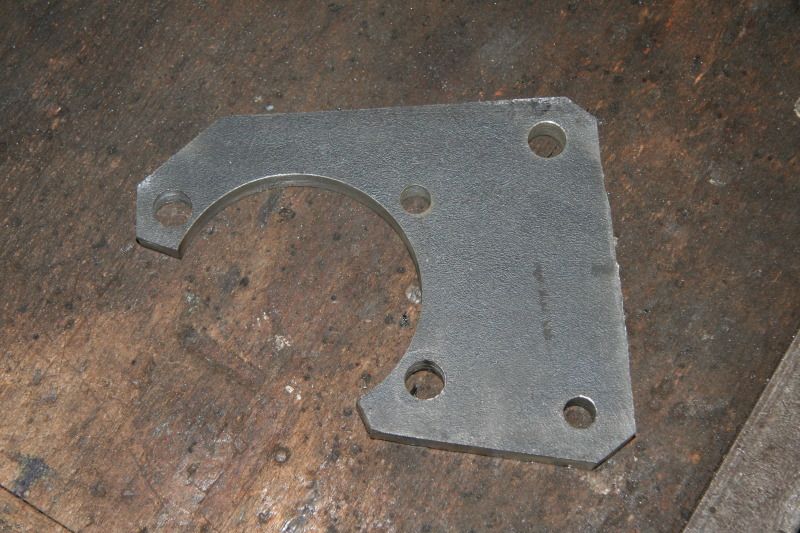 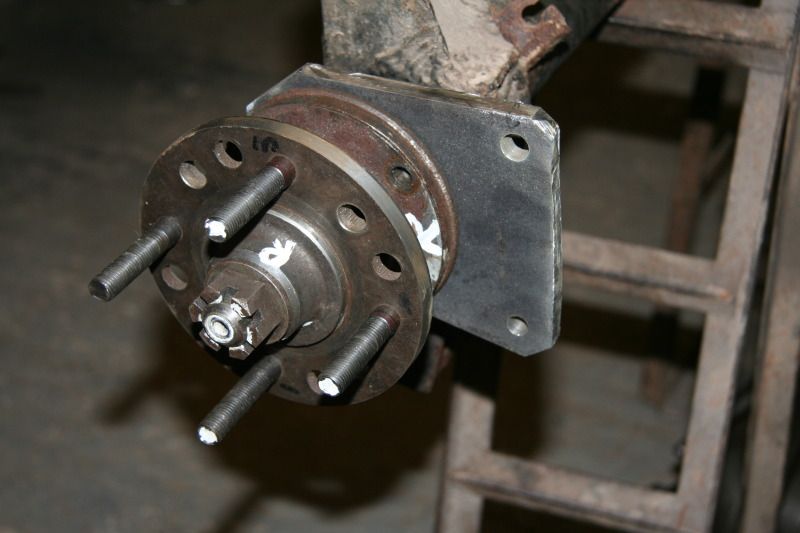 More to come at some point |
| |
|
|
|
|
|
Oct 17, 2012 17:54:02 GMT
|
Chipped away at the brakes again today (not literally of course) I removed the "hand brake lever ends" from the old calipers and welded them onto the new calipers, and thats about it for today, I'm out of money and now completely out of cutting discs, they're all down to the metal 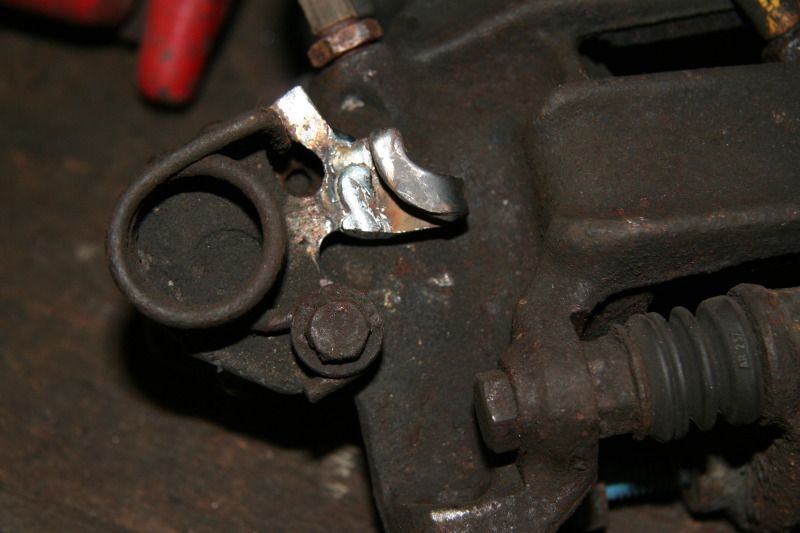 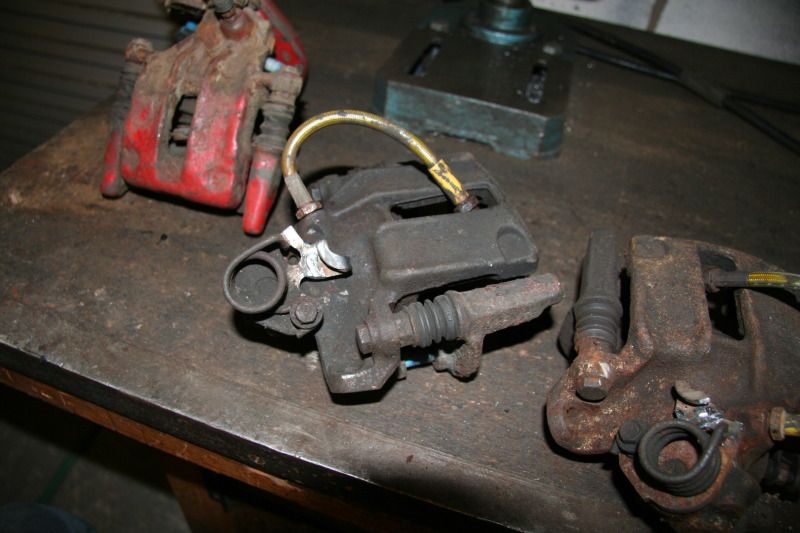 More to come |
| |
|
|
|
|
|
|
|
Got a tiny bit done yesterday afternoon, and I'm back at it again today I welded on a little breather pipe so I can attach a hose to go into the car, this way it hopefully won't be sucking in water and dirt.  And one of my very least favorite jobs in the world, cleaning up the calipers ready for paint. 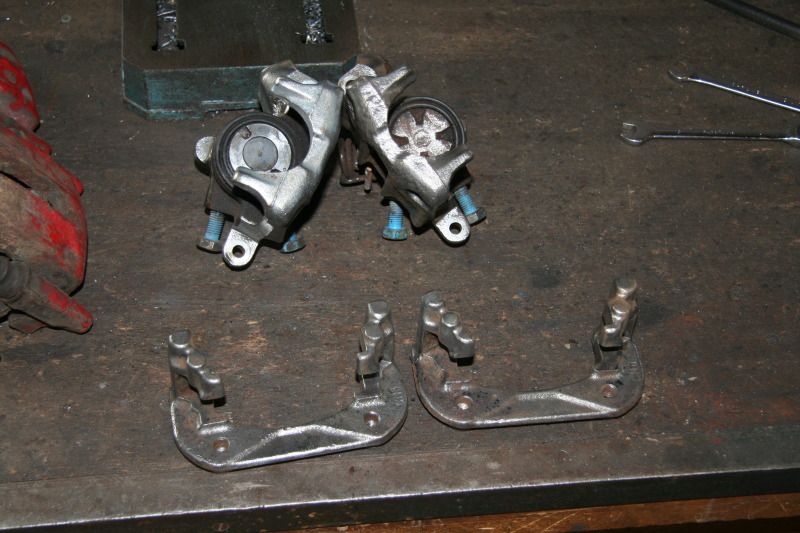 Its all taking a very long time at the mo and I'm not getting a great deal to show for it, I can't wait to get to the "putting it all together" stage, it seems a lot more rewarding than what I'm up to at the mo. |
| |
|
|
|
|


 not pleased. Anyway i've freed it up now and I think I'll stick with it as its so tiny its not a massive eye-saw.