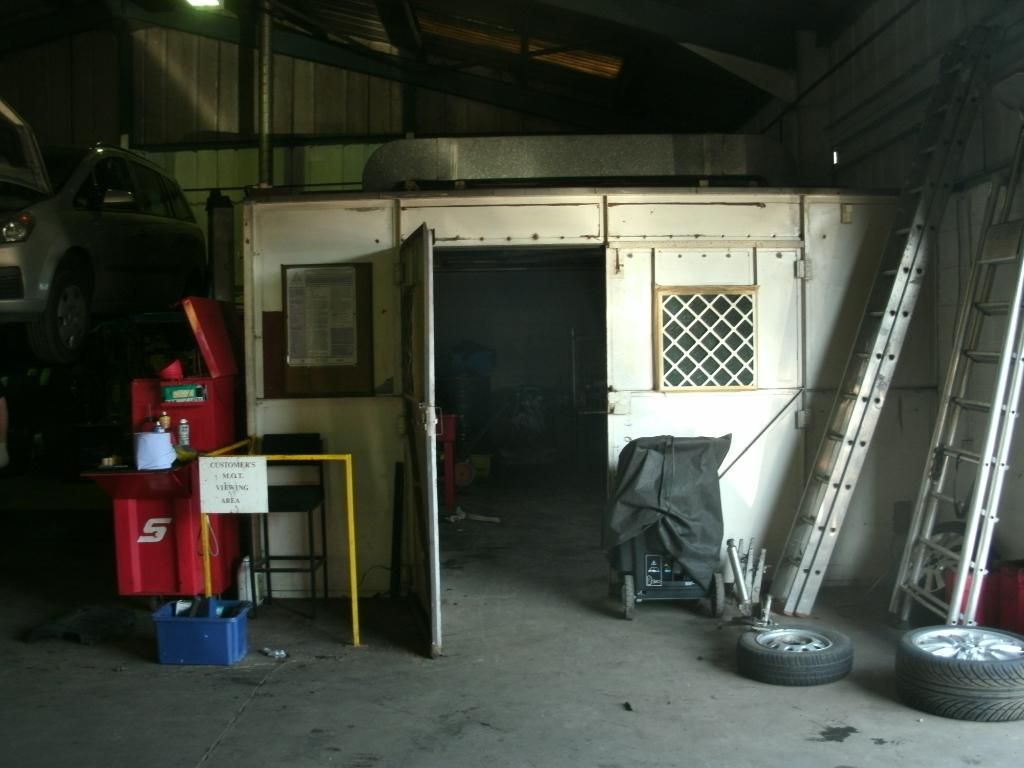
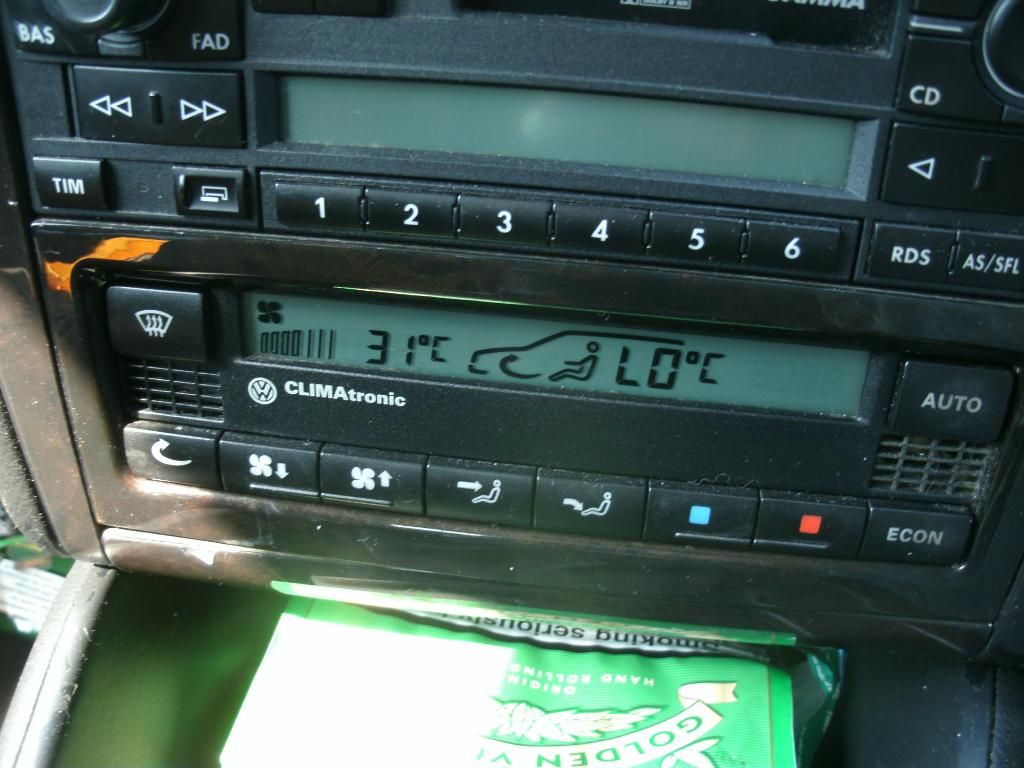
LO guys.
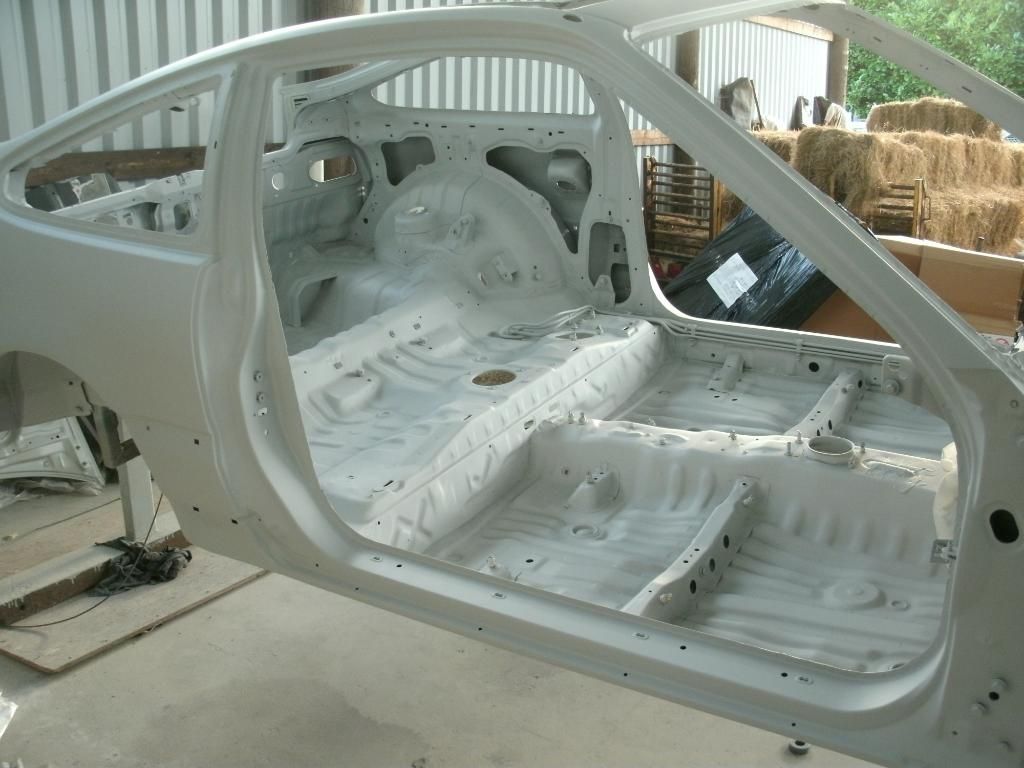
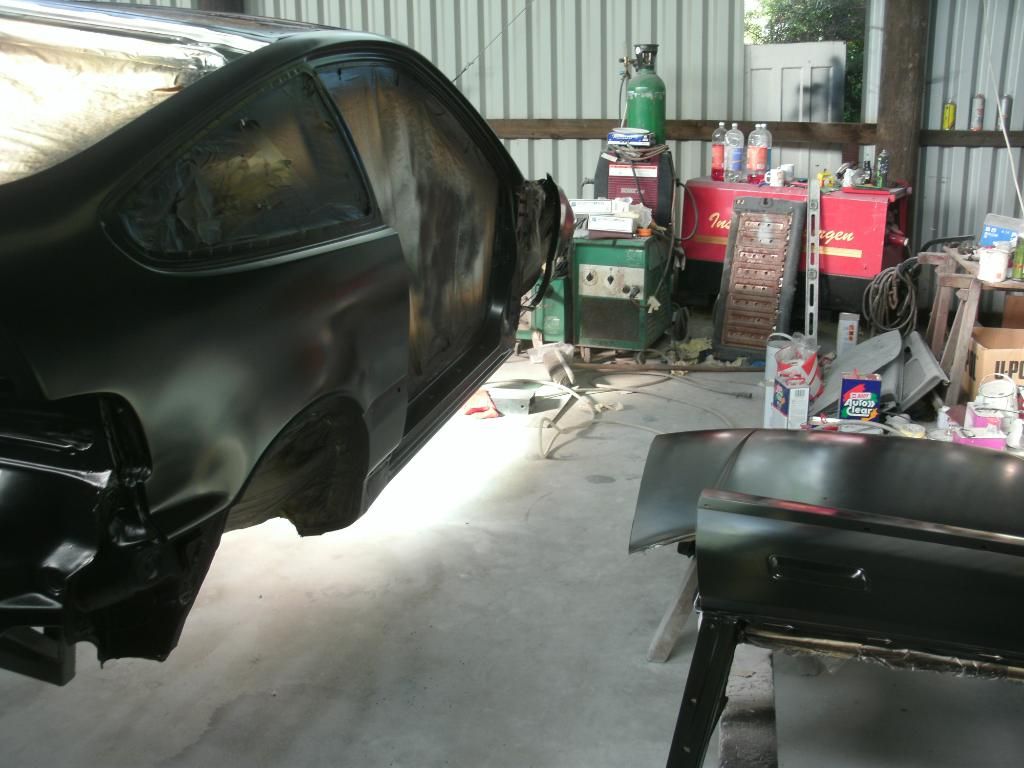
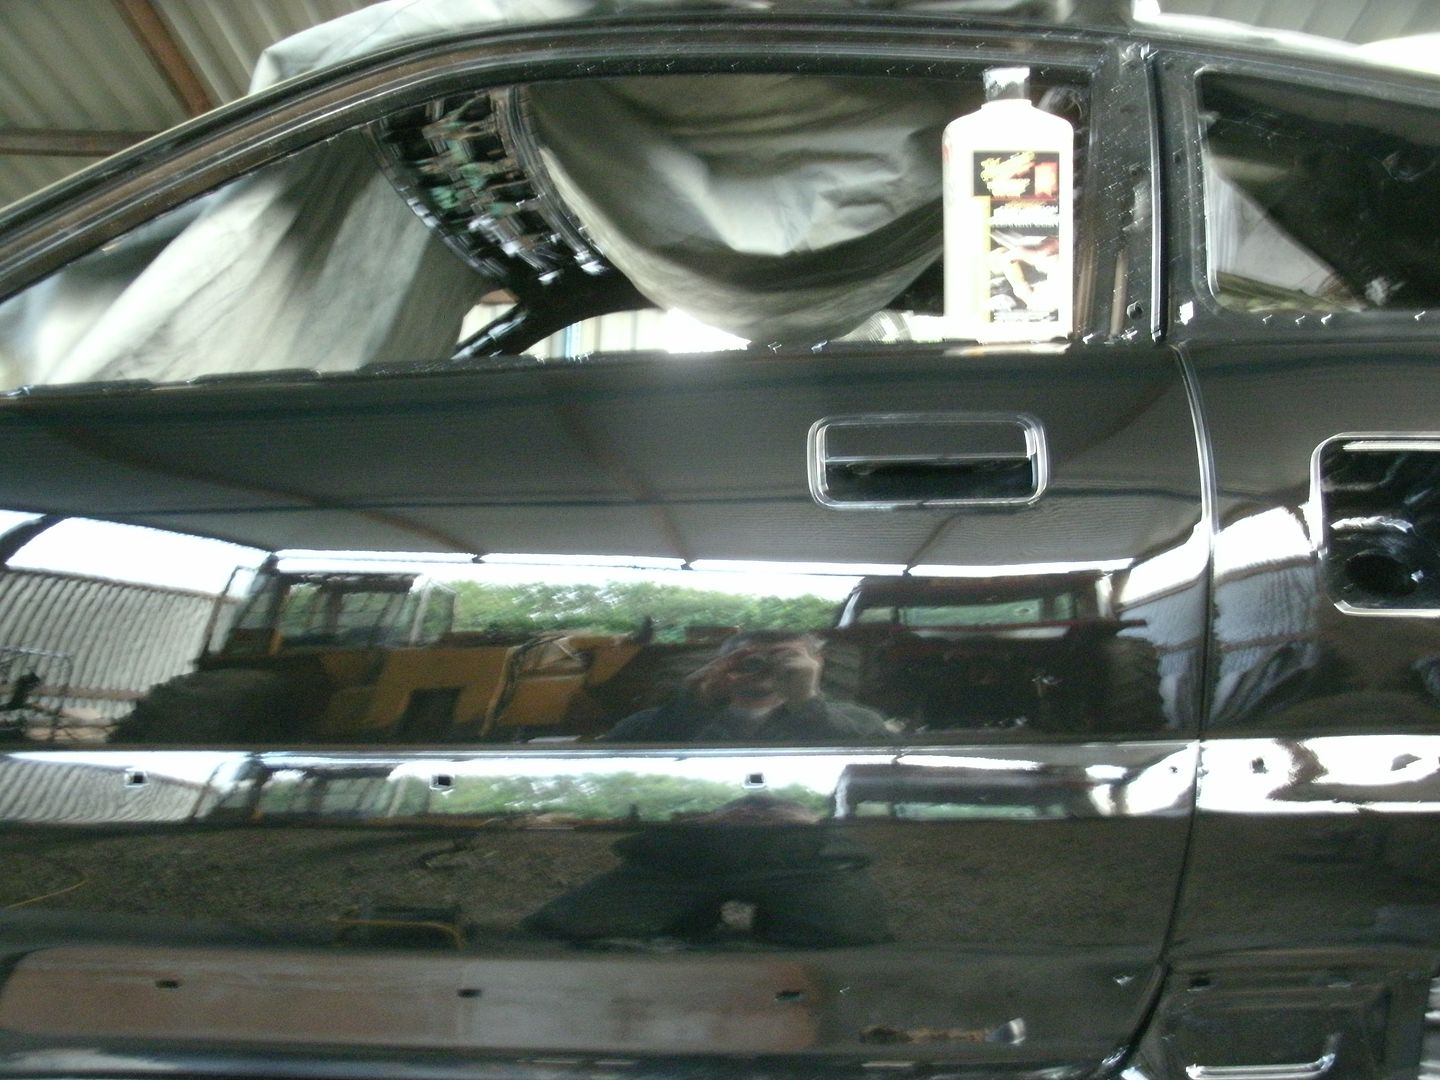
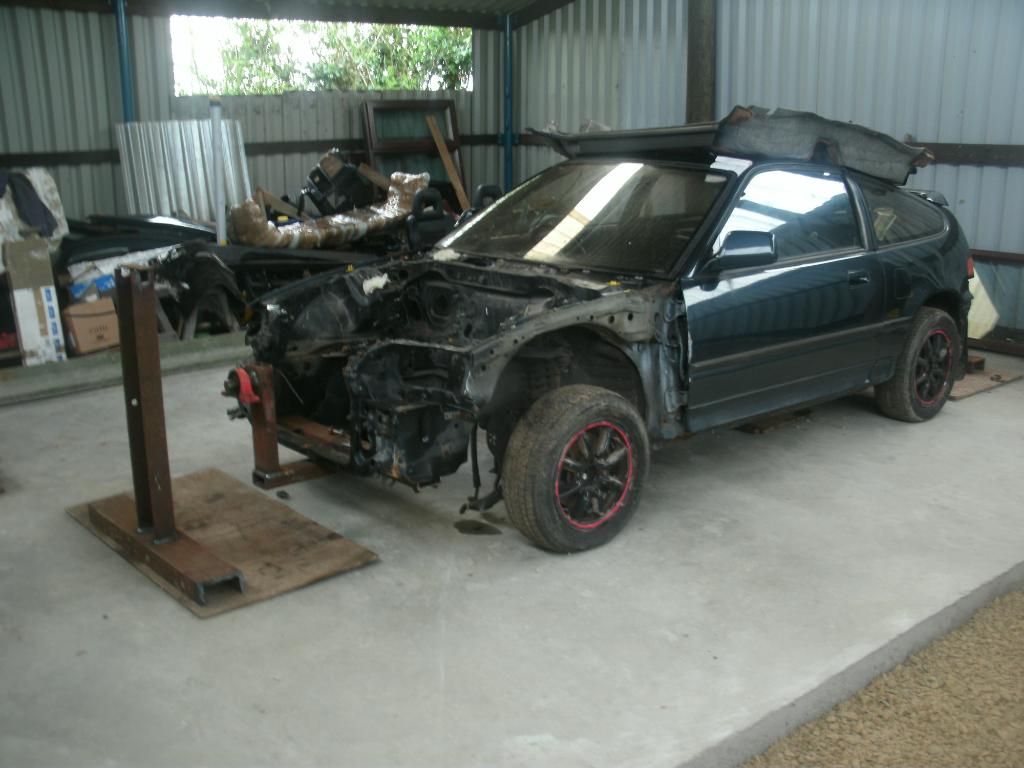
here is the last car i built (did it for my first customer, started with me and a mate but he left right after the welding due to getting married and having his first kiddie pretty quick after,so i finished the rest, did this over a year in all weather, pretty much did a full days work at normal job then was leaving every PM to get 2-5 hours in a night, then all weekend and i also used 3 of my 4 weeks holiday on it! ) looged OVER 700 hours.
had to be out of the old unit in march 13, i now have a new workshop (in progress of getting emptied) but its 3 phase and plenty of space for my paint booth. I love doing what i do so hopefully i can make a proper business out of it (i AM fully insured on a trade policy as of now, it DOES cover import and modified cars, all all forms of "heat" work as the call it, it ought to for the £3k a year it costs lol!)
anyway enjoy:
Think i might go post up out current car restore. done mine and got this one in as a result. i work a normal 8-6 job at a motorfactors and then i do this in my spare time. if your bored at work then this thread is for you to kill a fair whilse. pic heavy but pics speak a thousand words as they say lol. enjoy!
this was dropped off a few months ago and we have been plodding on with it in our free time but now its time to go full steam ahead. its a fully loaded JDM Glassroof SiR (aircon +climate, glass roof, PS etc etc) don't have time to retype loads so here are lots of pics.
also brought a paint booth to go in the shed (concrete is still going down in section, will be done very soon but we got the car inside before hand) i go collect it at the end of may (fully working with heater/fans etc etc) so will make a nice change from poly sheeting lol!


rust under filler


hole by fuel filler

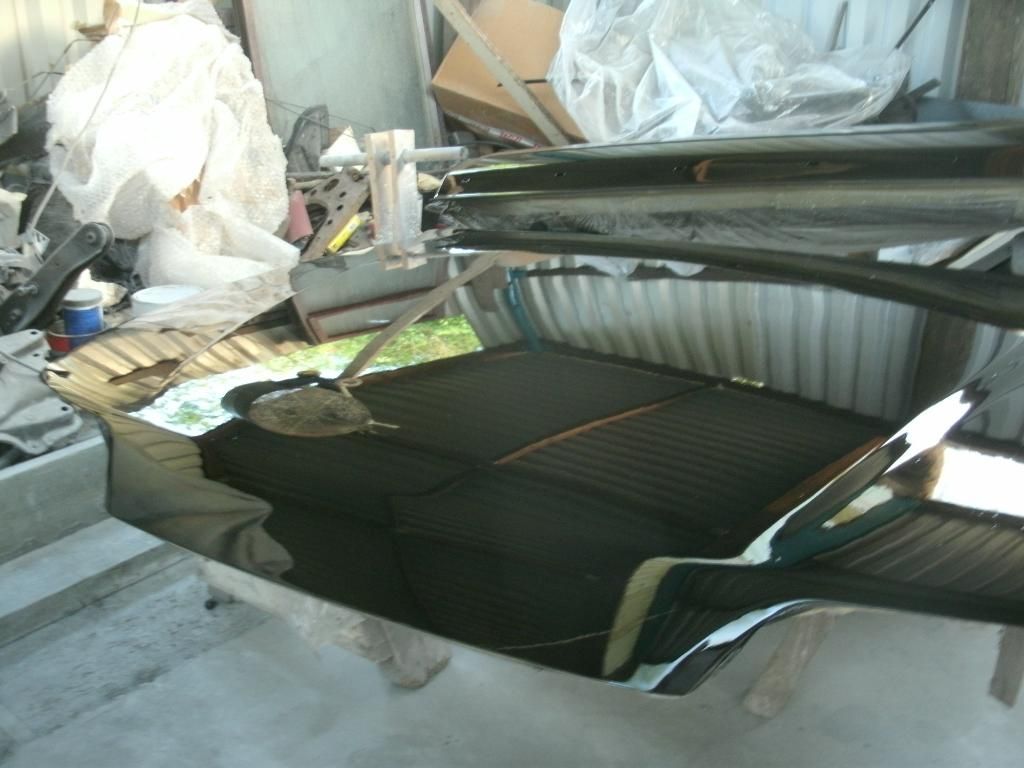
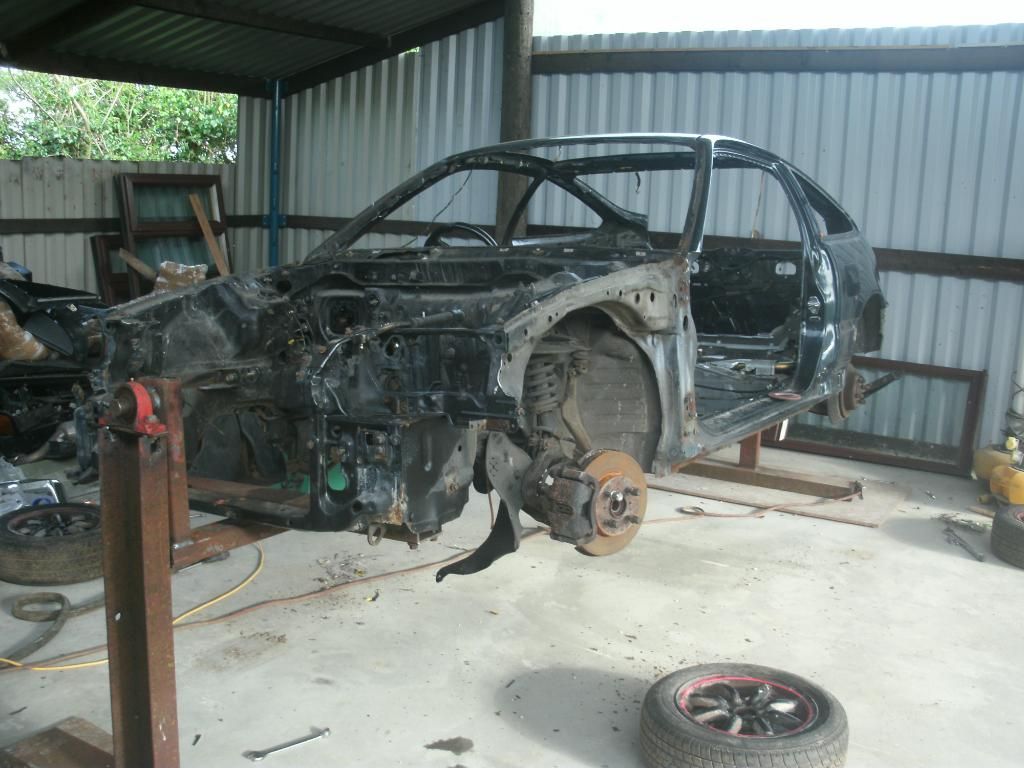
bumpers off

most of rear interior out

get a look at the inside of the arches


most of the big things gone

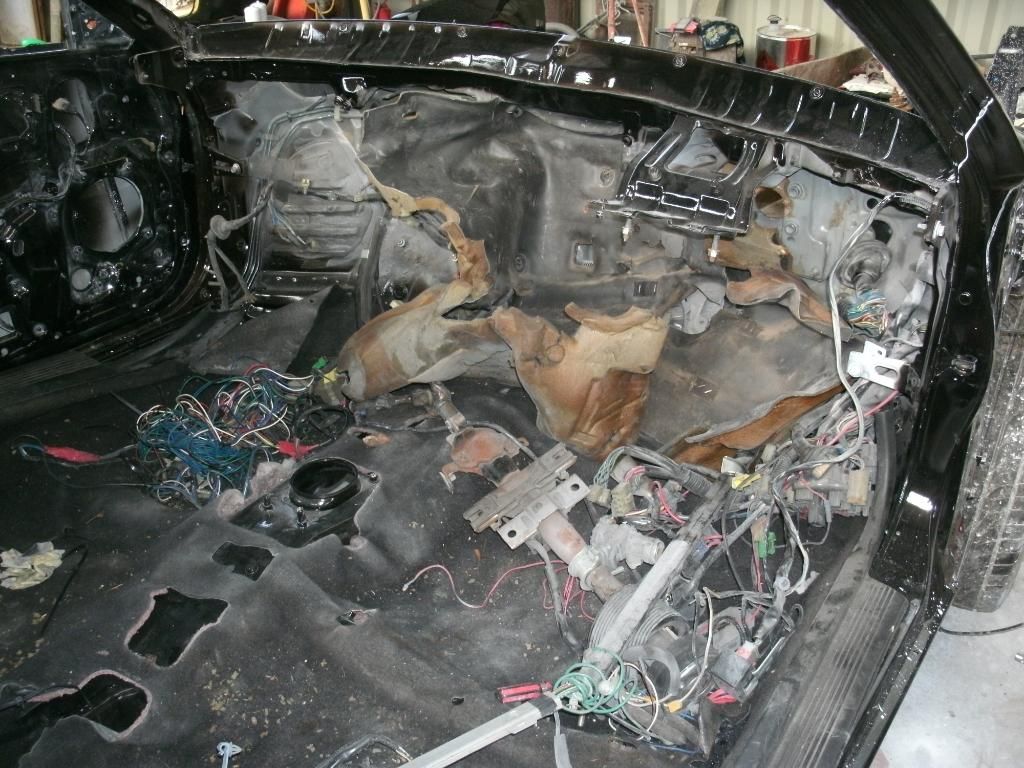
joys of inside (hate dash removal such a pita)


engine bay loom through the bulkhead and all tied in bunches and hung off the floor pan


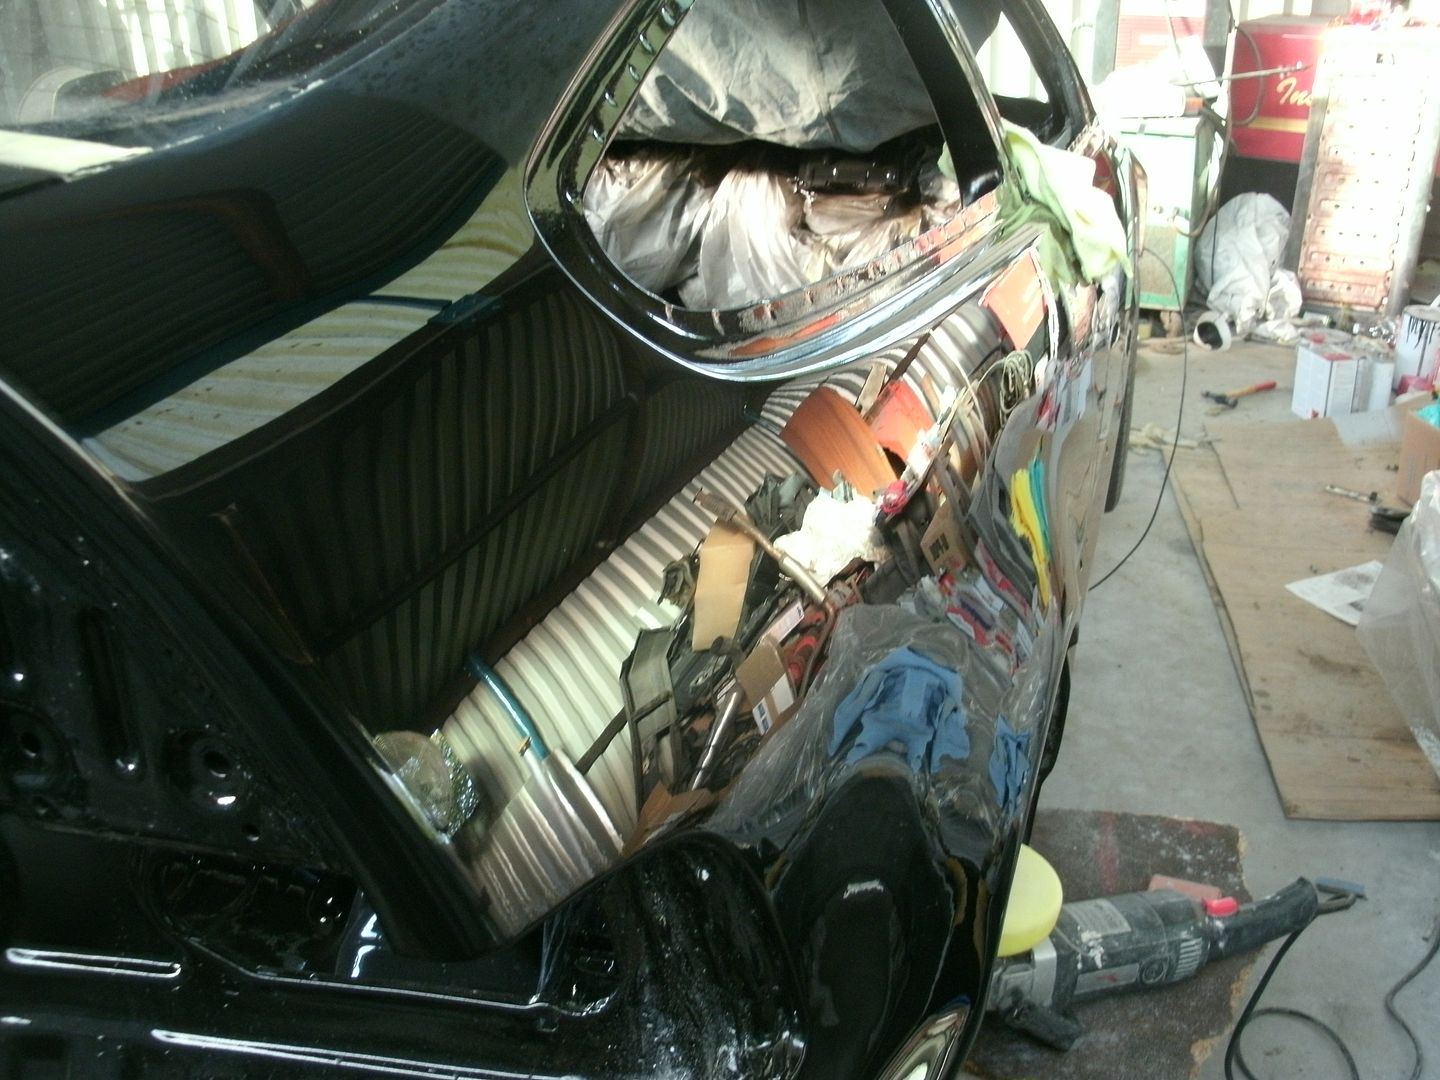
nasty!!!


hidden rust under seams due to body filler trapping moisture (has traveled right under the seam sealer a good few inches)


also got 2 tiny spots just starting to rust


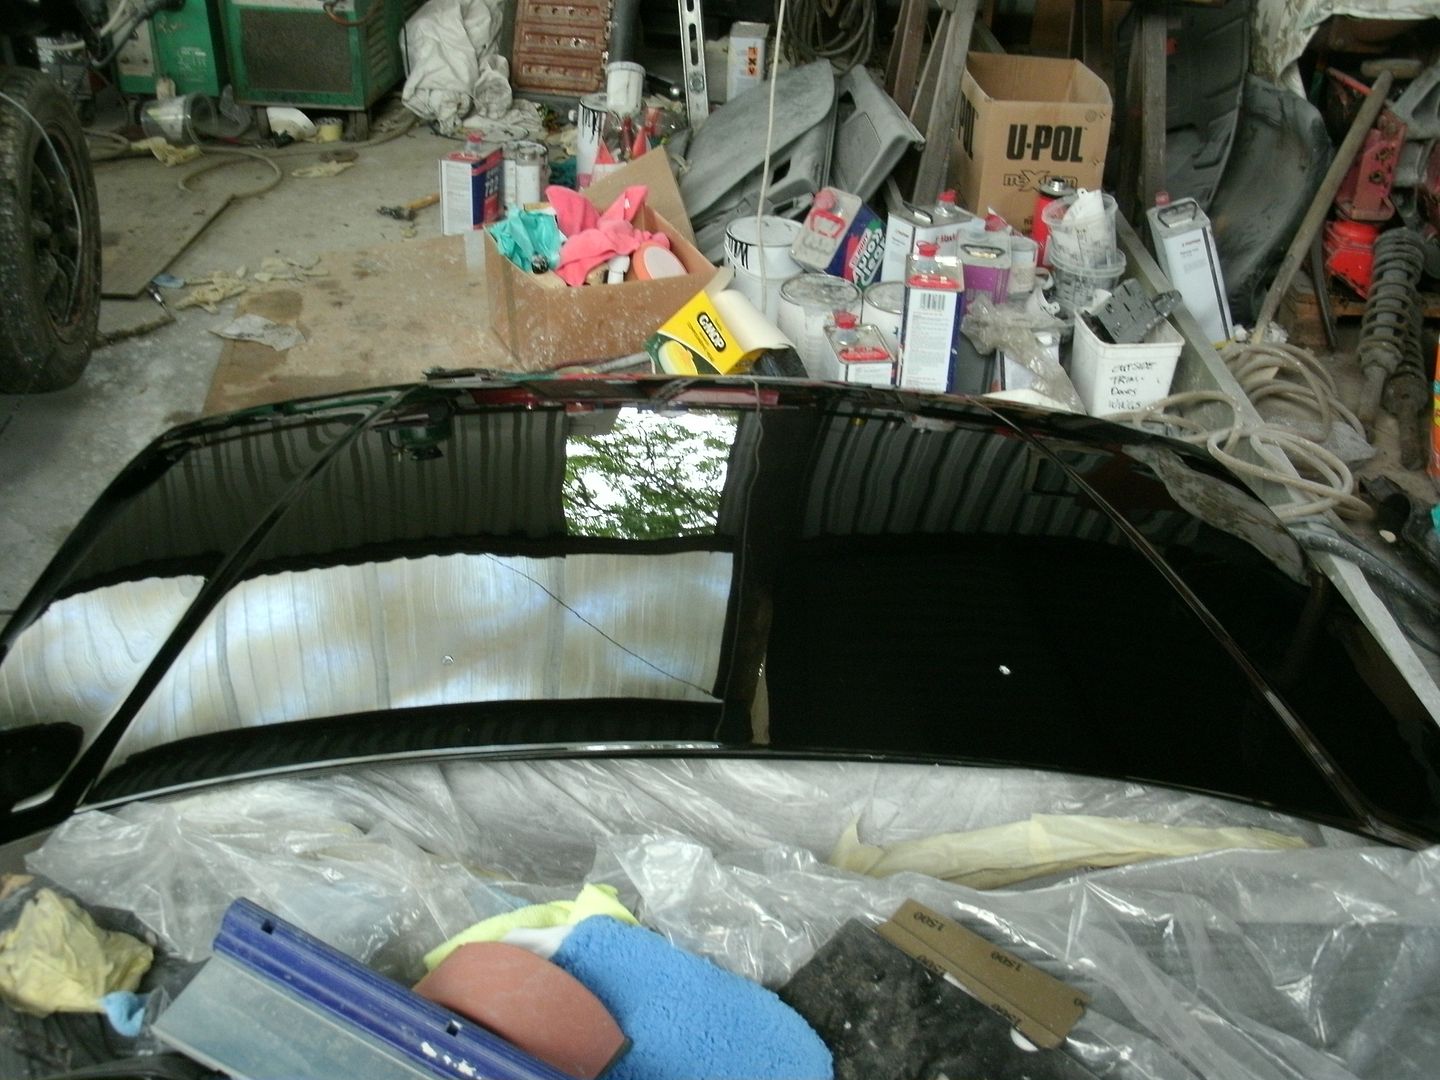
started with a poke around last night, did not look to bad until i jammed a knife under the seam sealer. lets just say 3 of the 4 corners need patches lol. also the inner lip along the sill is very rusty, might have to replace the floor pan sections then remove the inner floor pan skin lip to sill lip and replace it. already chopped out the rust and the drivers rear looks like its going to be a nightmare, will have to cut further back to get to some good non rusty metal
found some more filler but its not hiding anything, gonna assume rather than align the doors properly they just added filler to save some work lol. car went on jig no problems, its easy to rotate up to around 45 degrees either way, anymore than this seems to strain the rear mount (does not help that all the suspension is still on the car but it keeps the car level)
going to be a mental weekend of welding, can see some mega long hours ahead lol (thought we got away easy with having good arches to lol)
liift off!!

180 degree bearings (spot j16's old rear wheel bearing used as the lock)
filler in here for some reason?

does not look to bad, lets have a poke down both floor pans....


what came out...

for some reason glass roof cars seem to suffer badly right here, sharpeis was jsut as bad both sides

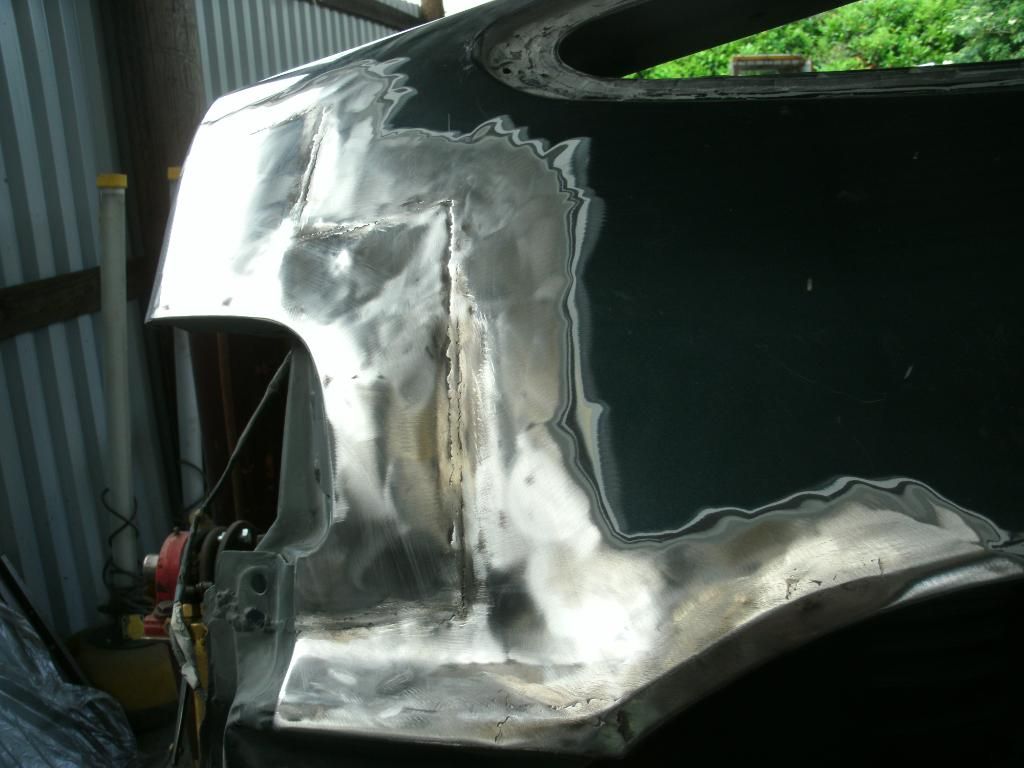
chopped out dent and rust


insides near immaculate though!

sharpies replacement section, made in his new ghetto metal bender and hammered to shape to get the right radius

drilled off the old rust outer skim do start de-rusting the middle section

lots of flap wheel + wire wheeling later

decided to see why there was filler under the fuel cap....looks like its been hammered back into shape at some point and fillered over


few pin holes from previous repair causing rust to start forming (lesson for you all,pin holes WILL cause rust)

started removing the under seal to, probably the most frustrating and slow + messy job. its basically tar painted over spray on seam sealer, when you hit it with a wire cup the tar burns (lots of blue tar smoke) and the seam sealer under builds up heat and fires off the wire cup like silly string from a can and it covers everything. i think there is around 30 hours to fully de-seal the full underside including the arches!)

full afternoon on the car.
all pass side lower floor pan and sills are done. I'm sure sharpies welding gets better every time.
found the Ariel hole had been smacked down with a hammer and bodged full of filler to de aerial it....that took some grinding out and a good 15 mins of reshaping to get it roughly back to where it should be. other floor pan tomorrow and hopefully th fuel filler surround and the rear light surround on the other side.
on a note the Hadrians fuel filler surround is not the same as the crx, the crx filler is more square and the civic one is more rectangle, but it should be easy enough to cut out the sections we need and put them in


drivers side. (2 of us did another 9 hours non stop again) probably about 10% into the build...lol


byebye mess


donor part from the scrapper out back (that car is such a lifesaver in terms of being able to get bits there and then)


no pin holes

another night done. had rob up for a few hours (rustyrex) who brought me a prezzie, nice recirculating sand blaster gun, works quite well to!
most of the welding finished by sharpie, the civic fuel filler surround was more rectangular than the crx oem bit but this was solved by chopping about 4mm out of the center and bringing them together
got those 2 tiny arch bubbles chopped out, as per usual the oem seam sealer had let it carry a good 2 inches under the panel...so chopped that out. which is the only bit left to weld now and will be done tomorrow night


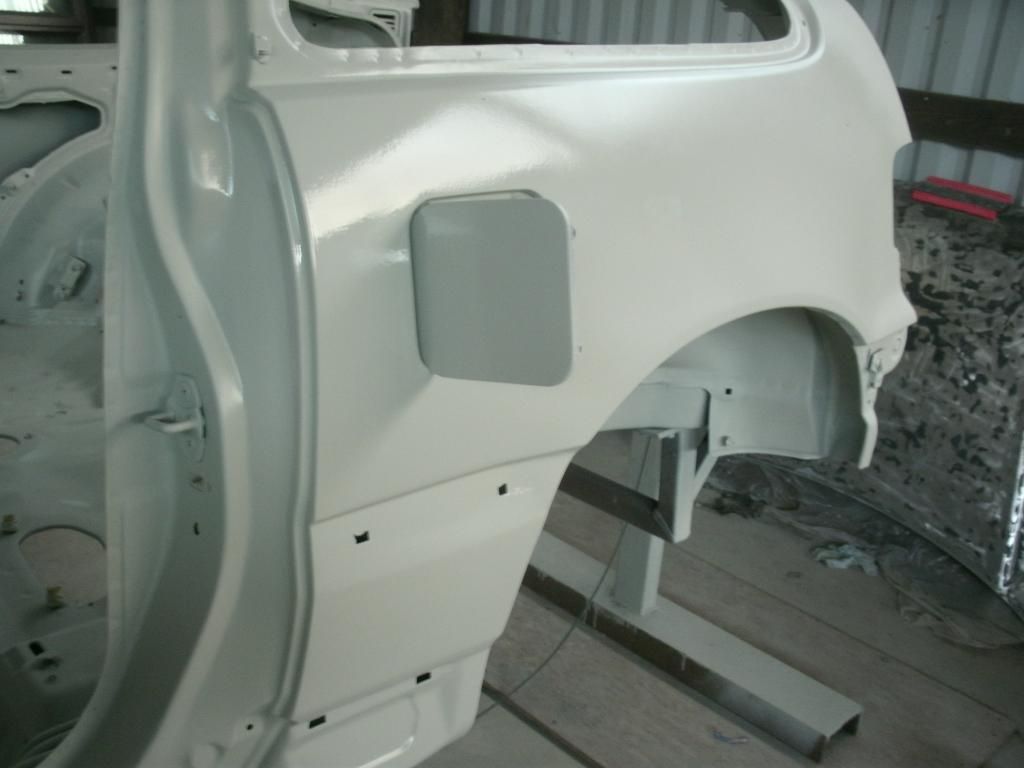
fuel filler.

door mounts blasted.


3 inch long rear arch strip replaced from flat sheet.

rear quarter knocked down

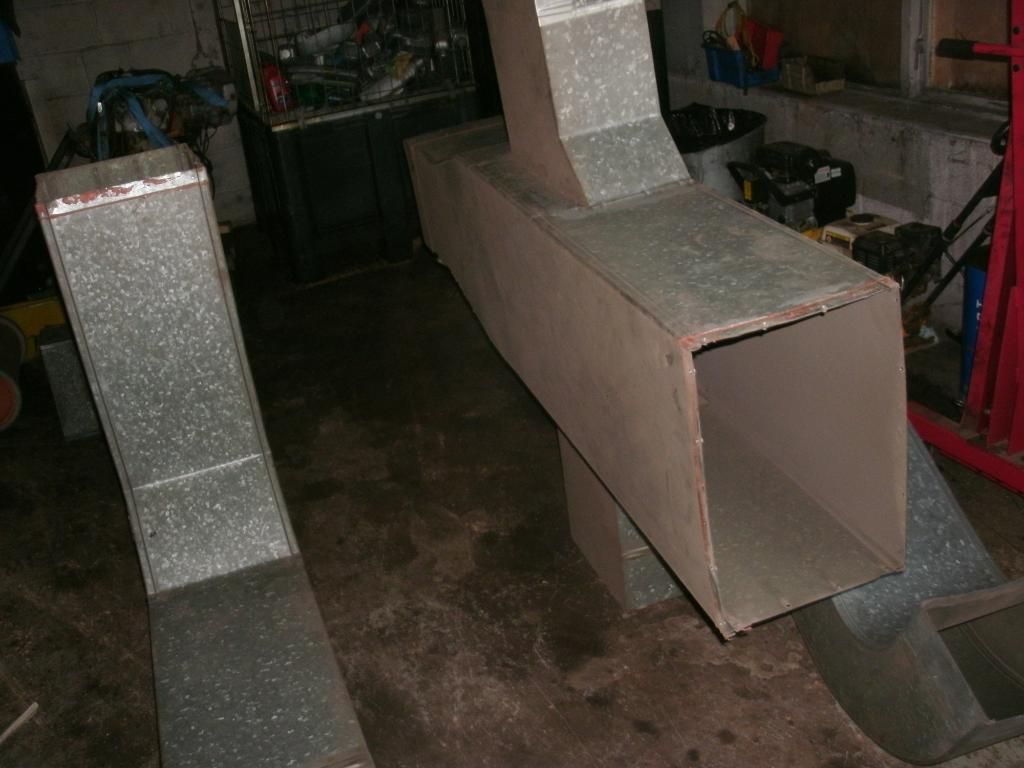
getting a [crud] load of body solder on order to sort out some low spots and to fire over the pitted metal. off to collect a second hand paint booth early next week so will be off this for a good few days
brought a paint booth today for the unit/shed. complete with oven and fans/lighting etc etc
spending the next few days getting it stripped down to move it back to ours


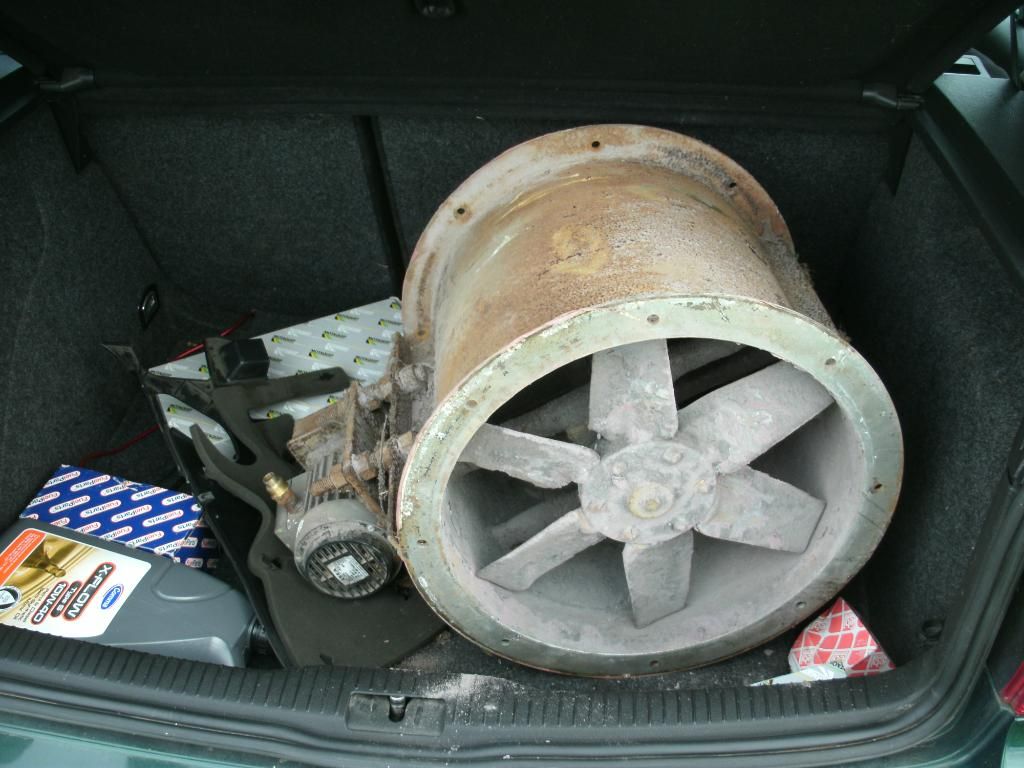
one of the rear extraction fan holes
heat outside, more in the workshop and even more in the roof of the workshop! my body temp gauage says at least 36-40, not been that hot sinse i was in vegas in the summer!
booth is now back in the yard, took me a full week to get it all out!
will build it up in the next month of two,
pinhole welds flattened

best type of wheel for stripping underseal!

gonna be a long ass day today.

hour or so later


took a break after a few to knock down some of the welds in the sills, did not make them flush as it takes away the stregnth of the weld


cleaned up all the welds inside to, something most places wont ever do! all back to shiny metal then lots of zinc primer

back to stripping then, many many hours later (half the floor done!)

the light grey above pic is the oem epoxy base-coat, then darker bits are actually shiny metal. wipes it down with brake cleaner to remove excess tar and then used my uberly good sanding wheel (this thing rocks! its a scotch pad wheel fitted into my drill, keys things super fast like interiors and floor pans with lots of crevices etc)

lasted very well to! about 10 hours use and its half gone
brake cleaner-ed again and then out came a couple cans of zinc

really is a shame in its past someone has jacked the car up on there support beams, might have a go at pulling them back out (weld a nail to it and use it to pull on then chop it off)

all i can hear is running angle grinder atm, [potty mouth] head ache from hell to. so about a quarter of the under-seal gone!. £100 worth of FE 123 just turned up to, will be firing all that into every section this week
was gonna body solder tonight but decided to fe123 the car instead (covered in shot blasting grit again, but its the fastest way to get into every pore in pitted rust!)
sand blasted rust spots (love zinc primer sooo good at keeping rust away)


fe123 brushed on thinly straight out the pot.


turns black when it works the rust, stays white and drys clear when not on rust.
then shot 2 liters thinned first at a 50/50 water mix then again on a 20/80 mix an hour later
(thin to get into every nook and cranny, msot of it pisses out of the seams and onto the floor)


you can see it dripping out everywhere.


shot it thin on the inside to with the pressure turned all the way up (about 110psi at the gun) which forces it in between every seam


good old trusty workbench

as its water based the runs and drips just wipe off the car with a damp cloth, worth doing as the runs dry and they are a pain to sand off. so there you go near enough 2 liters of fe 123 in every box section (love jig getting under the car is awesome!) got a fair bit left over for bits on the body and doors etc
next up body soldering!
retrived fan no1, another to dig out yet!
spent rest of the day getting filthy stripping under-seal off the other half of the floor pan!


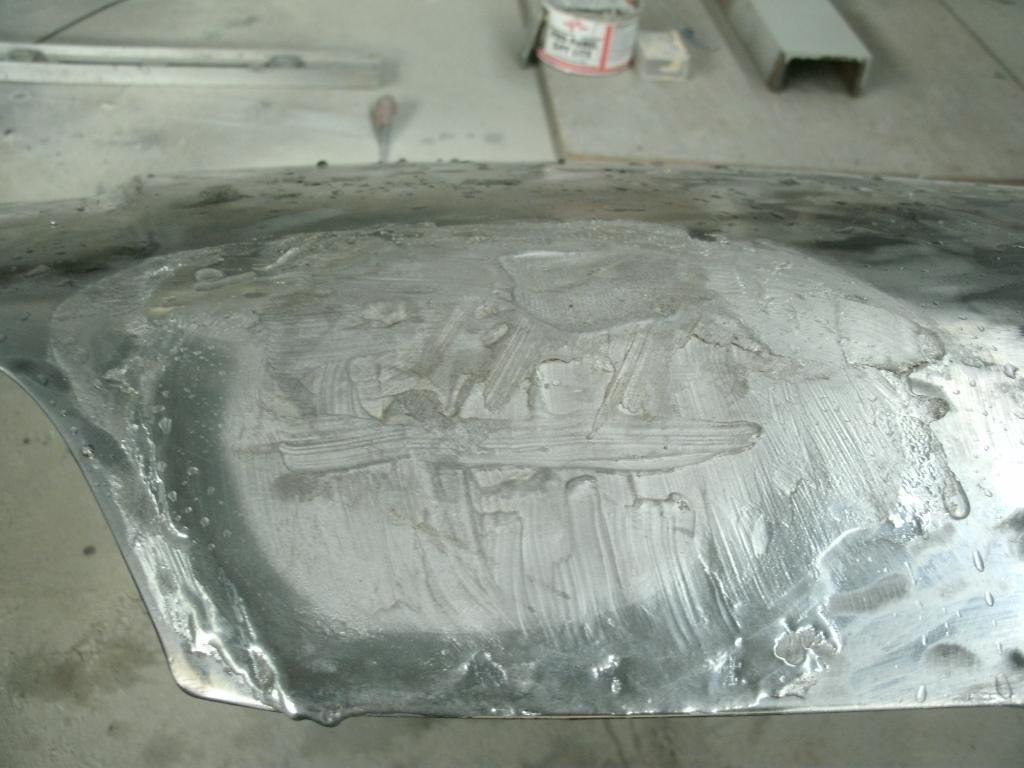
sundae onto the lead! been dying to learn this for ages,
got to have the metal uber CLEAN. no paint, no dirt, no nothing on that,
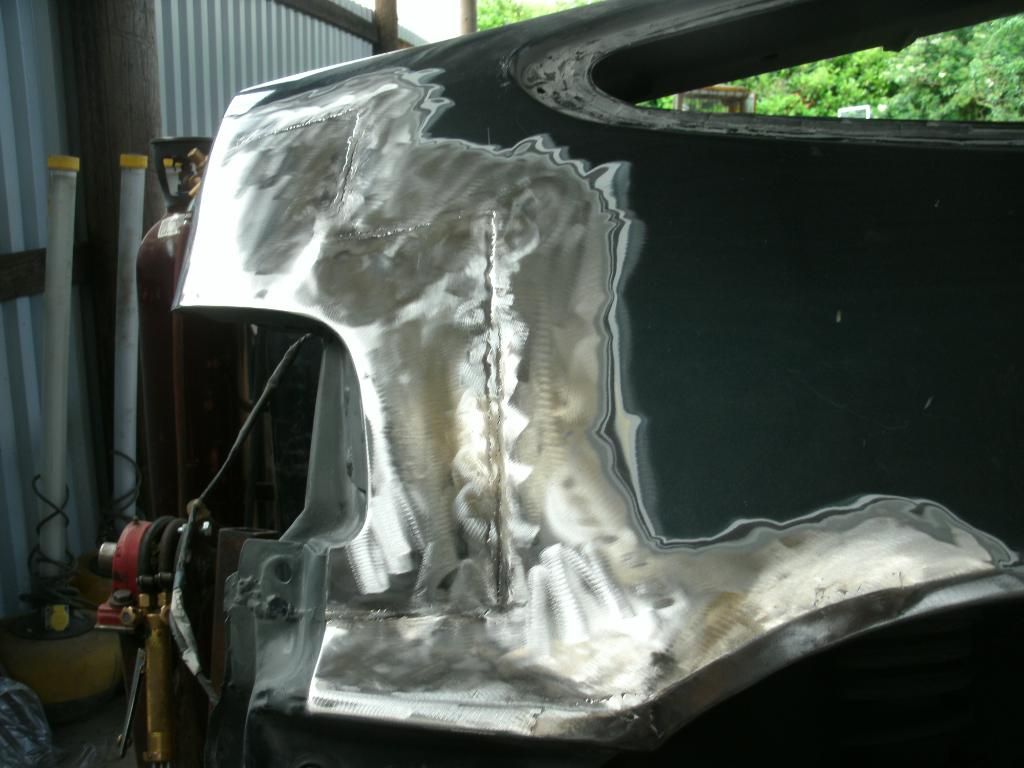
even went as far as to sand blast down the weld line to make sure it was 100% clean. then washed down with brake cleaner and left for an hour
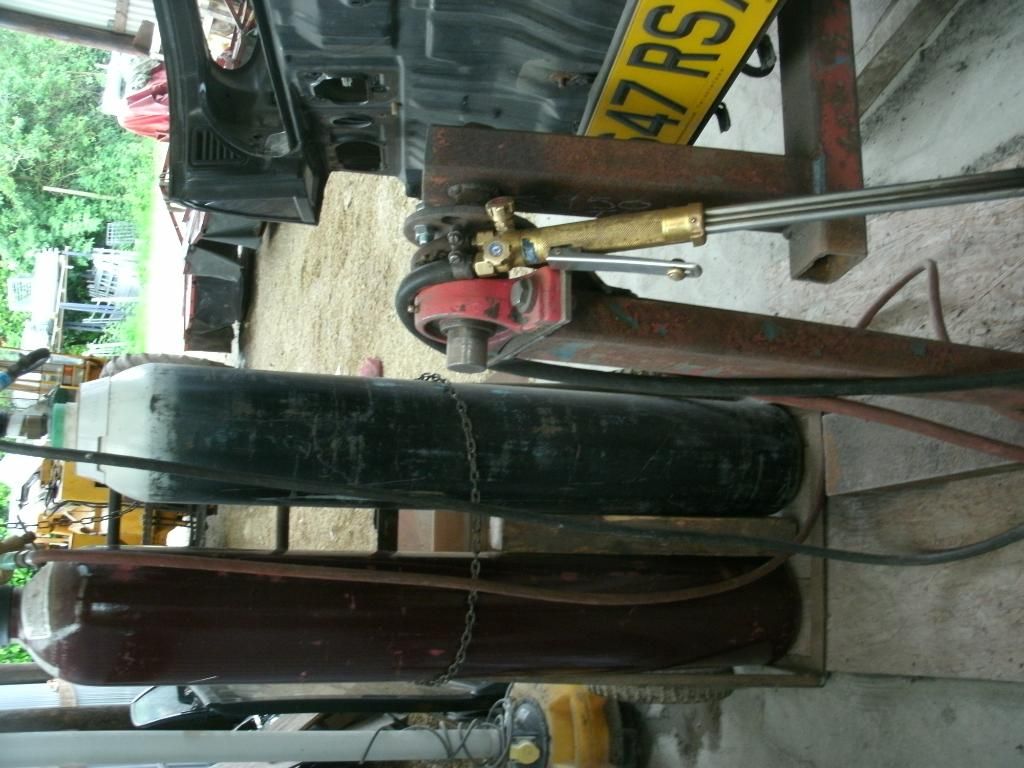
got the gas and torch
and a mini how to guide for you all.
on the clean and degrease metal you paint on a special tinning paste, its basically flus and powered lead, paint it everywhere.
once its on you get the torch, started it on the red axy and then used a tiny bit of oxygen to get the flame completely blue, and with a very wide short flame (you don't need mega heat for this!)
heat the tinning until it starts smoking and turning brown (thats the flux) and you will see the lead melt shortly after , get a wet rag and very quickly wipe it, it will tin the entire surface with lead.

if its not shiny you have got it to hot or done something wrong!.
now the lead bars i got off eaby were [crud]. there should be a wide temperature range on a 70 lead/30 tin lead bar but this stuff has such a narrow range between melting and going runny (you need it pasty)
half of this [crud] ran off the car and is on the floor. in the end broke into my bars i got for J16 and they were superb! very wide temperature range and very very easy to work with! (go frost on this one)
the process is pretty simple but hard to get right (as i found out)
you heat both the tinned panel and the end of a bar at the same time, as soon as the bar looks like its going soft you ram it onto the hot panel and twist it and a lup brakes off. you keep doing this until you think you have enough to fill the dent.
if it gets to hot it turns liquid and runs off the panel, not enough and it wont spread
with the soft lead deposited you need to very quickly and very carefully heat the lead until it turns into butter, then using a maple padel dipped in tallow (stops the lead sticking to it) you push it down onto the lead and work it into place, this is alot harder than it sounds because you need to keep the lead soft enough with the tortch to work, so its heat, paddle, heat, paddle. after 3 hours i got the hang of it lol! (gravity is not your friend here lol!)
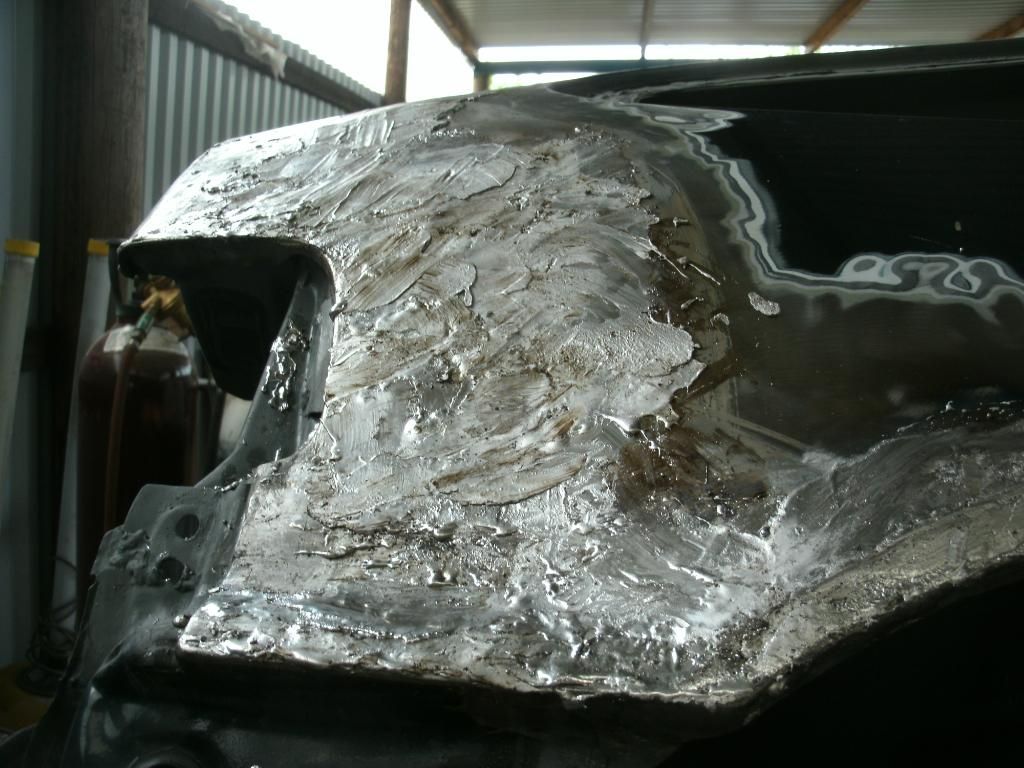
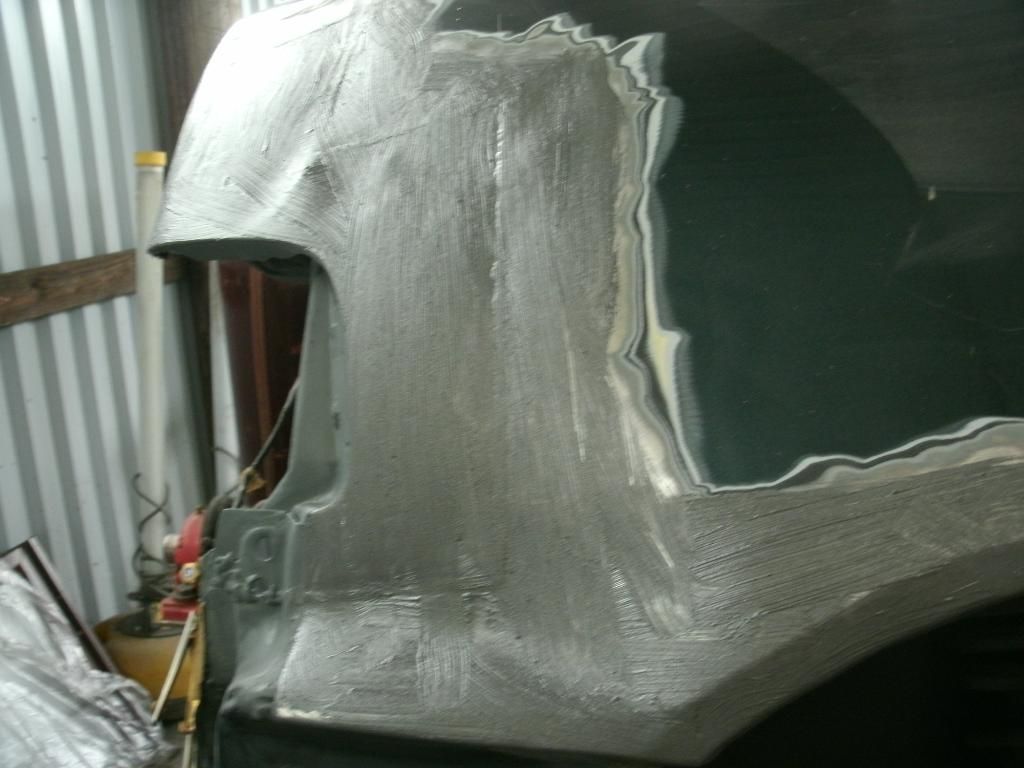
anyway the process is a bit like bodyfiller. do an area, until you think its right, then using a vixen file cut it down. low spots go back and again add lead , paddle and let it cool then file.
its a long process.
sharpies file (the one you get in the £100 frost kit) is flexible, the best way to use this is to go to the good side of the car, and get the spare/correct curve of that panel, set the tool on it then use that as a guide on the other side and also use that curve to file the lead down so you know your getting it the right shape. (the curve does vary from top to bottom so check, file, check again file etc)

anyway lots of flatting later (adding more lead when you see low spots that need more)
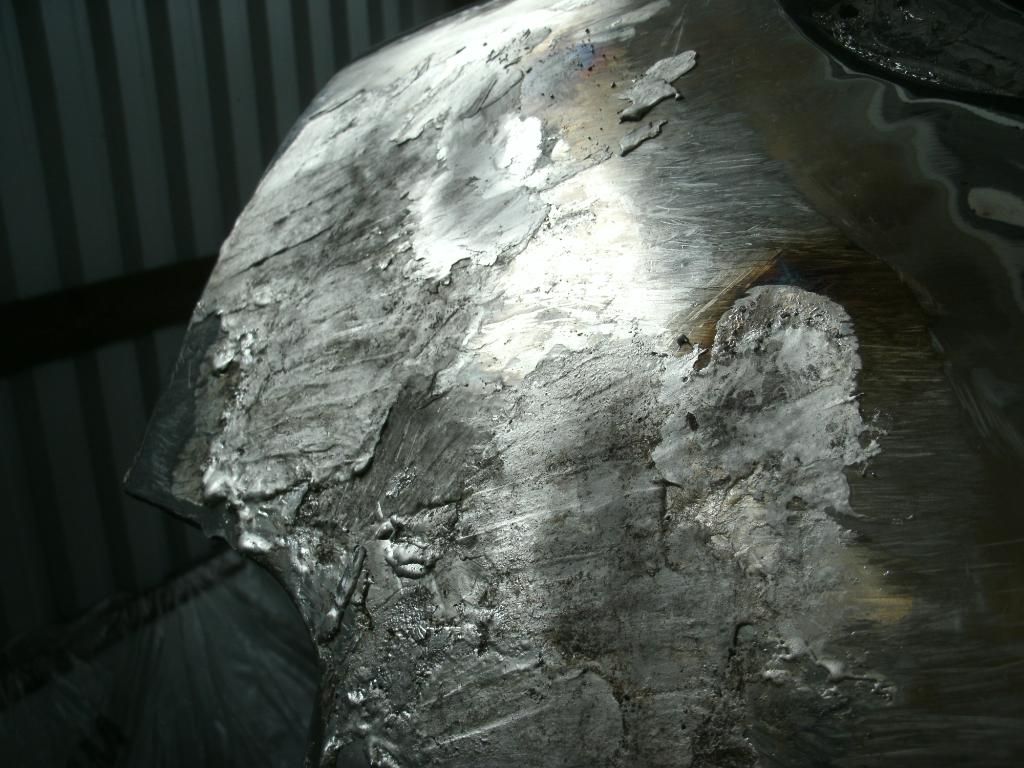
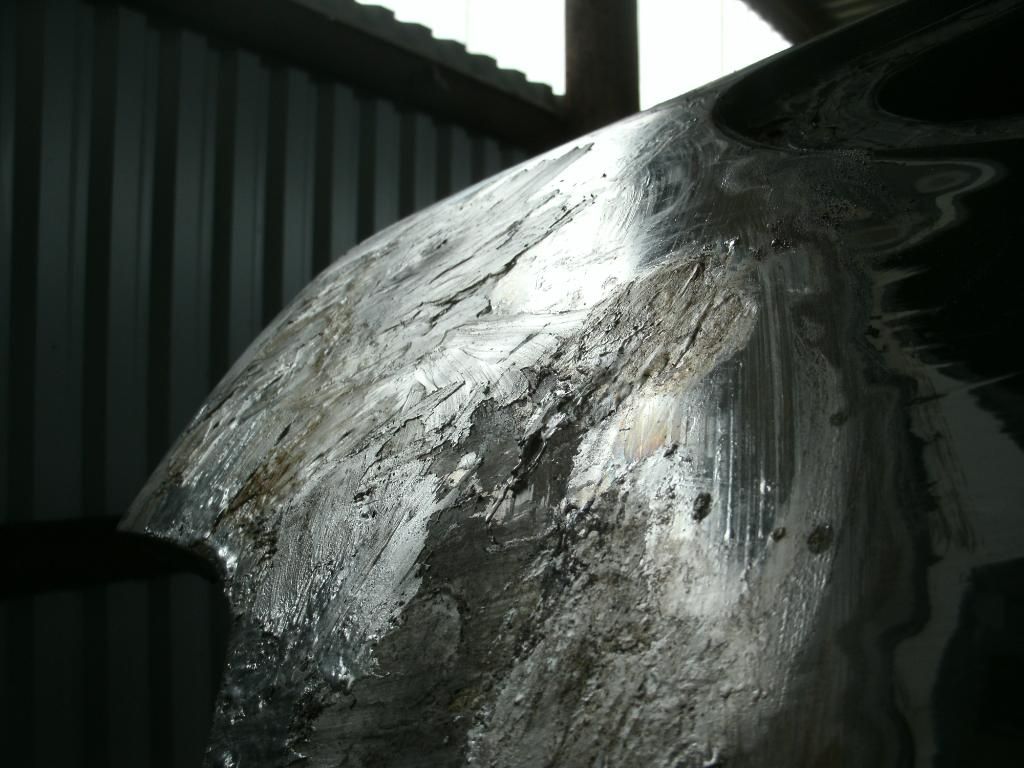
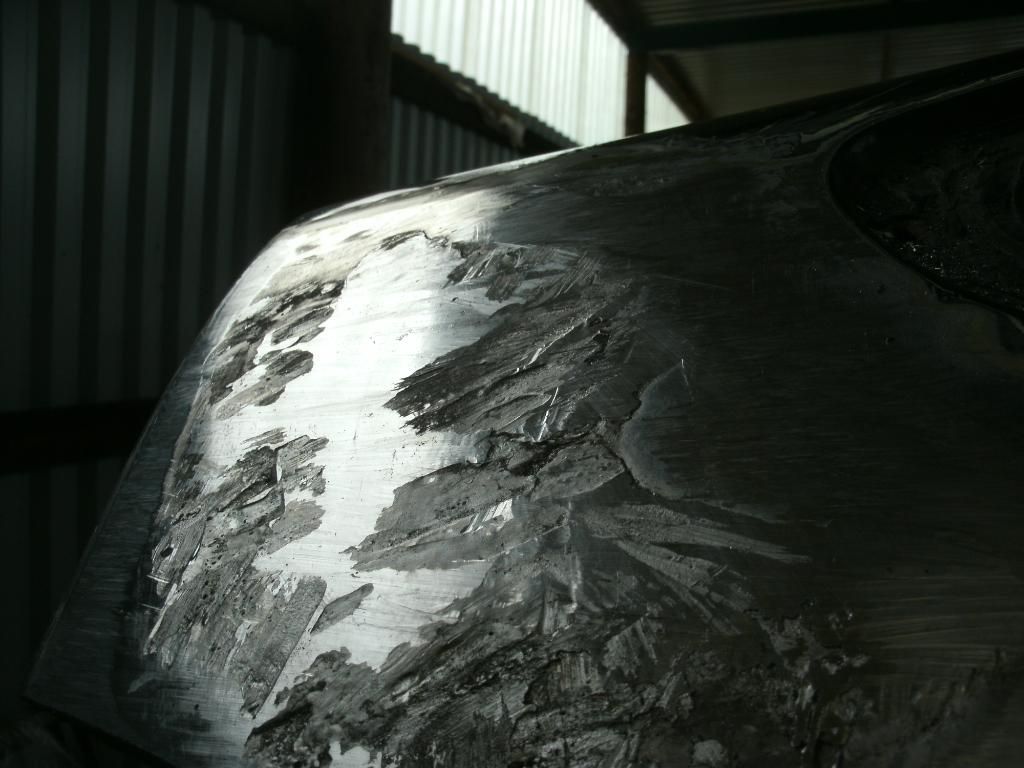
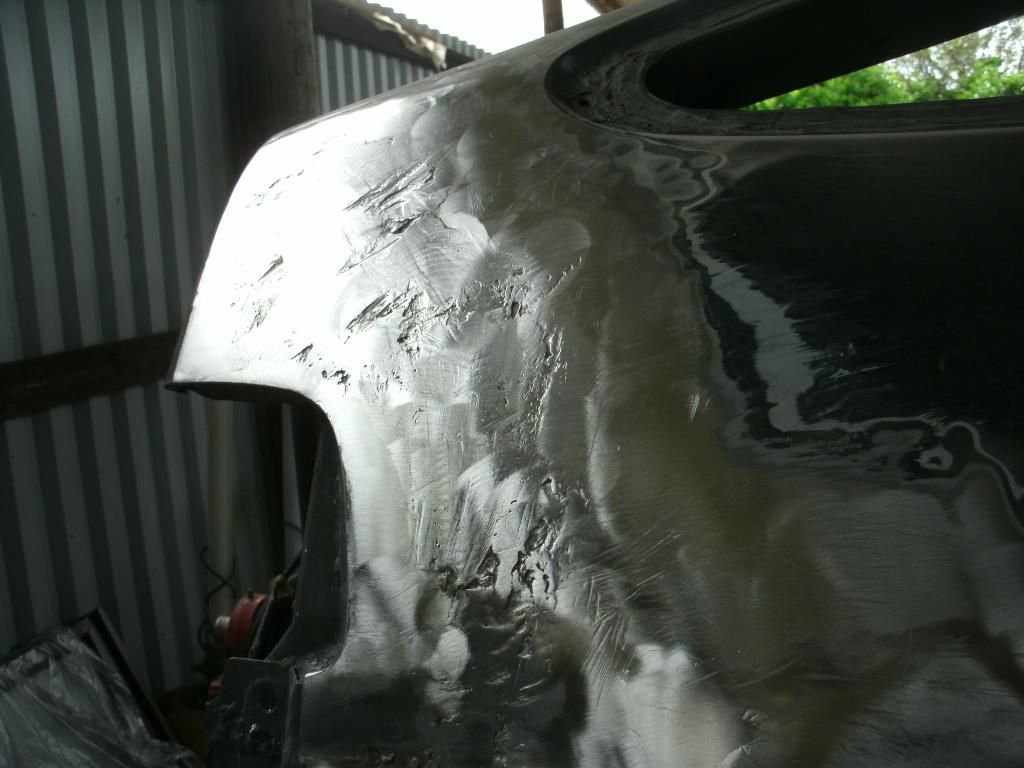
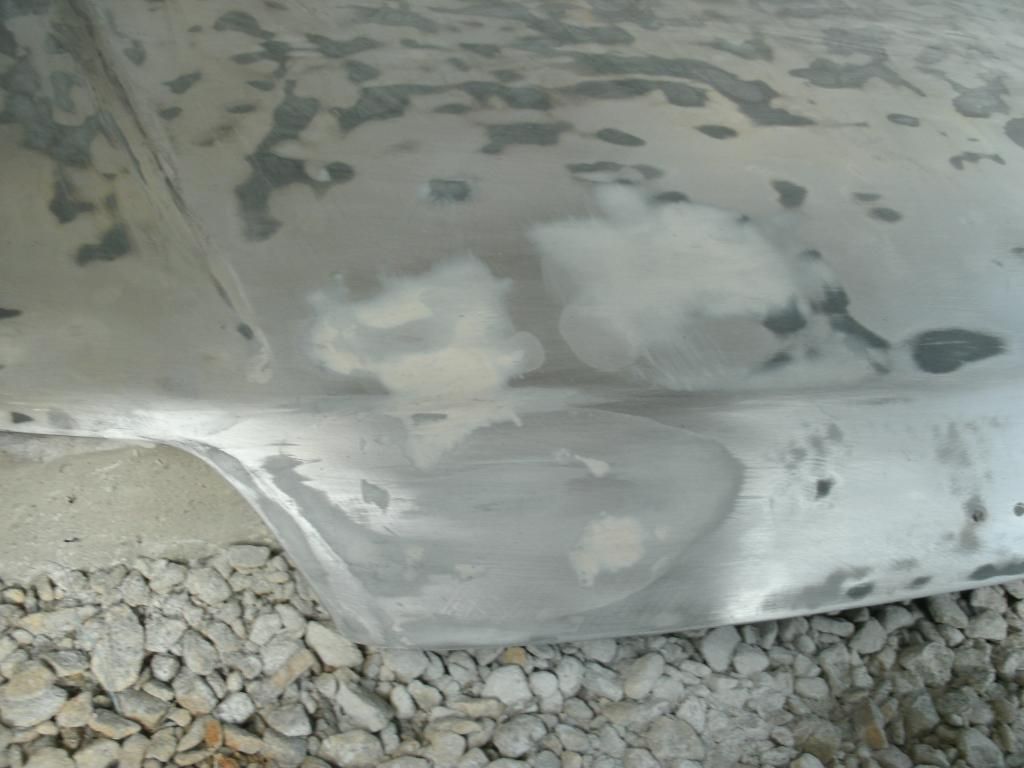
should leave you something along these lines.
i was naughty and cheated and used a 120 grit flappy pad in the angle grinder to remove some excess runs and slop here and there but it is dangerous. if your planning on using a DA or sanding tool you MUST use a super good mask (I'm talking 2k style paint mask not a wood mask here or get a proper lead dust filter) the lead dust is poisonous and will go everywhere.
don't sweep it up or air line it off get a Hoover and Hoover it off the car and floor.
after its all done you need to wash the flux and left over acid off the lead and panel, use water with vinegar or baking soda to neutralise's the acid
i think from now on I'm going to avoid using body filler in bodywork, lead costs 10x as much but its so much better than body-filler, it does not shrink and show through the paint 2 months down the line, it does not rust, its at least 10 times more flexible than filler if applied right, plus its a dying art and the satisfaction you get from using it is great
more to come during the week, still got a fair bit more to do
not bad for my first 8 hours leading, been fun and hopefully by the end ill be dammed good at it meaning less arm ache from filing lol


once you get the hang of it laying and spreading the lead is not that bad. its the fileing thats a ball ache. you should not really sand lead as it puts lead dust in the air and on everything and its dangerous . really want to get hold of some of eastwoods lead free body solder, being lead free its sandable with 80 grit on a da
anyway another day gone
new welder best £60 ever spents! (these new are over £500 gbp!)

all the tank and suspension off (took all day almsot, hate honda suspension bolts)


PAS rack is farking heavy!


wire wheel the falkey paint off the out with my sandblaster (yay another day covered in ali oxide grit) to clean it all up then plenmty of fe 123 over it


remember to wear all your protective gear folks!


getting there! lol
last of the seam sealer

the daddy of anti rust paint.
5lt of epoxy mastic 121 for the floor pan + arches and the suspension arms.
also 6lt of custom epoxy, which is the bodywork specialist spray version and unlike every other primer it IS moisture proof, so no rust causing moisture seeping through to the nice bare metal underneath.

that above cost a bomb, almost as much as the 7lt of pearl honda flint black!
worth it though as far as i am concerned its the best sealing paint (even if it is messy as hell, got ah ole in the gloves so going to have a black painted thumb for the next week or two lol)
anyway time to crack on, mix this stuff straight 50/50
hardener:

then pour the black part B and give it a mix and it all turns black, leave it 10mins and away you go!

this lot was brush painted on every weld line, new piece of metal welded in and i sand blasted the arch lips (both sides, inside and outside) and spent ages hand painting it in.
used a brush rather than a gun because it ensures you can get it into EVERY nook and cranny. its still wet but it does dry alot smoother with alot less brush marks.

tomorrow will head under the floor pan and blast a few bits doen i could not get into with the wire wheels (you can see them in the above pic) will also mask the entire upper half of the car, plug every bolt hole on the floor pan and all being well and subject to my new 2mm primer gun showing up i will spray the floor pan with the epoxy mastic 121. will fire 2 coats on it and save the rest for the suspension arms.
it takes ages to cure fully, so once thats done ill be in the engine bay getting on stripping most of that back to metal ready for the custom epoxy.
had 10 mins to play around with my new welder to. brought some new liner, welding tips, new swan neck and unraveled all the rusty wire from inside it (wire speed was playing up due to rust on the wire making a mess inside the liner and making it burn back)
i think my welding has come along wway from j16 lol. still playing with the settings (need a tiny bit more speed from the wire here and maybe a few more amps but on my test honda tin it penetrated pretty well through to the reverse.


also waste not want not, had a few hundred mil left over from the car so started painting the jig. its mainly covered in surface rust but didnt prep it and used up the left overs, will be interesting to see if rust eventually brakes through it, and if it does how many years it takes (epoxy mastic wont ever left rust creep under in because it makes a primary bond, not a secondary bond to the surface)

jig dry:

underside sprayed via a 2.0 primer gravity hvlp gun, nice and fresh.


left that for 3 days to dry hard
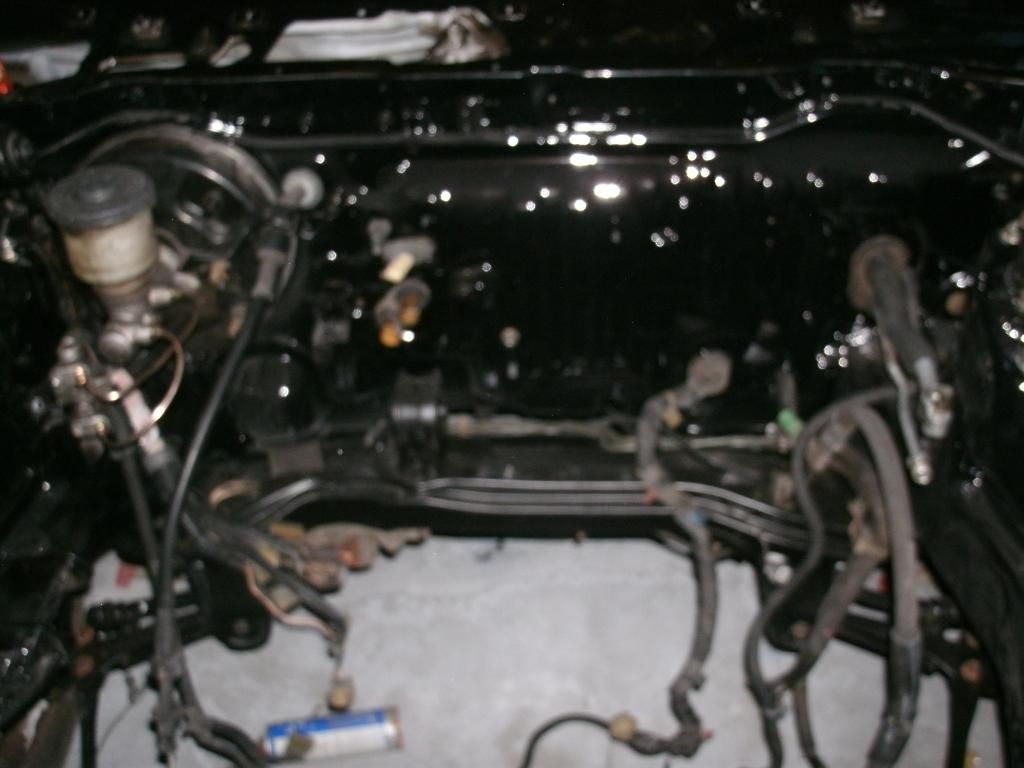
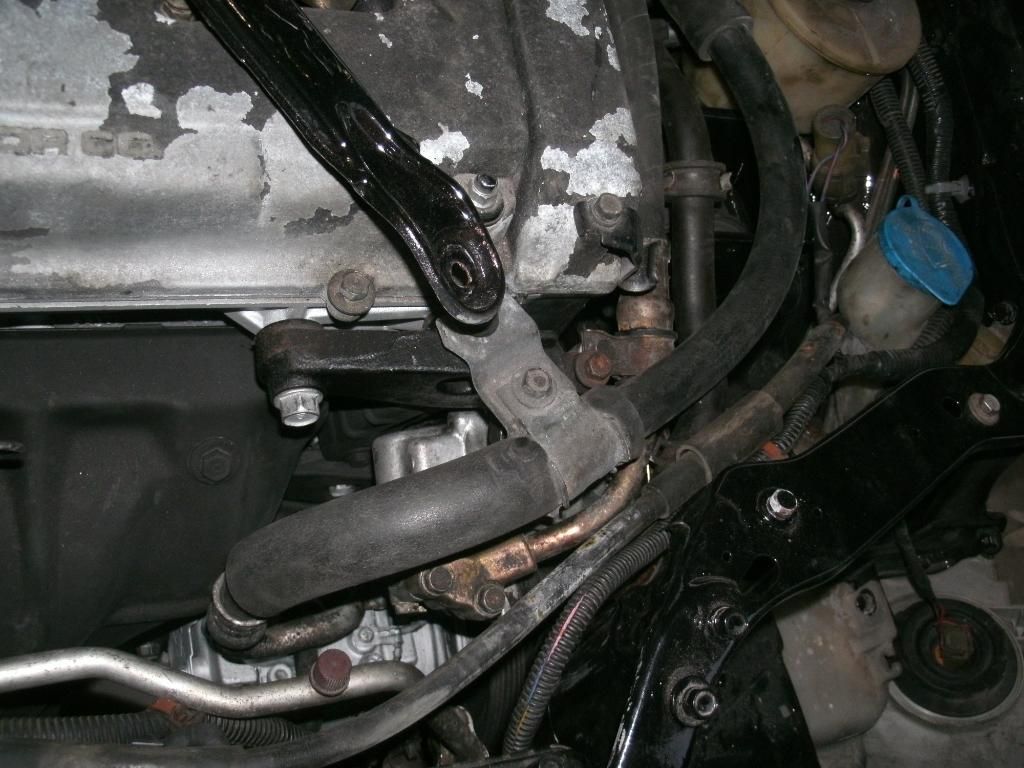
started stripping engine bay and de greasing it
here is the last car i built (did it for my first customer, started with me and a mate but he left right after the welding due to getting married and having his first kiddie pretty quick after,so i finished the rest, did this over a year in all weather, pretty much did a full days work at normal job then was leaving every PM to get 2-5 hours in a night, then all weekend and i also used 3 of my 4 weeks holiday on it! ) looged OVER 700 hours.
had to be out of the old unit in march 13, i now have a new workshop (in progress of getting emptied) but its 3 phase and plenty of space for my paint booth. I love doing what i do so hopefully i can make a proper business out of it (i AM fully insured on a trade policy as of now, it DOES cover import and modified cars, all all forms of "heat" work as the call it, it ought to for the £3k a year it costs lol!)
anyway enjoy:
Think i might go post up out current car restore. done mine and got this one in as a result. i work a normal 8-6 job at a motorfactors and then i do this in my spare time. if your bored at work then this thread is for you to kill a fair whilse. pic heavy but pics speak a thousand words as they say lol. enjoy!
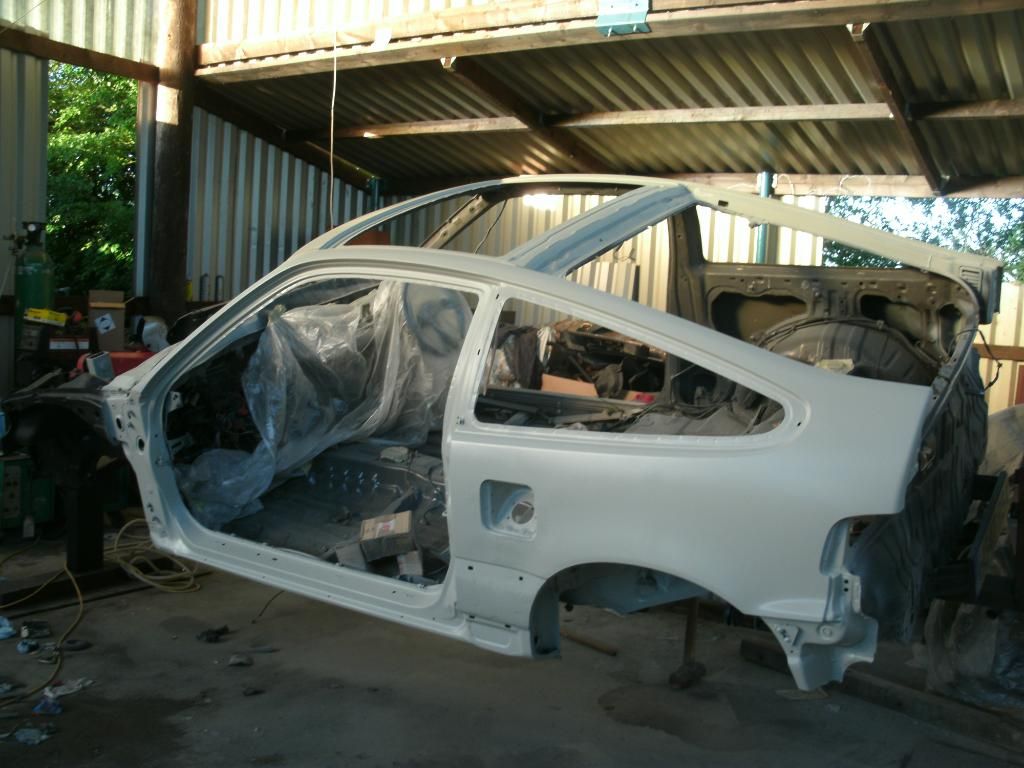
this was dropped off a few months ago and we have been plodding on with it in our free time but now its time to go full steam ahead. its a fully loaded JDM Glassroof SiR (aircon +climate, glass roof, PS etc etc) don't have time to retype loads so here are lots of pics.
also brought a paint booth to go in the shed (concrete is still going down in section, will be done very soon but we got the car inside before hand) i go collect it at the end of may (fully working with heater/fans etc etc) so will make a nice change from poly sheeting lol!
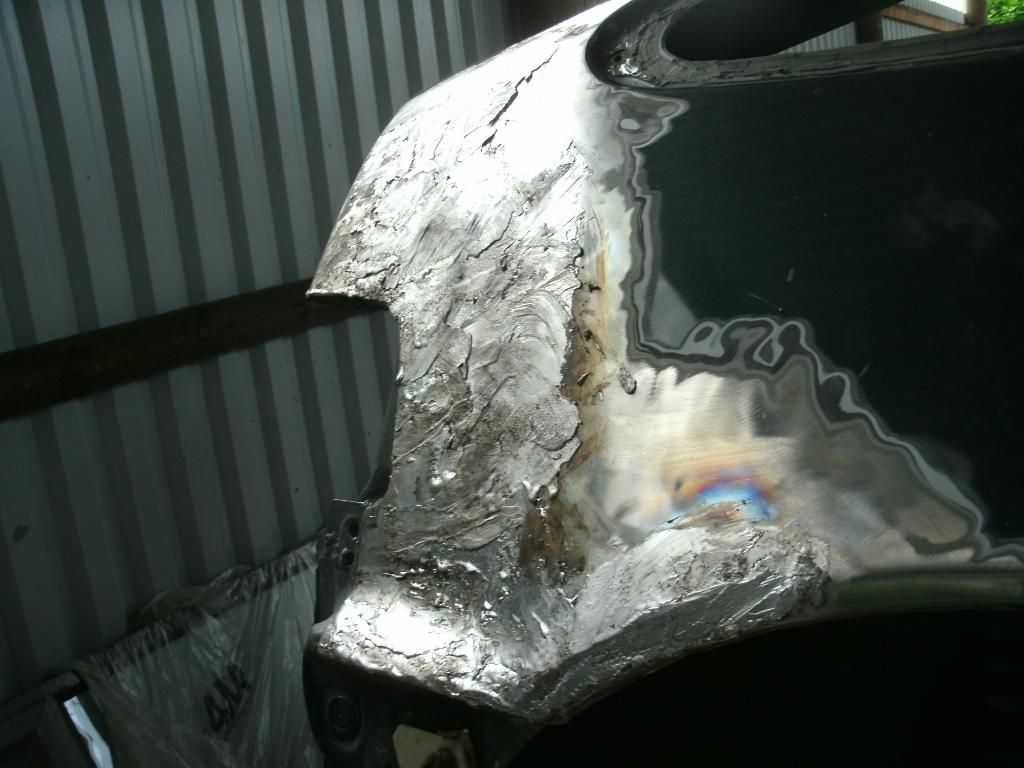
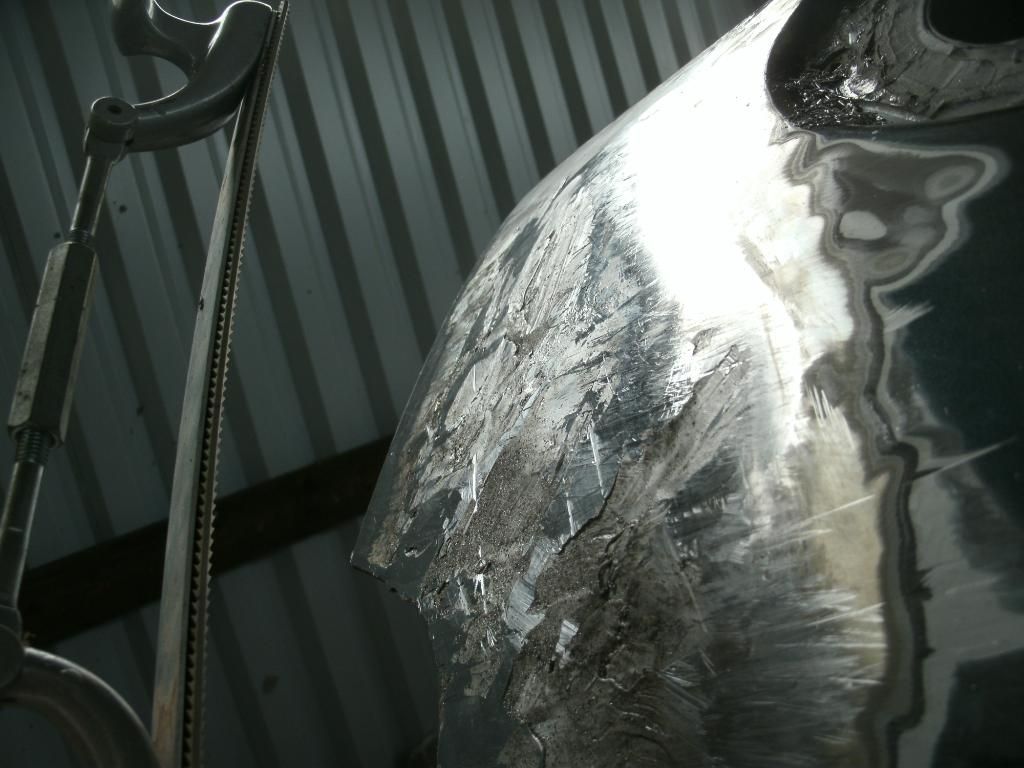
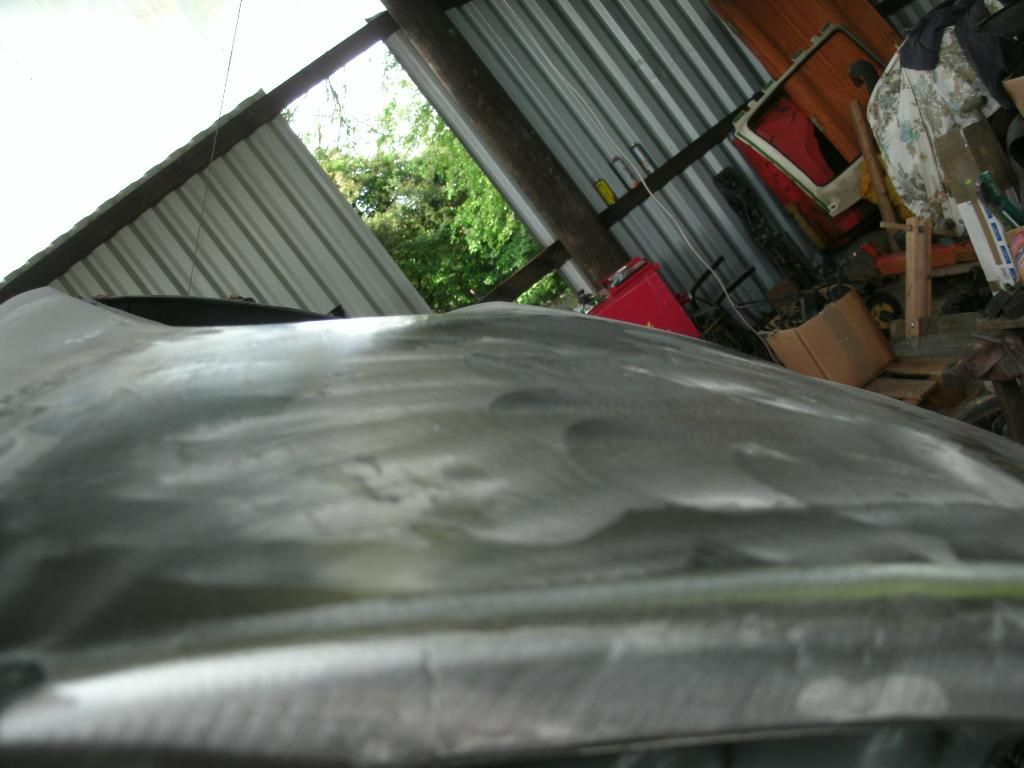
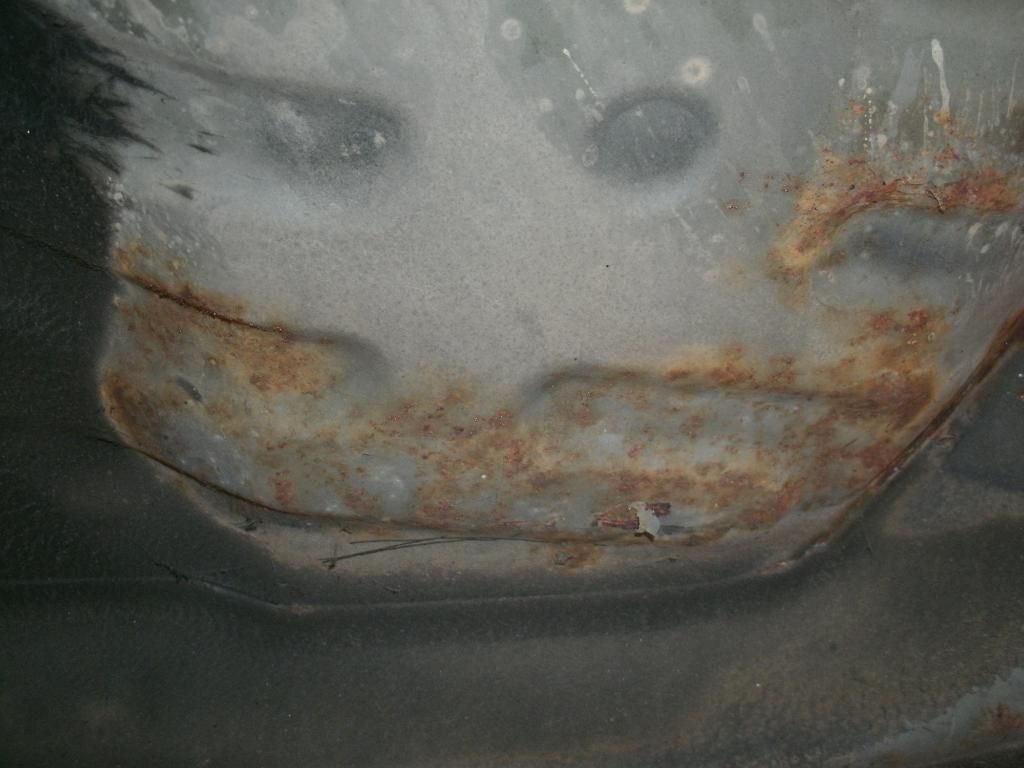
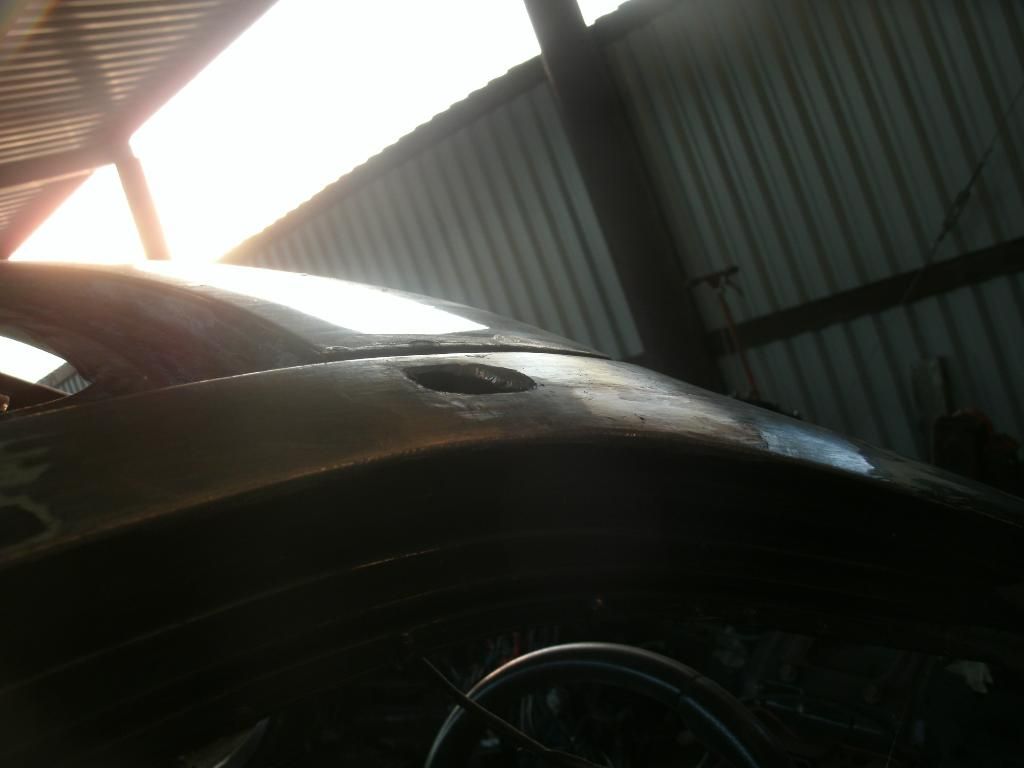
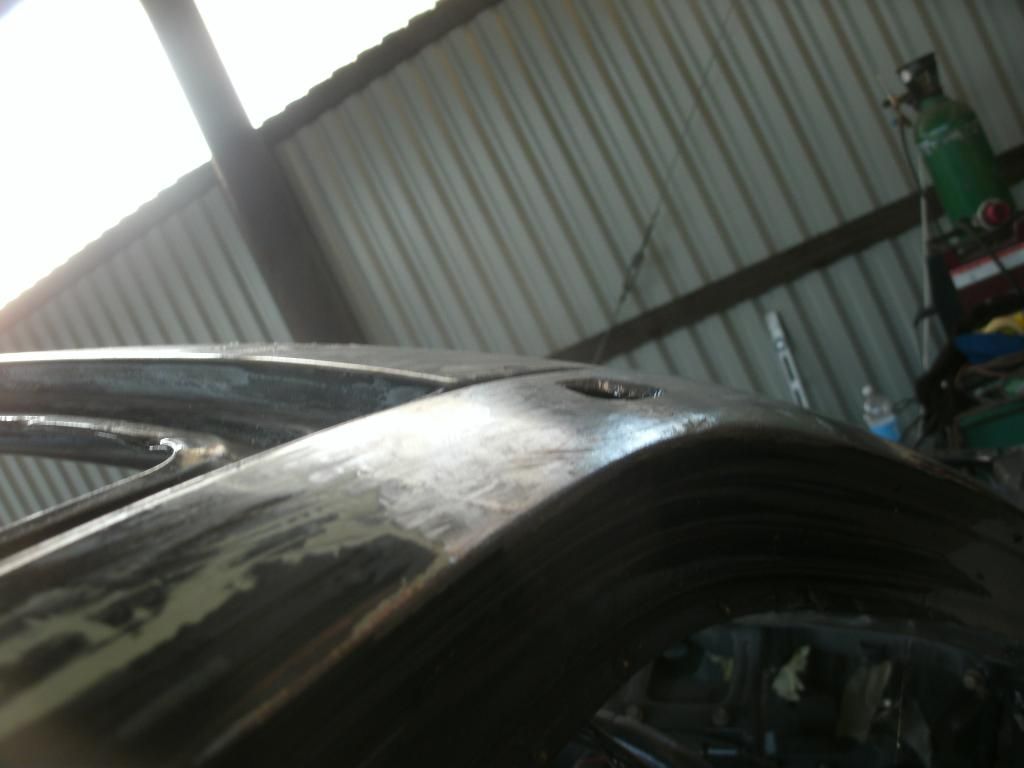
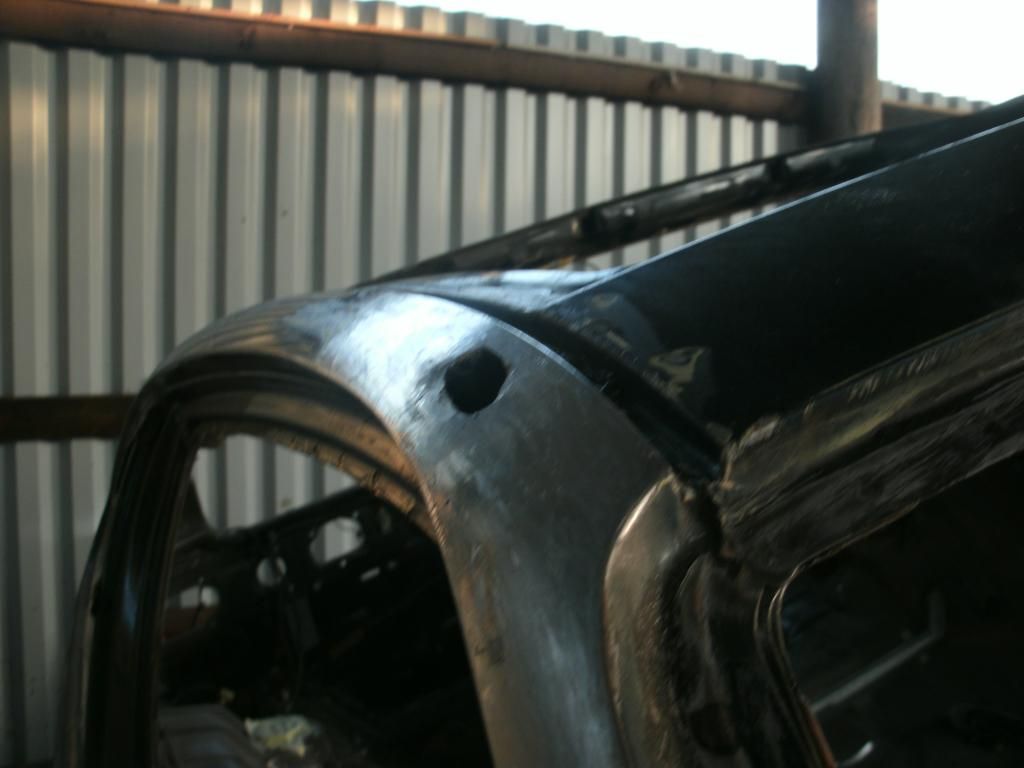
rust under filler
hole by fuel filler
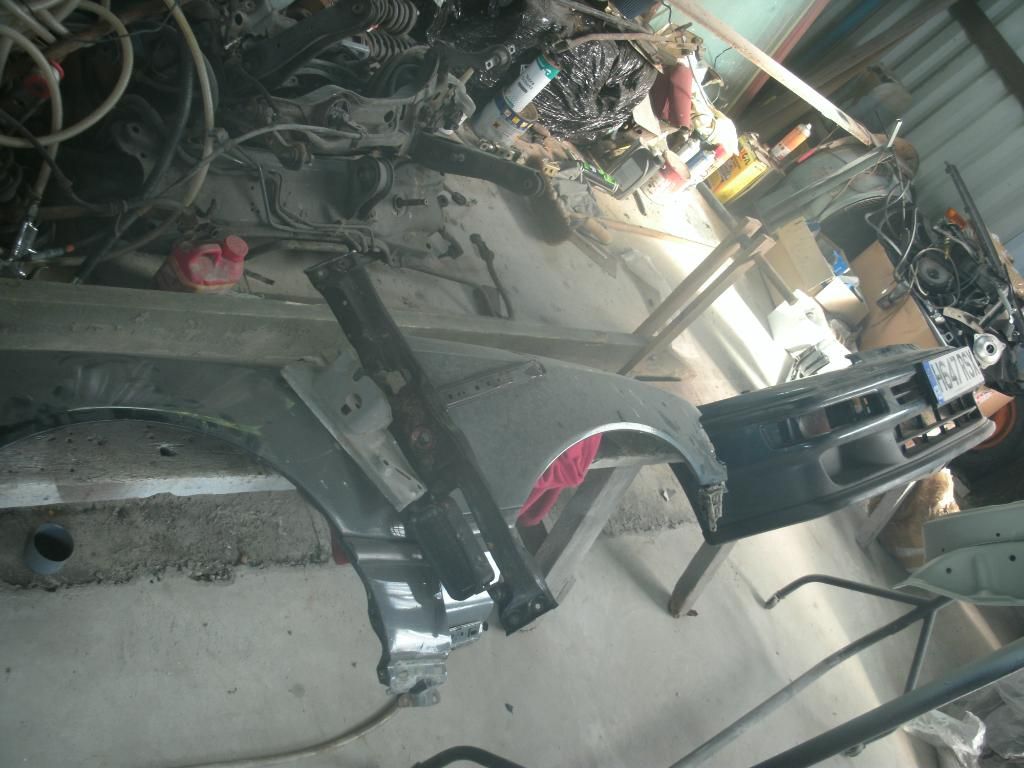
bumpers off
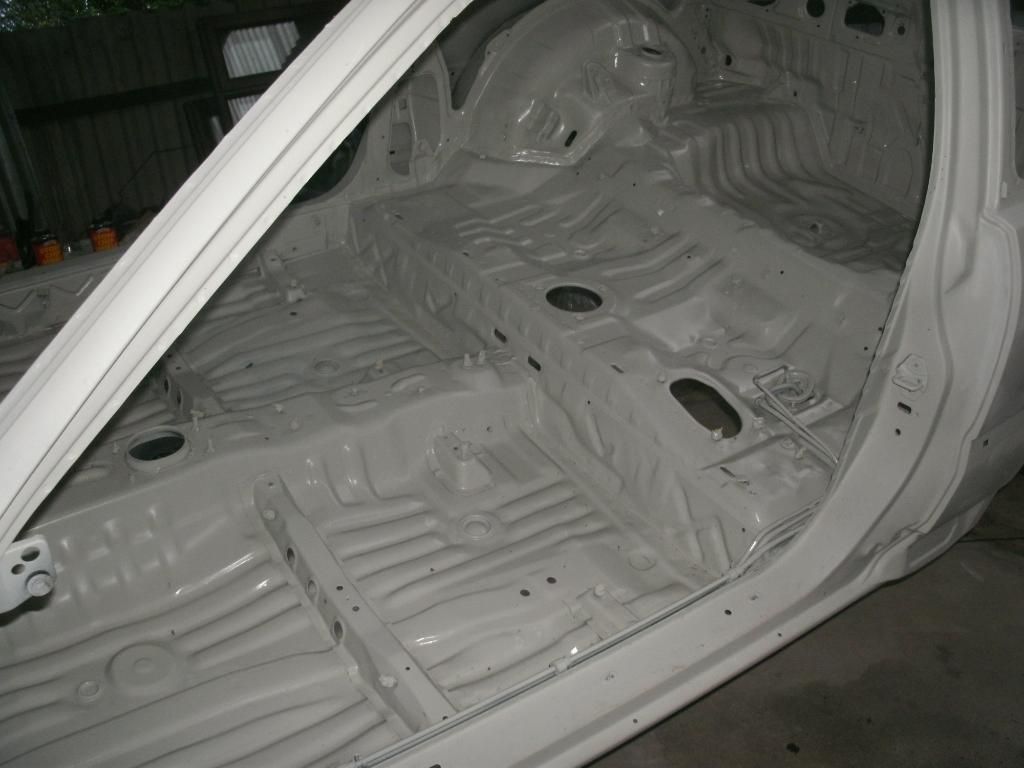
most of rear interior out
get a look at the inside of the arches
most of the big things gone
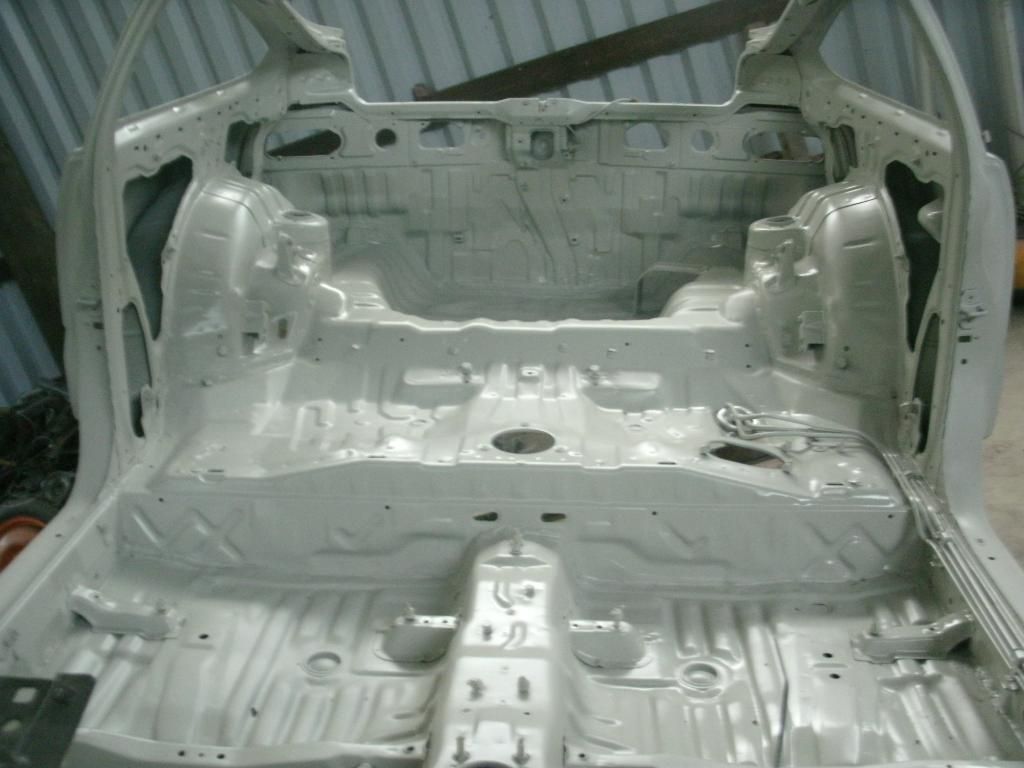
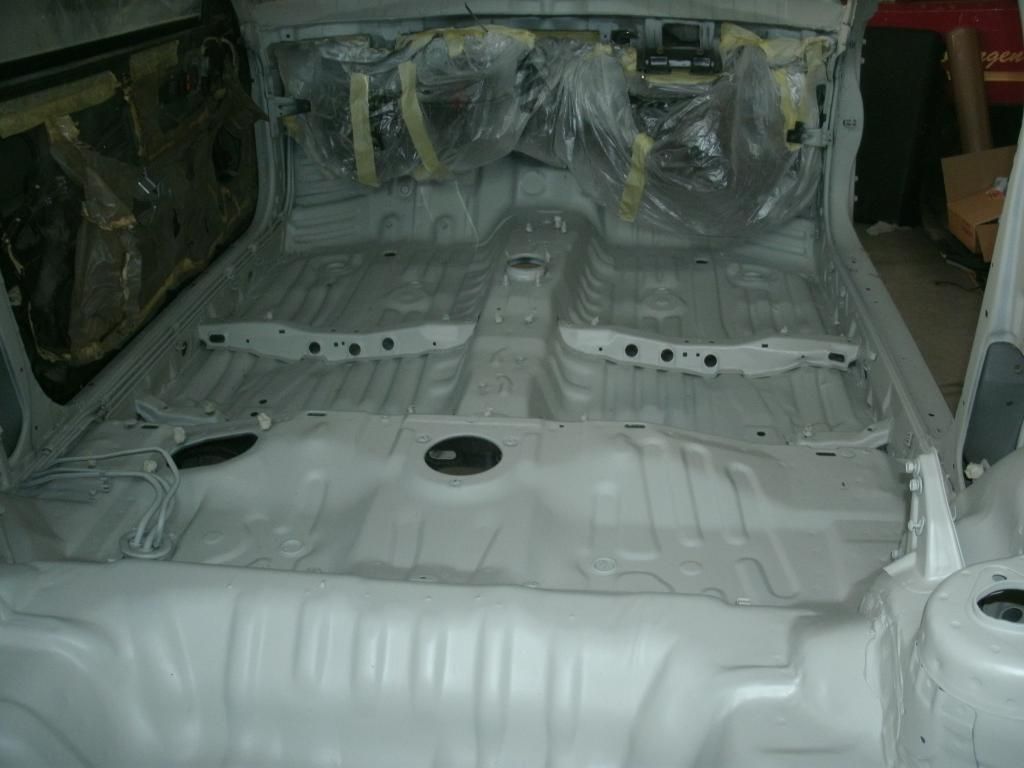
joys of inside (hate dash removal such a pita)
engine bay loom through the bulkhead and all tied in bunches and hung off the floor pan
nasty!!!
hidden rust under seams due to body filler trapping moisture (has traveled right under the seam sealer a good few inches)
also got 2 tiny spots just starting to rust
started with a poke around last night, did not look to bad until i jammed a knife under the seam sealer. lets just say 3 of the 4 corners need patches lol. also the inner lip along the sill is very rusty, might have to replace the floor pan sections then remove the inner floor pan skin lip to sill lip and replace it. already chopped out the rust and the drivers rear looks like its going to be a nightmare, will have to cut further back to get to some good non rusty metal
found some more filler but its not hiding anything, gonna assume rather than align the doors properly they just added filler to save some work lol. car went on jig no problems, its easy to rotate up to around 45 degrees either way, anymore than this seems to strain the rear mount (does not help that all the suspension is still on the car but it keeps the car level)
going to be a mental weekend of welding, can see some mega long hours ahead lol (thought we got away easy with having good arches to lol)
liift off!!
180 degree bearings (spot j16's old rear wheel bearing used as the lock)
filler in here for some reason?
does not look to bad, lets have a poke down both floor pans....
what came out...
for some reason glass roof cars seem to suffer badly right here, sharpeis was jsut as bad both sides
chopped out dent and rust
insides near immaculate though!
sharpies replacement section, made in his new ghetto metal bender and hammered to shape to get the right radius
drilled off the old rust outer skim do start de-rusting the middle section
lots of flap wheel + wire wheeling later
decided to see why there was filler under the fuel cap....looks like its been hammered back into shape at some point and fillered over
few pin holes from previous repair causing rust to start forming (lesson for you all,pin holes WILL cause rust)
started removing the under seal to, probably the most frustrating and slow + messy job. its basically tar painted over spray on seam sealer, when you hit it with a wire cup the tar burns (lots of blue tar smoke) and the seam sealer under builds up heat and fires off the wire cup like silly string from a can and it covers everything. i think there is around 30 hours to fully de-seal the full underside including the arches!)
full afternoon on the car.
all pass side lower floor pan and sills are done. I'm sure sharpies welding gets better every time.
found the Ariel hole had been smacked down with a hammer and bodged full of filler to de aerial it....that took some grinding out and a good 15 mins of reshaping to get it roughly back to where it should be. other floor pan tomorrow and hopefully th fuel filler surround and the rear light surround on the other side.
on a note the Hadrians fuel filler surround is not the same as the crx, the crx filler is more square and the civic one is more rectangle, but it should be easy enough to cut out the sections we need and put them in
drivers side. (2 of us did another 9 hours non stop again) probably about 10% into the build...lol
byebye mess
donor part from the scrapper out back (that car is such a lifesaver in terms of being able to get bits there and then)
no pin holes
another night done. had rob up for a few hours (rustyrex) who brought me a prezzie, nice recirculating sand blaster gun, works quite well to!
most of the welding finished by sharpie, the civic fuel filler surround was more rectangular than the crx oem bit but this was solved by chopping about 4mm out of the center and bringing them together

got those 2 tiny arch bubbles chopped out, as per usual the oem seam sealer had let it carry a good 2 inches under the panel...so chopped that out. which is the only bit left to weld now and will be done tomorrow night
fuel filler.
door mounts blasted.
3 inch long rear arch strip replaced from flat sheet.
rear quarter knocked down
getting a [crud] load of body solder on order to sort out some low spots and to fire over the pitted metal. off to collect a second hand paint booth early next week so will be off this for a good few days
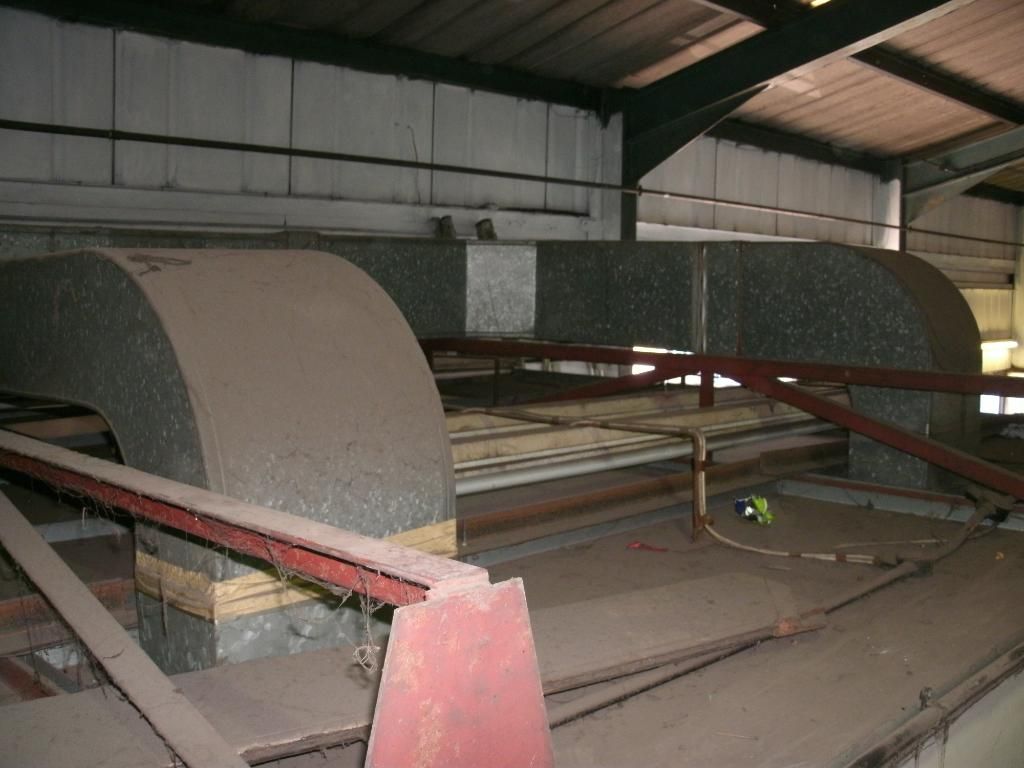
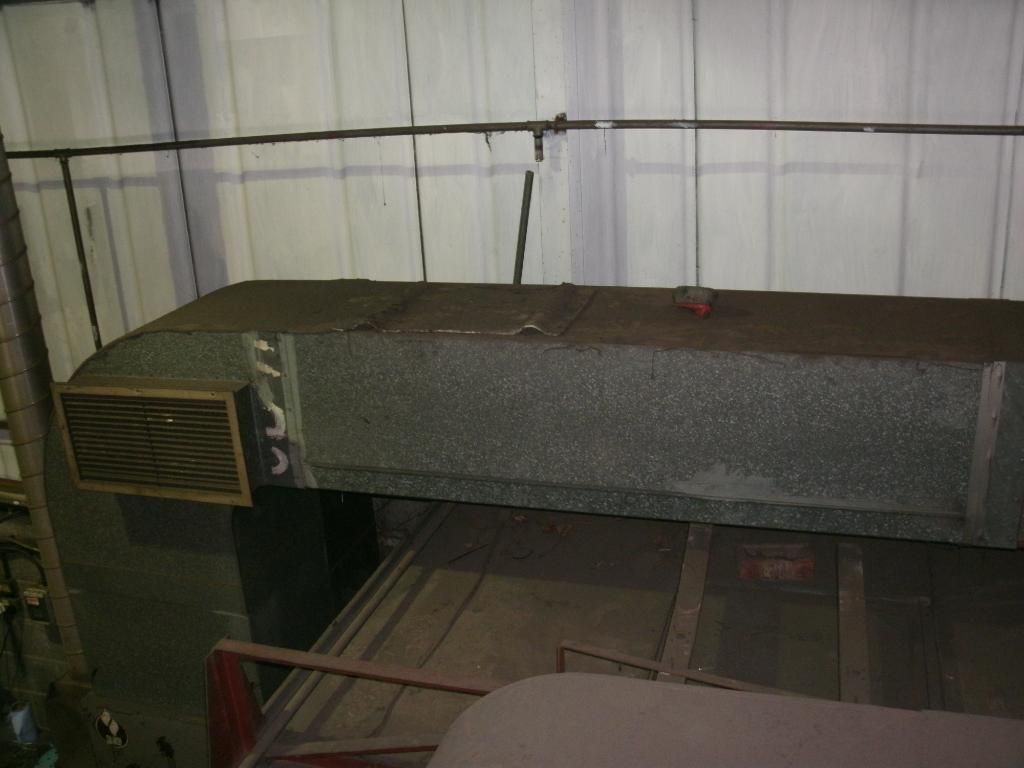
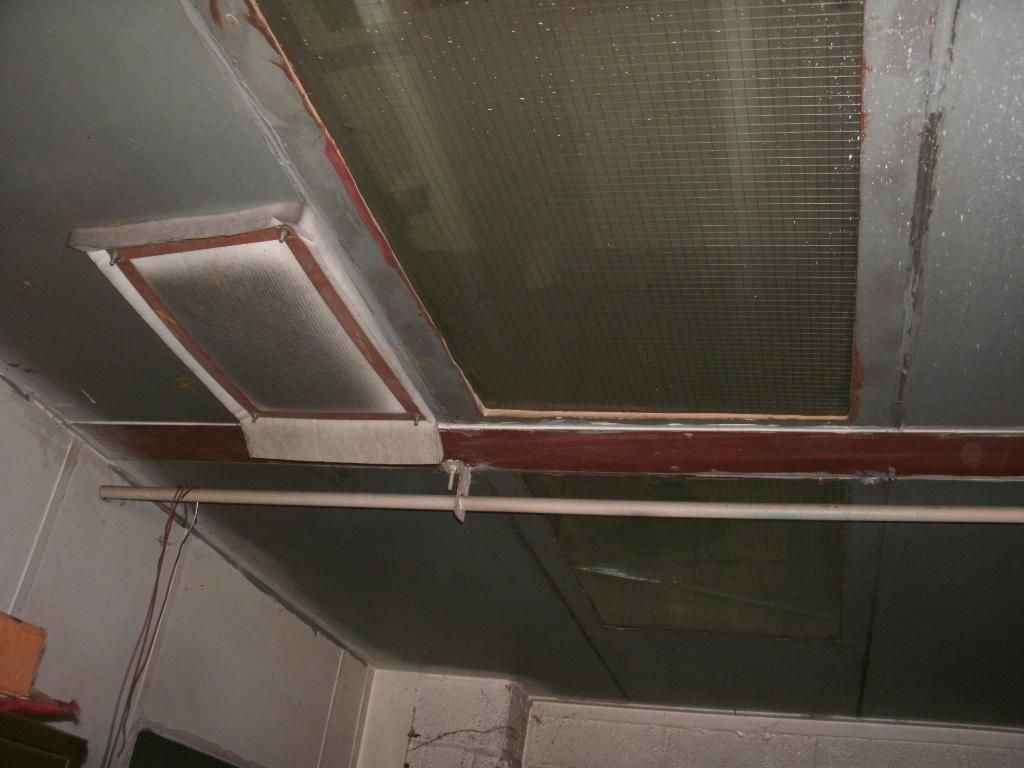
brought a paint booth today for the unit/shed. complete with oven and fans/lighting etc etc
spending the next few days getting it stripped down to move it back to ours
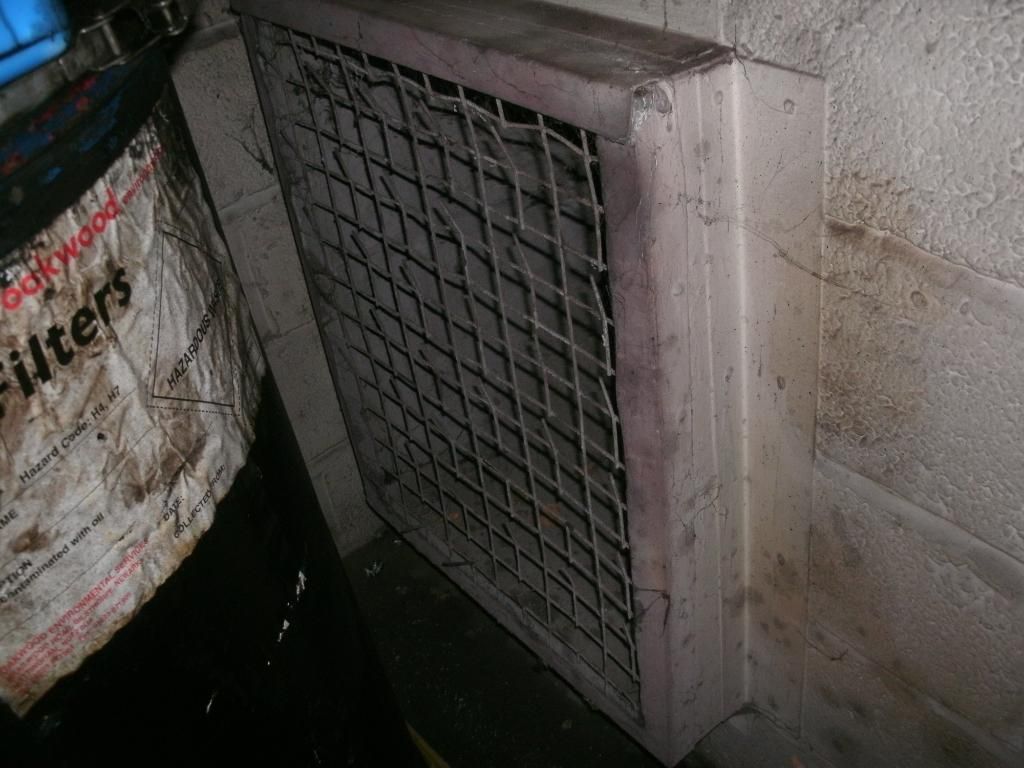
one of the rear extraction fan holes
heat outside, more in the workshop and even more in the roof of the workshop! my body temp gauage says at least 36-40, not been that hot sinse i was in vegas in the summer!
booth is now back in the yard, took me a full week to get it all out!
will build it up in the next month of two,
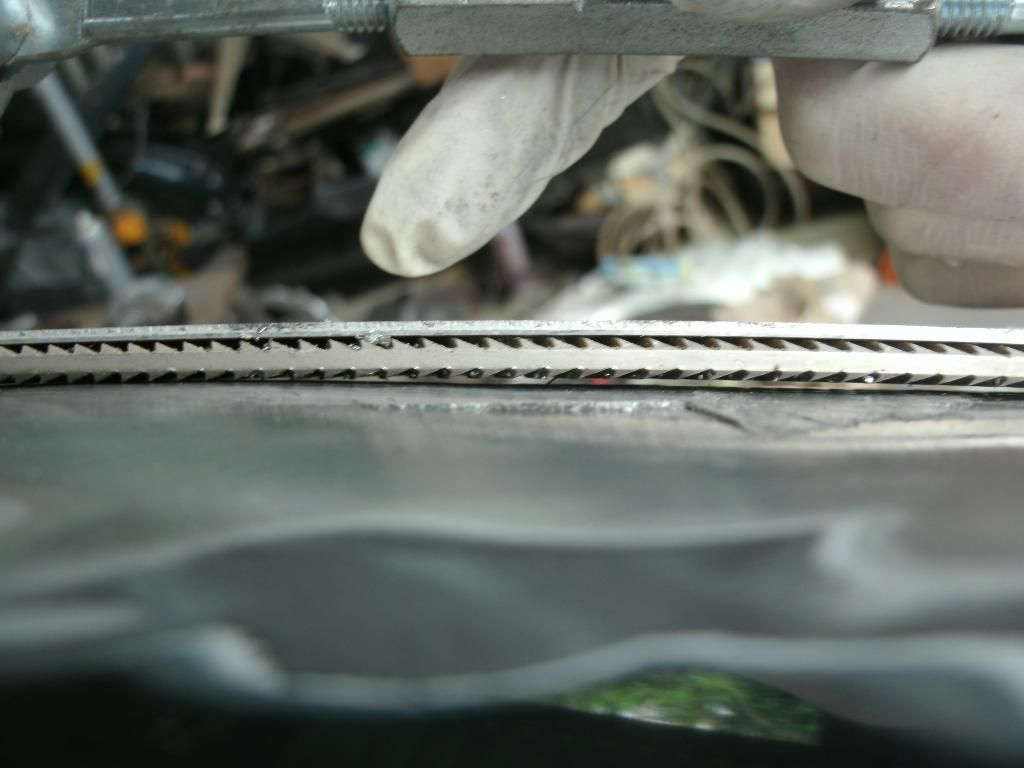
pinhole welds flattened
best type of wheel for stripping underseal!
gonna be a long ass day today.
hour or so later
took a break after a few to knock down some of the welds in the sills, did not make them flush as it takes away the stregnth of the weld
cleaned up all the welds inside to, something most places wont ever do! all back to shiny metal then lots of zinc primer
back to stripping then, many many hours later (half the floor done!)
the light grey above pic is the oem epoxy base-coat, then darker bits are actually shiny metal. wipes it down with brake cleaner to remove excess tar and then used my uberly good sanding wheel (this thing rocks! its a scotch pad wheel fitted into my drill, keys things super fast like interiors and floor pans with lots of crevices etc)
lasted very well to! about 10 hours use and its half gone
brake cleaner-ed again and then out came a couple cans of zinc
really is a shame in its past someone has jacked the car up on there support beams, might have a go at pulling them back out (weld a nail to it and use it to pull on then chop it off)
all i can hear is running angle grinder atm, [potty mouth] head ache from hell to. so about a quarter of the under-seal gone!. £100 worth of FE 123 just turned up to, will be firing all that into every section this week
was gonna body solder tonight but decided to fe123 the car instead (covered in shot blasting grit again, but its the fastest way to get into every pore in pitted rust!)
sand blasted rust spots (love zinc primer sooo good at keeping rust away)
fe123 brushed on thinly straight out the pot.
turns black when it works the rust, stays white and drys clear when not on rust.
then shot 2 liters thinned first at a 50/50 water mix then again on a 20/80 mix an hour later
(thin to get into every nook and cranny, msot of it pisses out of the seams and onto the floor)
you can see it dripping out everywhere.
shot it thin on the inside to with the pressure turned all the way up (about 110psi at the gun) which forces it in between every seam
good old trusty workbench
as its water based the runs and drips just wipe off the car with a damp cloth, worth doing as the runs dry and they are a pain to sand off. so there you go near enough 2 liters of fe 123 in every box section (love jig getting under the car is awesome!) got a fair bit left over for bits on the body and doors etc
next up body soldering!
retrived fan no1, another to dig out yet!
spent rest of the day getting filthy stripping under-seal off the other half of the floor pan!
sundae onto the lead! been dying to learn this for ages,
got to have the metal uber CLEAN. no paint, no dirt, no nothing on that,
even went as far as to sand blast down the weld line to make sure it was 100% clean. then washed down with brake cleaner and left for an hour
got the gas and torch
and a mini how to guide for you all.
on the clean and degrease metal you paint on a special tinning paste, its basically flus and powered lead, paint it everywhere.
once its on you get the torch, started it on the red axy and then used a tiny bit of oxygen to get the flame completely blue, and with a very wide short flame (you don't need mega heat for this!)
heat the tinning until it starts smoking and turning brown (thats the flux) and you will see the lead melt shortly after , get a wet rag and very quickly wipe it, it will tin the entire surface with lead.
if its not shiny you have got it to hot or done something wrong!.
now the lead bars i got off eaby were [crud]. there should be a wide temperature range on a 70 lead/30 tin lead bar but this stuff has such a narrow range between melting and going runny (you need it pasty)
half of this [crud] ran off the car and is on the floor. in the end broke into my bars i got for J16 and they were superb! very wide temperature range and very very easy to work with! (go frost on this one)
the process is pretty simple but hard to get right (as i found out)
you heat both the tinned panel and the end of a bar at the same time, as soon as the bar looks like its going soft you ram it onto the hot panel and twist it and a lup brakes off. you keep doing this until you think you have enough to fill the dent.
if it gets to hot it turns liquid and runs off the panel, not enough and it wont spread
with the soft lead deposited you need to very quickly and very carefully heat the lead until it turns into butter, then using a maple padel dipped in tallow (stops the lead sticking to it) you push it down onto the lead and work it into place, this is alot harder than it sounds because you need to keep the lead soft enough with the tortch to work, so its heat, paddle, heat, paddle. after 3 hours i got the hang of it lol! (gravity is not your friend here lol!)
anyway the process is a bit like bodyfiller. do an area, until you think its right, then using a vixen file cut it down. low spots go back and again add lead , paddle and let it cool then file.
its a long process.
sharpies file (the one you get in the £100 frost kit) is flexible, the best way to use this is to go to the good side of the car, and get the spare/correct curve of that panel, set the tool on it then use that as a guide on the other side and also use that curve to file the lead down so you know your getting it the right shape. (the curve does vary from top to bottom so check, file, check again file etc)
anyway lots of flatting later (adding more lead when you see low spots that need more)
should leave you something along these lines.
i was naughty and cheated and used a 120 grit flappy pad in the angle grinder to remove some excess runs and slop here and there but it is dangerous. if your planning on using a DA or sanding tool you MUST use a super good mask (I'm talking 2k style paint mask not a wood mask here or get a proper lead dust filter) the lead dust is poisonous and will go everywhere.
don't sweep it up or air line it off get a Hoover and Hoover it off the car and floor.
after its all done you need to wash the flux and left over acid off the lead and panel, use water with vinegar or baking soda to neutralise's the acid
i think from now on I'm going to avoid using body filler in bodywork, lead costs 10x as much but its so much better than body-filler, it does not shrink and show through the paint 2 months down the line, it does not rust, its at least 10 times more flexible than filler if applied right, plus its a dying art and the satisfaction you get from using it is great
more to come during the week, still got a fair bit more to do
not bad for my first 8 hours leading, been fun and hopefully by the end ill be dammed good at it meaning less arm ache from filing lol
once you get the hang of it laying and spreading the lead is not that bad. its the fileing thats a ball ache. you should not really sand lead as it puts lead dust in the air and on everything and its dangerous . really want to get hold of some of eastwoods lead free body solder, being lead free its sandable with 80 grit on a da
anyway another day gone
new welder
best £60 ever spents! (these new are over £500 gbp!)all the tank and suspension off (took all day almsot, hate honda suspension bolts)
PAS rack is farking heavy!
wire wheel the falkey paint off the out with my sandblaster (yay another day covered in ali oxide grit) to clean it all up then plenmty of fe 123 over it
remember to wear all your protective gear folks!
getting there! lol
last of the seam sealer
the daddy of anti rust paint.
5lt of epoxy mastic 121 for the floor pan + arches and the suspension arms.
also 6lt of custom epoxy, which is the bodywork specialist spray version and unlike every other primer it IS moisture proof, so no rust causing moisture seeping through to the nice bare metal underneath.
that above cost a bomb, almost as much as the 7lt of pearl honda flint black!
worth it though as far as i am concerned its the best sealing paint (even if it is messy as hell, got ah ole in the gloves so going to have a black painted thumb for the next week or two lol)
anyway time to crack on, mix this stuff straight 50/50
hardener:
then pour the black part B and give it a mix and it all turns black, leave it 10mins and away you go!
this lot was brush painted on every weld line, new piece of metal welded in and i sand blasted the arch lips (both sides, inside and outside) and spent ages hand painting it in.
used a brush rather than a gun because it ensures you can get it into EVERY nook and cranny. its still wet but it does dry alot smoother with alot less brush marks.
tomorrow will head under the floor pan and blast a few bits doen i could not get into with the wire wheels (you can see them in the above pic) will also mask the entire upper half of the car, plug every bolt hole on the floor pan and all being well and subject to my new 2mm primer gun showing up i will spray the floor pan with the epoxy mastic 121. will fire 2 coats on it and save the rest for the suspension arms.
it takes ages to cure fully, so once thats done ill be in the engine bay getting on stripping most of that back to metal ready for the custom epoxy.
had 10 mins to play around with my new welder to. brought some new liner, welding tips, new swan neck and unraveled all the rusty wire from inside it (wire speed was playing up due to rust on the wire making a mess inside the liner and making it burn back)
i think my welding has come along wway from j16 lol. still playing with the settings (need a tiny bit more speed from the wire here and maybe a few more amps but on my test honda tin it penetrated pretty well through to the reverse.
also waste not want not, had a few hundred mil left over from the car so started painting the jig. its mainly covered in surface rust but didnt prep it and used up the left overs, will be interesting to see if rust eventually brakes through it, and if it does how many years it takes (epoxy mastic wont ever left rust creep under in because it makes a primary bond, not a secondary bond to the surface)
jig dry:
underside sprayed via a 2.0 primer gravity hvlp gun, nice and fresh.
left that for 3 days to dry hard
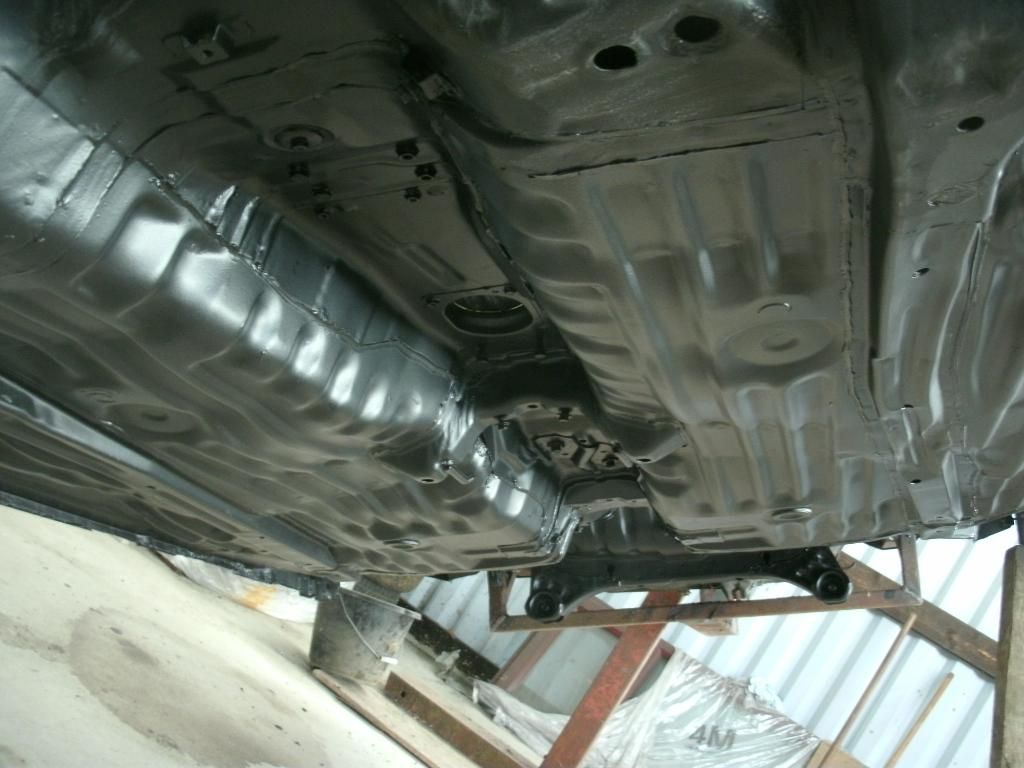
started stripping engine bay and de greasing it


 [/quote]


 but normally daily bar fri and sat