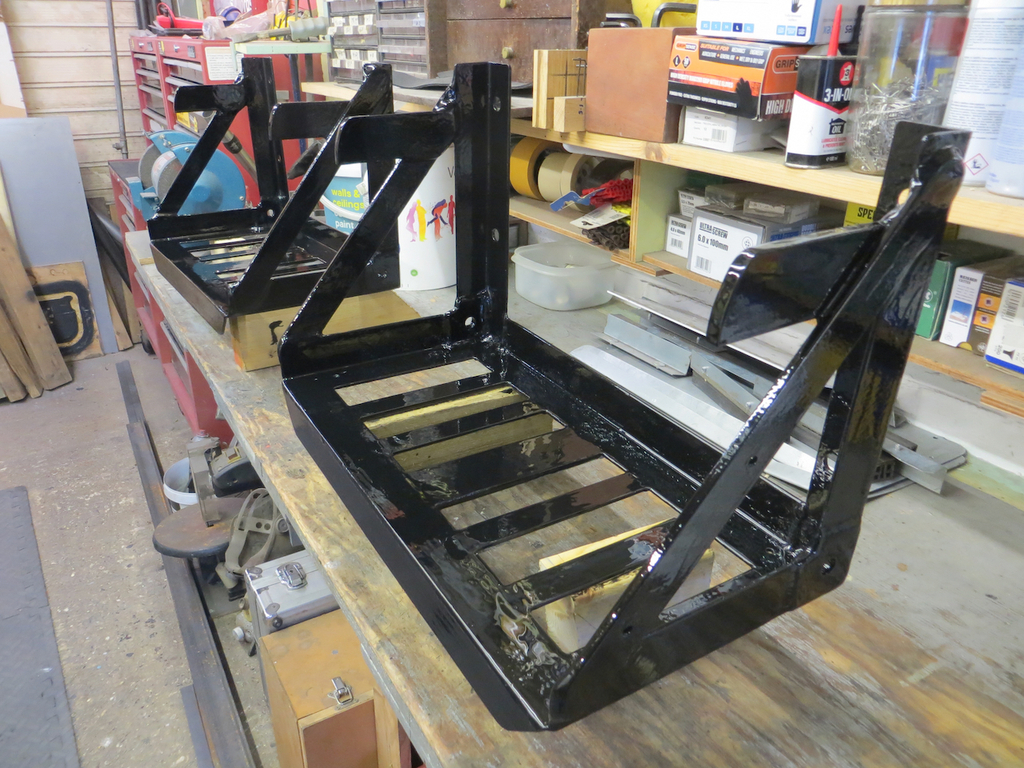
Now we have finished the battery trays I suppose we’d better pootle back to Maidstone and bolt them back onto the chassis.
But first…
The company that owns the garage where GKE 68 is kept has a history of painting buses in historic liveries. They’ve had a few in Chatham Traction’s green, brown and cream colours and a few in Maidstone Corporation’s blue and cream. They also buy vehicles from around the country so it’s not unusual to see them in their native colours before switching into the Nu Venture fleet colours.
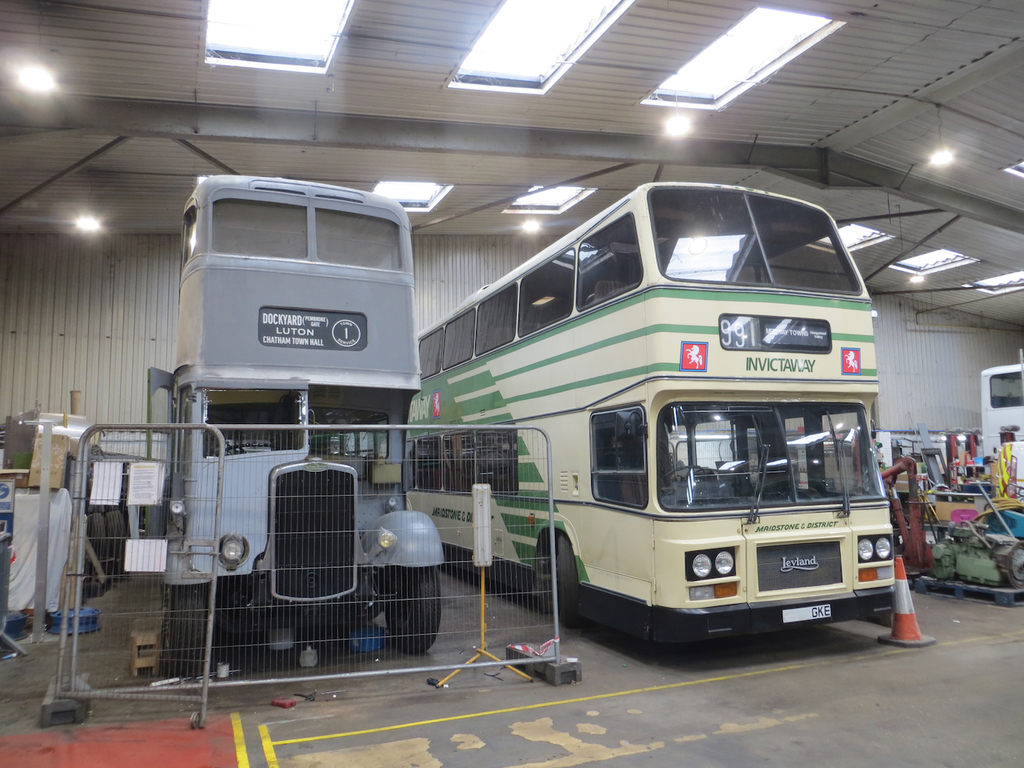
So when I walked into the garage and pottered past a bus painted in Maidstone and District’s ‘Invictaway’ livery I just thought they’d painted another bus in historic colours and paid it little attention. But no… It is in fact another historic vehicle. And it’s another GKE. Looks like ’68 might have a stablemate.
I’ve blotted part of the registration out for ‘reasons’. But I wanted to mention it because it’s an interesting old thing.
You can see how narrow GKE 68 is when compared to a more modern bus. What you don’t see is that GKE 68 is significantly taller too. Round the back of ’68 there is some space and a workbench. The new GKE is hard against the back wall of the garage. It’s soooo long. I don’t know how long it is but it looks longer than a normal service bus when you get up close to it.
The newer GKE is a Leyland Olympian so you could consider it a younger sister to GKE 68. Bristol were eventually subsumed into Leyland. I think I read somewhere that the Olympian was a development of the Bristol VR and that the early Olympians were made in Bristol’s old factory. So what does that make the two GKEs? Step sisters? Great aunt and…. Anyway…
What makes this Olympian really interesting is that it’s built as a coach rather than a service bus. It has no opening windows because it has air conditioning via vents in the overhead console. It has comfy seating with a lot of legroom. I suspect that’s why it’s so long. It was intended to cruise along in comfort not bang from bus stop to bus stop. I believe it was used in the ‘80s as a commuter coach ferrying workers from the darkest reaches of Kent into sunny Old London Town so they could make vast amounts of money for the economy. Presumably it was for the workers who couldn’t afford a Porsche and a mobile phone the size of a house brick.
Ah, the ’80s, I do miss ‘em.
Right, Stop waffling and do some work damn it!
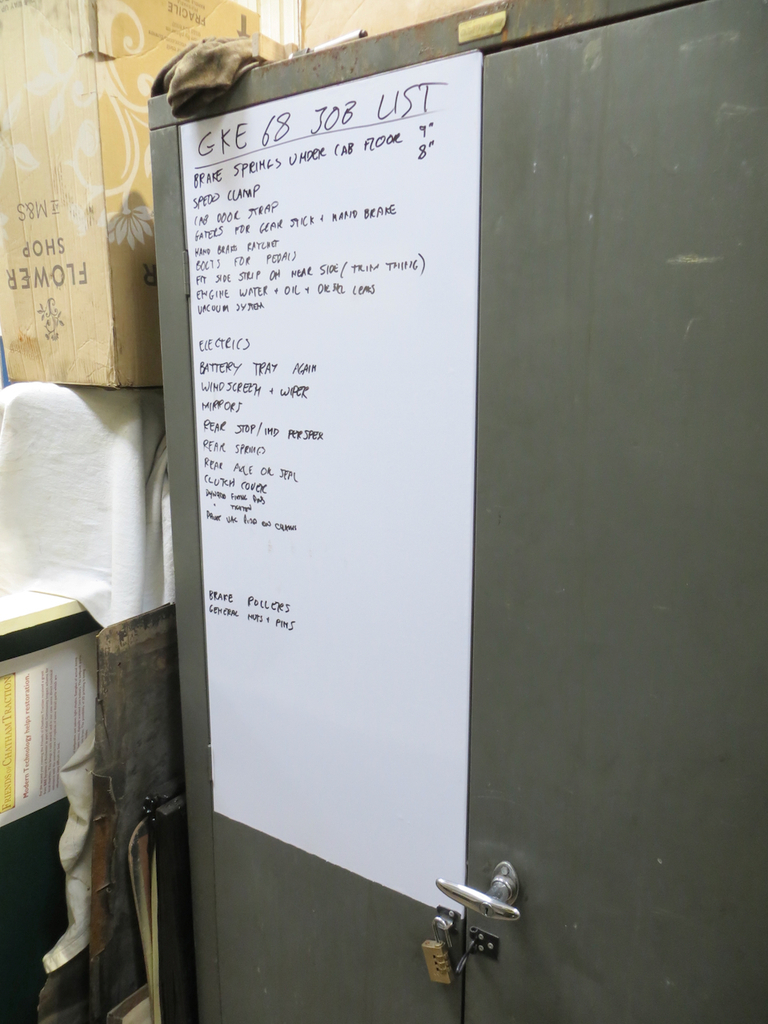
GKE (that’s GKE 68 not the other one) is at that point where a lot of the big jobs are done and we are getting to the endless plethora of little jobs that I can’t remember. I need a white board to write them on.
While ordering some stuff on the interwebs I bought some stick on whiteboard material for the back of the cupboard door.
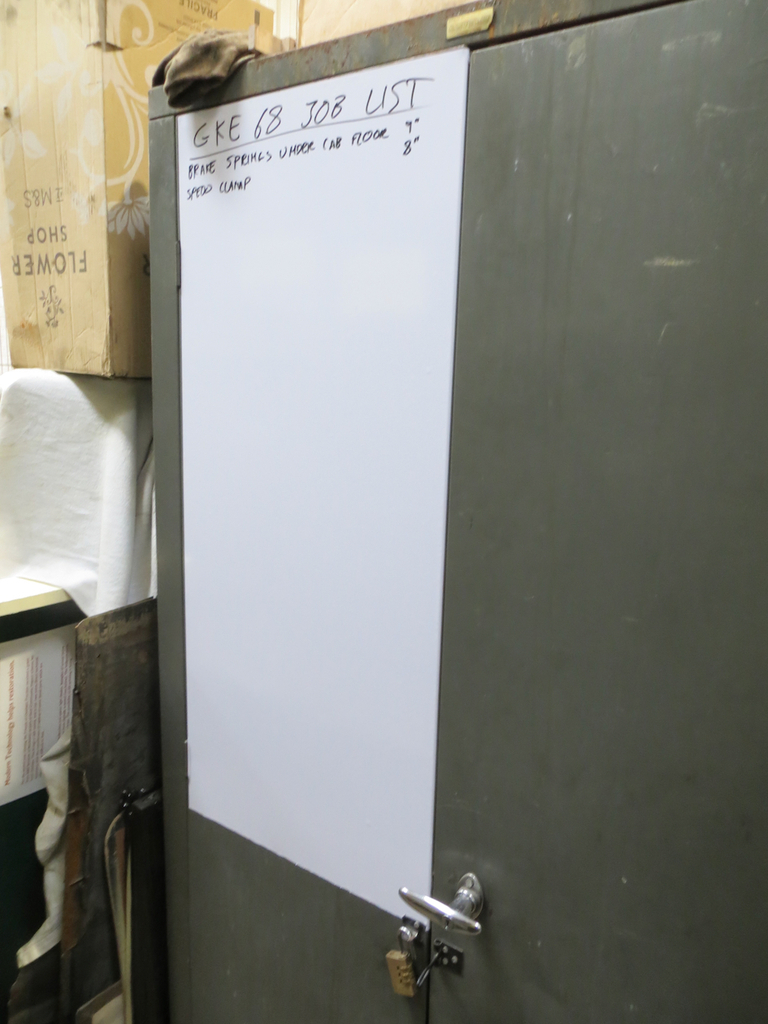
Only two jobs. Perfect.
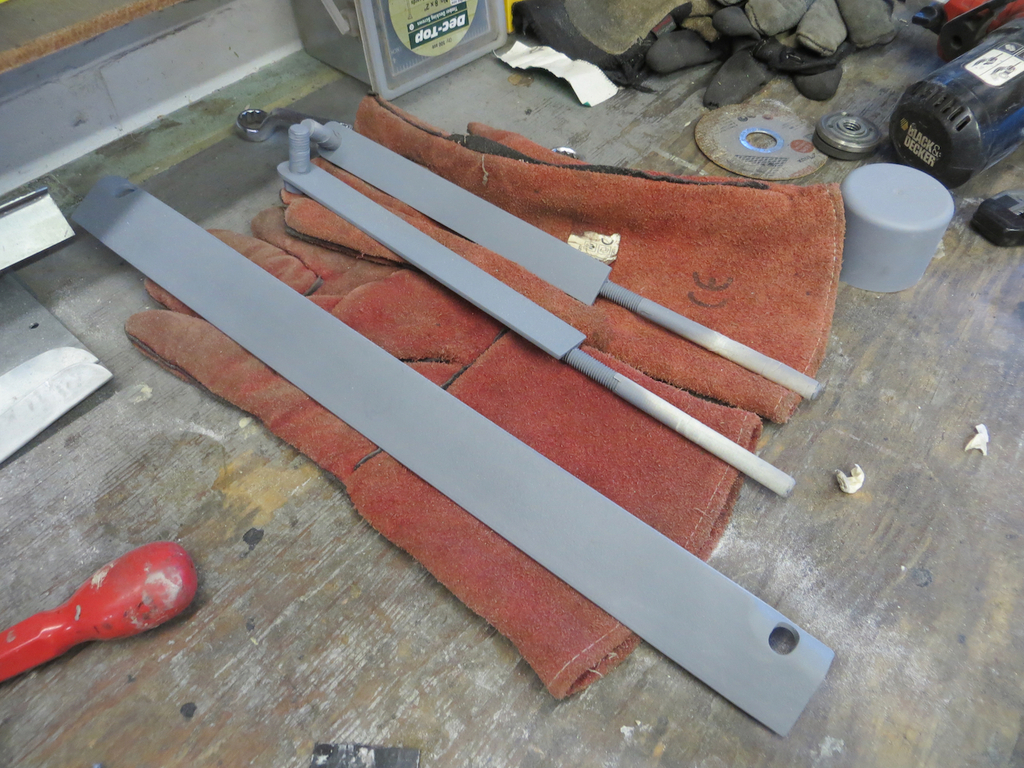
I did a bit of finicky stuff under the cab floor. No photos because you’ve all seen under the cab floor and you don’t need to see it again.
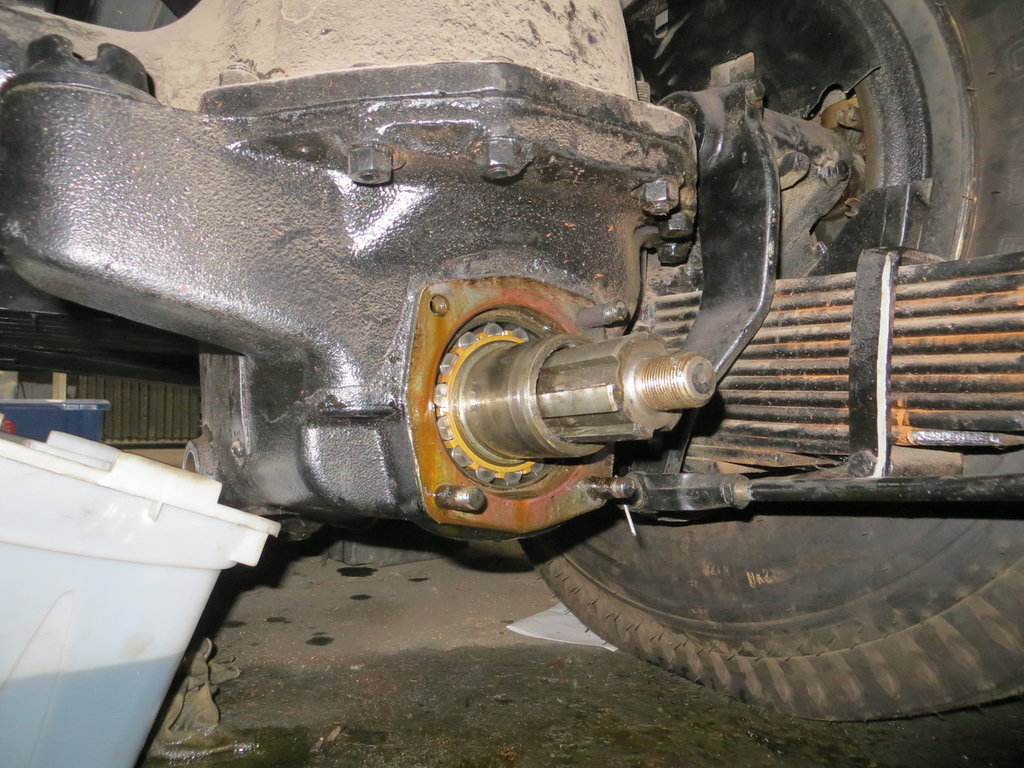
Meanwhile Ian was trying to get the nut and drive flange off the rear axle. He was ready for a fight but in the event it just came apart.
I’ve found a different drawing of the axle. I actually have three drawings and I’m not completely sure which is correct (if any). The one I posted before is definitely wrong though.
The remaining two are very similar at the drive end of the input shaft but differ at the back end. One has a roller race and a ball race, the other has a double taper bearing.
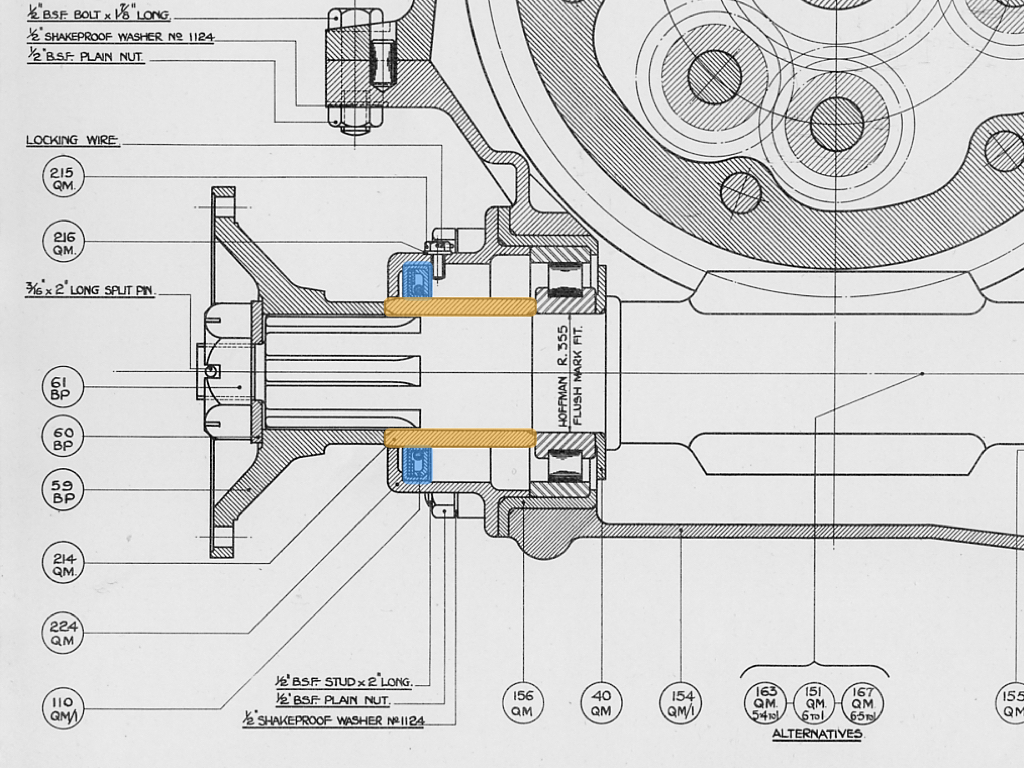
The blue bit is the seal. It runs on a sleeve which I’ve coloured orange. The sleeve actually pins the inner race of the roller bearing against a flange on the input shaft.
Neil, who messaged me via the forum, said this is how the axle would be and that the sleeve gets a groove cut in to it. He was right on both counts.
He also said that you can take the sleeve off and flip it round if that hasn’t already been done. Well it hasn’t been turned round but Ian couldn’t shift it so, at the moment, we aren’t turning it round either.
I think the plan is to get a new seal and then have another go at taking the sleeve off next time.
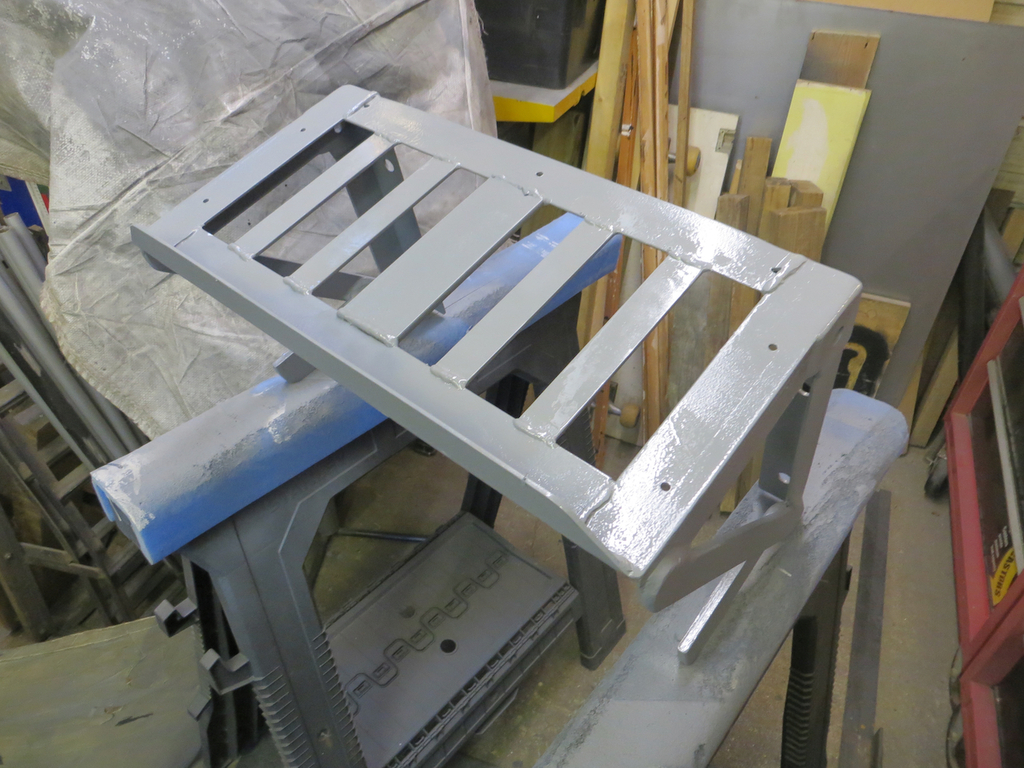
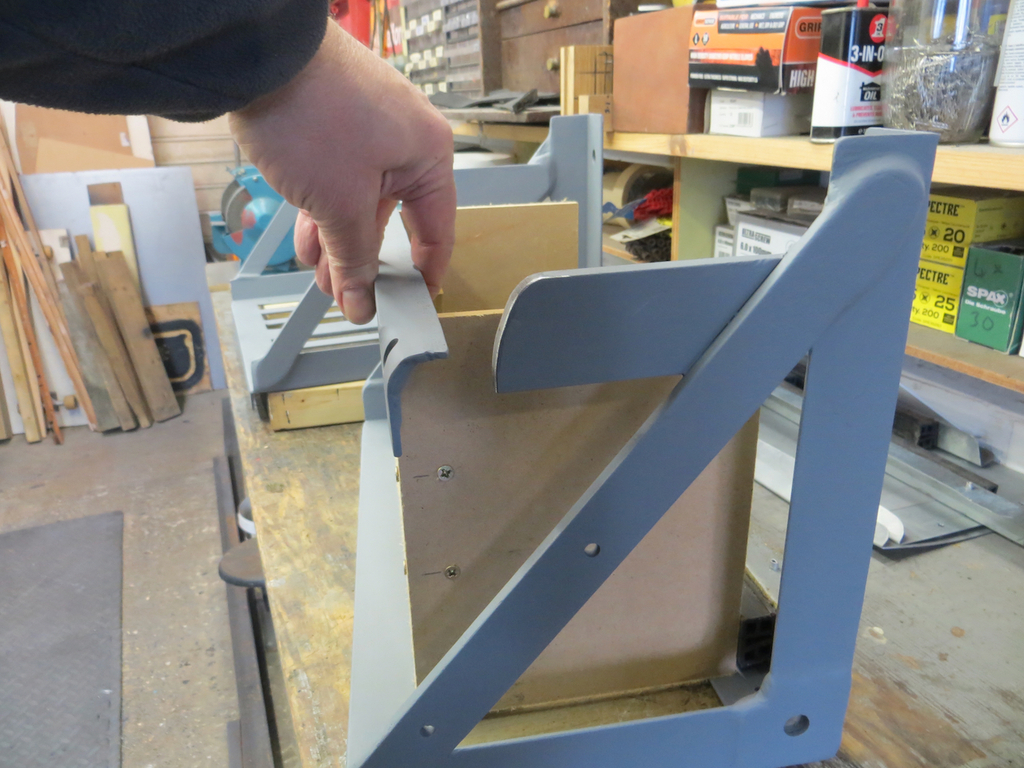
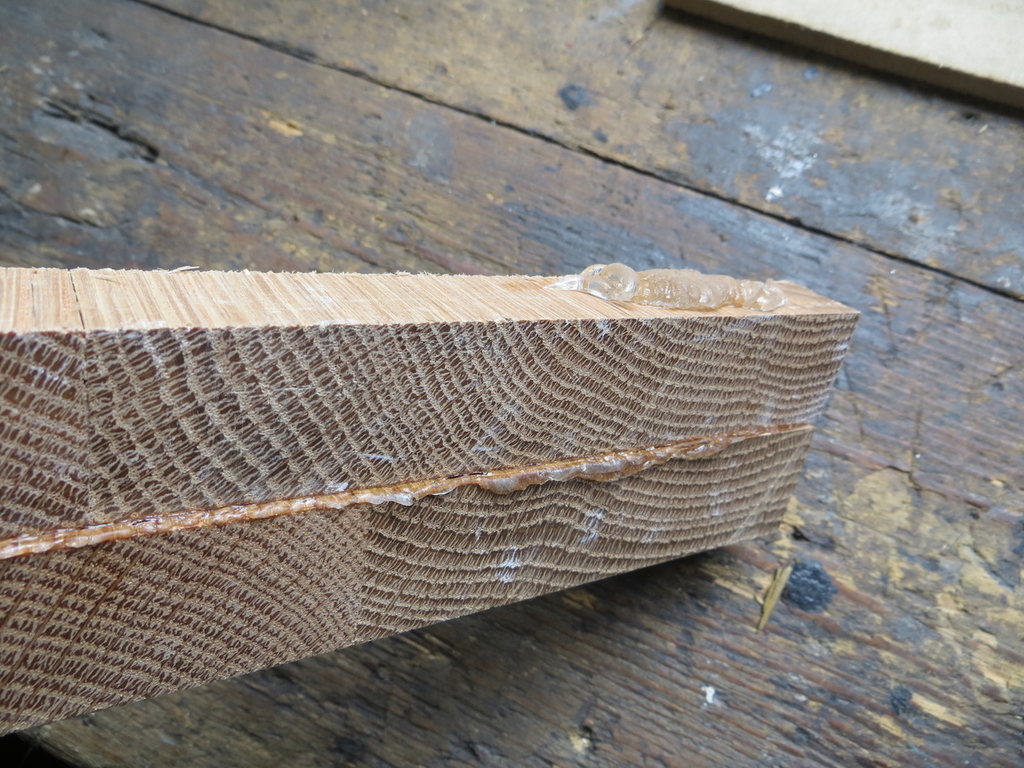
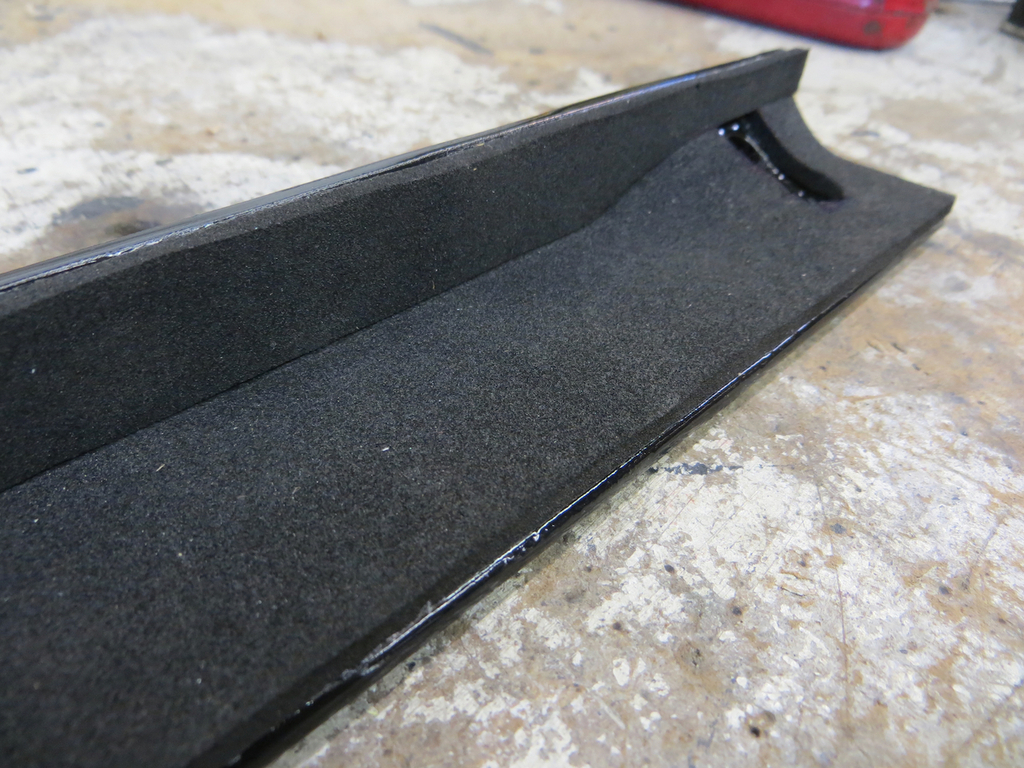
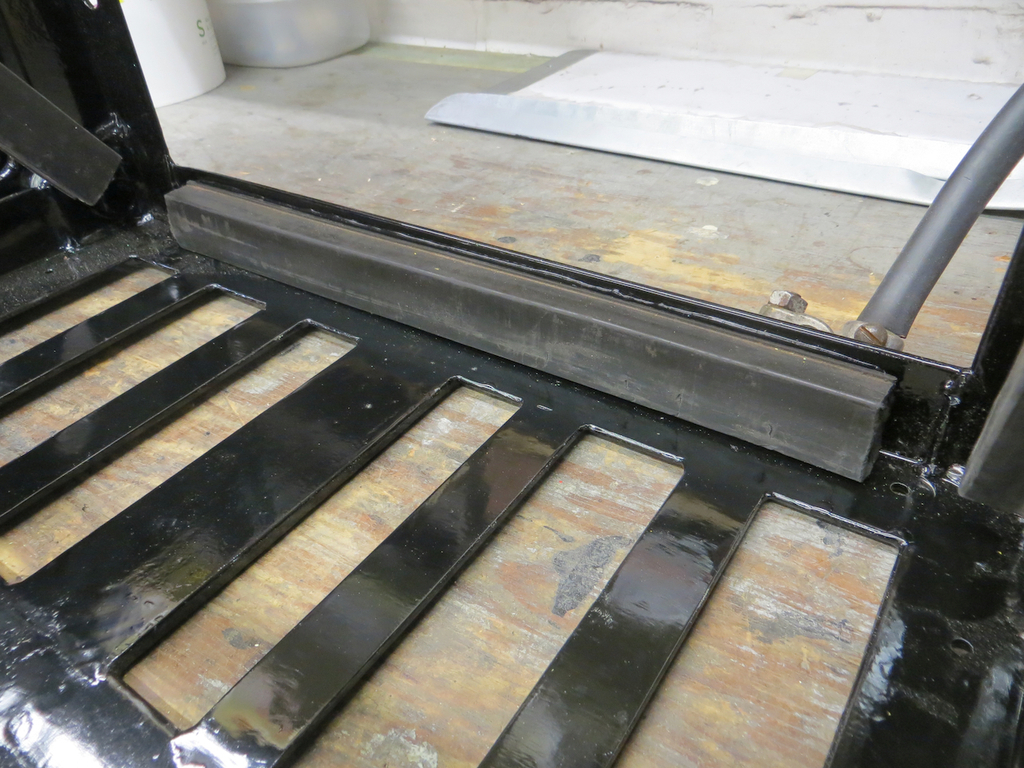
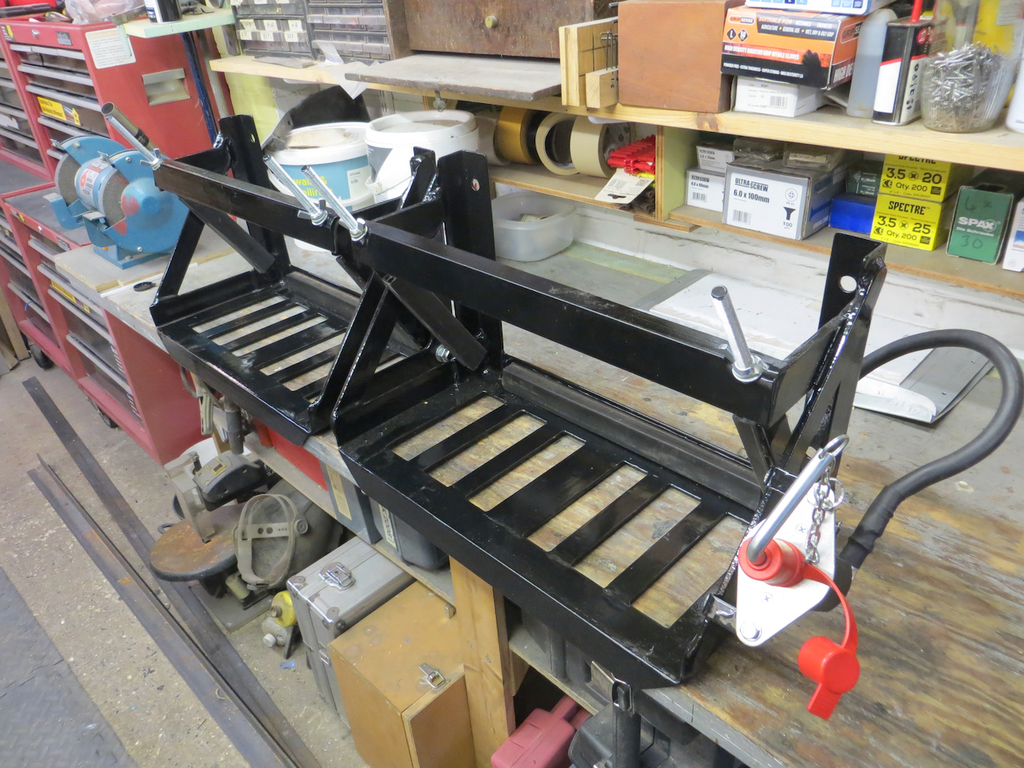
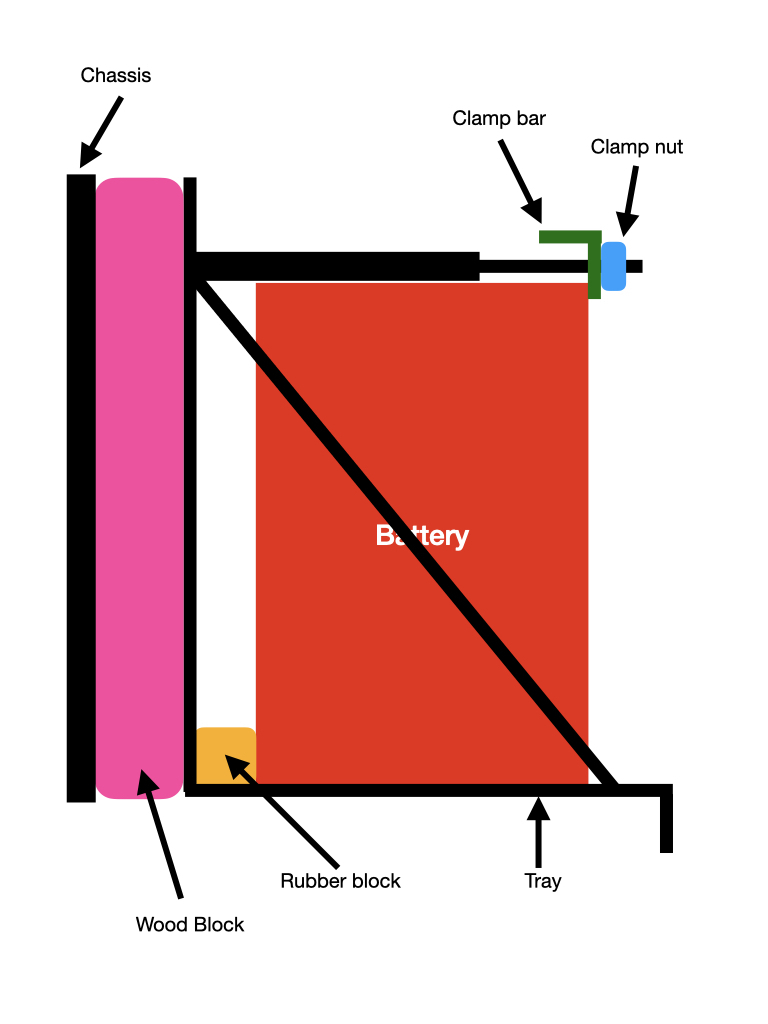
Battery trays then… I wheeled them in and bolted them onto the chassis.
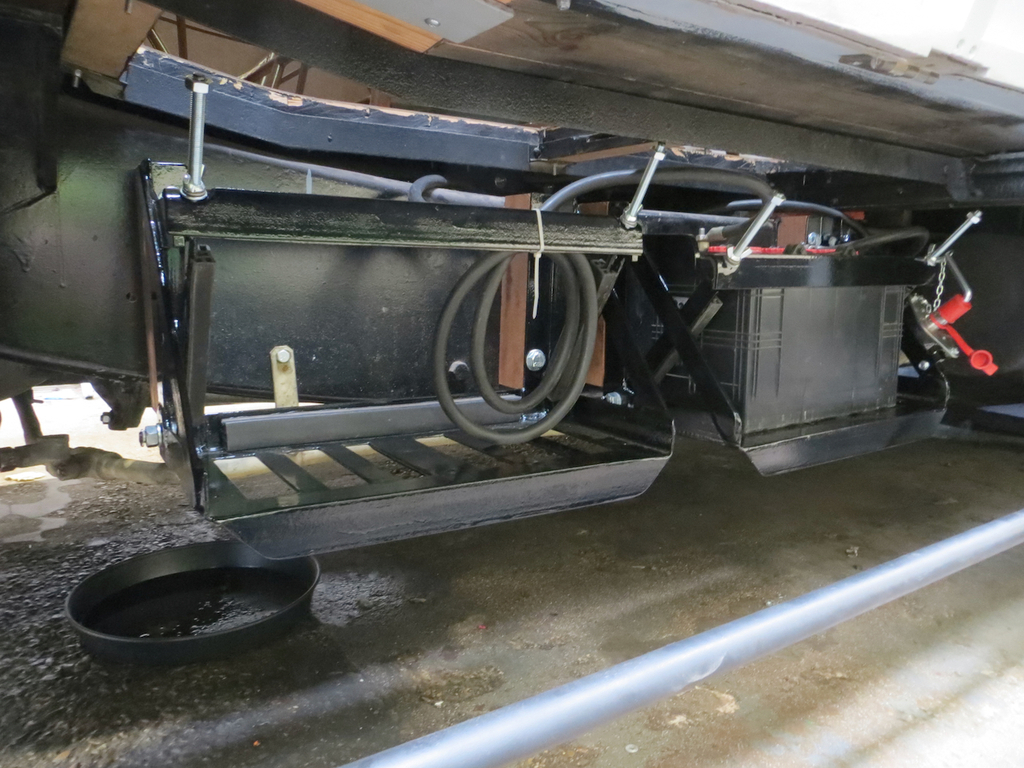
I even fitted the battery.
Pleased as punch with my amazing work I gave the battery a big push to prove how firmly it’s clamped down. Confidence was high…
…but misplaced.
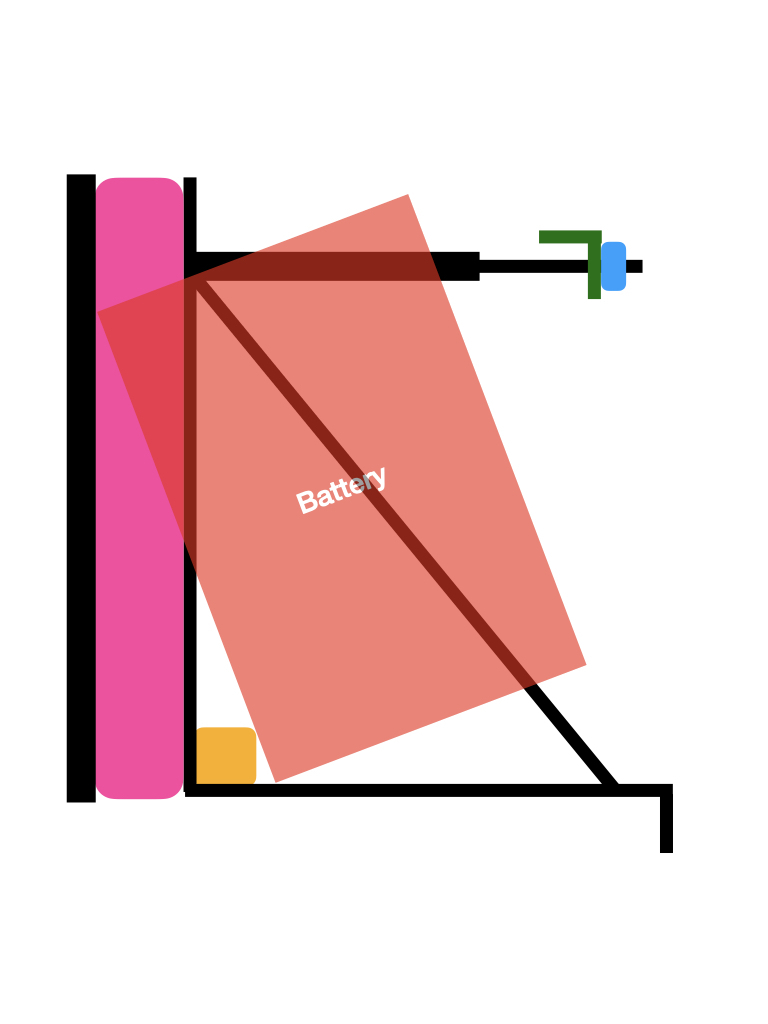
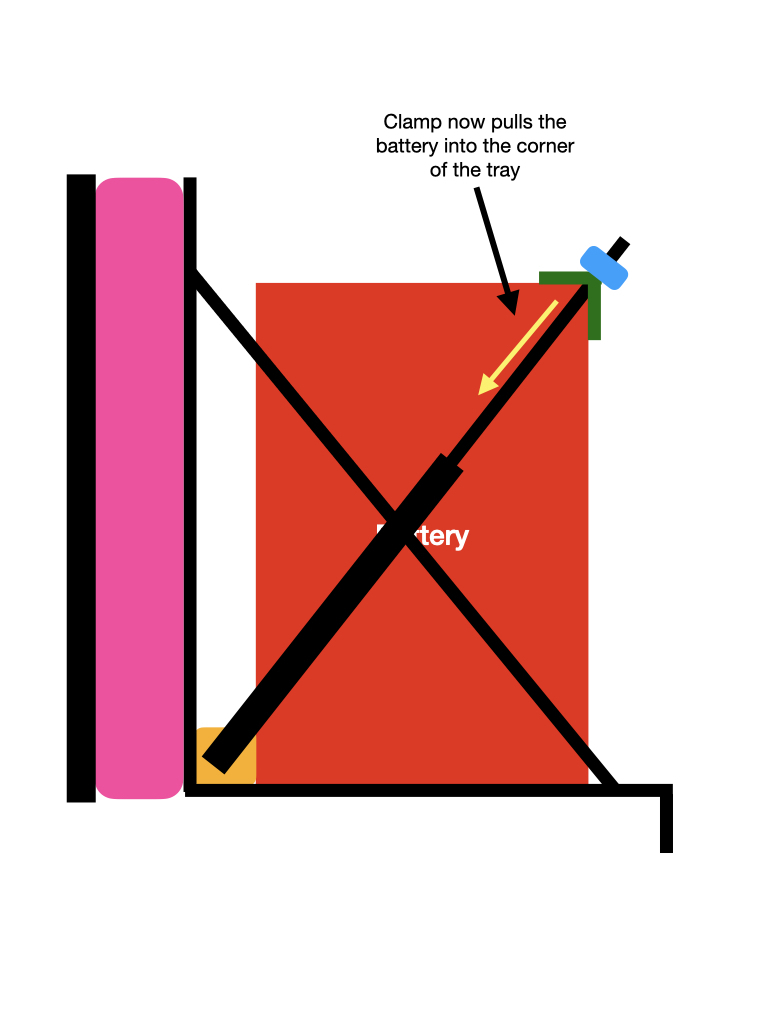
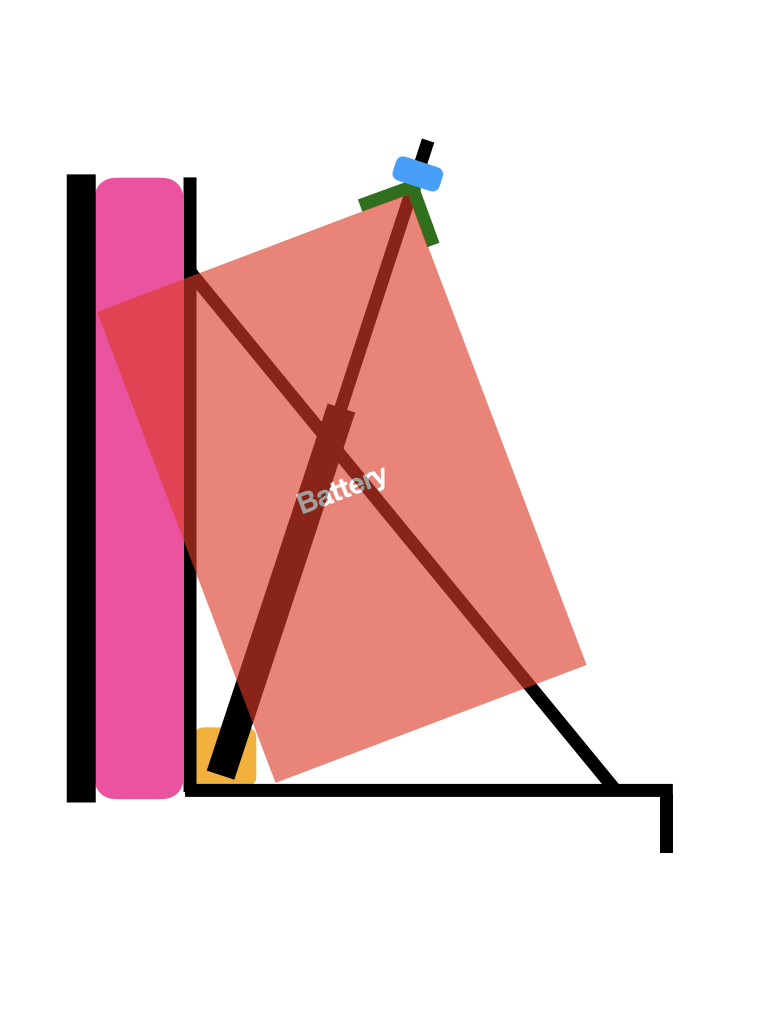
Nooooo! It rocks back! How is that even possible?
The whole reason I reworked these was because the original clamp pushed the battery onto its back. After extensive work I now find that it can still roll over. I don’t understand.
Before I did all this the tray failed to clamp down one particular size of battery. Now it fails to clamp down any battery you care to chuck on it. I’m claiming that as a success. I think.
Bumhats. It’s the only word that’s appropriate at the moment. Bumhats.
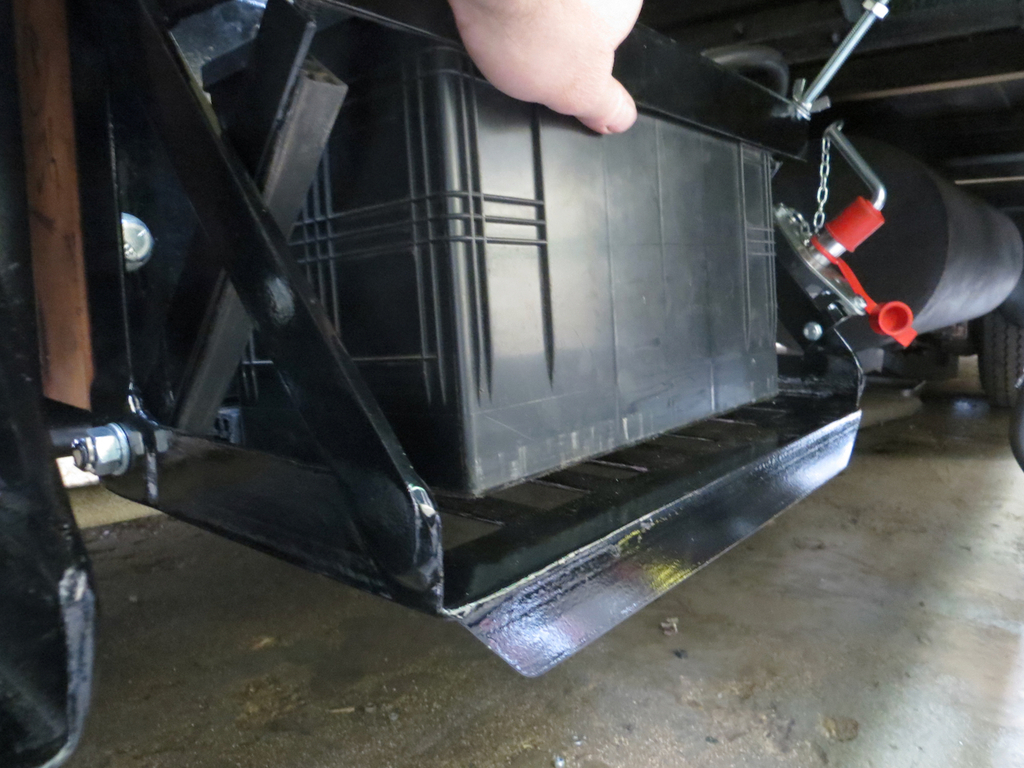
I’ve removed one tray and brought it home for investigation. I think I’ve accidentally mucked up the geometry between the hinges and the bottom corner of the battery. I’ll take a look and let you all know so you don’t make the same mistake when you come to make a battery tray for a double decker bus. I mean, that’s bound to happen isn’t it?
I can’t even cross one of the two lines off the job list.
Oh curse word!
I think that’s just the start of it. Might need put another list on the other door… Might need to buy more cupboards…
James