Errm been awhile since I've updated this

but I have been slowly plodding on with the old thing.
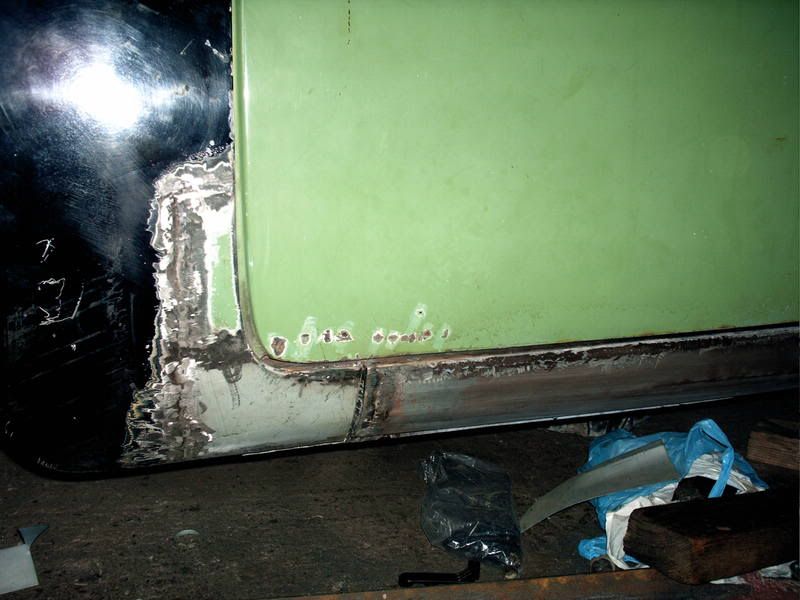
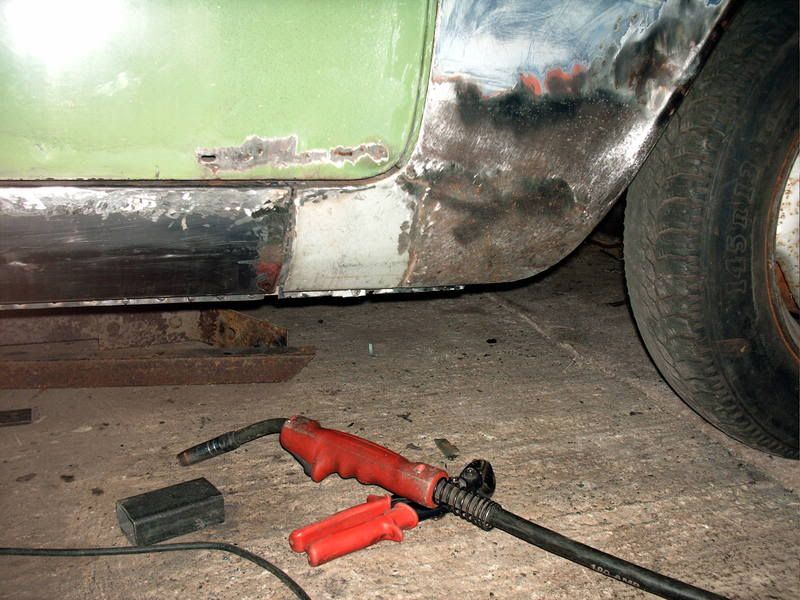
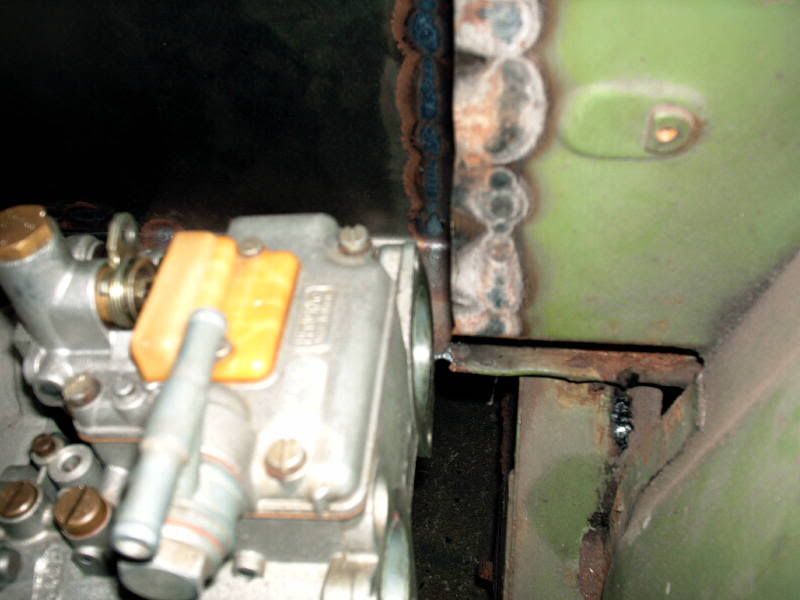
The sill problem that had been bothering me was solved after a couple of conversations with bodywork ace and serial Scirocco collector Keith. The idea was to, using an air cut off saw, cut along the top of the sill to where the kick up starts. Then tease the top of the sill down and weld it back together. The fronts of the sills were then finished off to improve the panel gaps. Took a couple of goes but it turned out alright in the end

With that sorted, onto the doors, a job I had left 'til last cos I was bothered about how bad they'd be when I started digging at them and making a pigs ear of it

After some prodding around they weren't that bad but there was a lot of surface rust inside them, and the access holes in the frame aren't that big to get in there and rub it down

. So, I cut some bigger ones in them

. I ran the air saw down the seam at the bottom to clear out some rust build up and amazingly it didn't crumble away to nothing! With a couple of small patches and welding a few localised pits up (these are made from thick metal so you can get away with it) the job was done

They were then filled up with zinc primer to stave of the rust.
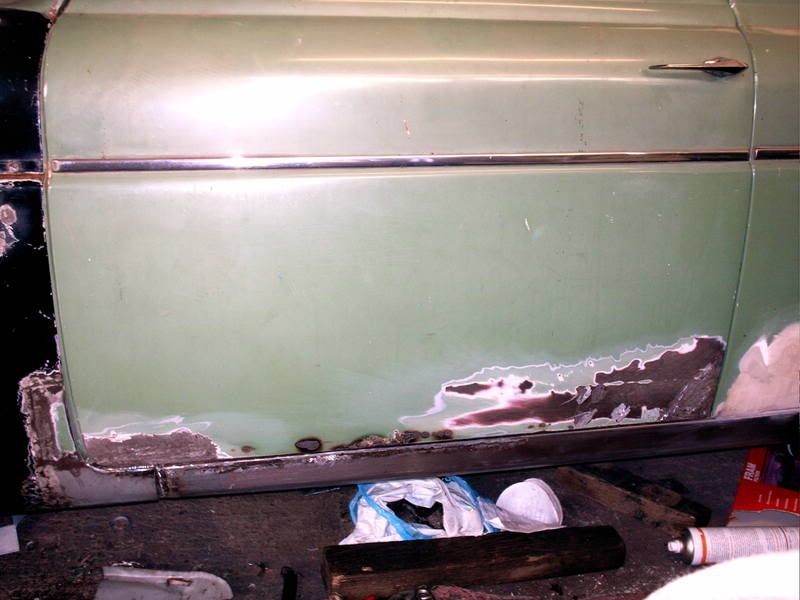
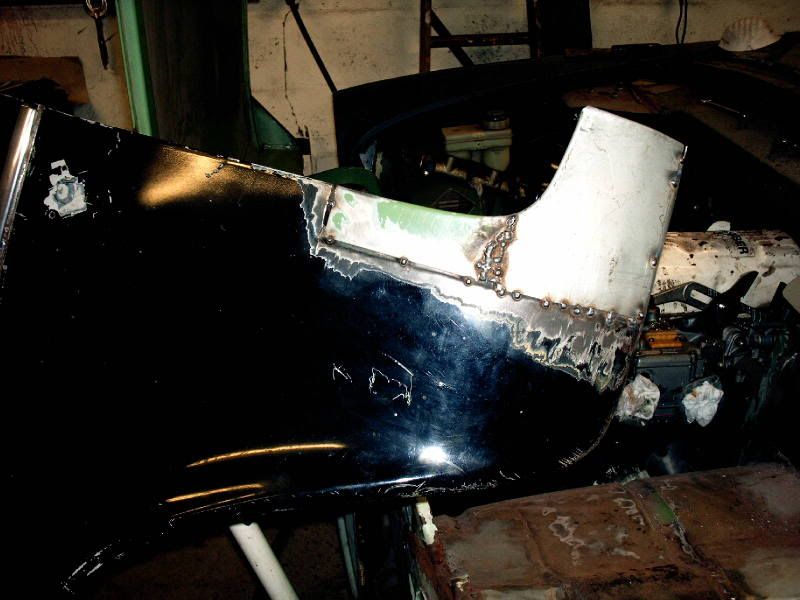
The only pic of a door I can find!
This one has been lobbed up previously and not very well - filler straight over paint, so it's all got to come off
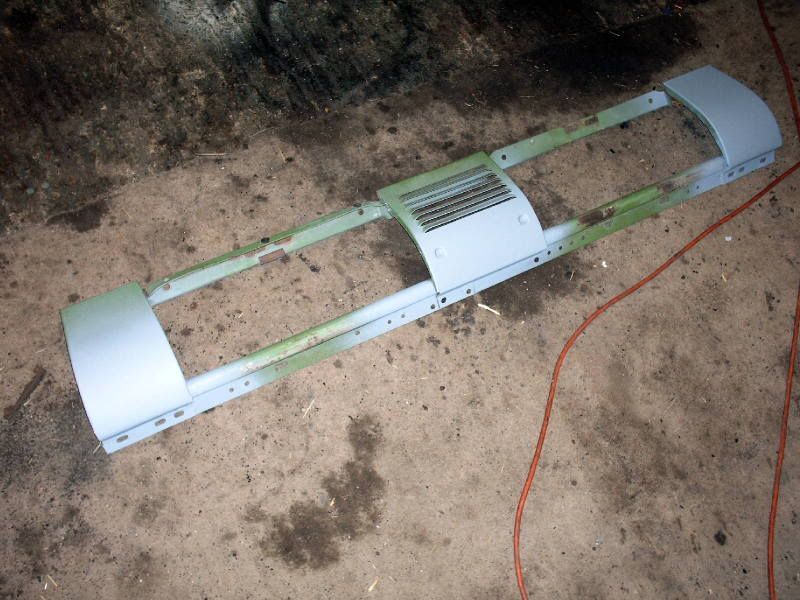
Then the bootlid problem was solved, with a free replacement one ;D
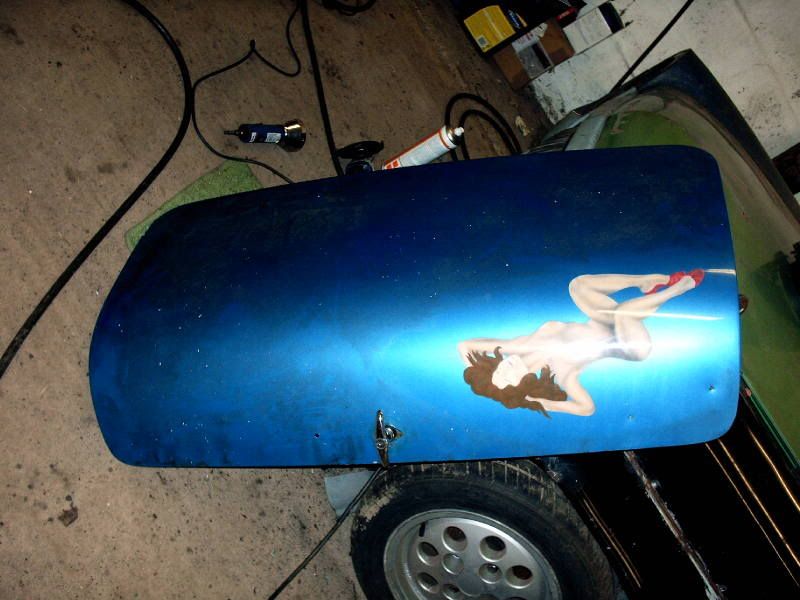
A friend had it done for his back in the day, but the paint didn't quite match so he never fitted it. It'd been in a loft for 20 ish years and is rust free. Unfortunately it uses a different handle / lock assembly to what mine did and I failed to find one so it's been welded up and I'll have to paint it, although it seems a pity to do so.
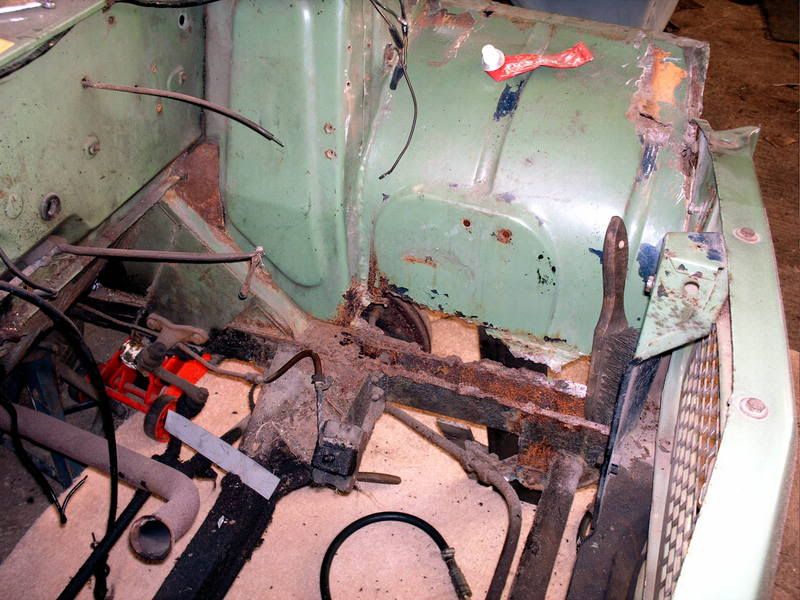
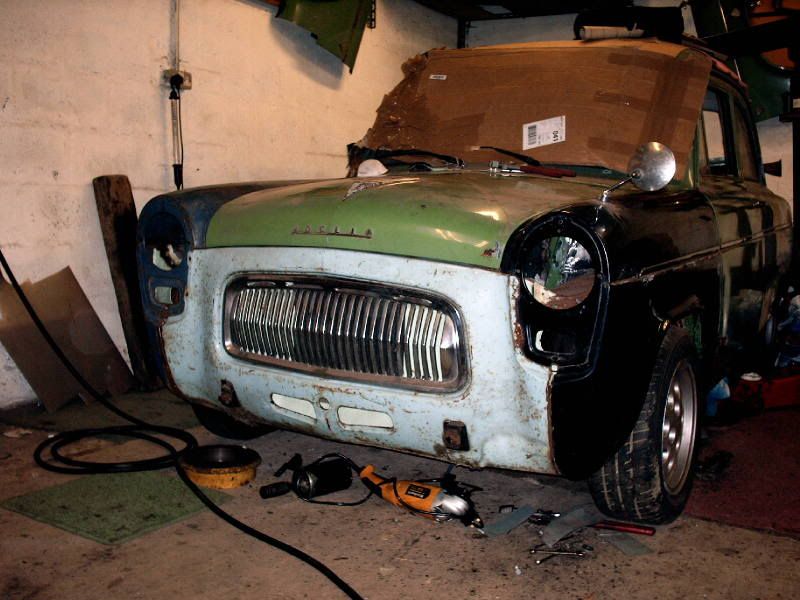
Then onto the front suspension. It was nagging at me that something wasn't quite right, partly down to some 'help' I had when I did it. So I thought it would be a good idea to at least roughly check camber, castor etc before I started throwing the stonechip about. This needed the car at ride height tho which was a pain as it's stripped out, so it sat too high. So, out with the springs...

Couldn't resist a pic of it completely on the deck ;D
And in with some suitably sized blocks of wood. About now it started to go a touch pear shaped. I put the camber gauges on it and I had miscalculated and it had a degree more neg than I thought
My workshop floor isn't level, I thought I'd compensated for this when I set the TCA's but obviously not. Pulling the camber to a more sensible setting shortened the wheelbase by 1/2 an inch and I ranout of adjustment on the tracking

Mmmm.
So, after much thought I cobbled up some temporary adjustable tie rods to take the place of the roll bar.
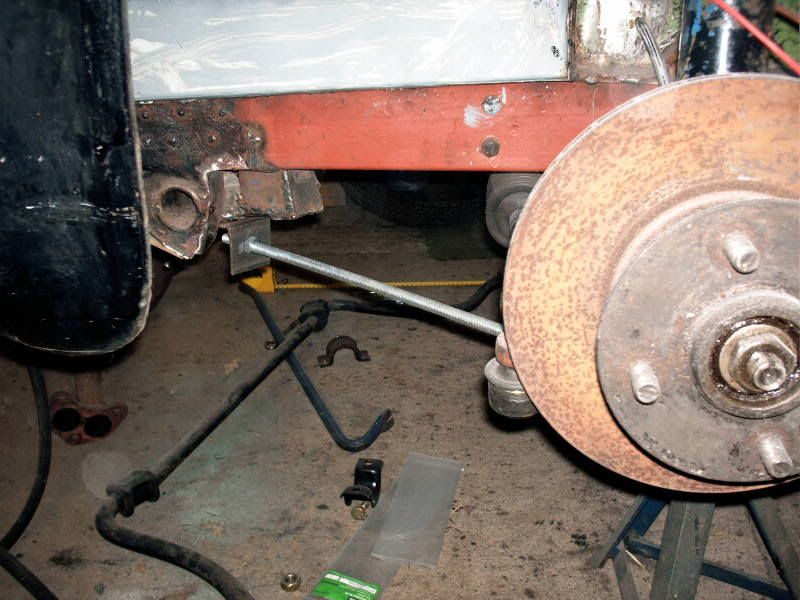
So things could be tweaked around to find out how much, or rather how much needed changing. Cutting a very long story short it seems that machining 6mm from the roll bar will give the correct wheelbase and castor and the rack just needs a little more thread cutting on it to give enough room for the adaptors locknuts. This is alot less hassle than cutting it all off to fit compression struts, which did cross my mind so I'm happy. I'll probably have a little more taken off the roll bar to give a bit more adjustability.
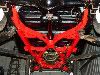
So with that sorted I pulled the front to bits and added some RS style top plates
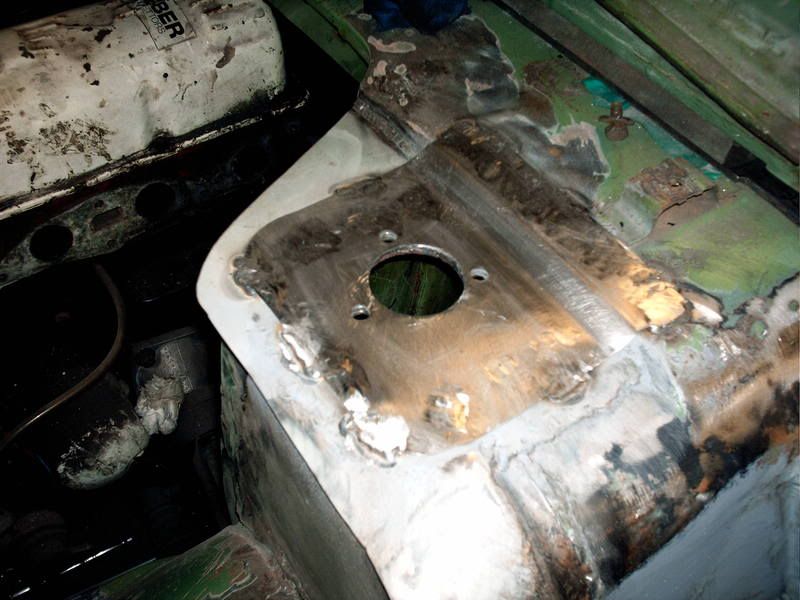
And thrown some primer around
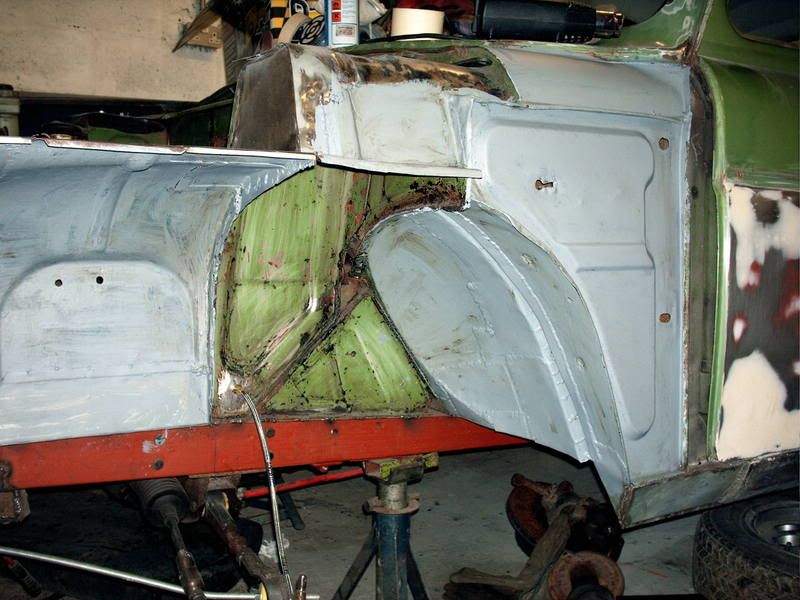
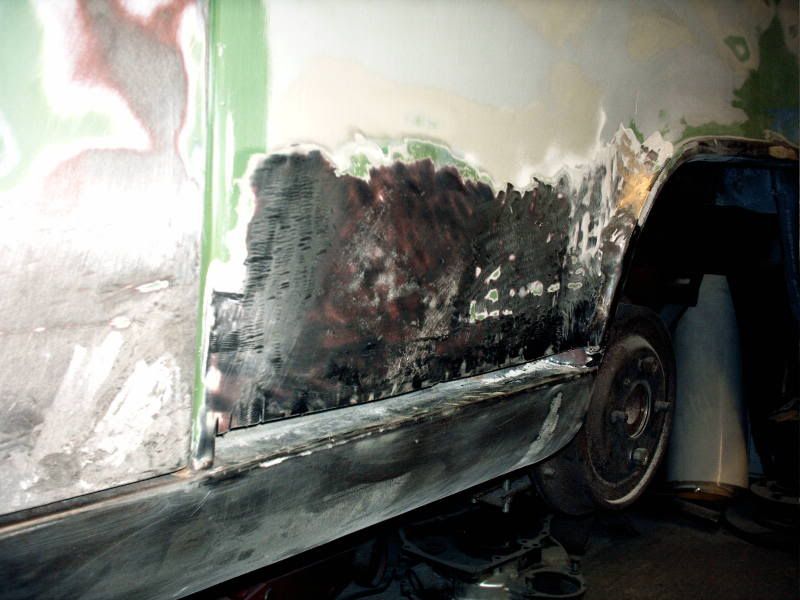
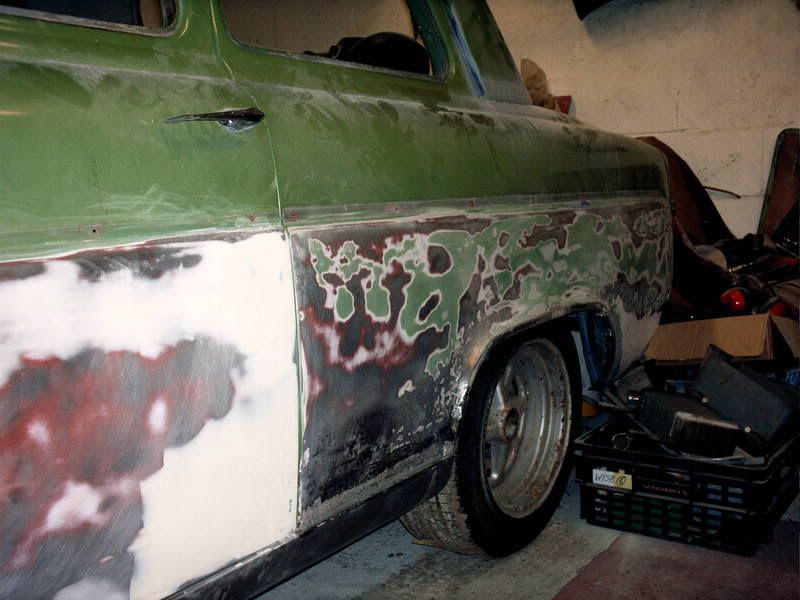
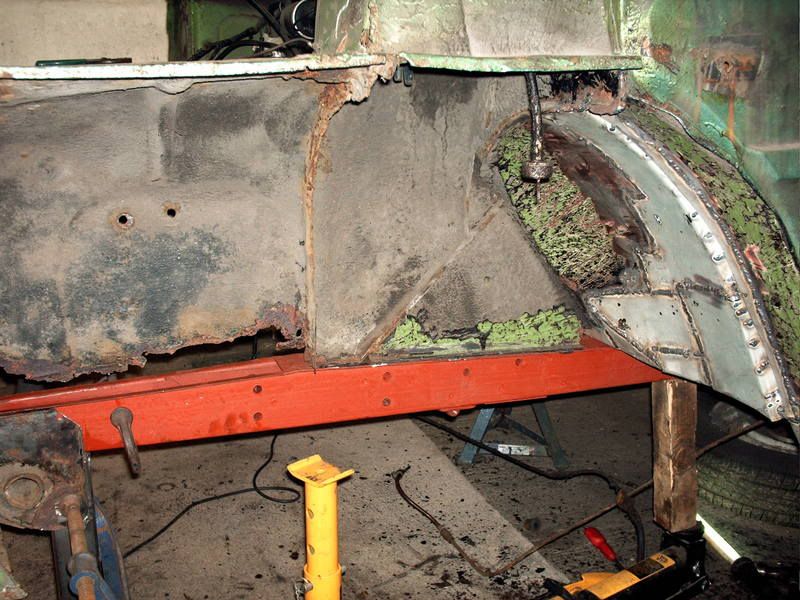
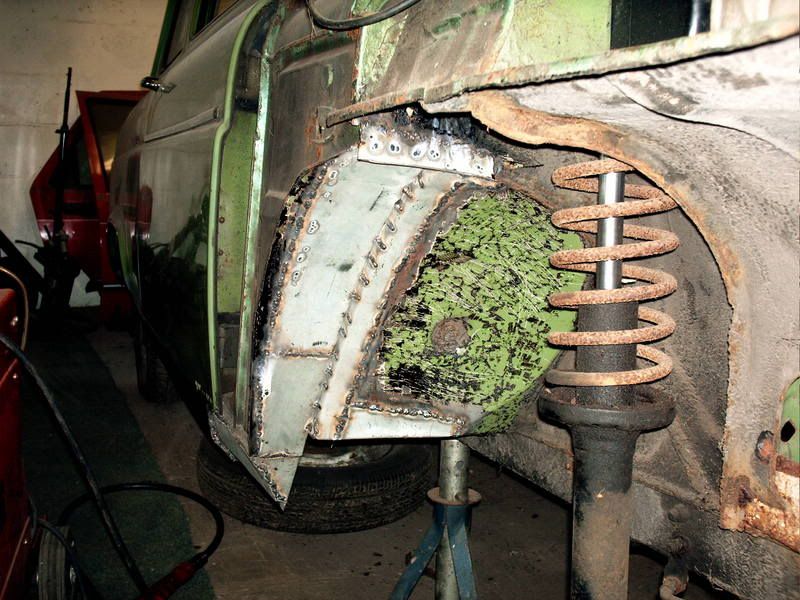
In between which I've still been playing with the bodywork. The nearside rear quarter is a bit of a mess where it's been spanked and I had intended to leave it well alone. Then I noticed how thick the filler was and that it was the full length of the panel, sill to trim line

It had to come off and while I was about it I redid a repair to the sill / quarter panel join. Anyway the panel wasn't that bent for the most part, just a few high spots. So they'd filled the whole panel to that height rather than knock them in
And that I think brings things up to date, I'll try and not let it slide for so long next time.


 so will need some slim spacers. Will be experimenting with some banded steels when I can scrounge some tyres for them


 Haven't dared check if there's enough width yet!


 although most of the panels need a patch or two so the weldathon isn't quite over yet.

 Also tempted to change them for Marina / Ital ones as these are deeper and would visually lower it aswell. Would mean reworking the wings tho. Any thoughts / ideas welcome!


 After some prodding around they weren't that bad but there was a lot of surface rust inside them, and the access holes in the frame aren't that big to get in there and rub it down
  . So, I cut some bigger ones in them

