drwood
Part of things
 
Posts: 11
|
|
Aug 20, 2008 12:56:24 GMT
|
After months of viewing this site I have decided to show my current project my Mk MG Midget. Bought the car as a spur of the moment purchase without thinking about the consequences. Here she is: 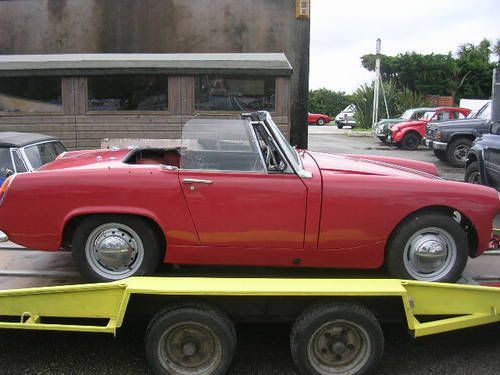 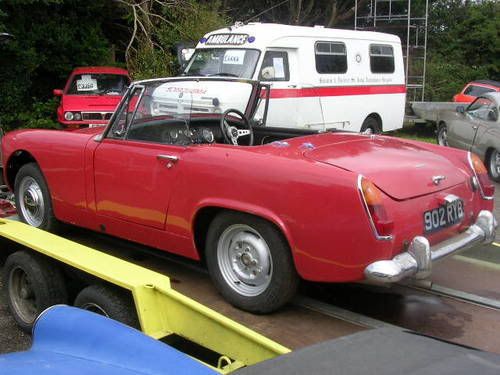 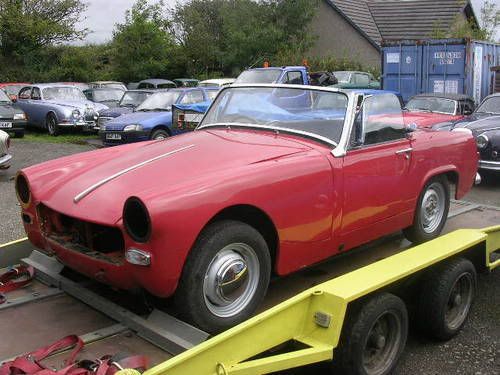 After buying it I remembered that I did not have a garage, so I built one: 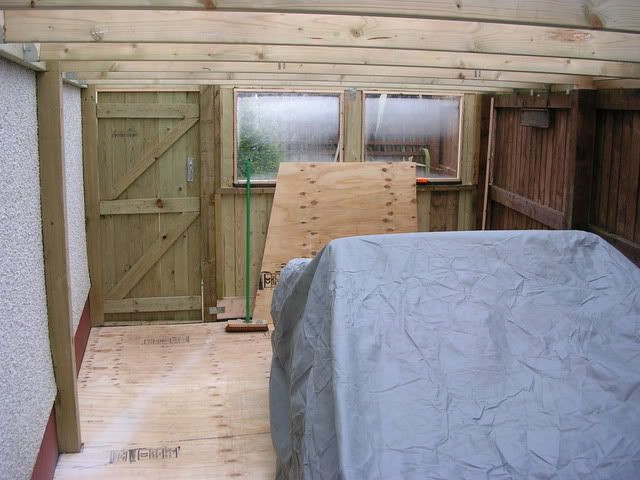 Now all warm and dry I started on refurbishment. She will have two identities, 1 a MG works race/rally replica (no bumpers, bonnet straps race numbers fog lights etc) and 2 the classic all chrome wood and leather 60's road car for shows. Started on stripping out the interior, de-rusting and painting to temporarily tidy it up. 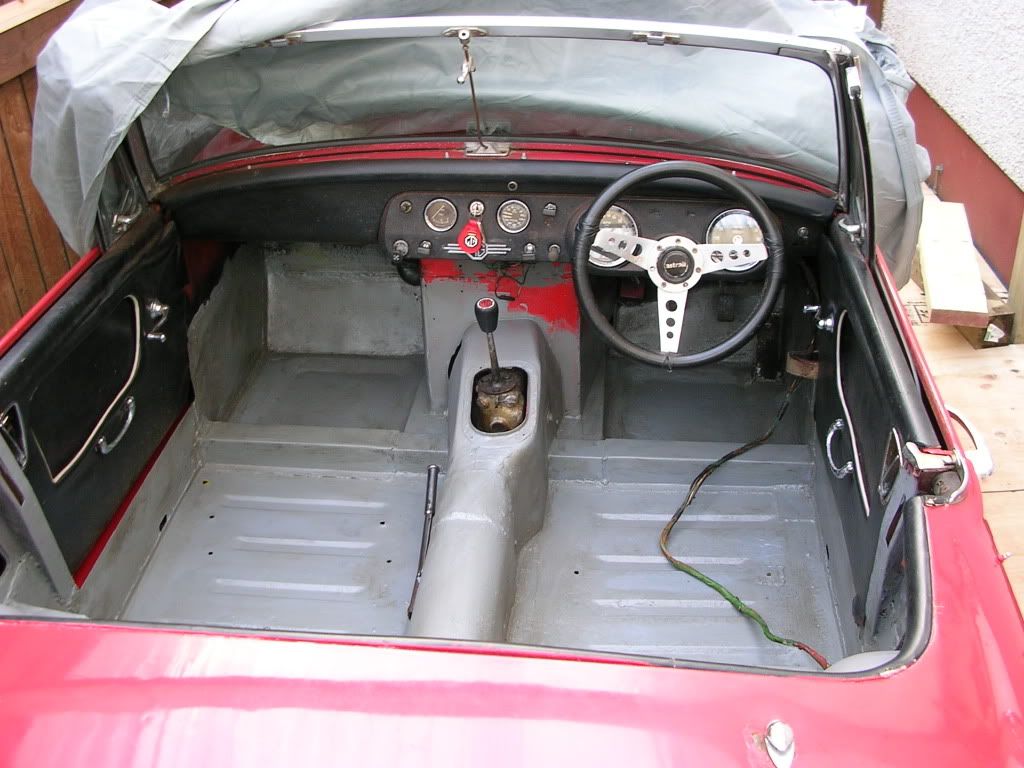 Bought an Aston style filler cap to start the race/rally look.  Then set to work on getting the engine to run to ensure it was not a duffer (Impulse buy so did not check a thing, and it was raining did not want to get wet). Hooray engine runs so proceeded to strip ancillaries and body work to refurbish. 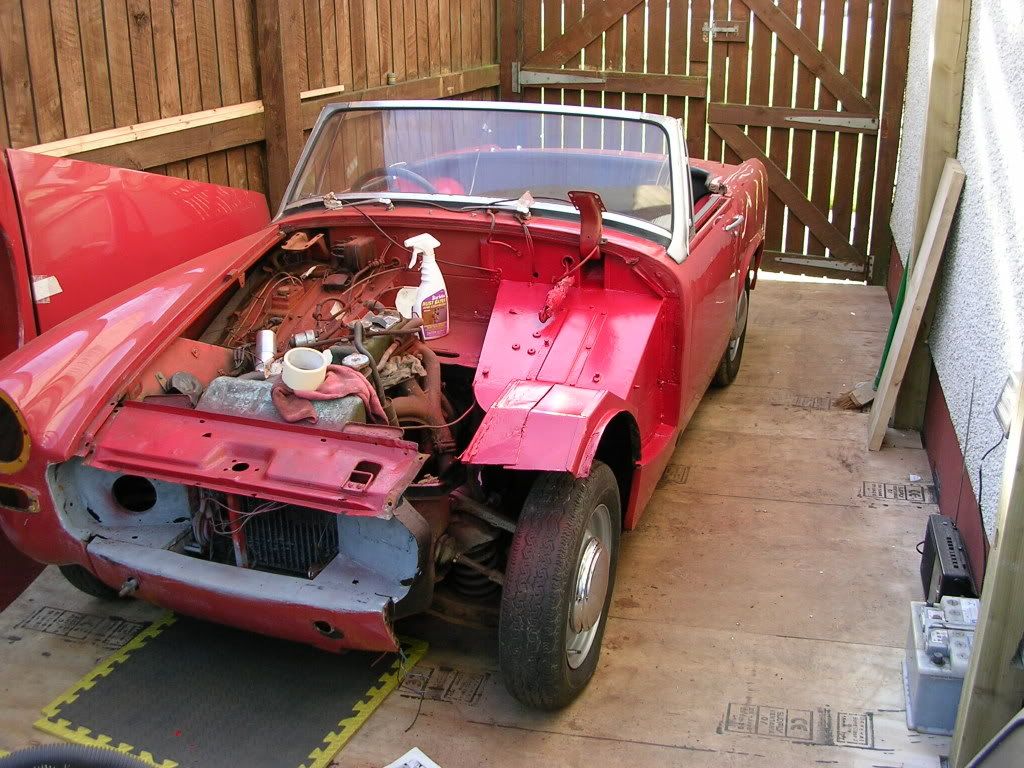 What a sight, covered in grime, rust and waxoyl (As is most of the car) 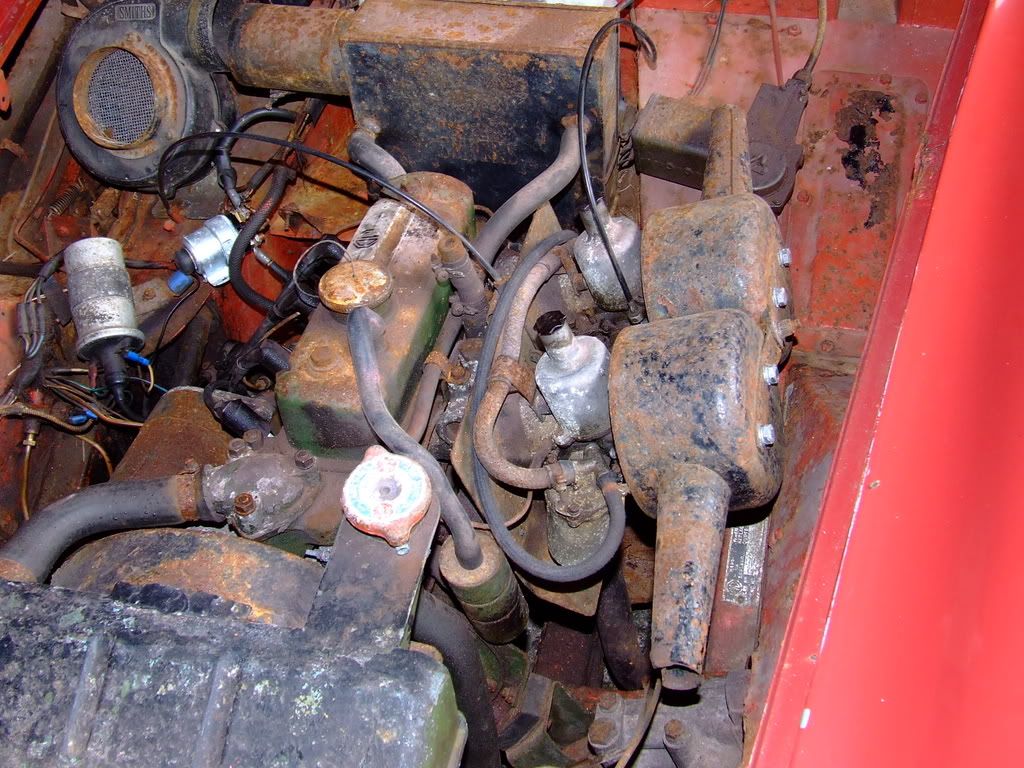 After 3 months of engine cleaning, polishing, painting most evenings and weekends I am pleased with the result. Just need to carry on with the rest of the car. Respray, re-wire, re-trim etc etc etc.... 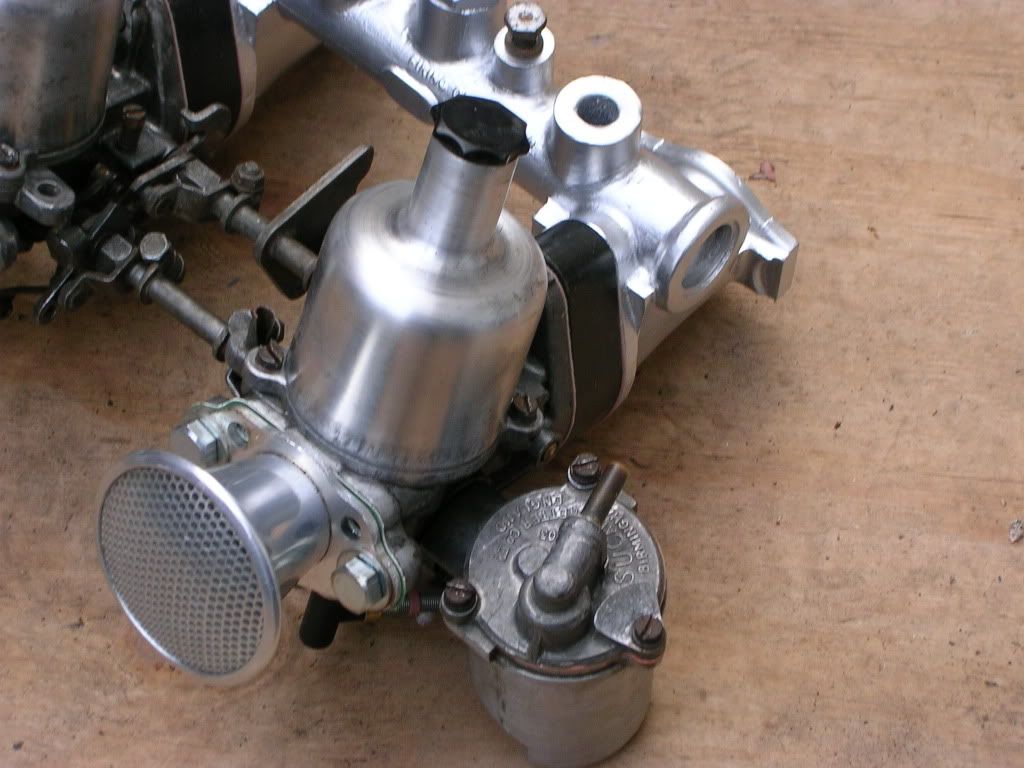 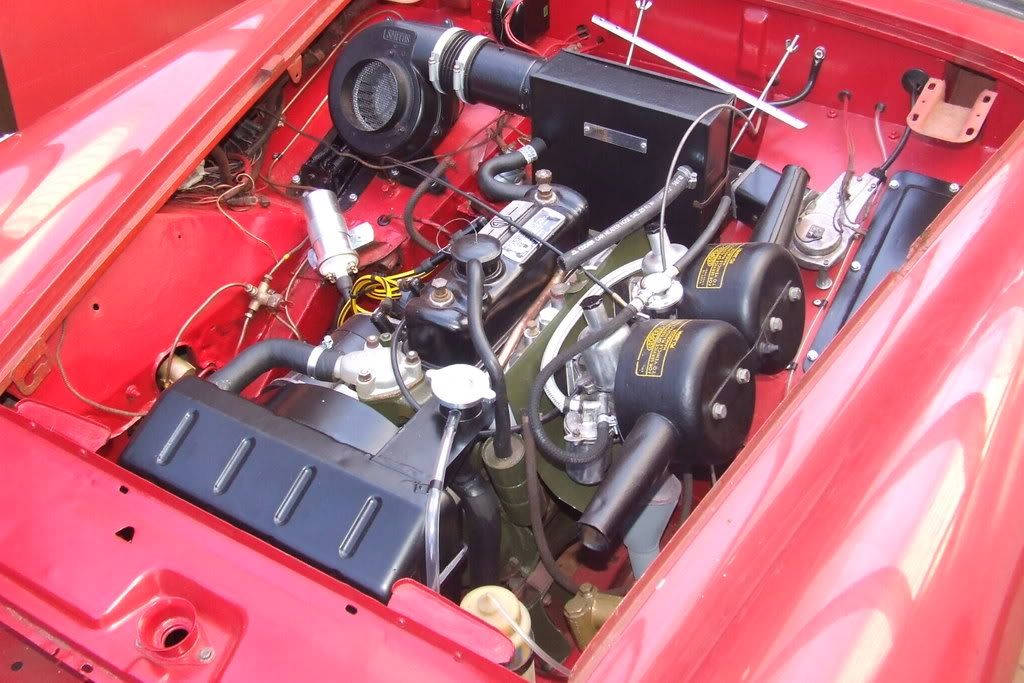 |
| |
Last Edit: Oct 19, 2011 9:15:50 GMT by drwood
|
|
|
|
|
|
|
Aug 20, 2008 13:52:41 GMT
|
|
Welcome to Retro-Rides!!
Love the 'After buying it I remembered that I did not have a garage'......was worth it though, she looks gorgeous. I love Midgets, yrs ago a girlfriend had a 1275cc one which we went everywhere in.
|
| |
|
|
|
|
|
Aug 20, 2008 17:12:21 GMT
|
Very nice! However it's a Mk2 (GAN3) not a Mk1 (GAN1 if 948 or GAN2 if 1098) as it has wind-up windows - the earlier models had sidescreens  |
| |
|
|
|
|
|
Aug 20, 2008 17:43:09 GMT
|
|
Like the garage and car.
Some serious elbow grease put in to date.
|
| |
|
|
drwood
Part of things
 
Posts: 11
|
|
|
|
|
Thanks for the comments.
It is a Mk 1 AN2 1100cc model (Mk 1.5). The AN3 wind up windows and the later windscreen are previous owners modifications, some of which have been bodged, will hopefully be rectified to original spec at some point - funds willing.
|
| |
|
|
|
|
Seth
South East
MorrisOxford TriumphMirald HillmanMinx BorgwardIsabellaCombi
Posts: 15,543
|
|
|
|
Engine bay is looking great compared to the before photo  Floors look good and solid too! Looks like a really good base to work from  |
| |

Follow your dreams or you might as well be a vegetable. |
|
|
|
|
|
|
lovely - always promiosed myself I'd have a Midget or Sprite someday, a mate had one when we were at College and we drove from Surrey to Northumberland in it once to go to a party - the foolishness of youth ;D that one looks like it's going to be very nice  |
| |
Currently driving a '68 Karmann Ghia as my daily. Don't ask about previous cars - there have been way too many and I stopped counting at 160!
|
|
|
|
|
|
|
|
That's a great job on the engine bay, absolutely love that.
|
| |
|
|
chaz
Part of things
 
Posts: 403
|
|
Aug 21, 2008 12:22:40 GMT
|
|
Nice car mate, some good work been done
in the engine bay, looks great now.
|
| |
|
|
|
|
Nathan
Club Retro Rides Member
Posts: 5,650
Club RR Member Number: 1
|
|
Aug 21, 2008 15:51:11 GMT
|
|
Wicked job mate, lovin that.
Really must do the last few jobs on mine so its on the road.
|
| |
|
|
drwood
Part of things
 
Posts: 11
|
|
Sept 2, 2008 14:14:03 GMT
|
Whilst thinking about sorting out the not too bad paintwork. I have fabricated a new temporary grille to last until funds are available to purchase an original one. Must admit the woven mesh does look good and gives a more "sporty" look similar to the MGB V8's. 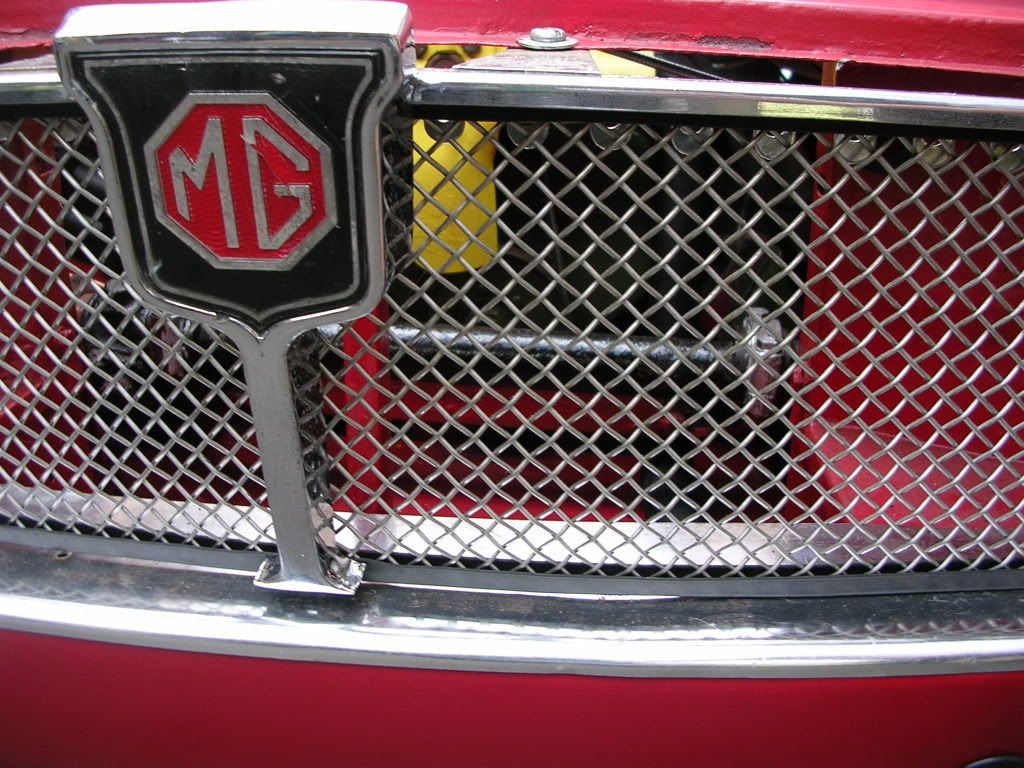 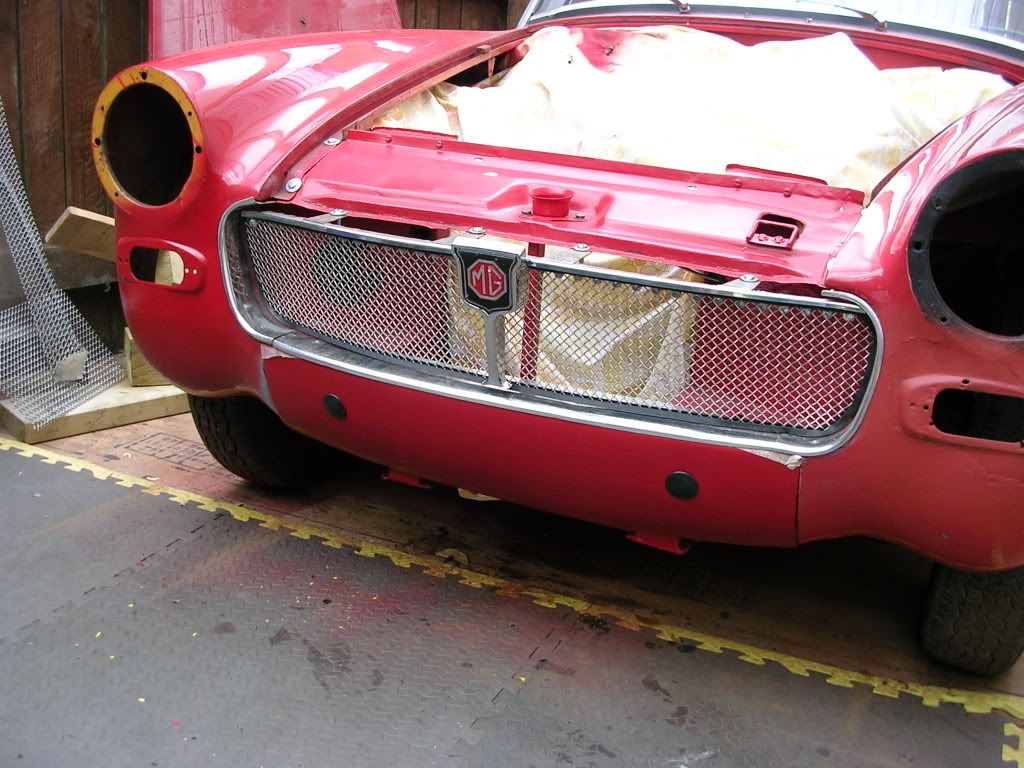 Purchased a later model hardtop (ebay) which with a little bit of careful cutting and sanding will fit very nicely and with it being old english white adds to the works race look. 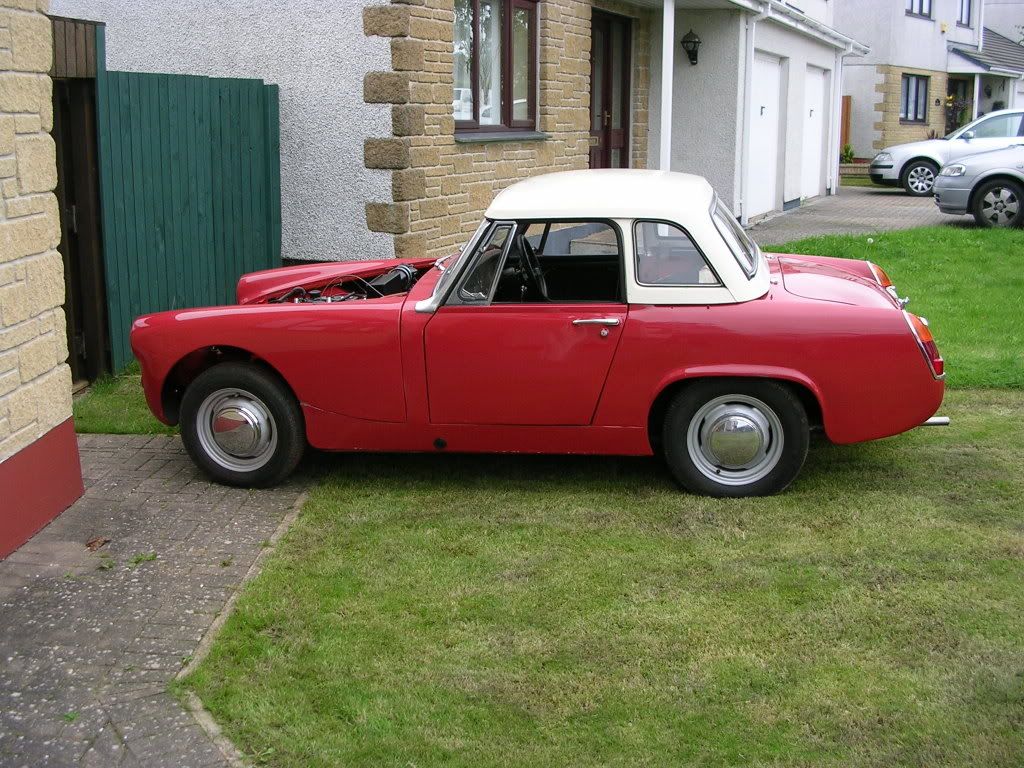 After prodding the leading edge of the bonnet it appeared that the previous owner(s) were unaware of the rust that lurked beneath and just filled any holes with filler and hoped for the best. So with some careful cutting, rust treatment, metal bashing, welding (thanks Rob) I have been able to re-build the front of the bonnet. 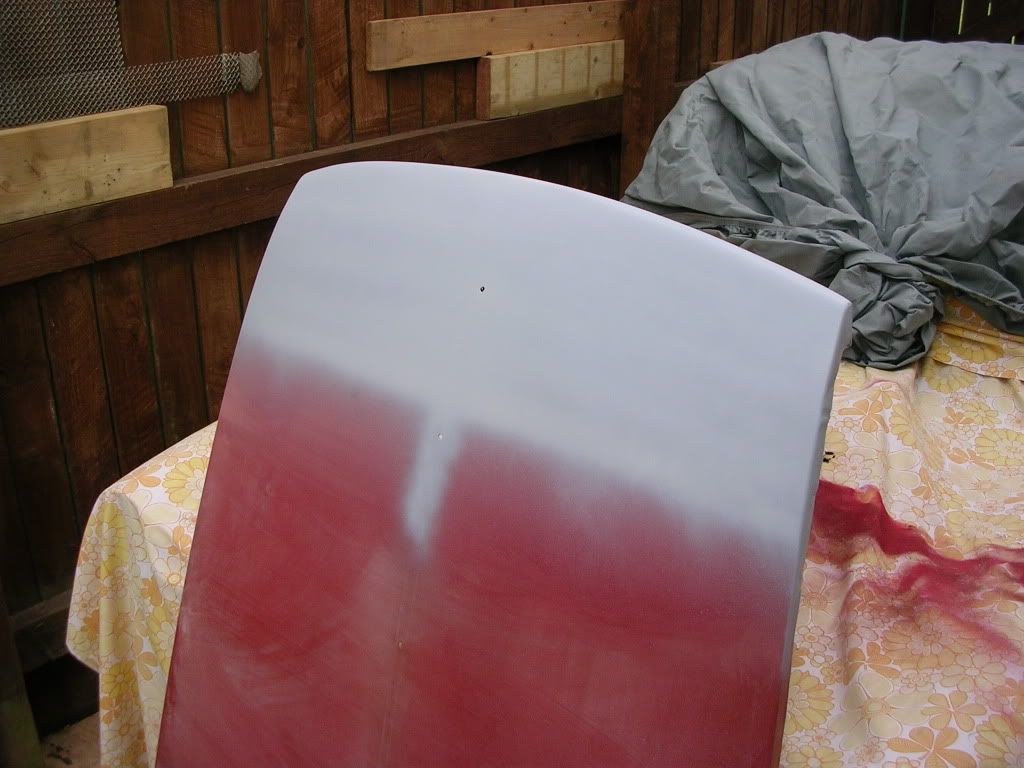 Now need to bite the bullet and crack on with the bodywork and hope for no more horrors. |
| |
|
|
|
|
|
Sept 2, 2008 14:56:01 GMT
|
Looking great! Can't wait to see more  |
| |
|
|
drwood
Part of things
 
Posts: 11
|
|
Oct 14, 2008 12:38:55 GMT
|
Still tackling the bodywork. Now onto the passenger side. So door removed, stripped and repaired. Windsreeen removed and oh dear... 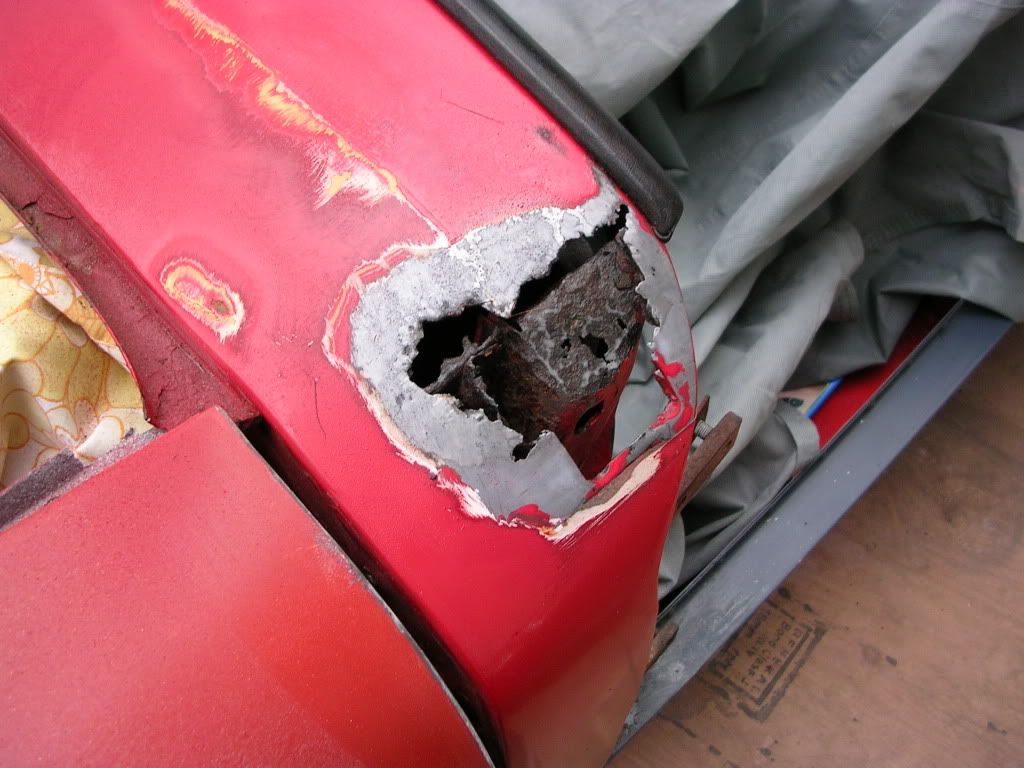 After digging out grot and filler have a hole the size of a postcard to fill. So out with the new welding kit and my first bit of welding for 15 years and ta da 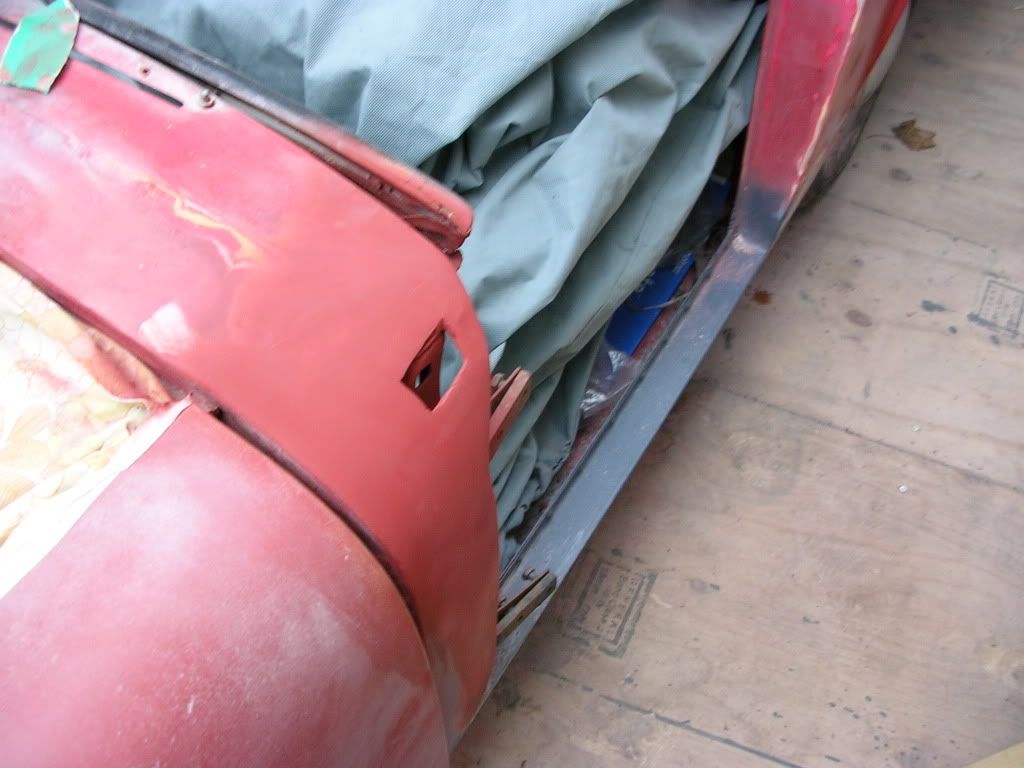 Still requiring a bit of sanding filling blending etc, but at least its solid and not just filler. Moving onto the rear wing which sometime in the past has suffered from the usual "wing beading rot". From reading various web sites and books the correct method of repair is to solder the inner and outer wings to fill any gaps to allow for fairing of profile, but no not on this car. Yes its just filler. So after removing the filler and covering the car in dust I tried my welding again. Ugly I know but at least its solid. 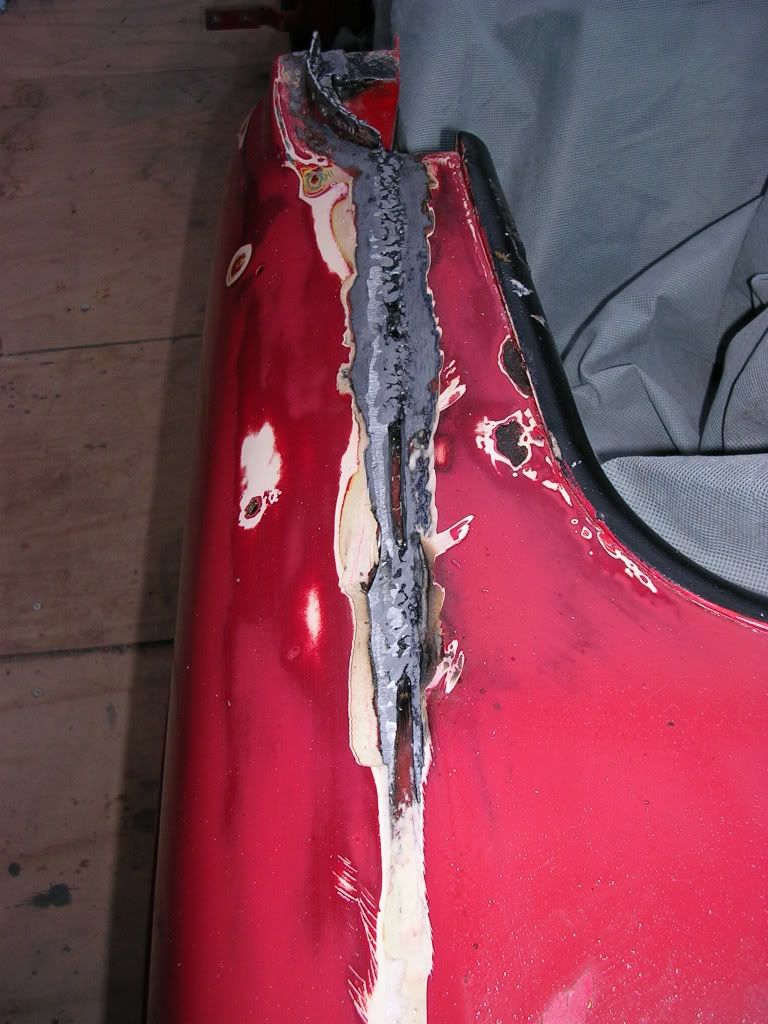 After a weekend of filling shaping, sanding etc etc 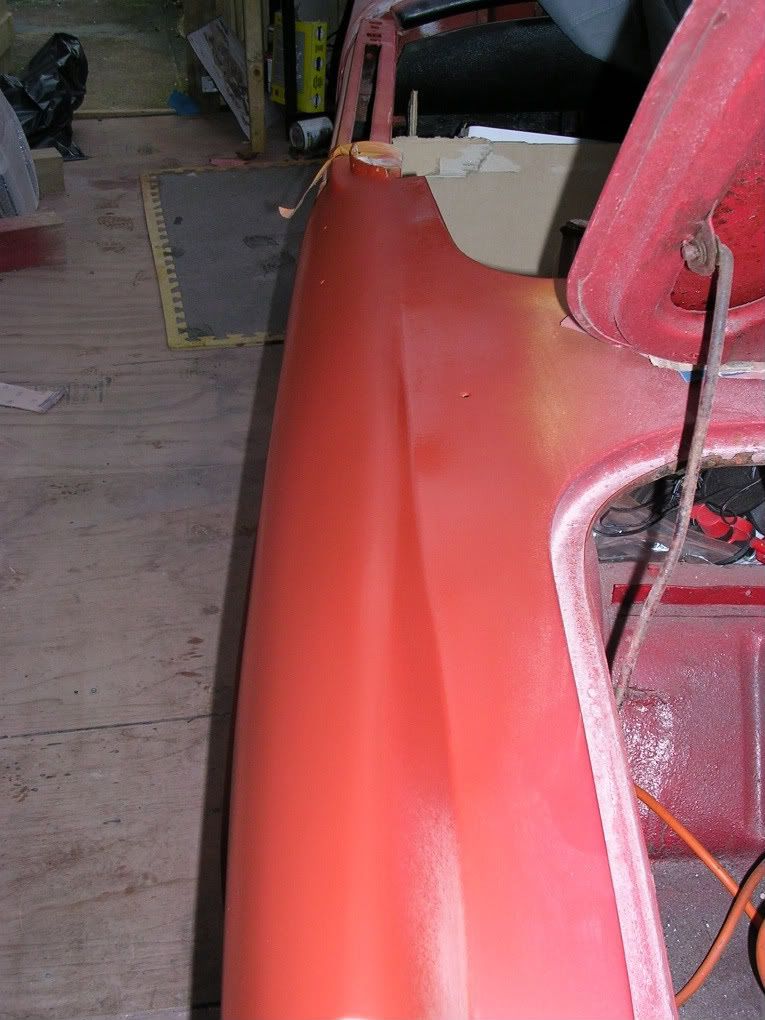 Also had to rebuild the rear light structure as it was a mixture of tin foil and filler. Again a bit more welding. 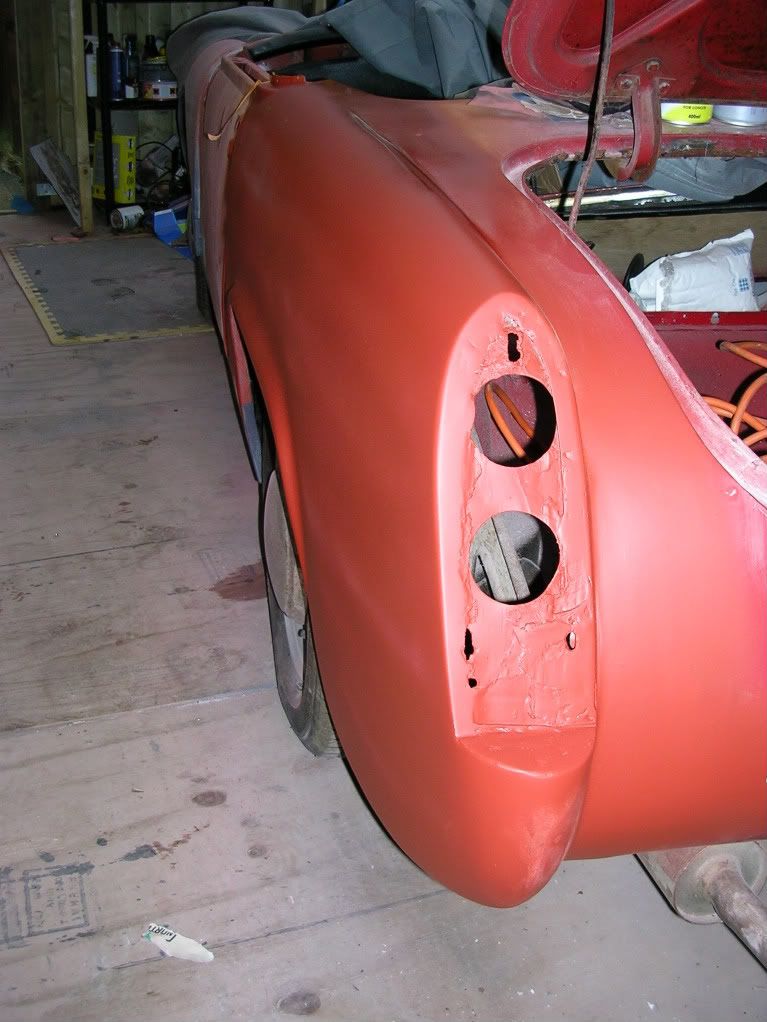 Now onto the boot and rear panels. This should be easier I Hope? |
| |
|
|
luckygti
Posted a lot
   I need to try harder!
Posts: 4,912
|
|
Oct 14, 2008 13:50:19 GMT
|
Looks good. Gonna look sweet in rally mode  |
| |
|
|
drwood
Part of things
 
Posts: 11
|
|
Jul 31, 2009 11:09:39 GMT
|
After a long time with the car covered up, holidays, christmas, birthdays, man flu etc. Finally got around to restarting the project. Wheeled the car outside for some spring sunshine 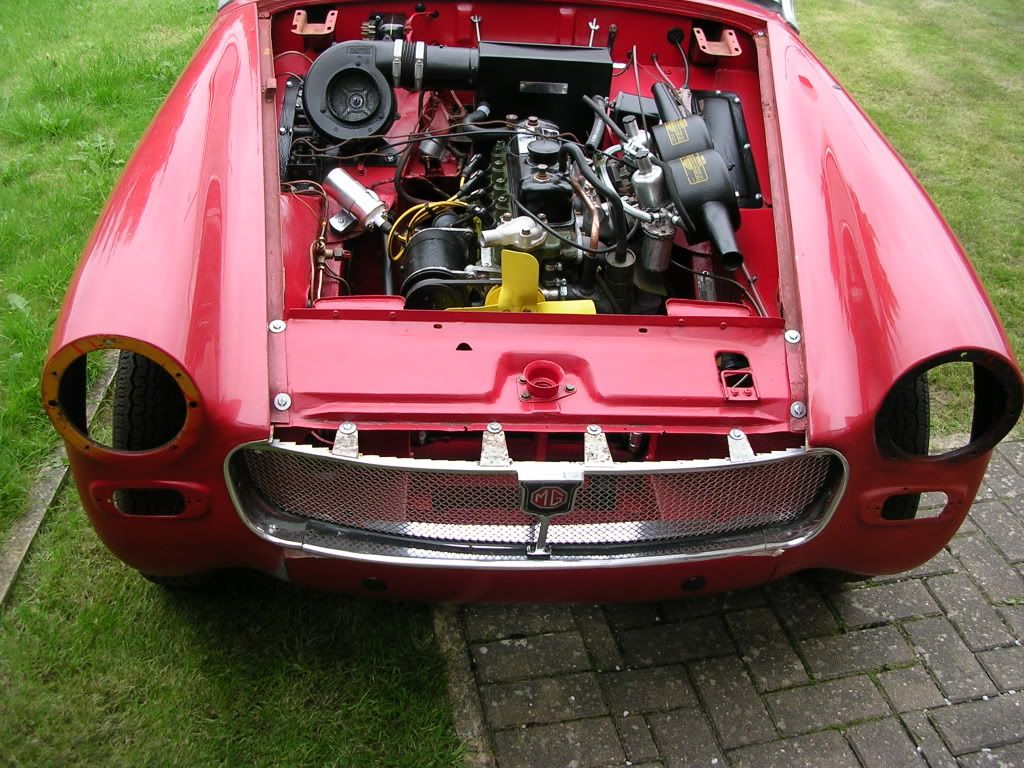 After spring ended (1-2 days) Rain and grotty weather resulted in having a go at the interior trim. So started on the door cards. 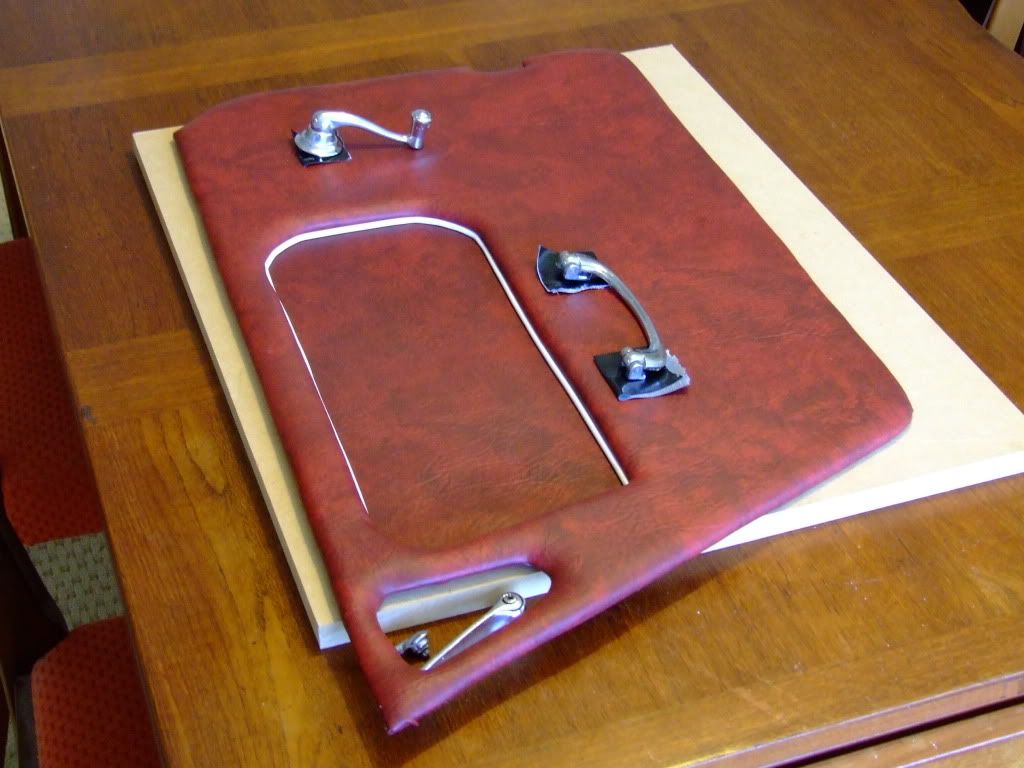 Then moved back into the garage to start on the front suspension, brakes and steering gear. Hub, brakes, wishpans all removed stripped, cleaned, painted and refitted. 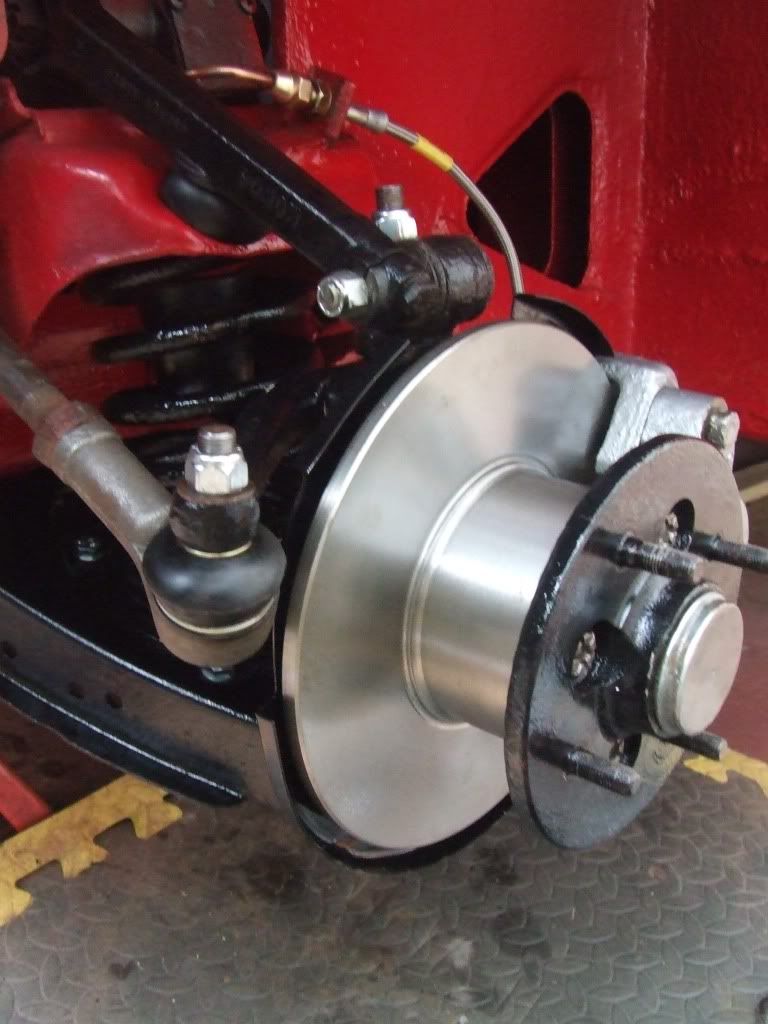 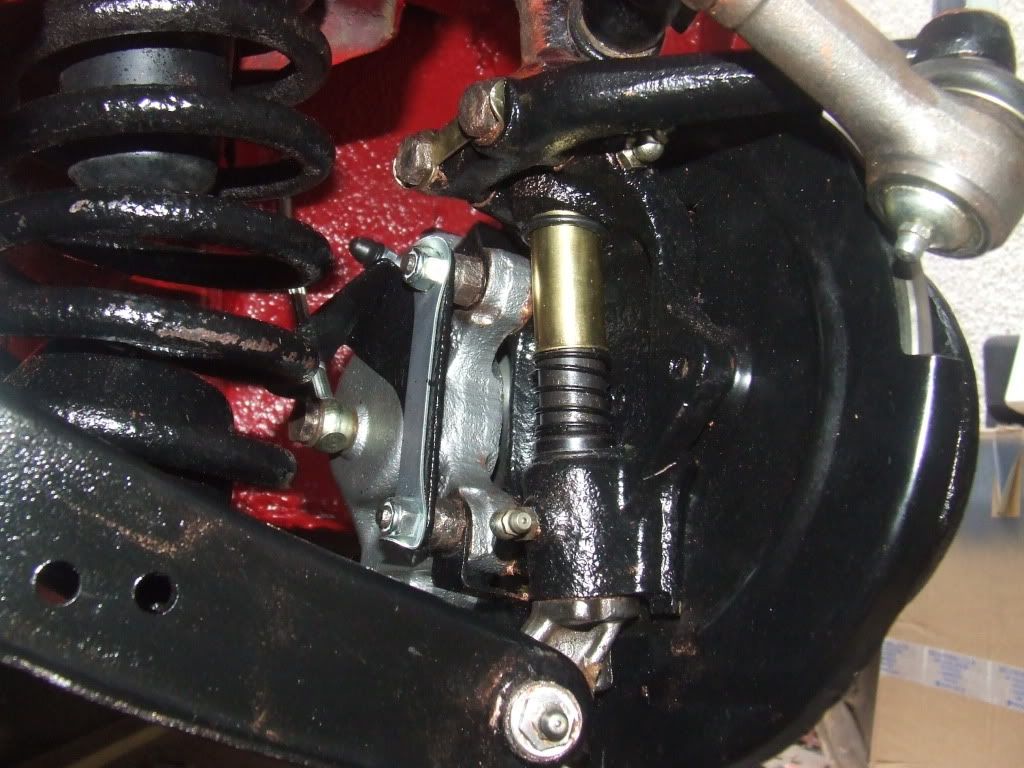 Front wheels stripped, etched, painted and lacquered fitted with new wheel covers 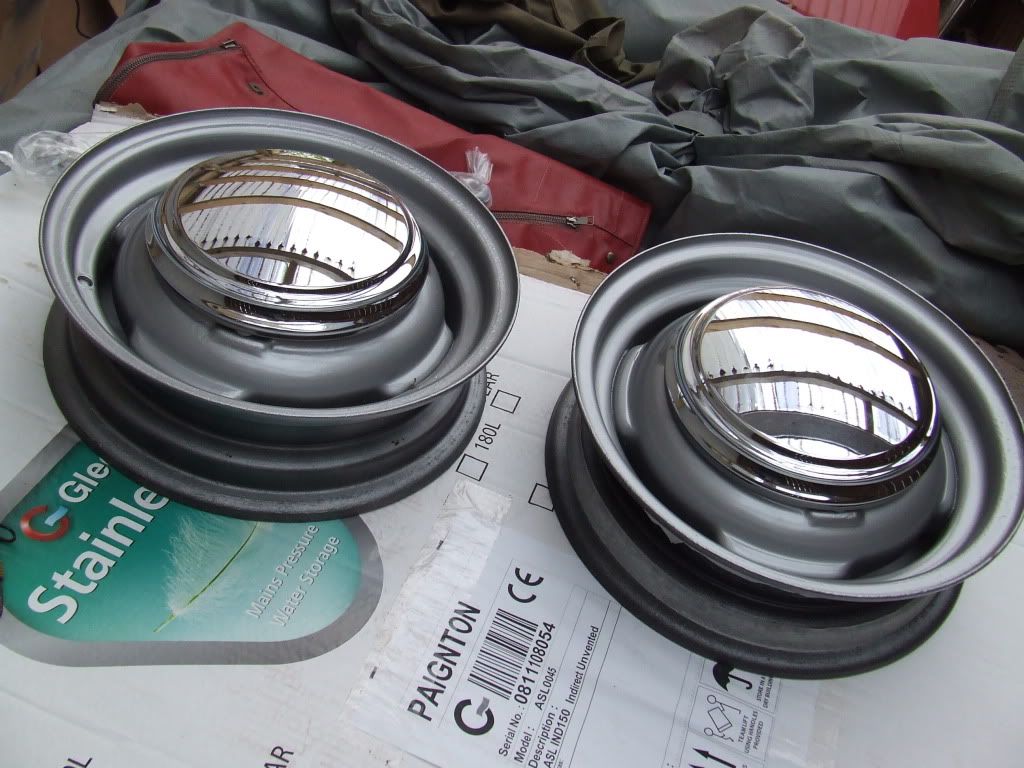 Then on to the rear of the car. The rear axle casing was completely shot, with corrosion, minor holes and the bump stop/check strap mountings rotted out. So after a few phone calls I located one at a local MG specialist in need of a refurb but sound. So all the rear mounting brackets etc removed, cleaned, primed and painted ready for refitting. Before 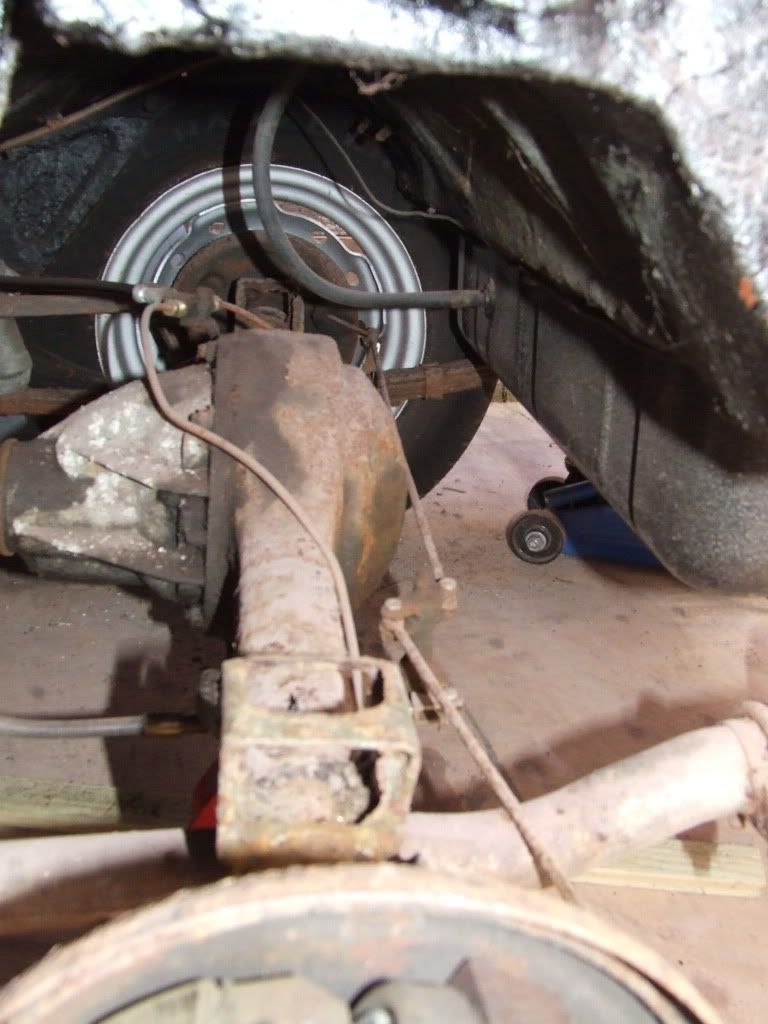 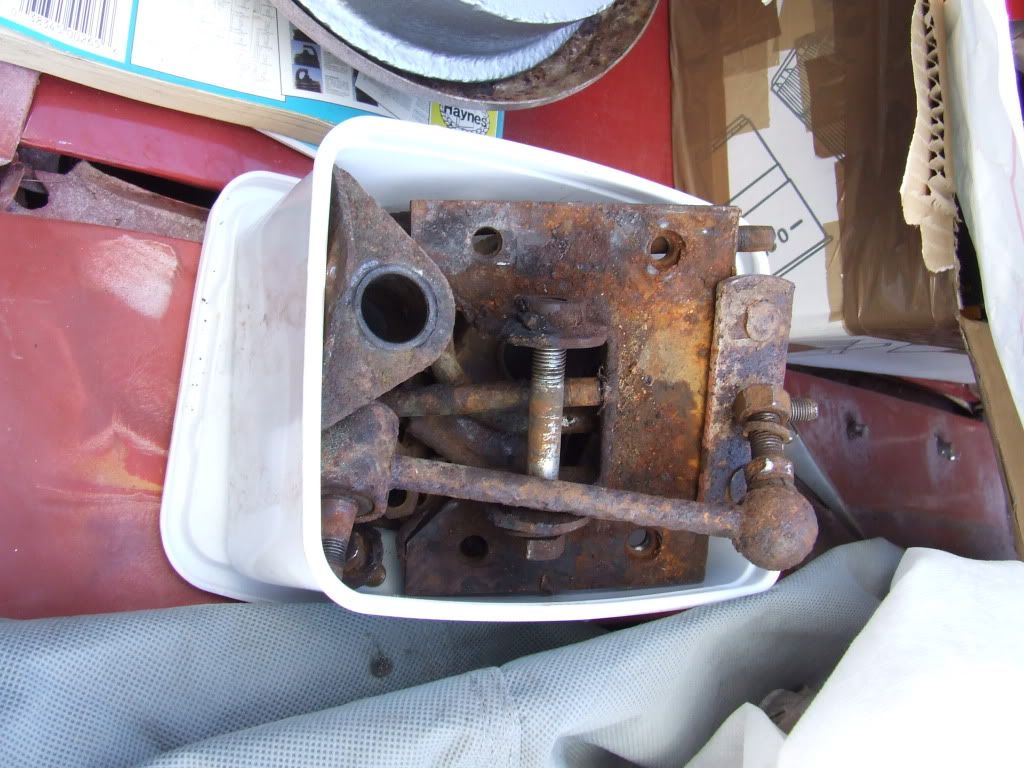 After 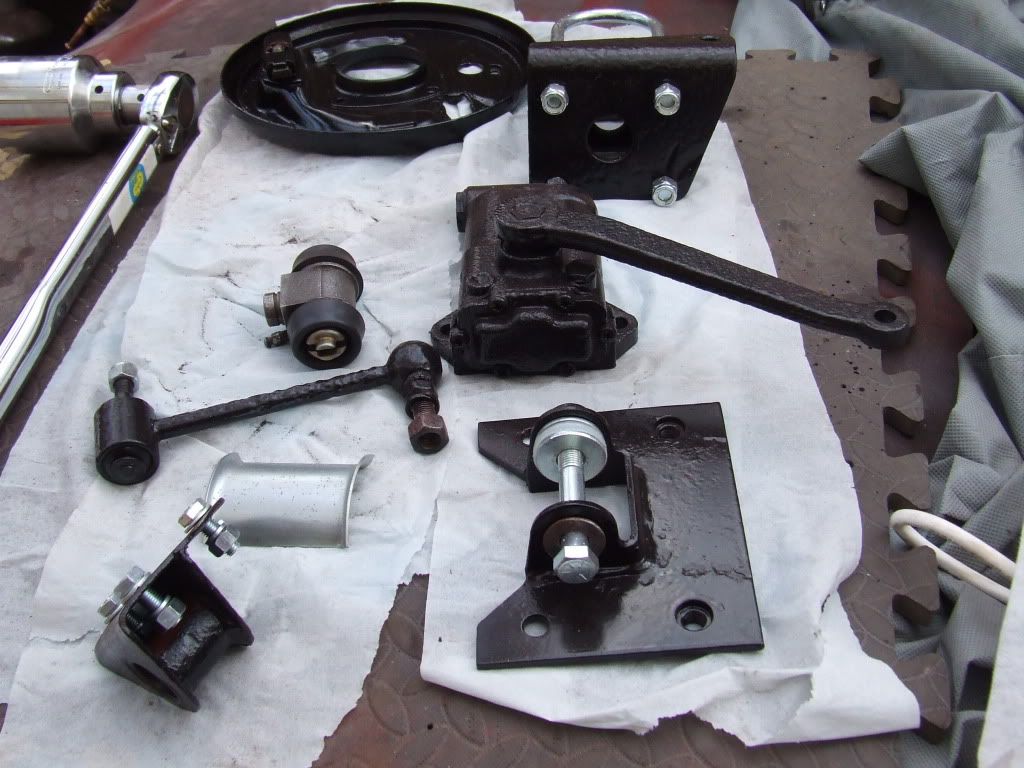 All fitted to axle and ready to fit to the car. 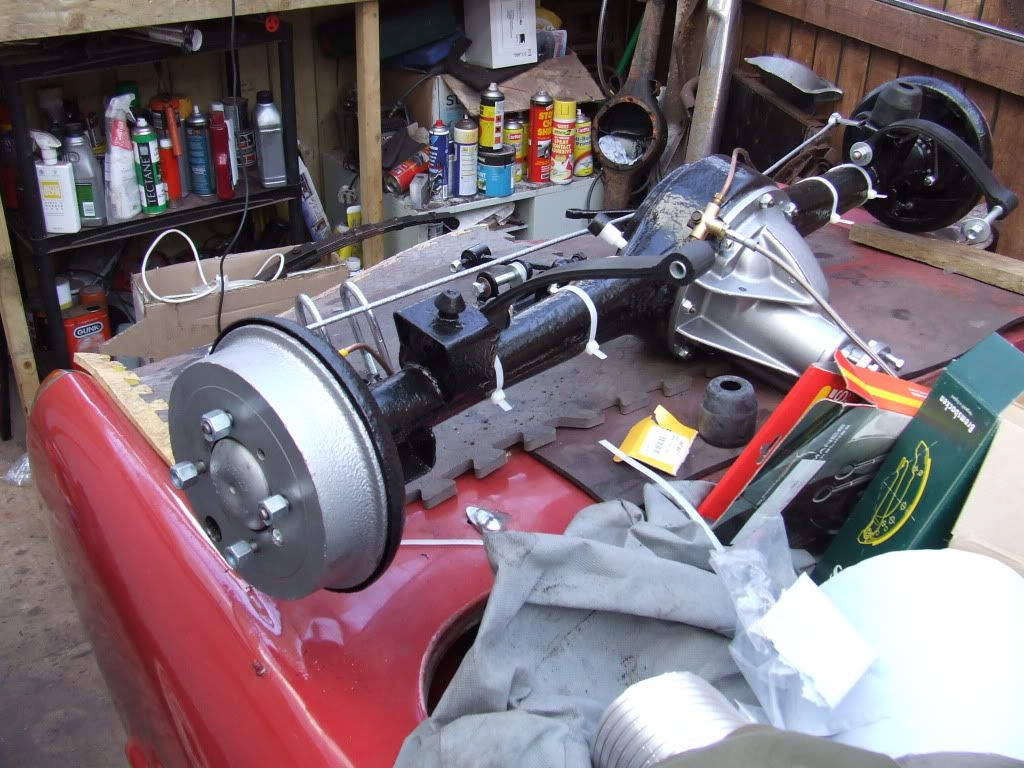 The fuel tank was removed, cleaned, rust treated, primed and painted. New fuel pipe and sender unit fitted. Filler pipe cleaned, painted and fitted with a aston type filler cap. 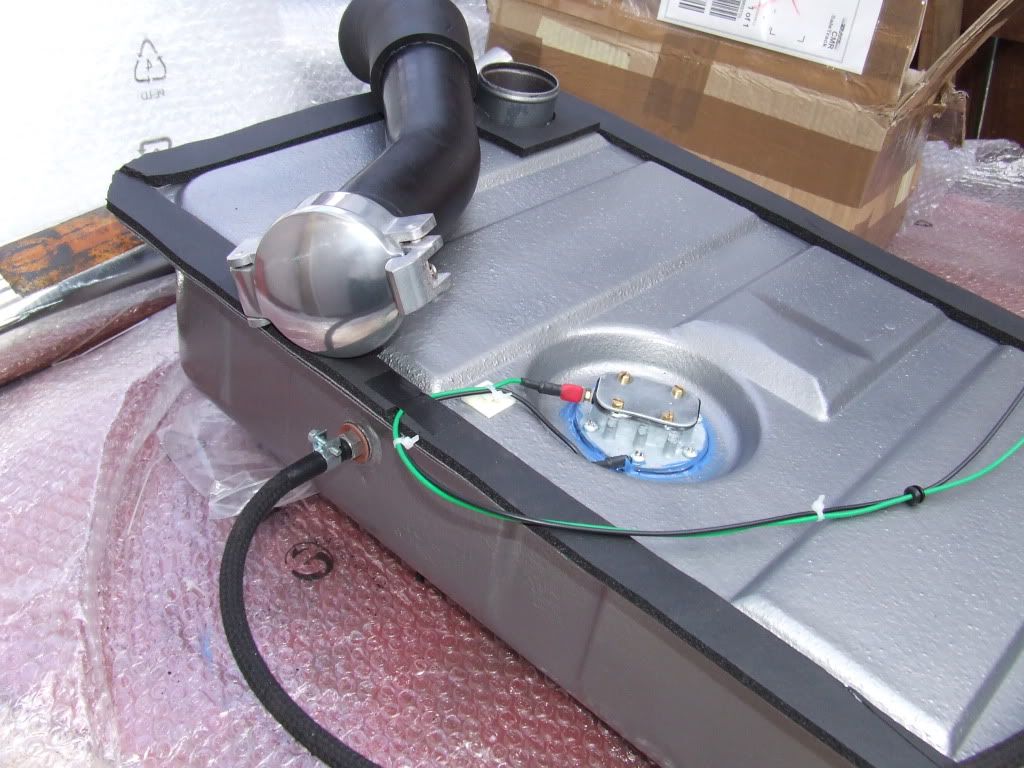 A spare wheel retaining strap was fitted in the boot (still to complete) 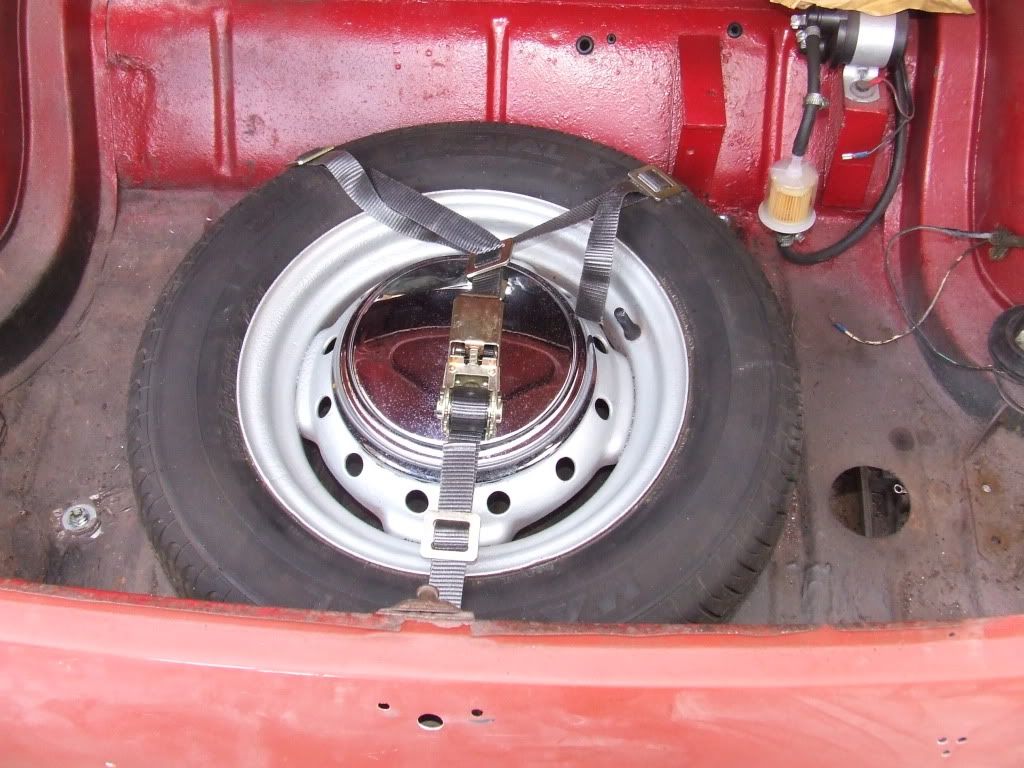 The the wonderful task of stripping off the original underseal, treating rust, and then reapplying the black stuff to the car, my hair, overalls, face etc. 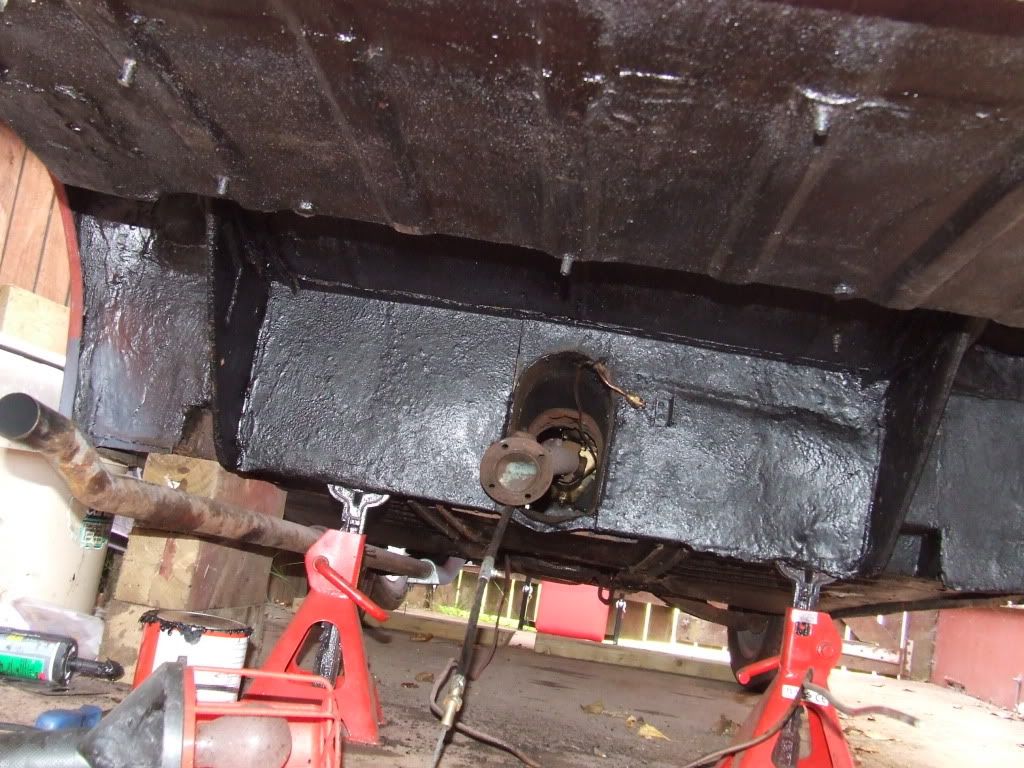 To be continued................. |
| |
|
|
|
|
|
Jul 31, 2009 15:37:57 GMT
|
|
Very nice car and good work. Looking at those aston style caps for the MGB as you say for the race look. What's the quality like and was it off ebay or someplace else if you don't mind?
|
| |
|
|
lae
Posted a lot
  
Posts: 1,045
|
|
Jul 31, 2009 16:05:42 GMT
|
|
Excellent work, I want (another) one as soon as I can afford it
|
| |
Currently:
Mk1 Focus blandmobile
Formerly:
1969 MG Midget
1972 Avenger GT
1981 Datsun Cherry
1989 Corolla
1979 Mercedes W123 200D
1995 Ford Falcon
1996 Ford Telstar (bet you had to google that one)
|
|
drwood
Part of things
 
Posts: 11
|
|
|
|
After pottering around for some months doing pretty much nothing on the car I have now restarted - full speed ahead.. Fitted a anti roll bar which involved drilling the front chassis arms to provide a suitable through fixing for the bar fixing clamps. 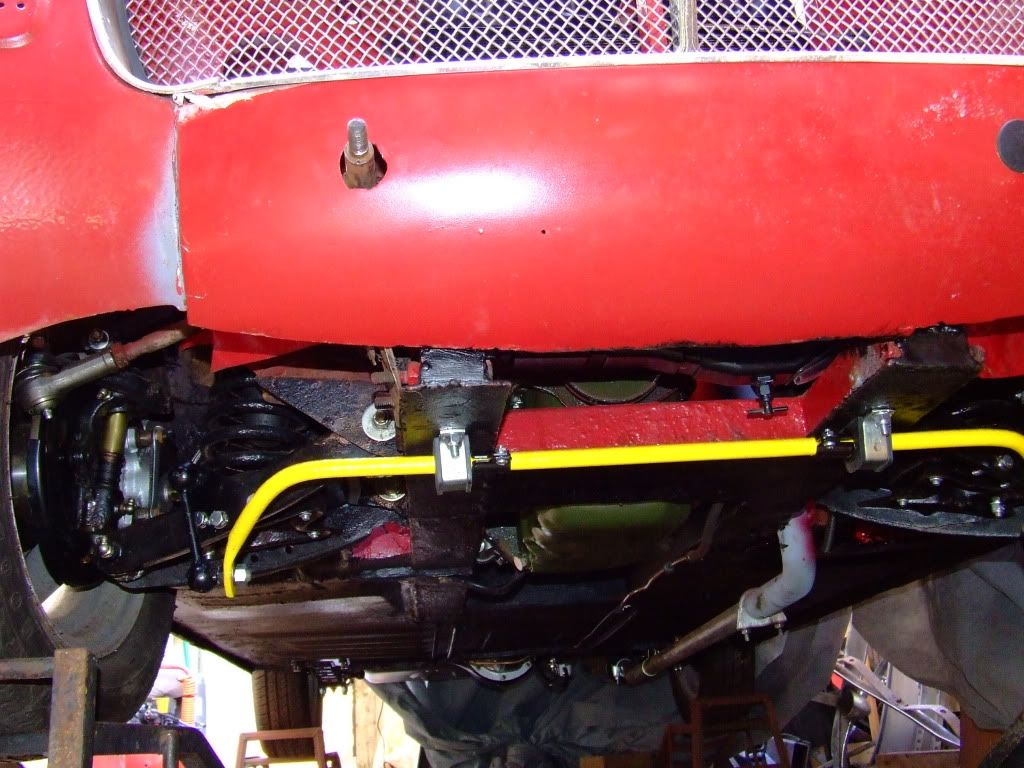 Then started on the painting preparation. 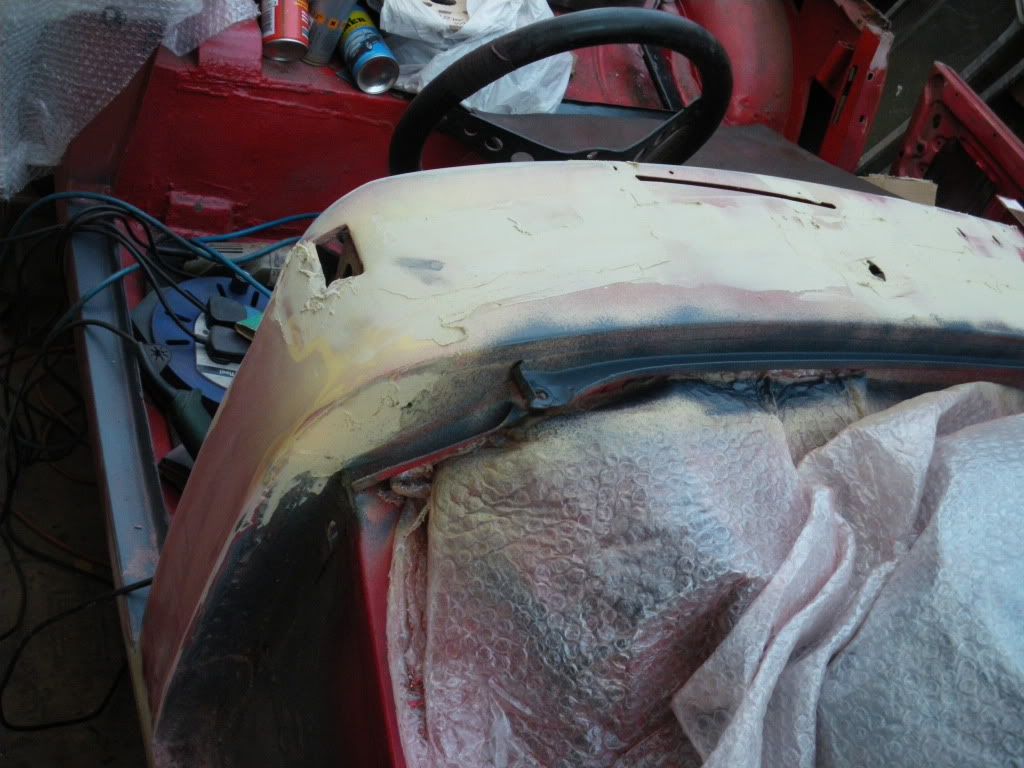 Filling, sanding, filling and primer all ready for spraying. I bought a second hand 2.5Hp 50 litre compressor and some low flow spray guns. I also obtained a large 50kg Calor Cylinder and piped it up to the compressor to give more storage and a bit of a buffer to stop the compressor constantly cycling on/off. As my existing bonnet front was beyond repair I purchased a reasonable second hand one and with a bit of TLC had it looking good. Ready to paint? I was just about to purchase some Tartan Red cellulose and thinners etc etc when I came upon a interesting web site about painting your car with a gloss roller. wiki.club8090.co.uk/index.php/Bodywork_and_Glass_Roller_paintingPaint your car for $50, you gotta be joking!! Anyway I read on and purchased the DVD, and after a lot of web research I thought, why not its worth a go..... Rollering offers much more convenience with a winter DIY paint job. No overspray, no temperature worries, cheapness, easy to rectify, has an anti-rust content and so on. So I bought the "Rustoleum Combi Color" paint from Avenue Coatings as a special mixed 2.5L BMC Tartan Red for £56. Standard RAL colours are £25. Rollers from B&Q (High Density foam Type, not the fluffy ones) And set to work First Coat 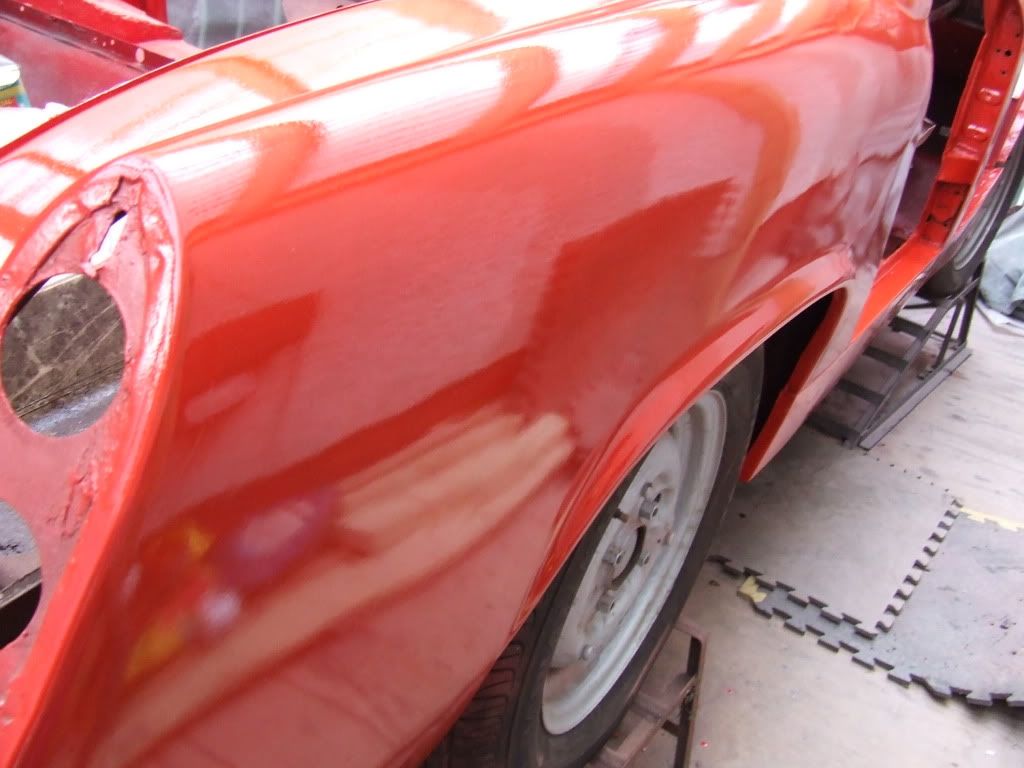 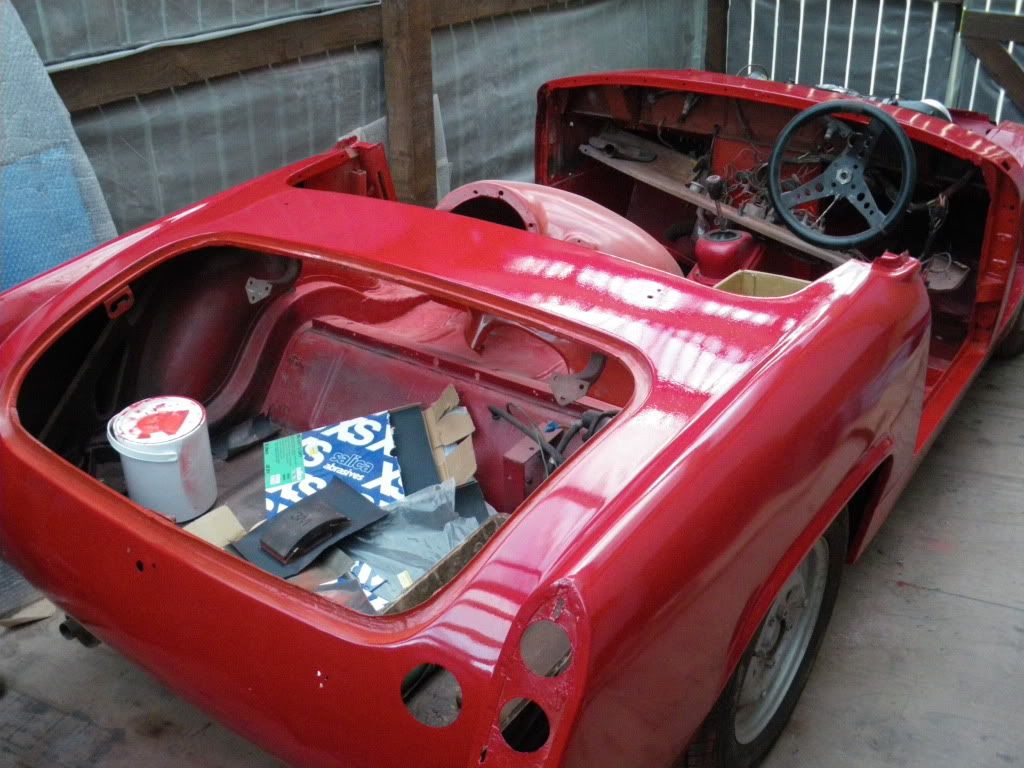 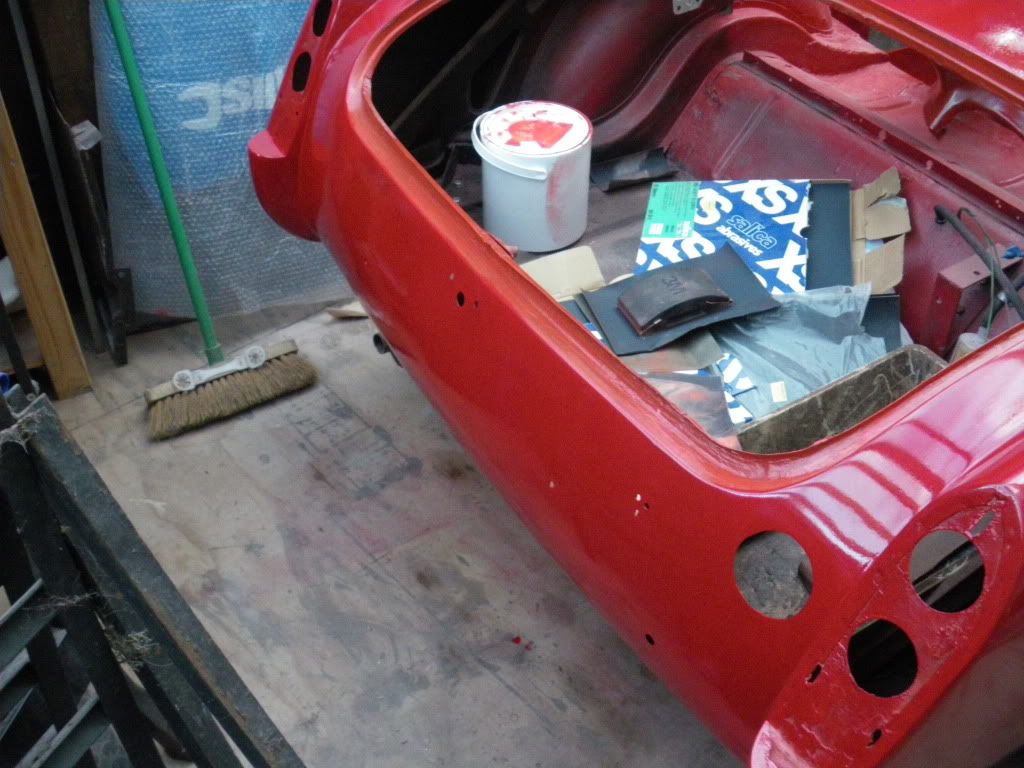 Have to say that the finish achieved with 1 coat is outstanding and not unlike the slightly orange peel finish you get on some new cars. Paint will require 4-6 coats with rubbing back everyone-2 depending upon the finish. and then a final polish. Should take 1-2 months in total so watch this space. |
| |
|
|
drwood
Part of things
 
Posts: 11
|
|
May 24, 2011 16:20:30 GMT
|
A bit of an update. Cracked on with the painting over Christmas and Early 2011 despite the low temperatures on the odd day when it was 5-10 degC. Painting has gone reasonably well. There are a few blemishes where I rubbed a bit too hard, but for £100 I cant complain. 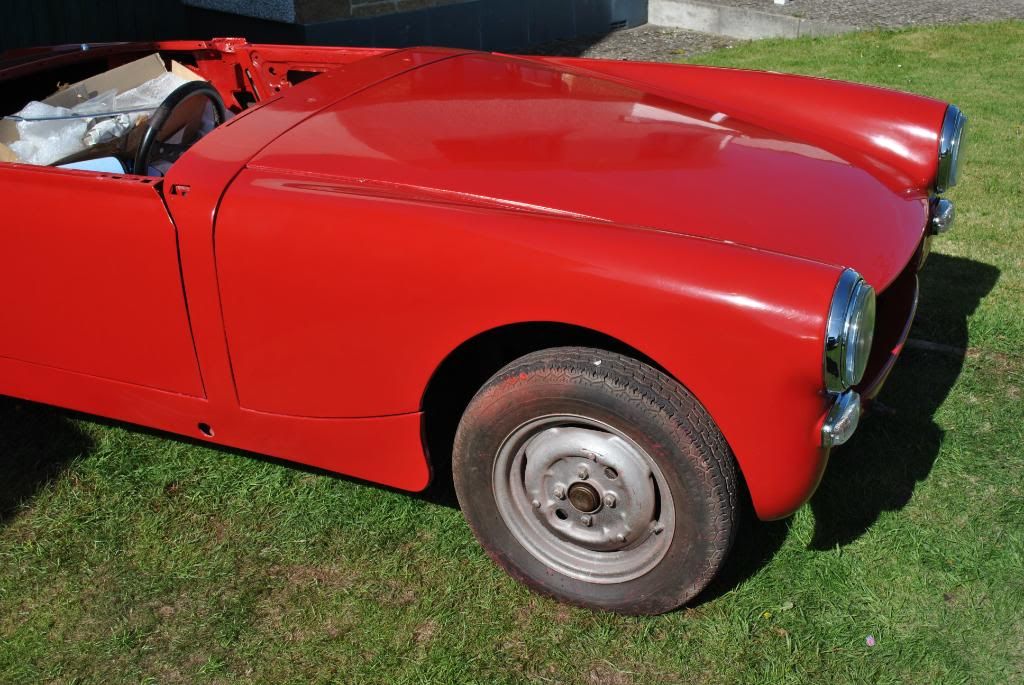 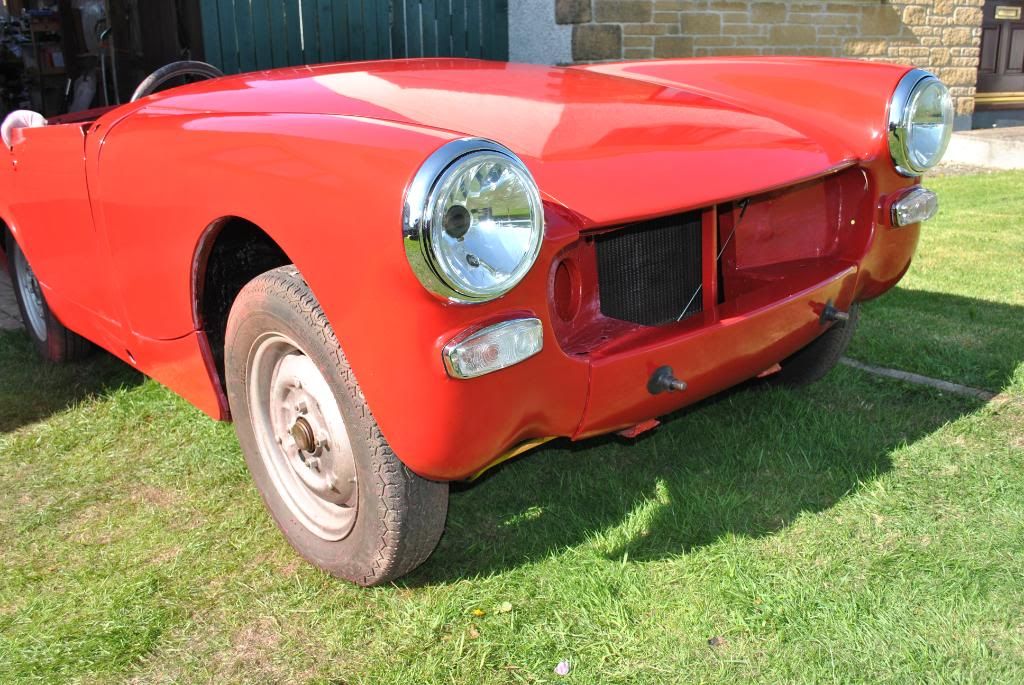 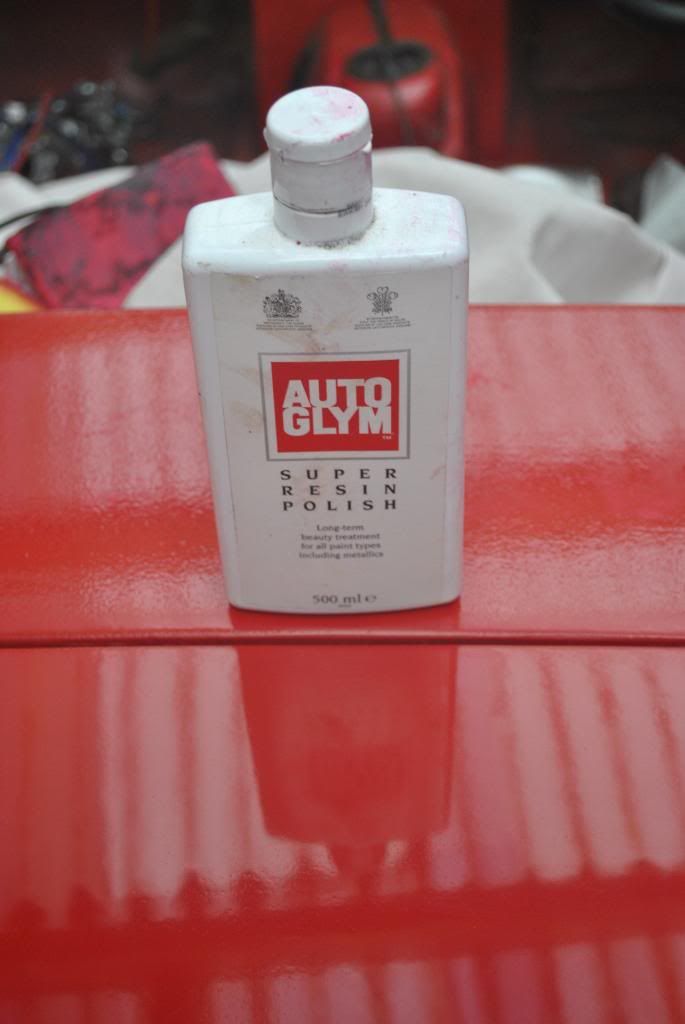 While the paint was curing after compounding I decided to refurbish the cylinder head and fit the new Weber sidedrafts. All painted, polished and looking good. 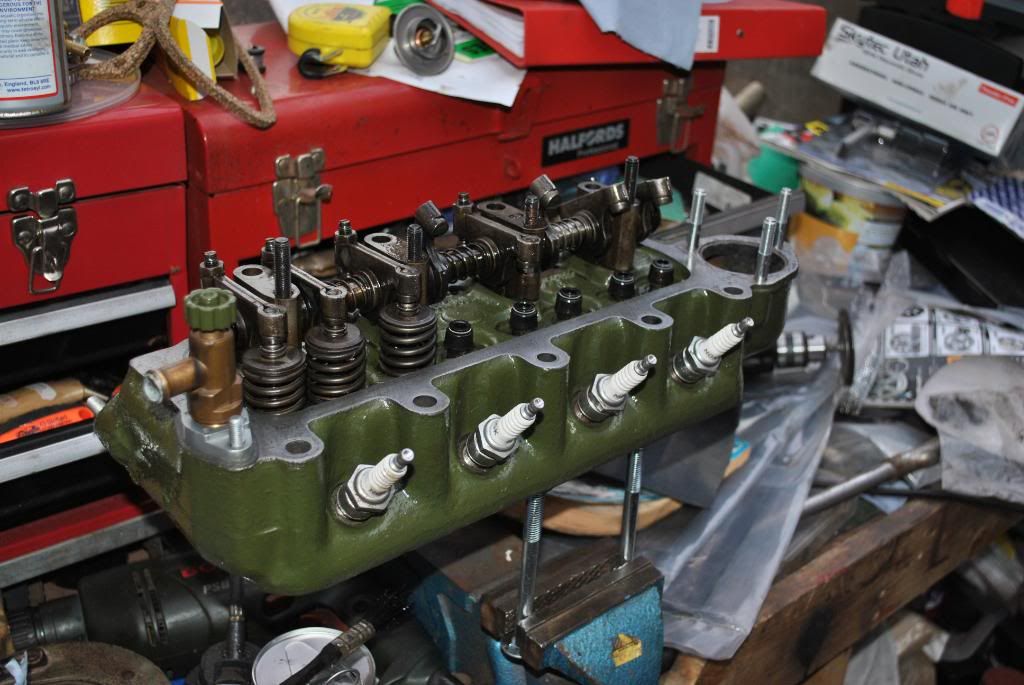 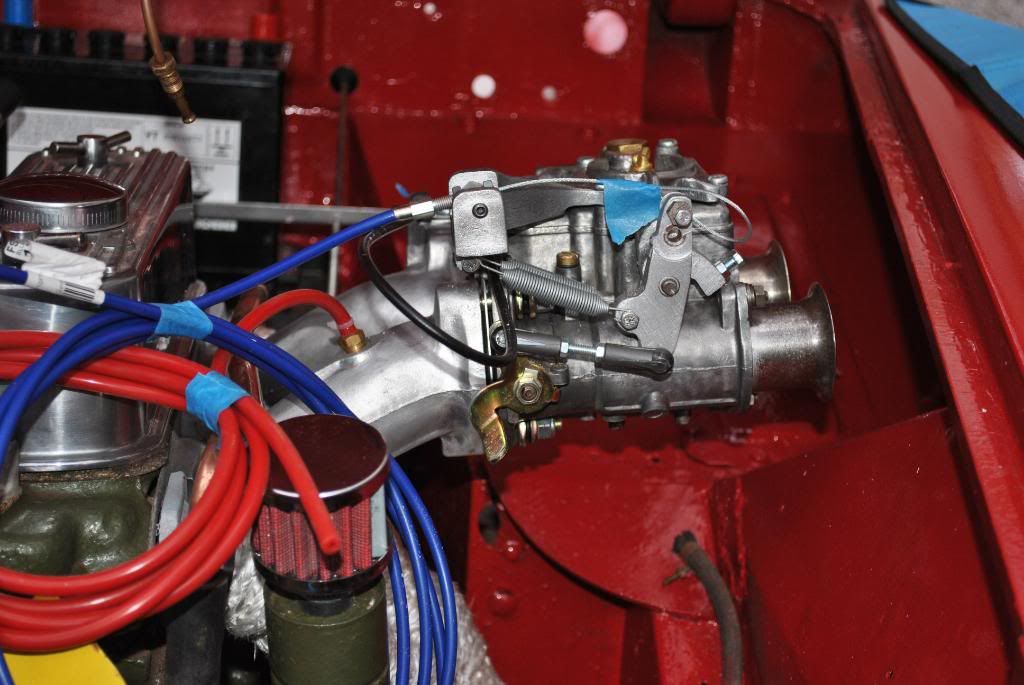 Insulated the exhaust manifold to assist with under bonnet temperatures and fuel / air over heating 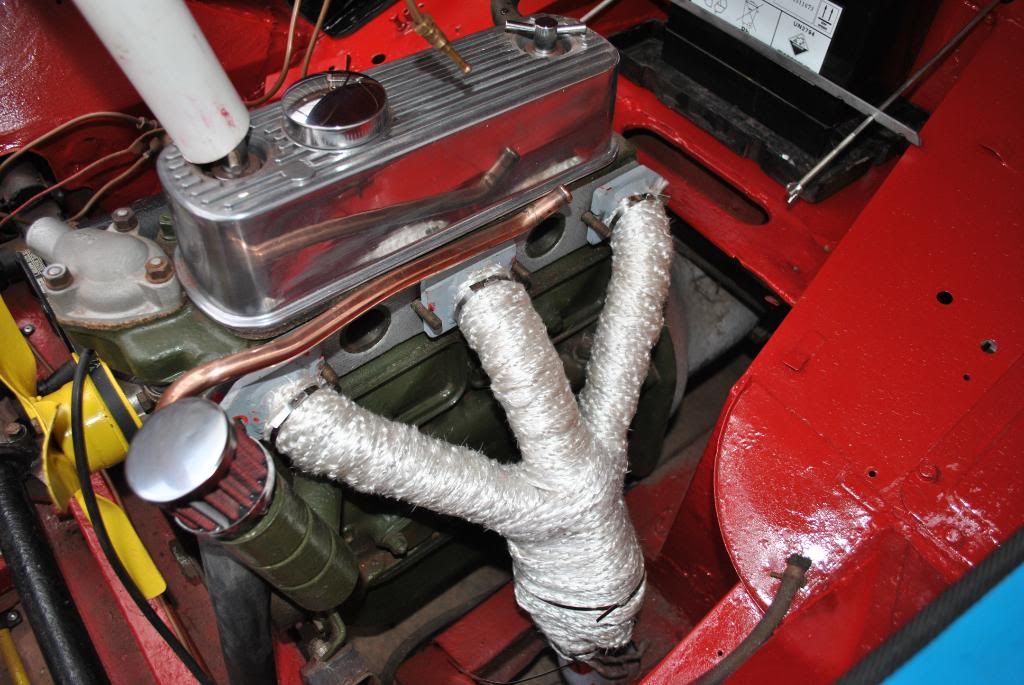 During the past three years of restoration the engine bay has got dirty somehow so I painted it again, this time with the roller 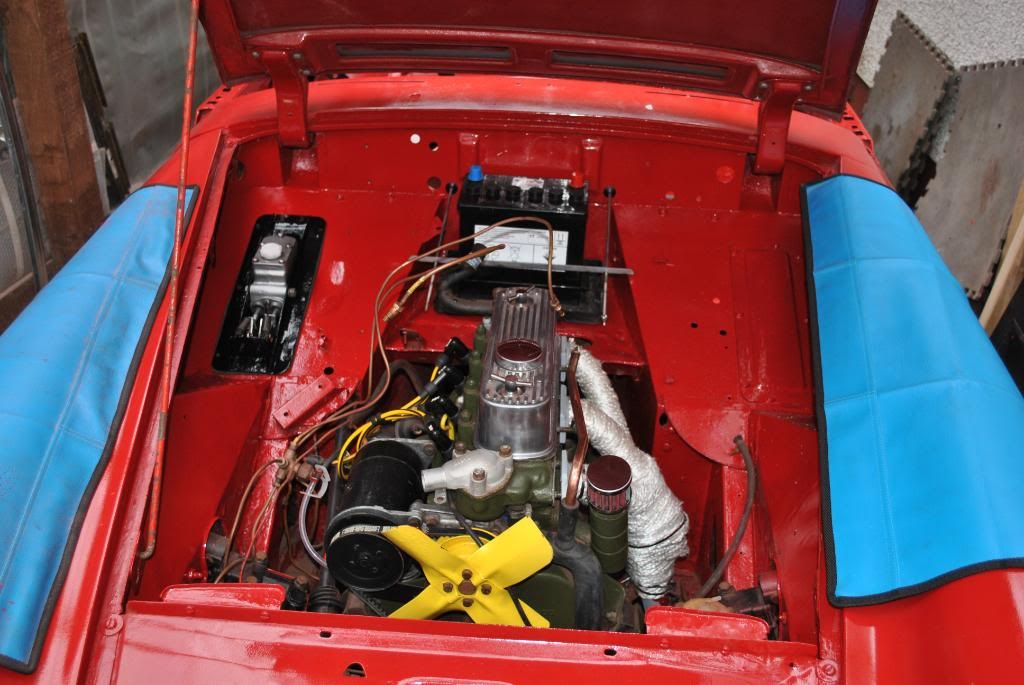 So now onto the fun stuff........ Front grille refitted, lights fitted 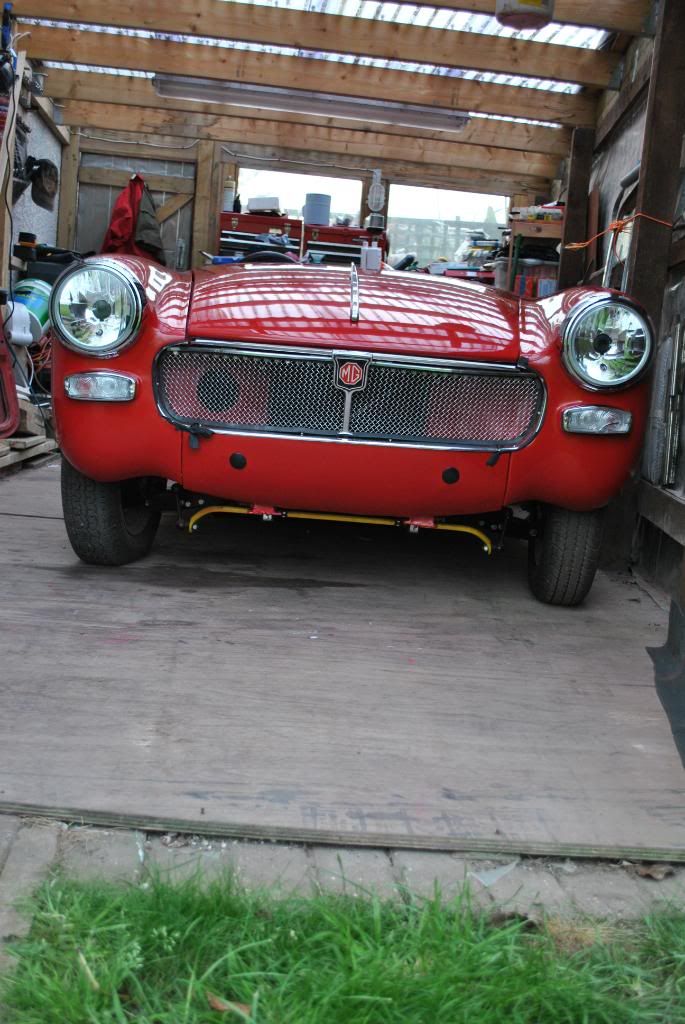 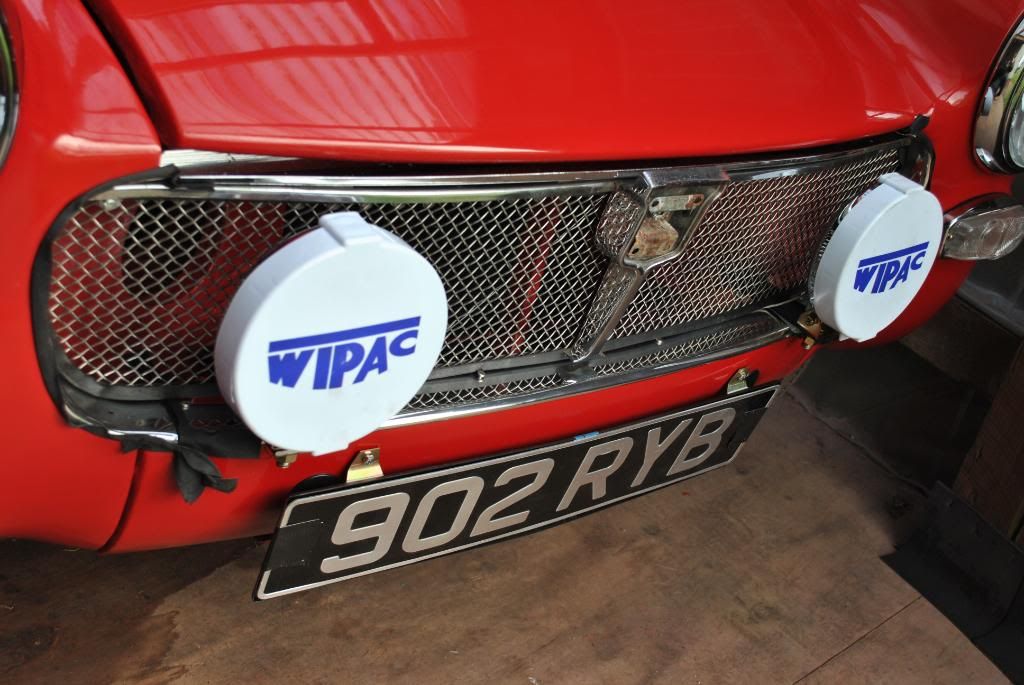 Rear end built up with lucas reverse light and leather boot strap, fuel filler 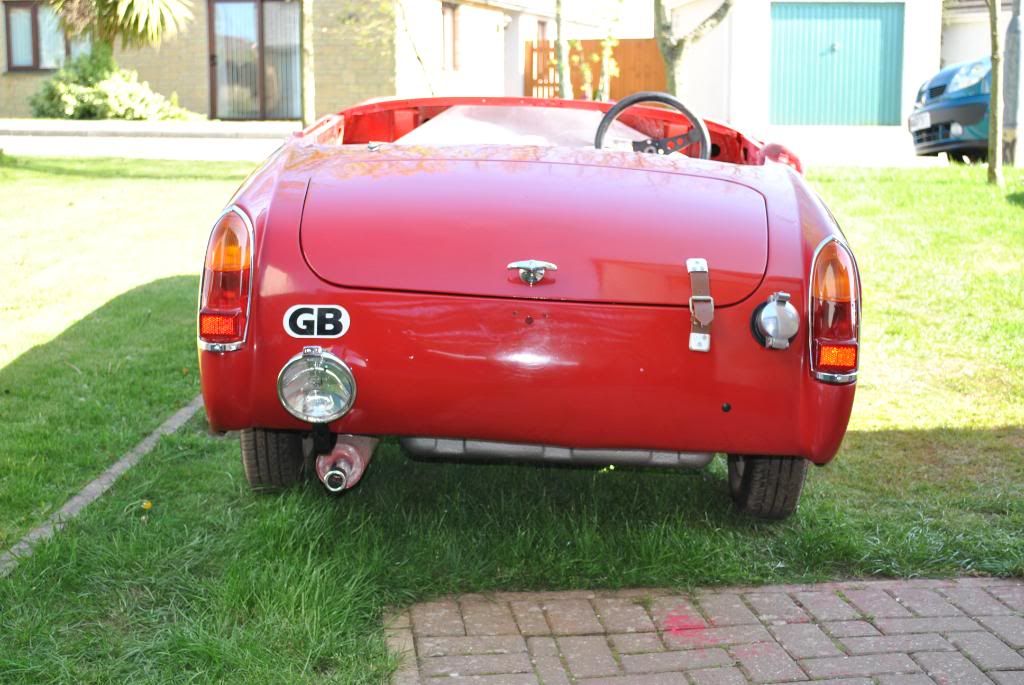 Sorry no pictures, but windscreen fitted, refurbished dash installed, window gear and wiring done. Should get engine running this weekend - fingers crossed...  |
| |
|
|
|
|


 Floors look good and solid too! Looks like a really good base to work from


