|
|
|
Dec 24, 2009 18:30:04 GMT
|
|
Very easy thrasher, took about 30 min, don't forget to drill the hole and attach the thermostat in the bottom section of the fill section (see bottom pic, bottom left hand corner). You'll see the plastic catchment for the lock nut (moulded in) the hole you need to drill is 20mm.
As of yet it aint been pressure tested, but I think it will be fine.
|
| |
|
|
|
|
|
|
|
Dec 24, 2009 20:20:04 GMT
|
Cool as a cumcumber, any chance of a couple of pointers with regard to procedure ?? thanks.  Mr I can't get a new small block radiator so I'm going to have to make one.. ;D |
| |
|
|
|
|
|
Dec 27, 2009 21:58:34 GMT
|
|
Erm its easy.....
Take your old curse word crusty rad and fold all the tabs back that hold it on, to the top fill section.
Take top fill section and drill 20mm hole for the thermostat. (you'll see the catchment bit)
Take your mk2 16v rad, and take the thermostat out, and 20mm lock nut. Attach to your new cleaned top fill section above.
Grab hold of your 16v rad again and bend back all the tabs, same as you did on your old rad.
Offer the rad section up to your top fill section, and clamp the two together, between two pieces of wood.
Gently tap back into position all the tabs. then go round again knocking them all down with a chisel/screwdriver.
Done.
|
| |
|
|
|
|
|
Dec 27, 2009 22:00:32 GMT
|
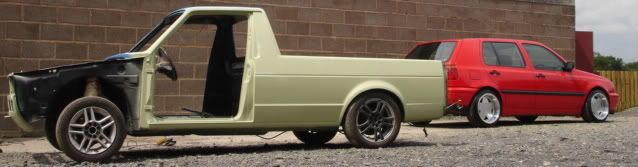
Well finally got to do some more work, connected a few more wires for the ecu, notched and fitted the airbox. Still got to connect water hoses, brakes, reverse switch wires, fan wiring, washer pump..... But i'm gonna get it running then sort the other not so essentials out. Few pics below. Take one mk1 gti air box.... And Hack 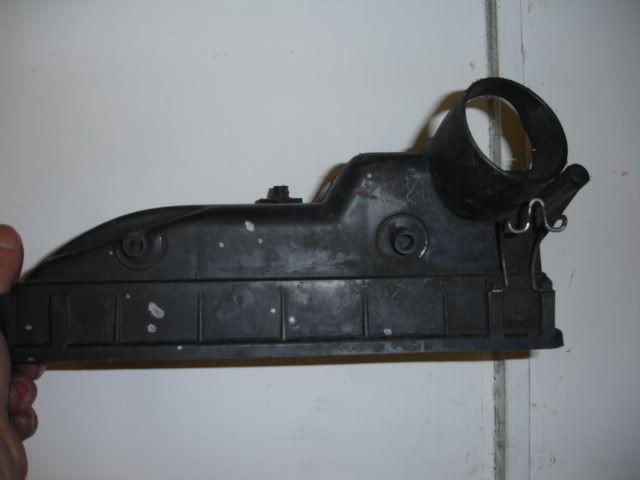 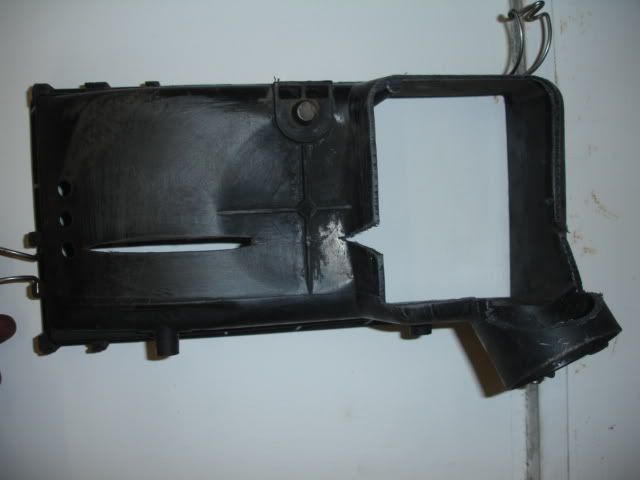 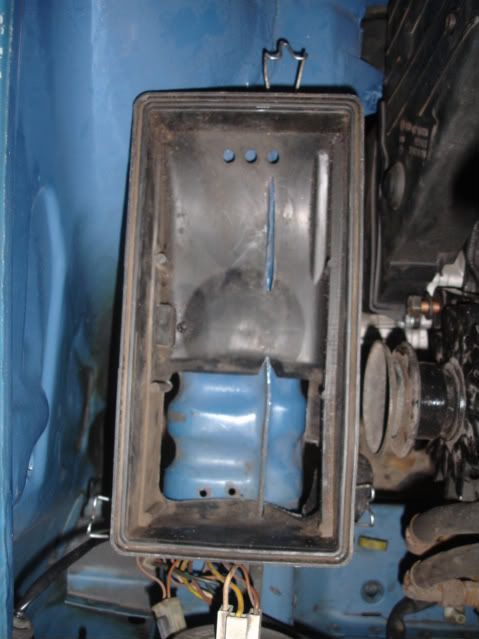 Soldering the larger wires, which were to big for the solder sleeves using the hook method, these were then double shrink sleeved. 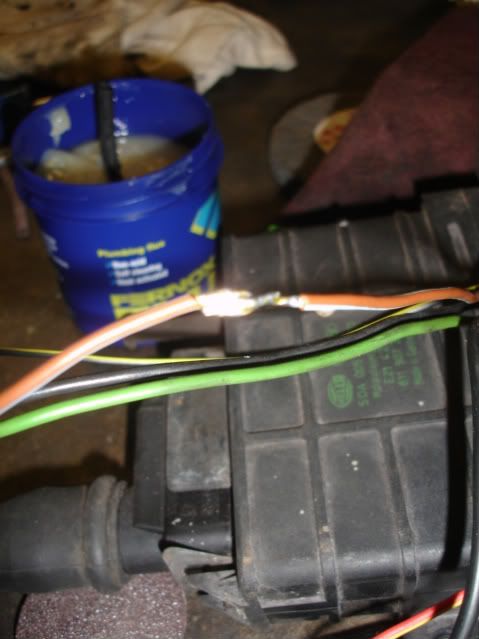 And as I left the old girl, nearly there.... 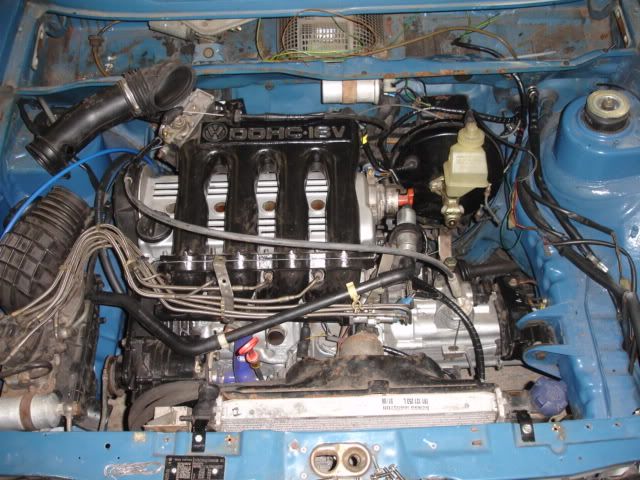 |
| |
|
|
VWDan
Part of things
 VW Jetta MK1, VW Caravelle 1.9TD, Audi A6 Tdi Avant
Posts: 841
|
|
Dec 27, 2009 22:49:22 GMT
|
 Coming on well.
|
| |
If only everything in life was as cool as a retro VW racer.
|
|
|
|
|
|
|
|
cheers Dan.
Well she runs, albeit a tad lumpy but she works woohoo. I'll put the standard exhaust back on this week hopefully it'll be on the restrictive side but it'll do so i can set the timing up so she idles better. then i'll get an exhaust fabbed up and then rolling roaded.
Other than the above I just need to finish tinkering with the brake lines then i'll take her for a spin
|
| |
|
|
|
|
|
|
|
awesome looking car mate and i'm sure she will go well with that lump in  Dan |
| |
Last Edit: Jan 4, 2010 19:38:48 GMT by Dan_betG
|
|
|
|
|
Jan 27, 2010 20:59:10 GMT
|
Time for an update then eh finally found some time again..... A may have told a few of you about my cam belt issues and my worries about shells etc.... Well first a video of the problem in question..... So after stripping off the cam belt and the rest of the gubbins I found the problem... 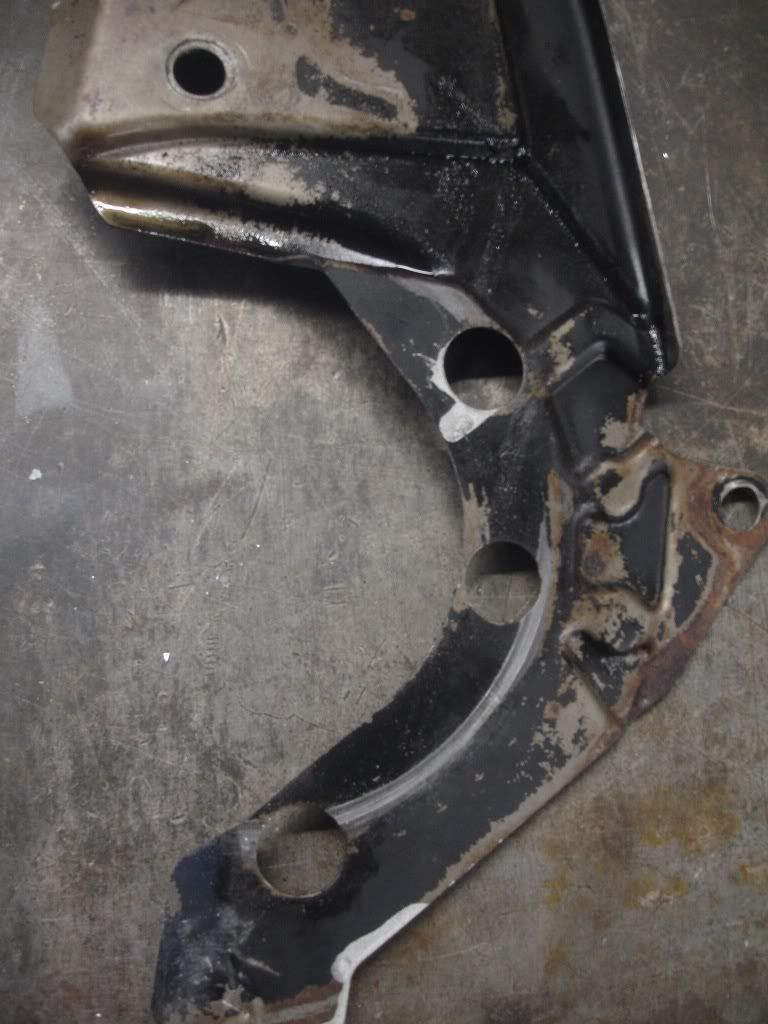 So I put it all back together again checking that none of the other pulleys rubbed anywhere on the plate.... Fail, the squealing had gone but there was still a rubbing somewhere...... then found the belt was rubbing on the cover plate where it peels off the tensioner.... so I cut that off....  Built it all back up again to check, which left me with this.... Which makes me a happy bunny :music:...... now to the next problem... 1/ Leaking radiator, one of the fixing slots to the top panel is leaking (nothing i've done) already have a remedy for it. 2/ Leaking rocker cover gasket. 3/ Align gearlinkage... what a curse word. 4/ Bleed brakes. 5/ Replce copper washer on fuel pump to accumulator line. ........ at the present speed.... I'll be done next month.. |
| |
|
|
|
|
|
|
|
|
Well today was the infamous maiden voyage, well underpowered but i'll put that down to ignition timing.... hopefully sorted soon. Also gotta sort the wiring nest out in the passenger footwell, and got a bit of a leak at the water hose where it joins the heater matrix hoses. No biggie though. the joiner pipe I used had no beveled edge, well thats what i'm hoping the problem is..... May still have an oil leak too, tomoz i'll know more, the wet patch will tell me i'm sure.
|
| |
|
|
|
|
|
|
|
Had another water leak so I fixed that, filled with water and anti freeze also tidied all the wiring up in the passenger footwell then had a fettle with the accelerator pedal as I had no where near enough leverage to open the second butterfly on the throttle body. I ground the weld off and rotated the flat lever bar around the pedal and welded it back on in the correct position, then warmed up the bar with the oxy torch and bent it down..... Now we have full throttle without fouling on the carpet/wheel tub I'll get pics up....soon. So then came the obligatory "Try it out, see if it works" , kinell yes, and that was only n the wet country lanes I pulled back into my unit with the biggest grin. Still over fueling, any ideas on what that normally is ? |
| |
|
|
|
|
|
|
|
May 16, 2010 20:38:09 GMT
|
Small up date... Fitted a genuine sump today as the pattern one was leaking, also made a clamp for the battery. It'll do for now till I find something more appropriate. 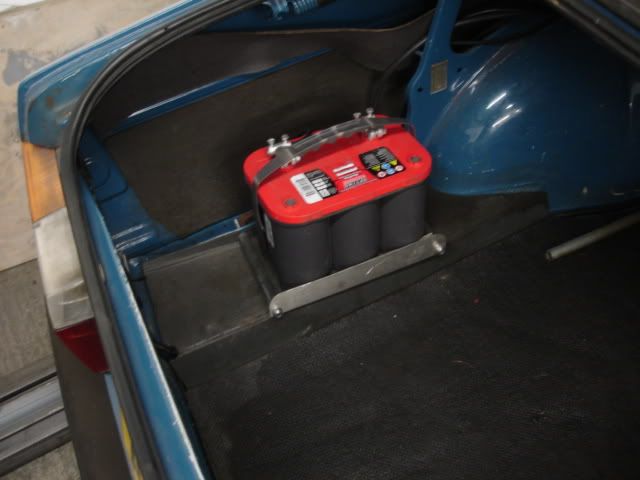 I've ordered a new blue carpet from Newton commercial which will be arriving soon hopefully, and I'll be using some old camping mats as sound proofing throughout. I've also decided to buy a carbon sunroof blanking plate from performance trim the sight of the fugly sunroof is pecking my head. Money has been a problem recently so the Jetta has sat in the unit gathering Dust, but i'm g |
| |
|
|