|
|
|
Mar 10, 2011 18:51:35 GMT
|
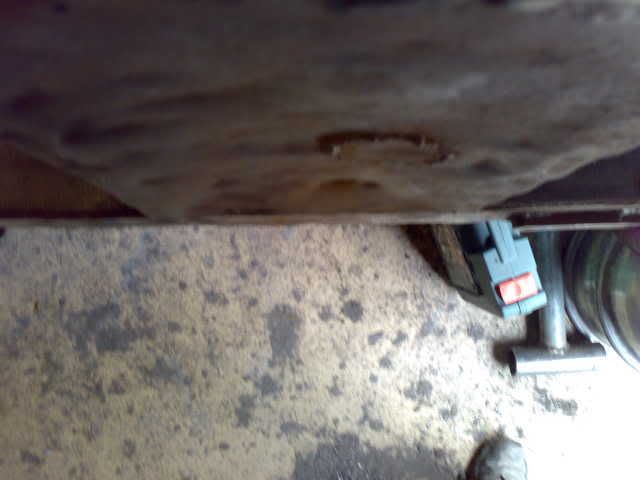
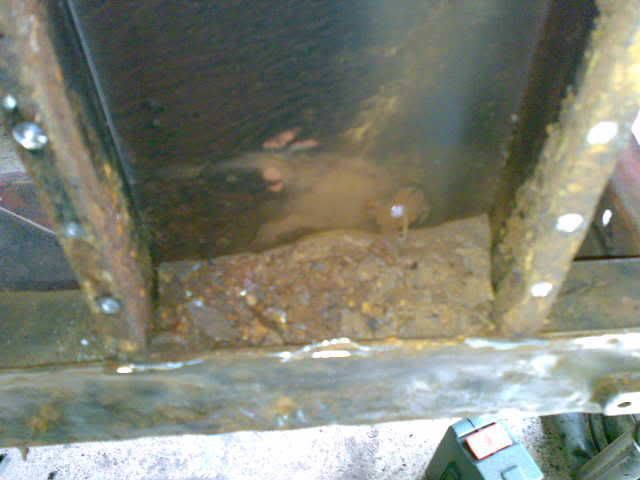
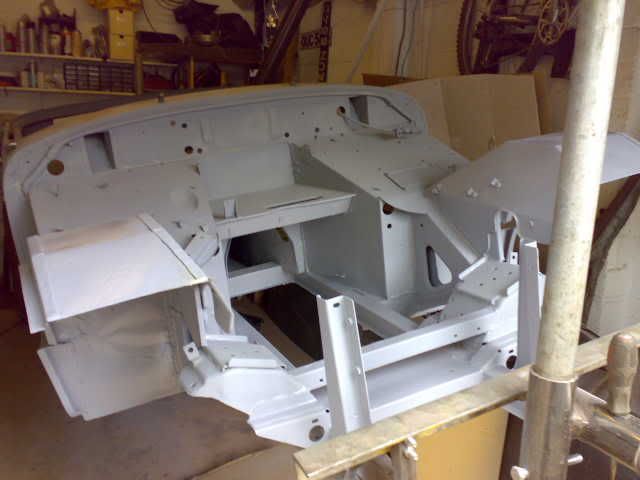
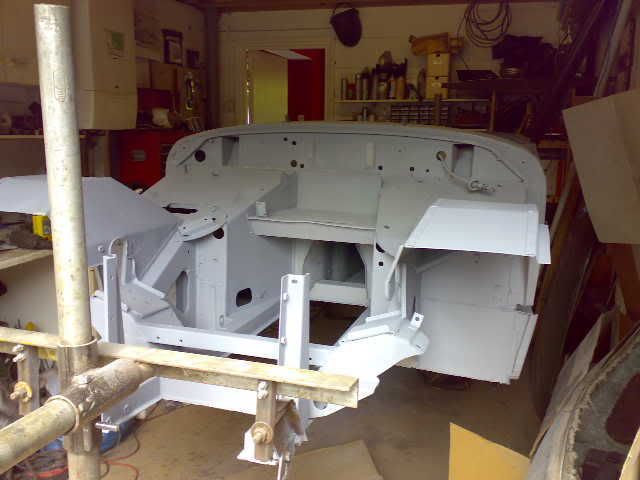
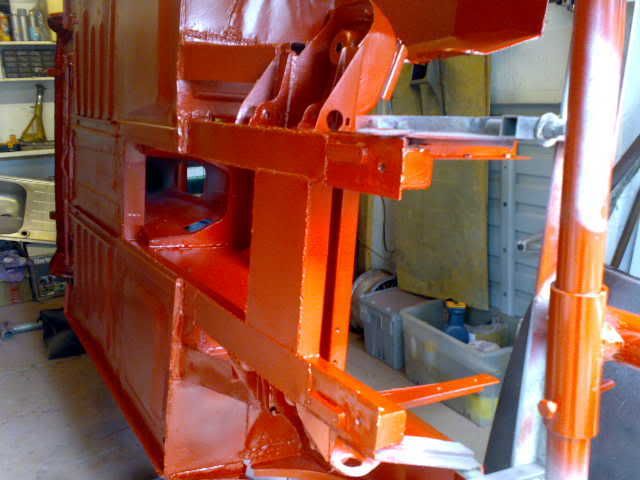
I've been threatening to put this up for a while and as the other build thread for this has gone forever it'll be good to have something on record again. An itchy bidding finger saw me buy this 1967 mg midget, it's an early chrome bumper and the first of the 1275's but it was far from original, not modded just a mismatch of parts, wrong grill, seats odd switches etc. 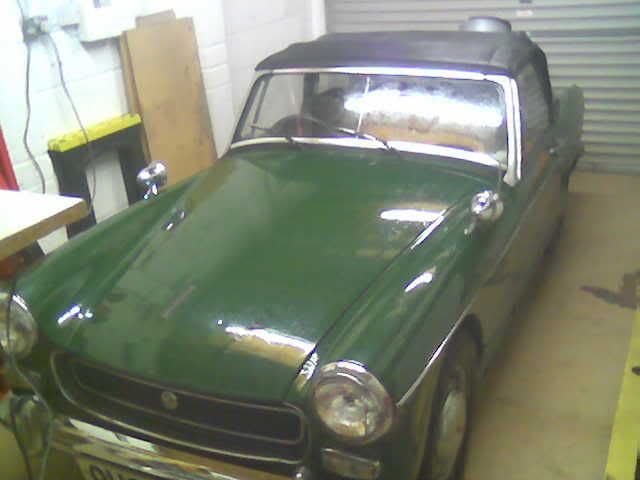 The problem with trying to build an original MG is the price of parts, they're all availabe but pricey and largely poor quality. The car was described as needing a small amount of welding for an MOT but beyond that of the current owner, the plan was to get it tested and take it from there, further inspection revealed it would be a full ground up restoration so a full strip down was the only way forward. 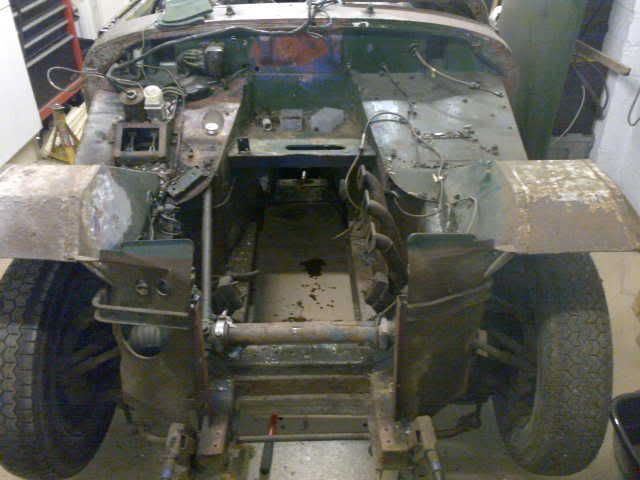 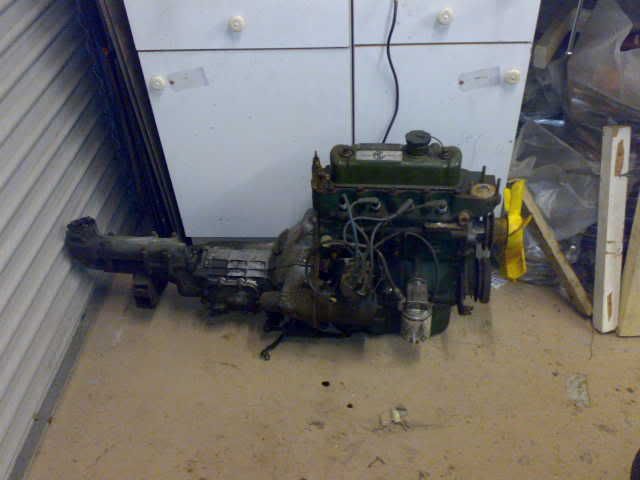 Front wings and nose were pretty bad, as were the splash panels (over £600 for the metal alone) but the only way was forward. At this point I had no intention of doing a build thread so there's a bit of a jump as I did inner and outer sills, rear archers, inner and outer and the closing panels under the arches. All these jobs are a lot easier when the car's stripped down and upside down so I built a jig to roll it over, nothing fancy but super strong, 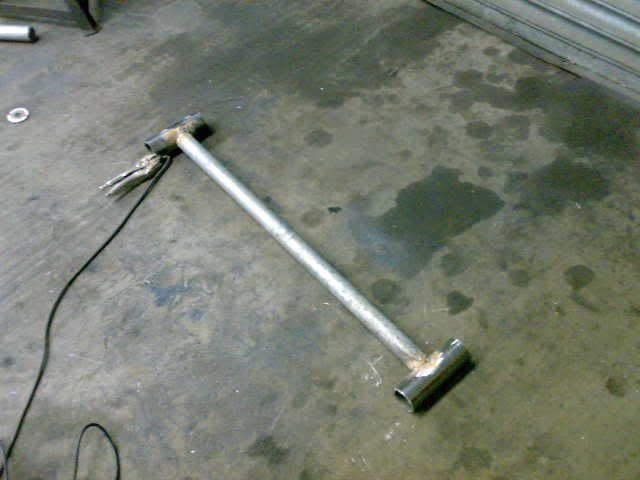 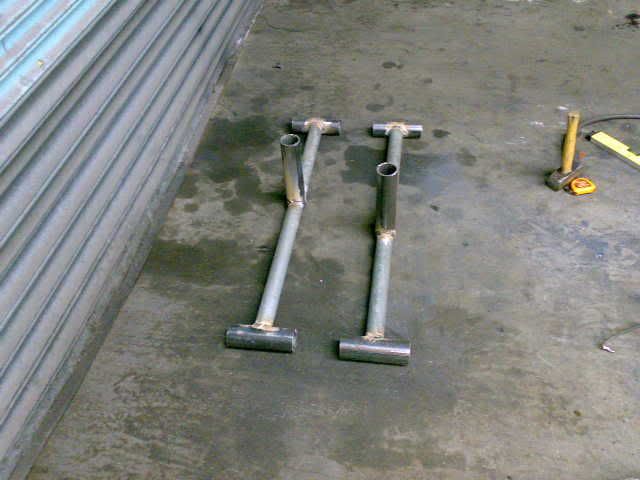 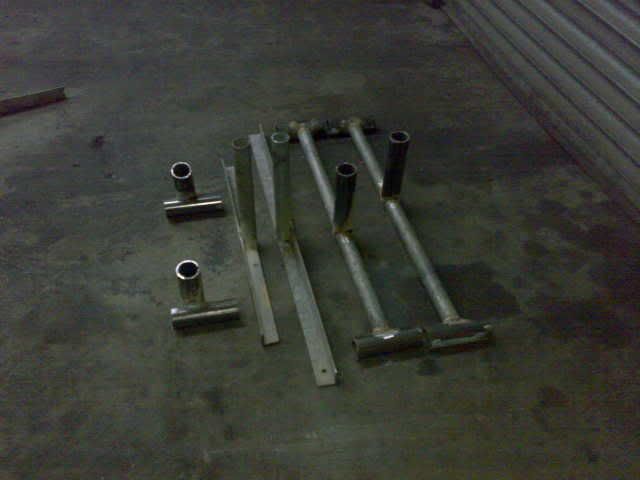 All these bits and a few scaffold poles make up the two towers, the idea being I could use or scrap most of the plain poles and it wouldn't take much to get it back in action whilst not taking up any space in the garage. 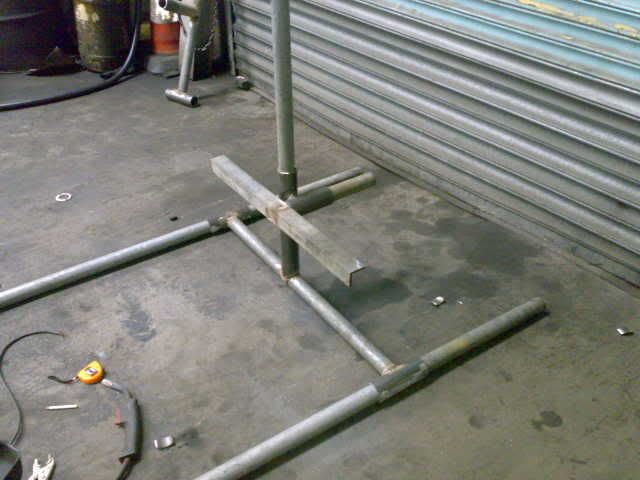 Other big bits left the shell 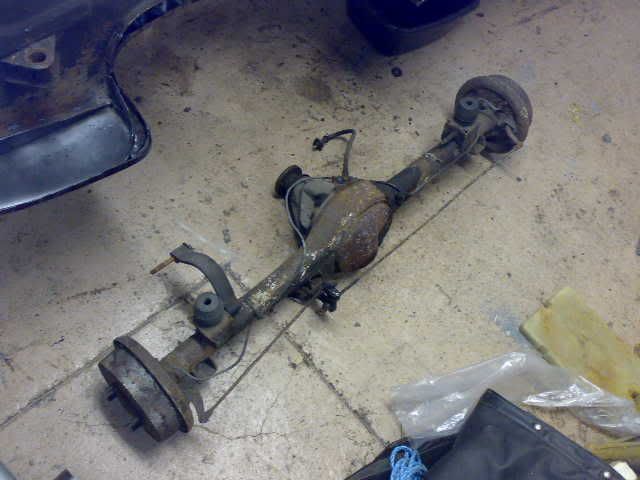 And I was able to roll it over 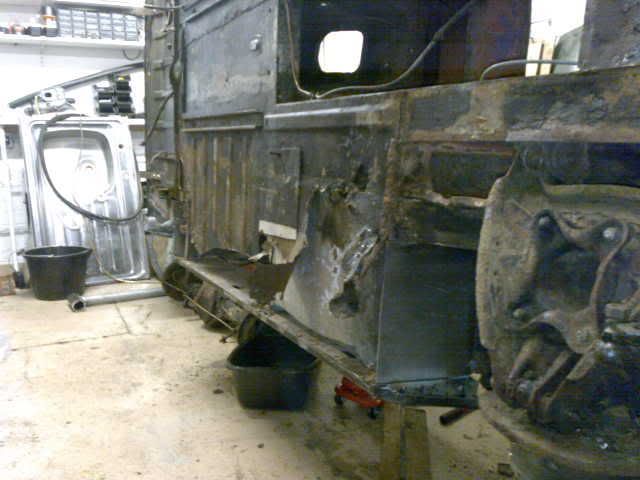 At this point I'd spent nearly £800 on essential metal with out even scratching the surface and the phrase money pit was mentioned more that once, who would have thought the cause of all this would turn out to be the savior as well......... good old ebay. |
| |
|
|
|
|
|
|
|
Mar 10, 2011 19:09:44 GMT
|
I found for sale an Ashley flip front bonnet, I'd been aware of the hard tops and liked the shape but had never heard of the front ends. A quick search on google images for inspiration made my mind up, 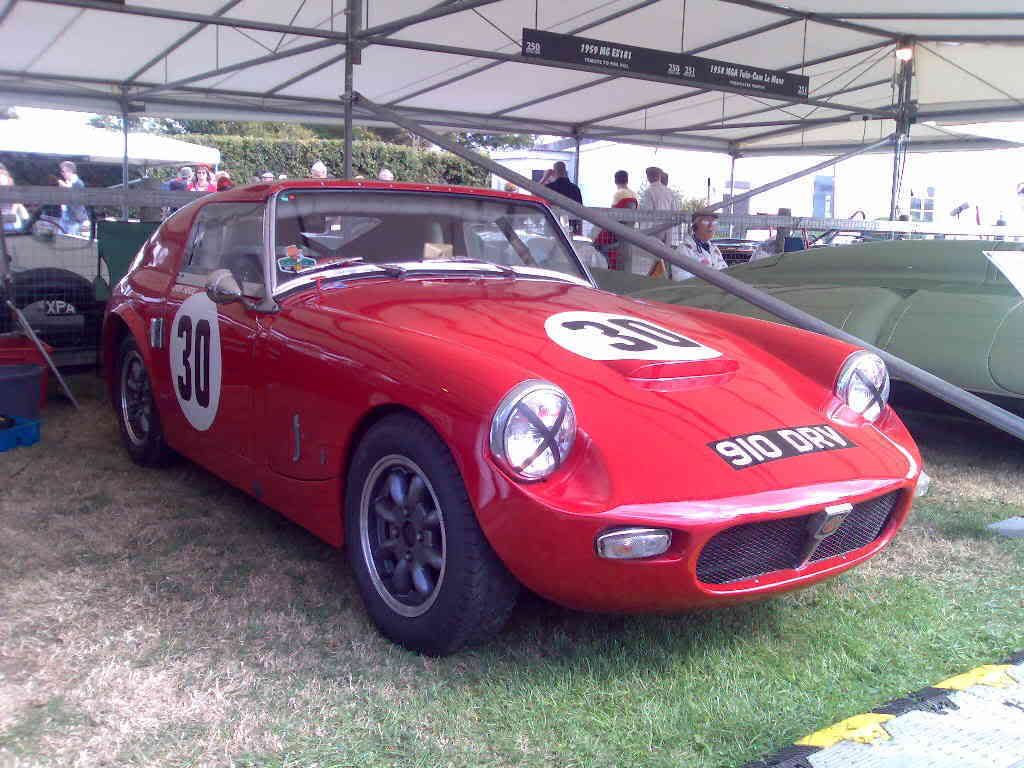 That and the fact a chrome less car is a project saving of over a grand. As luck would have it the same seller had a hard top for sale, he was nearly 200 miles away but these don't come up for sale very often so I went for it. I won the split hard top first and it was a nervous few minutes as the bonnet ended as it would have been a real pain to go all that way for a poor hardtop and no front end, after all it wasn't needed. I won them both in the end and made arrangements to collect. I missed judged the sizes and had to drive home with the front end strapped to the van roof, that got some looks. 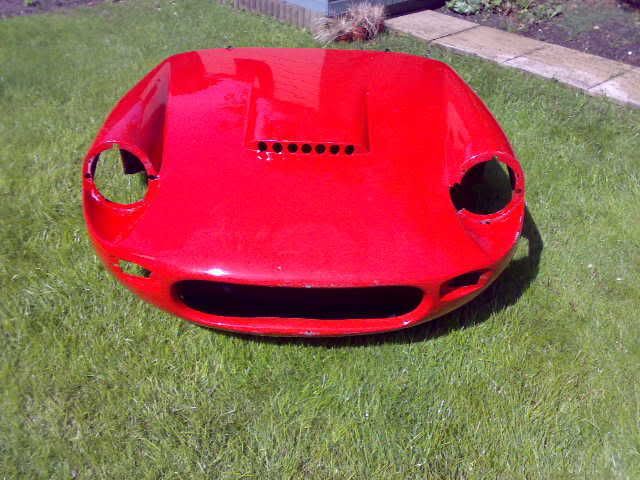 The front looked presenable but was cracked and chipped all over the top was split between the tailgate and rear screen frame and the rear screen was separate, all described by the seller but more work. Watching GT racer on dave had decided the theme and colour of the build in one afternoon. All I needed now was a good strong shell to bolt them to. |
| |
|
|
|
|
|
Mar 10, 2011 20:16:11 GMT
|
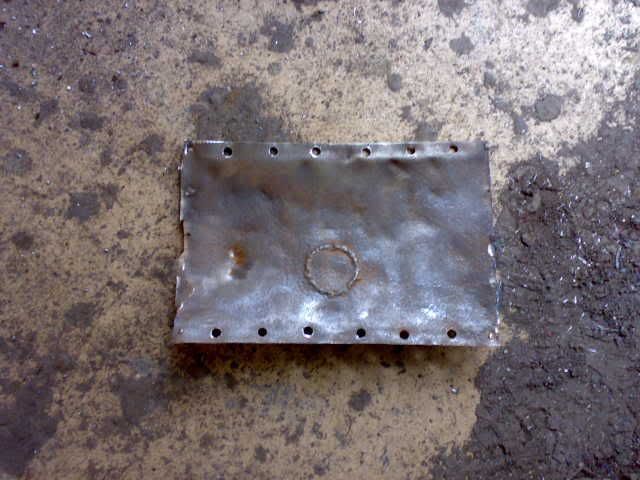
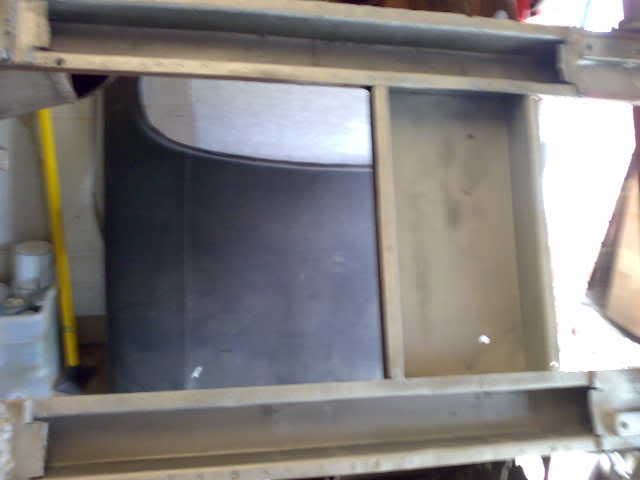
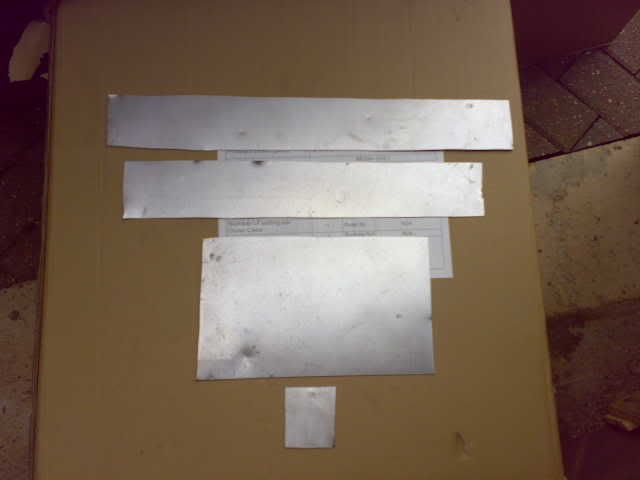
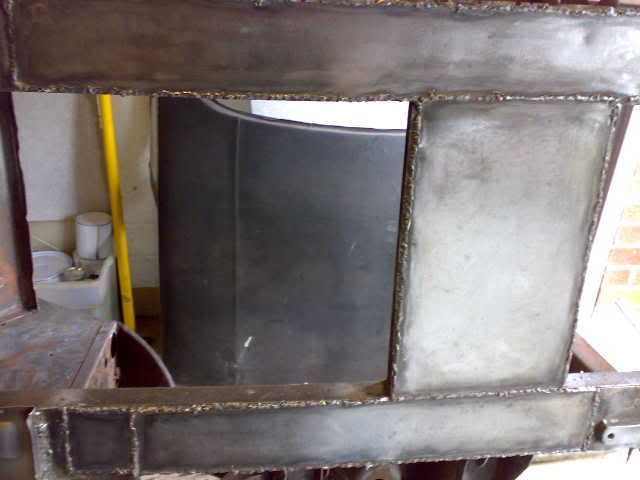
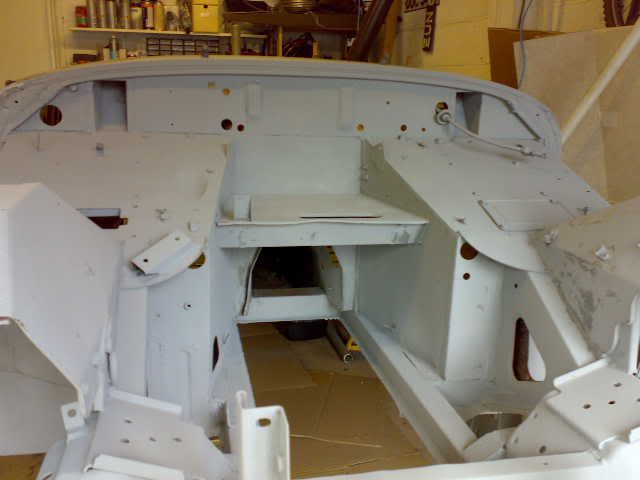
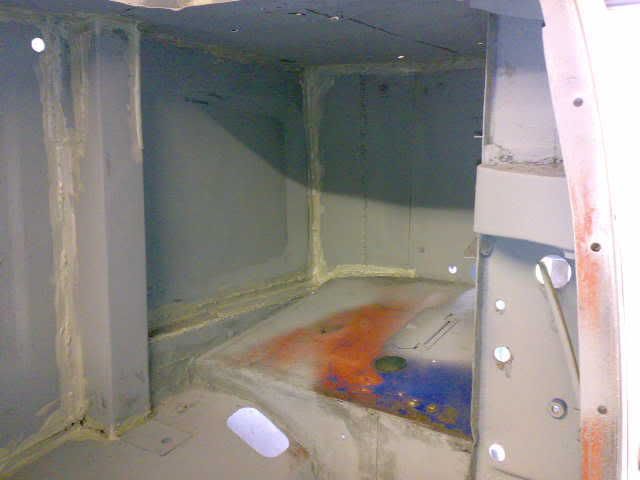
Now the car was up in the air I was able to deal with the floor pan 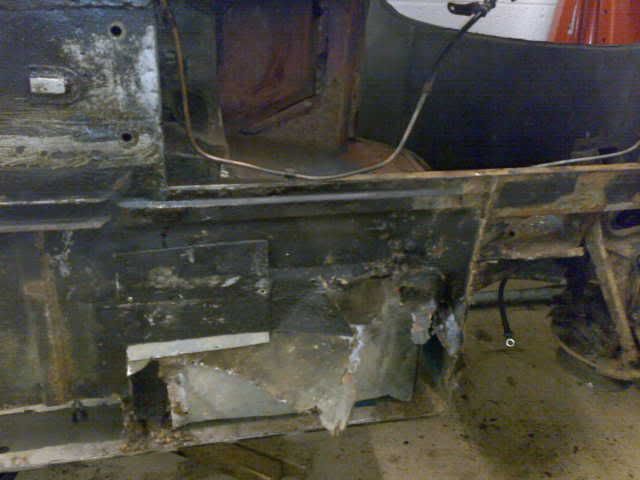 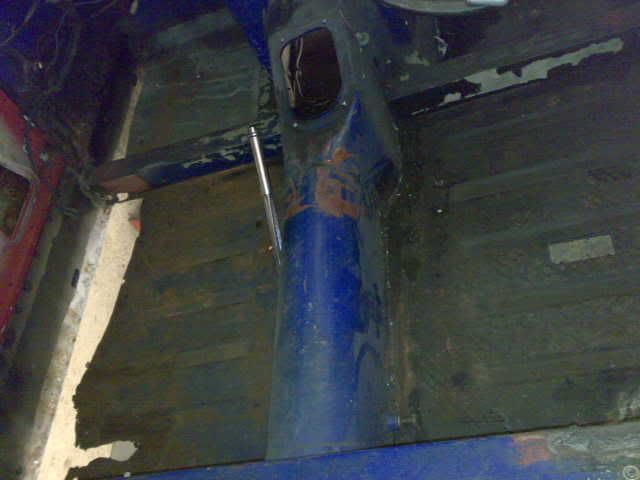 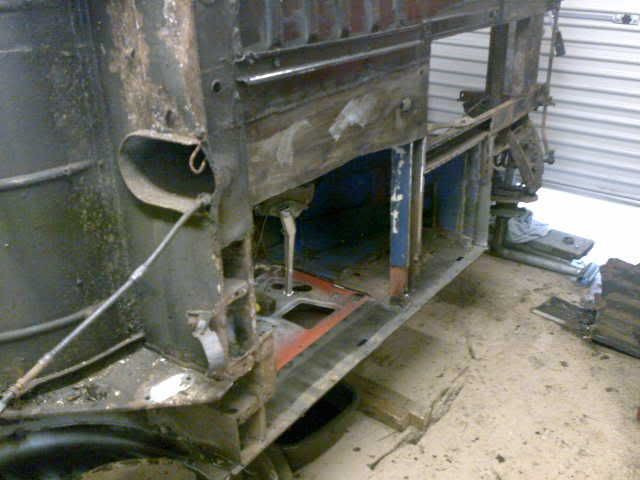 I straightened all the flanges and cleaned the edges ready for the new panel 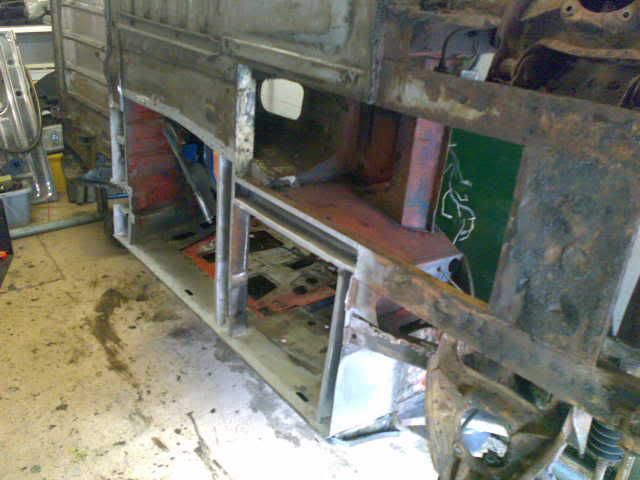 And in it went 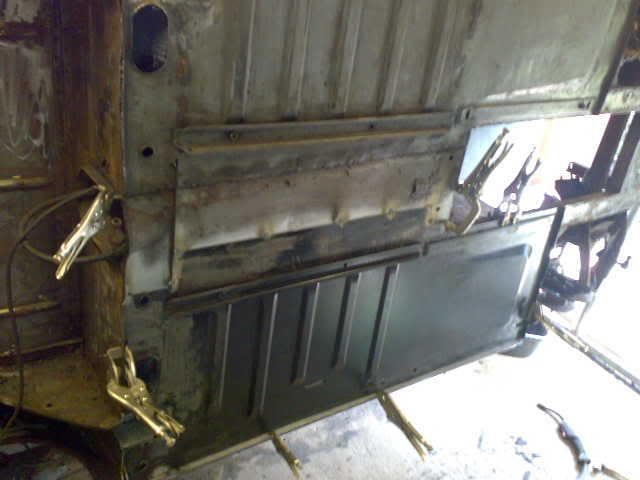 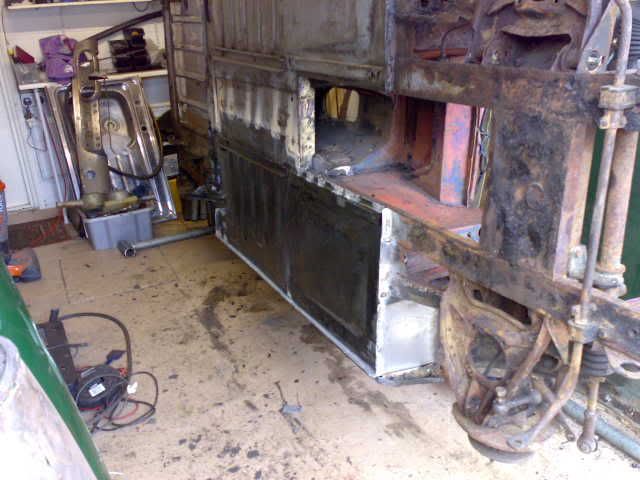 The front webs were pretty bad too,  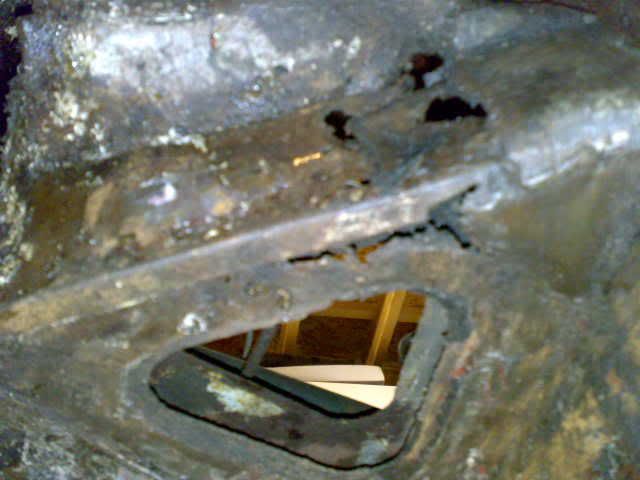 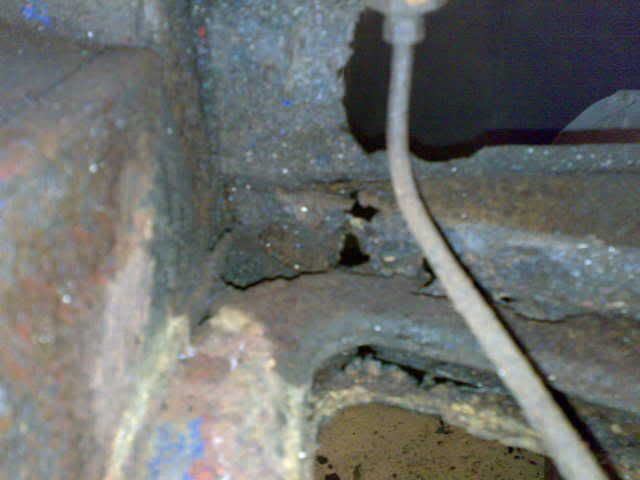 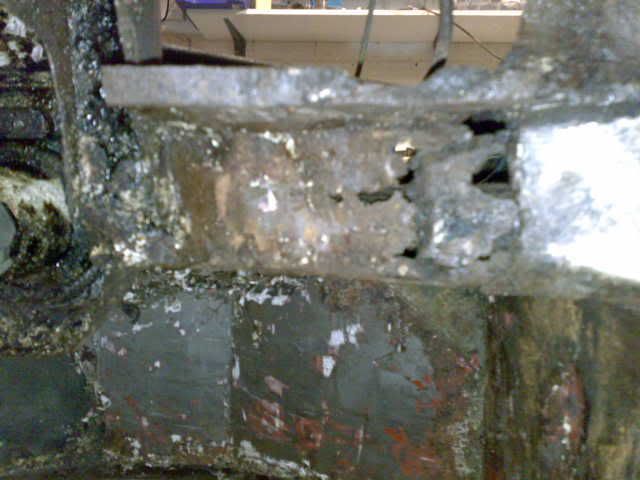 These are fairly complex, very rare second hand and out of stock when I needed them. With work being slow I decided to try and make my own Cut and cleaned 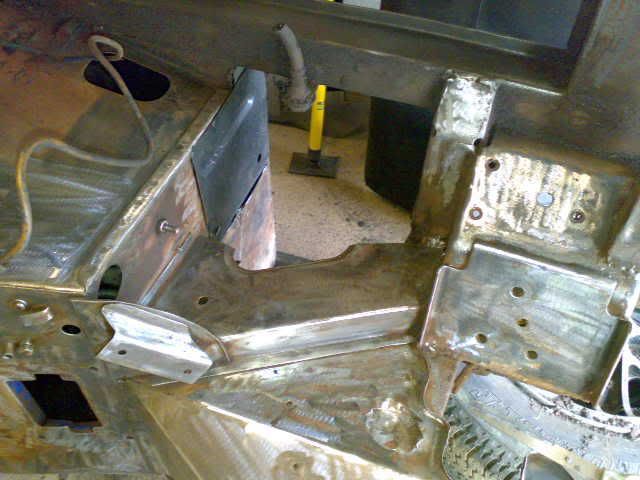 Card templates 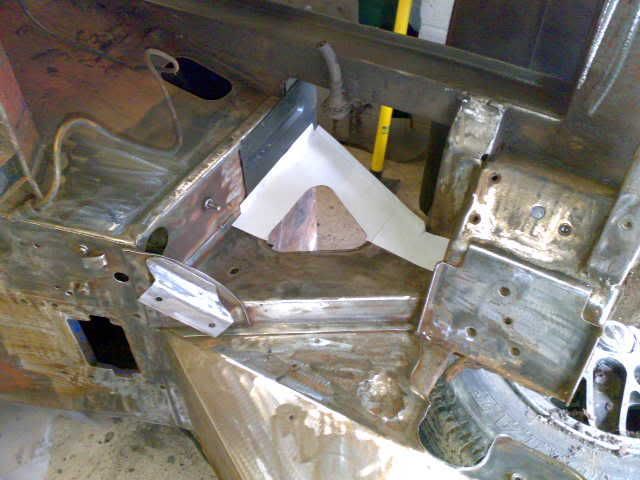 New metal 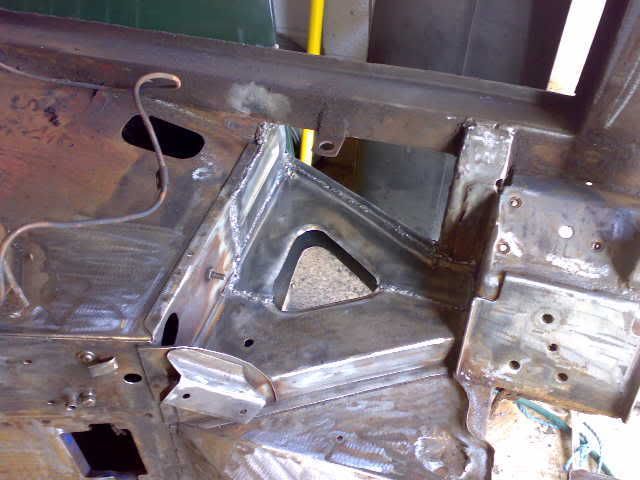 The other side was the same story but having done it once it didn't take long. Well worth the effort and to be honest I could have spent just as long trying to get the pattern part to fit. |
| |
|
|
|
|
|
Mar 10, 2011 20:27:20 GMT
|
That's a project and a half! I really like the racer MG's, Triumphs etc. This will be great when it's finished.  |
| |
|
|
chrisf
Part of things

Posts: 18
|
|
Mar 10, 2011 20:47:58 GMT
|
|
Good to see another midget resto - i got a 68 sprite on the road last year. was in a similar state at some point but has been messily welded up over the years but solid. particularly ugly patch under the driver seat!
great stuff going on with yours, i love the racer bodies on them.
gods speed with it!
|
| |
|
|
Siert
Posted a lot
Posts: 1,104
|
|
Mar 10, 2011 20:51:20 GMT
|
|
Very nice!
|
| |
|
|
|
|
|
|
|
|
|
As and when I had spare time I would clean, paint and store various bits and pieces so come the rebuild everything would be ready, It very quickly became more than just a function over form rebuild. I'd had the car running and driven it a short distance so I started with the carbs 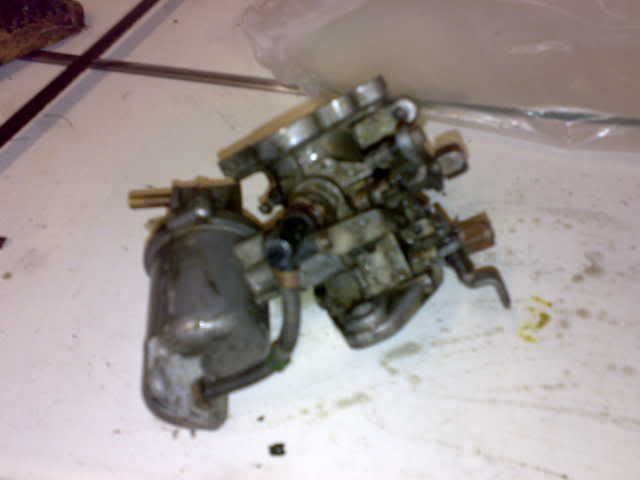 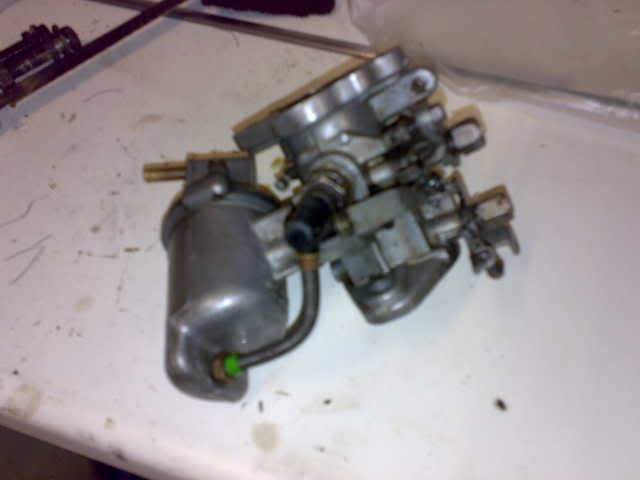 Despite promising I wouldn't I ended up with a polisher in my hand 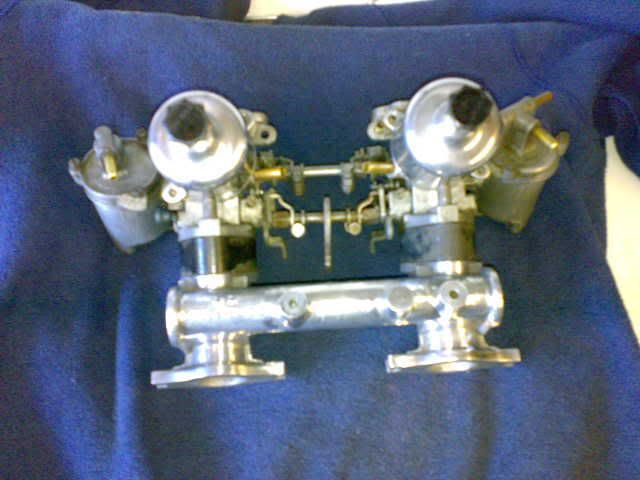  Starter and dynamo 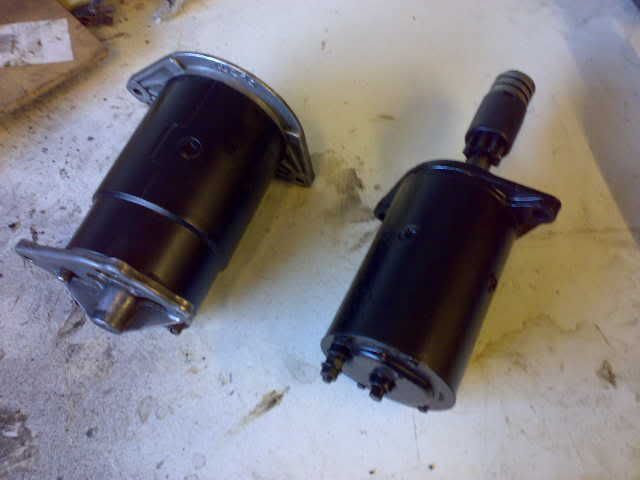 Shackles and spring hangers 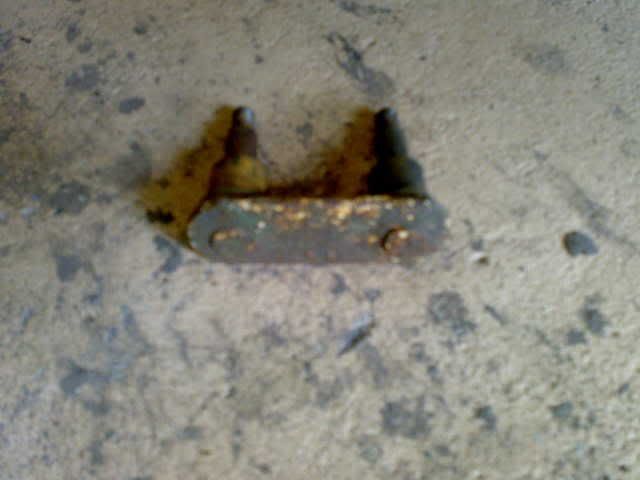 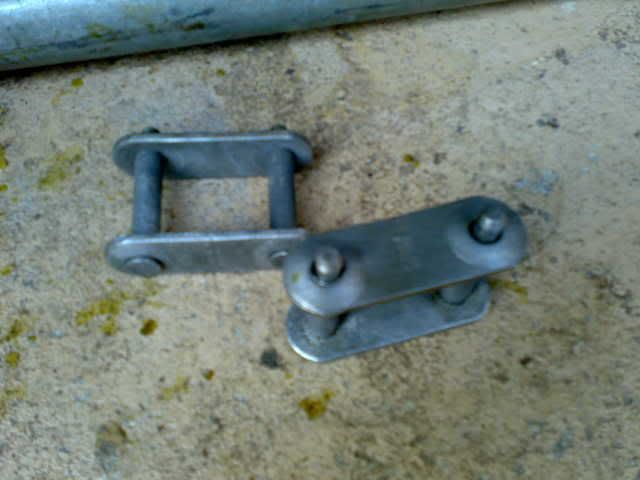 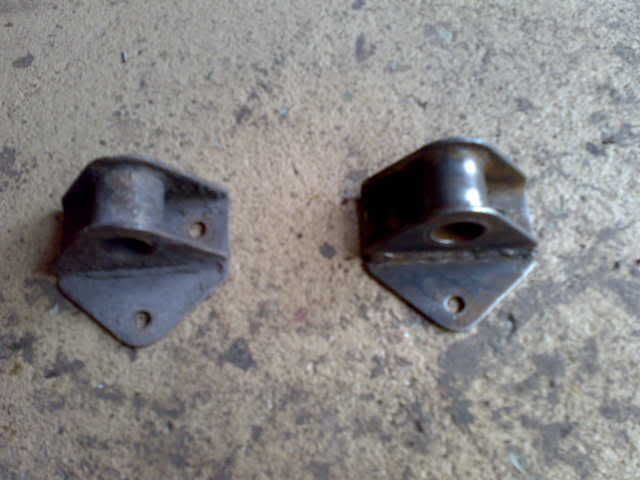 I decided as space was tight in the garage that it would be easier to paint the body outside and so I would need to rebuild a rolling shell to paint in one go. New wish bones and a full set of poly bushes were ordered 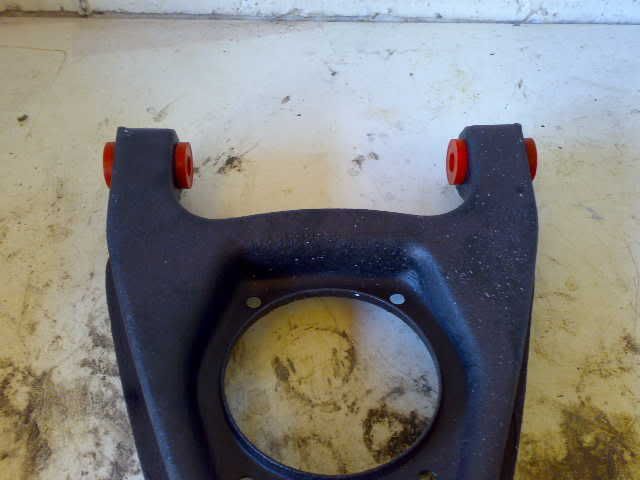 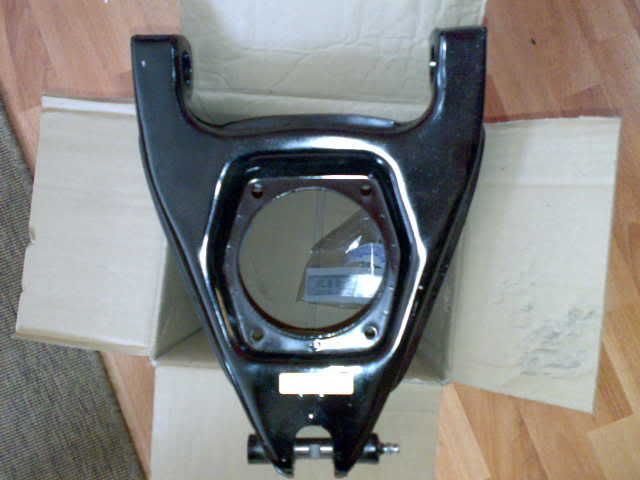 I also cleaned the back axle and rebuilt the brakes with new shoes cylinders and pipe work 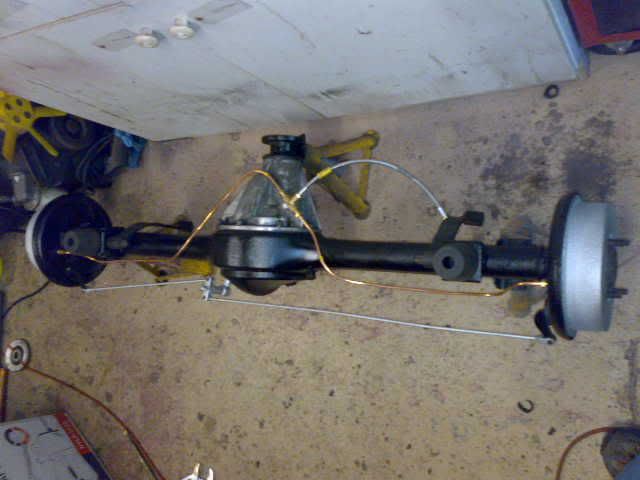 One of the front dampers was a little soft so I ordered a set of reconditioned ones and exchanged mine. After fitting the "new" dampers both leaked oil for some time and so I took them back. We tested three sets at the suppliers and none were any good! ranging from sft to leaking to one where the arm was packed out with three washers and wouldn't move at all. I figured I'd put the old ones back on as they would be passable until a solution was found but they'd already sent them for "reconditioning". Well at least I'd get the surcharge back, NO!, apparently it doesn't work like that. A plan B was hatched. |
| |
|
|
|
|
|
|
|
|
Great, really interested in this.
I've owned a couple of 1275 midgets, seriously good fun to drive once they've been tuned up a little, I always felt it was the most driving fun you could have below the speed limit!
Funny, both of mine got called "money pits" too! I was never brave enough to attempt a full resto though.
They also both had chassis legs that were bent in from being jacked up. I think your solution of thicker plate is what MG should have done at the factory!
|
| |
If at first you don't succeed........
....Don't try skydiving!
|
|
MrSpeedy
East Midlands
www.vintagediesels.co.uk
Posts: 4,786 
|
|
Mar 11, 2011 10:08:27 GMT
|
|
This looks like a great project.
Nice to see summat a bit different being done with an MG.
Good work fella
|
| |
|
|
|
|
|
|
|
Mar 11, 2011 11:39:46 GMT
|
Fantastic - I was itching for a build thread on this, thanks for taking the time to share Looking forward to the next instalments ;D |
| |
|
|
|
|
|
Mar 11, 2011 13:01:22 GMT
|
Thanks for the comments, I'm told the chassis rails should angle up slightly, something to do with a cheap way of improving the caster angles and front end stability Lots of parts turned out to be rubish, not lasting 5 minutes, not fitting properly, poorly made etc, so I decided where possible to spend a bit more on soloutions. The solution to the front dampers was to buy these, 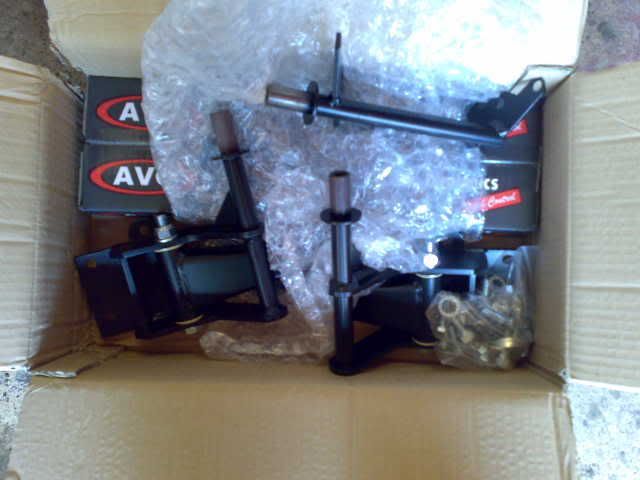 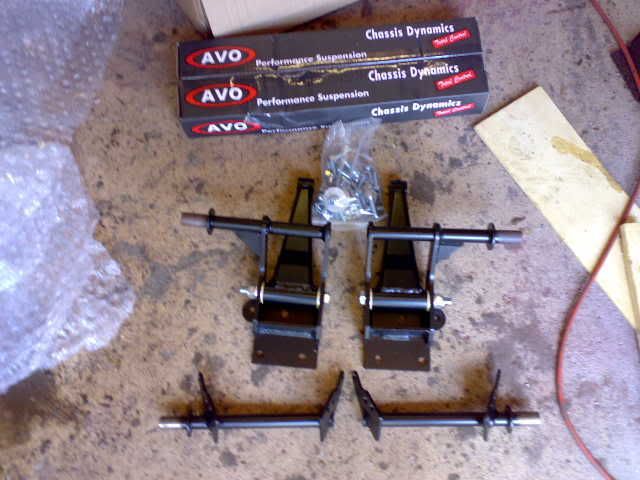 An uprated suspension kit that includes new top arms and adjustable telescopic dampers, That should be that. The suspension rebuild continued, 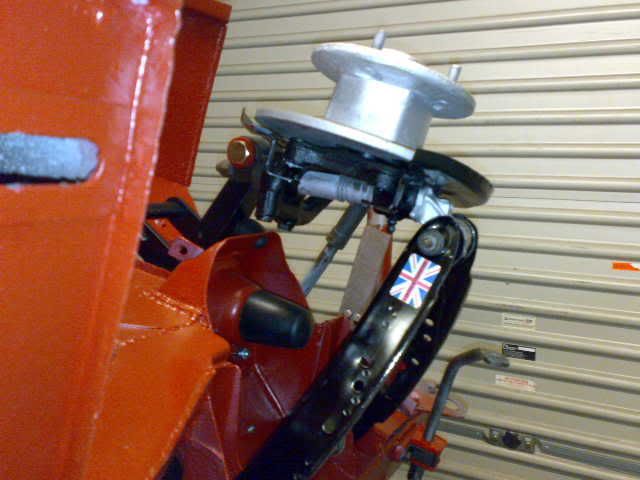 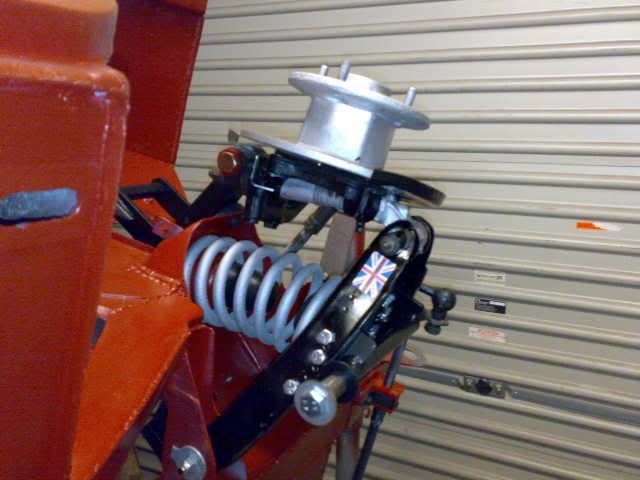  All the rear bits too, 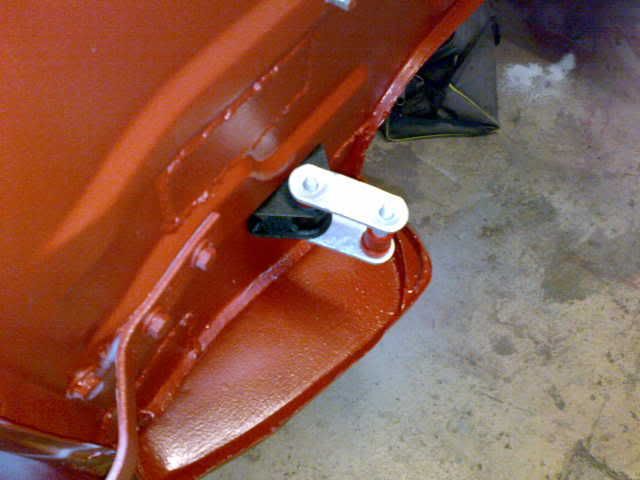 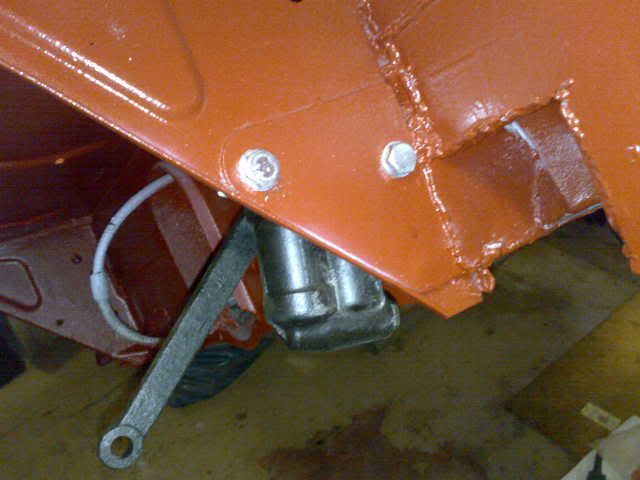 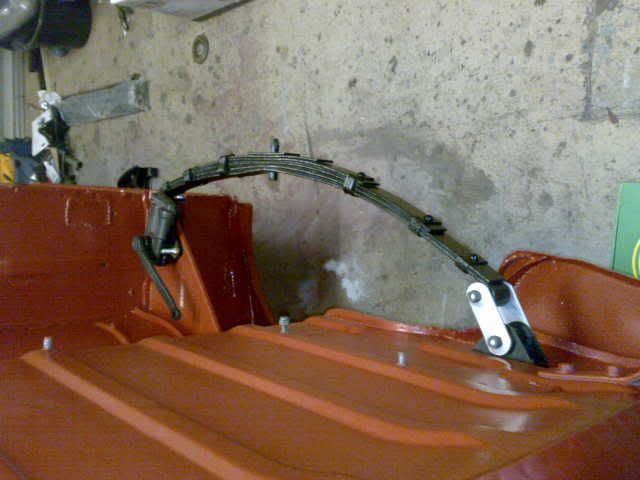 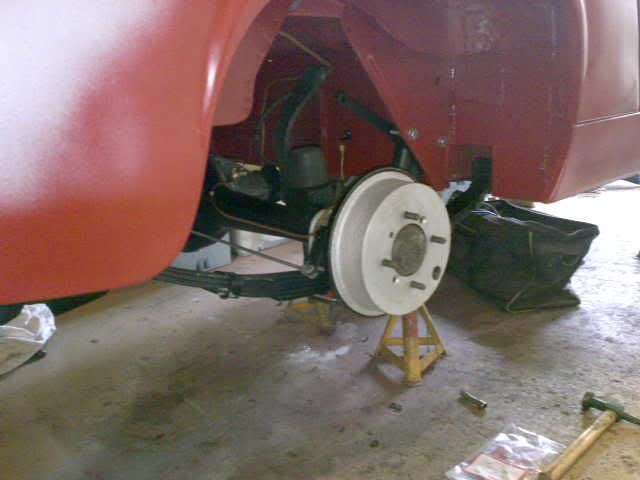 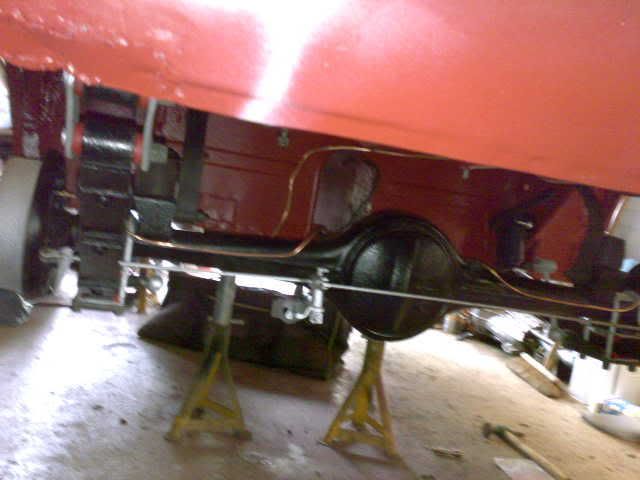 The steering rack was stripped, painted, re shimed and greased and it was ready to drop to the floor, 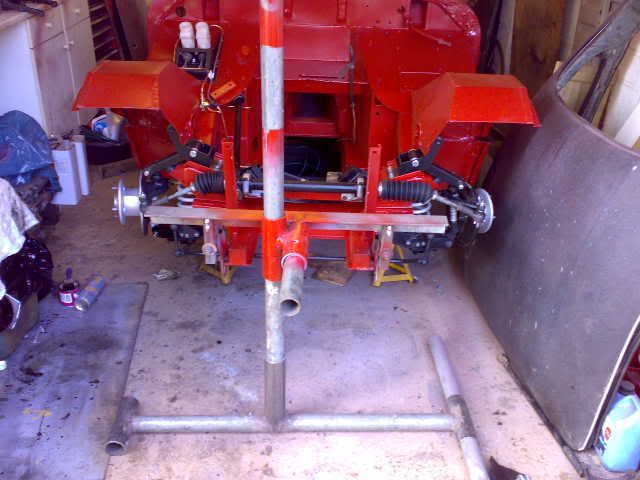 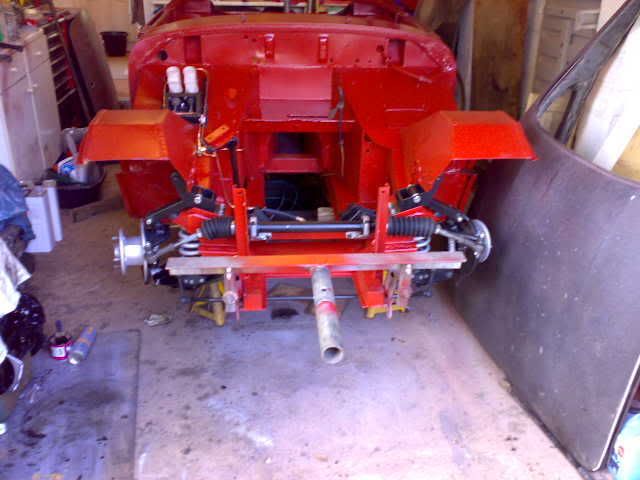 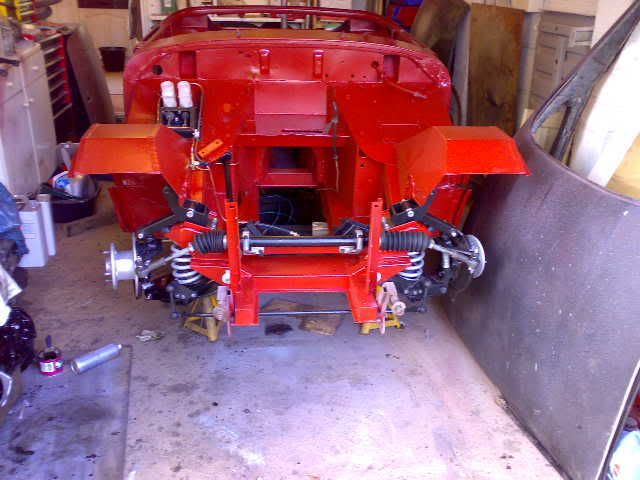 Or at least on to a set of stands, I still needed some wheels to roll it on I had wanted some alleycats as I'd thought these would look right with the 60's racer image but they're pretty rare in my pcd. Cosmics on the other hand.... |
| |
|
|
bstardchild
Club Retro Rides Member
Posts: 14,894
Club RR Member Number: 71
|
|
Mar 11, 2011 16:22:38 GMT
|
|
Nice progress so far - well done for tackling it - my last 77 Midget almost certainly got scrapped due to the amount of rot and that was 20 years plus ago - I certainly wouldn't fancy tackling one now
|
| |
|
|
|
|
|
Mar 12, 2011 16:02:09 GMT
|
They're fairly simple to repair, there's just a lot to repair. Sometimes I think I'll keep this one forever other times I hanker after another full resto. I went to look at some cosmics and decided they were round enough for my purposes and set about cleaning them up. 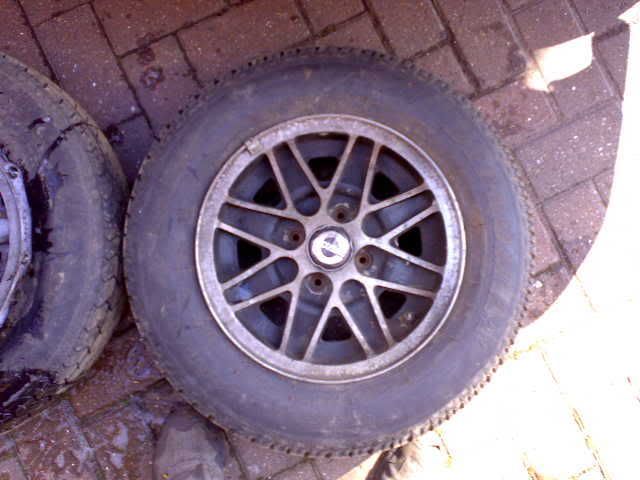 Off came the old rubber and paint, 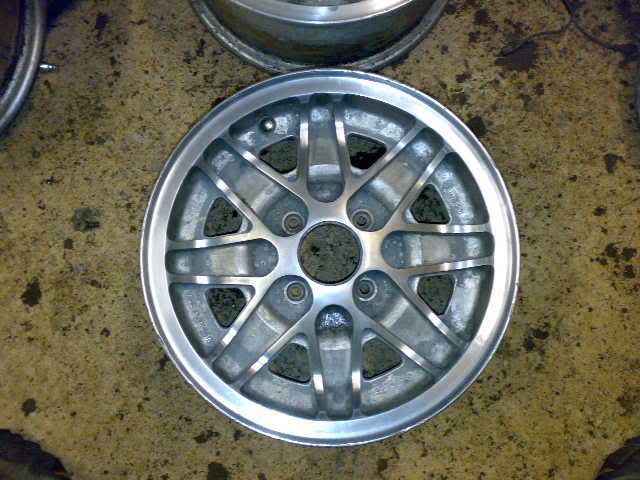 The webs still didn't look clean enough so I kept going 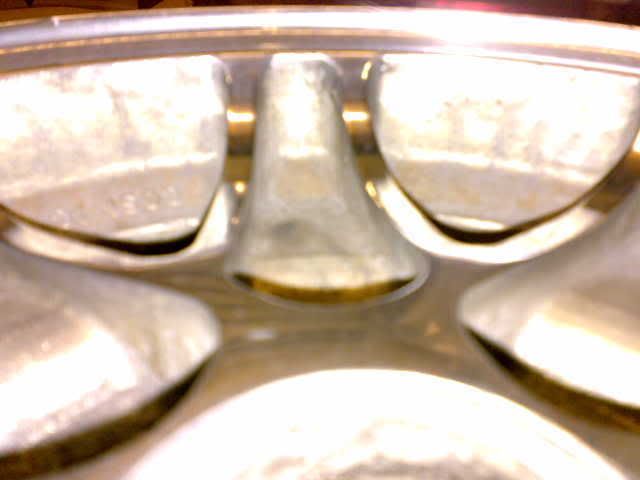 Came good in the end though 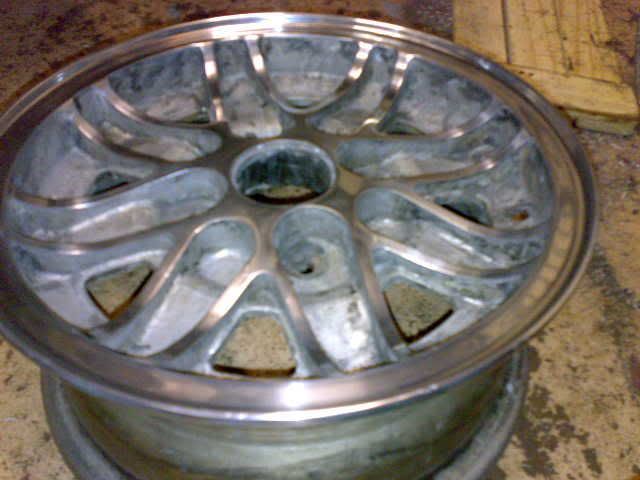 A bit of primer 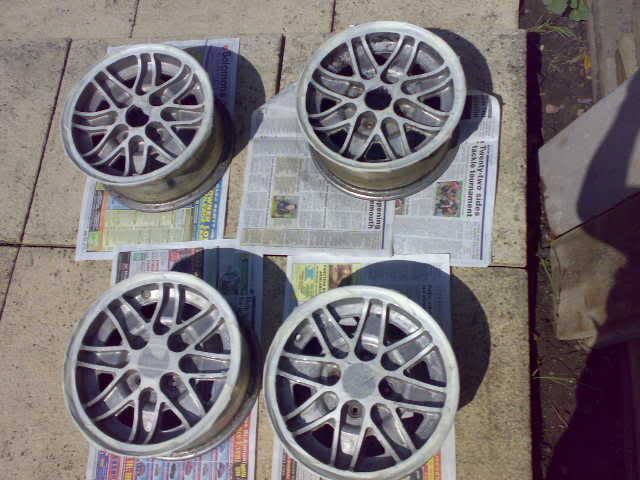 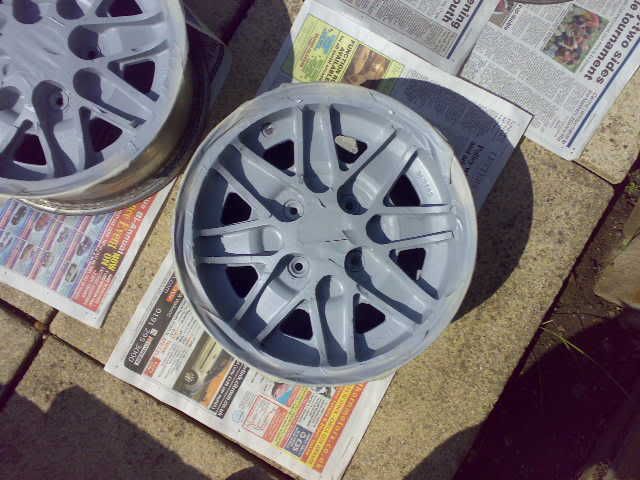 A splash of colour 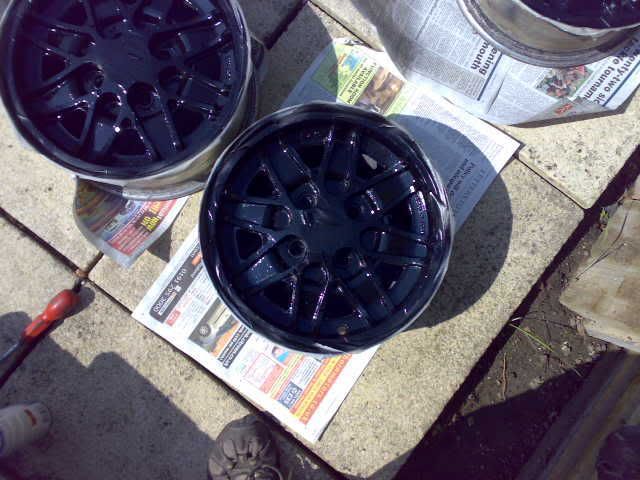 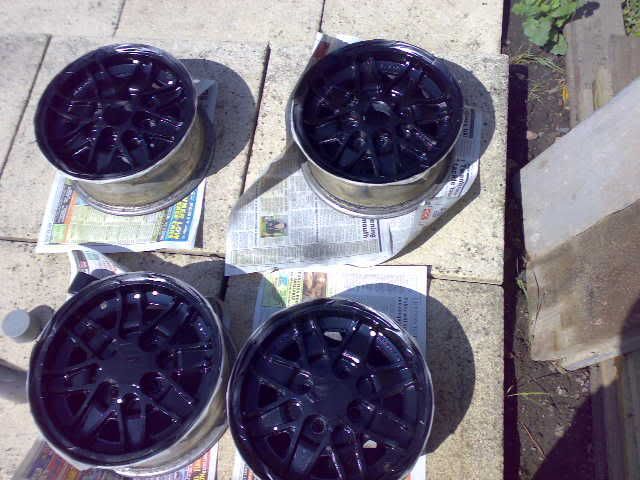 A clean up and a bit of laquer  And new centre caps 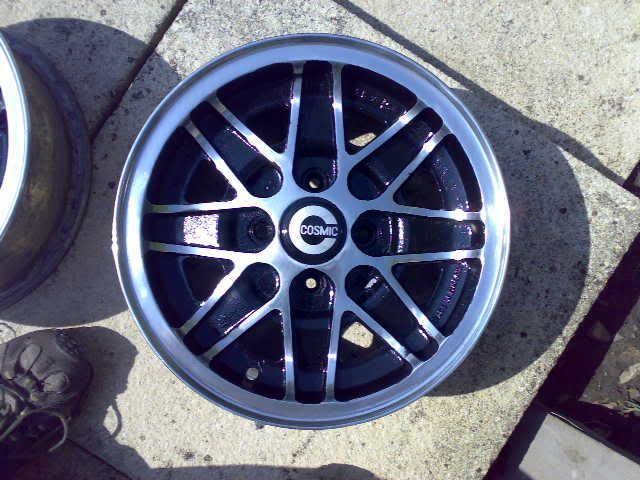 Then new rubber 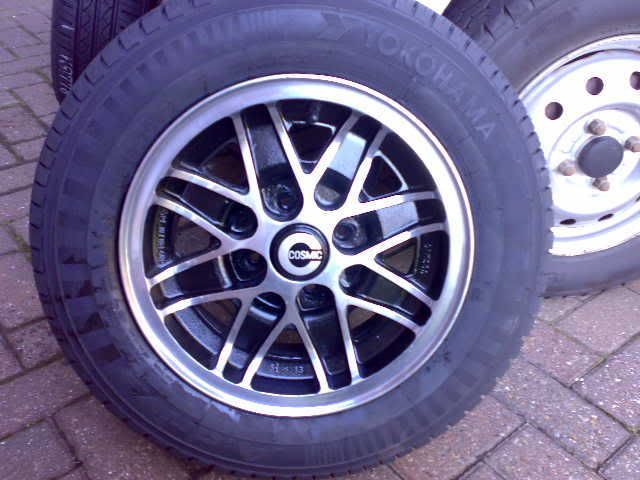 And then we were rolling  Ready to do the outer body work and paint. In the mean time I started to get the engine ready as I didn't want to remove the front once painted so fitting the lump first seemed like a good plan. I thought I'd better check the clutch while it was accessable and fit a new release bearing 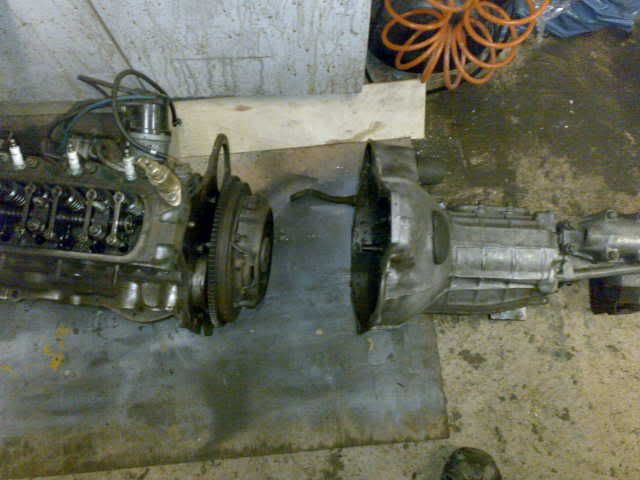 Inside the bell housing was filthy 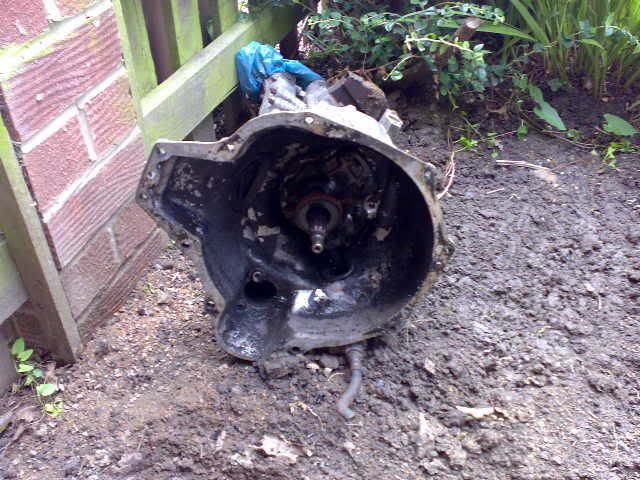 So like everything else it got a clean 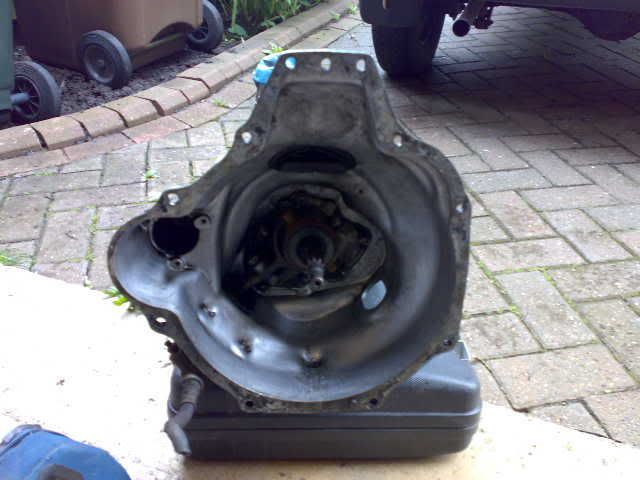 I stripped and cleaned up the old motor 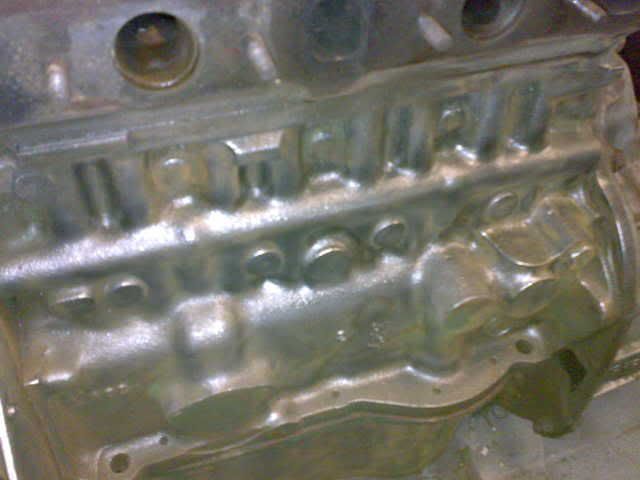 And gave it a lick of paint 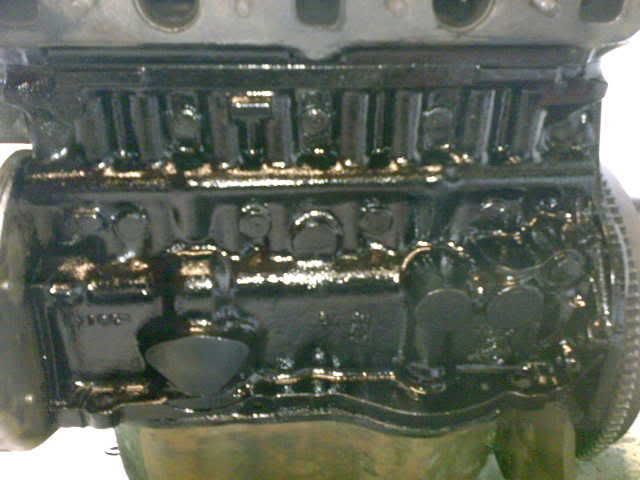 other bits got the same treatment  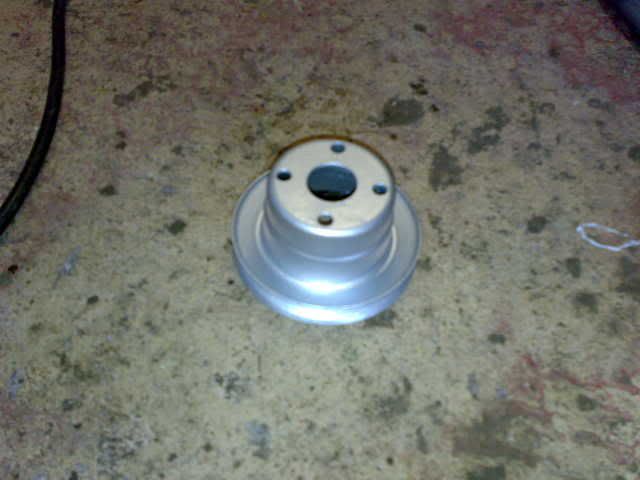 Some bits were beyond a clean up 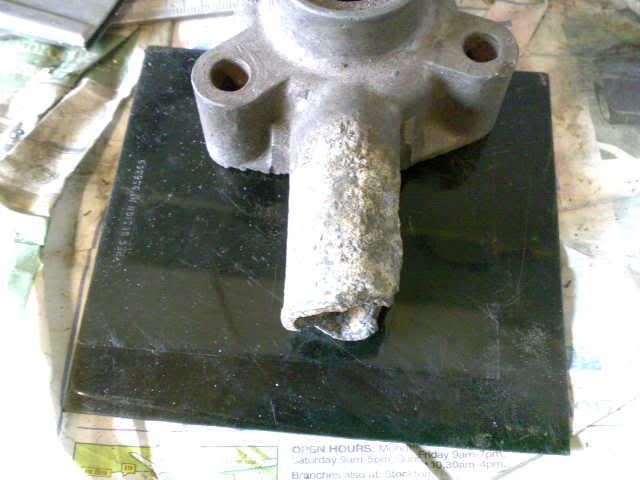 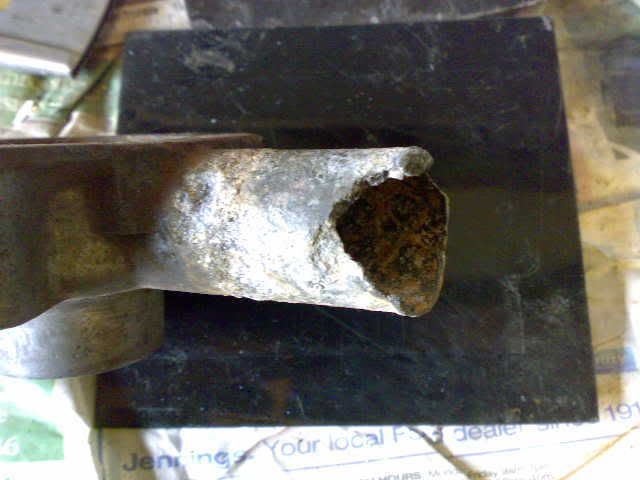 But even new bit need a bit of a clean 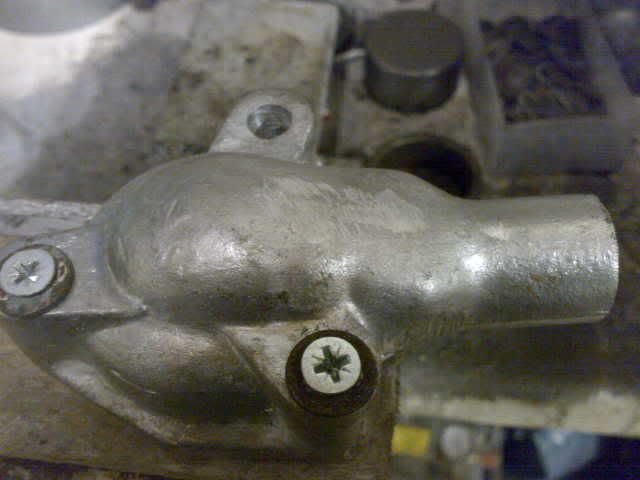 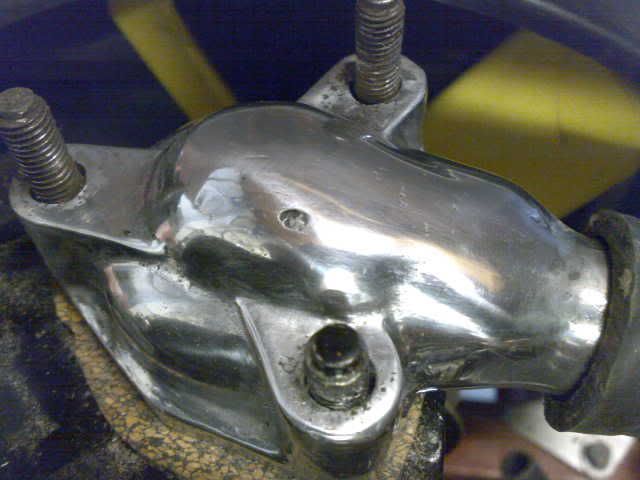   You get the idea. |
| |
|
|
Seth
South East
MorrisOxford TriumphMirald HillmanMinx BorgwardIsabellaCombi
Posts: 15,515
|
|
Mar 12, 2011 22:17:56 GMT
|
A serious amount of work on the underneath there. Looks really good once done. Like Cosmics too  |
| |

Follow your dreams or you might as well be a vegetable. |
|
|
|
|
|
|
Got a '69 one of these sitting at home (Not a Lenham, but it does have a Williams & Pritchard top on it) which needs to be completely taken apart- I have a feeling that the rot underneath will look similar to yours. Might have to get the dimensions off you for that spit though, that is a neat piece of kit you assembled --Phil |
| |
Last Edit: Mar 13, 2011 2:40:26 GMT by PhilA
|
|
ewokracing
Part of things
Snuffling for food in a river
Posts: 502
|
|
|
|
|
ah yes, failed mechanics (tyre fitters) and bloody trolley jacks...
Nice build up.
|
| |
|
|
chrisf
Part of things
Posts: 18
|
|
Mar 13, 2011 12:57:13 GMT
|
|
don't suppose you recall who supplied you with the poorly reconditioned dampers?
mine are leaking and will be ordering some myself soon and have been wondering who to/not get them from!
|
| |
|
|
|
|
|
Mar 13, 2011 18:10:11 GMT
|
|
Thanks for the kind words, a lot of work indeed and it took ages though would have took a lot longer had the car been on the floor.
They do all seem to rot in the same places as many a midget restorer would tell you.
I have more pictures of the spit and will gladly give you the measurements etc.It seems to be an accepted fact that recon lever arm dampers are rubbish, even the supplier said quality varied from rubbish to unuseable and suggested I remove the valves and convert to telescopics.
Although all the dampers were rubbish I can't really fault the service recieved from them, though I did think not giving me the surcharge back was a bit rough.
I'll PM you the name but they said only two companies in the UK reconed these so you'll likely as not get the same from anywhere, I'd look for second hand ones if I were you.
|
| |
|
|
|
|
|
Mar 14, 2011 11:57:55 GMT
|
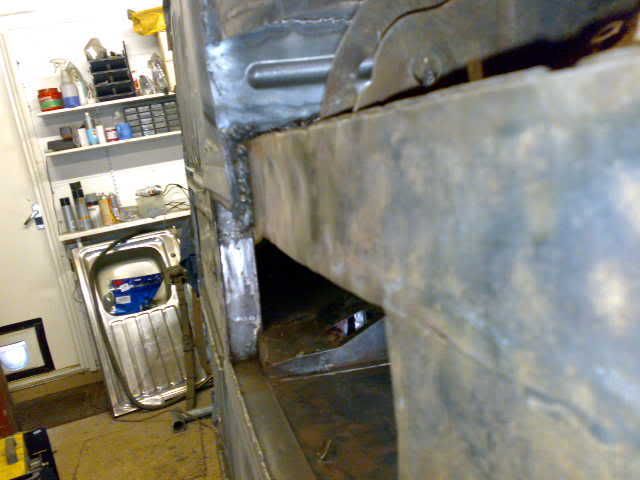
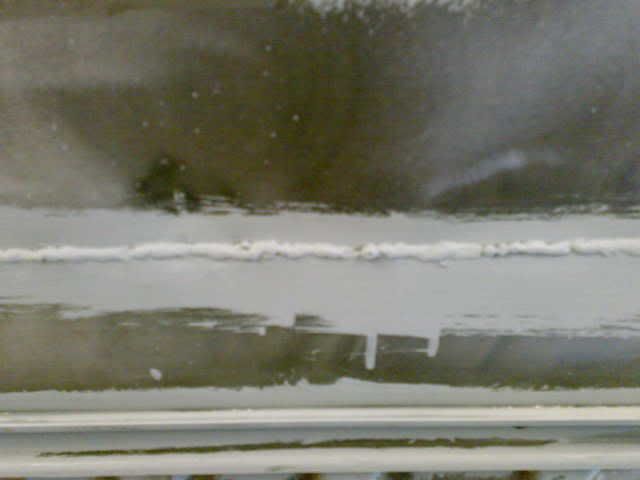
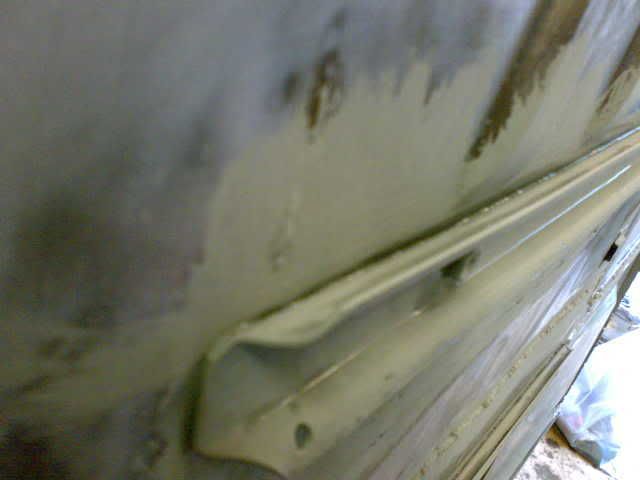
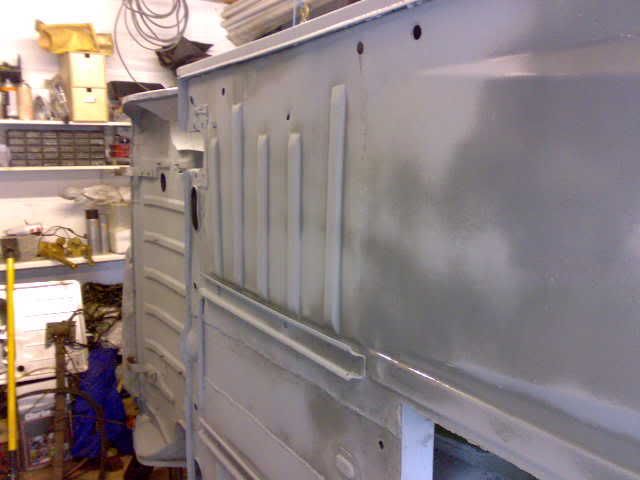
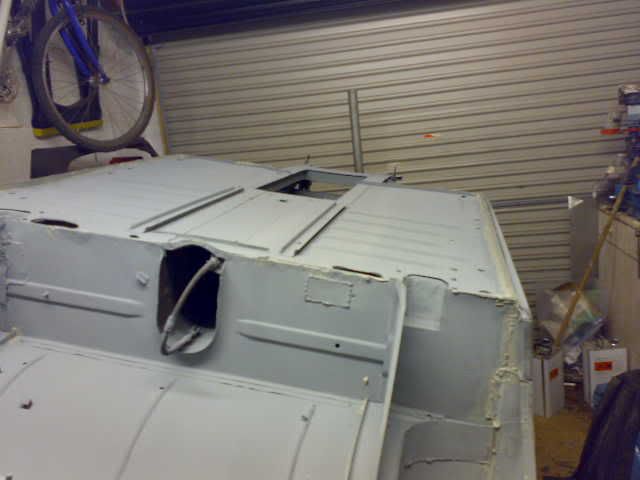
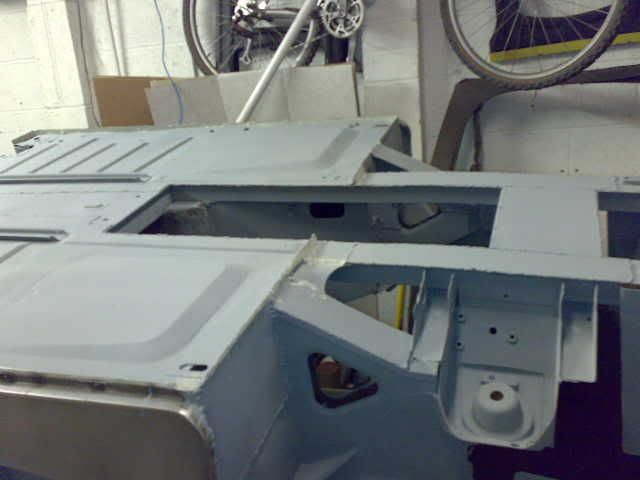
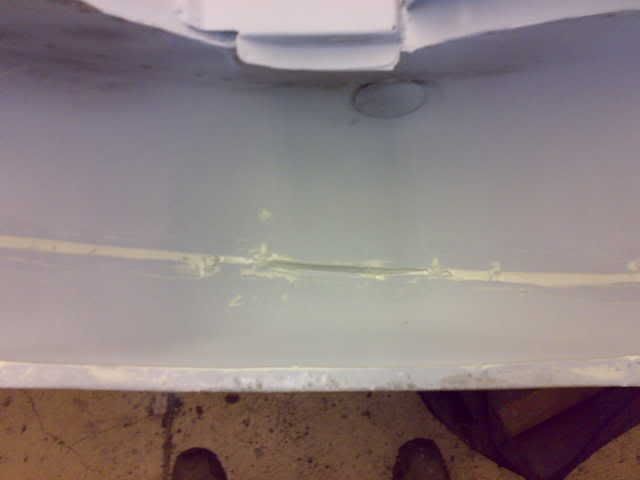
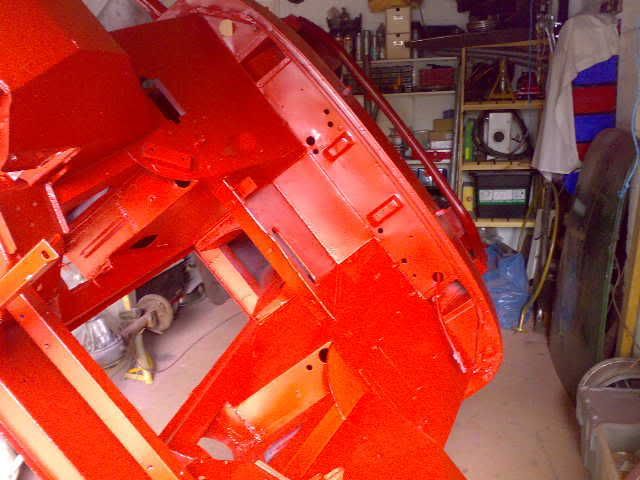
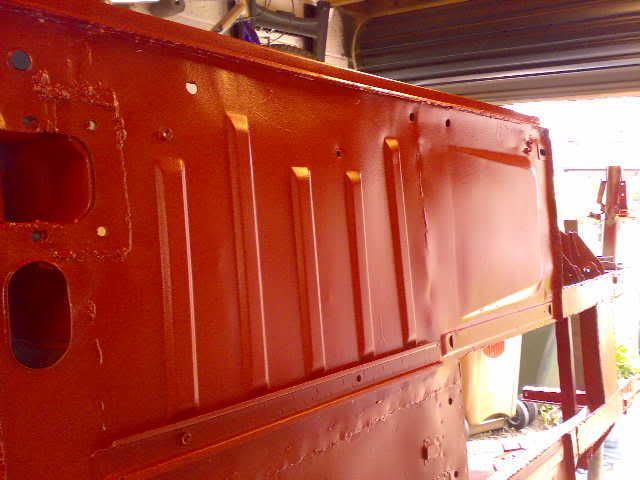
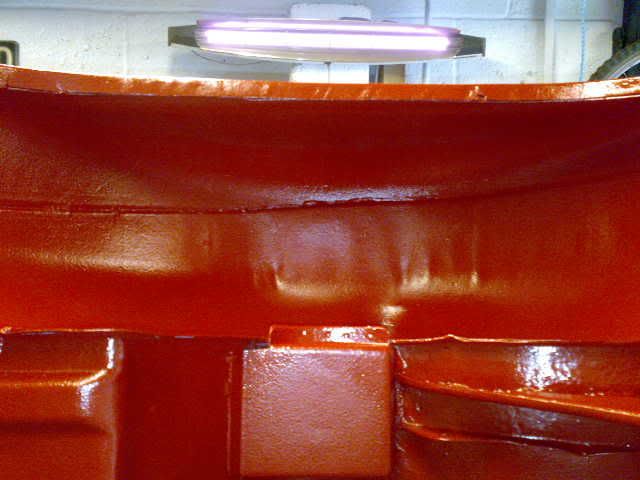
Next up was the bodywork, before I started to take pictures I had already replaced the inner and outer sills, inner rear archers and half rear wings. I decided not to use filler to cover the join and instead have a go at lead loading. I'd done some of this years ago as part of a college course so I knew it was a bit experimental but not totally alien. 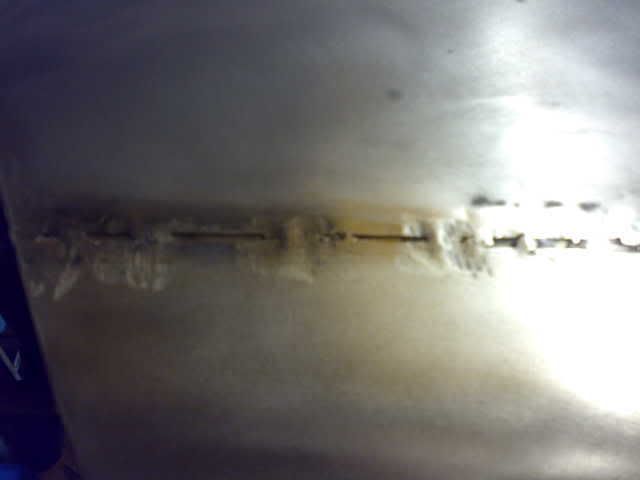 I did it a little at a time to prevent distortion  One side turned out good enough to only need high build primer, 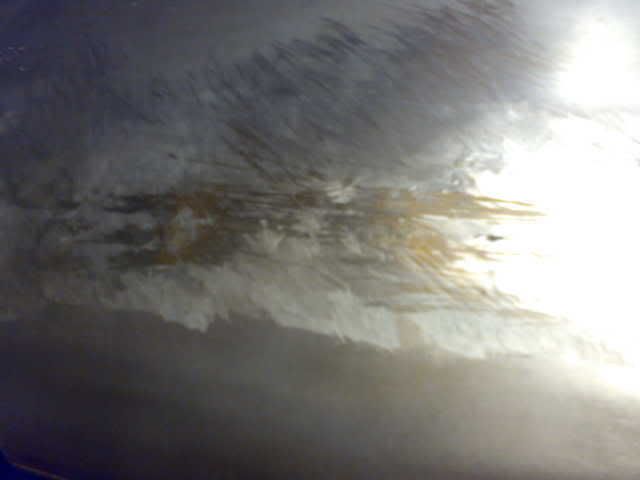 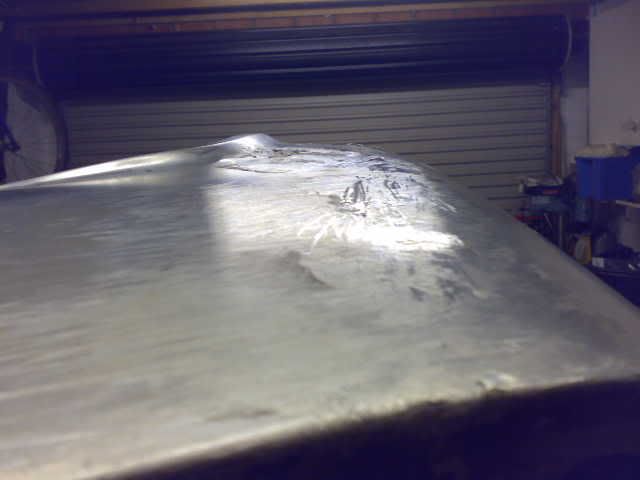 The other side needed a light skim of filler. The scuttle had been repaired previously and was solid and rot free, it just didn't line up properly. Both corners wouldn't line up with the new front end so I tryed one of the original wings and sure enough these didn't line up either. I knew a lot of filler had come out of this area but had no idea how far out of line it was. 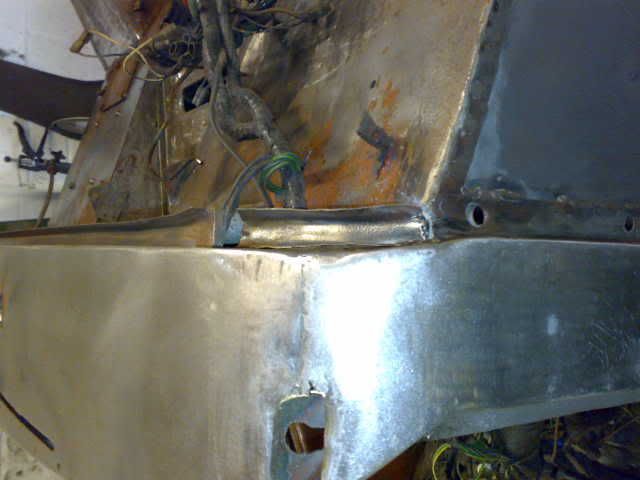 This lead to a 15mm gap at the worst point which opened up to nearly an inch with the panel gap included. 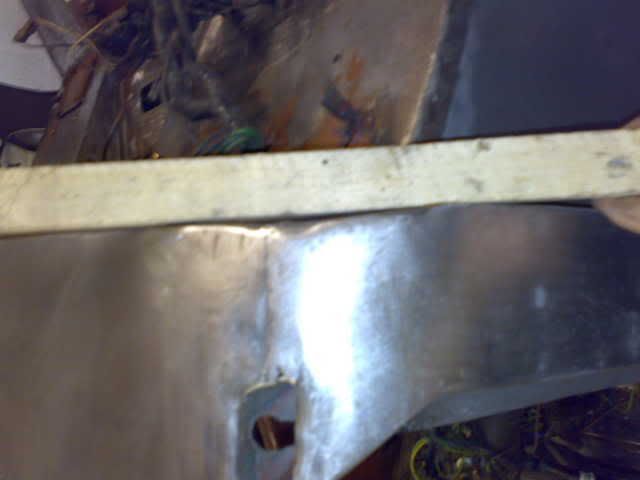 I looked into new panels but it seems this is a common fault with new panels so set about altering the existing ones 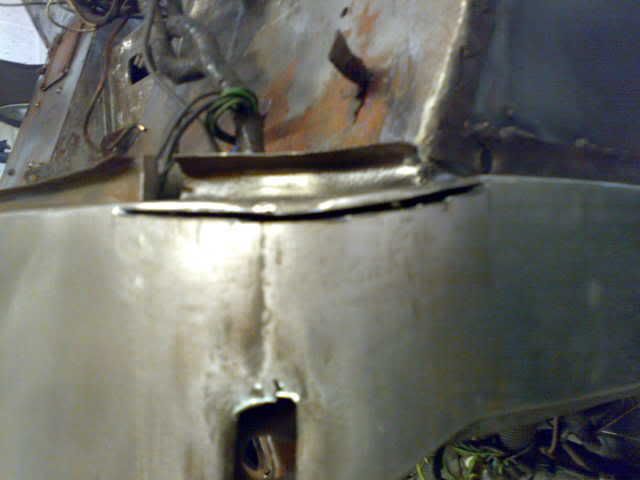 I cut and opened the area up and lined up the edge with the rest of the scuttle 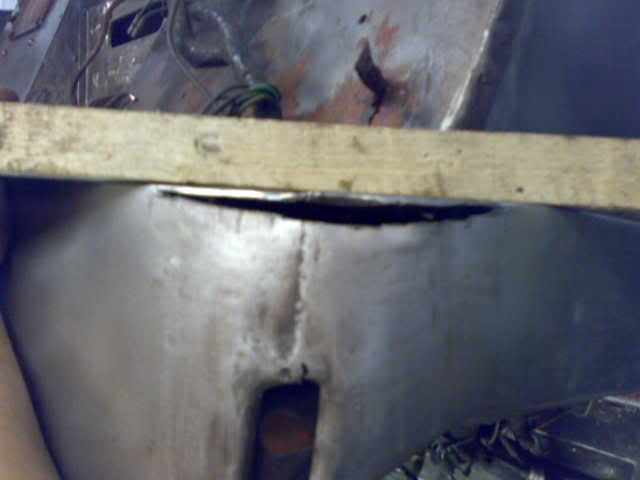 Then welded up the gap, this left the area lined up well but a bit rough. Armed with my new lead loading skills I set about smoothing it over 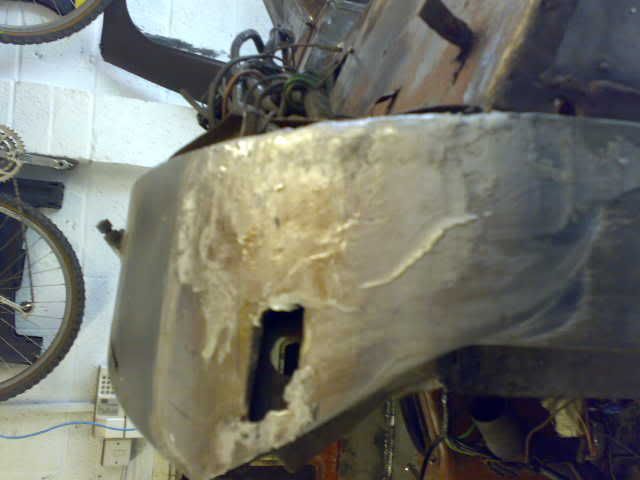 Leaded 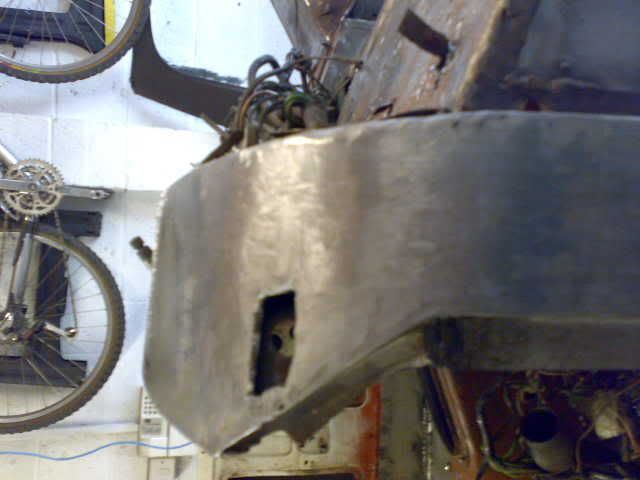 And smoothed over, this should help make the screen seal a bit better too. The rear wing beading is notorious for rotting out but mine seem to have survived quite well apart from 100mm section on the offside so I ordered some beading from the MGOC and intended to replace the top of it. When it arrived it was a different profile so it was no good, I thought about building the area up with filler and cutting it to shape then wondered if it was possible to use lead instead. I used several coats of deox c gel to ensure there was no rot left and mad a start 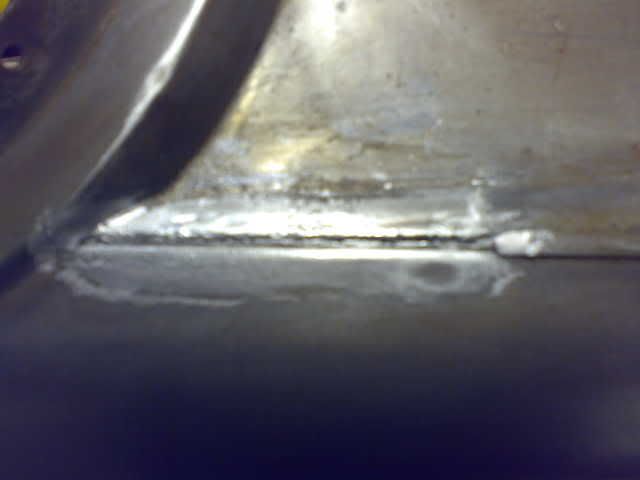 Getting the lead on thick enough was tricky 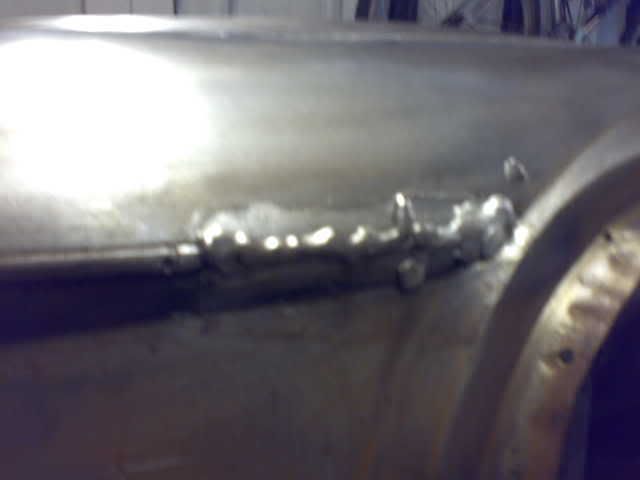 Shaping was easy though, and and the rest will be sorted with high build primer 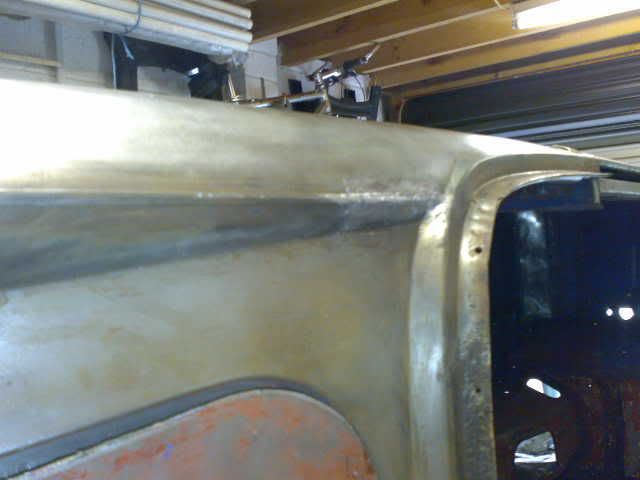 That was the bulk of the really heavy body work but there was still a lot of prep work to do. |
| |
|
|
|
|