I’m flippin’ knackered.
First week back at work and then a date with a bus. Anyway…
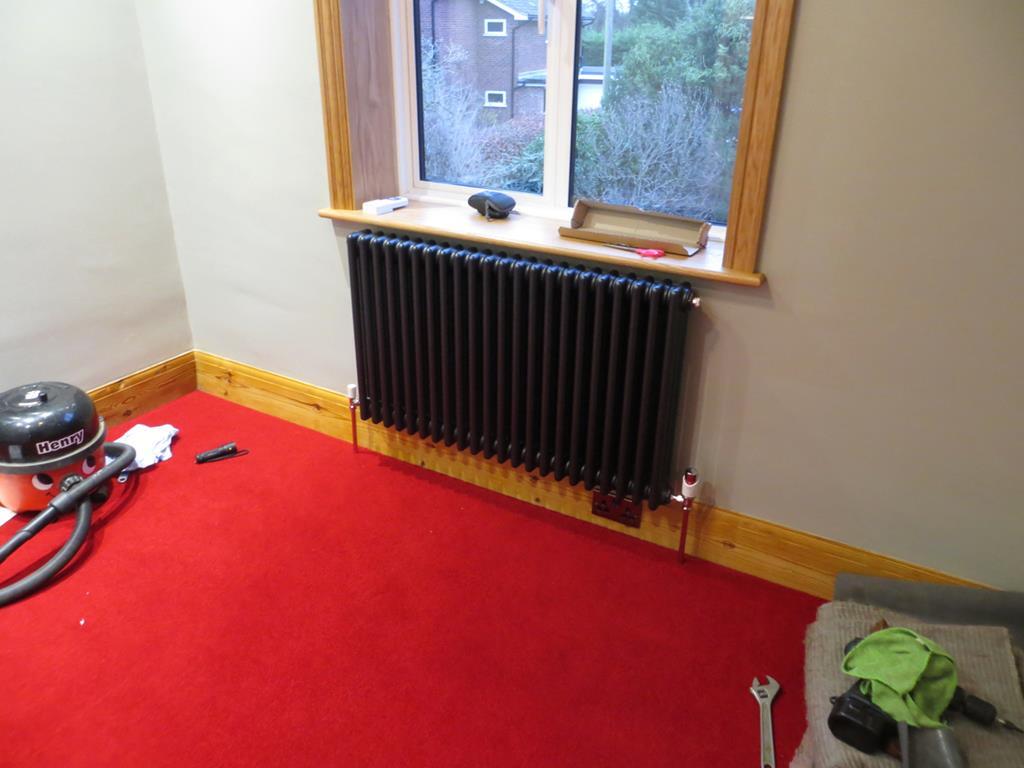
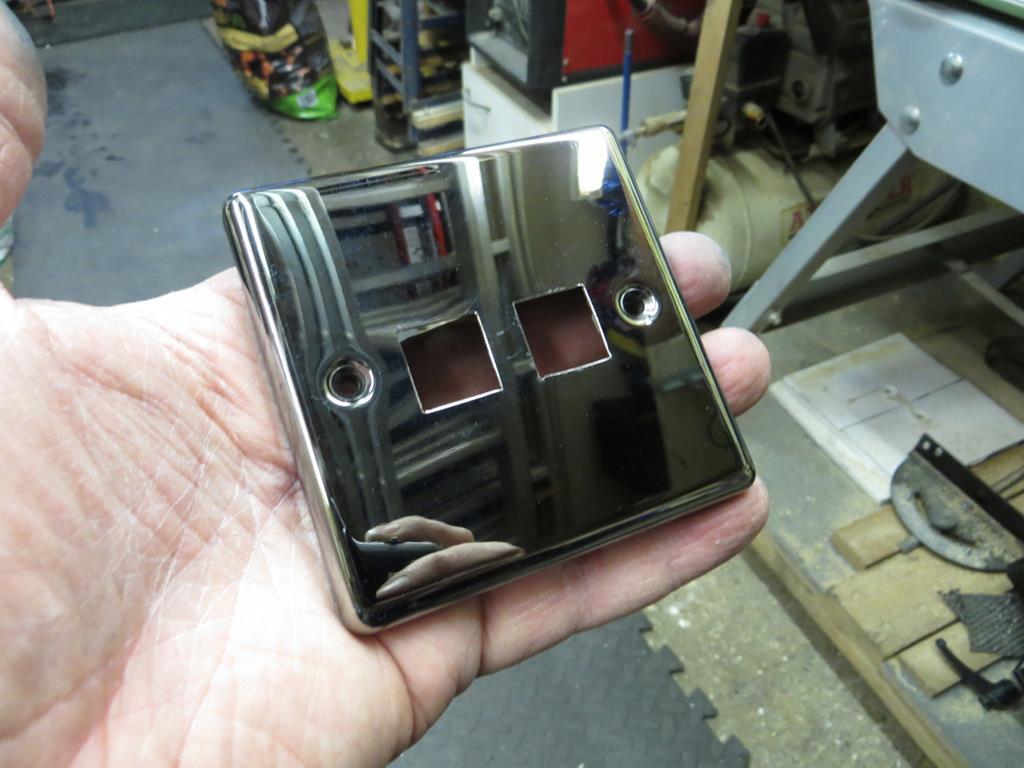
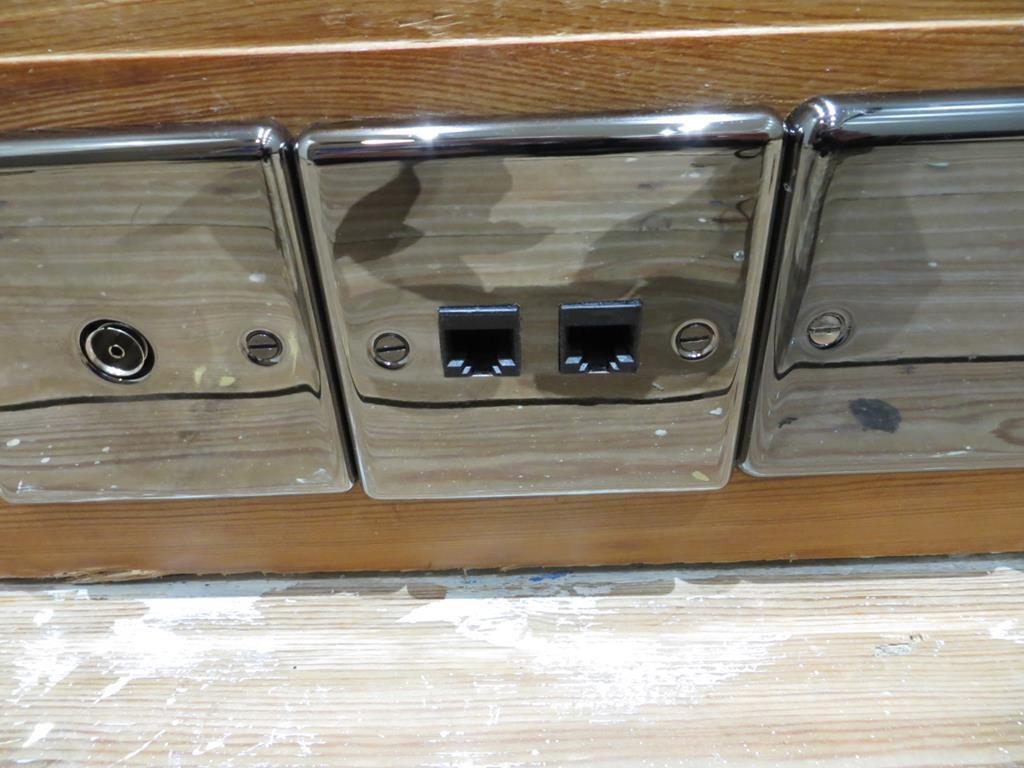
Christmas… I’d dug out some imperial sockets and Santa brought me a socket rail.

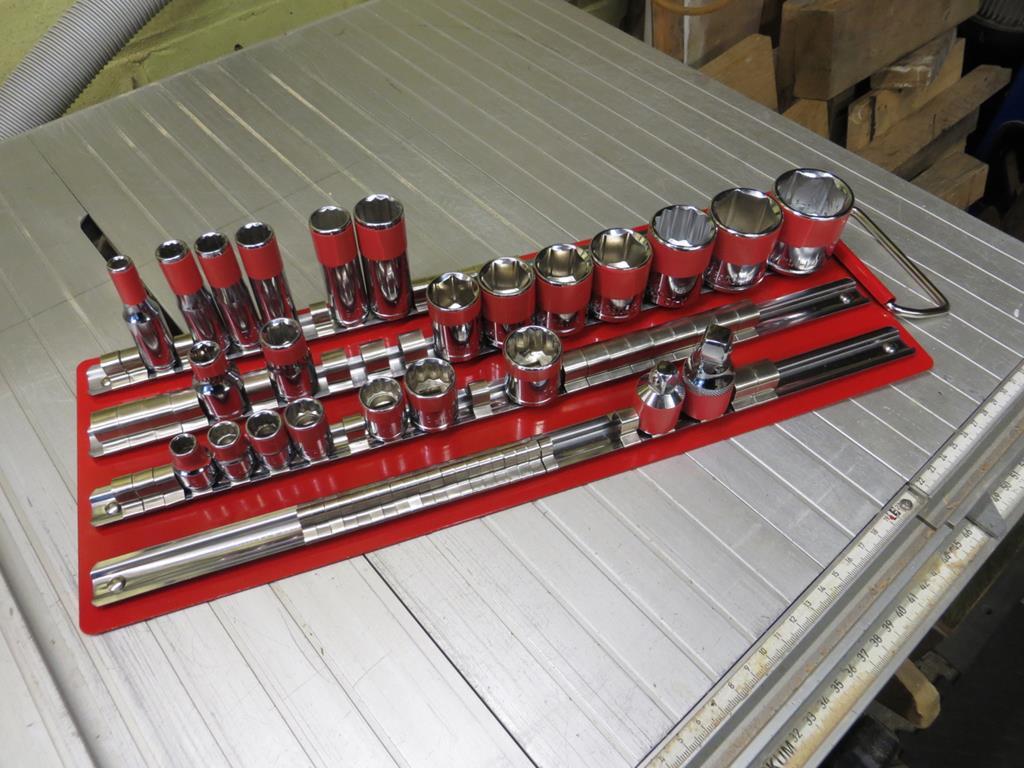
Hmmmm. Nice… It’s not quite as clean now…
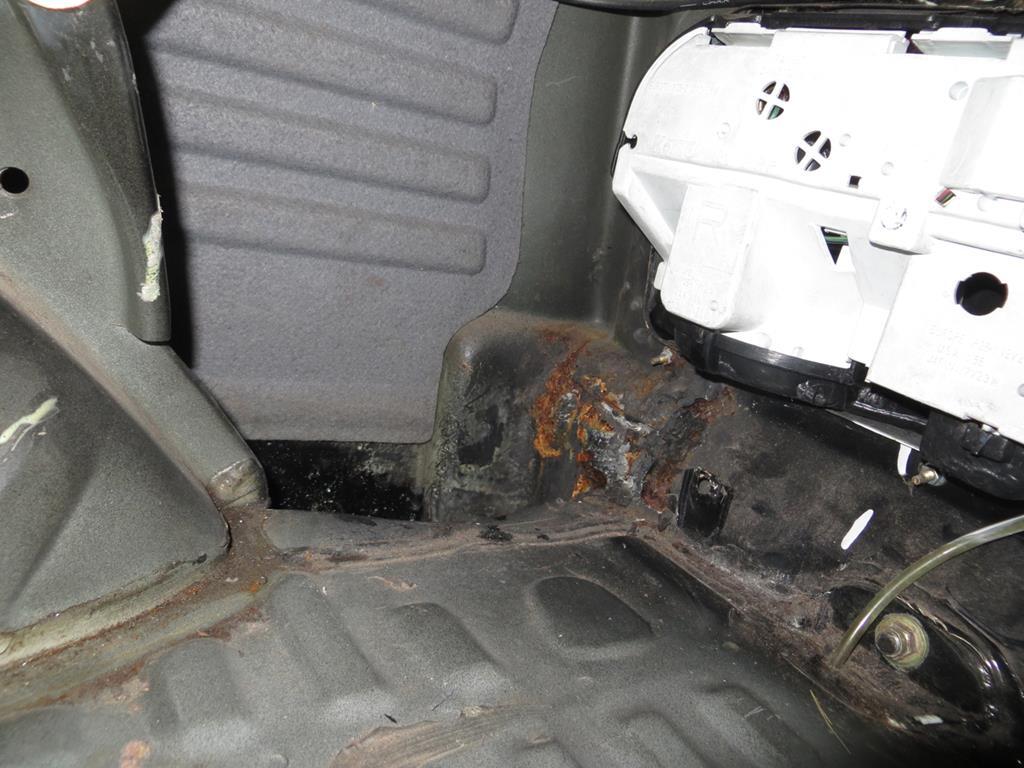
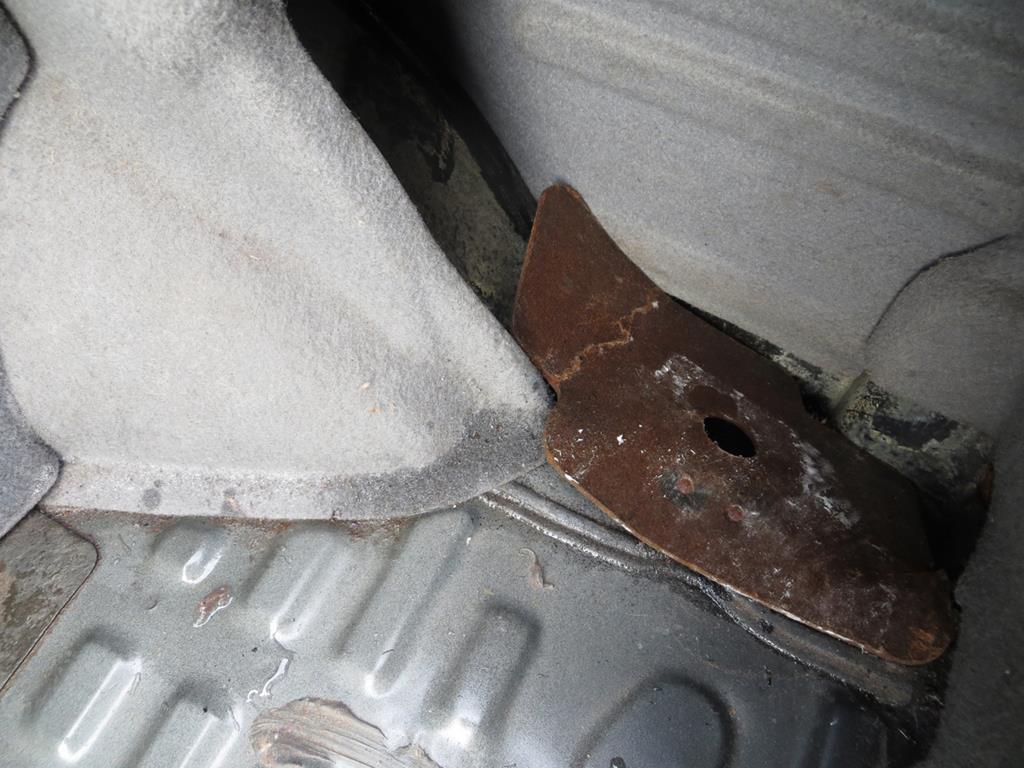
At the end of the last thrilling episode we’d rebuilt the off side rear brakes but they were sticking on when you pulled the actuating lever. Ian thought the edge of the shoes were sticking in a lip in the drum.
So this time we spun the drum while I applied the brakes to see if we could make any witness marks.

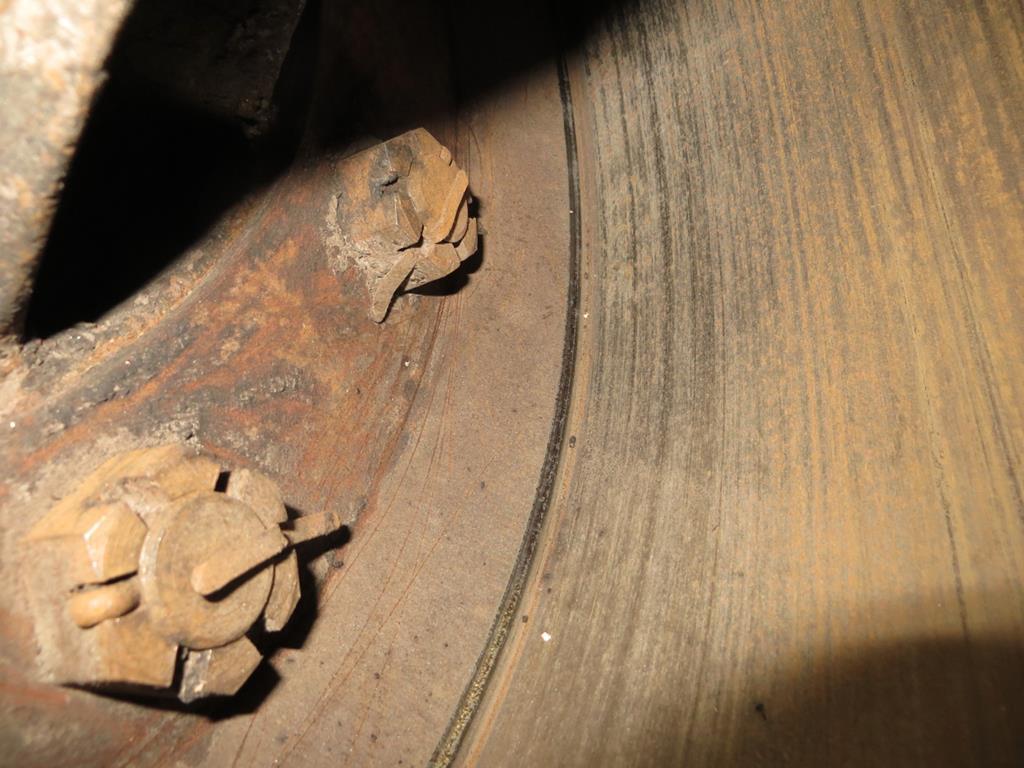
Yup, the bright line down the middle of the photo is where the edge of the shoe is touching a lip on the edge of the drum.

Ian took a rasp and knocked the corner off. Problem fixed.
Chances are, if the old girl had been able to move under her own steam, a trip round the block would have fixed it.
Right, now we have another interesting problem…
Remember this cross section of the rear bearings, axle and hub?

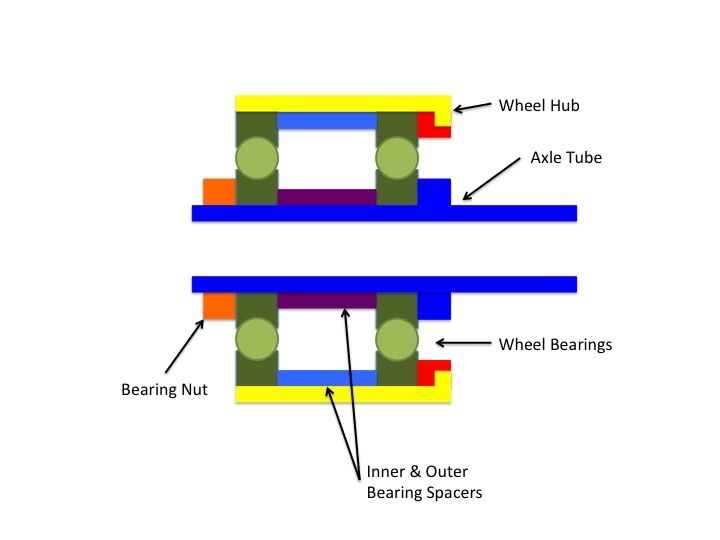
As I’ve drawn it nothing stops the hub sliding off the inside of the bearings until it touches the rear spring.
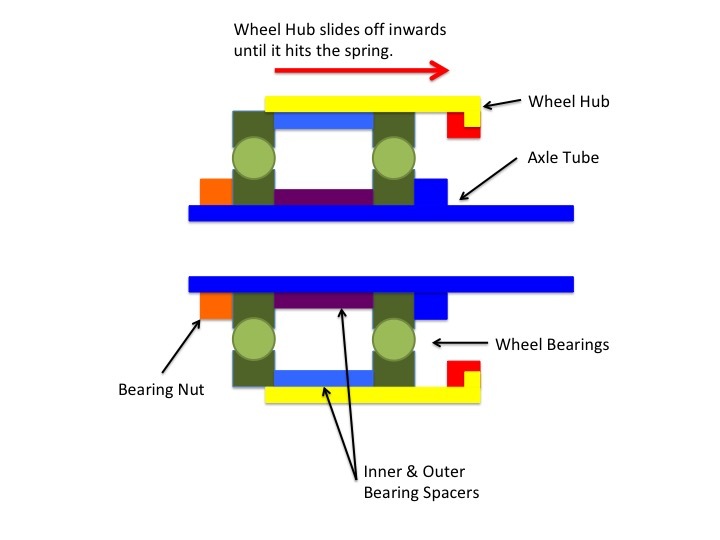

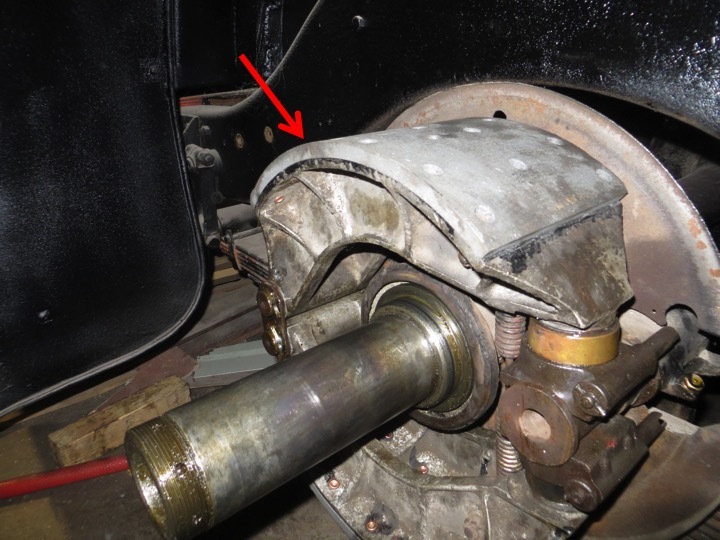
In reality it hits the brake back plate. Actually the half shaft assembly stops this happening. (See the next picture…) However the bus has been towed with the near side half shaft removed (to stop the prop spinning) and the drum has been touching the brake back plate.
Here’s that picture…
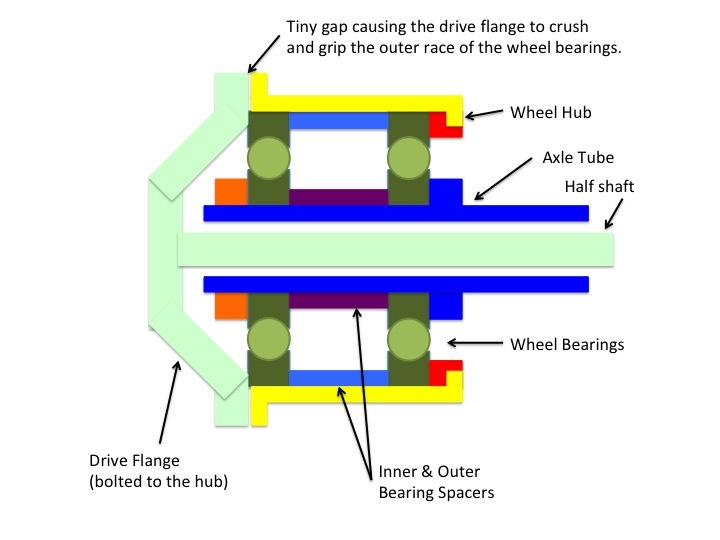

The drive flange clamps the outer races of the bearings.
Now, here’s the thing…
The drive flange needs to clamp the bearing races and spacers hard. If it doesn’t the bearing races will spin in the hub. Ideally there should be a gap between the hub and drive flange because the stack of bearing races and the spacer should have all the pressure on them. (Gap shown in the picture above.)
Ian, being bl00dy clever, knows this and tried to measure the gap. Well, on the near side, there is a measurable gap that a feeler gauge will drop in. But the off side it’s pretty closed up. And the bearing races did look like they’d been moving in the hub. Not badly, but the marks could suggest things aren’t clamped firmly enough.
Hmmm. Ian’s thinking about it. Late last night I found the specs for all this in the manual and, from what I remember, the off side is marginal. I need to drop Ian an email later.
Next job, still on the brakes…
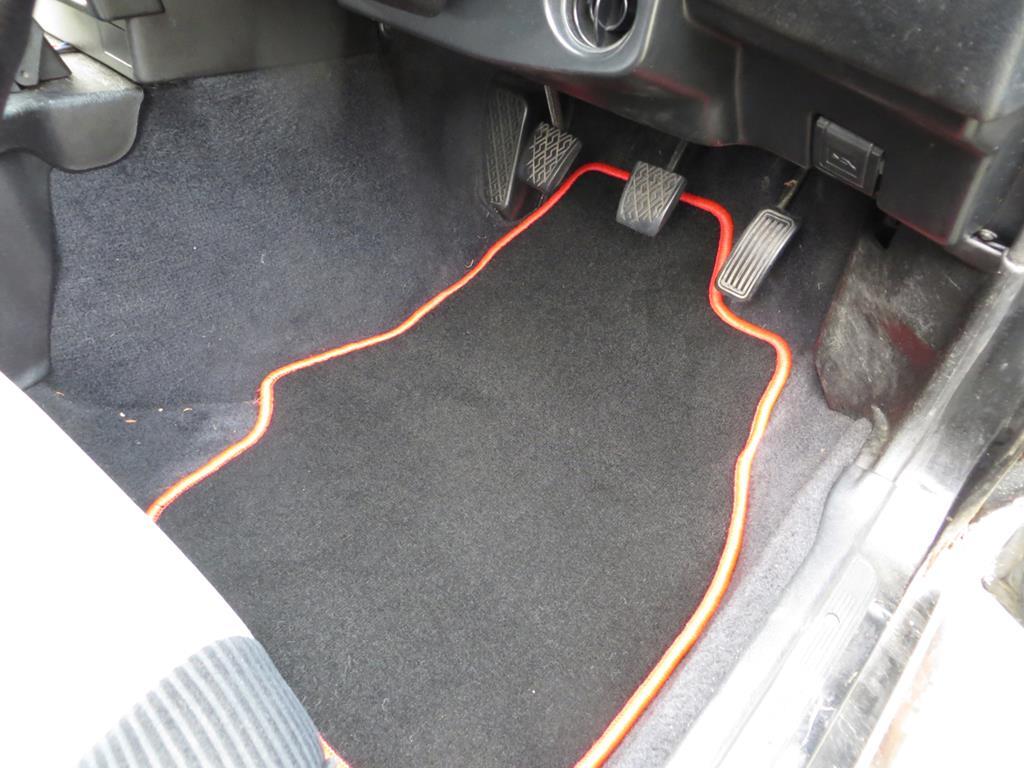
A while back I showed you this.

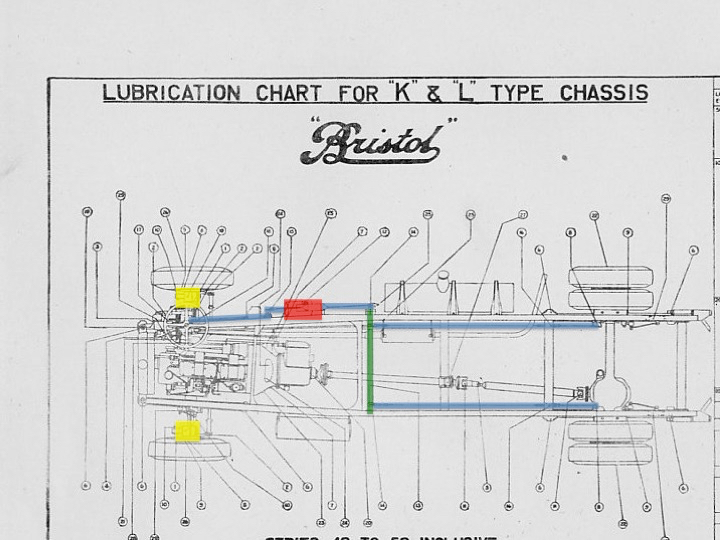
I’ve marked the brake linkages in blue and green.
Rods from the pedal (blue) run to a cross shaft (green) and then more “blue rods” run to the rear wheels. So it’s close to a very old school cable braking system.
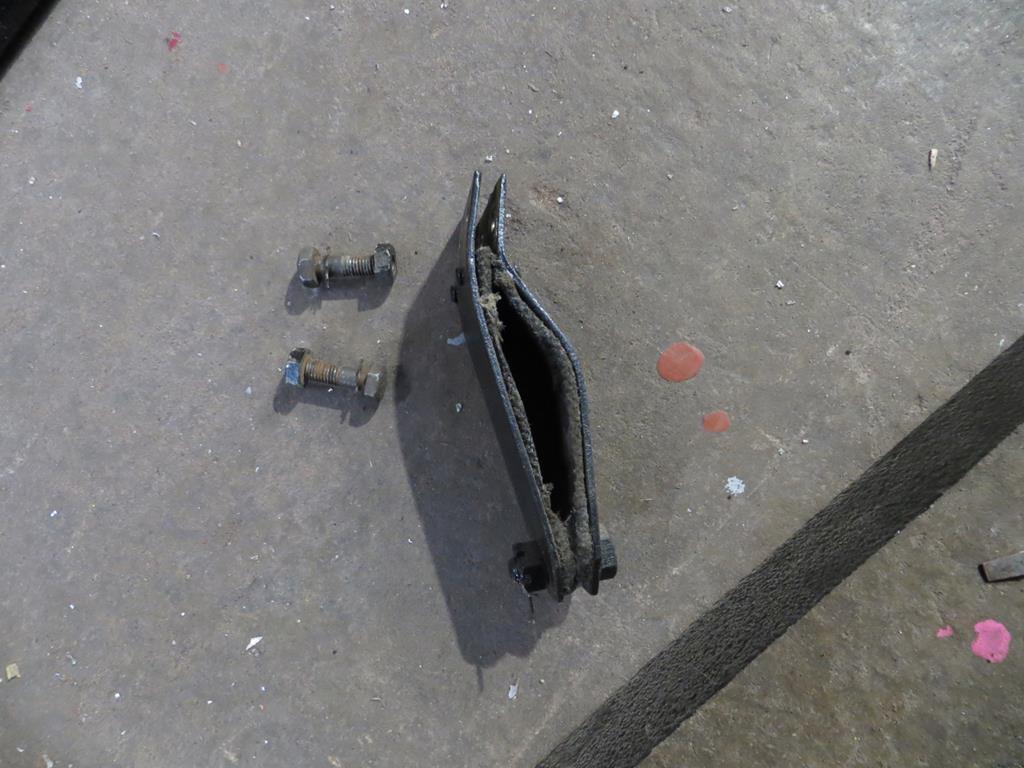
More surprisingly the “blue rods” from the cross shaft to the rear wheels aren’t even rods. They are two steel ribbons.
Yes, really…

So, 80 years later, the brake ribbons having suffered some rust pitting and thinning. Are they still up to the job?
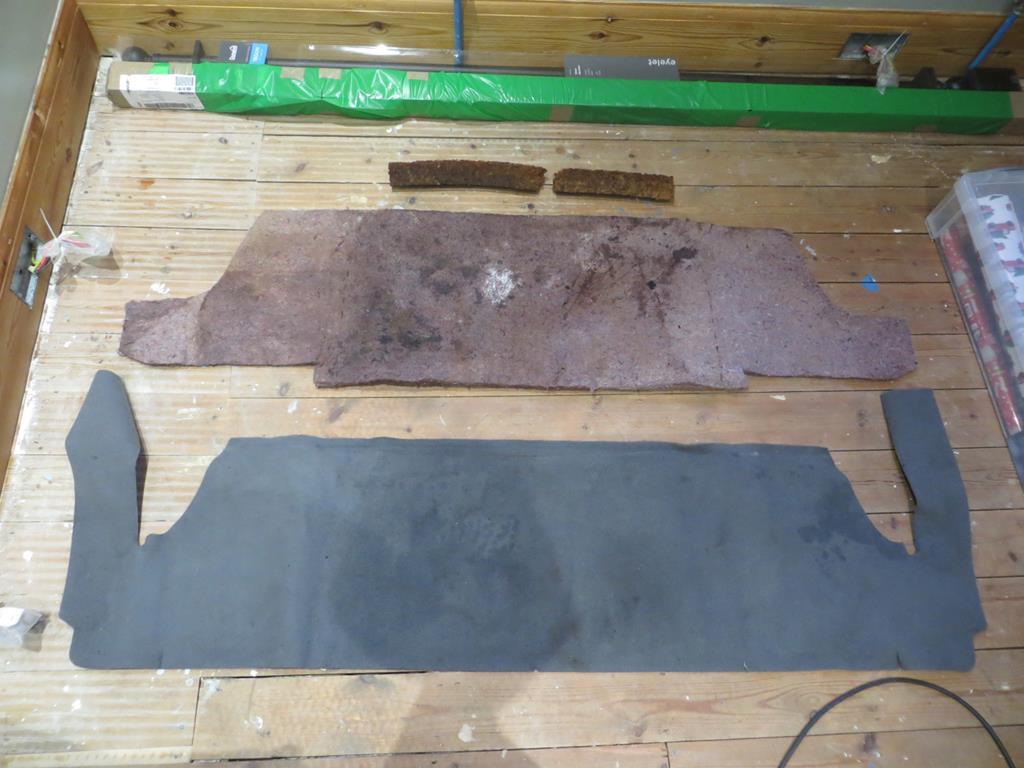
The charity that owns this thing had a sample of a brake ribbon tested to see what it’s made of. A nice coil of new carbon steel ribbon has arrived so our job was to take the old ribbons off so they can be rebuilt.
Annoyingly…

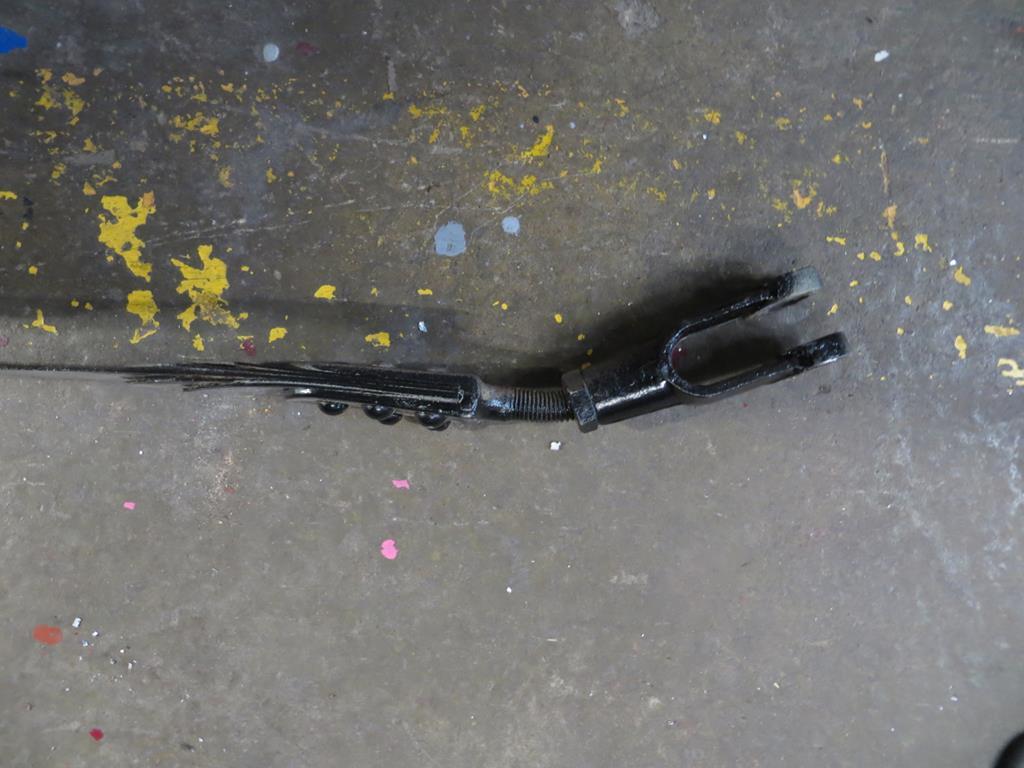
The off side ribbon has been thumped at some point and the front clevis has been bent. Oh dear.
The hanger half way down was a bit worse for wear too.

Well, the bent clevis probably needs replacing. But the hanger was well within my skill set. A couple of minutes tapping with a hammer and it was straight and back on the bus.
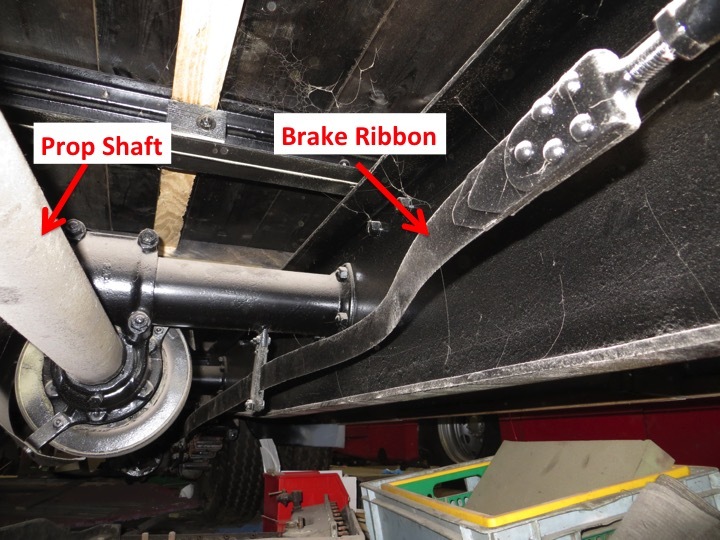
That’s the brake ribbon running across the bottom right of the picture.
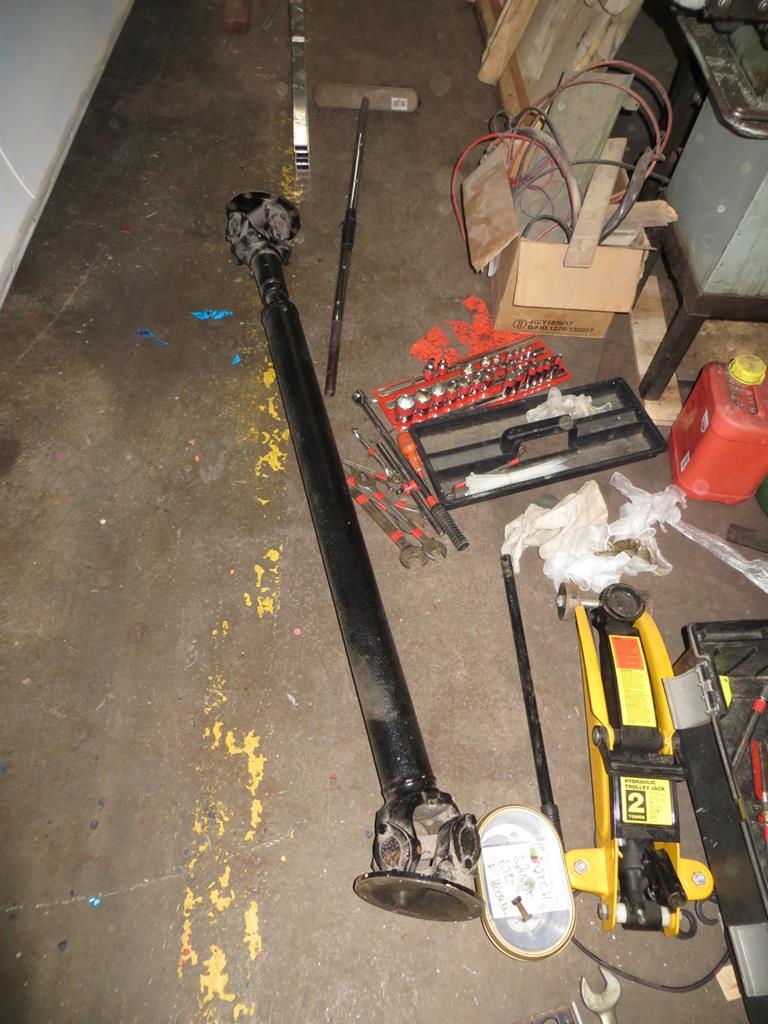
Next job… Prop shaft. Or as the manual calls it, the transmission.
I don’t have a picture but the prop is in two sections. On the gearbox is a rubber coupling (missing at the moment). In the middle is a centre bearing and vibration damper. And then the rear section has a universal joint at each end.
Ian has found new bearings for the universal joints so the plan was to take it off ready to replace them.
Yeah. Well that wasn’t so simple.

So we were successful then.
But it put up a fight. Most of the bolts were pretty tight and it needed a bar through the joint to pull against. Obvs the bar wouldn’t stay put and kept falling out.
But also many of the nuts and bolts are so close to the yokes that you couldn’t get a ring spanner or socket on them.

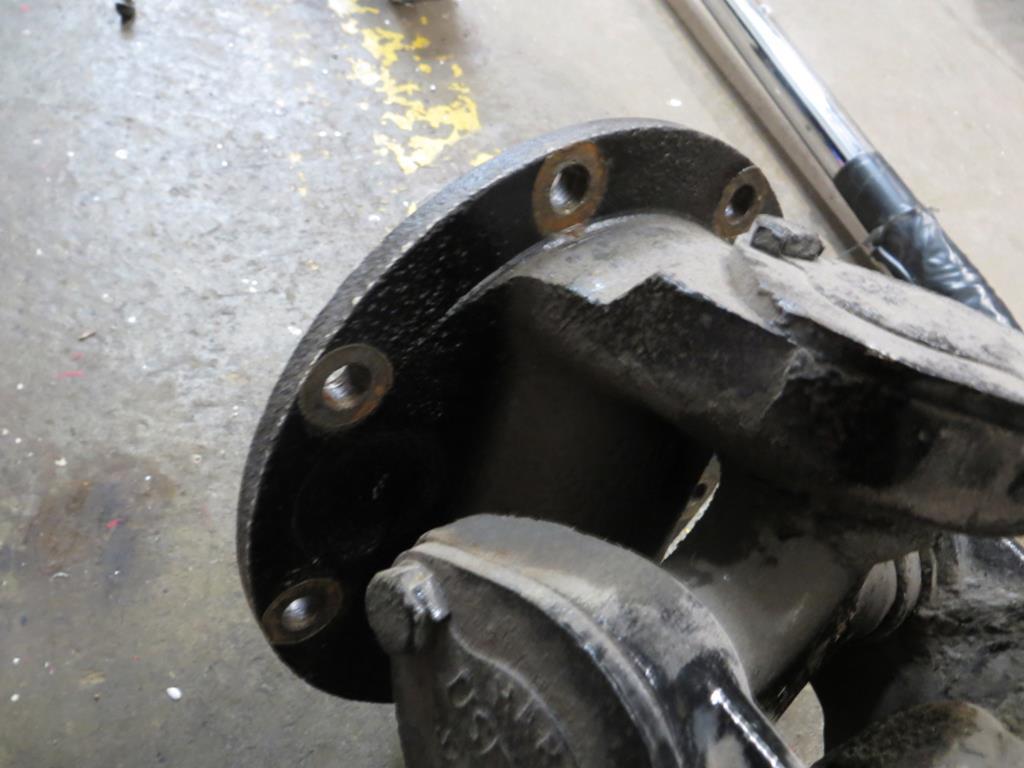
See what I mean?
And an open ended spanner was either rounding the nut off or spreading the jaws. They weren’t coming off…
So Ian cut the nuts off with a cold chisel and lump hammer.
I’ve seen this done before. You thump a chisel into the nut until it splits in half. In fact I’ve even done it. But I’ve never seen it done as efficiently as Ian seems to do it.
Back at the start of the thread I half jokingly said I was going to play the part of the apprentice. But it’s true in ways I hadn’t imagined. I wouldn’t have thought to cut the nuts off with a chisel. It’s an old school technique that’s largely been forgotten. Shame really. Now I’ve seen it done I’m more likely to try it myself.
James