|
|
|
Sept 26, 2012 0:45:53 GMT
|
|
Thank you for the detailed working for the plug and lead, To be honest i went a bit cross eye with that, electrics aren't my bag!, The radio did have a cap on the rear that you pull of for the plug and It's a British radio so the frequencies should be correct.
The old radio i just removed was a FM unit and worked fine as did the first radio which came with the car which was also a old Philips MW radio, for some reason the signal strength is very weak and ever so quiet in this one though, when i plug the lead in it gets a bit better and if i hold the jack plug end of the lead it gets even better still, as if it's earthing through my body?.
But like i say I don't mind that the MW does work as my phone has a FM radio so i can play that through the radio instead.
|
| |
|
|
|
|
|
|
|
Sept 26, 2012 8:38:16 GMT
|
|
most thorough reply ever, brilliant !
|
| |
|
|
buzby
Part of things
 
Posts: 158
|
|
Sept 26, 2012 20:20:32 GMT
|
Thank you for the detailed working for the plug and lead, To be honest I went a bit cross eye with that, electrics aren't my bag!, The radio did have a cap on the rear that you pull of for the plug and It's a British radio so the frequencies should be correct. The old radio I just removed was a FM unit and worked fine as did the first radio which came with the car which was also a old Philips MW radio, for some reason the signal strength is very weak and ever so quiet in this one though, when I plug the lead in it gets a bit better and if I hold the jack plug end of the lead it gets even better still, as if it's earthing through my body?. But like I say I don't mind that the MW does work as my phone has a FM radio so I can play that through the radio instead. Yes, the frequency band should be correct, it's just odd to see that Sanyo were using the meter scale instead of kHz. That in itself points to it being destined for the UK market (and before the UK MW frequency plan changed in 1975, when our radio stations started gradually changing over to using kHz like the rest of Europe). As to the reception issues, it does sound like a problem with the aerial - AM reception is a lot more dependent on a properly-connected aerial than FM (due to FM using Mhz frequencies as opposed to kHz for AM). It sounds to me that there is a poor or no aerial connection - it gets better when you connect the 'Aux' lead and hold the jack plug because both you and the lead are acting as the aerial. There are 2 easy checks you can do to see if the aerial and cable are in good condition. Disconnect the aerial lead, get a multimeter and set it to the Resistance (Ohms) scale. Measure the resistance between the centre conductor and the outer conductor - it should be zero Ohms (or very low - less than 10 Ohms). If it's high or infinite resistance that usually means the centre core of the cable is broken somewhere. If that test was OK, measure the resistance between the outer conductor and the car body - it too should be zero Ohms. If it's anything more than a couple of Ohms then there is a problem with the aerial earthing where it mounts to the body. The last test is to check the resistance between the radio chassis and the car chassis. Again, it should be zero Ohms. If it isn't, try adding a strap from the back of the radio chassis to the car chassis. If these tests check out, then that can only mean there is a problem in the tuner section of the radio, possibly due to electrolytic capacitors that have dried out with the radio being unused for such a long time. |
| |
Last Edit: Sept 26, 2012 20:24:28 GMT by buzby
|
|
|
|
|
|
|
Hi gang, It's been a while since I updated this but that's manly because there's not be much to say, until now!. 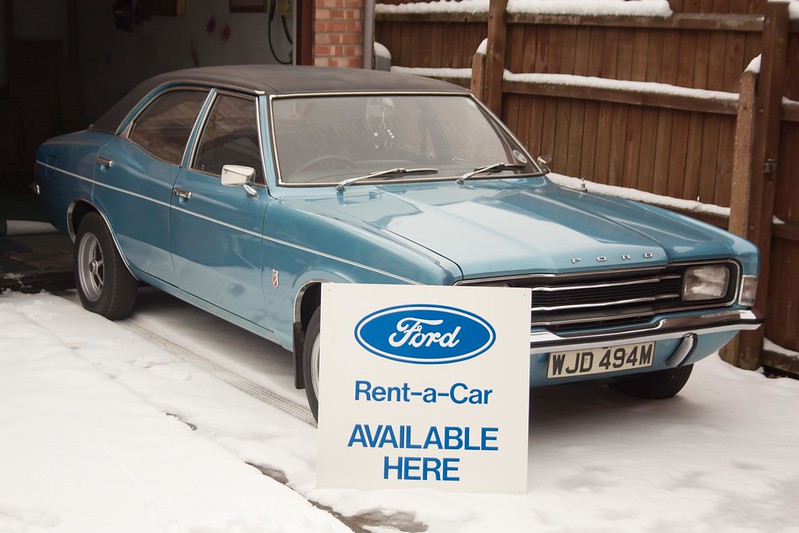 My 1974 Ford Cortina 2000 XL & Ford Rent-A-Car Sign My 1974 Ford Cortina 2000 XL & Ford Rent-A-Car Sign by Trigger's Retro Road Tests!, on Flickr The cars still going well, I had big plans over winter to get the bodywork repaired but after a number of people telling that part of the appeal of the car was it's originality, with it's warts & all, that it would be criminal to getting it resprayed, Plus I don't have enough money!. Those of you who buy Practical Classics magazine might recognise it from this months issue where I has a nice page spread about me and the car in the car of the section which was very nice.  It's spent much of winter on SORN but last weekend I actually managed to use it to see the in laws in, sadly not all went to plan. 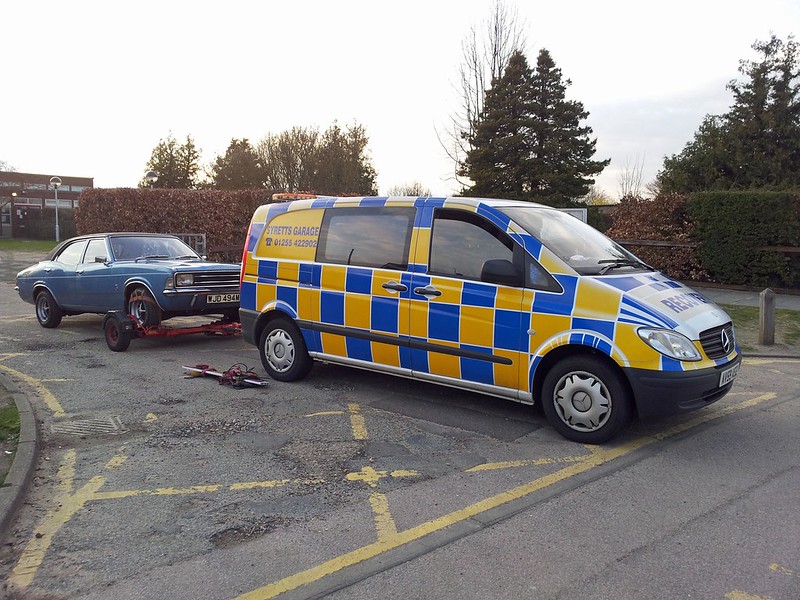 Oh dear! Oh dear! by Trigger's Retro Road Tests!, on Flickr 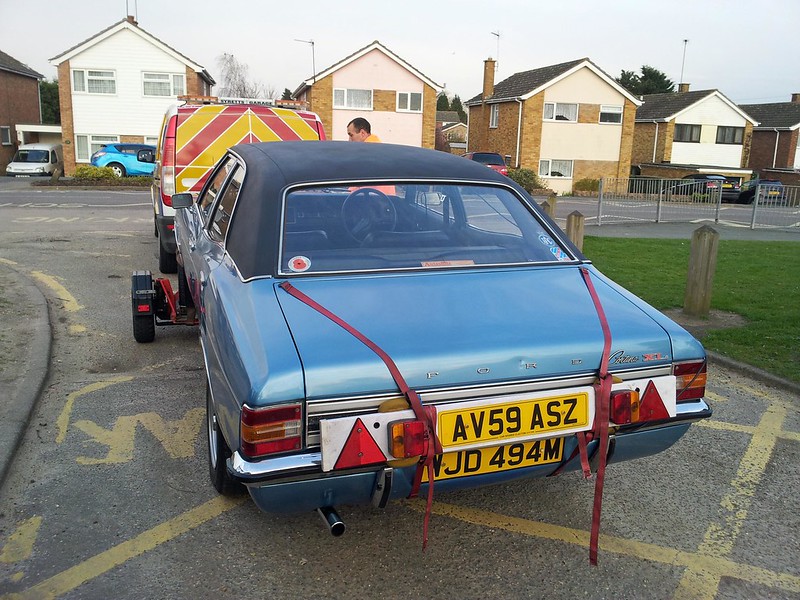 Oh dear! Oh dear! by Trigger's Retro Road Tests!, on Flickr Bumhats!, Whilst driving along my throttle went click and went to the floor, where on opening the bonnet I was confronted with this... 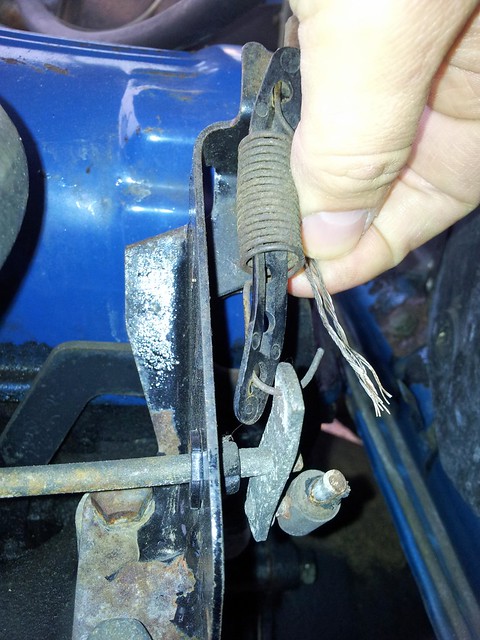 Broke! Broke! by Trigger's Retro Road Tests!, on Flickr Whoops!, Luckily my free breakdown cover came into use and I got a 30 mile tow home, a few days later I got lucky and found a NOS Ford cable locally so my dad collected it for me and fitted it whilst I was at work, all I can say is what a difference!. I hadn't noticed how stiff the old one must have got, now it seems much more revvy and responsive, what with that and having the car tuned during the week it's running much better, the only issue I have now is a bad flat spot and blow back through the carb when accelerating, I've been told my accelerator pump diaphragm is shot and needs replacing so I've ordered a carb service kit of ebay and will be rebuilding the carb in the next few weeks. In other news yesterday a friend came round with a grill badge that used to be on his car for me, I fitted it in the afternoon and I'm well chuffed, It makes a nice difference to the front end to me, really breaks the grill up. 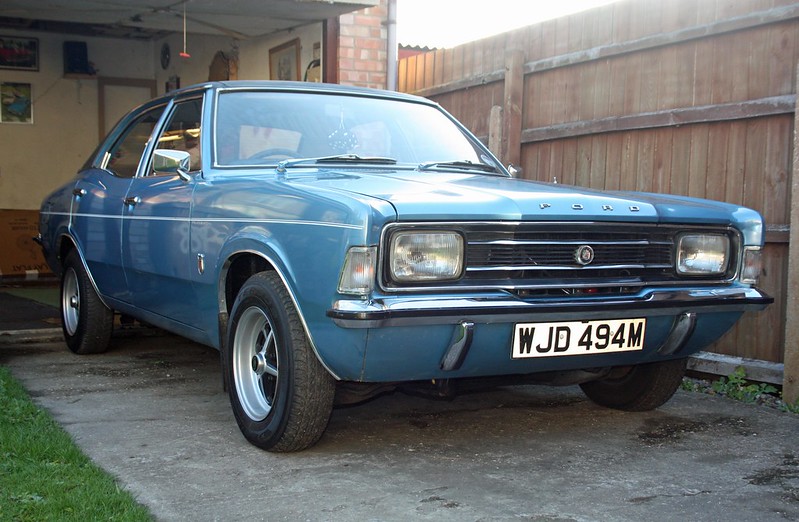 1974 Ford Cortina 2000 XL 1974 Ford Cortina 2000 XL by Trigger's Retro Road Tests!, on Flickr and here's a final shot of it taken today down in Felixstowe.  Ford Cortina 2000 XL Ford Cortina 2000 XL by Trigger's Retro Road Tests!, on Flickr |
| |
Last Edit: Apr 29, 2013 0:15:06 GMT by trigger
|
|
|
|
|
|
|
|
man she is a honey :-)
|
| |
in africa every 60 seconds.....a minute passes.
|
|
|
|
|
|
|
|
Been ages since i read this! Super car, and i still want one. But i want lots of other things as well so it wont be soon for sure.
Keep up the good work, love the radio by the way. I usually have to get all mine converted with line in.
|
| |
|
|
|
|
|
Nov 18, 2013 20:07:21 GMT
|
It's been a while so here's a small update, Recently the Cortinas took a back step as I bought a little Honda Civic for my wife which ended up being a recommissioning project. 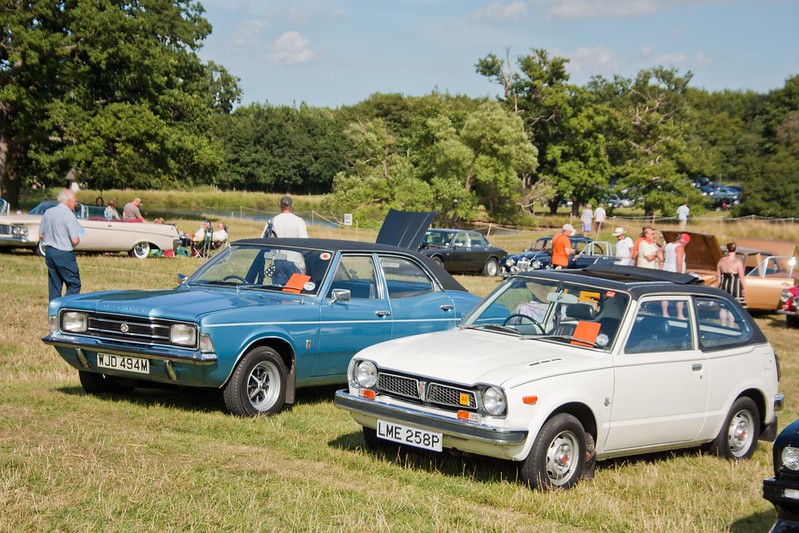 Now that's all finished and looking as good as new I've decided to sell the car shortly and spend the money on getting the Cortina completely sorted and how I want it, the bodywork needs respraying ideally, the seats sorting, maybe some new wheels and a few little niggles sorted. I made a start at the weekend by getting the original seats back out of the loft again for another look, they were a little worse than i first remember.  This is the drivers seat, all the plastic trim is smashed and the chrome handle is missing as well as the runners, I'm not even sure if it's restorable? The rear seat still looked like this which had been painted...  Yesterday after a recommendation from a friend who's a trimmer and a chat with the guys on the MK3 owners club stand at the NEC on Friday I bought some graffiti remover which was in gel form and coated the seat using a scrubbing brush.  This was after the first treatment, massive improvement to start with.  A little while later it looked like this!, much better, I'm still going to have to dye the seats blue again as they have gone a bit grubby looking but it's a massive improvement, hopefully it should all dry ok, the back rest part of the seat will be a bit harder as it has a arm rest but it's a start. If anybody has any spare seat trim or even any XL, 2000E seats then let me know! |
| |
|
|
conair
Part of things
 
Posts: 268 
|
|
Nov 18, 2013 21:18:49 GMT
|
|
|
| |
|
|
|
|
|
Nov 18, 2013 23:11:56 GMT
|
|
Gorgeous car
|
| |
|
|
|
|
|
Jan 12, 2014 23:05:21 GMT
|
Yo! Things have been progressing on the Cortina front, I have the front seats booked into a local trimmers in the next month or so to be repaired, I've been quoted £150 which seems alright, I have to order some of that Vinylcote stuff to recolour the seats again though. The biggest news is that I have the car booked in to have a respray now to get that 40 year old paint all sparkly again. Today I made the long awaited start on stripping it down ready as it's cheaper to strip it myself (beside I enjoy doing it), after spending all afternoon on it I'm really pleased with the progress. 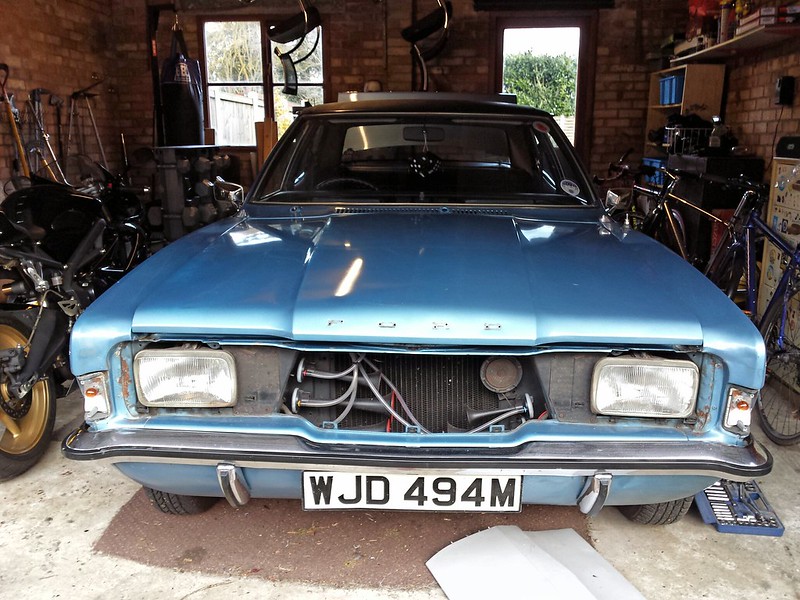 Starting the strip down of my Mk3 Cortina Starting the strip down of my Mk3 Cortina by Trigger's Retro Road Tests!, on Flickr Bearing in mind that the cars never been restored and is 40 years old in March everything is coming apart remarkable easy, Removing the grill and indicators hasn't revealed any hidden horrors, the only PITA I've had so far is when i removed the passenger wiper arm the wiper socket dropped inside the scuttle and it doesn't seem inaccessible without having to strip all the heater box out from under the bonnet, anybody know if this is right?.  Starting the strip down of my Mk3 Cortina Starting the strip down of my Mk3 Cortina by Trigger's Retro Road Tests!, on Flickr Had the wheels off and drilled all the pop rivets that hold the chrome trim around the wheel arches off, luckily my trims are in good condition having seen what they sell for on ebay!. 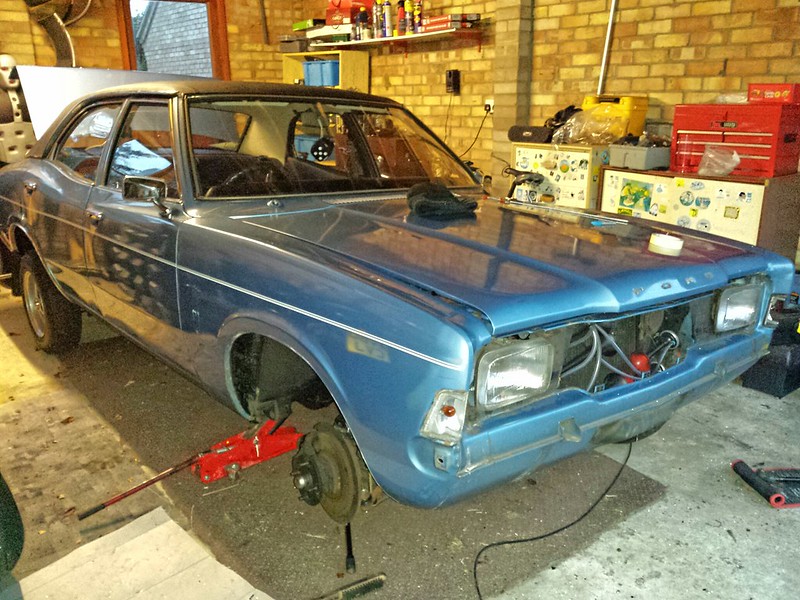 Starting the strip down of my Mk3 Cortina Starting the strip down of my Mk3 Cortina by Trigger's Retro Road Tests!, on Flickr As it was getting late and the light was rubbish in my father in laws garage i made a start on the boot area too. 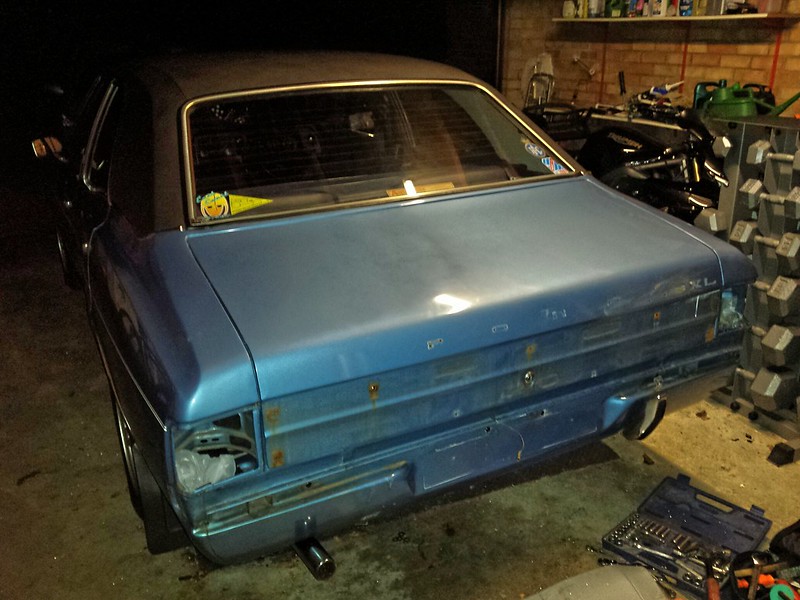 Starting the strip down of my Mk3 Cortina Starting the strip down of my Mk3 Cortina by Trigger's Retro Road Tests!, on Flickr Again nothing to worry about here other than the overrider that I can't seem to get the bolt out off, it's in a recess inside the rear valance with the fuel tank up tight against it so god knows how your meant to get a spanner or socket onto it to undo it? again any help is welcomed!. Next time I'll get the door cards removed so that i can get the handles and mirrors off then it's off to the paint shop for it. Also what's the best way to remove these door trims?, I don't want to damage them so would i be better off leaving them alone?, the same for the chrome trims on the C post at the base the vinyl roof too. 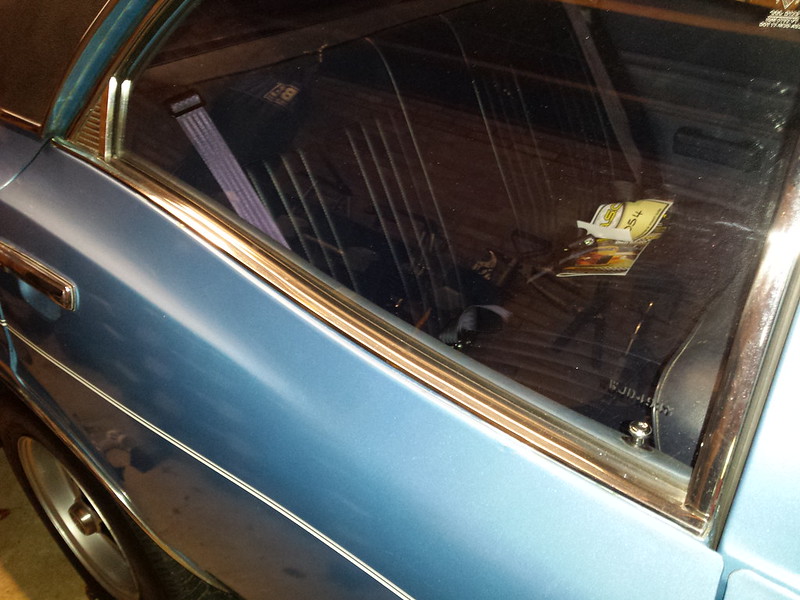 Starting the strip down of my Mk3 Cortina Starting the strip down of my Mk3 Cortina by Trigger's Retro Road Tests!, on Flickr |
| |
|
|
|
|
|
|
|
|
|
I had a bit more of a play this afternoon, and have got it as far as I can go now, I had a go at removing the chrome trim at the base of the vinyl roof on the C post bolts on from the inside of the boot and you need to have arms like Mr Tickle to undo those bolts, so have left those for now and the chrome weatherstrips on the doors were a right pig, i spent ages trying to carefully prise them up but they won't come and I'm worried about snapping or bending them so that will be a job for the body shop and annoyingly the offside rear door handle fell to pieces when i removed it too. On the plus side the curse word rear overrider came off in the end with a socket, pair of mole grip and a racket on the outside, along with the skin off my knuckles... This was how i left it the other day. 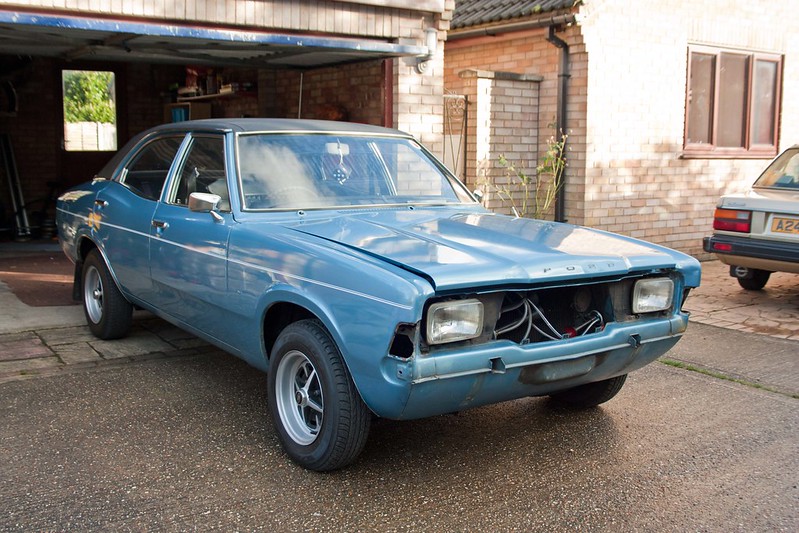 My 1974 Ford Cortina 2000 XL Restoration Pics My 1974 Ford Cortina 2000 XL Restoration Pics by Trigger's Retro Road Tests!, on Flickr Looks a bit grotty now the chrome trim arch trims been removed. 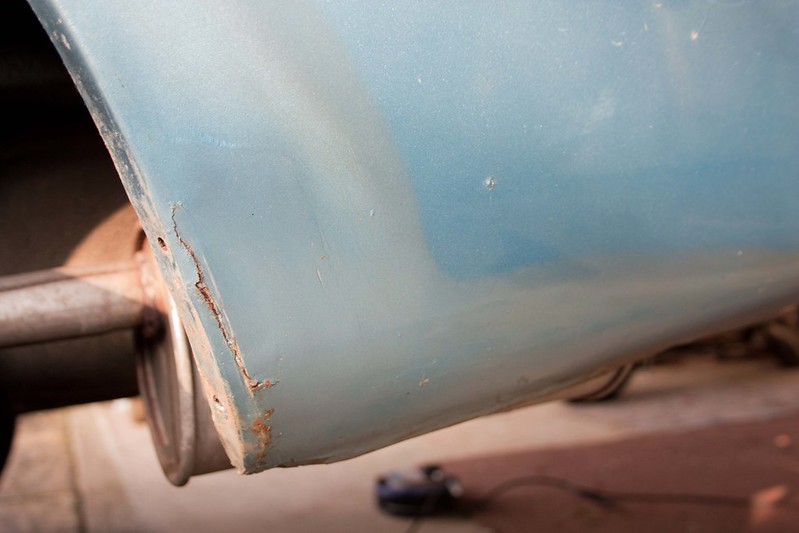 My 1974 Ford Cortina 2000 XL Restoration Pics My 1974 Ford Cortina 2000 XL Restoration Pics by Trigger's Retro Road Tests!, on Flickr 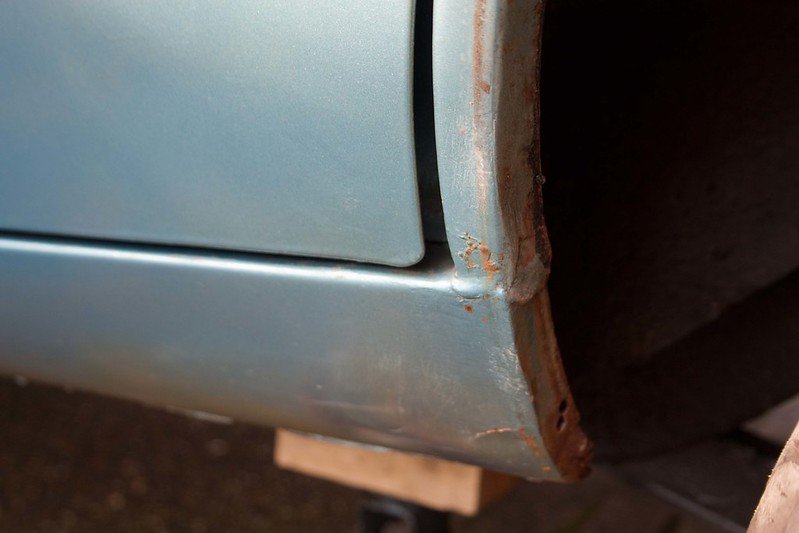 My 1974 Ford Cortina 2000 XL Restoration Pics My 1974 Ford Cortina 2000 XL Restoration Pics by Trigger's Retro Road Tests!, on Flickr Untouched door membranes alround which is impressive for a 40 year old car. 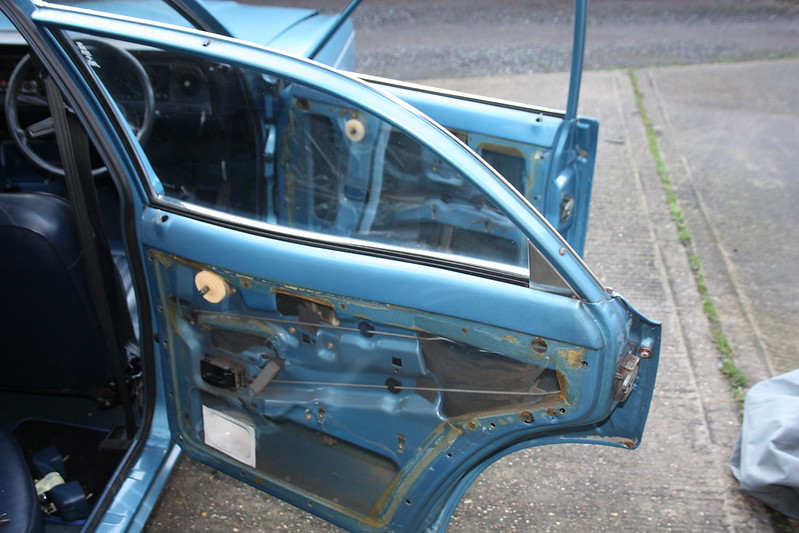 My 1974 Ford Cortina 2000 XL Restoration Pics My 1974 Ford Cortina 2000 XL Restoration Pics by Trigger's Retro Road Tests!, on Flickr All ready for the paint shop, I'm dreading the next bit as i have a horrible feeling it's going to end up costing loads :/. 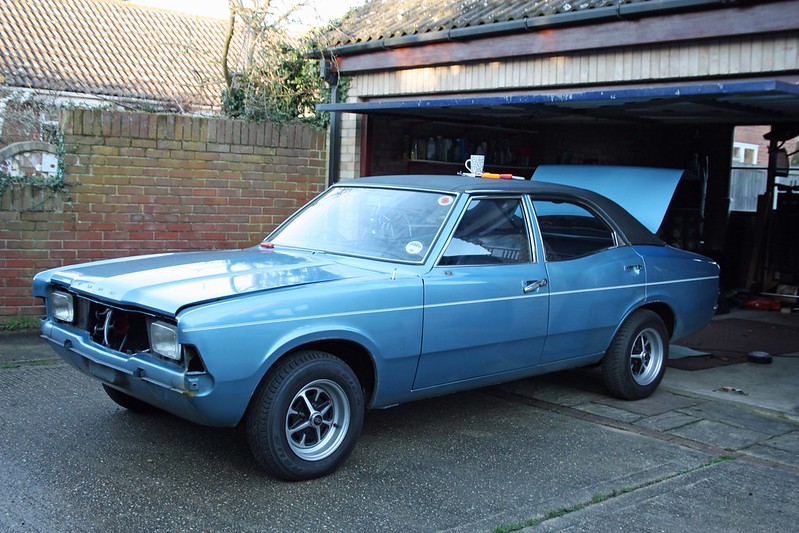 My 1974 Ford Cortina 2000 XL Restoration Pics My 1974 Ford Cortina 2000 XL Restoration Pics by Trigger's Retro Road Tests!, on Flickr  My 1974 Ford Cortina 2000 XL Restoration Pics My 1974 Ford Cortina 2000 XL Restoration Pics by Trigger's Retro Road Tests!, on Flickr 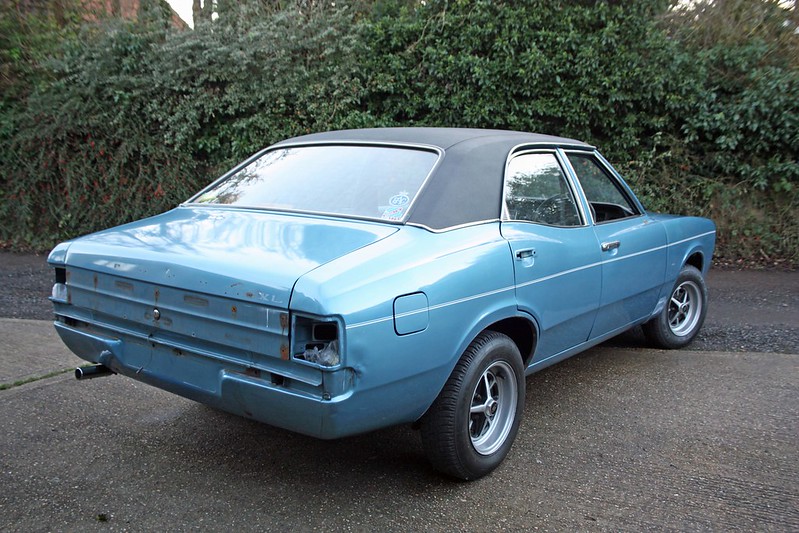 My 1974 Ford Cortina 2000 XL Restoration Pics My 1974 Ford Cortina 2000 XL Restoration Pics by Trigger's Retro Road Tests!, on Flickr This is one of the reasons I'm painting the car, like I say, it's a 20 yard motor. 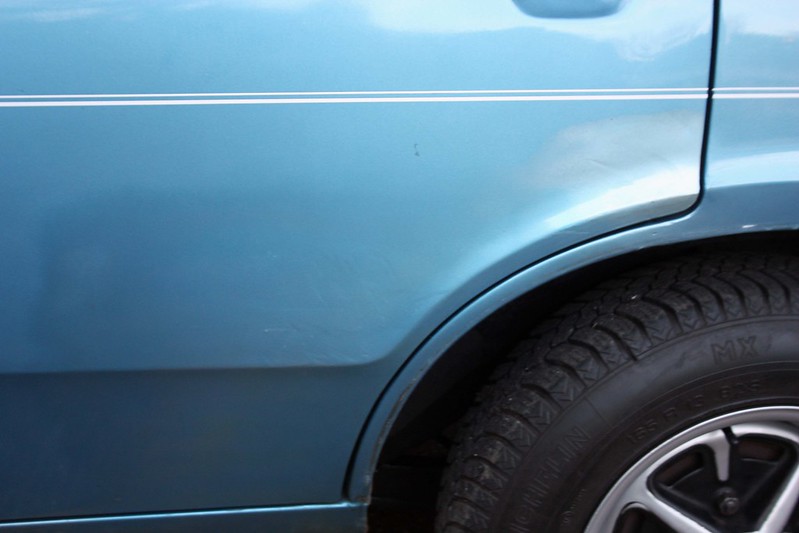 My 1974 Ford Cortina 2000 XL Restoration Pics My 1974 Ford Cortina 2000 XL Restoration Pics by Trigger's Retro Road Tests!, on Flickr  My 1974 Ford Cortina 2000 XL Restoration Pics My 1974 Ford Cortina 2000 XL Restoration Pics by Trigger's Retro Road Tests!, on Flickr [/quote] |
| |
|
|
robw
Part of things
 
Posts: 90 
|
|
|
|
|
Looking forwards to seeing how it comes back from the respray. Pardon my ignorance but what's the correct name for those wheels? And what size are they? Do you know if they fit mk2's?
|
| |
|
|
|
|
|
|
|
|
Thanks, the wheels are called rostyles and are 5.5x13, I've just bought a set of 175/70/13 to fit to them.
And they should fit a Mk2, they came off a Mk2 1600E!
|
| |
|
|
|
|
|
Jan 20, 2014 10:24:11 GMT
|
|
Is this glorious motor going to be staying its glorious original colour...?! I hope the respray and bodywork all goes well for you sir.
|
| |
***GARAGE CURRENTLY EMPTY***
|
|
|
|
|
Jan 20, 2014 13:15:26 GMT
|
|
Thank you, yes it will be staying it's original Miami Blue metallic, I love the colour so I won't be changing it!
|
| |
|
|
|
|
|
Mar 21, 2014 14:52:09 GMT
|
So here's the latest on the process of this respray, things are going mostly well, the car looks something like this at the moment. 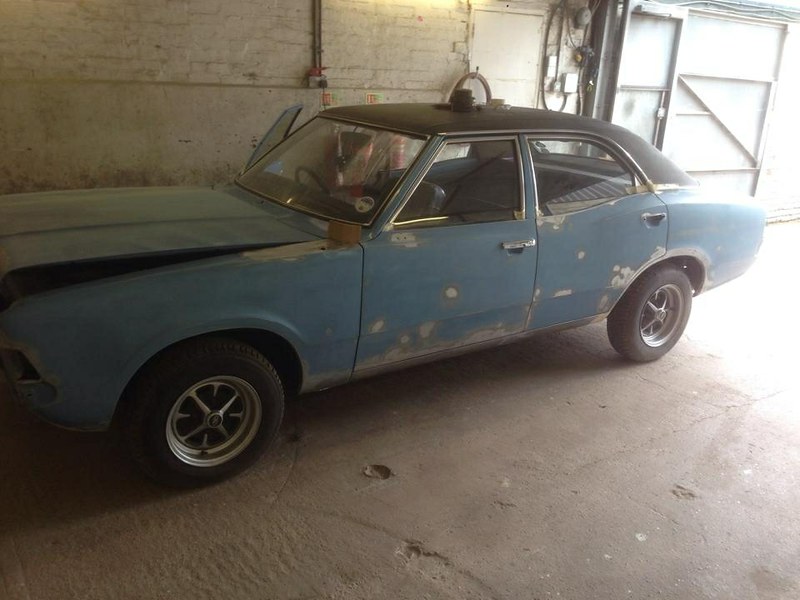 My 1974 Ford Cortina 2000 XL Mk3 My 1974 Ford Cortina 2000 XL Mk3 by Trigger's Retro Road Tests!, on Flickr 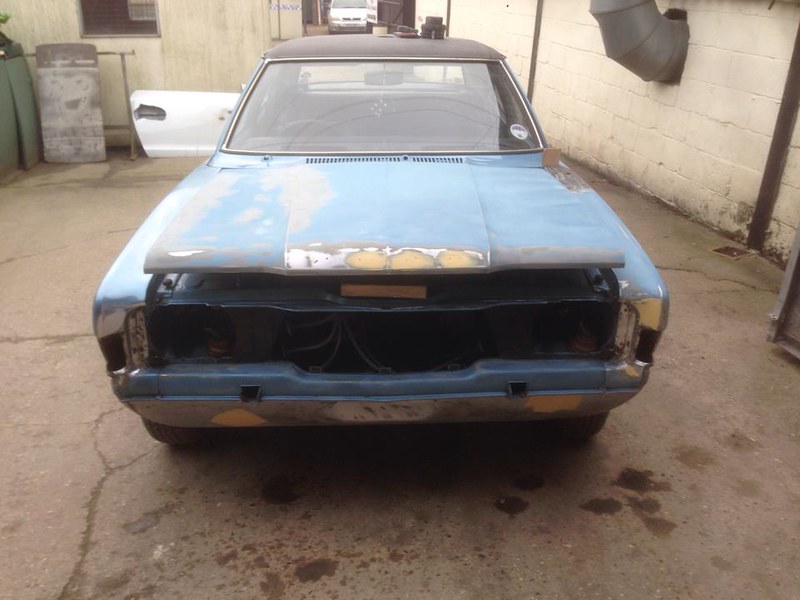 My 1974 Ford Cortina 2000 XL Mk3 My 1974 Ford Cortina 2000 XL Mk3 by Trigger's Retro Road Tests!, on Flickr 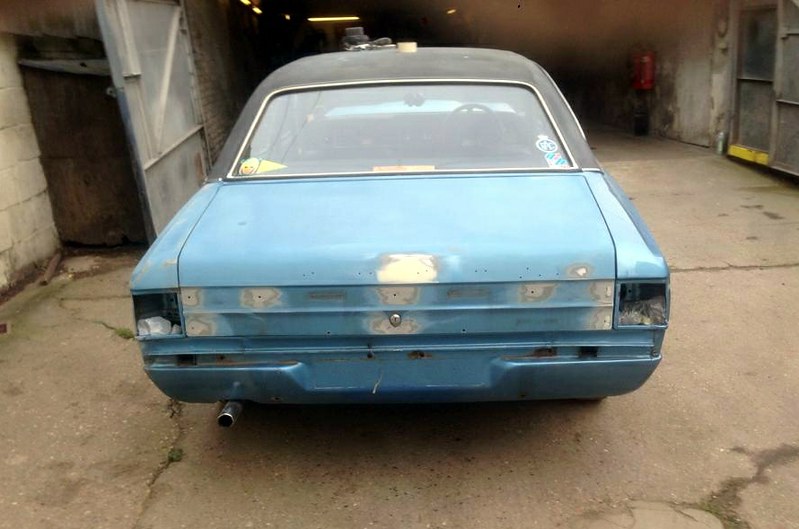 My 1974 Ford Cortina 2000 XL Mk3 My 1974 Ford Cortina 2000 XL Mk3 by Trigger's Retro Road Tests!, on Flickr It was going well until i had a call from the garage to say the front wings were knackered, the metal along the top, back edge and base were to bad to weld and if i was a bodge it they wouldn't last much longer that Christmas so i had no option but to find and buy some new wings. £600 later I had bought a pair of genuine NOS wings wings which are being pony expressed down by a forum member from Manchester, once I've collected them on Sunday and dropped them off at the garage the car should be ready for primer, fingers crossed. Mean while I've bought some new 175/70/13 tyres to replace the 30 year old 165/13, hopefully it will ride better now and they will fill the arches a little better.  I've dropped the front seats off to the local trimmers, the back seat has been painted as you can see in a earlier post and the trimmers recommended a local company who sell very good vinyl paint in any colour, they are called shop.bradleysmart.co.uk/ by the way, a expensive £66 later i had 5 cans of colour matched paint and a bottle of Plasticprep.   i gave them a good wipe over with the prep which makes the vinyl tacky and also wiped them with a tack rag as it's all in the prep!   I'm very pleased with the results, I am slightly concerned that the colour might be slightly grey but I have enough paint to do the door cards if needs be and i still need to do the front seats once i get them back, the paint is fantastic, it's not sticky or tacky in anyway, I just hope it's as long lasting as they say it is. |
| |
|
|
totti
Posted a lot
  
Posts: 1,153
|
|
Mar 21, 2014 15:51:07 GMT
|
Hi! Very nice car  Have you welded the rear wheelarches? At one photo i can see that it's rotten.....when the paintshop put only filler on it ....than it's only for a short time nice.... Cheers |
| |
65 'Ford Taunus 17m
66' Ford Taunus 17m Turnier
73' Ford Taunus
63' Ford Taunus Transit 1250
72'Ford Escort 2000cc
71'Ford Escort 1700 4 door
89'Ford Escort Express
87'Ford Fiesta Diesel
64'Ford Cortina 1500 deluxe
57'Volvo PV 444 Califonia
54'Peugeot 203 Commerciale
2004 Harley Davidson Fat Boy
78'Zündapp ZR 20
88'MZ ETZ 250
|
|
|
|
|
Mar 21, 2014 15:54:50 GMT
|
Have you welded the rear wheelarches? Hi, Yes, they have welded up that nearside arch for me, it needed a plate apparently and they have undersealed the behind too. |
| |
|
|
|
|
|
Apr 27, 2014 22:04:07 GMT
|
Big update time! So the last time i left you we was still prepping for the respray, well things have moved on since!, The next set of photos i got from the bodyshop the car looked like this. 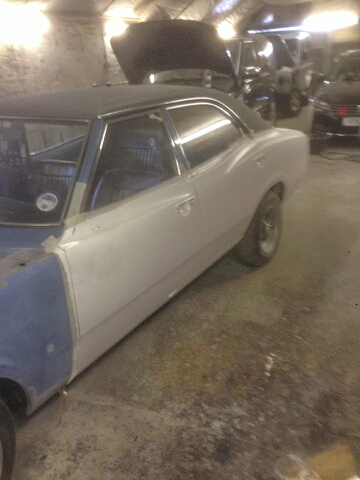 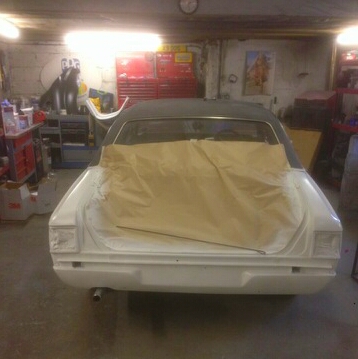 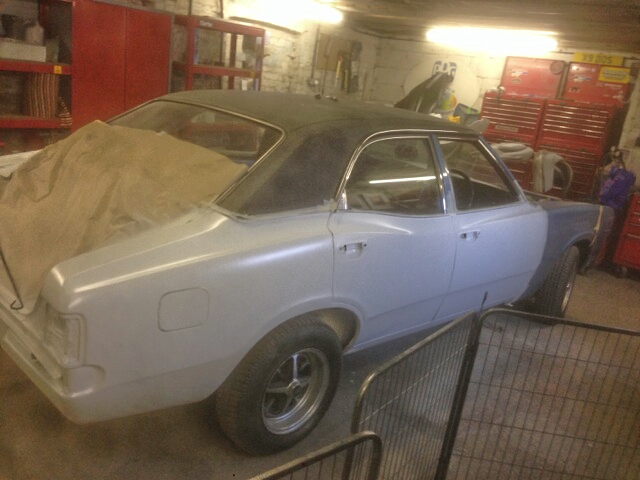 We then had the inside of the door shuts painted. 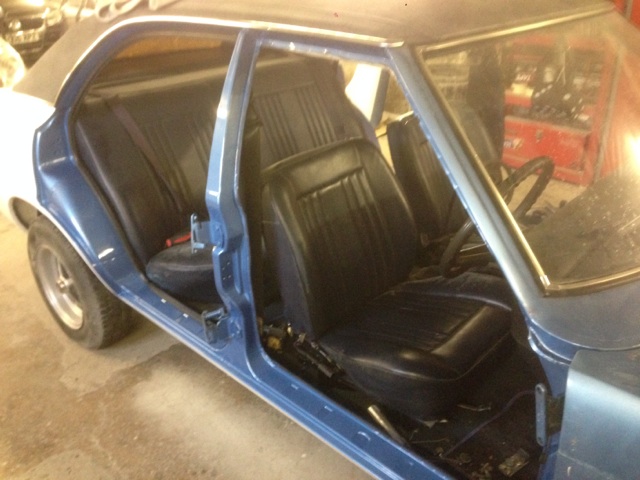 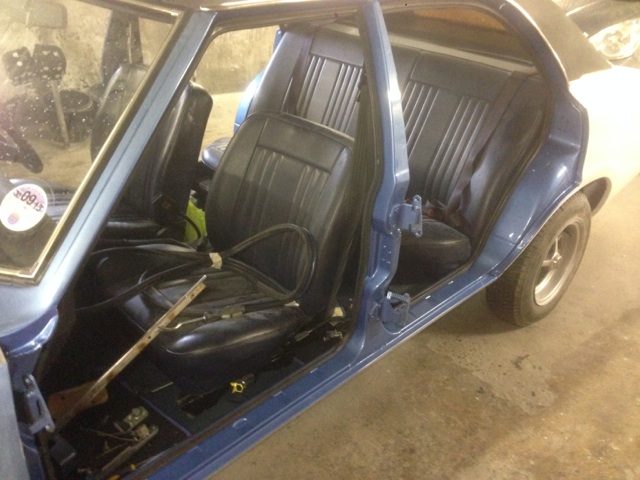 and my new wings fitted, at this point i started to panic as the colour looks totally different! 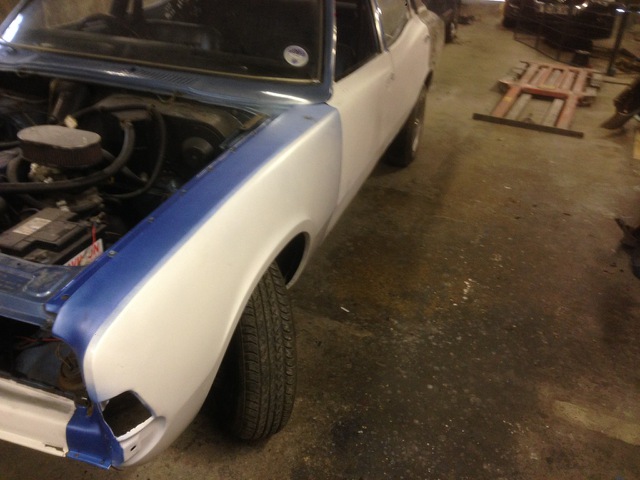 I hadn't realised how much the original paint had faded over the years. Then two weeks ago i got the call to say it was finished and ready for colour, yippee! 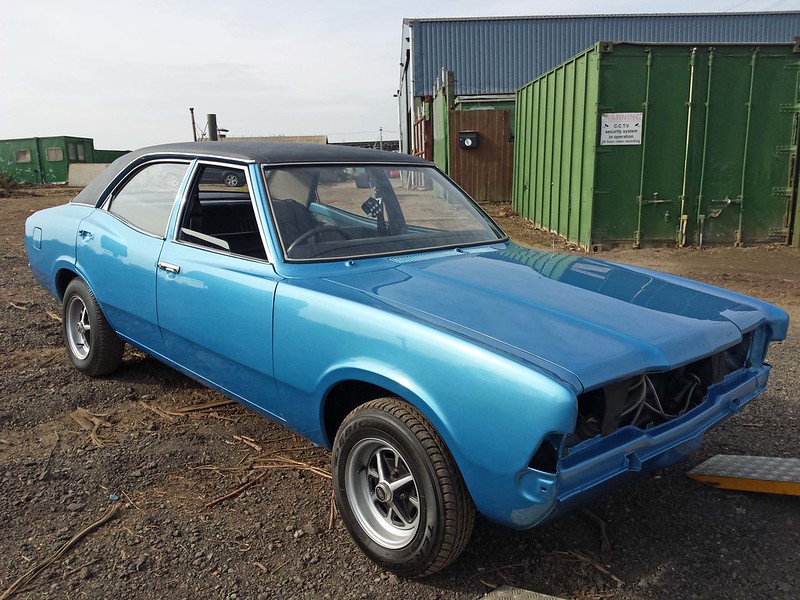 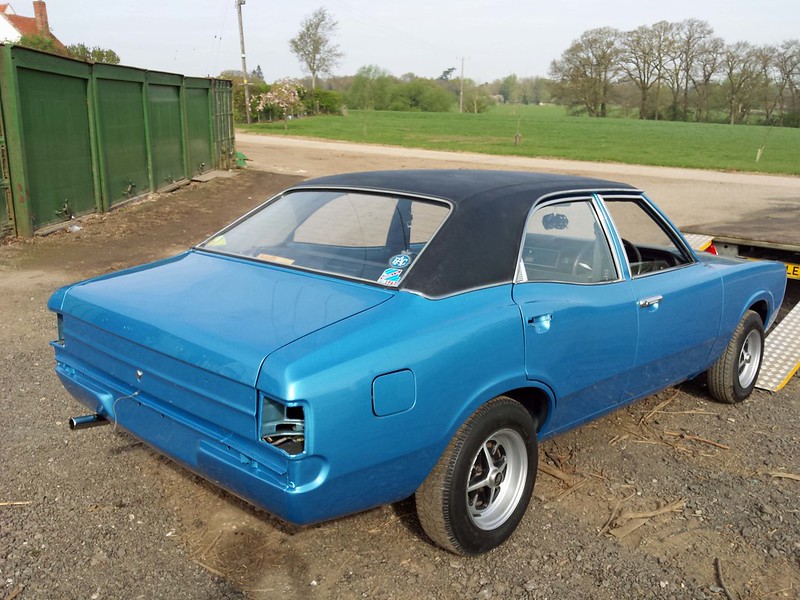 Looking a bit fresher! So with help from my old man we took the car back to my inlaws and spent the day putting it all back together again. 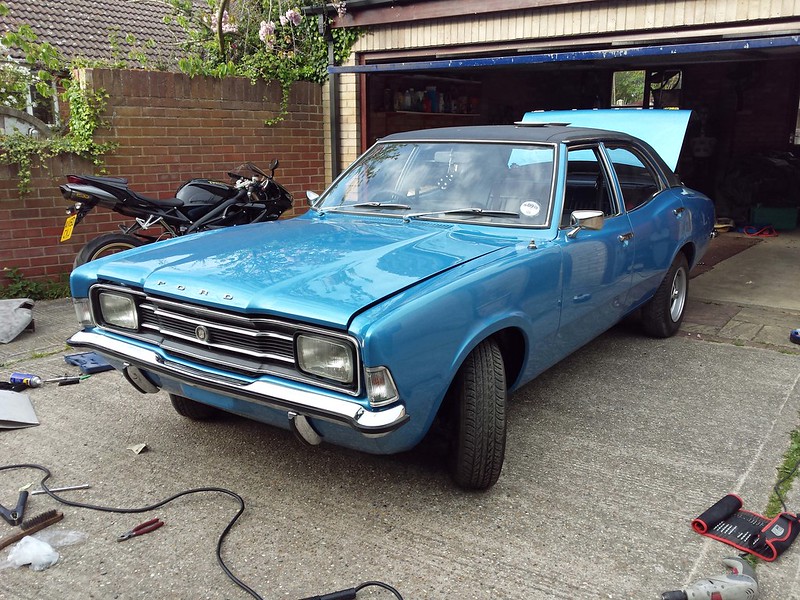 This was the only photo I got of the fit up as my dad was on a mission and i never got chance to stop!, It took us about 6 hours to put it all back together which i think was pretty impressive considering we had problems with a door handle and also the wiper arms had dropped inside the scuttle and was a right pig to get back. The next day I took it for a drive for the first time in 6 months, what a car, it amazes me by the amount of heads it turns! I got my new tyres fitted too, £30 to fit all 5 at a local tyre centre, bargain! 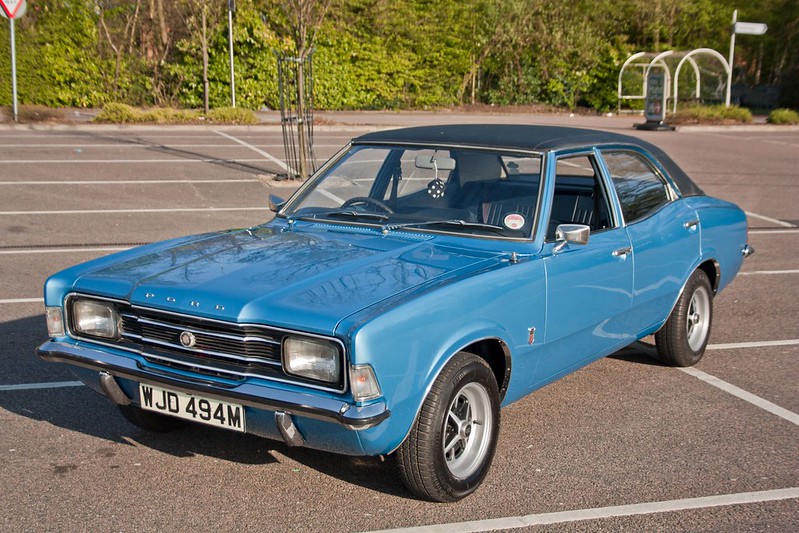 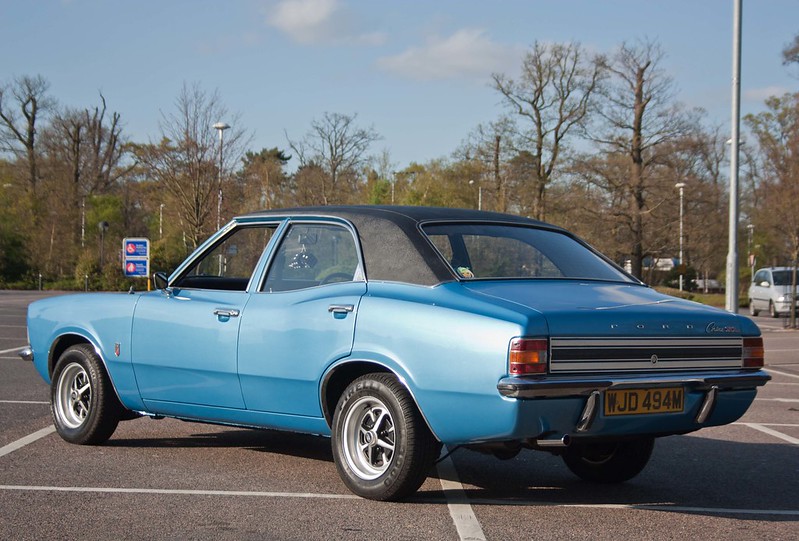 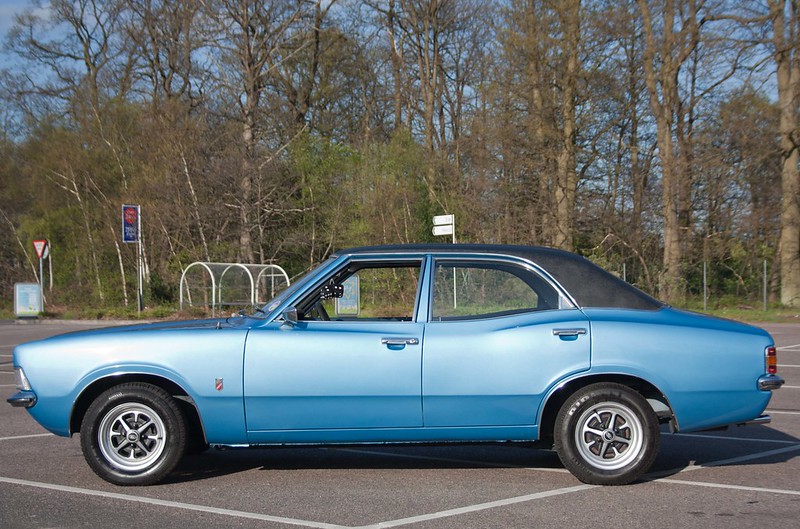 |
| |
Last Edit: Apr 27, 2014 22:05:08 GMT by trigger
|
|
|
|
|
Apr 27, 2014 22:07:36 GMT
|
The next job was to sort the interior out, you may have read that the front seats looked like this.  Well, I got them back from the trimmers yesterday, they look much nicer now!. 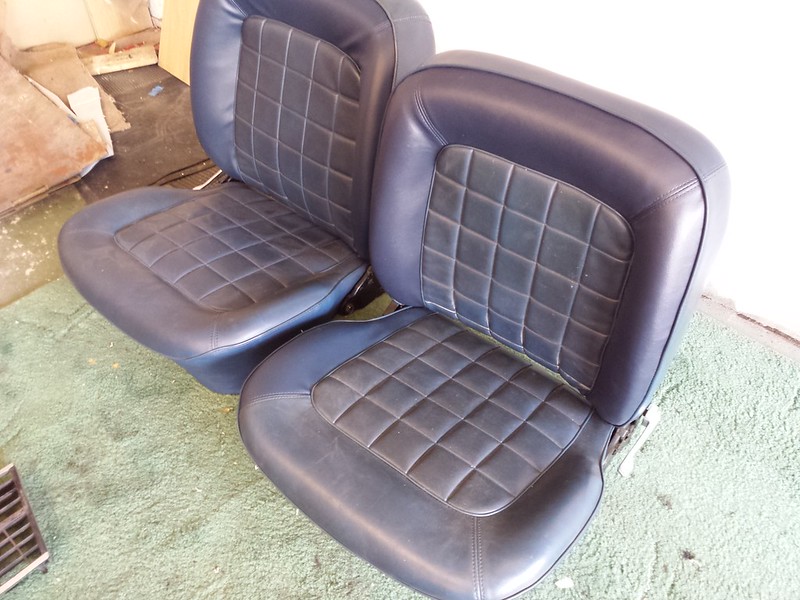 The top bar needed welding and the side trims were all split, cost me £160 for the pair which i did't think was too bad?. Yesterday I prepped the seats and painted them with the colour matched Bradley's vinyl paint, I'm not 100% happy with the colour as it should have been a bit bluer but they look nice in the car, I also done the door cards to match and it's really freshened the interior up now. I had a bit of a mare with the seat runners, I bought two sets and neither fitted!, one was for a Mk5 which has brackets for the seat belts and another set I think my be for a 3 door as they didn't line up with the floor holes?.   Anyway, after a lot of messing about i finally got them fitted, The rear seat was a bit of a sod to fit too but I got in to fit in the end, look alright don't they. 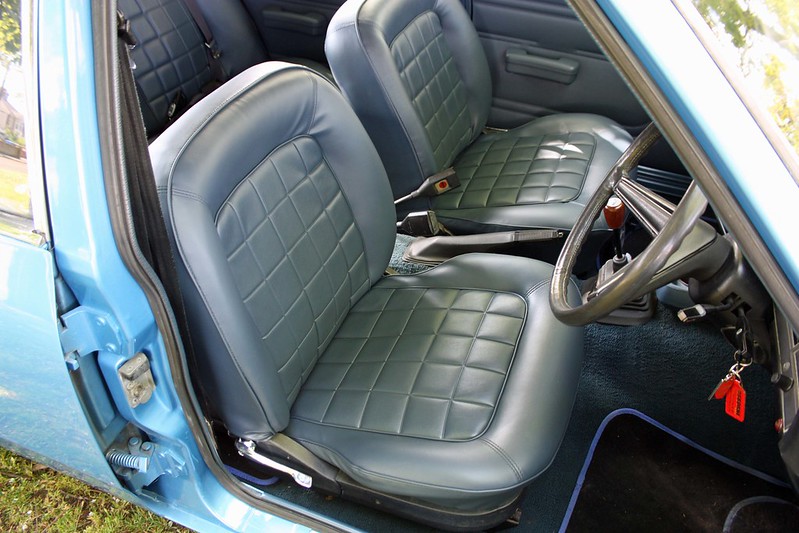 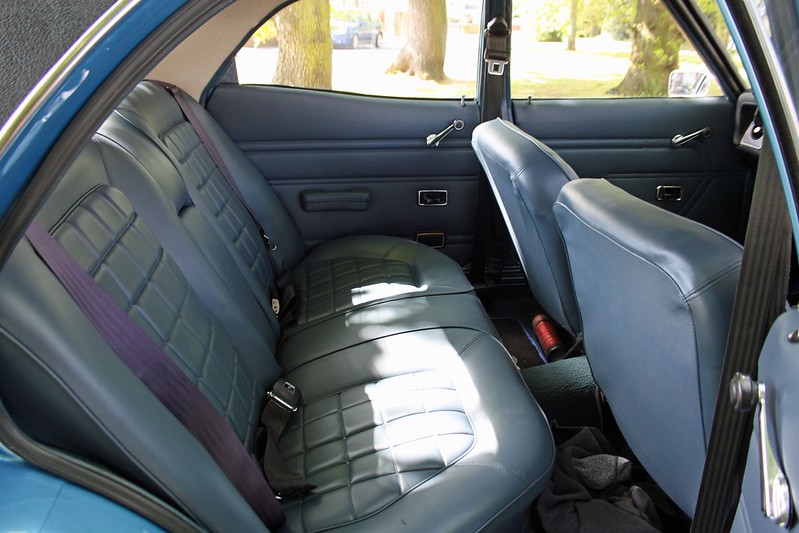 Check out my gear knob, when i bought the car it had a split wooden Ford knob, I found this one on which is identical on ebay but in perfect condition for under £10 so i had to have it. 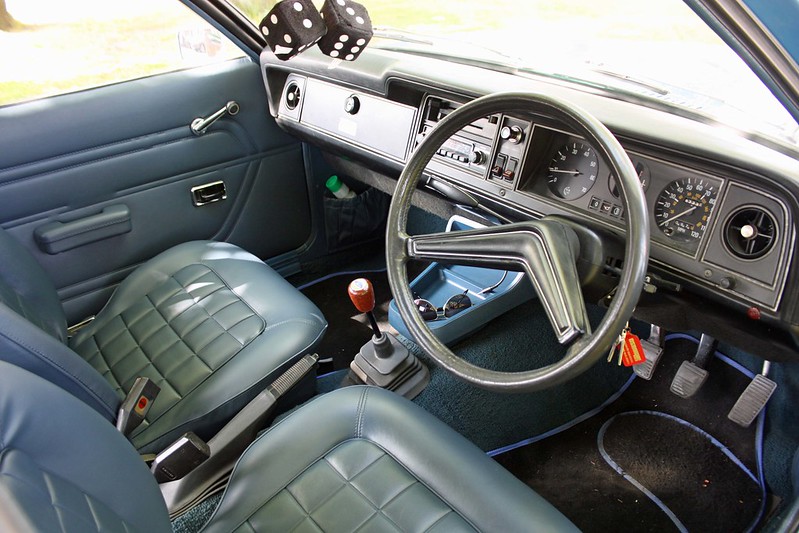 It's looking really nice now, I've been toying with fitting a stripe back on the side but I don't know yet. 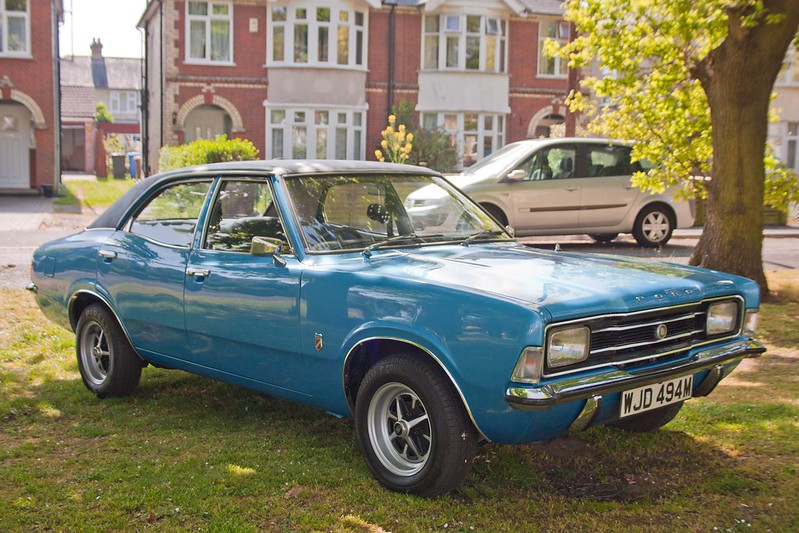 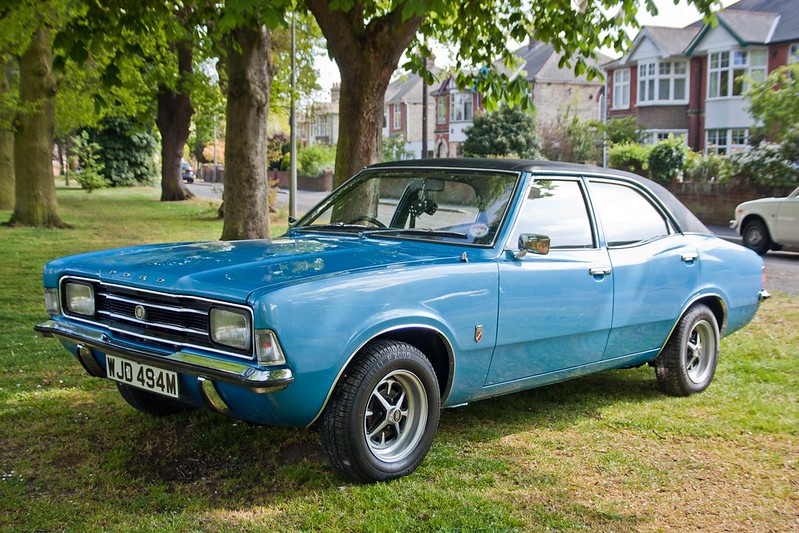 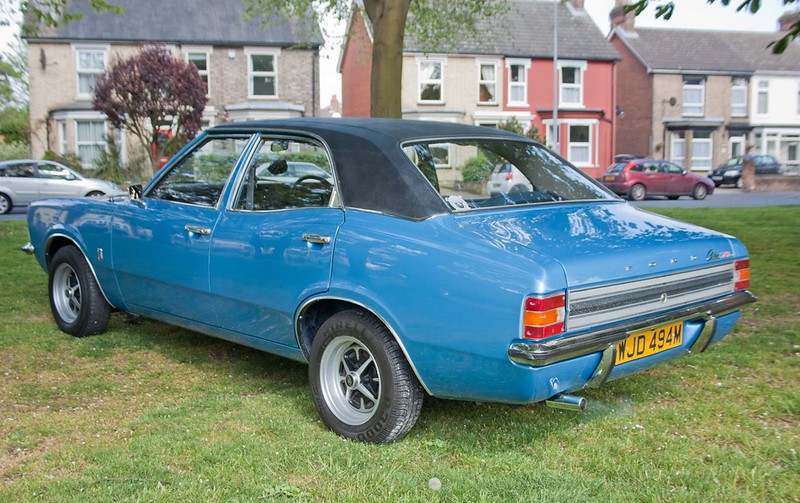 |
| |
|
|
|
|


