PHUQ
Part of things
 
Posts: 864
|
|
Apr 11, 2012 19:30:31 GMT
|
|
Just caught up. Fan-smegging-tastic Bruce. Really looking forwards to seeing this- it pops up on the Land Rover forums I frequent every now and again and I always enjoyed stumbling upon it. Was a bit of a suprise seeing it pop up in your grubby mits- definitely in a good way.
You over at Grunty's tomorrow evening? Still haven't been to find him, might be a good opportunity to bounce over if I get five minutes.
|
| |
|
|
|
|
|
|
|
Apr 11, 2012 21:41:07 GMT
|
great to see how you are basically modifying everything Thanks for the kind comments. The mods I originally had planned for the car haven't even started yet. With the gearbox going it's been a lot of work I wasn't originally planning, but seeing as it's turning into a bit of a mission on its own, I see no reason not to use it as an excuse to make more mods while I'm at it rather than patching things together just to get me back on the road sooner. You over at Grunty's tomorrow evening? Still haven't been to find him, might be a good opportunity to bounce over if I get five minutes. Thanks Dude. I'm not going to be going to Alans tomorrow now. With getting everything ready to go on holiday, I think it'll be best to get over there when I get back. He's also pretty busy this week and I think it suits both of us to put this on hold for the moment. Obviosuly when I get to head up to his I'll give you a shout.  |
| |
|
|
|
|
|
Apr 11, 2012 22:07:43 GMT
|
The reason for wanting to modify the seats right now is due to the floor/transmission tunnel. As well as sitting just off the chassis rail, the seat also pretty much rested on the floor between the chassis rail and tranny tunnel due to the way it had been contoured in this area. Seeing as I'm going to be making all the panelwork from scratch, I might as well modify the seat position now so that when I come to do the new metalwork in that area, I'm making it to fit around the new, lower seating position. It's a bit like a lot of aspects of the gearbox install....it seems to be making me carry out a lot of work way beyond just sticking a new 'box in the hole. I'm not, however, complaining. I love a challenge and I love improving things. If, for some reason, you thought I was going to be notching the chassis then I guess I may have misled you a little. If you read back any of my comments, I never actually say I'll be cutting the chassis in any way. Sure, I mention 'notching' and 'chassis' in the same sentence, but why make all that work for myself chopping the structure of the car when I could chop the part I want to lower...the seat itself. Obviously.  It's the area around the back of the middle rib and rearwards of it that I want to trim. 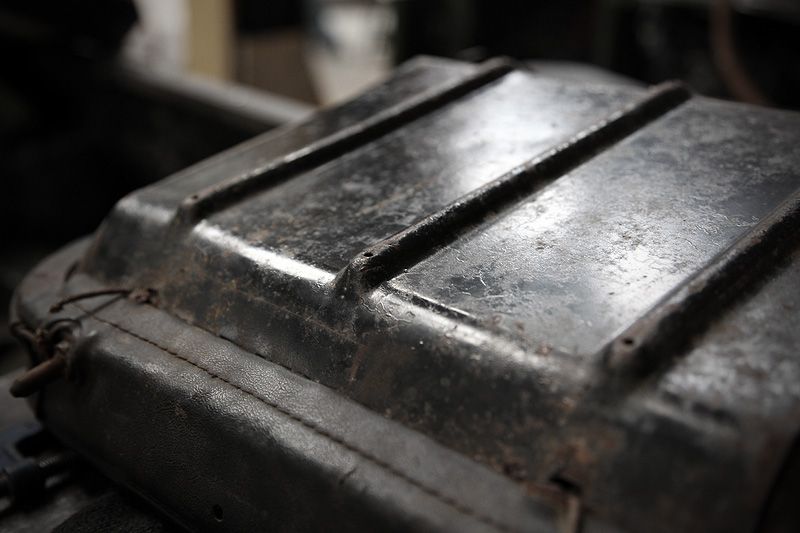 I start by removing the vinyl cover and foam insert (a quick lesson in basic upholstery and it's off without too much issue) then gradually chop sections of metal out, bit by bit. 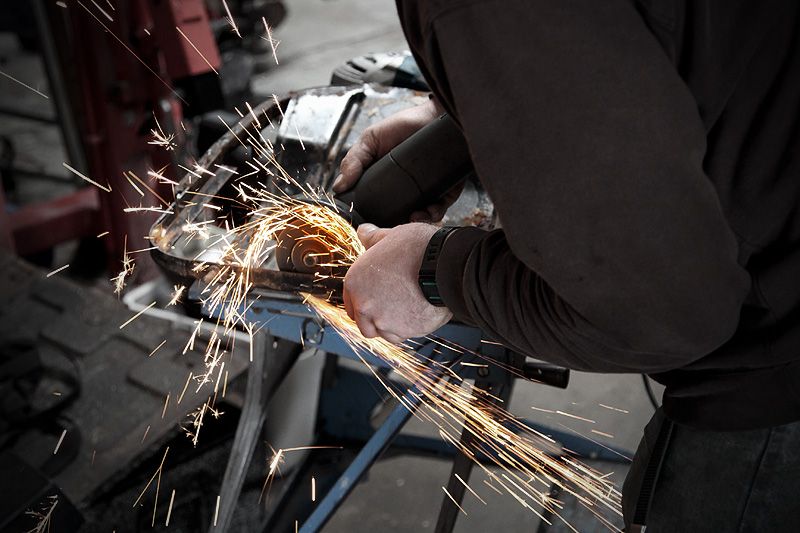 Each time I cut a bit more away I offer it up to see how much lower it sits. The first three or four attempts don't gain much of a drop, so I get a bit more confidence and cut a reasonable chunk out whilst still trying to retain some strength in the seat base. 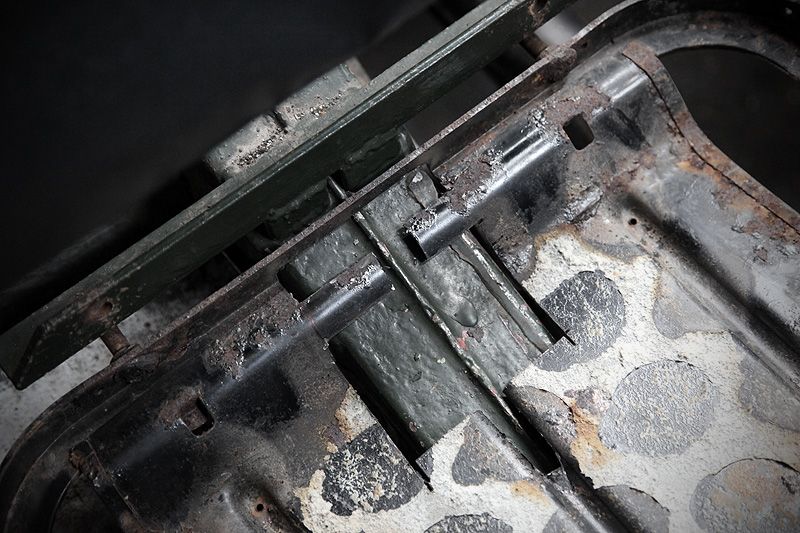 The base is now sitting right over the chassis rail... 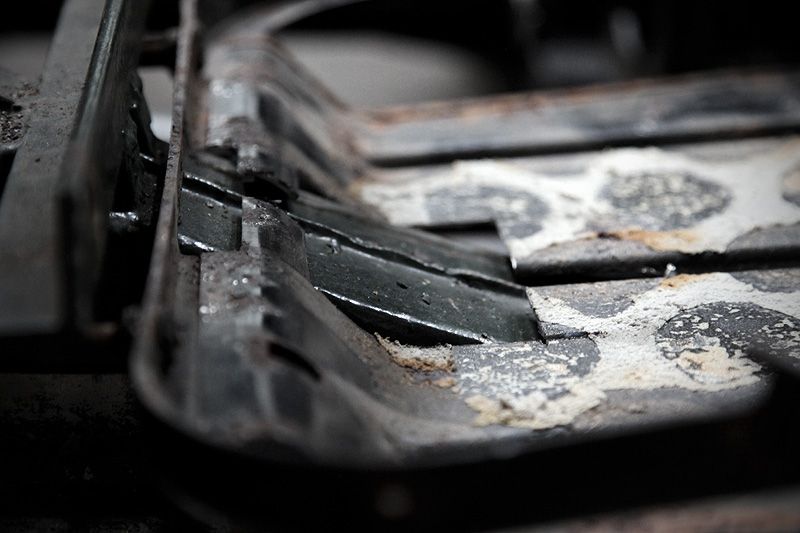 ....which in turn leads to an inch of drop from the original locating holes. 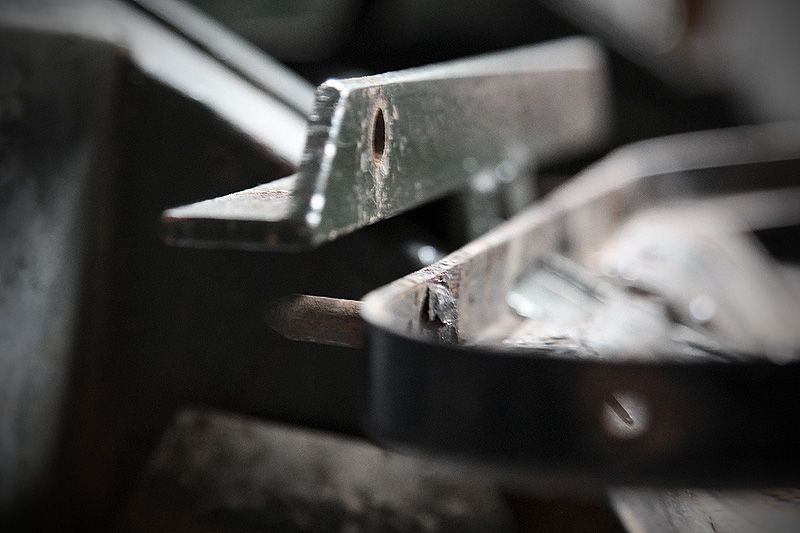 I decide to get really cocky and chop most of the metal out leaving just a thin sliver across the top of the back section. The base is now VERY flimsy across the back half.... 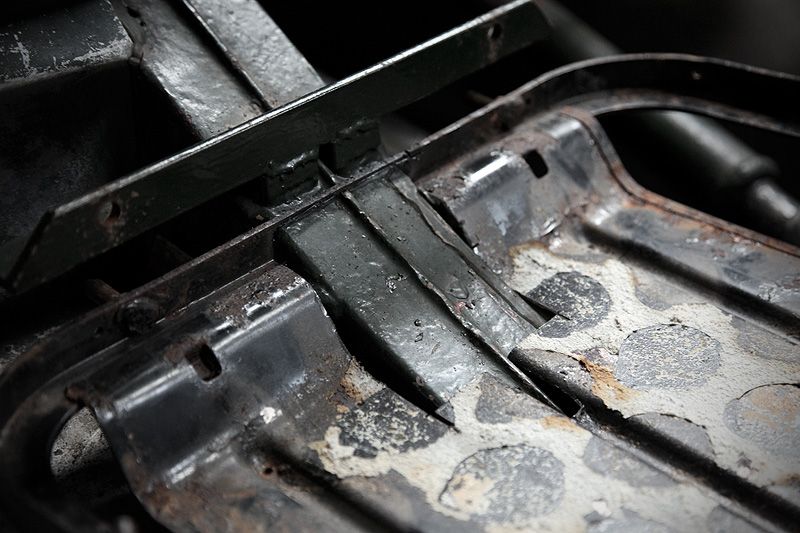 ....but it's sitting really nicely over the chassis rail as a result.... 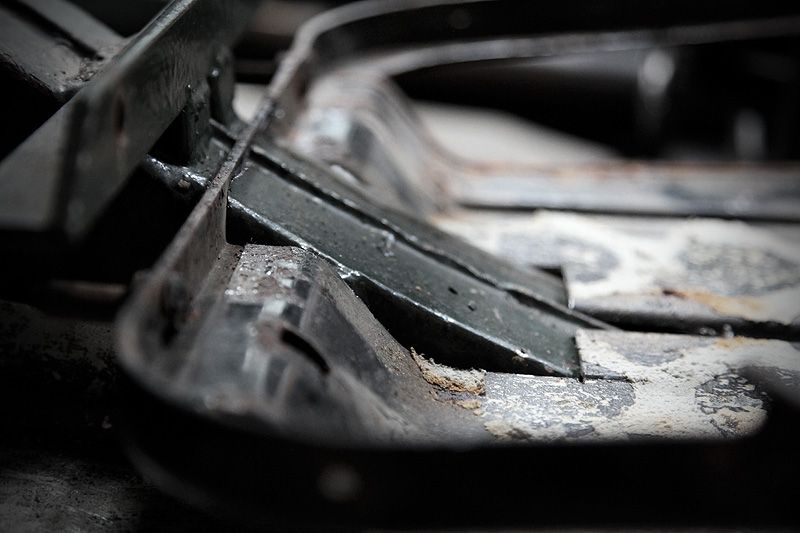 ....which in itself means the drop is now just over an in and a half. Happy days! 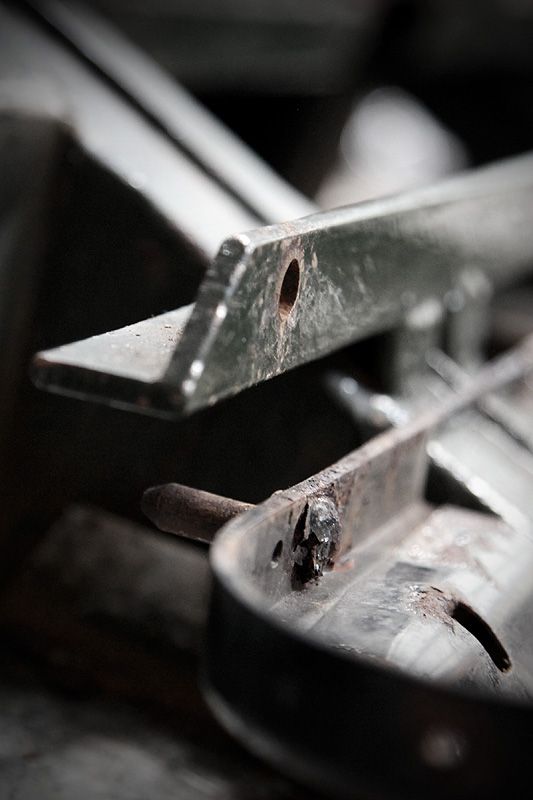 |
| |
|
|
|
|
|
Apr 11, 2012 22:46:38 GMT
|
Now that I've got the seat sitting about as low as I can practically make it (without wearing a chassis rail up your bum crack every time you park your derriere) it's time to crank up the welder and get some strength back in it. Pollitt & I take turns to melt some bracing into place. 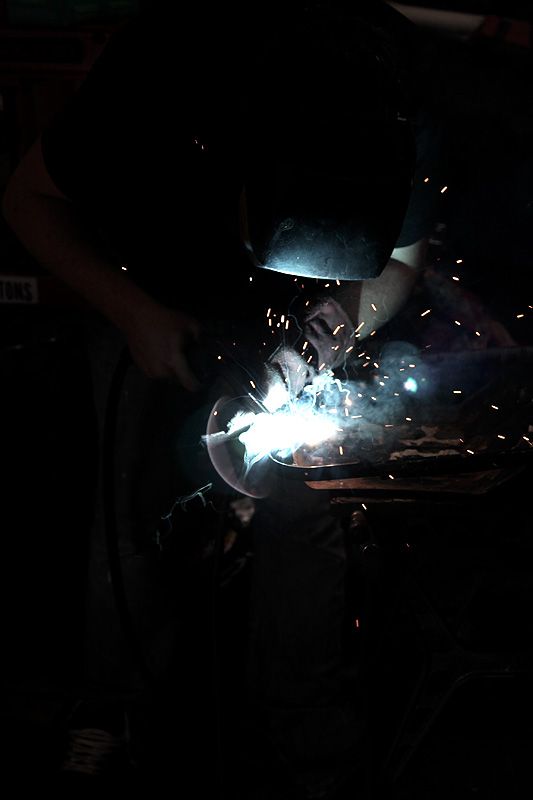 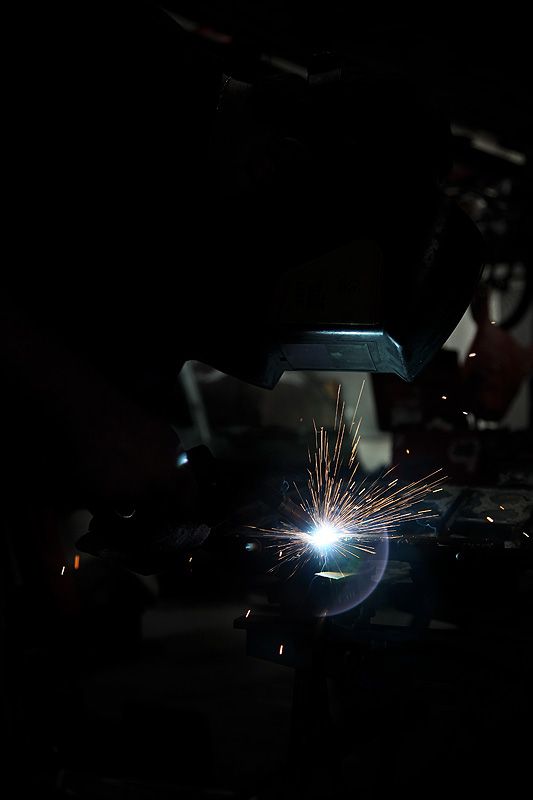 A decent bit of angle welded right across the back gives lots of strength but doesn't interfere with the way the seat notches over the chassis rail. Win win. 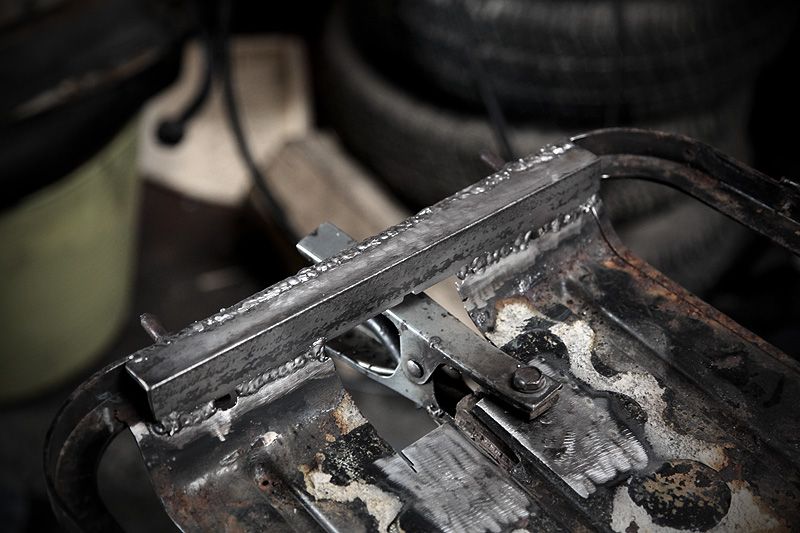 I also weld a plate over the lower part of the base to add some strength in there too. 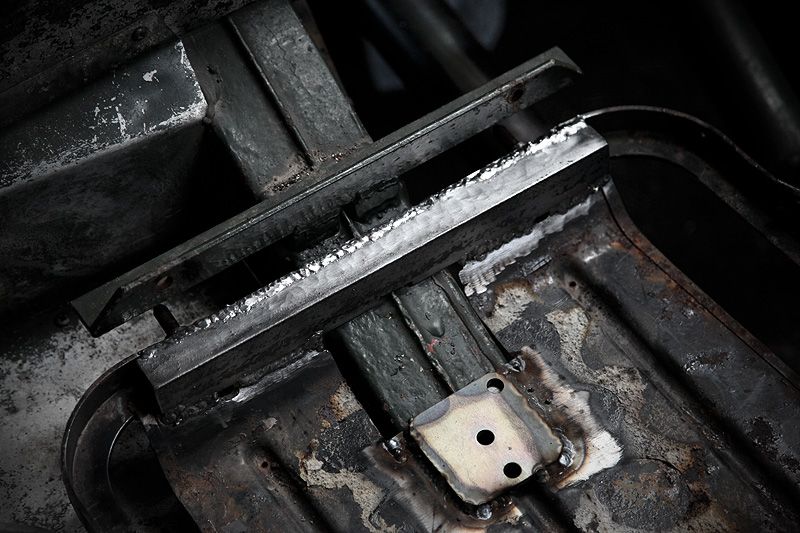 Lots of rigidity put back in but none of it interferes with the seat/chassis in the lower position. 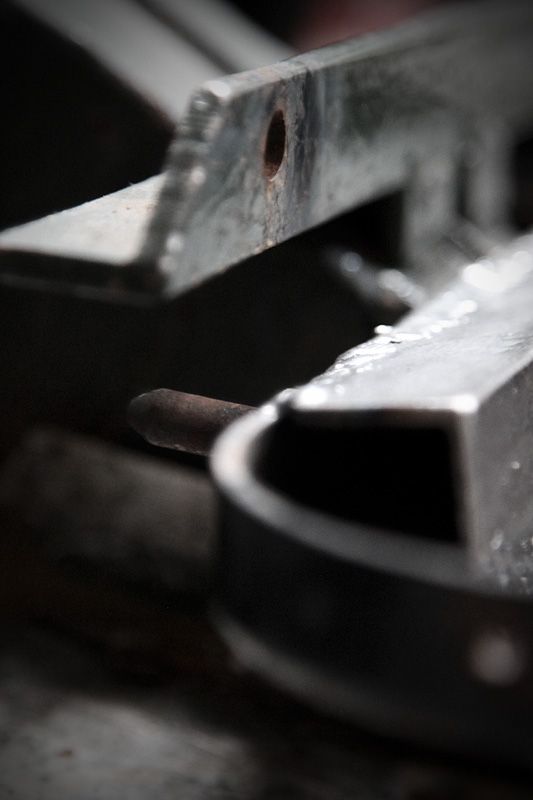 A blast with some red oxide. It doesn't have to look pretty, it's going to be covered or unseen, but at least it won't go rusty in the meantime. It'll all be painted black soon anyway. 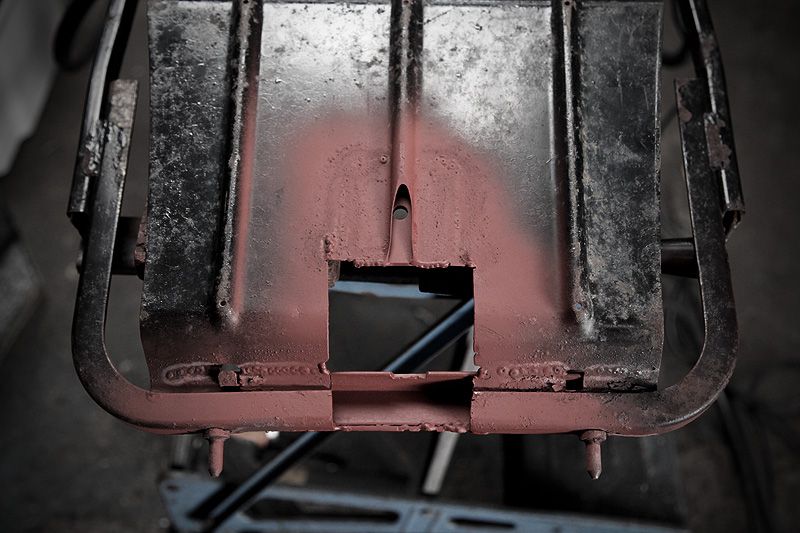 Foam insert refitted and cover put back on and reseated (I'm no Gabe Lopez, but I was pleased) then some drilling/tapping ensued so that I could secure the vinyl cover across the back. The metal rod that usually does this needed to be chopped across the centre to clear the chassis rail, so the bolts were used to hold it in place on both sides (the original tabs that held the rod had dissolved anyway) 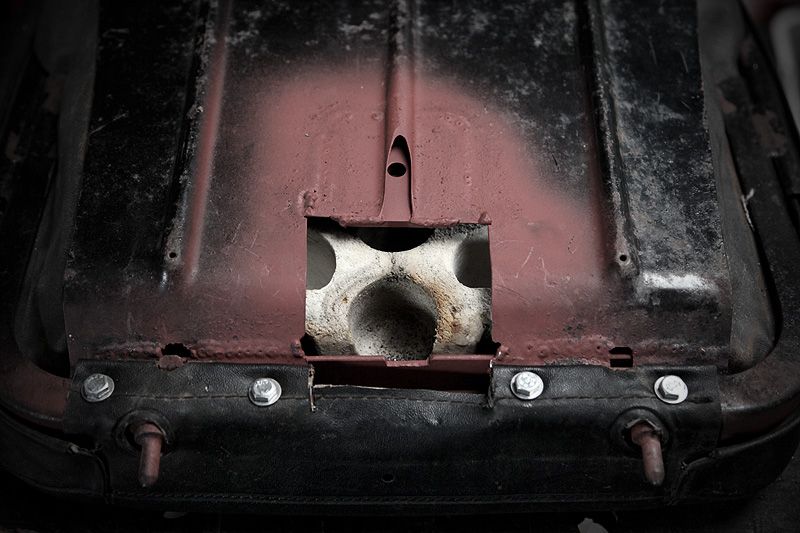 Nearly there. For the drivers side anyway. The passenger side should take a LOT less time because I now know how much to cut out, how to get the seat apart etc....it was the gradual measuring, cutting away, testing cutting away etc...that took the time first time around. |
| |
|
|
|
|
|
Apr 11, 2012 23:05:58 GMT
|
With the seat base pretty much finished it was time to tackle the mounts. Some angle was cut, offered up and marked where the pins sat. Locating holes drilled and then both mounts welded into place. Simple. 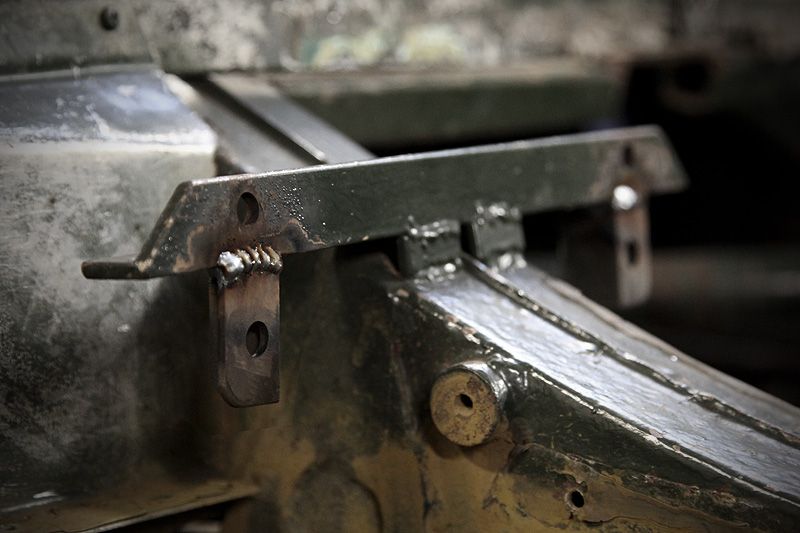 Seat fitted to double check everything lined up (the mounts were tacked with the seat in place to ensure a proper fit). By adding new mounts rather than lowering the original ones, I now have the option of two different seat heights. 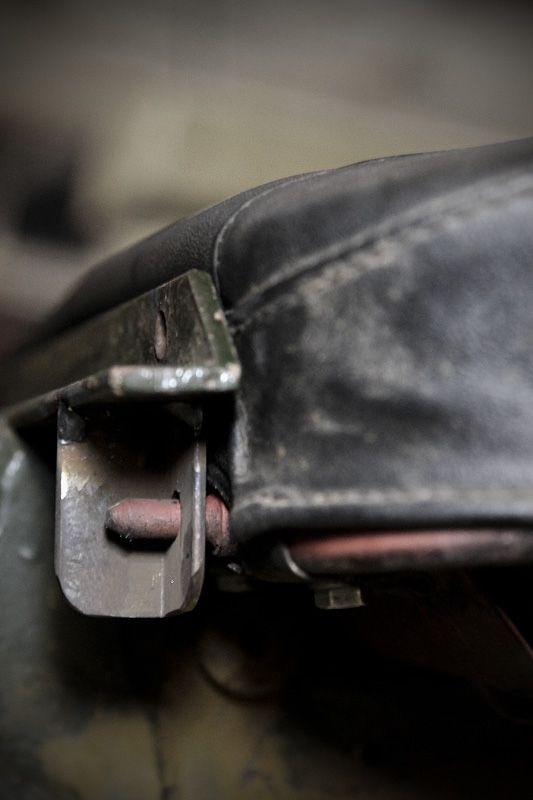 The seat fits perfectly and the underleg support is much improved....along with better view through the windscreen. It also means (once the passenger side is done) that I can start on the rear part of the transmission tunnel and also the new floor/tunnel panels too. 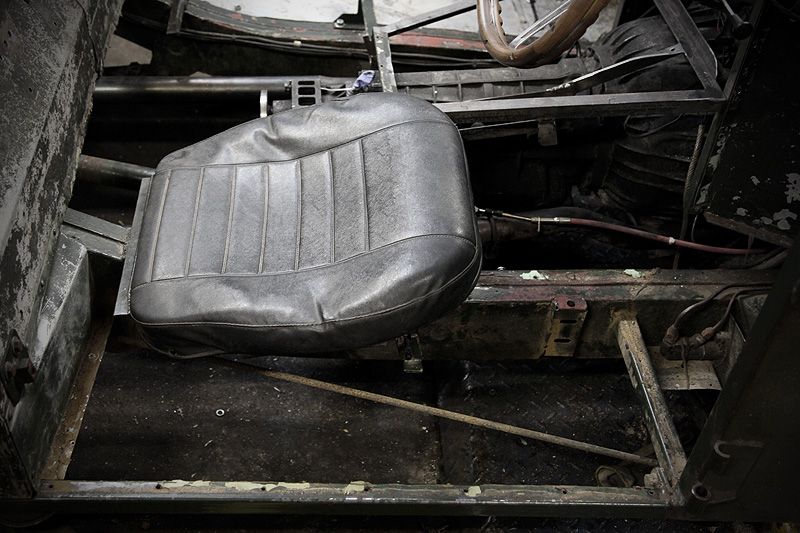 That pretty much concludes Easter weekends fun on the car. A brilliant weekend with a fair bit achieved, a brilliant road trip/day out with some amazing friends, lots of beer consumed, some awesome laughs.....and the over riding feeling that Easter should be like this every year. That every weekend should be this great. I'll leave you with a parting shot taken by Pollitt while I was grinding. Along with the shot of Ian, Chris and the Shuttle at the seafront, this is my fave pic of the weekend. 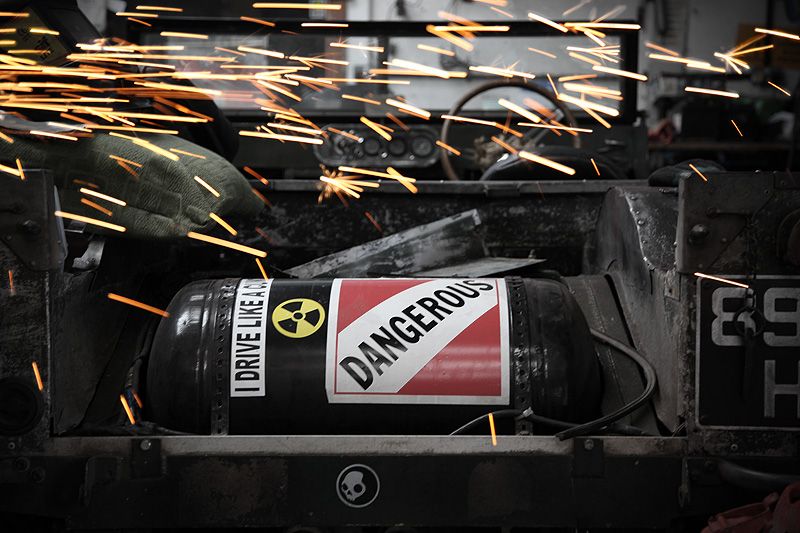 Progress will commence once I get back off holiday. Trust me, I'll be planning lots of things in my head while I'm away. |
| |
|
|
PHUQ
Part of things
 
Posts: 864
|
|
|
|
|
Great stuff.
Have a good holiday dood, and I'll see you when you get back- let us know!
|
| |
|
|
|
|
|
|
|
The passenger side should take a LOT less time because I now know how much to cut out, how to get the seat apart etc....it was the gradual measuring, cutting away, testing cutting away etc...that took the time first time around. It's for that exact reason I now start jobs that need doing to both sides on the passenger side. The second one is always neater or stronger where you've improved the design on the fly  Normally the second one is also better to look at too so the ugly one can hide on the passenger side which I don't have to look at when I get in! Loving the Landie, not sure if it's the vehicle or the write ups but it's infectious! When I read you needed a gearbox sump I went straight into the garage to check my E36 box to see if I could donate to the cause. Alas it's a ZF but the wrong type. Look forward to reading more when the time comes |
| |
|
|
bryn
Posted a lot
  
Posts: 3,913
|
|
Apr 12, 2012 18:55:11 GMT
|
|
And this ladies and gentlemen is the reason why I sold the Land Rover to Bruce... I pointed Steve the original builder in the direction of this thread and he's enjoying seeing the next chapter as much as I am ;D
|
| |
Volvo, Buggy, Discovery and an old tractor.
|
|
|
|
|
Apr 12, 2012 23:16:15 GMT
|
And this ladies and gentlemen is the reason why I sold the Land Rover to Bruce... I pointed Steve the original builder in the direction of this thread and he's enjoying seeing the next chapter as much as I am ;D That's pretty cool to hear dude  |
| |
Club Retro Rides Member
|
|
speedy88
Club Retro Rides Member
"Nice Cortina mate"
Posts: 2,302
Club RR Member Number: 118
|
|
Apr 13, 2012 20:41:39 GMT
|
|
Awesome stuff. Have a good holiday dude.
|
| |
|
|
|
|
skinnylew
Club Retro Rides Member
Posts: 5,724
Club RR Member Number: 11
|
|
Apr 14, 2012 14:58:33 GMT
|
|
lol at how rusty that XR2i is! My Fiesta has NO rust around the fuel filler at all?!?!? Bizarre.
Nice to see it's cracking on with the Landy ;D
|
| |
|
|
rob0r
East of England
Posts: 2,743
Club RR Member Number: 104
|
|
Apr 16, 2012 20:42:30 GMT
|
|
Great work and an excellent write up. If you are stuck for the gearbox sump I have one of these sitting half broken...
1988–1990 BMW E34 525i M20/B25
|
| |
E30 320i 3.5 - E23 730 - E3 3.0si - E21 316 M42 - E32 750i
ETC
|
|
jo0lz
Part of things
  FucT FiAT
Posts: 321
|
|
Apr 16, 2012 21:26:30 GMT
|
....I pointed Steve the original builder in the direction of this thread and he's enjoying seeing the next chapter as much as I am ;D you can't say fairer than that now can you?? ;D |
| |
|
|
|
|
|
Apr 19, 2012 12:48:49 GMT
|
|
|
| |
|
|
VIP
South East
Posts: 8,302
|
|
Apr 19, 2012 13:14:24 GMT
|
|
|
| |
|
|
|
|
|
Apr 19, 2012 13:17:49 GMT
|
|
then kittens will die
|
| |
|
|
EmDee
Club Retro Rides Member
Committer of Autrocities.
Posts: 5,936
Club RR Member Number: 108
|
|
Apr 19, 2012 13:21:15 GMT
|
|
For every time you post in this thread making me think that Bruce has updated it when he hasn't I shall kill two kittens.
|
| |
|
|
|
|
|
Apr 26, 2012 16:38:56 GMT
|
|
Stop messing around on holidays and get back to this please
|
| |
Club Retro Rides Member
|
|
|
|
|
|
|
This is a kitten on a landrover.  This is also a kitten on a landrover.  Shouldn't put too many kittens in Bruce's thread or he'll make this face, I expect.  apologies to anyone that thought this might be an actual update apologies to anyone that thought this might be an actual update |
| |
Last Edit: Apr 27, 2012 2:59:25 GMT by Deleted
|
|
|
|
|
|
|
|
|
| |
 Click picture for more |
|
|
|


 [*]
[*] [*]
[*]


 Ax GTi Turbo


