fred
Posted a lot
   WTF has happened to all the Vennies?
Posts: 2,957
|
|
Sept 8, 2014 22:29:42 GMT
|
|
Lovely colour, well done that man.
I think the paint job is the milestone
You have passed the first fix.
Its the brow of the Hill, and you have made it. Great stuff !!!!!
|
| |
'79 Cossie ran Cortina - Sold
2000 Fozzer 2.0 turbo snow beast
'85 Opel Manta GSI - Sold
03 A class Mercedes
Looking for a FD Ventora - Anyone?
|
|
|
|
|
|
|
|
|
|
i have the same steering wheel in my mk4 escort cab is it rare? and what car do it came from the beginning?
|
| |
|
|
mk2cossie
Club Retro Rides Member
Posts: 3,059  Club RR Member Number: 77
|
|
Sept 9, 2014 16:15:08 GMT
|
i have the same steering wheel in my mk4 escort cab is it rare? and what car do it came from the beginning? From the looks of it, it's a ford accessory RS wheel and quite hard to come by nowadays :/ When's the big refit to start taking place then Eurogranada?  |
| |
|
|
eurogranada
Europe
To tinker or not to tinker, that is the question...
Posts: 2,556
|
|
Sept 9, 2014 18:32:10 GMT
|
|
Well, having the car in paint sure is a signal to get going ASAP! But it also means all those to do jobs are running wild in my head... I've decided to take the following approach: first I'm going to clean out the interior. Then apply sound deadening. Then I want to rustproof the body. After that fitting all glass is priority one.
While working on the above I'll continue cleaning the last of the parts and start refitting them as well. Work should start Thursday.
I'm often tempted to quickly refit some trim items, but in my mind I'd like to see a whole section completed in one go, say the front of the car from left to right. That is much nicer work. But I'm still on the hunt for a better ghia grille and headlights. And same principle applies to sides and rear. I've got so many new parts but am also still missing some that I'm either still looking for or forgot to recondition.
Mechanicals will be 2nd after the exterior is completed, interior 3rd. Although that might switch from time to time.
March 2015 it should be complete.
I'll hopefully be able to scrounge some parts soon. And above is a plan, so I may deviate from it at times.
personally I can't wait to see the exterior taking shape! !
Mojo is definitely high and most of my spare time is dedicated to parts. Spent quite some time today organising trim specific fasteners etc.
hope to show more soon!
For now I'm glad most of you like my colour choice (even though I chose it purely because I loved it)!!!
|
| |
|
|
eurogranada
Europe
To tinker or not to tinker, that is the question...
Posts: 2,556
|
|
Sept 9, 2014 18:36:21 GMT
|
i have the same steering wheel in my mk4 escort cab is it rare? and what car do it came from the beginning? From the looks of it, it's a ford accessory RS wheel and quite hard to come by nowadays :/ When's the big refit to start taking place then Eurogranada?  It's indeed an escort rs wheel. I modified a granada mk1 boss to take this wheel as I like the classy look and the nicer size compared to the original granada wheel. |
| |
|
|
spot
Part of things
 
Posts: 105
|
|
Sept 18, 2014 14:11:06 GMT
|
Alex very well done...Although I see a problem!!! I think you should forgo replacing the sunroof panel and mastic in a piece of glass: Heck I'll even buy your old panel if it helps   Selfish Moi  If you hadn't guessed I'm looking for a panel for mine. You made me think that I hadn't tested my roof for many a year - Felt fine outside until I opened it and the bottom fell out  I also see you are trying to source a new Ghia grill - Do you need the whole grill or just the chrome. I have a few here if it would help you out. They weigh the same as a baby elephant so choosing a cheap postal option would be key - The grill is free to you  I have a few headlights but nothing that is 'good usable' unless revamped and no LHD glass: Could you not have yours refurbed or is the binnacle to far gone? A strange request: But next time you are by the car do you think you could take a picture or two of the closing panel above the spare wheel well( same height as rear valance): I'm trying to repair the lower section in mine but find without a reference to what was there before difficult to replicate Car looks great - Looking forward to seeing it come back together  |
| |
|
|
|
|
|
Sept 18, 2014 19:15:22 GMT
|
Hi Alex, looking good mate. I´m not too sure which one fits you car but are any of these any good? Ghia GrillGrill No 2The seller of the second grill has a headlight (Scheinwerfer)up for sale too  |
| |
|
|
eurogranada
Europe
To tinker or not to tinker, that is the question...
Posts: 2,556
|
|
Sept 20, 2014 19:15:17 GMT
|
Alex very well done...Although I see a problem!!! I think you should forgo replacing the sunroof panel and mastic in a piece of glass: Heck I'll even buy your old panel if it helps   Selfish Moi  If you hadn't guessed I'm looking for a panel for mine. You made me think that I hadn't tested my roof for many a year - Felt fine outside until I opened it and the bottom fell out  I also see you are trying to source a new Ghia grill - Do you need the whole grill or just the chrome. I have a few here if it would help you out. They weigh the same as a baby elephant so choosing a cheap postal option would be key - The grill is free to you  I have a few headlights but nothing that is 'good usable' unless revamped and no LHD glass: Could you not have yours refurbed or is the binnacle to far gone? A strange request: But next time you are by the car do you think you could take a picture or two of the closing panel above the spare wheel well( same height as rear valance): I'm trying to repair the lower section in mine but find without a reference to what was there before difficult to replicate Car looks great - Looking forward to seeing it come back together  Hi!! I may be able to get a second panel, I'll have to ask... Mine is the original to the car. What part do you need, just the cover or also part of the framework? About the Ghia Grill, I basically need good chrome bits, both the u shaped grill part as well as the matching hood strip. Mine are somewhat tatty and rechroming was quoted to be 1300 euro's (shocking!!!). But it would be a shame to have those eye catching pieces in a lousy state on the car... Your offer is simply superb and if we could exchange only the chromed parts shipping might actually be worthwhile... On the picture request, from what side do you want to see it? from under the car to the rear? from the side? or from behind the car looking at it. I'm not sure exactly which joints you want to see, but a picture I'll gladly take for you!! Thanks for the compliments otherwise! every time I visit my car I'm more and more in love with the bright blue colour. |
| |
|
|
eurogranada
Europe
To tinker or not to tinker, that is the question...
Posts: 2,556
|
|
Sept 20, 2014 19:19:36 GMT
|
Hi Alex, looking good mate. I´m not too sure which one fits you car but are any of these any good? Ghia GrillGrill No 2The seller of the second grill has a headlight (Scheinwerfer)up for sale too  Hi Dave, The first one is what I'm looking for. Price is pretty good too for a matching grill, but the picture doesn't show the chrome quality very well. I think I'm also seeing pitting in this one. Although it seems to look nicer then my current example. Thanks for the kind words on the shape of the car. I'm really happy with it. Alex |
| |
|
|
spot
Part of things
 
Posts: 105
|
|
Sept 21, 2014 16:04:57 GMT
|
Hello Alex, Thank you for the offer: I only require the outer panel. I have tried to resurrect some old contacts in my search to no avail. Had a contact that can supply MK2 but has yet to reply  Unfortunately I do not have a good condition bonnet chrome, but have the chrome grill section  I have sent you details where you can view the condition. Best wishes |
| |
|
|
eurogranada
Europe
To tinker or not to tinker, that is the question...
Posts: 2,556
|
|
Oct 27, 2014 11:40:15 GMT
|
So I guess an update is a bit overdue! Most of you will probably have forgotten about my project by now… It’ll be a pretty short update though as not much has happened yet. Let’s start with some of the less interesting yet necessary chores in doing a decent restoration: fixing up parts in order for them to be up to par with the rest of the car. I did a complete headlight fresh-up by breaking it down to the individual parts. I needed to do this as it’s hard to find a headlight that is mint. I had a choice of good “mirrors” with bad glass and vice versa, so I needed to combine them to get a great set. It’s not difficult, yet it is time consuming as care has to be taken not to damage the units or the glued in glass. I used a good quality bodyschutz to paint the headlights with as it gives a great finish and can stand a bit of a beating by the elements. I used a glue seal type of mastic to reseal the units after. 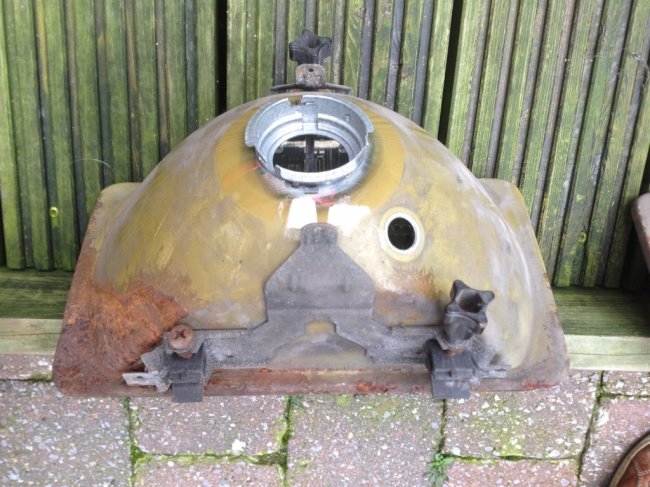 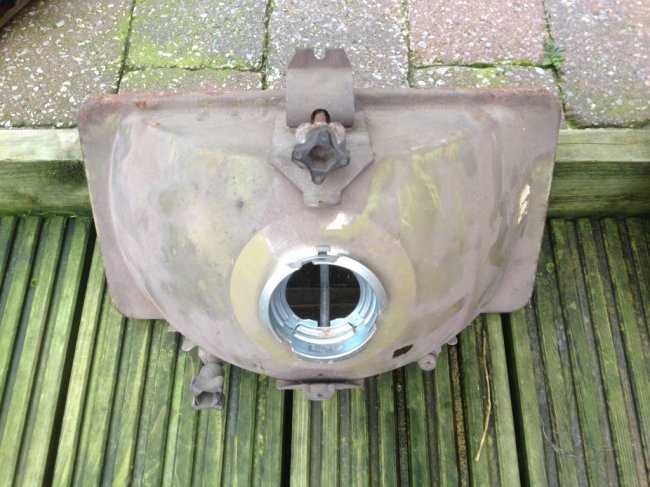 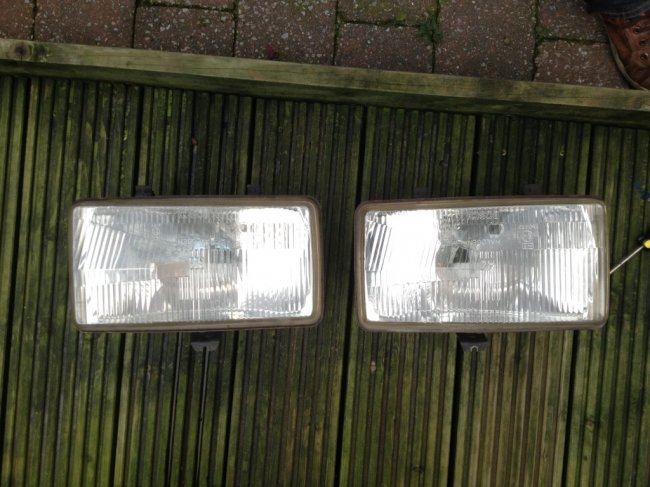 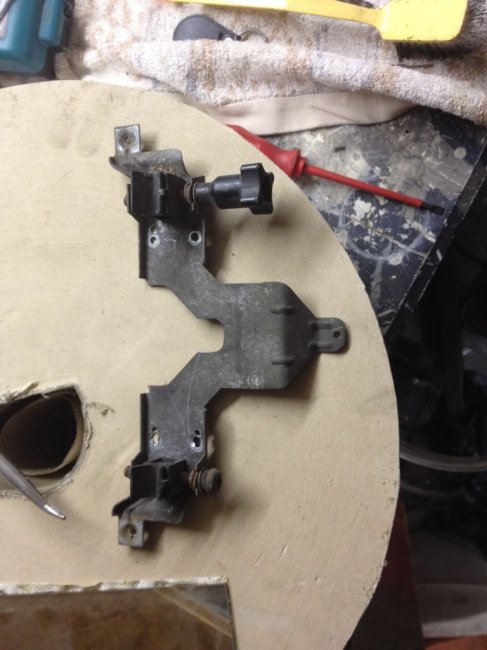 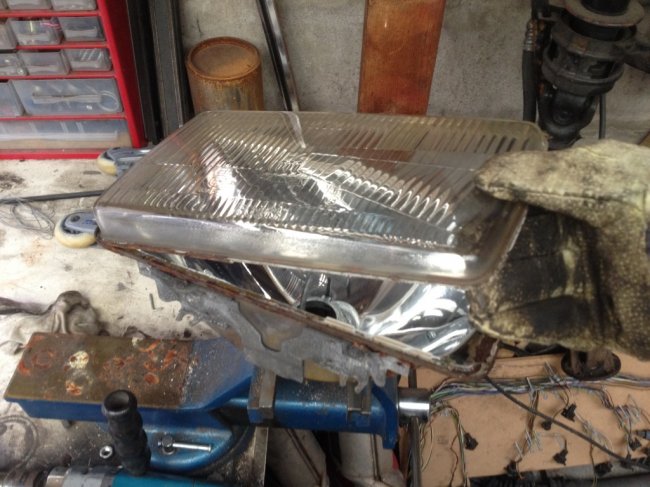 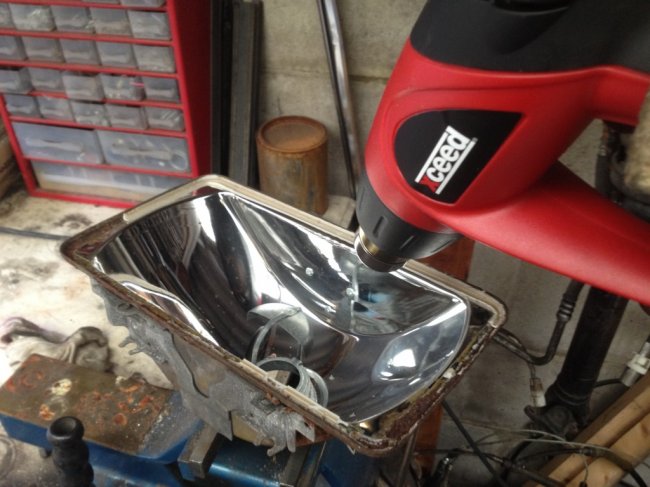 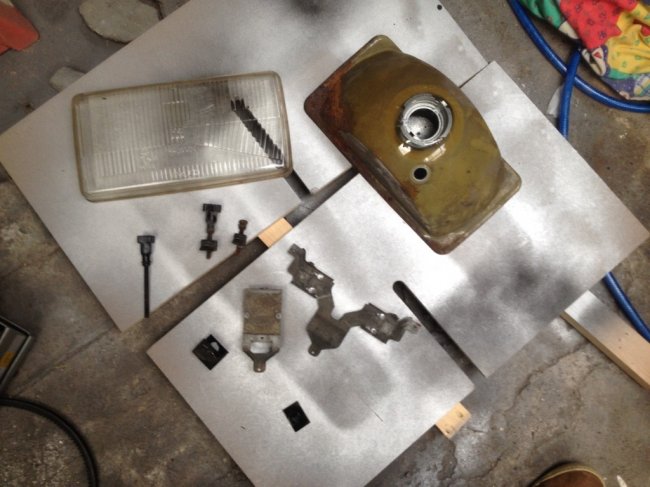 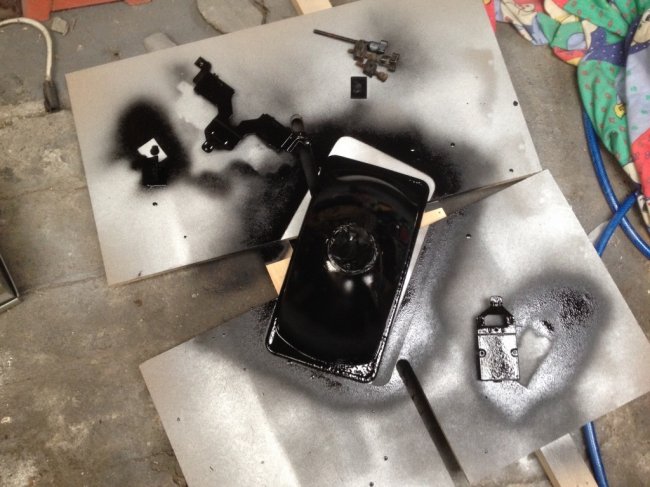 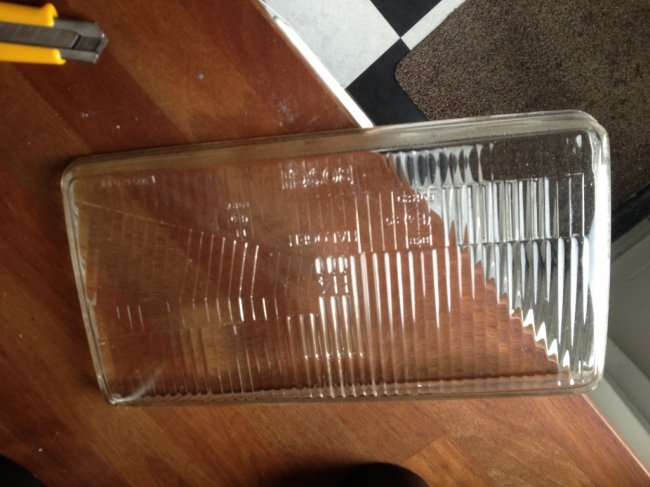 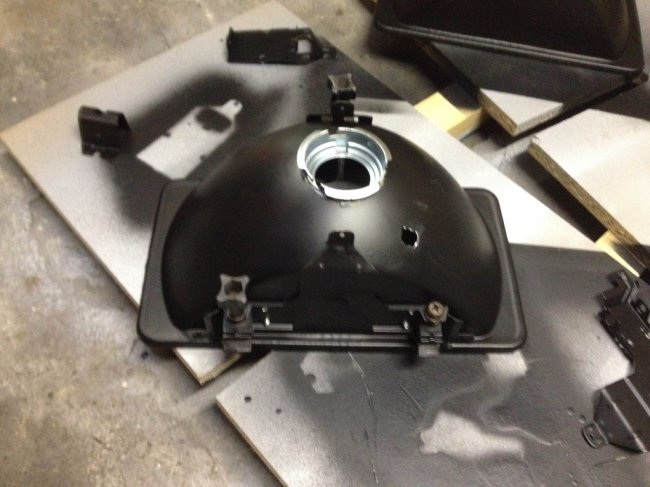 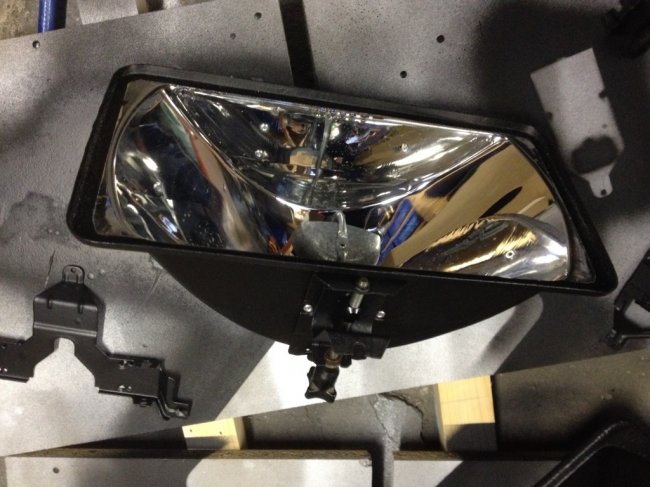 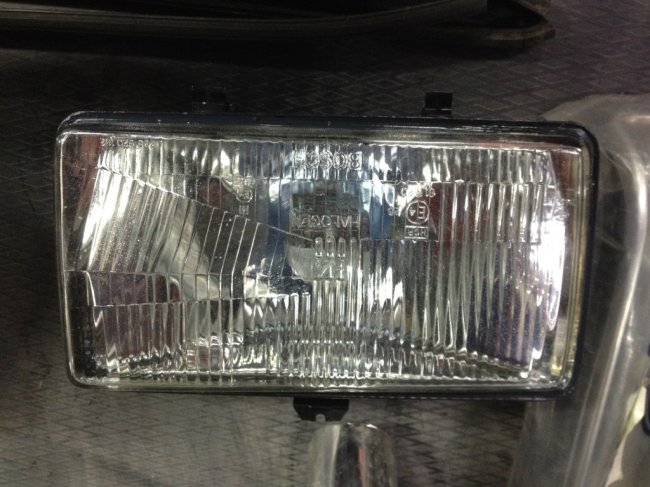 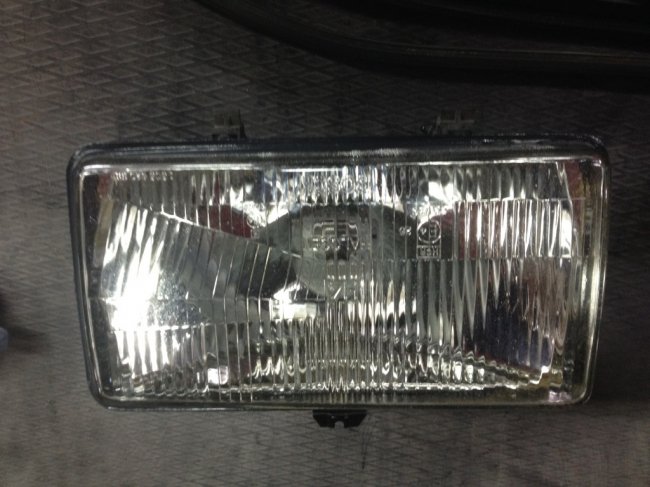 I then moved on to the foglights. I also put them in bodyschutz after cleaning up the housings. The backs were powder coated along with a lot of other items some years ago. I forgot to take more pictures during this as it was mostly pretty dark outside when I was doing this. But the end result was this: 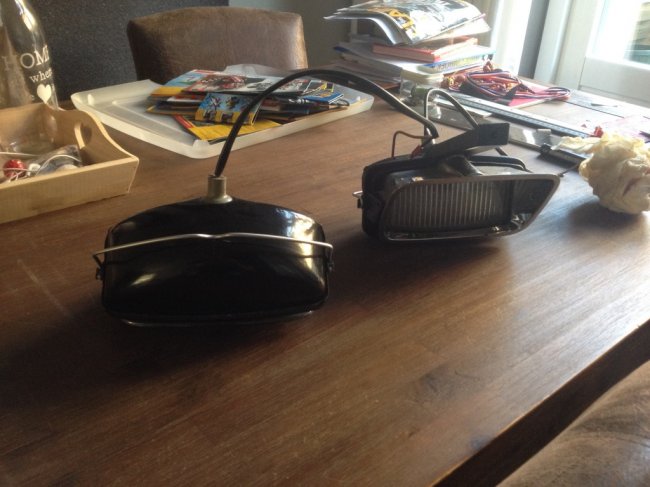 Next up were the rear light clusters. I cleaned them up with a fine glass bead blasting. I then primed and painted the units. I used a pretty bright silver paint. I taped off the earths so the units should still work well after. I resealed the units and remade a gasket for mounting the lights to the car. Time will tell if the seal is watertight, if not, I’ll remove and use the rope type body mastic I also used on the wings. For purpose of easy removal though I chose to use a type of weather seal. 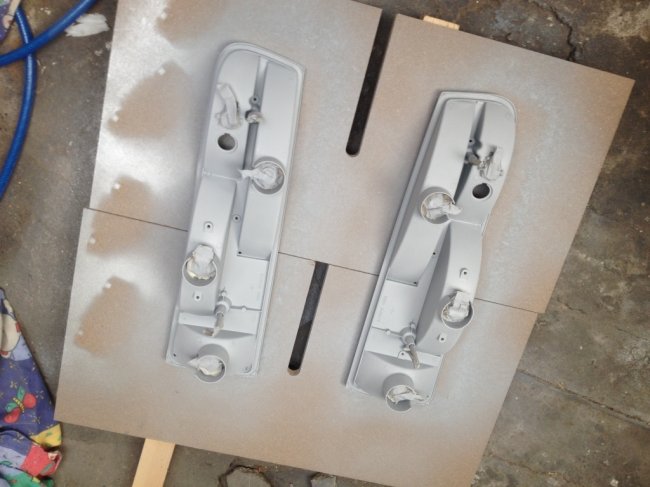 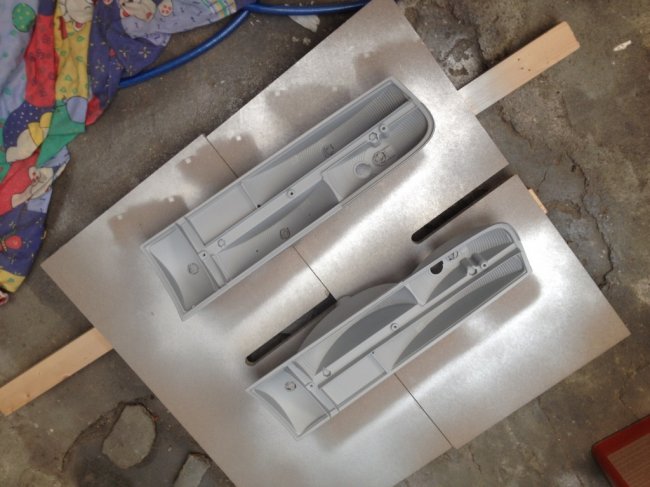 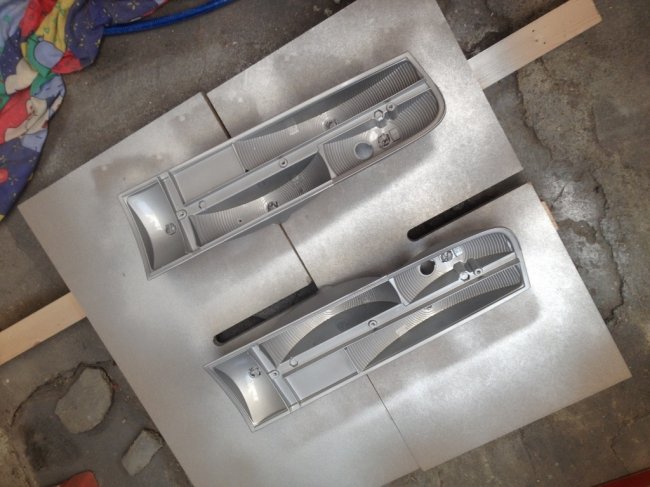 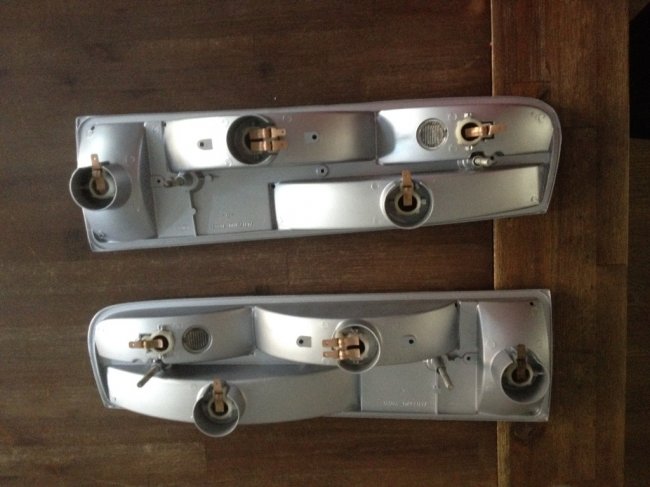 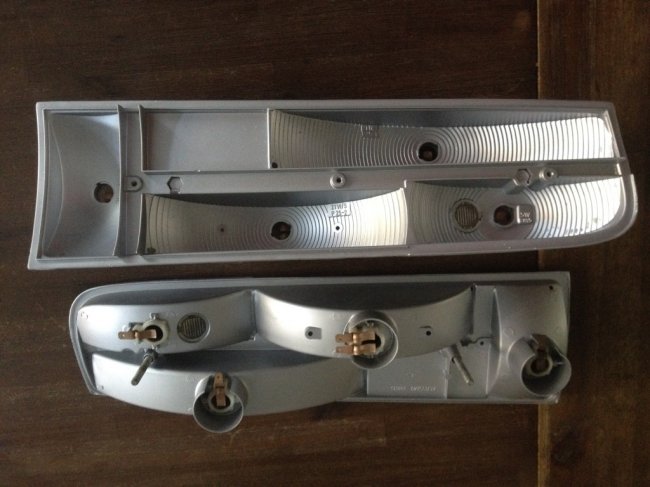 After that came the blinkers! I simply cleaned the housings and put them back together. I cleaned up the contact, used new screws and used the coated and then painted “mirror” with a brand new clear glass that hopefully doesn’t turn green again as the last set did. 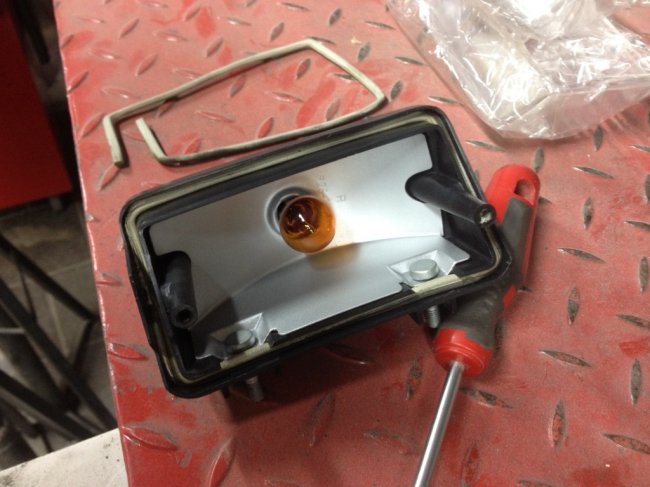 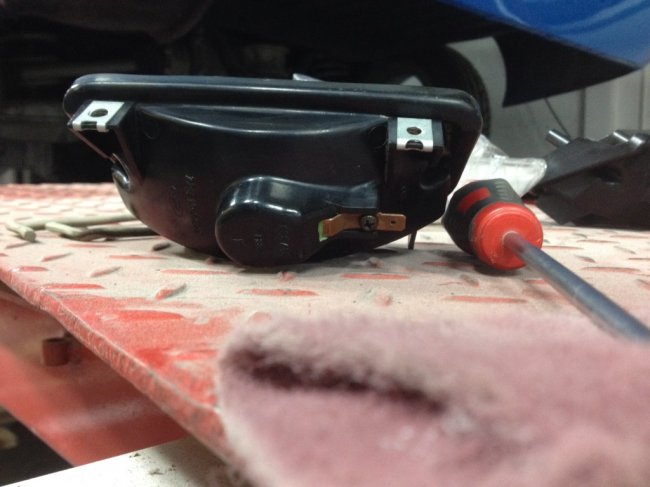 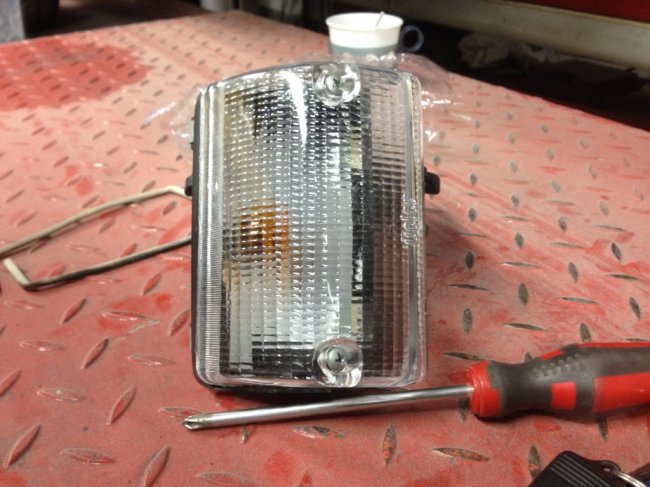 And a new old stock find! 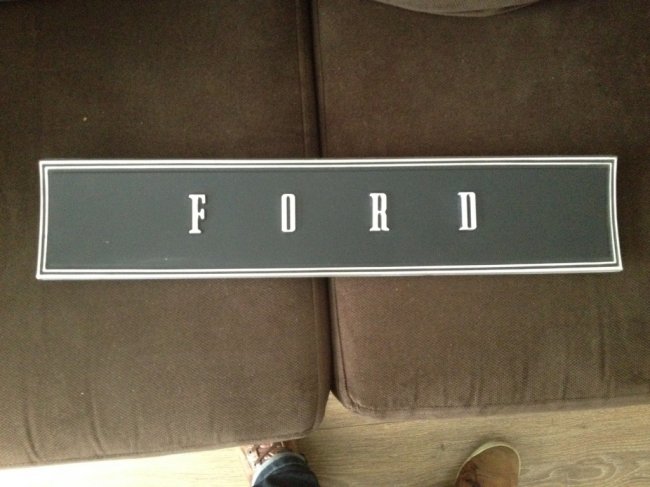 Cleaning up a piece of trim that was wrong in the new set I had (the new one for one side was 1,5 cm short) 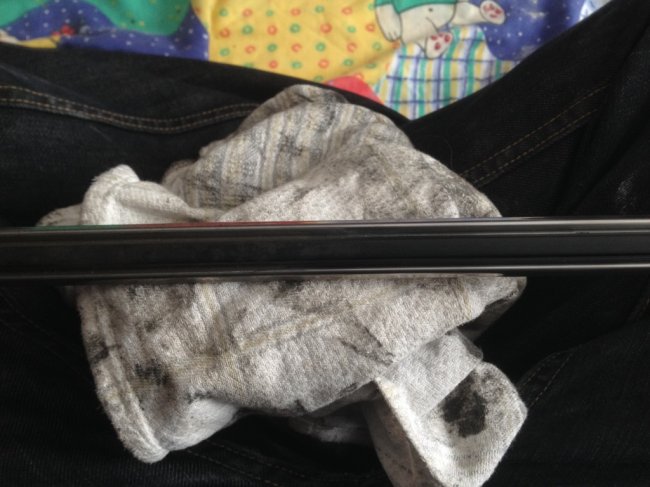 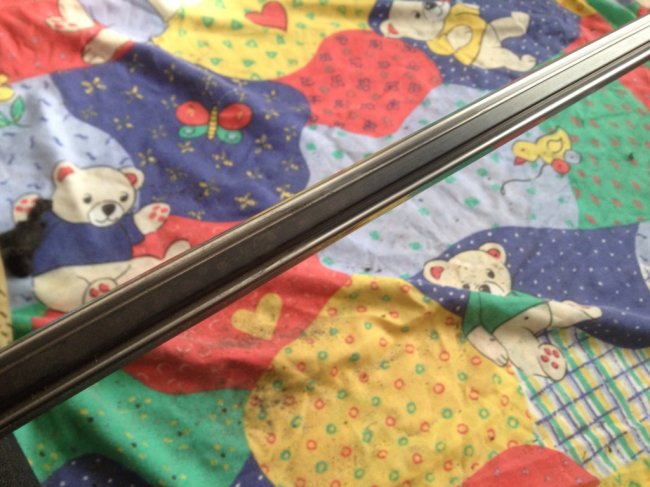 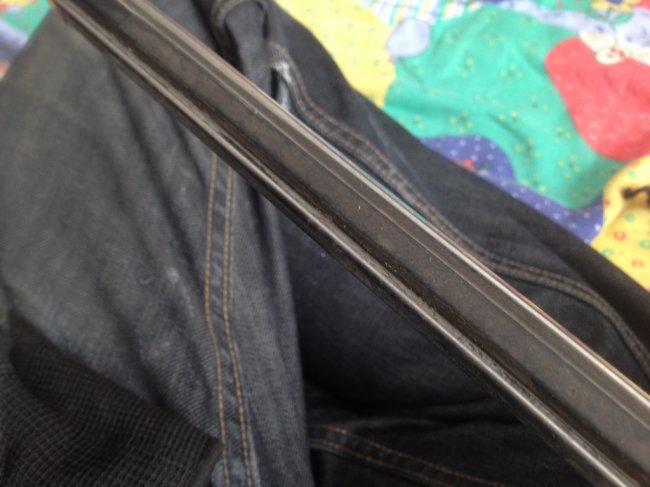 I also re-wrapped the main loom section for the engine bay. The old wrapping was fine, but dirty and with lots of overspray from quick paintwork in the area. Now it’ll hardly be noticeable in the black engine bay. 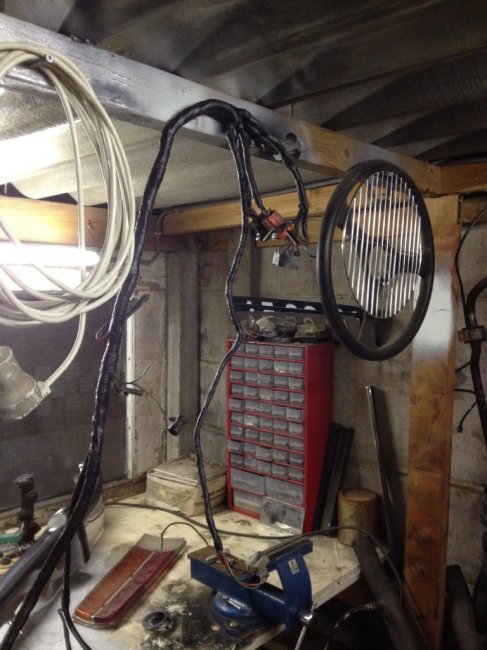 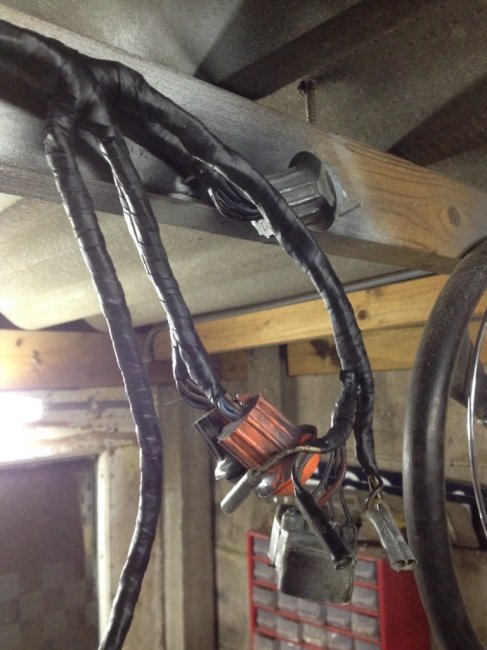 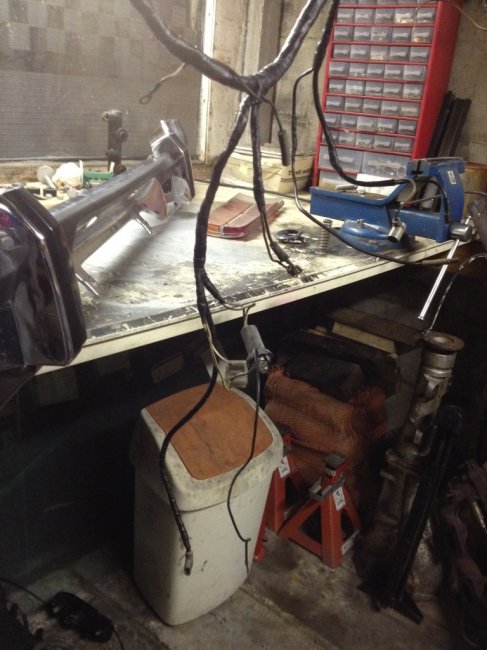 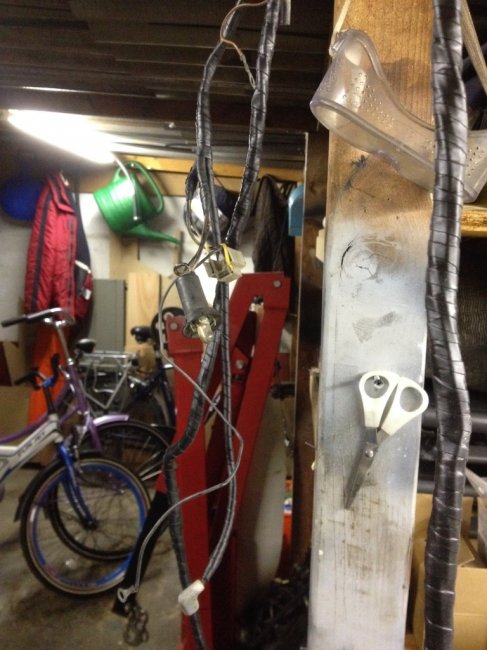 Meanwhile I was also doing something that is more out of my comfort zone. I had to attack the issue of the original headlining that was once painted black but now did not look the part anymore. So I bought the materials and started cutting and fabricating. I’m now ready to sew it together and hope that it will fit nicely. If not, I’ll take it apart and try again. 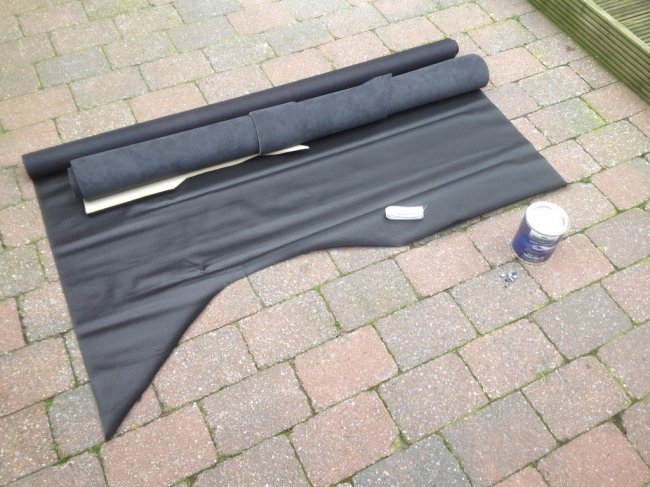 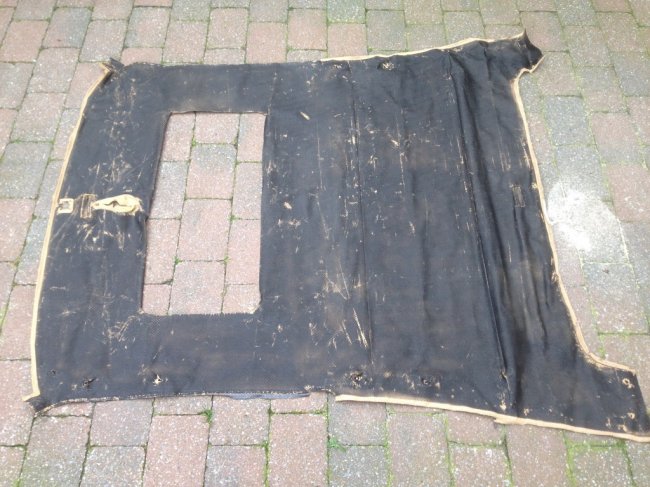 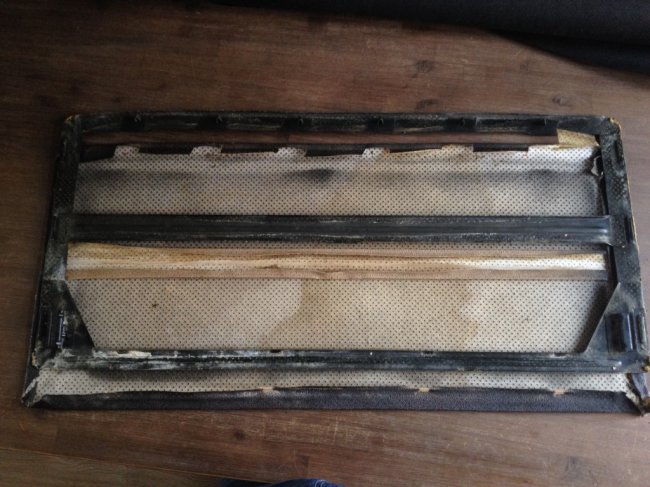 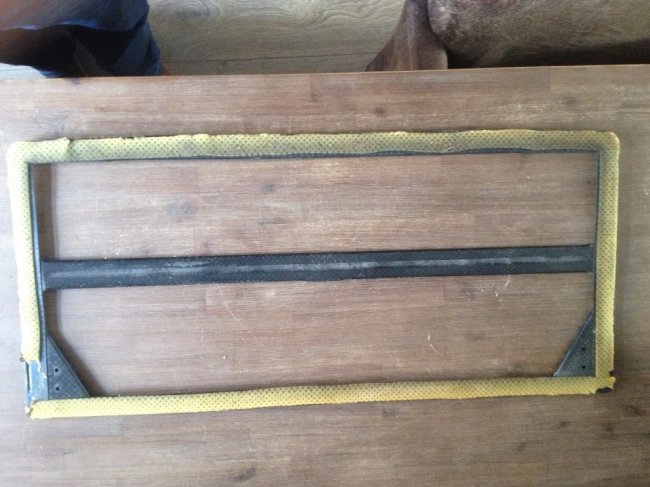 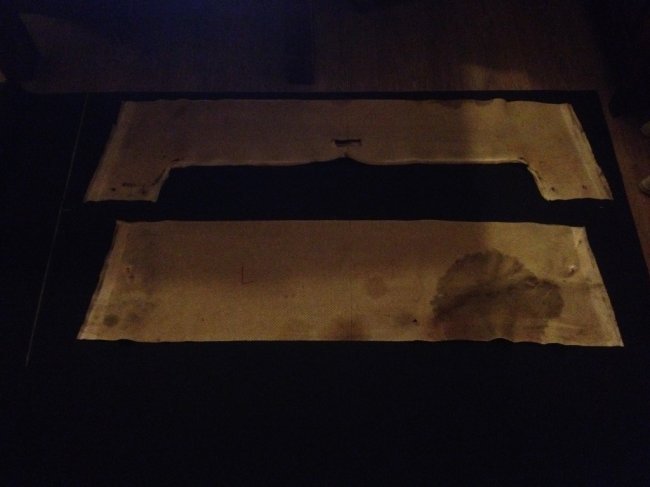 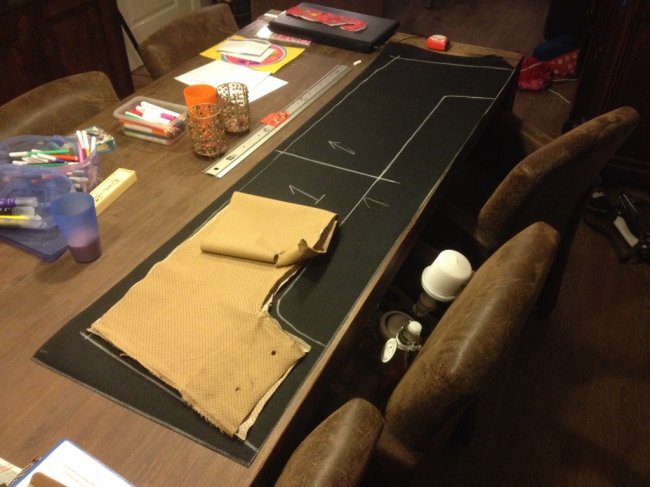 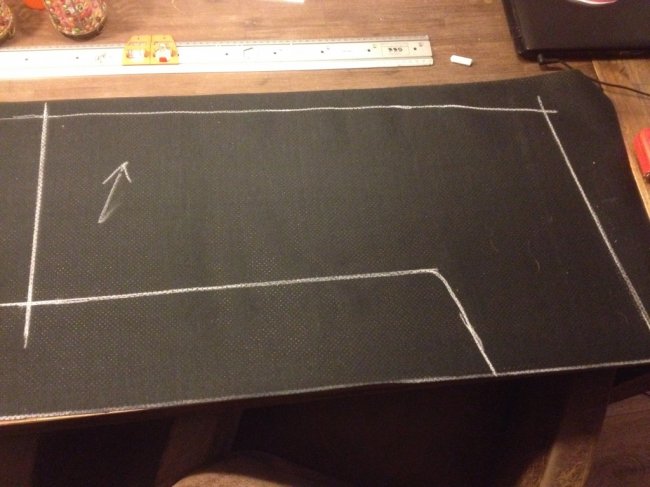 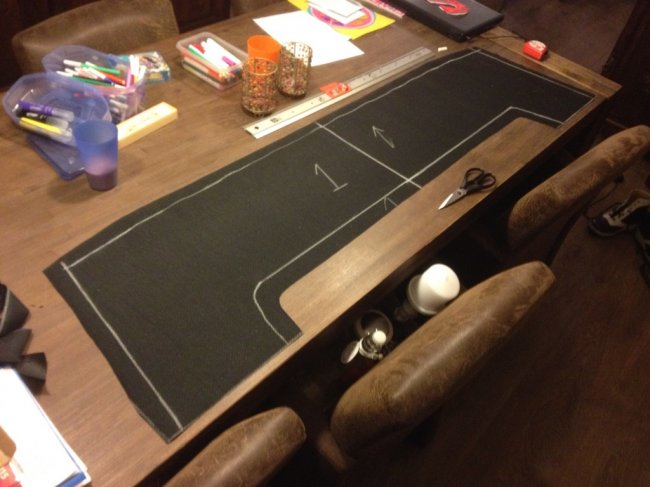 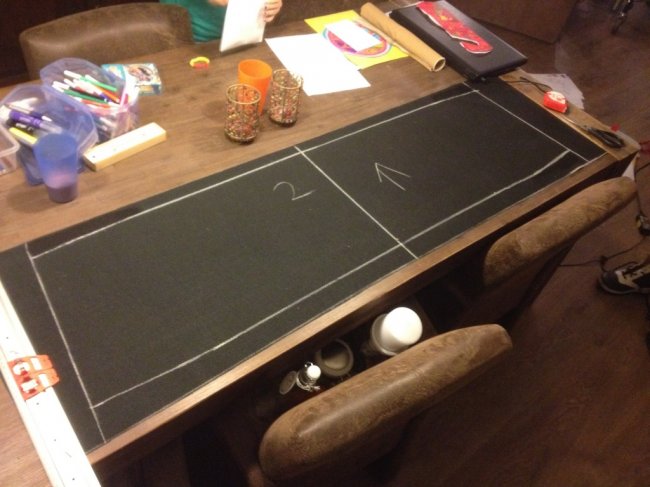 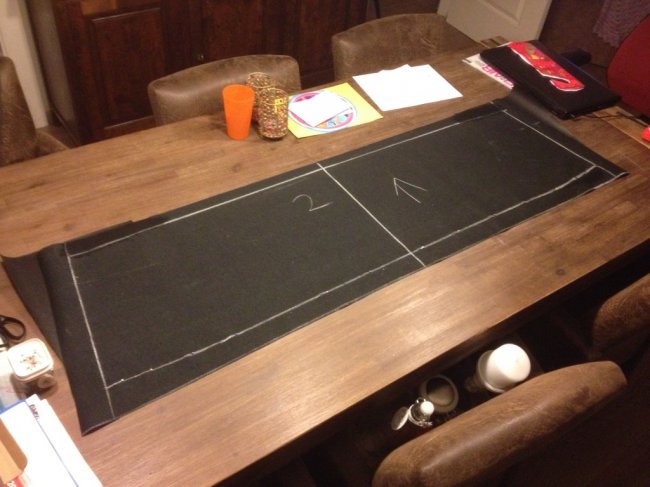 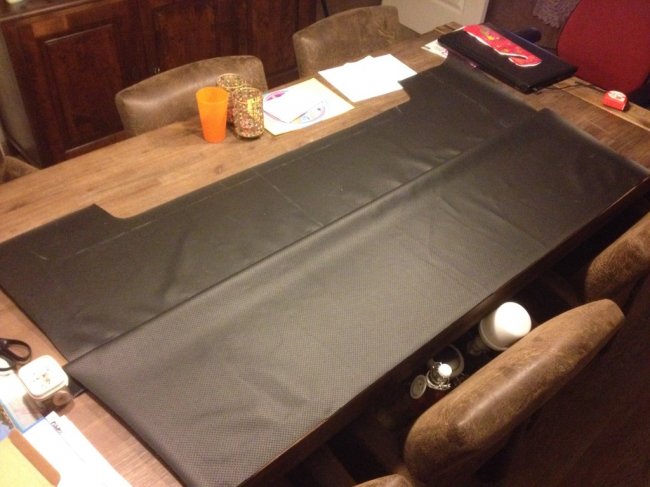 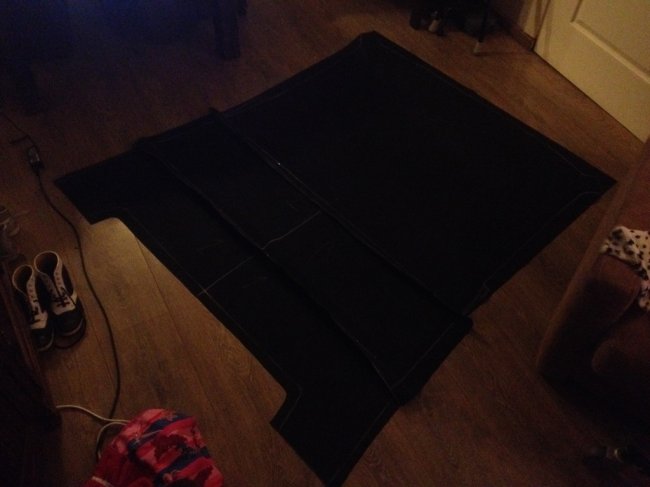 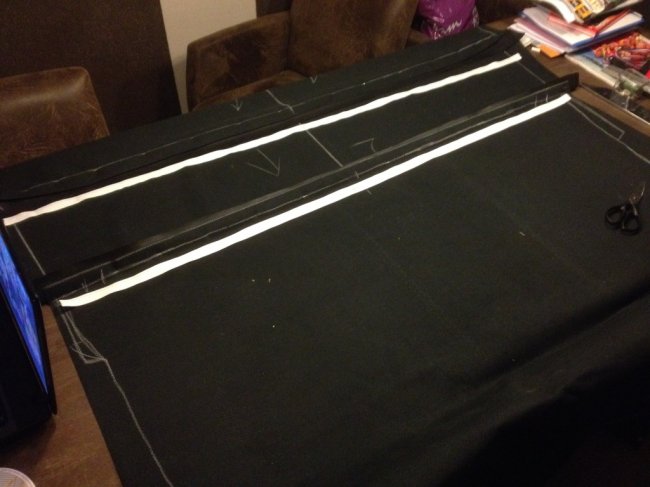 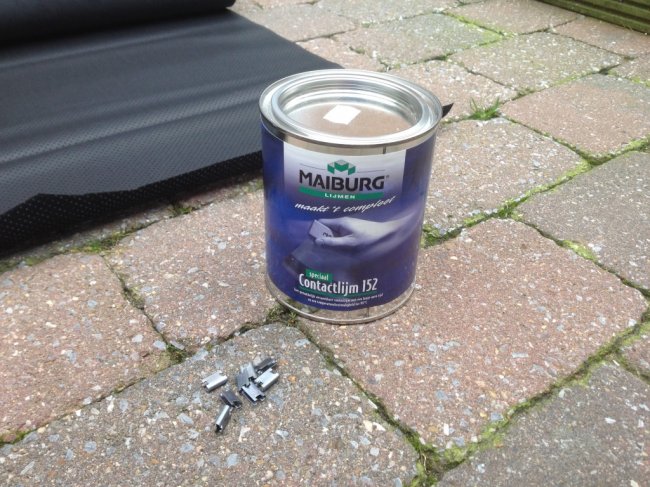 Al that sort of leads to this… Applying the first trim pieces 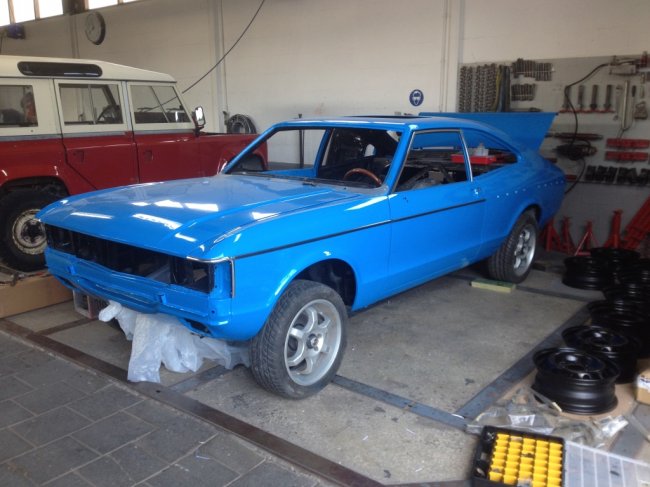 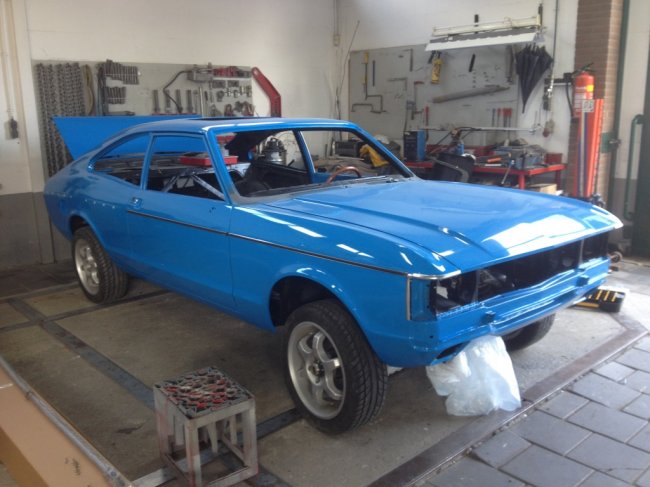 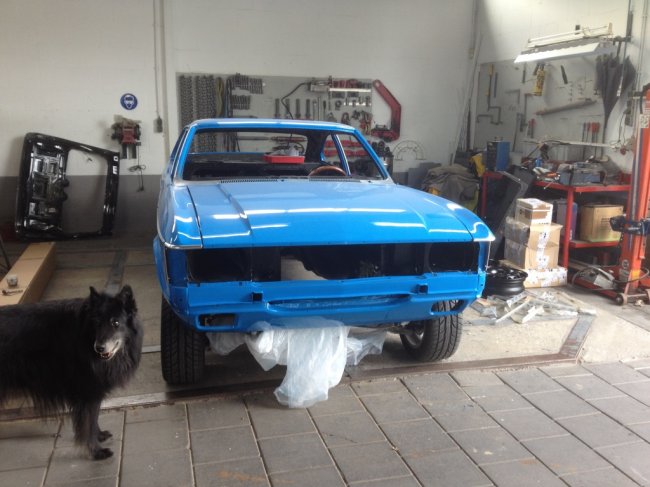 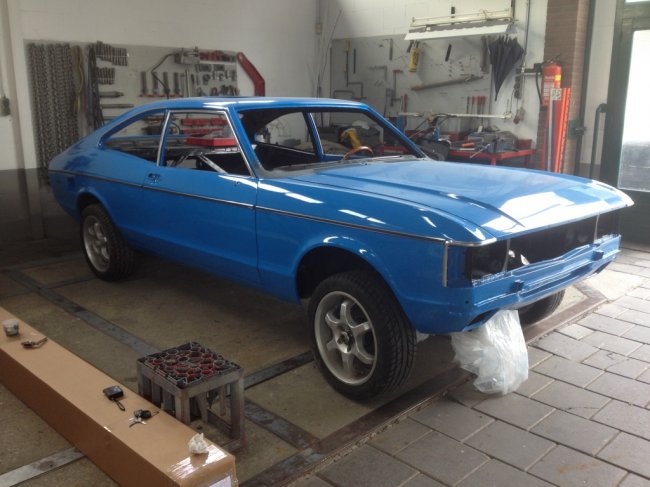 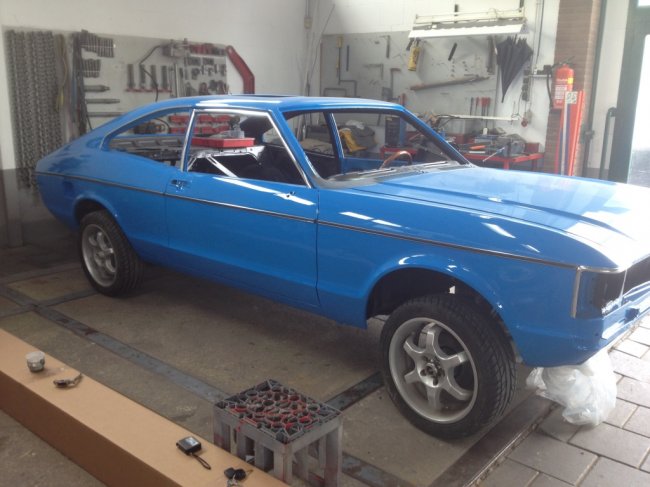 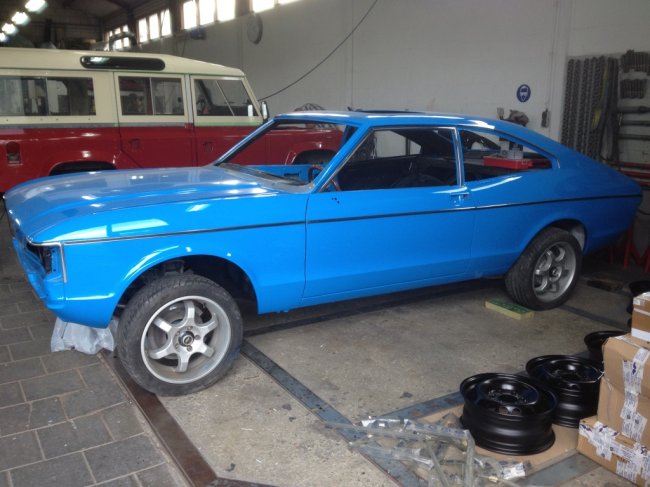 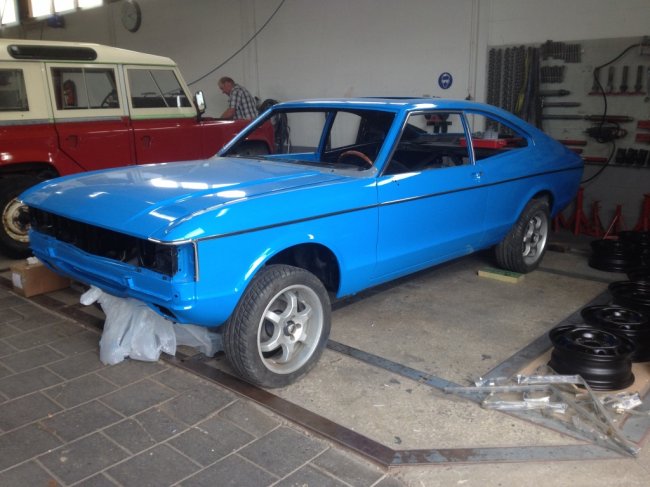 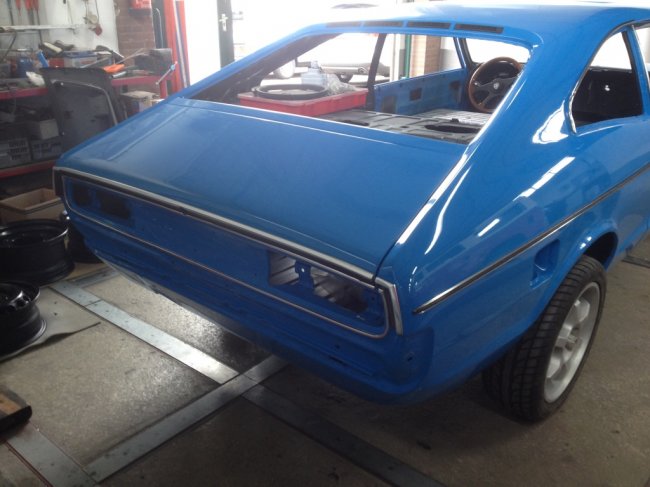 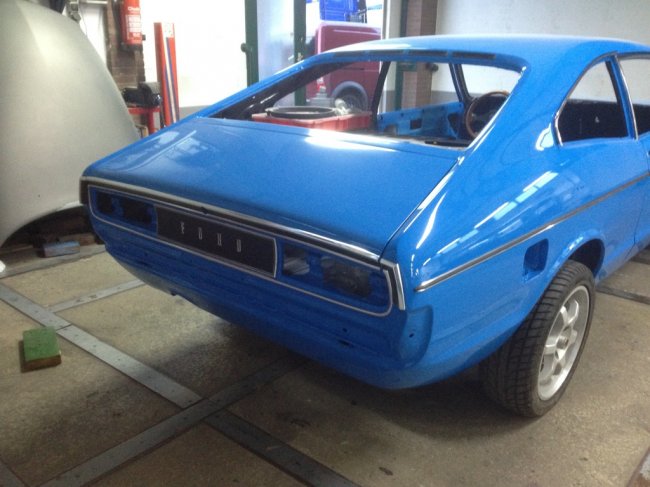 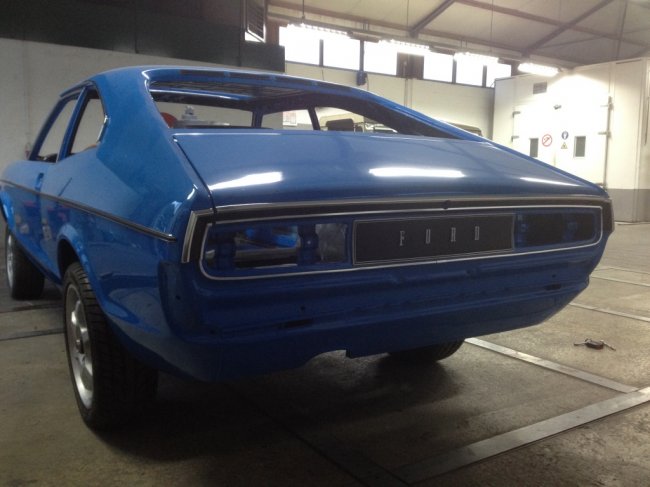 Sound deadening 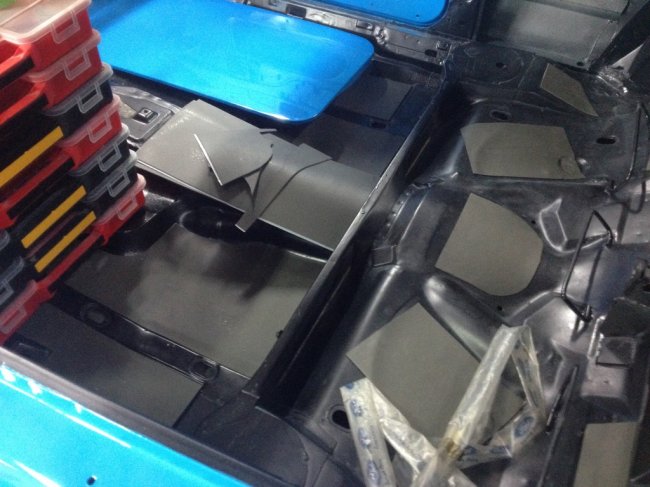 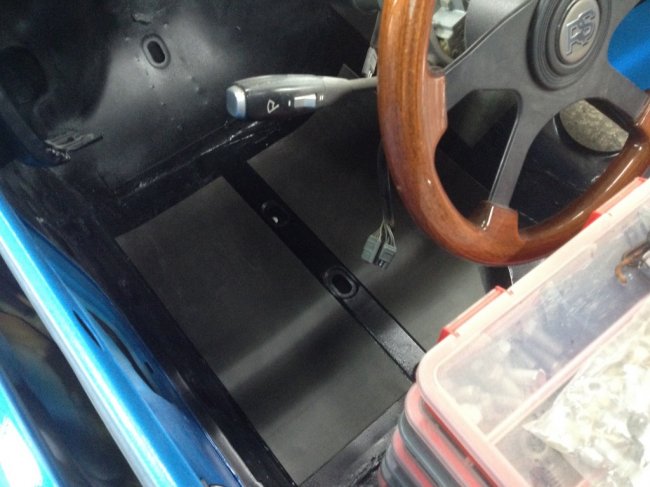 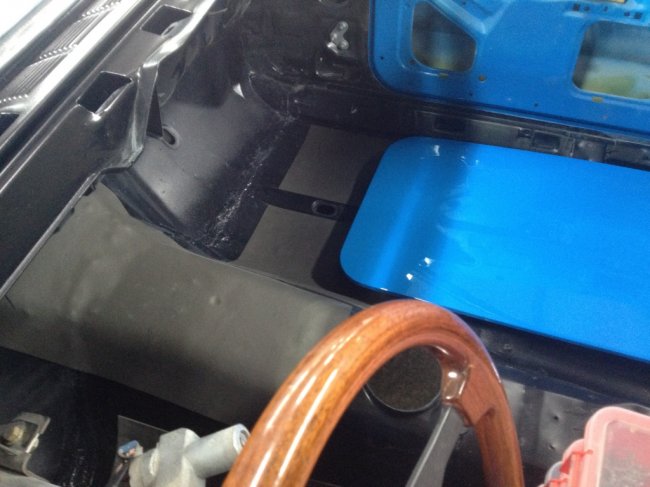 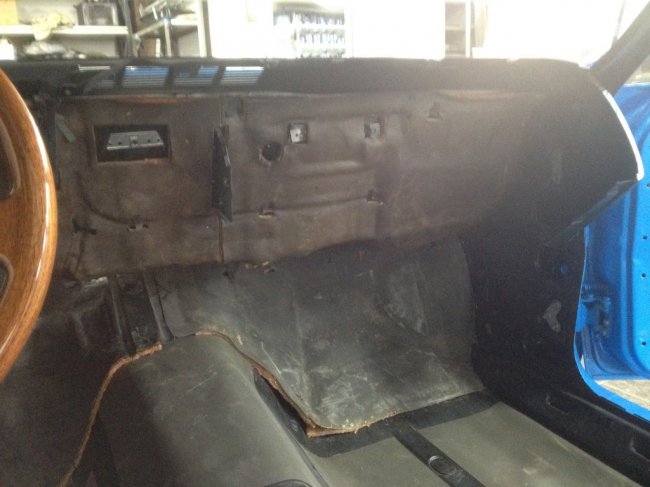 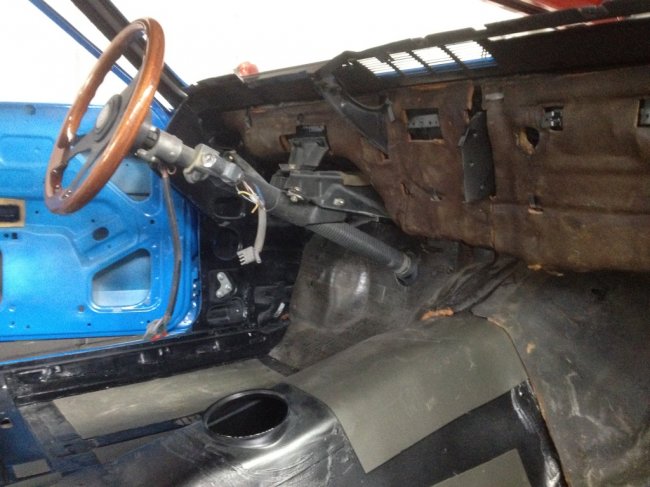 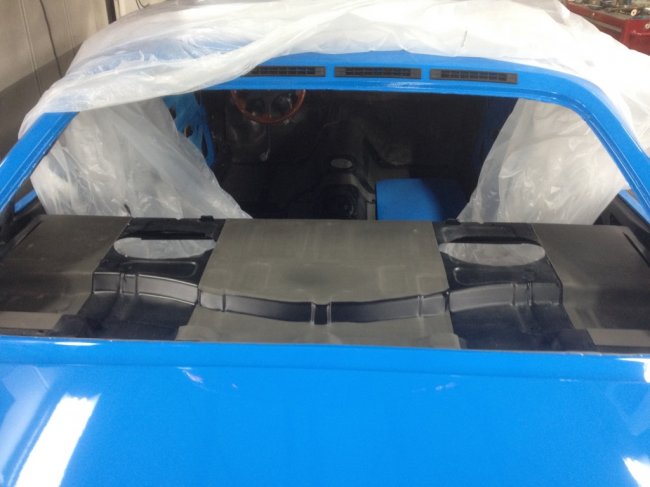 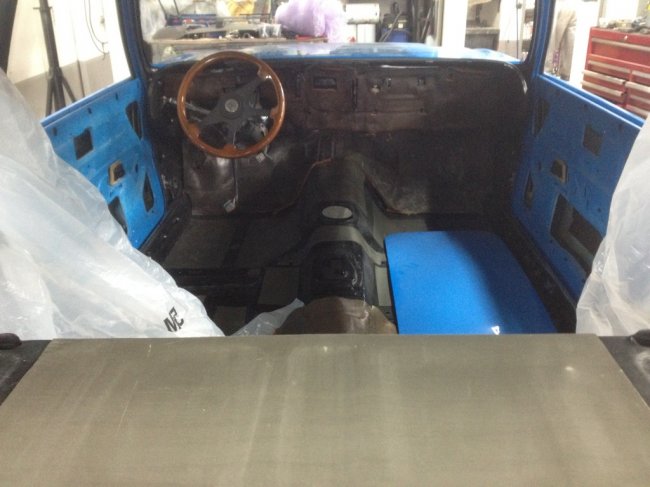 Fitted the rear lights 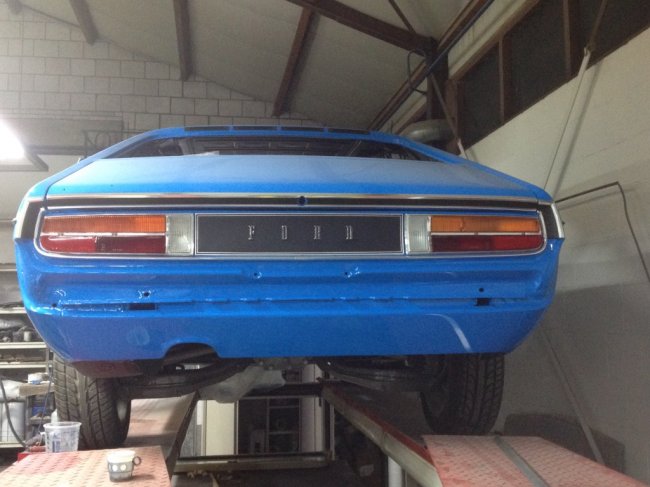 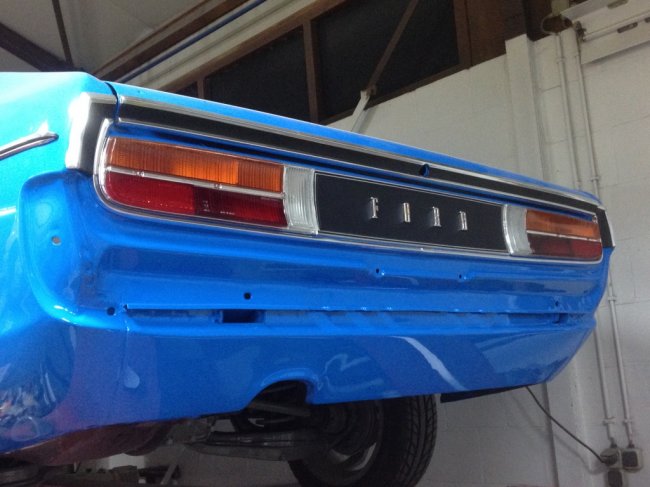 And the front blinkers, headlights, headlight surrounds, bumper and fog lights 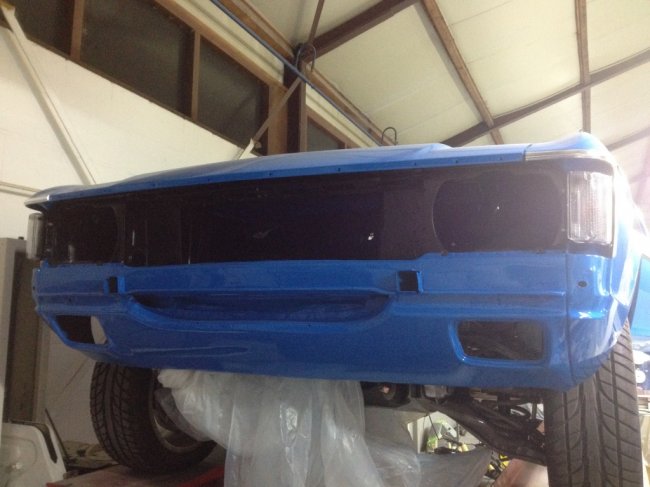 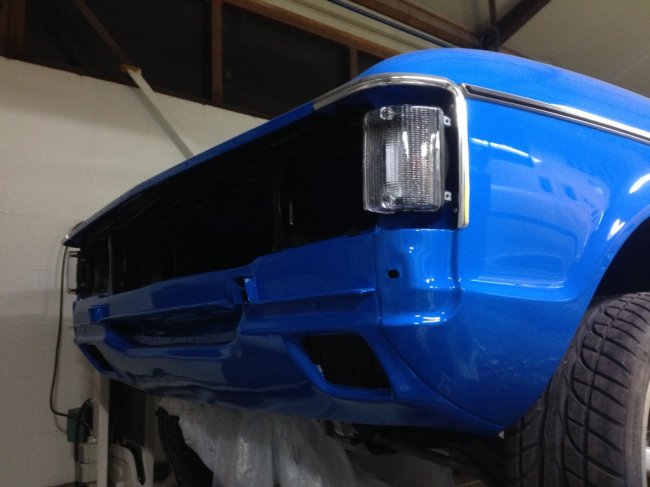 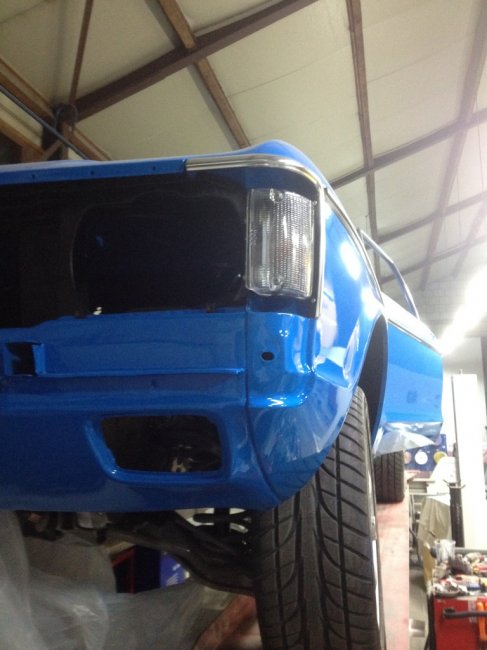 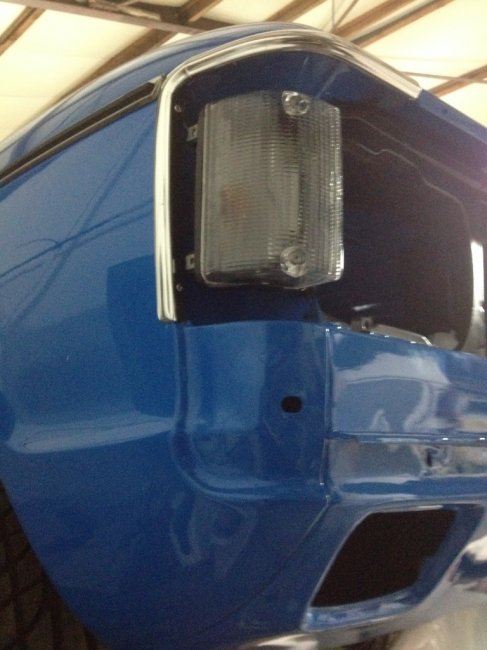 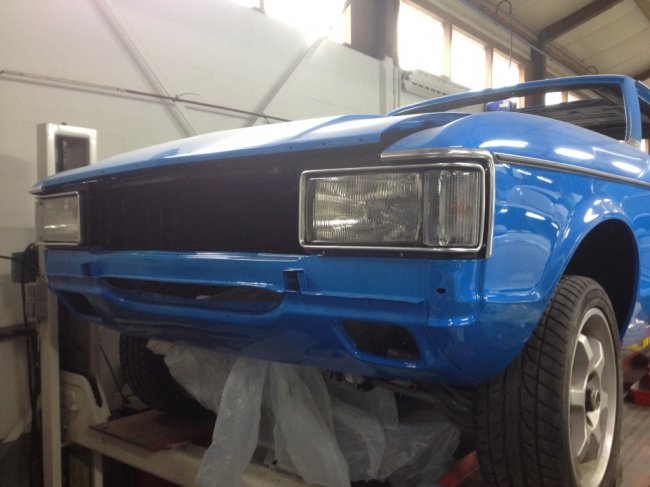 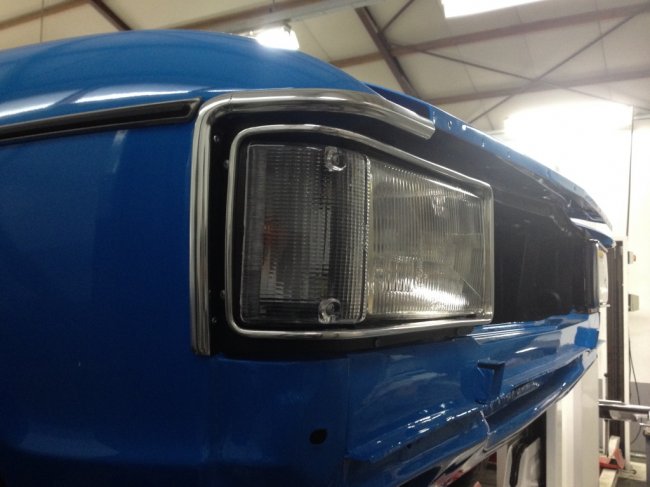 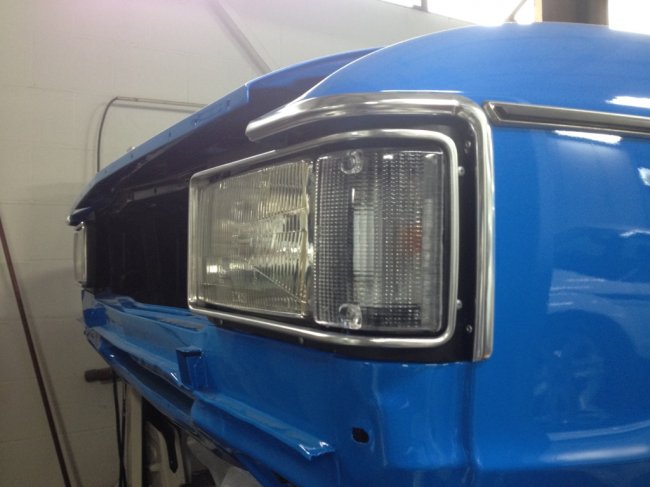 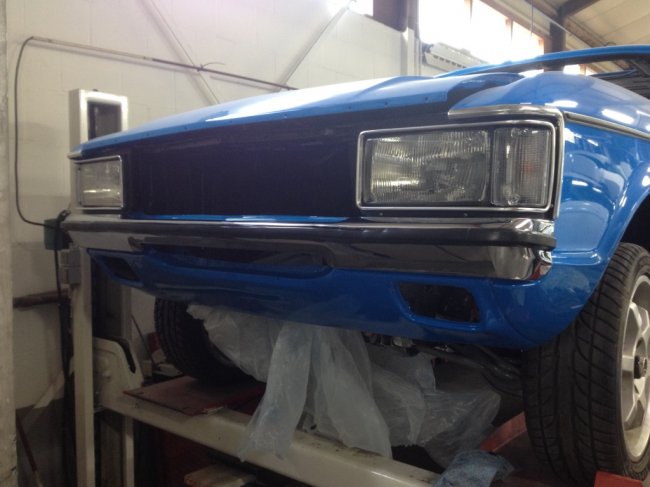 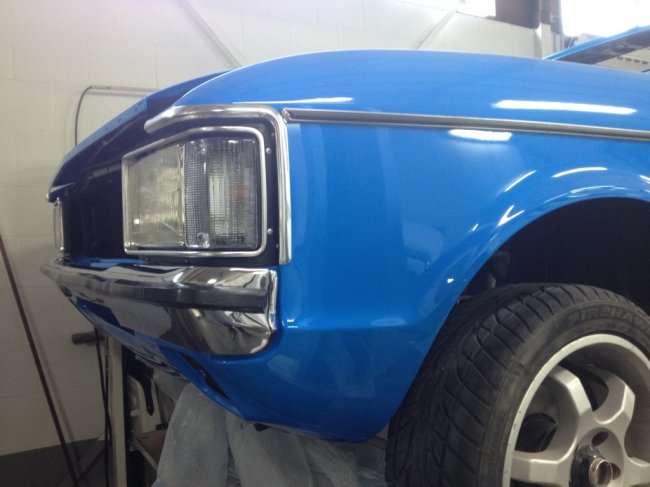 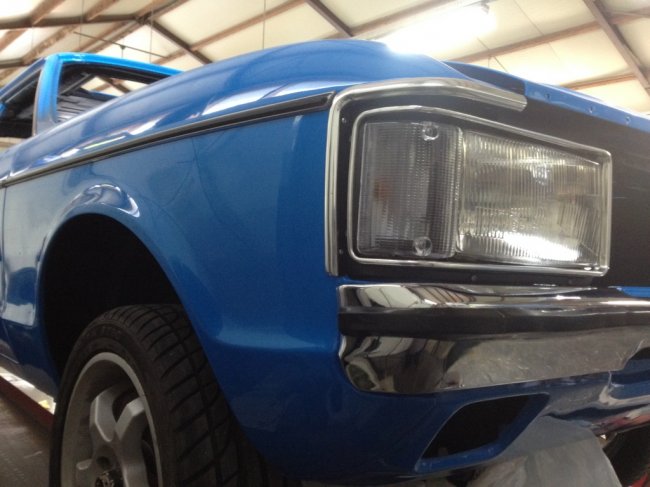 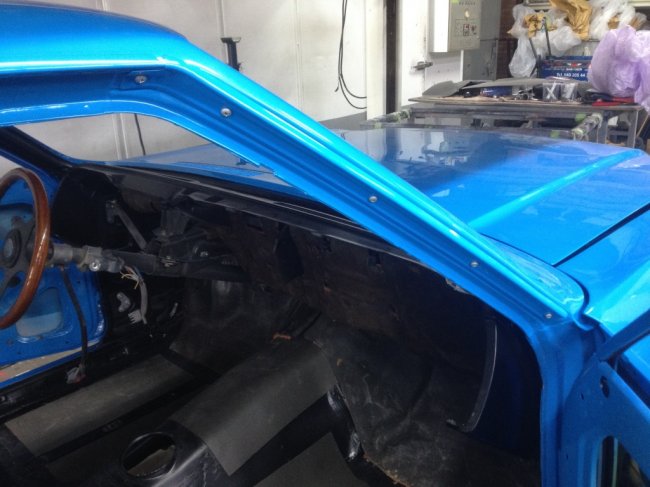 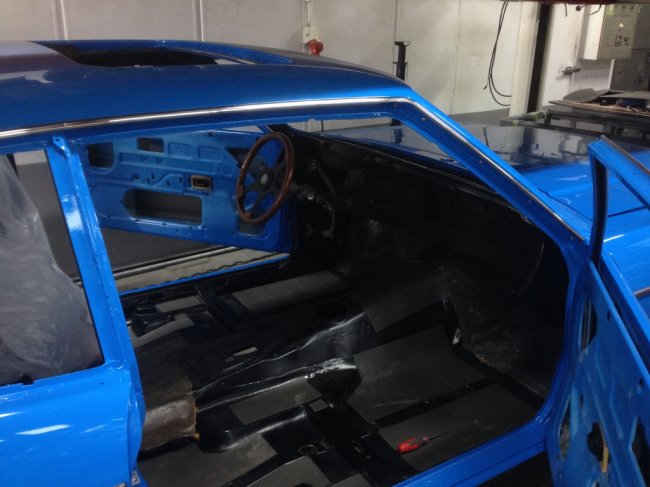 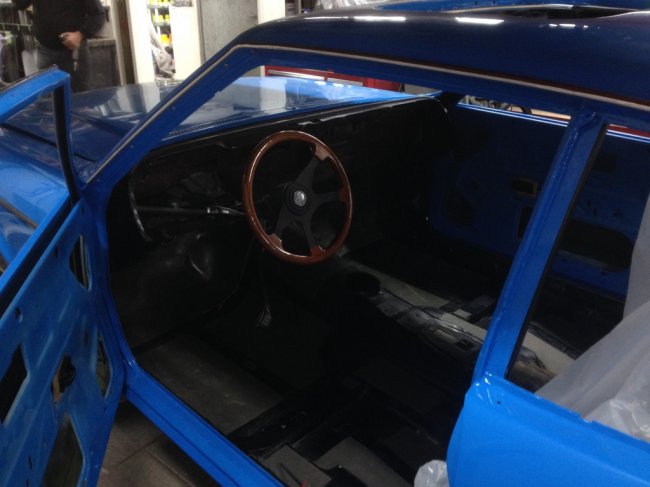 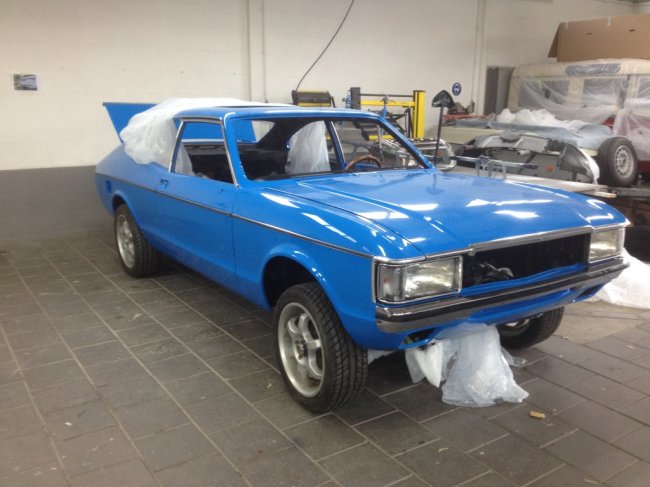 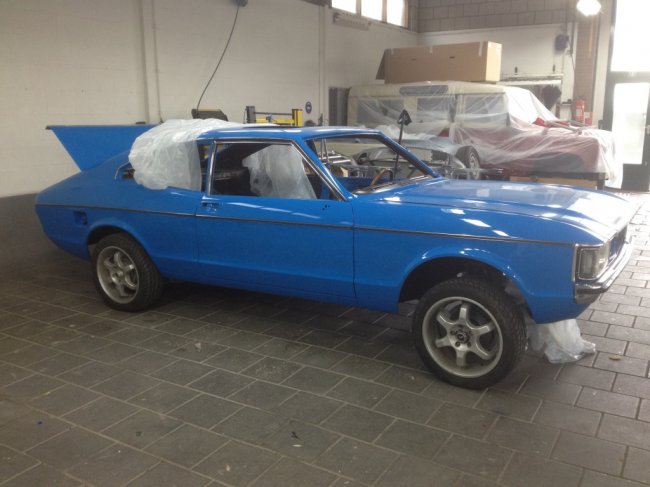 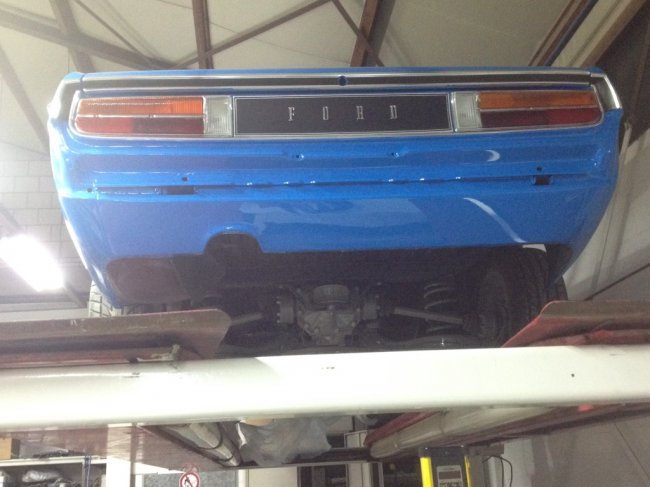 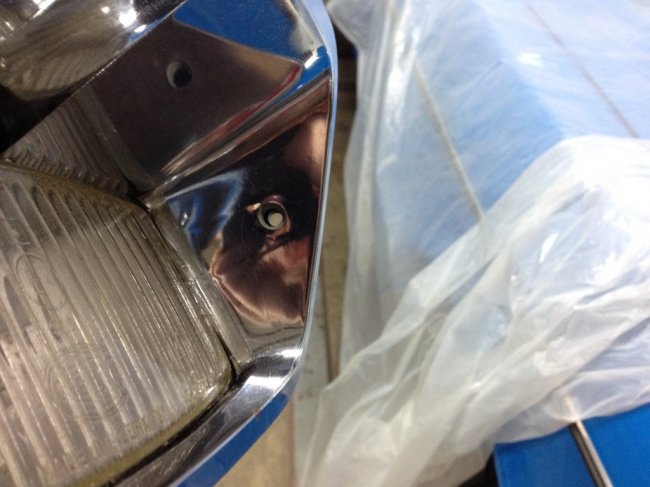 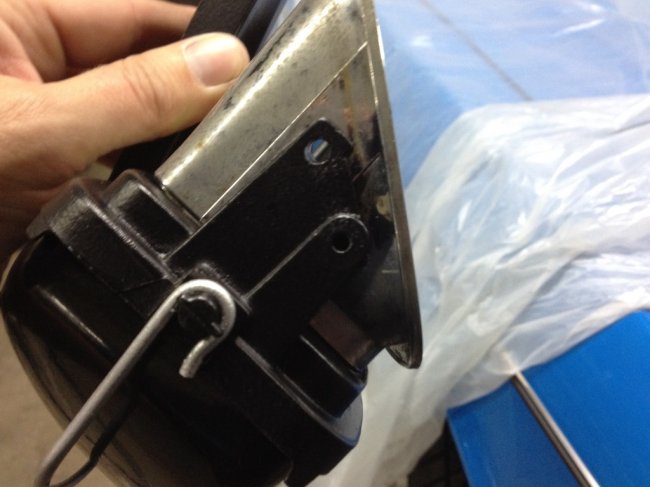 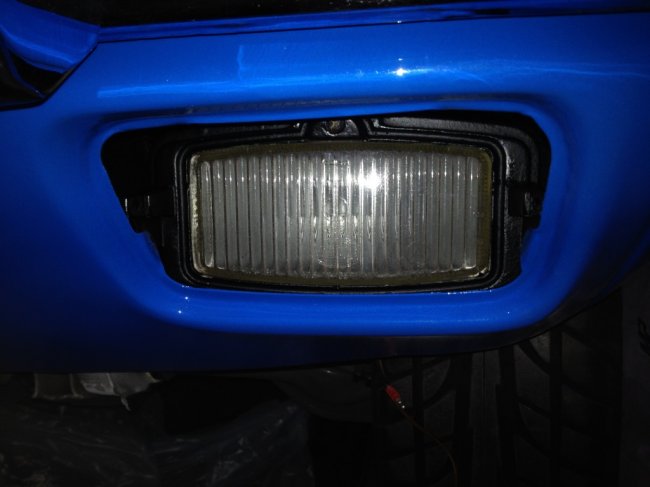 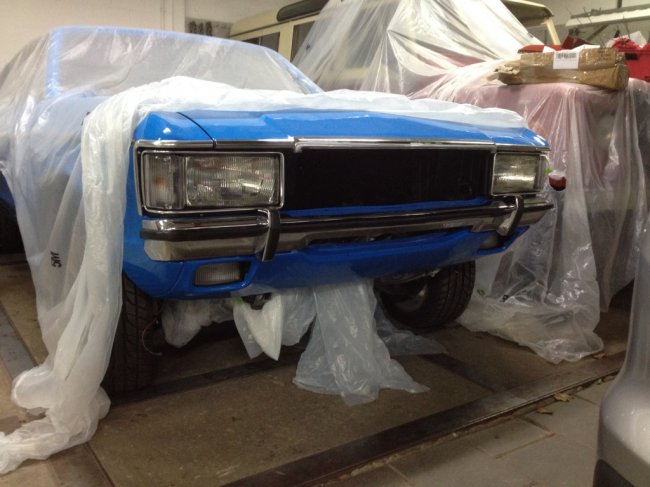 And that basically brings me up to date. Next will be getting the fog lights mounted correctly and the trim fitted. Sanding and painting the grille so it can be fitted and finishing up the sound deadening inside the boot area. Then attention will turn to getting the headliner sewn, glueing the sound deadening etc. to the roof, fitting new drains to the roof and then glueing in the headliner itself. Mounting the sliding roof is up then. After that, I’ll focus on getting the car somatically finished. Meaning fitting all glass, all seals and building up the doors from the mirrors up. Fitting last of the external trim. This will probably take me a while to complete though. And then it is on to finishing up the mechanicals and getting it running. And off course creating the rest of the interior. So I’m shooting for a finished product in March 2015. |
| |
|
|
|
|
|
Oct 27, 2014 12:21:56 GMT
|
|
Good progress. It's amazing how much more there is to do than you realise at this stage of a build. Coming along nicely now.
|
| |
|
|
qwerty
Club Retro Rides Member
Posts: 2,419
Club RR Member Number: 52
|
|
Oct 27, 2014 12:25:35 GMT
|
|
Excellent. The colour is looking better and better as you add the trim.
|
| |
|
|
Speedle
Posted a lot
   Need a Country Rock band in the Hampshire Area? https://www.facebook.com/DirtRoadDiaryUK
Posts: 2,221
|
|
Oct 27, 2014 14:50:27 GMT
|
Delicious! Attention to detail like this show's this beast won't just look good on the surface but it'll look good where people can't see as well and sometimes that matters more  Excellent work sir |
| |
|
|
|
|
|
Oct 27, 2014 17:49:57 GMT
|
|
top work! looks amazing
|
| |
|
|
|
|
|
Oct 27, 2014 17:54:51 GMT
|
|
Now that is truly a thing of immense beauty...!!! Well done to you, I bet you cannot wait to get this all finished and back on the road...?! Brilliant...!!!
|
| |
***GARAGE CURRENTLY EMPTY***
|
|
spot
Part of things
 
Posts: 105
|
|
Oct 28, 2014 13:05:16 GMT
|
I hate you for all the right reasons  *PM'd |
| |
|
|
|
|
|
Oct 28, 2014 16:26:49 GMT
|
|
just read up to page 7, but had to quickly skip to the last page and check out the current progress and also to say a much deserved
AWESOME! lovely build!
|
| |
|
|
eurogranada
Europe
To tinker or not to tinker, that is the question...
Posts: 2,556
|
|
|
|
|
Thank you all! Good to know I haven't lost your interest. It had been a while since I updated.
I'm very happy with the results myself. Prompted by redrocket I also had a look trough my own thread (usually I just look back to the last picture you guys got to see) and I myself was even in awe of what I saw. Day to day doing the project sure you know it is a big undertaking, but only looking back up to this point do I fully realise how much work has gone into this car (and how much money, ouch) and how good it is starting to look.
Still, plenty more to do. But I should have the materials ready for making a pretty big leap once that pesky headlining is in.
Well you'll just have to wait until the next installment, won't you... But, I promise it will not be as long coming as the last one was!
|
| |
|
|
eurogranada
Europe
To tinker or not to tinker, that is the question...
Posts: 2,556
|
|
Nov 25, 2014 11:20:37 GMT
|
Time for another update. From my perspective I have made descent progress the past weeks, but it never quite feels like it is enough. Seemingly simple jobs seem to take forever, holding back progress. And off course I tackled something that one just can’t qualify as easy for someone who does this for the first time… I’m talking about me fitting my home made headliner. So what did I do since last installment? I believe first was finishing off those pesky fog lights that just wouldn’t really go in very well. I managed to do so in the end, but there is slightly more tension on them than I would have liked. But nothing broke so I guess it’s not too bad. 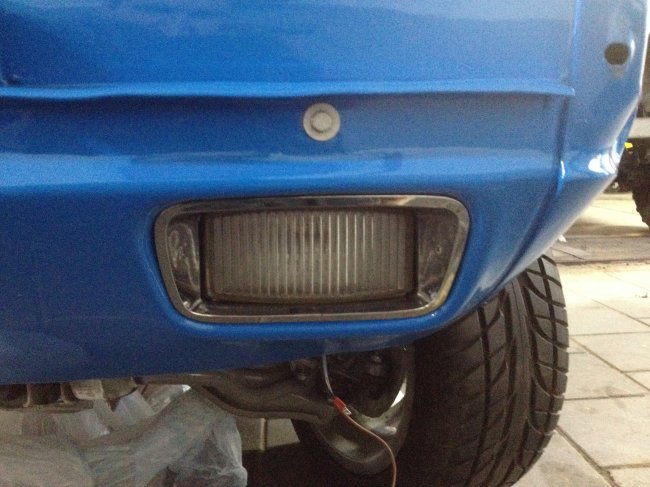 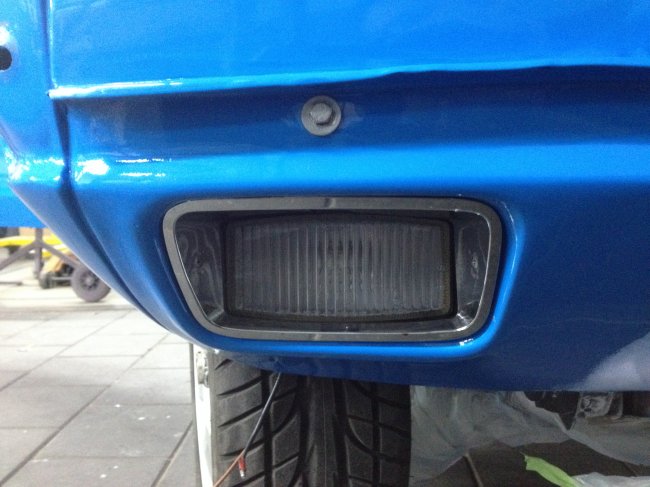 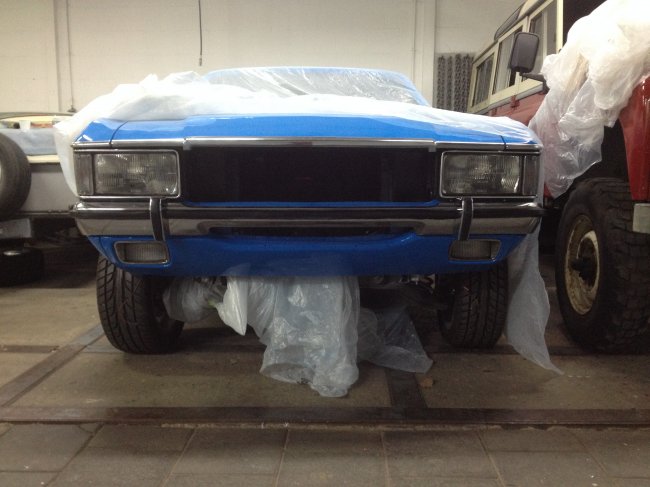 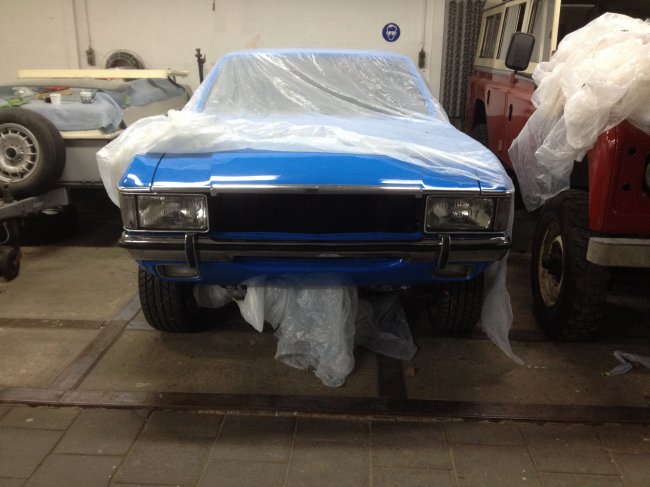 After that I think I took my son with me to fit the rear bumper. He had helped me paint the insides in bodyschutz and also assembled and mounted the license plate lighting. Then I put on the bumper and had him tighten the bolts as far as he could from within the boot. I just torqued them up a bit and that was done as well. I used bodyschutz to clean up a particularly bad area of the chrome on the bumper just below the license plate lights. So I may have to do that on the insert that actually holds the plate as well. I’ll see next week when I mount that. 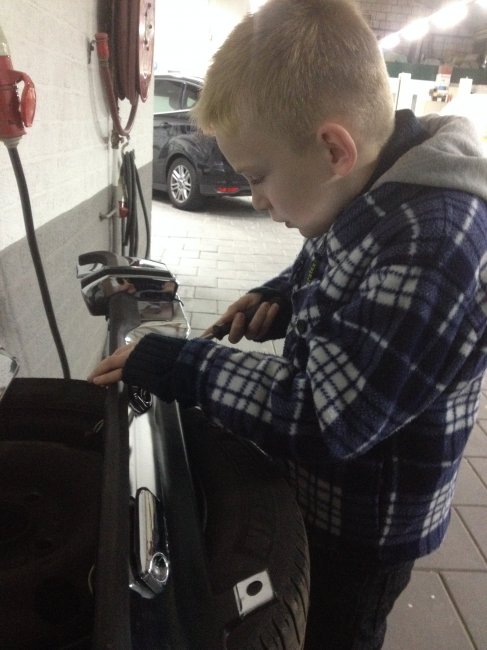 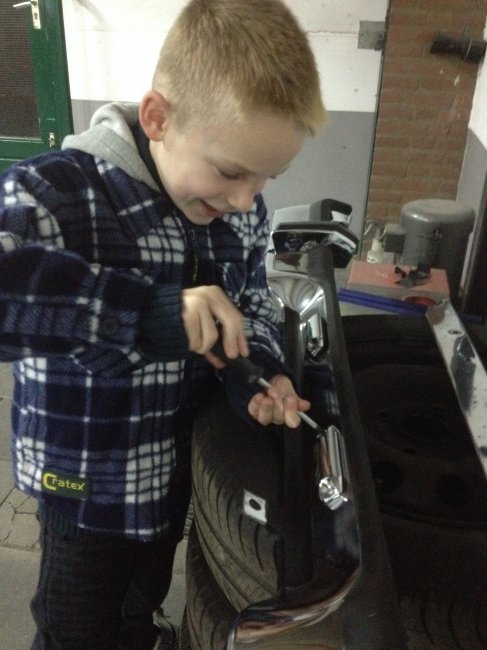 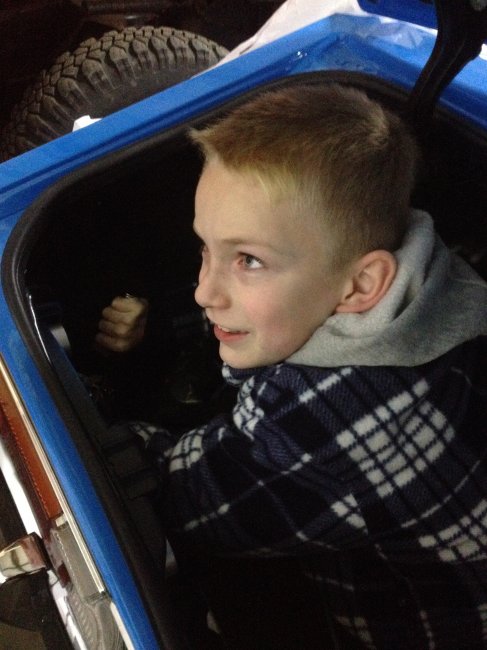 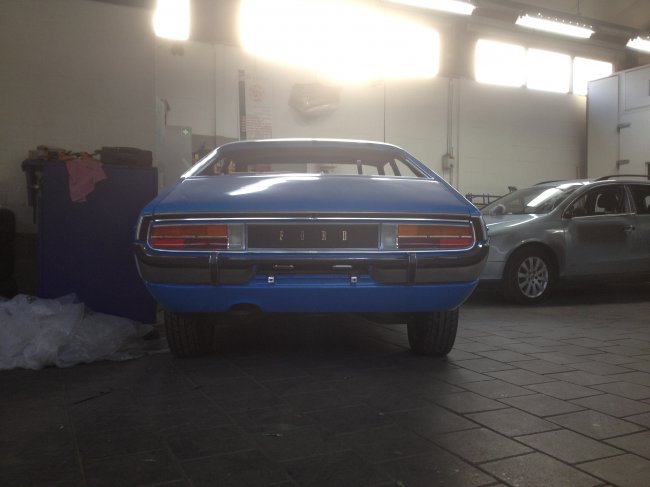 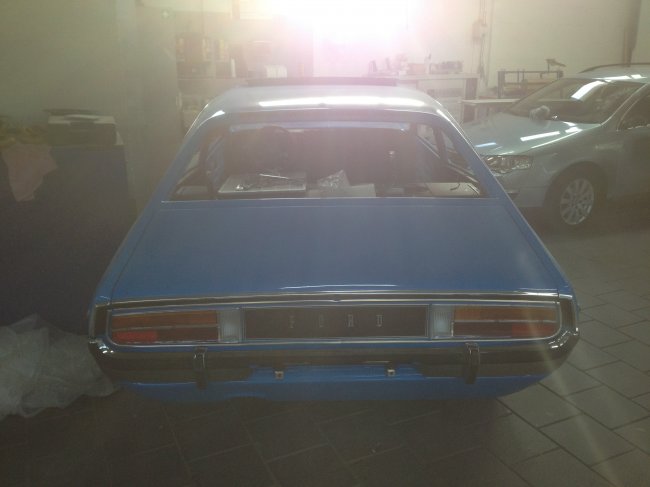 I refurbished a set of Scorpio horns as one of the original horns is not making contact very well any more after a previous repair to a contact point that had broken off. My son helped me put them in! 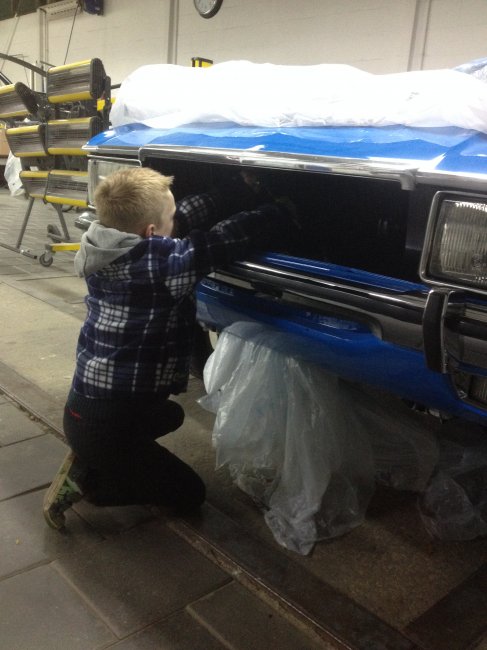 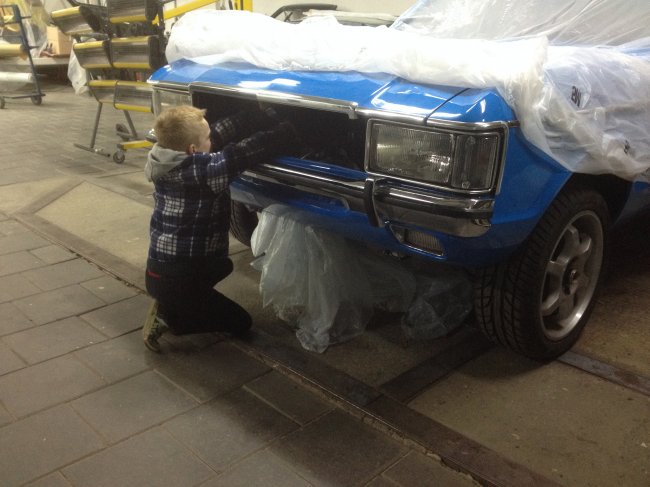 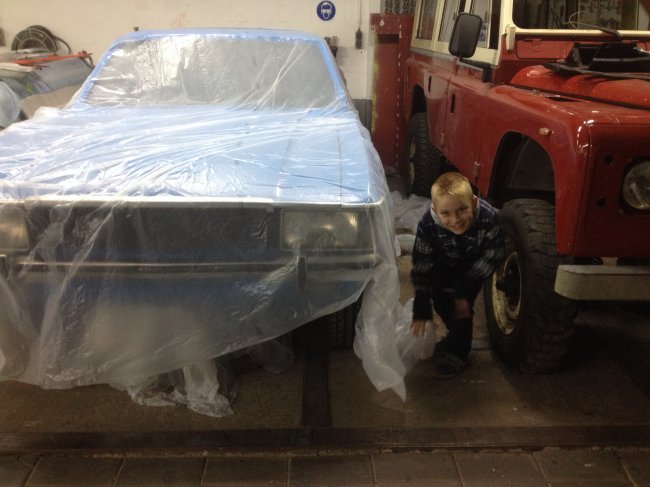 Then I moved on to preparations for the headlining. That meant first of all that a small section of the wiring loom had to be put in as it powers the accessories in the roof and is hidden by the headlining. That was pretty straightforward. But after that I had to mount the new hoses to the drains on the sunroof. Finding the right hoses to actually fit onto those slightly different non-standard fittings was a challenge. I managed to get away with 18mm and 15mm garden hose (one for backyard ponds and the other a regular garden hose). Getting them all to go where they needed to be was one of those simple jobs taking ages. Somehow there’s something in the a-pillar that just has to be passed the right way for the hose to come through. As you can imagine that took some tries. On the driver side this was complicated by the wiring already run through it. To get the hoses to attach I heated them in 85 degree water and stuck in the back end of an assortment of screwdrivers. Upon cooling the hoses had a tendency to remember their new shape long enough to get them on their fittings. Again not easy. But the old ones were damaged from welding etc. so new ones were obligatory. 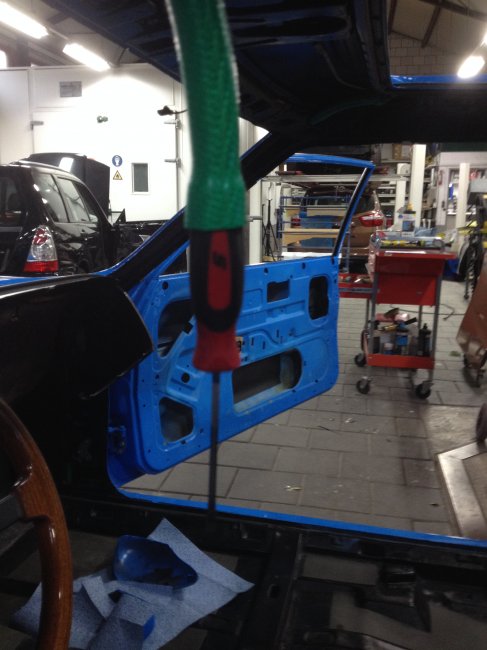 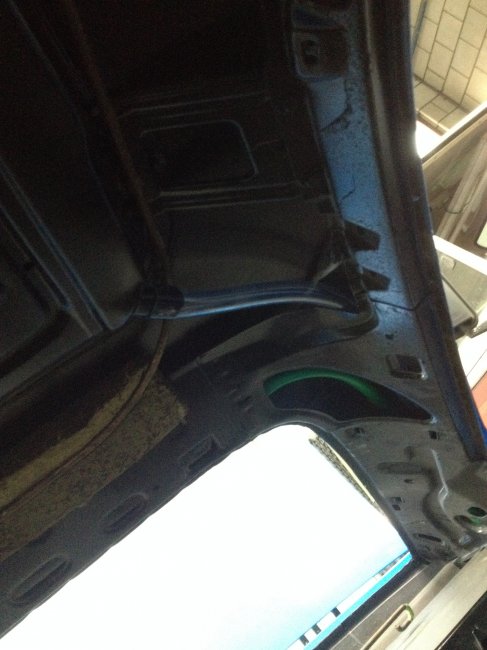 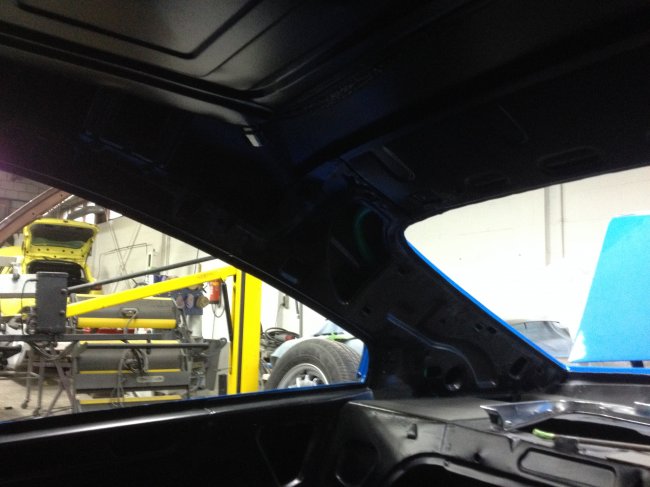 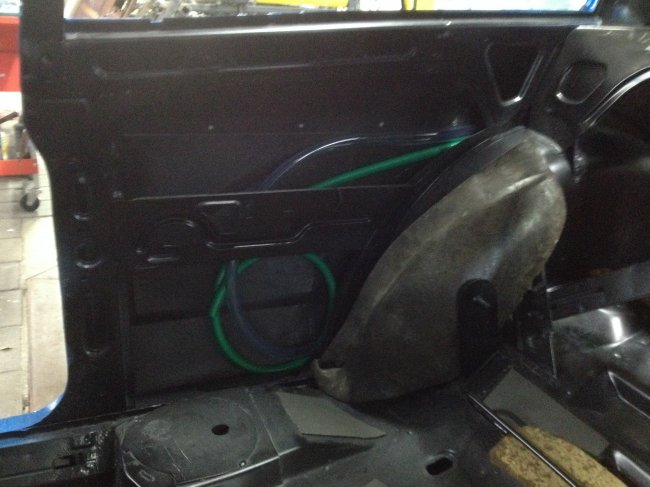 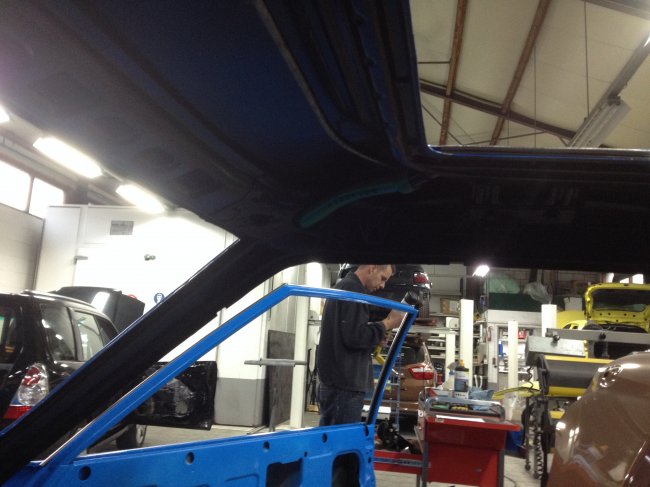 Next up was putting in the rest of the wiring loom for the car front to back. A nice little Saturday morning job. The three big connectors that connect the inside compartment loom with the under bonnet loom were a pain to get seated by myself. But it got done! 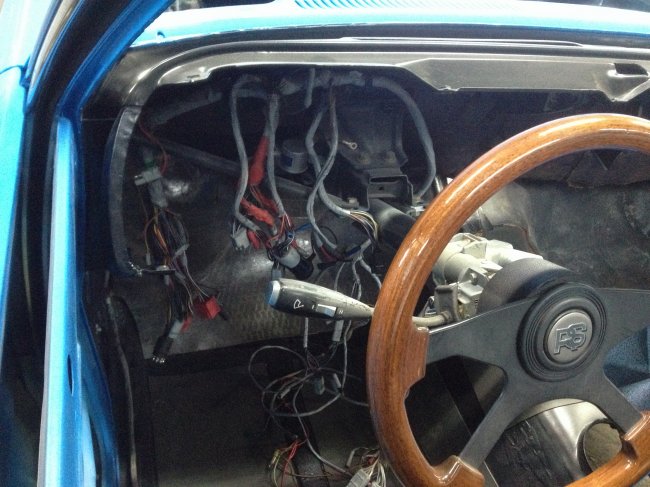 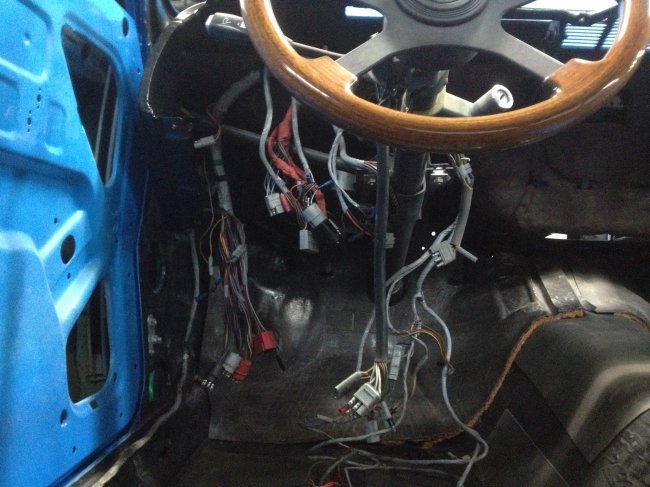 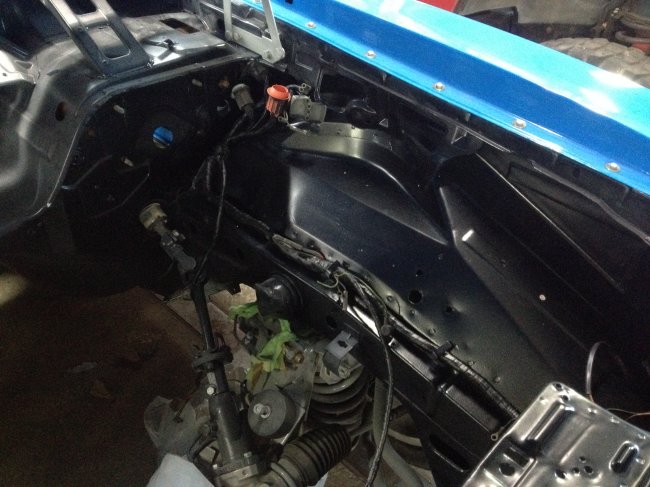 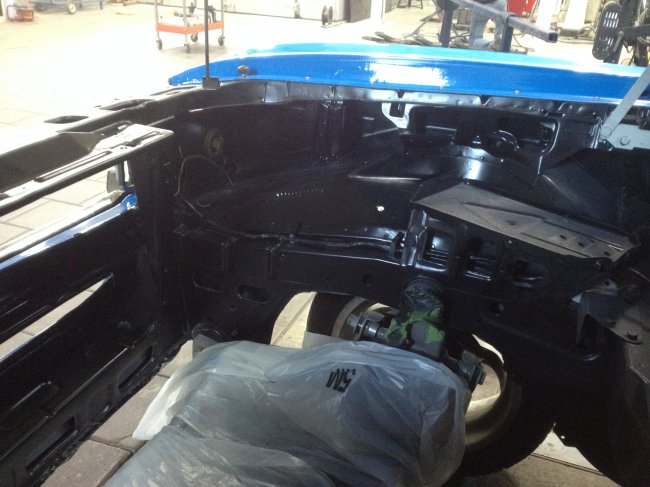 With the hoses fitted, I could go ahead and glue the new roof insulation to the roof just as the original had been. That was not a difficult thing to do, but due to the glue being applied with a brush rather than a paint gun, it was rather slow going. The material absorbed the glue to some extent so applying was slow. However the professional glue with a heat range of up to 90 degrees worked great. And whatever I stuck on, wherever I stuck it, it stayed well stuck! 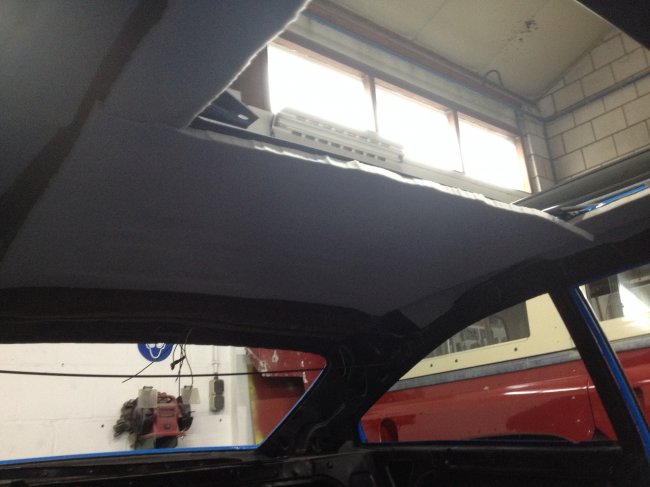 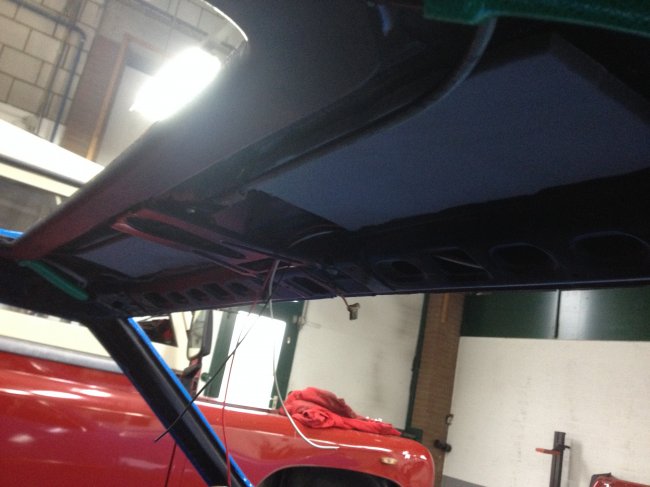 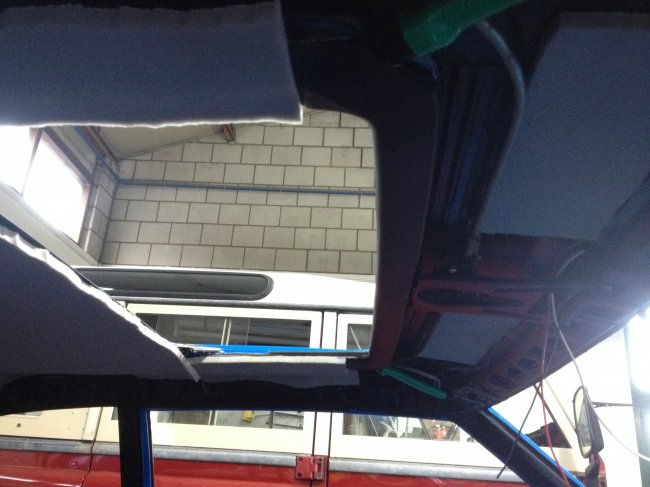 In the mean time I had visited my mother in law and used her sewing machine to sew my headliner pieces together. I started on the easy parts. The sliding roof had its own headlining that had a strip of material sewn in (melted from factory) to wrap around a central support. I recreated that first to get the hang a bit. I then went on to the big pieces. That was a bit more challenging, mainly because of the position of the machine. There was little room to support the pieces being sewn so I had to be patient and keep track of where all material was in relation to the machine. I think I did ok!! Although fitting it would prove if the shape would be good enough. 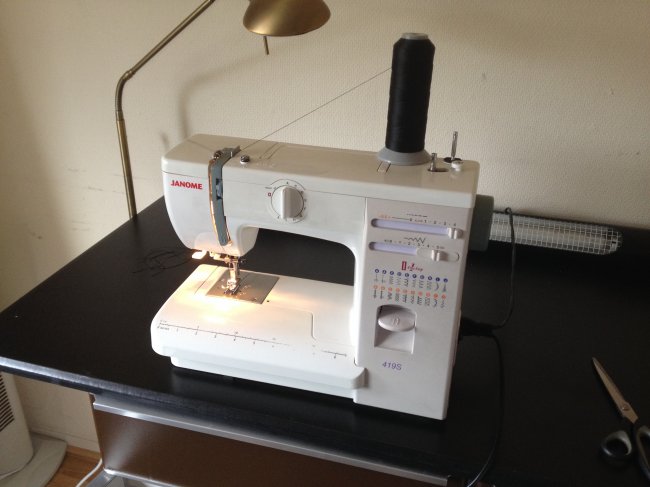 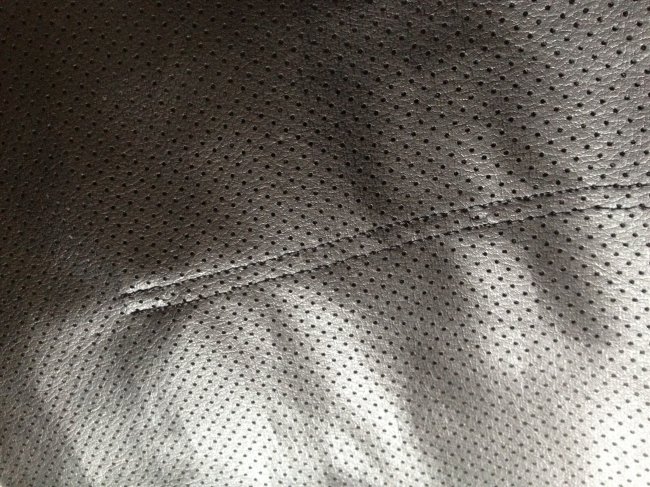 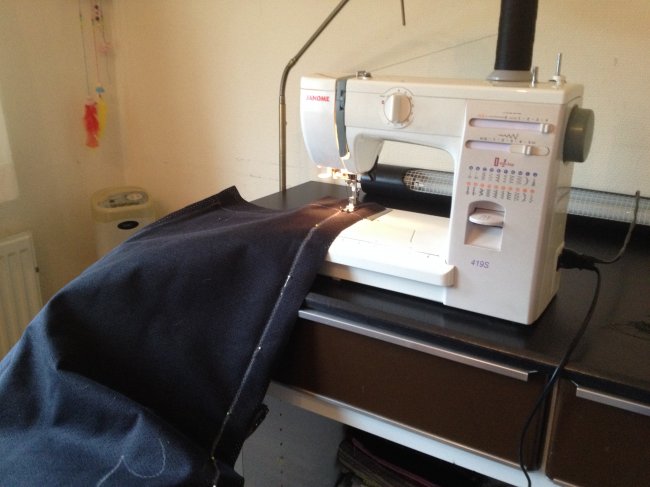 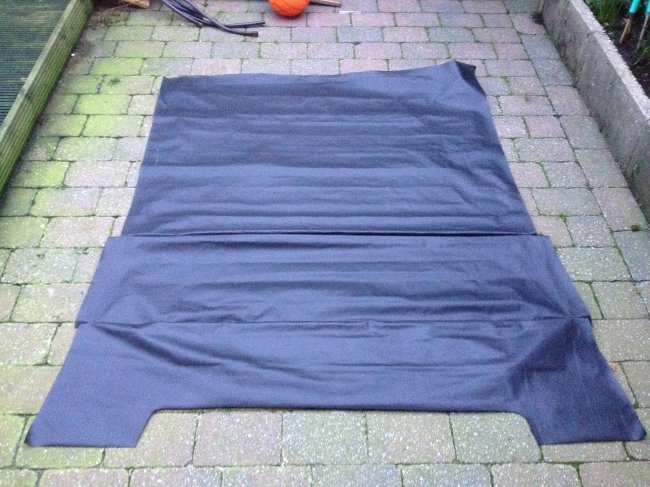 First thing I glued was the sunroof headliner insert. That gave me an opportunity to test out how the glue behaved. I had to learn to be a bit more patient while glueing. That is why the central area of this piece is not as neat as later edges. I had to force myself to look at the clock after applying the glue and waiting at least 7-10 minutes for it to achieve proper characteristics for sticking together well. Abiding by that rule, the glue worked excellent. Although it lacks room for adjustment a bit. There is a fine line between being able to adjust the parts and the glue not yet sticking. So I just made sure I knew exactly where I was going to stick something and also only stuck together a finger width as a starting point. Then from there I usually tensioned and stuck two inches of material at a time, continuing along a preglued body line. 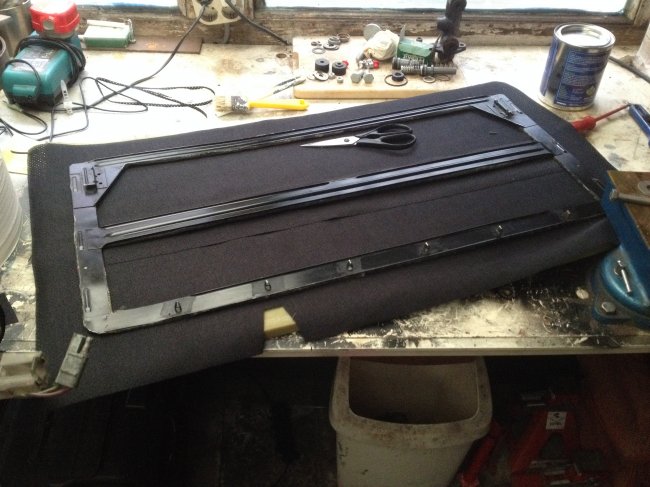 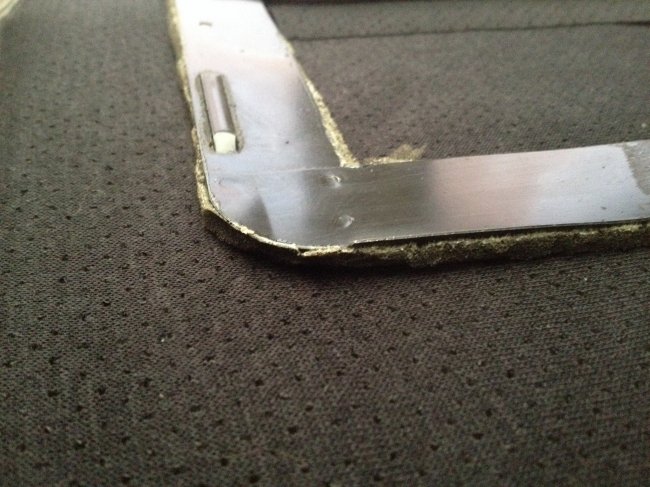 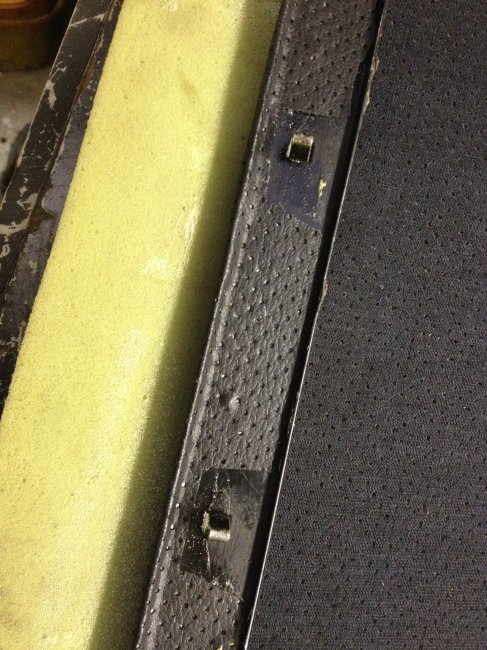 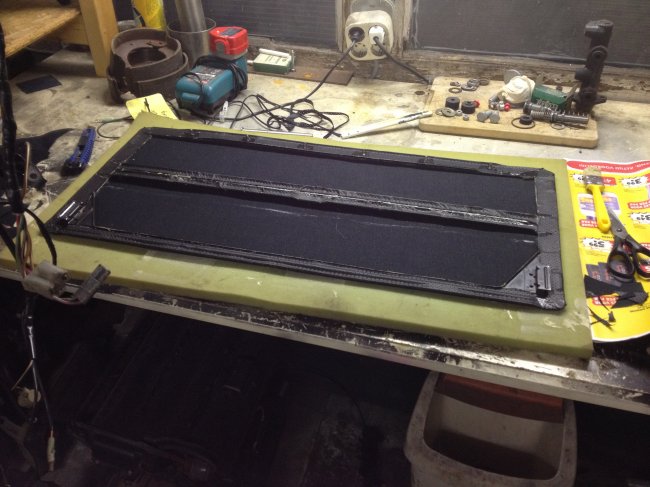 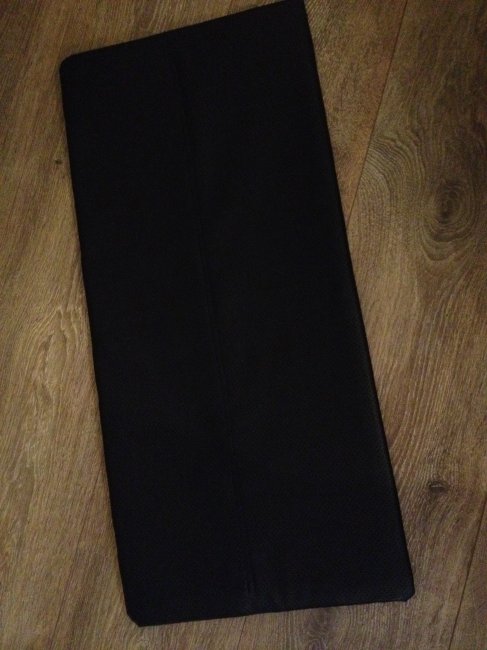 With that done there was no more putting it off, I had to start fitting that damned piece of cloth. I put the bow in, and hung it in place. I had put a center line on the material and the car turned out to have a notch in the frame edges to show center. I lined them up as a starting point for working back to front. The position of the bow posed a question in relation to where from factory some insulation had been, so I swapped for the original once or twice to be sure I had it lined up right. Then I clipped the rear and front with some old not fitting sunroof rubber molding and started tugging and clamping to see how things would work out. I determined that to get to work I just had to glue the center to the car and work from there. At that point it was important to keep tension to the front on and constant at all times. I worked my way to the right rear corner and tensioned and stuck that to the car as well as I could. I repeated on the left. I was not dissatisfied with the results at all, although truth be told, the corners aren’t as tight as I’d have liked. But I decided to finish the rest before going at it with blow dryers or steamers… Even if it would never approve, I’m cool with it as I know I did my best and it simply saved me almost a 1000 euro’s in doing it myself! Then again a scary moment. Because of the sunroof the forward tension had to now be set at the rear edge of the sunroof. Otherwise there would be no way of knowing if the tension to the front would remain the same when finishing the sunroof opening. And once the sides are stuck, you can’t play with forward tension much anymore. So I took a pair of scissors to my new headlining and cut a huge opening. My approach seemed to work well as the tension on the middle section both toward the front and the sides proved tweakable enough to get it tight in both directions. Working my way forward I clamped and glued each section at a time, taking care to not overtighten/stretch the material causing new creases. I was very happy when I negotiated the b-pillars and a-pillars with the fabric getting to the last edge to glue. 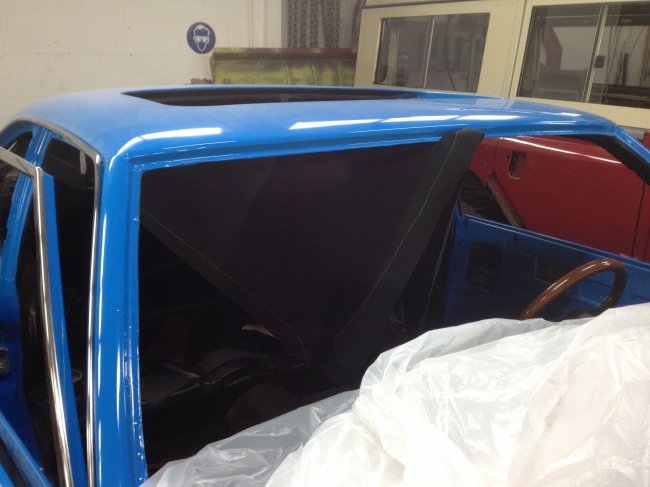 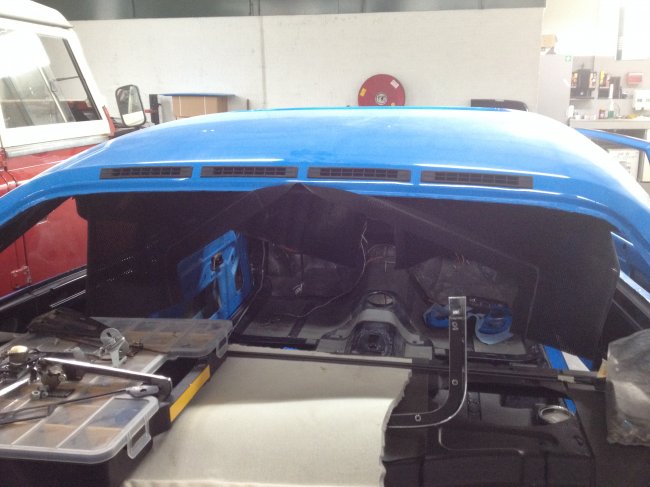 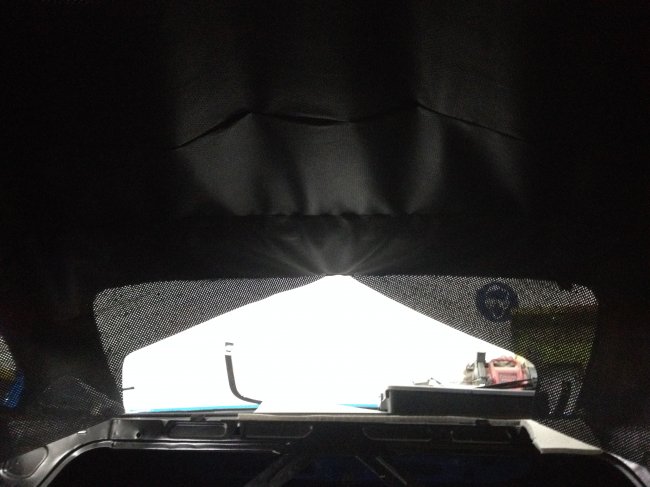 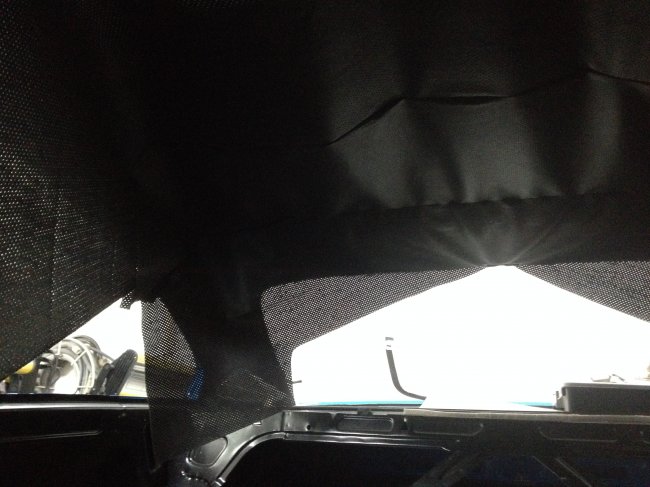 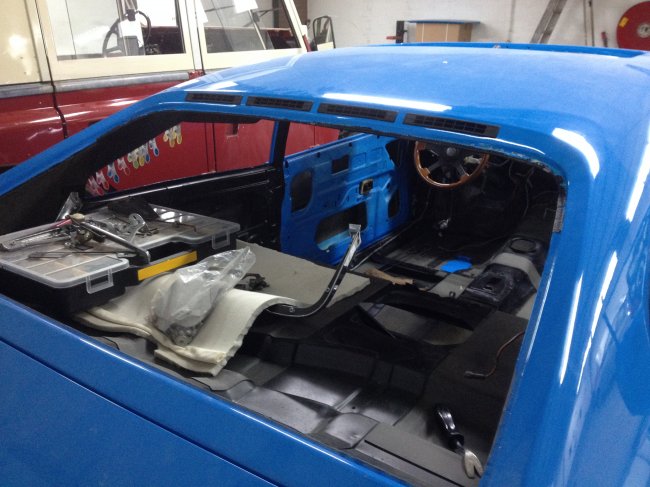 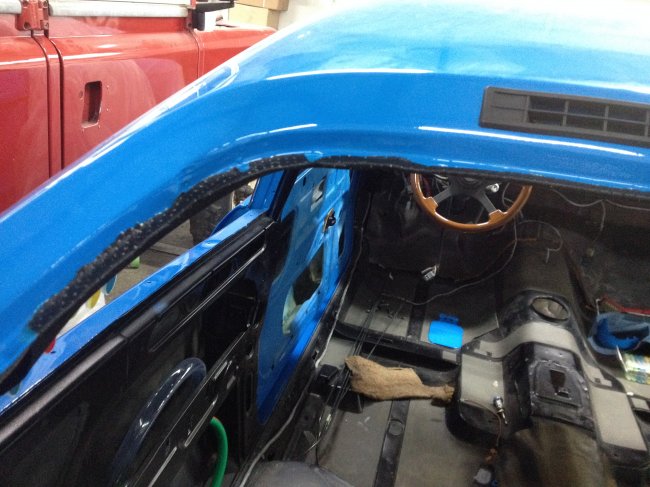 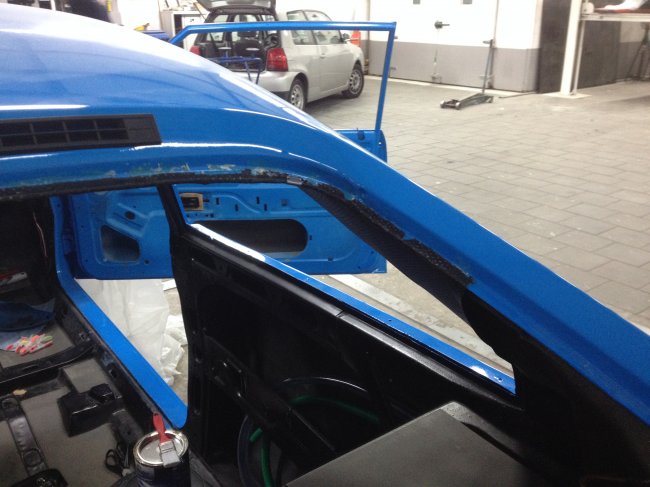 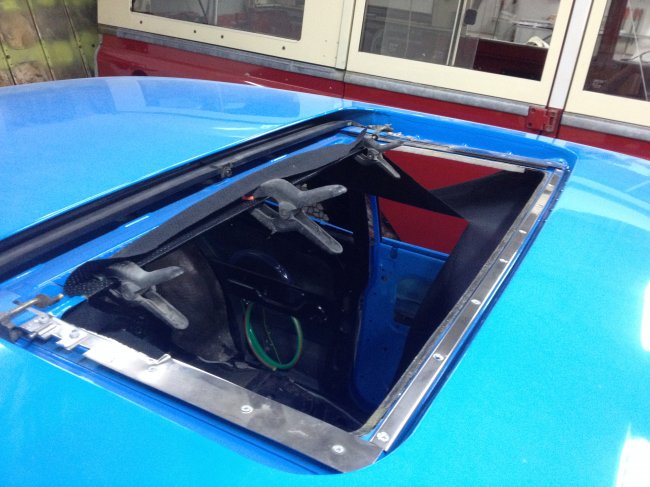 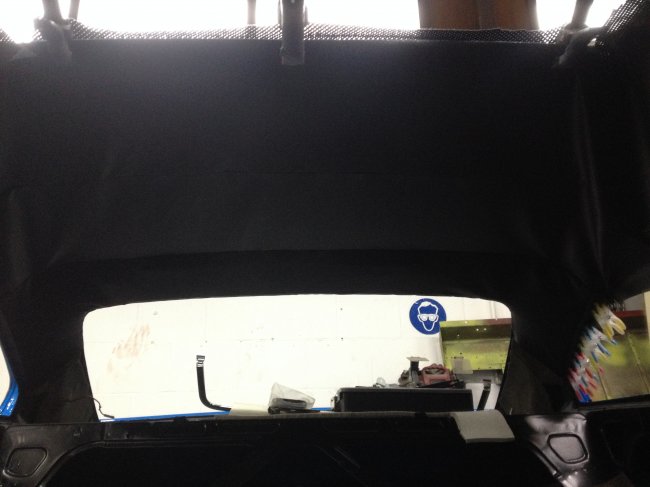 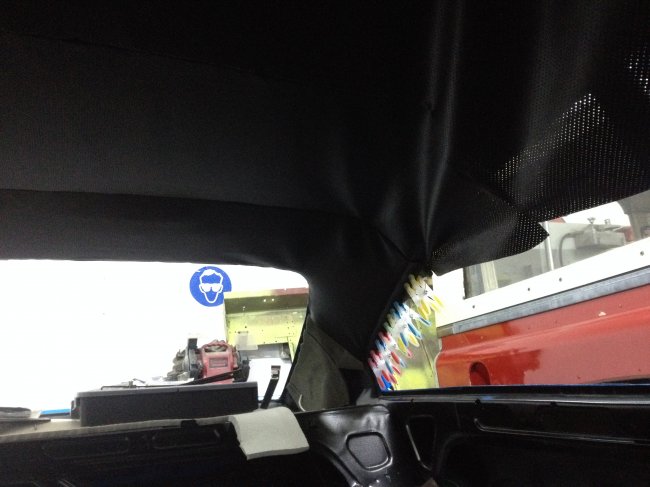 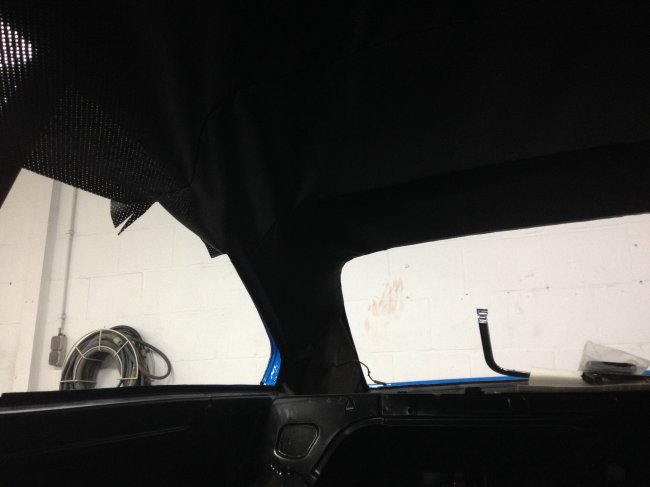 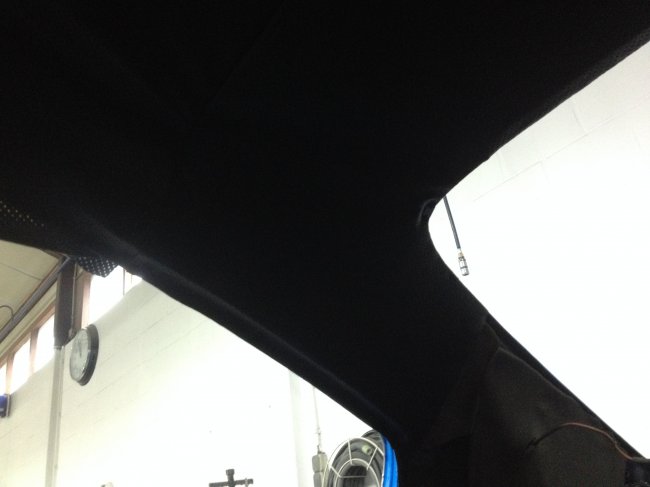 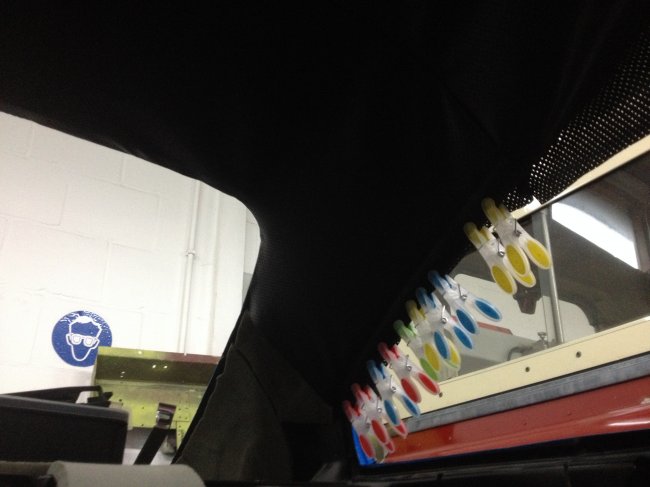 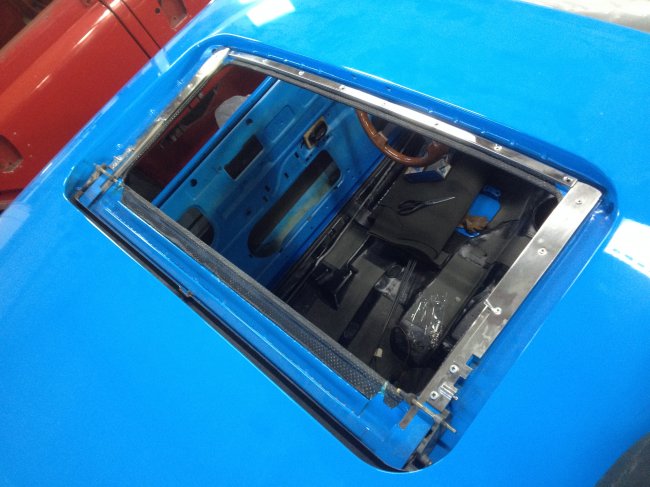 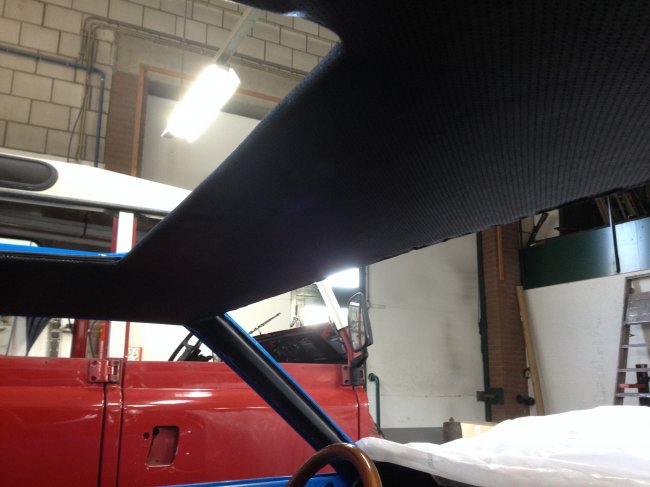 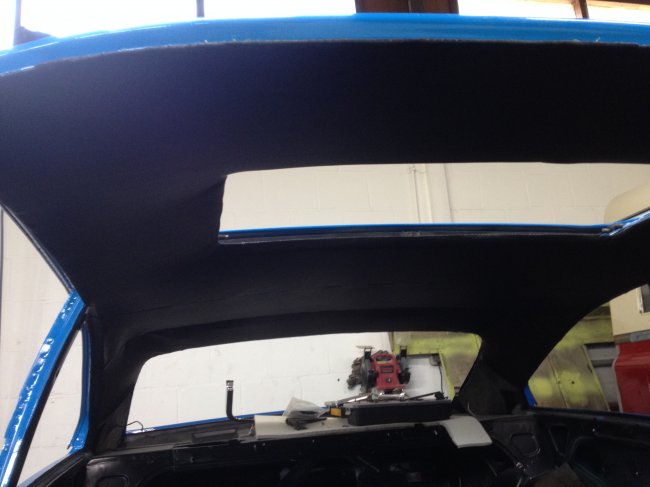 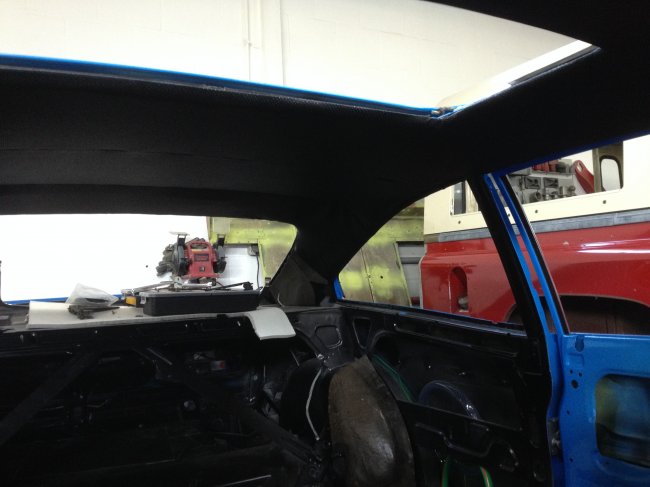 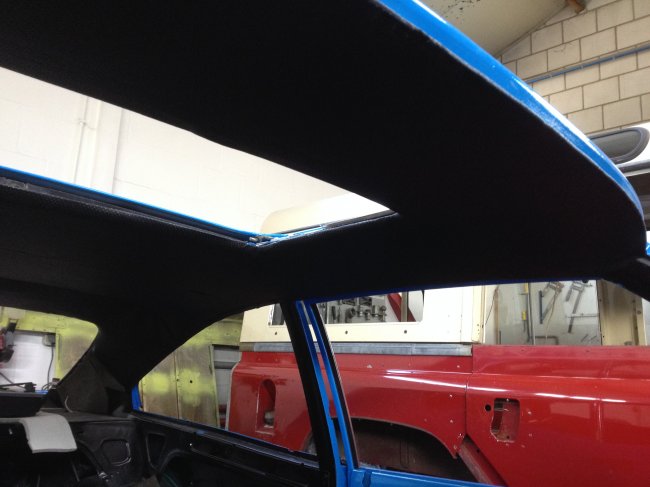 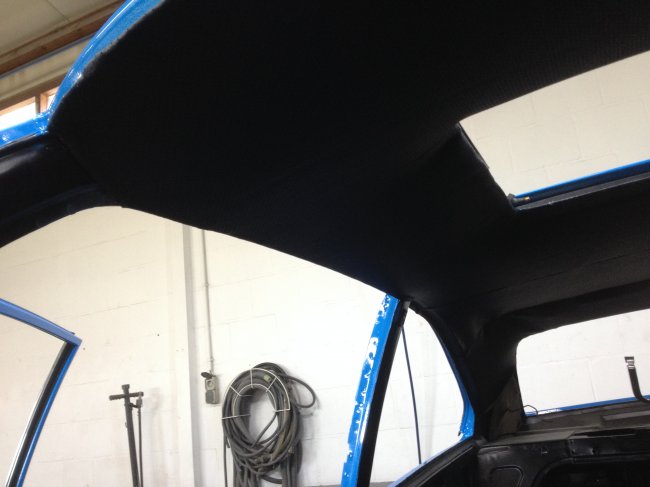 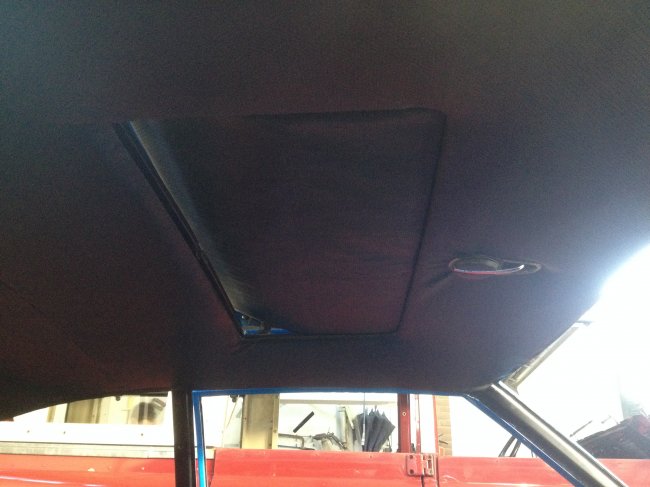 With the headlining done, I’m quite proud of the result!! I need to take DSLR pictures of it though, cause the phone is just not up to doing a decent job. In the pictures the area around the sunroof winder is creased, but in reality it is not anymore. Just needed to open up the material a little more. Point in case: once you go too far you’ve got a problem so I cut it a bit at a time. After finishing the headlining I thought I’d quickly put in the sunroof itself. That turned out to be a deception. I had had it fitted before and it worked great even with the new rubber. Now however it just didn’t want to work. After 3 hours of tweaking the winder suddenly went frictionless and I thought and exclaimed “oh f..k”. I had visions of the cable snapped or pulled out of the mechanism. Some careful examining of the situation proved that the cable was still moving, only the wide brace that moves the sunroof wasn’t. I was really lucky here that I could wind the cable forward to just before the roof line and slide the brace forward as well after removing the tabs that help it raise. I was pretty miffed about what I found. Somehow when prepping for paint the prep guy had remove the roof panel and probably a bit too much. In putting that back he had put the screws through from the top with the cable attachment plate below. It was deigned to be on top however otherwise it wouldn’t be clamped below the screws. And that was essentially what happened, the screws held the plate in place for a while until tension grew and the plate slide of the screws. An easy fix: put the plate on top, and put the srews actually through it and it worked a lot better. So next morning I again fitted the roof and its lining. The new rubber needs to set somewhat so operation isn’t yet super smooth, but at least it’ll be alright and something I can address later on if need be. 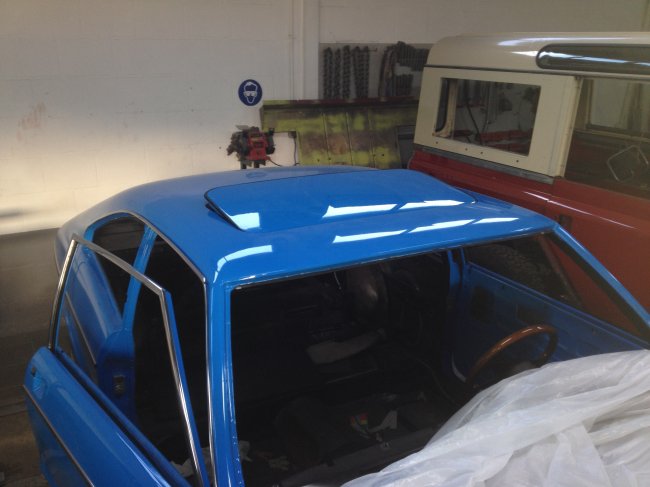 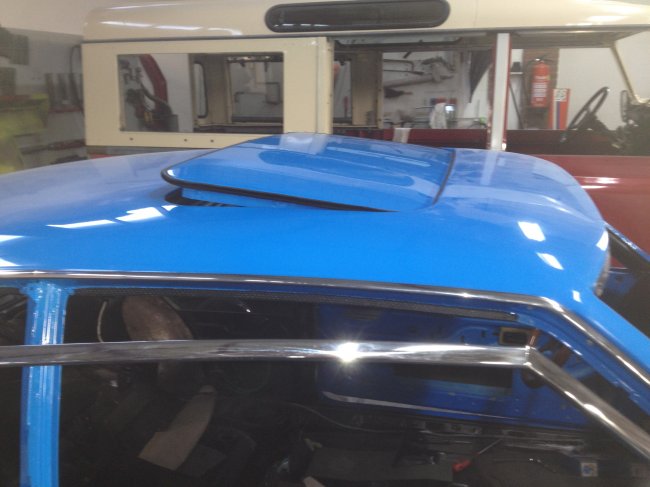 Now the road is open to fitting the rubbers and glass. That will pull the headlining somewhat tighter still in areas such as the door openings and possibly the front and rear window openings. I just hope the moldings won’t damage my headliner. So fitting is going to be a delicate job. When not working on the actual car I dug out the Cosworth V6 and figured out the correct routing for coolant and vaccum in order to build a rig to test the engine on. I also added the BOB original gearbox to the engine again. This time with the help of my daughter. And that is where I am now. Ready to fit the glass and build the doors up. I just need to remember to drill access holes for the 16 wire cable I need to get all things in the door operating. Hope you enjoyed. See you next installment! |
| |
|
|


