kevfromwales
Posted a lot
 the conrod's REALLY out the block now!
Posts: 3,909
|
|
May 20, 2013 13:40:08 GMT
|
yeah, we bust a few disks doing the bulkhead cuts, one went into my face, but thankfully matt had insisted I wear safety specs - tbh I've known people cut across their wrists when using grinders without guards, and the heat of the disc actually cauterised the slice  me and matt are fully approved idiots, do as we say, not as we do  |
| |
Almost on the road: b11 sunny breadvan, e36 tds, 325i skidcar,
nearly there: ford f250 tathauler, suzuki alto, u11 bluey
not for a while: ford pop, 32 rails,
not in this lifetime: ruby, '29 hillman
''unfortanatly I'm quite old and scruffy and in need of some loving. my drive shaft needs a new boot....''
|
|
|
|
stealthstylz
Club Retro Rides Member
Posts: 14,840
Club RR Member Number: 174
|
|
May 26, 2013 10:21:53 GMT
|
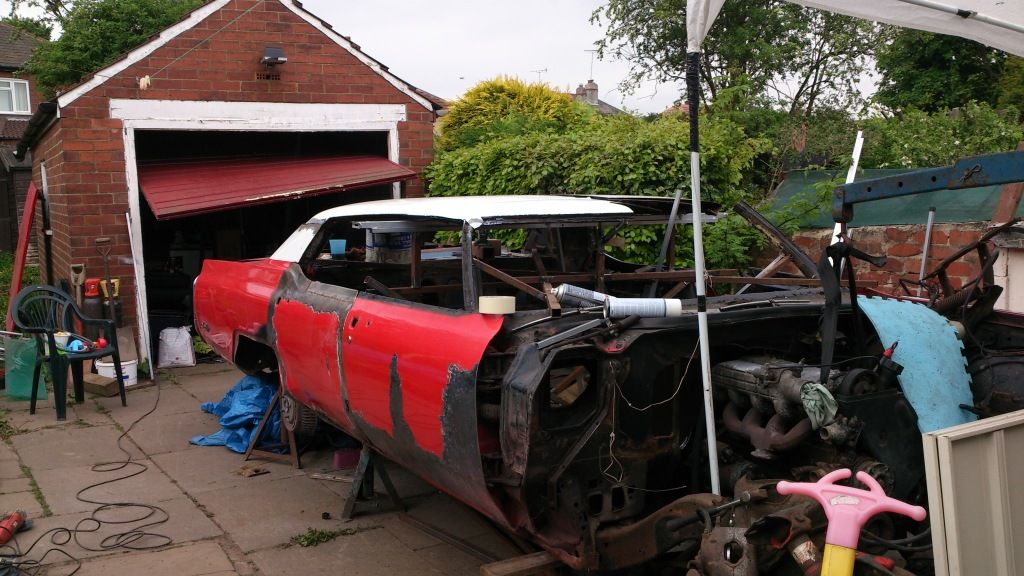
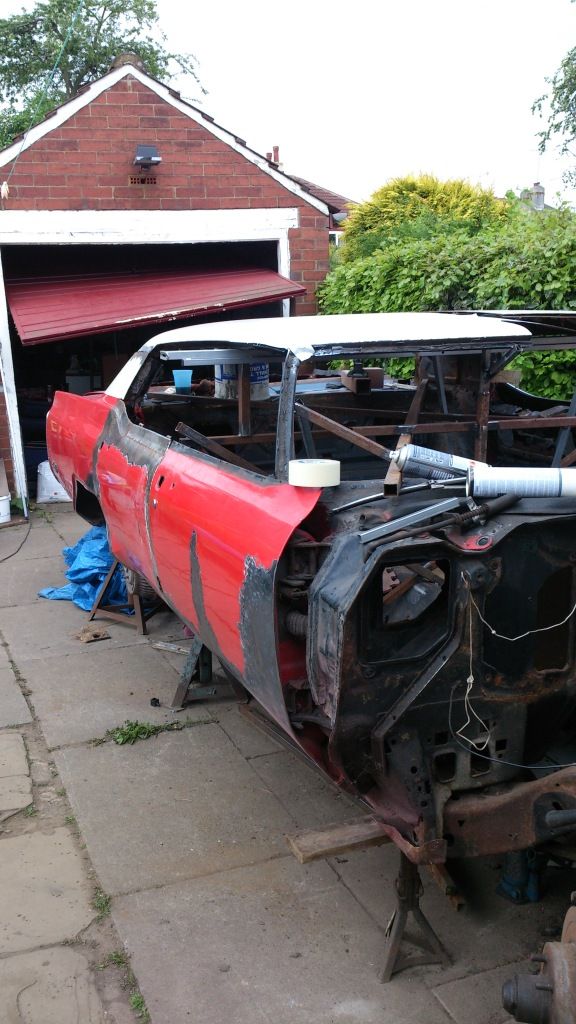
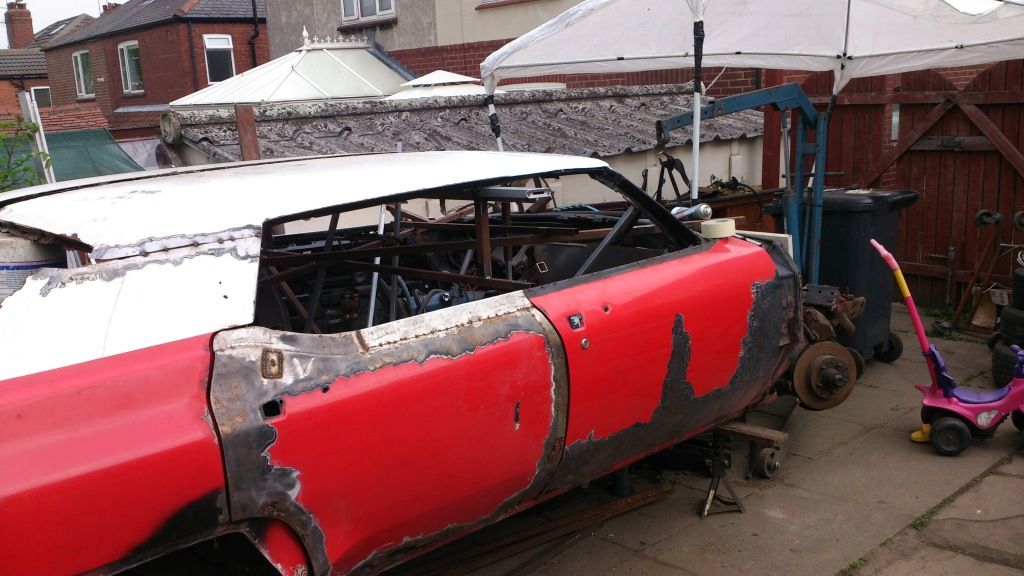
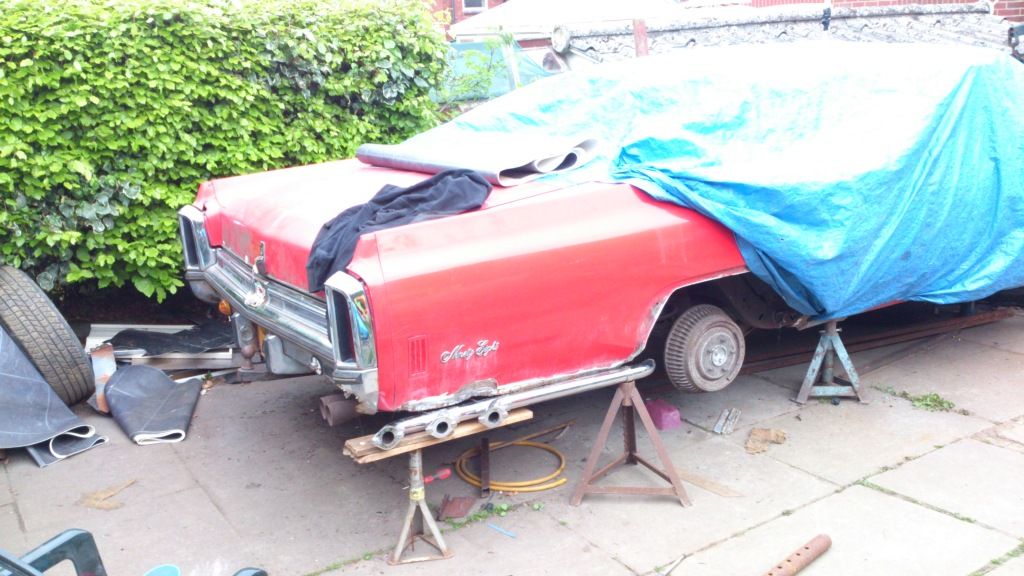
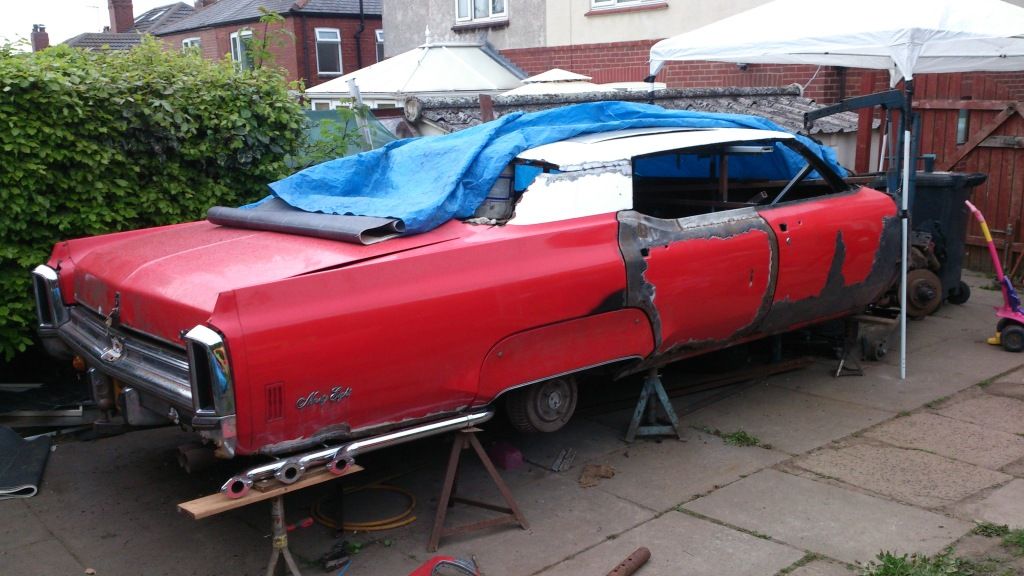
26/05 Before I start - none of us have ever done a roof chop on a curved glass car before. I've done it on a couple of 30s bodied cars, but they're pretty easy as most of the curves arent compound so its relatively easy to take a slice out of the pillars and line them back up. This was a whole different ball game due to the shape of the roof. After numerous photoshops I decided that I wan't to keep the roof the same shape as stock but lower. First job was to remove the windscreen. Unscrewed the chrome trim and popped it off and it cracked the screen lol. Tried getting it out in one piece and it wasn't having any of it so just brayed it out. Now fits nicely in the bin. 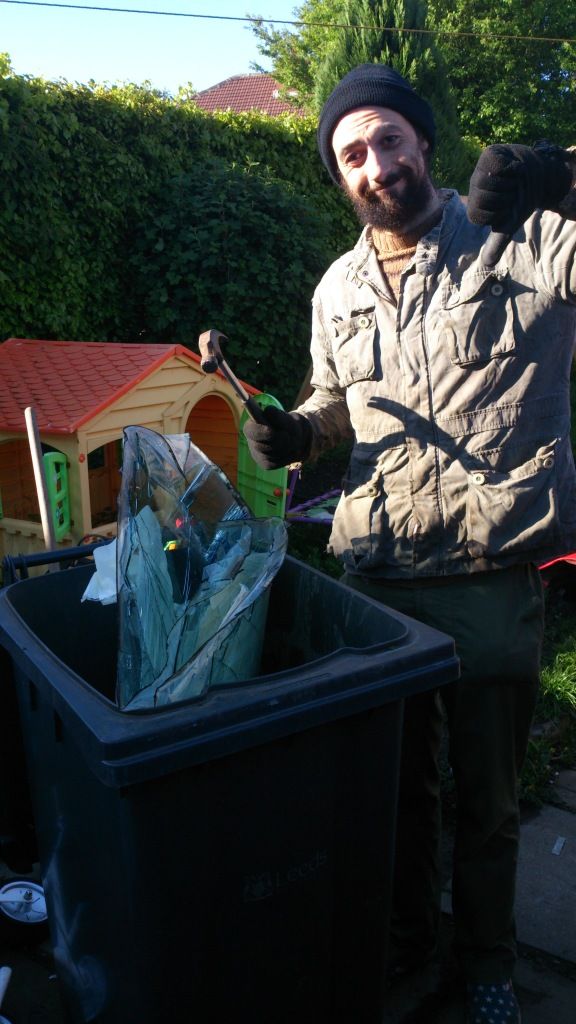 We then welded a large amount of box section in the shell to stop it doing funny things when we lopped the roof off. 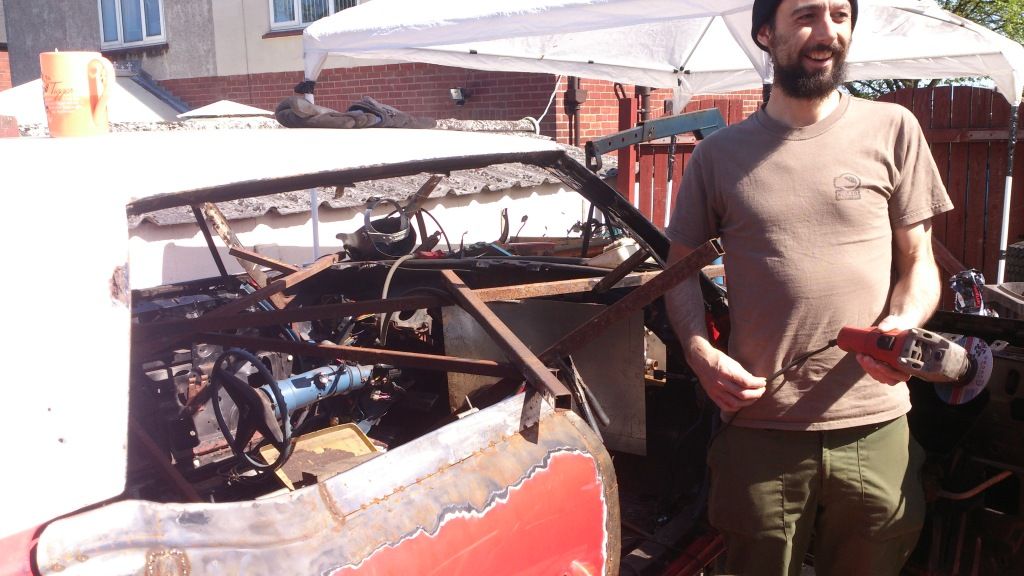 We decided to sort the rear of the roof out first and make the A pillars match. Due to the roof having a large taper on the sides we chopped the roof as close to the A pillars as possible at the front so when we add a section back in it won't have a noticeable flat section. We then got on with chopping through the roof pillars. 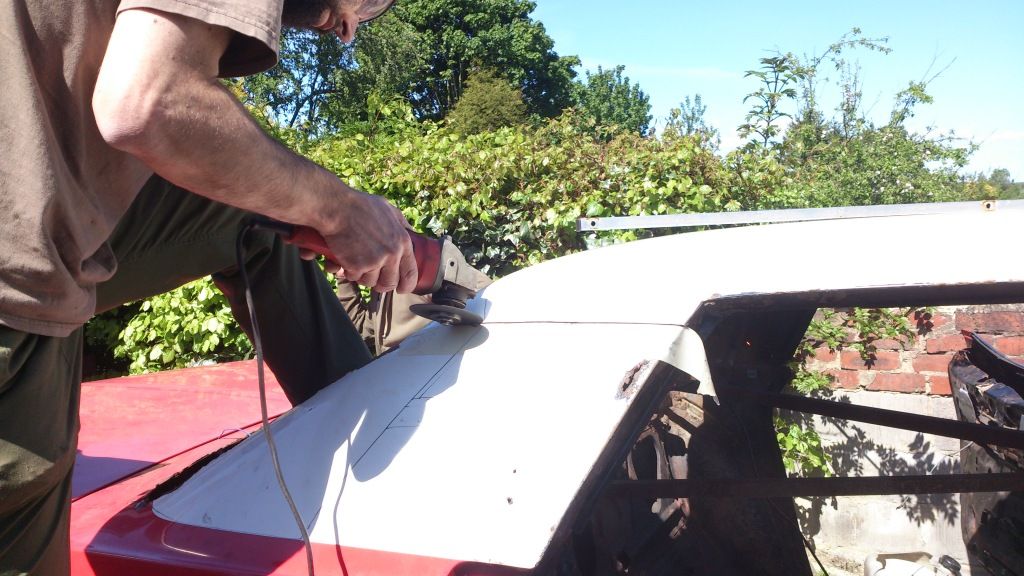 Pretty soon we had a convertible. 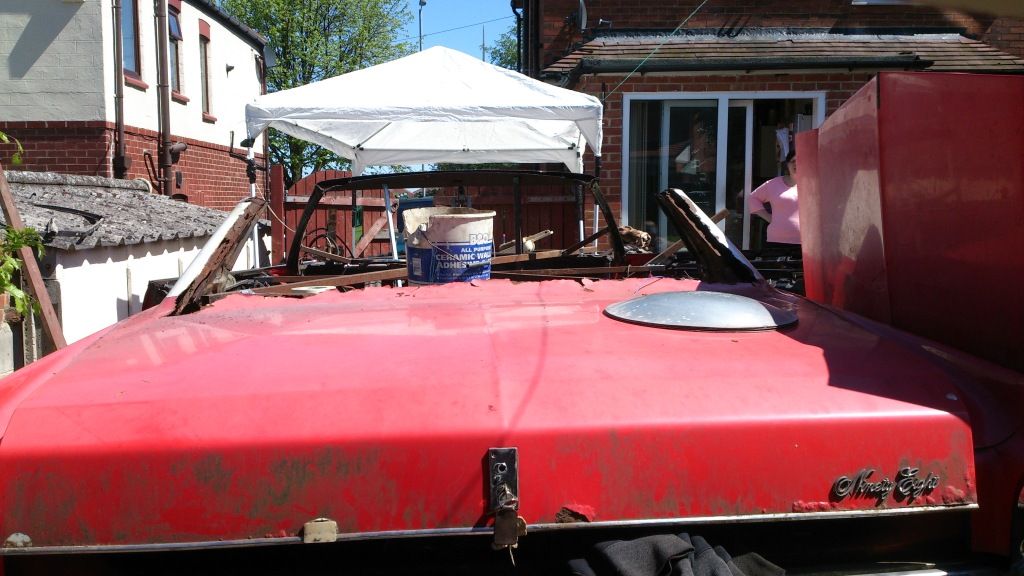 And then we removed 4" from each pillar as I only had 2" masking tape, then after a bit of trimming off the inner roof skin plonked the roof back on for a look. 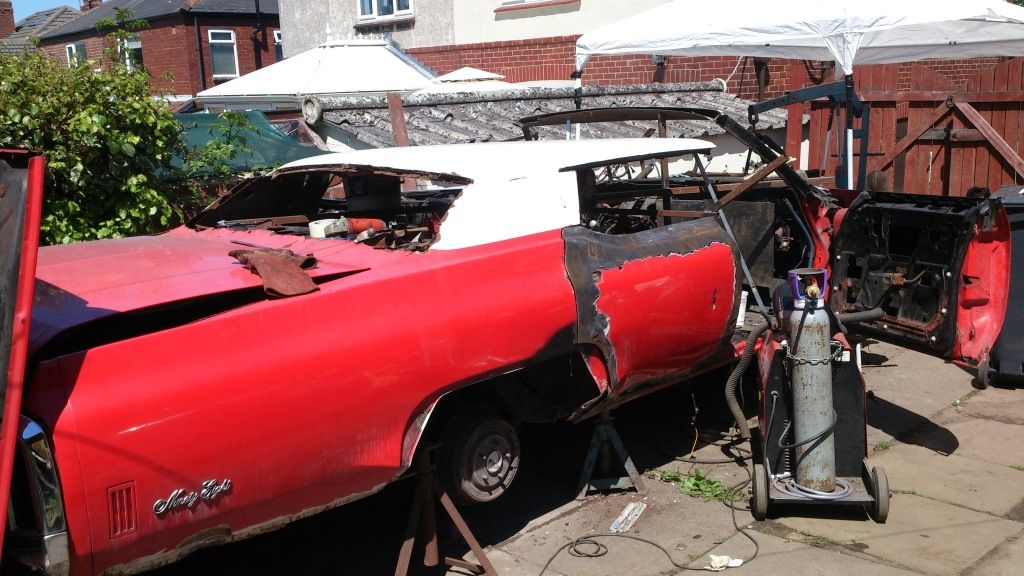 Then Kev had a sit in it to check space. Bare in mind he's sat on a piece of wood on the floor I think its pretty much perfect. Original plan was 6" chop but it'd be severely limiting headroom. 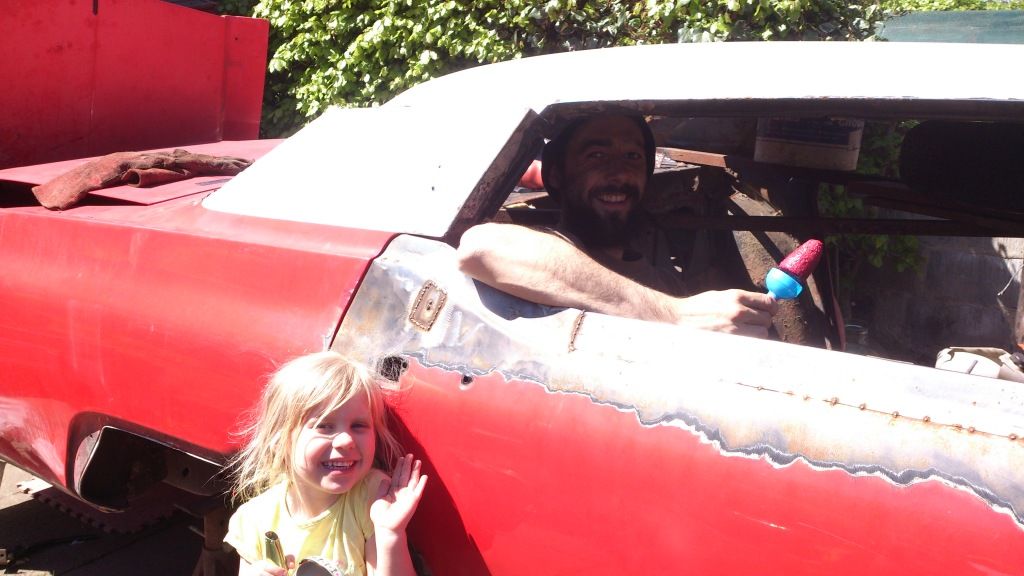 There aren't any photos of the next step, but we basically tacked the O/S C pillar in place with the window line in the right place. We then built a frame to support the front of the roof and level it, as the next job was to split the roof down the centre and widen it. You can see in the previous photos that the C pillars no longer line up. Took a fair bit of measuring and faffing to get it all lined up, but eventually we got the other C pillar tacked on and it all tacked together with box section to keep it level. After a bit of measuring it was found that it's within 3mm of square, that'll do for me, probably was no better than that before we chopped it. 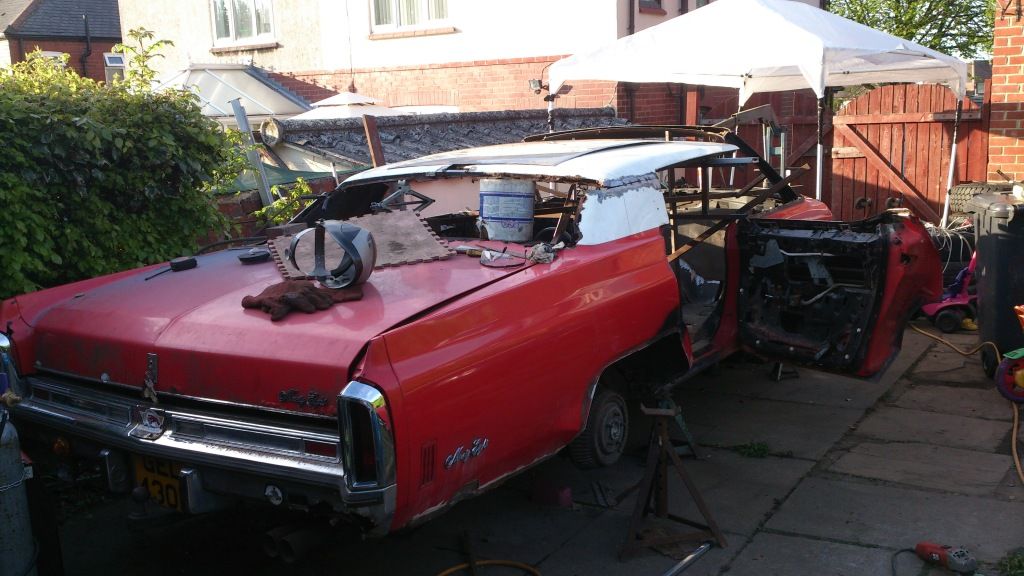 I think we're all absolutely chuffed with how it's come out, it looks just the right height in the metal and we don't seem to have many any glaring errors so far. 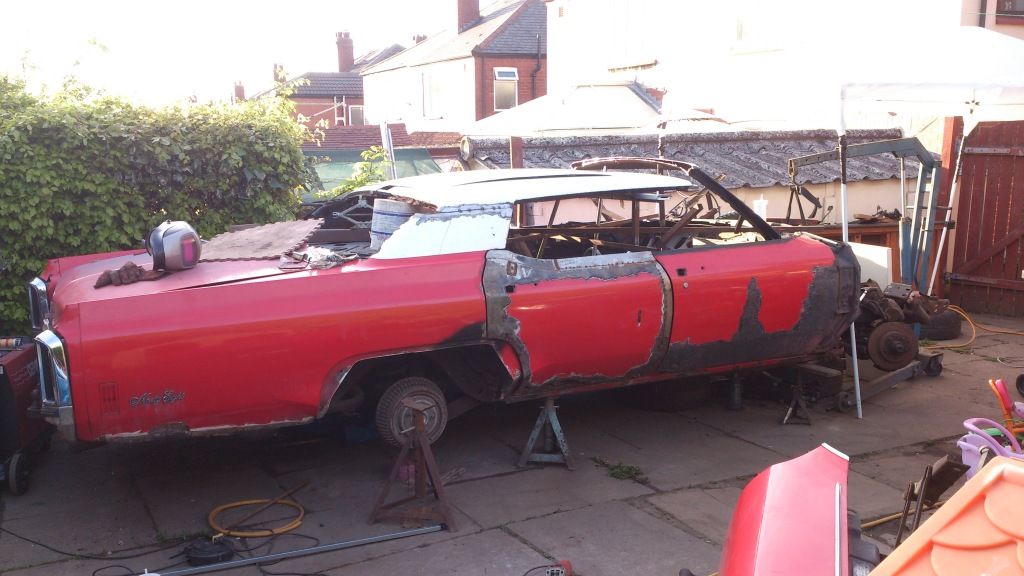 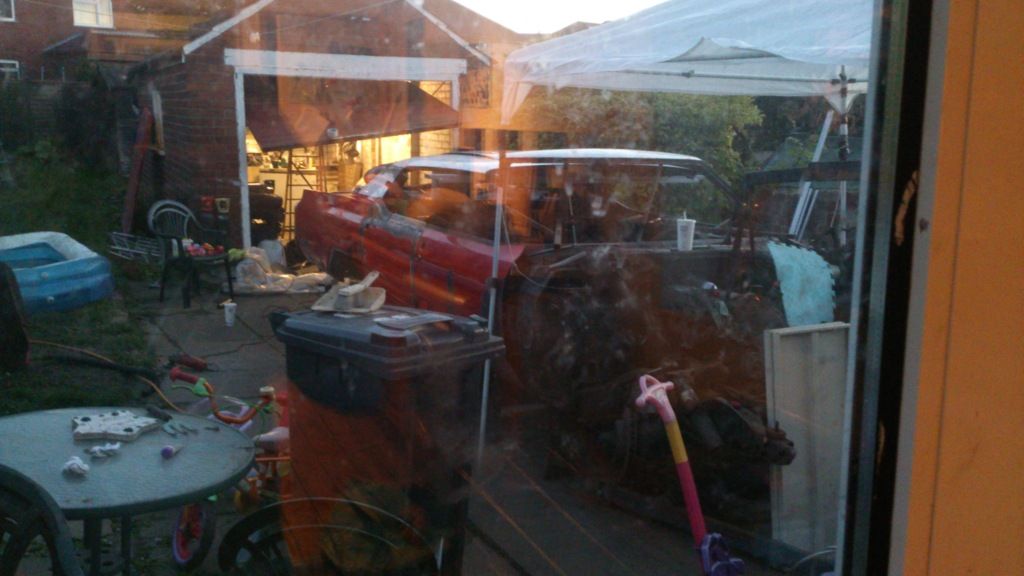 Gonna try and get the A pillars done today, then it's a case of filling the gaps and welding some strength back into it as the whole roof is double skinned. |
| |
|
|
|
|
|
May 26, 2013 10:40:21 GMT
|
|
mad as a box off frogs, love it.
|
| |
|
|
|
|
|
May 26, 2013 10:53:02 GMT
|
didnt know youd invited mick fleetwood  good stuff - good job you checked if kev fit in the back tho  |
| |
2001 HONDA CT110 (NOT RCV)
|
|
Joe T
Part of things
Posts: 711
|
|
May 26, 2013 11:25:04 GMT
|
|
Starting to really look good!
|
| |
|
|
|
|
|
May 26, 2013 12:17:06 GMT
|
fair comment though, your hands do tend to "walk" towards the business end with the vibration and pressure you apply. biggest benefit of a guard is when the disk bites and shatters everywhere (only had that twice thankfully), the guard tends to channel the bits away from you Had a disc shatter years ago and it was the guard that caused it, guard was tight when i started, vibration slackened it off, stopped the disc dead, grinder was kicked out of my hand, could hear bits of disc landing on the car/driveway 10 seconds later, now use them guardless (though still would'nt recommend it), buy good discs, change it when it looks like it's starting to break up, go easy with the cut, don't force it, let the grinder do the work. Great work on the Olds  , was'nt sure about the roof chop but love it now, is the Iveco gearbox manual ?, if so what are you using for a clutch pedal ? |
| |
72 Pontiac Firebird Formula 400. 95 BMW E34 525i Manual. 80 Lotus Elite, sold  86 Mk4 Escort RWD V8, sold |
|
|
|
|
May 26, 2013 14:12:28 GMT
|
|
Just found this project and bookmarked it! Love the engine-solution an the low-budget plan at all.
cheers, wrecksforever
|
| |
|
|
|
|
|
May 26, 2013 14:25:24 GMT
|
That's absolutely mental! I haven't read the whole thread yet, but i hope you understand that the sills can't be more than half an inch of the tarmac for the proportions to be anywhere close to good with a chop like that |
| |
|
|
Davenger
Club Retro Rides Member
It's only metal
Posts: 7,272
Club RR Member Number: 140
|
|
May 26, 2013 14:27:25 GMT
|
|
Frinking orsums!
|
| |
|
|
morrisoxide
Part of things
It's just a question of style
Posts: 444
|
|
May 26, 2013 20:56:22 GMT
|
Some more pics of the chop day Very handy B&Q bucket from around 1992 is essential for a roof chop (make sure its melted on one side tho)   Belts and braces  Head scratching moment.  |
| |
|
|
|
|
gt
Part of things
Posts: 136
|
|
May 26, 2013 21:51:18 GMT
|
mental project, but i like it  |
| |
|
|
|
|
|
|
|
|
I suppose with such a rotten shell, a roof chop is not going to be much more work when you have to weld the car back together anyway... plus it looks cool.
|
| |
|
|
stealthstylz
Club Retro Rides Member
Posts: 14,840
Club RR Member Number: 174
|
|
May 27, 2013 14:23:00 GMT
|
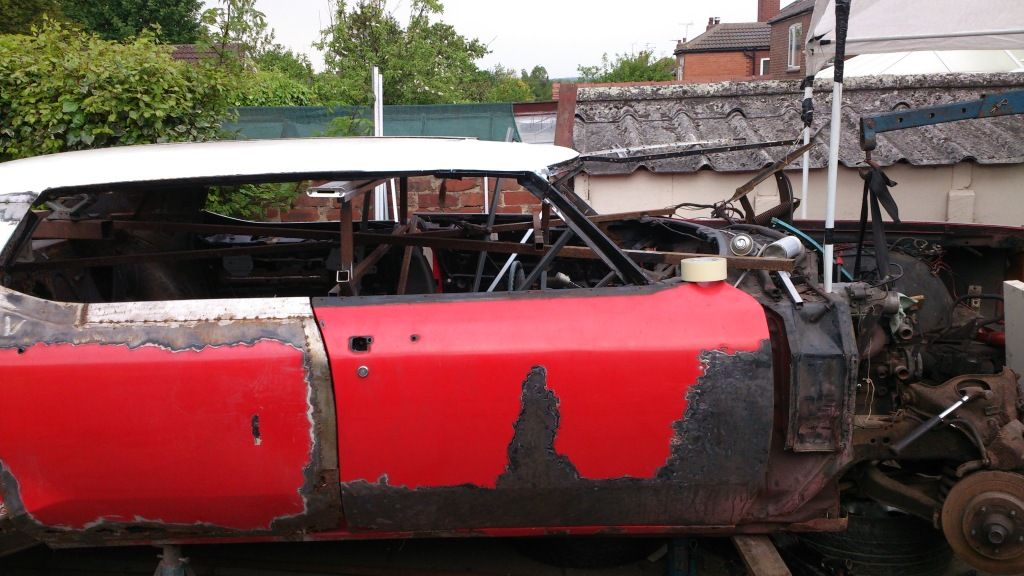
The front edge is taking a lot more time than I thought. I was working on my own so couldn't even hold it in place to get a rough idea. Ended up adding more box section, with ajustable legs to hold the front section in place allowing me to alter the height and the rotation of it. Managed to get it tacked in place in the end, with a 5mm drop towards the screen over the 6" gap, which seems perfect for how the window line runs. 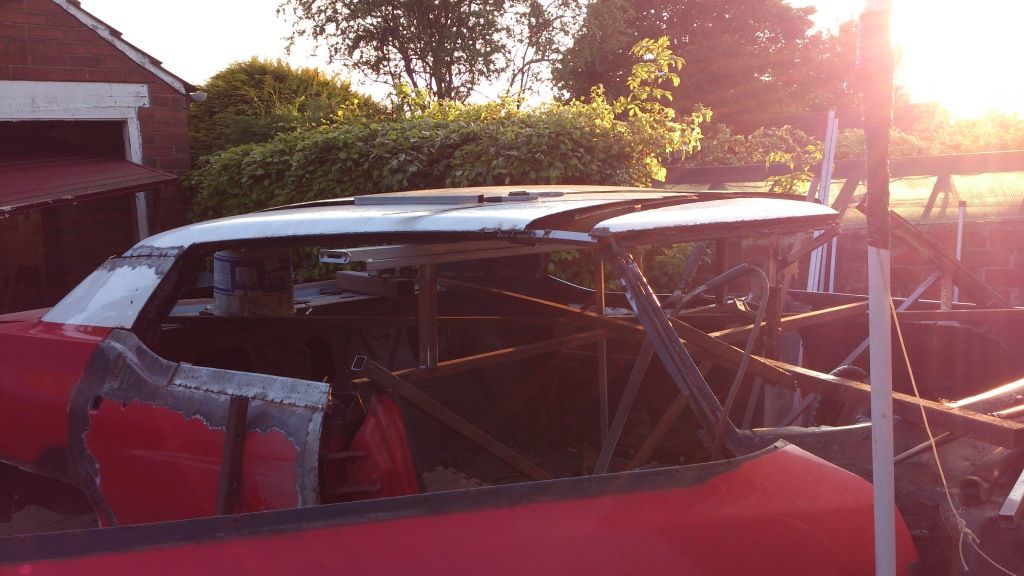 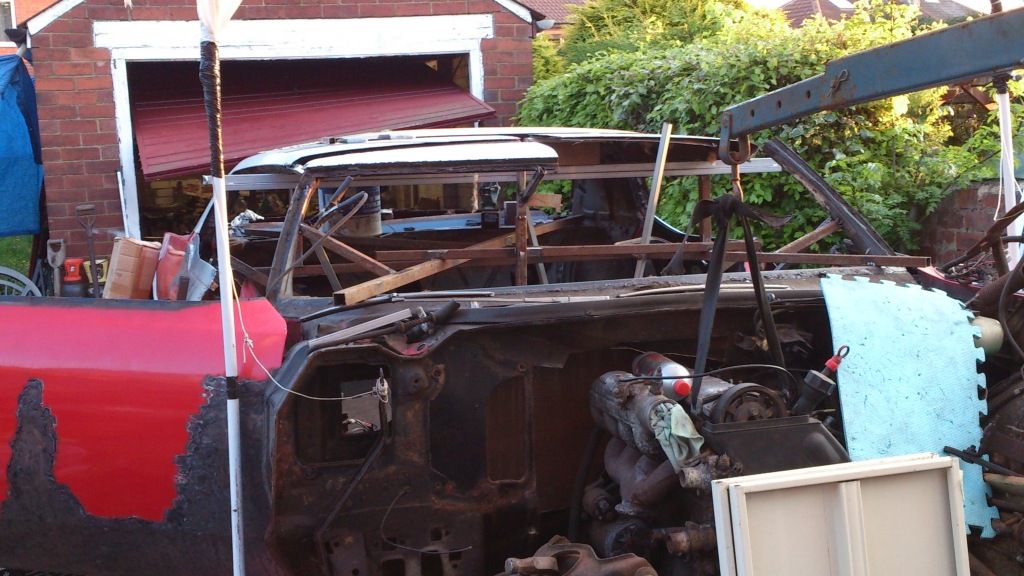 Also popped the roof skin I chopped out of the Proton on and the curvature is perfect. Winner. 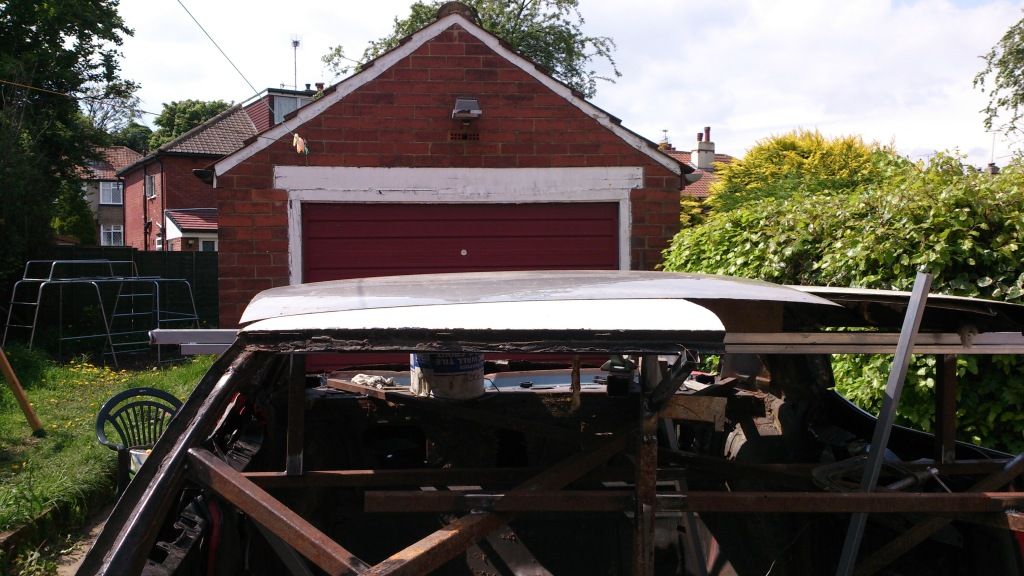 And was messing about with the panning mode in my phone to show how much box section is in it so far. 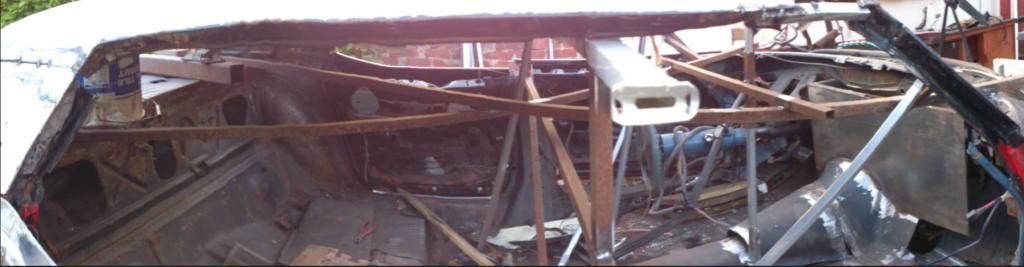 |
| |
|
|
|
|
|
May 27, 2013 14:31:56 GMT
|
Looking good fella, can't wait to see it done. I know your plans are more of a dirty smokey diesel nature... but solid glossy blackness on that when it is done would look mean as hell (maybe you will inspire someone else to do that ). |
| |
|
|
stealthstylz
Club Retro Rides Member
Posts: 14,840
Club RR Member Number: 174
|
|
May 27, 2013 14:57:54 GMT
|
|
I'm thinking there might be some shine in the future paint. Gonna be satin black and flames for now as if I was gonna gloss black it it'd have to be mega straight.
|
| |
|
|
stealthstylz
Club Retro Rides Member
Posts: 14,840
Club RR Member Number: 174
|
|
May 27, 2013 20:15:19 GMT
|
|
|
| |
|
|
morrisoxide
Part of things
It's just a question of style
Posts: 444
|
|
May 27, 2013 20:48:10 GMT
|
Sweet, that chop looks spot on now!! & them lakes pipes look made to measure. I knew they would work on something |
| |
|
|
Mark
Club Retro Rides Member
Posts: 2,097
|
|
|
|
|
This is looking awesome
|
| |
|
|
Siert
Posted a lot
Posts: 1,104
|
|
|
|
|
Great!
|
| |
|
|
|
|
|
|
|
|
Love this! - Can't wait to see some more progress!
|
| |
- '80 Mk1 Vauxhall Cavalier Saloon, 3.0l 12v... in progress with some special plans ahead
- '94 106 Rallye, Endurance Rally Car
|
|
|
|


 , was'nt sure about the roof chop but love it now, is the Iveco gearbox manual ?, if so what are you using for a clutch pedal ?