|
|
|
May 21, 2013 19:36:43 GMT
|
It's the thin stuff I'm having bother with. I either lay a bead on the top with little penetration or I blow it to bits. No happy medium yet. I'm using CO2 at the moment but have a baby bottle of Argon mix to try. And I was looking at the Mig forum last night to get some tips. Adams Gas is next on the list when I get to the big stuff. James Short bursts is the answer. Don't try to lay down a single seam but do lots of short pulses allowing a second or two for cooling in between. |
| |
R.S. Autotech. Servicing/Repairs/Diagnostics.
|
|
|
|
|
|
|
May 21, 2013 19:44:11 GMT
|
|
Actually even this approach on thin panels is a bad idea because they will distort. On a thin panel I will do a couple of tacks then let it cool, then a couple more tacks, then more cooling. It can take a long time to do not a lot of welding, but the end results are worth it.
I guess it comes down to experience. If you haven't had to throw away a panel you've spent all day repairing because its warped to curse word, you'll never really understand how important it is to take your time with it.
|
| |
R.S. Autotech. Servicing/Repairs/Diagnostics.
|
|
|
|
|
|
|
|
another tip is to clamp "something" non ferrous behind the bits being welded. copper bar as per mrBMW, i use flattened length of copper water pipe or lumps of land rover floor panel (aluminium/magnesium alloy) takes some of the heat away, but you can also weld across it without welding to it.
|
| |
|
|
ToolsnTrack
Posted a lot
   Homebrew Raconteur
Posts: 4,128
Club RR Member Number: 134
|
|
May 22, 2013 12:17:16 GMT
|
|
Jesus! I thought i has AW11 issues. This will be a brave resto. Borkmarked!
|
| |
|
|
|
|
|
May 22, 2013 18:33:46 GMT
|
|
I used to own a mk1a identical to this, the reg didn't end in 'MHD' by any chance?!?!?
Good luck with the resto, you are one brave dude!!
|
| |

V6SC mk1 Mr2
Manta 400r

|
|
|
|
|
May 22, 2013 21:19:04 GMT
|
Why do you all keep saying I'm brave!? It's not bravery. It's ignorance. I've no idea if I can fix it. just a theory that I might be able to... Anyway, have you seen the rust buckets other people here are fixing? You can still stick a magnet to my car. (If you are careful where you put it.) Mustachio, no, sorry. Mine ends SPH. As it happens one of its former owners works upstairs. I did have a chat with him about it. It was in better condition when he had it! As for the welding, I put an Argon/CO2 mix on this morning and it seems better. I might just have been lucky though. I'll let you know. First lets catch up a bit more... Back in March 2012... Lets start on the replacement bumper and find out exactly how rubbish I am... Please bear in mind this is the first time I've done any of this. The problem... 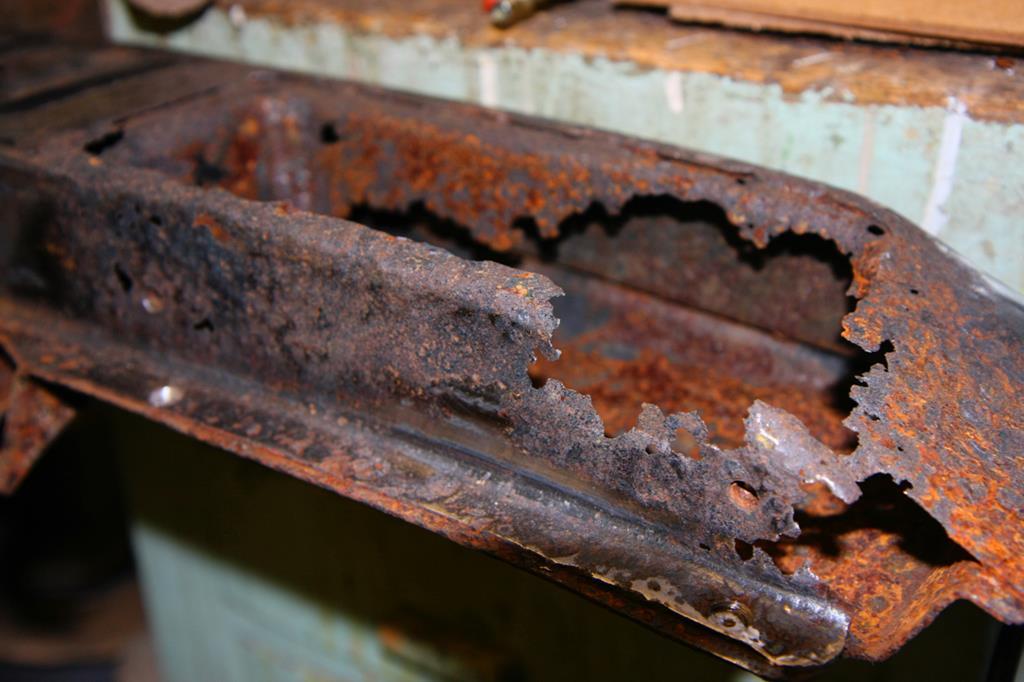 Nothing new to a MK1 owner. First some templates. This one is to mark the height of the metalwork and get the position of bucket that the indicator sits in. 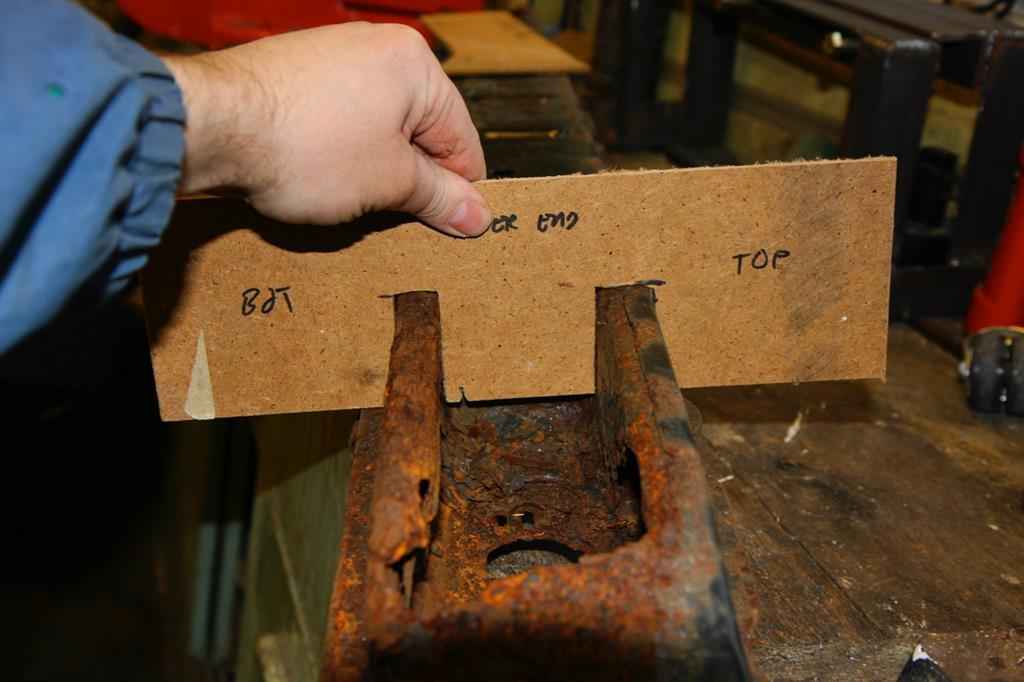 And this one is to get the profile and the left - right position of the bucket. 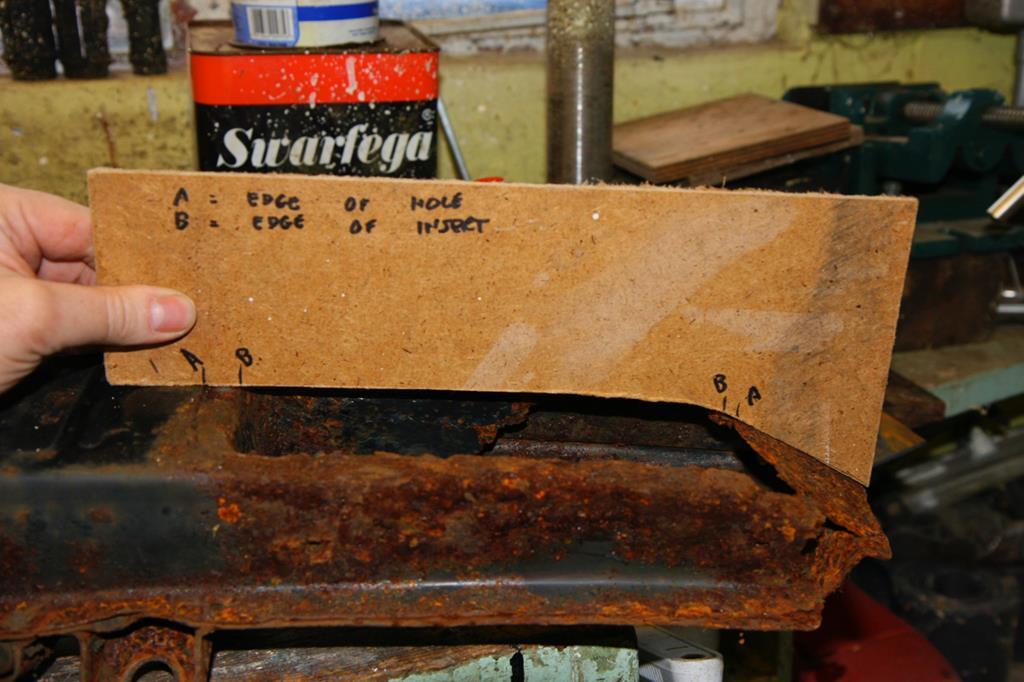 Finally, the seam where the top and bottom join isn't flat, it bends in a long arc. So I made a template for that too. 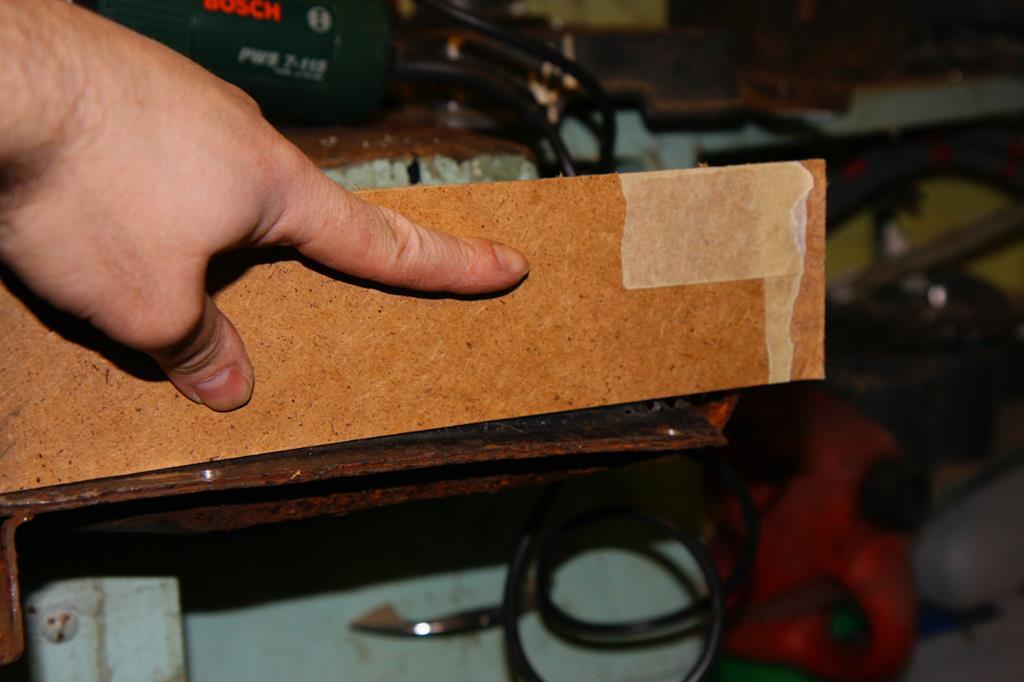 An hour or 2 of hammering gets me this.. 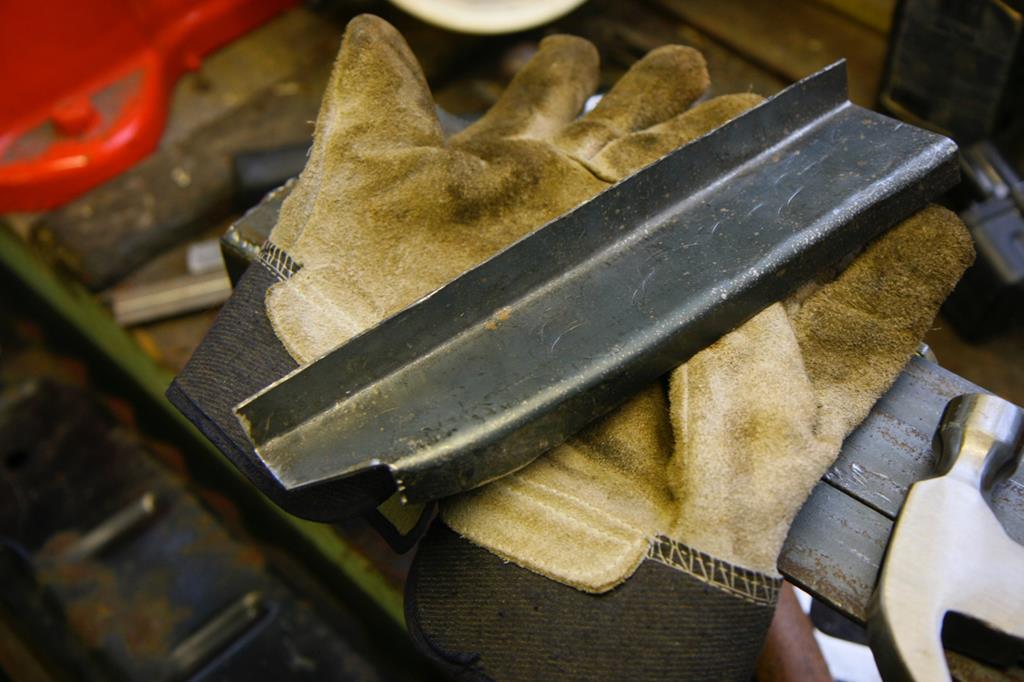 A flat bit on the end and it'll fit like this... 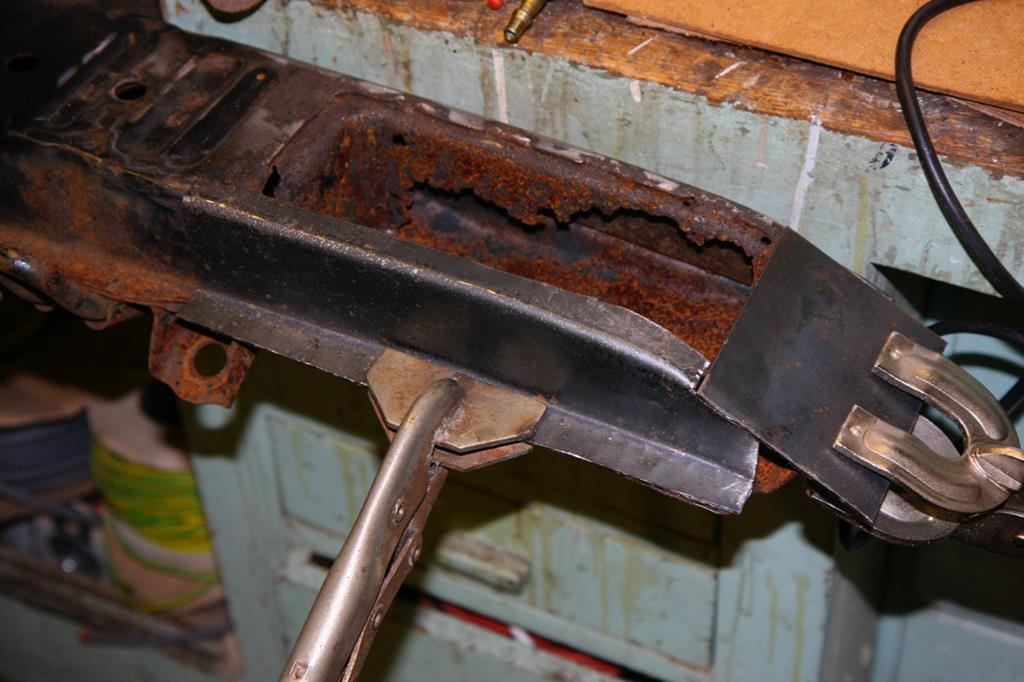 The old bit will get cut out and these bits welded in. Checking the fit of one end... 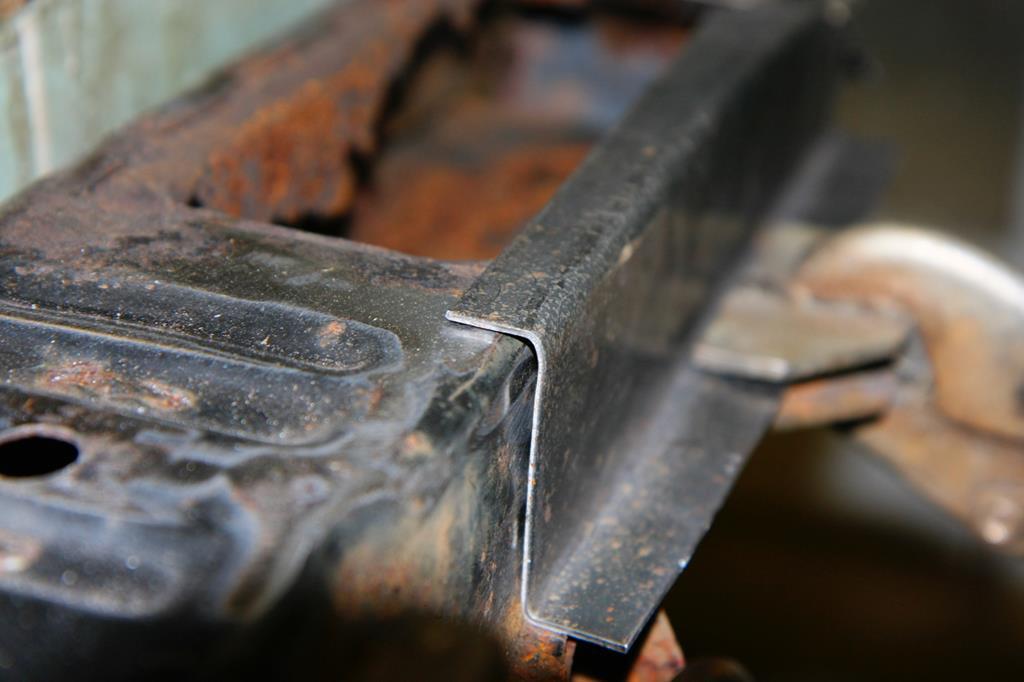 And the other... 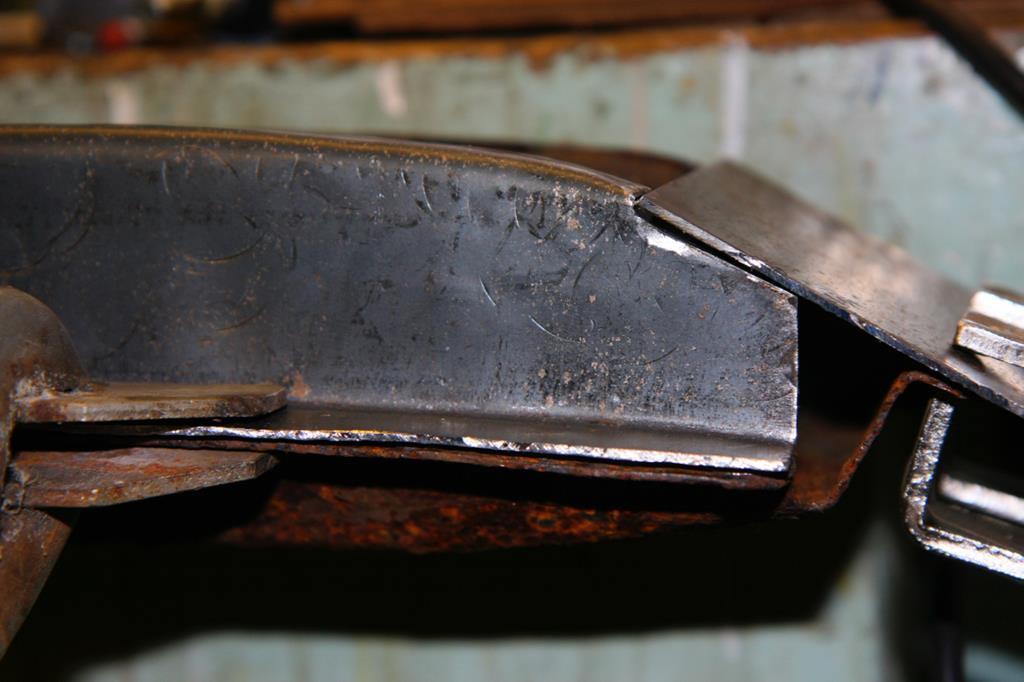 Needs a bit of trimming, welding and finishing but I'm kind of happy with that. |
| |
Last Edit: Nov 24, 2018 21:33:54 GMT by Sweetpea
|
|
|
|
|
May 22, 2013 21:27:44 GMT
|
So, the indicator box. The bits above were made of 1.6mm steel and it was hard work. The indicator box is a more complex part so I made it from 1.2mm steel to make life easier. A bit of metal in the TonyBMW bender to start forming the sides of the box. 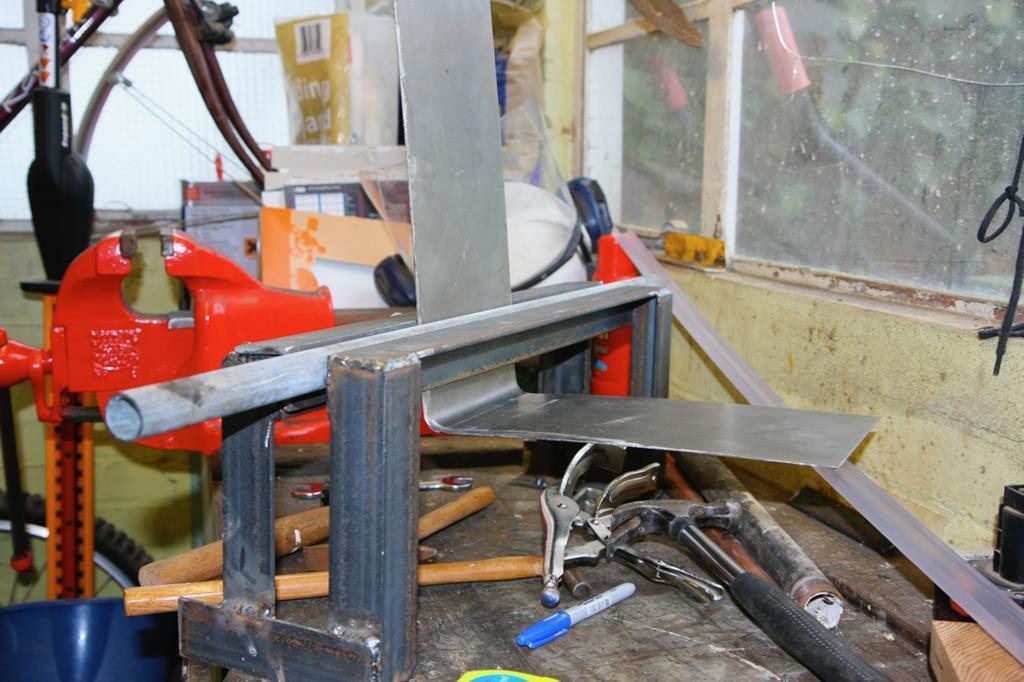 The bit of pipe in the bender is there to form the radius in the corners. Ready to weld the ends together. 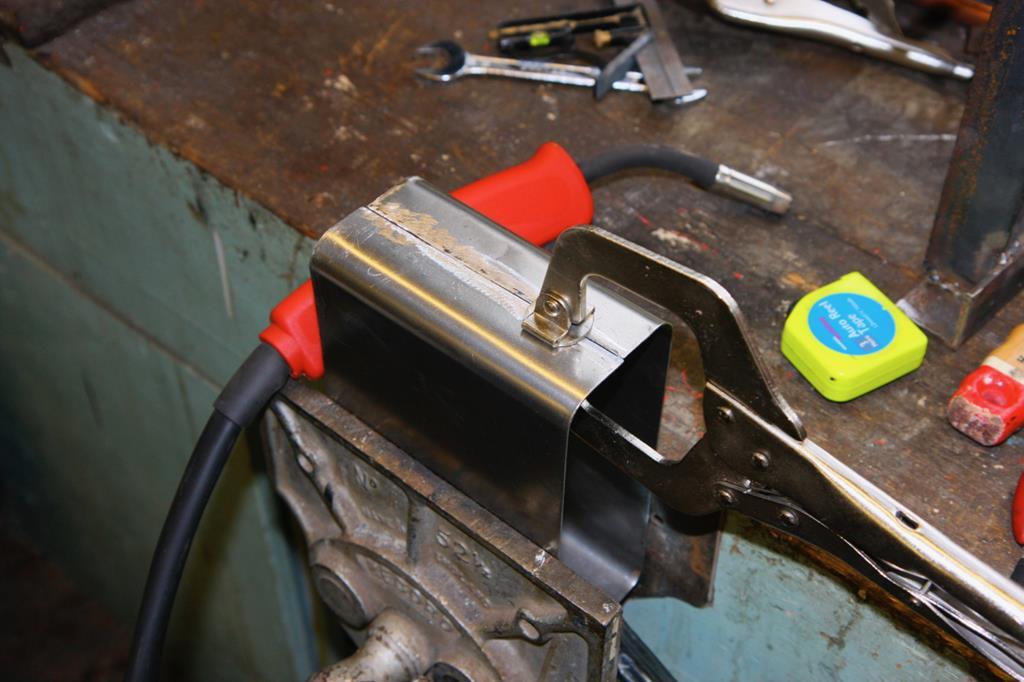 So this will have flanges bent over underneath and on top and will sit in here... (It'll be the right height when the flanges are on.) 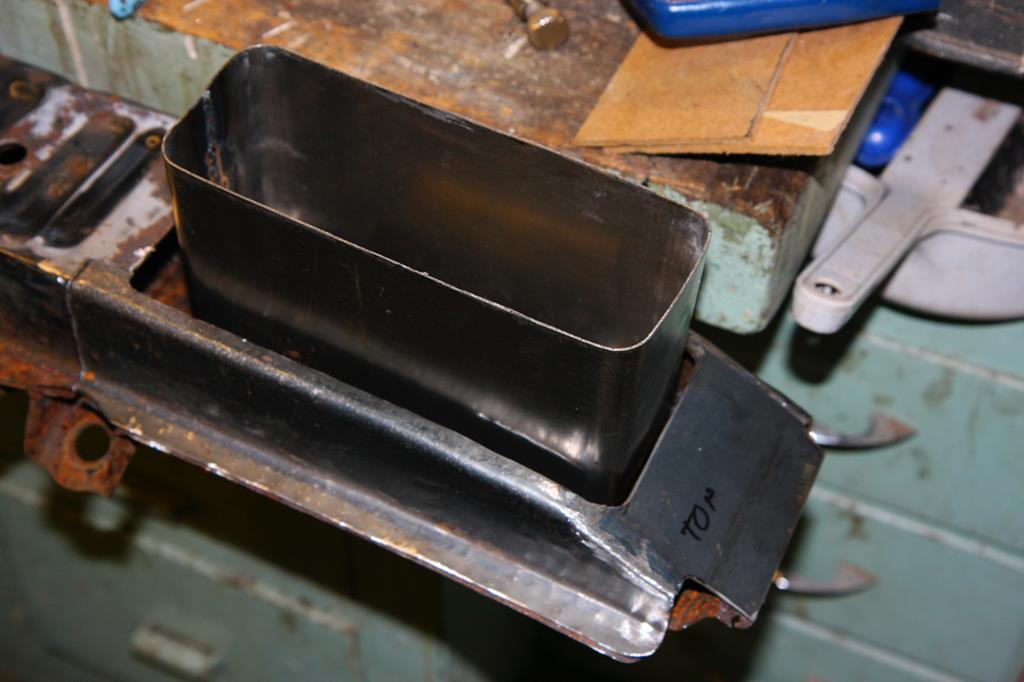 Notice I've done the final shaping on the other bits and welded them together. I've also cut the old steel out in this photo. My new metal is just sitting there, it's not welded in yet. And here is the indicator box with the bottom rolled in. 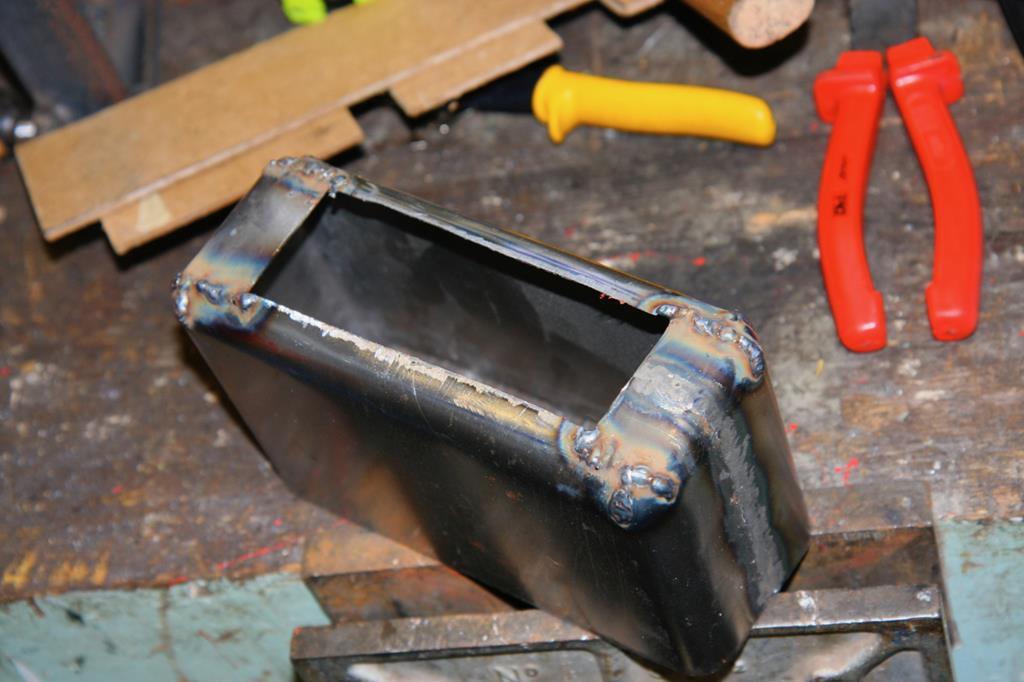 It needs some grinding and fettling to get it to fit the bottom (back really) panel of the bumper snuggly. And the flanges need putting on the top. James |
| |
Last Edit: Nov 24, 2018 21:44:36 GMT by Sweetpea
|
|
|
|
|
May 23, 2013 11:27:34 GMT
|
|
Some nice fabrication going on there, I just hope the metal on the remnants of that bar is solid/decent enough to weld to!
|
| |

V6SC mk1 Mr2
Manta 400r

|
|
ToolsnTrack
Posted a lot
   Homebrew Raconteur
Posts: 4,128
Club RR Member Number: 134
|
|
|
|
|
Oh my! Going well so far. If nothing else, its good practice! Digging the fab...
|
| |
|
|
|
|
|
May 24, 2013 12:23:17 GMT
|
|
excellent! i like your style, very methodical and logical.
if i may be so bold to comment on your welding. it looks like you are getting heat into it, but it looks like you are welding in a straight line and possibly moving too quick. if you zig zag and move along the work slower it will penetrate more and end up flatter. i'm not an expert myself, but i can relate to the sparking and overload on the sense and its all over before you can get control of it. i wouldn't grind unnecessarily on bits you wont see, end up removing some of the strength
|
| |
|
|
|
|
|
May 25, 2013 20:00:59 GMT
|
Thanks chaps. Darrenh, With regards to my welding I plead guilty as charged on both counts. Unfortunately this was all a year ago so you've a few more photos to sit through before it's likely to get any better. The grinding back it as much for practice as anything. The welds were all done on both sides so strength shouldn't be a problem even with my dodgy work. It's now July 2012 and my last post had me making the indicator box for the bumper... Well here it is with the top folded out. 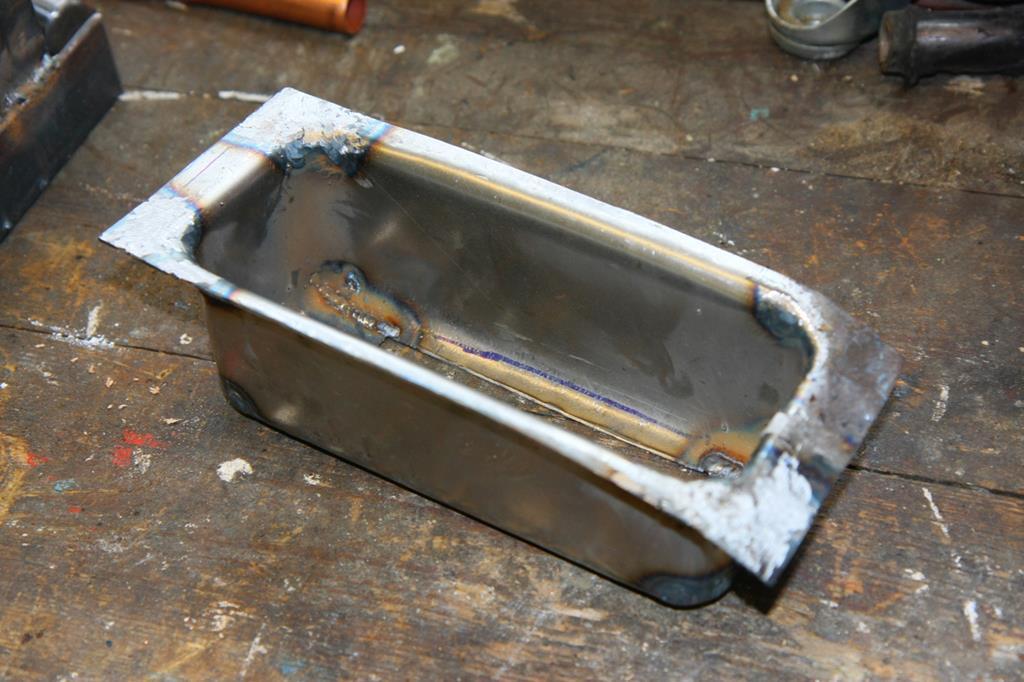 The next problem is the back which has rusted away. 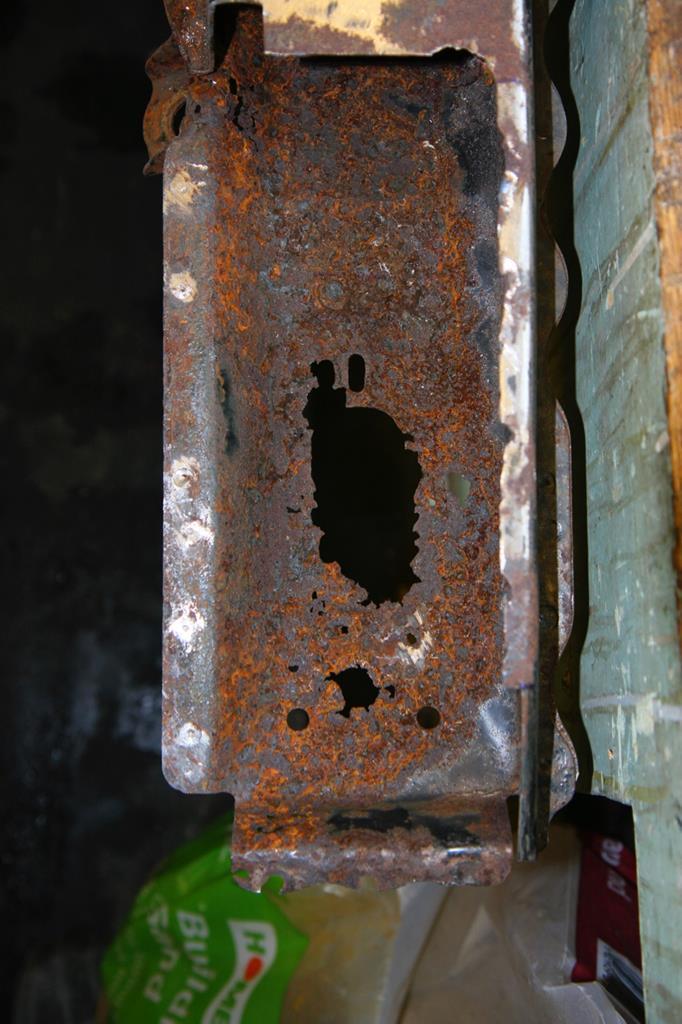 I thought the bit where the mounting brackets are welded on was ok but clearly it isn't. 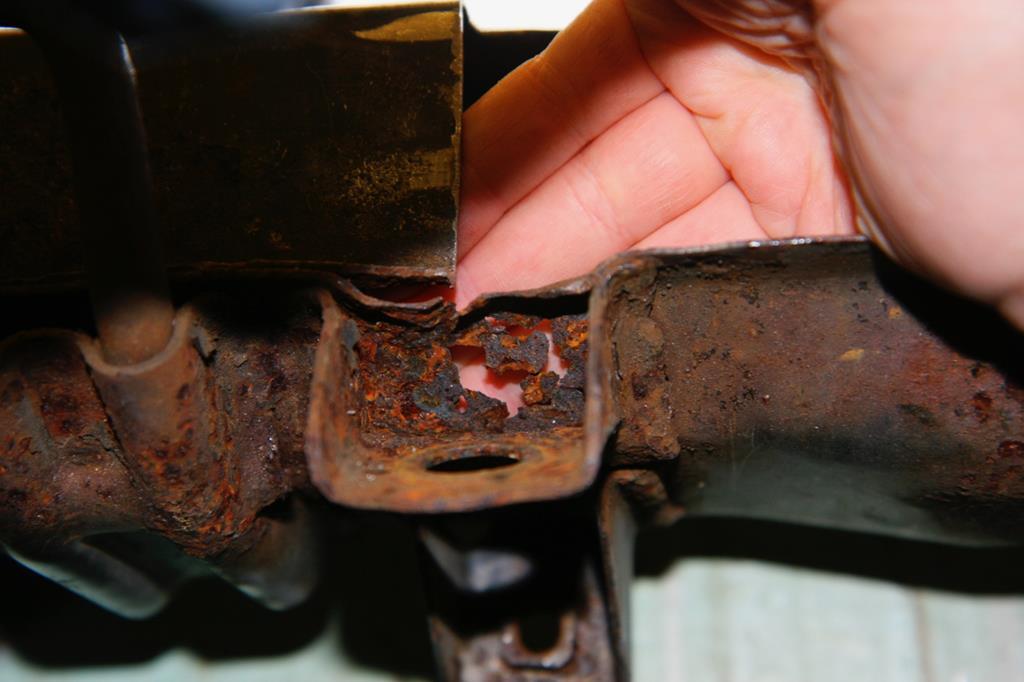 Don't think you are supposed to be able to see through it. I started with my PBAD package. (Pie Box Aided Design.) 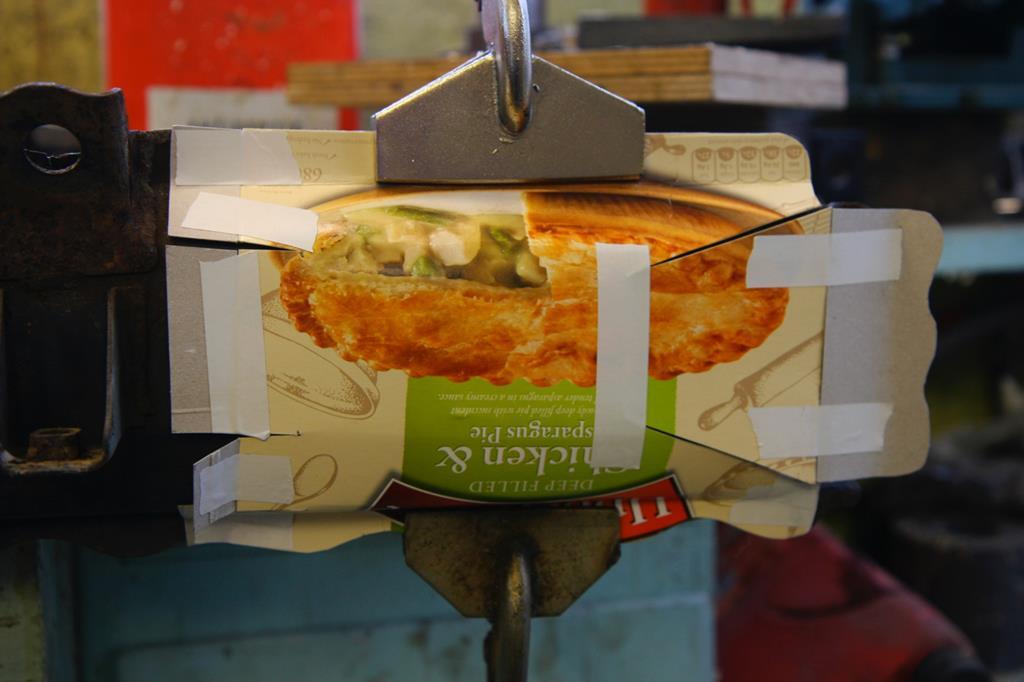 Chicken and Asparagus. I guess the missus bought that one! Marked it out on some metal, bashed it about a bit, tacked it with the welder... Et voila. 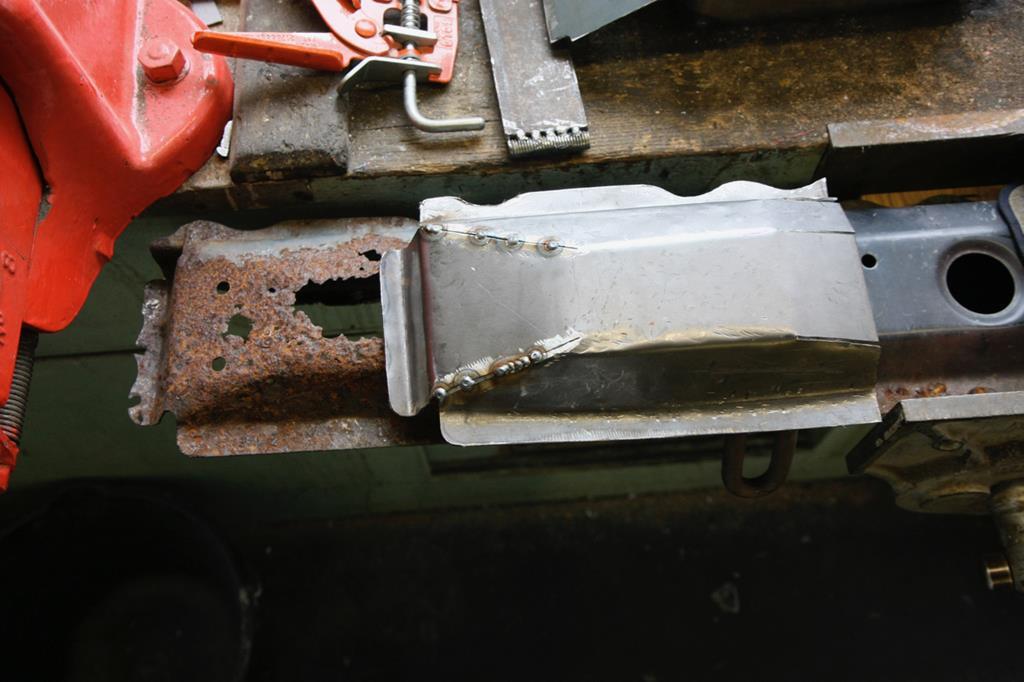 The bits I've made go together like this... 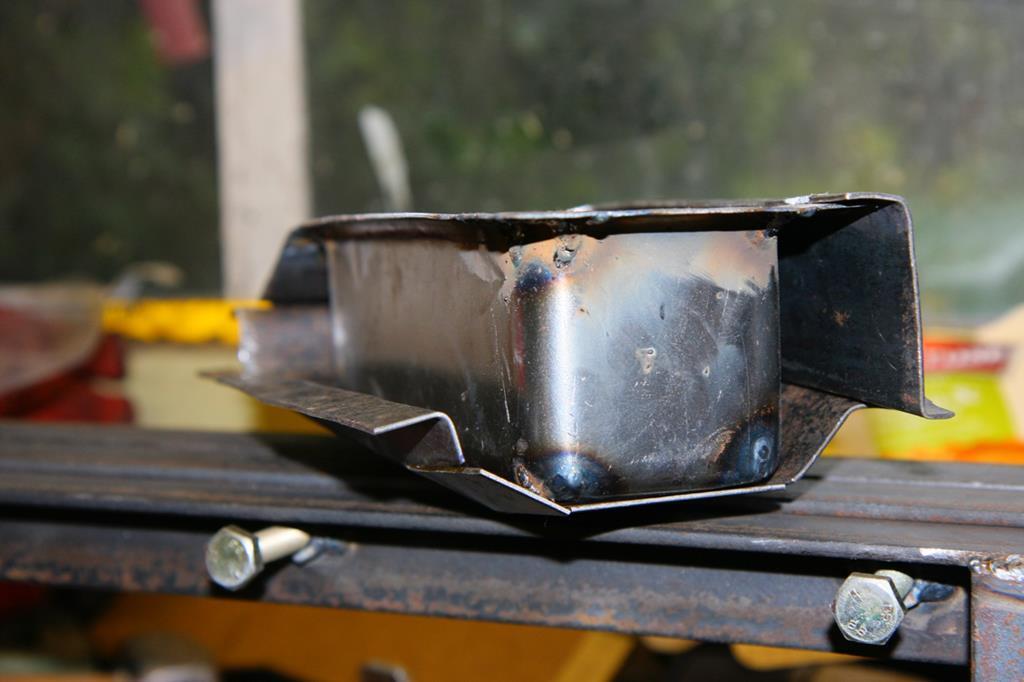 I cut off the mounting brackets and made a new bit to go behind them. 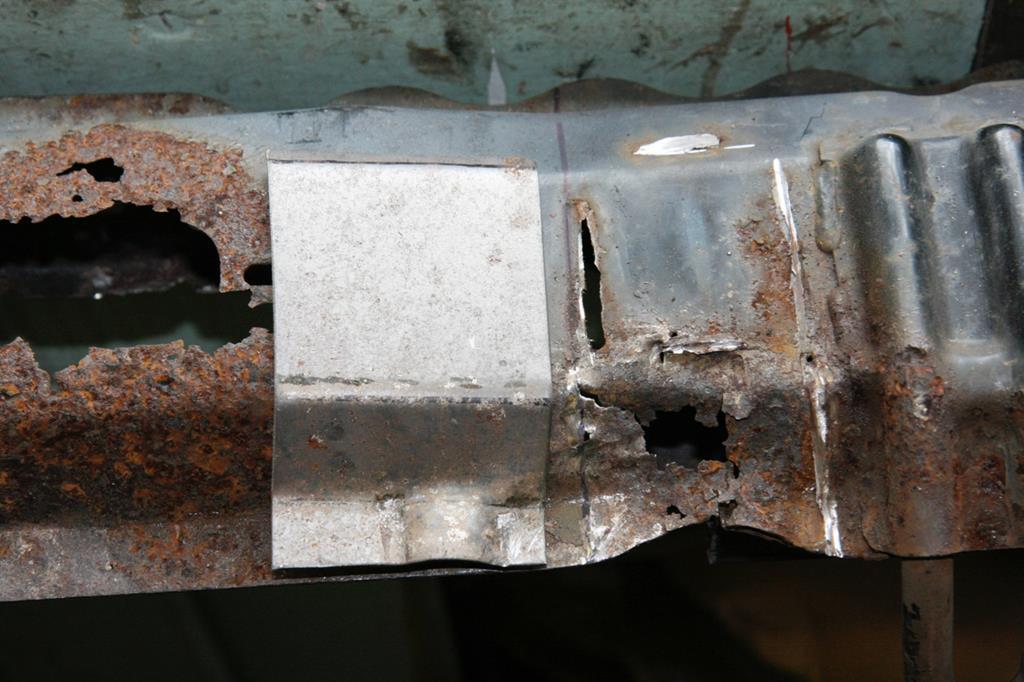 The drain dint is made by holding the part over the open jaws of a vice and hitting it with a ball ended hammer. It's surprisingly easy. Then it's out with the grinder. OMG! Too late now! 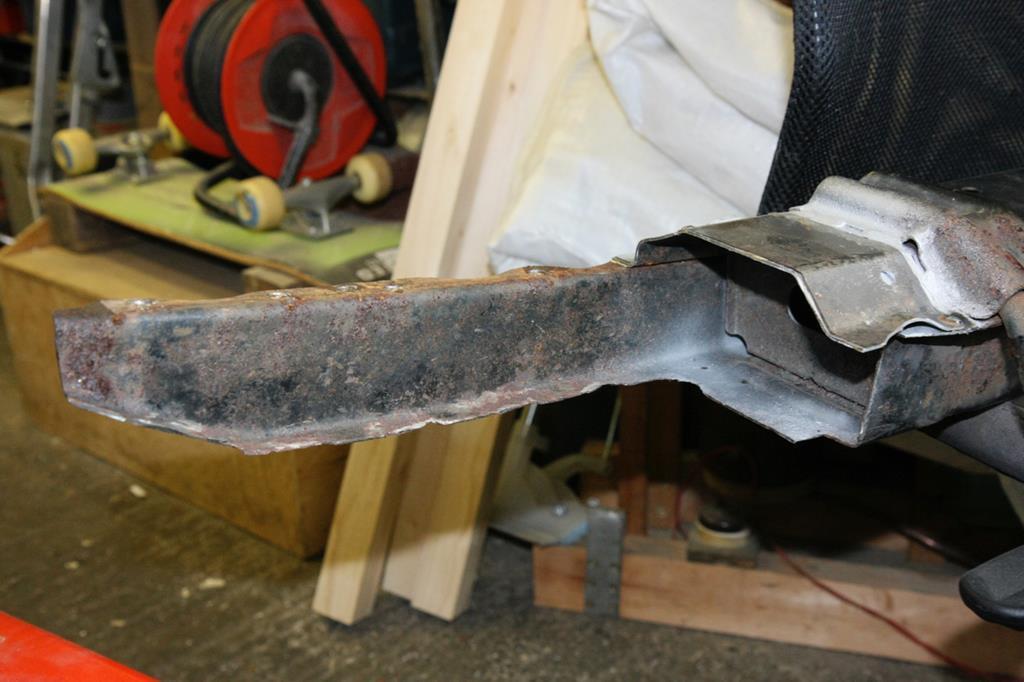 I've tacked the top piece and the bit that goes behind the mounting brackets on to the bumper while I get the shape of the back part correct. 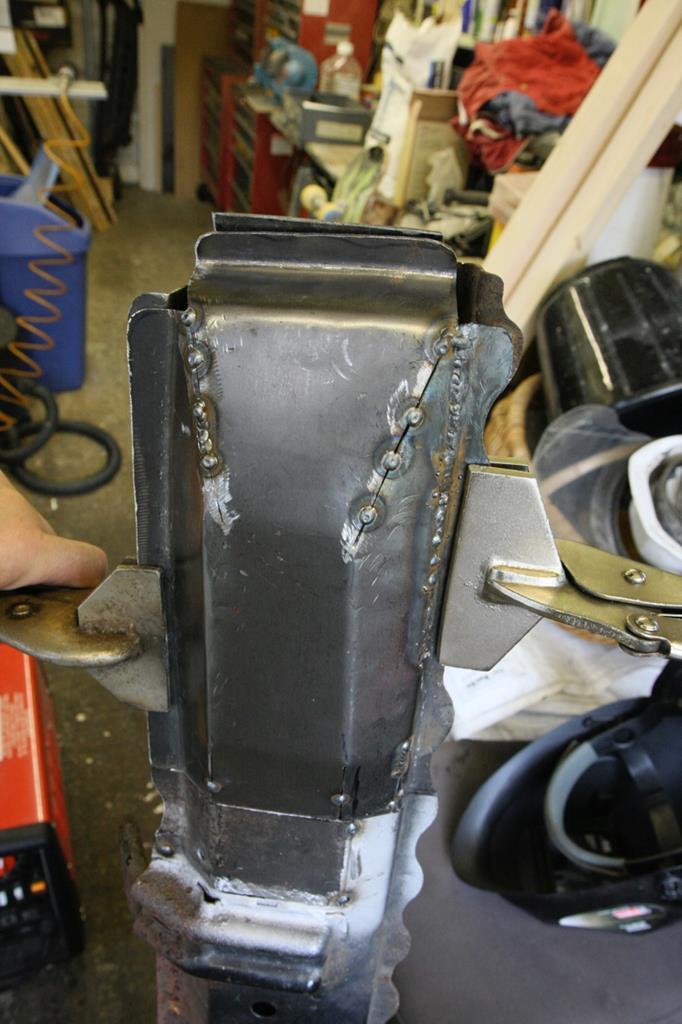 Well it's not correct yet. It's close but not close enough. 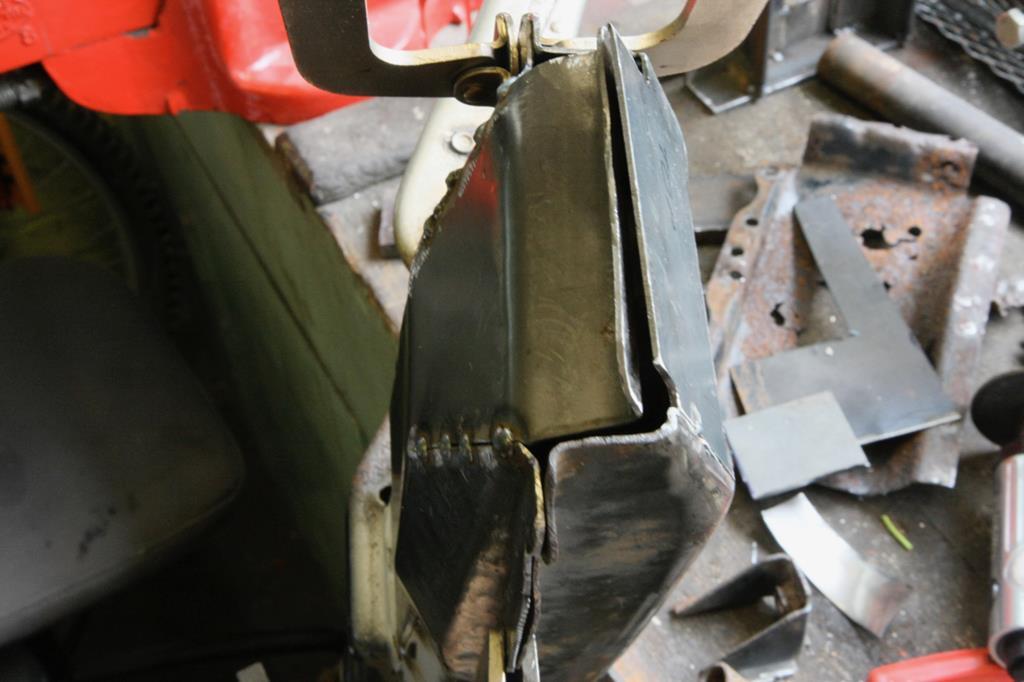 The side at the bottom of the picture is too tall. Rebending the flange is not going to happen so it's grinder and welder time to adjust it. Didn't want to take the grinder to it but it's the only option really. Last time I was with the car I sat in it and pushed a tape into the cassette machine. It works! Blimey. Sounds like it needs a clean though. So I brought it home and cleaned it. 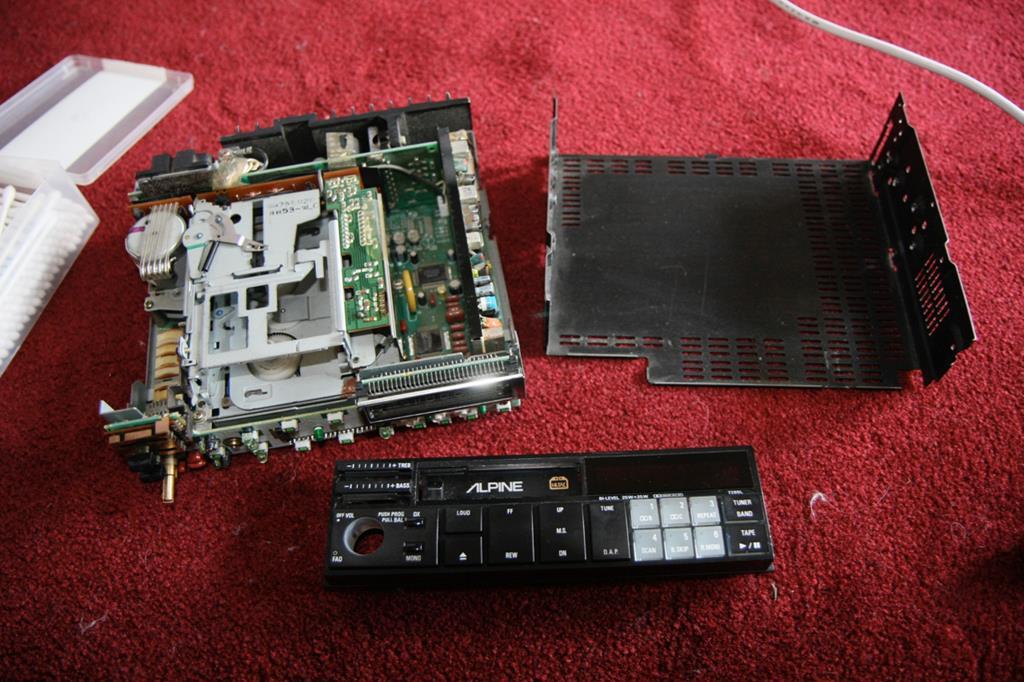 I've found very little about this radio on the net. I believe it's from the mid 80's so it's probably been in the car most of the cars life. It also seems to have been a top end model. I had wondered about replacing it with a 90's Toyota radio but I reckon the Alpine deserves to stay in the car. I've grown strangely fond of the old thing since I took it apart. Besides now I've cleaned it the thing looks mint! 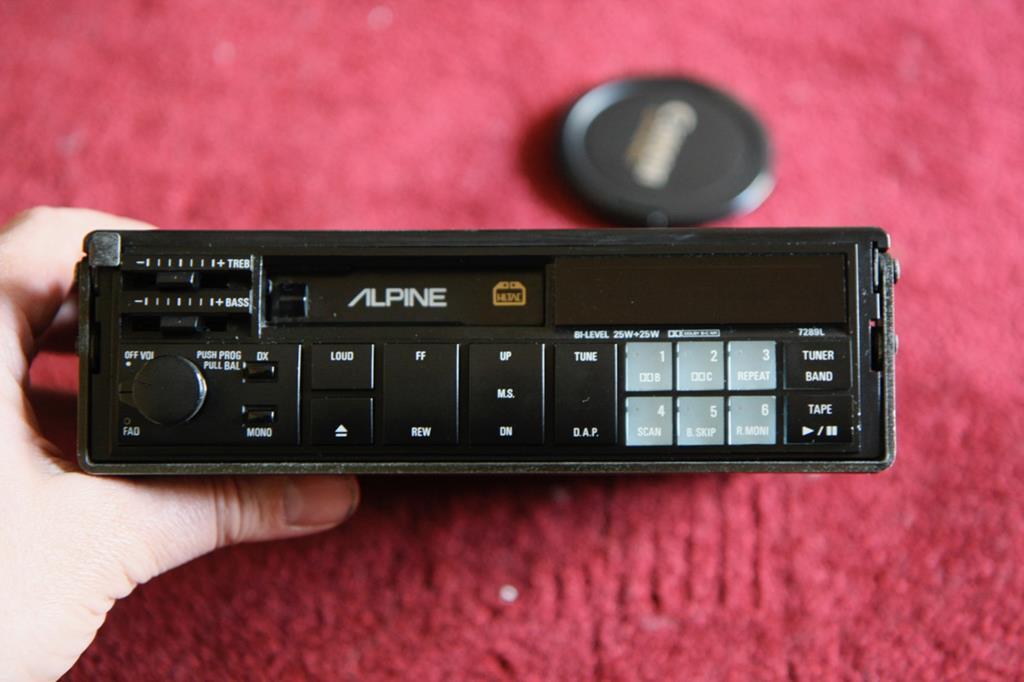 I have to admit I've a bit of a thing for 80s and 90s car radios. Odd eh? I might even be able to add a "line in" to this one. But that's for another day. Need to buy some new cassettes and get my recorder out of the loft first. James PS The next catch up will be completely different... |
| |
Last Edit: Nov 24, 2018 22:03:59 GMT by Sweetpea
|
|
|
|
|
May 30, 2013 21:21:14 GMT
|
We are getting ever closer to the present... This was February 2013. Been busy decorating the bathroom which is taking a hugely long time. Partly 'cos I lost my bathroom mojo part way through but couldn't do any of the car as the garage was buried under bits of bathroom. Still it's nearly done now. To topically quote Richard III, "Now is the winter of decorating the bathroom, May glorious summer fix some more of the MR2". Santa has been... 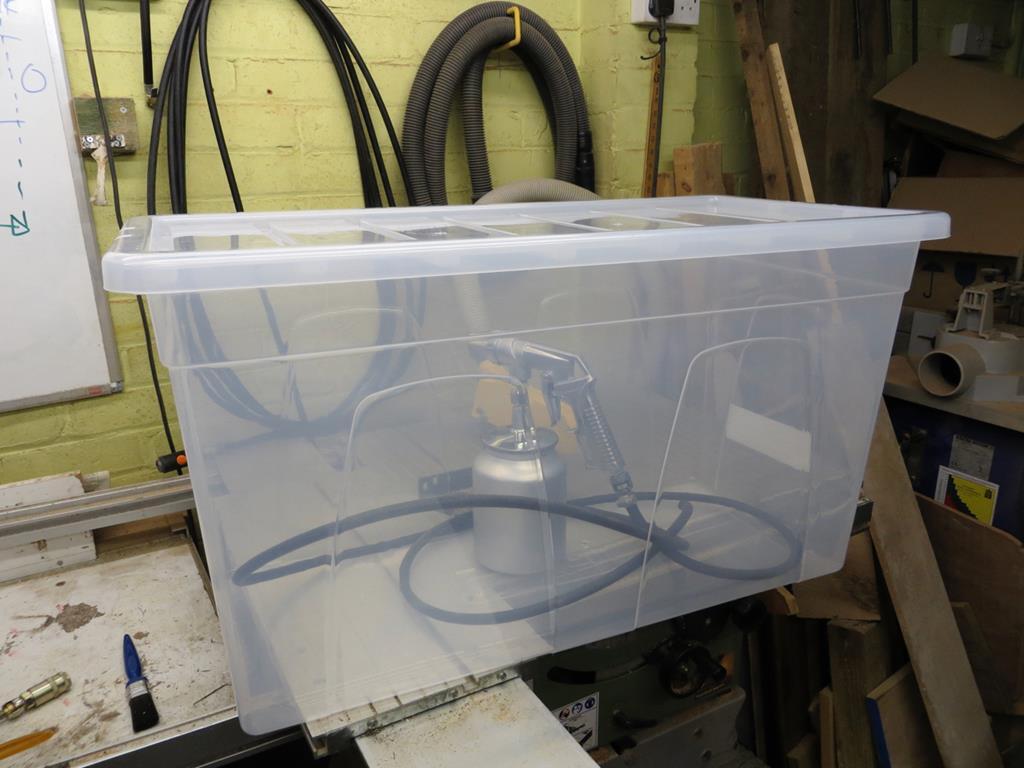 Can you tell what it is yet? 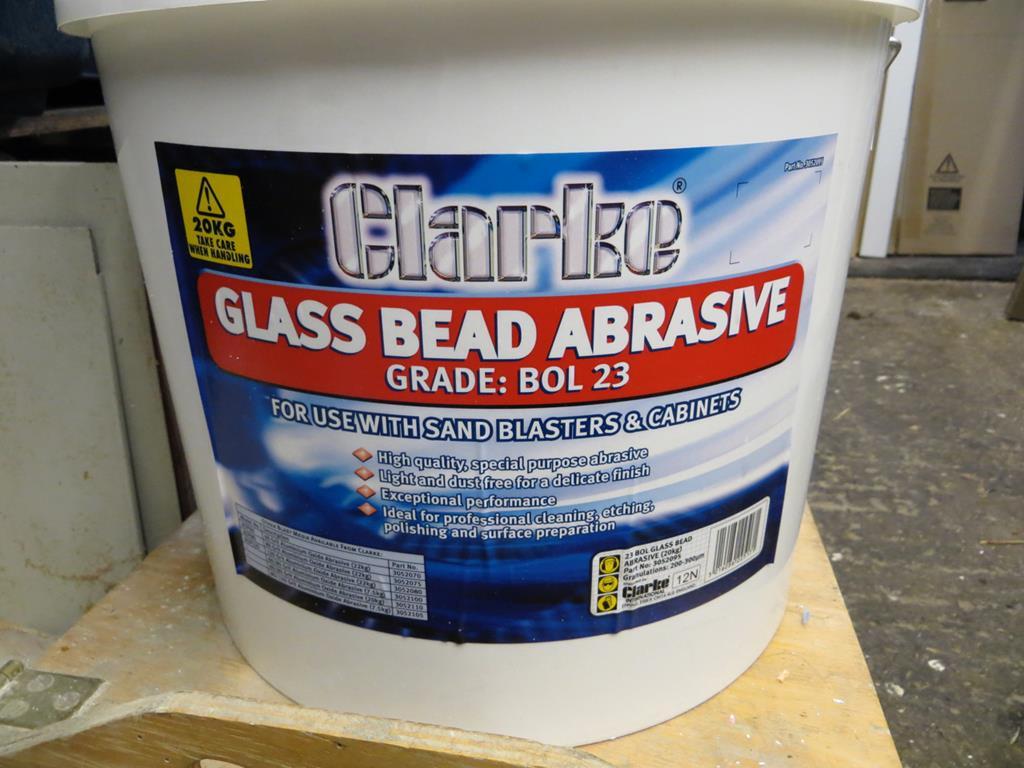 "A sand blaster, a sand blaster, my kingdom for a sand blaster". Addition of some gloves... (Two or three quid from Screwfix.) 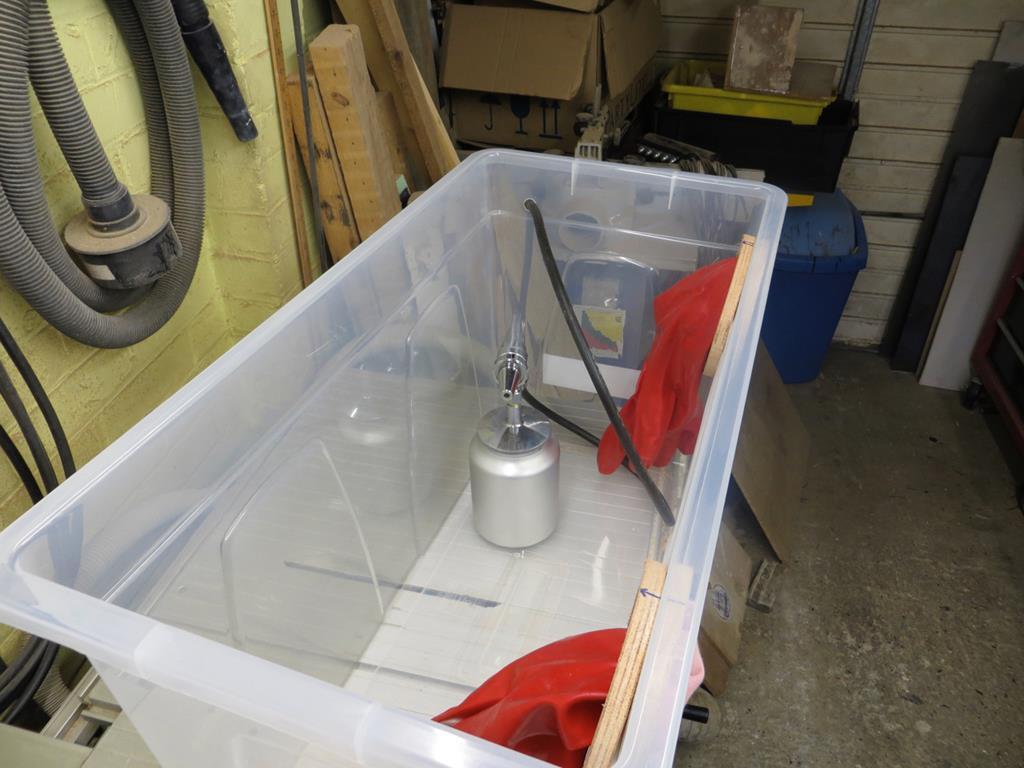 I'm grinning like a looney now! It's a bit home made but lighter, smaller and cheeper than a real one. See this doofer off the end of the fuel rail? (Is that the inlet or the return?) 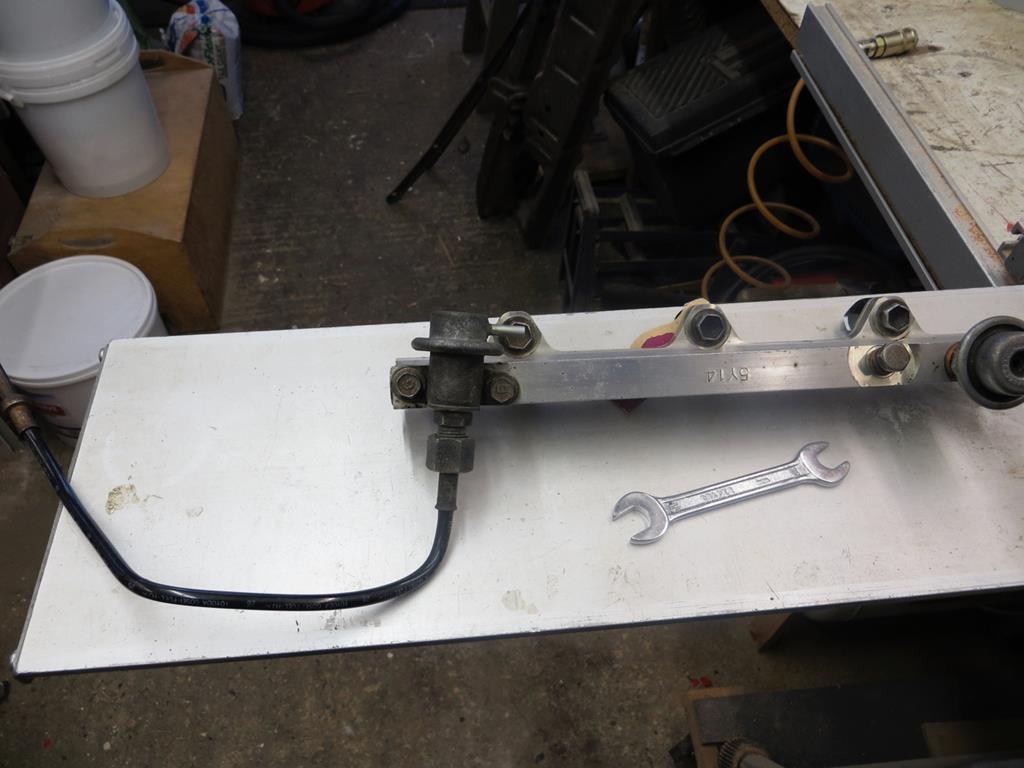 Close ups... 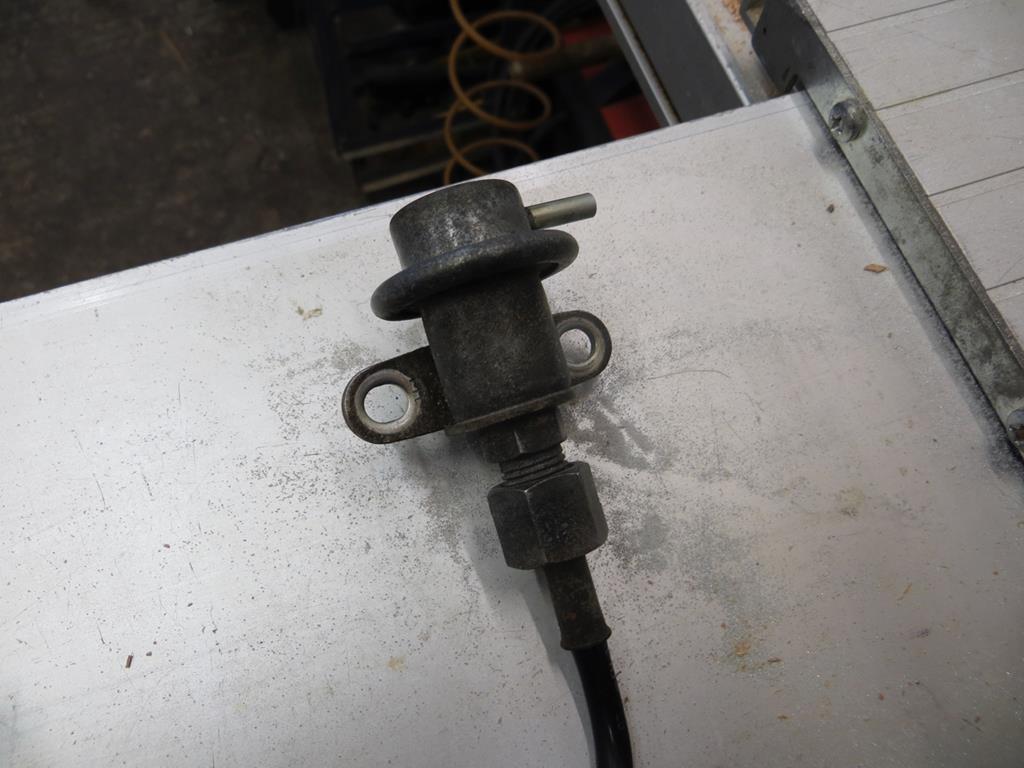 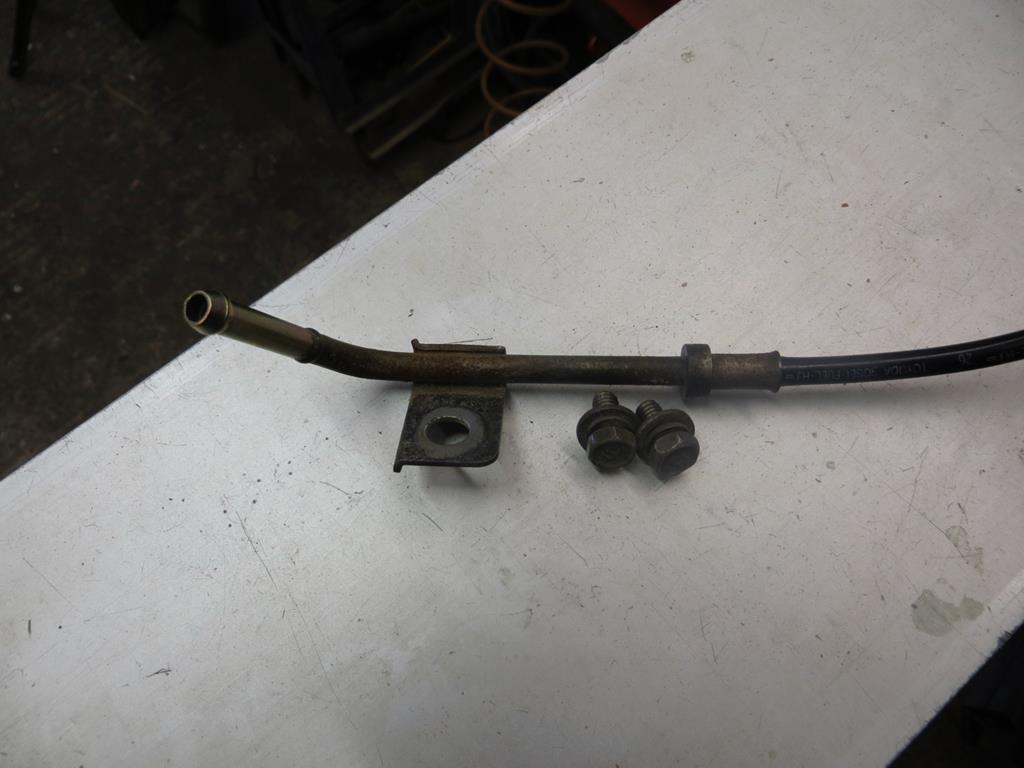 I'd already cleaned this back in the summer. Not great is it? Well now it looks like this... 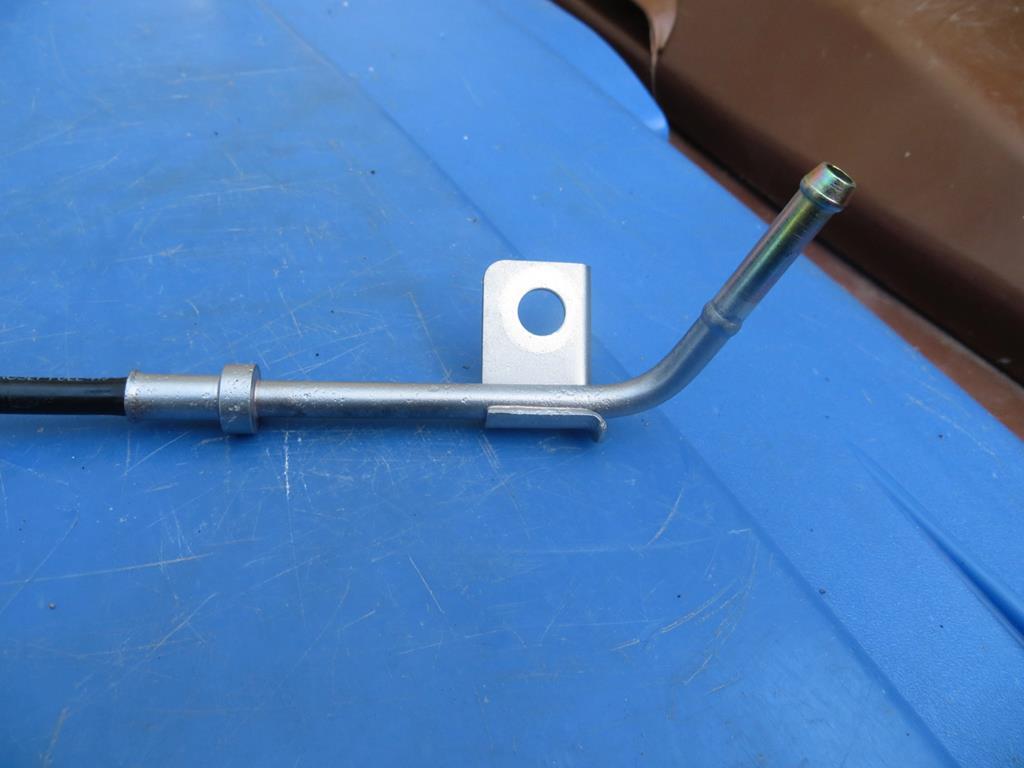 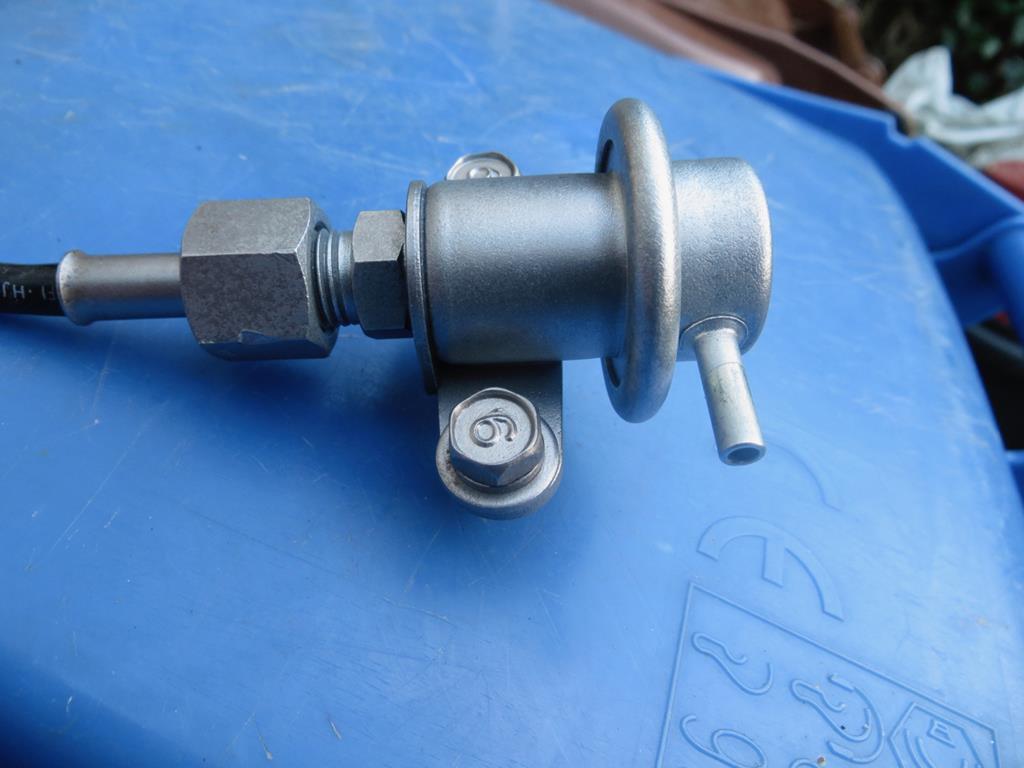 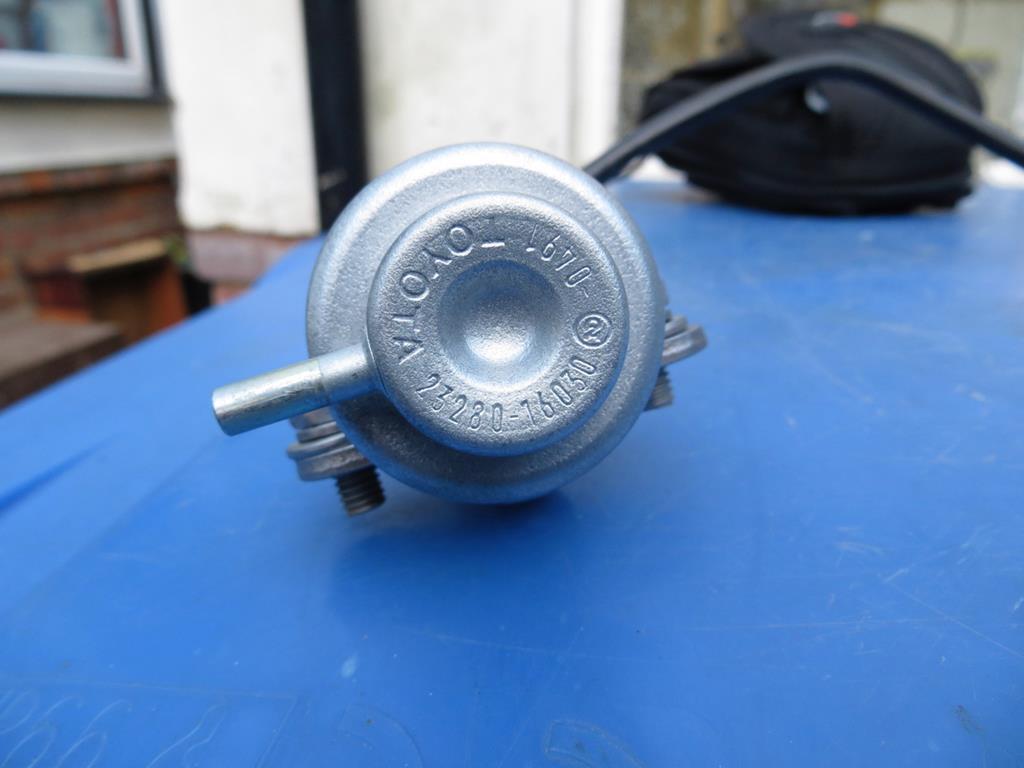 Oh yes! Grinning no longer expresses my delight and I'm forced to giggle maniacally. Just don't let the missus catch me doing it. Now to be fair my home made cabinet isn't perfect. Clearly when you fill a closed plastic box with compressed air that air is going to get out somewhere. Well it's blowing out under the lid and taking glass bead with it. Which I guess I'm breathing in. Hmmm. So I need an outlet with a filter and I may need to clamp the lid down too. I've put a hoover bag aside for the filter. Well it's designed to catch dust and pass lots of air isn't it. I need to run some sealant round where the gloves fit too. And the air pipe. Santa also turned up with a load of buckets... Now what's that for? 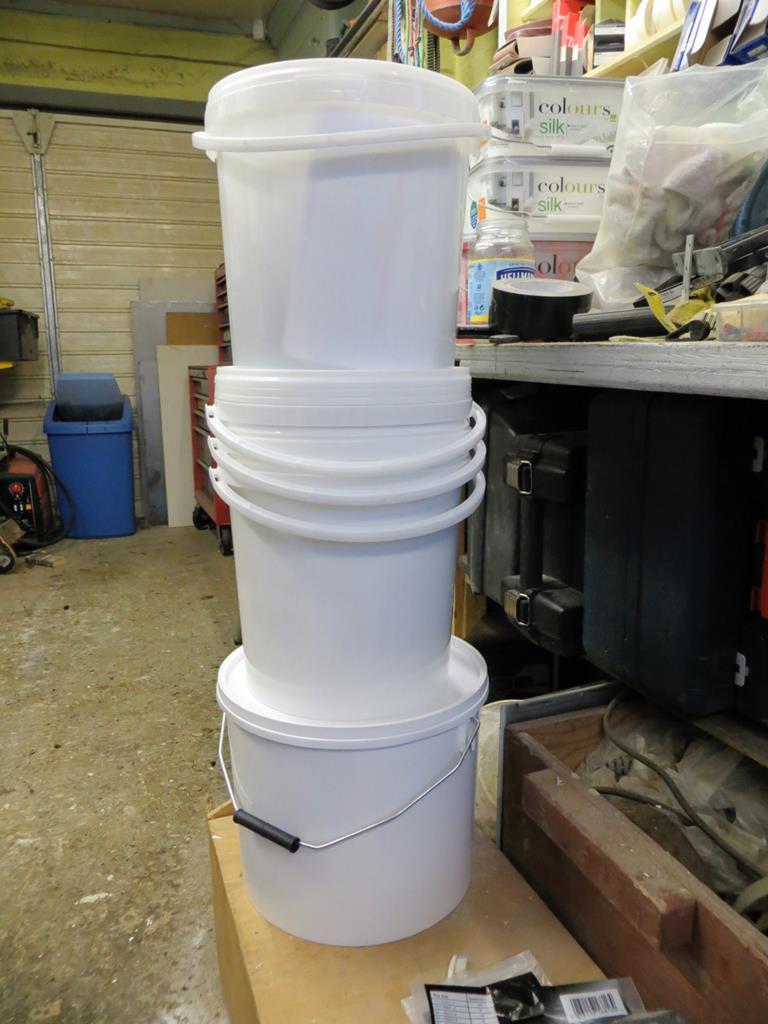 James |
| |
Last Edit: Nov 24, 2018 22:18:51 GMT by Sweetpea
|
|
ToolsnTrack
Posted a lot
   Homebrew Raconteur
Posts: 4,128
Club RR Member Number: 134
|
|
|
|
|
That's the fuel return. The fuel pressure regulator is always at the end of where the pressure will be built up from, acting like a bleed valve. If it was before there would be no regulation of the pressure after it, with the return going un-metered straight to the tank. This is the opposite to carb'd fuel pressure regulators, which act as a buffer to stop the float being over-pressurised.
Also, I'm totally stealing that sand blaster idea!! for your air out line, put a hose in the lid going straight up, use gravity to assist the reduction of media escaping. To the side will still allow sand access...
|
| |
|
|
|
|
|
May 31, 2013 20:47:20 GMT
|
Ah well, before you pinch my sandblaster idea read on. Interesting you should suggest a vertical hose. I had a similar but slightly more substantial idea... It's still Fed 2013... My plastic box blasting cabinet has some modifications. It now has a hole in the side filled with a piece of hoover bag to let the air out. It's also got draught excluder and catches to stop the lid leaking. One problem cropped up. Glass bead bounces off the work and hits the inside of the lid. It went opaque. Obvious really. So yesterday I cut a hole in the top and siliconed a piece of glass in it. And today the glass fell out. I think it was so cold last night that the silicone didn't go off. I guess you have to expect the odd problem if you are going to reinvent the wheel. Anyway I'm pleased with the results... Here is the fuel rail ready to go back on. 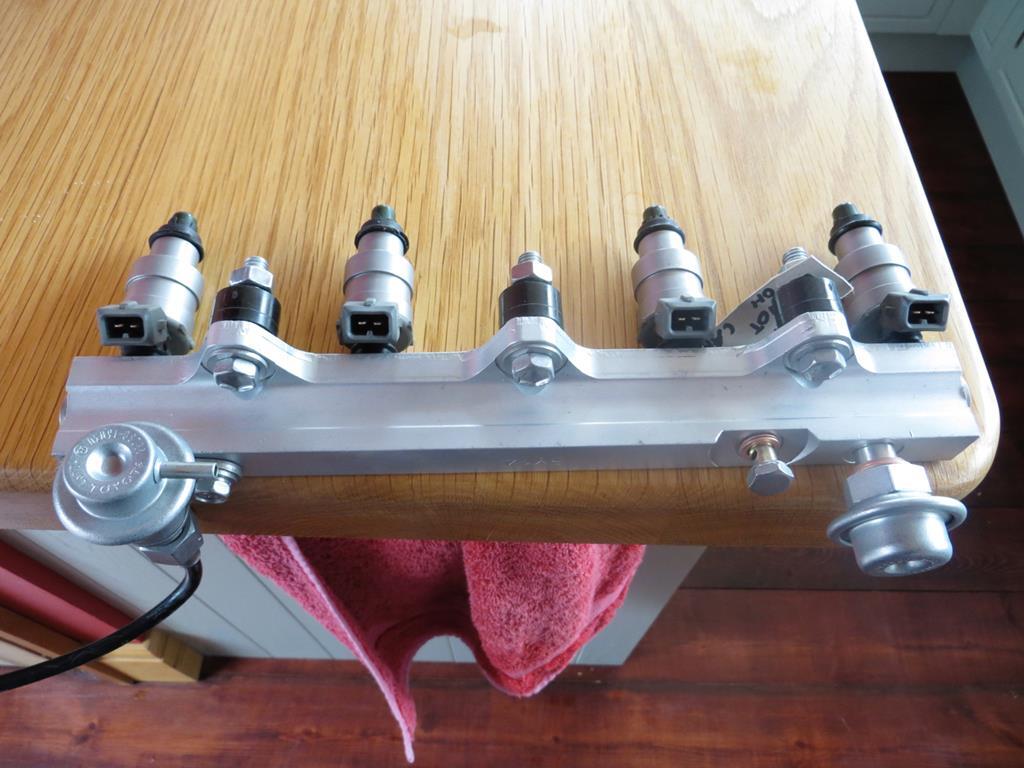 Just need an engine with some compression on any cylinder to go with it. The throttle linkage thingy... 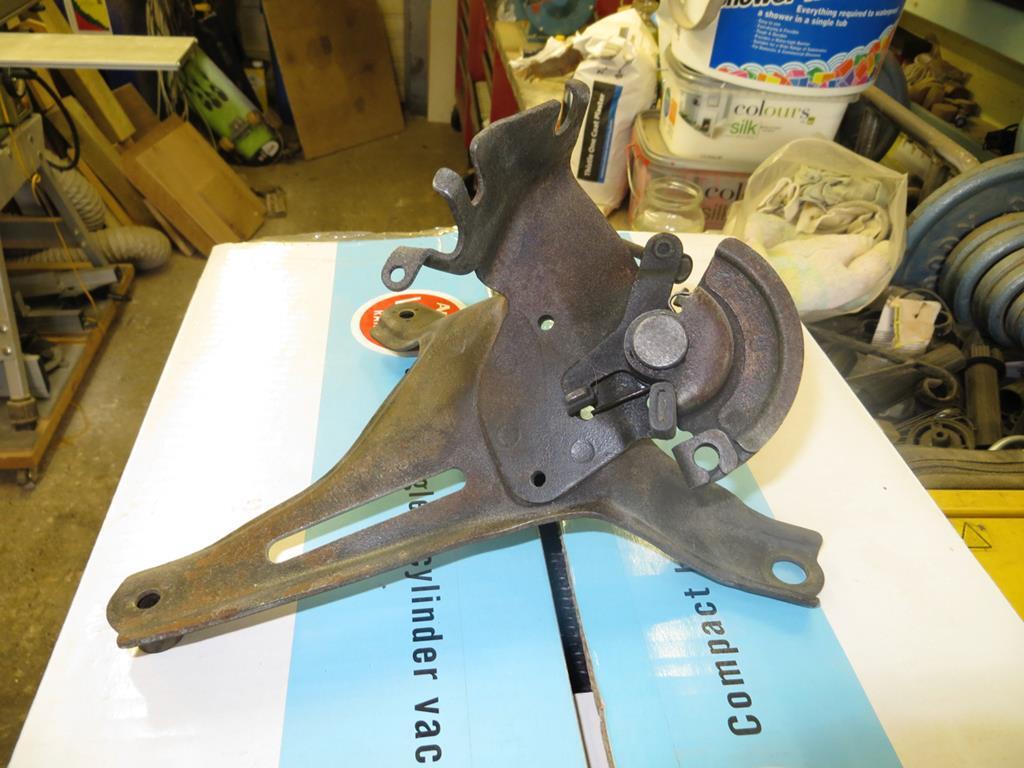 Now looks like this... 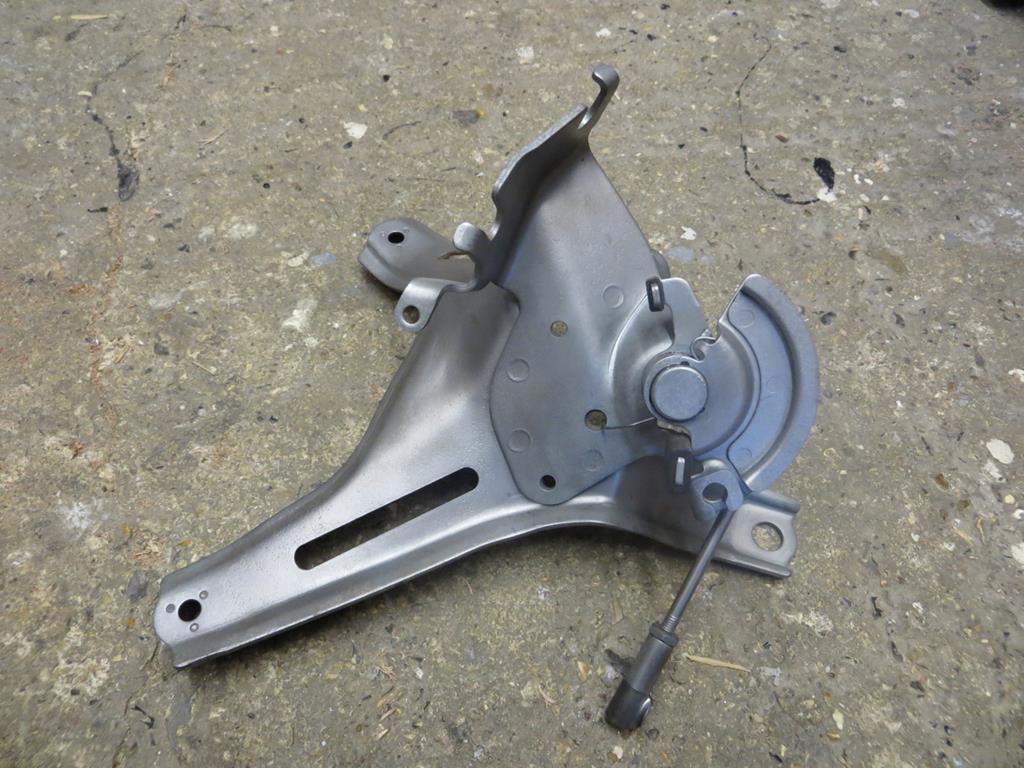 Hmmmmmm. Nice... |
| |
Last Edit: Nov 24, 2018 22:29:06 GMT by Sweetpea
|
|
|
|
|
May 31, 2013 20:58:26 GMT
|
March 2013... Now my home made blasting cabinet... Currently looks like this with the glass window in the top. 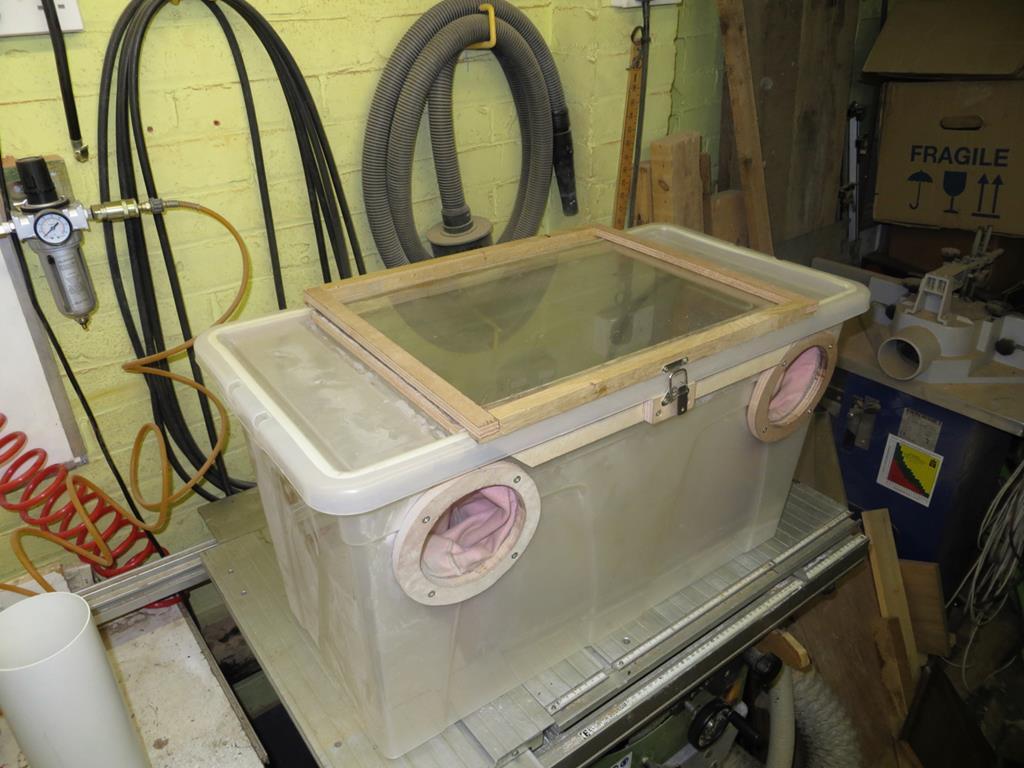 And here is the hoover bag outlet filter I made... 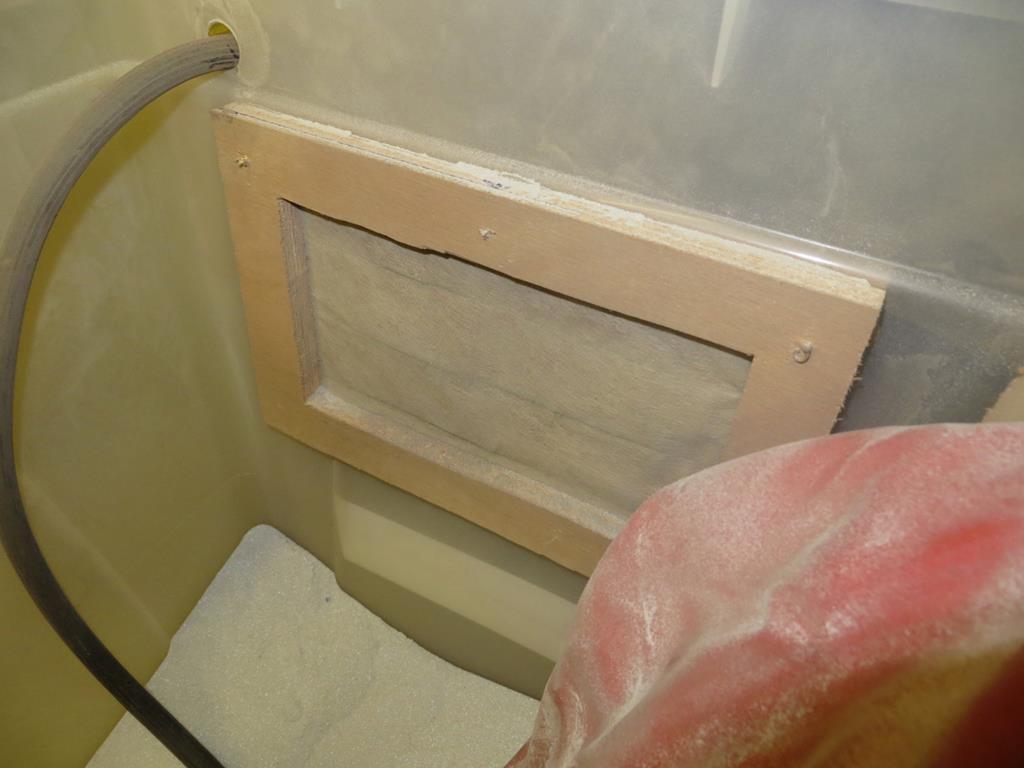 In the spirit of admitting the bits that don't work, I have to admit that the filter doesn't work. The dust that you get in the cabinet is about the consistency of flour and it blocks the filter very quickly. Then the air is forced out under the lid. So after a bit of Googling I've come up with another plan. Enter "The Chimney"! 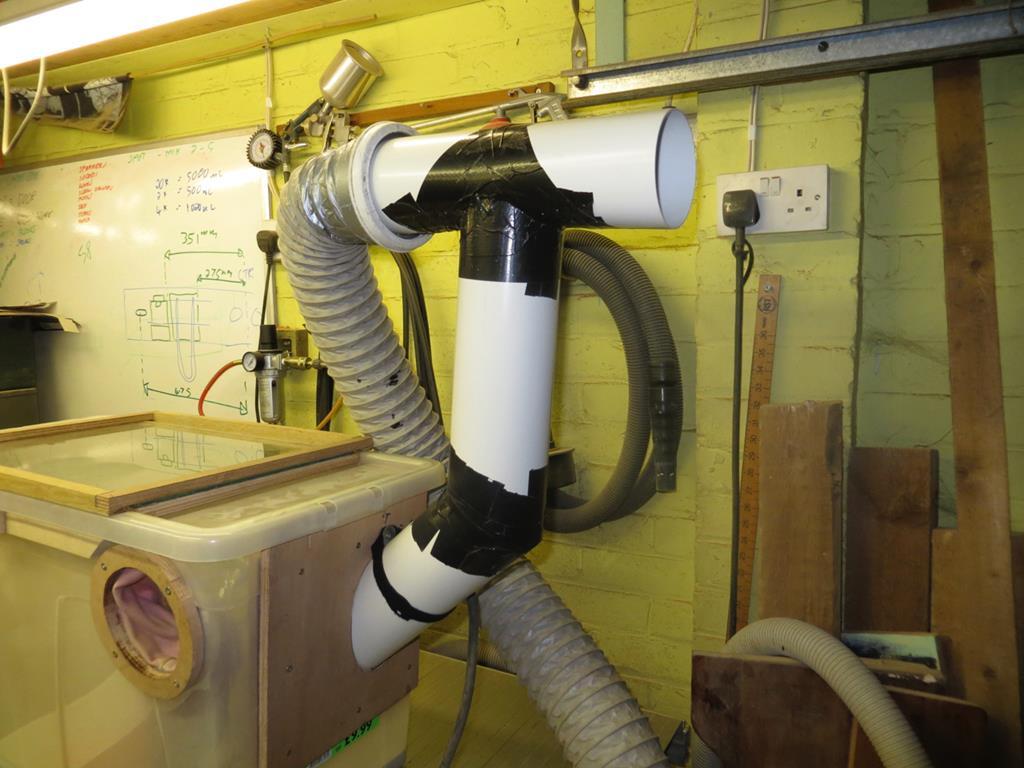 So the idea is that the gray flexi pipe has a load of suck on it. That pulls air through the top of the T piece and creates low pressure in the vertical bit. Air from the blasting gun, hopefully with fine dust, goes up the chimney and is carried off down the gray pipe. But there isn't enough airflow flow carry the blasting media up the chimney so it falls back into the box. Well that's the plan. The "suck" comes from this thing which I happen to have in the corner of the garage. 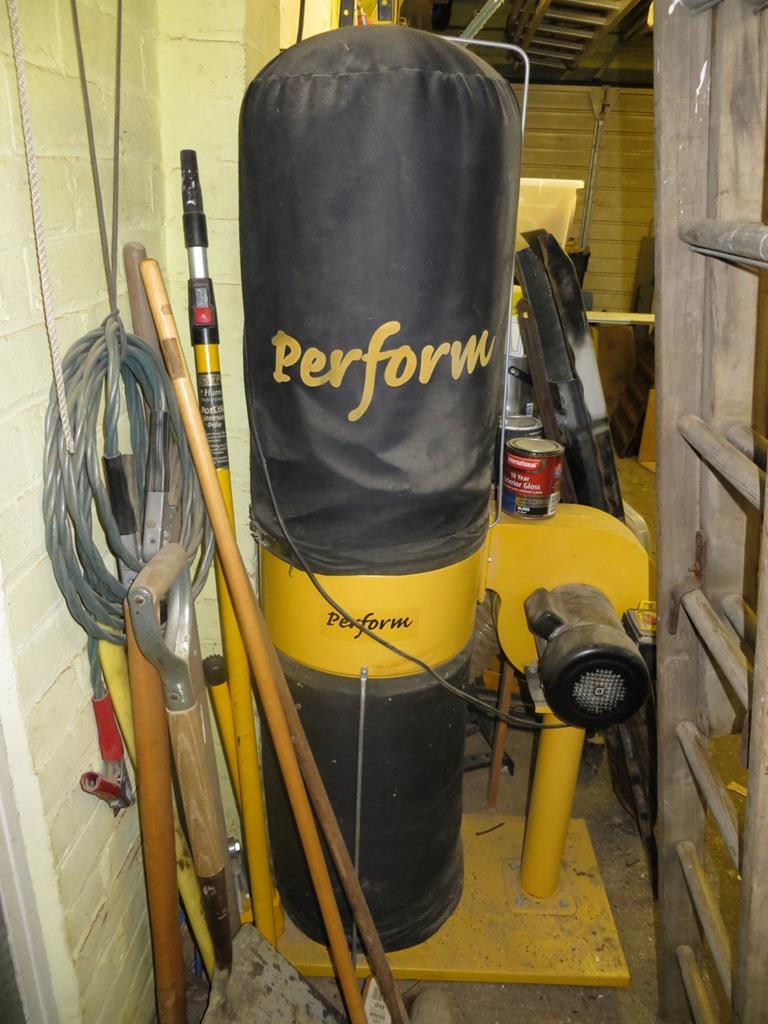 Dust extractor for my woodwork tools. Now I admit the filtration is going to be a bit basic but we'll see how it goes. The inside of the bag gets chocked with fine wood dust so it probably won't be too bad. And when you are not using it the chimney packs away in the box. 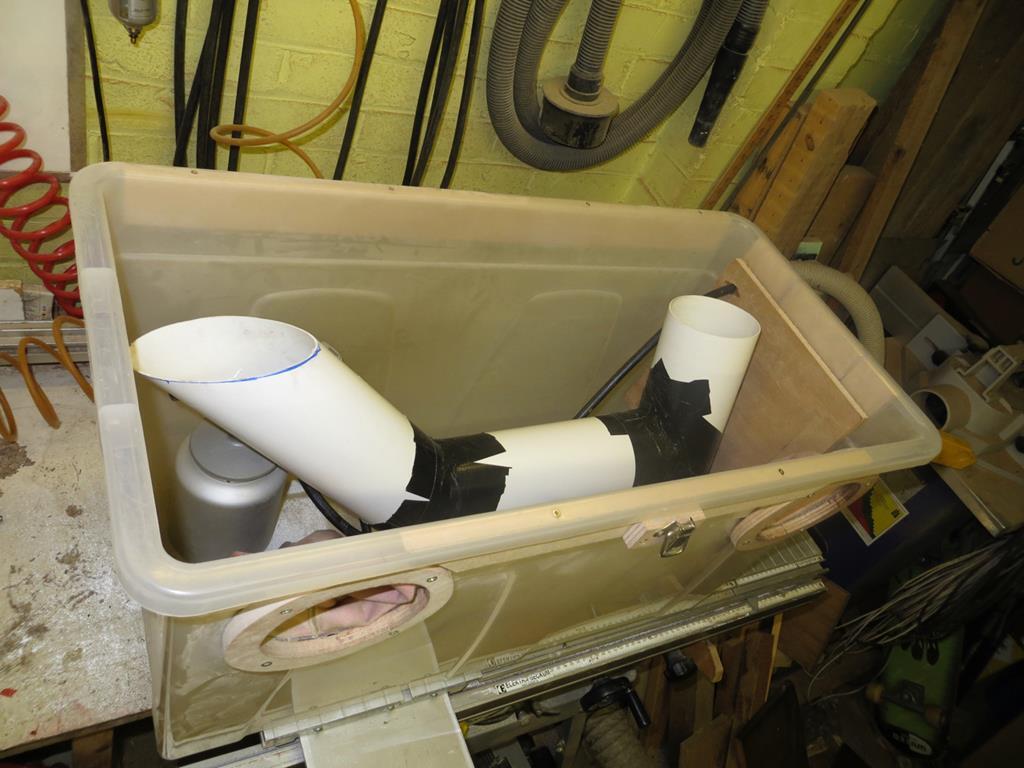 Back to the car... One TVIS thingy that looks like it came off a tractor. 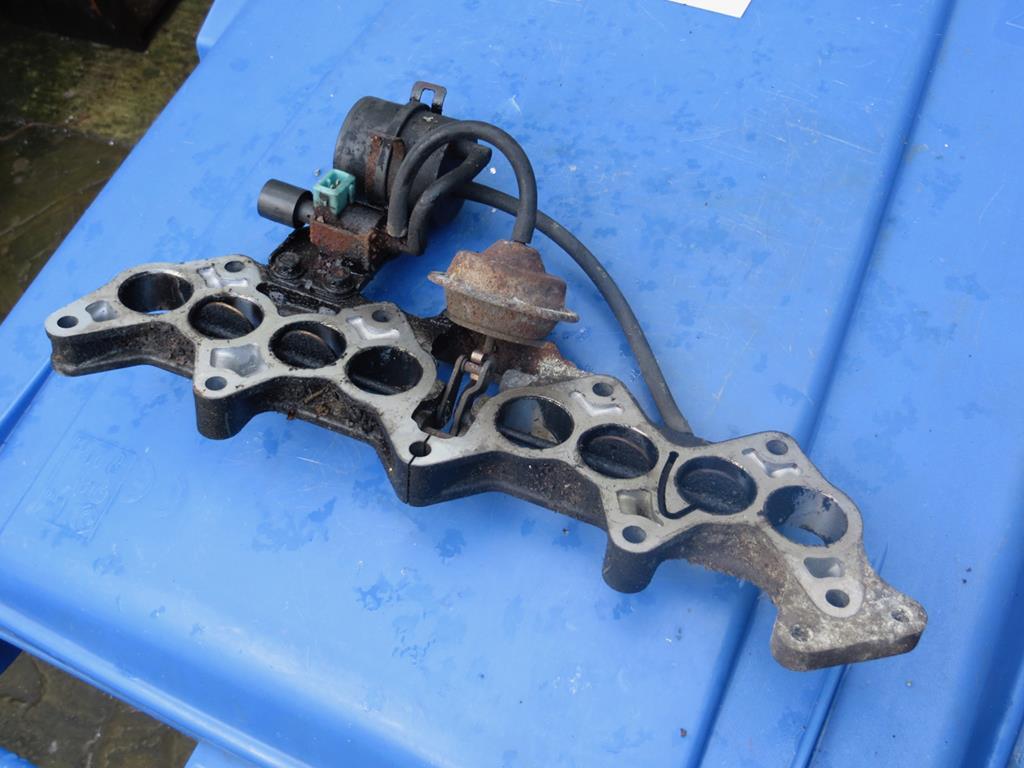 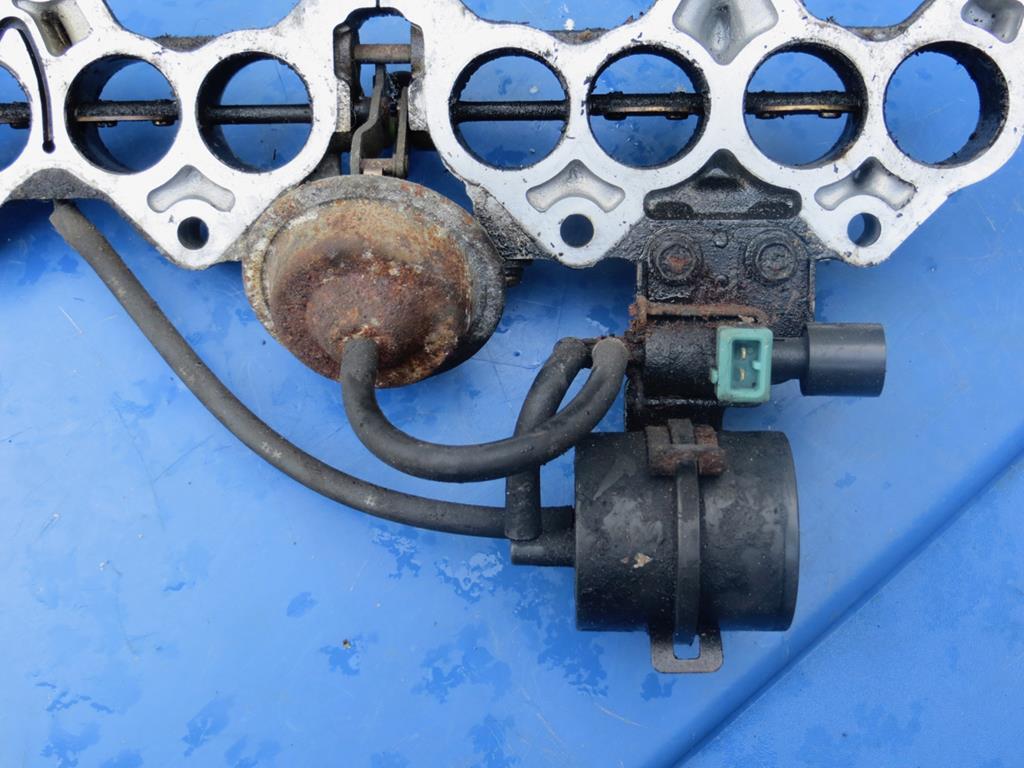 Bit of blasting and you could eat your dinner off it. 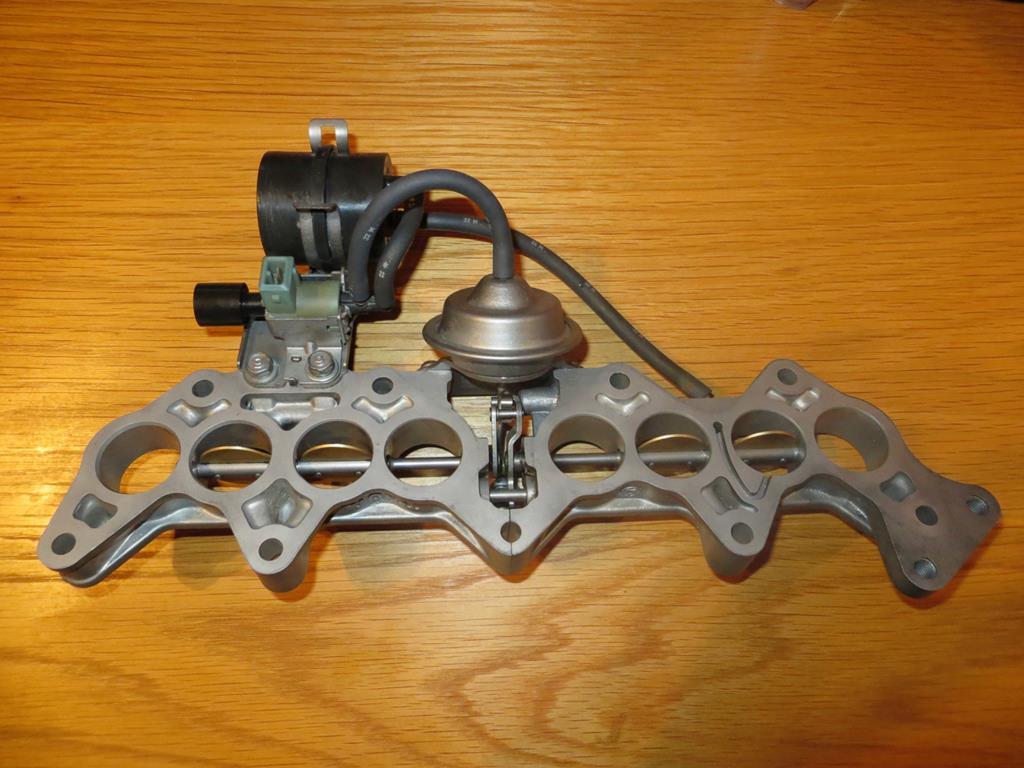 Well you couldn't eat your dinner off it 'cos you'd get it covered in sauce and then I'd be unhappy. James |
| |
Last Edit: Nov 24, 2018 22:42:05 GMT by Sweetpea
|
|
|
|
|
|
|
|
haha, brilliant!
|
| |

V6SC mk1 Mr2
Manta 400r

|
|
ToolsnTrack
Posted a lot
   Homebrew Raconteur
Posts: 4,128
Club RR Member Number: 134
|
|
|
|
Nice one! Good solution with the chimney, some decent lateral thinking!! As for the "lobster", or throttle bracket, there are some rather interesting improvements already developed to clean that ungainly thing out the engine bay altogether... myweb.tiscali.co.uk/jimilawson/Various/bracket/Jimi%20Bracket.htmlIt improves throttle response too by removing all that slack from several balljoints in the existing bracket. |
| |
|
|
|
|
|
Jun 18, 2013 21:05:48 GMT
|
You aren't the first person to suggest that. I'm going to keep it for the time being. I want to start with it looking fairly standard. Besides I actually quite like it. It appeals to my sense of pointlessness. Time for another update... It's April 2013... Time for alchemy 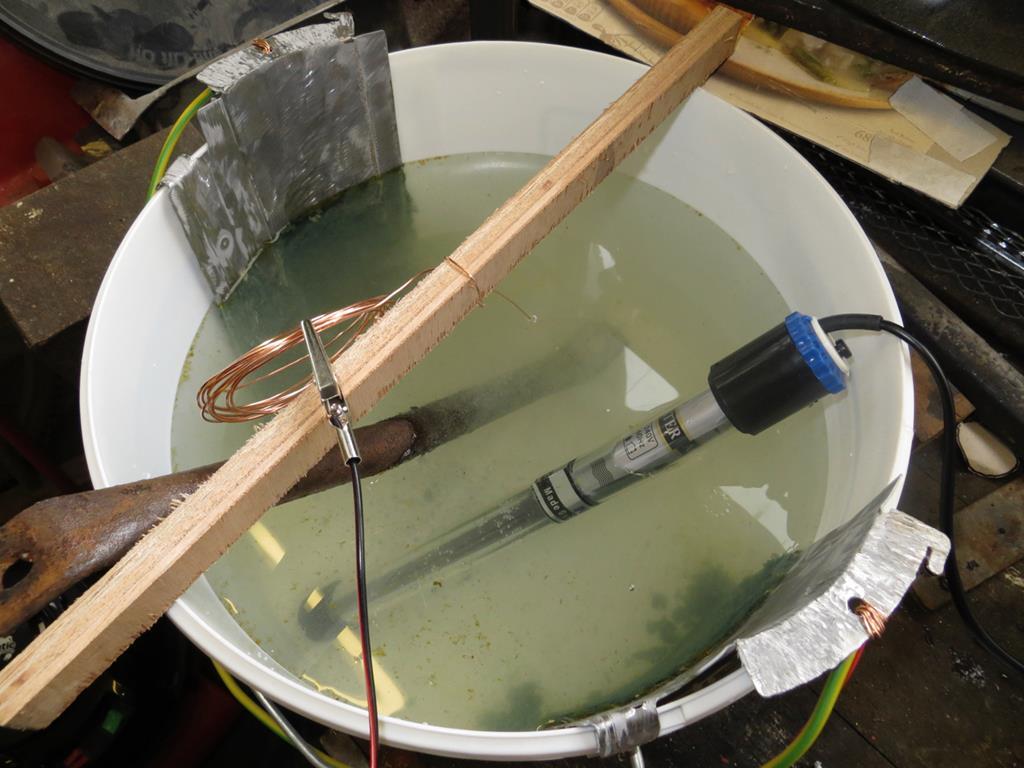 Bubble bubble toil and trouble, Electric burn and plastic bucket bubble. Apparently even the correct bit of that is wrong. It's "double double toil and trouble". Well, that's why I failed my English exams when I was a kid. 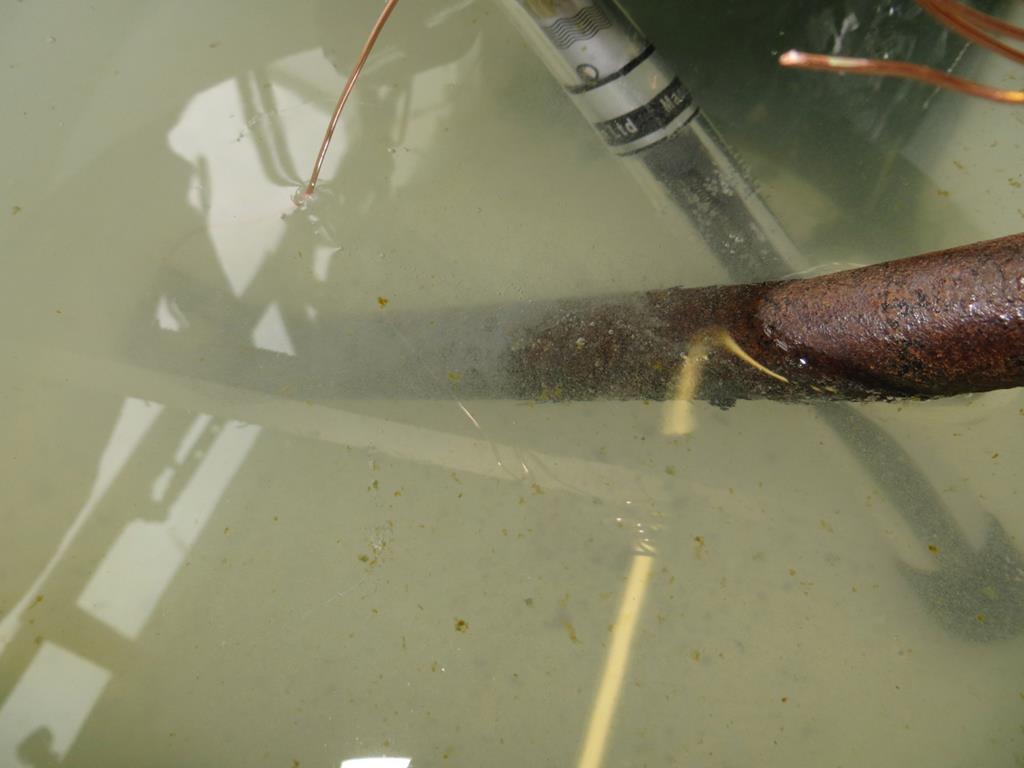 Removing rust with electrickery. And it works too, the rust practically rubs off after it's been in here. The glass tube thing in the bucket is a heater. It was terribly cold in the garage that day. The bit of metal is the back stay that supports the inlet manifold. I finished it off in the media blaster. 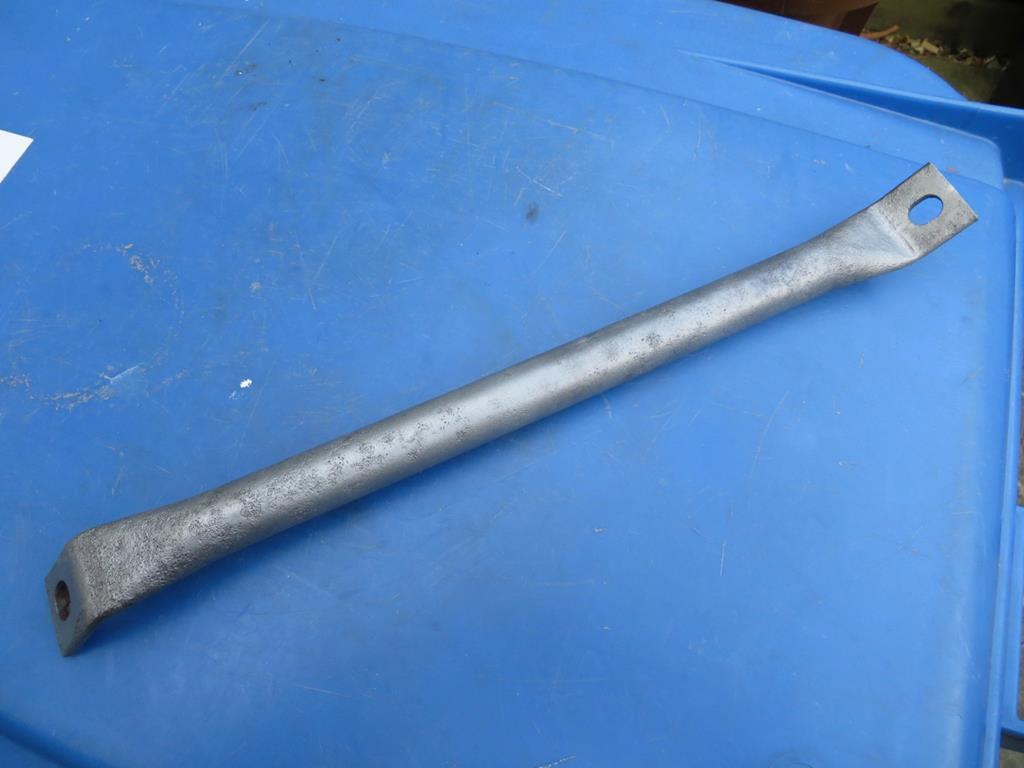 It's painted black now. Having mentioned the inlet manifold... 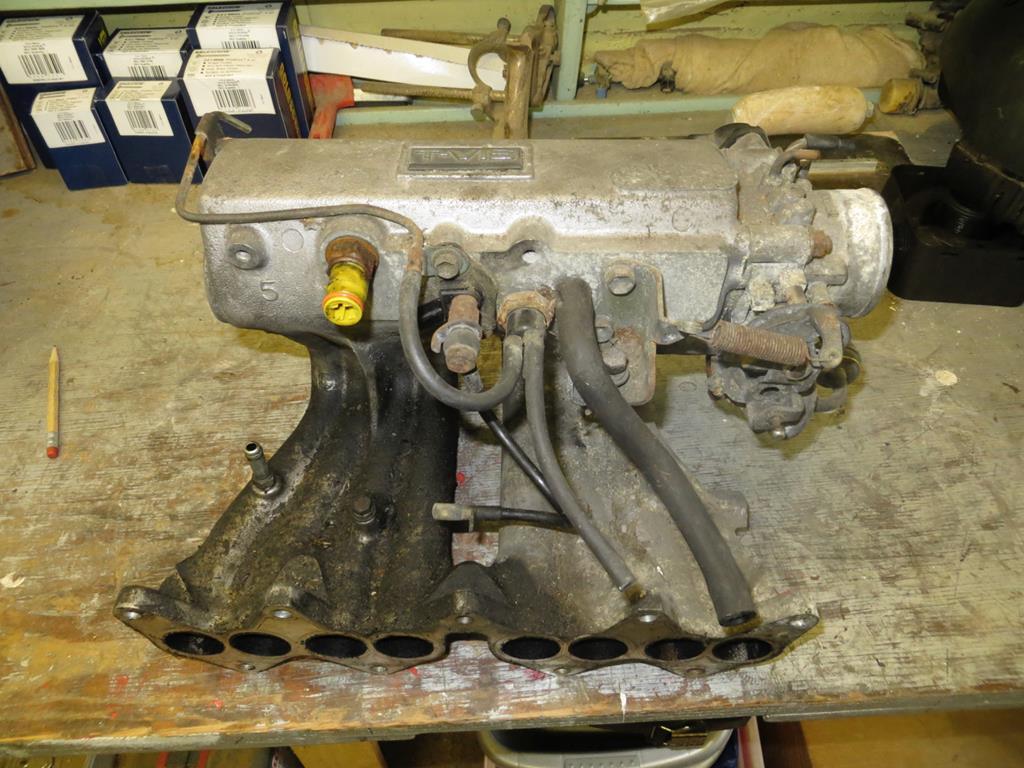 Hmmm. 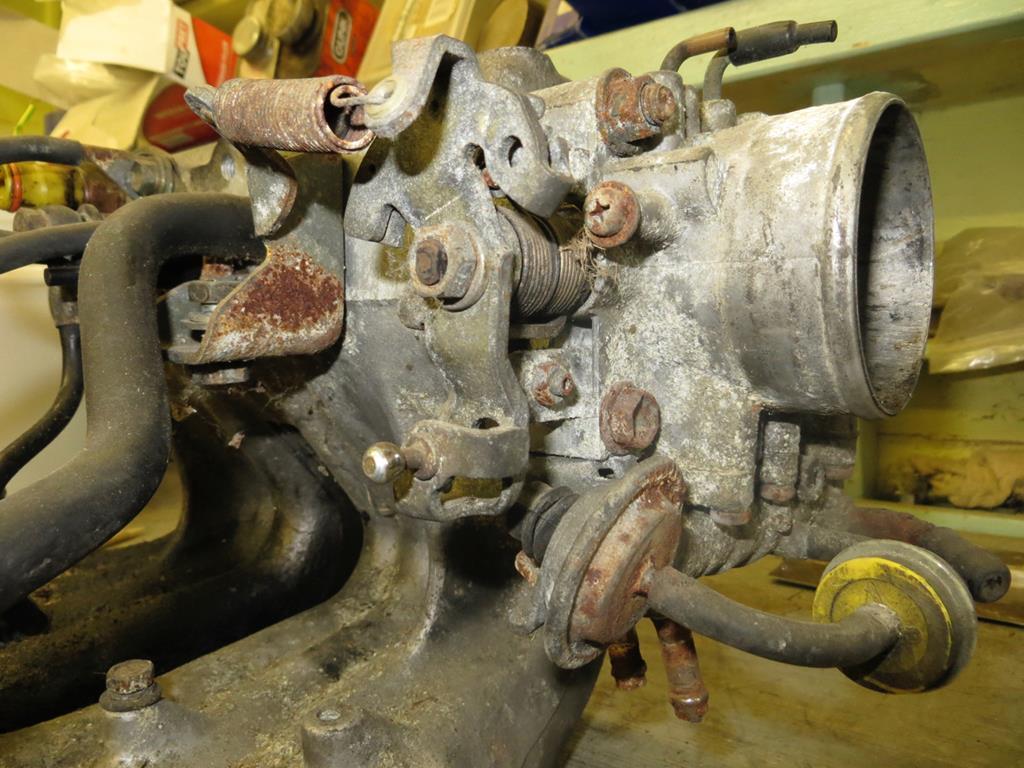 Oh my... Well some time later. Some considerable time later. 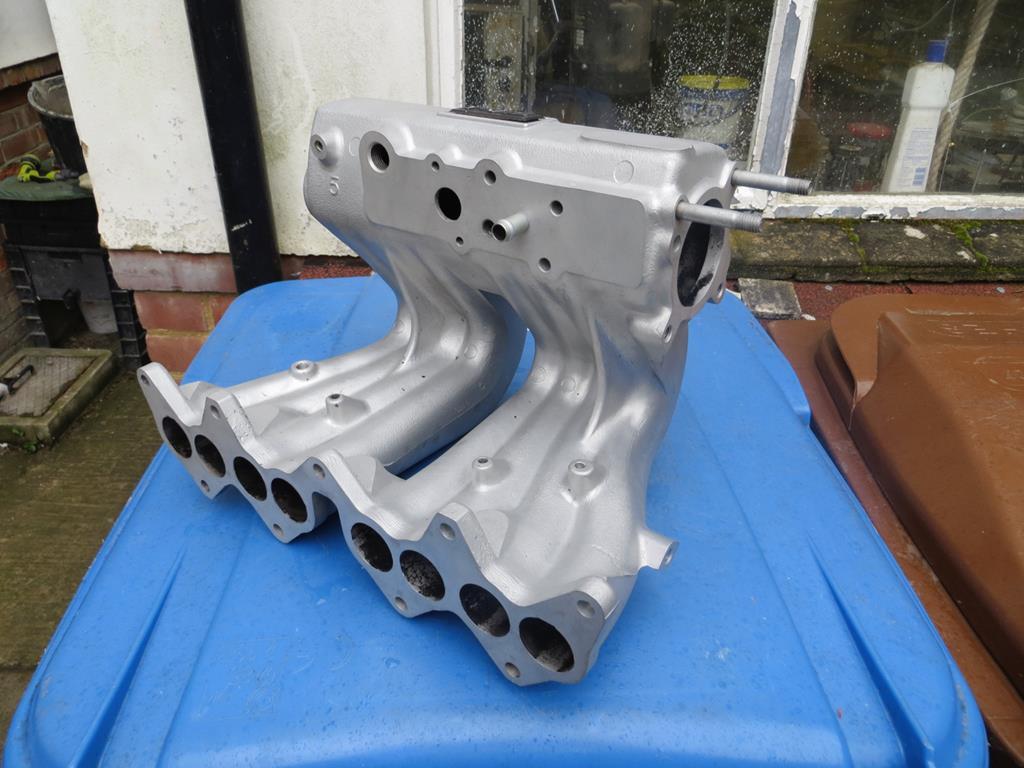 This bead blasting is good eh? Took ages though. Couldn't resist an "old and new" type shot. 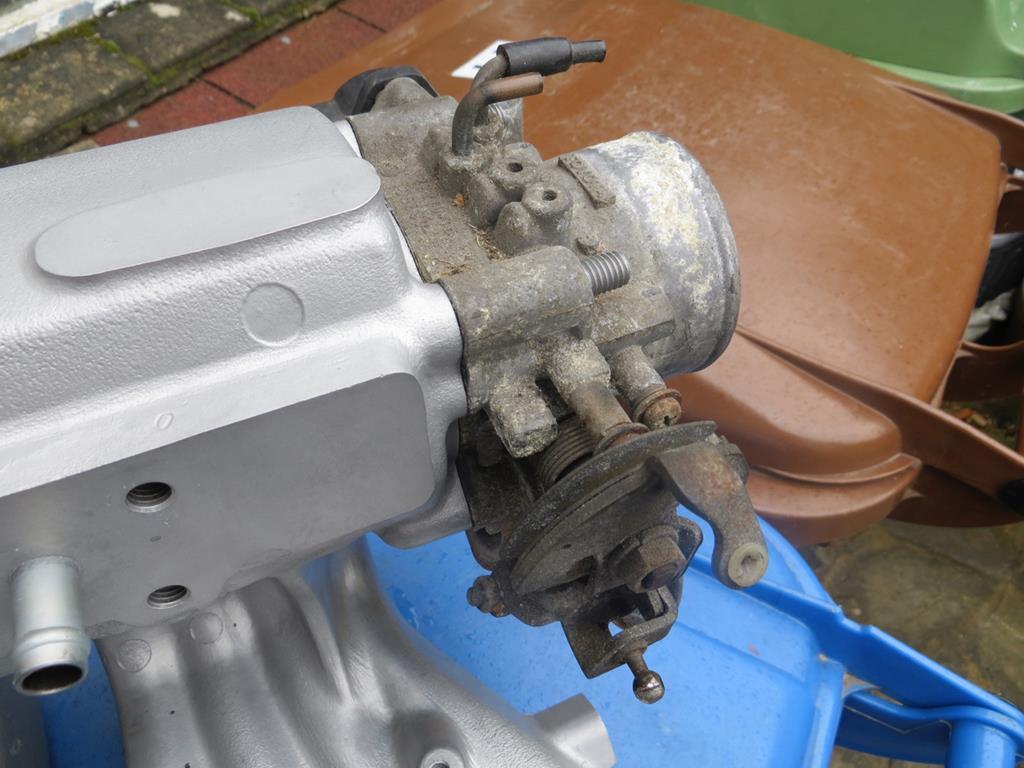 Actually I guess the throttle body is the next bit to do. 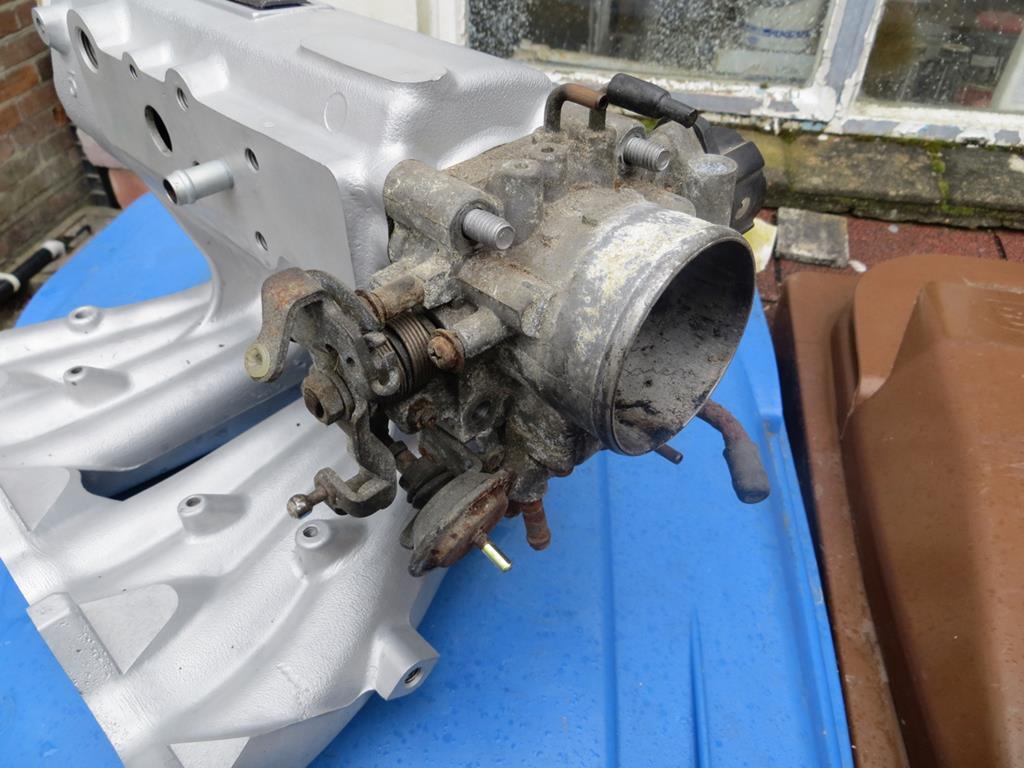 Now on the bottom of the throttle body is the waxstat thingy that does the cold idle speed. 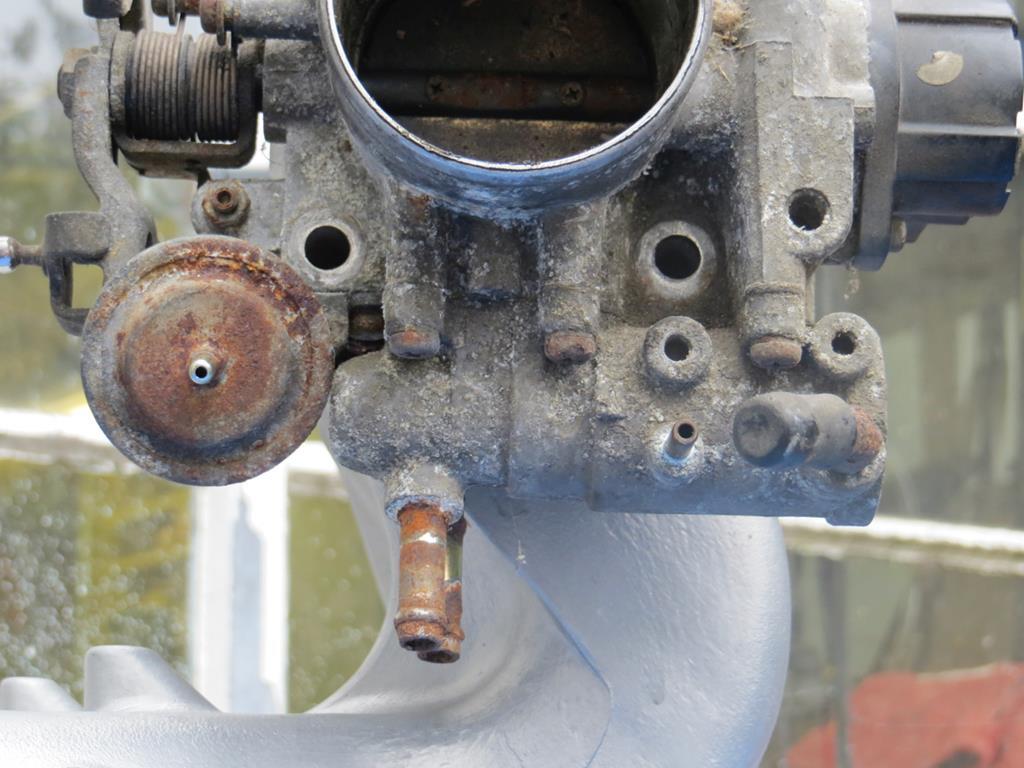 I understand that these are notoriously dodgy. And expensive. I had something similar on the carb of a Corolla many years back. It was curse word then so what are the chances of this working now. I took it off and dunked the end in a tin of boiling water. Hmmm Ravioli. Guess what I had for dinner! By the way, although I live in Kent I'm really a northerner so "dinner" is what one munches on half way through the day. Not something you eat at 7pm. That's clearly called "tea". 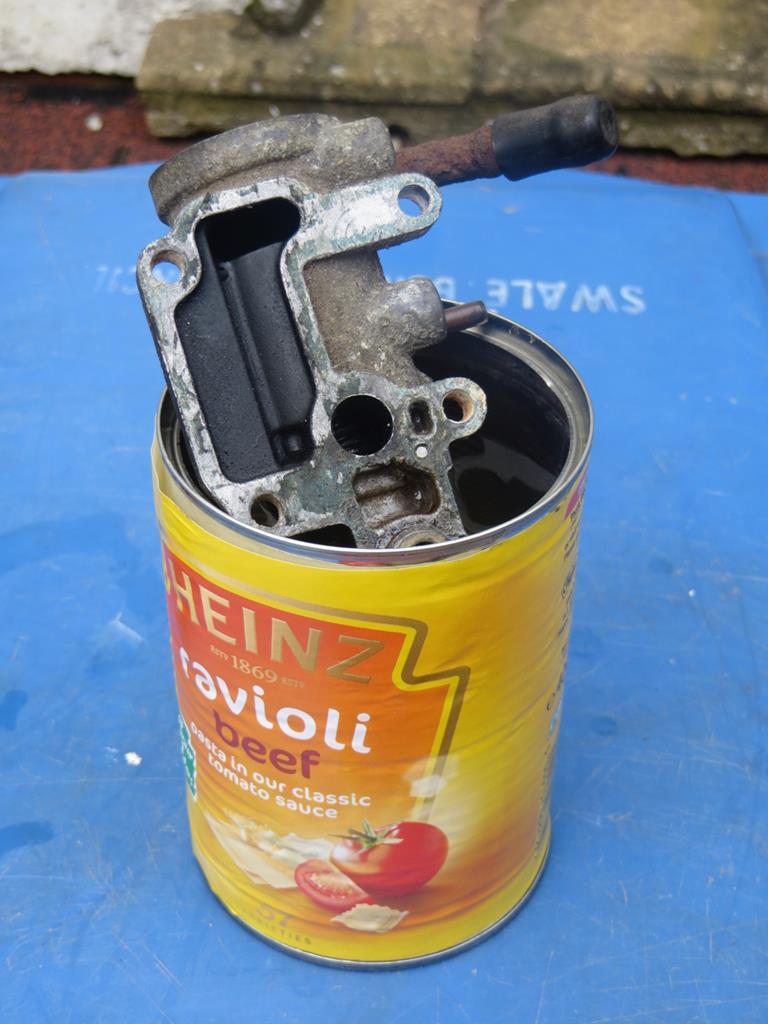 The plunger moved as it should. So I blew down the round hole you can see. When it's hot it should be closed off. And it was. Sort of. It still leaked a fair bit though. The choice was. 1, Tape up the internals and bead blast the outside. Then see how well it actually works when I get the engine running. 2, Blow bead right through it in the hope it cleans the valve surfaces. The risk is that the dust from the blaster gets packed in everywhere and may well jam it solid. I blew bead right through it and washed it out very well. In fact I used the air degreaser to blow a load of soapy water through it. (I did that to the inlet manifold too. Don't want glass bead in the engine.) Well I figure that if I've knackered it I'll have an excuse for the manual choke conversion. So to test it again... 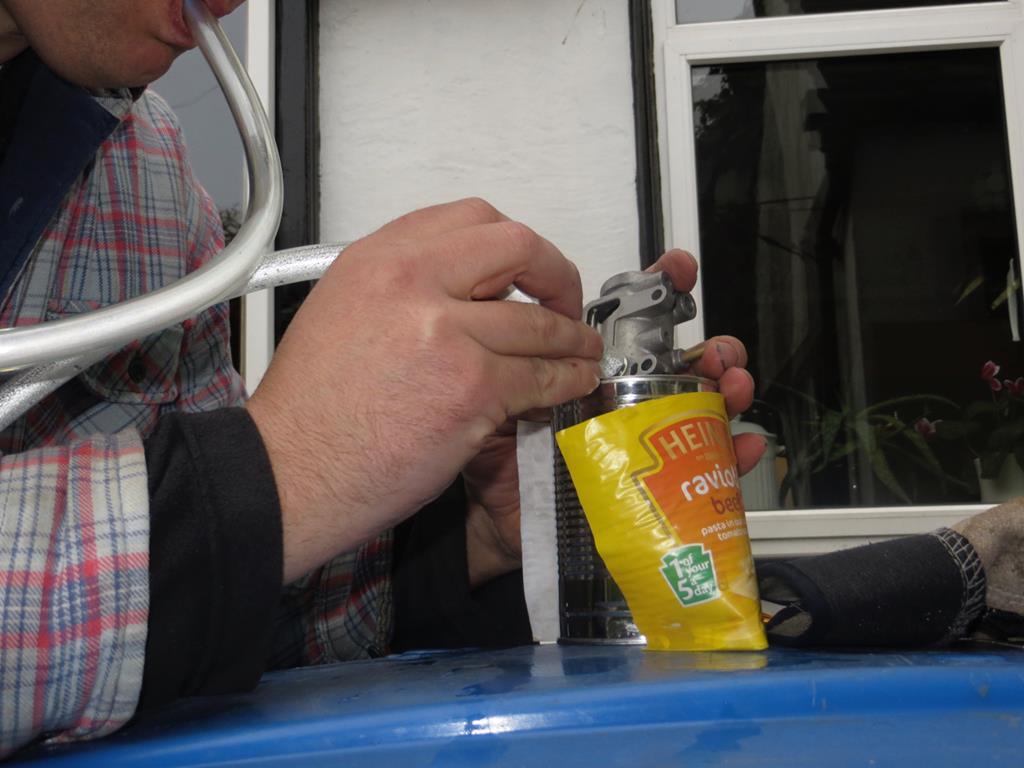 That's a self portrait! Actually it works a little better than it did. Seals better. So now it all looks like this... 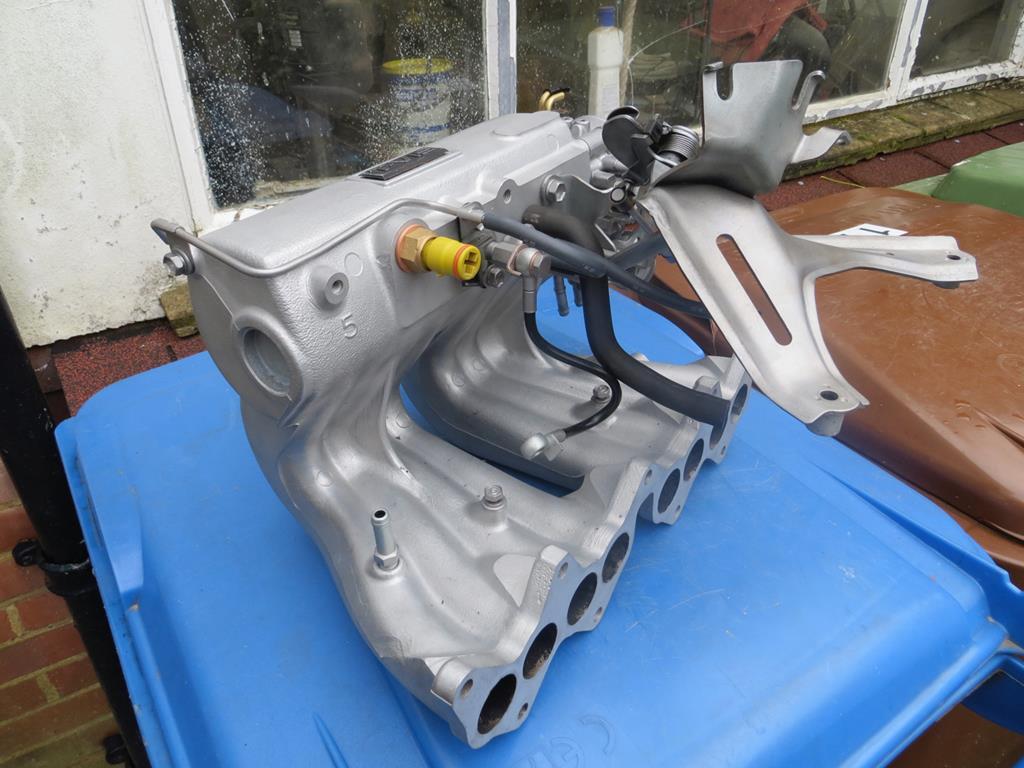 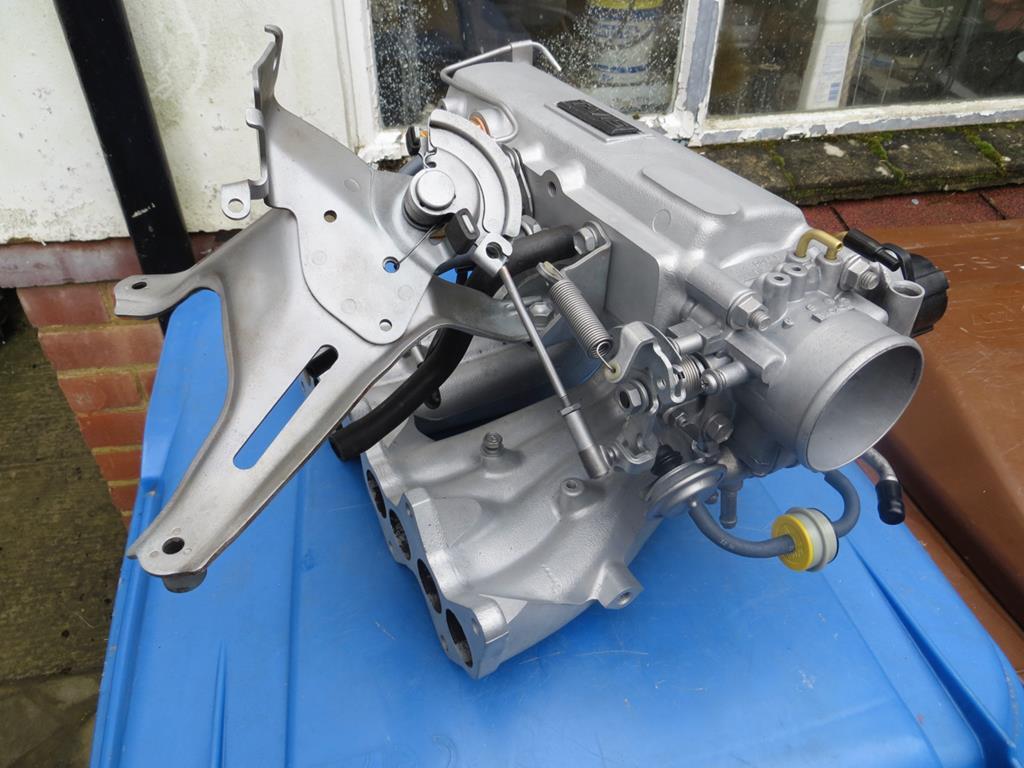 It's just loosely screwed together. There is more to do to it yet but that's a story for another day. It's so nice it almost seems a seems a shame to stick it in this tattered old heap of scrap! 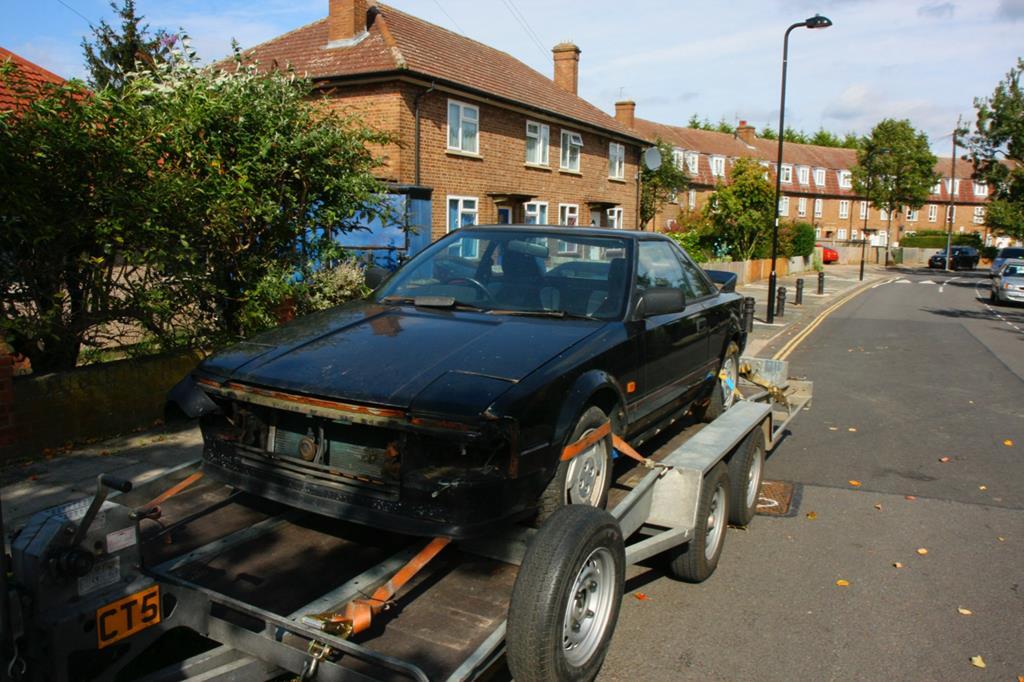 But that's where it's going. Eventually. James |
| |
Last Edit: Nov 24, 2018 22:57:35 GMT by Sweetpea
|
|
ToolsnTrack
Posted a lot
   Homebrew Raconteur
Posts: 4,128
Club RR Member Number: 134
|
|
|
|
|
There is a well documented conversion to solenoid choke if you are that way inclined...
|
| |
|
|
|
|
|
Jun 19, 2013 22:53:09 GMT
|
|
It's on the list if the original bits don't work.
|
| |
|
|


