|
|
|
Jul 23, 2015 16:46:37 GMT
|
|
i reckon radiator got holed, owner poured in every single individual type of stop leak product all at once to try and make some kind of super stopper solution, this (clearly) mashed the entire cooling sytem, then it overheated and died.
p.s brazing a copper radiator is completely legit repair don't play it down due to judgemental cat !
|
| |
|
|
|
|
|
|
|
Jul 23, 2015 20:52:54 GMT
|
|
Did you know that birds are scared of heights? (I'm having a digression - well, it's my thread and I fancy one.)
Today I built a scaff tower up the side of the of my chimney. It's 7 meters tall and is built on top of a 2 meter high car port (with a lot of bracing under it). It's strapped to the chimney at 2 points.
I'm not fond of heights and, to be honest, I was pooing myself a bit while up the top. I'll get settled down when I start work up there.
Interestingly there was a bird on the TV aerial who was also pooing himself. Scared of heights you see.
|
| |
|
|
|
|
|
Jul 23, 2015 22:10:29 GMT
|
Yup, it's a mess. Strangely the head and block looked clear (thankfully). I think a fair amount of the damage happened in the years it stood after the coolant drained but I can't explain the mess some of it is in. darrenh I've repaired quite a few radiators by soldering the hole or cutting out the tube and soldering the ends over. But they were usually rotten and it was a patch until we could get a new one. Doesn't seem to be a problem with modern cars. Maybe radiators are better made these days. Anyway, once I'd finished scaring myself witless up the scaffold tower I had a play with the car. The engine bay is a bit skanky. The idea of bolting all my shiny bits into here has always wound me up. Apart from which I hate getting my hands dirty. 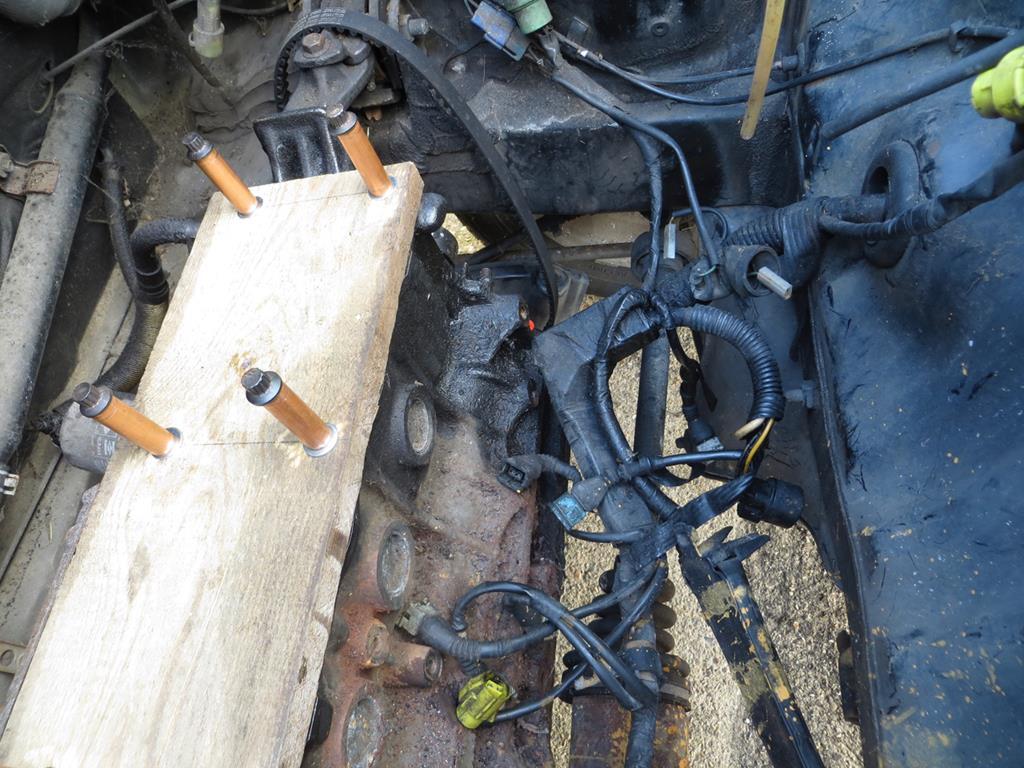 So I poured a load of oil in the bores and bolted a piece of wood over the block. (Here's the gearbox end.) 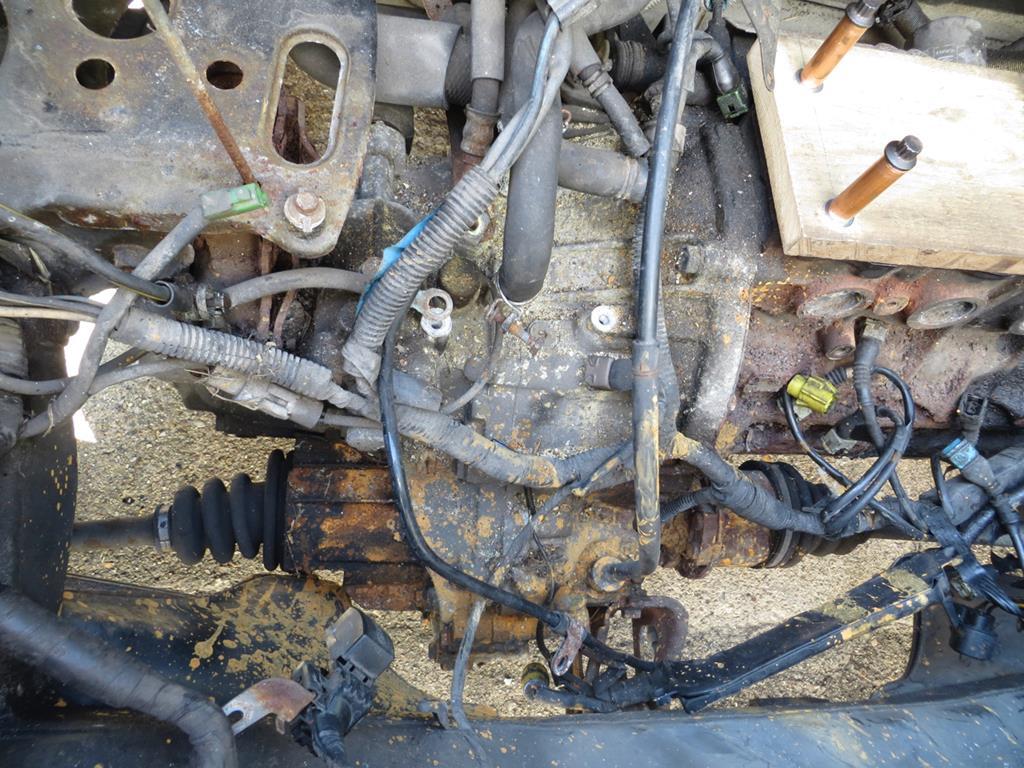 Out with the jet wash. First running hot water through it to knock some of the oil off and then cold at higher pressure. 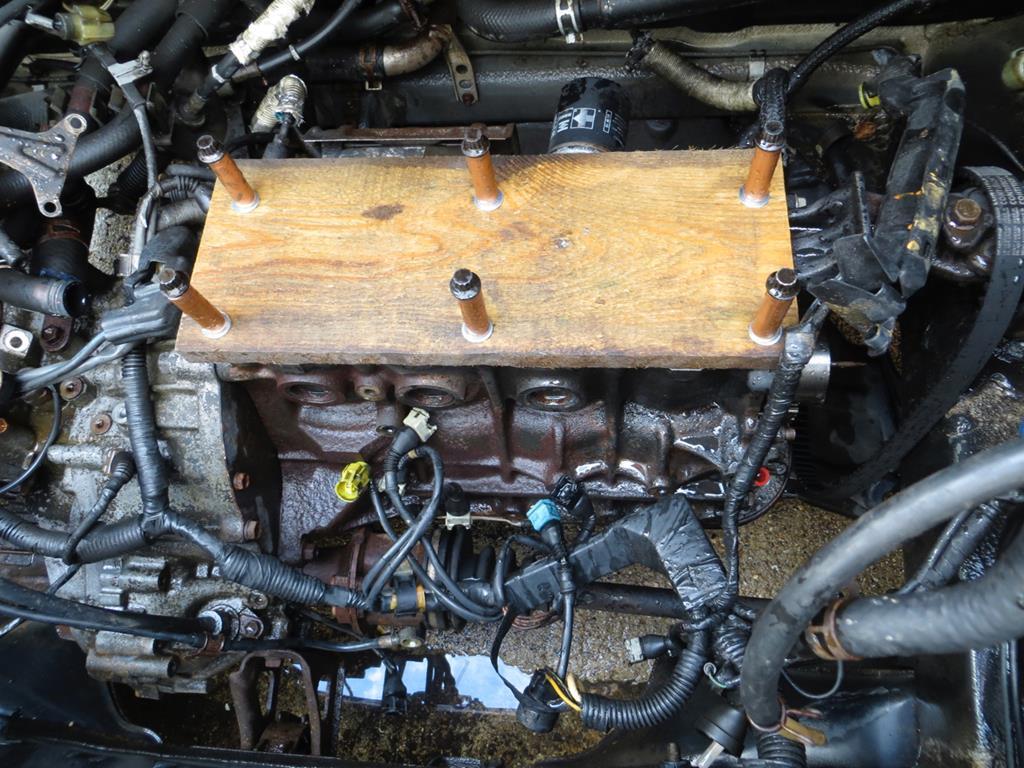 You couldn't call it "detailing" but it's a bit tidier. 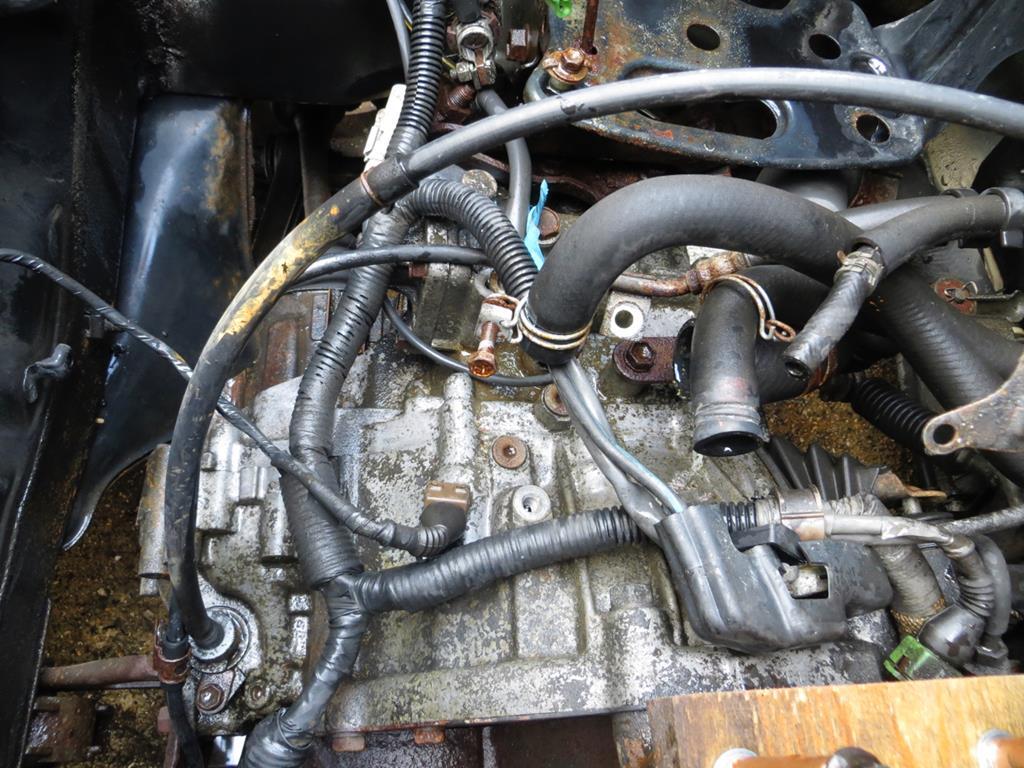 I ran the hose through the coolant pipes that go to the radiator at the front. They soon ran clear. And I swilled through the heater matrix out too. Thinking about bleeding the system I was going to need the bleeding hoses for the radiator and the heater. Nice Mr Toyota provided a pair but what are the chances they are still there? 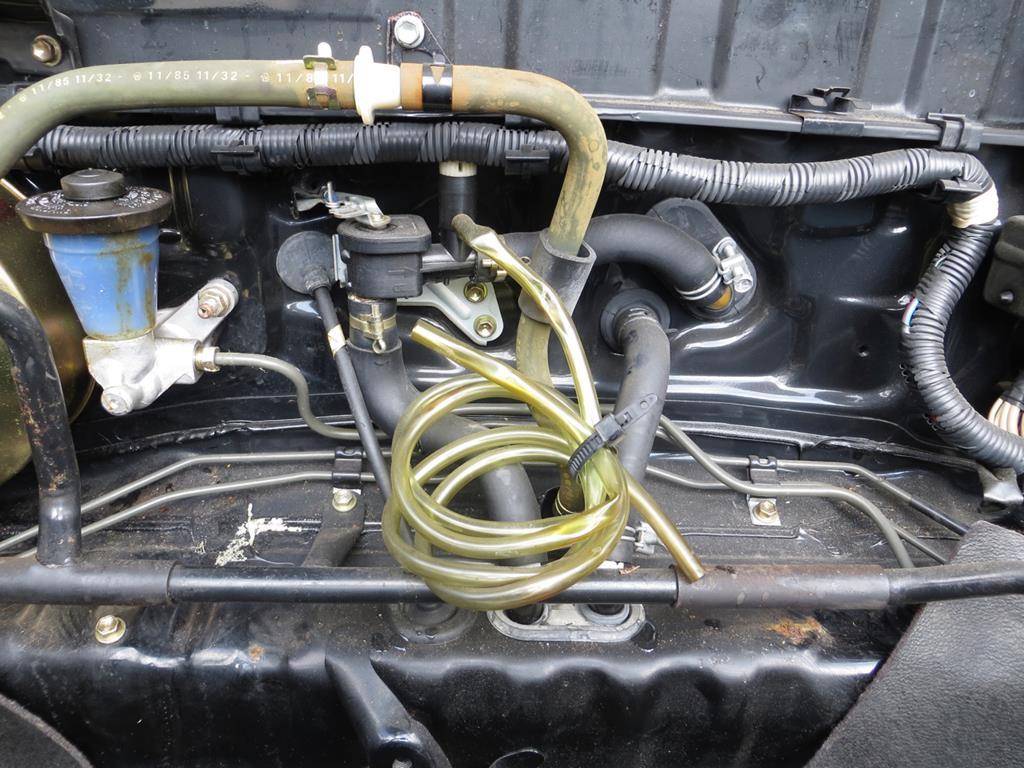 Good heavens, they are! That'll save me a couple of quid. And I found 5p in the glove box. Next I needed to get the front of the car square. I had some evidence that when the bumper tore off it bent the front wall of the 'frunk'. I'll show you in a moment… So first to straighten the bit I knew was bent - the corner of the wing. 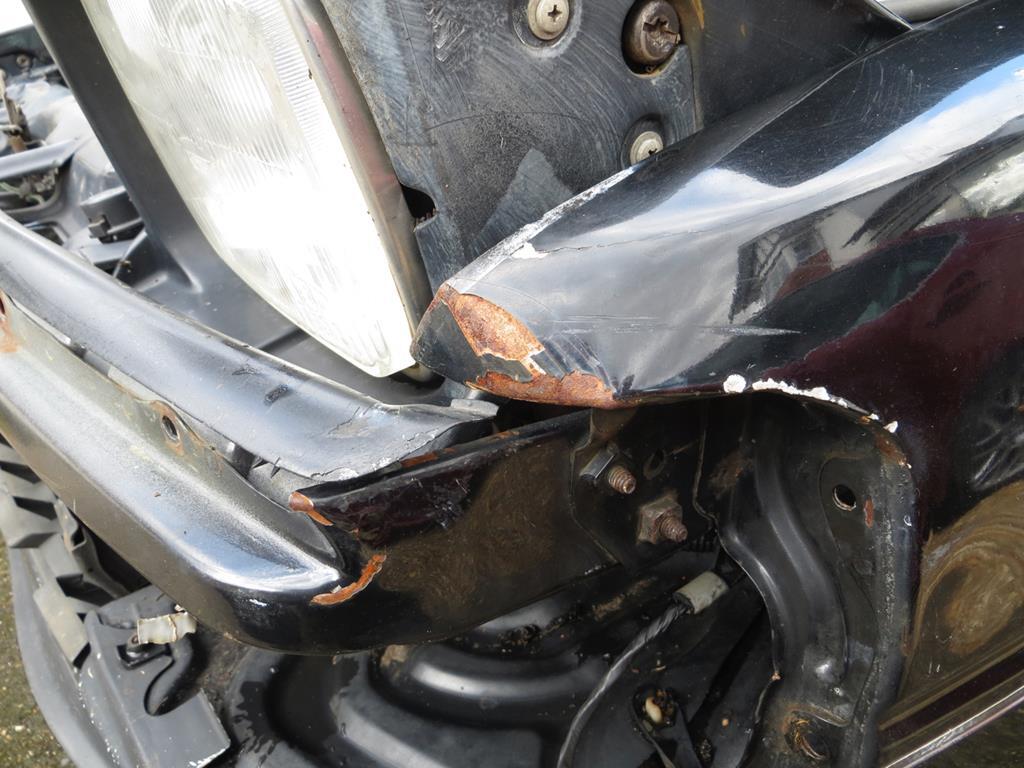 The bumper ripped off at the bottom first and rotated upwards. It bent the front corner of the wing and the headlamp cover on the passenger side. And possibly the frunk… Tweak with a pair of pliers. 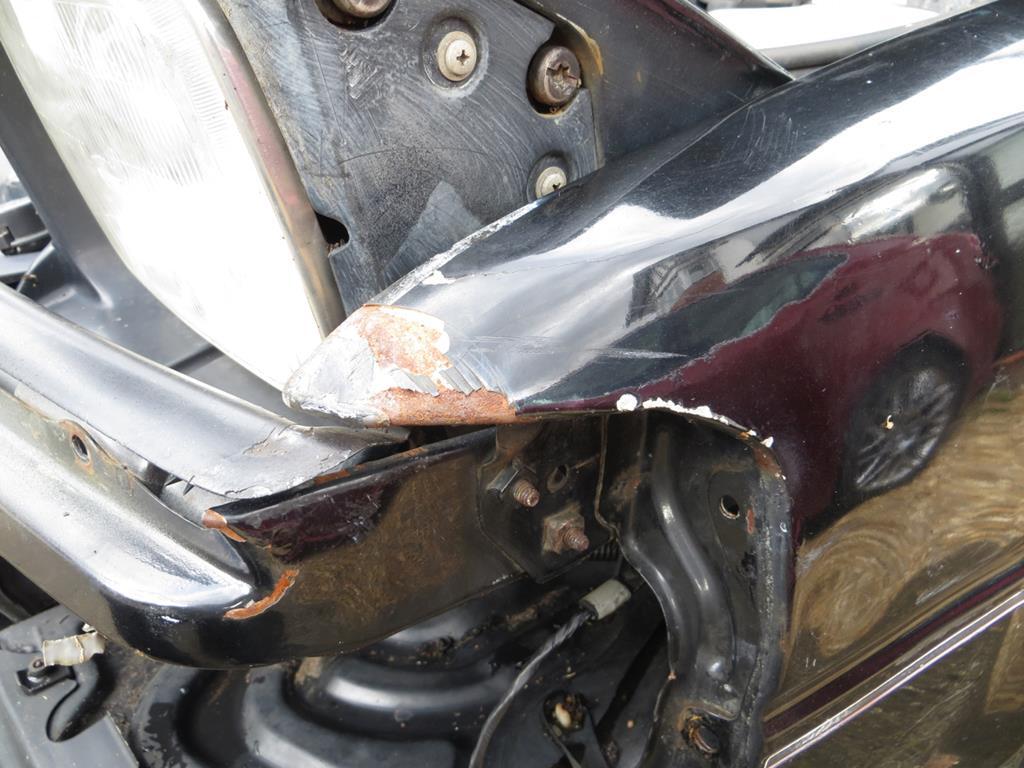 Paint is optional at this point. Call it the rat look. Now look at the lights. This is the drivers side. 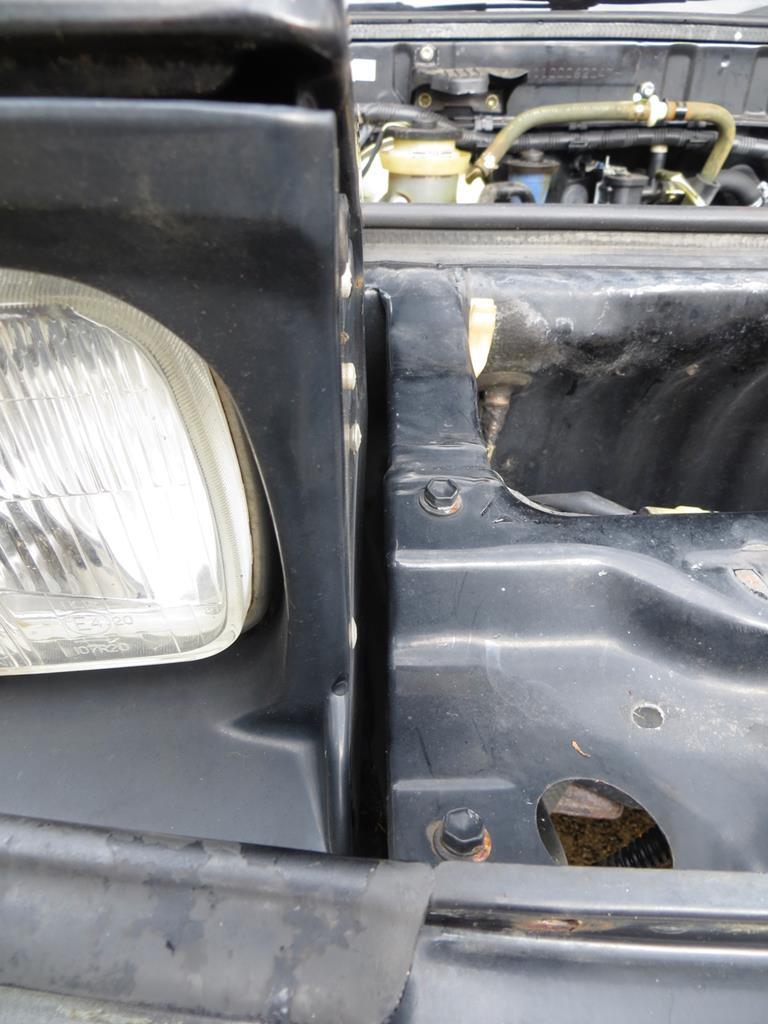 Nice even gap between the light and the car. But on the passengers side. 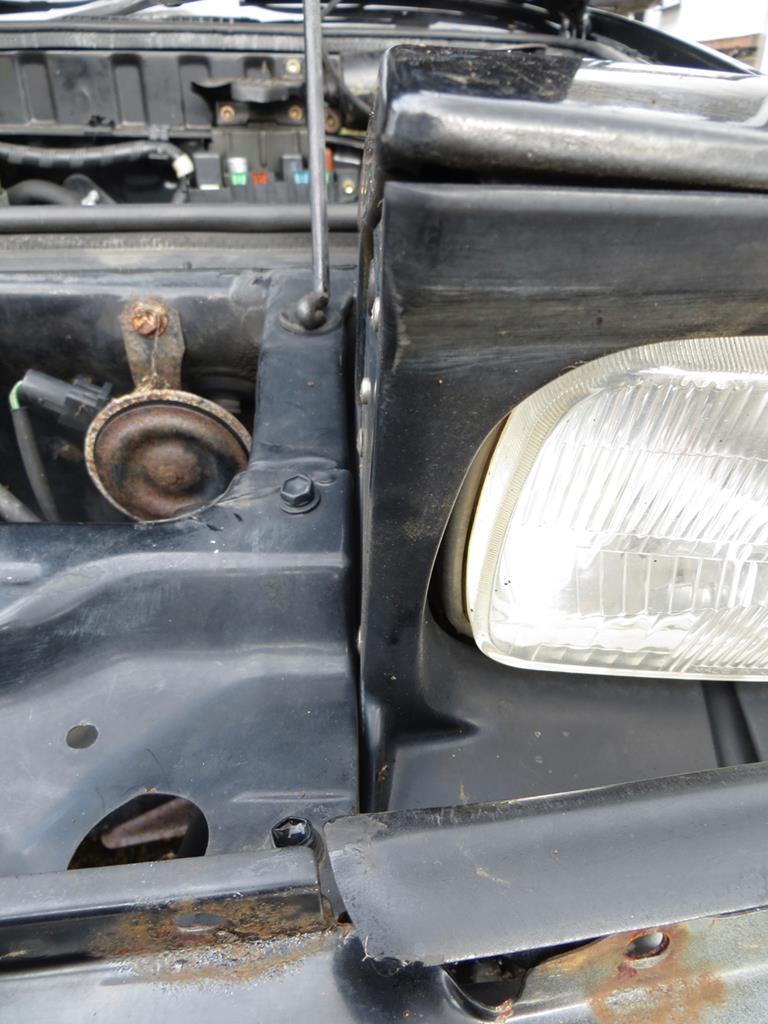 The gap has closed up and the light is actually touching the car. I thought that when the bumper rotated up it pushed the front wall of the frunk back. (The blue arrow in the picture.) 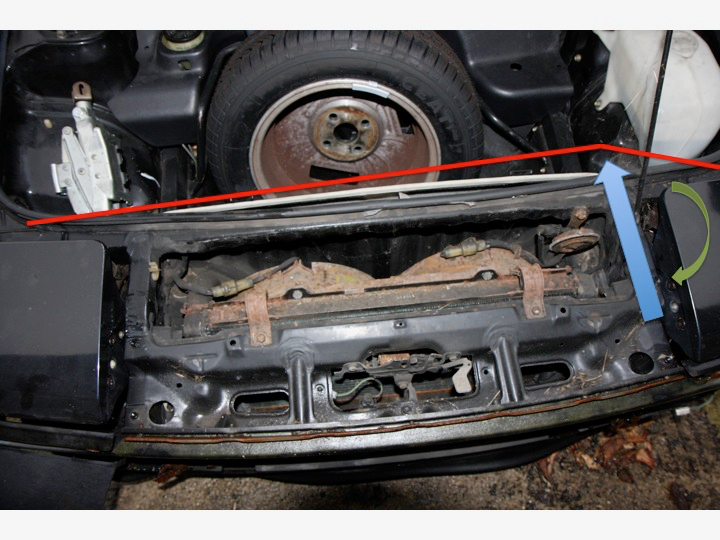 This would have distorted the frunk a little (like the exaggerated red line) and rotated the light in (green arrow). So I spent a while with a measuring stick. Measuring from the bulkhead under the windscreen to the front of the car. And it's perfect. Must be the light mounting bracket then but at the moment I can't visualise how it's moved. James |
| |
Last Edit: Dec 5, 2018 22:24:09 GMT by Sweetpea
|
|
|
|
|
Jul 25, 2015 21:54:11 GMT
|
Stuck the old radiator back on the car. 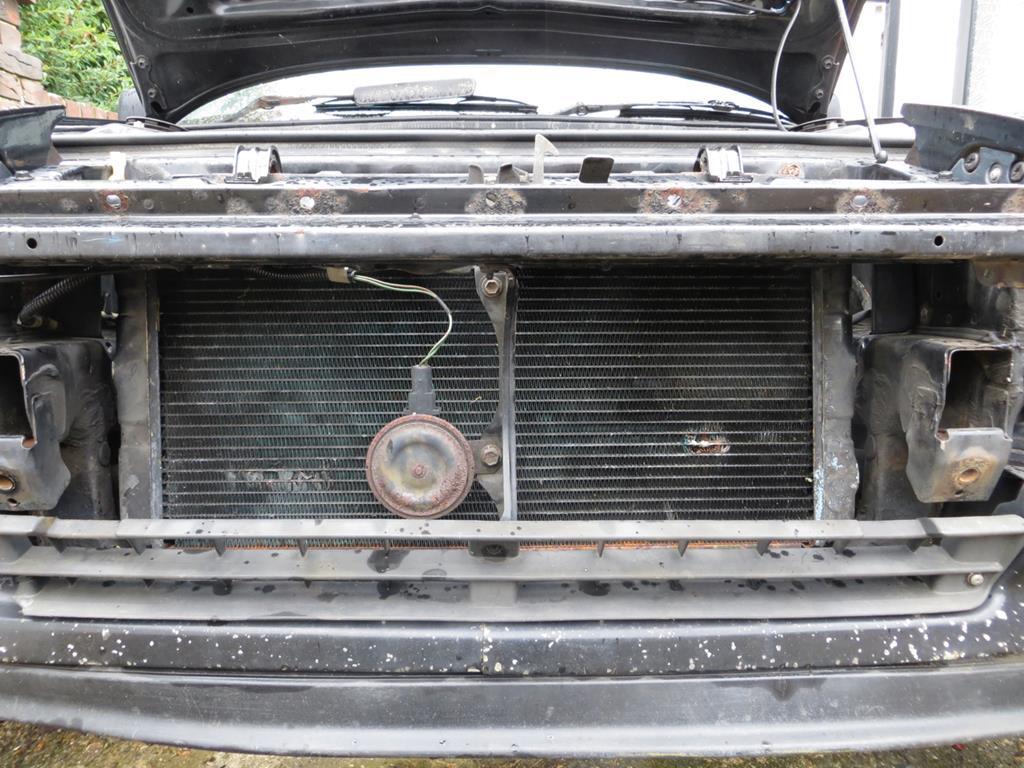 No fans yet because the cowls are still a mess. Well one is. I'd got as far as blowing some paint on the other and then ran out. When the old bumper got ripped off it distorted the flanges that it attaches to. I've been tapping them back into place. 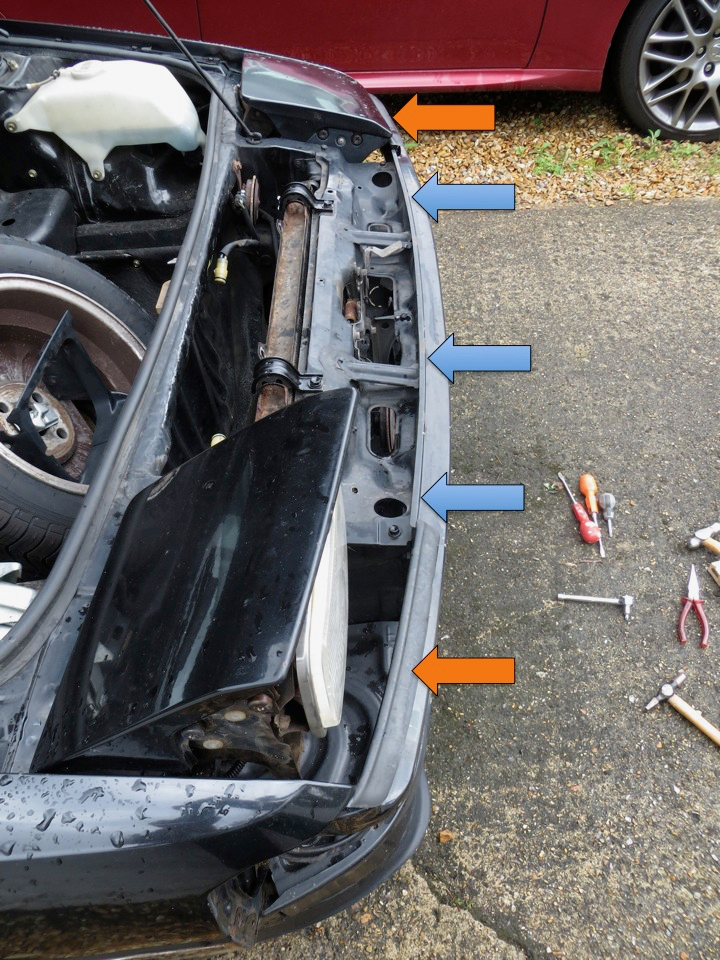 The blue arrows are where the centre section bolts on. It had all moved forwards a bit. I think it needs tapping back a bit more yet. The orange arrows are the 'eye brows' under the lights. The closer one is about in the right place but the far one is still miles out. Replacement nose cone hung on to see how things are lining up. 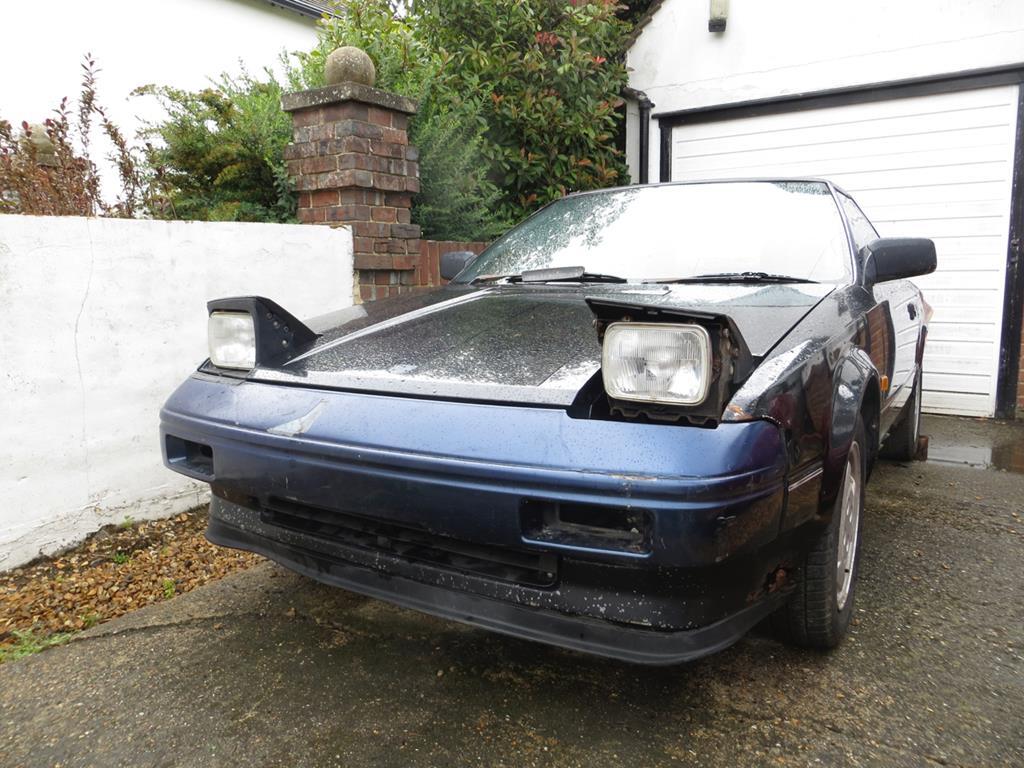 There is a car in there somewhere. Regular viewers will be wondering what's happening to the big metal doofer that goes behind the nose. Well, nothing. I'm sure it'll make an appearance soon enough though. Anyway, look what has returned from the machine shop. 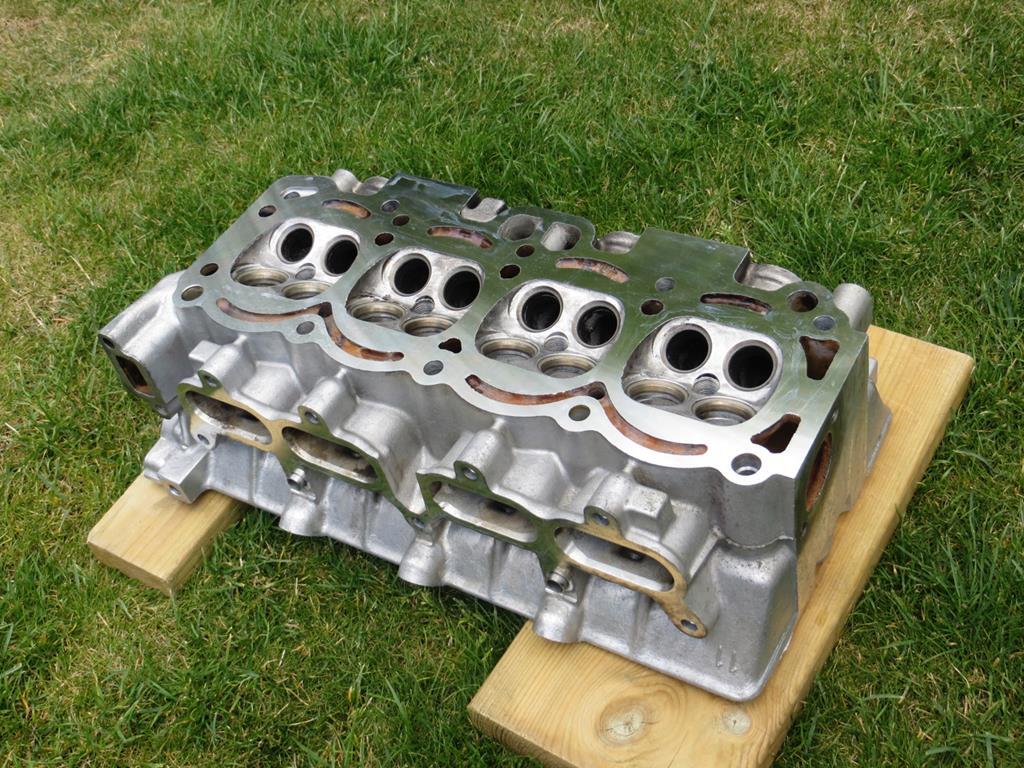 I've not seen anything that sexy since I met Mrs Sweetpea! (She might be reading… You never know.) 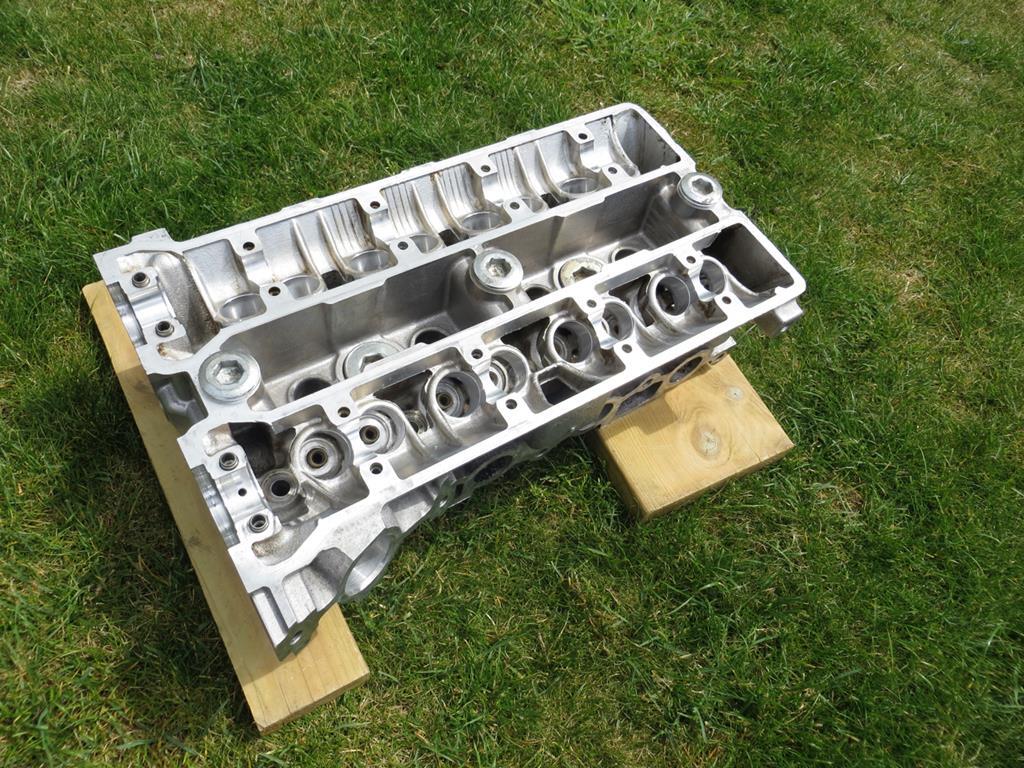 So I've spent a fair bit of today preparing the block. Cleaning out the head bolt threads, cleaning the crud off the mating surface - that sort of thing. Couldn't resist poking the scabby bit on the drivers sill with the car key. 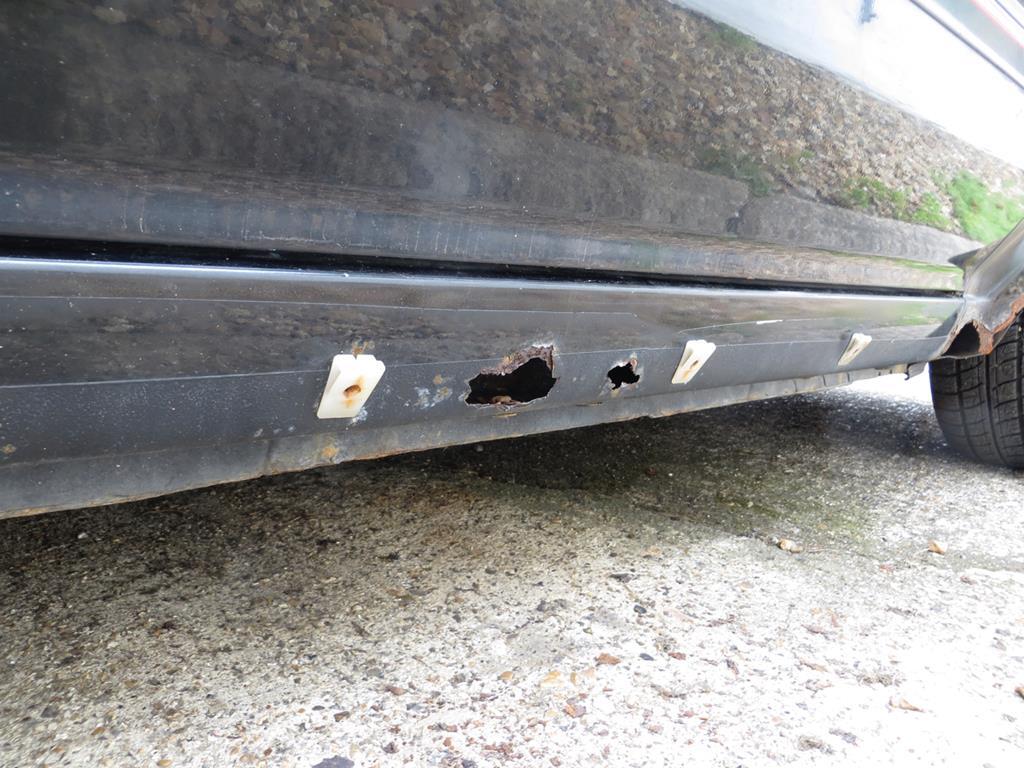 Oh. Well, no surprise I suppose. I poked my web camera down the inside since I now had an entry point. The drivers side looks a bit messy to be honest. The passengers side (which can be accessed where the rear wing has dissolved) looks spotless though. I might post the videos one day if I can work out how. Interestingly the car has no middle sill plate. Just an inner and outer. Toyota must not have thought it necessary on the early sunroof cars and then added it to put some strength back into the T bar version. James |
| |
Last Edit: Dec 5, 2018 22:36:49 GMT by Sweetpea
|
|
oukie
Part of things
 
Posts: 307 
|
|
Jul 25, 2015 22:11:55 GMT
|
|
Hi, the sills pretty good tbh, I've seen a LOT worse,
|
| |
Mr2 mk1 x4
Honda Accord 2.4 Executive (luxo barge)
|
|
|
|
|
|
|
|
mate I really enjoyed reading your thread....keep up the good work!
|
| |
|
|
|
|
|
|
|
I've noticed that I haven't been updating my thread title. Sorry. The only thing I could think of writing was 'Ohh, a nice bit of head' and we've already done that joke. Hi smiffiekiller, welcome to the mad house. I think I forgot to say hello to a couple of people a page or so ago too. Sorry. I was probably actually doing some work or something unusual. oukie, yeah the sills aren't bad. Three years ago when my mate Ian and I... Hang on, this is all his fault. Three years ago when that git Ian and I looked the car over we realised that it although it looked terrible it was actually quite good structurally. If it had had the usual rot in the front 'sub frame' and so on it'd have been crushed. |
| |
|
|
oukie
Part of things
 
Posts: 307 
|
|
Jul 26, 2015 11:32:13 GMT
|
|
Hi, just a side note, as you probably know your car is the mk1a (earlier spec) the front bumper bar that you have been lovingly restoring is the two towing eye mk1a version, which is correct, but the outer skin looks like a mk1b (later spec) now these are slightly different, in style but also the foam inner is a different shape and won't fit over the mk1a bumper bar.
Sorry to be the bringer of annoying nerdy facts, but just looking at your nose cone it may not fit, it's hard to tell from one picture, but it looks like a later spec nose cone too me.
|
| |
Mr2 mk1 x4
Honda Accord 2.4 Executive (luxo barge)
|
|
dikkehemaworst
Club Retro Rides Member
Posts: 1,634
Club RR Member Number: 16
Member is Online
|
|
Jul 26, 2015 11:52:07 GMT
|
|
Just read this thread from start to finish. Although i'm not a huge fan of the mr2 , mainly because i won't fit in them properly , i'm loving the approach of the project as a whole new learning curve , maintaining new found skills. I really like that.
thanks , it's so refresshing.
bookmarked.
|
| |
|
|
|
|
|
Jul 26, 2015 21:29:28 GMT
|
Hi dikkehemaworst. Thanks for your comments, welcome along to the madness! oukie you be as nerdy as you like. I'm now a Toyota valve stem oil seal nerd. This morning I didn't even know that was possible. Anyway, it is actually a Mk1a nose cone (flat fronted). It probably looks wrong in the photo because it's not actually screwed to the car. This'll be the third car that front end has been on. It started on a red (I think) Mk1a. Then it found its way onto a blue Mk1b and it's going on my black Mk1a. Now that's what I call recycling. |
| |
Last Edit: Jul 26, 2015 21:29:52 GMT by Sweetpea
|
|
|
|
|
Jul 26, 2015 21:36:13 GMT
|
Whoa, two updates in three days with pictures and everything! This is getting too much.  Seriously, it's great to see some real progress on this. I have a feeling it'll be a bit good when it's done (one day)  |
| |
|
|
|
|
|
Jul 27, 2015 10:09:35 GMT
|
|
nice to meet u too thank u for the warm welcome....man I love toyota you get looks speed and reliability!
|
| |
|
|
|
|
|
Jul 27, 2015 19:45:09 GMT
|
Whoa, two updates in three days with pictures and everything! This is getting too much.  'Ambassador with these nut covered forum posts you really are spoiling us' Best have another then... Houston, we have a problem. But before that… This is appealing to my inner pedantic self. Everything just right. So I spent ages doing a final lap of the valves. Fitted the new stem oil seals and finally put them all in for the last time. 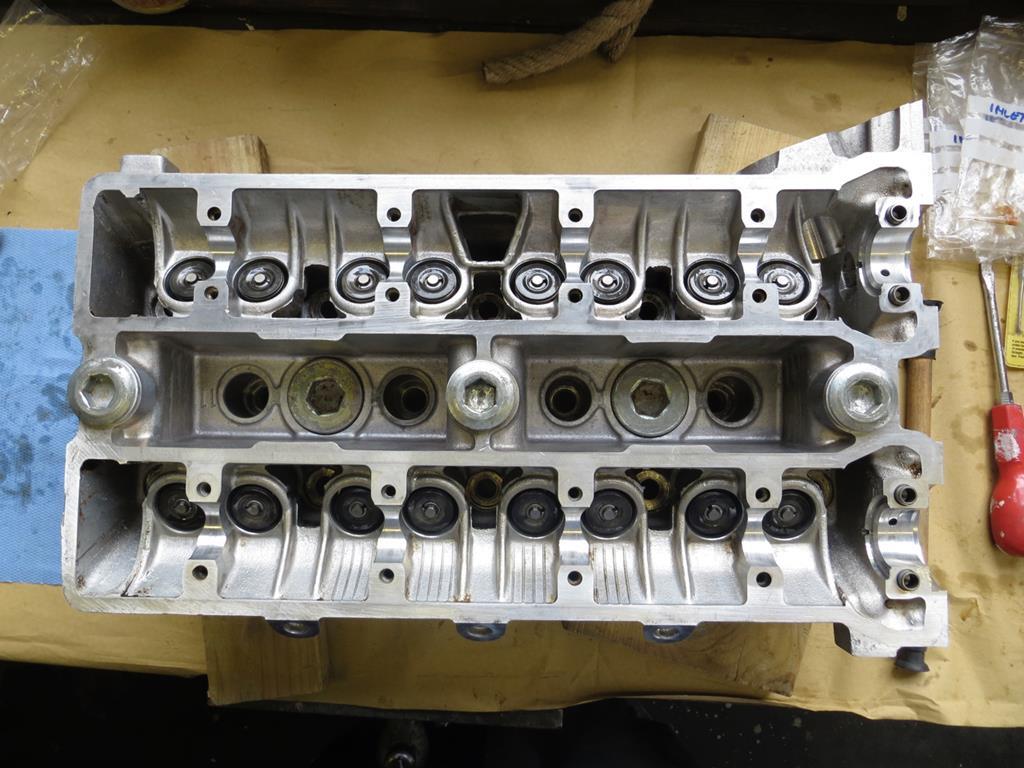 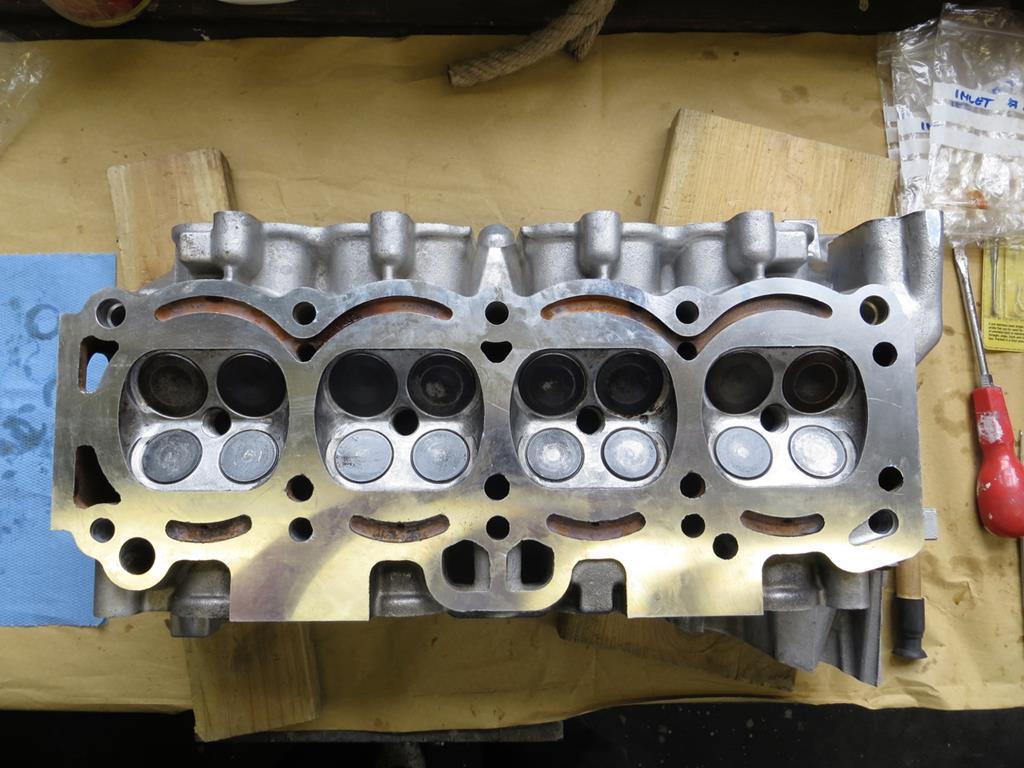 Sweet. Happy James. Can anybody think of a reason why I shouldn't bolt it back on the block? No, neither could I. 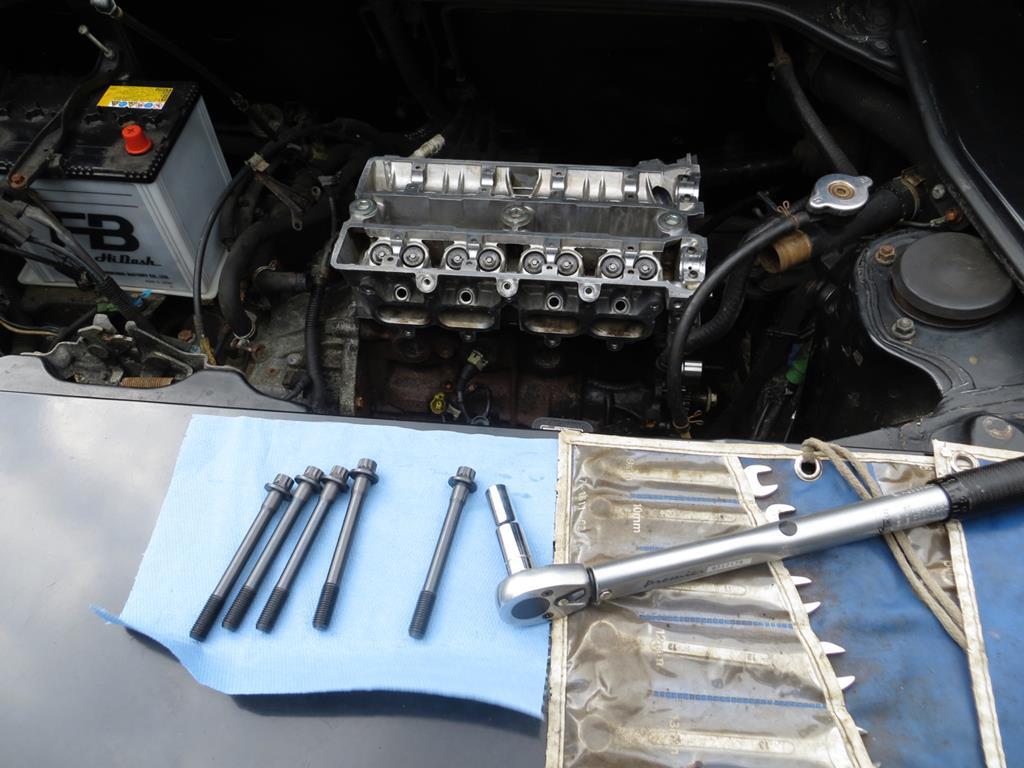 Torquing it down. But granny, what hairy arms you've got. 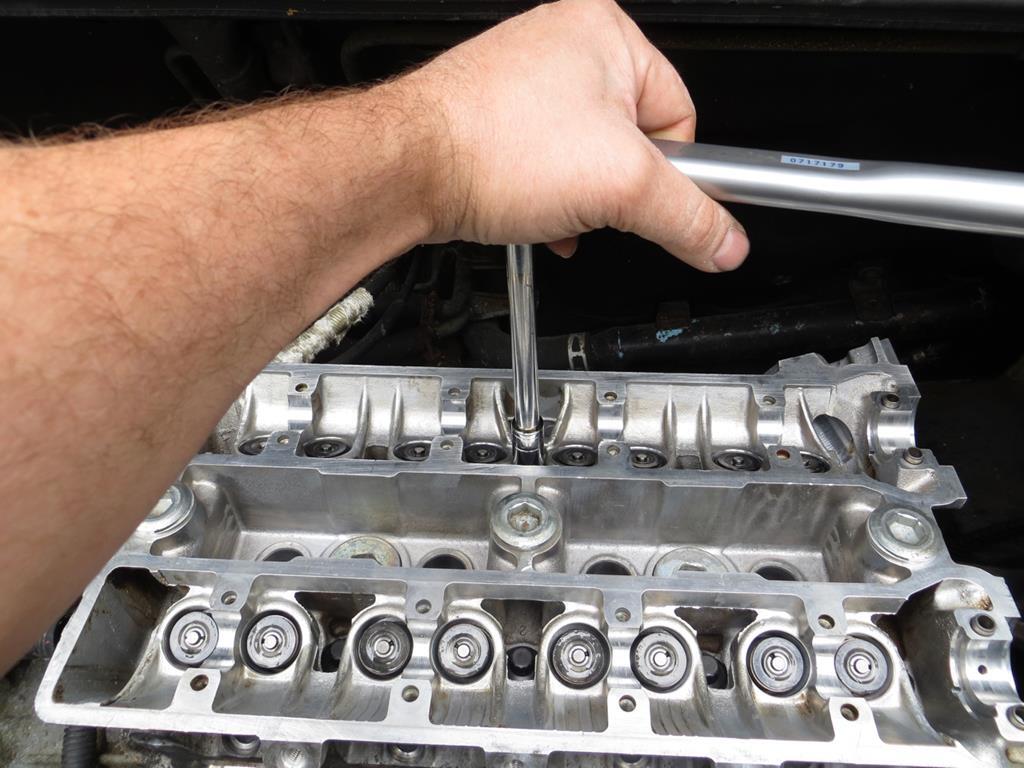 It's more or less at this point that it's all gone a bit Pete Tong. I need your help. Here's my problem.Well, one of them. |
| |
Last Edit: Dec 5, 2018 22:47:38 GMT by Sweetpea
|
|
|
|
|
Jul 27, 2015 20:33:13 GMT
|
As an old pal of mine used to say, "Wind 'em in 'til thread strips, then back off 'alf a turn". You could of course await a definitive answer  |
| |
|
|
oukie
Part of things
 
Posts: 307 
|
|
Jul 27, 2015 22:22:03 GMT
|
|
Go on then, tell us your story of woe, reading with face in hand, if possible.
|
| |
Mr2 mk1 x4
Honda Accord 2.4 Executive (luxo barge)
|
|
|
|
|
|
|
As an old pal of mine used to say, "Wind 'em in 'til thread strips, then back off 'alf a turn". Ah, traditional engineering! We've all done that! Go on then, tell us your story of woe, reading with face in hand, if possible. Oukie, it's in a separate thread. Click this... |
| |
|
|
|
|
|
|
|
|
there's only a couple reason why a fastener has a single destination torque. its either non stretch bolt, or stud + nut combo.
i don't know anything about the history of the 4age to answer your question though
|
| |
Last Edit: Jul 28, 2015 9:17:34 GMT by darrenh
|
|
Speedle
Posted a lot
   Need a Country Rock band in the Hampshire Area? https://www.facebook.com/DirtRoadDiaryUK
Posts: 2,221
|
|
Jul 28, 2015 10:43:31 GMT
|
I'd highly recommend you pop onto MR2OC and IMOC to get a solid answer to the head bolts question someone will definably be able to answer  if you have not already |
| |
|
|
sb
Part of things
 
Posts: 725 
|
|
Jul 28, 2015 15:55:09 GMT
|
|
I do enjoy reading this thread, so I thought I would let you know that, and in doing so I now get a lovely sign saying 'new' when's there's an update to snicker at. Hope you can figure out how best to handle your head.
|
| |
|
|
|
|
|
Jul 28, 2015 22:08:23 GMT
|
Speedle , point taken! I've got a thread running on the MR2 MK1 forum and a PM to a knowledgeable chap there. I'm off to Toyota tomorrow to pick up a pile of bits so I'll ask them too. I'll have a surf on Toymods too. sb , welcome along! So I'm considering my options. Thinking things through. Scheming my plans. Hmmm. Do I tighten the head down more??? Well, no reason why I shouldn't do some other bits and bobs while I'm pondering that. The other fan shroud has been in the blasting cabinet. Well, blasting plastic box really. 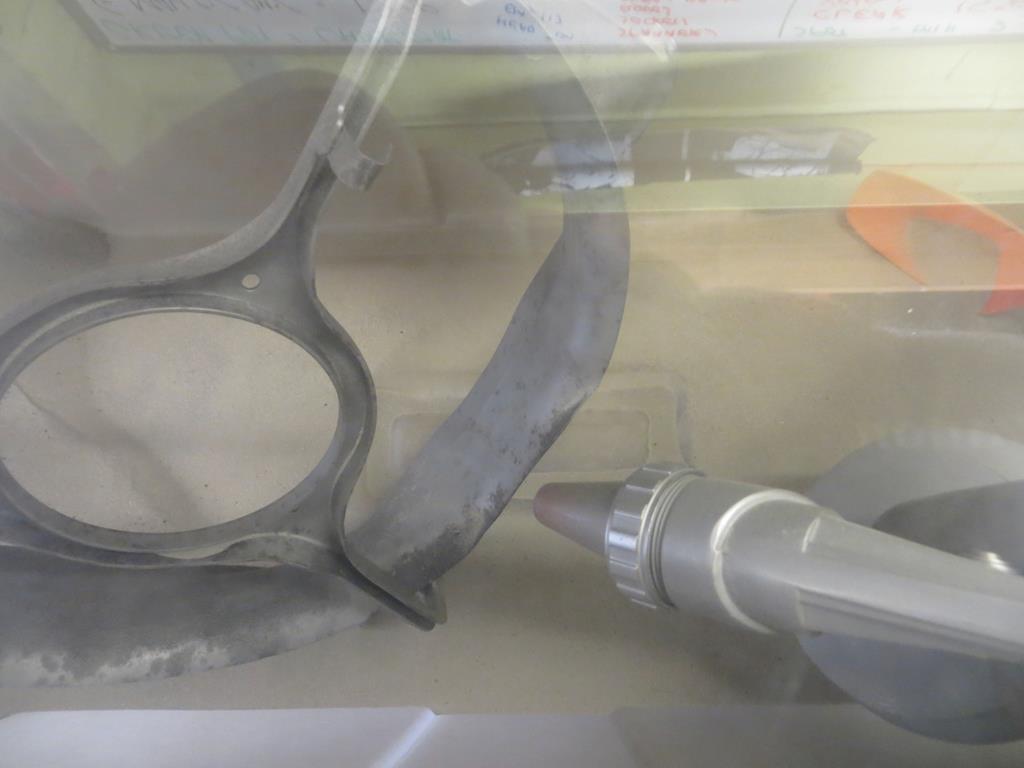 The shroud is a bit big for the box. Pigging awkward to manoeuvre. I do wish the box was a bit bigger but then it wouldn't fit in the loft. Shroud ready for paint. 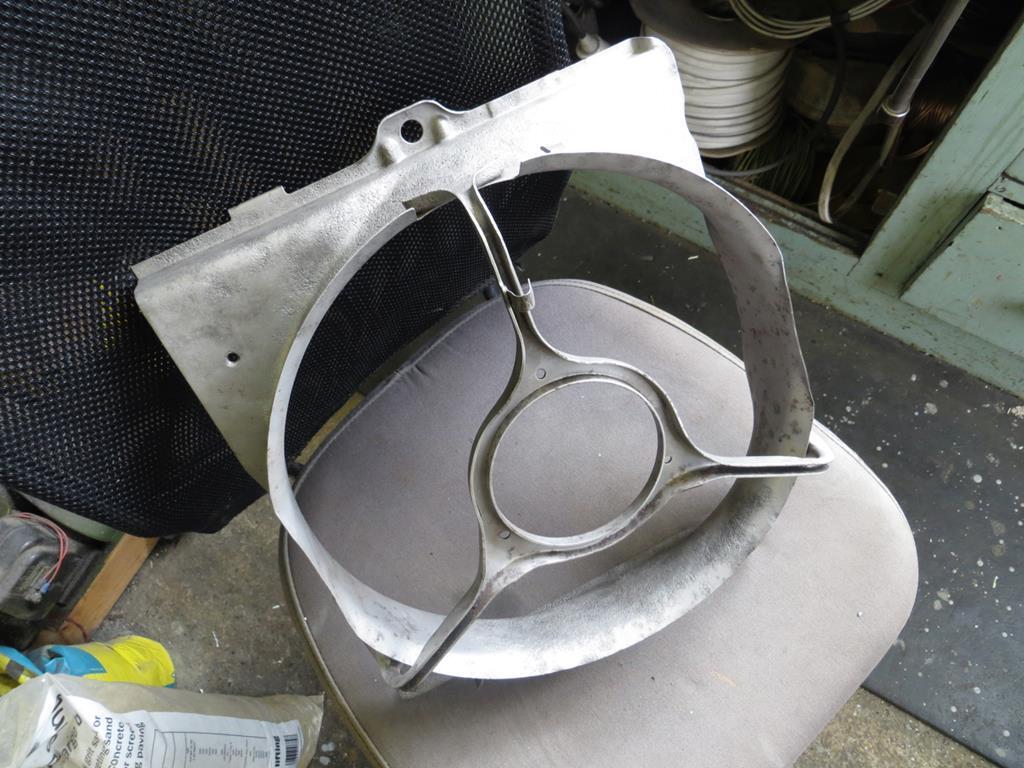 It's a bit thin in places but I don't have time to fix it at the moment. Or, possibly for several years. It'll just get painted to protect it. 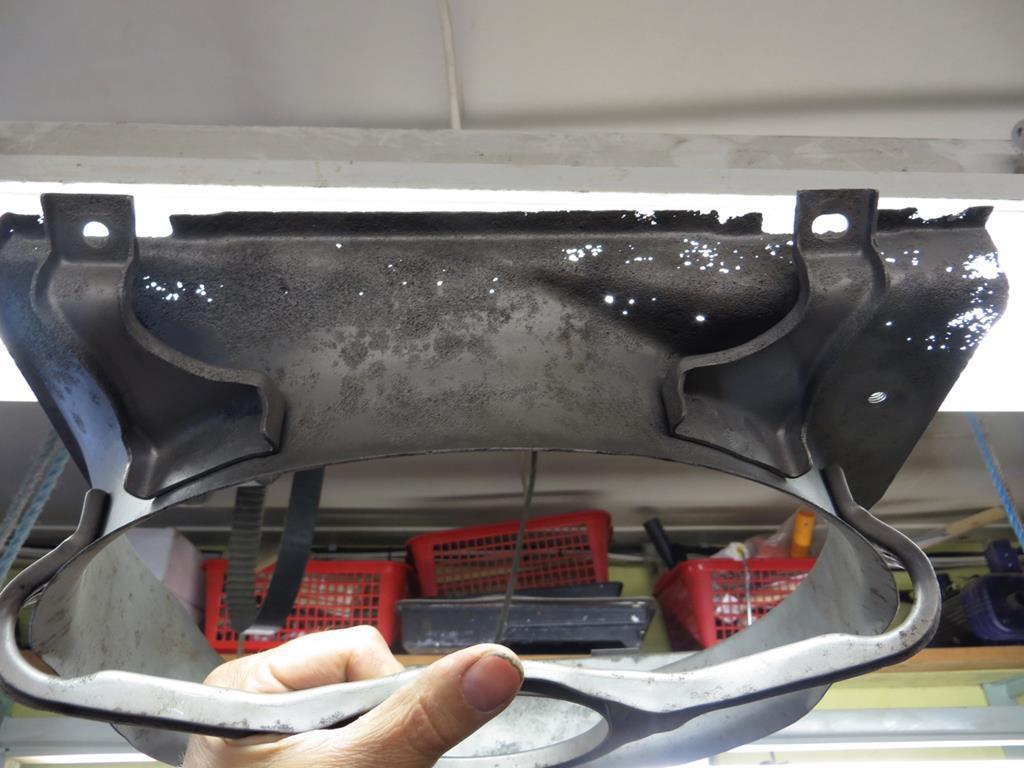 Lacy like yer gran's underwear. But at least it doesn't smell of Lavender. I wouldn't have bothered doing this but I just couldn't bring myself to bolt my nice clean fans to nasty rusty shrouds. Anyway, an interesting dilemma has been troubling me for the last few years. I don't want to spend lots of money on the car only for it to be laid up for another few years. But it won't pass an MOT without spending the money. Catch 22. (Which is a damn good book by the way.) This is especially true of the brakes. I don't want to spend lots of dosh on disks and pads only to have to mothball the car and have them trashed by the weather. It'd be much better to get the car through the MOT and then spend the money when it's being used. Wonder what the brakes are like then? 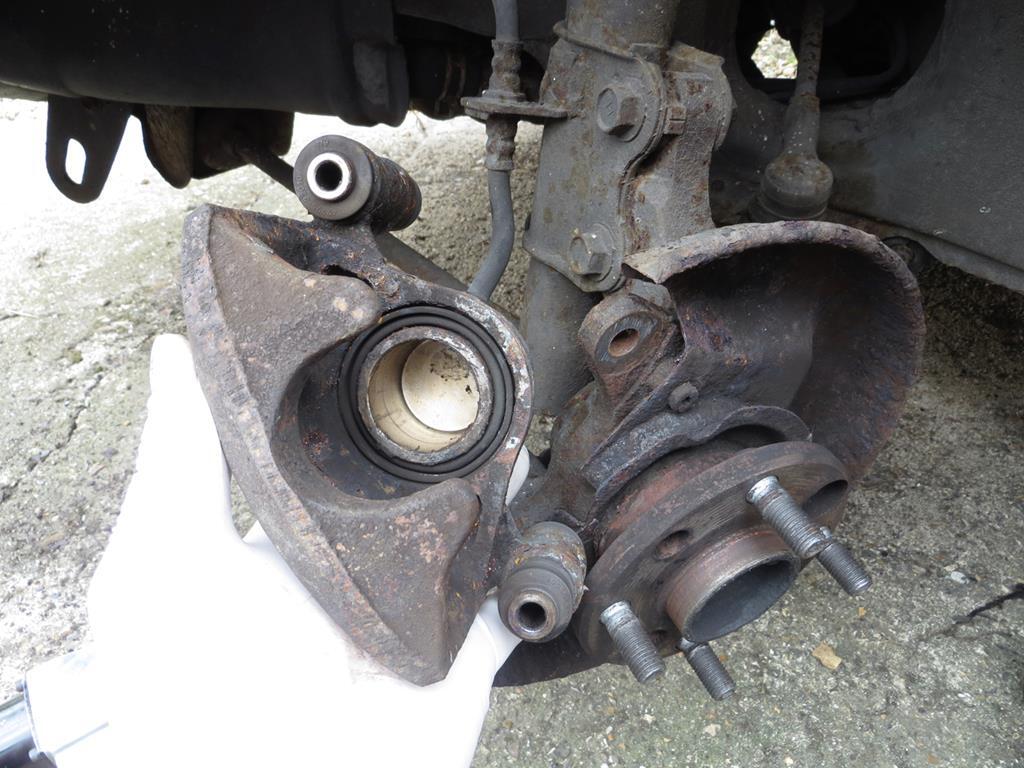 Well, so far, shockingly good - although I've only done the front. The top slider was a bit stiff so it's been cleaned and rebuilt. The pistons weren't stuck as such but freed up a bit by being exercised. 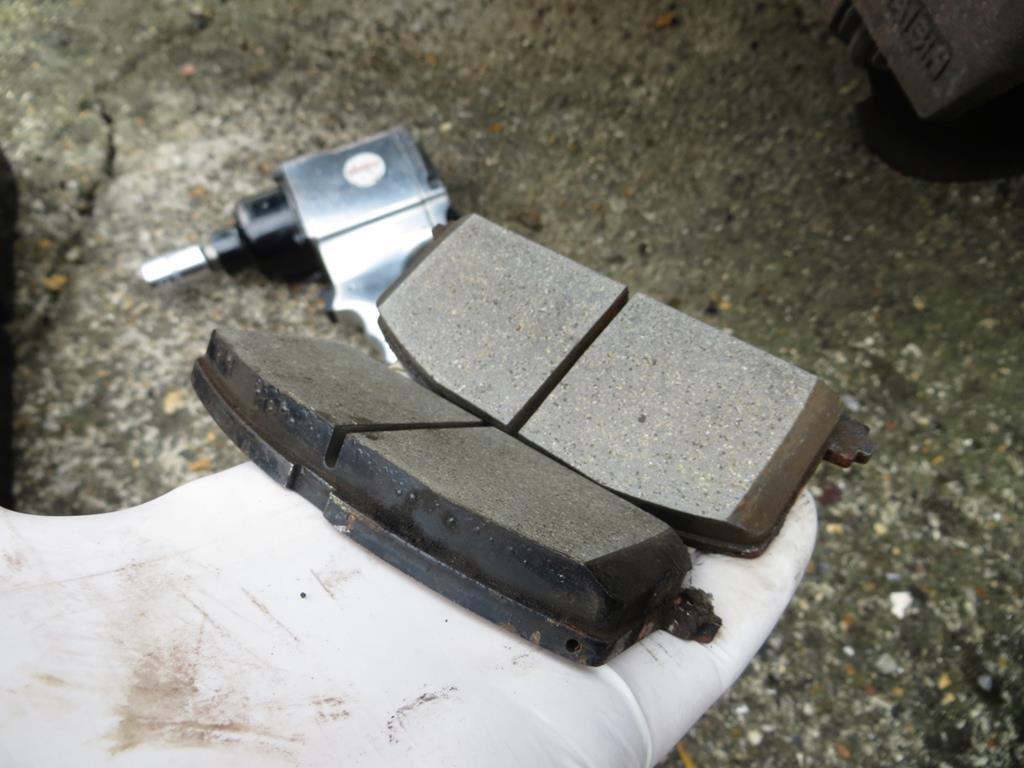 The pads look almost new and once I'd cleaned the surface rust off the disks… 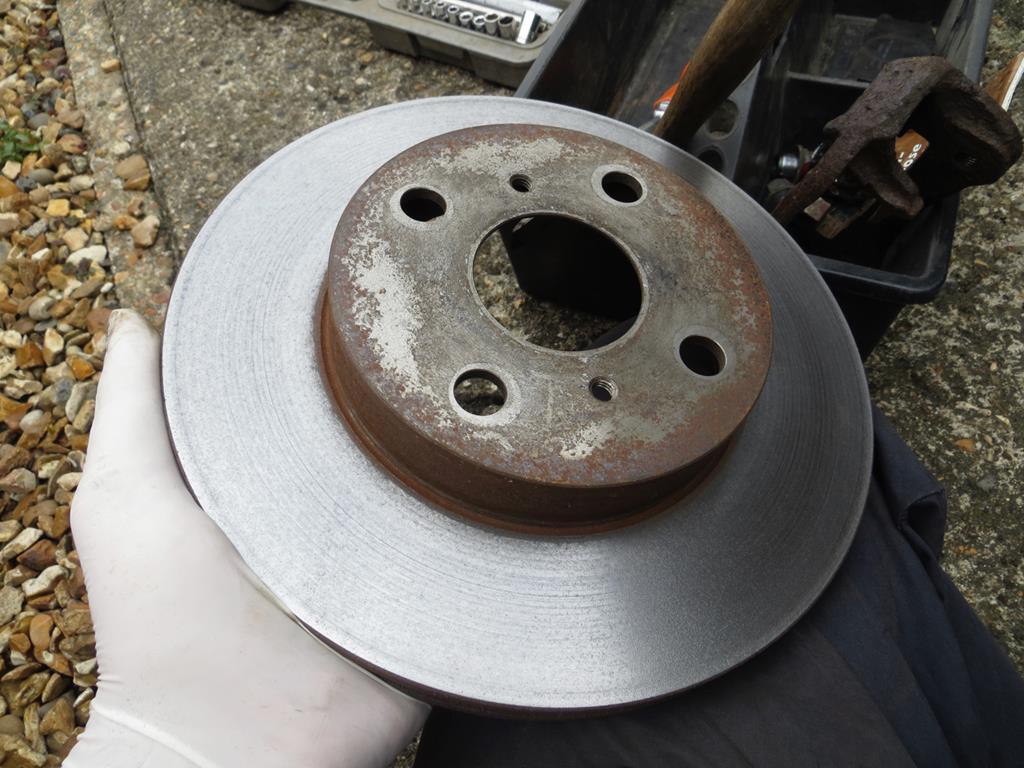 …they look very good too. I think there might be a bit of run out on the drivers side but I haven't measured it. It's just an inkling. The anti-squeal shims are missing though. Hoses look fine. Wheel bearings are quiet and I can't feel any slop in the ball joints. The tyres look fine but may now have flat sides from standing so long. Time will tell. All in all the front is in quite good fettle.
|
| |
Last Edit: Dec 5, 2018 22:56:14 GMT by Sweetpea
|
|


