I know… I’m sorry.
You want a nice story with a beginning, a middle bit and a happy ending.
What you get is bit of a story here, more bits there. Bits splattered all over the place. It’s hard to follow. Messy. Unkempt.
For example, you remember me putting new bulbs in the lights? I said I was going to make a remote switching relay box to try and get them a bit brighter and to take the load off the old switchgear. What happened? Well…

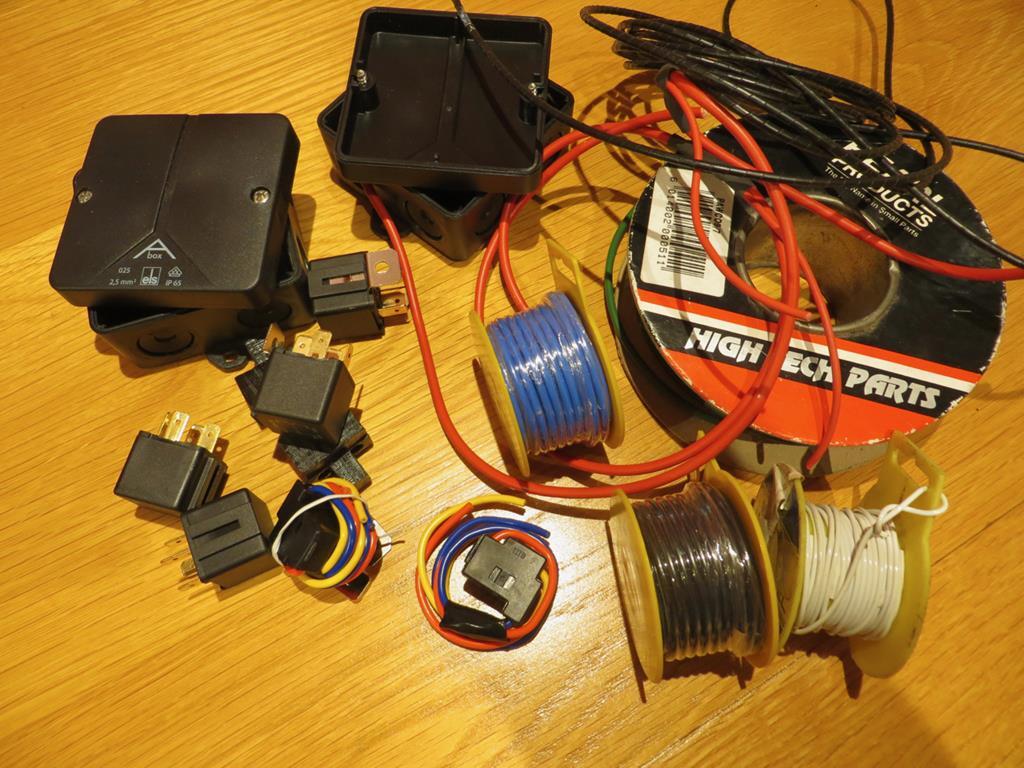
Supplies happened.
The H4 connectors and relays came from Halfords, I had some of the cabling already. IP65 boxes I think were from Screwfix or Toolstation.
Need some sort of diagram I guess.

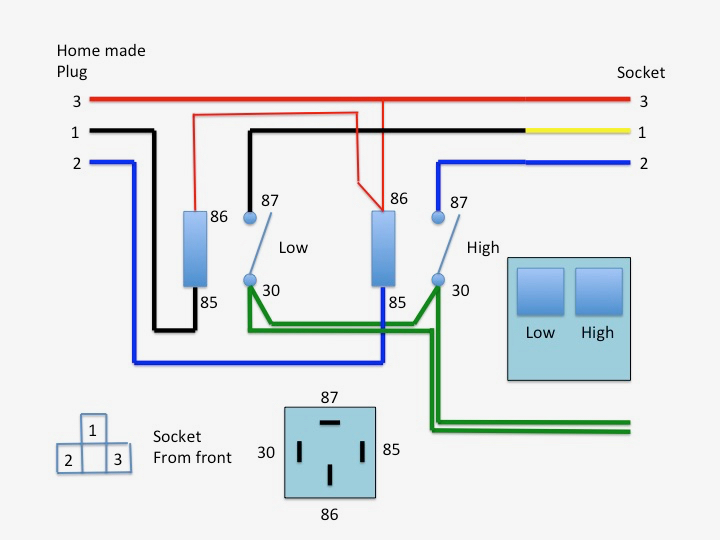
Oh look! I just found this… Lying around under the cushions on the sofa or something. Looks like it might do the job.
This is a sort of a cross between a wiring diagram and physical diagram. So, for example, the +ve feed to the relays, I’ve shown hopping from one relay to the other which is how it’ll be wired. And I’ve shown how I plan to double up the earth side to lower the resistance. It’s probably a bit over the top but I can so why not.
That got turned into a pile of wires with crimps on the end.

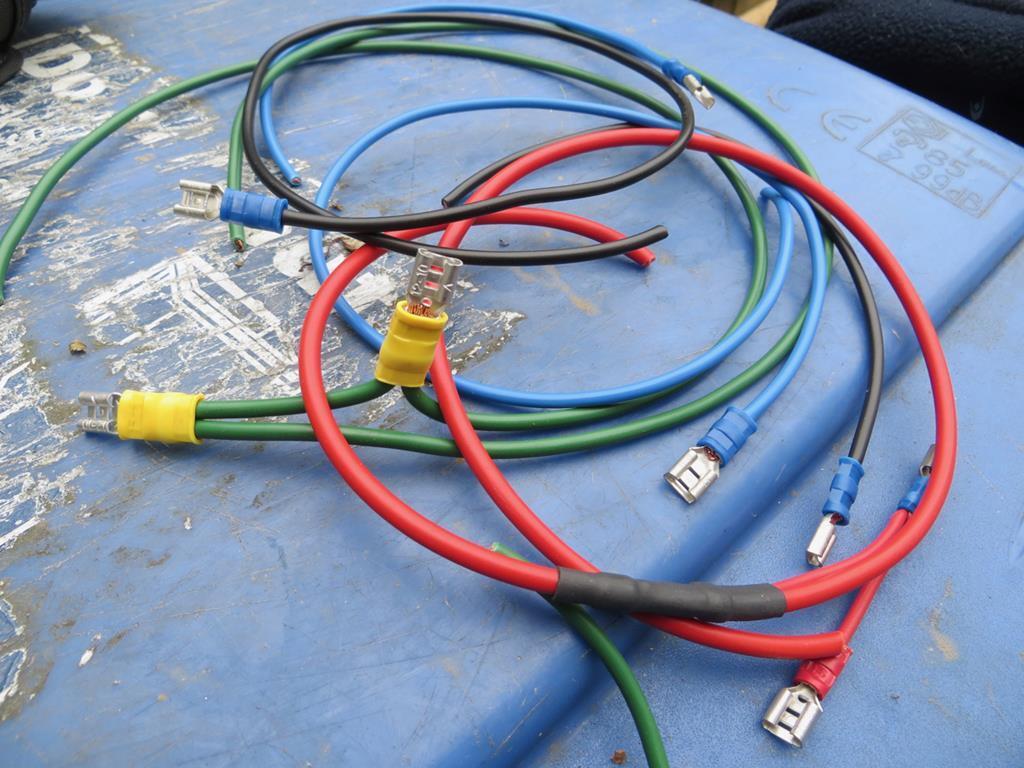
Then I got worried about the amount of bare electrical metalwork that would be in the boxes. You want some odd behaviour due to short circuits when things move? No, neither do I.
So the pile of wires got converted into a handful of wires with heat shrink on the connectors.

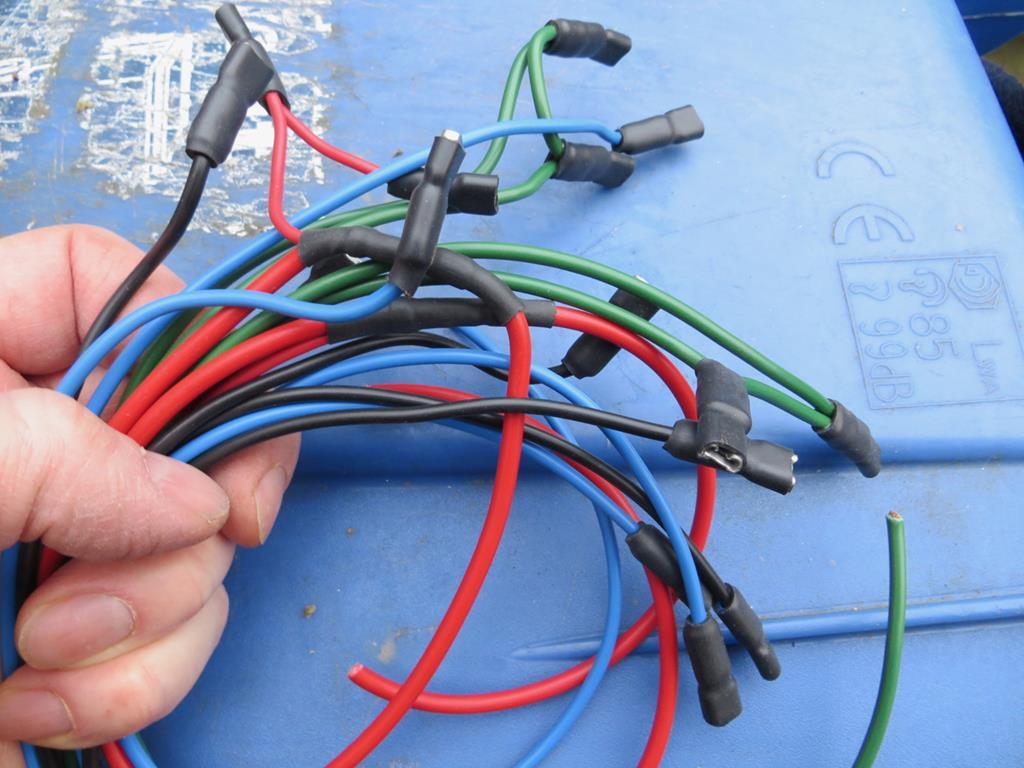
Yeah, I know. Why didn’t I just buy some insulated connectors in the first place? Just because… Well, because ‘me’ really.
And lastly the whole lot got crammed into the boxes.

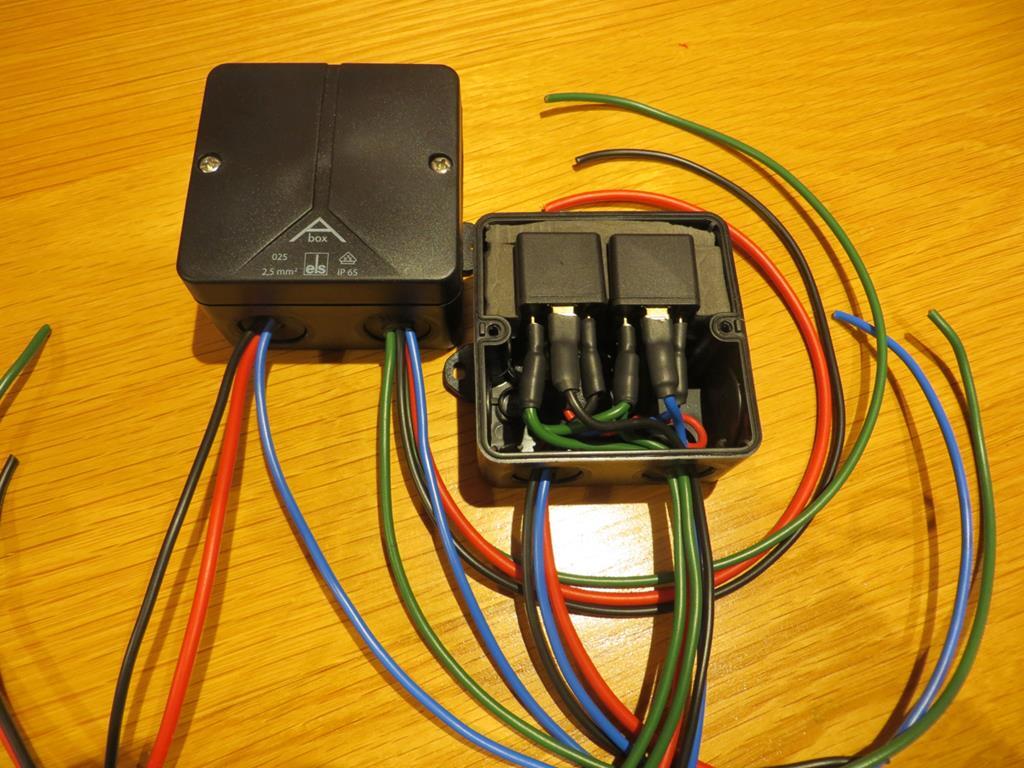
Not too horrific is it?
The relays are actually screwed to the bottom of the box. There were a couple of bosses in just the right place if I used the relay brackets the wrong way round. But just to stop them moving at all I’ve packed the relays in some foam
And that’s where the story grinds to a stumbling halt. I still need to wrap the wiring, put the connectors on the ends, and mount them somewhere. The current plan is that I’ll make some brackets and they’ll sit under the retract motors. And also that I’ll refurb the light units while I’m at it.
Since that story has ground to a non-conclusion let’s switch stories and not conclude a different one. The spoiler…
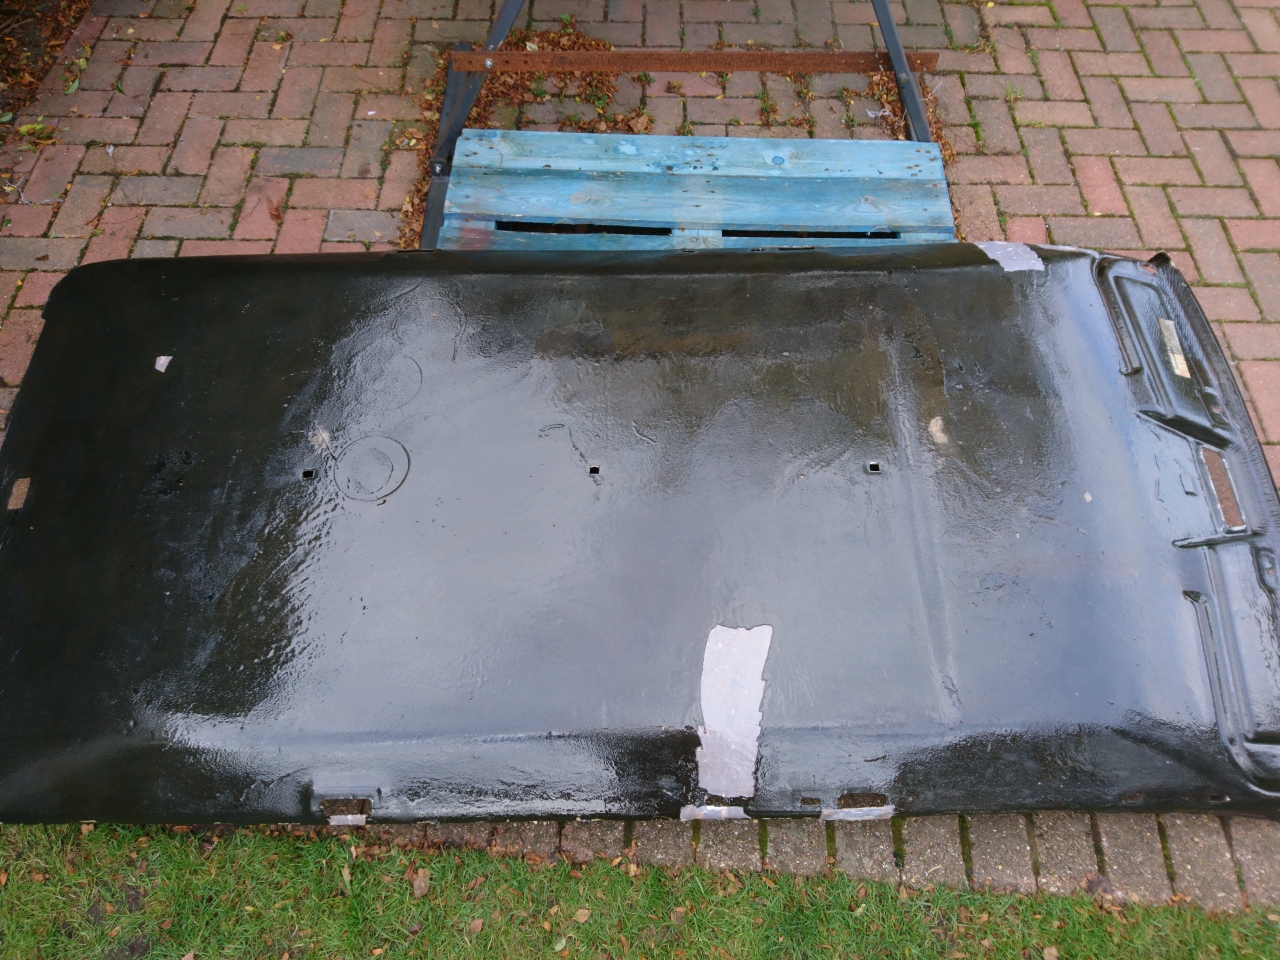
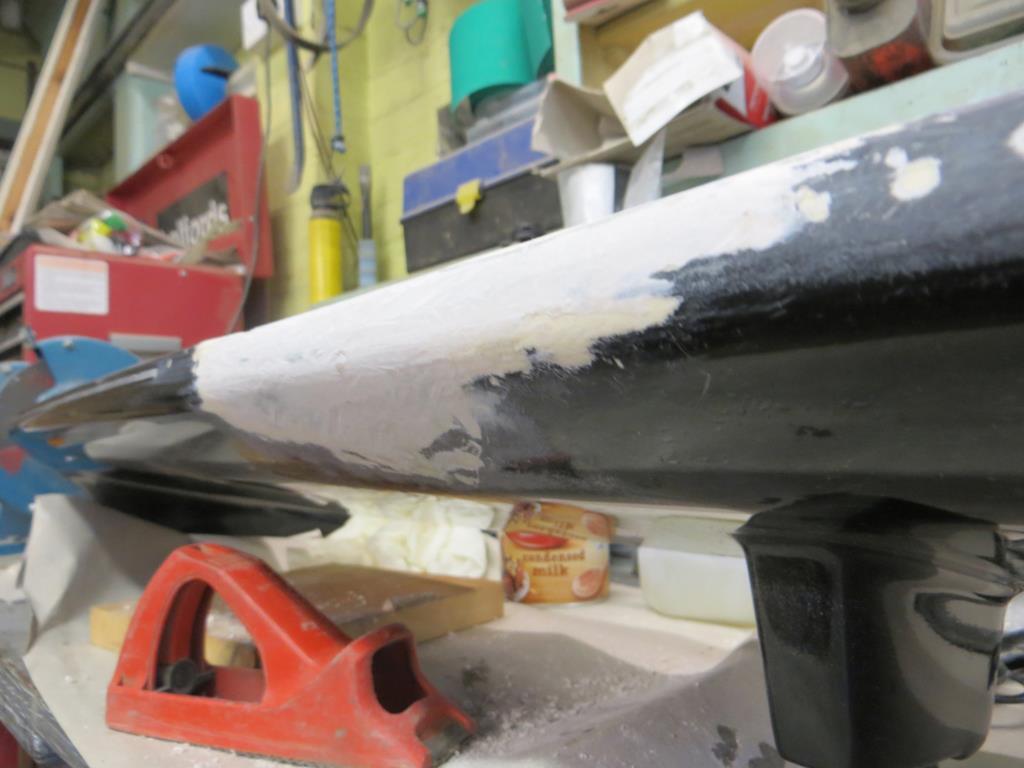
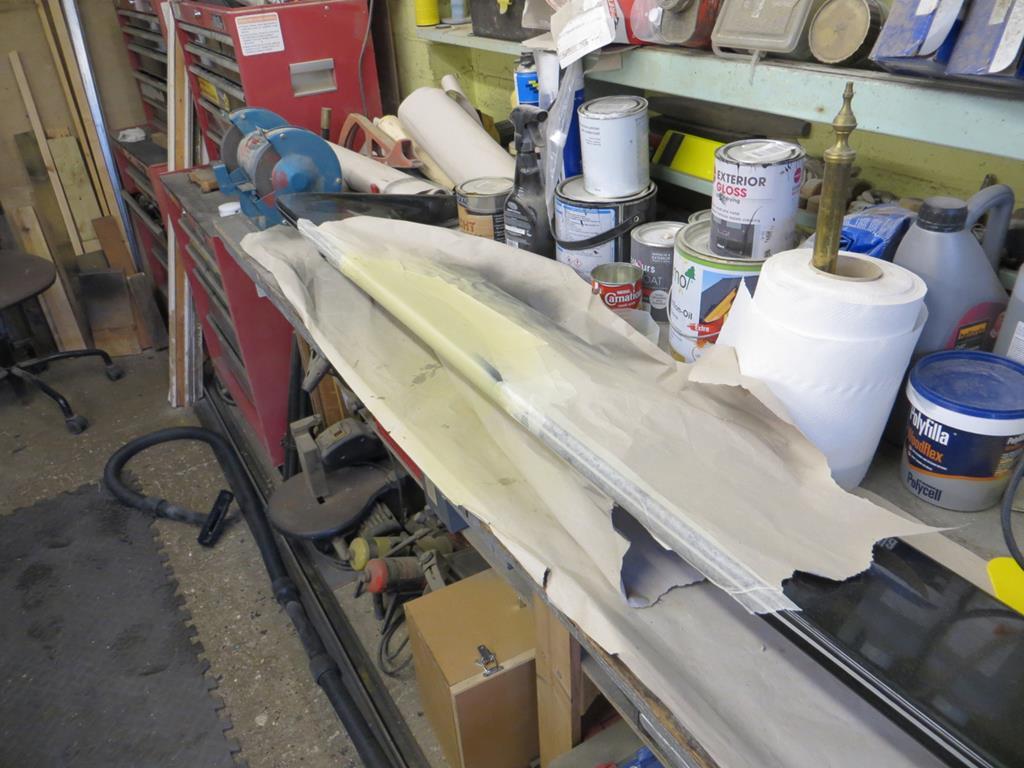
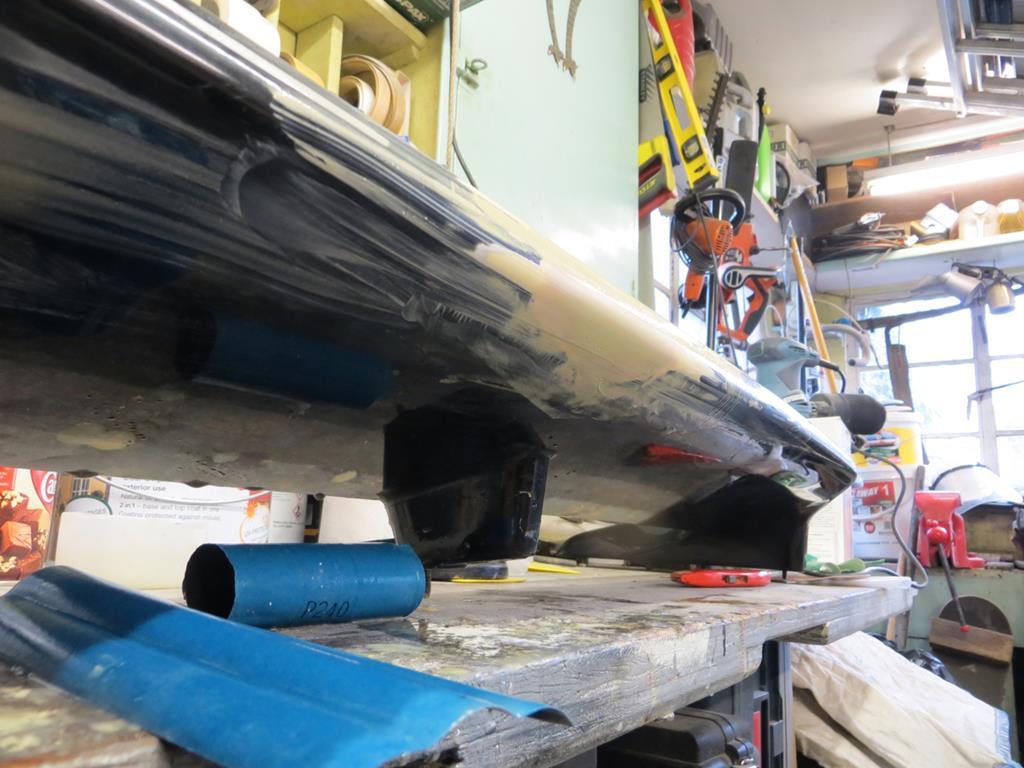
Last we saw the spoiler it had had a couple of coats of high build primer but still had some small low spots. Since then it’s had a couple more coats of high build and was starting to look reasonable so I put some etch primer on to get a better look. Seemed ok. Nothing to write home about but perfectly reasonable.
Today I thought I’d blow a thin coat of black on it.

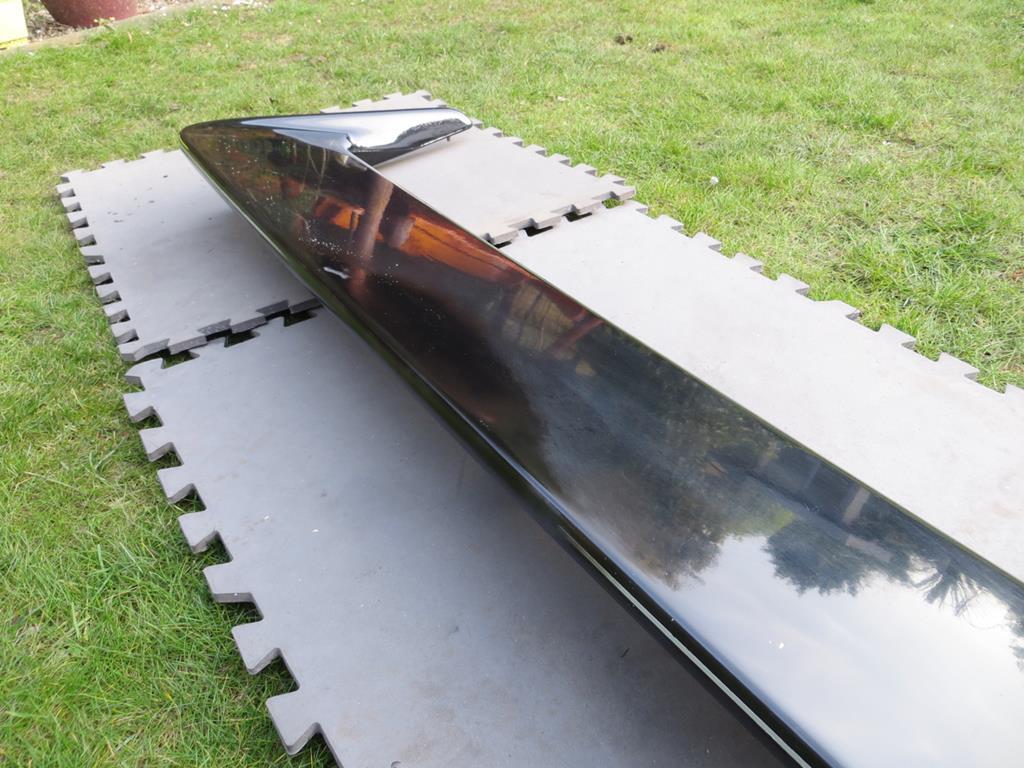
I should admit that it looks terrible. But in real life it looks much better than the photo. I am having something of a paint dilemma though. I’ll explain in a moment…
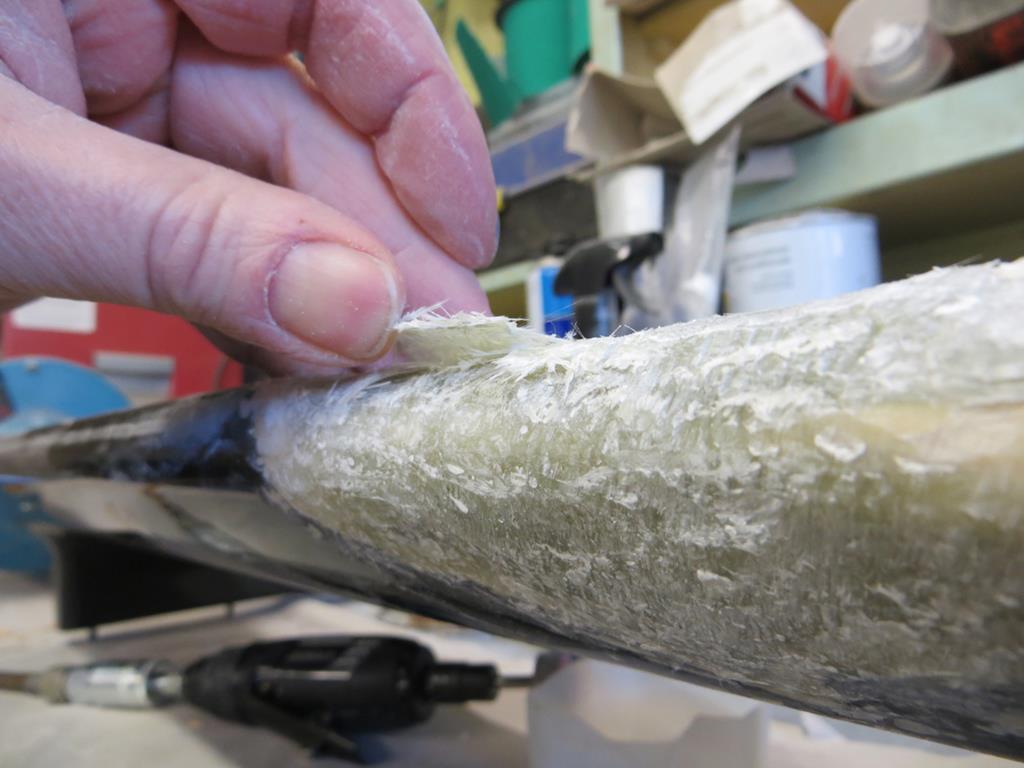
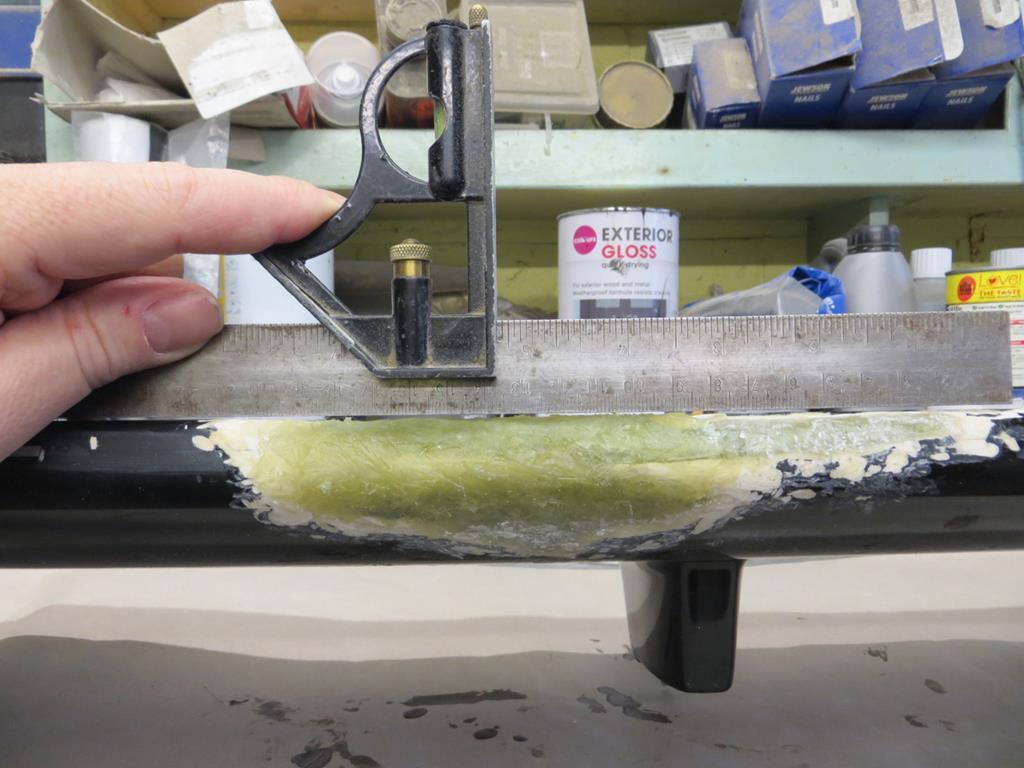
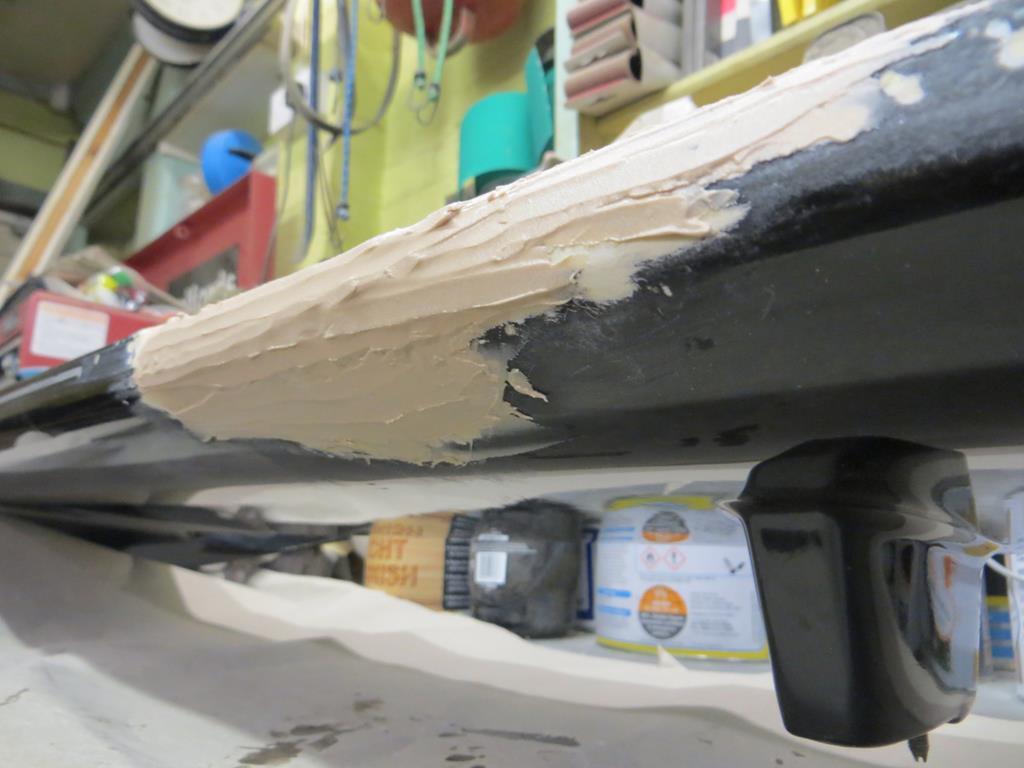
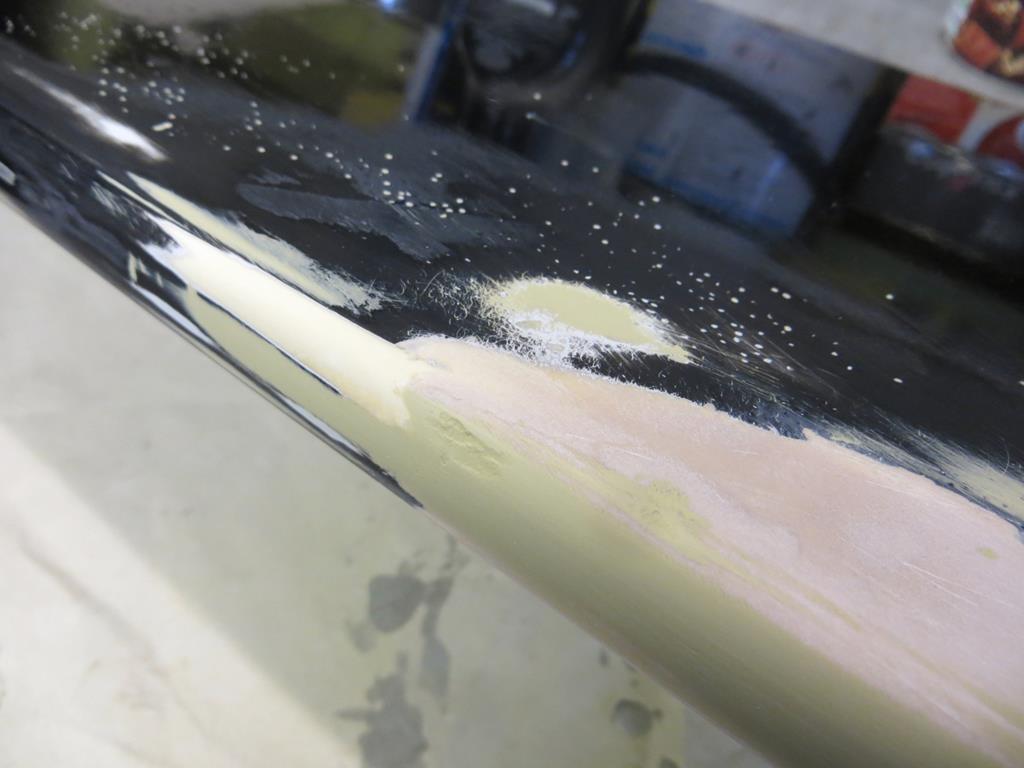
First a close up of a problem area.

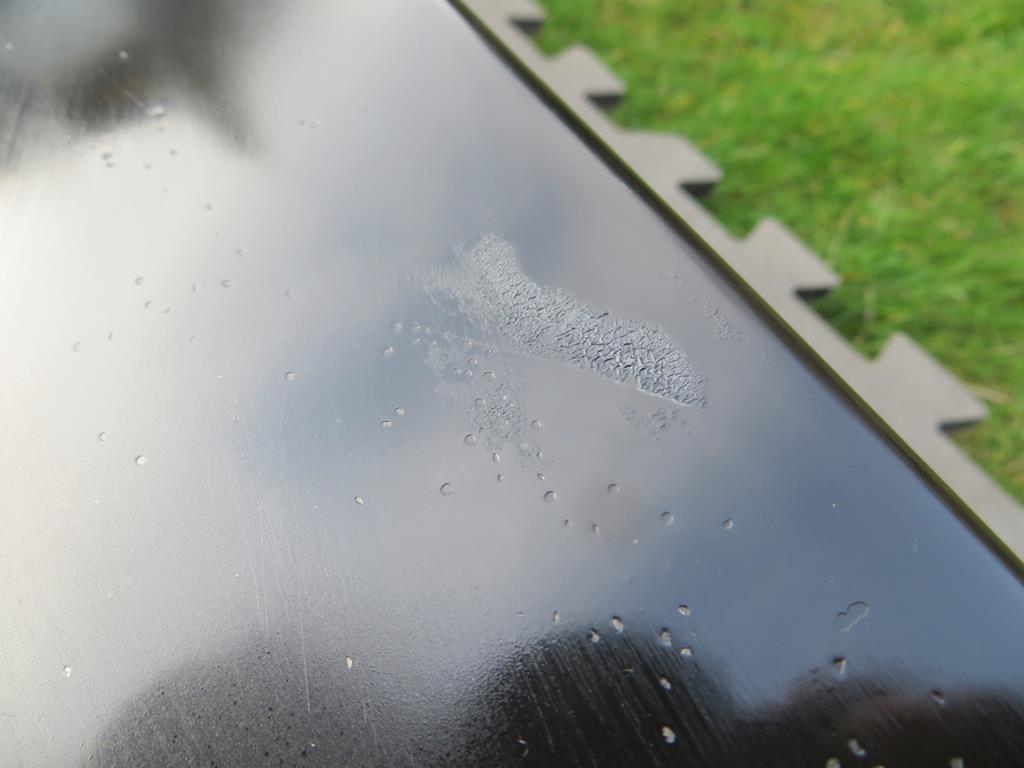
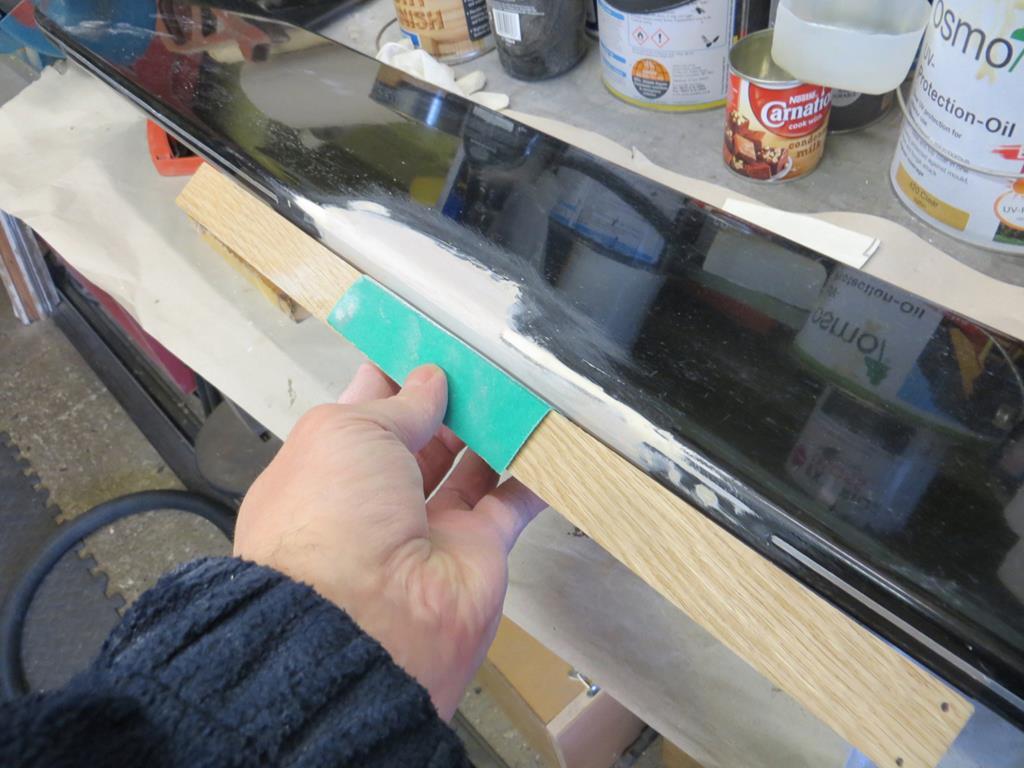
I’ve got a few fish eyes things. Probably silicone because I’ve been using tons of it recently. But also a small reaction. No clue what caused that. So I’ll gently wet sand it and repaint it.
Now that dilemma.
My car is “204 Metallic Black”. It was only available for a short period (on the MR2 at least) so it’s not available in a spray can without getting it mixed. There is another Toyota black that Halfords do. It’s not quite the same but on a car that’s several colours already I figured it’d be ok for the time being.
Except when I went to the cupboard I’d run out. So the spoiler was blown over with “Random Gloss Black” while telling myself that it’s an under coat. That’s why it looks so bad in the photo.
So my dilemma is…
Do I protect the work I’m doing using “Random Gloss Black” in the knowledge that I’ll buy some spray gear and paint it properly in a couple of years.
Do I get the wrong Toyota black from Halfords which might be a bit closer than Random Black?
Or do I go to the expense of getting the correct black mixed knowing that I’ll be sanding it off in a couple of years? And if so, who’s a good supplier?
Hmmm. Questions questions.
James


