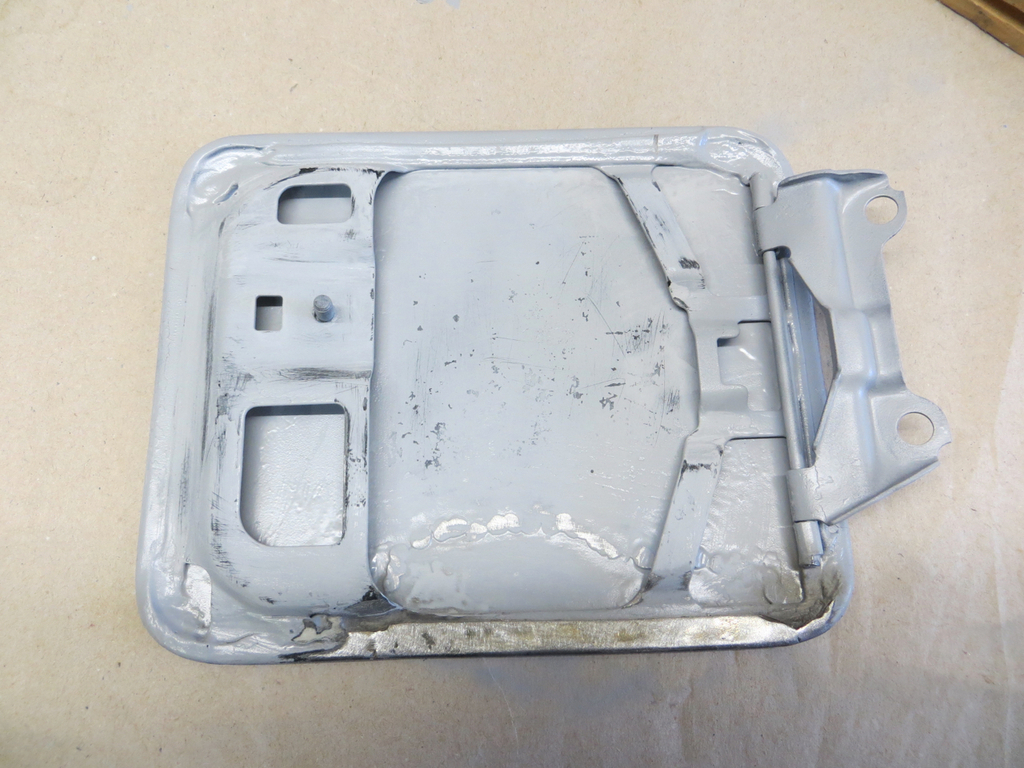
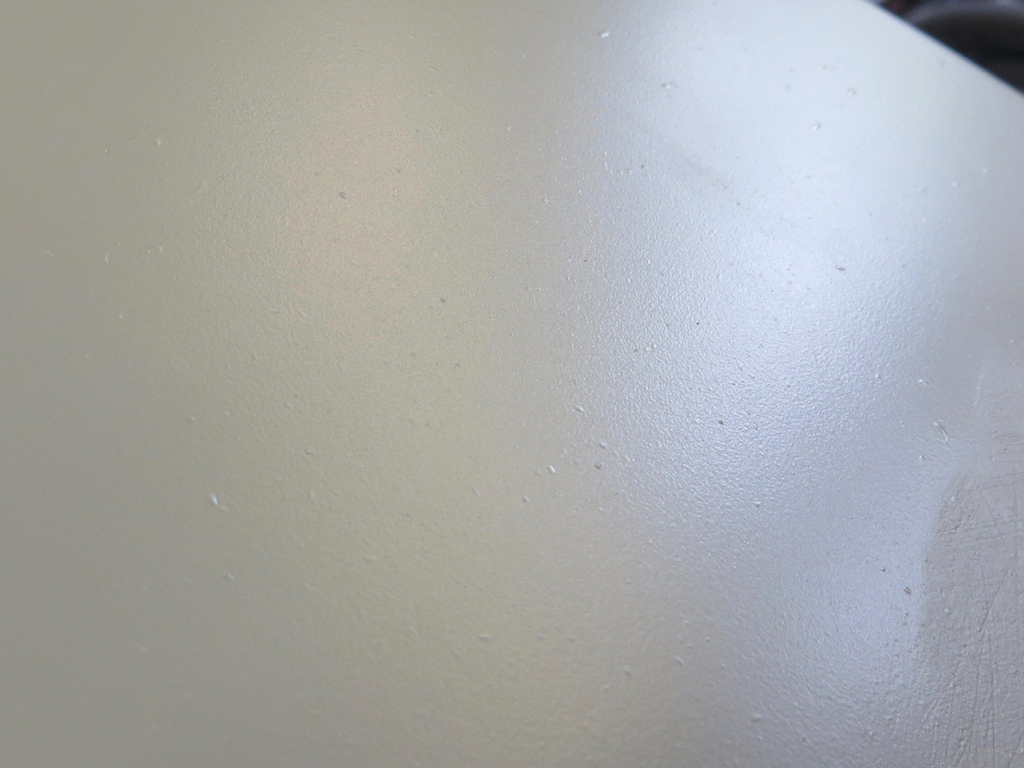
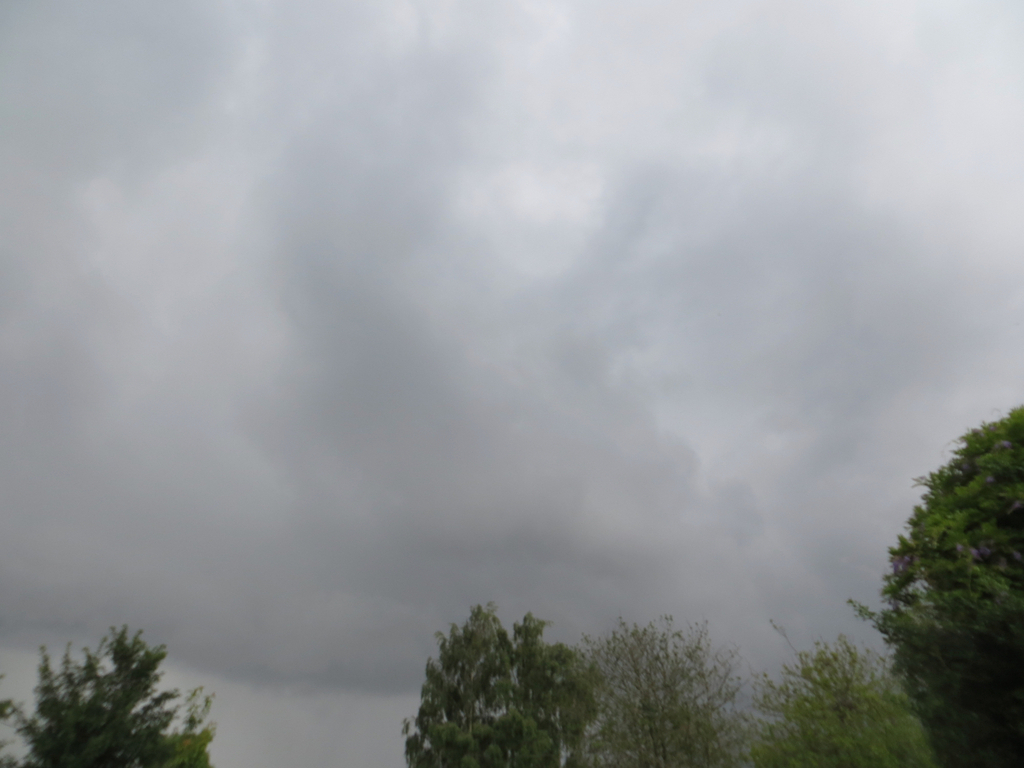
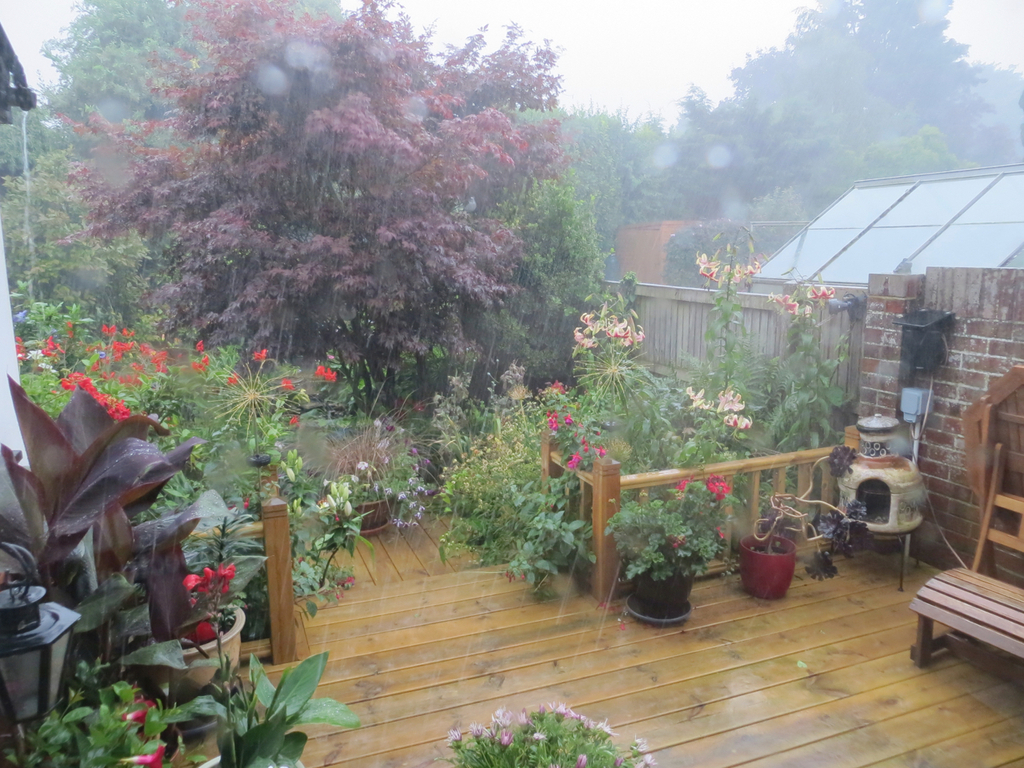
How come it’s hot all week and then looks dodgy at the weekend when I can go and play? Although, being fair, it was way too hot for me for most of the week. Ah well, crack on old chap, crack on.
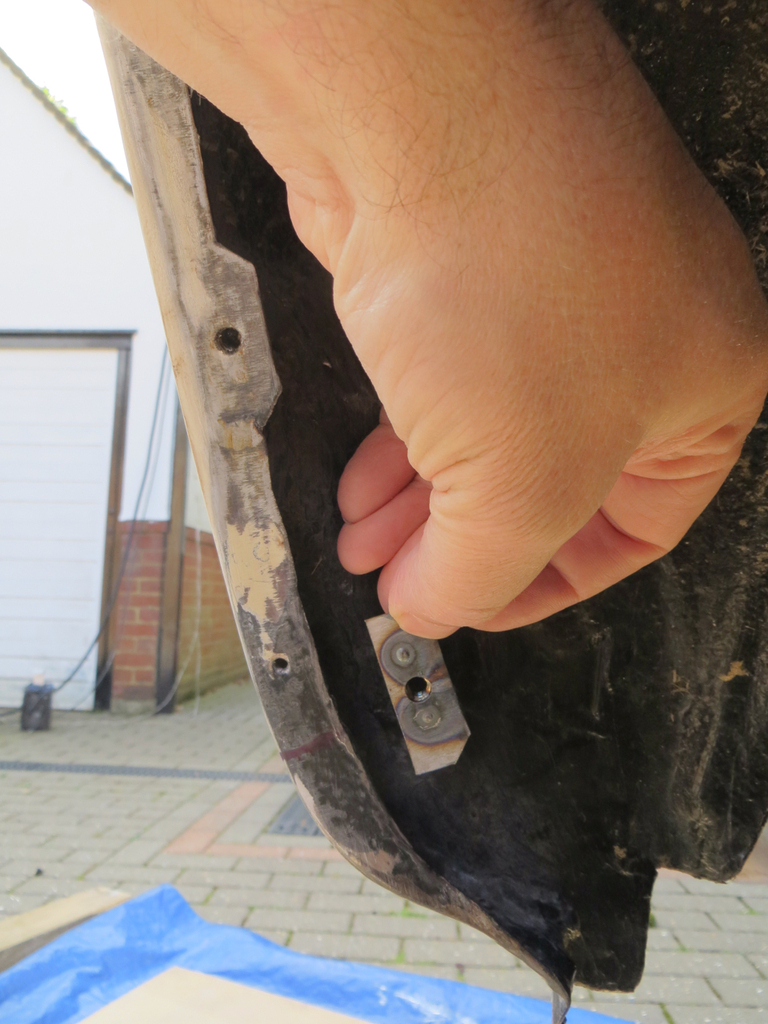
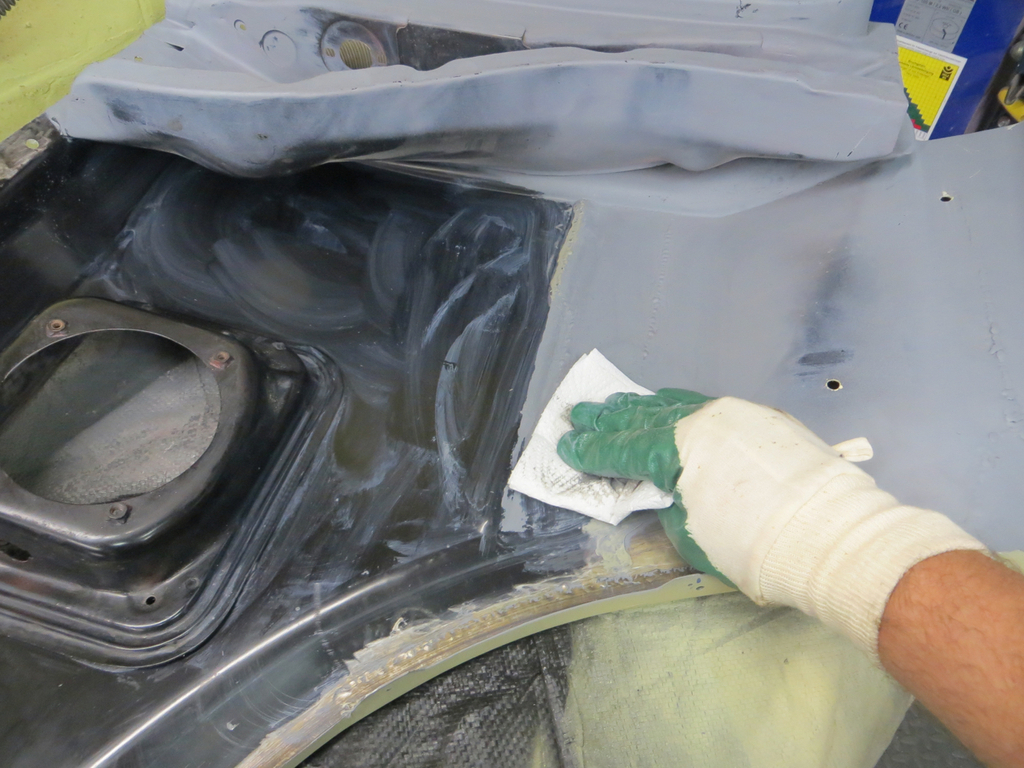
Time to get some filler on that repair. I mean, it’s all behind the bumper and can’t be seen but I need the practice!
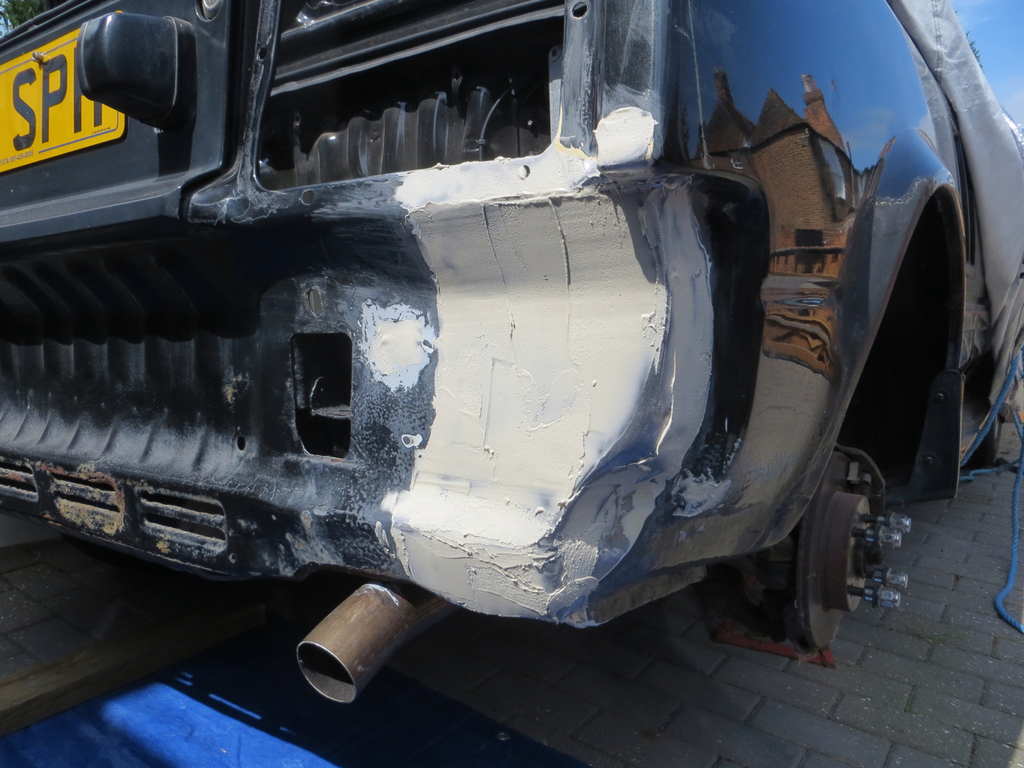
Rough as a badgers bum. I’m using P38 (because that’s what the car shop of choice had at half past seven when I beetled off to get some). I hadn’t realised how quickly it goes off. I’m getting better at dobbing it on and leaving it alone.
Badgers are quite furry. You’d think they’d have very soft bums.
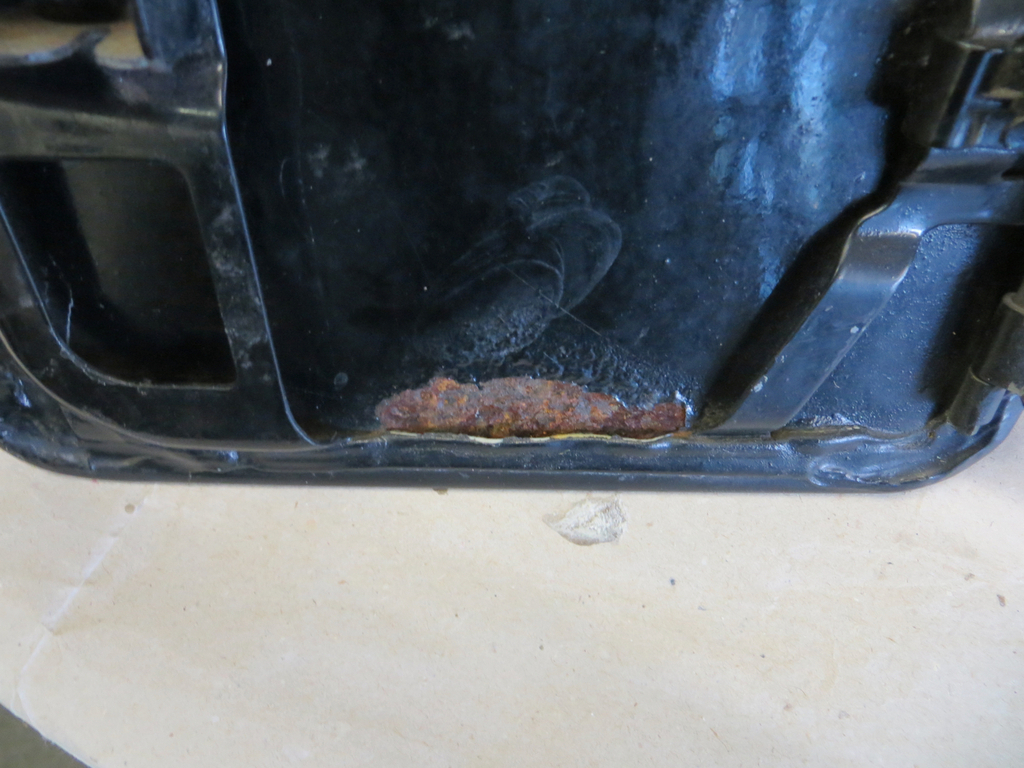
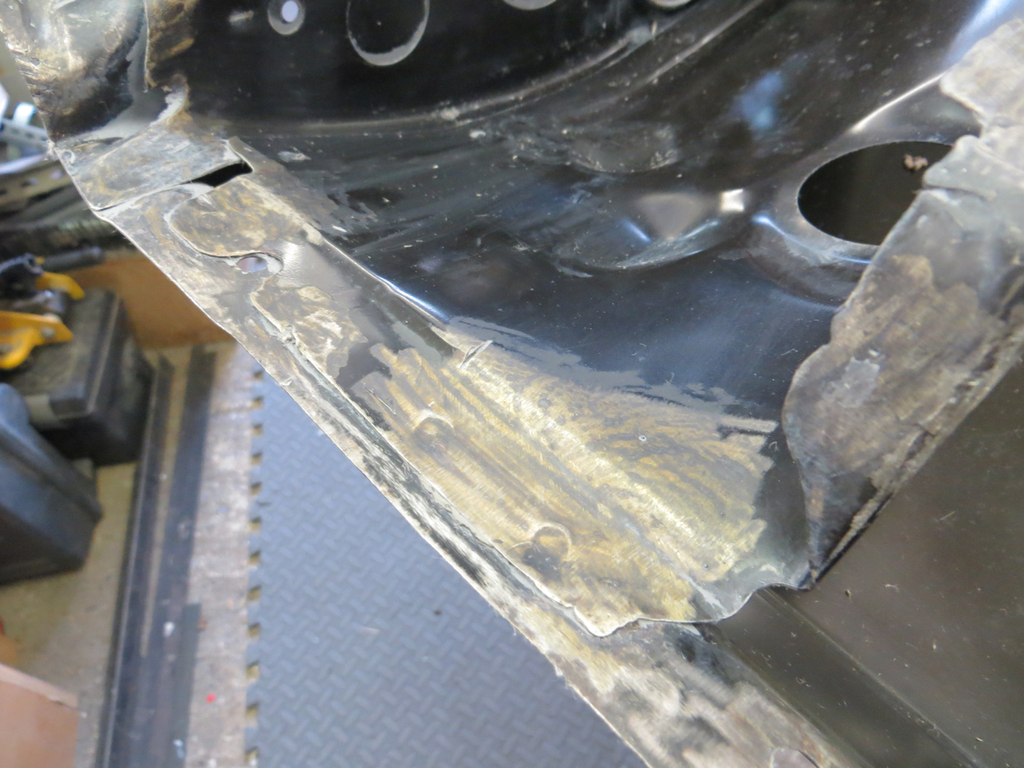
While I was working on this stuff… Literally three years ago the rear wheel arch looked like this.
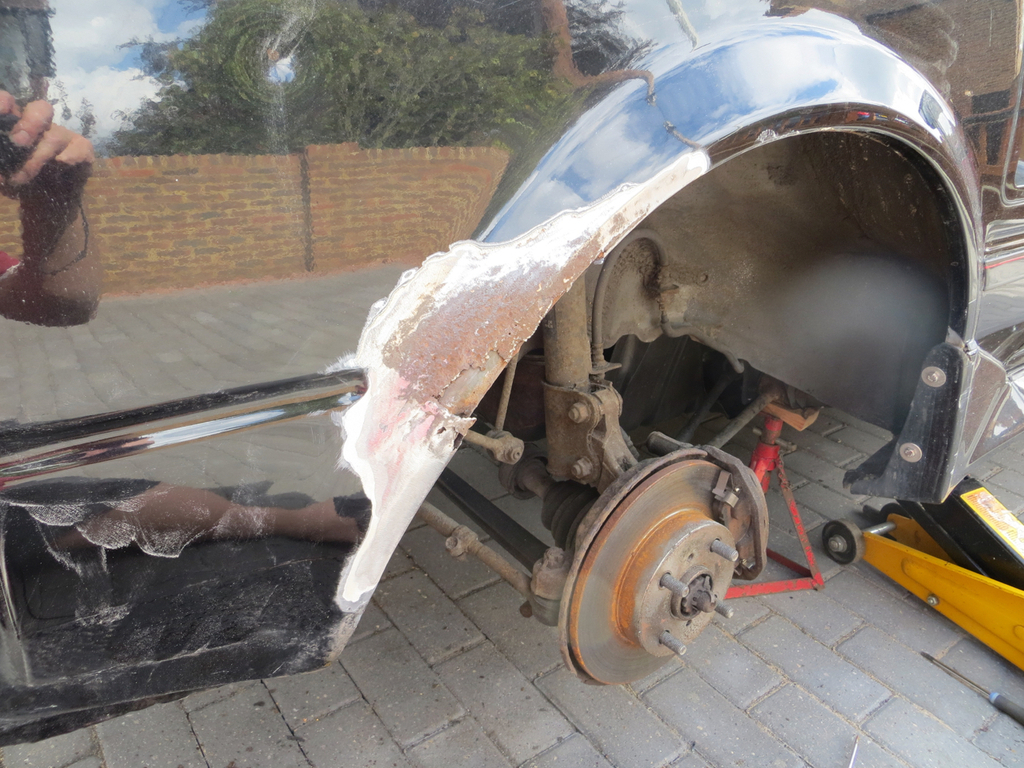
It was patched in, not filled, and painted with POR15 to give it some protection.
Now, POR15 is not UV stable so what has 3 years in the sunlight done to it?
Well it doesn’t look shiny anymore.
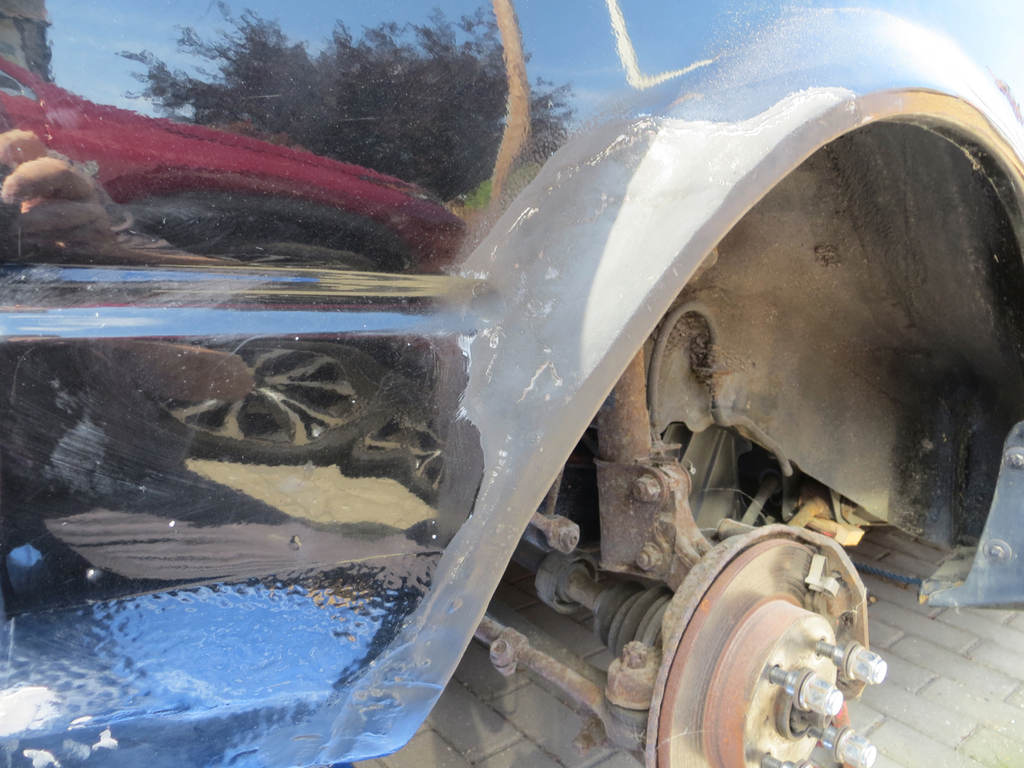
I probably only put one coat on it.
Looking closely…
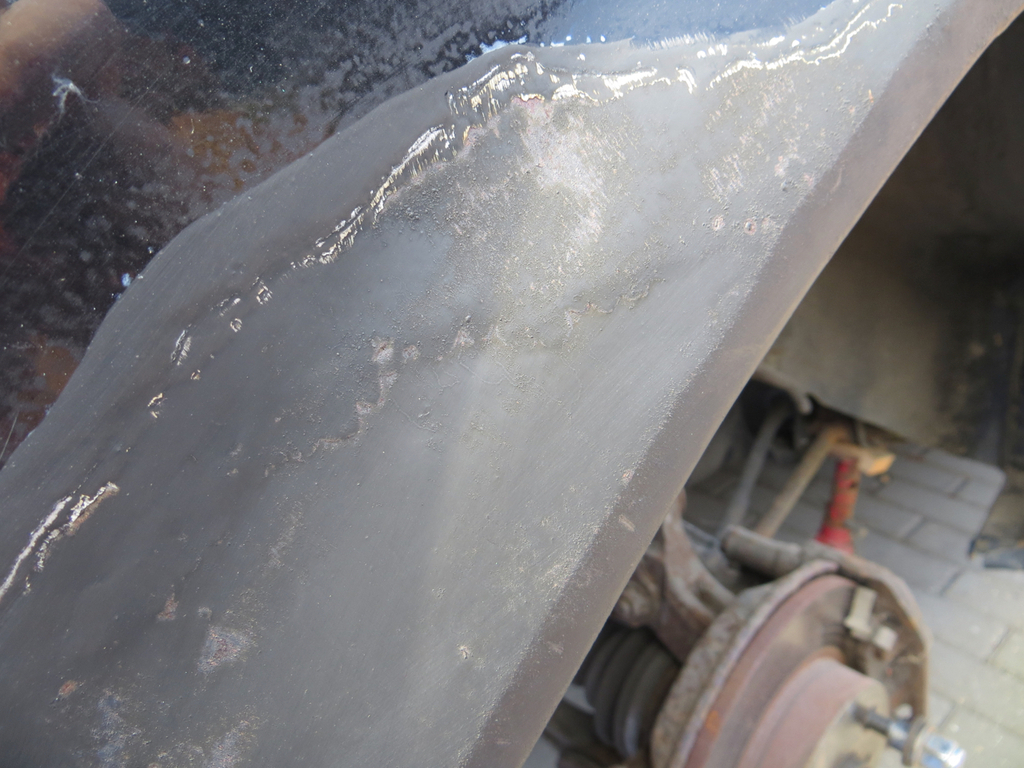
It appears to be quite thin in places but it wouldn’t rub off.
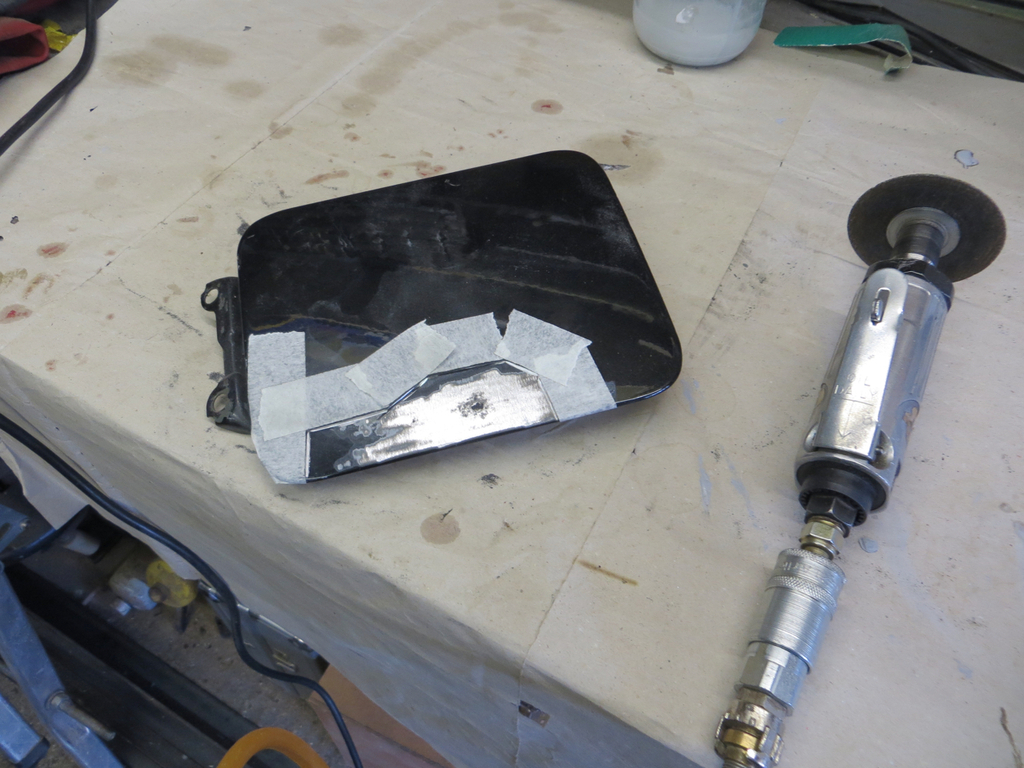
I ground it back with the power file. Under it was what appeared to be a fine dusting of rust leading me to think it’s also gone porous. So when they say that POR15 isn’t UV stable, they are serious, it isn’t. But given that I misused the stuff by only using a single coat and not protecting it I’m not at all upset. It’s done exactly what I wanted it to which is to protect the repair for a while until I could finish the job off.
I’ve actually got some exposed POR15 on the front wings that has been there for a lot longer so it’ll be interesting to see how that’s held up.
Anyway, I ground it off and then coated it with Hydrate 80 to deal with any rust in the original panel. That was left to do its thing and then I ground that off too.
The idea is that I’ll have protected any corrosion but the filler will have plenty of keyed steel to bond to without having a Hydrate 80 layer that might allow it to peel off. Is this the correct process? No idea, but you can be sure I’ll let you know if it fails.
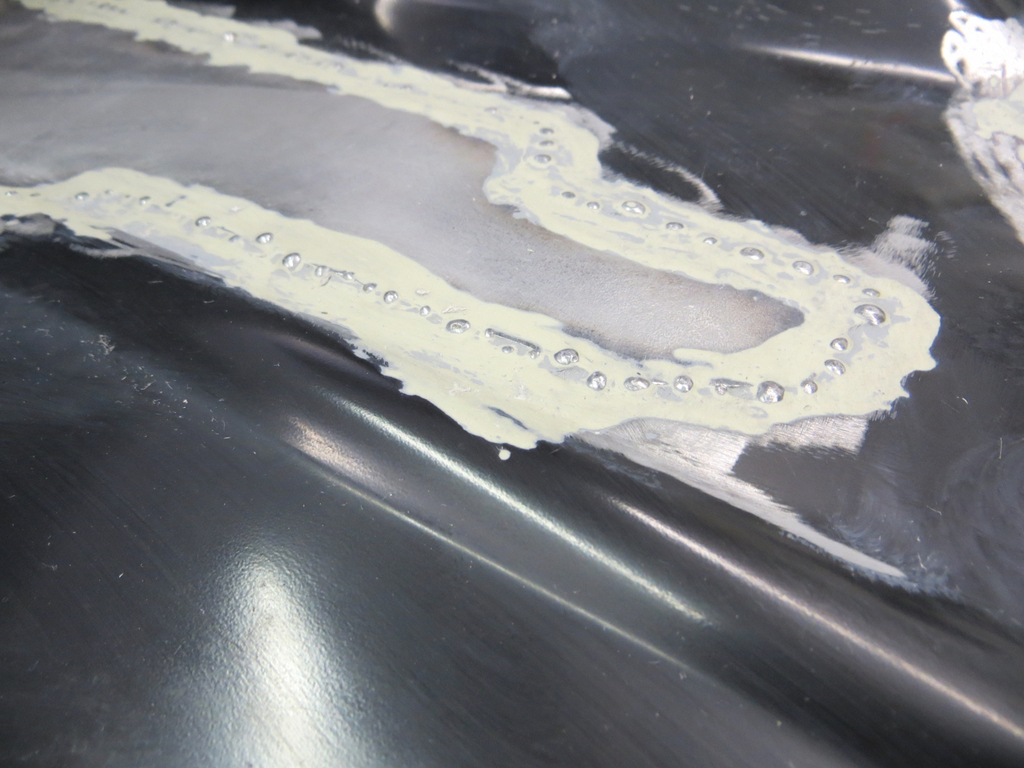
This is it with the Hydrate 80 doin’ its thang…
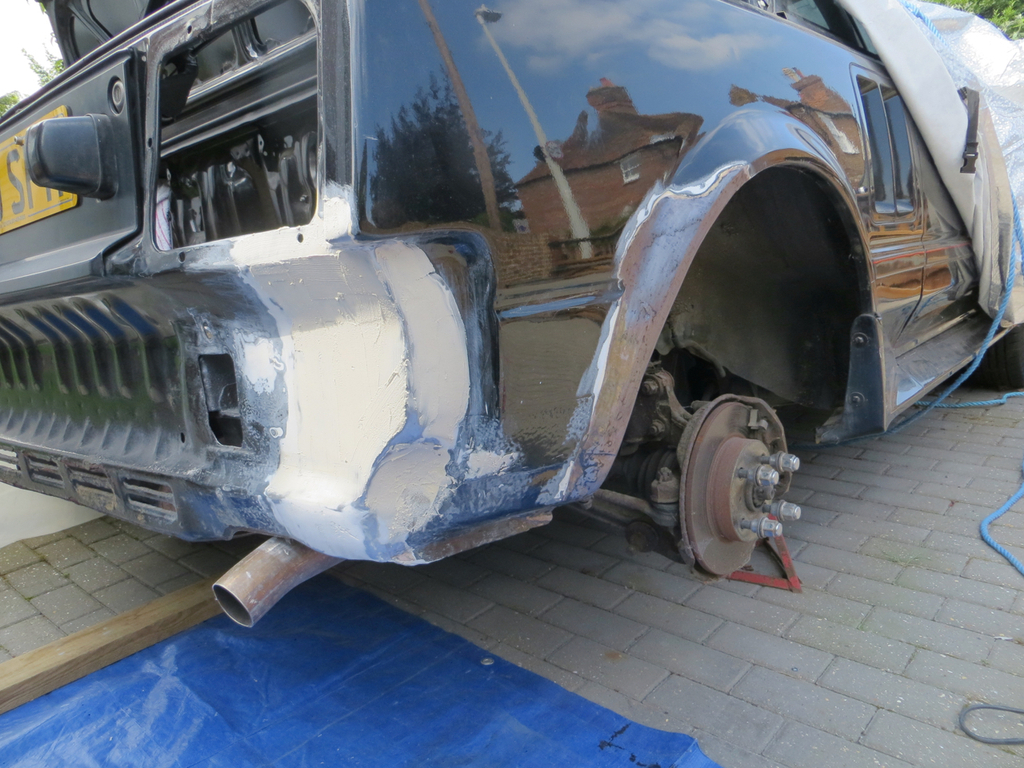
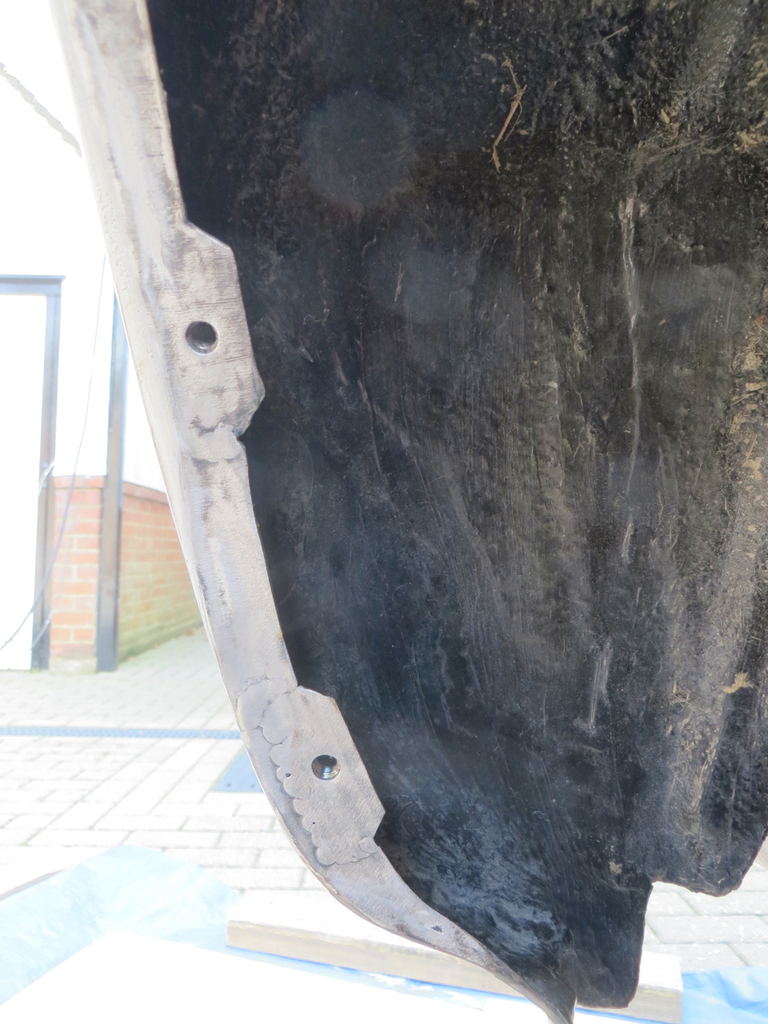
Because the filler was going off pretty quick I could keep filling and sanding.
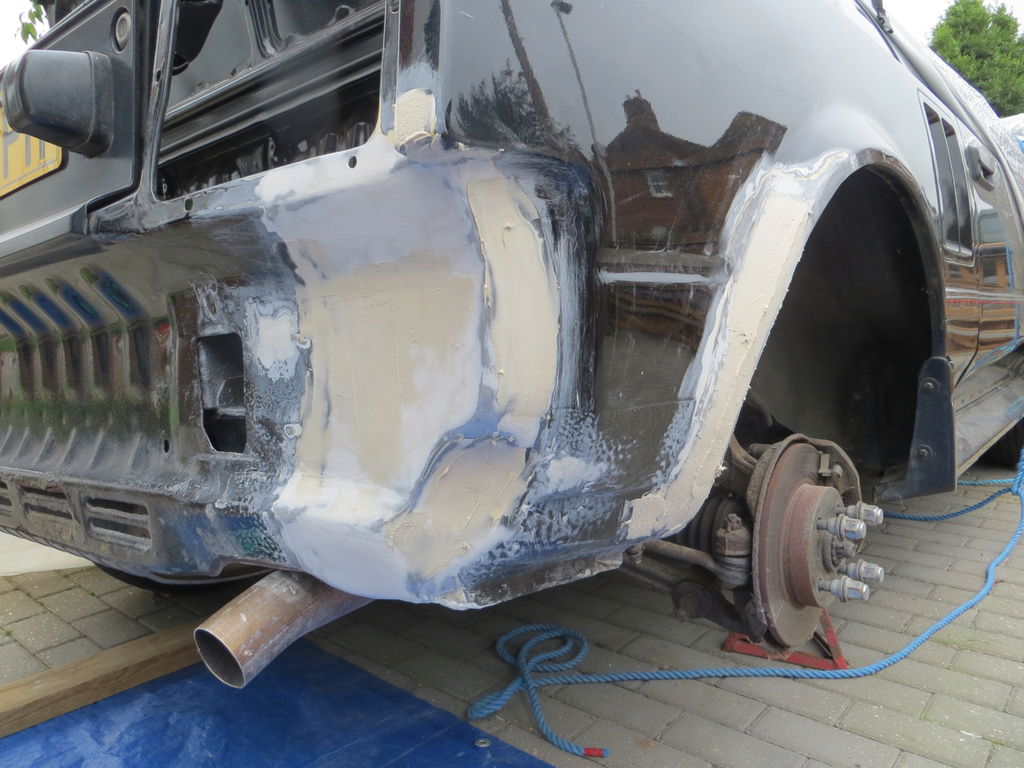
Some considerable time later and I’ve got the back part nicely filled and am wondering what paint to slap on the top.
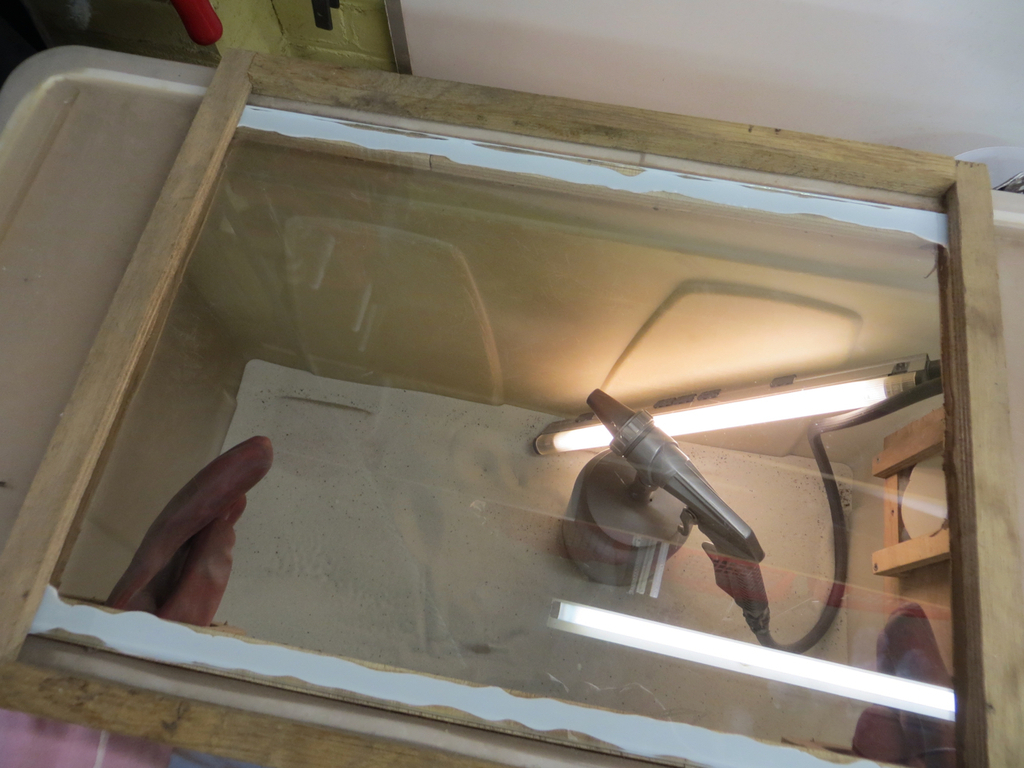
Well the ideal plan is to spray epoxy primer on it but it’d take such a piffling amount and I’ve not got clued up with the big spray gun yet. I wonder if I can do it with the air brush?
Only one way to find out. Suck it and see.
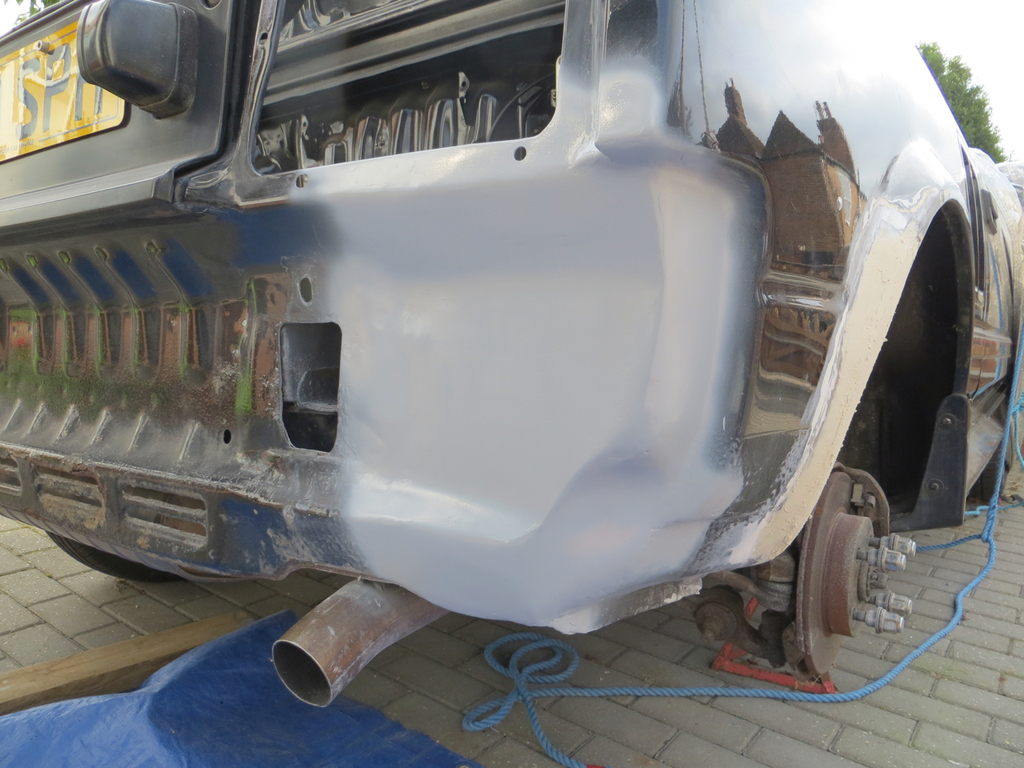
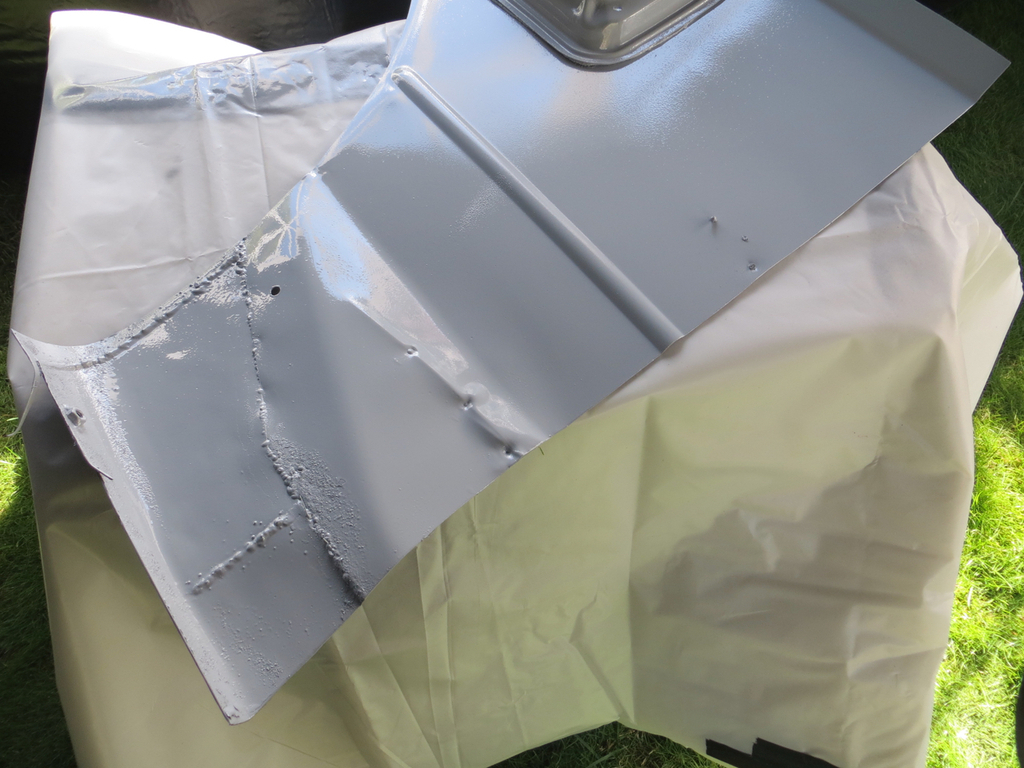
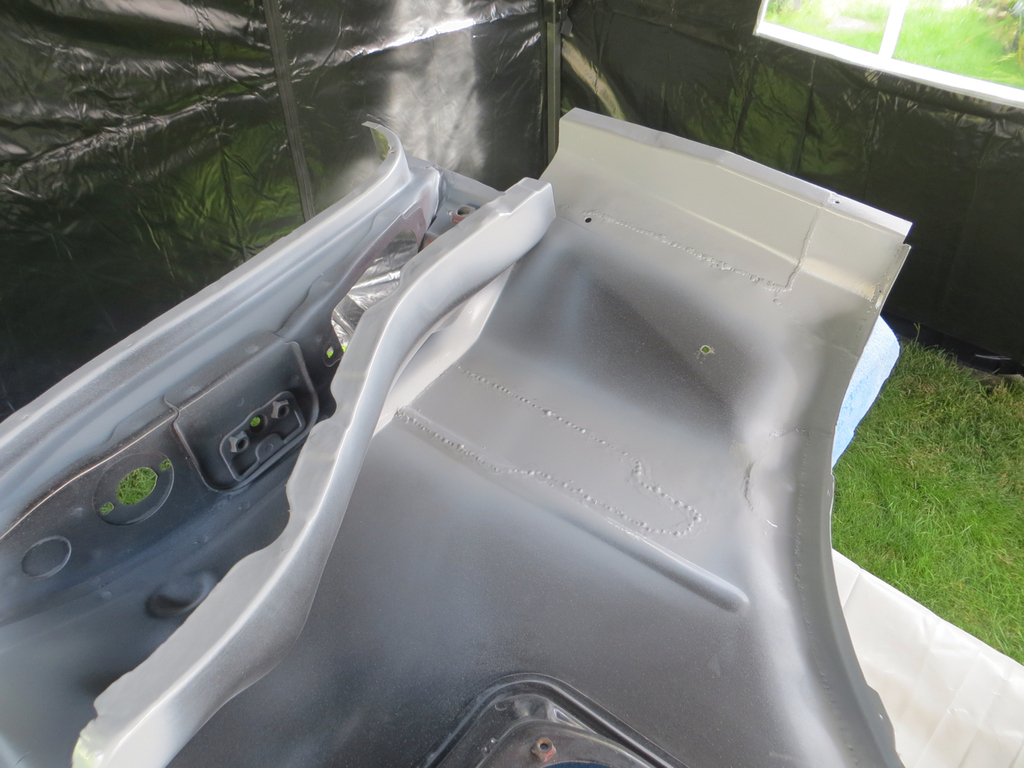
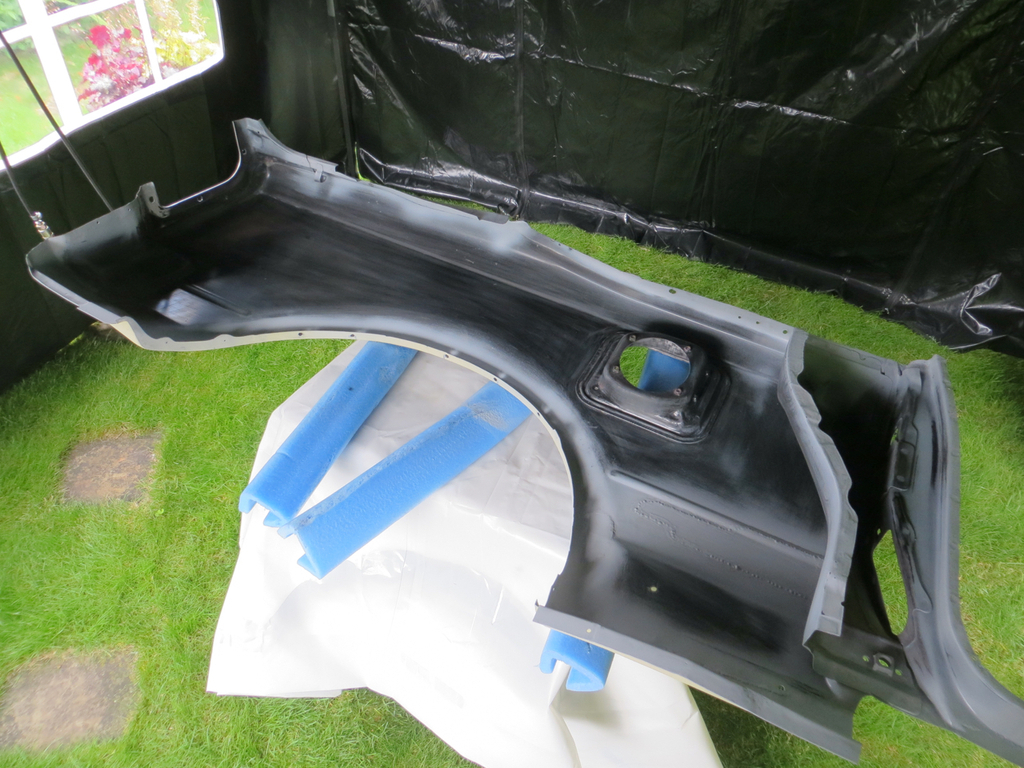
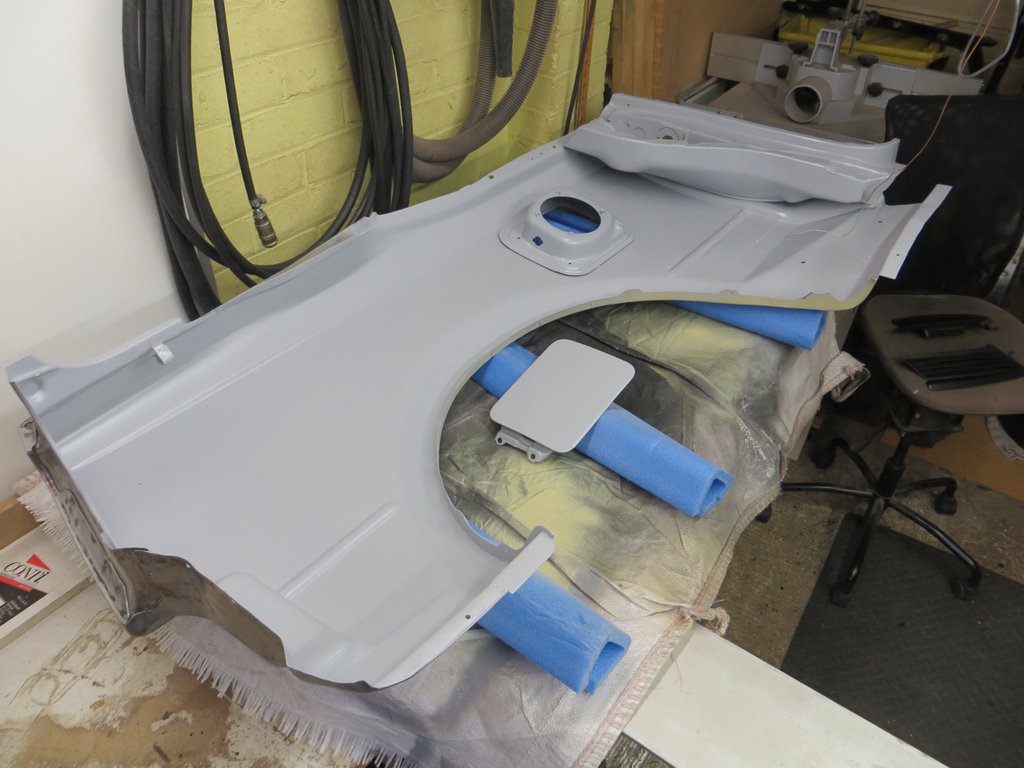
It worked well. The epoxy has gone on fairly nicely. The filler underneath isn’t outstanding so I might wind up sanding and painting a few times but as it’s all hidden behind the bumper I’ll probably not go too mad.
I’m having a bit of a dilemma to be honest. There are two options.
1, Filler, epoxy, solvent high build, cellulose colour, clear.
2, Filler, solvent high build, epoxy, cellulose colour, clear.
The first keeps all the two pack stuff together with the solvent stuff on top, the second gets me a better finish before the epoxy goes over. And the epoxy would seal the solvent stuff in. Probably need to let the solvent stuff go off properly before epoxy locks the vapour in.
I suspect half do one thing and half do the other. And it probably doesn’t matter so long as I don’t sand through the epoxy.
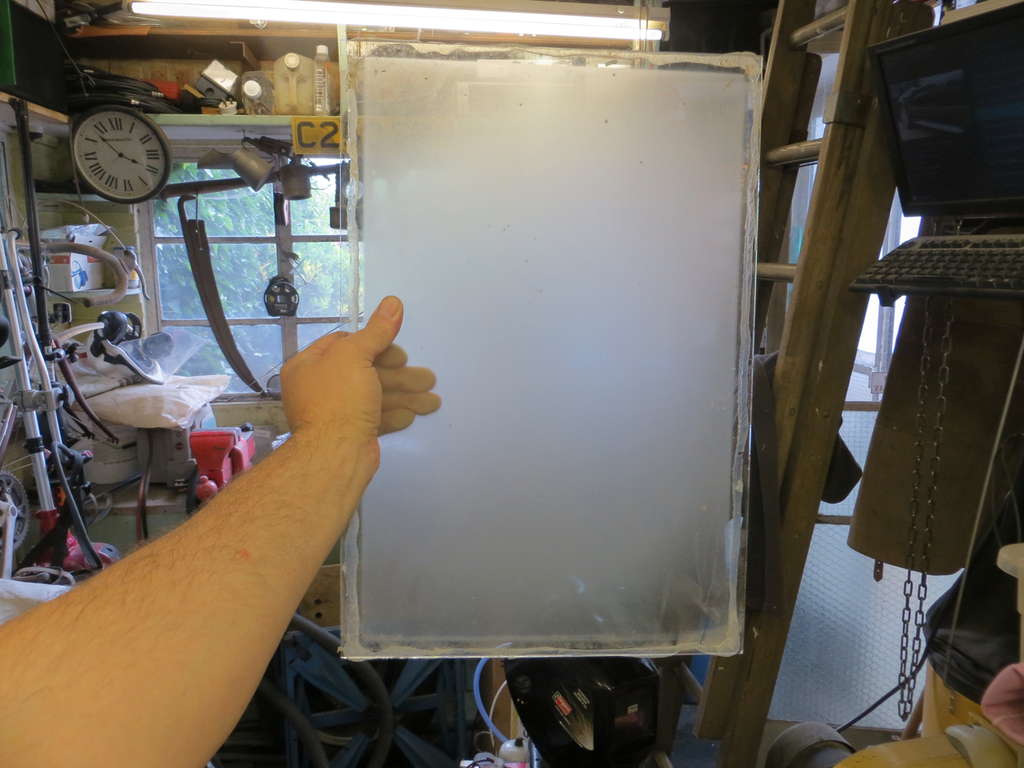
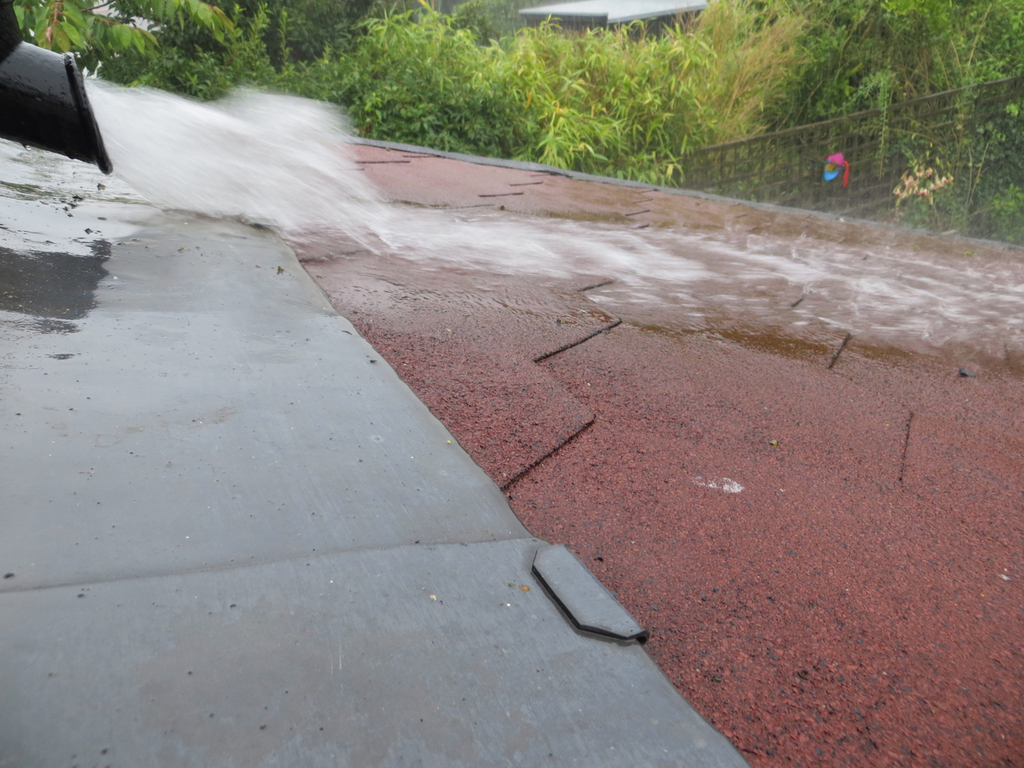
One last thing for tonight. Remember I replumbed the compressor with a condenser and drip leg before the water trap? Well there is a big pile of nothing in the water trap so I opened the valve in the bottom of the drip leg and…
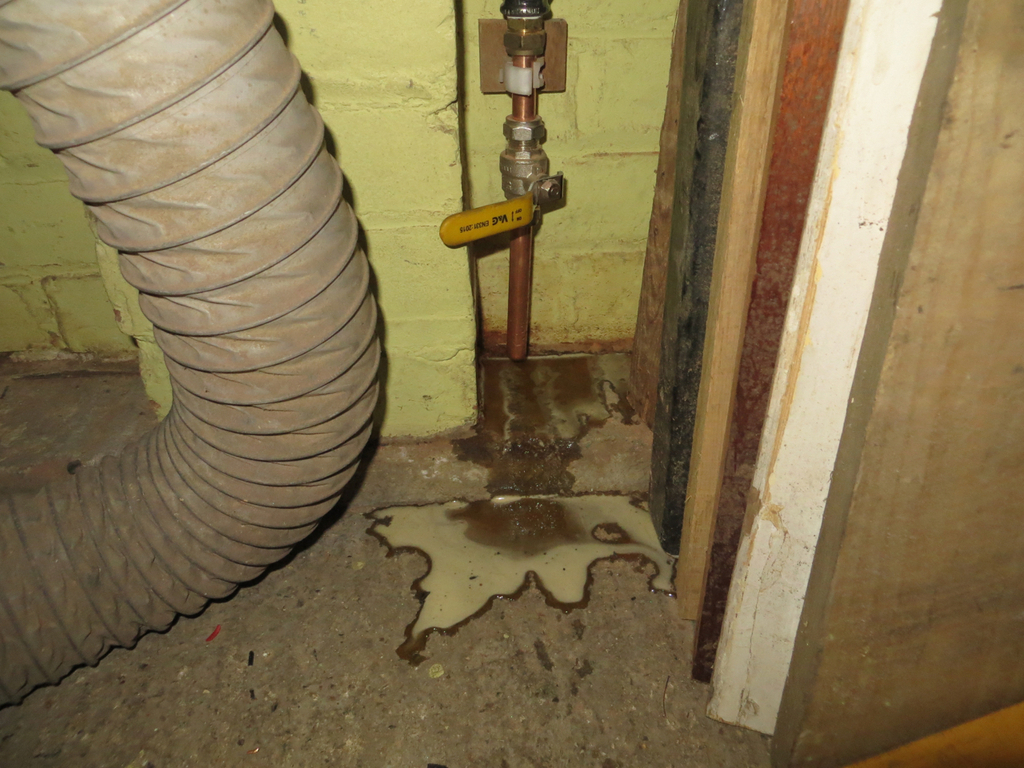 

Looks like it works then.
James
Time to get some filler on that repair. I mean, it’s all behind the bumper and can’t be seen but I need the practice!


Rough as a badgers bum. I’m using P38 (because that’s what the car shop of choice had at half past seven when I beetled off to get some). I hadn’t realised how quickly it goes off. I’m getting better at dobbing it on and leaving it alone.
Badgers are quite furry. You’d think they’d have very soft bums.
While I was working on this stuff… Literally three years ago the rear wheel arch looked like this.


It was patched in, not filled, and painted with POR15 to give it some protection.
Now, POR15 is not UV stable so what has 3 years in the sunlight done to it?
Well it doesn’t look shiny anymore.


I probably only put one coat on it.
Looking closely…


It appears to be quite thin in places but it wouldn’t rub off.
I ground it back with the power file. Under it was what appeared to be a fine dusting of rust leading me to think it’s also gone porous. So when they say that POR15 isn’t UV stable, they are serious, it isn’t. But given that I misused the stuff by only using a single coat and not protecting it I’m not at all upset. It’s done exactly what I wanted it to which is to protect the repair for a while until I could finish the job off.
I’ve actually got some exposed POR15 on the front wings that has been there for a lot longer so it’ll be interesting to see how that’s held up.
Anyway, I ground it off and then coated it with Hydrate 80 to deal with any rust in the original panel. That was left to do its thing and then I ground that off too.
The idea is that I’ll have protected any corrosion but the filler will have plenty of keyed steel to bond to without having a Hydrate 80 layer that might allow it to peel off. Is this the correct process? No idea, but you can be sure I’ll let you know if it fails.
This is it with the Hydrate 80 doin’ its thang…


Because the filler was going off pretty quick I could keep filling and sanding.


Some considerable time later and I’ve got the back part nicely filled and am wondering what paint to slap on the top.
Well the ideal plan is to spray epoxy primer on it but it’d take such a piffling amount and I’ve not got clued up with the big spray gun yet. I wonder if I can do it with the air brush?
Only one way to find out. Suck it and see.


It worked well. The epoxy has gone on fairly nicely. The filler underneath isn’t outstanding so I might wind up sanding and painting a few times but as it’s all hidden behind the bumper I’ll probably not go too mad.
I’m having a bit of a dilemma to be honest. There are two options.
1, Filler, epoxy, solvent high build, cellulose colour, clear.
2, Filler, solvent high build, epoxy, cellulose colour, clear.
The first keeps all the two pack stuff together with the solvent stuff on top, the second gets me a better finish before the epoxy goes over. And the epoxy would seal the solvent stuff in. Probably need to let the solvent stuff go off properly before epoxy locks the vapour in.
I suspect half do one thing and half do the other. And it probably doesn’t matter so long as I don’t sand through the epoxy.
One last thing for tonight. Remember I replumbed the compressor with a condenser and drip leg before the water trap? Well there is a big pile of nothing in the water trap so I opened the valve in the bottom of the drip leg and…
 
Looks like it works then.
James


