Once upon a time, many years ago, in a land far far away… Or at least, in the garage which is just over there…
Hang on, this is exactly how I started the last informative post. Who’d have thunk it, that I’d be recapping on the distant past twice in a row.
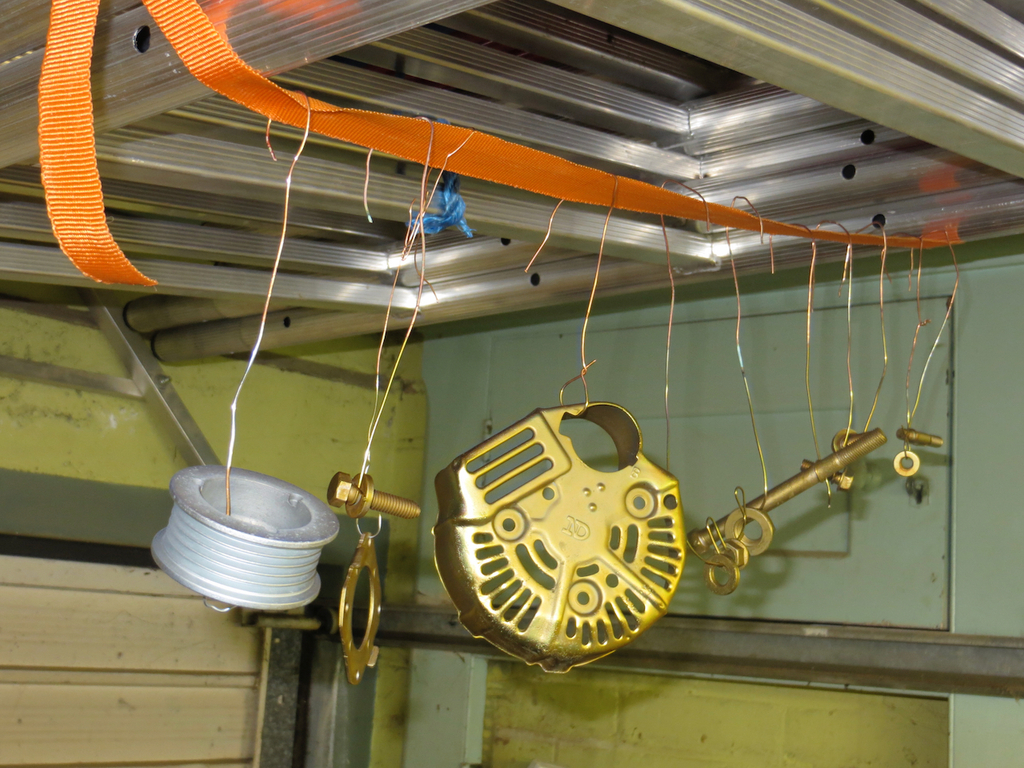
Anyway, in this case, the distant past is almost exactly 10 years ago. I’d gotten an electro plating kit to fiddle around with. Initially I got some good results from it. This is the back cover off the alternator and some of the mounting bolts.
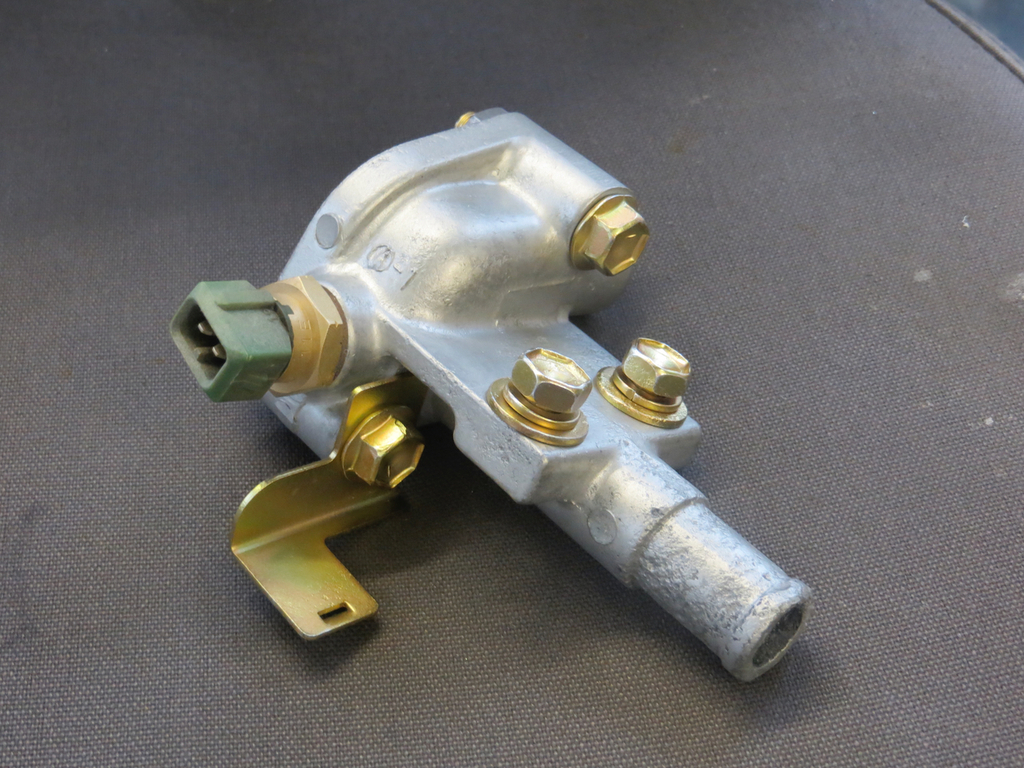
And here is a water fanimold off the end of the engine.
My intention was to clean and re-plate all the fasteners and brackets as I took them off the car. I wanted to get the process nailed down by measuring currents, voltages and times so I could get consistent results. Unfortunately I quickly ran into a problem.
I built a little bit of electronics that allowed me better control of the plating tank voltage and current. Confidence in my skills with electronic design was high but sadly misplaced. The circuit blew up and dumped 12V into the tank. It took me a while to notice that the tank was gassing heavily at the electrodes. The blunder burned out the chemicals and I started getting dull results.
I mixed up a new batch of chemicals but still couldn’t get decent results. Eventually I gave up and the whole lot went into storage awaiting a rainy day when I’d have another go.
Well it’s been raining stair rods on all my days off so maybe it’s time to have another go. I also wanted to zinc plate some bits off the bus. (You did know I am playing with a 1939 double decker?
Linky here if you didn’t.)
I’d also bought a bench power supply in the intervening years which would give me the control I needed over the current in the tank.
My first problem was that the solution looked more like a bucket of muddy tea than a bucket of zinc plating solution. It got syphoned through a coffee filter to remove the solids.
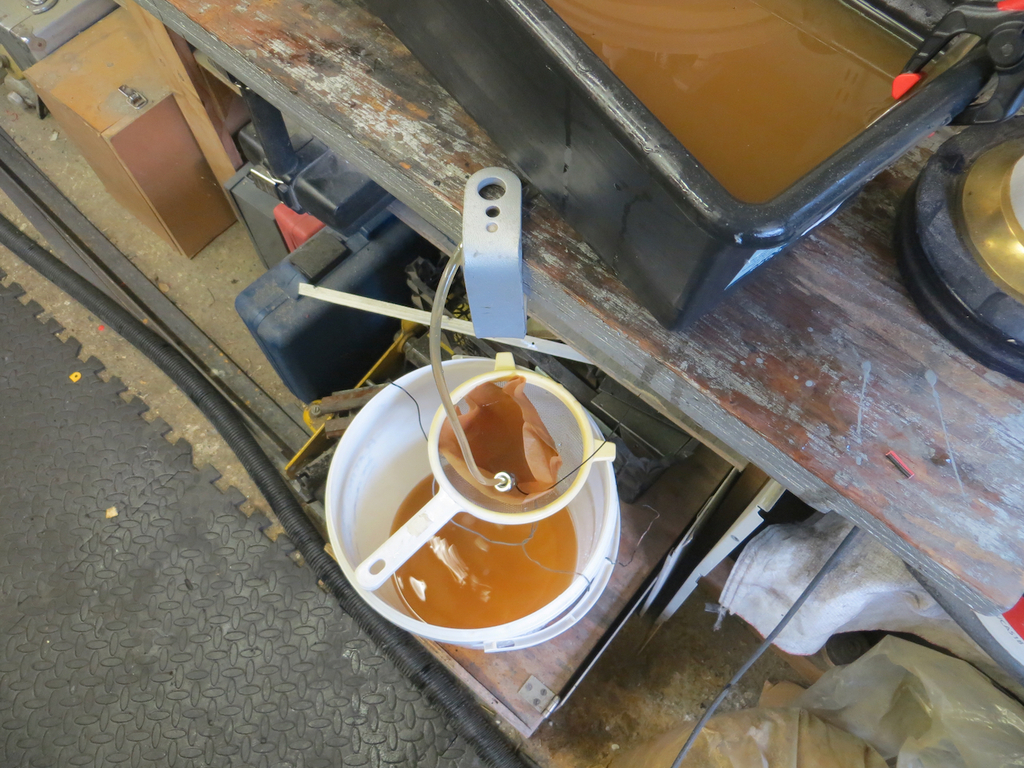
In the photo above it going from the black tank on the bench into the white tank below. The coffee filter got clogged and overflowed from time to time so it took several passes to get a significant improvement. But eventually it started looking cleaner.
Next I ran a test on a piece of copper pipe to see what sort of results I was getting. Terrible. Dull and horrible.
The brightener chemicals are lost as you use the kit and you have to top them up occasionally. I had a bottle of brightener chemical which said to add a capful. I chucked half a bottle in and ran the test again.
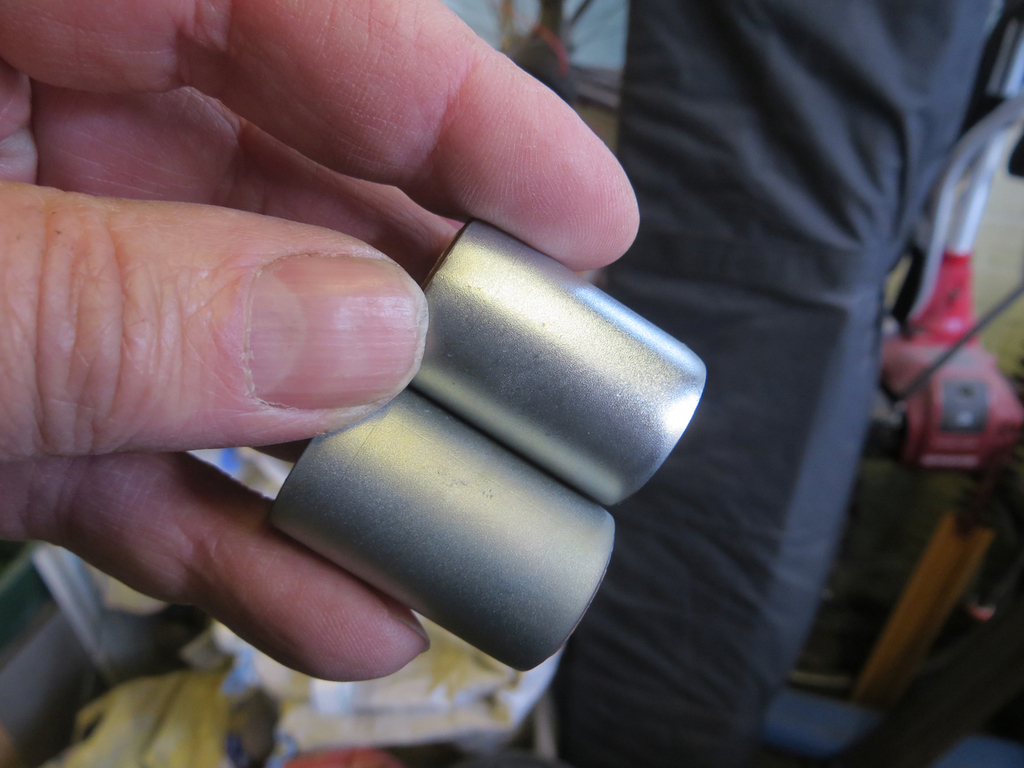
Now it was looking more respectable. The bottom sample in the photo above is before adding the brightener and the top one is after. It’s not great but it’s a definite improvement.
Next I added a bit more brightener and ran the bus parts.
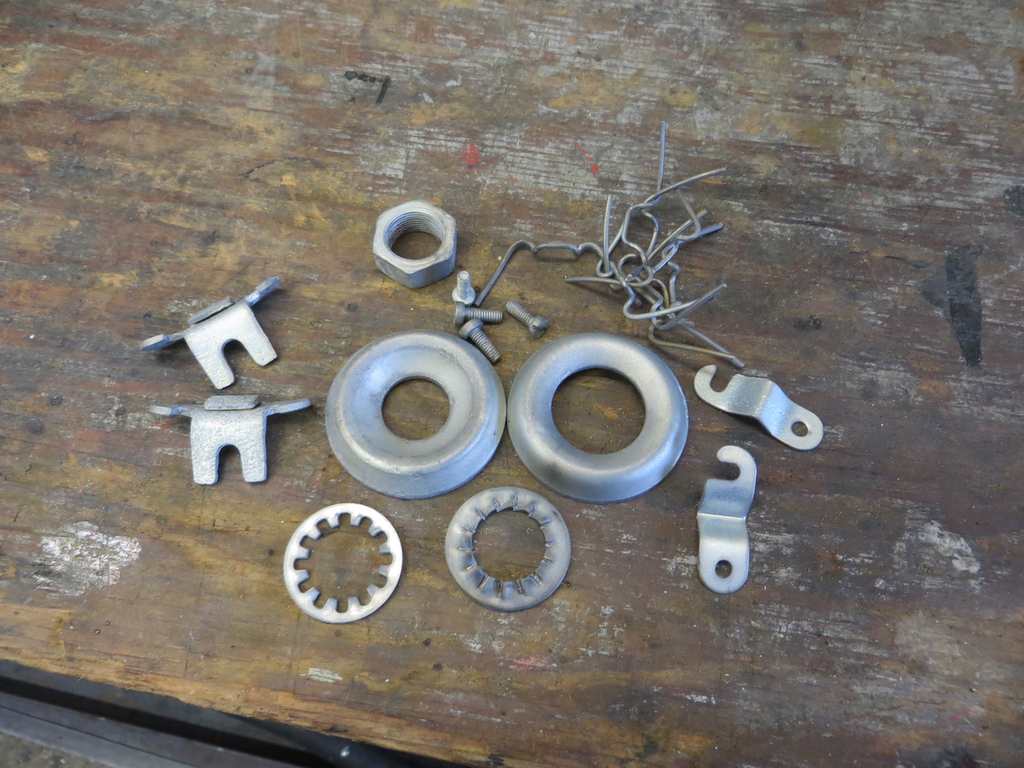
Well… It’s not exactly fabulous. Some parts look ok but some look dull. I put this lot in the tank and left it alone. The current (and therefore the plating) will tend to go to the parts closer to the zinc anodes. And maybe I didn’t have decent electrical connections to some parts. Let’s describe this as ‘functional’. Much of this is going to be painted and the rest is hidden so it’s only zinc plated for protection rather than to look pretty.
I think, for better results, it might be good to move the parts around in the tank occasionally. Give them a jiggle and move them with respect to the anodes. I also chucked a little more brightener in the tank for good measure.
Time to try some bits off the MR2. These are brackets that hold the handbrake cables under the car.
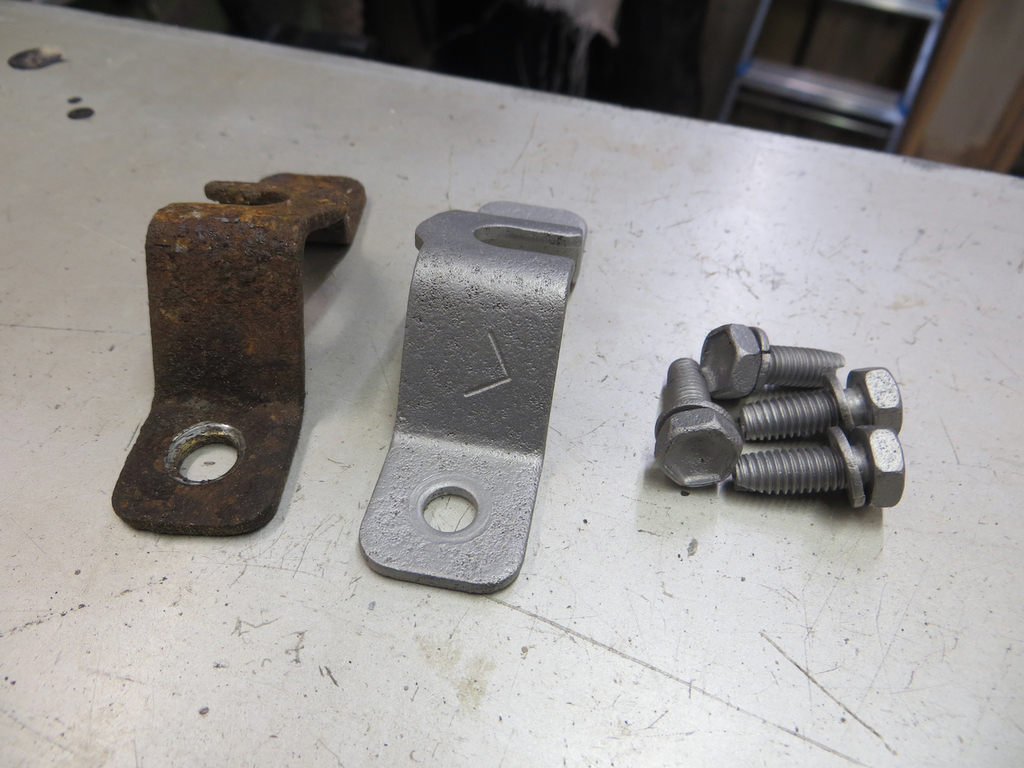
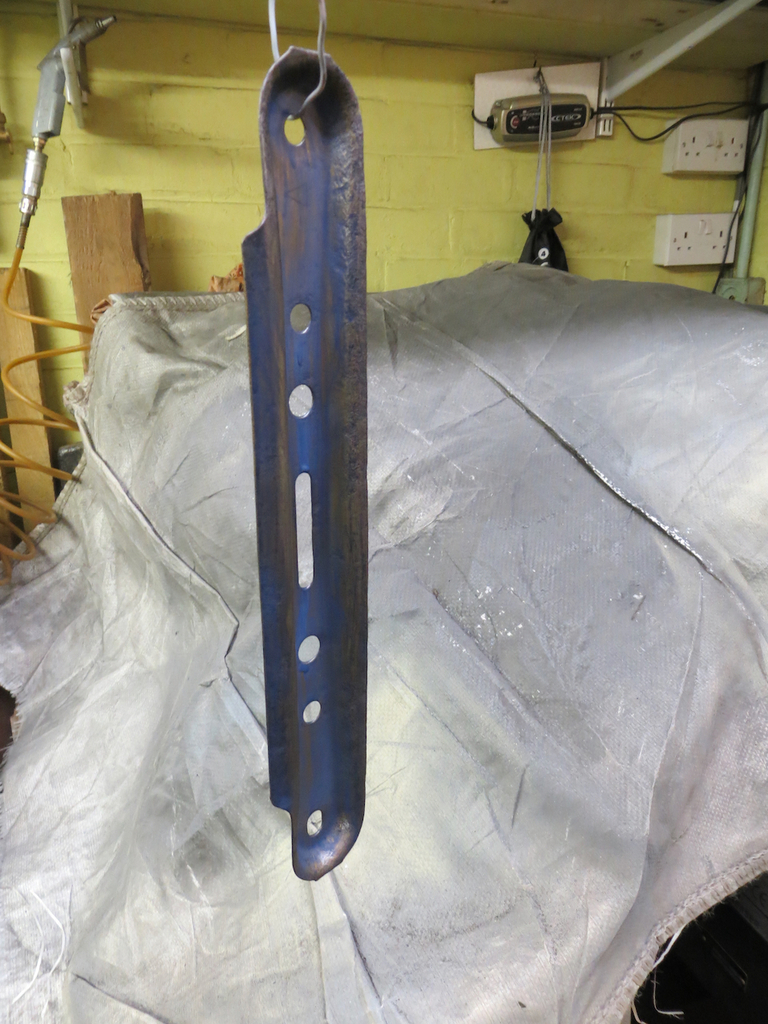
They start off looking like the one on the left. Rusty and unpretty. They go through the sandblaster and come out looking clean. The parts are pretty active after sand blasting and will flash rust fairly quickly, especially if the weather is damp.
Straight after blasting we need to get it into the plating process before the rust starts. The bits get dangled from thin bits of copper wire and hung from a copper pipe. Then they get dunked in an acid bath for 60 seconds or so. This removes any last bits of dirt or oils and properly activates the surface.
Next gets a quick wash in water to take the acid off and then into the plating tank.
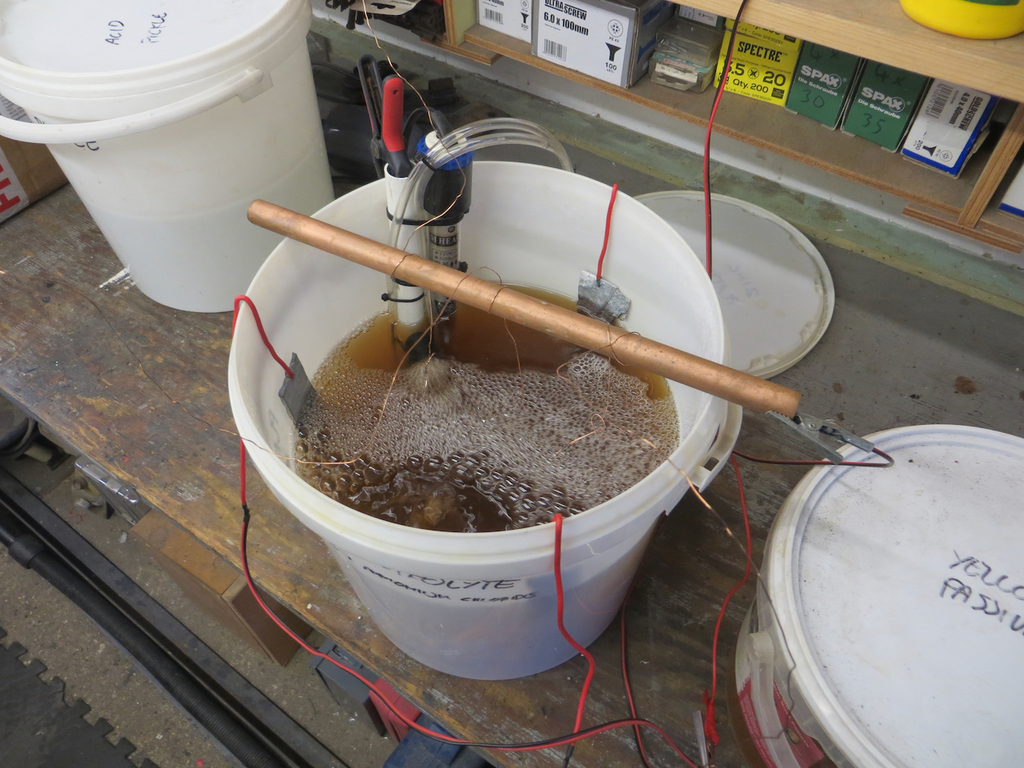
There is a heater in the tank and an air bubbler to keep the fluid moving. There are three zinc anodes connected to the positive of the power supply and the parts, hung off the pipe, are connected to the negative. 100mA per square inch for about 30 mins. Moving the orientation of the parts in the tank every 5 mins or so and giving them a jiggle and a wiggle.
Once that’s done the parts get another wash and are then dunked in the passivate tank for about 60 seconds. The passivate has a yellow dye in it that colours them that nice yellow colour.
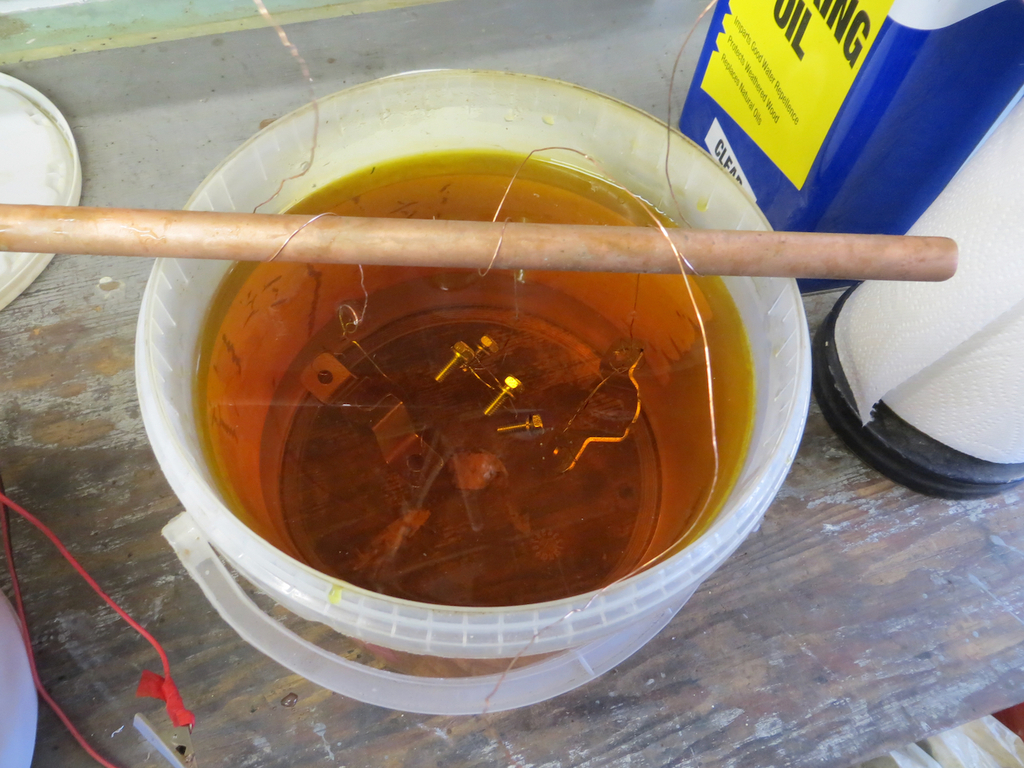
And then a last wash in water and left to dry.
So the big question is… Are they bright and shiny?
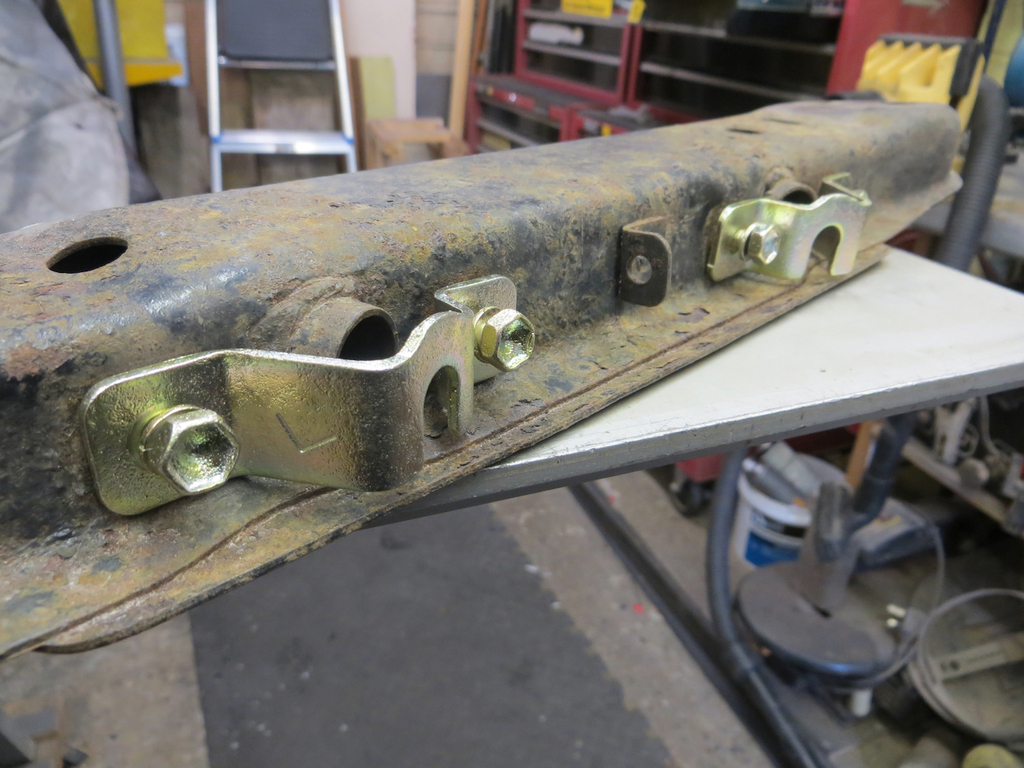
Oh yeah! Oh yeah!! Ohhhhh yeah!!!!
Nothing makes me smile like turning a rusty bit of junk into a lovely bright yellow thing. It’s very satisfying.
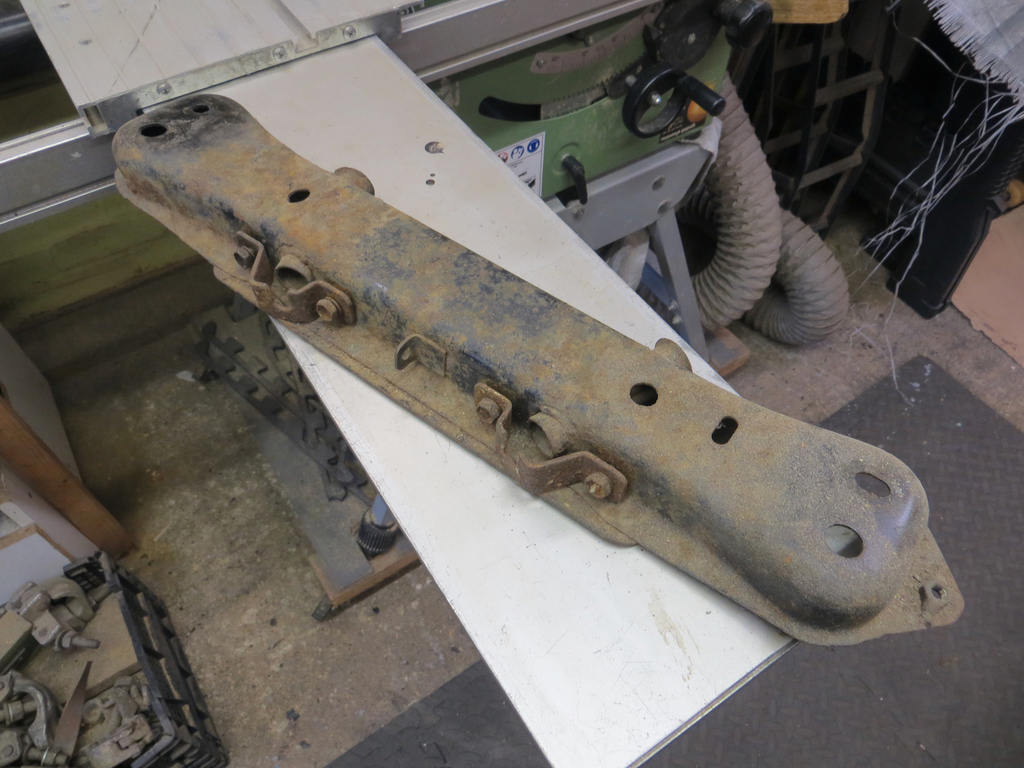
I’m definitely going to have to paint that cross member now though. I can’t bolt those lurvely brackets back on to it.
I’m excited now. More shiny! More shiny!!
How about this thing?
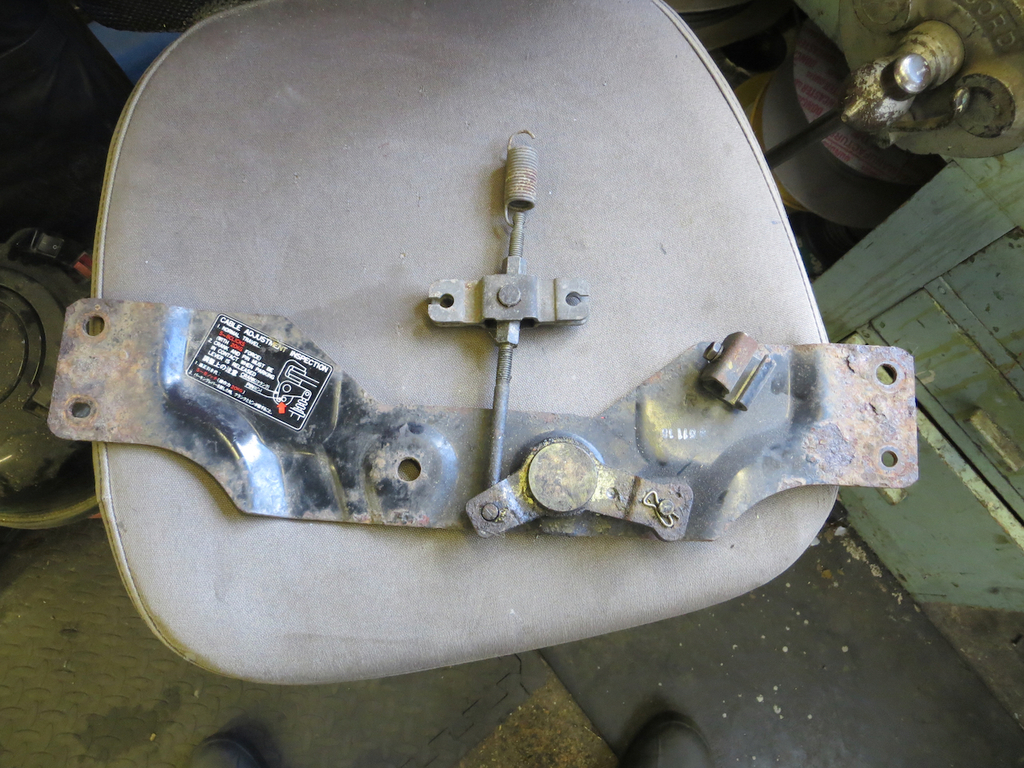
It’s another part of the handbrake mech from under the car. Some parts come off and can be re-plated as they were when it was made. The rest will just get blasted and painted.
Here’s some parts of it along with the screws that hold the fuel tank parts to the tank. They’ve been blasted and are ready to go in the acid bath.
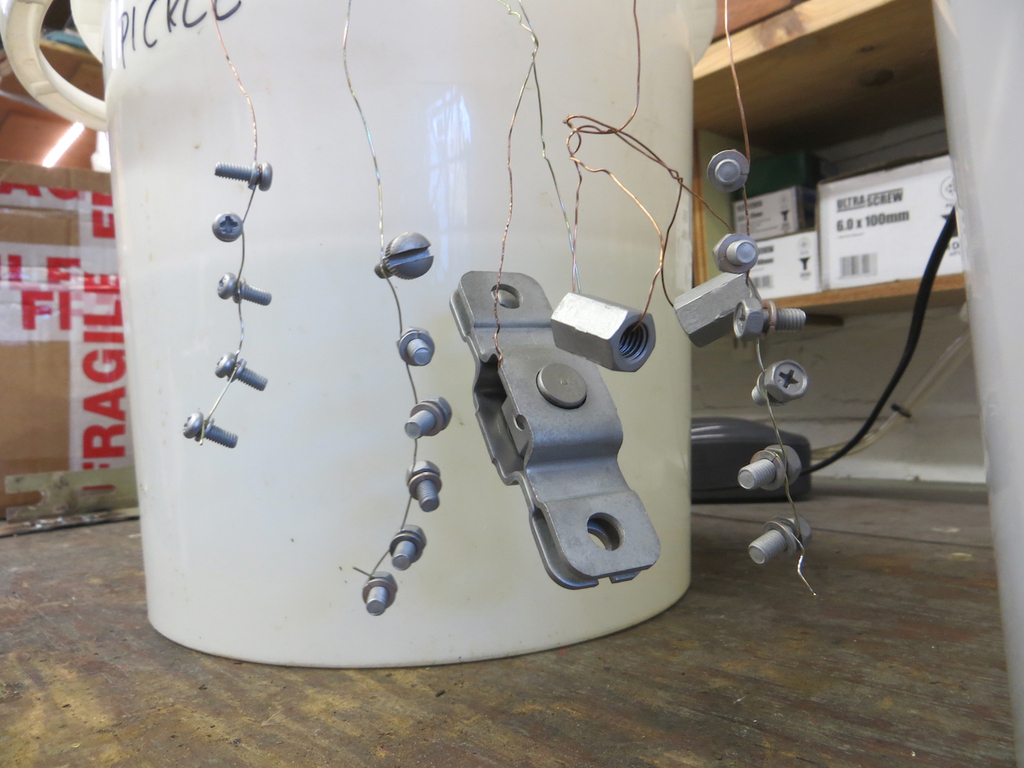
Did these come out looking all pretty and golden?
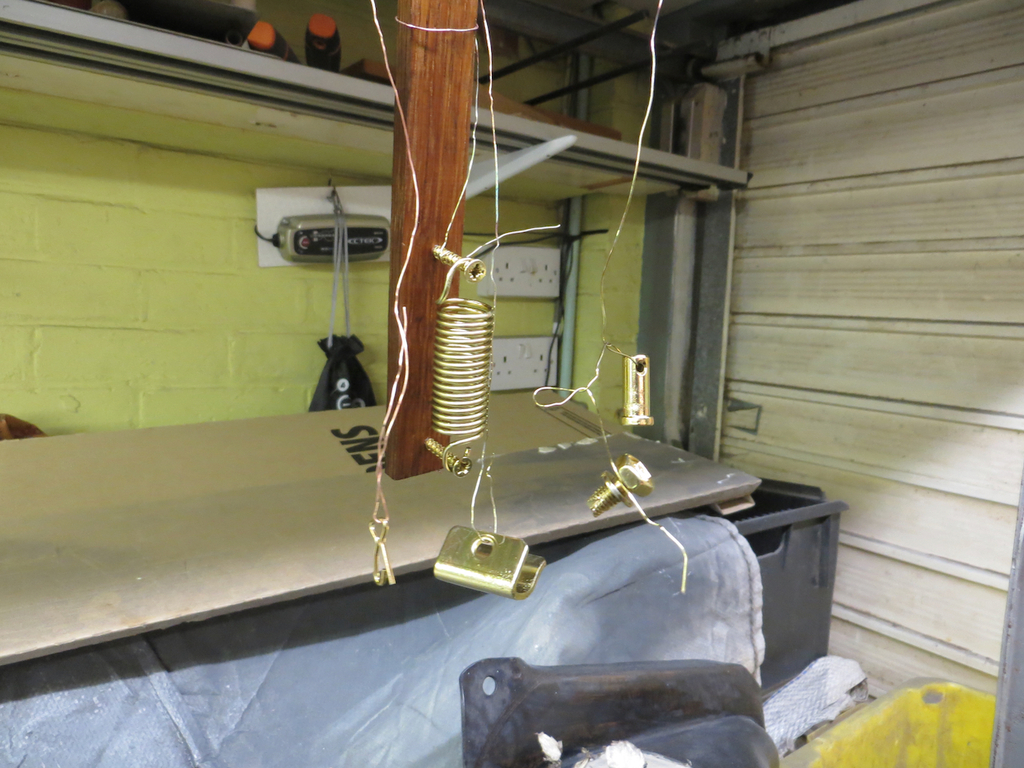
Ha ha ha ha!
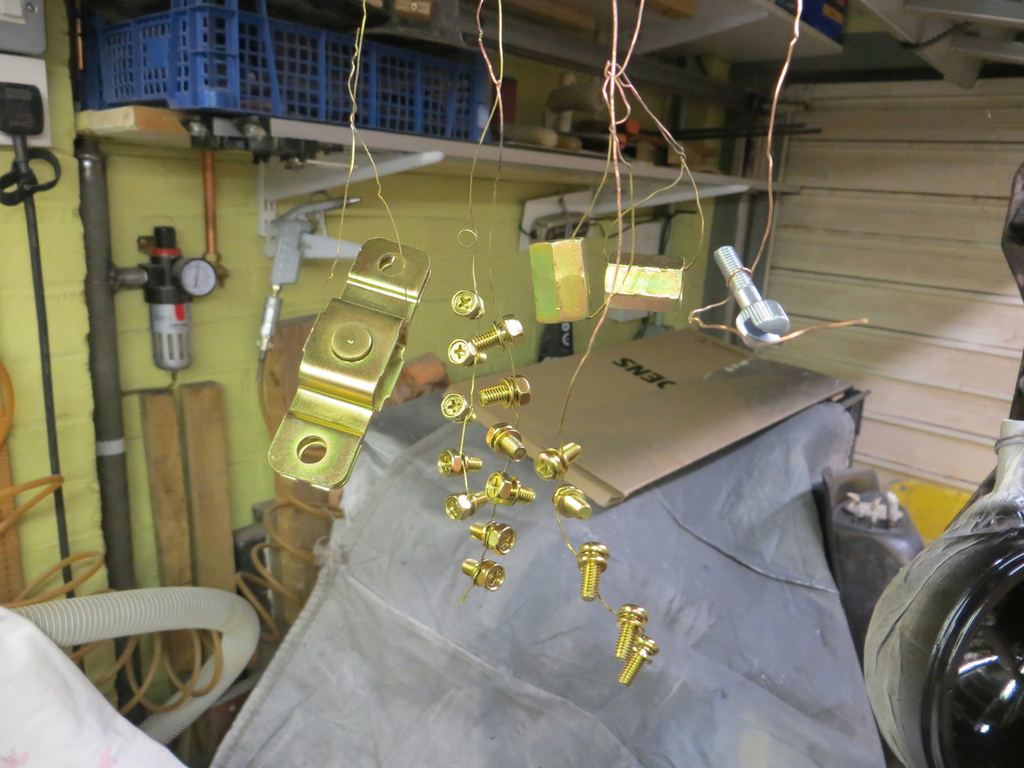
Ha ha ha ha ha ha!!
The silver coloured screw on the right of that photo is off the bus. It’s a different colour because it went in a different passivate solution without the yellow dye. Apart from that it was treated the same.
That’s gone rather well don’t you think?
James


