Let’s take a peek in the garage from a safe distance. Just in case there’s something scary in there, like a spider.

That’s the side skirt that I painted last year. Or possibly the year before.

And that’s the rear bumper and the rear wing… What is going on here? Isn’t this idiot supposed to be putting the car back together rather than taking it apart again?
Well we are putting it back together. We need a few days of good weather to prep the wing, the car, and get it welded on. The weather man said the weather was going to be pants. Then he said it was going to be ok so I took a punt and made a start. Sadly the weather man was right the first time and I’ve had two weekends of dodging showers. It really slows a chap down when you get set up just in time for it to start drizzling so you have to pack up again, set up the tent, and start again.
The plan is this…
I need to drill all the spot weld holes. Then grind the primer off all the weld areas and protect them with weld through primer. Then I want to mask all the weld areas and paint the inside of the wing and the inner wing black. This is totally pointless because when the car is in one piece it’s more or less impossible to see any of it. But if another owner has to replace this wing again I want them to find it’s all black and say that the last chap who changed the wing did a proper job.
Then I suppose I can start with the welder and fasten it to the car for the last time.
Ready? Let’s crack on and dodge the showers.
Here’s the lower back corner with weld through primer on it.
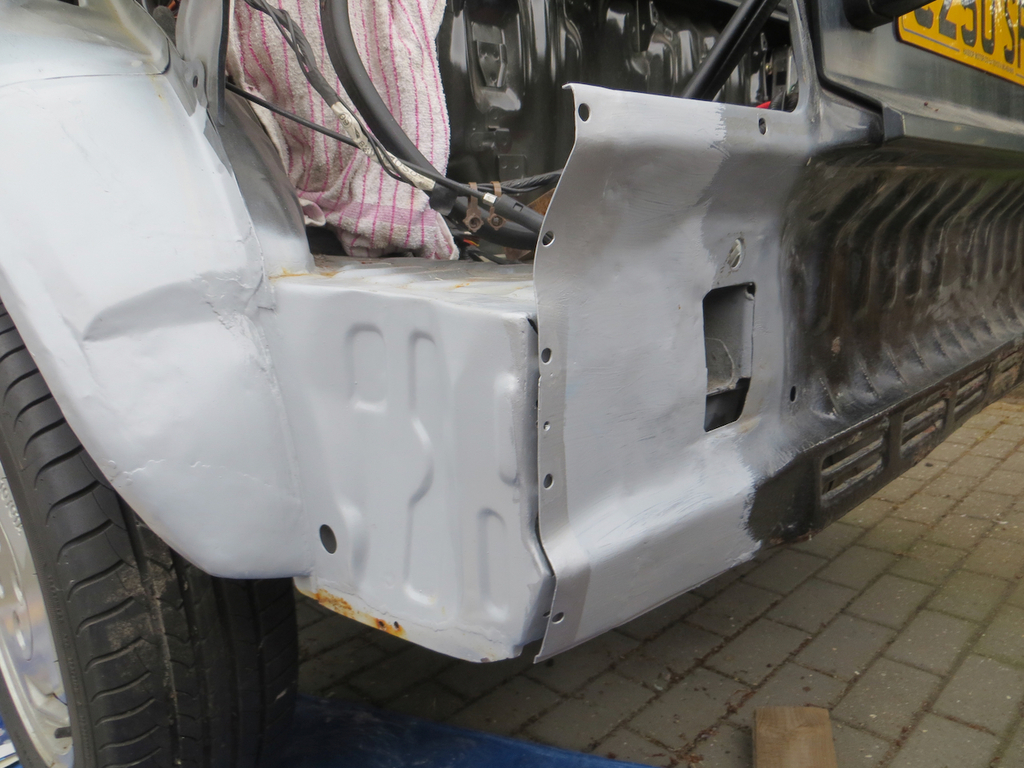
Of course I dropped myself in the poo a bit there because had to remove the paint between the panels. Oops. That took a bit of time with some sand paper wrapped round a lolly stick.
Don’t worry about the rust stains you see in the photos. For the most part they are caused by grinding dust that’s collected in the joints and stained the paint. In the odd place where there was unprotected metal it’ll get sorted.
Up by the B pillar…
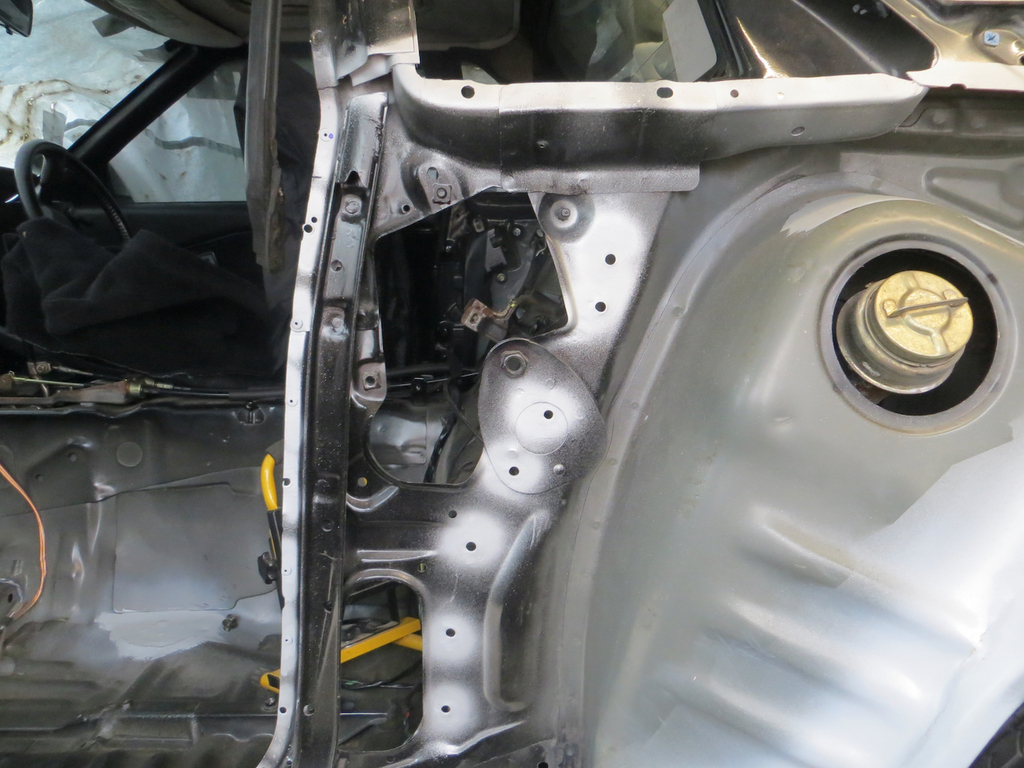
You get the idea? Sand the paint where the welds will be using the PowerFile thingy and then spray a coat of weld through primer.
At this point I’m a bit committed. Or I should be. The epoxy primer is pretty waterproof so the car could survive another winter like that. But the weld through primer won’t be that waterproof so now I’ve started I can’t really stop again.
Next I wanted to give it that pointless coat of black for no better reason than I’m a lunatic. To avoid painting over the weld through I went round with little squares of masking tape over all the weld areas.
God help me if I missed one.
Then the car gets masked up and a coat of black went on.
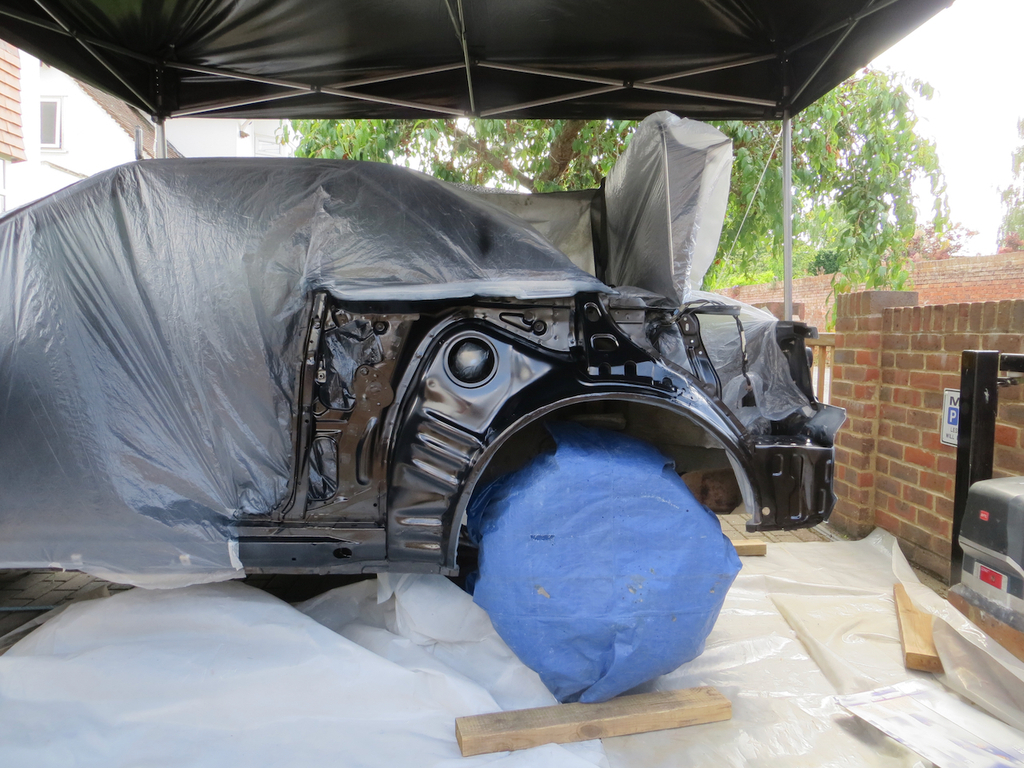
Lastly I get to go round and find every one of those bits of masking tape.
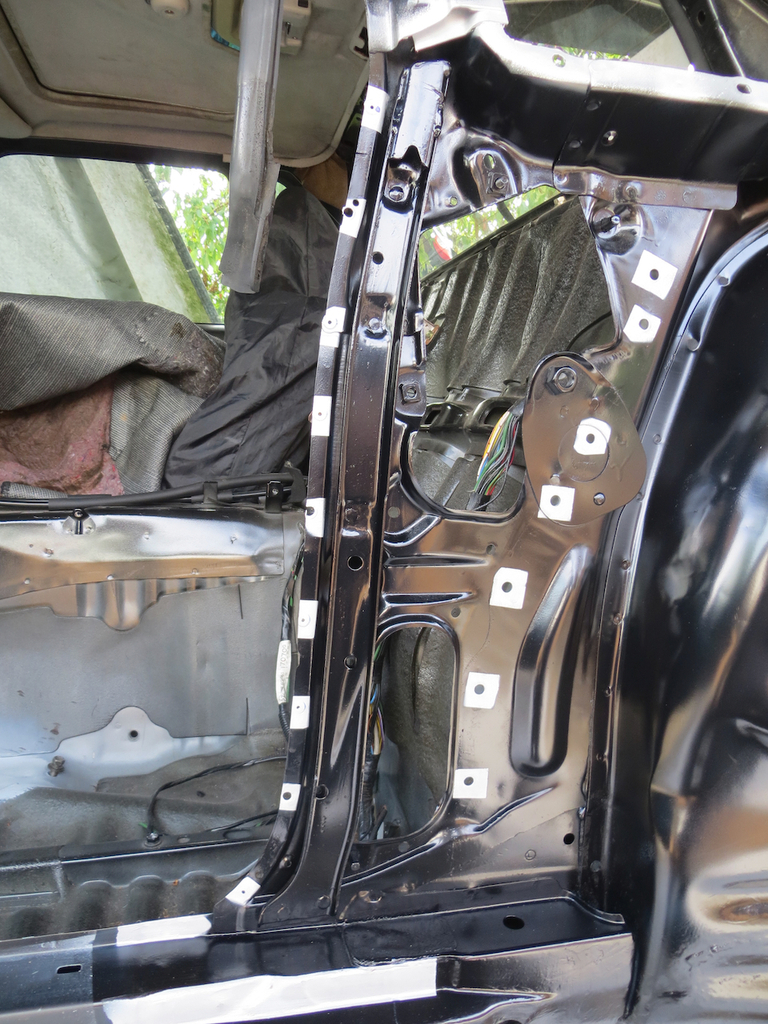
So that’s the car prepared. Next I need to do the inside of the wing.
This photo is after sanding the epoxy off in the weld areas, after spraying the weld through primer on, after keying the paint, and after littering it with bits of masking tape. Basically it’s ready for black paint.

Some time later…
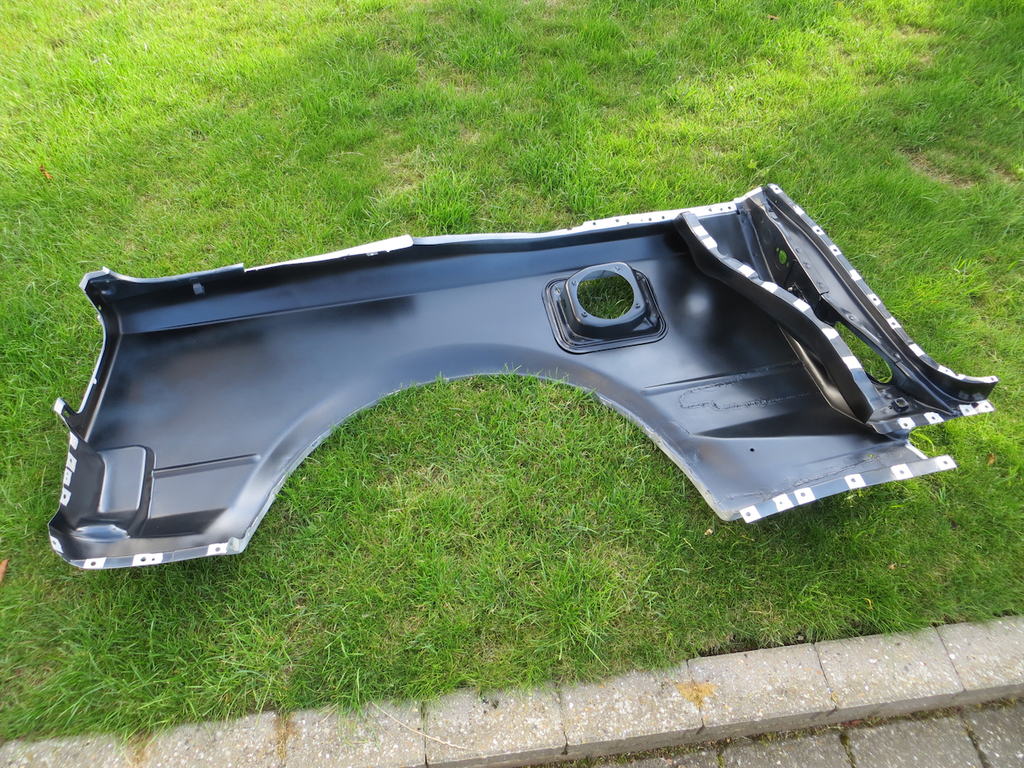
So that’s the car prepared for welding and the wing prepared for welding.
Well this is getting serious. As luck would have it that was the end of that weekend. I had a week to get my welder kahoonas working and pray for outstanding weather.
Outstanding weather? Yeah right… Another unsettled weekend to try welding outside.
I suppose I shouldn’t be too critical. I’ve just been on holiday to Iceland. If you are welding outside in Iceland you don’t worry about the wind blowing your shielding gas away. You worry about the wind blowing your car into the nearest fjord.
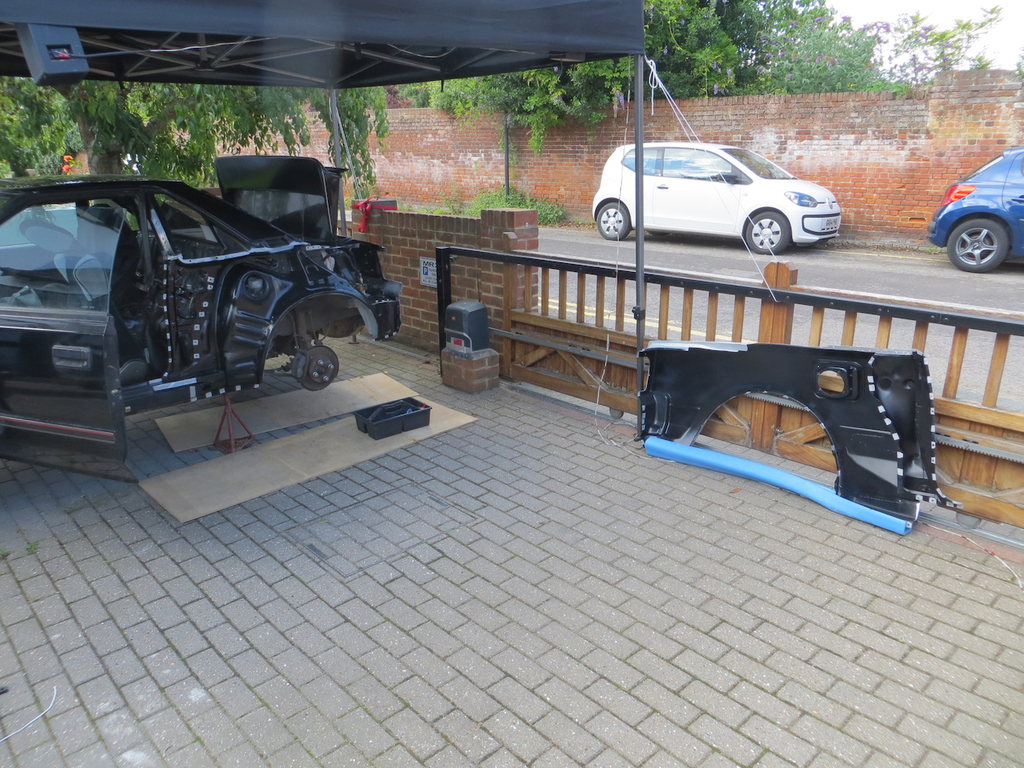
I have to admit I was a bit nervous at this moment. Once I start welding this together that’s it. If I’ve forgotten anything, missed one captive nut, left one piece of masking take in the wrong place I’d be stuffed. Once the welder is at work this thing’s not coming off again.
Ah well. Crack on and stop being a big girls blouse.

No! No it’s not all done. I’ve just hung and pinned the wing in position. You know me, there’ll be a photo of every single weld. From both sides. Plenty to look forward to!
I fitted the light block in the hole as that’s the tightest part of the wing positioning There is literally no room around it.
That left the top rail above the light with a slightly wide gap but it’s no problem.
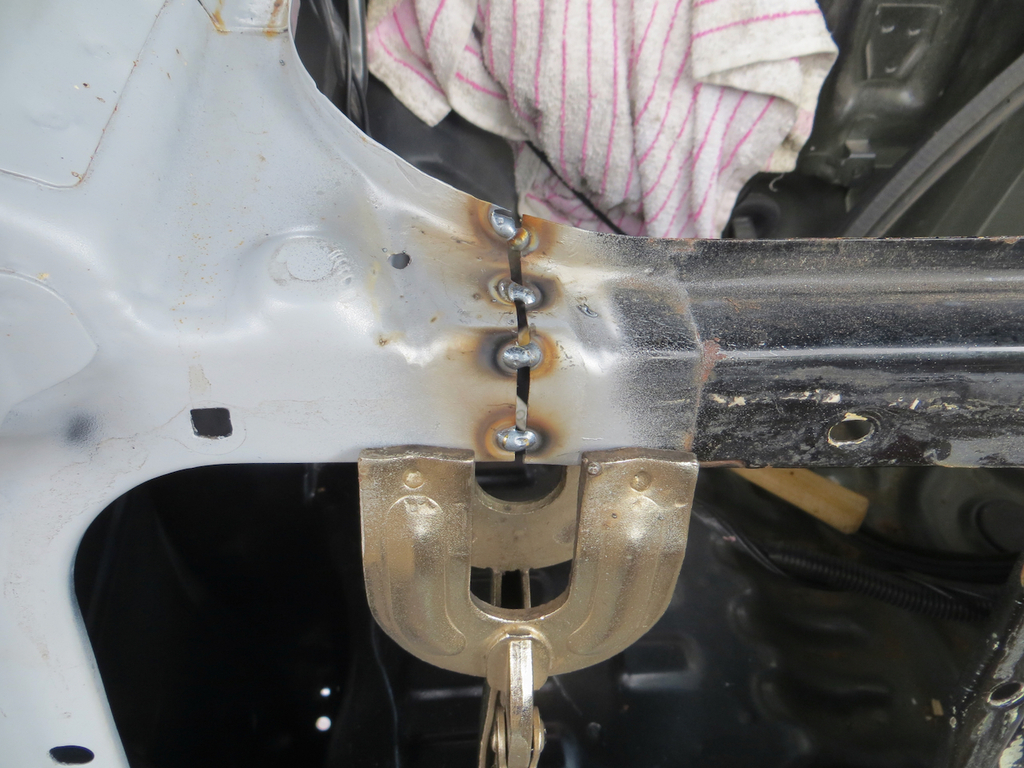
Some time later…
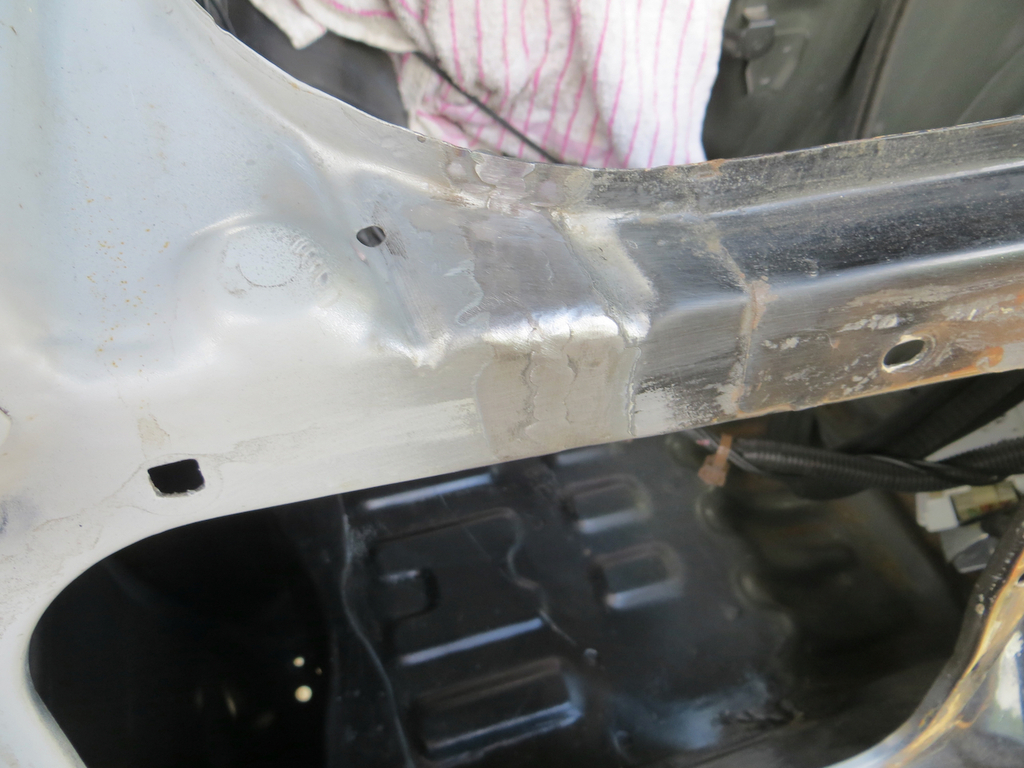
Notice that little round hole just to the left of the weld? Well you could have bloody told me! I didn’t notice it and it needs welding up! A job for another day.
Same story across the C pillar.
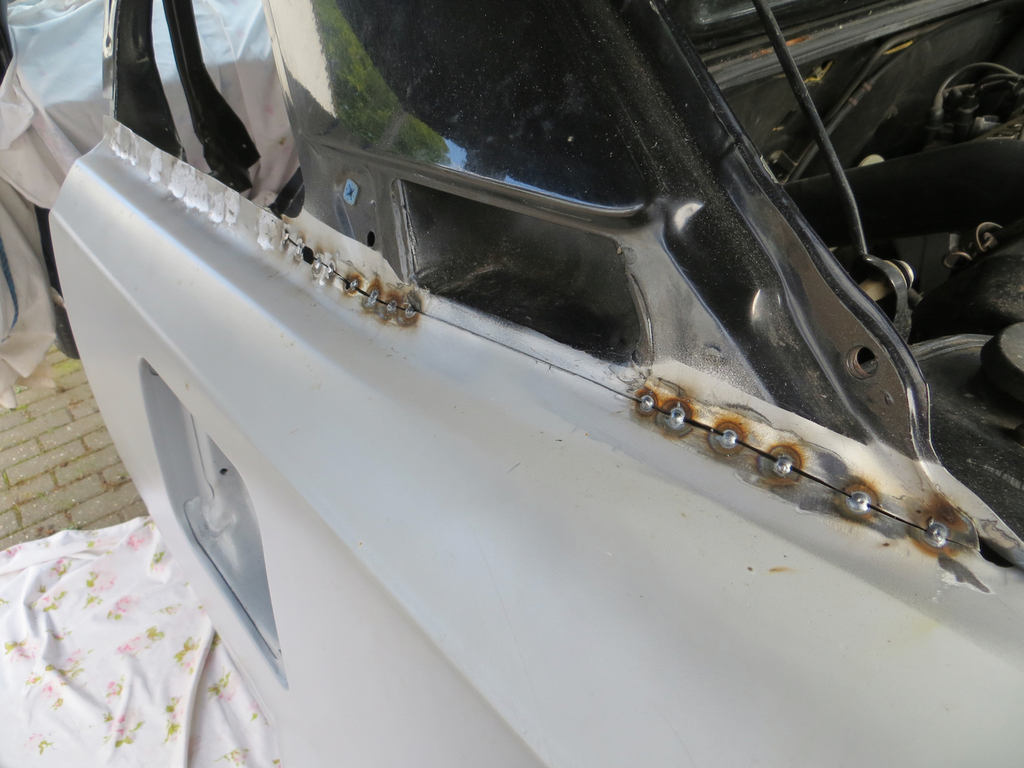
That all gets hidden behind some trim.
Under the quarter light there is a row of spot welds. There were also a few holes where I’d bolted the wing in position so I welded those up too.
Unfortunately…

…two of those holes were needed to bolt the glass bracket to the car. Bumhats.
So I went to the garage to look for my unwelder but I just couldn’t find it. I spent at least an hour looking for it. Eventually I gave up and just drilled two holes with the, er, drill.
I’ll be honest, I’ve been struggling with the plug welds. In the past I’ve managed to fill the hole without connecting it to layer underneath. I couldn’t do that if I wanted to but I’ve done it a few times when I didn’t want to. So I cut a couple of bits off the old wing and did some test welds to get the power dialled in.

That worked perfectly but not so good on the car in real life. I’m definitely melting the back panel but when the weld pool hits the edge of the hole it just melts the edge away. Do you chaps start welding in the middle of the hole and spiral to the outside or start at the outside and spiral in?
Anyway, the welds may not be as pretty as I’d like but the panels are definitely connected.
I also welded the strengthening piece that runs up the inside of the B pillar. Somewhere I have the piece of the outer panel that will join the new wing to the existing pillar. Wonder where I put it?
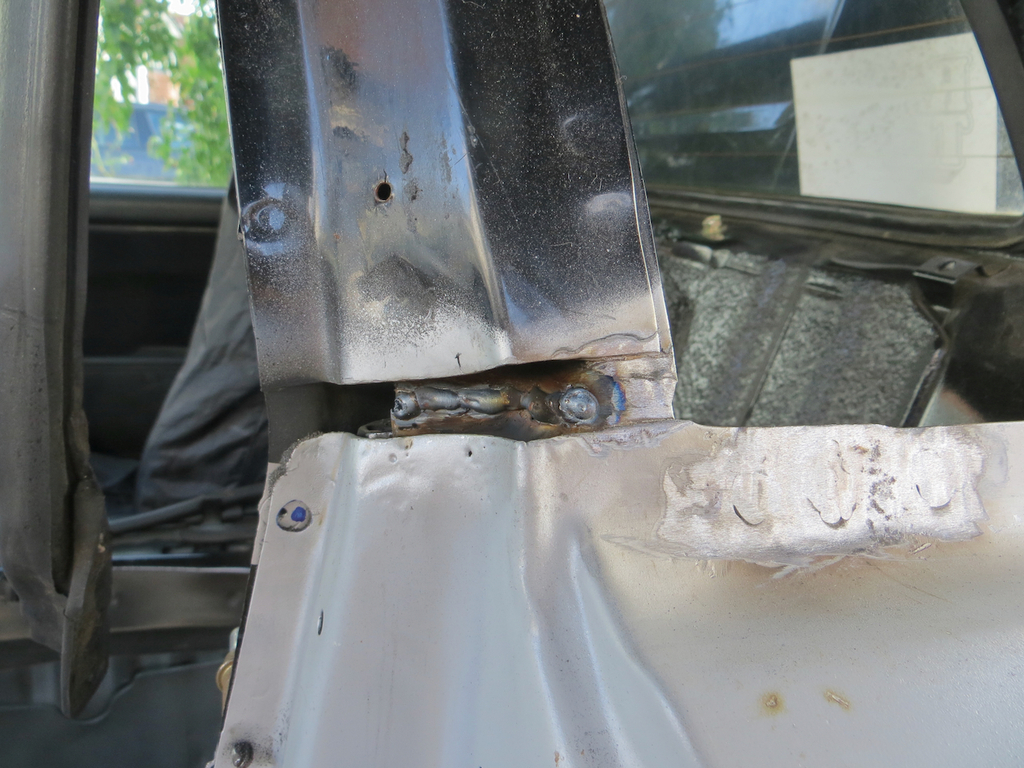
If you are looking at that thinking that the bead hasn’t sunk down and so I don’t have penetration, well spotted. Although again, it’s better than it looks. I actually cut a slot between the pieces and blob welded into the hole. Standard thin panel technique. However in a couple of places I got some porosity from the paint on the back of the old panel so I ground it back and laid a bead over the top to fill the holes and add a bit of strength. Yep, I could have done with a bit more power on the welder but in reality it’s done the job and it’s not coming apart anytime soon.
I have a horrible feeling that in many wing replacements that inner strengthening part doesn’t get reconnected and only the outer panel is welded together. I mean, as a customer you aren’t going to know. Not until you crash it anyway.
Last photos for today.
A few months ago I was making the end of the valance as it had rotted away. Here’s a photo to remind you.
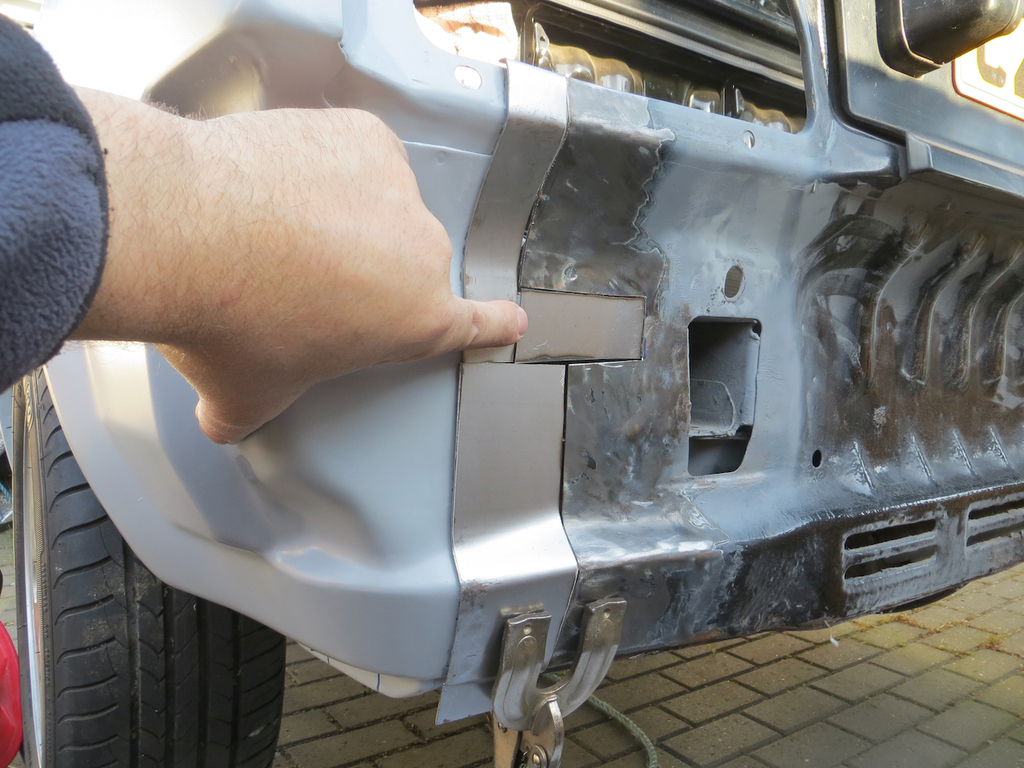
Well bearing in mind that it was made in a shed by a muppet I’m pretty pleased with how it’s mated up with the factory wing.
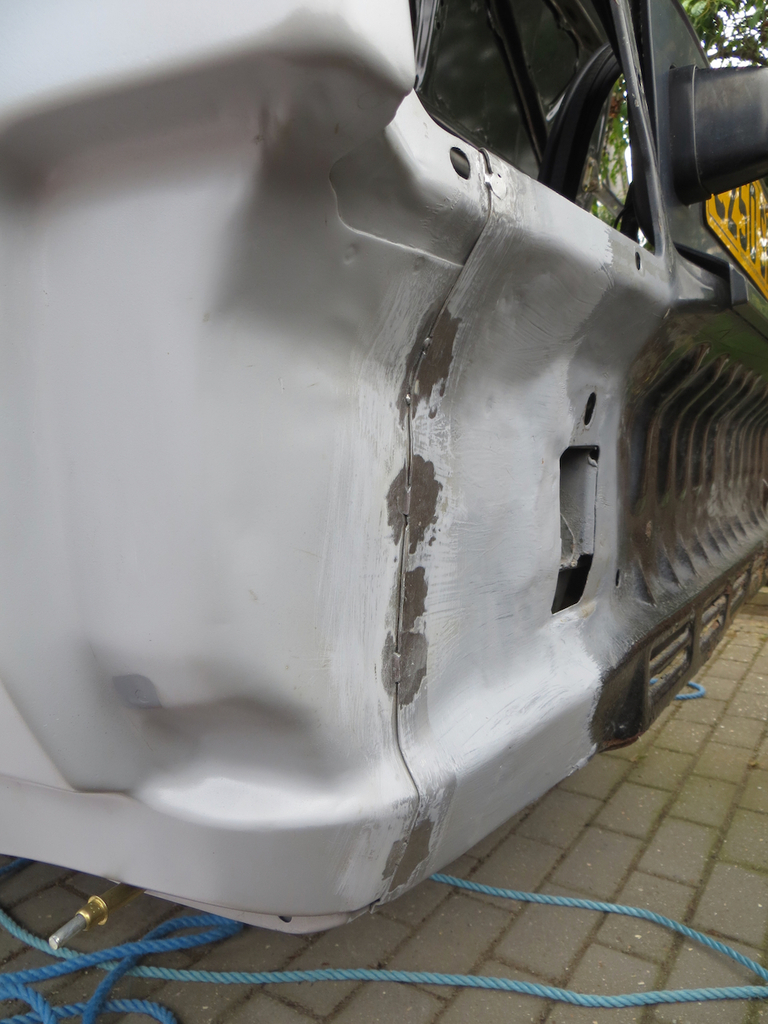
I don’t like blowing my own trumpet but I’m calling that a success!
What am I talking about? Of course I like blowing my own trumpet. What’s the point of having a trumpet if you don’t blow it occasionally? PARP PARP!
By this time it was looking like rain so I didn’t get any more photos. Essentially the back and top are welded, ground back and have some epoxy primer on for protection. The welds in the door shut, along the bottom and round the arch are all still to do. I’m sure the weather will be lovely next weekend.
James






 it all appears to be lining up quite nicely, pretty damn good considering what you started with 👏 👏