|
|
|
Dec 12, 2016 20:30:40 GMT
|
Hi Seb, old chap! I use the word "old", er, inaccurately.. How are you doing? wow it really did live outside? RE mysteriously appearing parts ... Do you think any more magic might manifest itself over Christmas? I mean not that you could predict of course  Anyway loving the updates  Oh yes, it lived outside. There was no chance of it going in the garage, that's full. I sometimes wondered if it was rusting away faster than I was putting it back together. There are plans for the Christmas period and early next year. I'm going to keep them under wraps for the moment. Partly to induce a feeling of suspense in the audience, but mostly because I might not get round to doing them. Wouldn't want to get your hopes up! James |
| |
|
|
|
|
|
|
|
|
|
Some stuff Santa dropped off as he passed… Or - Some new years resolutions… Or - Some stuff I may or may not do 'cos resolutions are there to be broken… Or - The Project Portia manifesto... Or - Some stuff you might just get to enjoy in this thread this year. Hmmm, how many more ways can I title this post? S50 cavity wax. Because I never protected the insides of the box sections I welded. Needs doing or I'll be welding it again.. 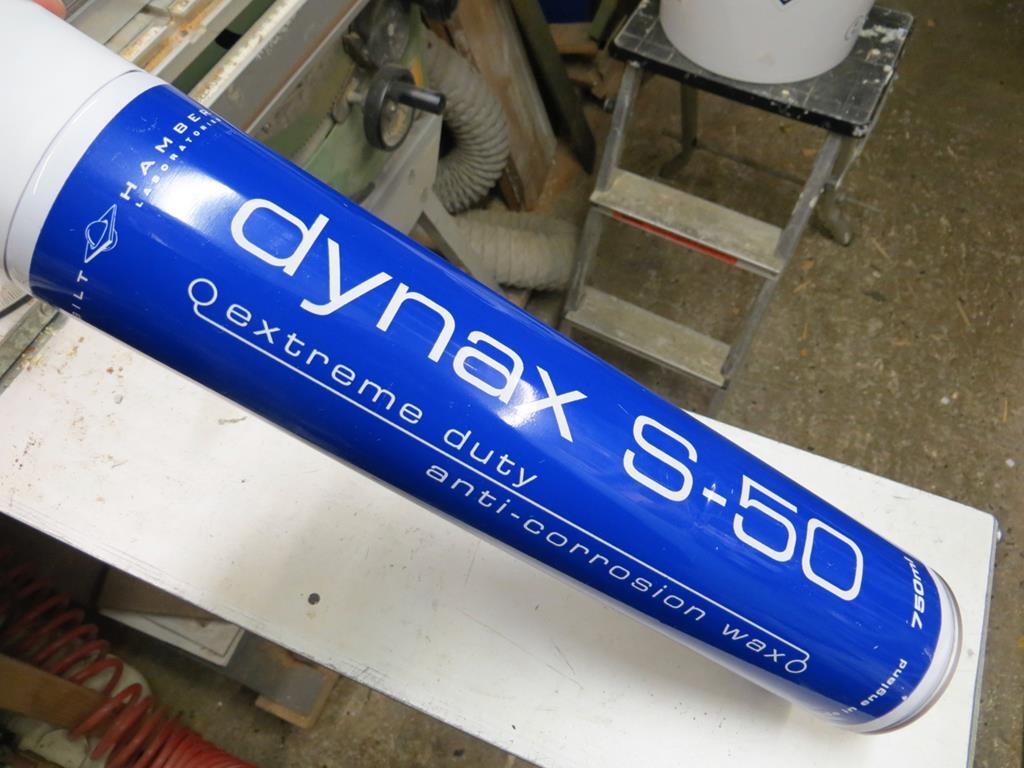 Seam sealer so I can repair a few places on the bottom where the underseal is failing and letting water in the seams or where I've done repairs. 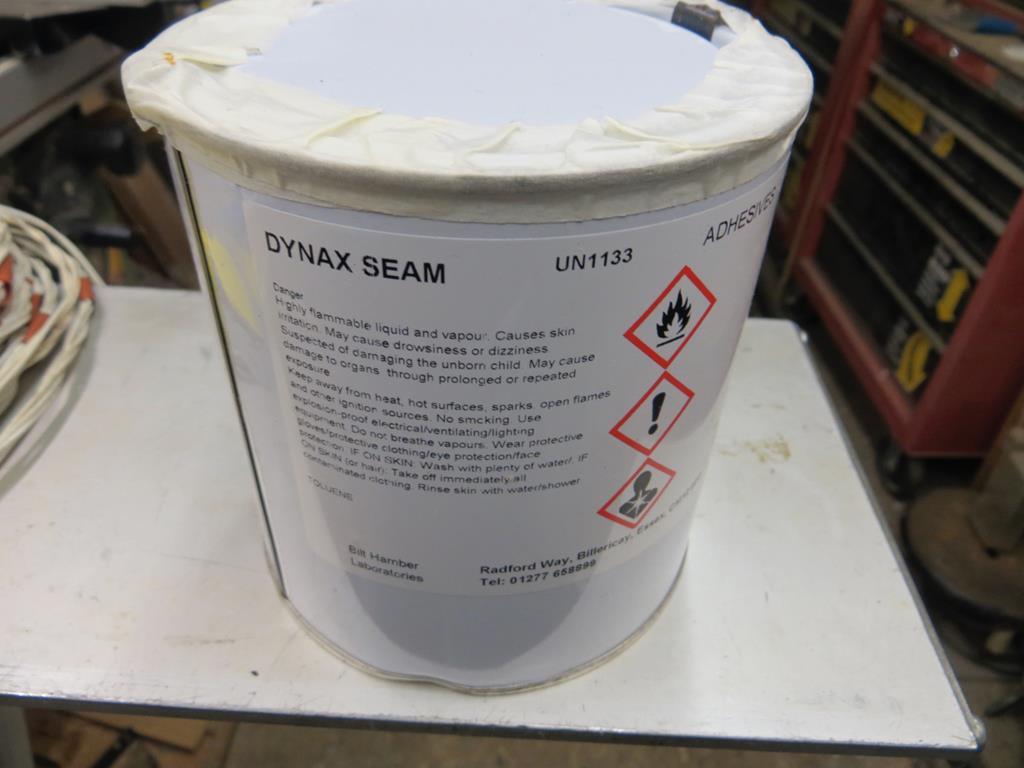 Replace the failed handbrake cables so the handbrake works reliably. 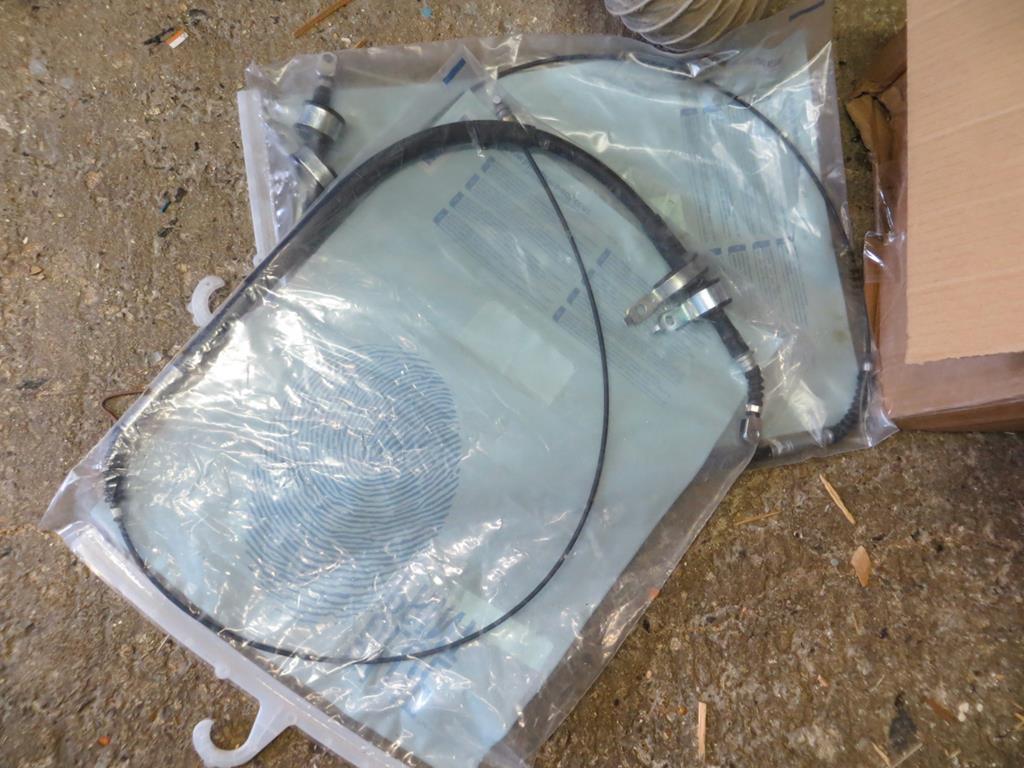 A little upgrade to the tunes. 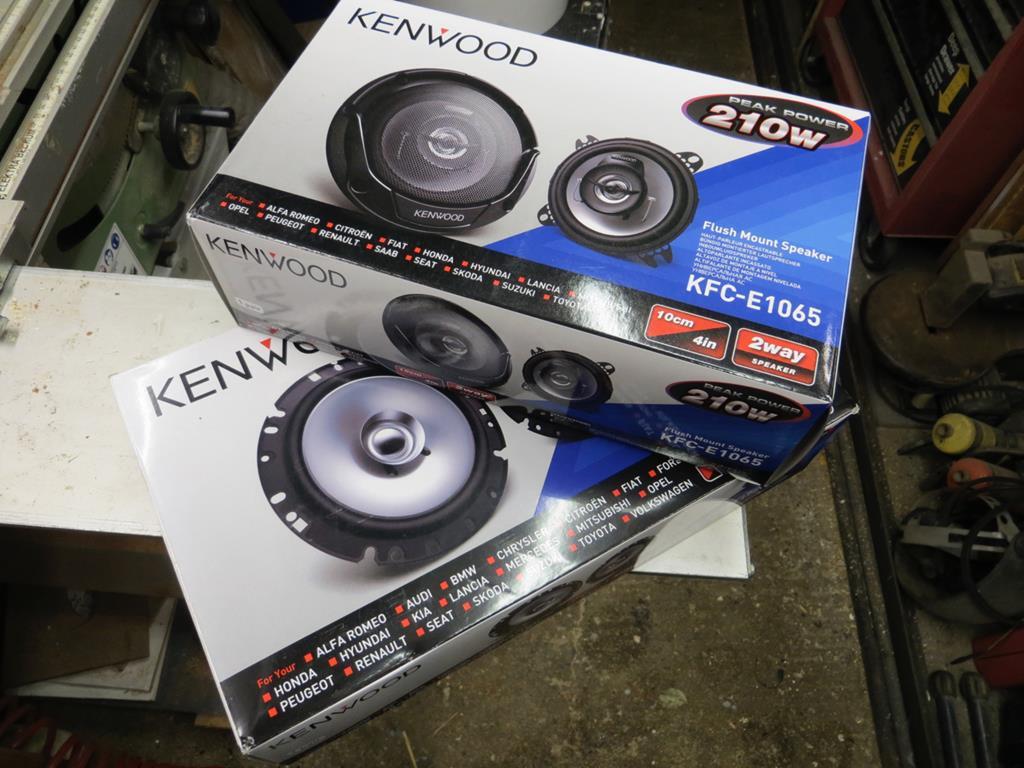 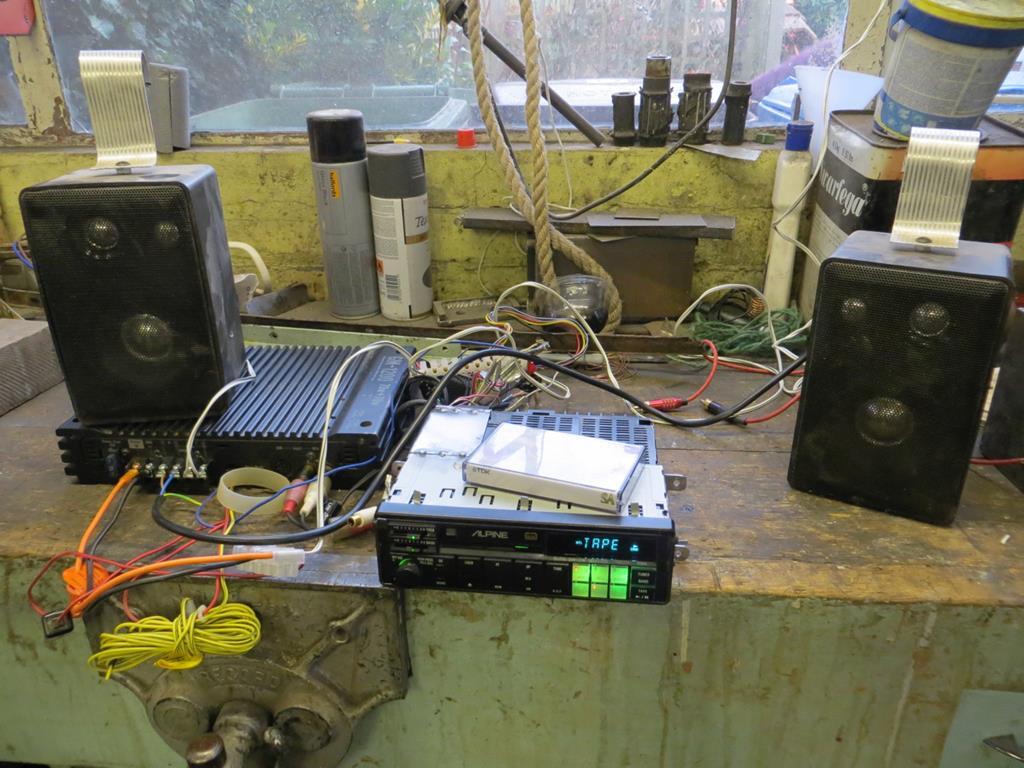 The amp under on the bench is my (approximately) period Pioneer GM1200. It was undergoing testing to see if it still worked. (Oh it does!) New tyres. And more interestingly - do something to tidy the rims up. 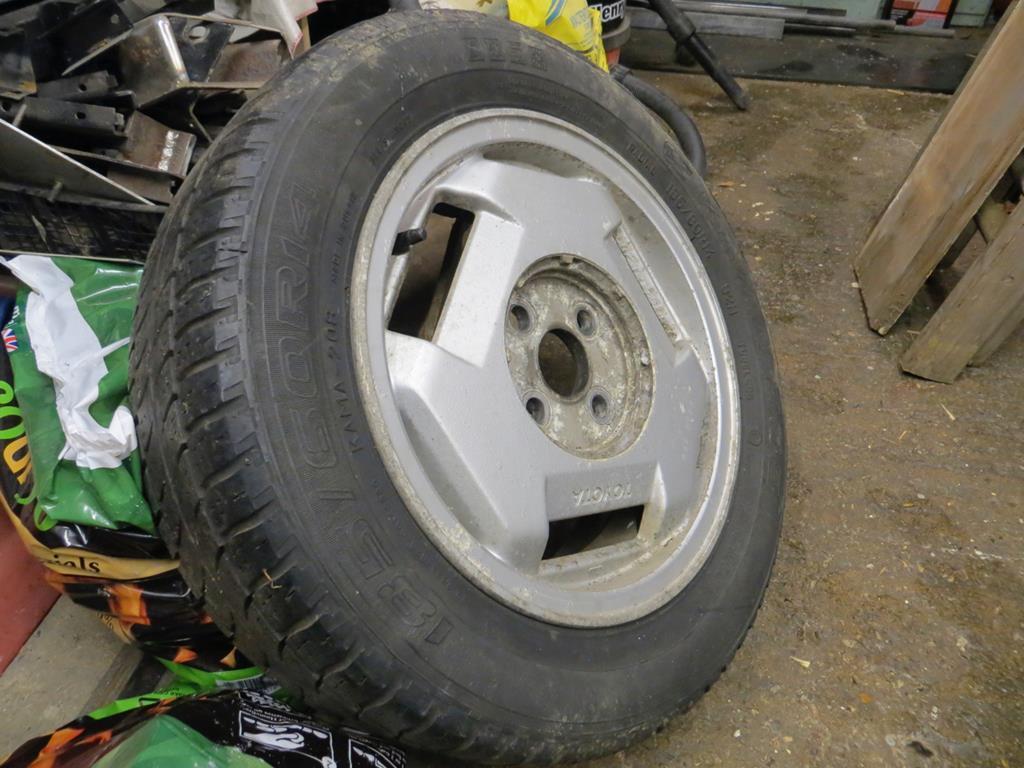 Tiny tidy up for the interior. 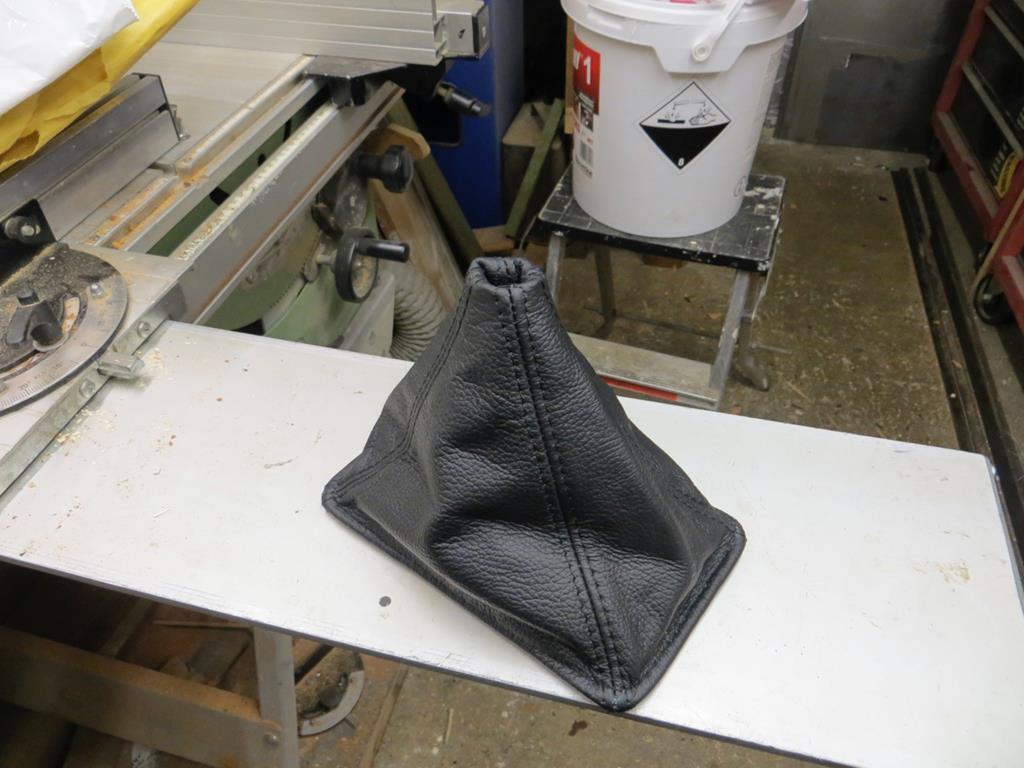 Stop the distributor weeing oil down the front of the block. 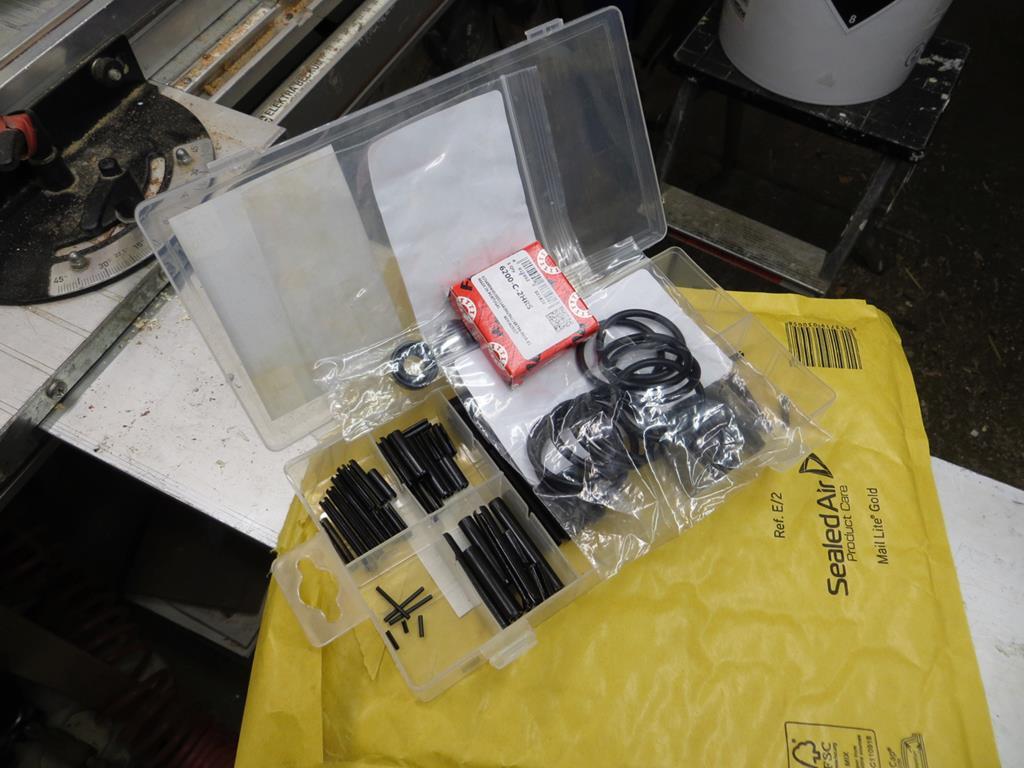 Er… Surgical gloves? 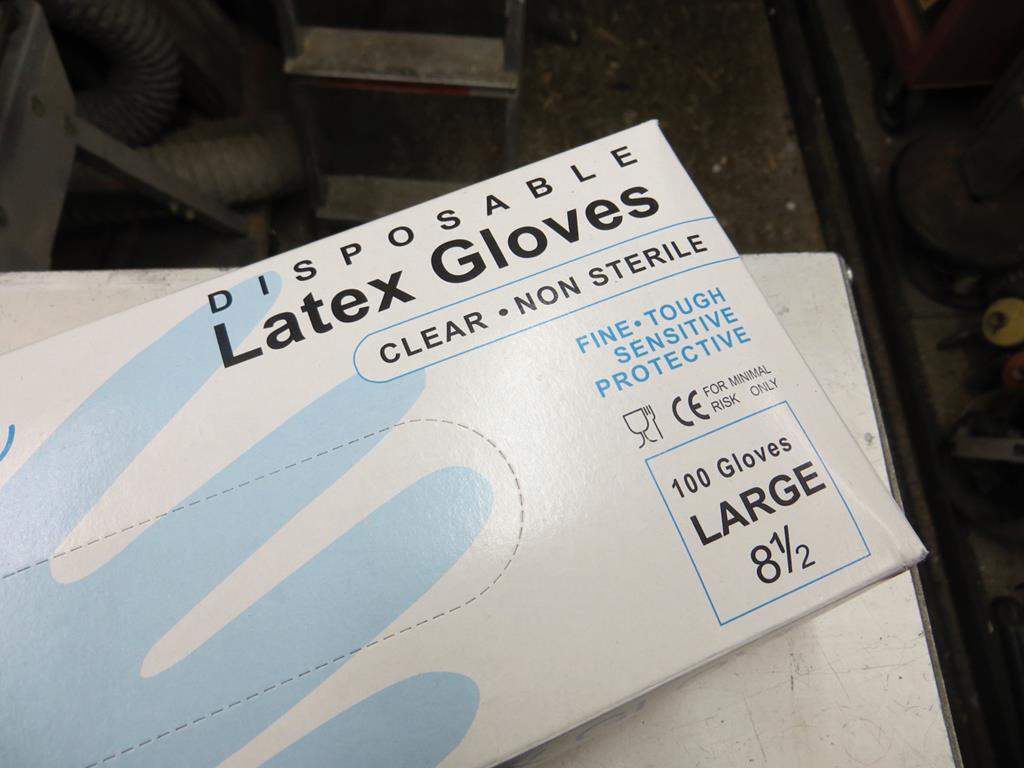 Play doctors and nurses more often? Oh, and replace all the big end shells 'cos they are completely borked. Happy new year! James |
| |
Last Edit: Jan 12, 2019 22:26:35 GMT by Sweetpea
|
|
MK2VR6
Posted a lot
   Mk2 Golf GTi 90 Spec
Posts: 3,329
|
|
|
|
|
I'm really starting to like the look of mk1 MR2's. I'm not starting to like their propensity to rusting. I think I'll stick with our much loved Mk3 MR2 Roadster for now and observe your magic with yours via the interwebz. Sounds like you've got a busy winter ahead!
|
| |
|
|
oukie
Part of things
 
Posts: 307 
|
|
|
|
I'm really starting to like the look of mk1 MR2's. I'm not starting to like their propensity to rusting. I think I'll stick with our much loved Mk3 MR2 Roadster for now and observe your magic with yours via the interwebz. Sounds like you've got a busy winter ahead! To be fair(ish) there probably not any worse than any other 80's car, in fact I'd say they're better than a lot, after all there is still a lot on the go, they did sell about 17k here, the UK was the third biggest market. Garaged cars fair better, tbh I've seen mk1's ALOT worse. I love em, I should do do I've had them for nearly twenty years and currently have five in my possession. |
| |
Mr2 mk1 x4
Honda Accord 2.4 Executive (luxo barge)
|
|
|
|
|
|
|
|
Five! That's just greedy!
Come to think of it... And thinking about my own car... It must be a bit like having five wives? Are you mad!?
Anyway, I was going to say the same. I don't think they are much better or worse than any other 30 year old car. The places where they have trouble are well documented now. Lack of panels from Toyota or anywhere else makes life difficult though.
They do vary in condition a lot. Although mine looks like a total scrap heap the interior is in reasonable condition and the structure is surprisingly solid. If it wasn't I'd have walked away. And mine certainly hasn't been pampered. It's evidently had a hard life.
Mark 2 cars seem to be going the same way. Just 6 or 7 years later.
|
| |
|
|
|
|
|
|
|
Five! That's just greedy! Come to think of it... And thinking about my own car... It must be a bit like having five wives? Are you mad!? At least you don't get five mothers-in-law! |
| |
|
|
|
|
|
Jan 29, 2017 20:30:20 GMT
|
Mrs Sweetpea doesn't like days out in the MR2 much. She says it makes her feel sick. I don't think it's my driving, well it might be a contributory factor but it's not the only problem. Her sensitive nosey is disturbed by the 'old car hot oil' smell. And part of the reason for the smell is that the oil isn't staying on the inside of the engine. The old girl has bit of a leak. (That's the car, not the missus.) There's not enough oil to be dripping on the ground but enough to be wetting some interesting parts of the engine. The exhaust silencer has been wet on the right side. The stay that supports the inlet manifold is wet. But nothing else on the back side of the block is. And the front of the block, the oil cooler hoses and the distributor are all wet. I'm speculating that the manifold stay is wet because oil is being carried up the back of the block in the air flow and the real leak is all the stuff on the front. I actually got one of the O rings for the oil cooler take off. (The other is not available from Toyota.) But looking again it's clear that the bulk of the problem is the distributor. 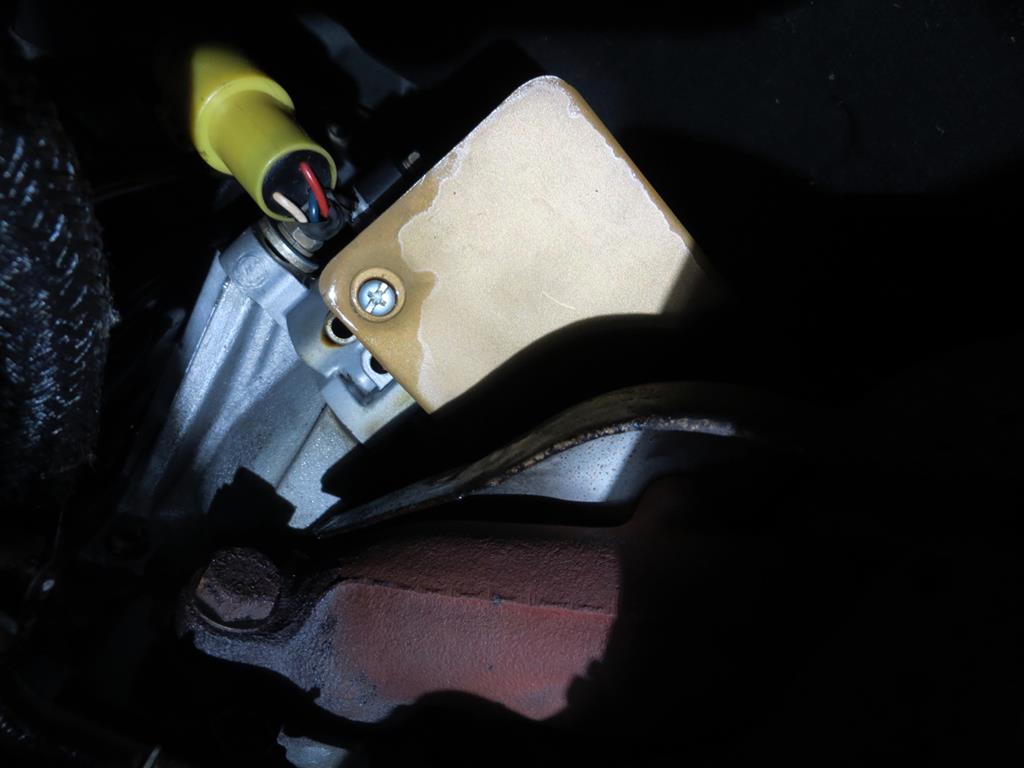 The oil cooler stuff is under the dizzy so it's anybodies guess if it's leaking or not. Lets sort the dizzy first and see what happens later. Quick trip to Canterbury where the car is spending the winter and I return home with... 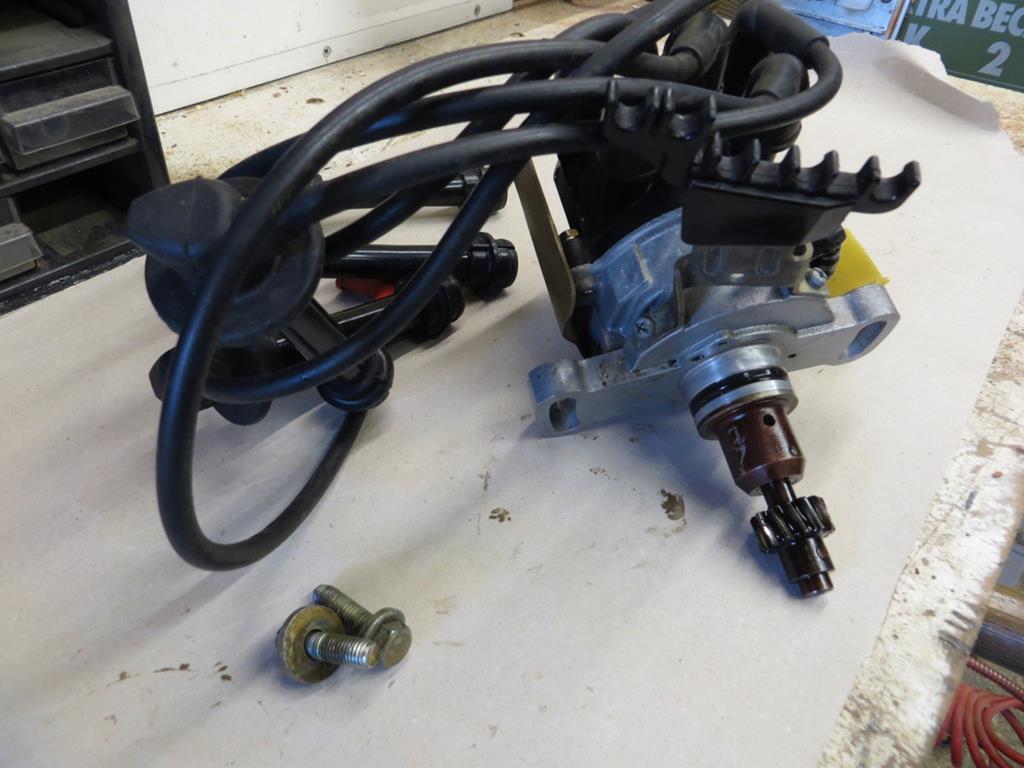 Looks ok doesn't it? Well it was cleaned up and had a new cap when I rebuilt the cylinder head. But it's definitely a bit soggy. 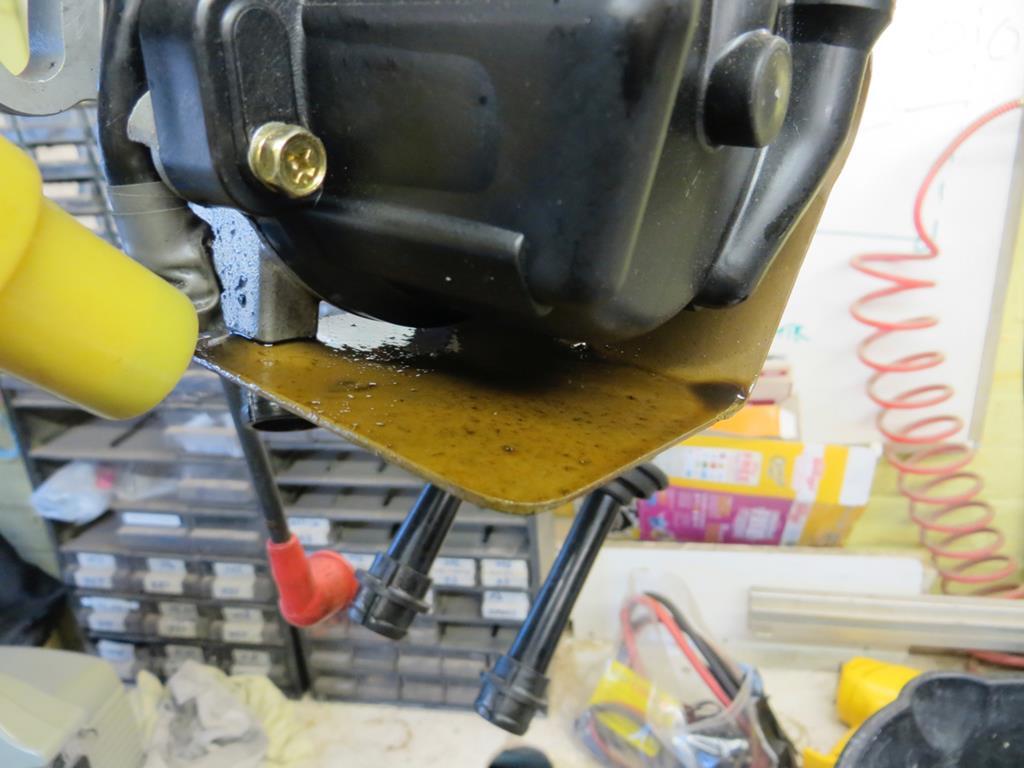 If you are wondering why my heat shield doesn't look like the standard one it's because it isn't. The Toyota one fell off at some point and the dizzy cap melted. So I made a new heat shield. If it was on a Corolla I'd polish it. But on the MR2 you can't see it and even I'm not polishing something you can't see. These things leak in 2 places. First is the seal between dizzy and the head. 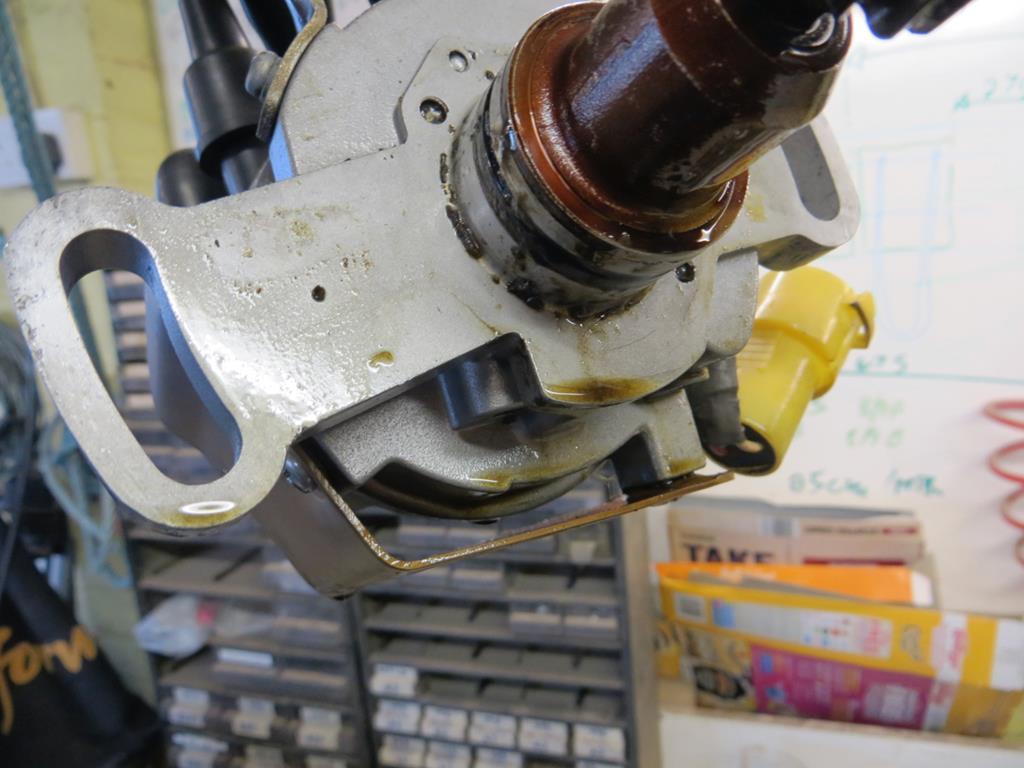 Judging by the amount of oil on the back it's leaking badly. In fact, when I took the O ring off it was so hard it broke. And the other is the shaft oil seal which fills the inside. 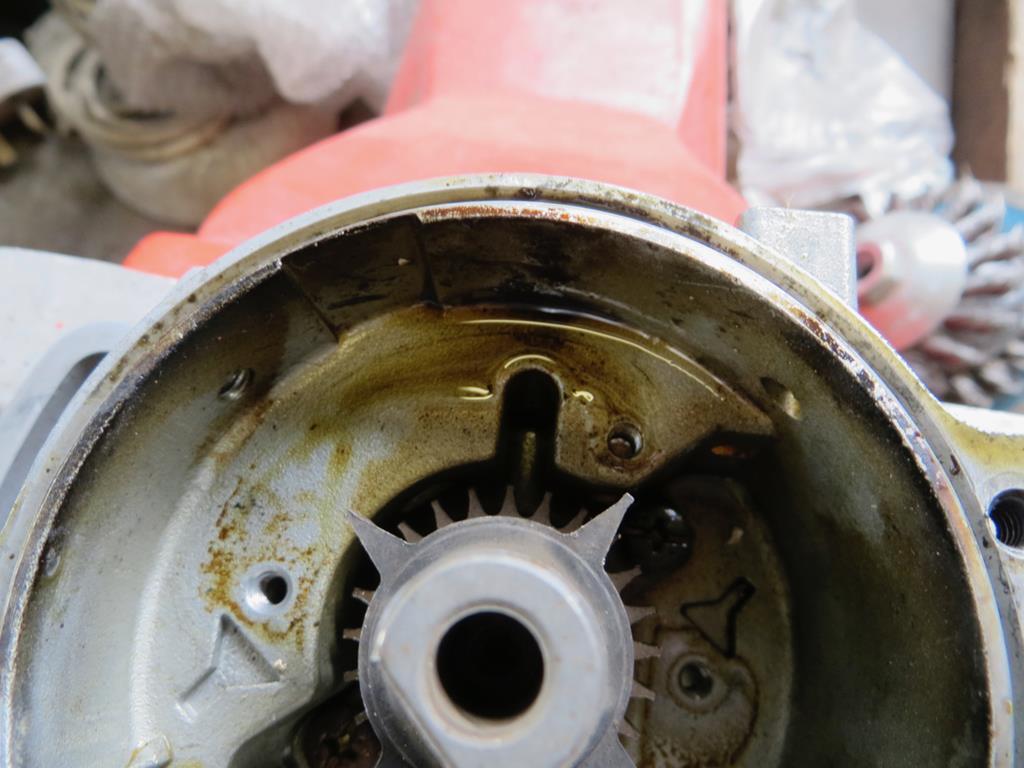 Yup, wet in there too. There are a couple of drain holes in the bottom so the oil eventually winds up down the block. Here's the electronic package to prove the point. 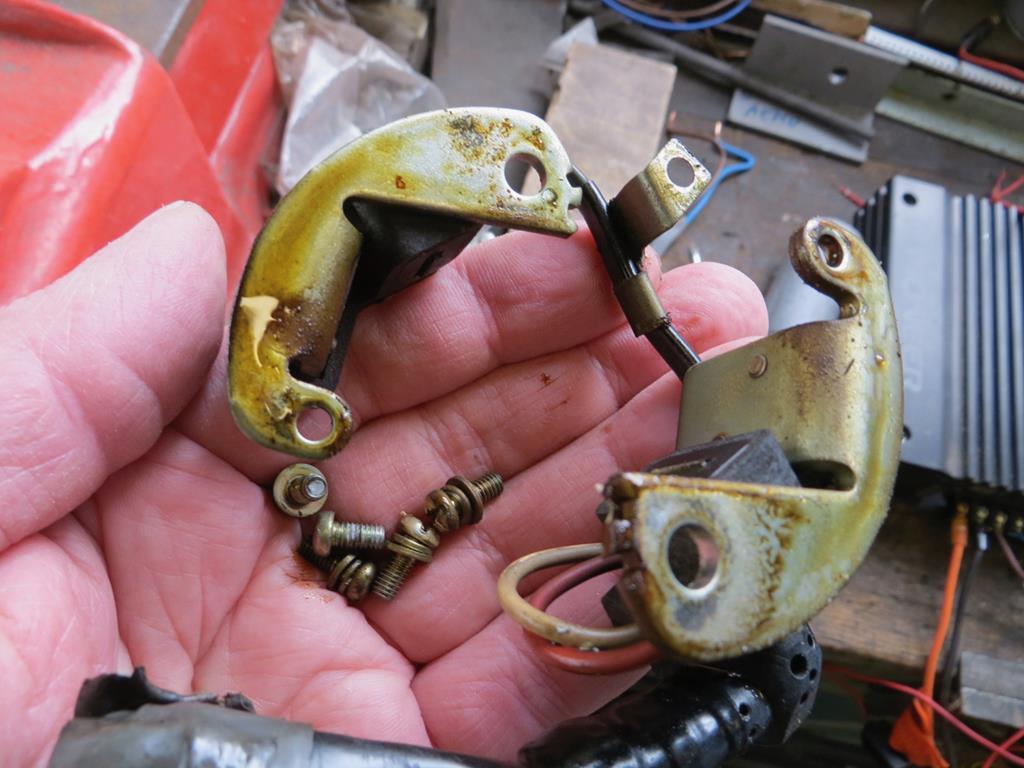 Yucky. To get the shaft out you have to remove the drive cog. And to do that you have to remove the pin that holds it on. By drilling it… Centre pop it. 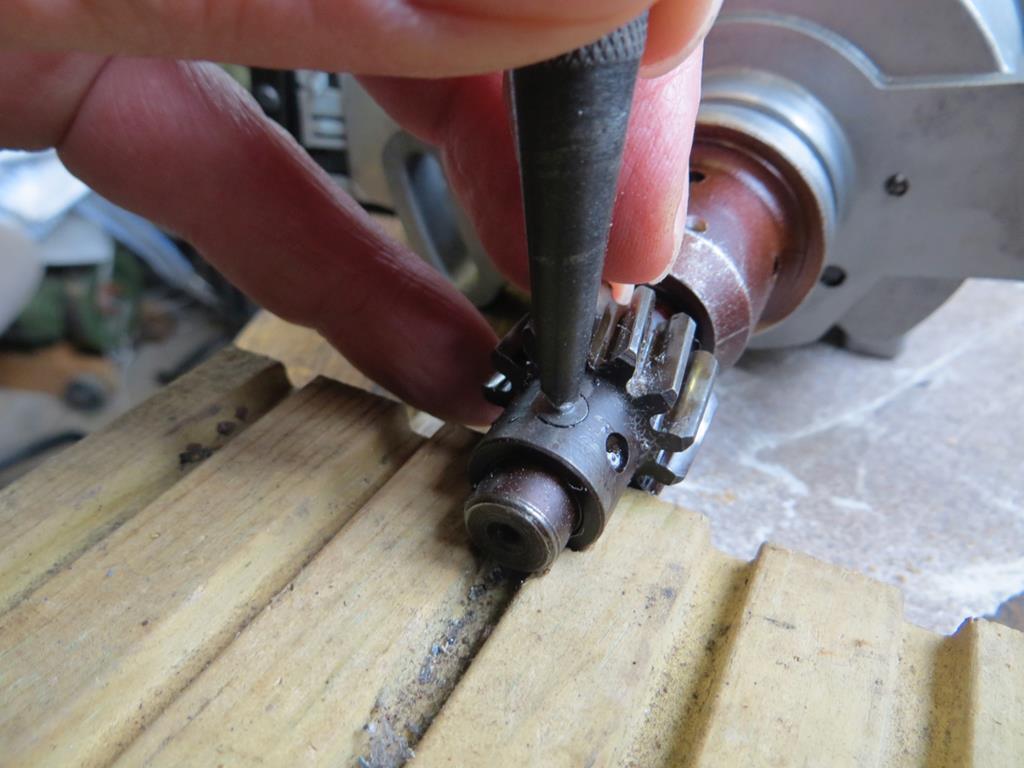 And than very carefully on the bench drill. 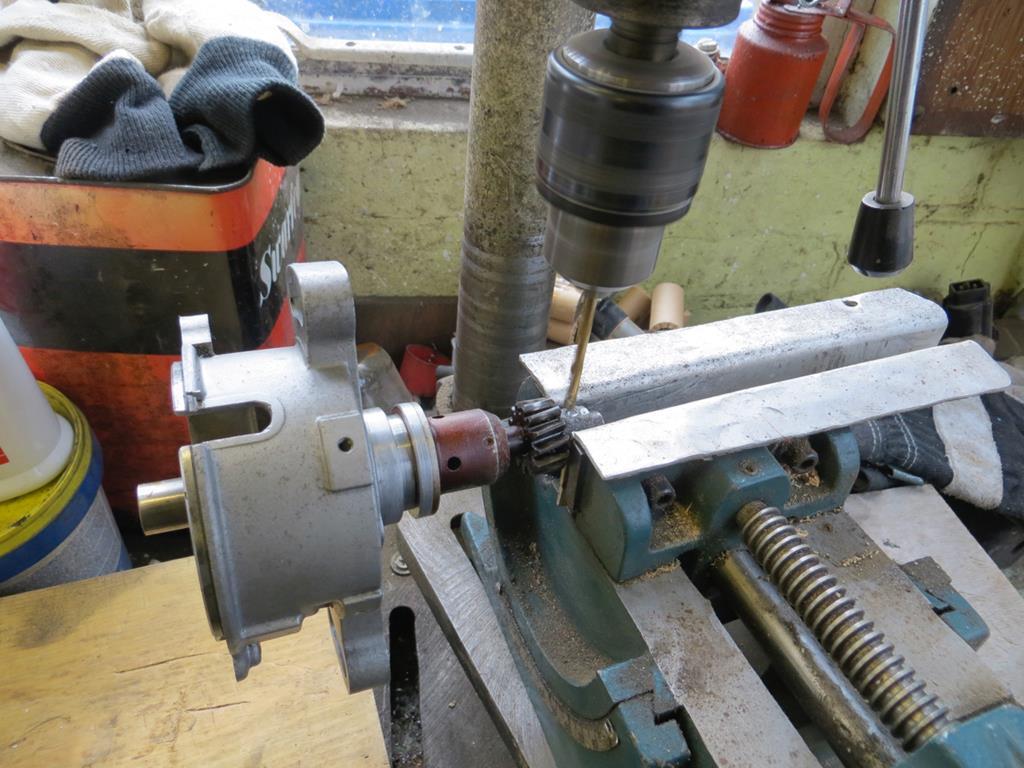 The idea is that you drill the head off and then drift the pin out. Yeah right! That must be the Haynes Manual version. I couldn't get the flaming pin out. Eventually I wound up putting a drill all the way through. I can't tell you how careful I had to be but I got away with it. So then the drive cog falls off the shaft. Yeah right! 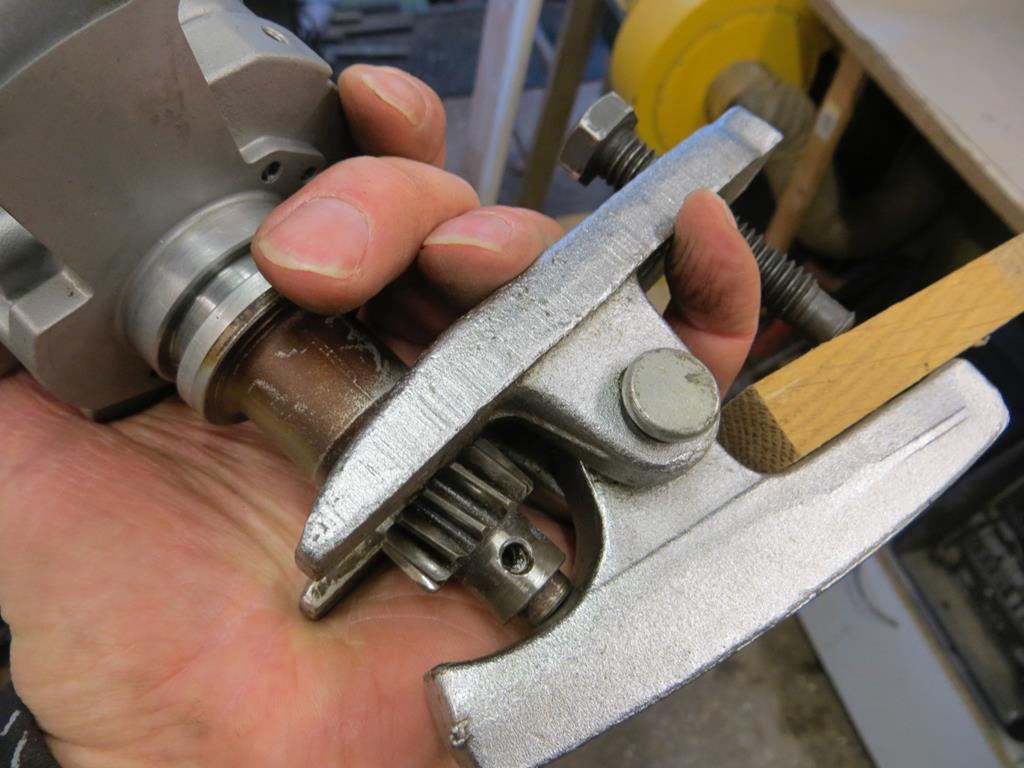 Not having a puller small enough I had to improvise a little. 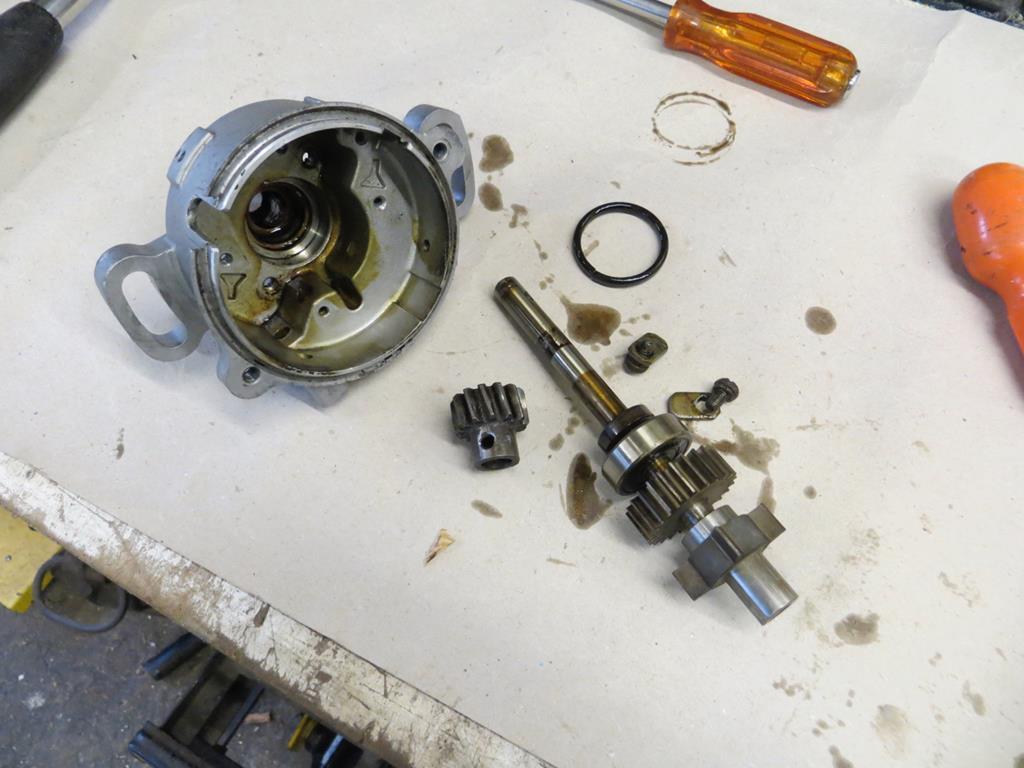 Hurrah! The oil seal had gone completely rigid. More worrying is that it's cut a small indentation in the shaft. 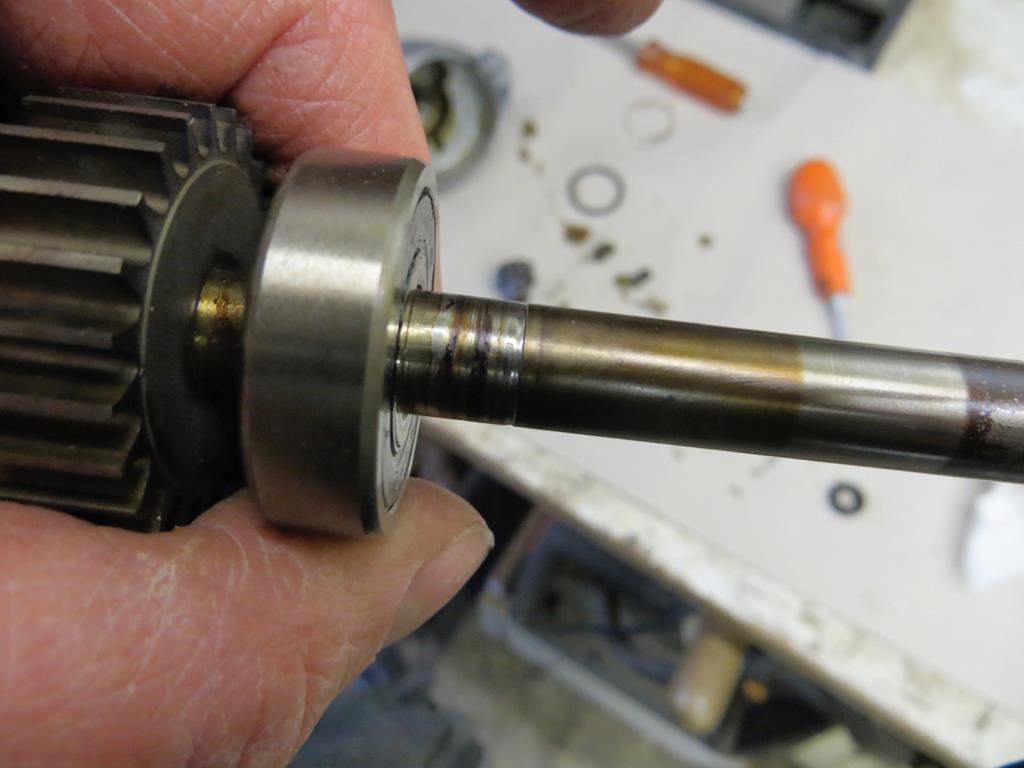 That polished bit right in the middle of the photo is the problem area. Hopefully the new seal (which is a twin lipped one like the original) will keep the oil back. Doubt it'll do another 100,000 miles though. Just need to get the bearing off as I've got a new one for it. Again I don't have a bearing puller that'll fit either. So I built one. 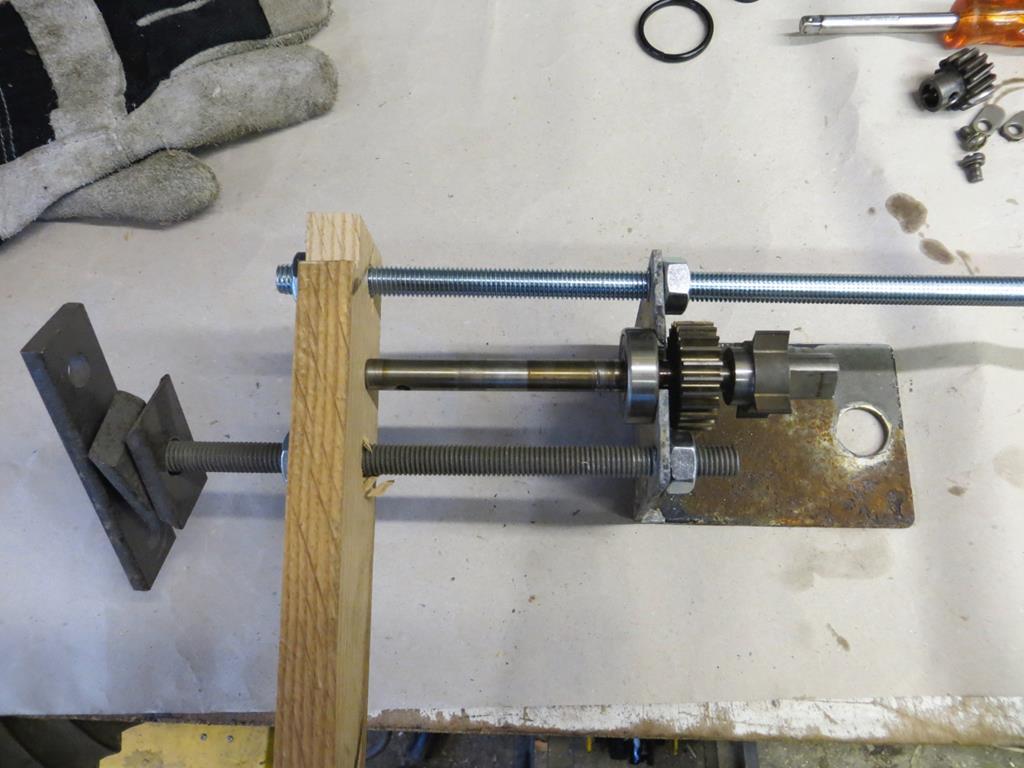 A piece of thick steal, a piece of oak, and a couple of bits of M10 studding. There you go, all in bits and cleaned up. 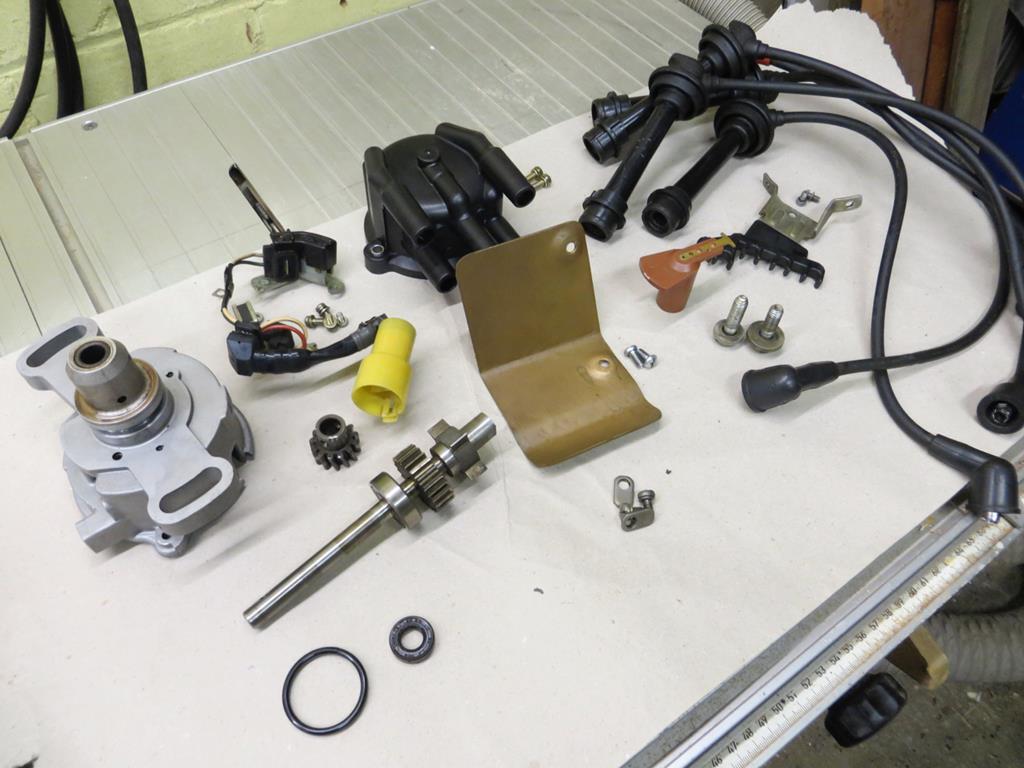 Except… If you look closely… Yep, that *&£%ing bearing won't come off the $*%^ing shaft. Bumhats! James |
| |
Last Edit: Jan 12, 2019 22:40:40 GMT by Sweetpea
|
|
|
|
|
Jan 29, 2017 21:43:20 GMT
|
|
Keep at it,
Where there is a will!!!!
|
| |
|
|
|
|
|
Jan 29, 2017 21:58:17 GMT
|
For a man that rearranged his house roof with a few bits of threaded rod, this should be a doddle.  |
| |
|
|
Darkspeed
Club Retro Rides Member
Posts: 4,869
Club RR Member Number: 39
|
|
Jan 30, 2017 10:11:39 GMT
|
|
I would pop the rubber seals out of the bearings - they look like 2RS bearings and then apply a little heat with one of those micro torches. You may have to beef up that puller rig. Or make a tube type that will take a whack from the top.
|
| |
|
|
The Doctor
Club Retro Rides Member
Posts: 3,445
Club RR Member Number: 48
|
|
Jan 30, 2017 15:27:14 GMT
|
|
Great job for actually getting the pin out! I only got halfway before the whole shaft thought it would be a great idea to break in 2 pieces. Took another dizzy, which has the same problem as the first one, but i don't dare opening it up anymore!
|
| |
|
|
mk2cossie
Club Retro Rides Member
Posts: 3,055  Club RR Member Number: 77
|
|
Jan 31, 2017 13:23:34 GMT
|
those seals are just a tad hard  Surely the best solution would have been a can of seal softener in the engine oil to rejuvenate them  I know what you mean about the oil smell though, as my engine used to leak on the drivers side exhaust manifold if you cornered left hard. The smell and ensuing smoke screen made me sort that out quickly though  |
| |
|
|
|
|
|
|
|
Thanks for the the encouragement and ideas! I've had another go today. So the possibilities were to heat it, and if that didn't help, try and cut it. But first I thought I'd make a stronger puller and hope that popped it off. 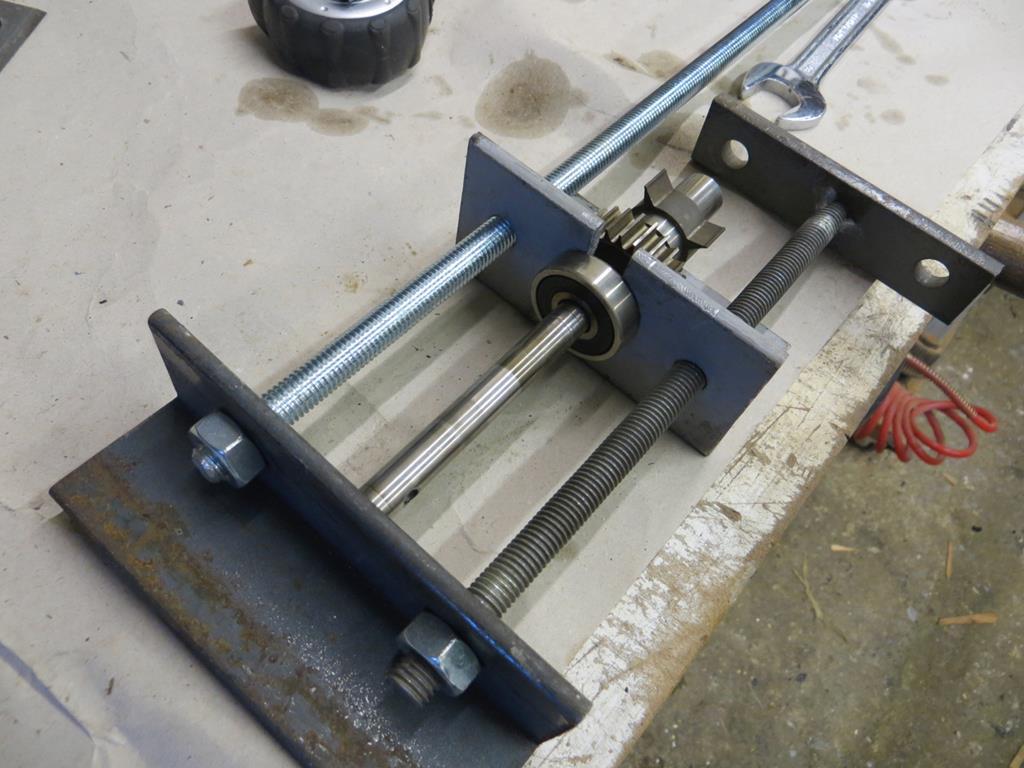 It's made of a couple of off cuts of 5mm angle. Somewhat stronger than the previous version. And, a short time later… Off it pops. 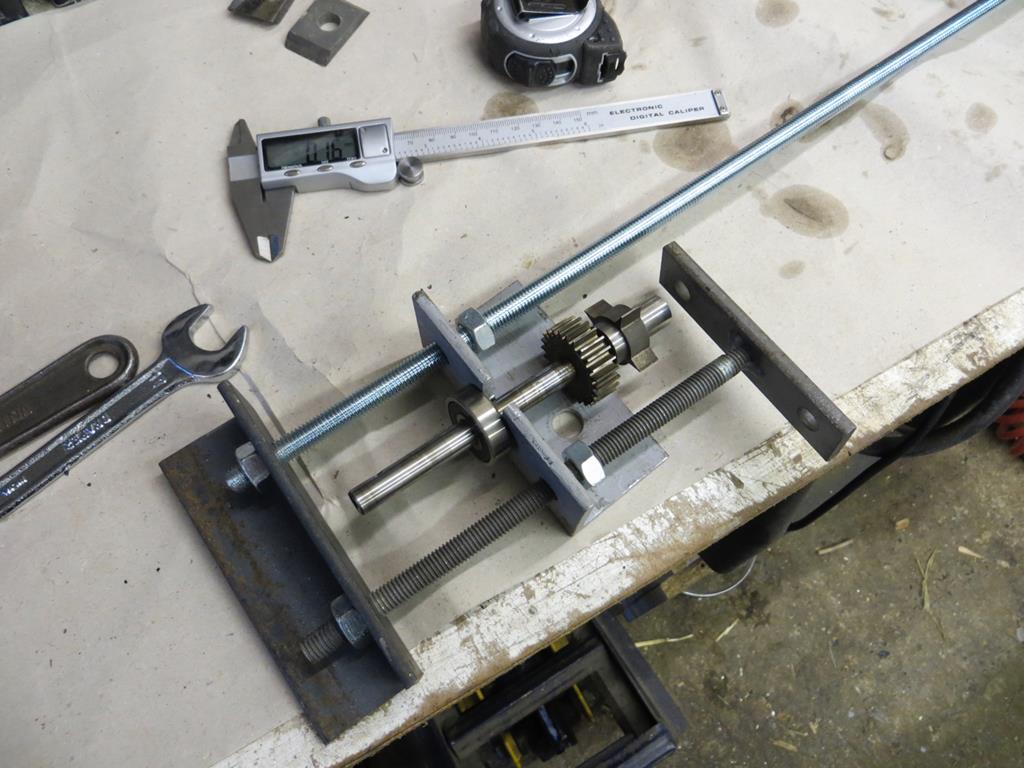 Hurrah! I hadn't realised but Uncle Toyota was a crafty old sod when he ground the shaft. It's slightly fatter where the bearing seats. So the new bearing slides easily up the shaft and only needs assistance on the last bit. So I spent a happy half hour scouring the garage for a piece of pipe with a 10mm inside diameter to drift the new bearing on. And failed. Of course I then realised that I was an idiot and could just use the puller to do the job. 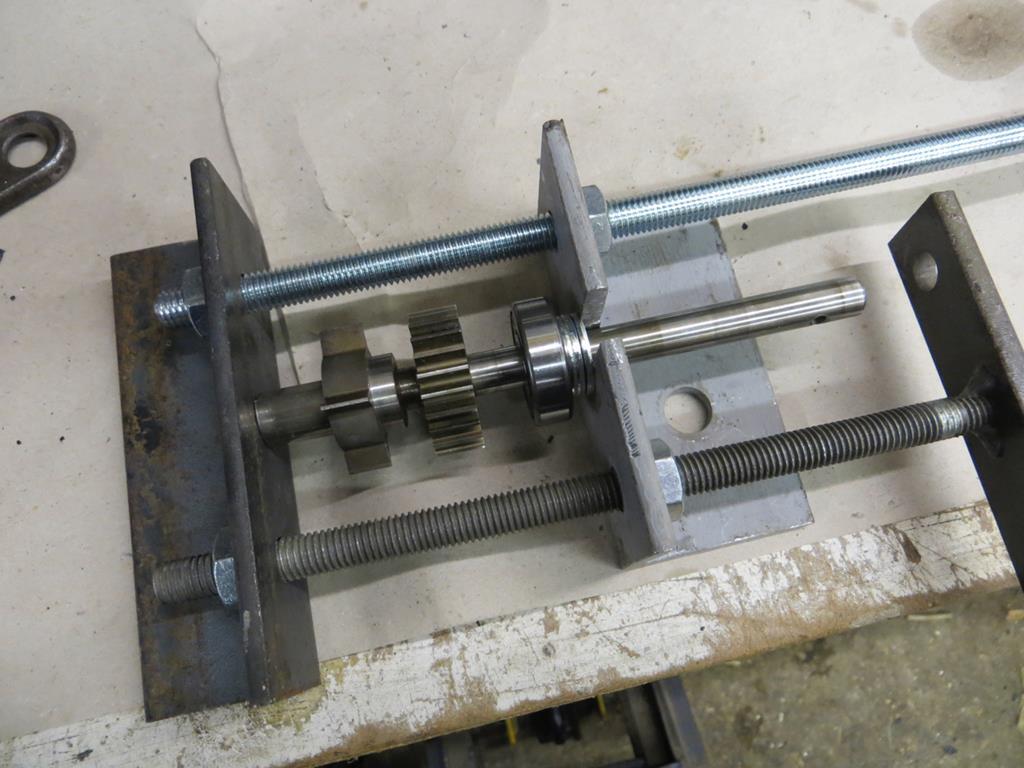 I've packed a few washers between the puller and the bearing to make sure I'm pulling the inner race and not putting any pressure on the outer. The next niggle is that the new oil seal is a millimeter thicker than the old one. 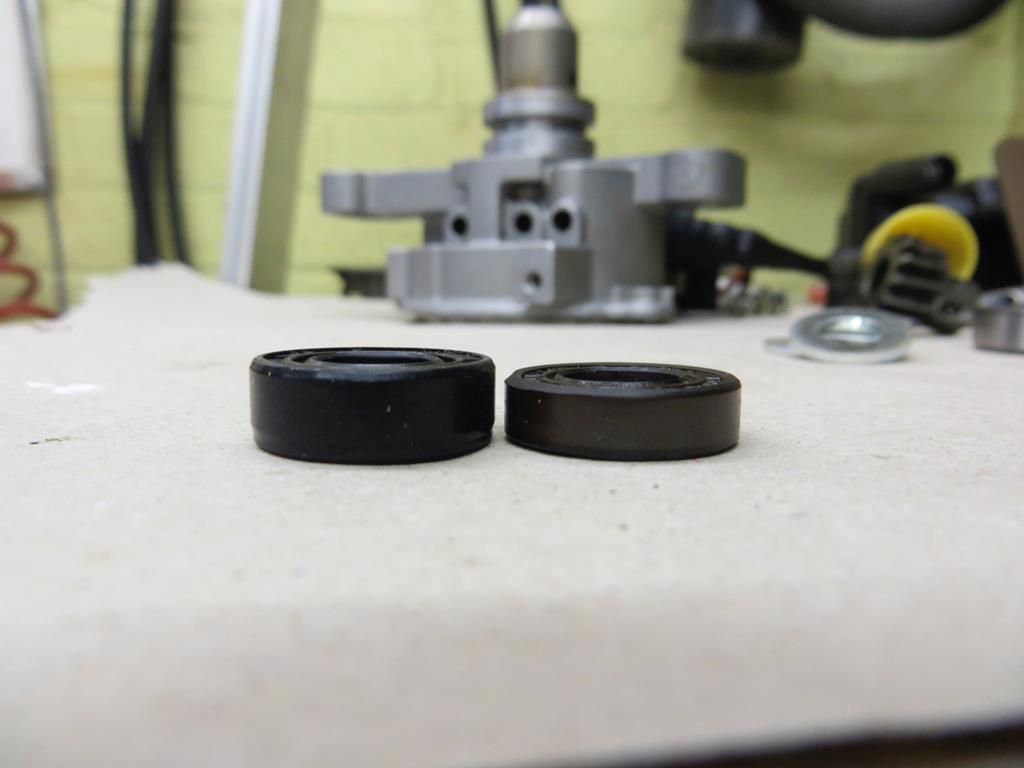 Now that is to my advantage in a way. It's a twin lipped seal so, being wider, it's likely that at least one of the lips will be running on a different part of the shaft to the old seal. But only if it actually fits in the gap behind the bearing. Quick measure of the distance between the seal seat and the bearing seat… 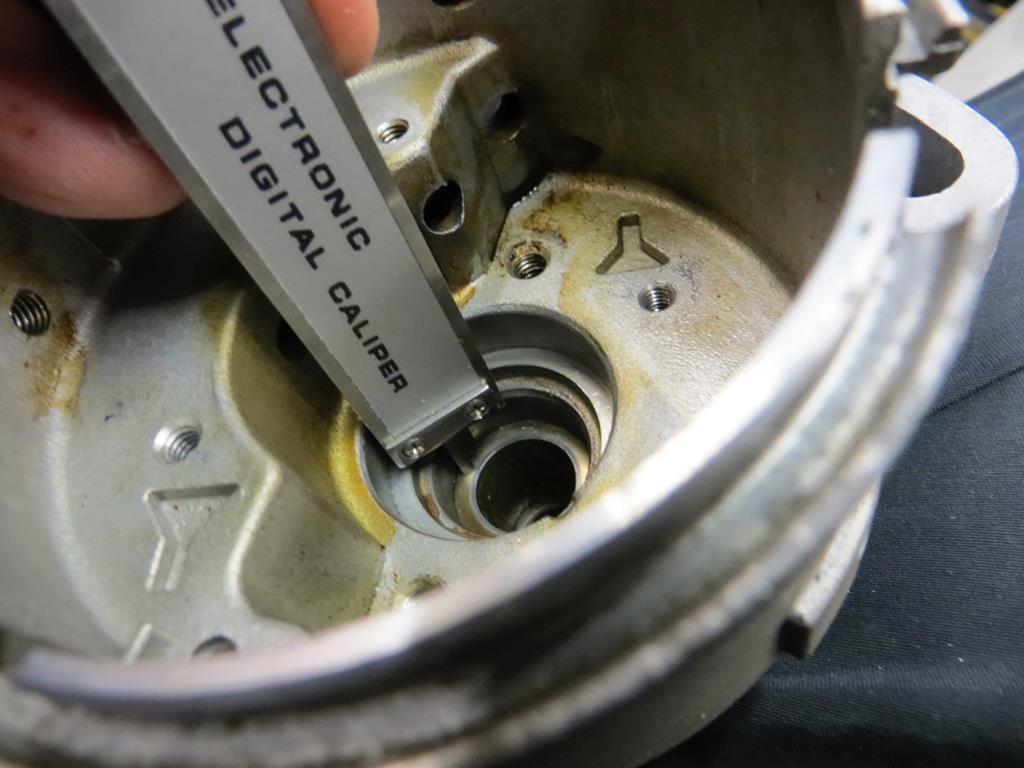 …And its… 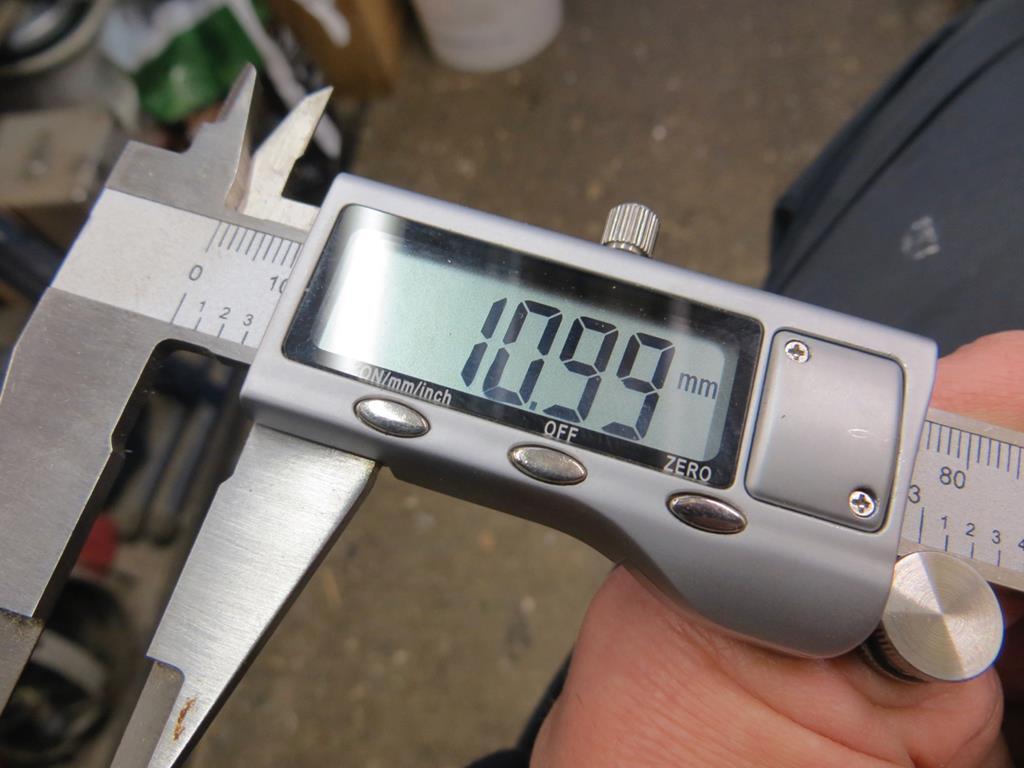 Well the new seal is 7mm so that'll fit just lovely. Tidy! Time to get the shaft in the hole then. Stop giggling at the back! You know what I'm talking about! Now, the position of the bearing on the shaft sets the position of the shaft in the dizzy. Or to put that another way, it affects the meshing of the drive gear on one end and the how the rotor arm interacts with the dizzy cap on the other end. So as a final check I measured the height of the rotor arm above the cap mounting flange. 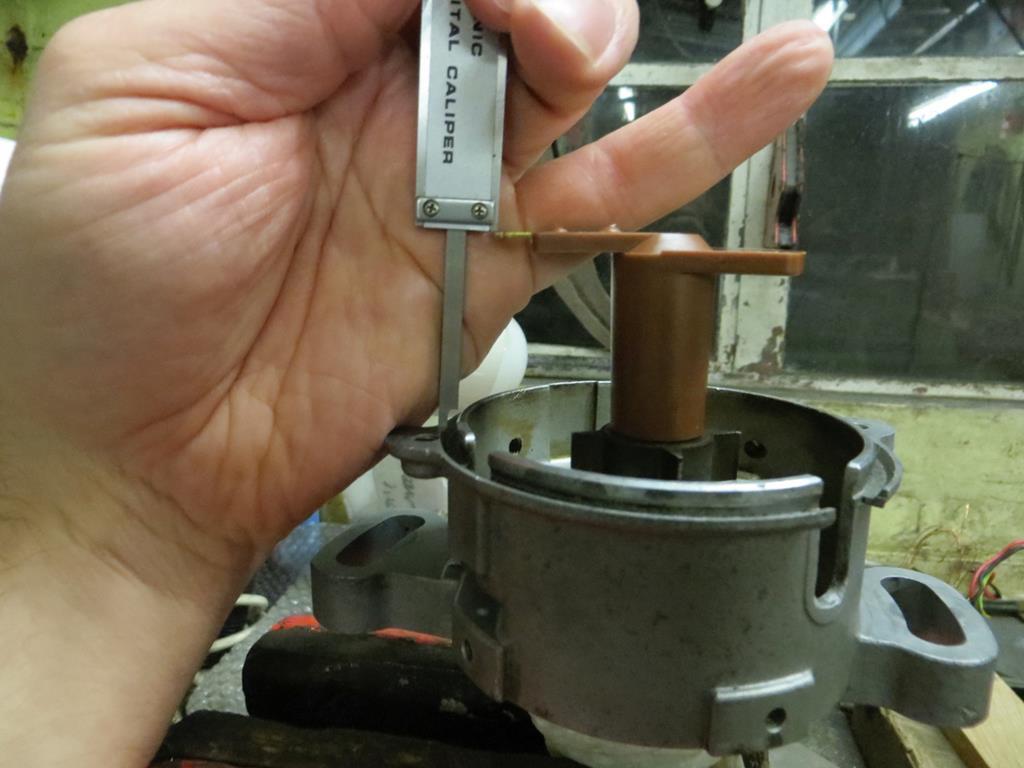 And used the measurement to see how the rotor arm would interact with the cap. 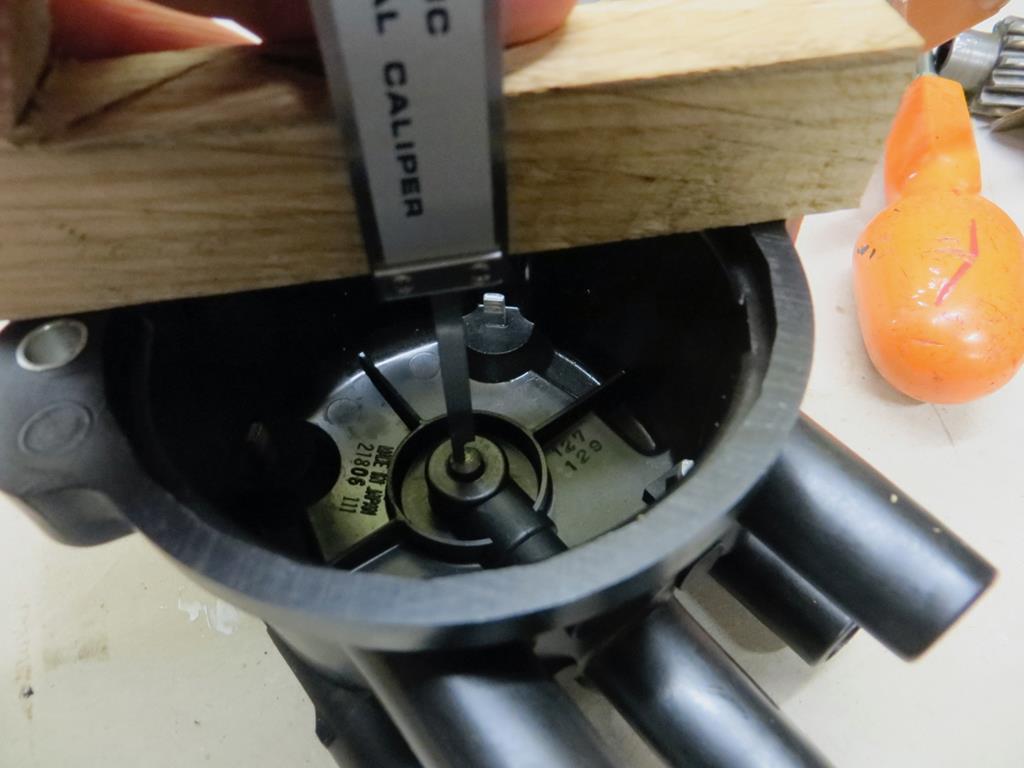 Spot bollock! Anyone'd think I knew what I was doing. James |
| |
Last Edit: Jan 12, 2019 22:55:43 GMT by Sweetpea
|
|
|
|
|
|
|
For a man that rearranged his house roof with a few bits of threaded rod, this should be a doddle.  Told you!  |
| |
|
|
adam73bgt
Club Retro Rides Member
Posts: 4,982
Club RR Member Number: 58
|
|
|
|
Really like that, tidy little repair  |
| |
|
|
|
|
|
|
|
I've often quoted, or more usually misquoted, people in this thread. Well I'm going to quote somebody in this post. But somebody different. Somebody special. This is the man whose opinions I trust above all others. The man who made me the person I am today. It's often said that this man is good looking, intelligent, brave, and generous. That he goes out of his way to help others. That he has the patience of a saint. And that his wife is stunningly beautiful. Clearly he is a very special person. And, incredibly, he often posts on these very forums. This God of person, this towering giant of a human being, envied by all but so modest in himself is, of course… Me! I was talking about how my distributor heat shield had fallen off and that I'd made a new one. As it happens I'd had a piece of brass in the garage so that's what I used. I said… If it was on a Corolla I'd polish it. But on the MR2 you can't see it and even I'm not polishing something you can't see. Well….. Er…. 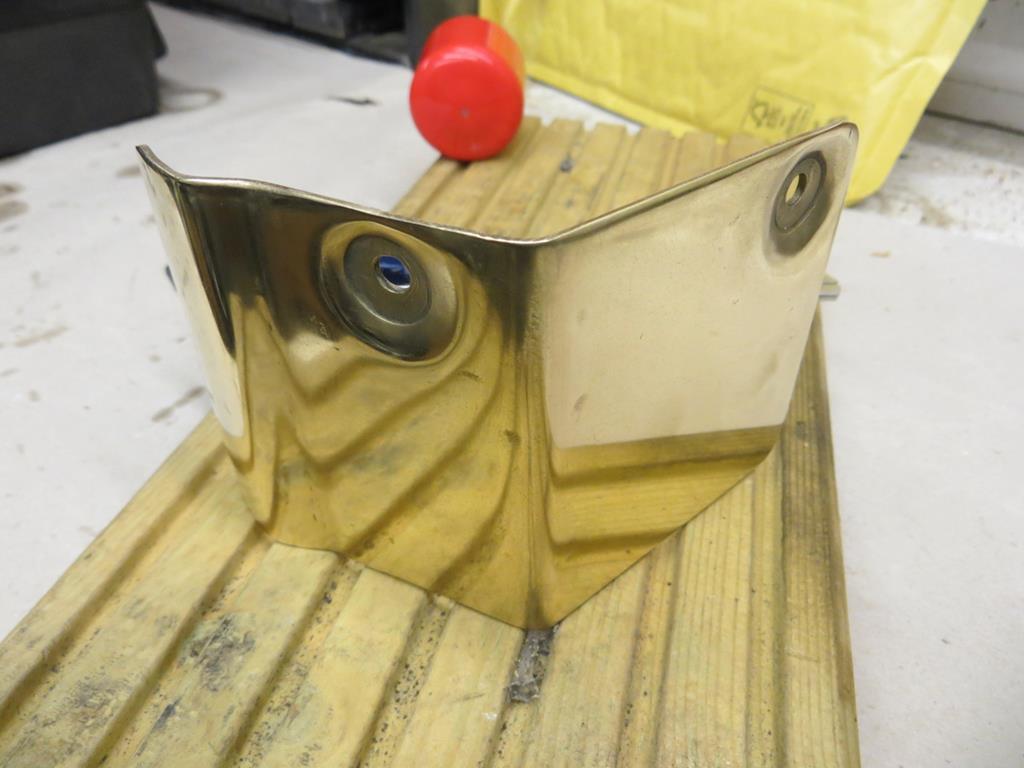 What an ar5s! |
| |
Last Edit: Jan 12, 2019 22:58:13 GMT by Sweetpea
|
|
|
|
|
|
|
Holy Mac there is some fine stuff going on here! Nice one James  What an ar5s! Couldn't agree more   |
| |
I have a Jaguar XJS - RARRGHH! She is called Lily, and she is my best friend! goo.gl/bT3ASP <-- video of her  |
|
|
|
|
|
|
|
You don't know the half of it Seb!
When I first gave it a polish all it did was show the hammer marks. So it's had 3 grades of sanding to take the marks out and then polishing. It's still not perfect but then you can't actually see it when it's on the car.
|
| |
|
|
|
|
|
|
|
Last part… Adjusting the electronics package… Kinda like adjusting points. It's been a long time since I did that sort of thing! 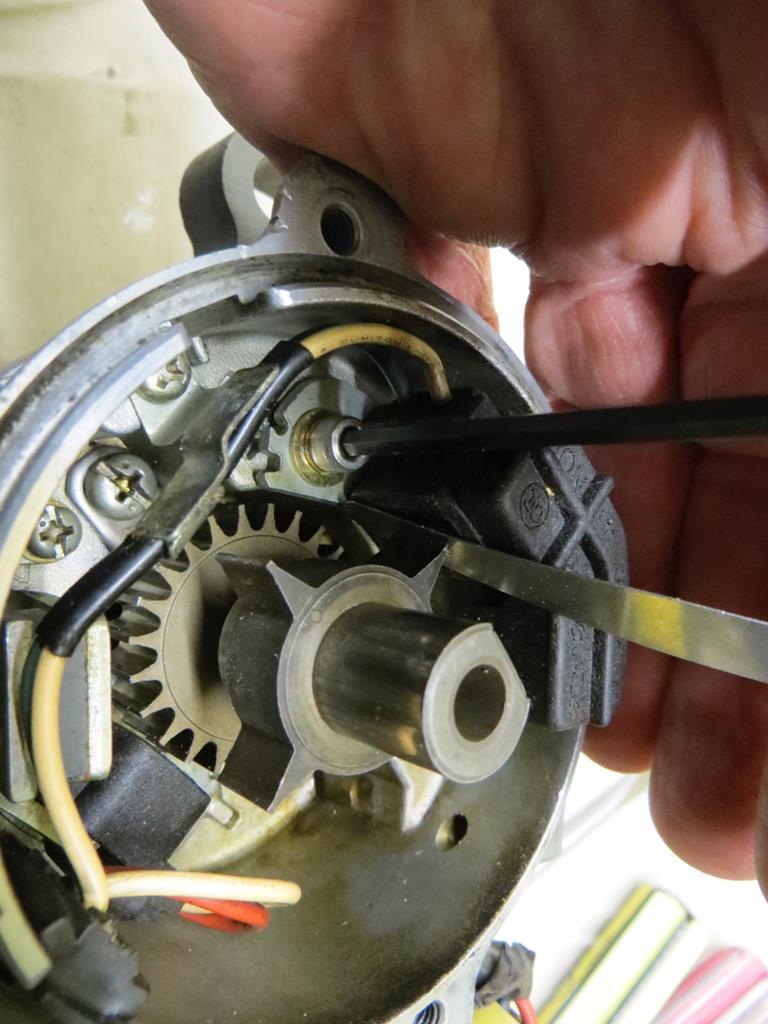 The sharp eyed amongst you will notice that I seem to have lost one of the screws and replaced it with a stainless allen screw. I'd like to tell you I did it to aid accurate adjustment of the distributer. But, really, I lost one of the screws… I got a box of assorted C pins from a motoring store whose name begins with an 'H' and ends with 'affords'. Always good to have boxes of bits. I picked up some split pins while I was there… Anyway, one of them now holds the drive cog on. 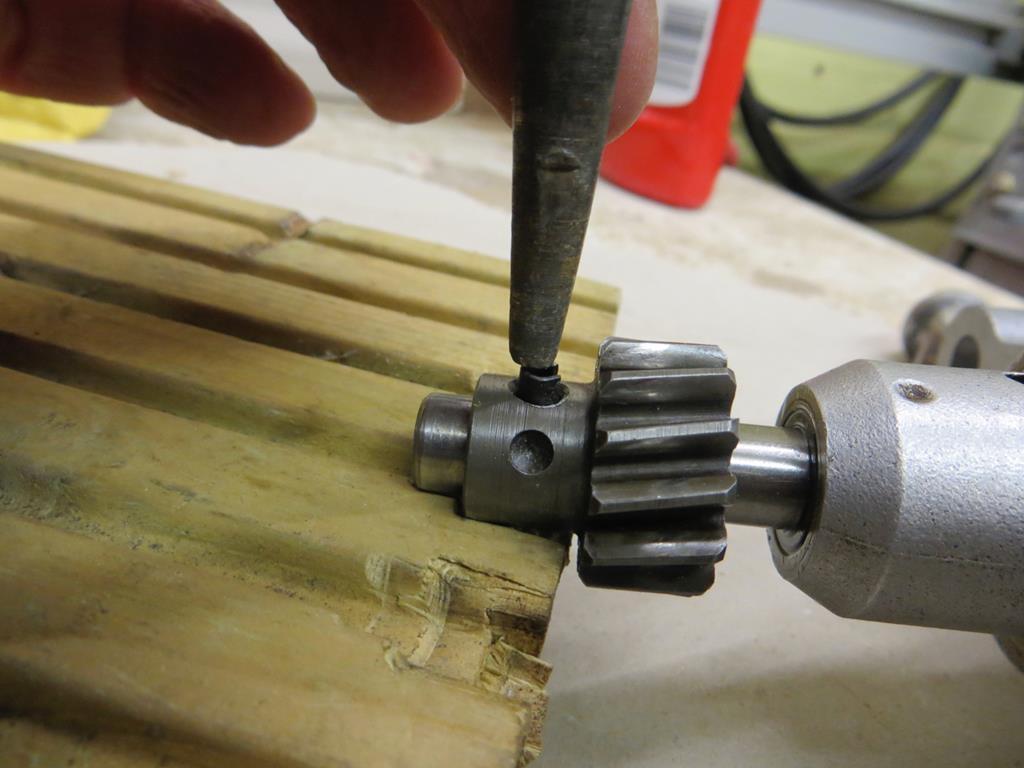 Lastly I need a new O ring for the body. 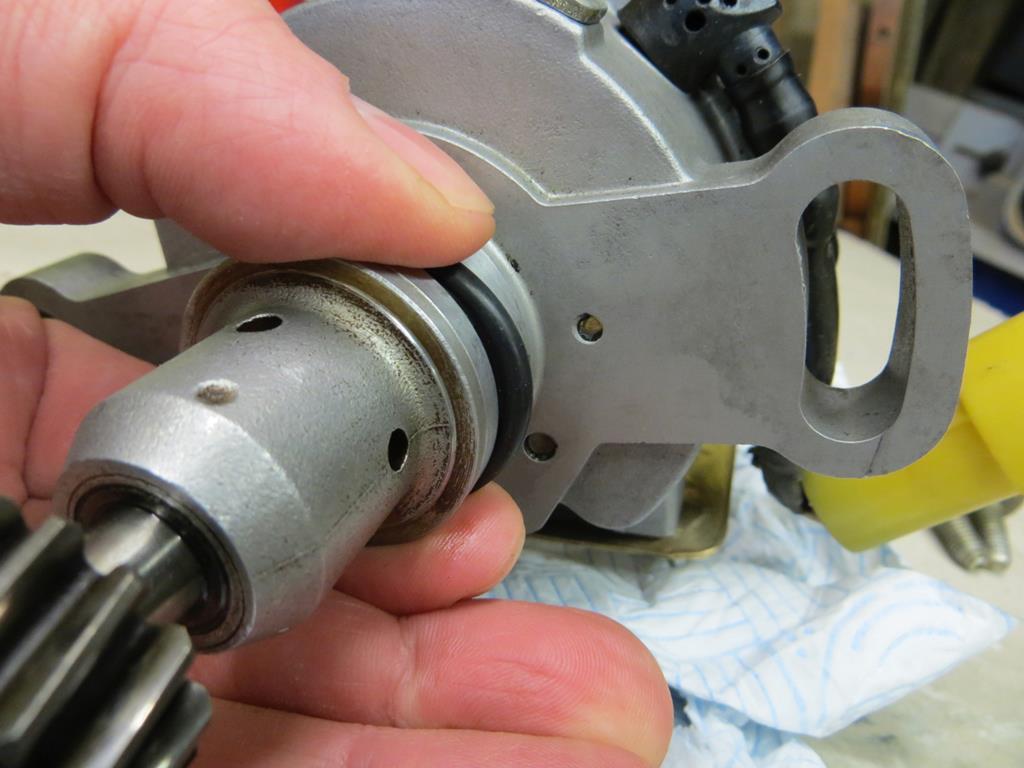 You'll notice it's a little slack. Old Mr Toyota was a little awkward here. The grove is 3mm deep so a 3mm cross section O ring won't seal. You need 3.5mm. But as soon as you go to 3.5mm the choice of diameters is tiny. The closest I spotted to the 30mm diameter of the slot in the distributor was 31mm so it's a little sloppy. Hopefully it'll fit in the head and seal up. But if not… 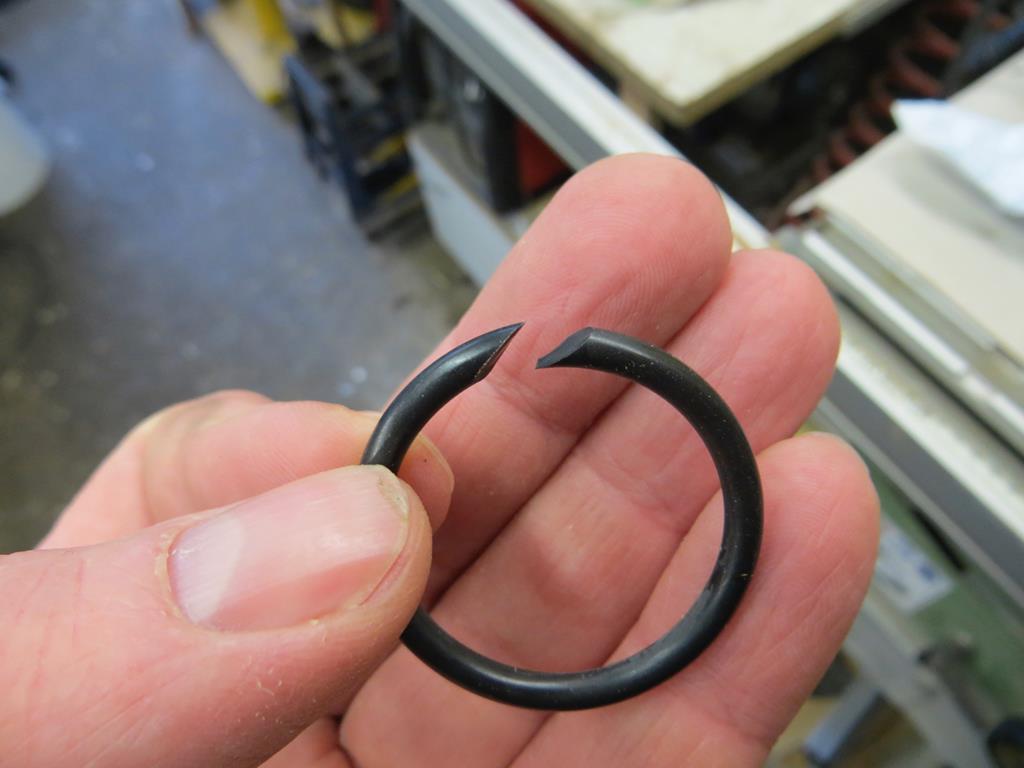 I've got another which I cut a millimetre out of and glued. And if that doesn't work I'll have to work out which O ring it should be. I have a suspicion that it's actually imperial not metric. And I'm sure I've read somewhere else that that maybe the case. By the way, you can get a kit from Kbox. I didn't. That would have been too simple! And I wanted to know what was in it. 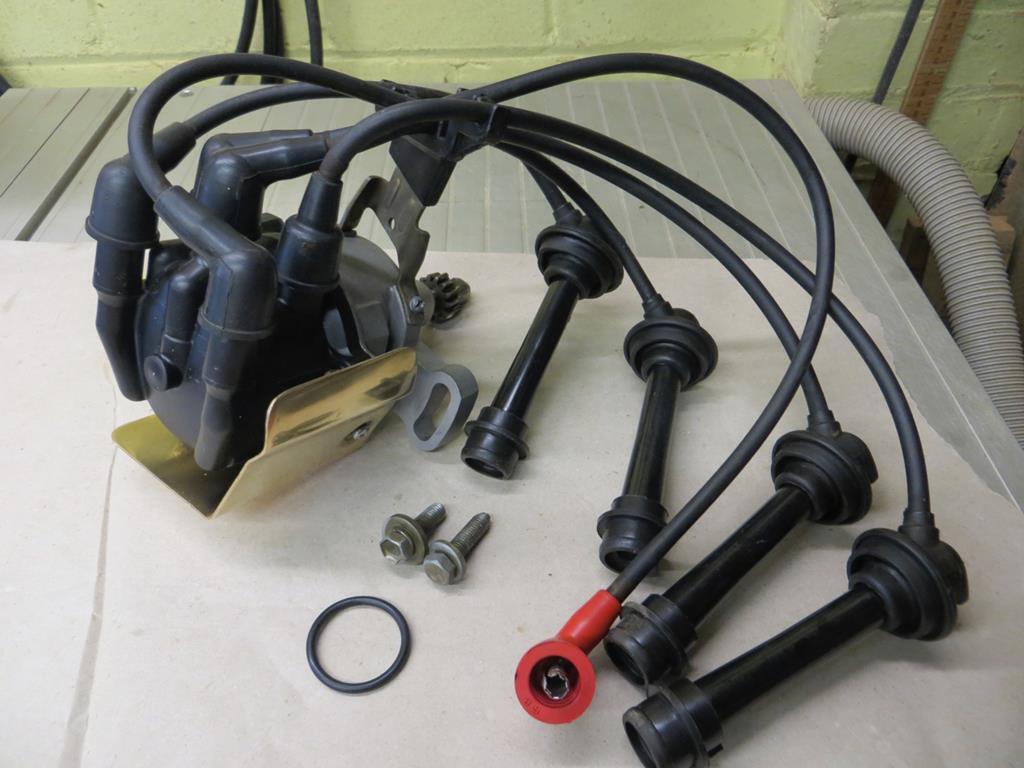 Ready to go back on the car. Parts List… If you are interested. Bearing - 6200 2RS. The '6200' bit gives the dimensions, 10mm inner and 30mm outer diameter. The 2RS means there is a rubber seal in both sides. The one I actually got was an FAG 6200-C-2HRS Shaft oil seal - 10 x 20 x 7mm R23. The R23 bit means it has 2 sealing lips. Dizzy to cylinder head O ring - 31 x 3.5 Nitrile. Again, beware, this is a little loose and it remains to be seen if it actually seals up. There should also be an O ring between the dizzy and the cap which is completely missing on my car. I didn't bother replacing it. I suspect it's more important on the Corolla where rain could drive in through the gap. Good, what's next? These maybe? 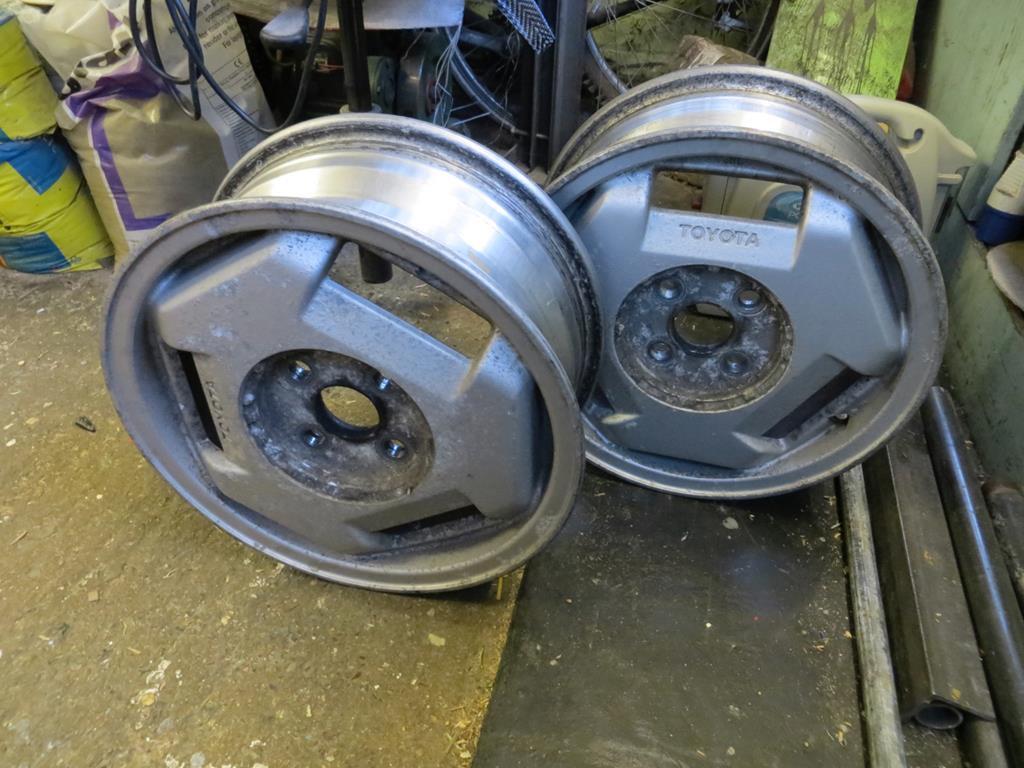 James |
| |
Last Edit: Jan 12, 2019 23:07:11 GMT by Sweetpea
|
|
|
|
|
|
|
I got a box of assorted C pins from a motoring store whose name begins with an 'H' and ends with 'affords'. Always good to have boxes of bits. I picked up some split pins while I was there… Anyway, one of them now holds the drive cog on.  *puts pedantic hat on* That's actually a roll pin, not a split pin *takes hat off again* Ha, not being picky, that's a fantastic job you're doing there |
| |
|
|
 wow it really did live outside?


