|
|
|
Feb 12, 2015 14:08:34 GMT
|
Fabrication of the integrated roll cage structure. Once the roof and body panels are installed...you’ll never see it again. 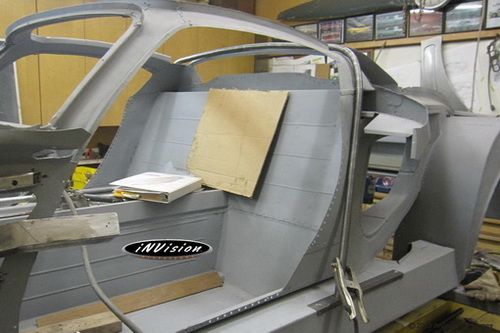 “Normal” bending procedures couldn’t be used. In order to have it fit between the sheet metal roof structure and roof skin the angles got a little tricky. 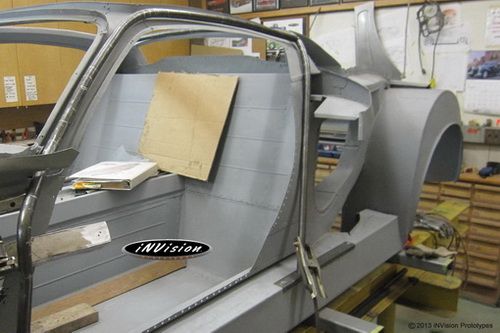 Several methods can be used to cut the ends of the DOM tubing for a tight fitment. Here we’re using a hole saw cutter that best fit the tubing outside diameter. 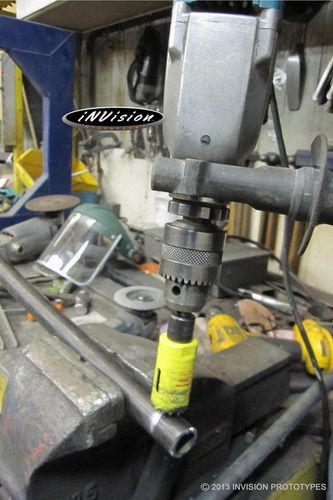 Front hoop clamped in the tubing bender. Unlike a standard pipe bender, this type of bender will not kink the DOM. The heavy duty hubs we have kicking around always seem to come in handy for stands. 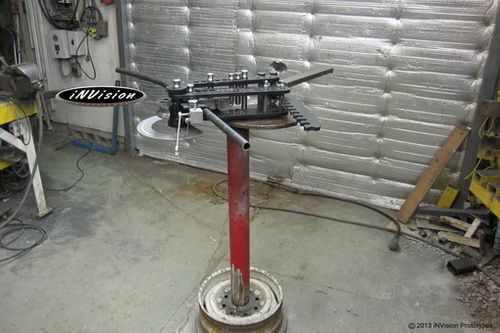 With the shop renovation underway things get pretty dusty no matter how many times we go through and clean up. 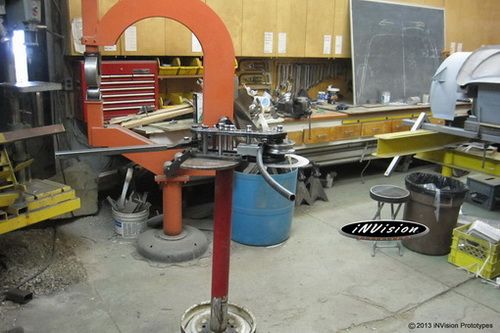 Finishing up the final welds on the cab’s cage structure. That’s one hot flash! 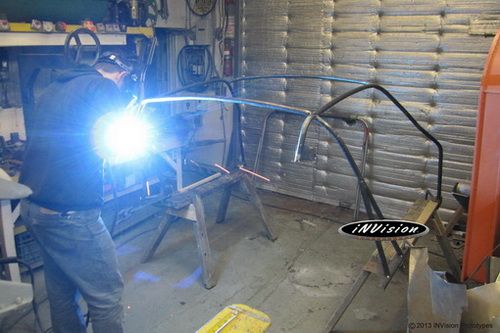 Primed, painted, temporarily installed...then decided to incorporate the seat belt mounts to the cage rather than the body structure. The cage needed to be removed again for final welding on the brackets. 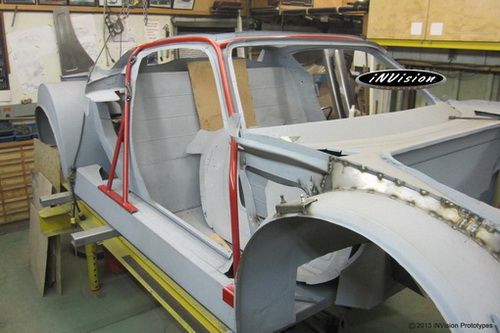 |
| |
|
|
|
|
|
|
|
Mar 15, 2015 14:31:27 GMT
|
A while ago I started on the door hinge close out panels. 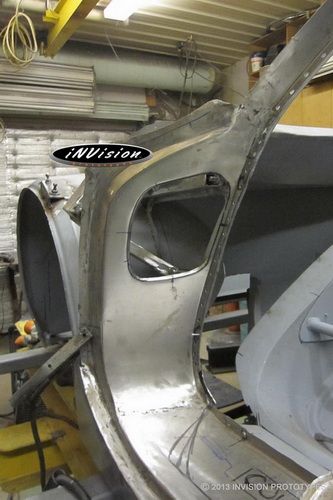 Starting out with a blank of sheet metal the template shapes where transposed and pieces trimmed. A perimeter flange needed to be ‘tipped’ up. The only problem with this was that there is too much material in the corners. Using the Lancaster shrinking machine isn’t too effective due to the corner radii. So I created this tucking tool that creates tucks in the sheet metal essentially reducing the amount of material in the corners. 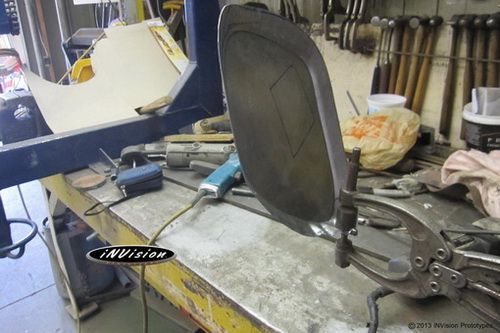 After one time around with the tucking tool you can see how much material needs to disappear to create appropriate flange angles. Next, the ends of the tucks need to be closed. This will lock in the tuck and prevent it from running away. 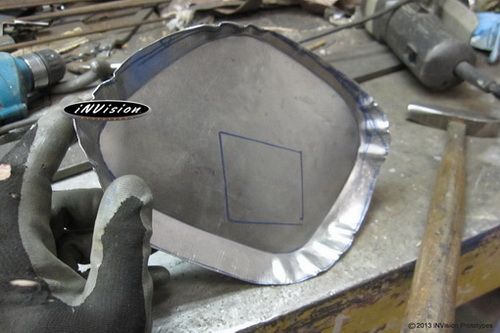 Locked in, a hammer is used to drive the bumps down basically mashing the material into itself. 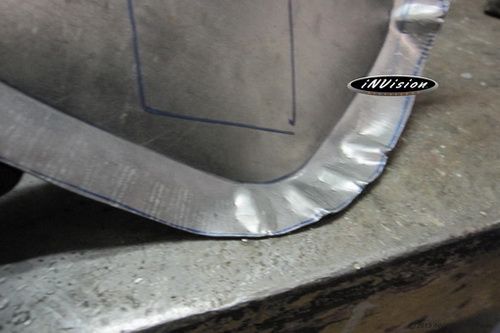 Once all the bumps were driven down, additional tucks were required for the flange to stand up some more. The tuck shrinking procedure is repeated again to make more material “disappear”. 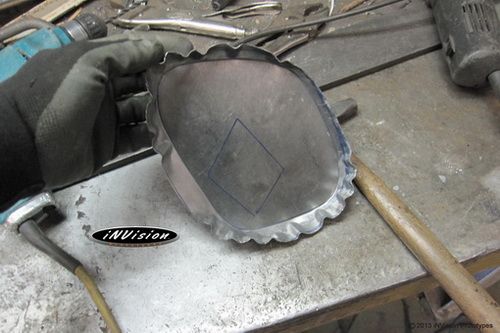 With all the tucks hammered down, the flange is now at the correct angle. The edges are trimmed and the piece is ready to be welded in, but only after the inner reveal and removable cover plate(template on right) have been created. 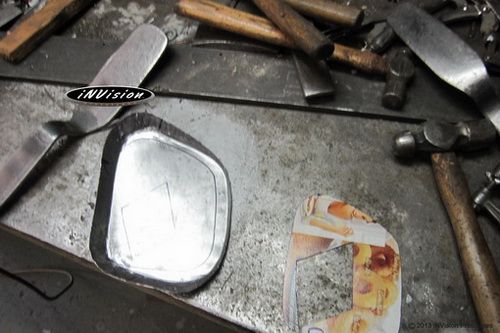 Once the inner piece was shaped and tacked in place the actual hole that the hinge passes through needed to be created. 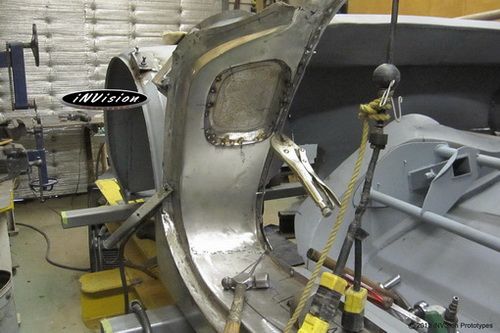 Hinge close out access panel created with edges turned inward for that 'factory' appearance. 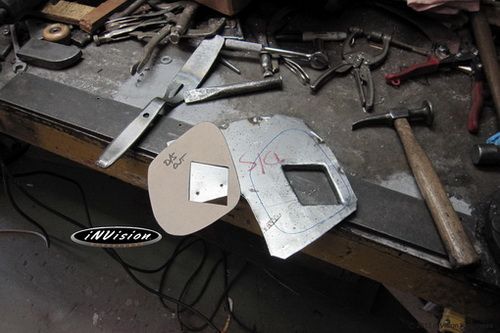 Closeout panel trimmed and mocked up with a 3/16" gap between the hinge and hole perimeter. Still need to create fastener mounts on the inner face so that when finished and installed you don't see any fasteners when the door is opened. 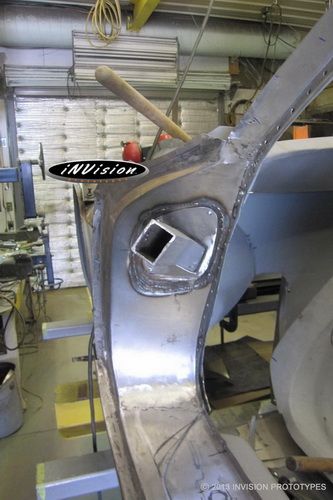 Thanks for checking out the build. |
| |
|
|
eurogranada
Europe
To tinker or not to tinker, that is the question...
Posts: 2,556
|
|
|
|
|
Your metal skills are beyond belief!
|
| |
|
|
|
|
|
|
|
Cutting up R2!?! 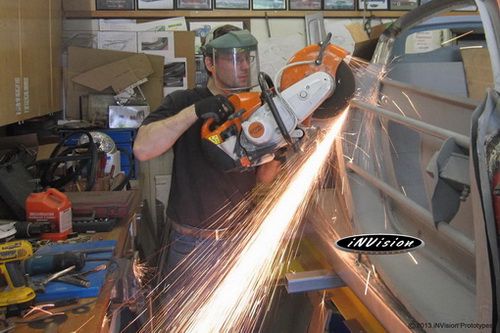 Just a little as sometimes it’s necessary to back up a little in order to move forward. The location of the door latch was moved from its “original” location due to the way that the hinge pivot worked out. Naturally, this new spot had to interfere with the upper impact beam tube by about ¾”. Thanks Murphy. OEM R2 door latches are being installed. Seriously, that's factory stamped. 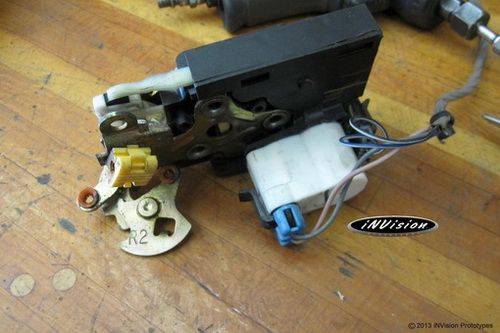 Chop! Chop! Work begins on the door latch bracket. 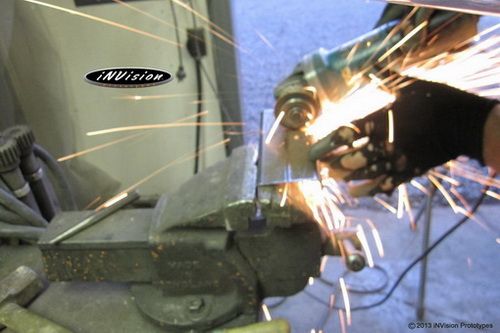 Opening up the latch's strike slot. 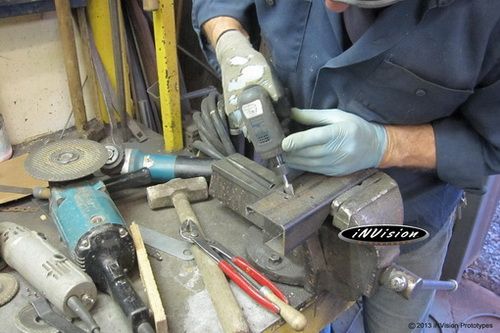 Driver's side latch installed, now time to clean it up and finish the sheet metal work. 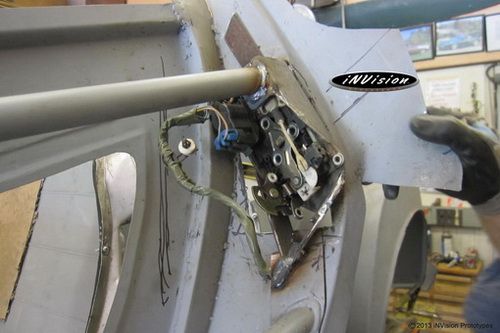 Assembling the passenger side latch. Once aligned, the bracket can be welded in. 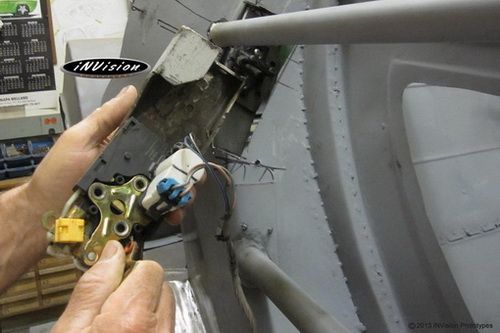 A few photos of the body's seams being caulked and installation of the integrated cage. 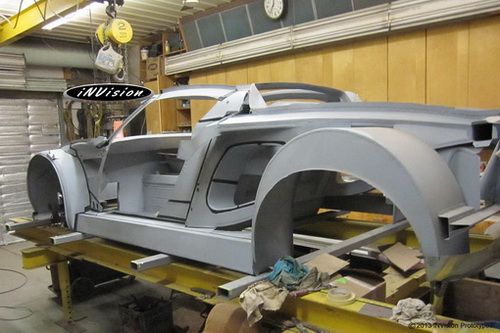 Steve working on the cage… aligning and making final preparations for the unit to be welded in place. 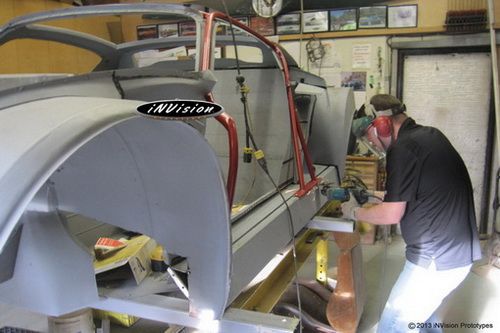 That’s it! Finally welding underway 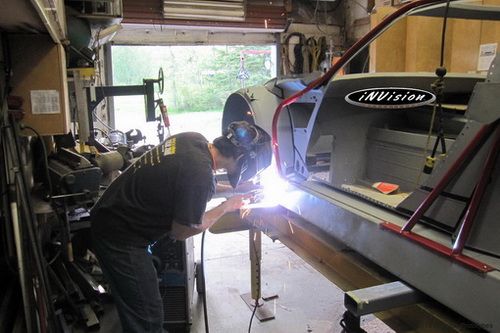 Some welds are trickier than others. 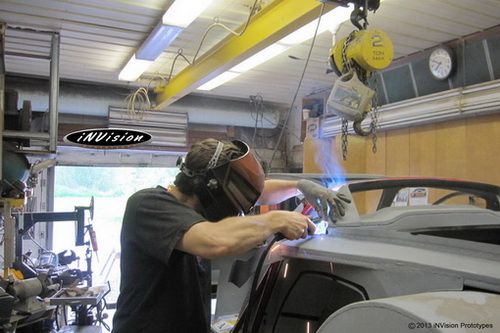 Adding a door strike backer plate before the body sides get installed for the final time. The welded areas will be touched up with primer agian. 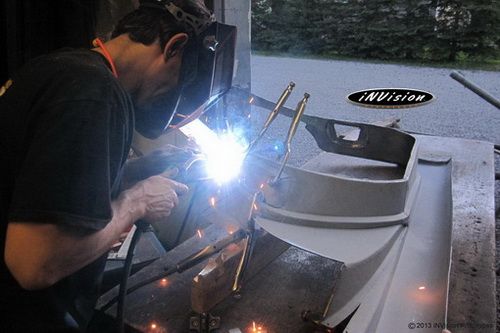 Body sides mounted, clamped in place and prepped for final welding. 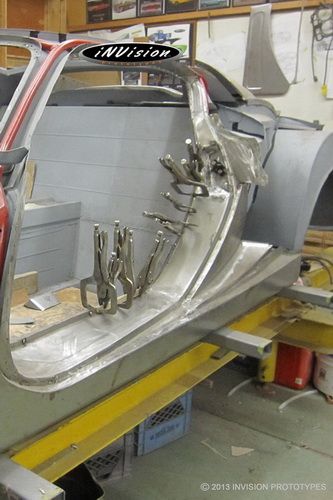 Hey, look Maw… no clamps! Plug welds completed. Sorry for the blurry image...those reflections kept throwing the focus of the camera. 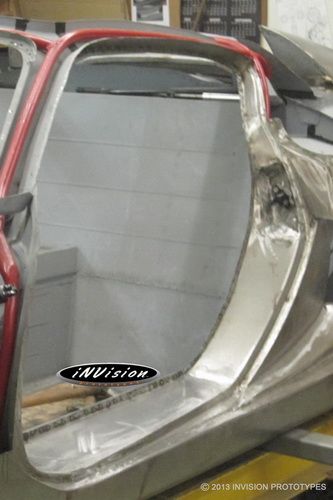 Roof skin installation is coming up next. Thanks again for checking out this project. |
| |
|
|
|
|
|
|
|
We've also been working on another ride for a good friend. It's based on the '32 Ford roadster, but he wanted a more 'road race' theme incorporated into the body... retro, but new. It's an open wheel roadster, so not sure if you guys are interested in seeing a build thread for this kind of ride. Here's a photo before the hood skin and windshield perimeter were finished.  Fabrication on the custom chassis is also in progress.  |
| |
|
|
|
|
|
|
|
|
I'd love to see a build thread on that^^
|
| |
|
|
|
|
|
|
|
|
I follow your buts in FB, but would rather see it in here!
|
| |
|
|
eurogranada
Europe
To tinker or not to tinker, that is the question...
Posts: 2,556
|
|
|
|
|
Now why wouldn't we want to see another one of those epic builds as this one?!
|
| |
|
|
|
|
|
|
|
|
'Do we want to see a build thread?'
Stupid question on here mate.
Of course we do!!
|
| |
|
|
|
|
|
|
|
|
holy cow!
fab skills are unreal, man!
JP
|
| |
I know its spelled Norman Luxury Yacht, but its pronounced Throat Wobbler Mangrove!
|
|
|
|
ada7
Part of things
 
Posts: 108 
|
|
May 23, 2015 16:48:05 GMT
|
|
Absolutely incredible work. Just read this from start to finish. Huge respect for this. Looking forward to your updates
Adam
|
| |
Rotaries help make the world go around... And around and around and...
|
|
|
|
|
Jun 25, 2015 20:08:53 GMT
|
With the body sides on permanently, preparations are being made to install the roof skin. 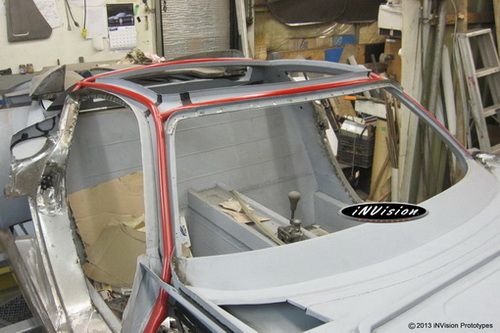 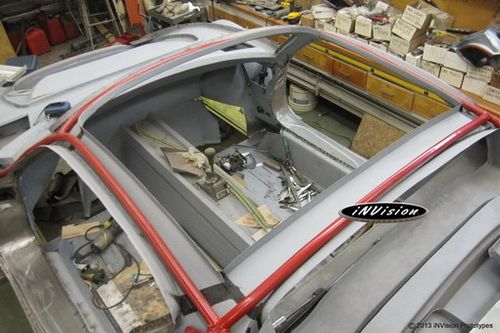 Fitting the roof for the final time. With edges rolled at the door tops, low spots are slowly worked out with a dollie and spoon. 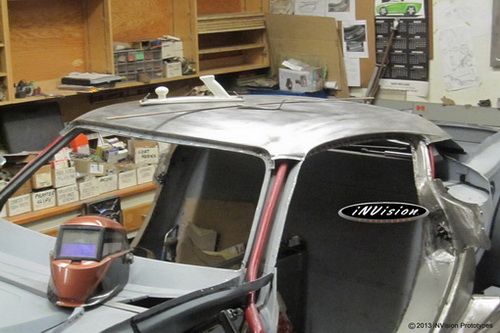 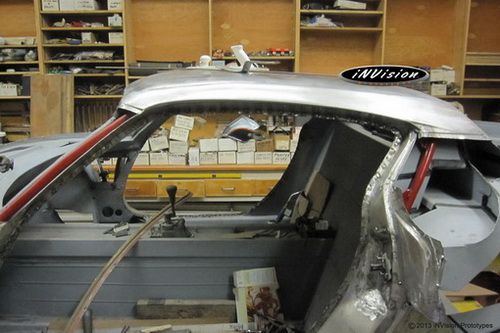 Roof's rear edge aligned with the window surround. 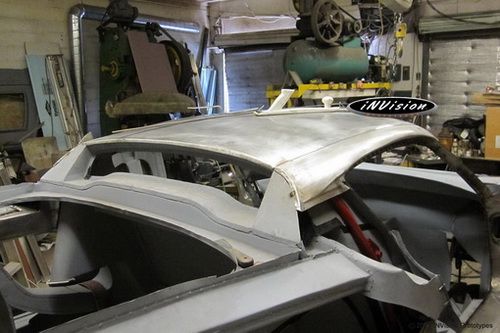 This is as close as we can get without the windscreen in place. Next step, mock up the windscreen and gap the perimeter.  Windscreen dropped into place. Checking to ensure that we haven’t lost the ¼” perimeter gap during the transition from the wire frame buck stage to the current stage of panel assembly. 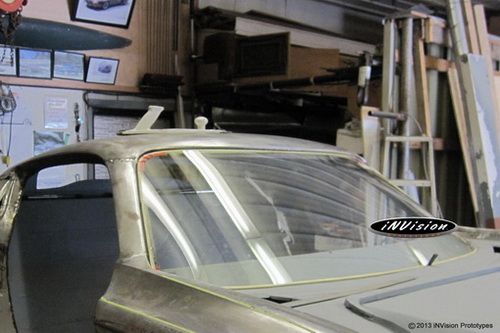 The perimeter gap is spot on! Patience and planning does pay off. 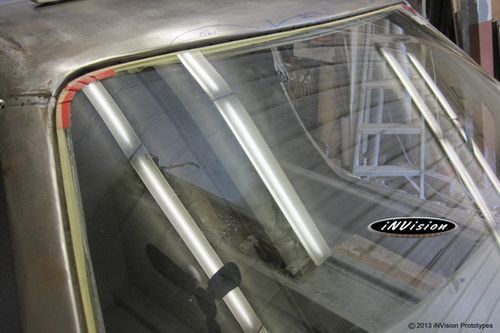 Head on check for symmetry. Except for a small area on the driver’s side that needs to be brought up prior to welding, all the reflections look great! 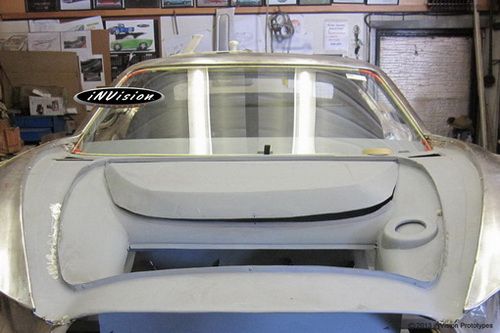 With the glass out, we can proceed to clamp and plug weld the roof into place. 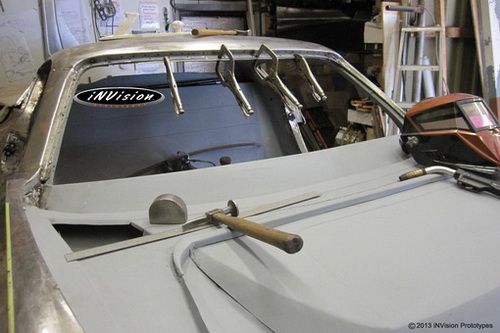 Thanks for checking out the build. |
| |
|
|
|
|
|
Jun 25, 2015 20:42:28 GMT
|
|
Really taking shape now!
|
| |
|
|
|
|
|
Jun 25, 2015 22:13:30 GMT
|
|
I just can't comprehend how you get it all so perfect. The planning, the measuring.. the actual metal fabrication- the fitment- it's hot damn unreal. You need to do a live web cam and charge admission because the skills you guys are throwing around in that room are worth more than money itself.
|
| |
|
|
|
|
|
Jun 26, 2015 12:06:17 GMT
|
|
Hi Grenade, most people would fall sleep watching the work progress if they were watching live. It takes many many hours to plan, execute and achieve results. Not like on TV where they push and pull a panel in the wheel a few times, install, slap some filler on it and paint.
Thank you very much for the kind words. From time to time I upload shaping videos to my facebook site. Feel free to check them out. I'm currently working on a wheeling video that, if I get a spare moment, will be posted soon.
Paul, thanks a lot.
|
| |
|
|
Jolfa
Part of things
  Rich@SBP
Posts: 199
|
|
|
|
|
This is unreal, I can barely even weld box section together nevermind even dreaming of making something like this!!!
|
| |
 If it aint broke, fix it 'til it is. |
|
DMS
Part of things
 
Posts: 57 
|
|
|
|
|
Nick, it's just insane! Please keep posting the progress!
|
| |
|
|
|
|
|
|
|
|
Jolfa, keep practicing on things such as box sections until you develop your welding techniques. Then, move onto body metal.. and so on.
Thanks DMS. Will do.
|
| |
|
|
|
|
|
|
|
Finalizing the front fenders. They are a non-removable panel, so the inside surfaces need to be prepped and primed before they’re mounted. Since this isn’t a “factory produced” vehicle we can take the time to correctly build-in the panel gaps. Once complete, there won’t be any visible fasteners to distract from the final fit and finish. 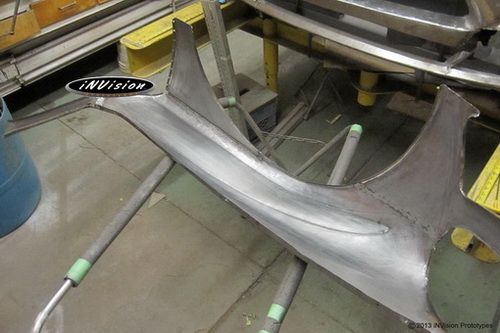 Installing the front fenders. 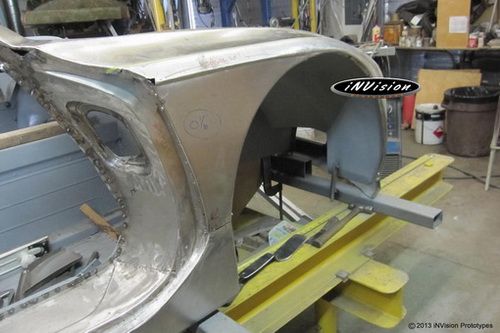 Primary and secondary door seals installed. The secondary lower seal will be part of the door. It’s crucial for these seals to sit correctly in all the right areas, otherwise you’ll get air noise and water entering the cab. Also, this is what makes or breaks that 'factory' look. 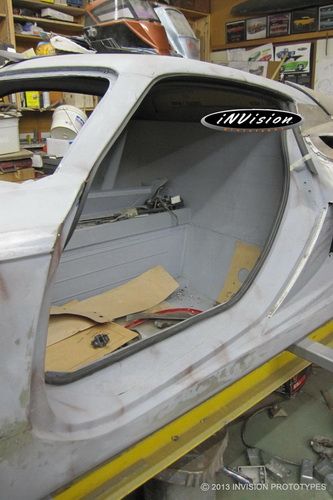 |
| |
|
|
|
|
|
|


