|
|
|
|
|
OK, long, long, LONG overdue update!! Basically, when I last added anything to this thread, the machine was still broken and could only cut, not engrave. I cobbled by making various things until an engineer came a few months later and had a look. The fault wasn't what I'd diagnosed it as and before long, a new power supply for the laser tube was fitted. For the first time since getting the machine, it was up and running properly. Time to play catch-up. First off, a piece I'd been planning for AGES! Whilst at Bryn's place I'd grabbed some random materials from one of his barns and this rusty old shelf was one of them. I'd explained to him how I'd like to see if the laser would remove rust? I knew it wouldn't mark metal, but I figured that rust was no longer metal and therefore I hoped the laser would blast it away exposing the raw steel underneath? Only trying it out would I find out. We'd discussed what I should engrave into it when the machine was running and Bryn suggested an old eye test chart. That was it, the seed was planted but it was only now, months later, that I could actually make it happen. I drew up a design based on the original Victorian 'Snellen' chart and created the font, spacing and layout to be 100% accurate to the original. It turns out that the rusty shelf was the exact size of the original charts, how lucky was that? (a genuine fluke - it was meant to be!) Here were the results: 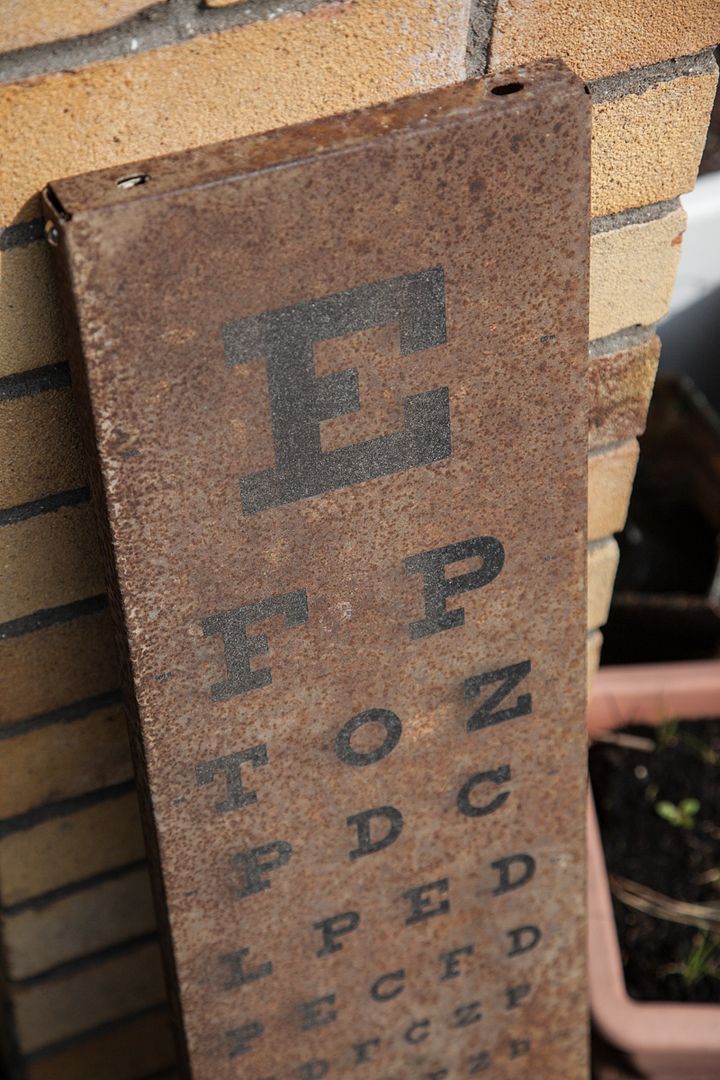  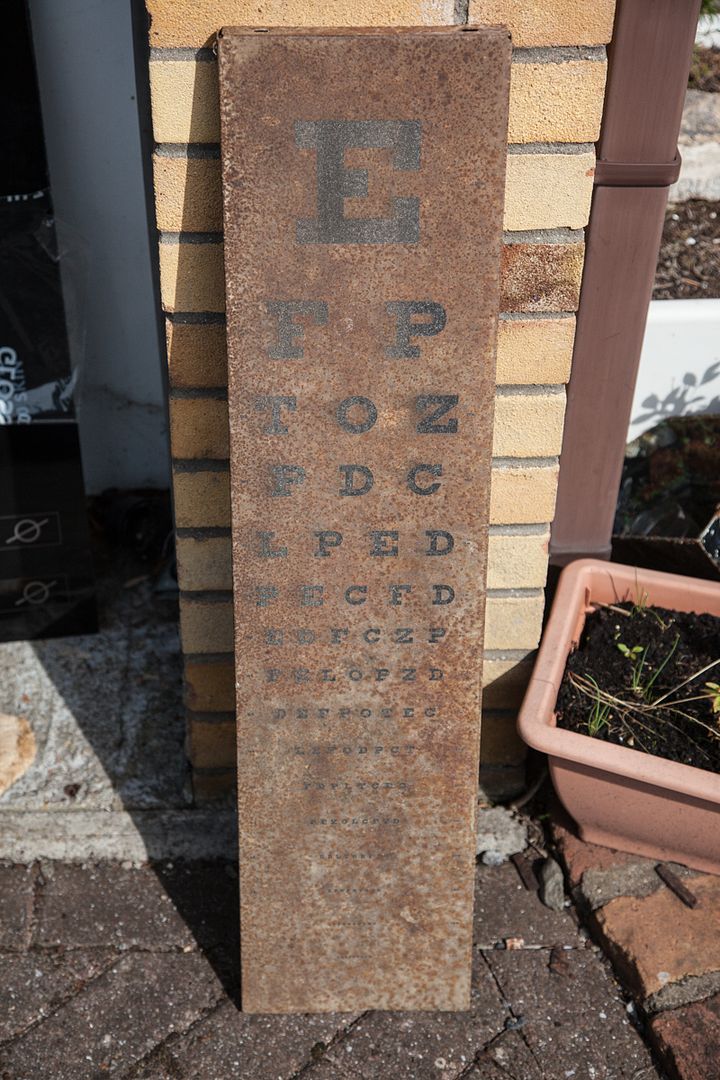 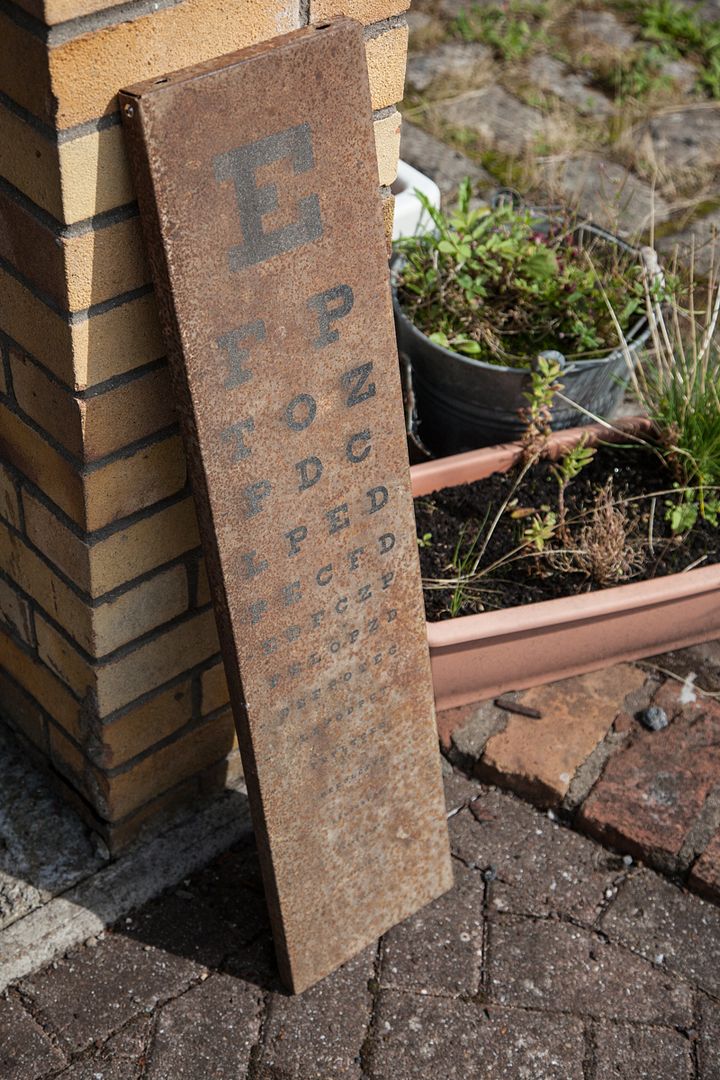 When I say accurate, I mean even down to the tiny (1.5mm high) distance markers that run up both sides of the chart. 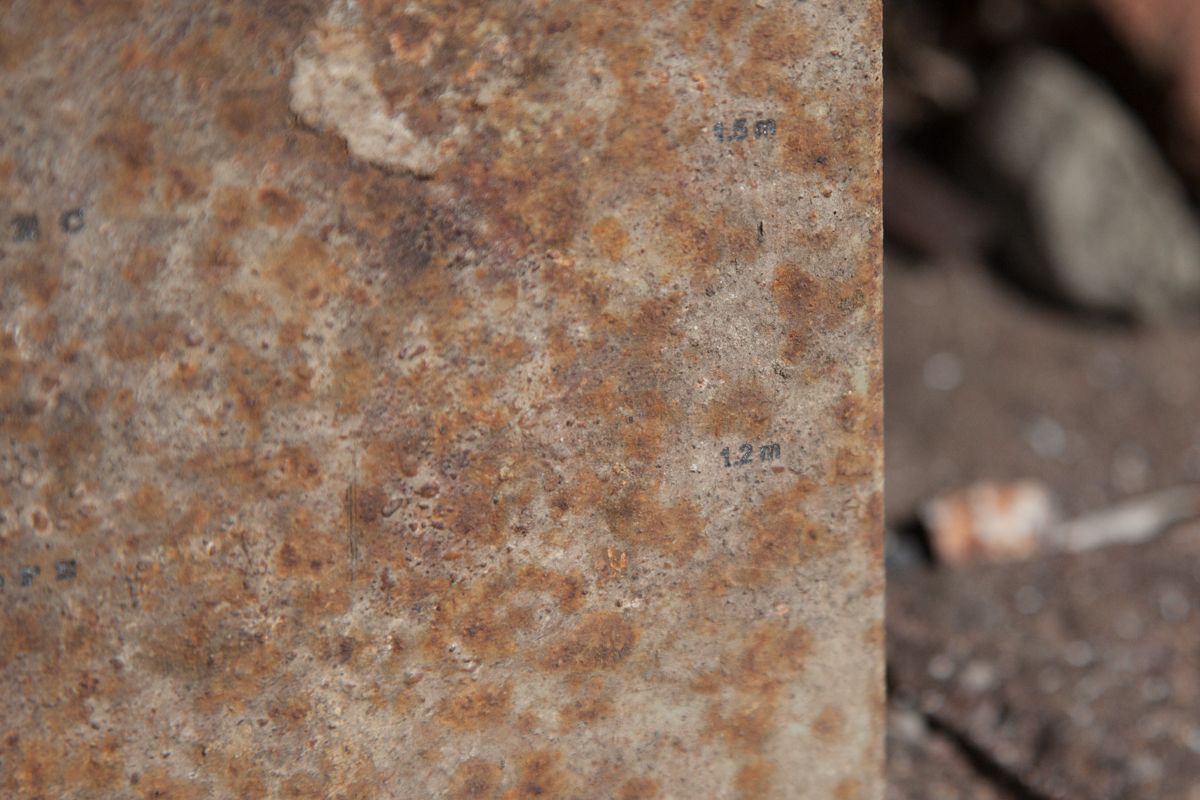 It's hard to really make out the definition in the photos, but I was chuffed to bits with the result and it now hangs in my house. I do tend to prefer slightly unusual wall art compared to normal pictures. 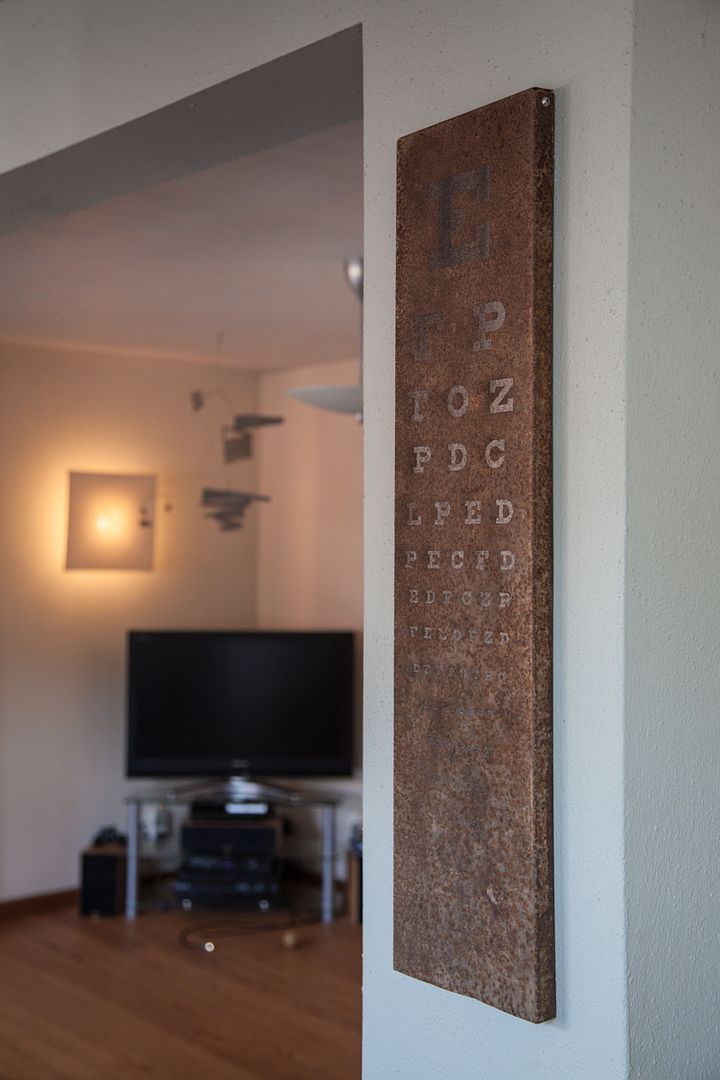 So what next for the 'frickin laser'?? |
| |
|
|
|
|
|
|
|
|
|
I started experimenting with the machine. Different materials and different settings to see what things I could achieve. Amongst all the experimentation, I also made the odd thing for a friend here and there with some of the materials I'd gathered, or more often than not, in bits of offcuts from other jobs. Here is a pair of keyrings I made for my good friend Jamie (AKA Big Perm) using an offcut of transparent blue acrylic, cut and engraved.  I also had a go at engraving a different type of brick, one that had years and years of old paint on it. This one was for myself, for my own house.  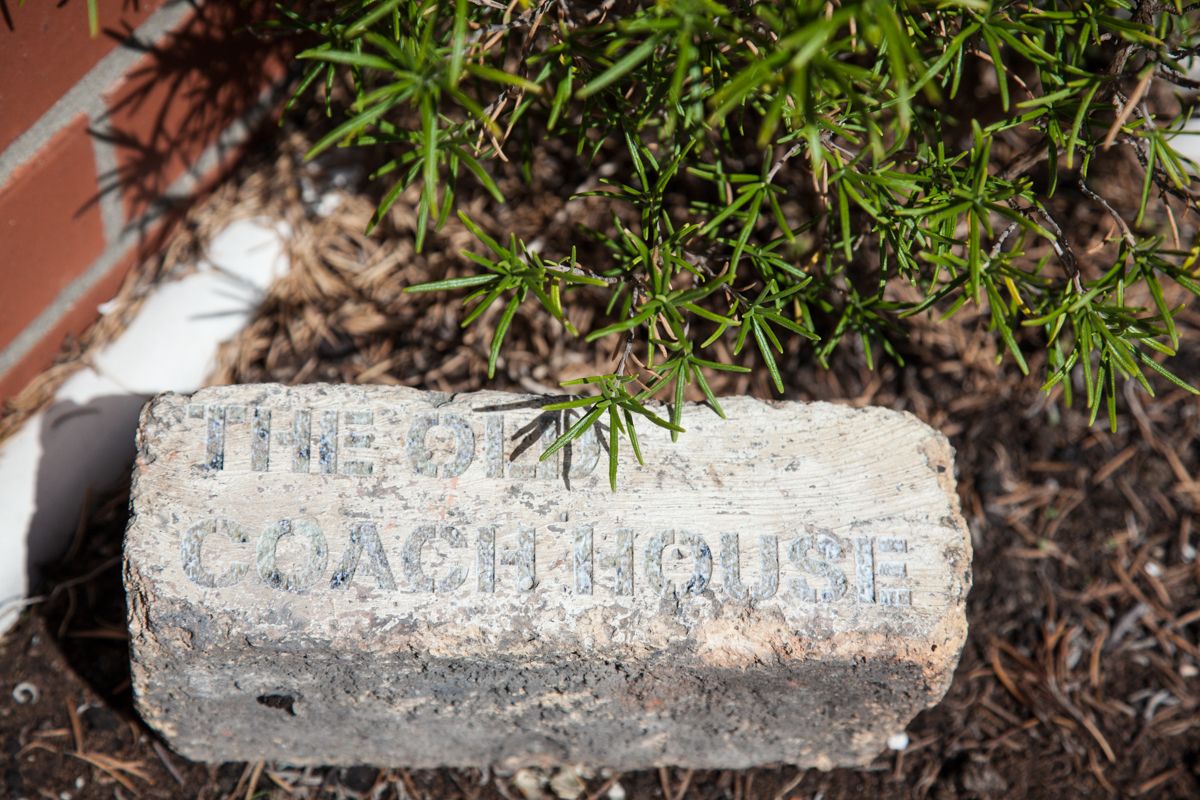 When a friend of mine, Adam, saw the brick, he asked if I could design a brick to be laid into the cottage he was currently renovating? I was more than happy to oblige. 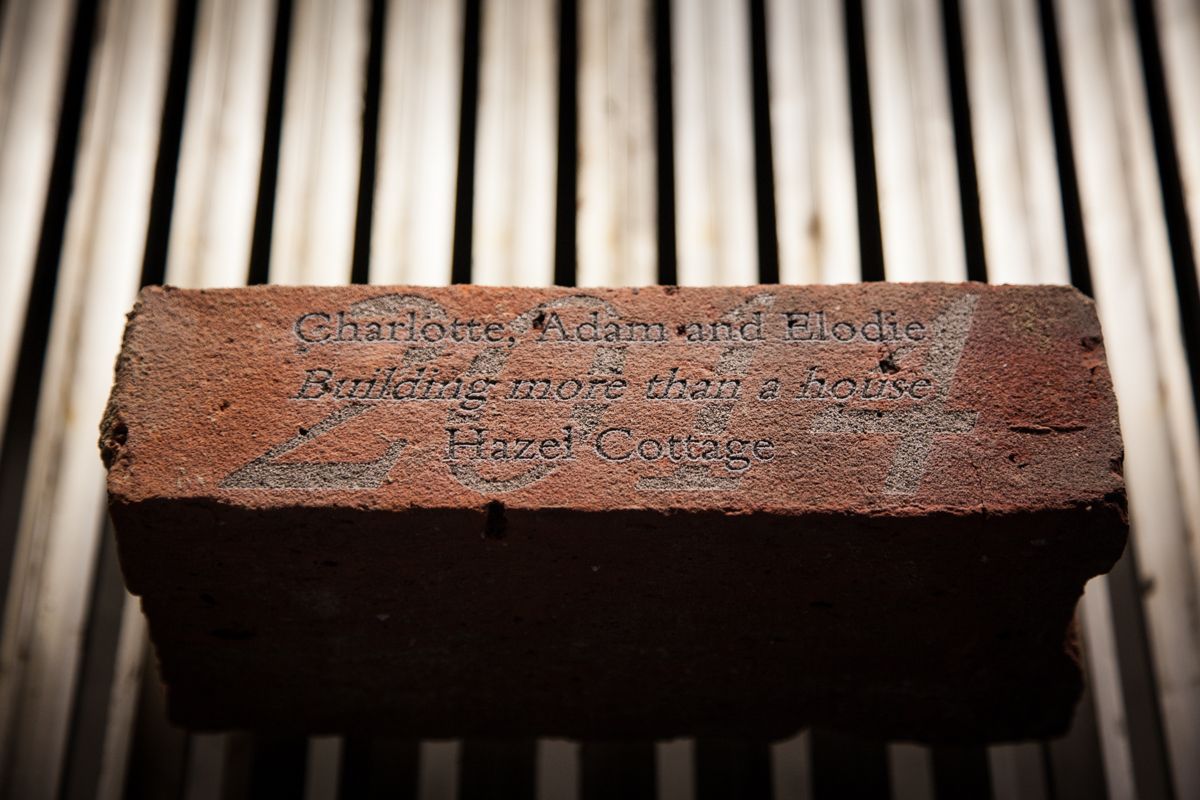 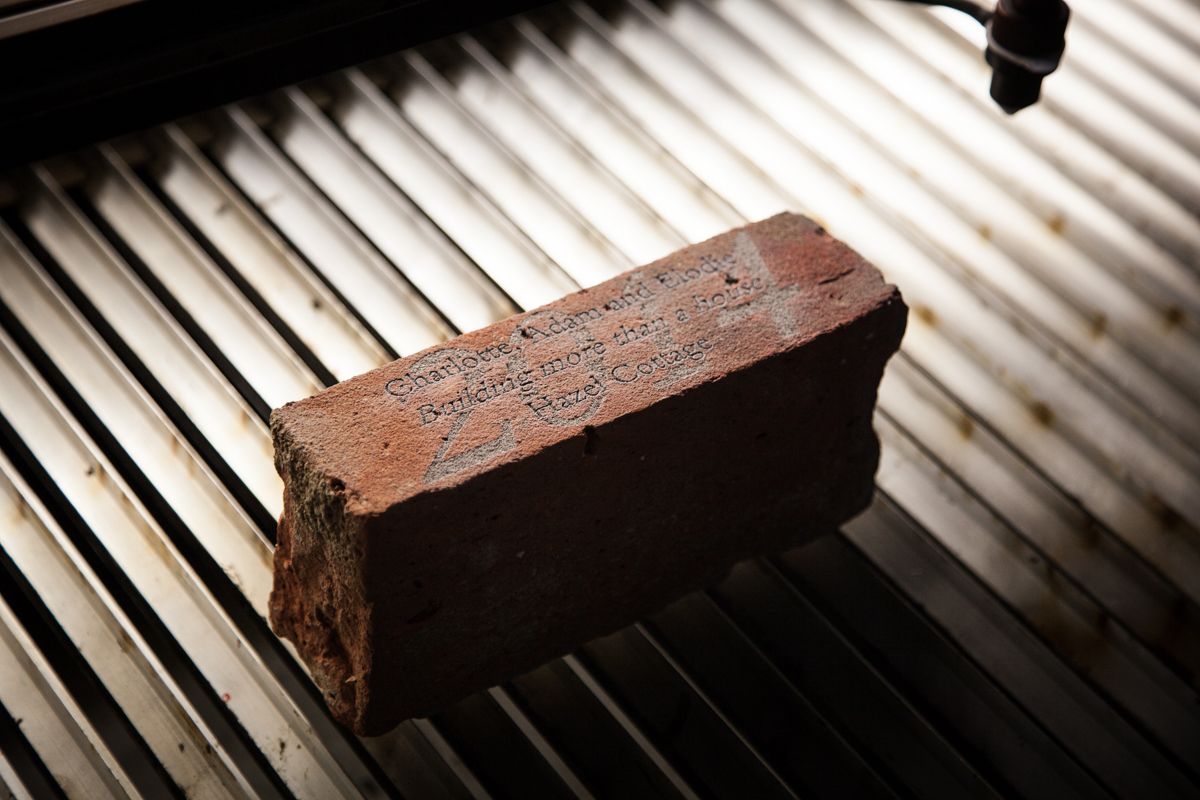 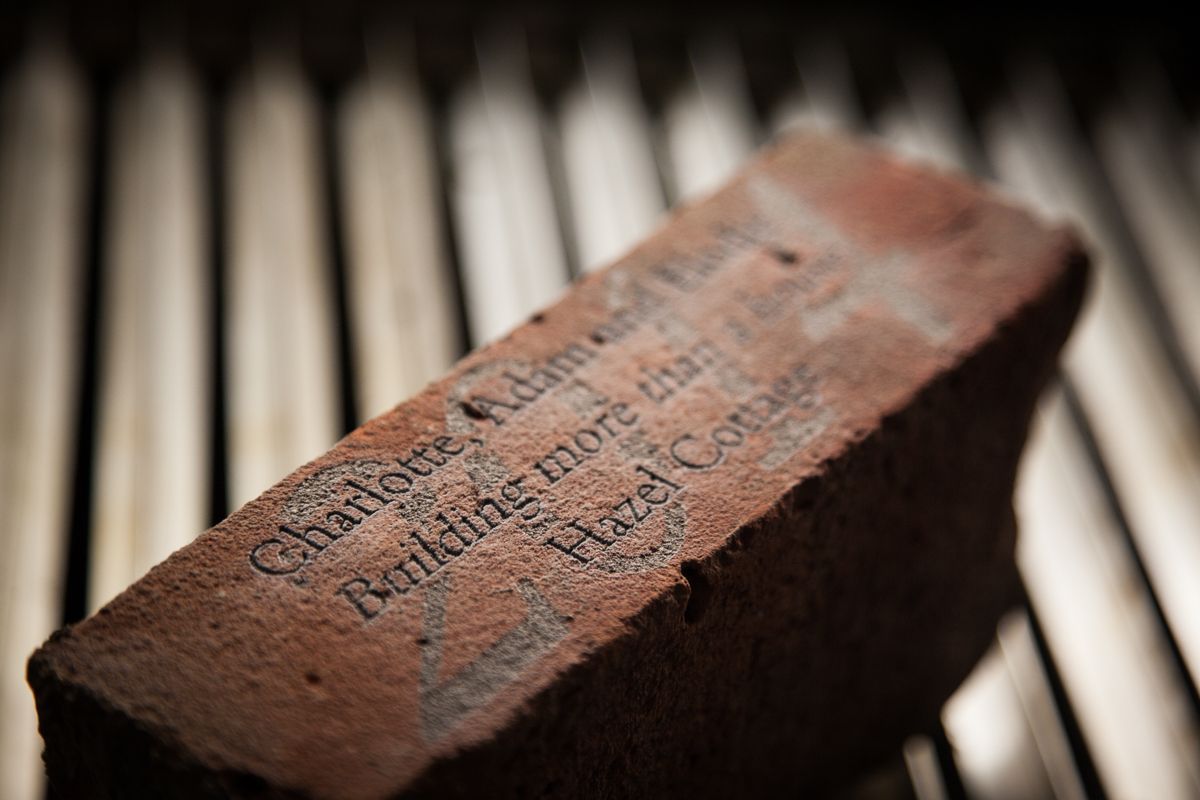 ^It's not so easy to make out in the photos, but I used two totally different engrave settings for that. One to do a feint 'ghost' engrave of the year (2014) in the background, then a much slower, more powerful engrave (two passes, in fact) which gives a much deeper, more contrasting engrave with the detailed wording.^ He was over the moon with it. So far, there seems to be a lot of bricks being lasered, but trust me, that's not always the case. More to come.... |
| |
|
|
|
|
|
|
|
|
|
| |
Top grammar tips!
Bought = purchased. Brought = relocated
Lose = misplace/opposite of win. Loose = your mum
|
|
|
|
|
|
|
By the tone of the write-up, there's more to come. So where is it?!  |
| |
|
|
|
|
|
|
|
This is an idea I'd had that I think warrants more investigation: dials/gauges I need to experiment further with thinner materials but getting hold of white cast acrylic thinner than 3mm is difficult. I think the main experimentation will come from trying clear acrylic and backing it with white vinyl to achieve a similar effect. Only time will tell (something I'm fairly short of at the moment)  OK, so it just looks like I've made a conventional speedo dial, but this means I can make it in ANY style, with ANY design, ANY shape with ANY detail you like. Suddenly....LOTS of possibilities. Oh, and here is how it looks when back-lit (just white lighting for these shots) 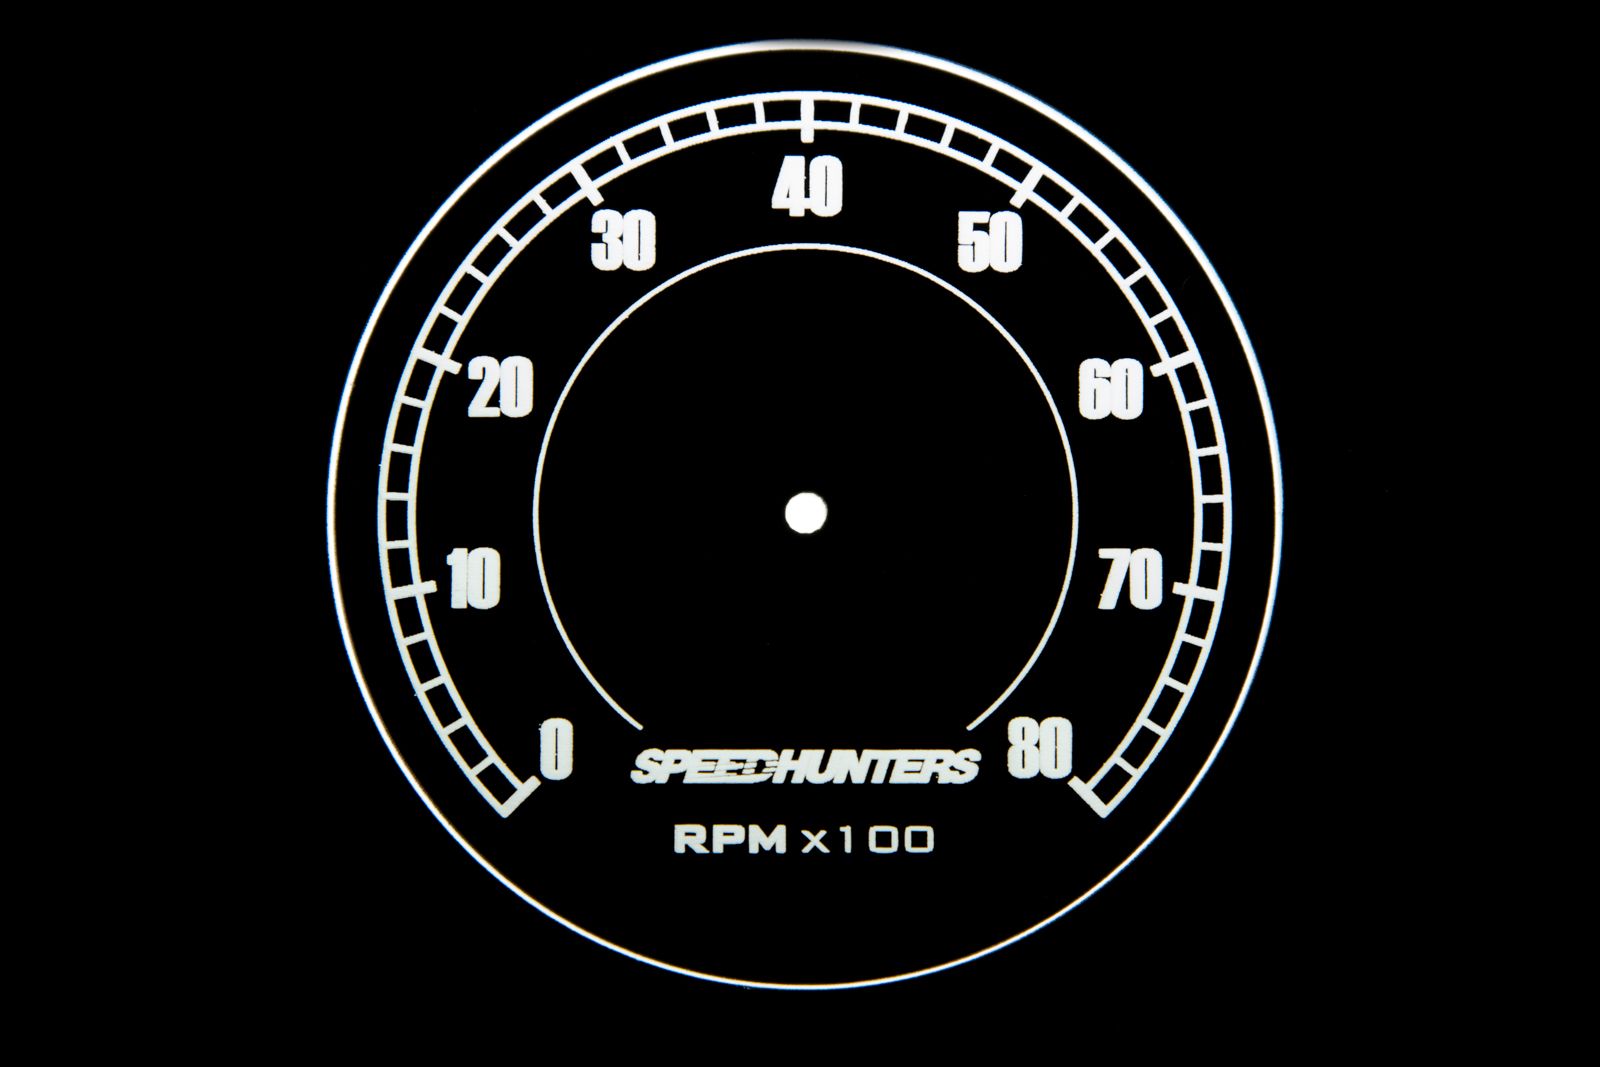 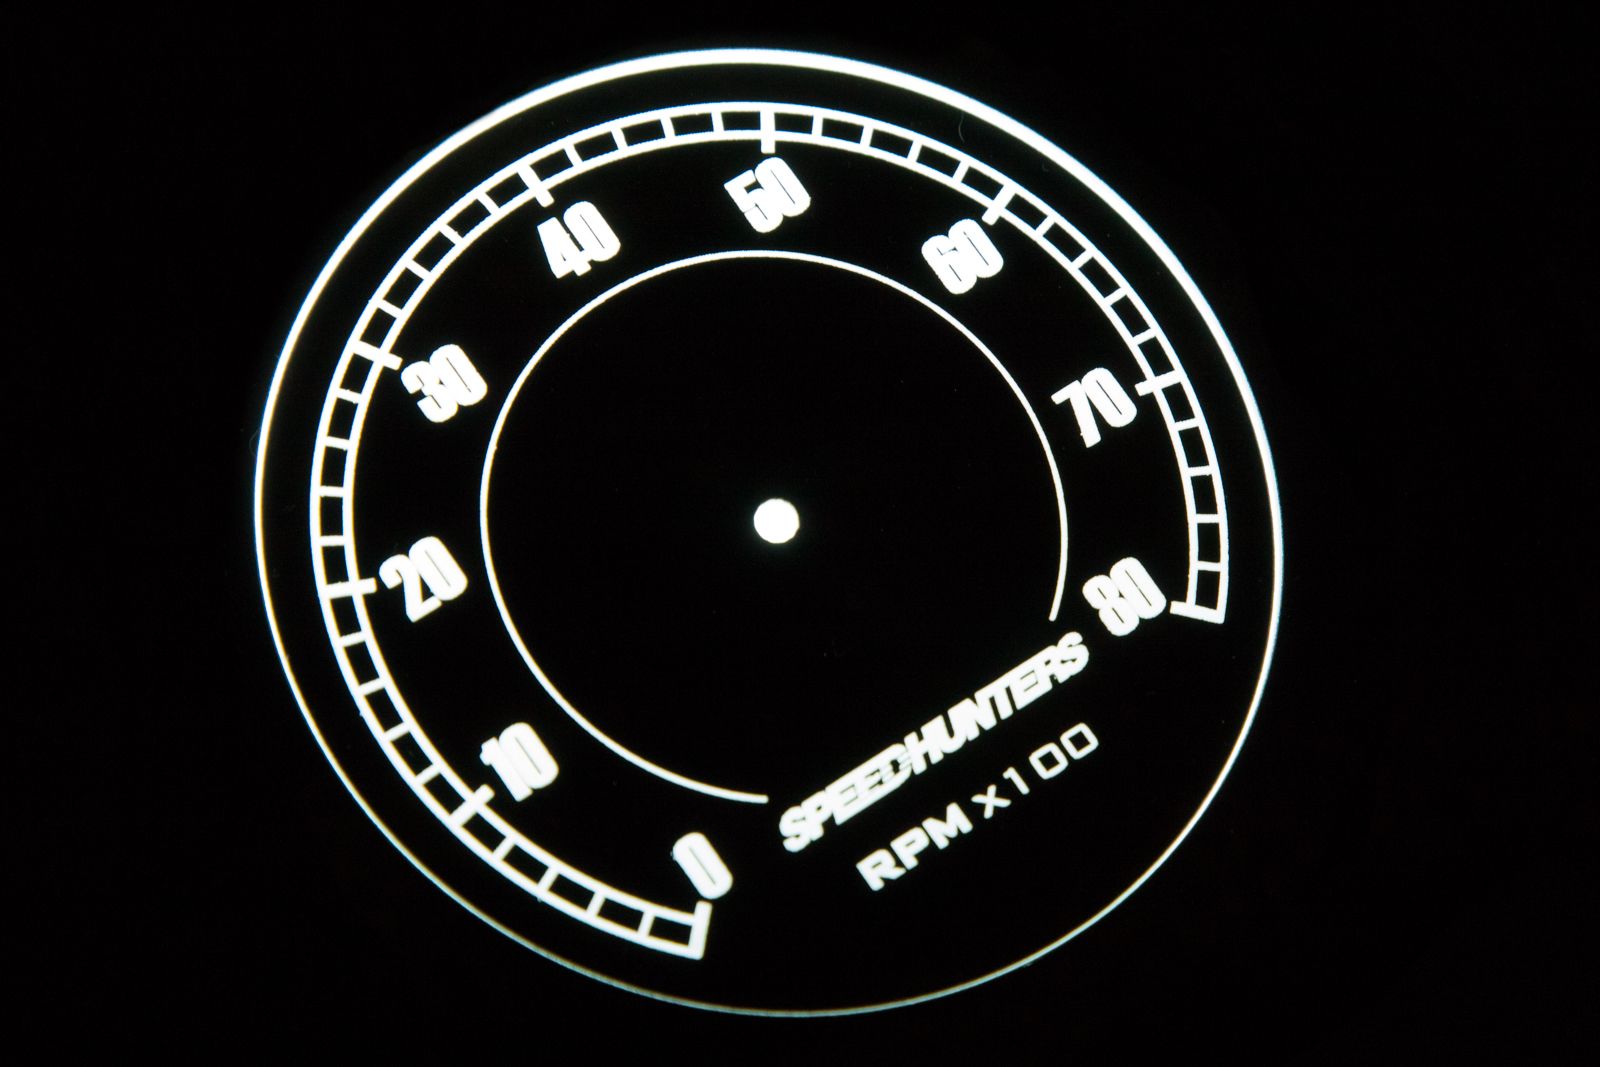 Please excuse the fuzzy images, the definition on the real thing is super, super sharp. I was just being rubbish with my camera. |
| |
|
|
|
|
|
Mar 10, 2015 11:11:01 GMT
|
Oooh all the customisations. I always wanted one of those speed dials that's a long bar with a rolling bar needle/travelling needle. As that's basically just a plastic strip, that would open up some options there. Mainly on american cars, though. Etched plexan windows for repping your hillclimb car. I'd try and etch the bat symbol in to an old 7 inch headlight. |
| |
|
|
brc76
RR Helper
Posts: 1,107 
|
|
Mar 10, 2015 16:31:33 GMT
|
|
For the dials, what about a heavy diffuser rather than a pure white acrylic?
Speak to Mark Forsyth at Optical Filters for some thin materials, 01844 260377. they have various acrylics, polycarb, CR39 and 3M thin films on stock.
|
| |
|
|
|
|
|
Mar 11, 2015 22:56:31 GMT
|
For the dials, what about a heavy diffuser rather than a pure white acrylic? Speak to Mark Forsyth at Optical Filters for some thin materials, 01844 260377. they have various acrylics, polycarb, CR39 and 3M thin films on stock. Hmm, that could be an interesting avenue to explore. I'd considered using white vinyl on the back of clear 1mm acrylic (it lets light through, so should work) but I'll certainly look into the stuff from Optical Filter. I'll give them a call when I get chance. Thanks. |
| |
|
|
|
|
|
Mar 11, 2015 23:03:08 GMT
|
|
|
| |
|
|
|
|
|
|
|
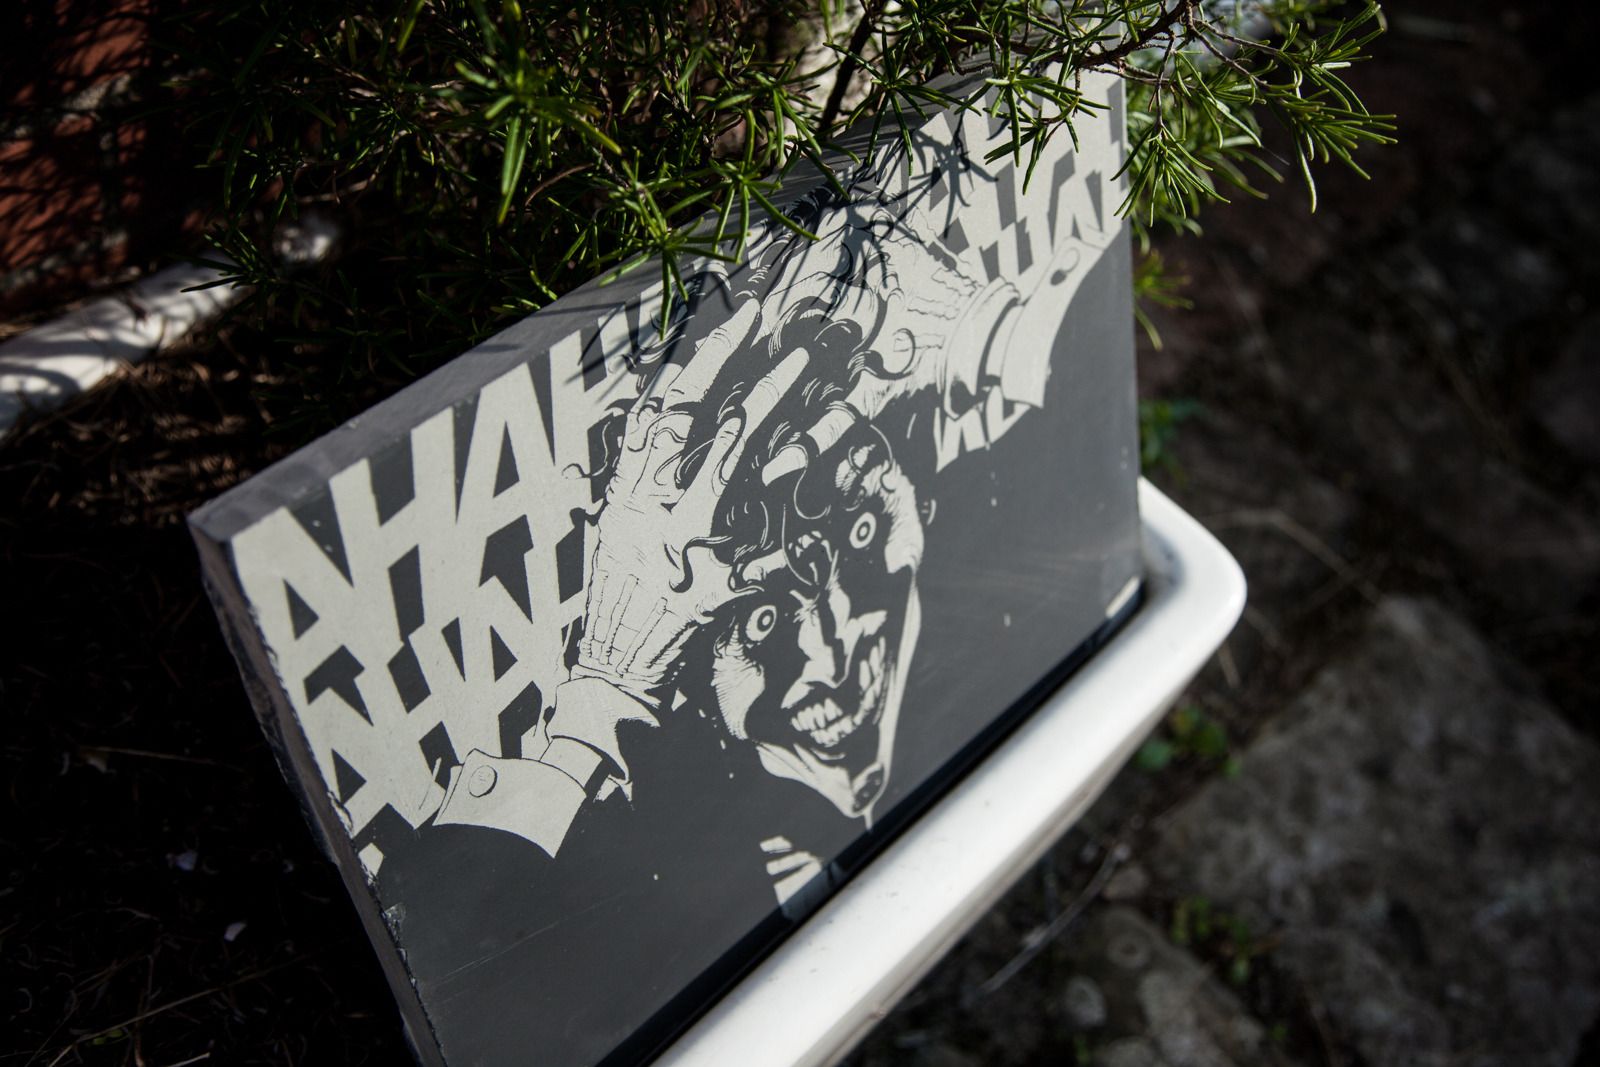
That looks really awesome. Guessing postage to the ass end of the world would be rather large for some custom slate, though.  |
| |
|
|
|
|
Ian
Part of things

Posts: 977
|
|
|
|
|
Bruce,
I think you have got yourself one hell of an investment in 'The Alan Parsons Project' I just wouldn't know where to begin and the ideas that can come to fruition are excellent. I think taking ever day pieces and re-purposing them is excellent. The more Patina the better, I guess that why we are all on here to begin with though as I think the ideas from our ageing vehicles can be transferred to the Art and display world.
The general limitation is what you can perceive and what materials and finish you are after.
After I saw the eye chart, that is exactly what I would love for my house, and then the slate piece again is excellent.
Looking forward to more, even seeing failed attempts would be great.
|
| |
|
|
|
|
|
Mar 12, 2015 12:01:28 GMT
|
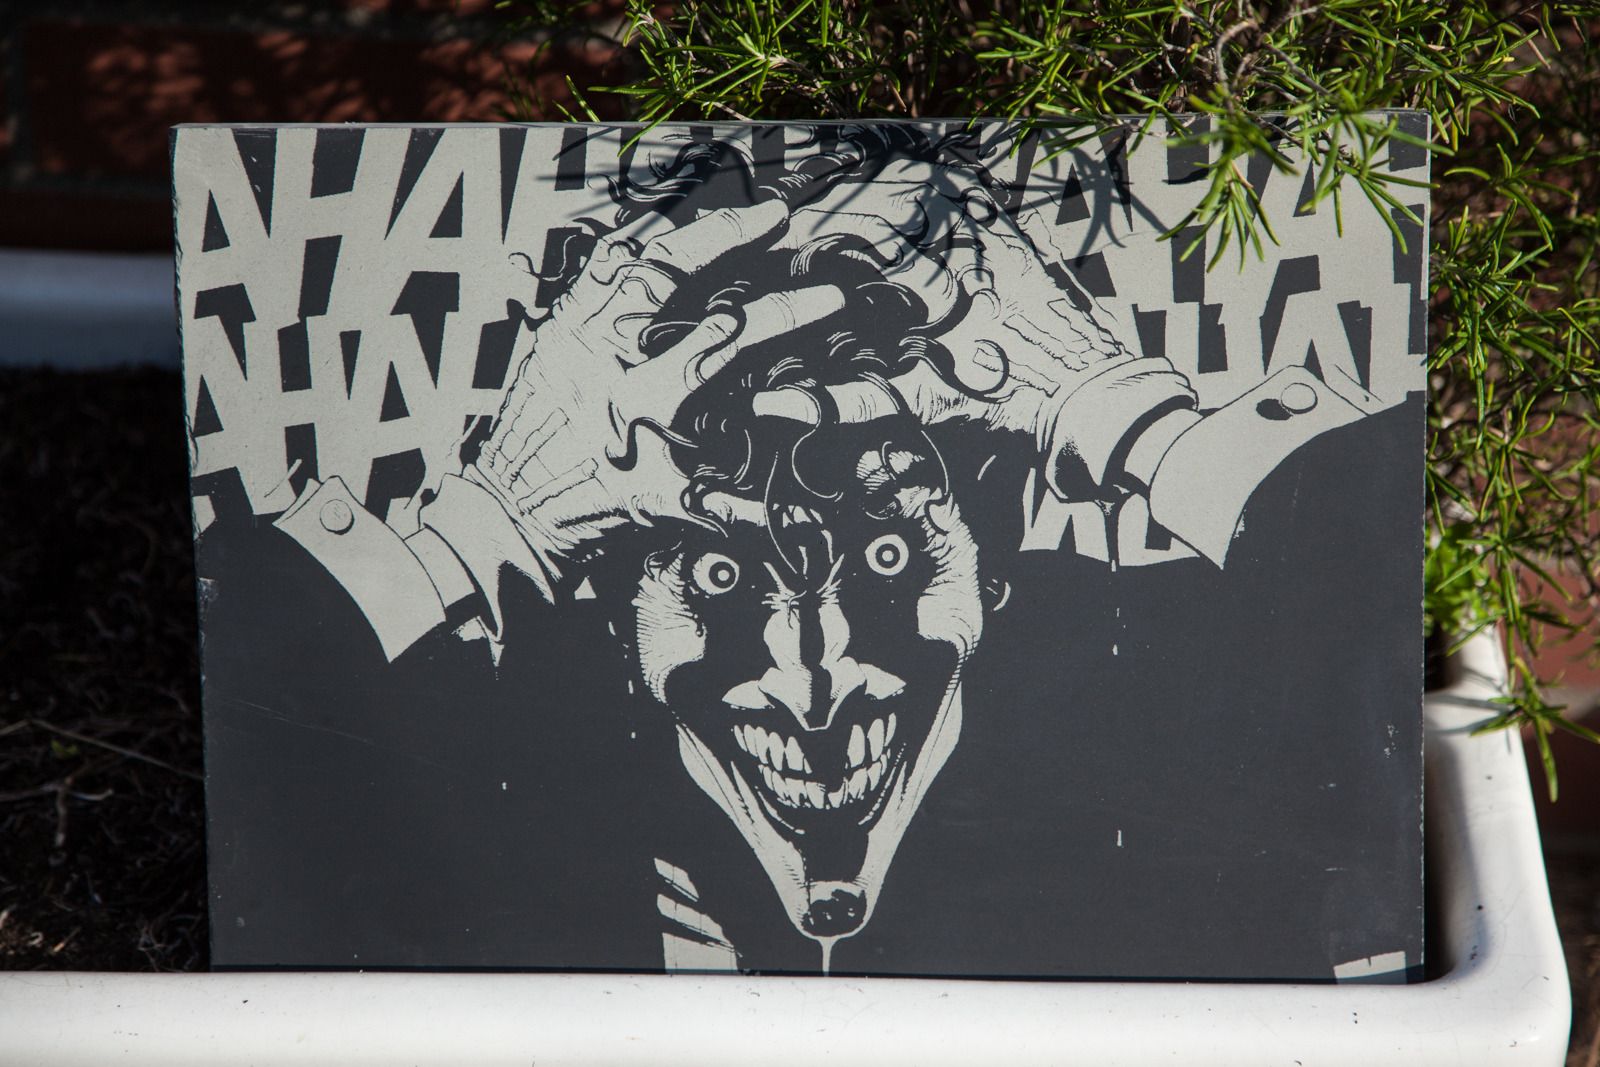
Thanks for the comments guys. Laser cutters/engravers are usually used to cut clean, crisp looking new materials. I do as well from time to time, but I much prefer to try and be a bit more creative with it. Looking at interesting materials and seeing what I can make out of them? Pretty much everywhere I go I am on the lookout for something interesting to cut or engrave. Ian, I'll certainly try and remember to take photos of failed attempts. This is usually because I've forgotten to do a regular alignment of the mirrors which means the laser beam doesn't cut properly. User error is a far greater cause of failure than ideas that just didn't work. One of the next pieces out of the machine, after the slate, was a commission piece for Poppy Lea Boutique. They wanted their logo put onto a classic wooden ruler. Dead easy once I'd made a jig to ensure that the logo was placed exactly central for each one. Making jigs and alignment guides is probably one of the biggest parts in getting things to look good. Especially on 'existing' materials - if I'm cutting a shape after engraving then alignment of the engraving isn't so critical because it can all be done on the computer. 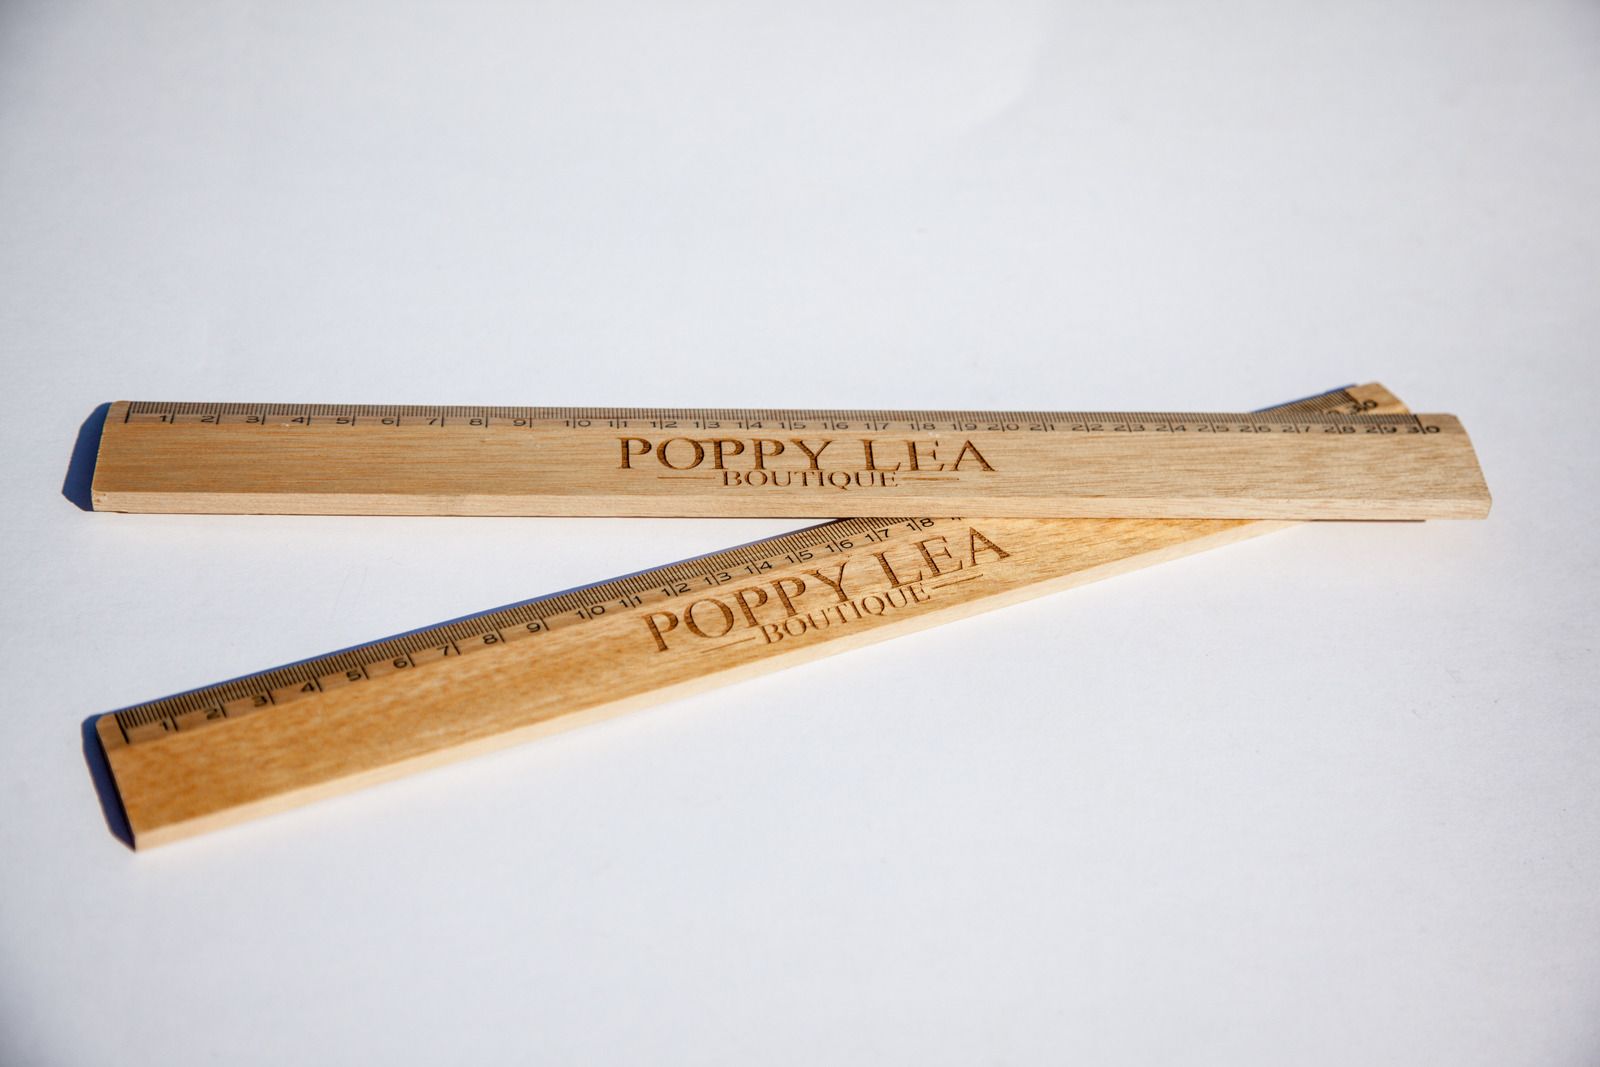 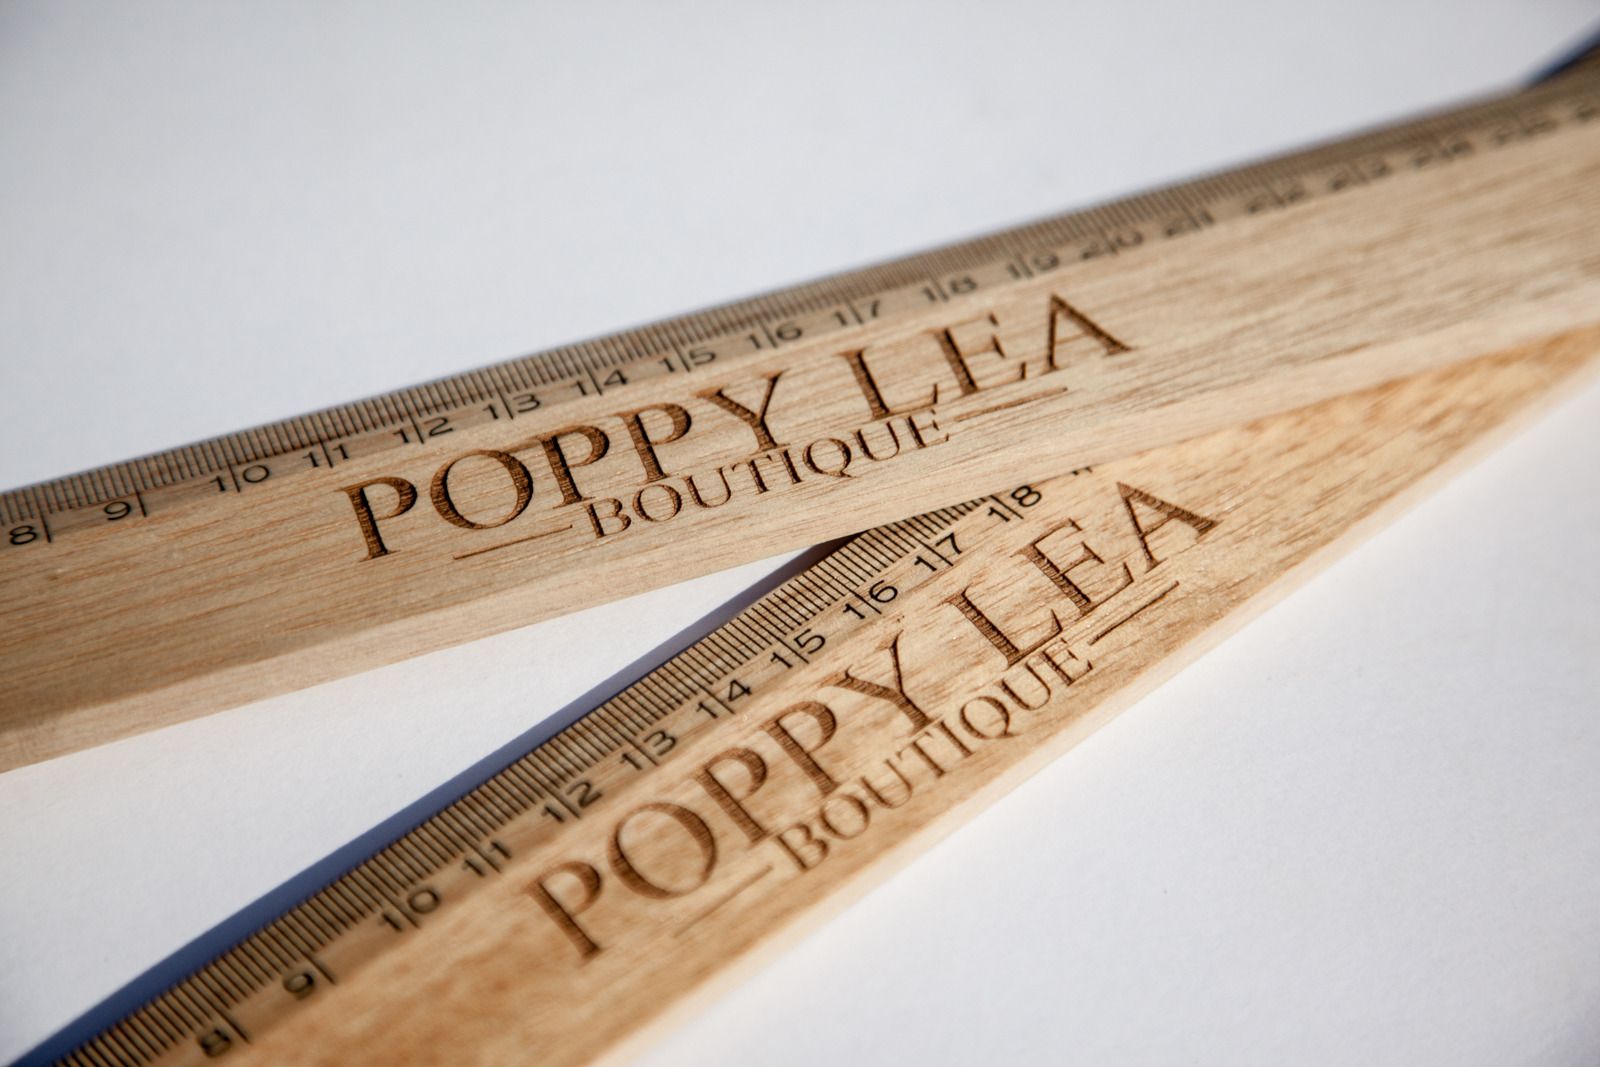 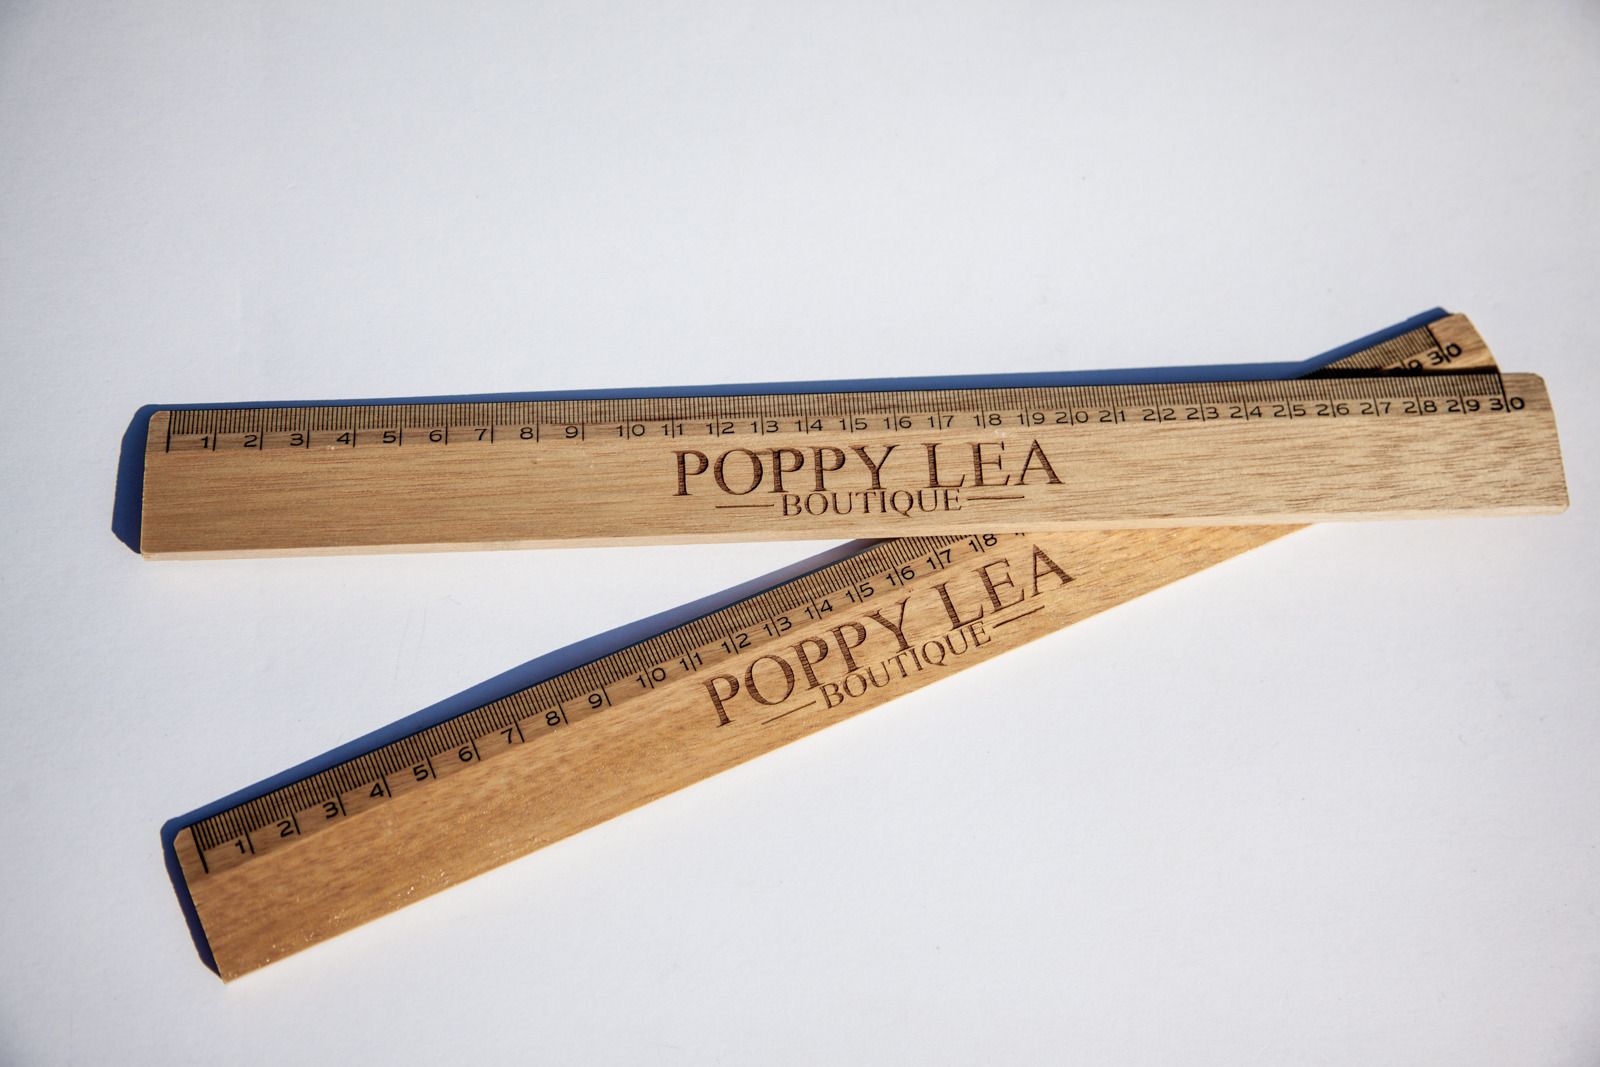 |
| |
|
|
|
|
|
Mar 12, 2015 12:26:50 GMT
|
I'm going to let you all into one of my little secrets here: Motorpunk (AKA Retro Rides regular tdk) wanted some pin badges making for when they were attending one of the shows at Goodwood. They wanted their logo not just printed onto a conventional badge, but cut to the shape of their 'bonnet badge' logo too. In order to get the look of the classic black & white they use for the logo, I painted a sheet of white acrylic with satin black paint. The logo was then drawn up in my software with the majority of the logo set to become an engraving path but with the outline of the logo set as a cutting path. When the badges were made, the laser engraved away the black paint to reveal the white acrylic beneath. The logo magically appeared...followed by the shape of the logo being cut out to form the badge itself. They took a little while to clean off all the waste vapour dust left from the engraving, but once all clean and a brooch pin adhered to the back of each one, they really looked the part. 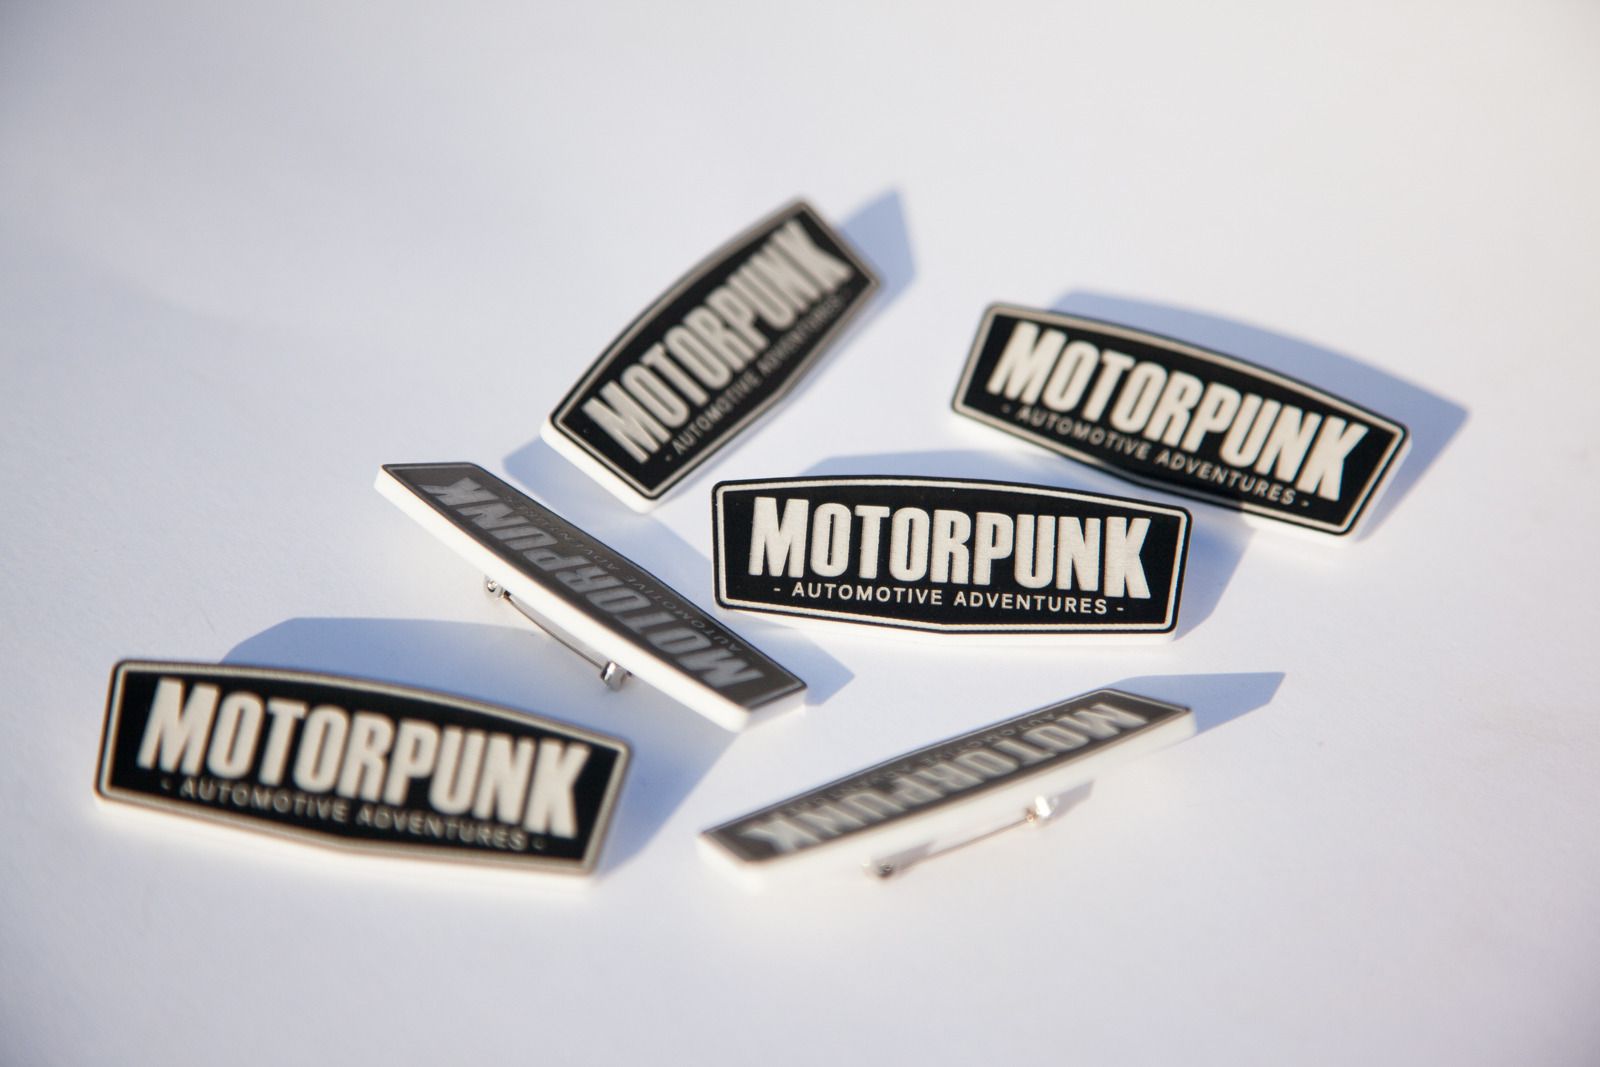 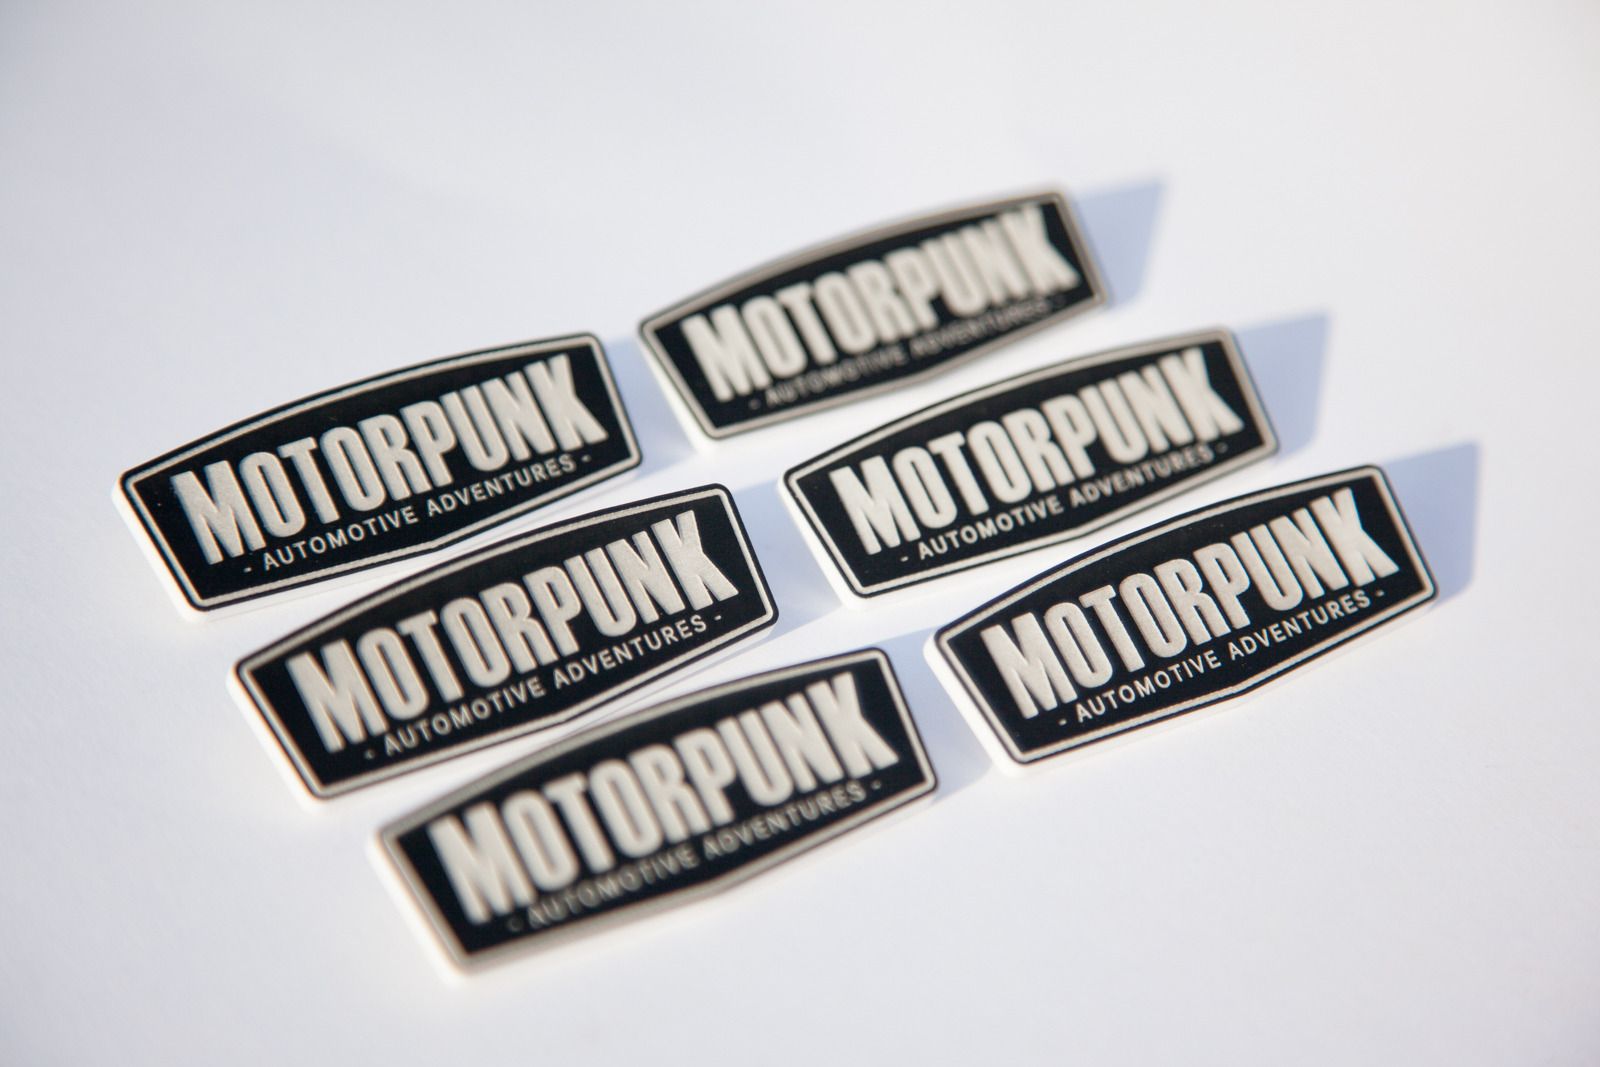 The guys themselves were pleased with them too. Custom work is always a pleasure to do.... |
| |
|
|
|
|
|
Mar 12, 2015 12:53:25 GMT
|
|
Hmmm. Reproductions of wheel centres? And custom ones of course.
|
| |
|
|
awoo
Posted a lot
Posts: 1,504
|
|
Mar 12, 2015 18:56:11 GMT
|
|
you may well be aware of this stuff anyway but in case not, you can get 2ply acrylic for engraving with, it's used a lot with guitar pick guards. good to see it up and running so well
|
| |
|
|
|
|
|
Mar 12, 2015 19:14:37 GMT
|
Hmmm. Reproductions of wheel centres? And custom ones of course. I've done a few already and plan to do more. Especially things like Borbet wheels (for example) where the centre caps are sometimes missing. I actually made some custom A52 ones for my RS 7 spokes on the Escort (no photos). So much potential. you may well be aware of this stuff anyway but in case not, you can get 2ply acrylic for engraving with, it's used a lot with guitar pick guards. good to see it up and running so well Yeah, I've got some of the engraving laminate but not a huge fan of it because it's limiting on the colours and only really comes in 1.5mm thick, I tend to prefer 3mm.....the Motorpunk badges looked better for being in 3mm instead of 1.5mm IMHO. I even had some black/white engraving laminate 'in stock'. [edit] Plus, I don't think the definition is as sharp as doing the paint/engrave away route..and I've got unlimited colour choice too... [/edit] Yeah, I'm chuffed to bits that it's up and running although there have been LOTS of other problems to deal with - like, currently, a snapped drive belt which is proving to be obsolete. I've sorted a 'it'll have to do' workaround for now just to keep me running until I can sort something.  |
| |
|
|
|
|
|
Mar 12, 2015 19:29:24 GMT
|
|
MM you should be able to get a drive belt on size from a fastener supply company or similar , they will have loads of catalogues , or RS products etc .
|
| |
|
|
|
|
|
Mar 12, 2015 20:44:00 GMT
|
Inspiring as usual. Having re-read this yesterday Frankenhealey might be able to help with your belt. Unashamed plug. If you have any problem with the belt driven linear drives I sell the belts and pulleys |
| |
|
|
|
|
|
Mar 12, 2015 21:05:22 GMT
|
MM you should be able to get a drive belt on size from a fastener supply company or similar , they will have loads of catalogues , or RS products etc . Inspiring as usual. Having re-read this yesterday Frankenhealey might be able to help with your belt. Unashamed plug. If you have any problem with the belt driven linear drives I sell the belts and pulleys Thanks guys. Unfortunatley SkylineDave, the belts are very specific (VERY specific) and sourcing this particular one is proving to be quite tricky. 117" (nigh on 3 metres) long, closed loop, 15mm wide and 11TPI. sLowered, thank you. Funnily enough I was in touch with him yesterday and he's been great with the help. Unfortunately, he too says it's a very hard to find belt but came back with a source in China and also place in the States, neither of which have the right depth, but there's a chance he can help on that front. Amazing guy and instrumental in helping find a source for fixing the machine. In the meantime, I can muddle by. |
| |
|
|
tdk
Part of things
Posts: 958
|
|
|
|
I'm going to let you all into one of my little secrets here: Motorpunk (AKA Retro Rides regular tdk) wanted some pin badges making for when they were attending one of the shows at Goodwood. They wanted their logo not just printed onto a conventional badge, but cut to the shape of their 'bonnet badge' logo too. In order to get the look of the classic black & white they use for the logo, I painted a sheet of white acrylic with satin black paint. The logo was then drawn up in my software with the majority of the logo set to become an engraving path but with the outline of the logo set as a cutting path. When the badges were made, the laser engraved away the black paint to reveal the white acrylic beneath. The logo magically appeared...followed by the shape of the logo being cut out to form the badge itself. They took a little while to clean off all the waste vapour dust left from the engraving, but once all clean and a brooch pin adhered to the back of each one, they really looked the part. The guys themselves were pleased with them too. Custom work is always a pleasure to do.... Thanks for the mention. You made those for my sidekick, Dr Octane, I have one at home and it looks great.  |
| |
|
|
|
|


 [*]
[*] [*]
[*]