Iain
Part of things

Posts: 351
|
|
Oct 28, 2015 13:34:16 GMT
|
|
This is making a very enjoyable read, the tube work etc looks good. Might you be better with the thicker tubes across the top of the doors to form a 'proper' rollcage?
Out of interest how much time do you work on this? Would be such an awesome project to undertake but imagine you put a lot of hours into it.
|
| |
|
|
|
|
|
|
|
Oct 28, 2015 13:57:48 GMT
|
Hi iain, Thanks for the kind words, the main roll hoop is all we really need in this, it's a road car after all. The main frame (smaller tube) is mainly to support the body and act as a bit of a skeleton to the car to stop any body flex and so on. This is going to be bonded in with fibreglass so a large amount of it won't be seen. If at any point the car feels unsafe when driving around, as the interior is being left fairly bare to start with, it shouldn't be too much of an issue to add in further points in the cage. At the moment the car is getting around 20 - 30 hours per week but this really goes up and down depending on other projects and builds in the workshop. I couldn't really add up how many hours exactly are in it as it's moved around a few times and the initial donor car strip down was down over a couple of weekends too... All in all, a rough guess would maybe put it at about 4ish solid weeks (full time) of work to get it to this point? |
| |
|
|
|
|
|
Oct 28, 2015 21:02:58 GMT
|
|
Fair play lad.
Building anything from scratch and spares is tough, but its looking great.
|
| |
|
|
|
|
|
|
|
It sure is @quickrack1, hoping it will get a lot of road time once done compared to a more traditional rod. Little more support work out back: 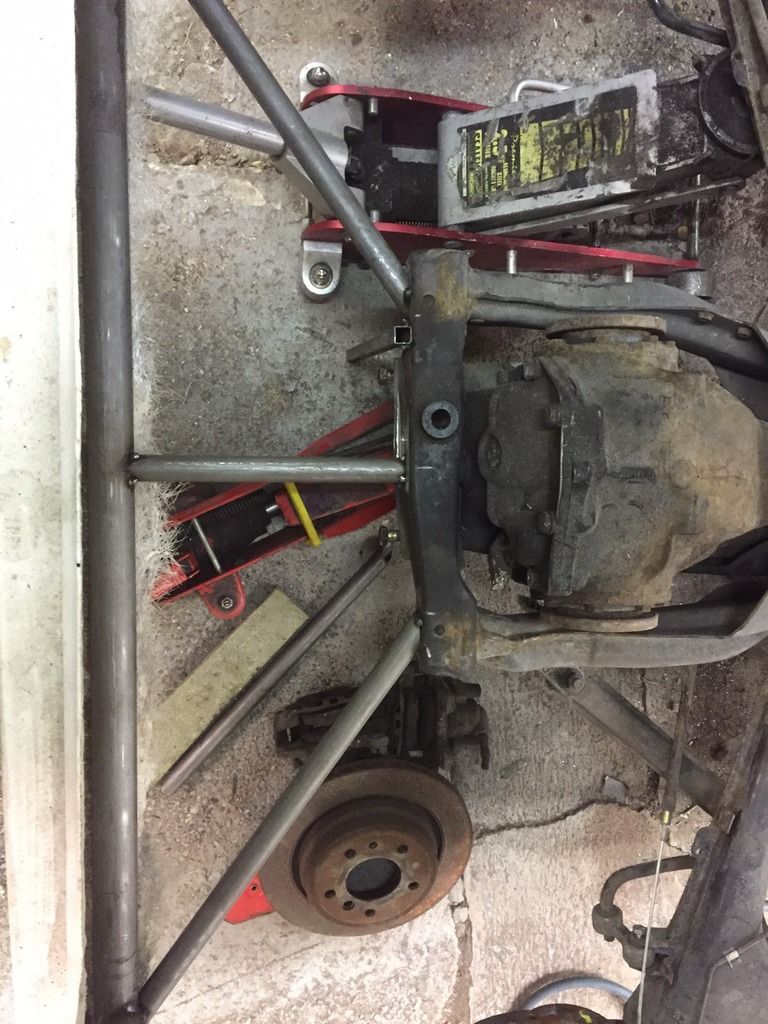 And then the spindles are put in the jig to see what it all looks like...  A little problem: 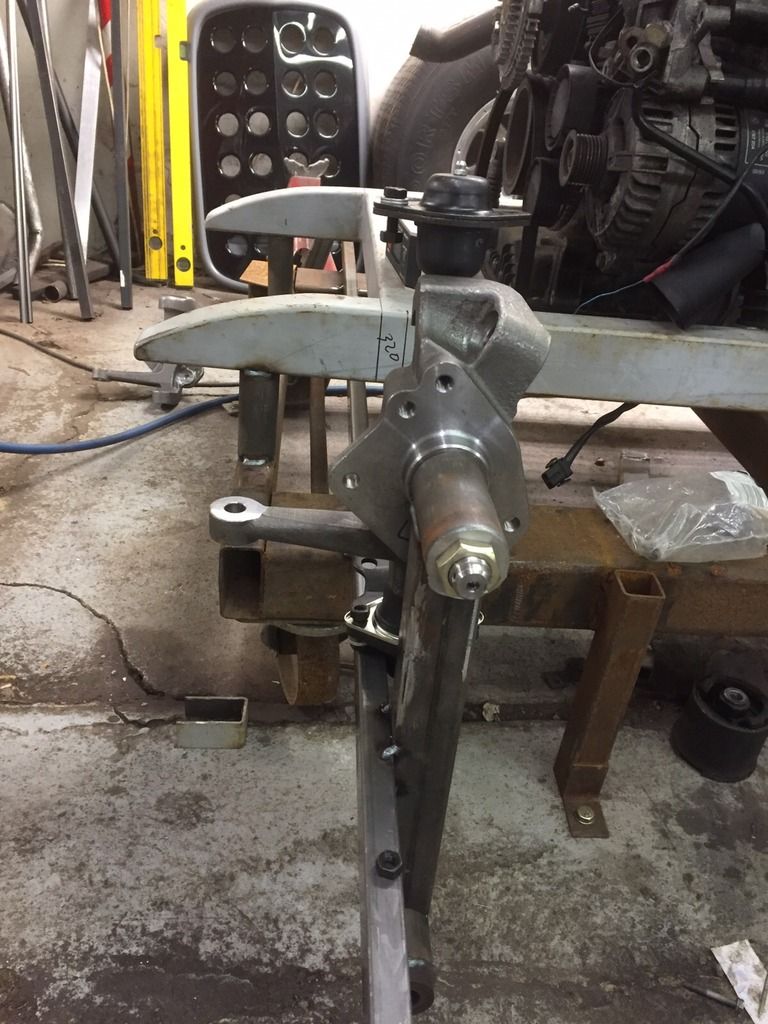 This puts the steering arms way too far forward which means the steering rack will be hanging out the front of the car! So, I am going to need to swap the hubs around which in turn will mean the callipers will be front mounted. No big deal, just something that needs to be thought about when the A-Arms are made. |
| |
|
|
|
|
|
Oct 30, 2015 14:04:29 GMT
|
So as it's Friday and that basically means the weekend has started but you are stuck in the office still... It was time to have a play... I want to make some little hinges for the doors on the Coupe. So, Started with a flat sketch: 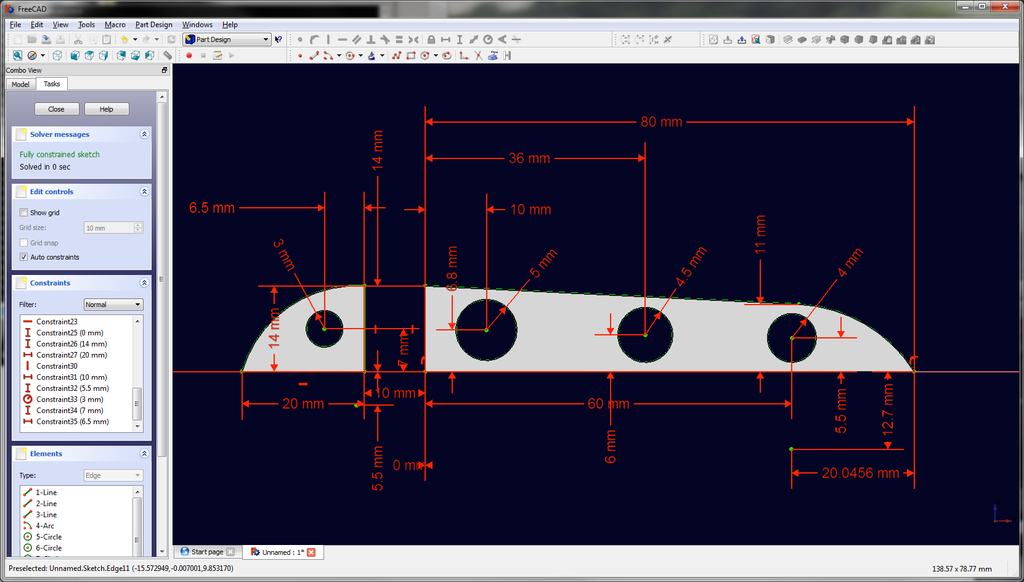 Then gave it some depth: 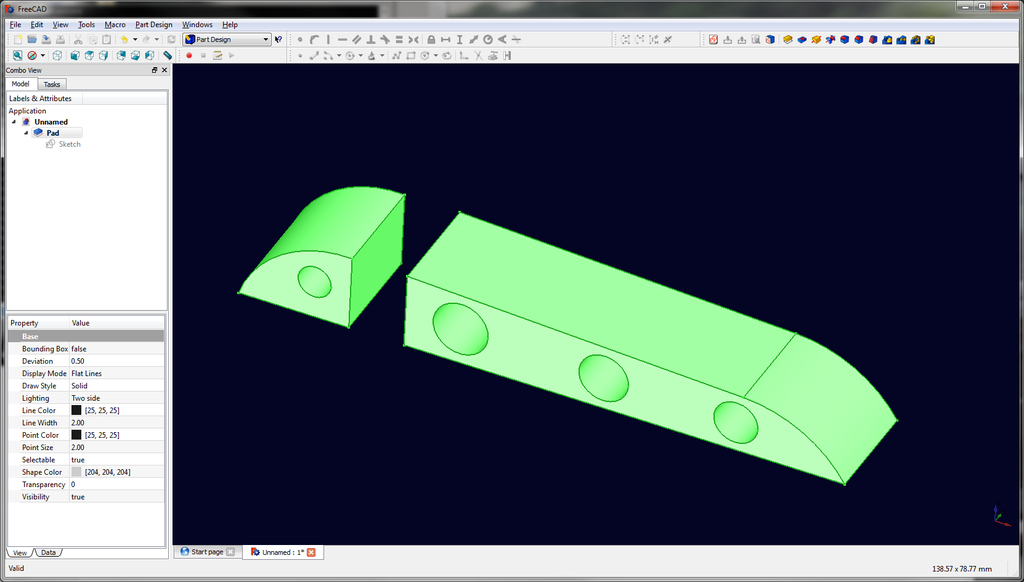 Then make a block to scoop out from the solid: 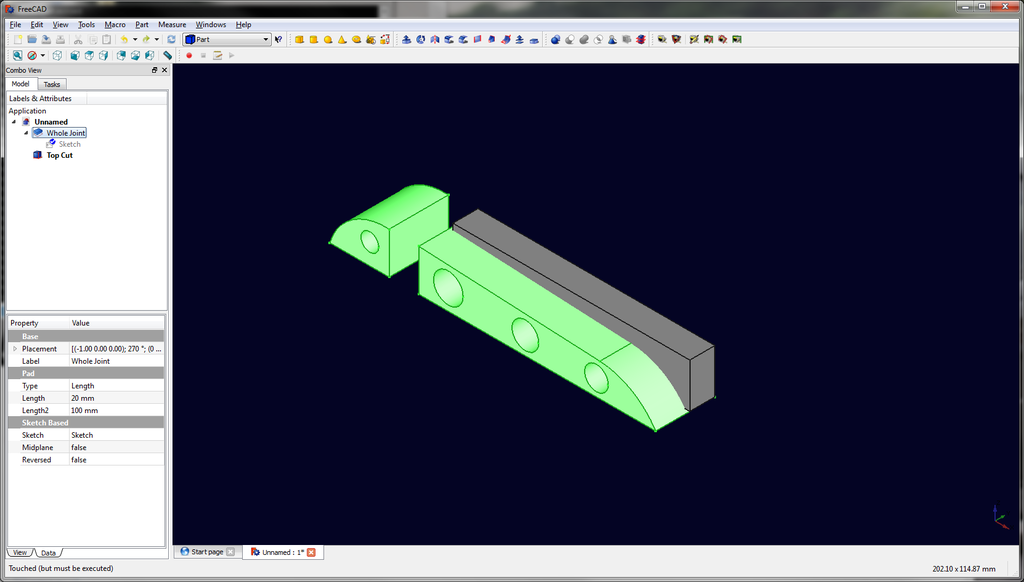 Which then leaves us this: 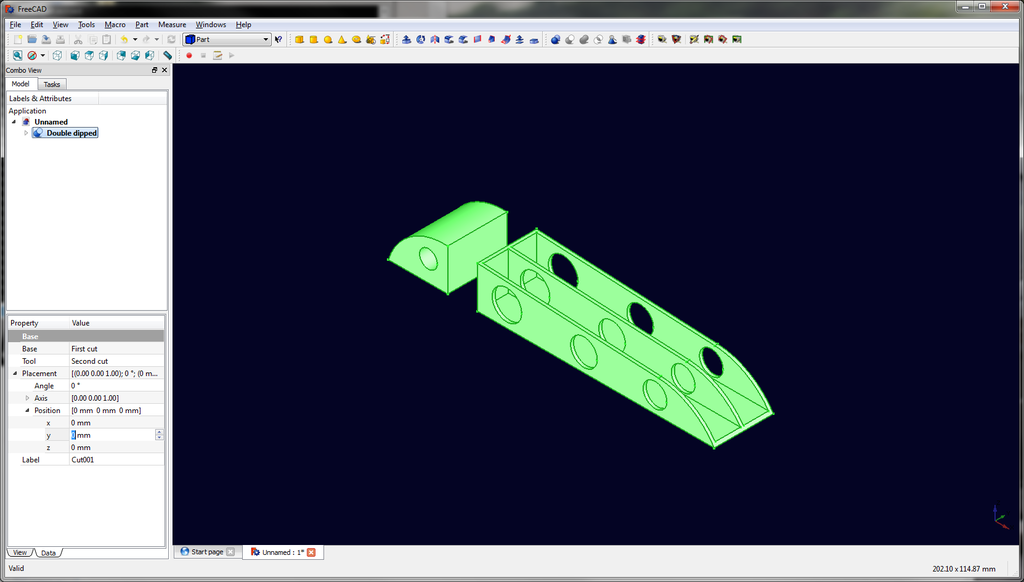 Then repeat for the second side: 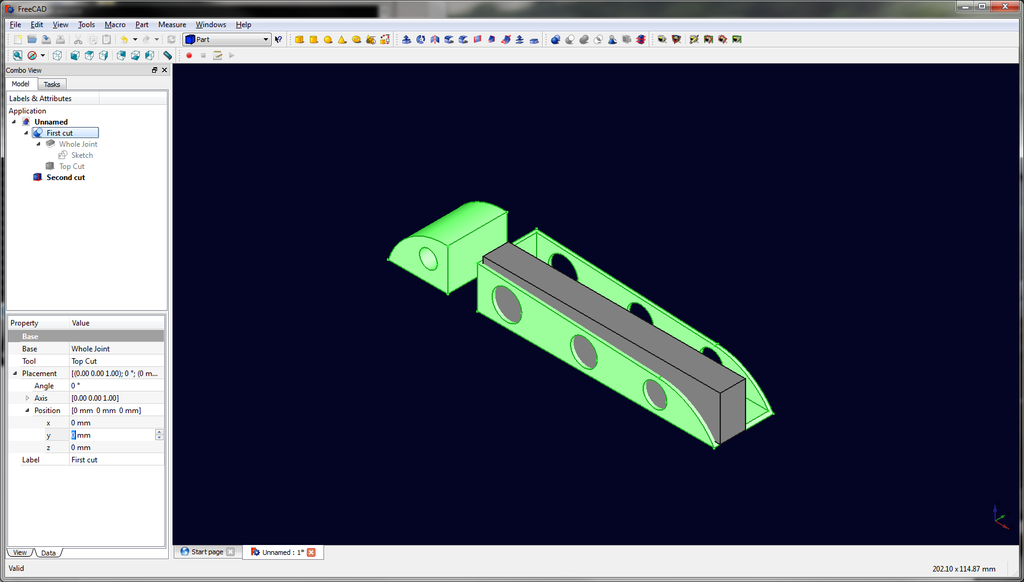 Then a similar process for the smaller bracket: 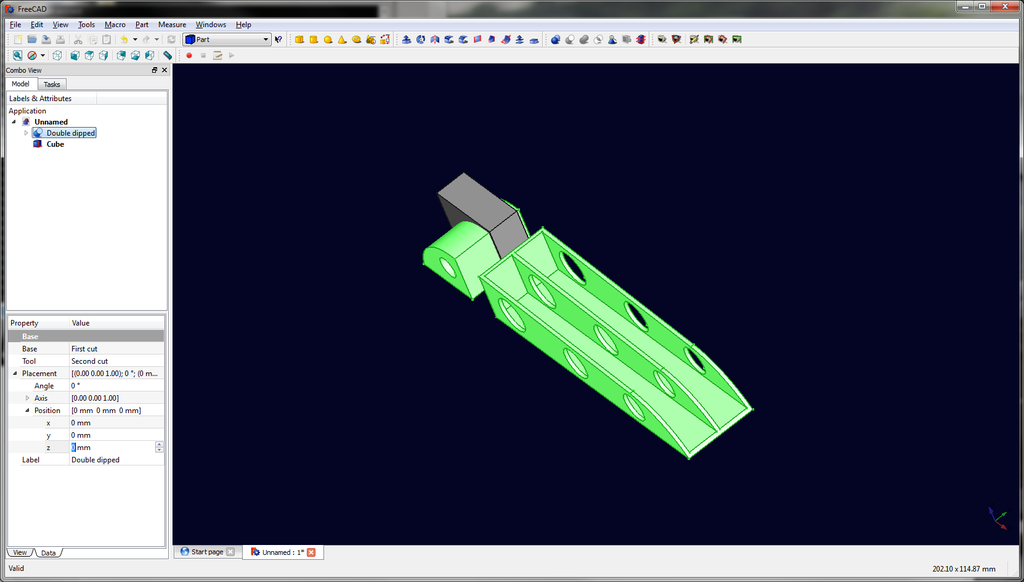 And the other side: 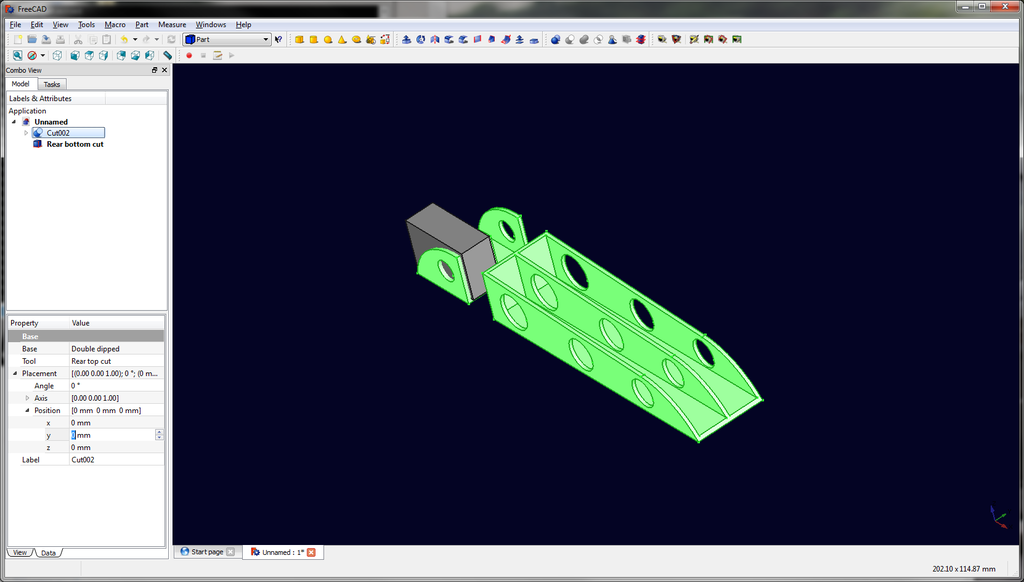 Which leaves us something a little like this: 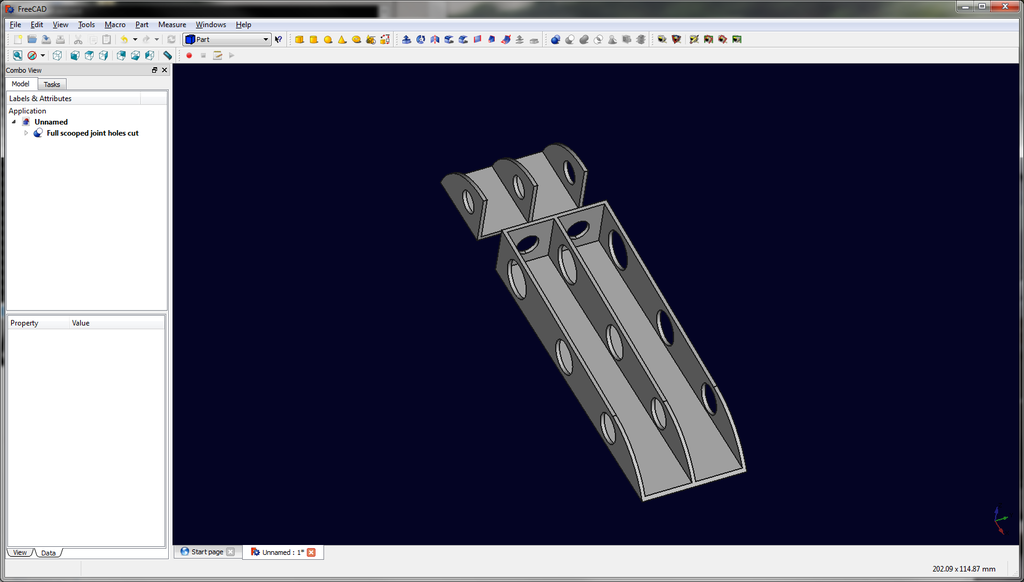 Then add some bolt holes: 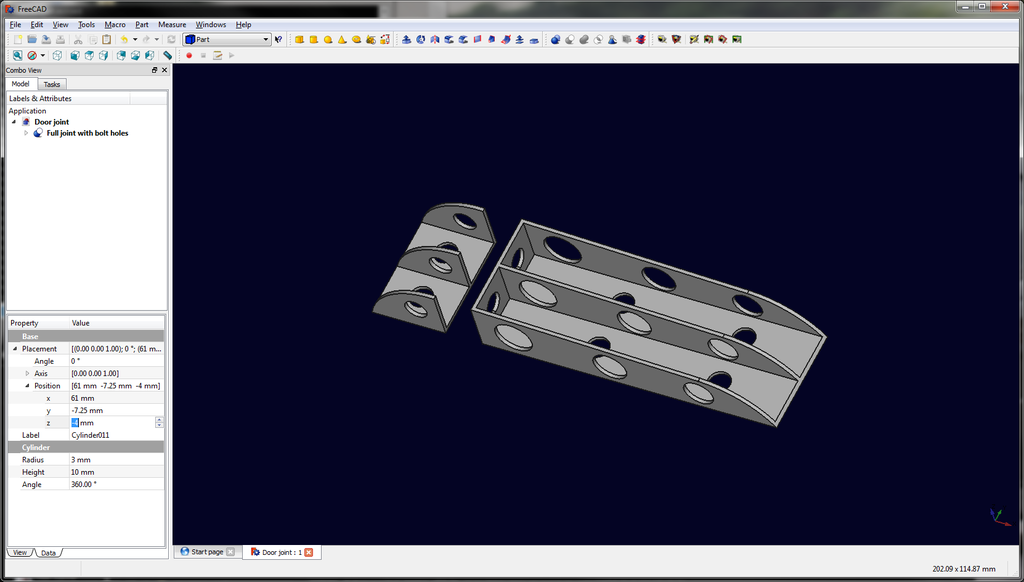 Then realise they will foul on the rose joint on the smaller hinge. So add some chamfer to the holes to allow for use of countersunk bolts... 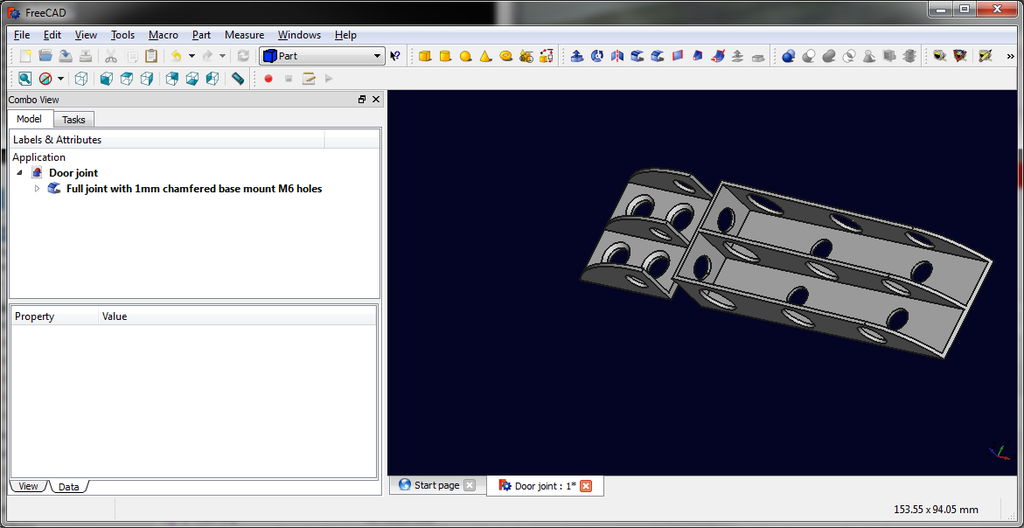 So, getting all excited at this point I was then walking round the office chatting to someone about it and they said, why not throw that on to the 3D printer and check it for clearances? Well, why the bloody hell not! 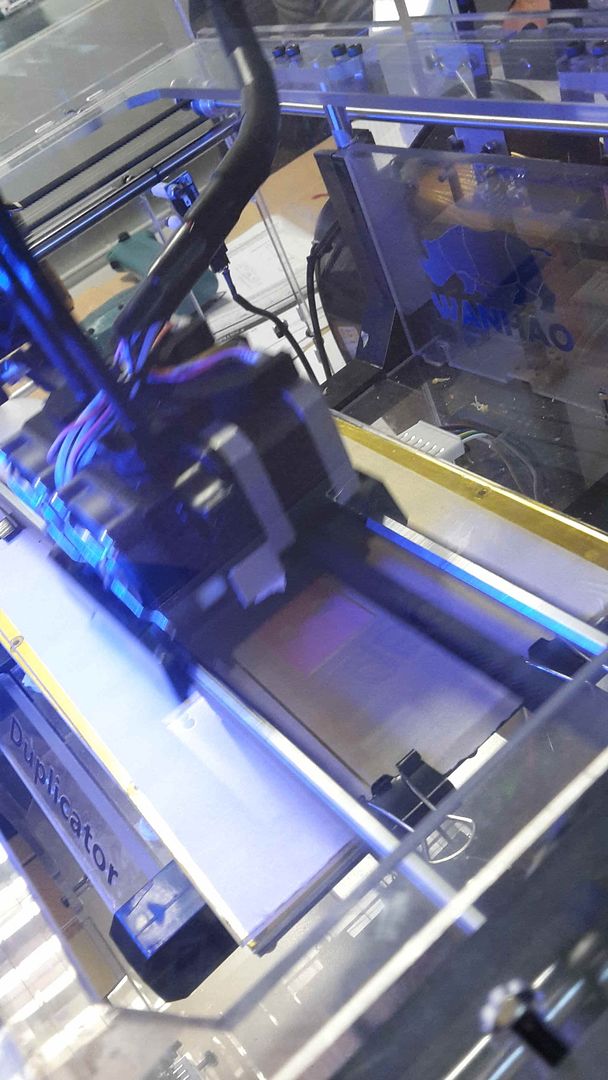 1 hour 20 minutes later... 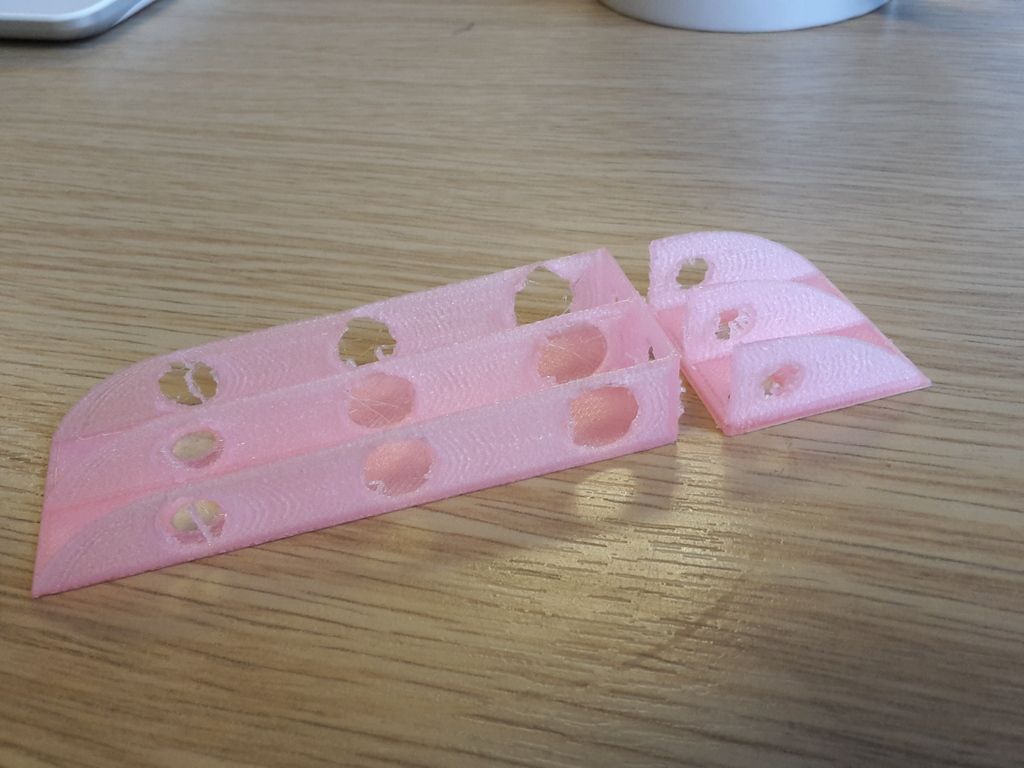 Ta da!!!! Lots of flaws with it, but not bad for 1st ever self designed piece! Will have another stab at it next week and order some rose joints to play with. |
| |
|
|
|
|
|
Oct 30, 2015 20:08:04 GMT
|
|
Aw this build just gets better!!
Thanks for the update.!
|
| |
|
|
mk2cossie
Club Retro Rides Member
Posts: 2,954  Club RR Member Number: 77
|
|
Oct 30, 2015 20:18:49 GMT
|
Loving the door hinges  Only question is, is this rod going through BIVA? As them hinges wont be a pass, nothing to say you cant fit them afterwards tho  The wheel placement looks pretty good with the front axle mocked up as well |
| |
Last Edit: Oct 30, 2015 20:19:12 GMT by mk2cossie
|
|
|
|
|
Oct 30, 2015 23:29:39 GMT
|
|
FreeCAD! I can't ween myself off the parametric awesomeness of inventor, someday..
|
| |
|
|
froggy
Posted a lot
Posts: 1,099
|
|
Oct 30, 2015 23:40:44 GMT
|
|
If the uprights were designed for a front mounted rack you might need to alter the steering arm position to get some Ackerman angle in there .
I rear mounted my rack to get the radiator tight against the chassis and the Sierra uprights needed some work to get the geometry something like .
|
| |
|
|
|
|
|
|
|
Thanks all, it was quite an interesting session playing with the software, really want to spend some more time on it but only have a little laptop at home, so will need to try and find time at work to have a crack at it again. Ackerman should be fine as the arms are a set point so shouldn't make a difference which way they are facing. The rack will still have the same input. Every day is a school day however, so there is only one way to find out! - EDIT. It won't be fine at all, there is now a new plan! There was a little update on the Insane Creations 67 Mustang on Friday too, I've got a feeling my Coupe will be in his rear view mirror when they are on the road too! Got enough nitrous in that thing to get it to the moon let alone the engine capacity being twice that of mine standing at 8+ litres! 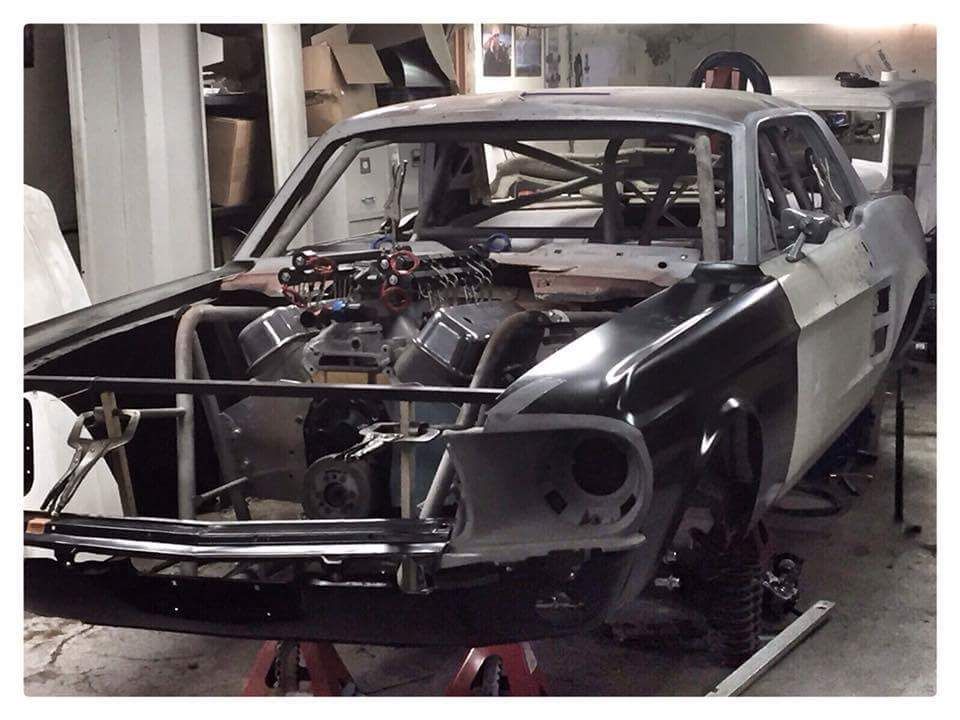 |
| |
Last Edit: Dec 24, 2015 10:20:09 GMT by Ralph.Wrecked.It: Engineering Error! Always learning!
|
|
|
|
|
|
|
|
|
|
I thought it about time I said hello.
Thank you for all your kind words Ralph and everyone else. This really is an interesting build and I'm proud to be a part of it even the little bit I'm doing on it.
|
| |
Build the dream
|
|
Rebel
Part of things
Posts: 343
|
|
|
|
|
Love the work being done, looking forward to the rest that's yet to be completed.
Got to say, that Mustang is going to be hard as nails when it's done, look forward to more on that as well
|
| |
1968 Dodge Charger
1985 Chevrolet Camaro
1993 Toyota Hilux Surf
2001 Ford Mondeo
|
|
|
|
|
|
|
Loving this build, following this & the Mustang build on FB |
| |
|
|
|
|
|
|
|
Thanks Rebel! Ah ha good to see you are on here too ludsonline! Keep me updated with how you get on with the gearbox adaptor, guys at Insane Creations will be able to fab the adaptors up for you if you get stuck. Not much going on with the build this week, my tail lights arrived! 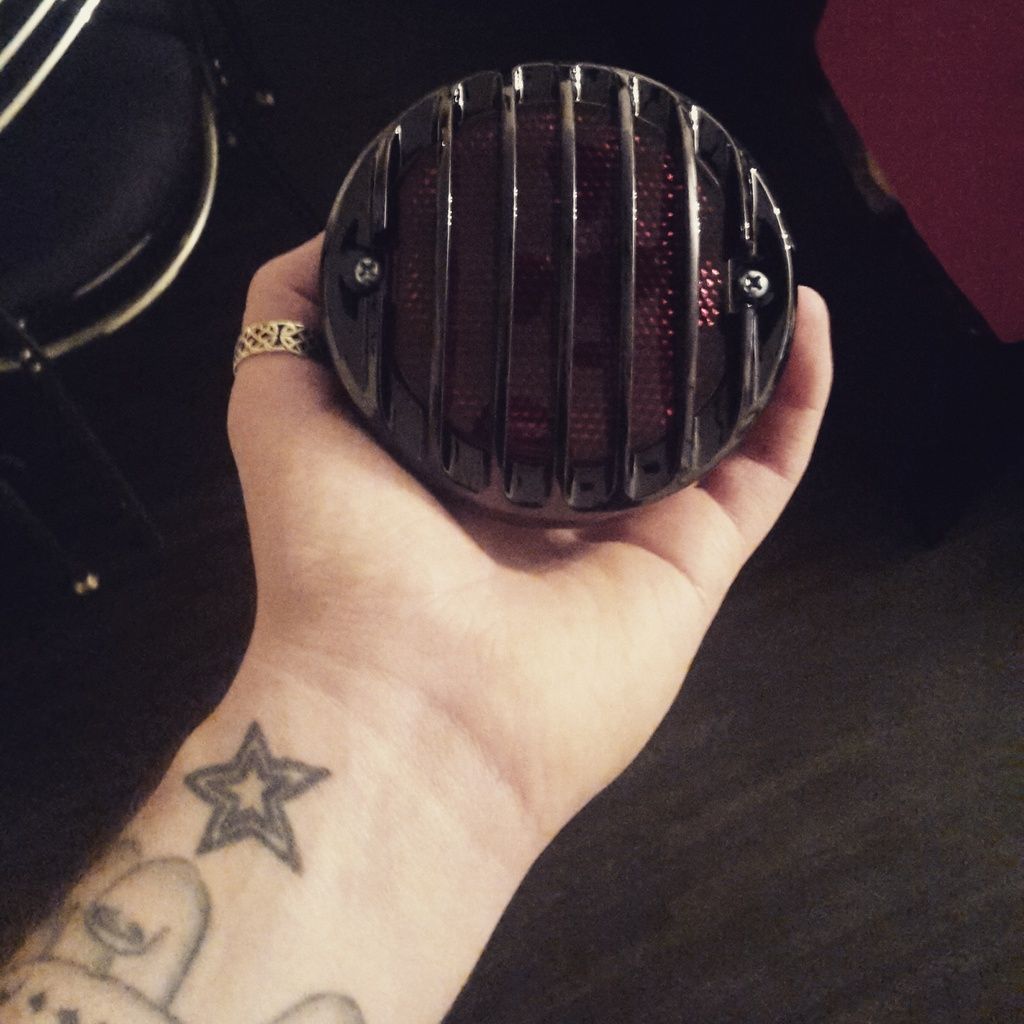 They have been on the slow boat from China for quite some time but what do you expect for free shipping! Pretty happy with them, I have 4 so going to take the red lenses out of two of them and replace with some smoked perspex and fit amber bulbs and turn them in to indicators. Should be easy enough! I've also ordered some wheel spacers for the back end to clear the body. Hopefully these will do the trick. 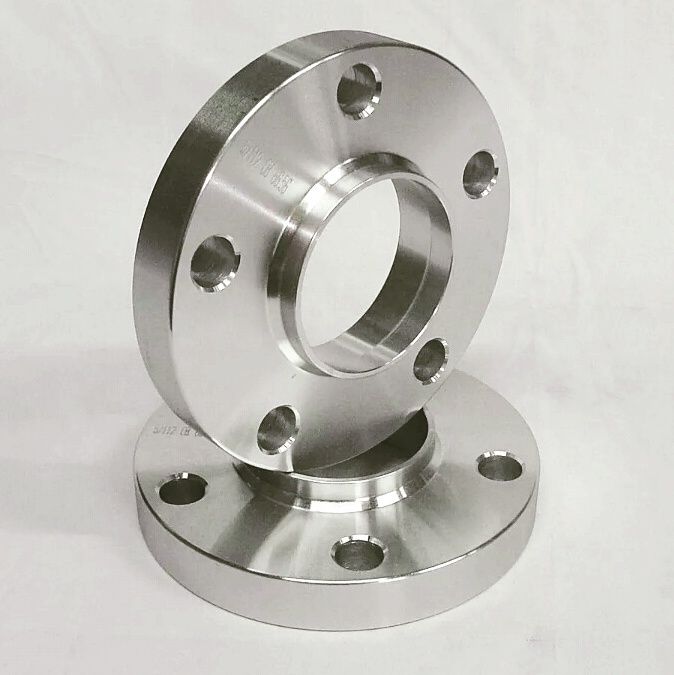 ...And finally got a chance to make some changes to the hinge design, beefed it up a bit and changed placement of some holes... Waiting for some rose joints to turn up so I can try and mock up the assembly. 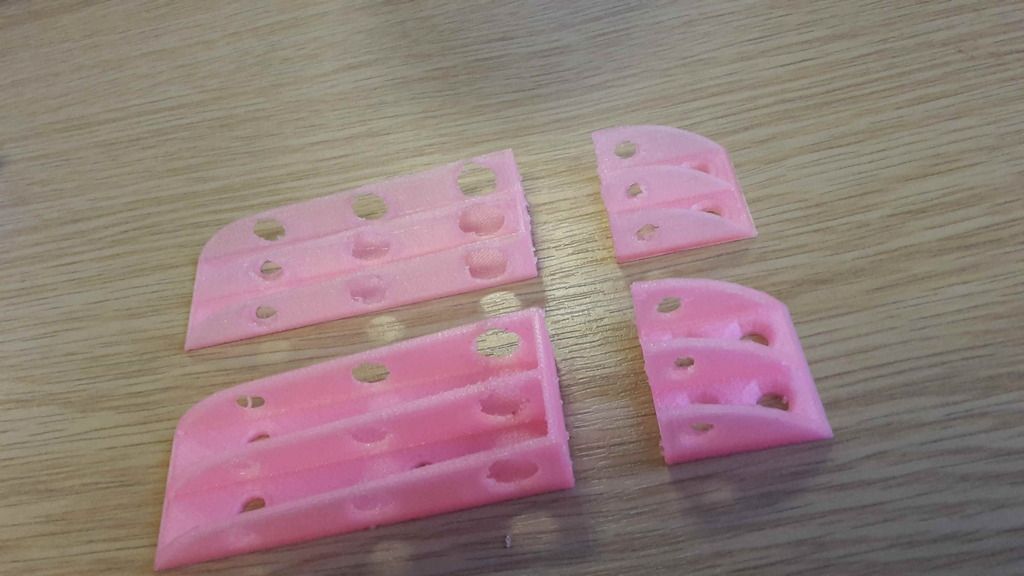 |
| |
|
|
|
|
|
|
|
|
Sorry for the lack of progress on this build in the last week but we took a week off from it to recharge the batteries a little and do a bit on my 67 mustang
|
| |
Build the dream
|
|
|
|
|
Nov 16, 2015 16:30:16 GMT
|
A little trip down to the Insane Creations workshop at the weekend to take some parts down and discuss the next phase. Also managed to get my visor back from the bodyshop (long story) but glad it's back, quick mock up on there. 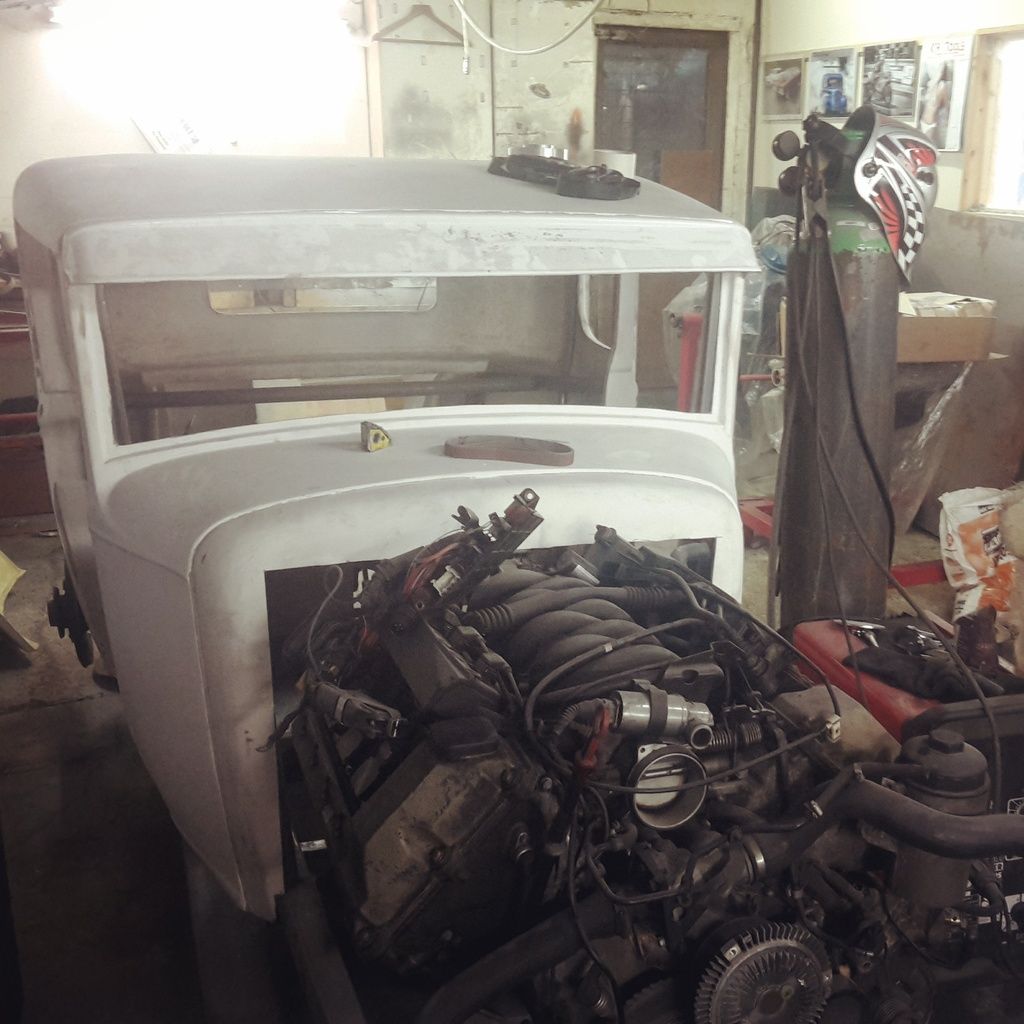 Really like it on there, can't decide if it needs some holes in it or leave as is... Hmmm 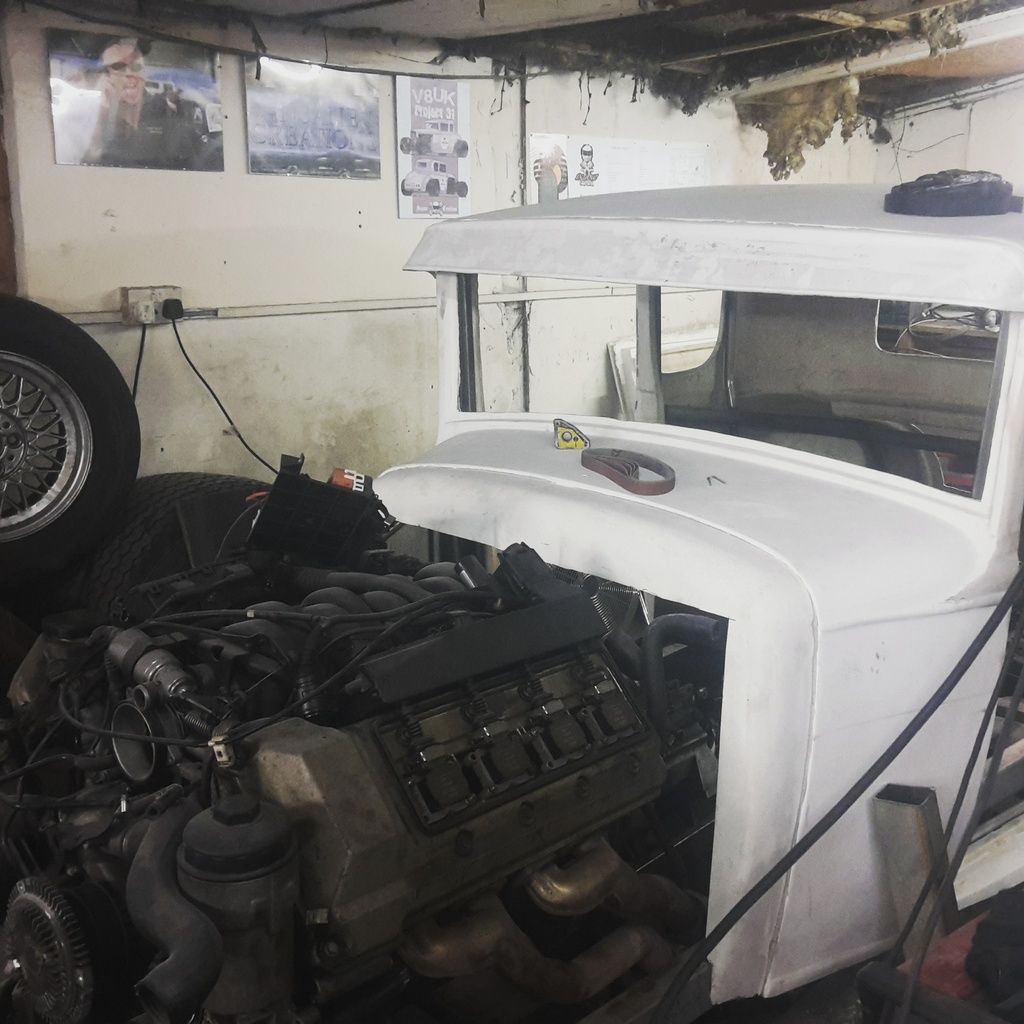 There was also a little mock up with the new pedal box and it all fits in place lovely. When it's wedged in place properly it's a spot on position so really happy with that. Seats and other trinkets on the way, but the next big part of the project is the front end. 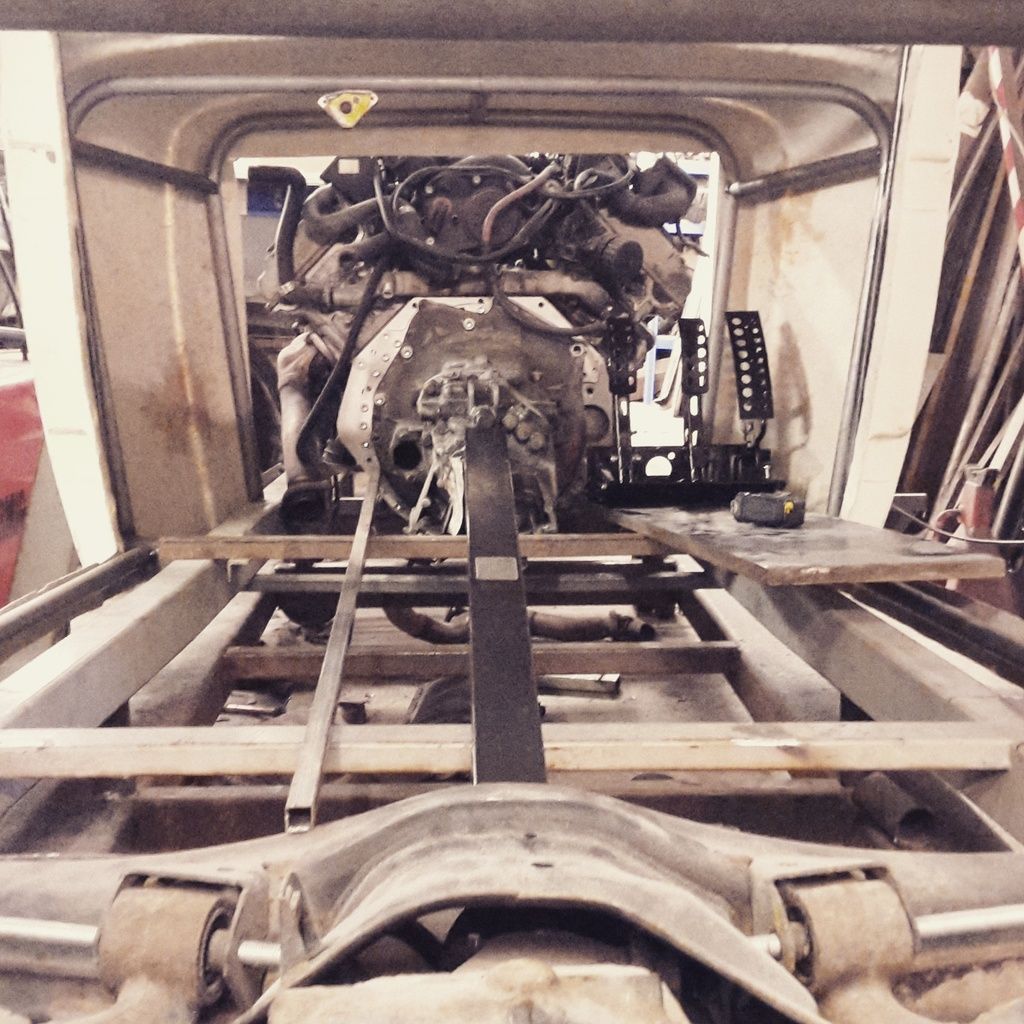 Now in terms of the front end, we did think we were going to have to swap the spindles round to the opposite sides due to the steering arms, but as froggy suggested it throws the Ackerman well out of whack! Not only that but it doesn't seem like a great idea to start messing about and heating up the arms and bending them, so, option 1 was to buy new uprights, option 2 was to stick with the front mounted rack... Having a bit of a play with this, it won't be that bad at all, in fact, the rack hides behind the grille shell! Bang on! So will crack on with the front end now and get this beast sat on all 4 for the first time ever!!! EXCITED! |
| |
|
|
froggy
Posted a lot
Posts: 1,099
|
|
Nov 16, 2015 20:17:29 GMT
|
|
Having the rack positioned so the track rod only becomes straight in relation to the rack at full extension will help with Ackerman as well . Mine is about an inch offset with wheels straight ahead .
|
| |
|
|
|
|
|
|
|
Coolio! Cheers chap. Just a little update, needed to make some room for 'activities' and cut the old chassis brace out for some proper cross members and internal floor support/prop loop and another tie in to the rear subframe. 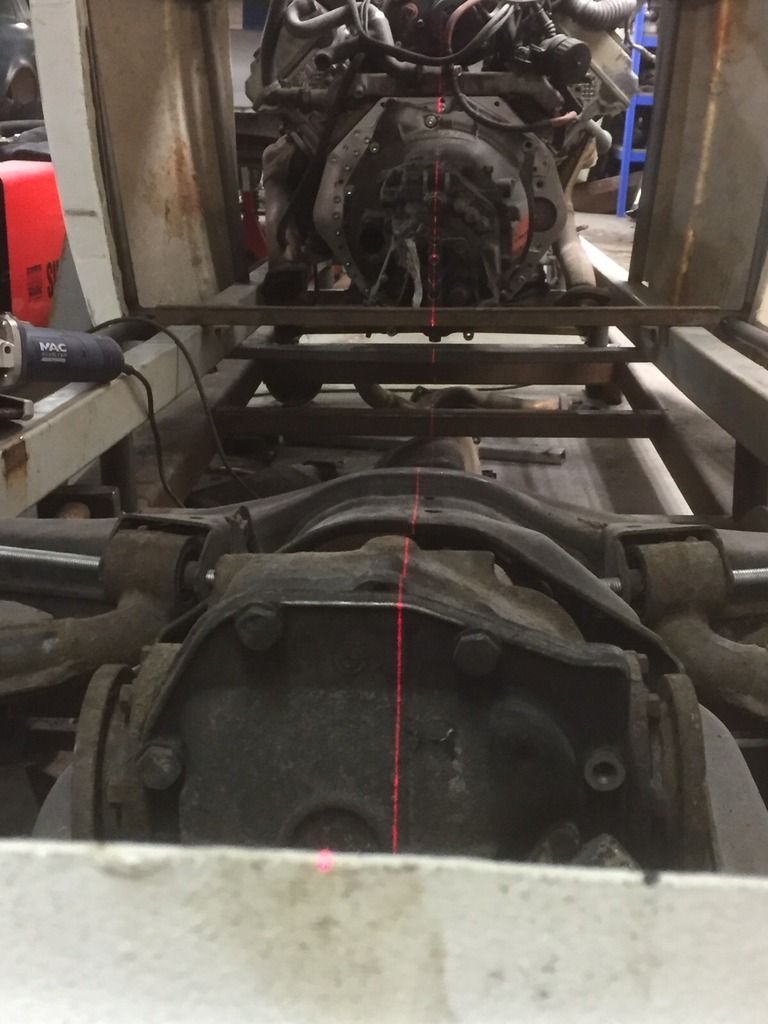 Then chop chop chop 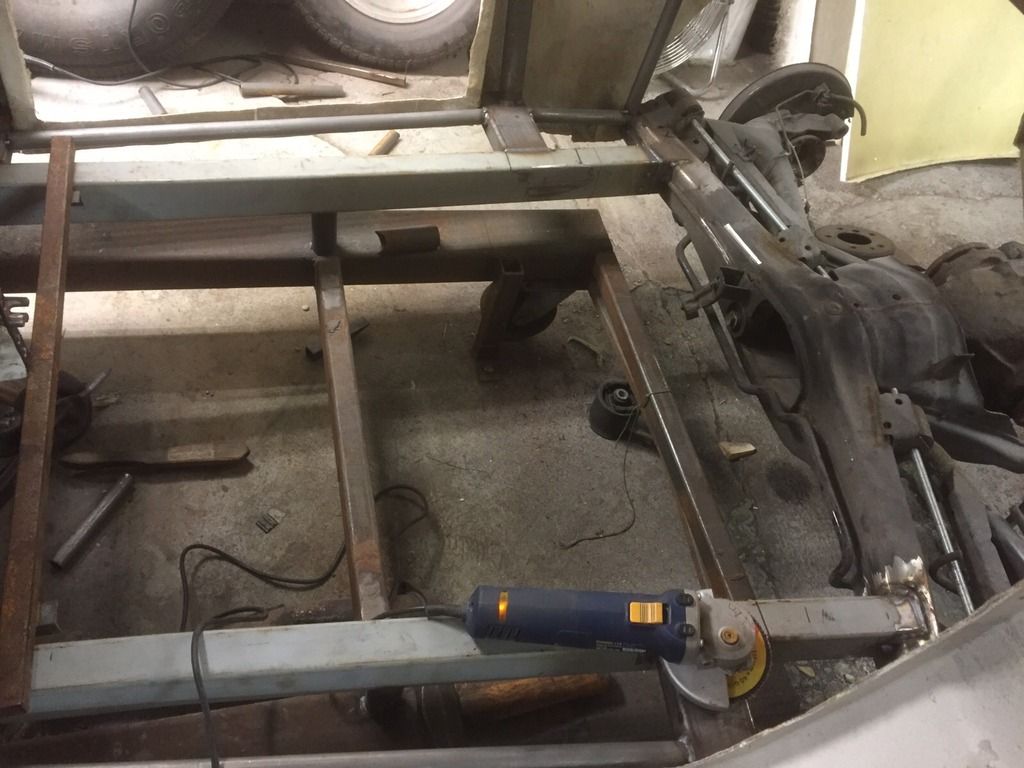 |
| |
|
|
|
|
|
Nov 24, 2015 13:49:58 GMT
|
And after the chopping... Comes the welding! 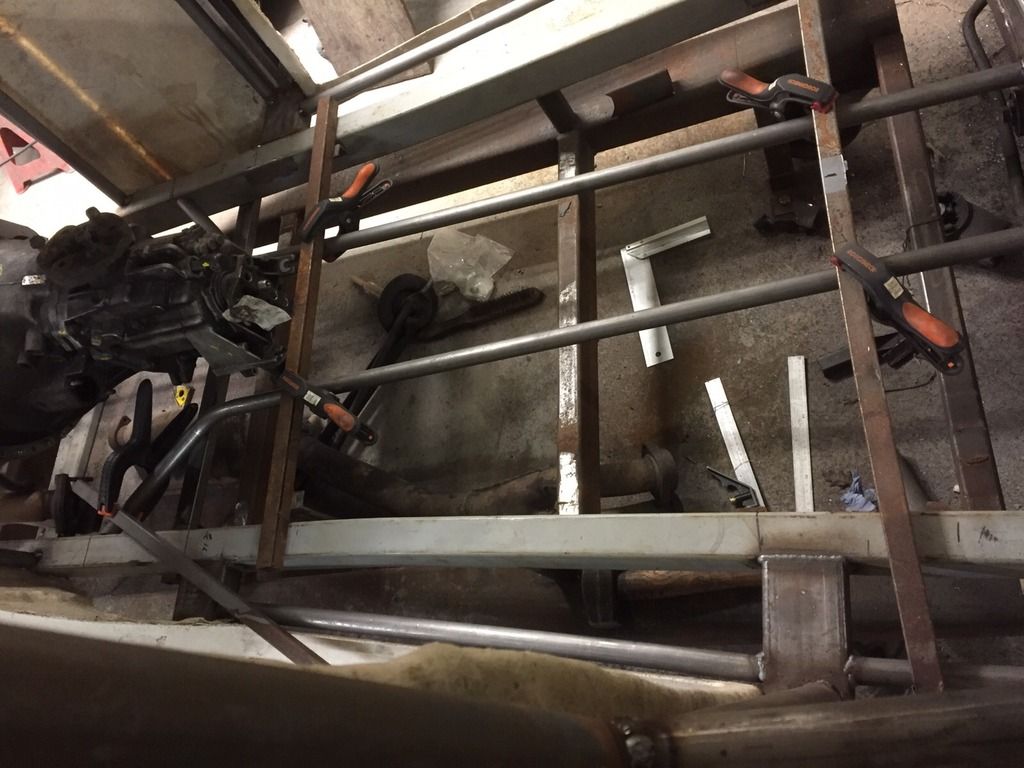 Front end of this will also act as the gearbox support. 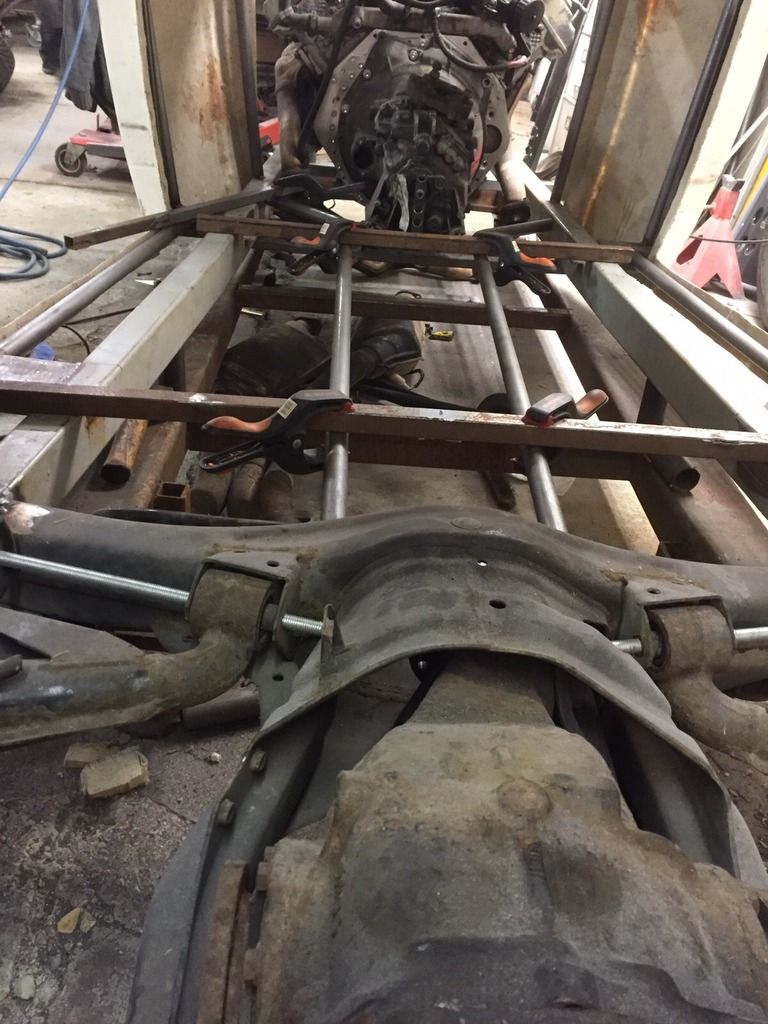 All tied in to the rear subframe.  |
| |
|
|
|
|
|
|
|
So a little bit more welding action, some more supports/cross braces gone in. 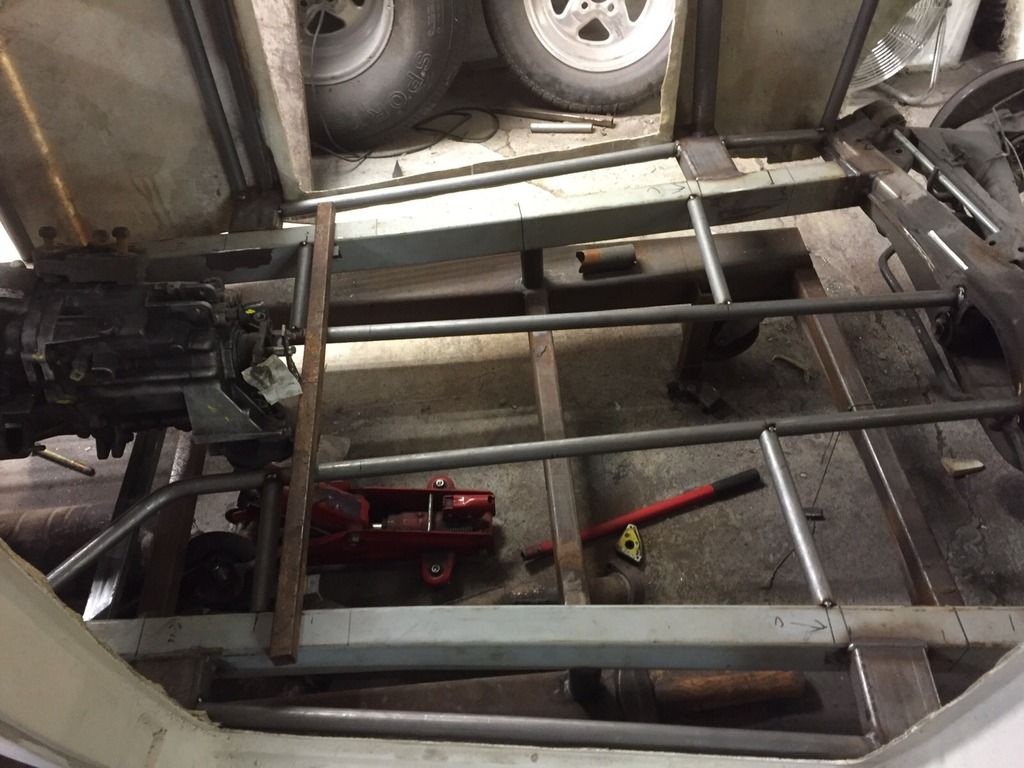 Gearbox mount still to go, but I'm sure you can see where it's heading. 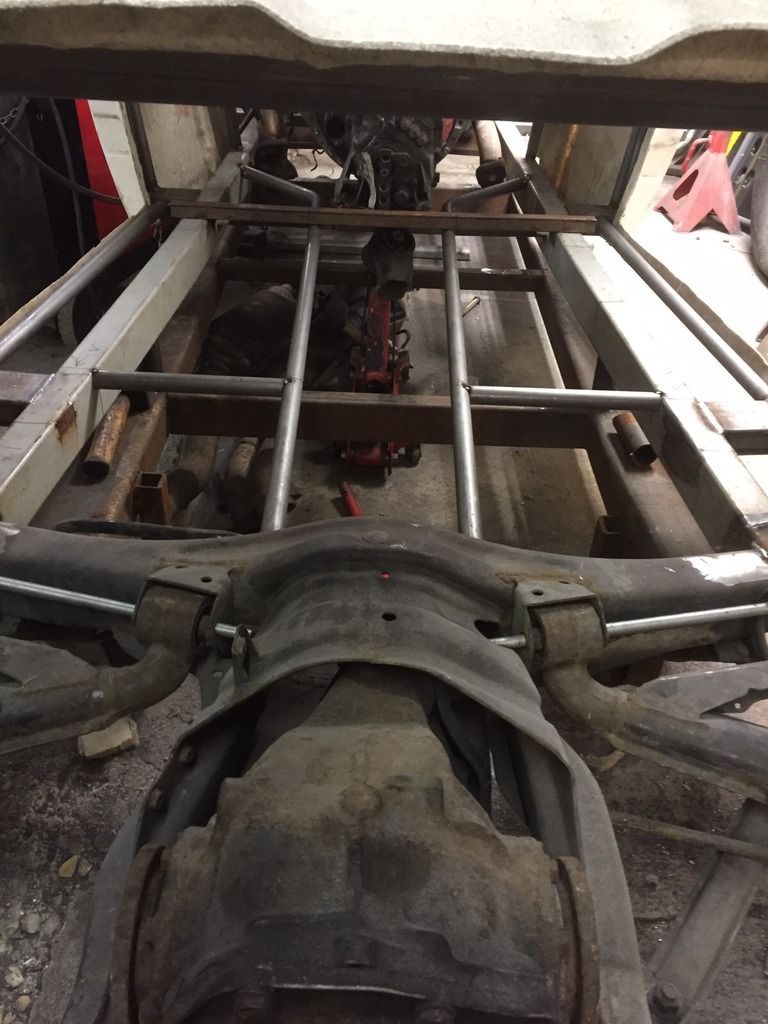 And then a tiny little teaser for what is to come... It's front end time!  This is the most anticipated part of the build and has been the main reason for this car being built the way it is! No pressure then ay? |
| |
|
|
|
|