|
|
|
Mar 25, 2016 12:50:18 GMT
|
 Well, after owning this for about 8 months, I thought I'd better put a thread up for it... The story starts with me looking for a Porsche 944 as a nice retro daily... at the time I had an E46 BMW 330ci which was nice to drive but utterly dull and a W124 Mercedes 300TD which was cool and interesting but otherwise a complete shed. What I needed was a cool interesting car that was also nice to drive and a 944 seemed to fit the bill perfectly, until I saw the Starion for sale, that is... Now I've always loved Starions, but with prices slowly going up I sort of gave up on owning one a while ago and forgot about them. You can imagine how I felt when I saw this one for sale at a price I could almost afford! It had to be done. So i viewed it and arranged a date to collect it, scabbing a lift from my mate who was racing at Oulton park to take me to get the thing. This is what greeted us when we pulled into the yard 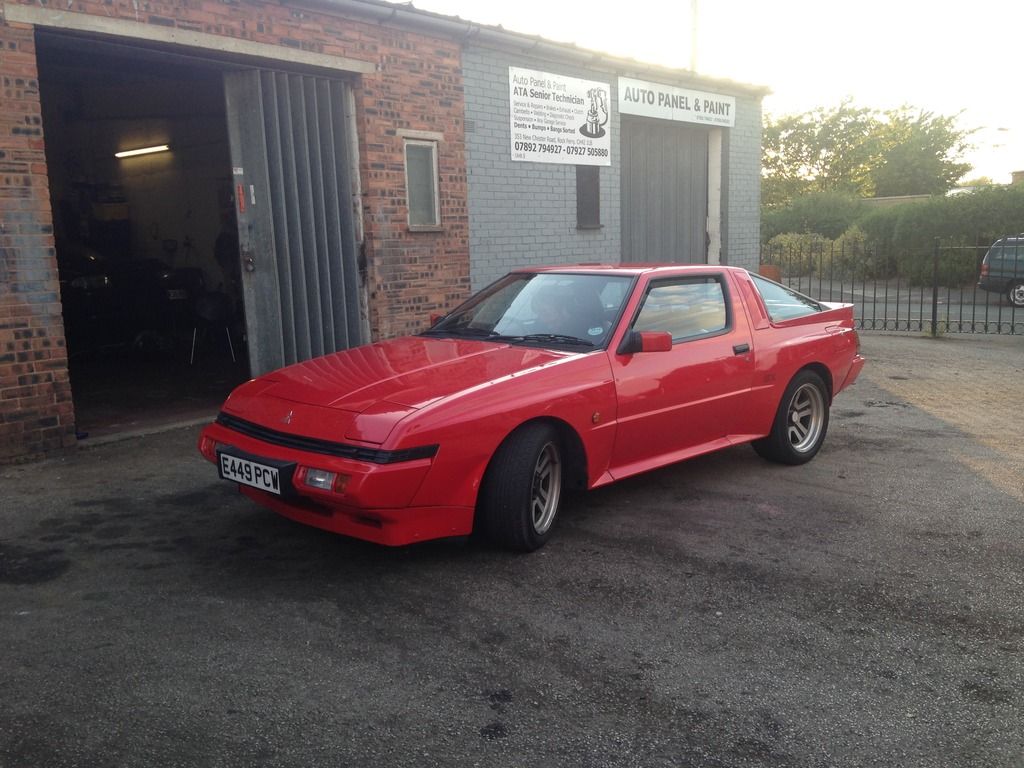 Obligatory first fill shot, excuse the slightly ragged looking mug filling it up, racing invariably involves a lot of drinking... 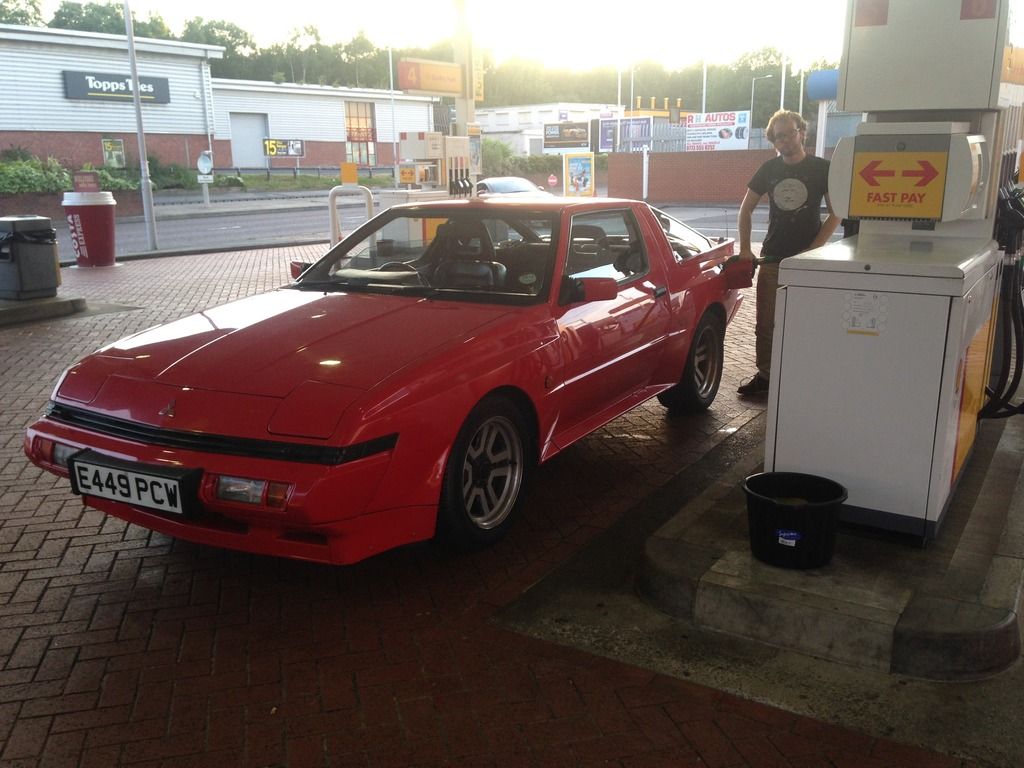 And here I am ready for the maiden voyage back down to essex! 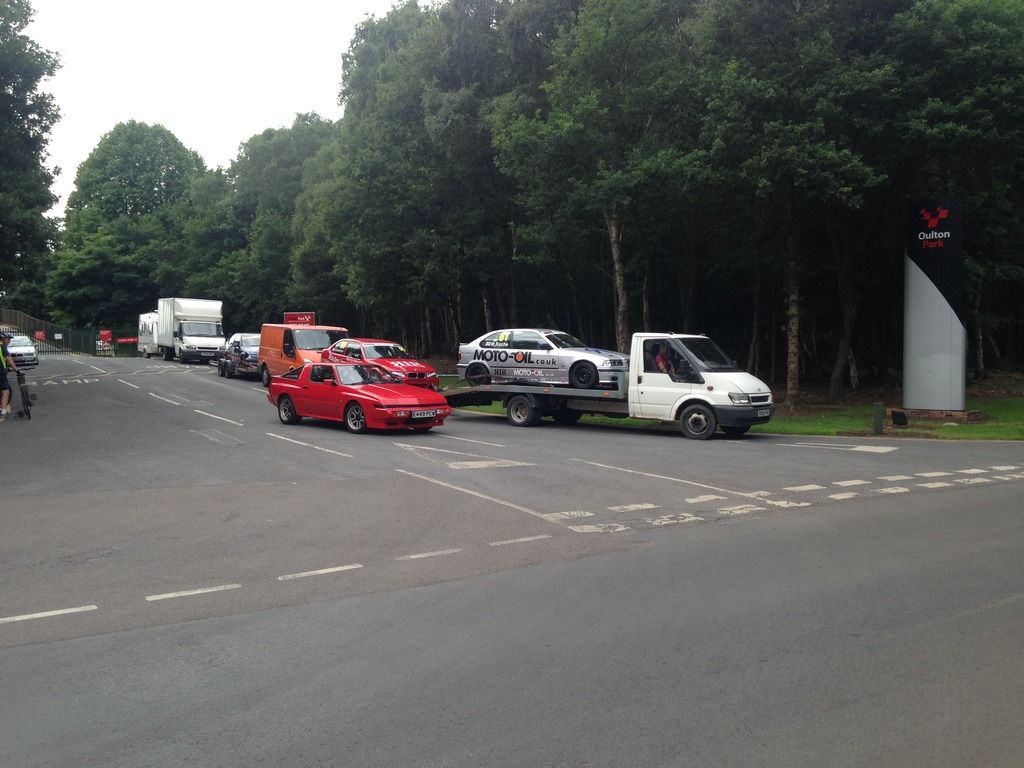 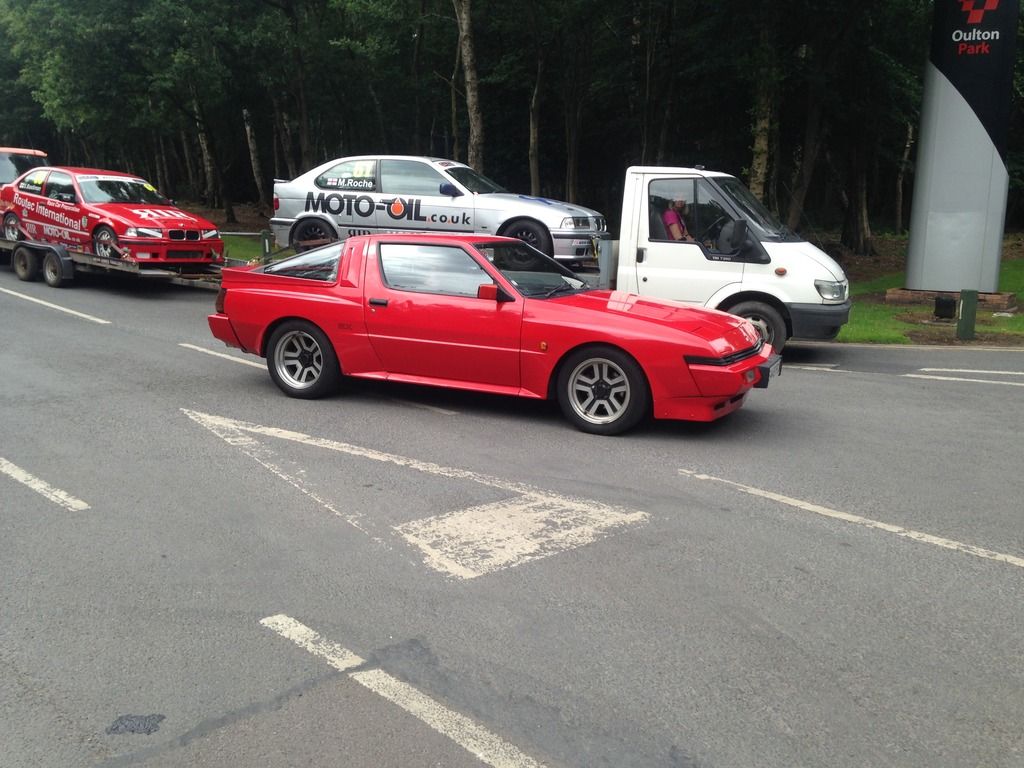 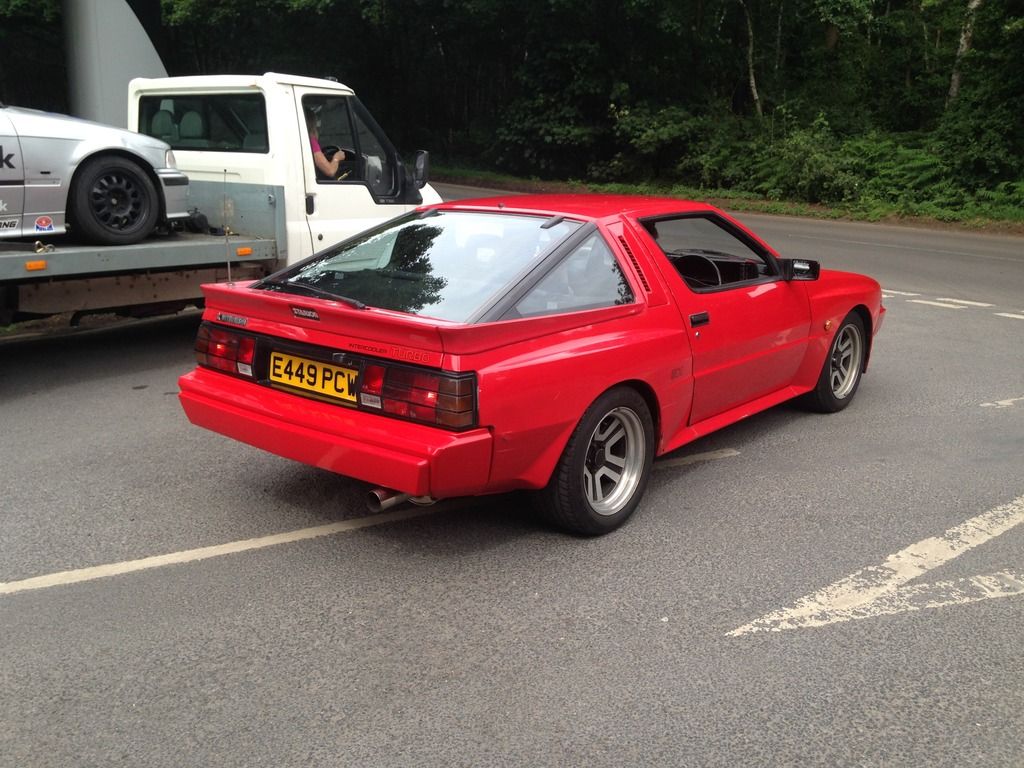 After this not much happened for a few months really... The Starion served good daily duty while I prepared for a 2 week biking holiday to Spain (Naturally the head gasket on my bike went a week before we were due to leave, so I ended up buying a VFR 3 days before we left... all good fun!) Then a couple of weeks after the holiday a terrible terrible thing happened... |
| |
|
|
|
|
|
|
|
Mar 25, 2016 14:47:34 GMT
|
|
What happened??
|
| |
1974 Skoda S100 tarmac car
1998 BMW 750 daily
1994 Mitsubishi Evo2
|
|
ajc91
Part of things
 
Posts: 164 
|
|
Mar 25, 2016 15:13:56 GMT
|
+1! Absolutely love this. Proper retro, reminds me of the sort of plastic transformers (etc.) toys I had as a kid. In a good way that is. Think its the colour  |
| |
|
|
vanpeebles
Part of things
  I am eastbound in pursuit of a white Lamborghini, this is not a recording.
Posts: 981
|
|
Mar 25, 2016 15:18:12 GMT
|
I've always wanted one of these. So sorry you are average player!! You need to make a pair of matching Mitsubishi white overalls and find a co-pilot  |
| |
|
|
gazz81
Part of things
 
Posts: 842 
|
|
Mar 25, 2016 16:24:21 GMT
|
|
|
| |
|
|
|
|
|
Sept 20, 2016 15:23:57 GMT
|
Alright guys, so i may have slacked somewhat on keeping this thread updated, but cool things are happening with this car so we're gonna fly through a couple of key events to bring us up to speed, okay? First off, 'the incident' What actually happened was a Peugeot driver pulled out in front of me on a round about on a rainy monday morning. I'm not exactly a morning person at the best of times, on a monday in the first rain after summer i was barely even human. So Mr dozy peugeot driver pulls out in front of me and I lock up the brakes and go skidding into some armco.  What a curse word. I did manage to miss the Peugeot, which i suppose is good news? Now, i've never crashed a car before, naturally it made sense to wait until I owned an incredibly rare one to give it a try... I tried to make it look a bit more presentable while i scoured the land for Mitsubishi Starion body panels  But then, by some miracle, and just after just 3 days of searching, I found a bloke selling off bits of a Starion he had stripped. And even better it was RED!!! So a road trip oop north the following weekend yielded a new front bumper, front valance and passenger side wing, as well as a few interior bits and bobs that needed tidying. best of all he only wanted £150 for the lot! So I dropped in on a friend in the midlands and we set to work...  With the front end off, it was only really this panel that had taken any damage. After some creative hammering it was looking better  We even found some red paint  Then simply bolt the new bits on    There, looks like a Starion again! and all in the space of a week! I even managed to grab some fancy pics at Silverstone a few weeks later:    I later went back to red light surrounds to get rid of the 'too much eyeliner' look... The only damage left from this ordeal was a couple of buckled wheels, but we'll talk about that next time....  |
| |
|
|
Dr.AK
Part of things
 
Posts: 427
Club RR Member Number: 62
|
|
Sept 20, 2016 15:45:26 GMT
|
|
I love how these things look. Good on you for keeping this one on the road! I saw a similar one at a event here in Germany recently... beautiful cars.
|
| |
|
|
|
|
|
Sept 20, 2016 16:57:45 GMT
|
|
wow, great motor. nice work in getting back on road.
|
| |
|
|
|
|
|
Sept 21, 2016 15:20:22 GMT
|
Good on you for keeping this one on the road! You don't know the half of it yet! Anyway, after the accident and subsequent repairs I didn't really do much to the Starion. It carried on with daily duties while I tried to get on with my other project (A BMW E21 with an E46 M3 lump, I will make a thread for it one day). Then it came time for the MOT... Now, the car isn't in bad shape overall, but there was one spot I knew the MOT man probably wouldn't like too much...  Doesn't look too bad, right?  Sadly, it always looks worse on the inside  It's hard to see there, but there was about 2" of inner sill that had just gone completely! Also the rear quarter panel was basically held together by underseal and paint where it went under to meet sill. It looked okay, but wasn't up to much structurally! Here it is after I'd finished chopping out rust, I admit, it was somewhat worse than expected!    Then followed a couple of days making up small panels and welding them in... I probably did take pictures, but you guys know the score and honestly after the 5th or 6th panel it gets pretty boring... I do have pictures of the outer panel however, as I remember being quite proud of it! (even though it's just a sheet of metal with a couple of bends in it...)   Then welded in (along with a couple of other patches)  Then I think I ground the welds back, slapped some primer on it for the MOT and forgot about it until spring when I finally got round to finishing it off... That took care of the bodywork, but i was still left with 2 badly buckled wheels and 4 tyres that were at least 13 years old (the car was stored for 10 years, remember). Obviously the sane thing to do in a situation like that is buy a set of brand new rotas from Drifworks!  Then shod in some part worns as I was unsure about tyre sizes at this point  and finally on the car! (better pics are coming, promise!)   Now, I'd love to say that will all this effort it flew through the MOT with flying colors, but sadly not. It failed on leaky shocks and front pads, with advisories for brake lines as well... Que another frantic week sourcing some used rear shocks and an incredibly painful weekend changing them. I think I also had to replace the boots on the driveshafts (which is never fun), and both seals on the Diff as well (as they fell apart when the driveshafts came out). This did mean I could replace the diff oil however, as the filler plug was (and still is) completely seized in the housing so the only way to get oil in was through one of the halfshaft holes  After all this it finally did pass the MOT, but with an advisory of 'rear shocks not changed, only cleaned'  |
| |
|
|
Smiler
Posted a lot
   I no longer own anything FWD! Or with less than 6 cylinders, or 2.5ltrs! :)
Posts: 2,492
|
|
Sept 21, 2016 20:17:58 GMT
|
|
Awesome car in the best colour. I looked at one of these about ten years ago. It was top money for one at the time in a garage with a questionable reputation. It didn't look too bad but when I pushed down on the wrap around rear spoiler over the rear quarter there was a horrific crunching noise as the rusted panel underneath crumbled.
|
| |
www.Auto-tat.co.uk'96 Range Rover P38 DSE (daily driver) '71 Reliant Scimitar SE5 GTE 3.0ltr Jag V6 Conversion '79 Reliant Scimitar SE6A 3.0ltr 24valve Omega Conversion '85 Escort Cabrio 2.0 Zetec - Sold '91 BMW 525i - Sold '82 Cortina 2.9i Ghia Cosworth - Sold '72 VW Campervan - Sold '65 LandRover 88" - Sold
|
|
|
|
|
|
|
|
|
|
|
|
always loved these cars...yearned for one for a long time...
They look exactly the same across the pond as they did here in the states. Nice work on the gauges, interior items, body work and repairs...
JP
|
| |
I know its spelled Norman Luxury Yacht, but its pronounced Throat Wobbler Mangrove!
|
|
pneuma
Part of things
 
Posts: 418 
|
|
|
|
|
The wheels are perfect!
|
| |
|
|
|
|
|
Jan 15, 2017 10:04:39 GMT
|
Right, about time i updated this thread as alot has gone on with this car! Around the time of Japfest, the engine started making some nasty knocking noises which i suspected to be the big ends. Combined with the nasty piston slap when cold and the not inconsiderable amount of oil it burned, i decided to take the engine out for a full rebuild. Now, i could have just rebuilt to standard spec, but thats not really my style. Also, when I first started looking at Starions years ago, I found out you can put the twin cam engine from early evos in them, so that had been in the back of my mind ever since owning the car. My car being a 2.0l made it a perfect candidate as I could reuse my block and bottom end, known as a 6 bolt crank (number of flywheel bolts) which is supposedly stronger than the later evo parts. Since this genuinely is my main form of transport, i wanted to keep down time to a minimum. With that in mind, I started collecting bits and doing what i could without the engine removed. The first piece of the puzzle is obviously the twin cam head:  Mine is from an EVO III and is the last of this style 4g63. From the EVO IV onwards the engine swapped sides in the bay and the intake and exhaust swapped sides on the head. Being a later cylinder head it unfortunately doesn't bolt straight onto my block as the bolt holes are too small (the early blocks use M12 head bolts, later ones use M11). The fix for this is to run a 1/2" ream down the bolt holes in the head. Although the head was clean it needed to be stripped down for this anyway.    Good practice to keep everything in its original place:  With the head stripped I could ream the bolt holes out  I also lapped the valves quickly to clean off any carbon deposits. You don't want to go mad with this as you can end up making the seats concave (the grinding paste tends to get stuck in the centre of the seat and grinds this more than the edges) and NEVER use the coarse paste. The one on the left has just been done, the one on the right shows a 'before'.  The lapping also makes it easy to see the condition of the seats, the grey line clearly shows the contact of the valve to the seat. You want this to be about the width of a pencil line, but there should be specs available for your engine - usually about 1.3-1.5mm maximum, with exhaust usually wider than intake (as the exhausts tend to recess more). The valve below is an exhaust valve and was about 1.3mm so all good.  With all that done the head was thoroughly cleaned and new stem seals fitted ready to be assembled again   And here it is with a cam cover and shiny bits  Intake next time I think! |
| |
|
|
|
|
|
Jan 15, 2017 13:17:34 GMT
|
|
Very nice looking starion, I'm a fan of these cars too.
|
| |
|
|
|
|
|
Jan 15, 2017 14:16:44 GMT
|
|
Great work. Never knew that about lapping can turn the profile concave. Good tip.
|
| |
|
|
|
|
|
Feb 16, 2017 15:47:20 GMT
|
So, next little challenge I tackled was the intake manifold. As I’m sure some of you are aware, on a transverse engine the inlet manifold usually points to the rear of the engine. This is fine in a transverse situation as there is lots of room above the gearbox for intake piping. When mounting the same engine longitudinally, as in my case, it just ends up pointed at the firewall. Most people when doing this swap get around this issue by blanking up the original opening, and welding a new flange for a throttle body on the opposite end of the manifold. See below pic as an example.  Although this is perfectly functional, it always ends up looking a bit to modified for my tastes. Also finding an early Evo/Galant 16v intake manifold is not that easy. Later evo manifolds, however, are cheap and plentiful and, crucially, point the other way! As I mentioned earlier, from Evo IV onwards the 4g63 had a major overhaul moving from the passenger side of the engine bay to the drivers side. Early:  Late:  As a result of this, the intake manifold ends up ‘pointing the other way’ as it were. Unfortunately it doesn’t bolt straight up to an early head, as the injector positions also changed. Early style engines have the injectors mounted in the cyl head, on late engines they are mounted in the intake manifold. The EGR port also swaps sides, but EGR won’t be required on this build. Aside from that, the bolt patterns and port sizes are the same, so I just need to weld up the injector holes and chop off some surplus material. Simples! Here is the bit we need to fill  First, pre-heat the manifold to as hot as the oven goes. This help stop the manifold acting as a heatsink for the weld and allows some half-decent penetration.  Then, weld up any unwanted injector holes  Grind smooth and dress with a fine file (ideally you’d face it off on a mill, but I don’t have a mill so this will have to do)  Then after some more trimming and grinding, we have a manifold that bolts up and points the right way!   I also drilled, tapped and plugged the EGR port on the head as this manifold doesn't cover it.  |
| |
|
|
JoshO
Part of things
 
Posts: 337
|
|
Feb 16, 2017 16:37:33 GMT
|
|
Thats awesome work on the manifold man, what welder do you have/use?
|
| |
|
|
|
|
|
Feb 16, 2017 18:13:18 GMT
|
|
Thanks!
It's just a little Clarke 100E. Great for car work as its low power but has 6 power settings.
I'll admit welding that manifold was probably a bit much for it, but I was only filling holes
|
| |
|
|
|
|
|
Feb 16, 2017 20:34:42 GMT
|
|
Following this, nice looking motor and some tidy work into it.
|
| |
1984 GZ10 Soarer
1987 GX71 Limited - sold
1983 Celica Supra
1989 GT4 - sold
1989 Range Rover
|
|
|
|


 It's hard to see there, but there was about 2" of inner sill that had just gone completely! Also the rear quarter panel was basically held together by underseal and paint where it went under to meet sill. It looked okay, but wasn't up to much structurally!


