|
|
|
Aug 17, 2023 11:21:47 GMT
|
I’m on call today. So another couple of hours in the garage before I log on. I removed the pressed steel front cross member years ago and welded in a 40 mm box section. That was fine when I had the cross flow in it, but when I did the engine conversion I had to move the radiator forward the same as the RS2000 had it. To do this I cut a big section out of the box section. This was left rough and open. I don’t think I even painted it. But “while I’m here” I may as-well close it off. I forgot to take a before photo, but first I thought I’d clean it up a bit with the grinder as the cuts were uneven. But I couldn’t find the bit for the grinder that holds the disc on. I looked everywhere, for a long time, but no joy. I found an old one but this wouldn’t hold the disc tight as it was bottoming out. Probably for 3mm cutting discs before the 1mm disc wa invented. Stuck it in the lathe and machined a recess. 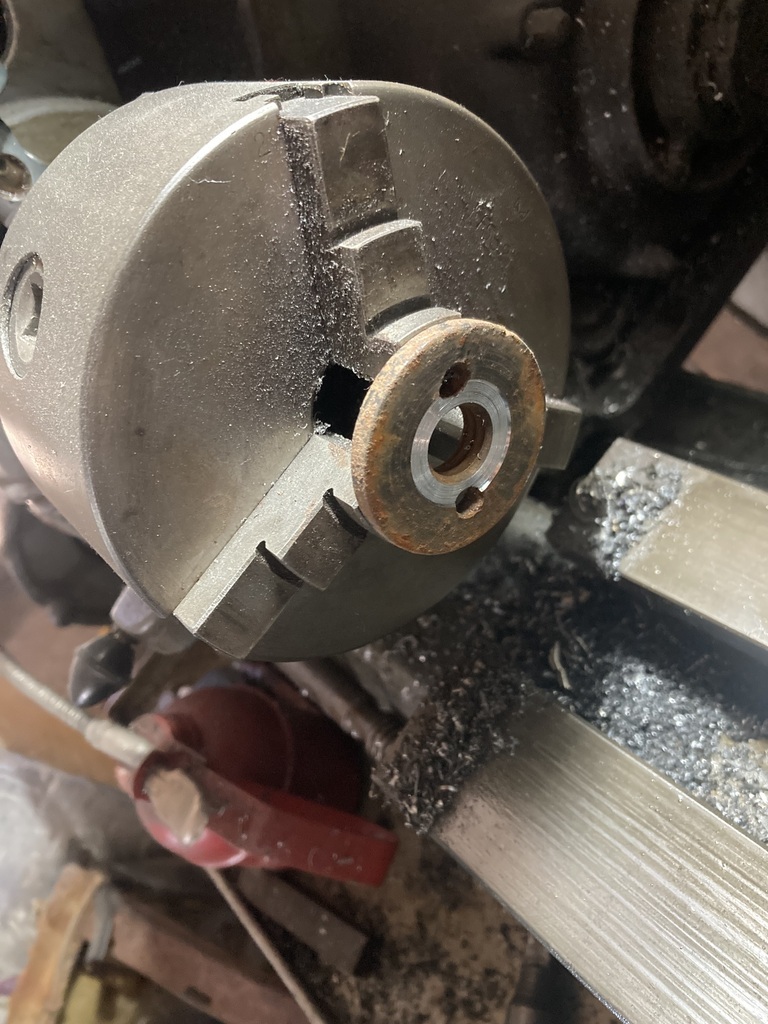 Cut some 3mm plate and tacked it in 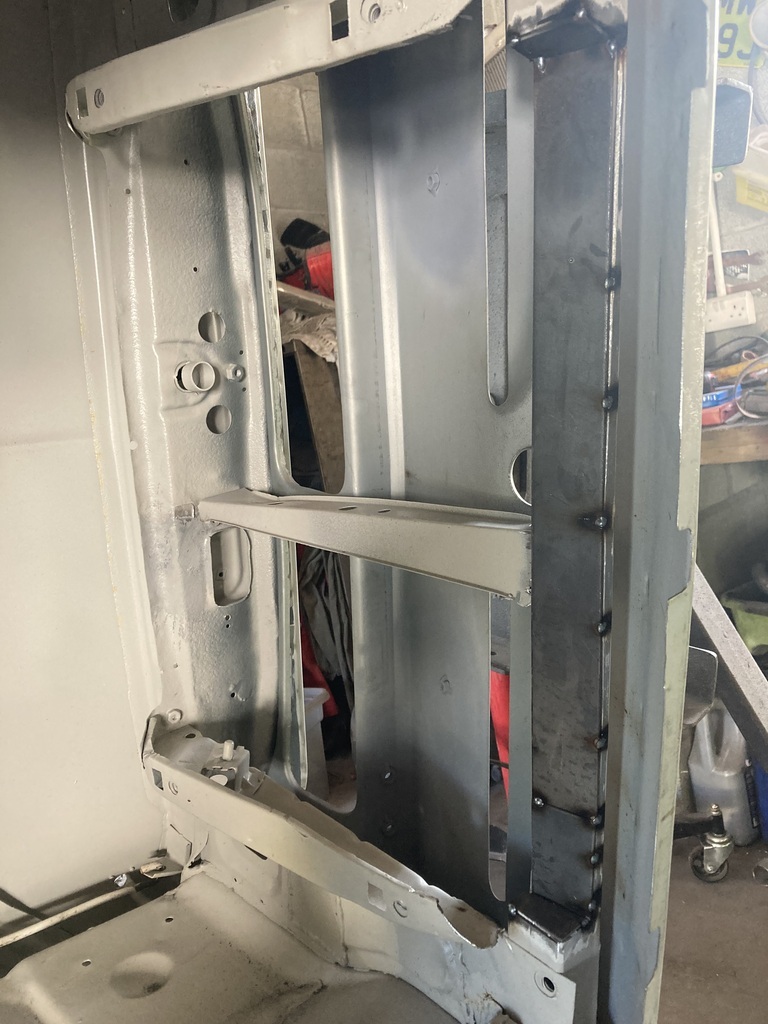 Then cranked up the welder and snobbed it in 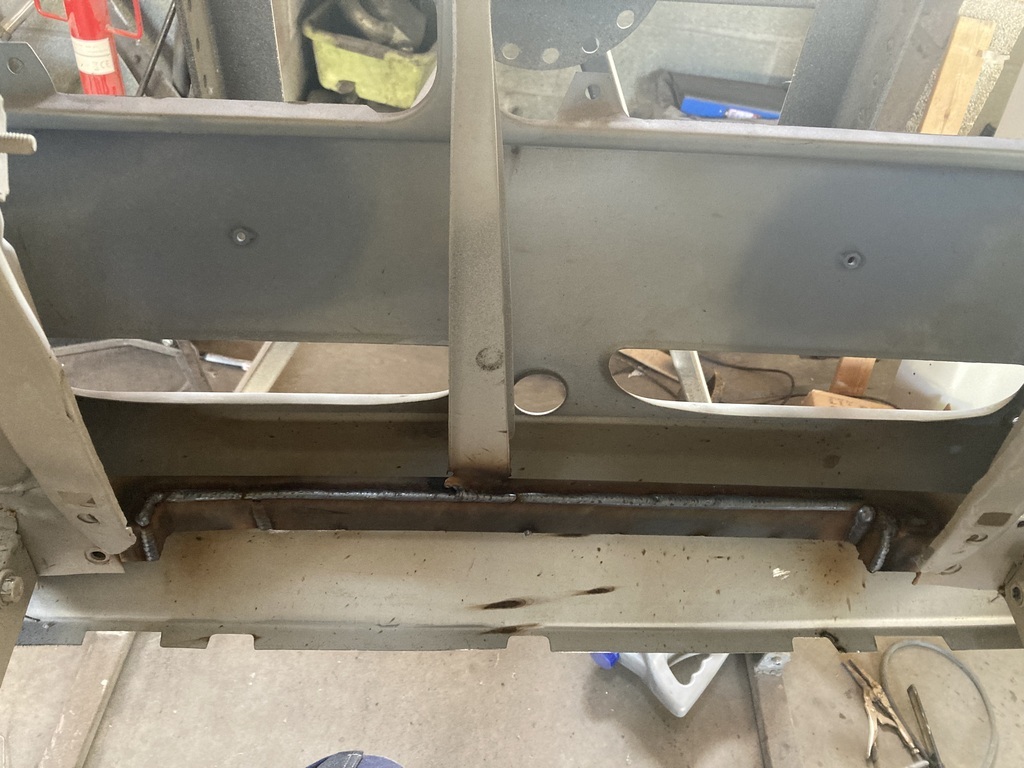 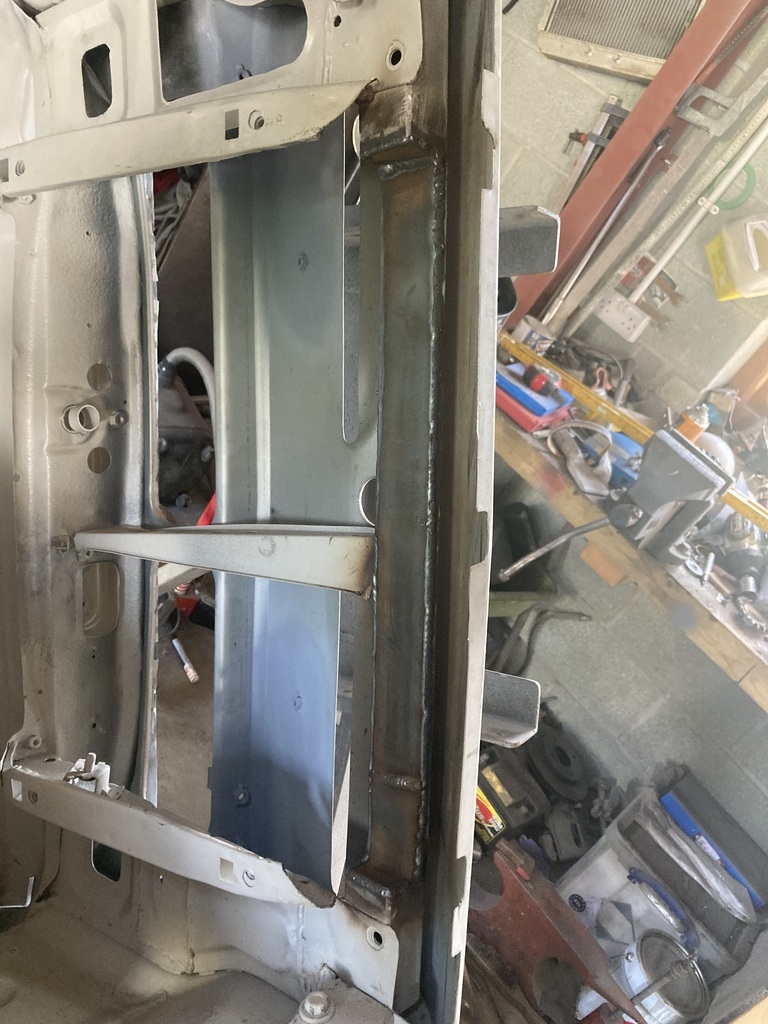 The radiator has 2 bosses in the bottom tank to hold an electric fan - which I don’t use. I didn’t want to cut them off so I drilled 2 holes in the new plates so they wouldn’t fowl. I subsequently drilled them in the wrong place (no photo) and didn’t want to drill any more holes, so I cut the bosses down instead. Best laid plans, and all that. 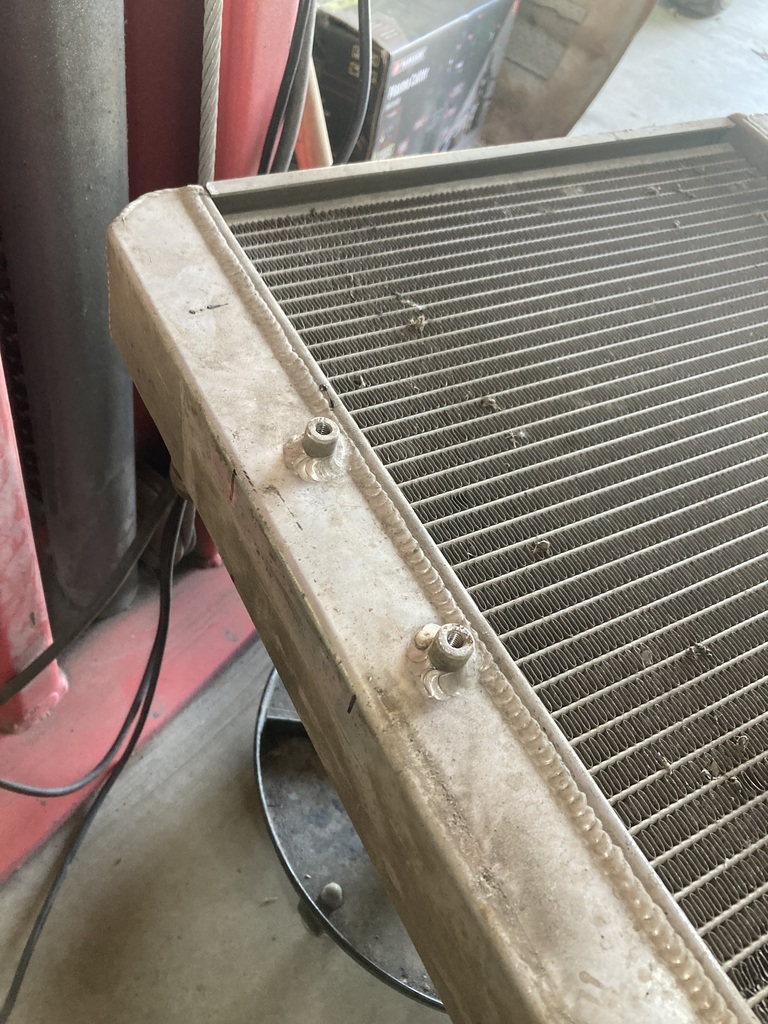 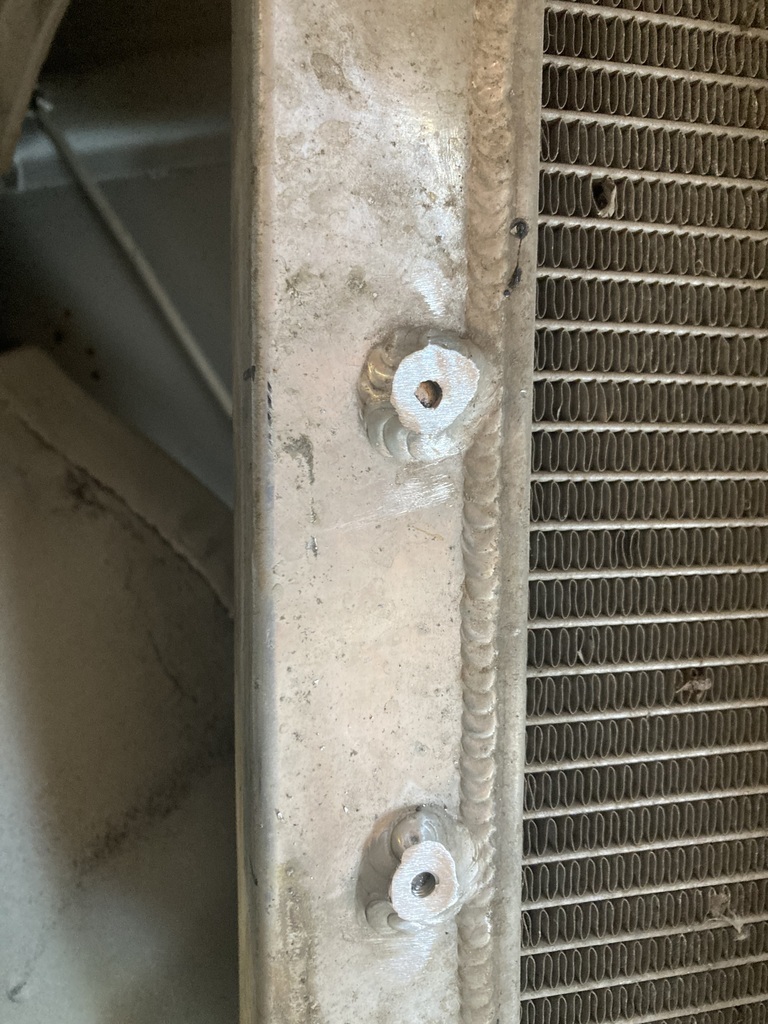 And rad bolted in to check it fits 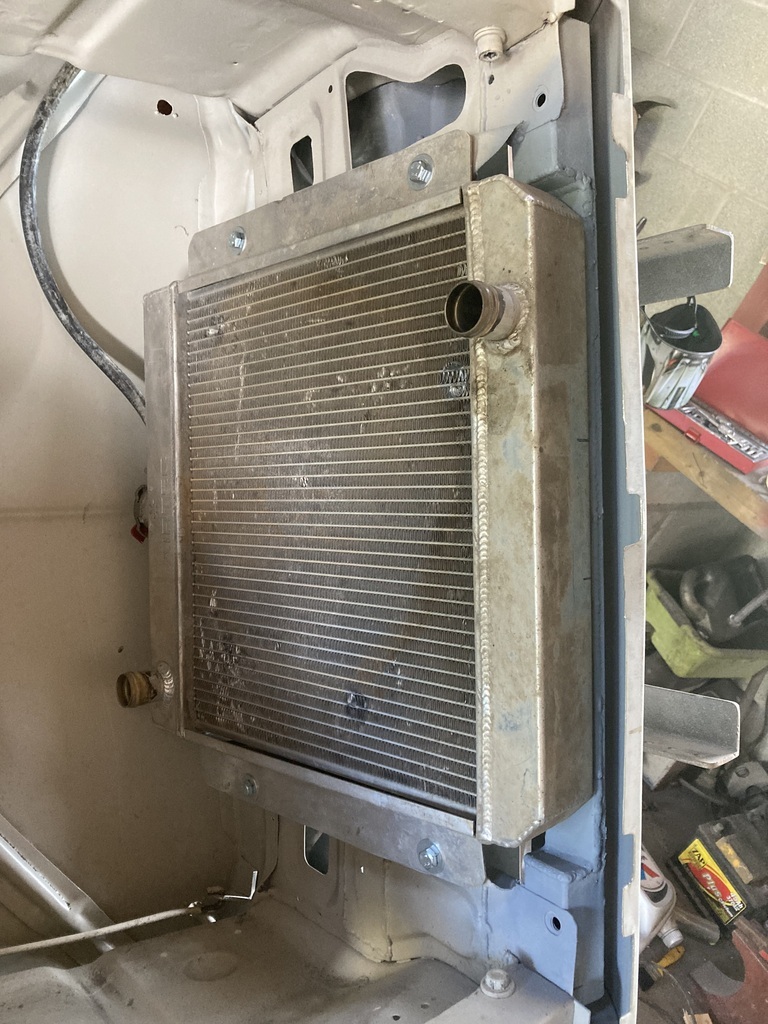 Which it does. I next sorted out the excess of holes where I bollsed up the door mirror fitment 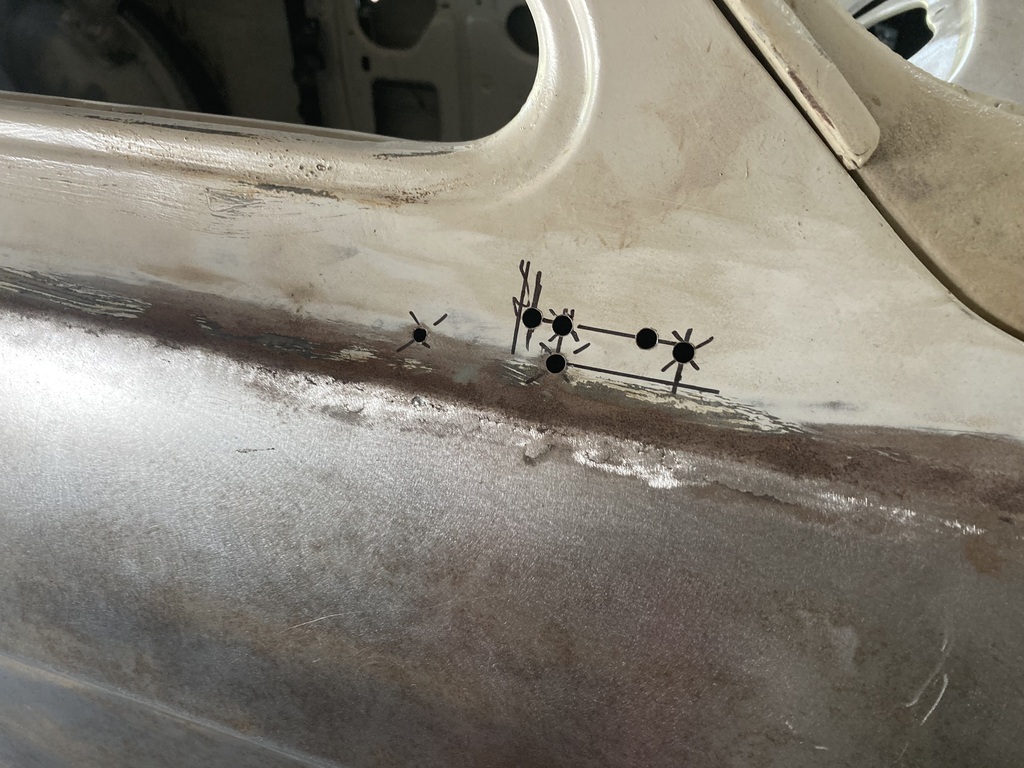 Welded 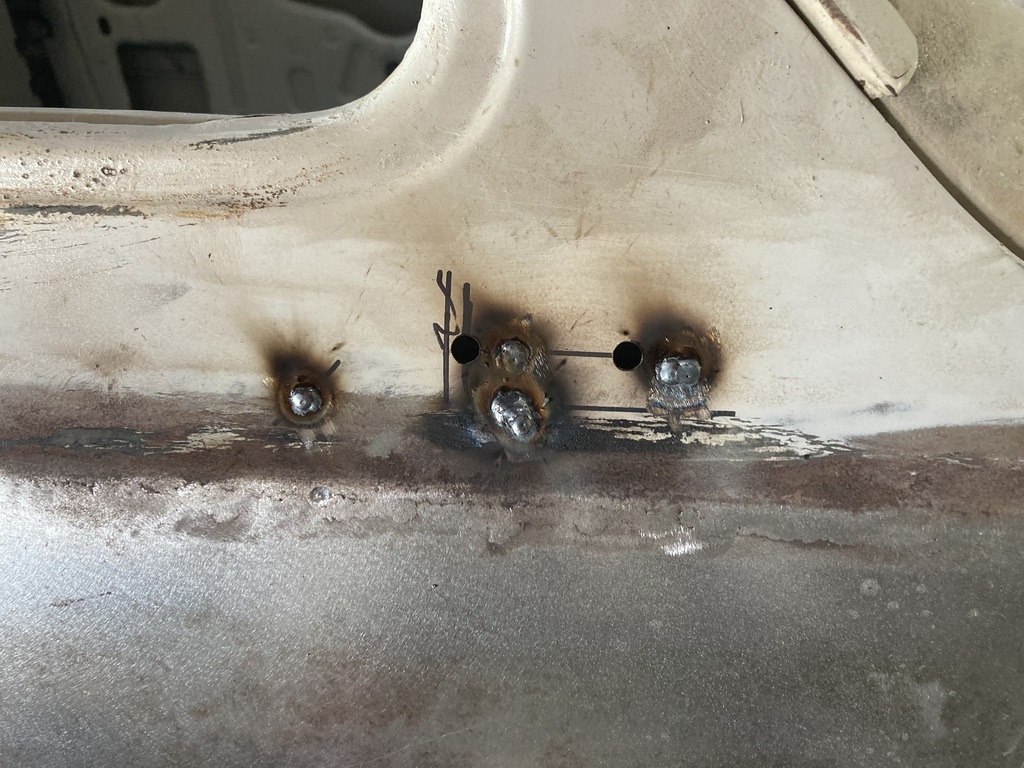 And ground back 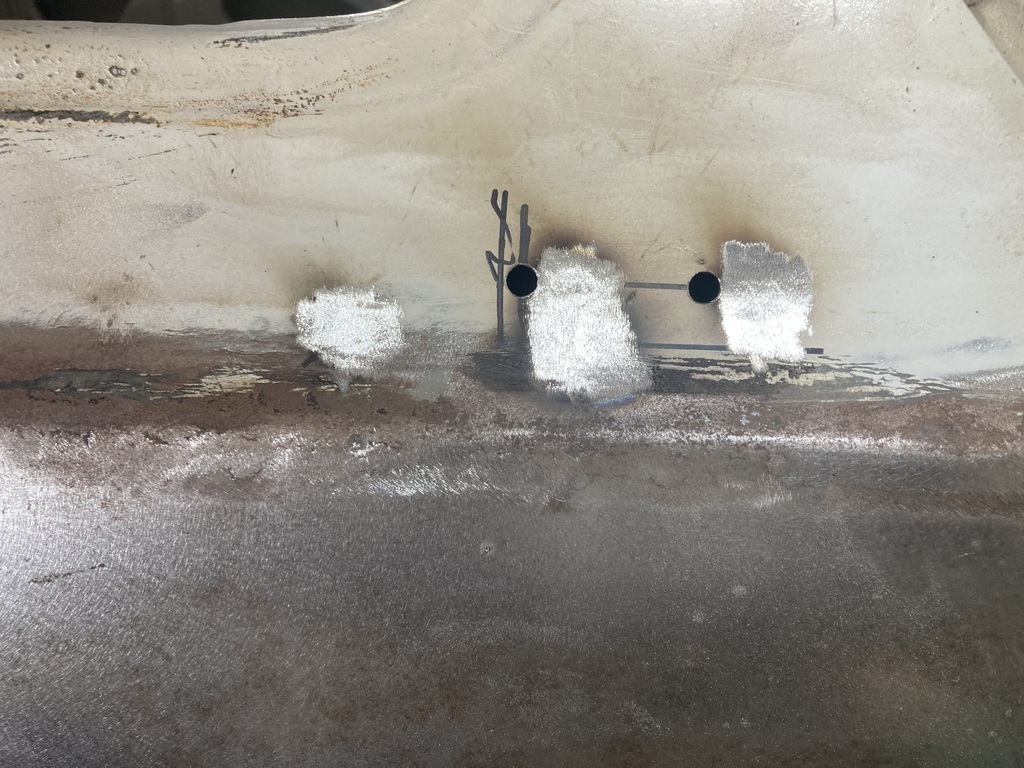 I nearly welded up the wrong holes- stoopid. Next I tackled the gap left between the new front panel and the wings. 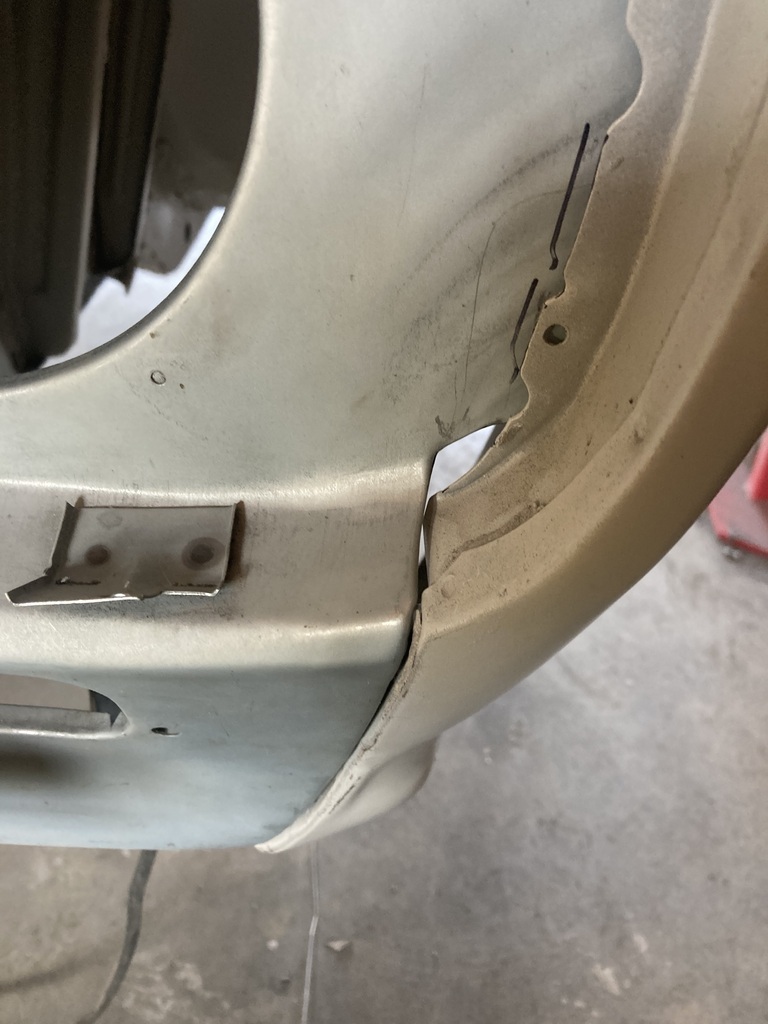 Bit is scrap snobbed on  Trimmed, ground, primered and wing back on 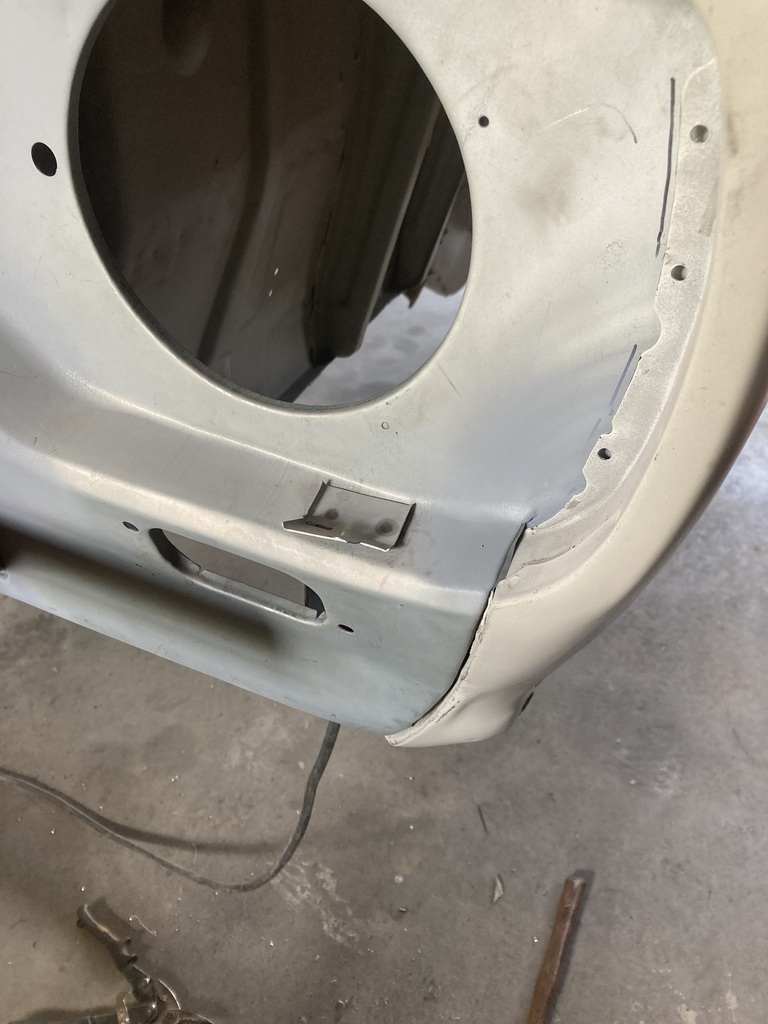 And the other side 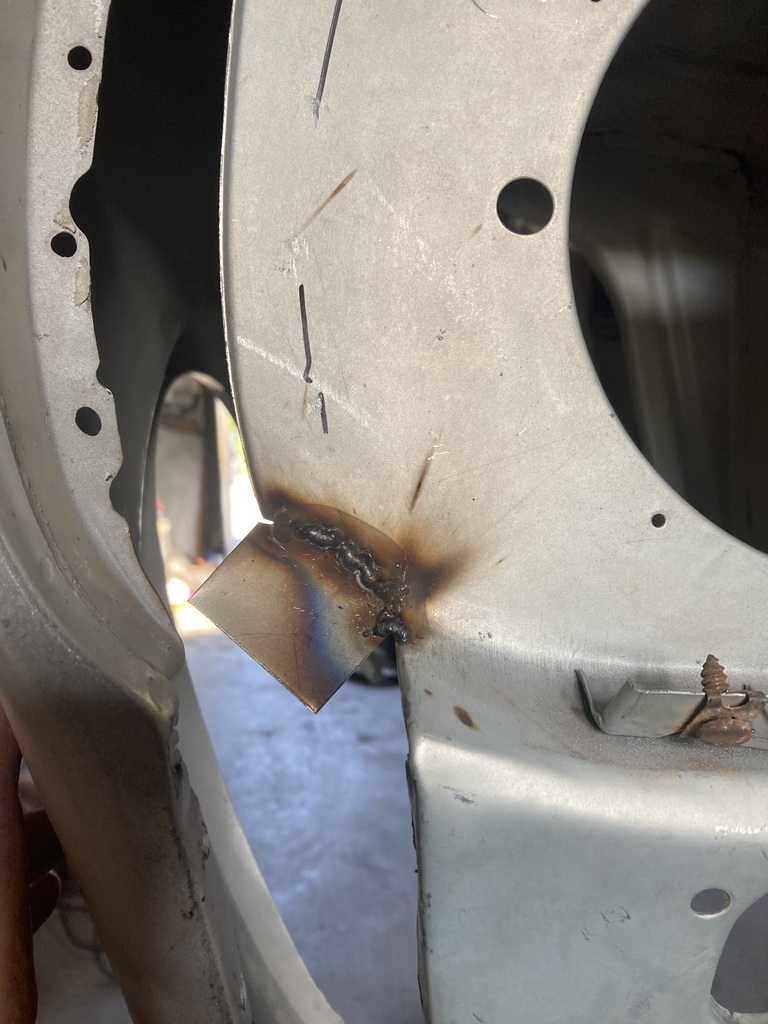 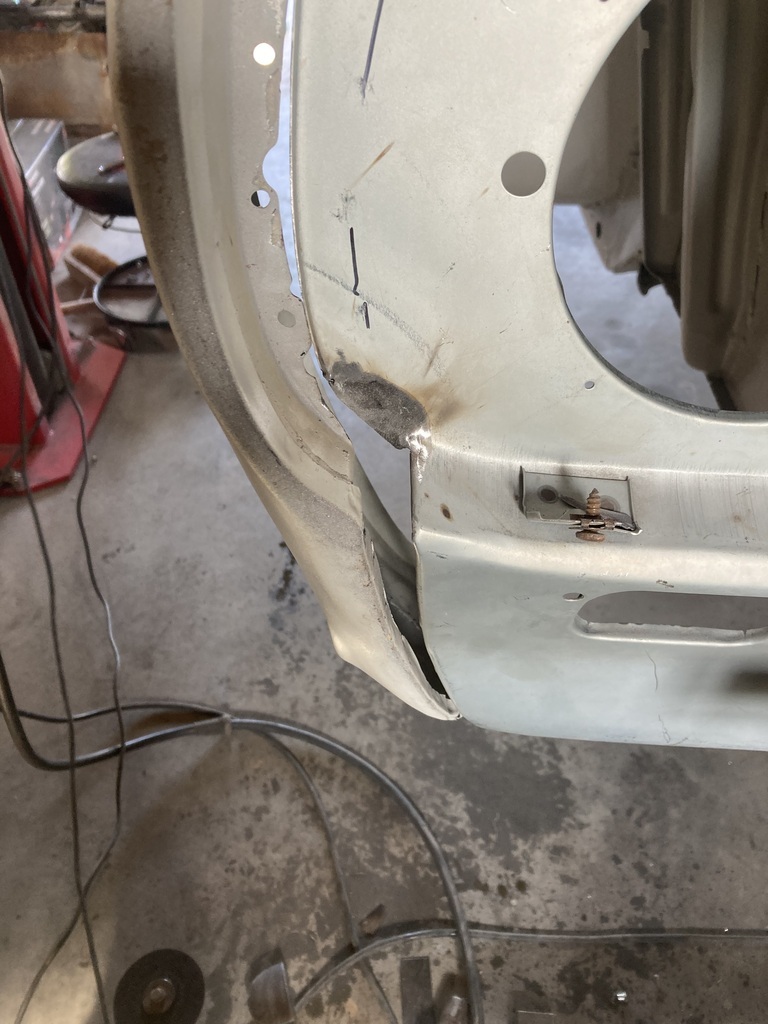 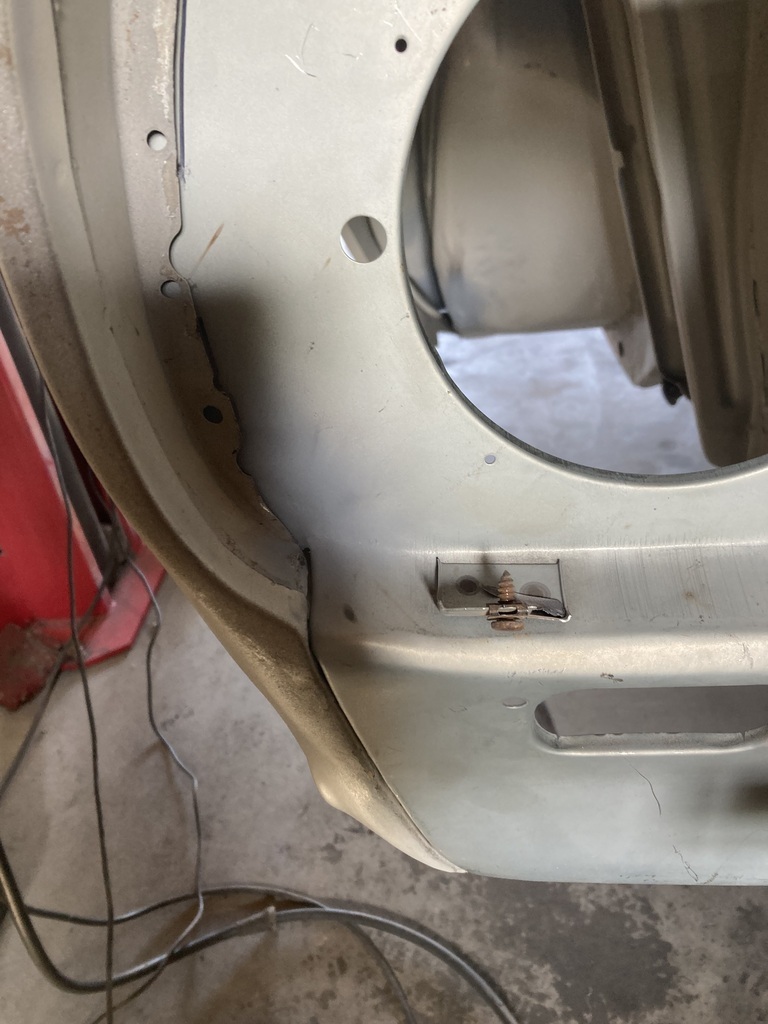 Last of all there was 2 holes in the parcel shelf that once held the parcel shelf trim on. When I removed the trim last year it fell apart so they are now redundant. There here somewhere 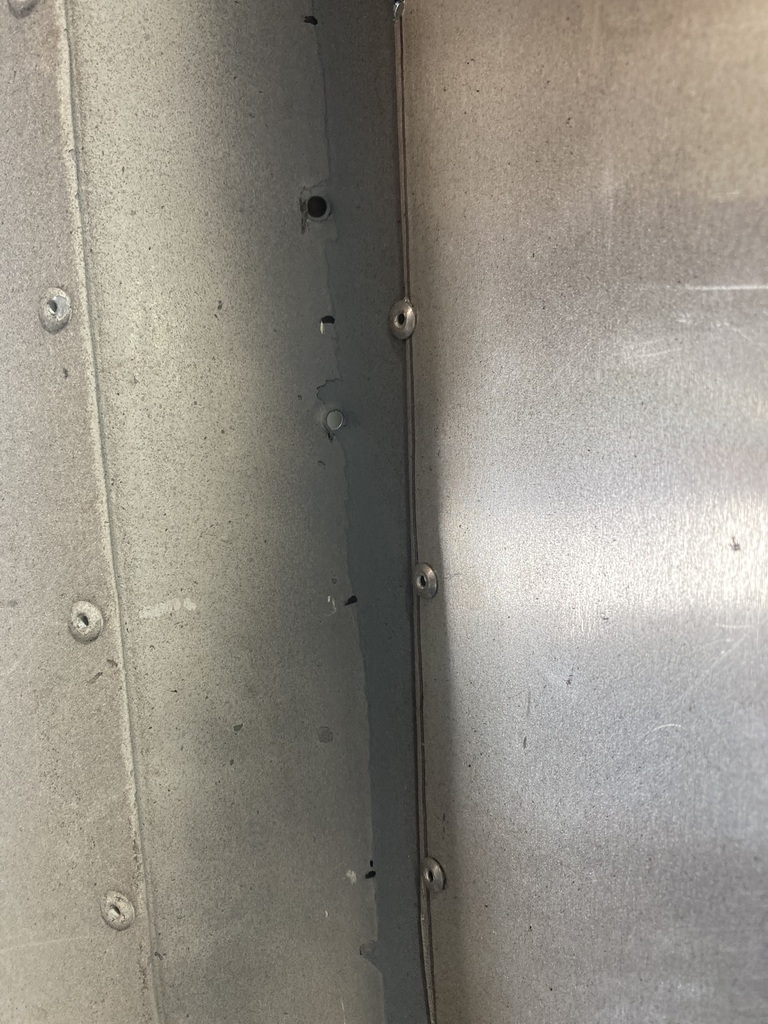 Welded and ground 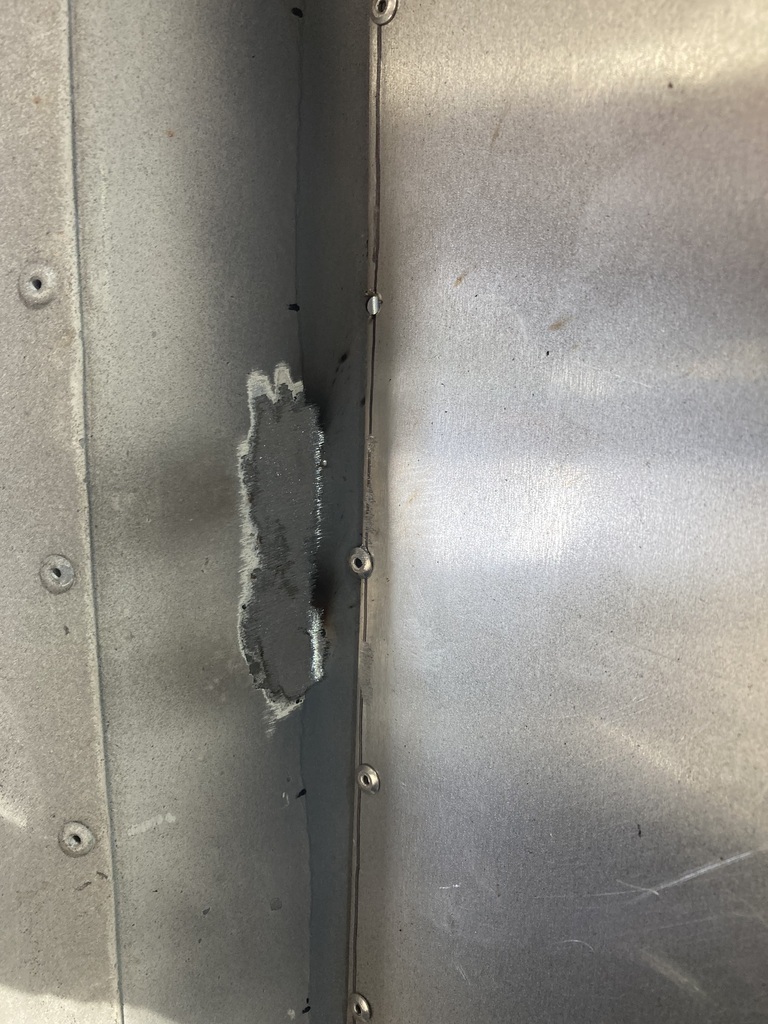 And that was that. I’ve got a few thing’s crossed off the list 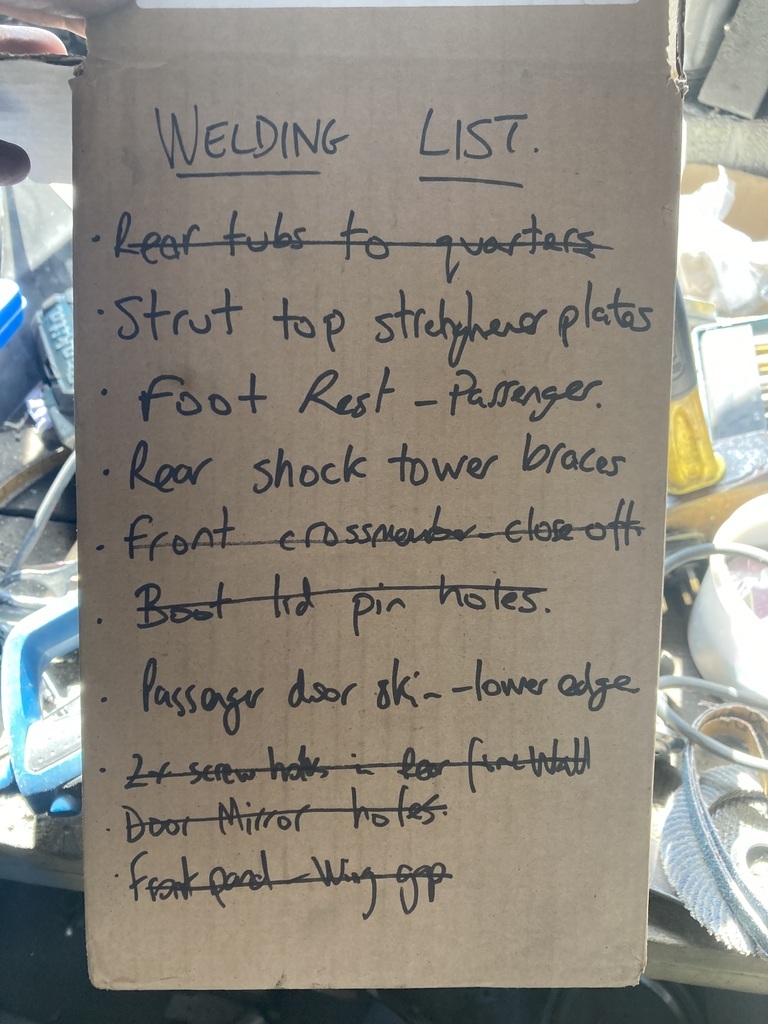 The boot lid pin holes were welded previously but forgot to mark off. Look what I found by the door as I was locking up 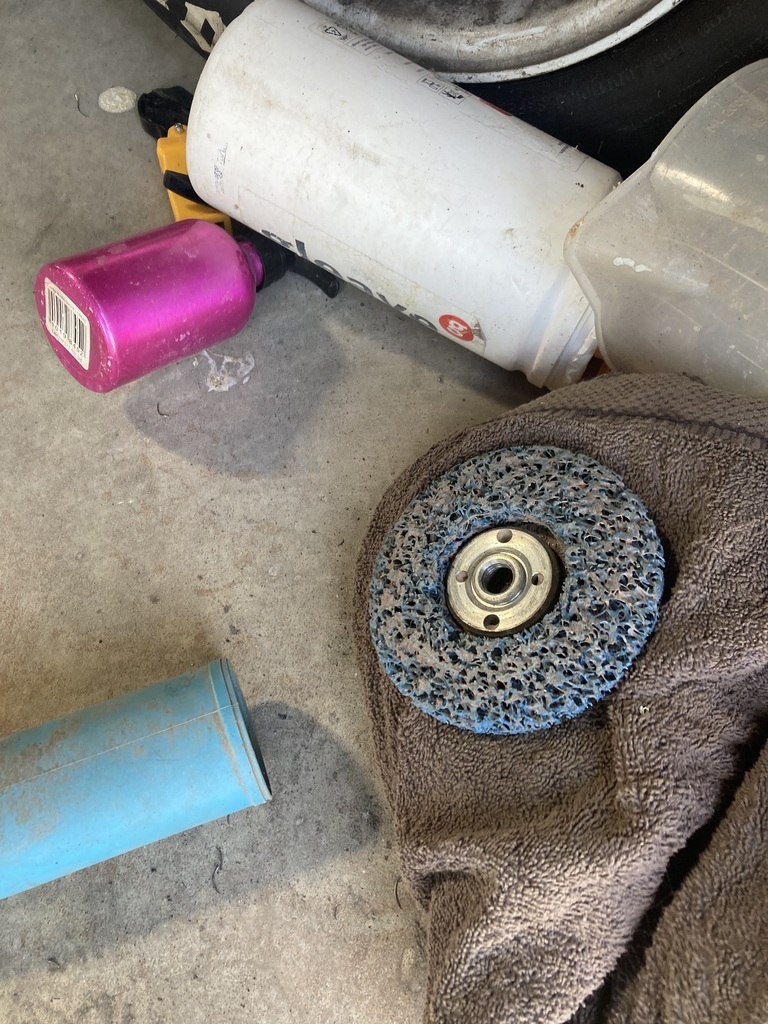 What a bell |
| |
|
|
|
|
|
|
|
Aug 17, 2023 12:45:31 GMT
|
|
The Escort is looking fantastic!
|
| |
1966 Ford Cortina GT
2018 Ford Fiesta ST
Full time engineer, part time waffler on Youtube - see Jim_Builds
|
|
|
|
|
Aug 17, 2023 14:27:46 GMT
|
The Escort is looking fantastic! Cheers Jim |
| |
|
|
ChrisT
Club Retro Rides Member
Posts: 1,670
Club RR Member Number: 225
|
|
|
|
|
Glad it's not just me that spends most of the time in the garage looking for tools I've just put down.
|
| |
|
|
|
|
|
Aug 19, 2023 17:17:49 GMT
|
Glad it's not just me that spends most of the time in the garage looking for tools I've just put down. Being a messy worker doesn’t help my cause |
| |
|
|
|
|
|
Aug 19, 2023 18:49:05 GMT
|
Glad it's not just me that spends most of the time in the garage looking for tools I've just put down. Being a messy worker doesn’t help my cause Yep....I'm in the same club! |
| |
Opel Commodore A Coupe
Opel Rekord C Coupe
Opel Rekord C Saloon
Vauxhall Magnum Coupe V8 (Magnumania)
Mk1 Scirocco GLS
Mk1 Scirocco GLS (early chrome bumper)
Corrado G60
Mk1 Cortina 2 door Pre Airflow
Mk2 Escort 1300 2 Door
VW LT35 Tipper Truck
BMW 320D E91 Tourer
|
|
|
|
|
Aug 23, 2023 12:14:03 GMT
|
Another hour or so in the garage before work Passenger door. The bottom of the skin is a bit frilly after blasting. 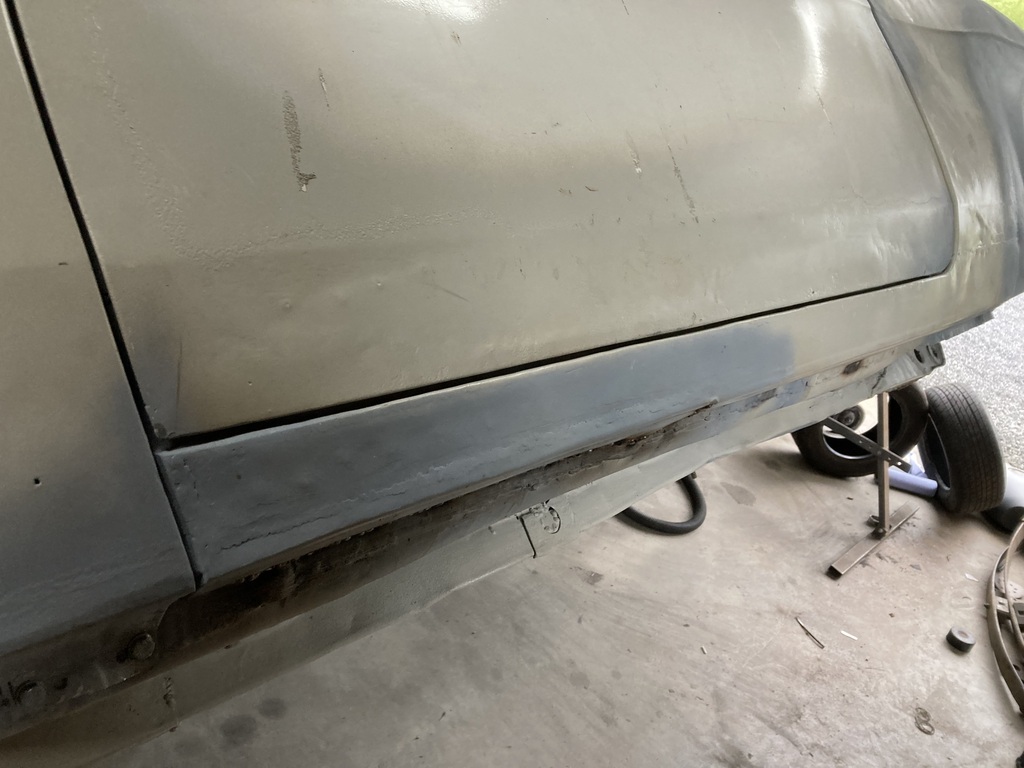 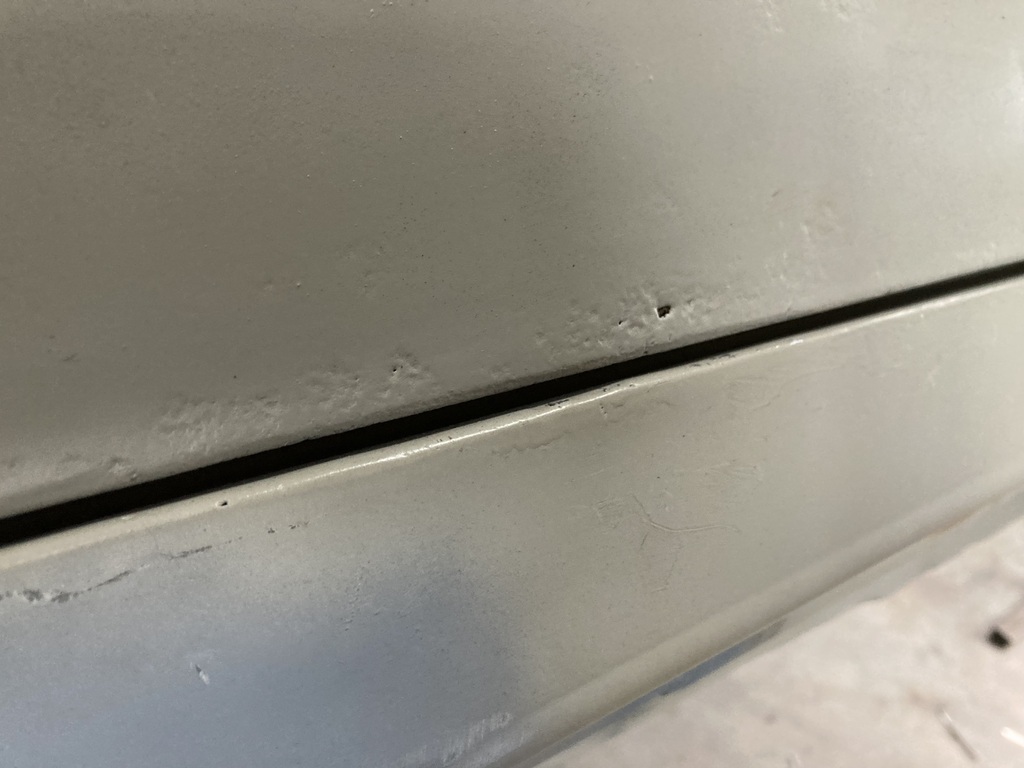 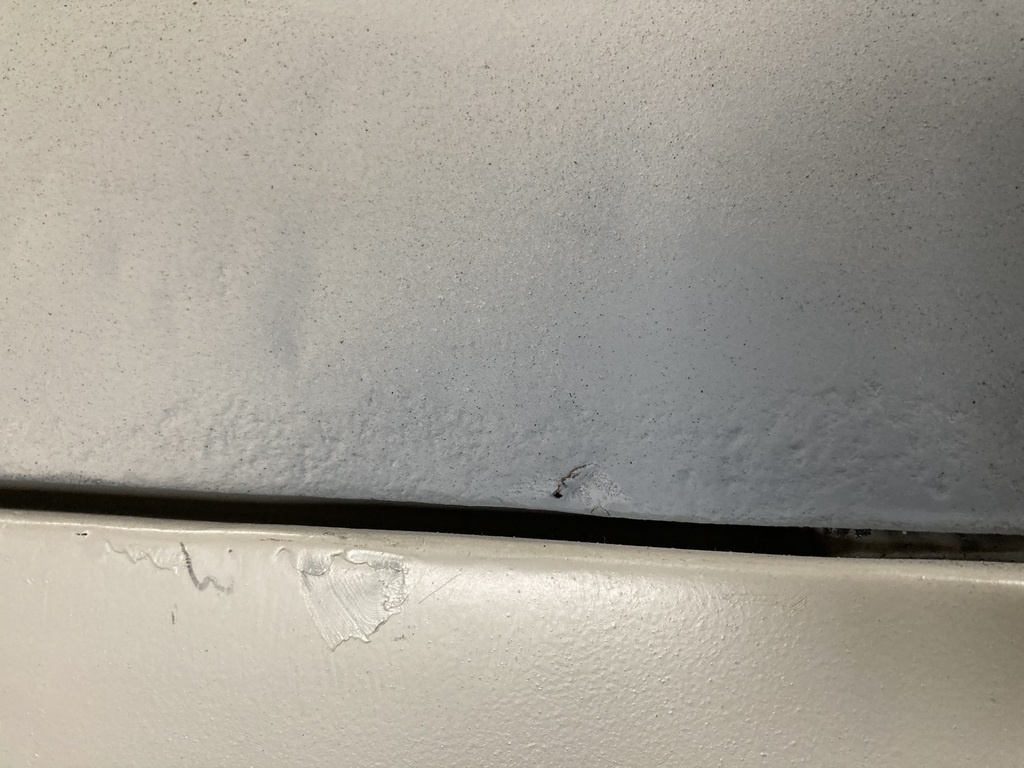 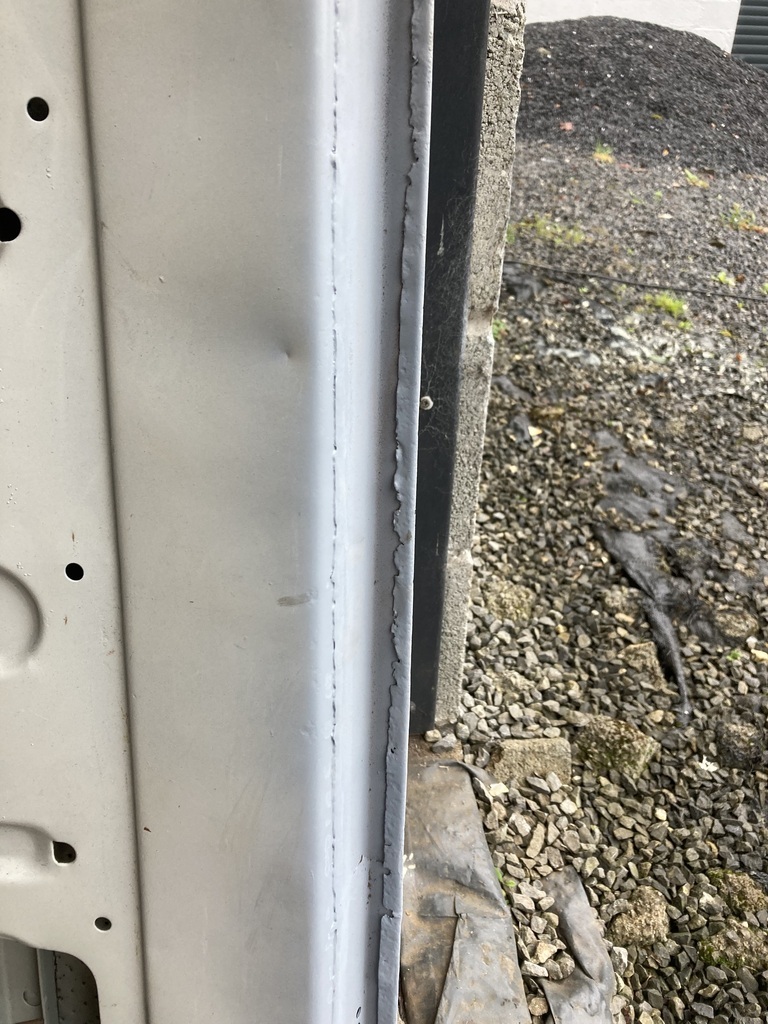 This is more than adequate for a rally car as it’s probably going to be smashed before it rots any further, but “while I’m here”😩. So I bought a sheet of steel and had a 2” strip cut from it so I could make a new door bottom. The supplier was giving 2 free cuts with the steel. Great. The problem was that I’d ordered a 1m long sheet of steel and not 1.2m like I needed. What a bell. I then had to cut another 2” strip with the grinder. I took these strips over my brother’s garage to use my folder. This is only 600mm long so this is the length I cut the 2 strips. I folded the the strips so they had the returns. All this was done earlier in the week Back to today. I have a strip for the front part and a strip for the back. 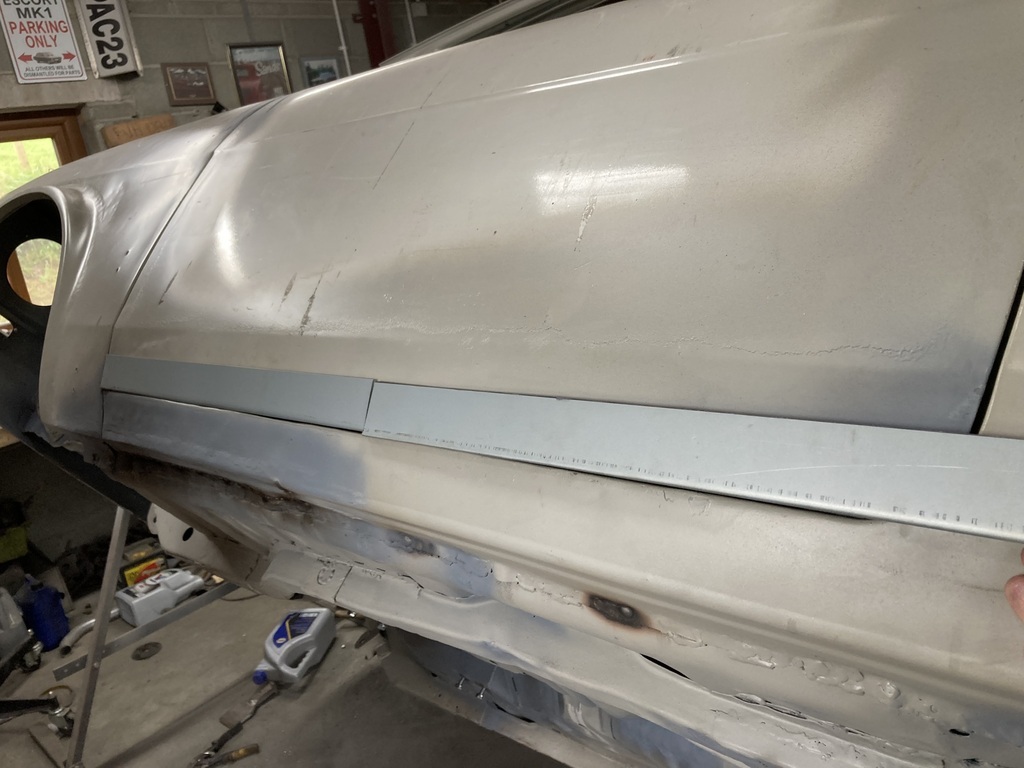 But the rear of the door is rounded. I made a template of it and transferred it to a piece of 8 mm steel 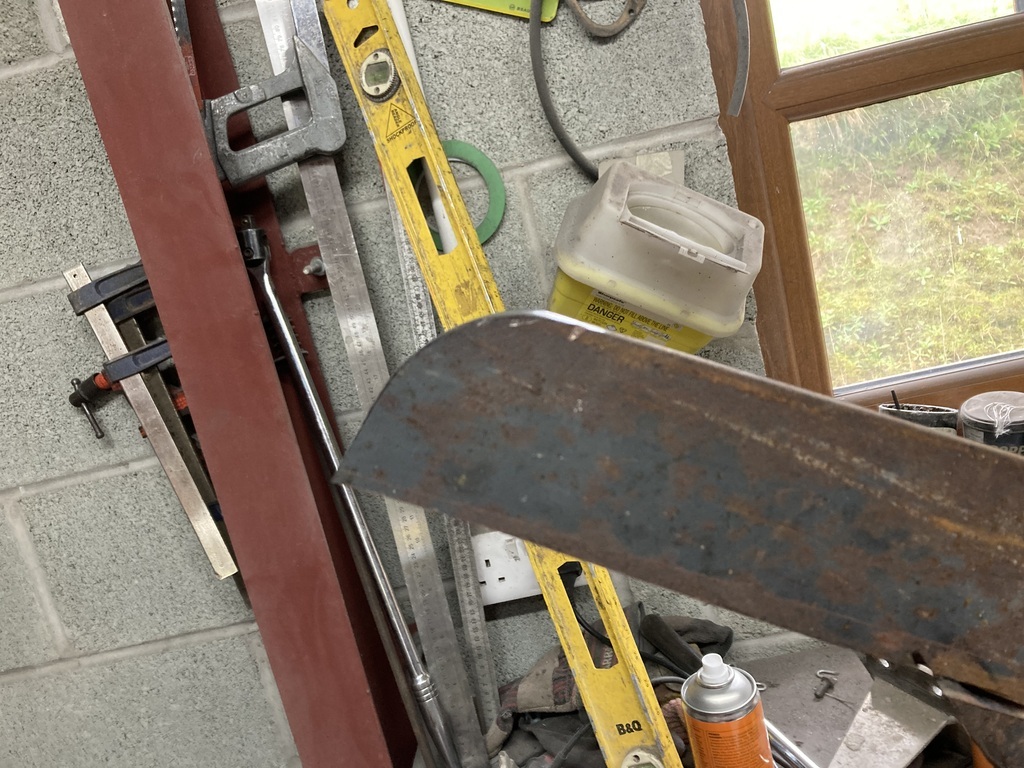 I then clamped the rear strip to this and smacked the edge round with a hammer leaving me with this 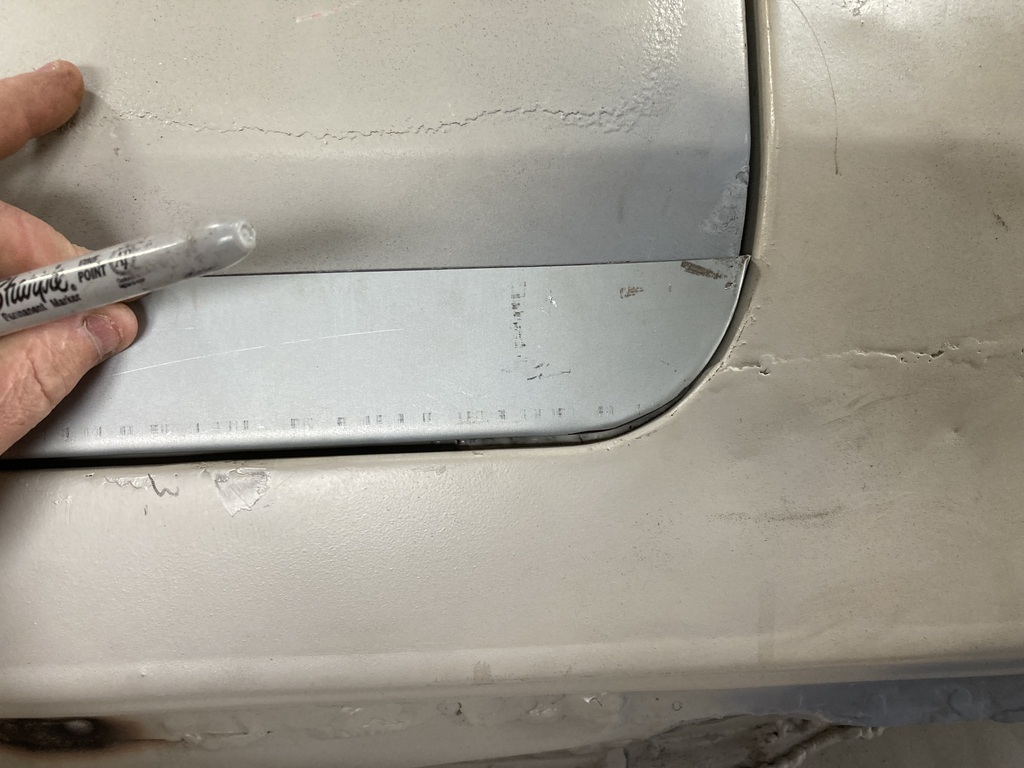 A line was then scribed a little lower than the final scribe and the grot was removed 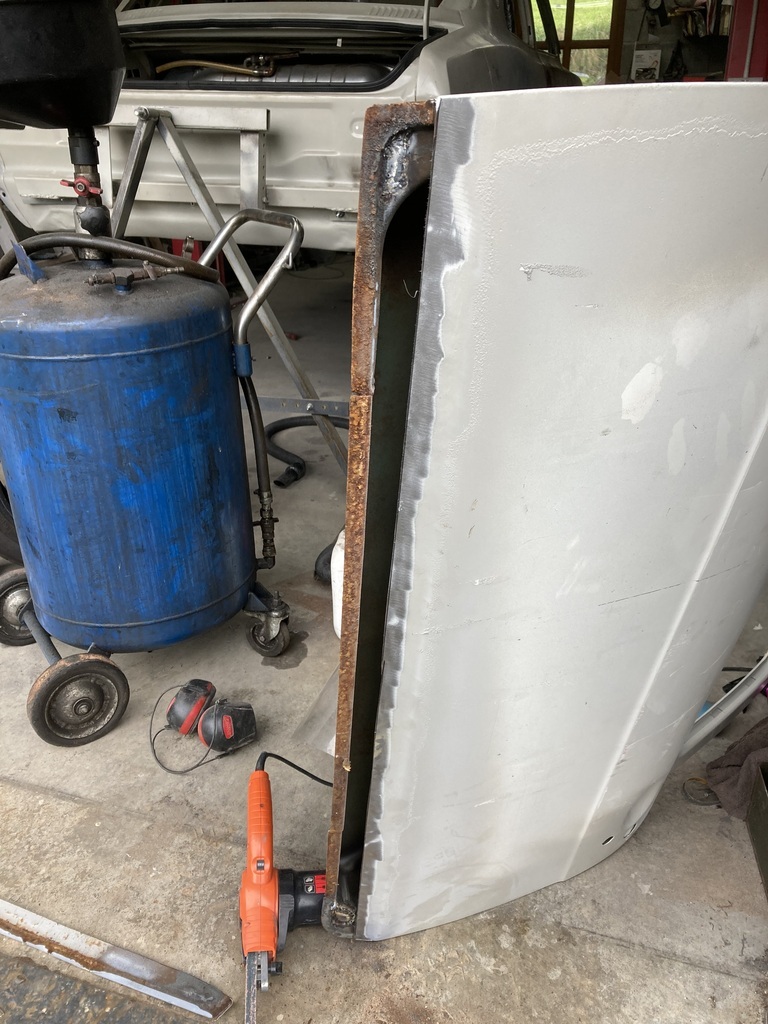 And the edges cleaned up with the power file 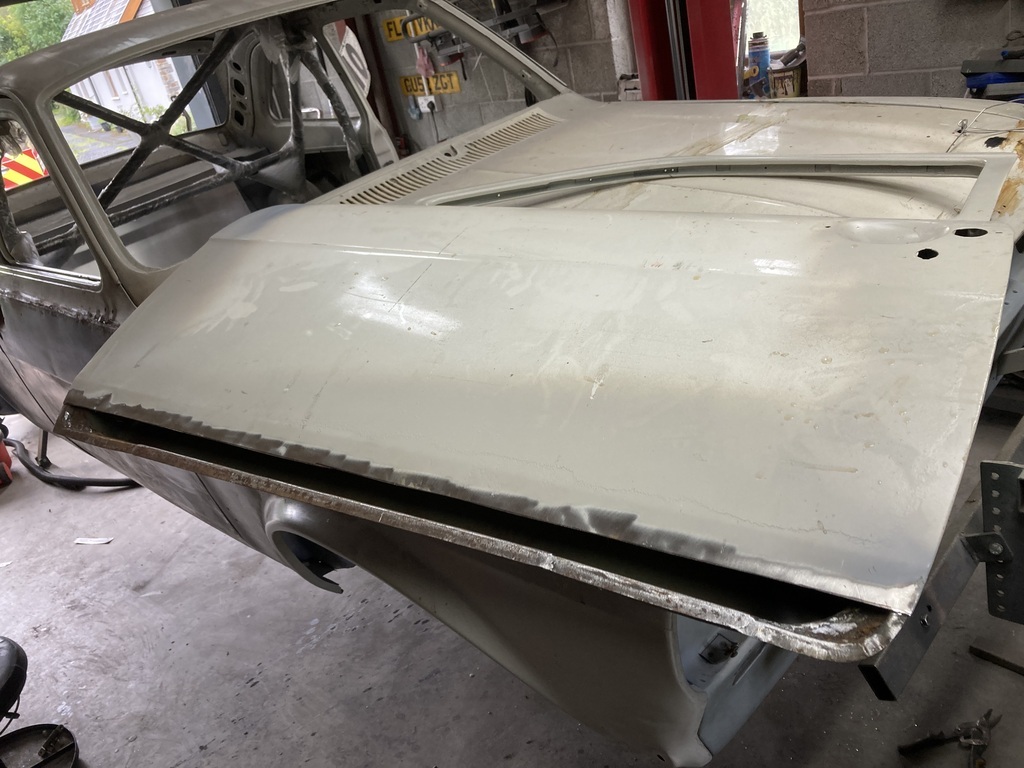 Next I cut the two strips to length. I will weld them together when they are in place 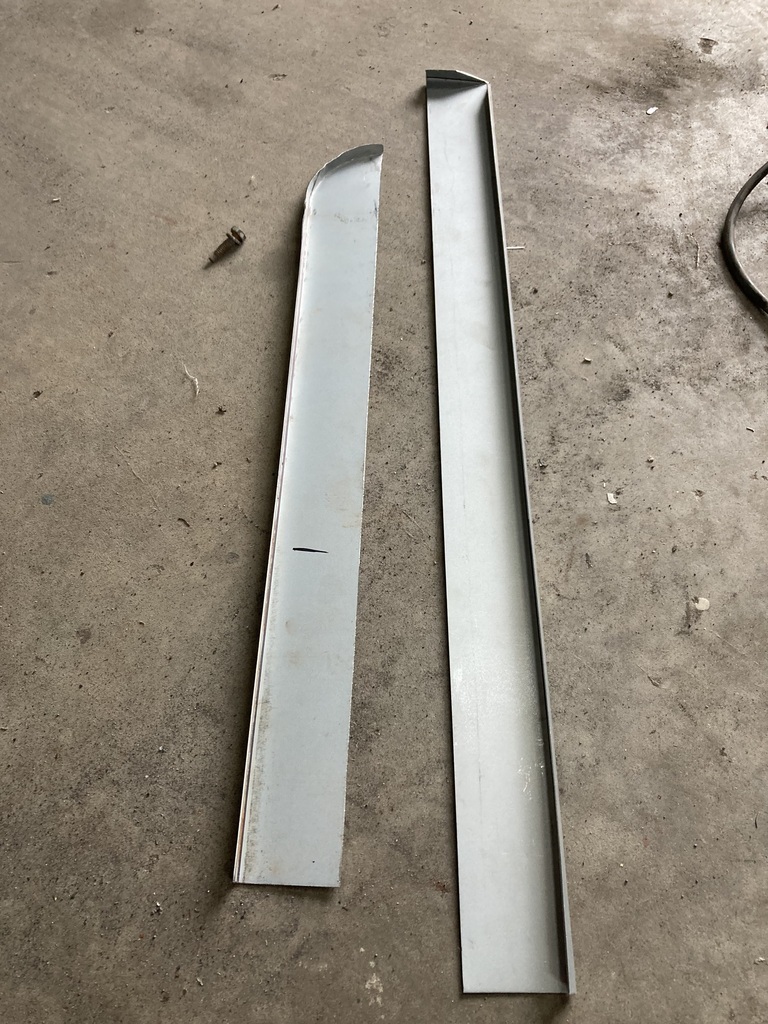 A bit of rust buster was added to the door frame once dry I’ll sand it off and paint in epoxy 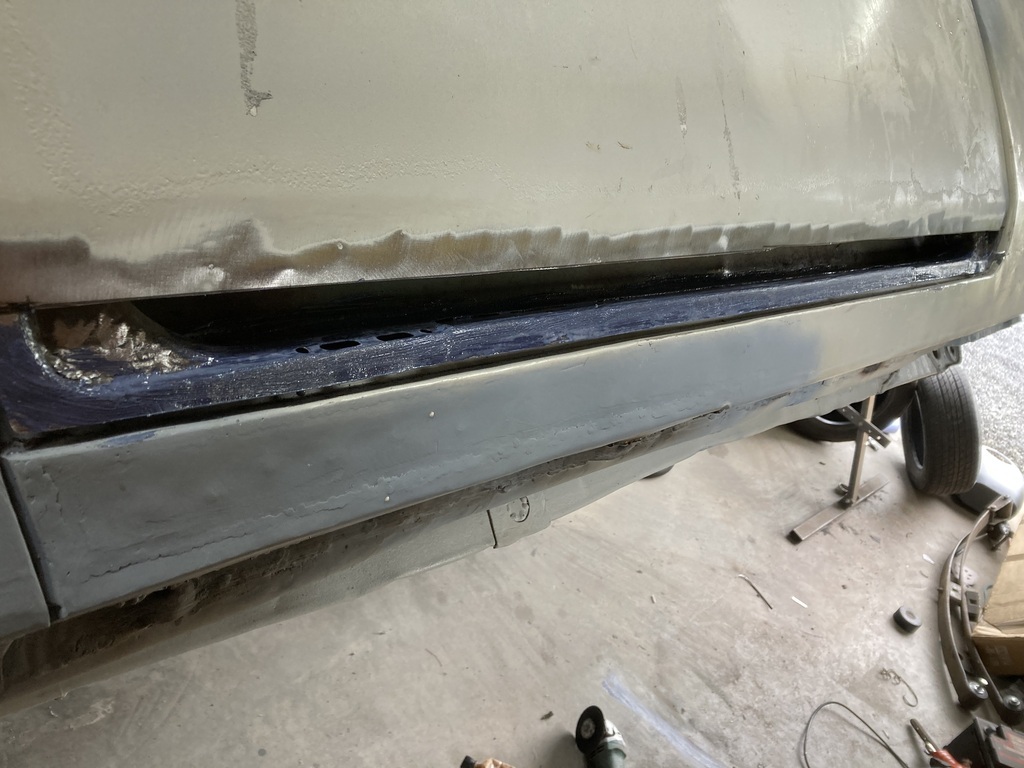 I’ve got a 4 day weekend so I’m hoping to get the door finished then. |
| |
|
|
glenanderson
Club Retro Rides Member
Posts: 4,366
Club RR Member Number: 64
|
|
Aug 23, 2023 14:18:55 GMT
|
…more than adequate for a rally car as it’s probably going to be smashed before it rots any further… I sincerely hope not. |
| |
My worst worry about dying is my wife selling my stuff for what I told her it cost...
|
|
|
|
|
Aug 23, 2023 19:05:20 GMT
|
…more than adequate for a rally car as it’s probably going to be smashed before it rots any further… I sincerely hope not. I hope not too Glen, but just grazing a super single tire is enough to cave a door in sadly. That’s why I’m not fitting the other door skin I’ve got. I’ll save that for later. |
| |
|
|
|
|
|
Aug 25, 2023 16:17:57 GMT
|
Goal for today was to finish the lower door skin repair. I ground off the Rust Buster stuff (no photo), and the lower inner frame was brushed with epoxy (also no photo). I also put some on the inside of the repair sections (photo) 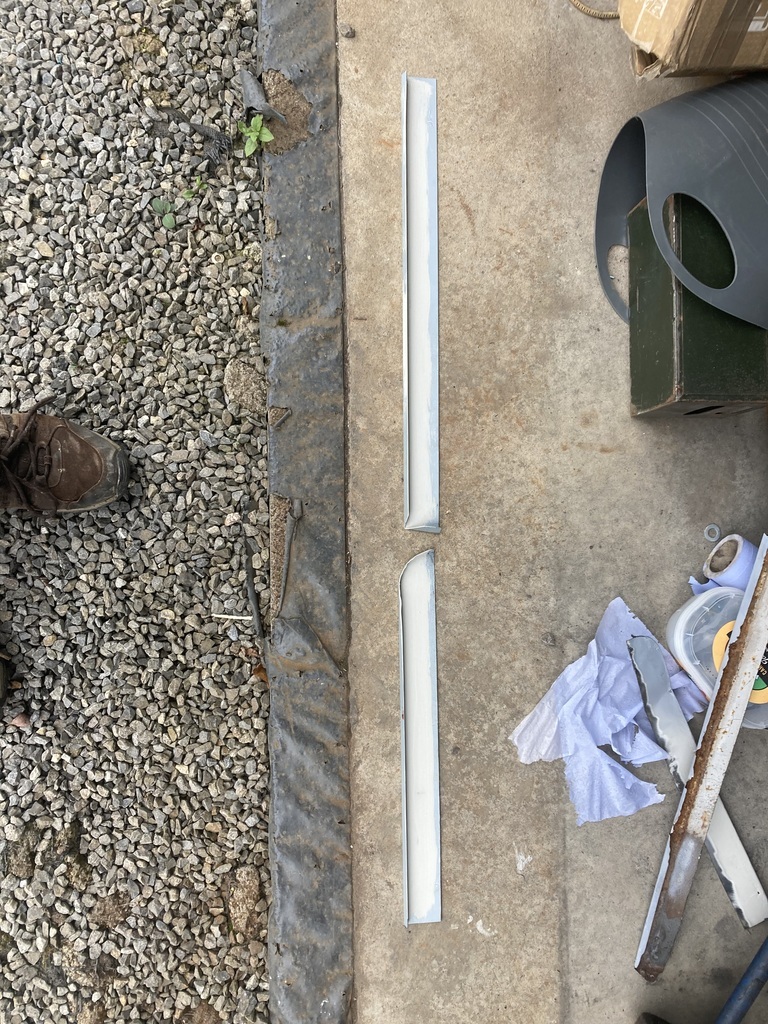 As I didn’t want to get covered in epoxy, I decided to leave the door for a bit and take a look at the strut top strengtheners. Those paying attention will remember that these didn’t fit as my strut tops are your typical 1980’s cover panels that are nothing like the original shape. First I cleaned off some weld penetration from wing rails 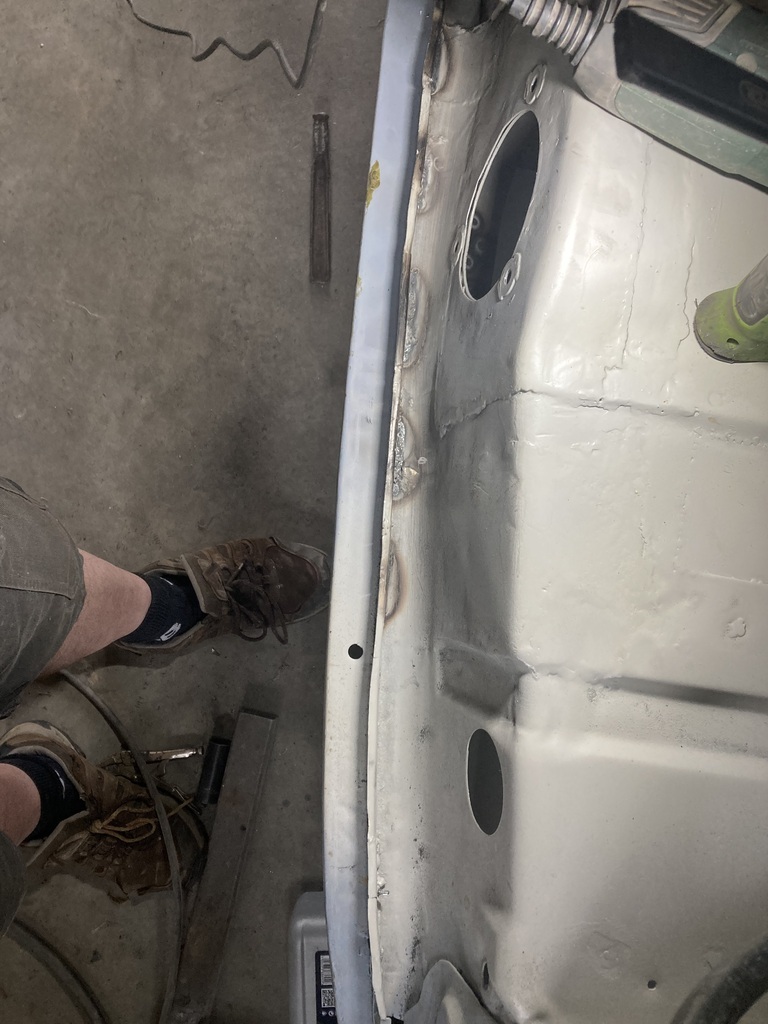 No after photo. These welds were stopping the plate go all the way back The bolt holes on these panels are always bigger than what’s required for the m8 bolts that hold the struts on. So I had welded washers to the top plate. 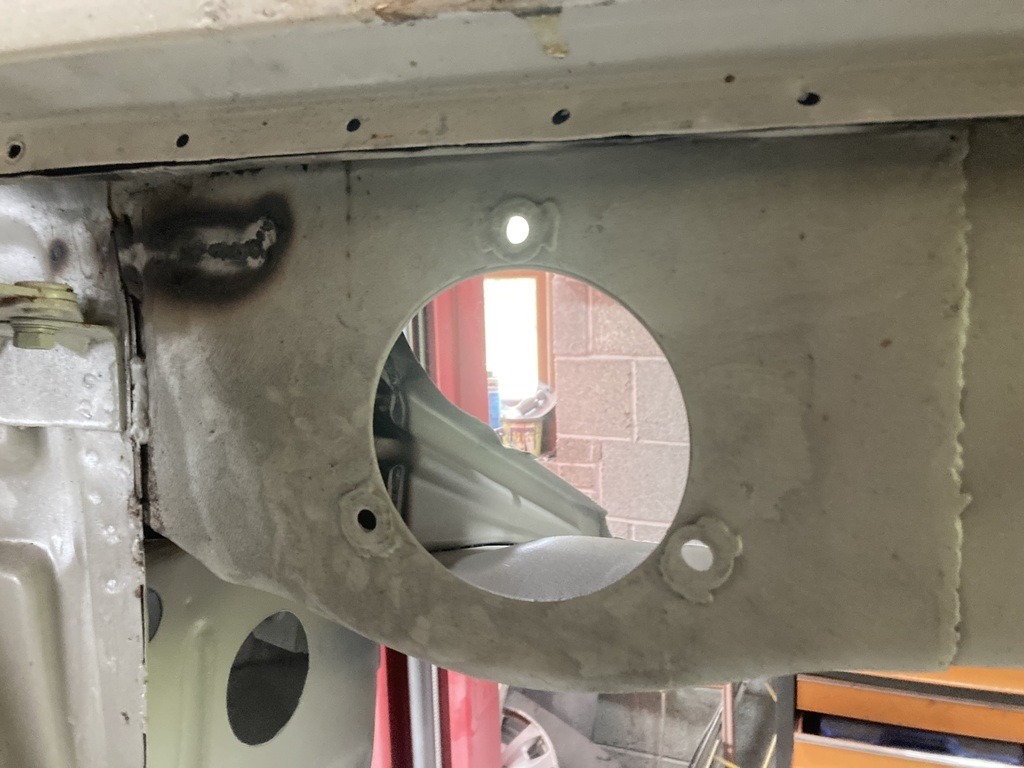 These also needed to be removed 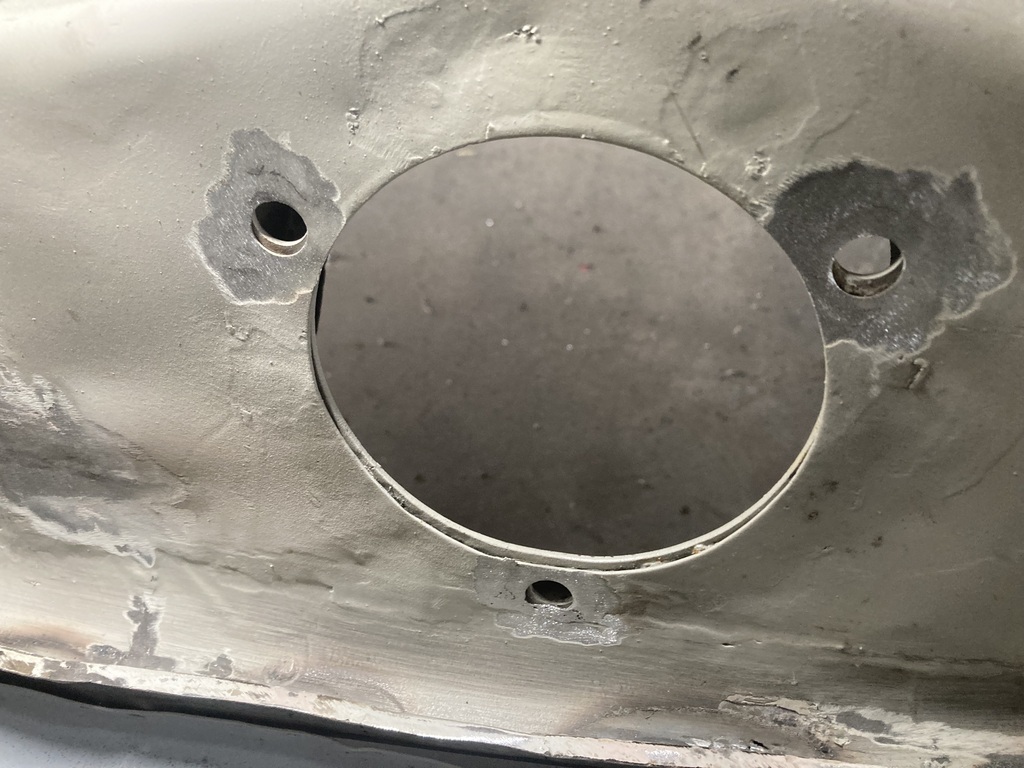 With the strengthener in place you can see how far out it is 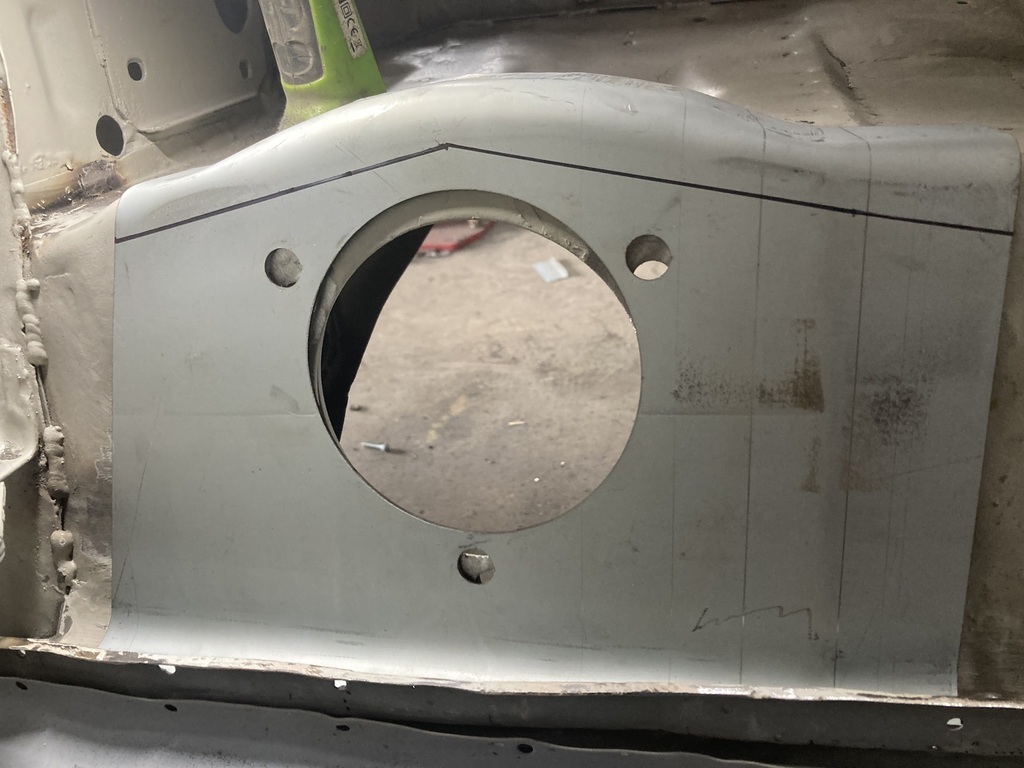 I needed to cut the part that folds down the inner wing off along the cut line shown above. The part of the panel the rolls up under the wing lip needed to be curved more to allow the panel to sit right so I clamped it to a bit of 8mm plate a bashed it with a bit of 4x2. 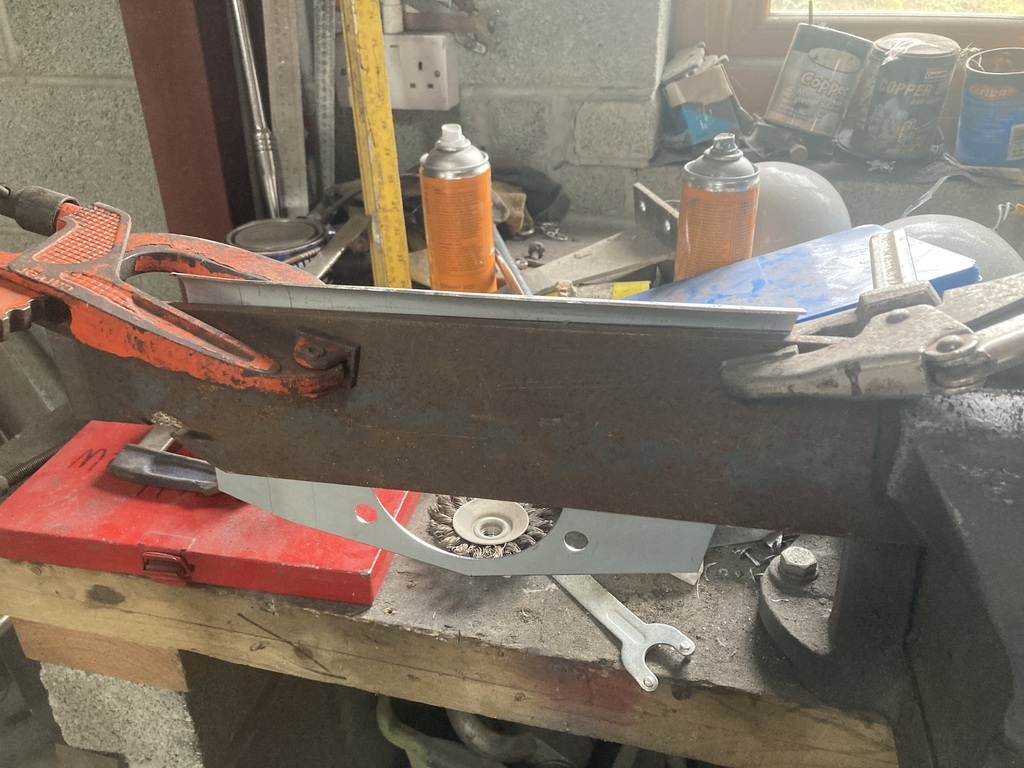 With the panel cut, I tacked another bit of steel to the curvy down bit to fill the gap 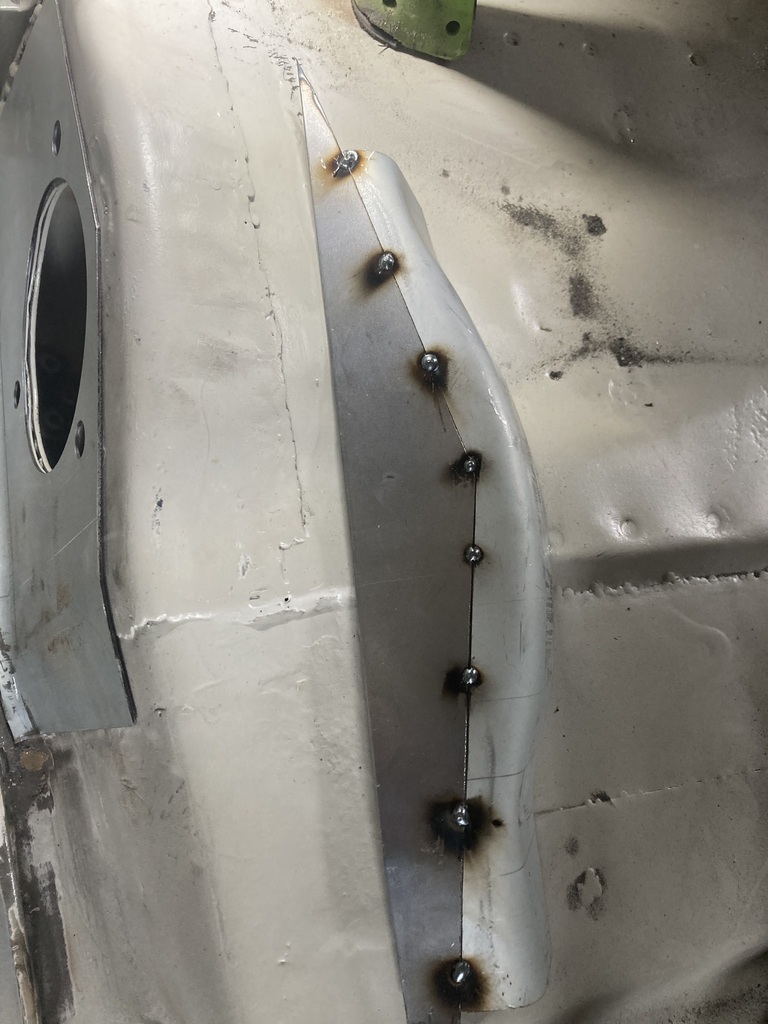 I then bolted the strengthener to the inner wing, scribed a Lina, cut it and tacked them together 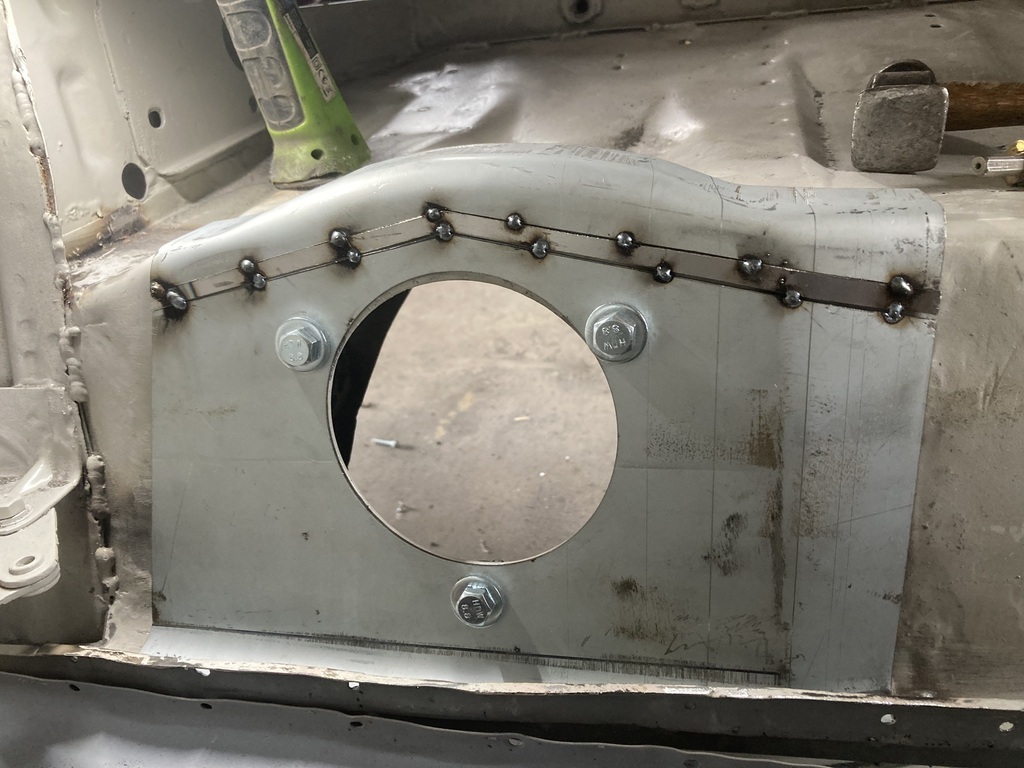 Then welded whilst on the car 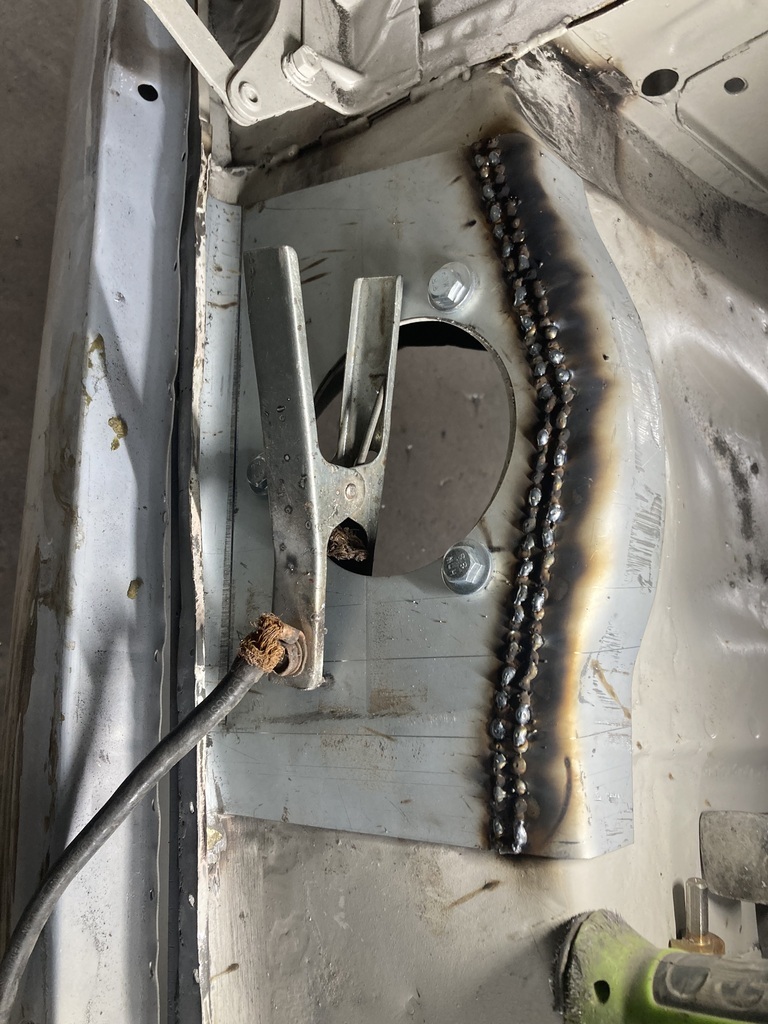 Then ground back and beautified with the sander. 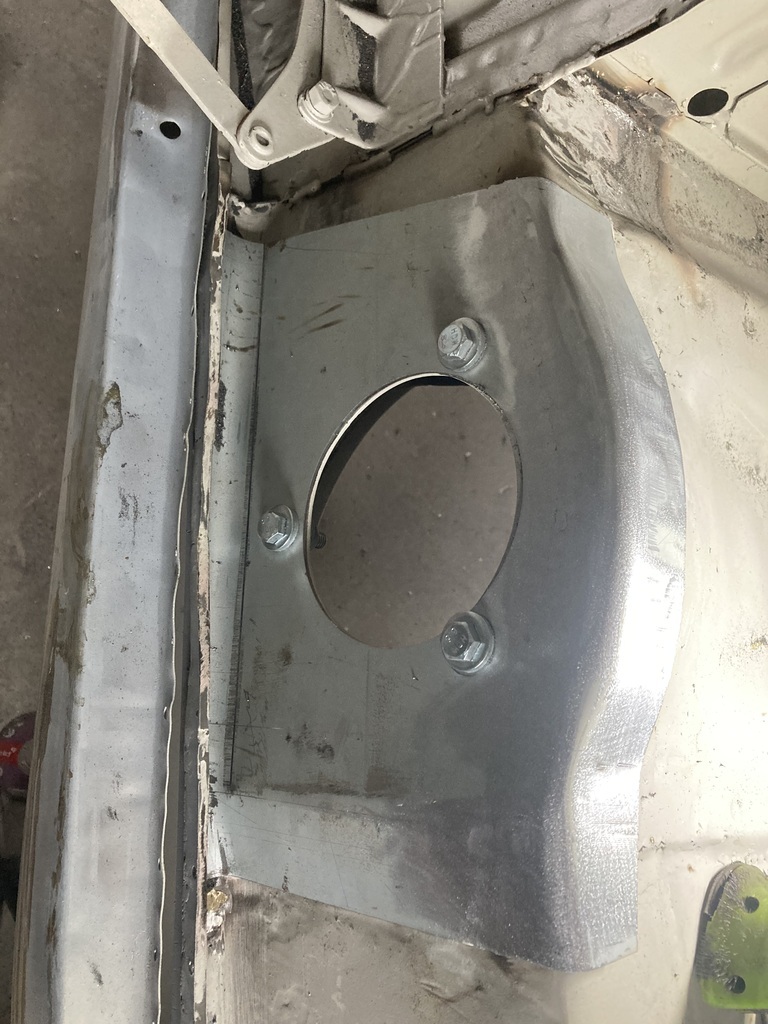 I love the sander. It makes your work look like it was done by someone who knows what they are doing. The big hole in the strengthener lines up with the heavy duty suspension tower under the inner wing, but not with the inner wing itself as there was always a miss alignment here. The tower was the correct one. 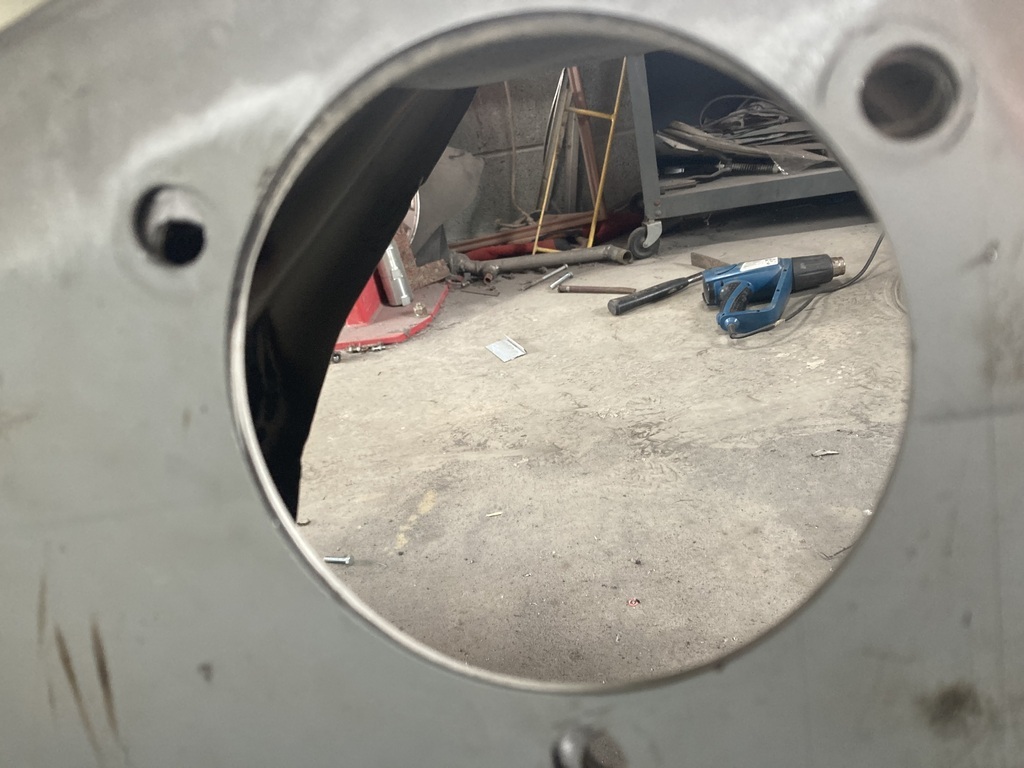 So I scribed a line 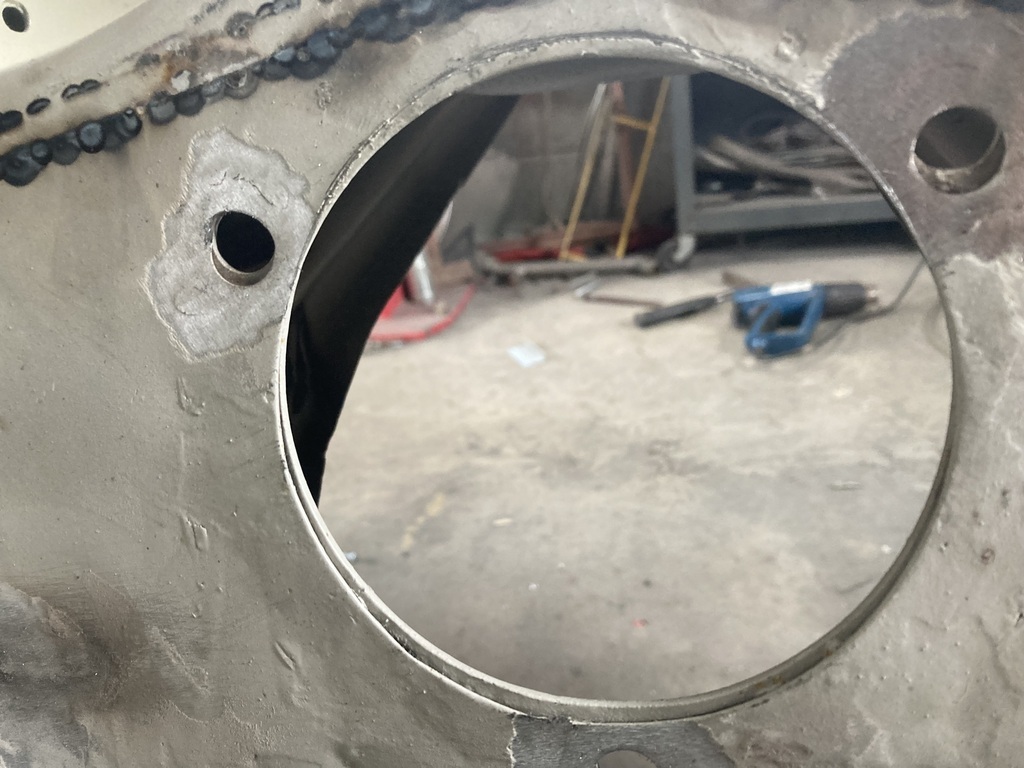 And used the power file to remove the unwanted bit 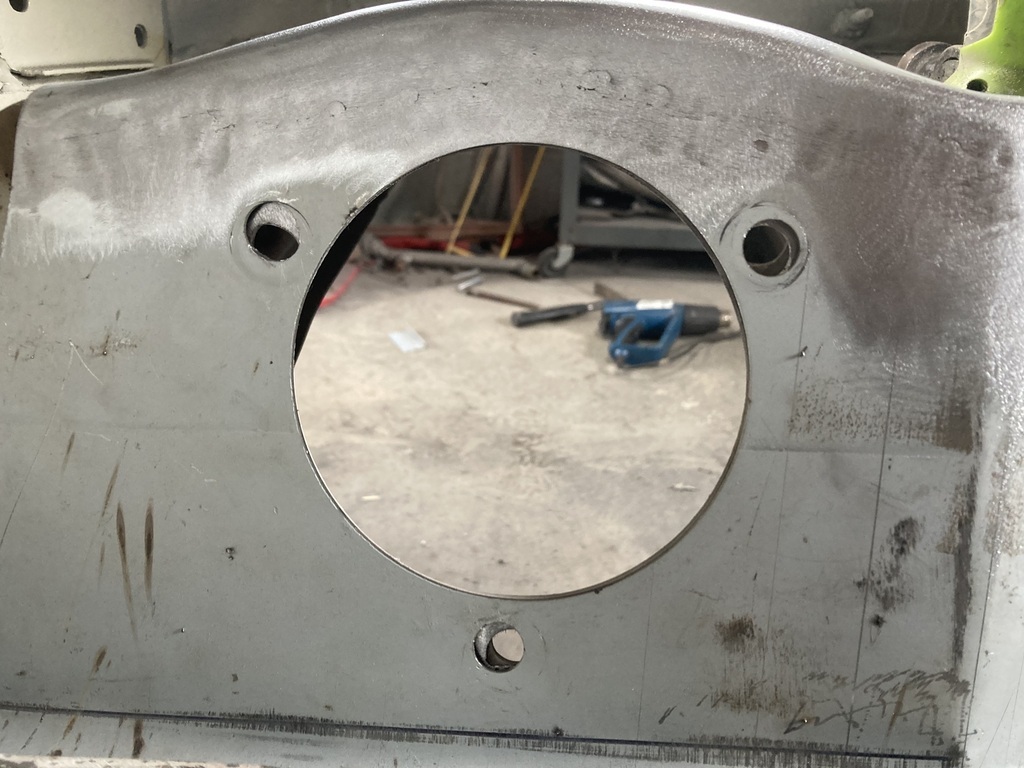 There was a gap at the leading edge of the panel to the inner wing as the inner wing had a step in it 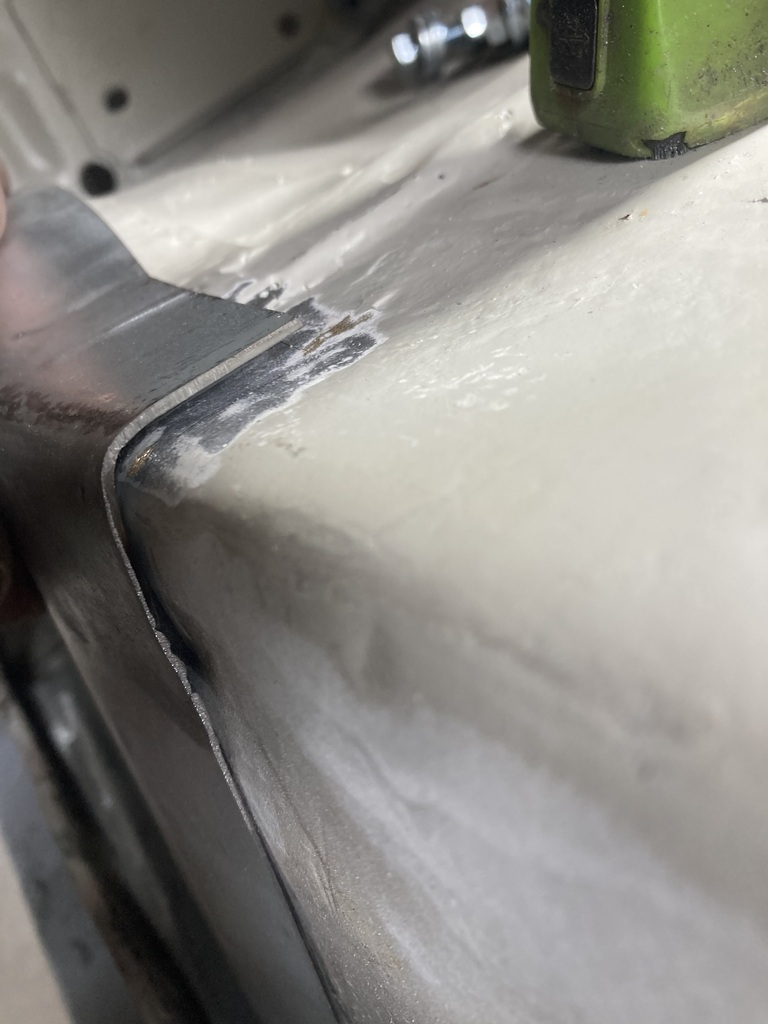 So I sliced it and tapped it up 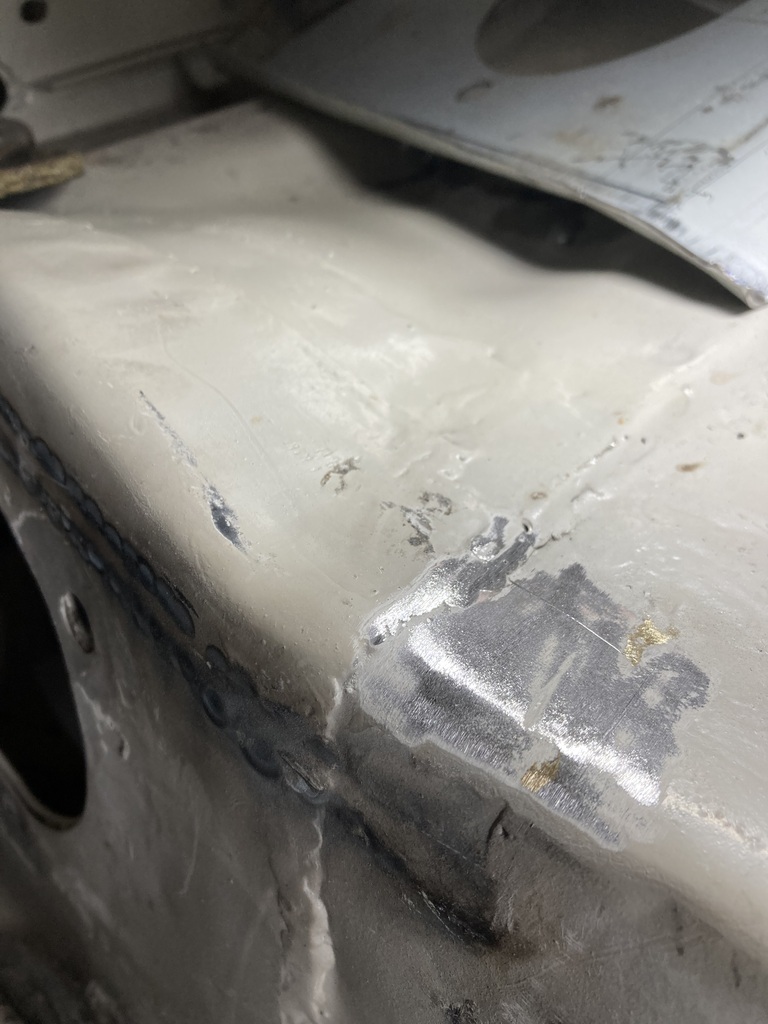 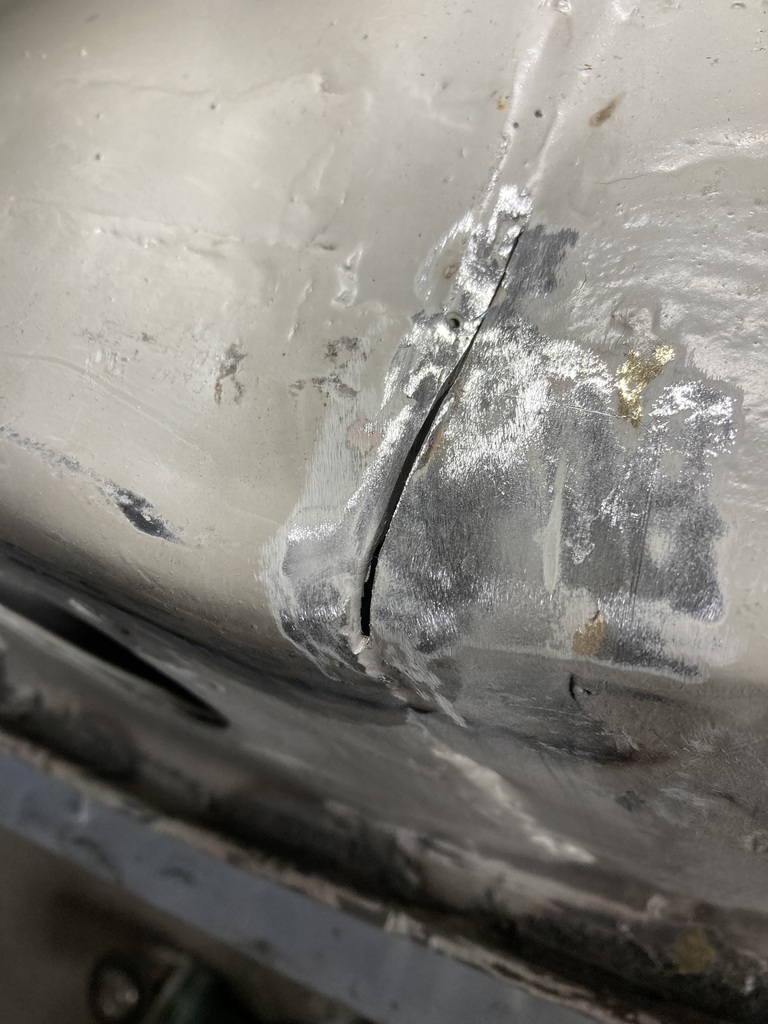 And welded it so it fits better 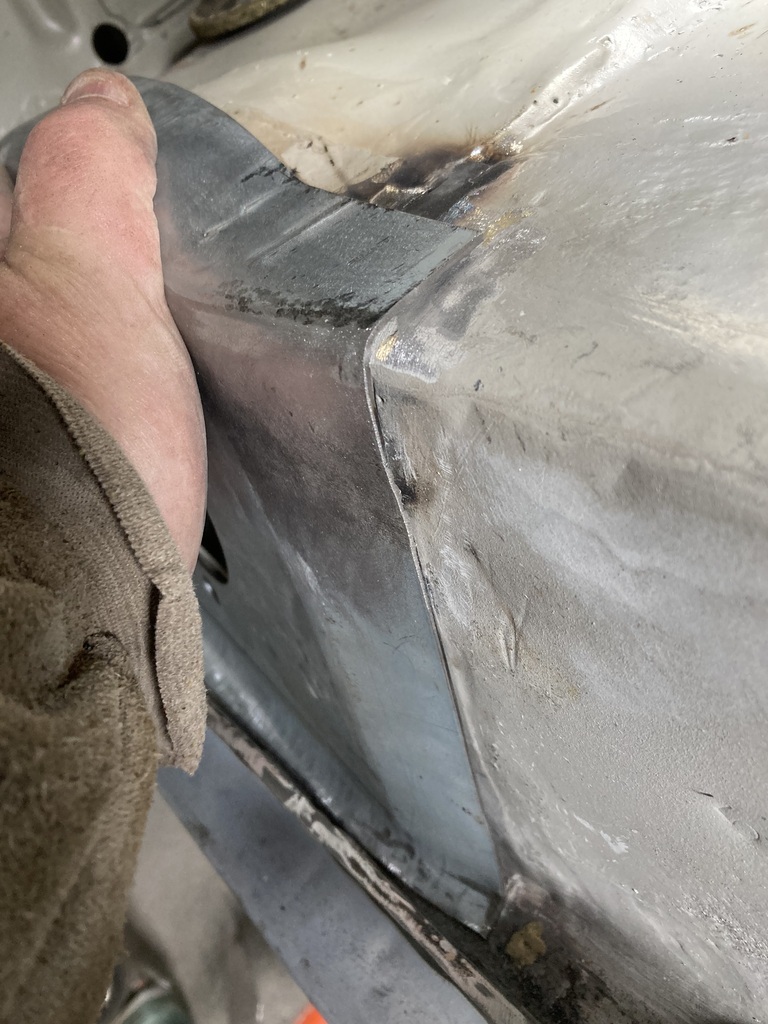 The panel just needs drilling and plug welding on so I returned to the door. I didn’t take any progress pics, but I did a cut and butt on it. When I cut the door skin last week, the skin dropped by about 10mm with a “twang” noise. So when I did the cut and butt, I jammed a bit of wood inside the door to push it forward. 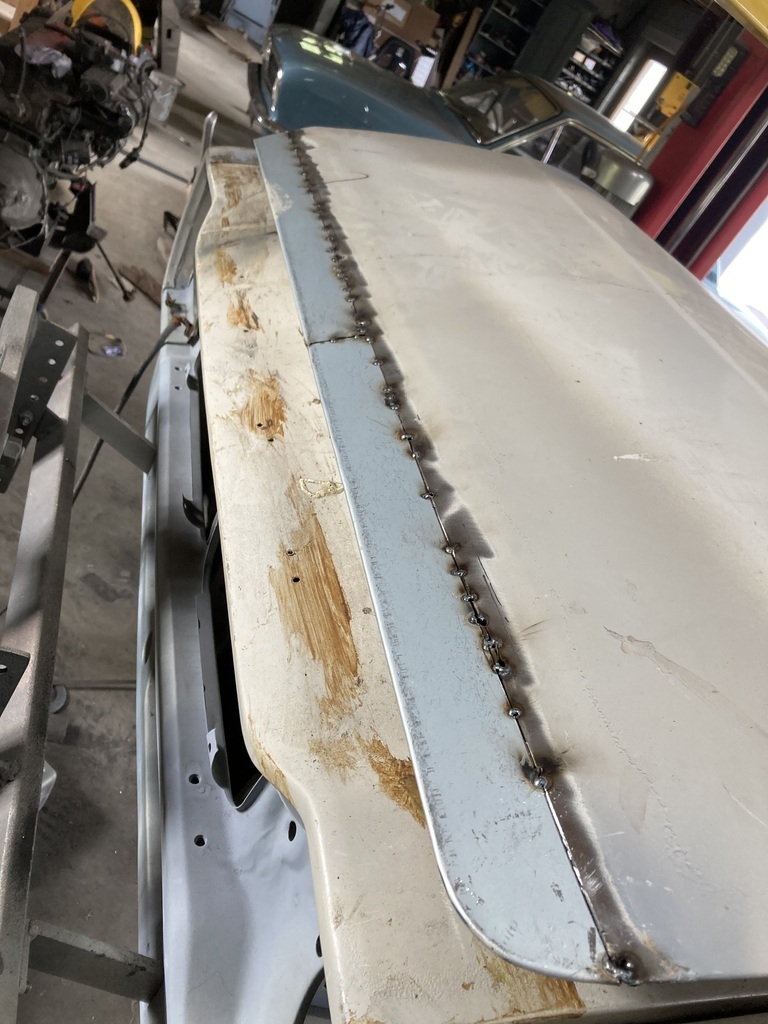 The front half of the door has gone well with the repair section sitting flat with the door skin 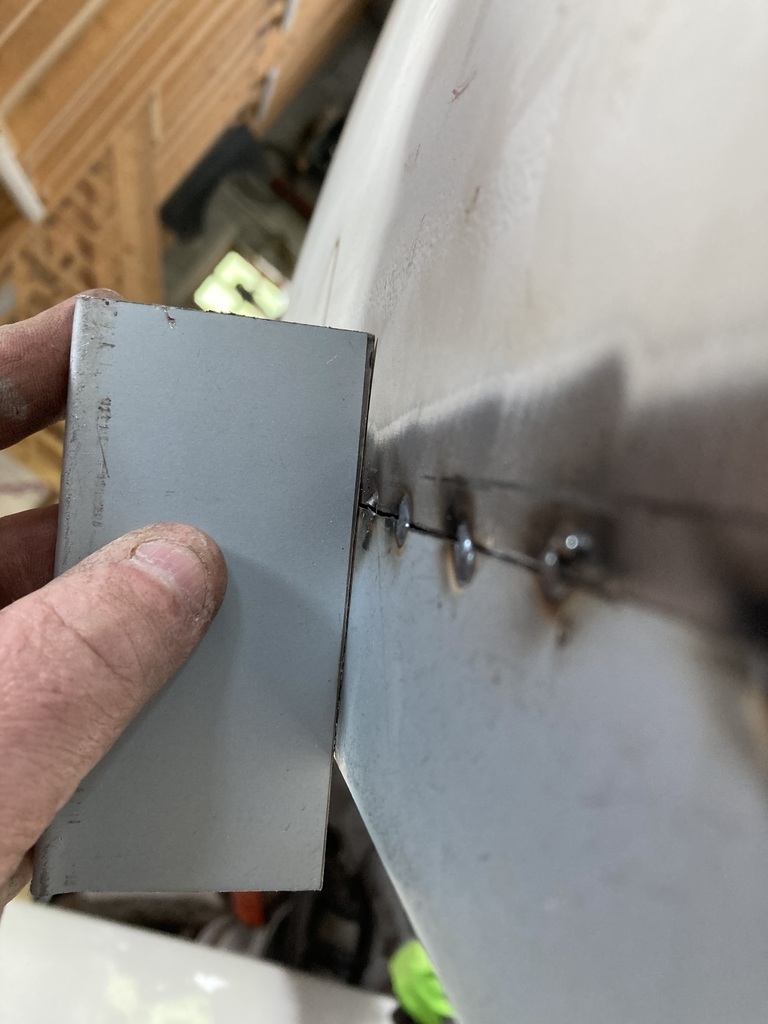 But the rear half has sunk in leaving a gap 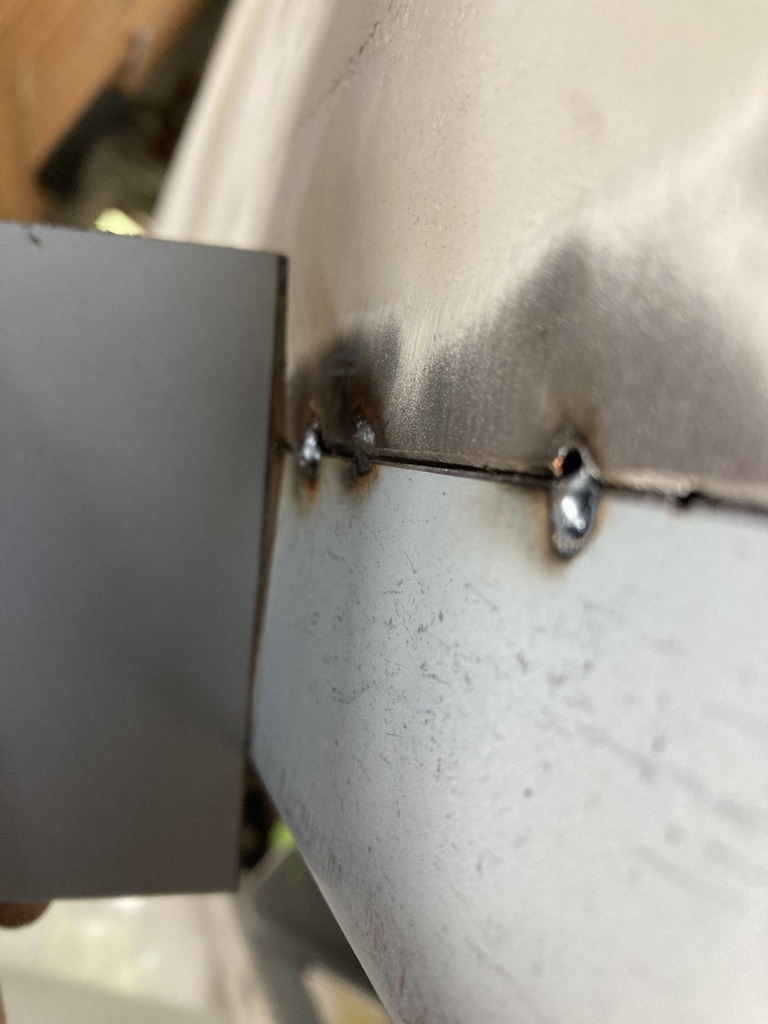 This is well within my no more than 1/2” of filler mantra, but I’ll have a play with it tomorrow to see if I can get it any better before I fully weld. I’ve tapped the flanges round but first I filled the flange with epoxy  More tomorrow hopefully |
| |
|
|
|
|
|
|
|
|
Great work as always! It's really coming along now. On that door repair where it sunk, try tack welding right next to the welds already on the repair in the effected area one by one, and then cool them instantly with an airline as you go. It basically shrinks the metal back. I've used this method a few times to correct exactly that problem. Check as you go though, and stop cooling the welds when the panels start to line up again as it can end up shrinking to far!
|
| |
Opel Commodore A Coupe
Opel Rekord C Coupe
Opel Rekord C Saloon
Vauxhall Magnum Coupe V8 (Magnumania)
Mk1 Scirocco GLS
Mk1 Scirocco GLS (early chrome bumper)
Corrado G60
Mk1 Cortina 2 door Pre Airflow
Mk2 Escort 1300 2 Door
VW LT35 Tipper Truck
BMW 320D E91 Tourer
|
|
|
|
|
Aug 26, 2023 15:14:54 GMT
|
Great work as always! It's really coming along now. On that door repair where it sunk, try tack welding right next to the welds already on the repair in the effected area one by one, and then cool them instantly with an airline as you go. It basically shrinks the metal back. I've used this method a few times to correct exactly that problem. Check as you go though, and stop cooling the welds when the panels start to line up again as it can end up shrinking to far! |
| |
|
|
|
|
|
Aug 26, 2023 18:11:44 GMT
|
|
Right....I can't seem to work this new way of replying to a quote??? It keeps going all weird every time I post a quote/reply??
So I'll just reply to the above........
🤔🤔🤔........a quote....but no quote??? Don't tell me....you were speechless about my suggestion! 😂😂😂
I forgot to say in my reply that, if this is a method you already know of, then please ignore all of the above 👍
( you might be having the same problem as me?? )
|
| |
Opel Commodore A Coupe
Opel Rekord C Coupe
Opel Rekord C Saloon
Vauxhall Magnum Coupe V8 (Magnumania)
Mk1 Scirocco GLS
Mk1 Scirocco GLS (early chrome bumper)
Corrado G60
Mk1 Cortina 2 door Pre Airflow
Mk2 Escort 1300 2 Door
VW LT35 Tipper Truck
BMW 320D E91 Tourer
|
|
|
|
|
Aug 26, 2023 18:37:20 GMT
|
|
Mr Couper. I’ve done a reply to your suggestion and a full report to on today’s efforts but the new layout won’t let me update it with photos . It just printed your quote. Hotwire is going to look into it tomorrow so no update from me today.
In short, I didn’t see you suggestion until after I’d bolsed it up. Hopefully I can update tomorrow
|
| |
|
|
|
|
|
|
|
I’ve written this update out yesterday but lot it all so here we go again Thanks footy suggestion Mr Couper but as mentioned above, I didn’t see your post until after I bugggered it up. Anyway, after an emergency run to Llanelli to have a HDMI port replaced on Jones Junior (The Younger’s) Xbox I continued with the passenger door of doom. To try and unsink the weld I jammed a bit of wood inside the frame and the gently hammered around it. This seemed to work so I continued welding. Forgetting to take any more photos it got welded, ground and sanded. But you can see in the photos some of it has sunk back 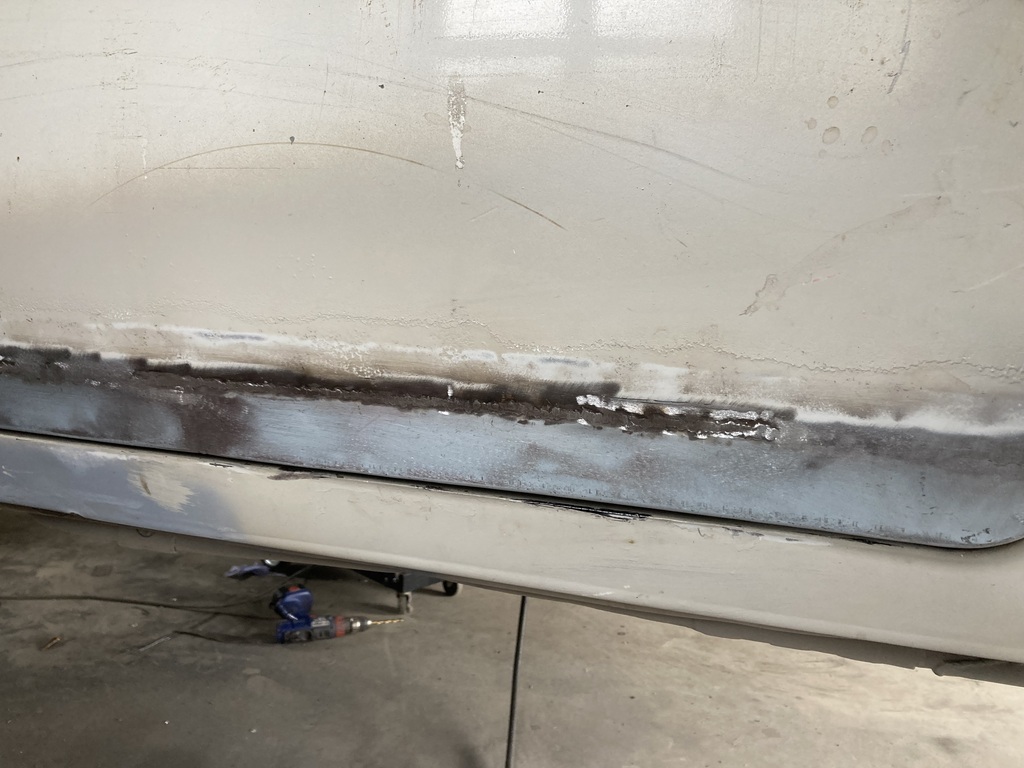 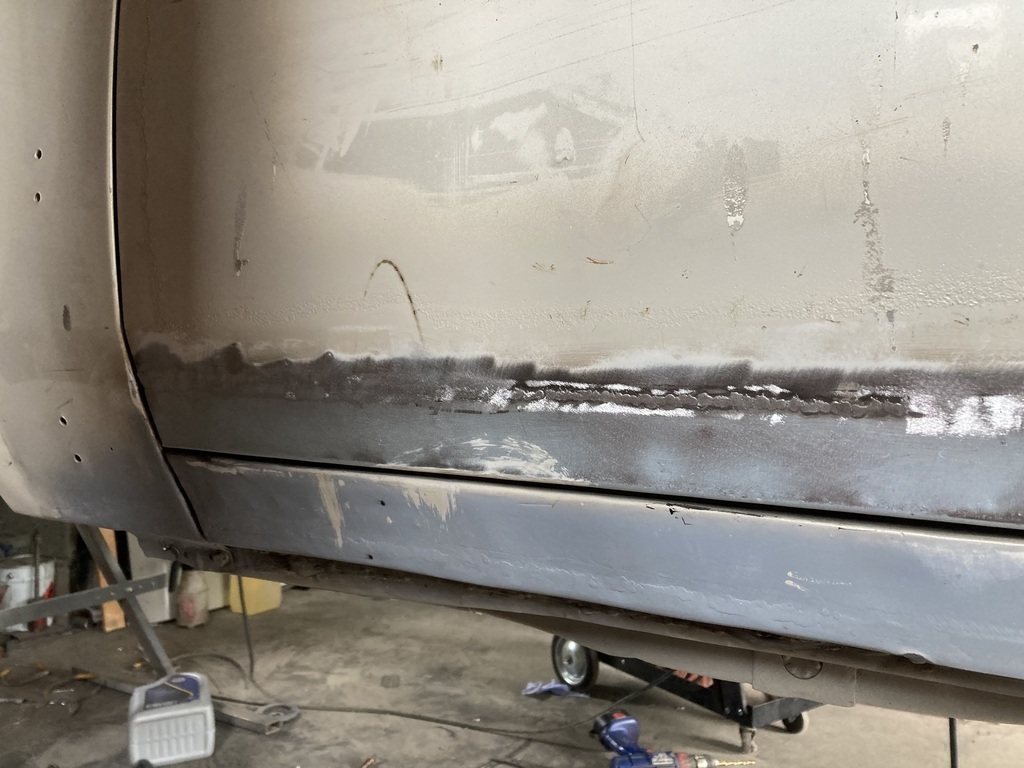 I continued with my wood and hammer trick and got it as far as here 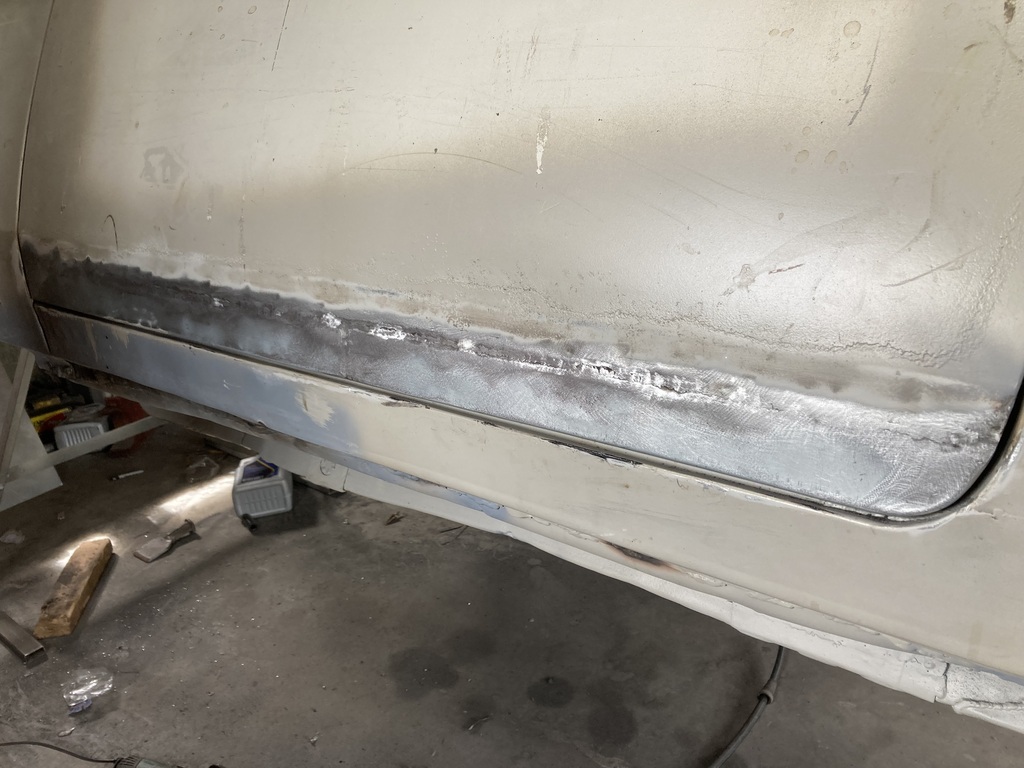 what I failed to notice is that the feature line that is about 1” above the weld has flattened out by a couple of millimeters 😩. I’m not sure if it was me with the hammer or if the metal shrinking has flattened it, but either way it’s peeed me off. It will have to be remedied in the bodywork stage. |
| |
|
|
|
|
|
|
|
So abandoning the passenger door of doom, I moved on to the passenger strut top of hope 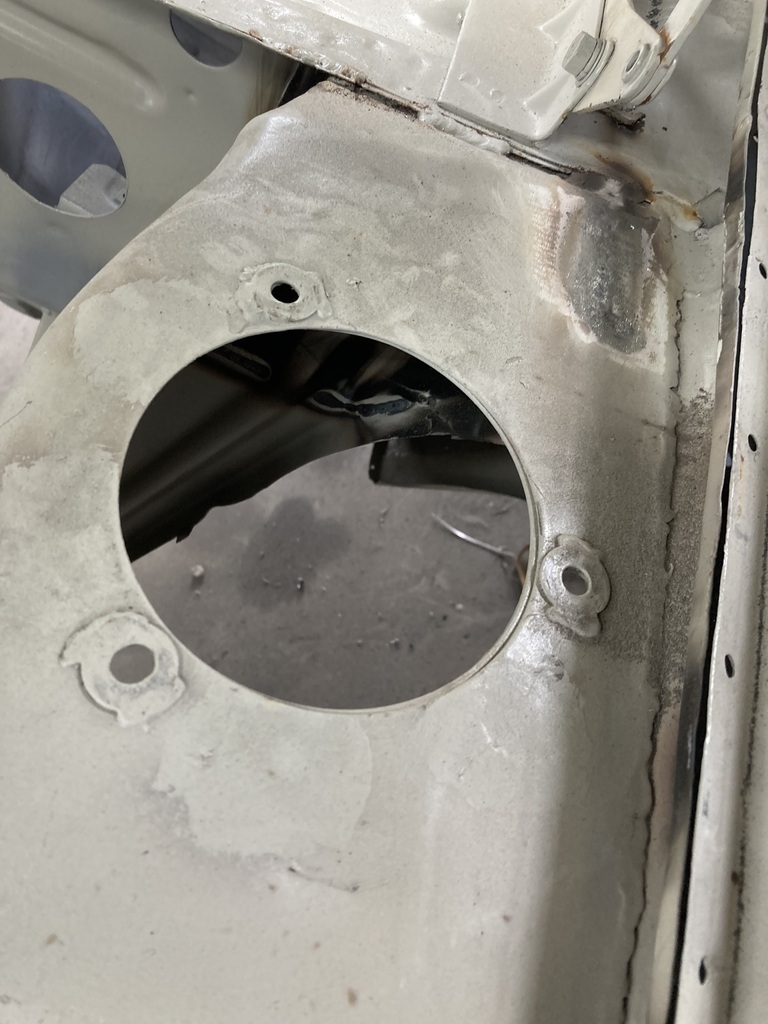 welded on washers were unwelded 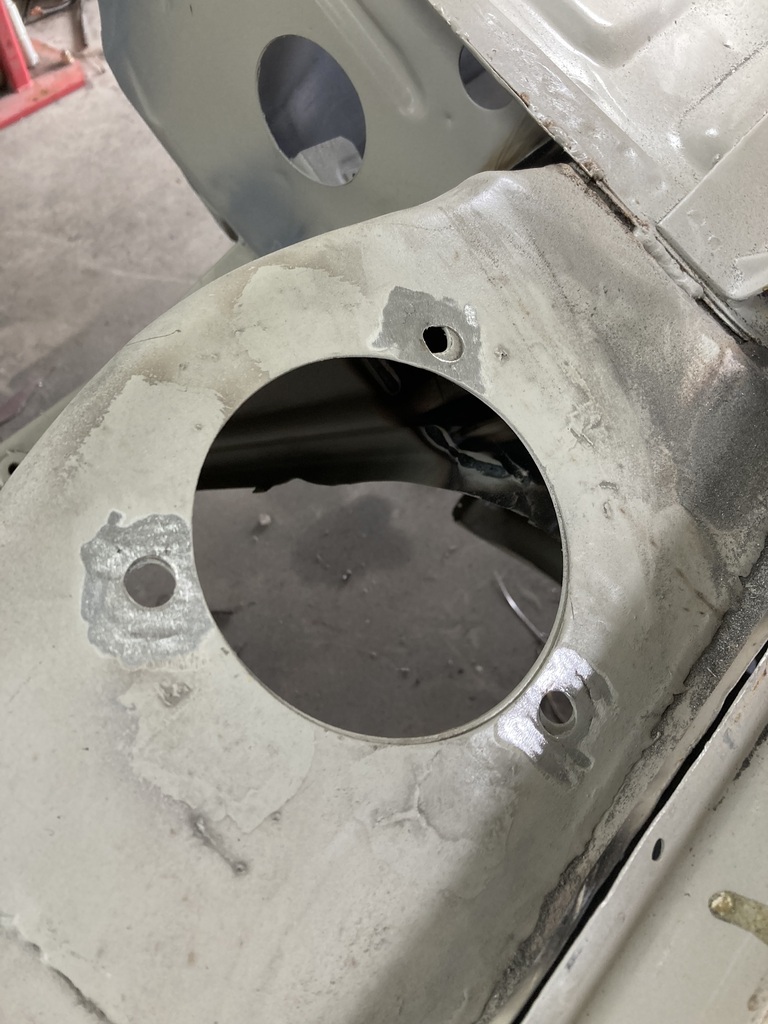 the curved up bit got beaten with the 4x2 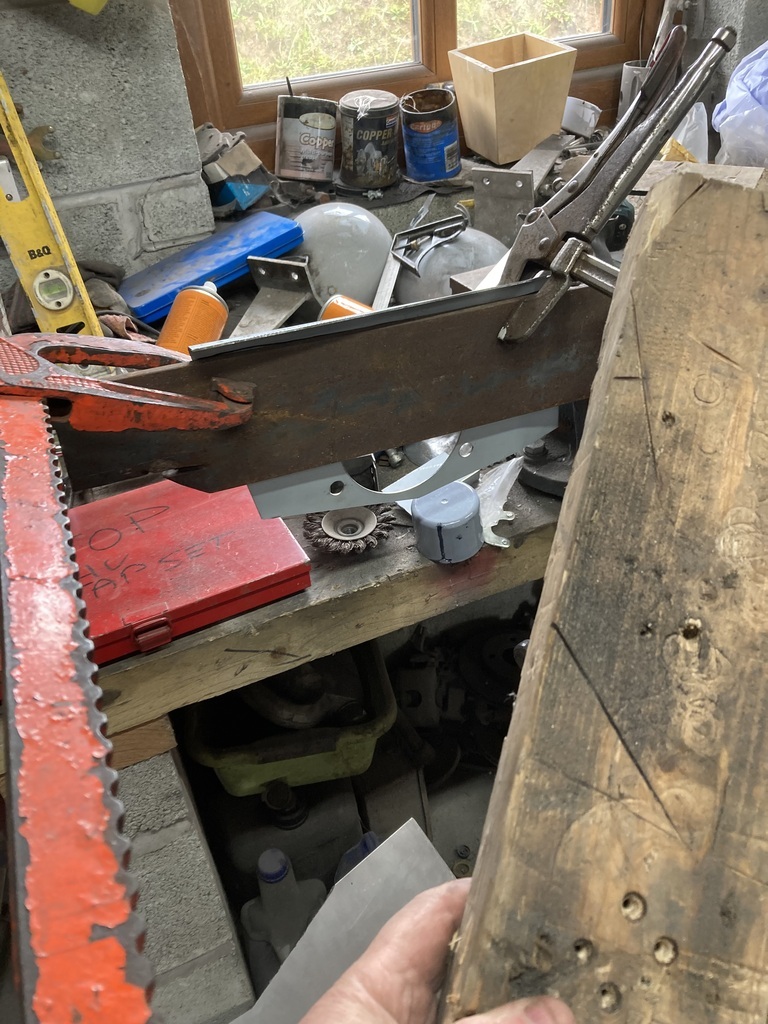 The curvy down bit got cut and another bit tacked in 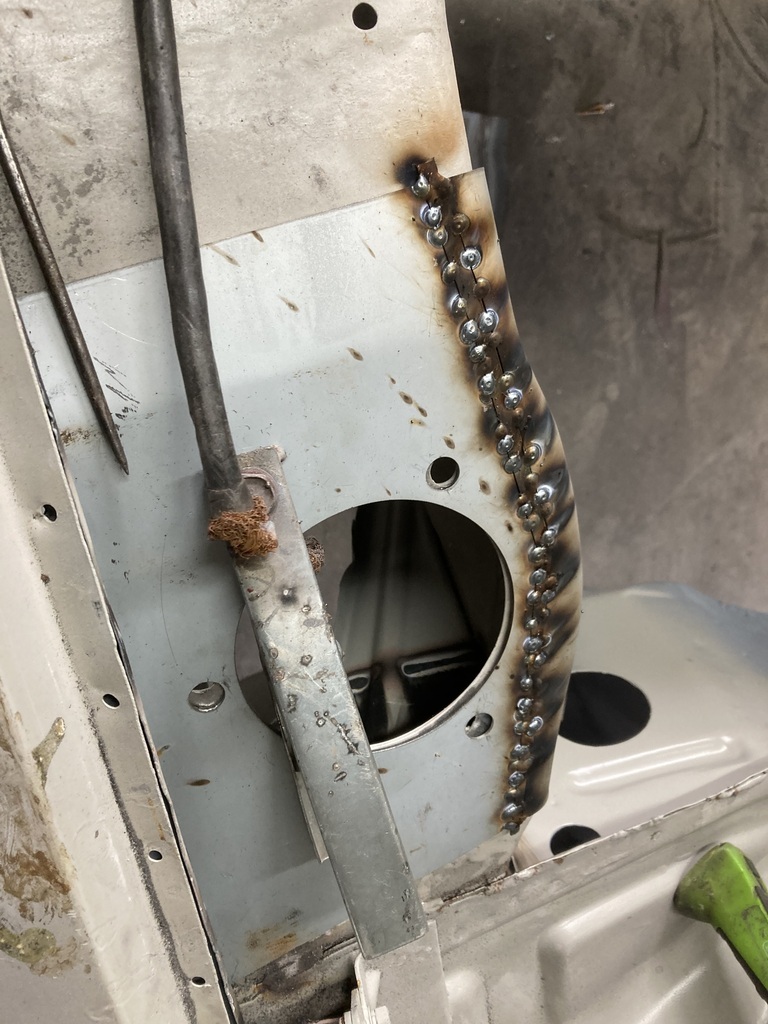 Then fully welded 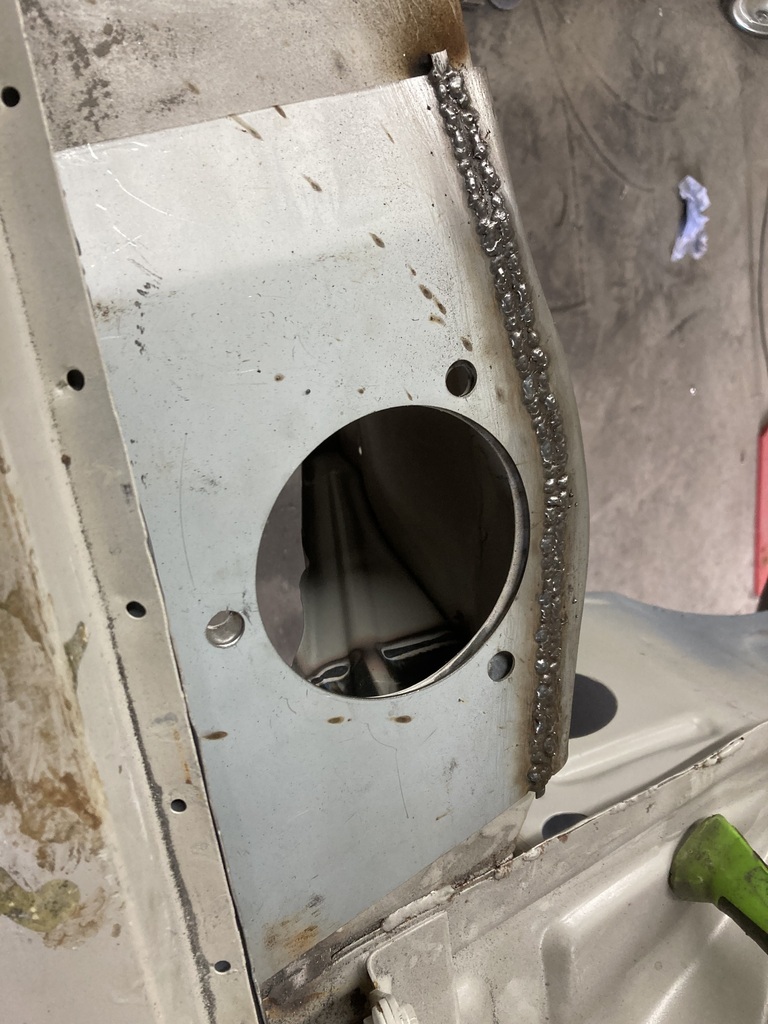 Ground, sanded, clamped and the overhang, the big hole scribed and cut 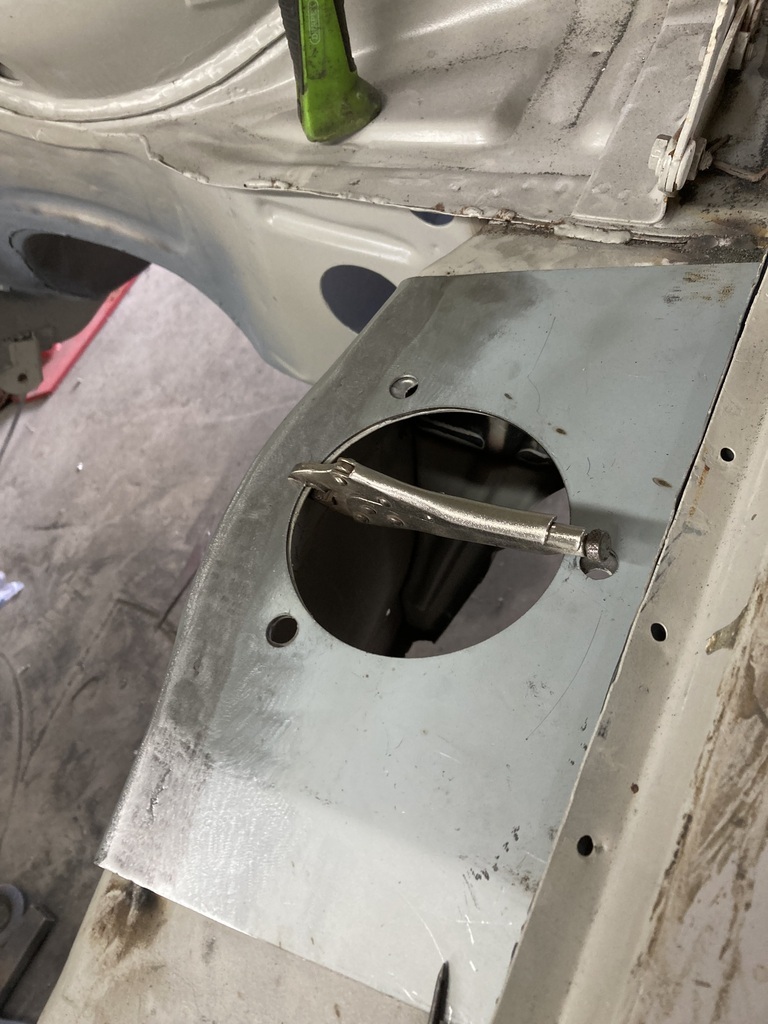 Some holes drilled and weld through primer added. 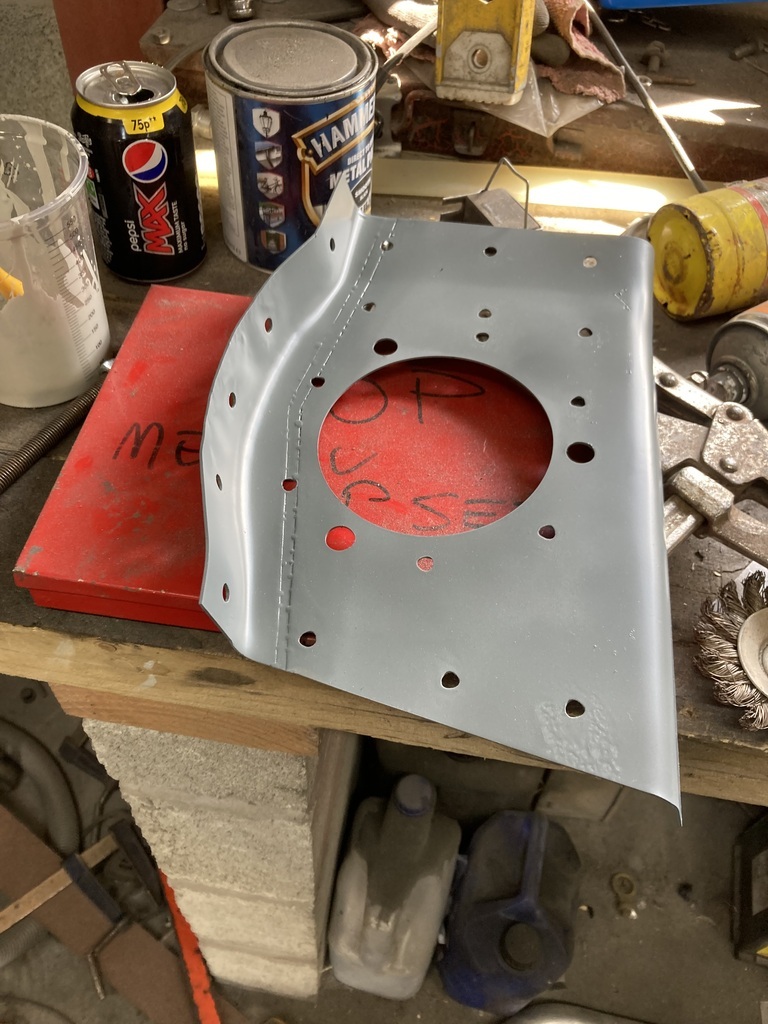 And the epoxy below the plug welds removed as it doesn’t play well with the welder 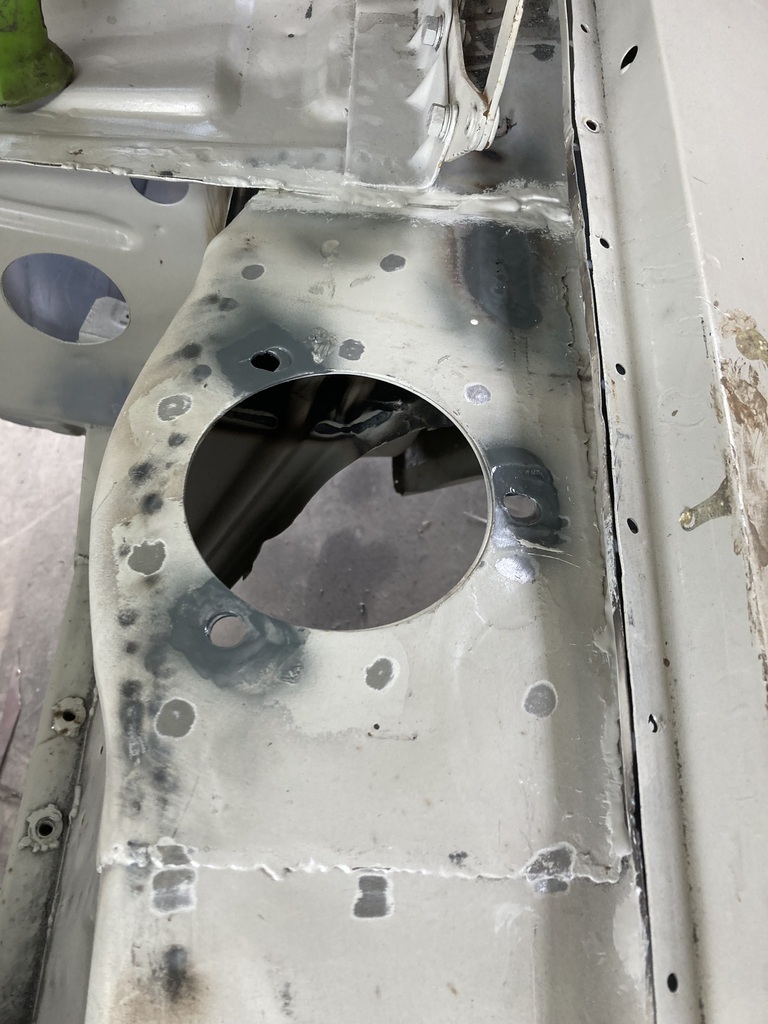 Same treatment to the other side 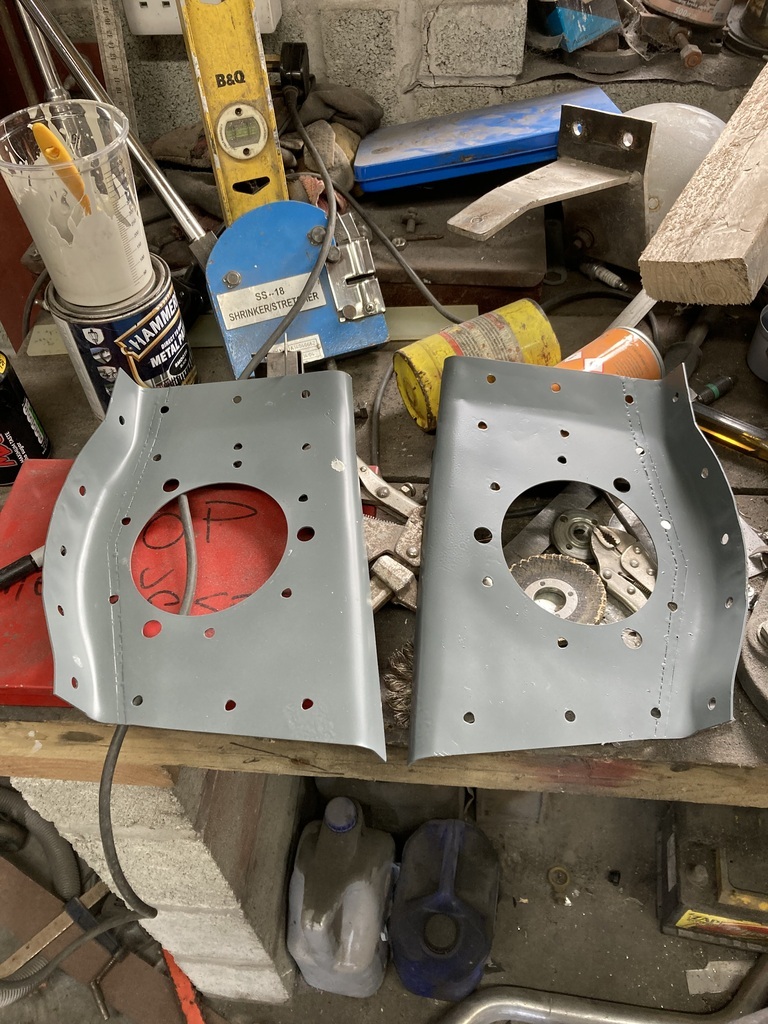 Clamped in place ready for welding 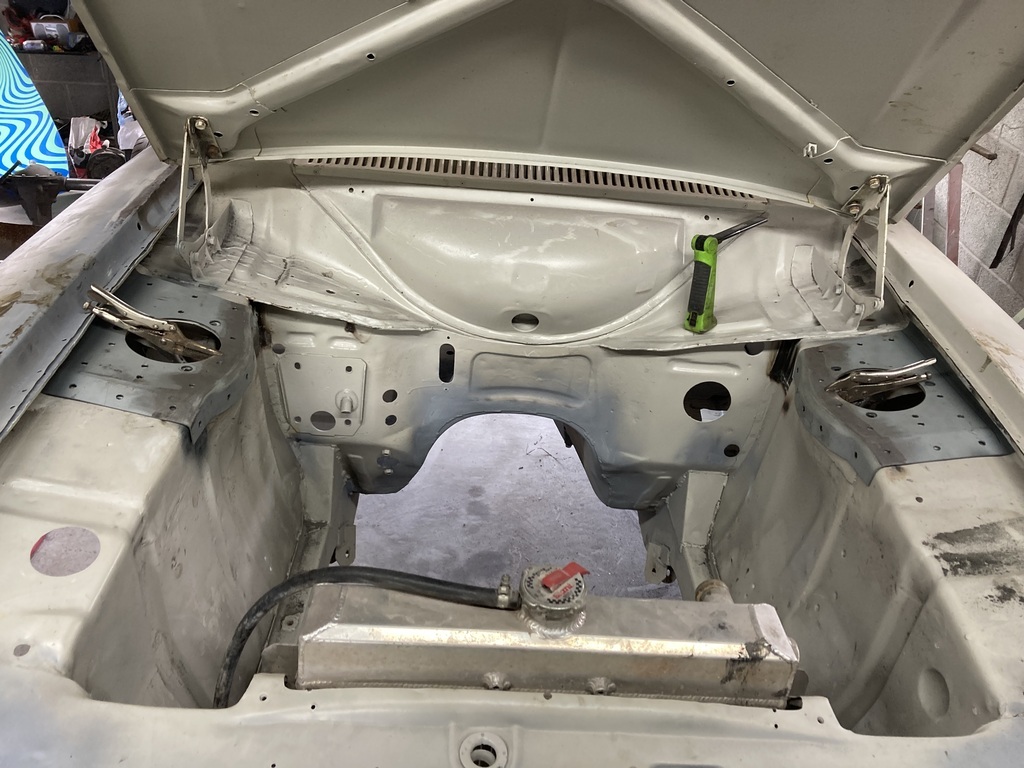 List getting shorter 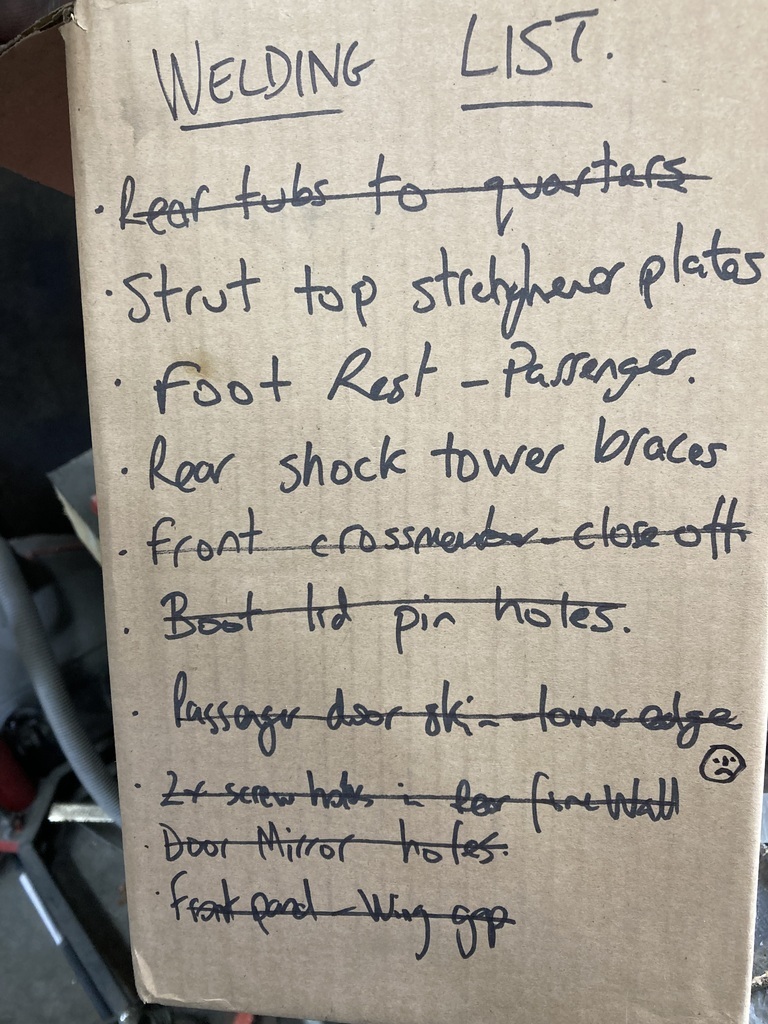 |
| |
|
|
|
|
|
|
|
Aug 27, 2023 10:51:40 GMT
|
|
|
| |
|
|
teaboy
Posted a lot
   Make tea, not war.
Posts: 2,127
Member is Online
|
|
Aug 27, 2023 10:58:03 GMT
|
|
Those strut top thingmys look like bought ones.
You are cracking on, Phil.
Edit, your work bench is like mine but yours is a bit tidier.
|
| |
Last Edit: Aug 27, 2023 10:59:36 GMT by teaboy
|
|
|
|
|
Aug 27, 2023 15:01:26 GMT
|
They are bought ones Mr T, but with lots of mods. The bench isn’t my only issue 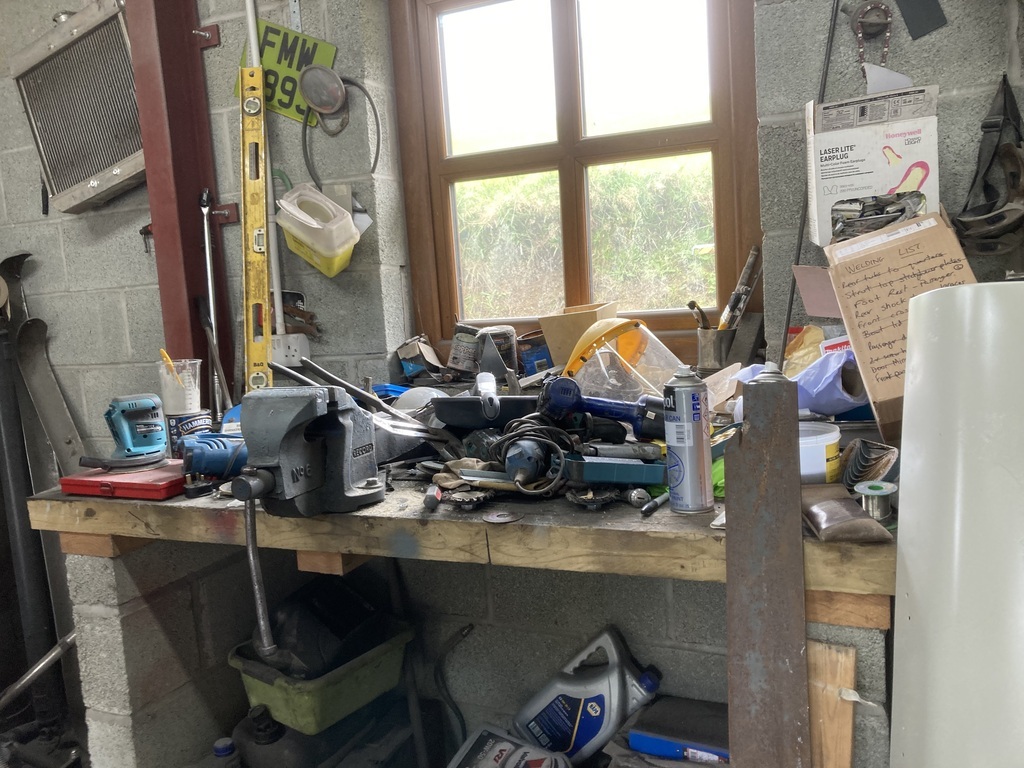 I’ve also got this to deal with 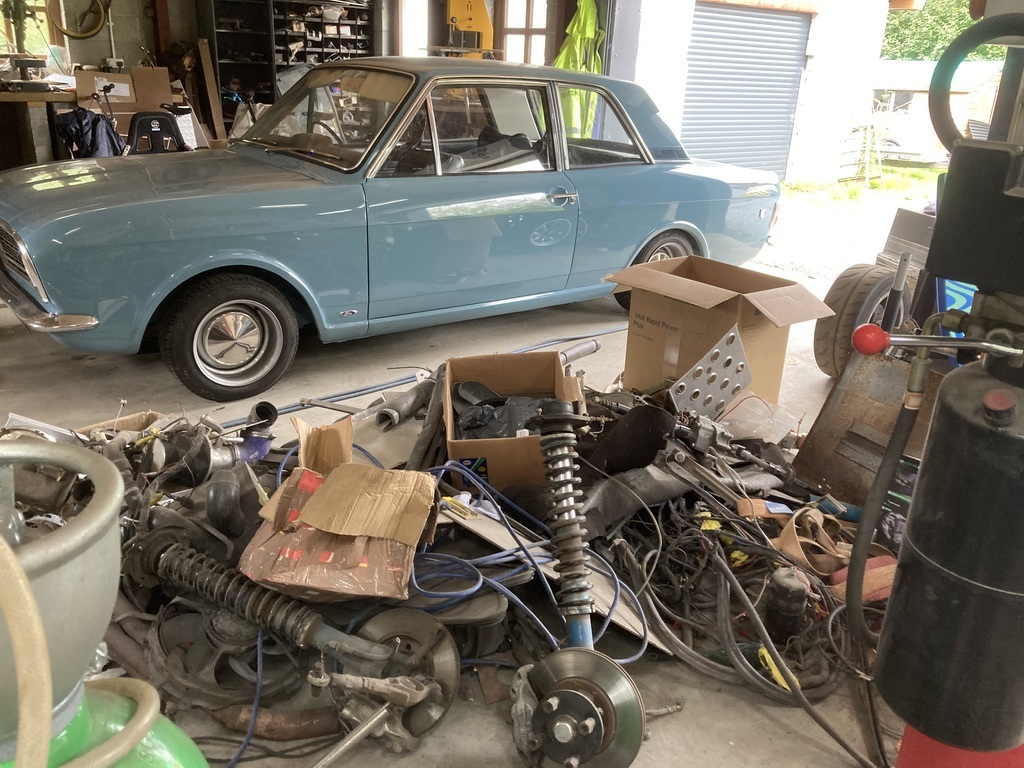 |
| |
|
|


