|
|
|
Aug 27, 2023 15:21:54 GMT
|
After being dragged around the shops by Mrs Jonsey this morning, I finally got out the garage by midday. The passenger side strengthener was snobbed on 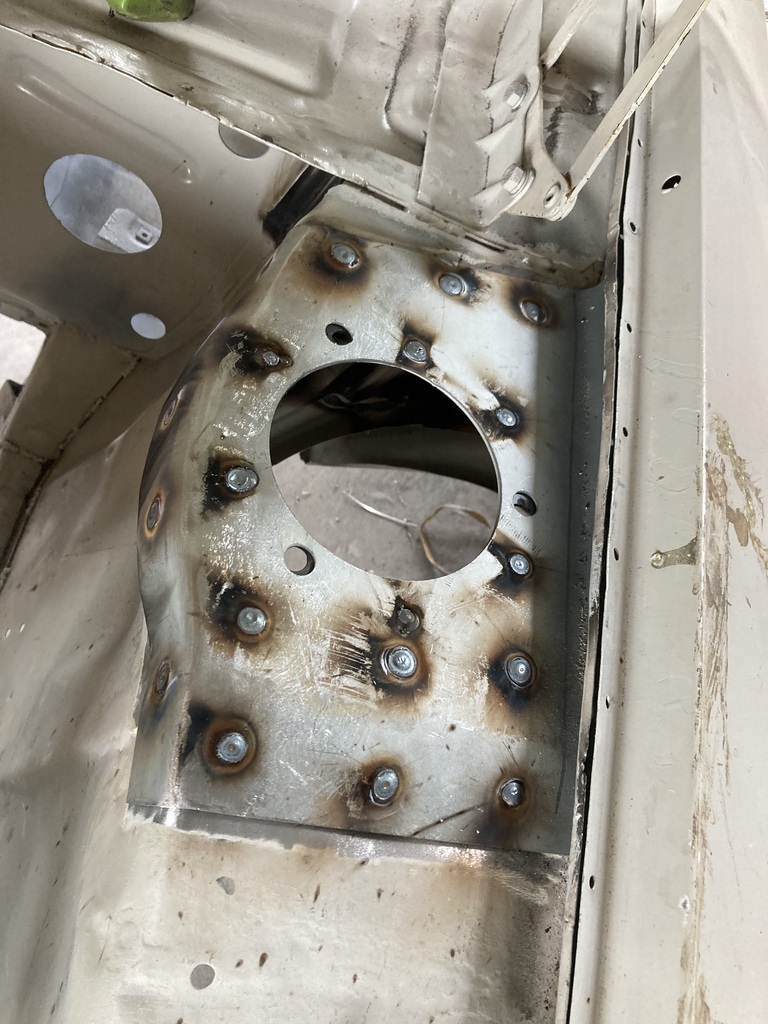 Ground back 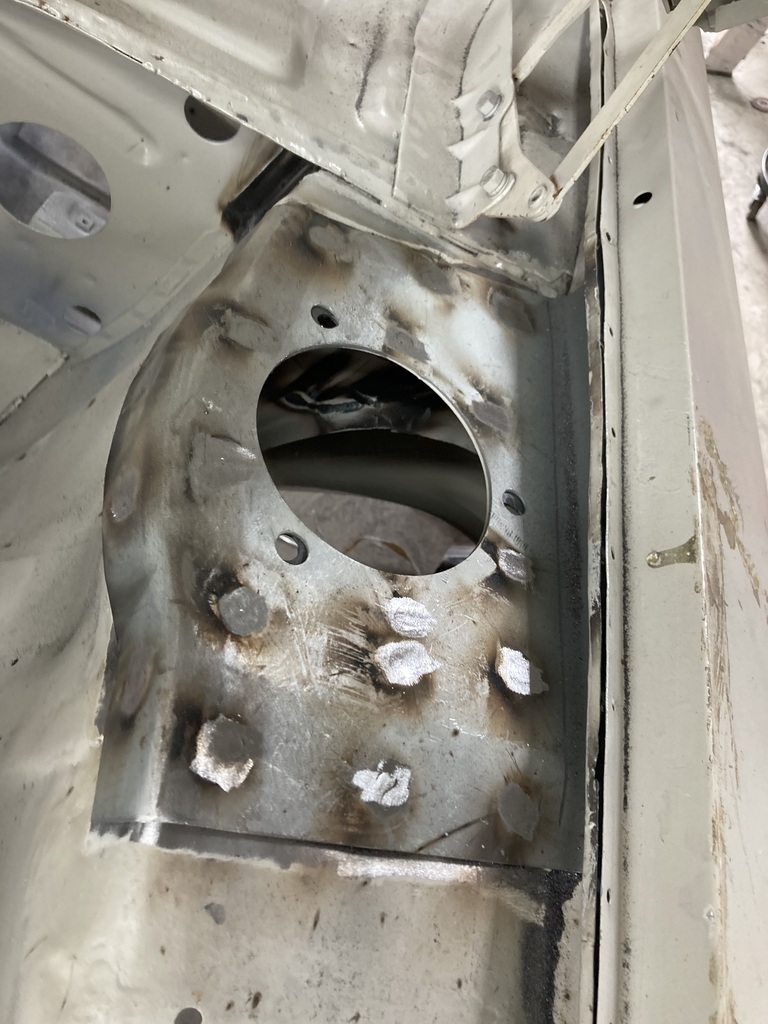 and sanded to make it look nice 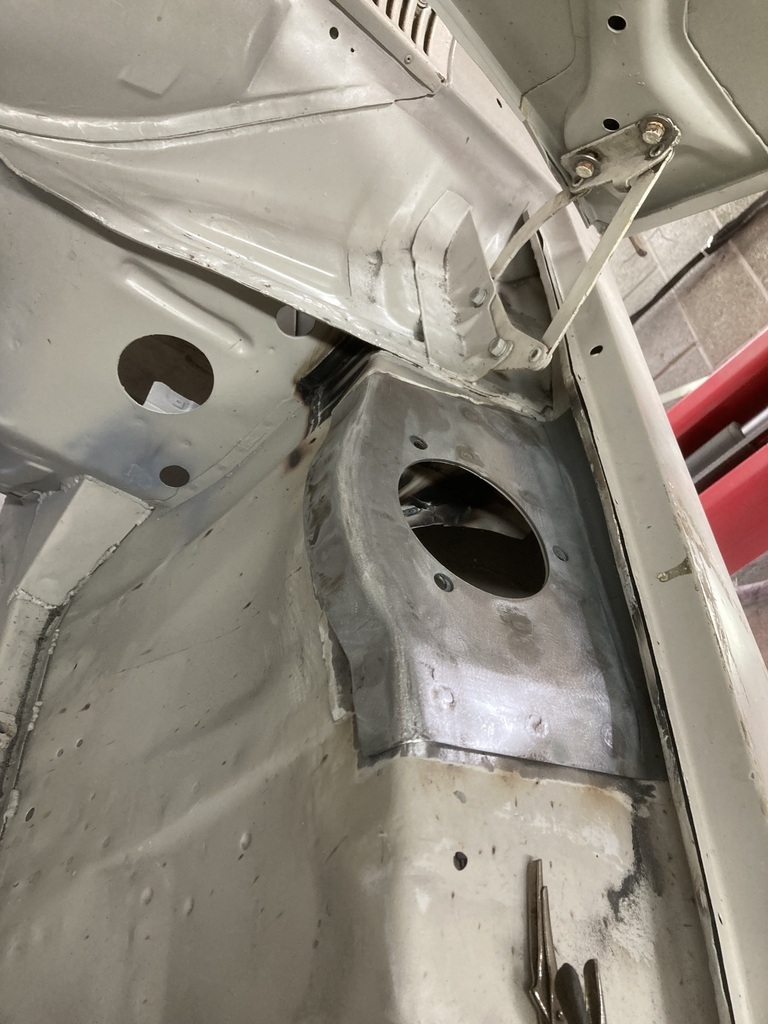 Went to weld on the driver side and the rear of the inner wing top had sunk when I welded the strengthener box underneath a few weeks ago. The slide hammer was welded on and the level brought up. 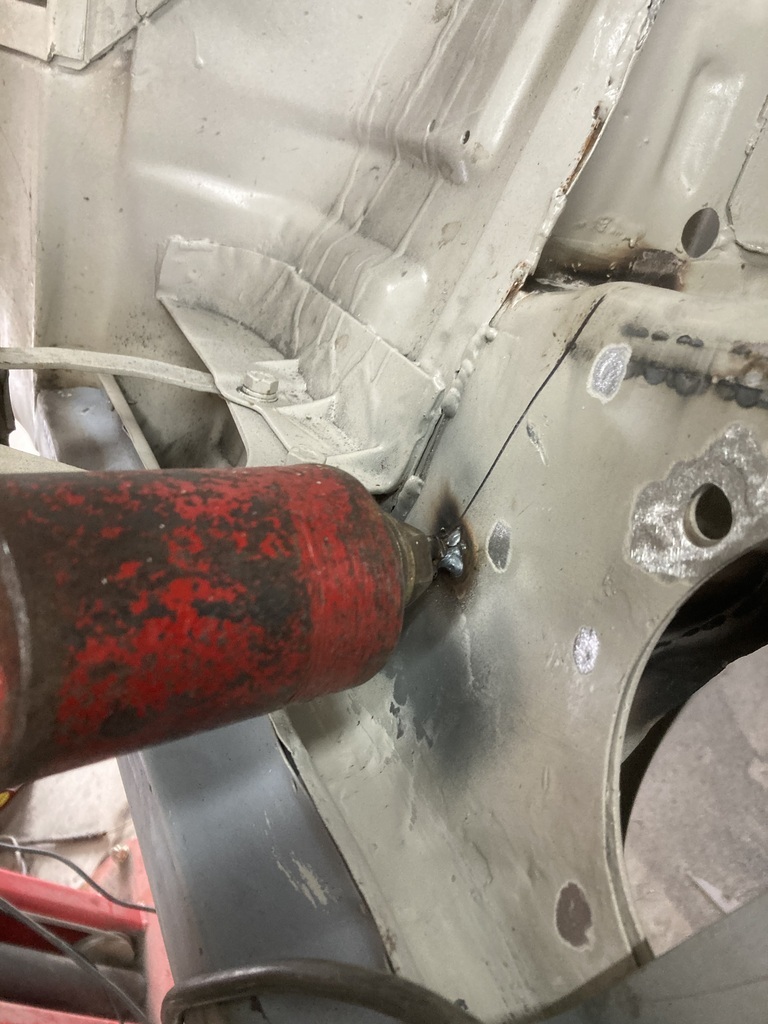 Welding could then continue 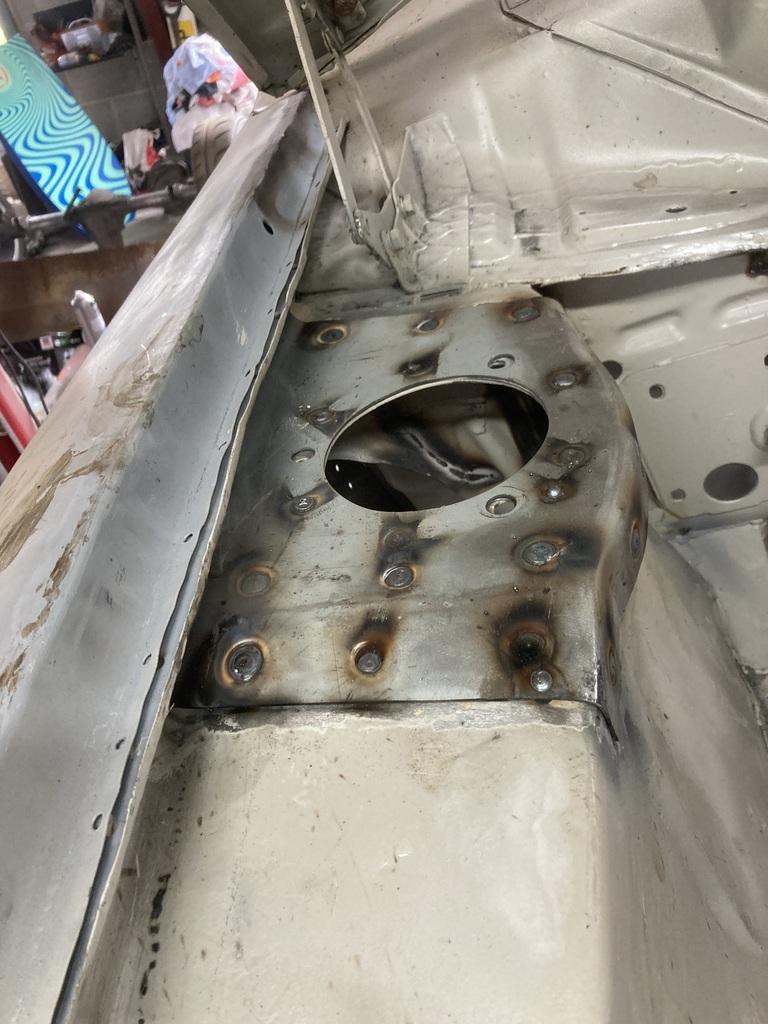 It then got ground back and sanded but no progress pics. I then bolted up a suspension top mount so I could weld on some thick washers to get over the fact the holes in all the strut top panels are way to big 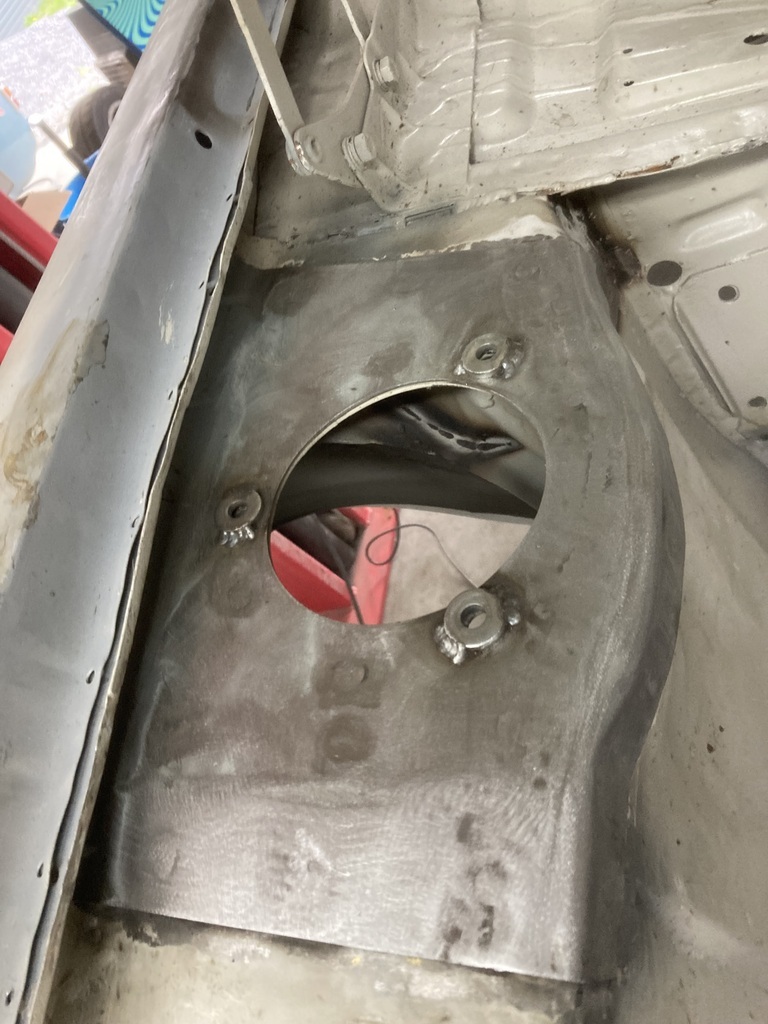 and the other side with the top mount still attached 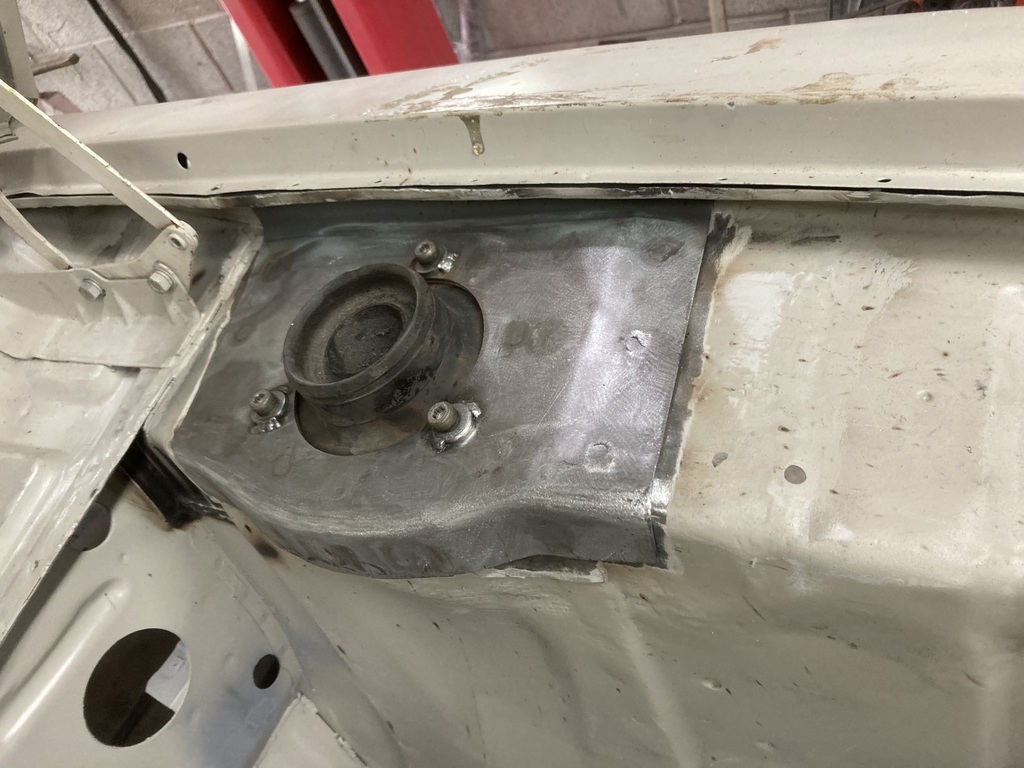 A bit of primer was then added. 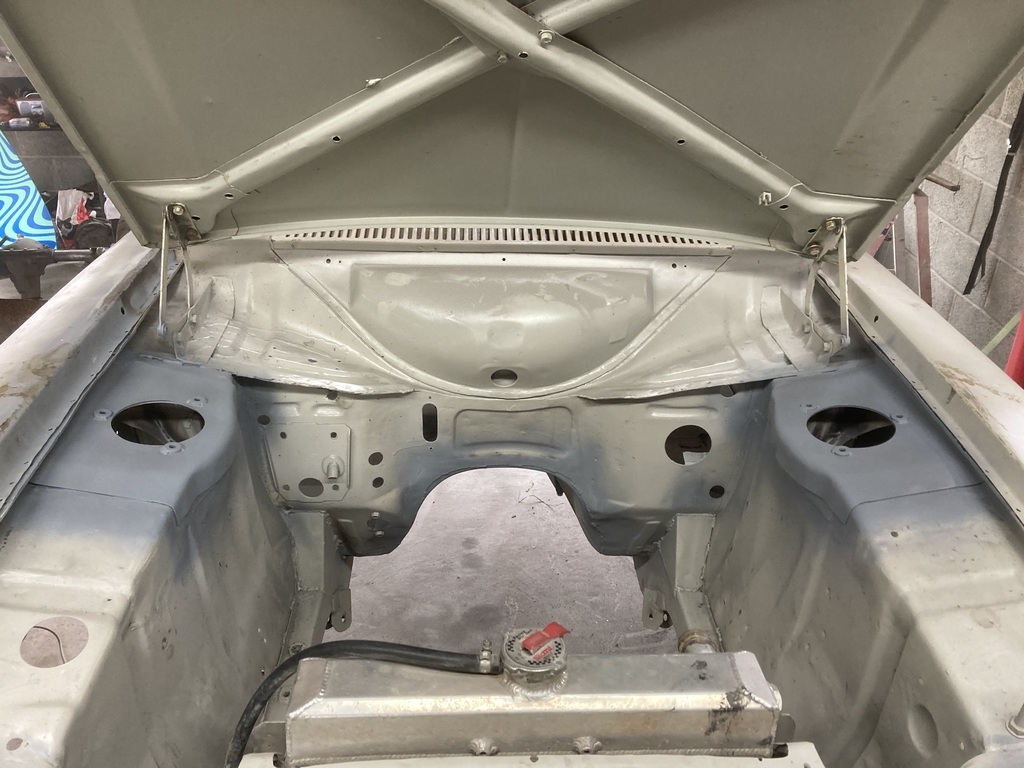 And another item could be crossed off my list. I’m a lot happier with todays progress. The strut tops have worked out a lot better than I thought they would 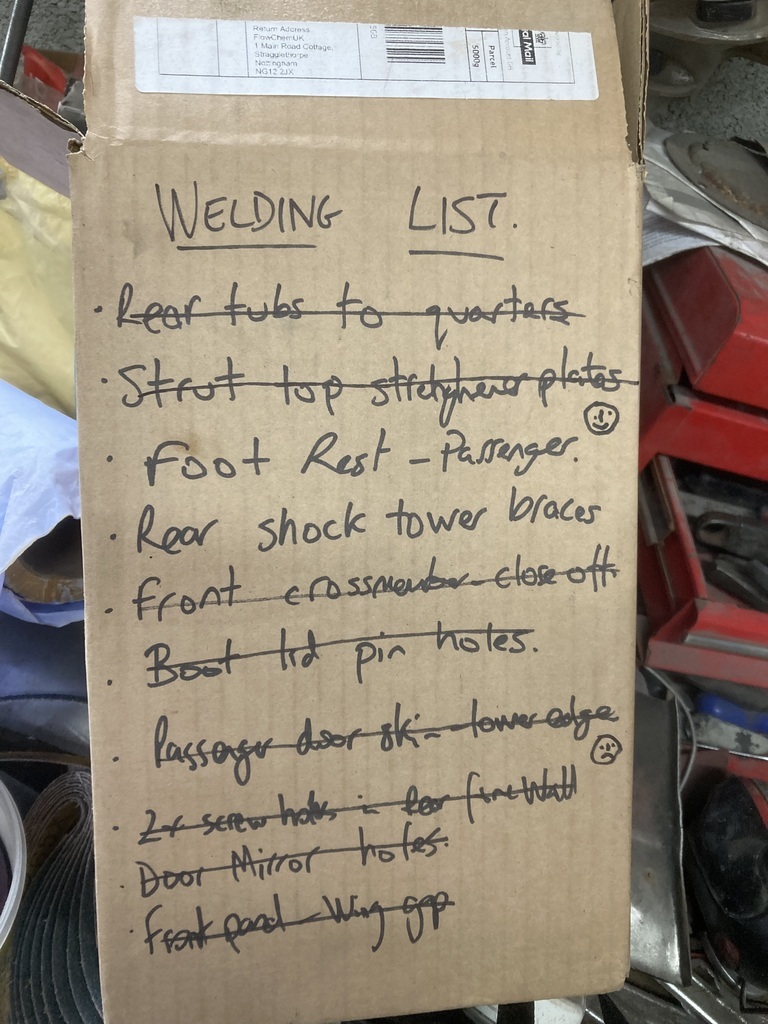 |
| |
|
|
|
|
|
|
|
Sept 10, 2023 19:19:43 GMT
|
I’ve not updated I’m a while. Well I have, but since we’ve had the new look desktop, I’ve lost a few reports that I’ve written. Even when I switched back to the old desktop I’ve still written and lost updates 😩. I’ll update in a few episodes so if my phone decides to eat it, I’ll not cry too much. Bank Holiday Monday(I think) Lots of rally cars get the door and window apertures seem welded or brazed. I asked both of my brothers if they thought it was worth doing and they both said no. But on my Escort, in some places the spots welds are about 2” apart. 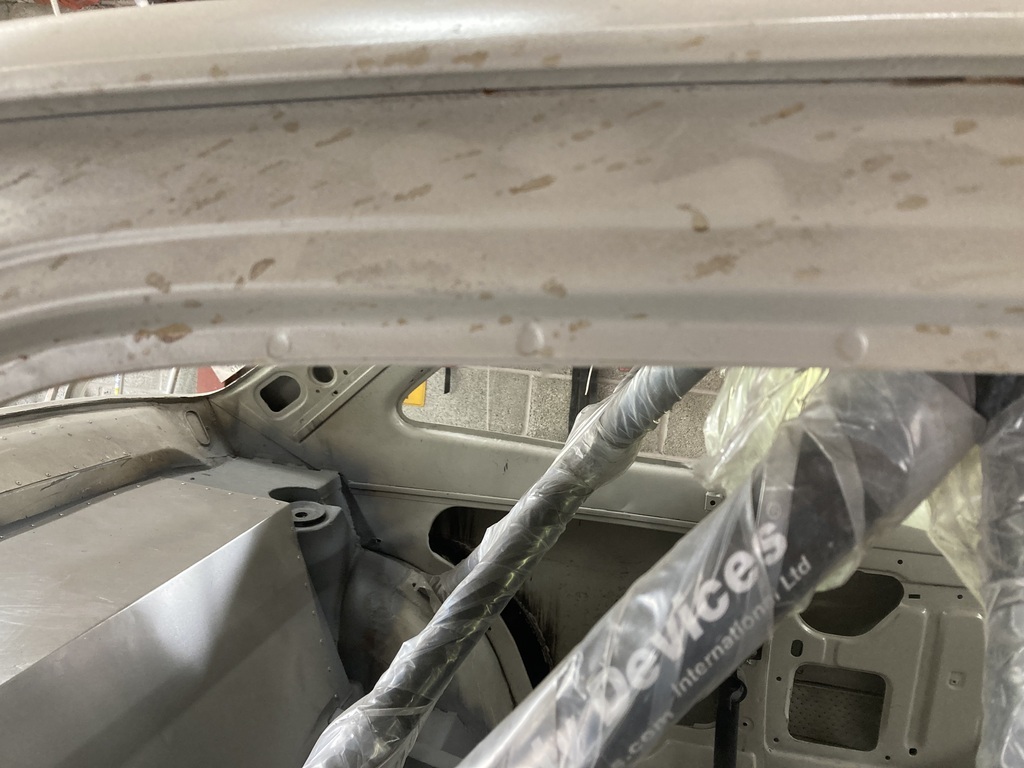 So to combat this, I borrowed my brother’s spot welder again to fill the gaps. 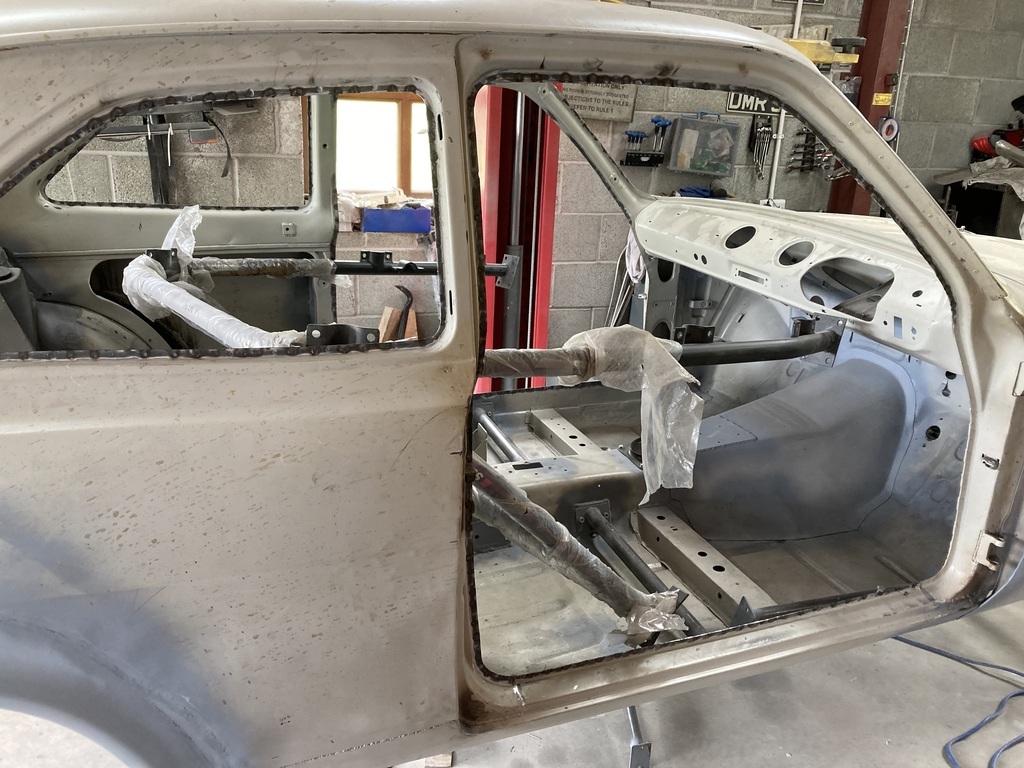 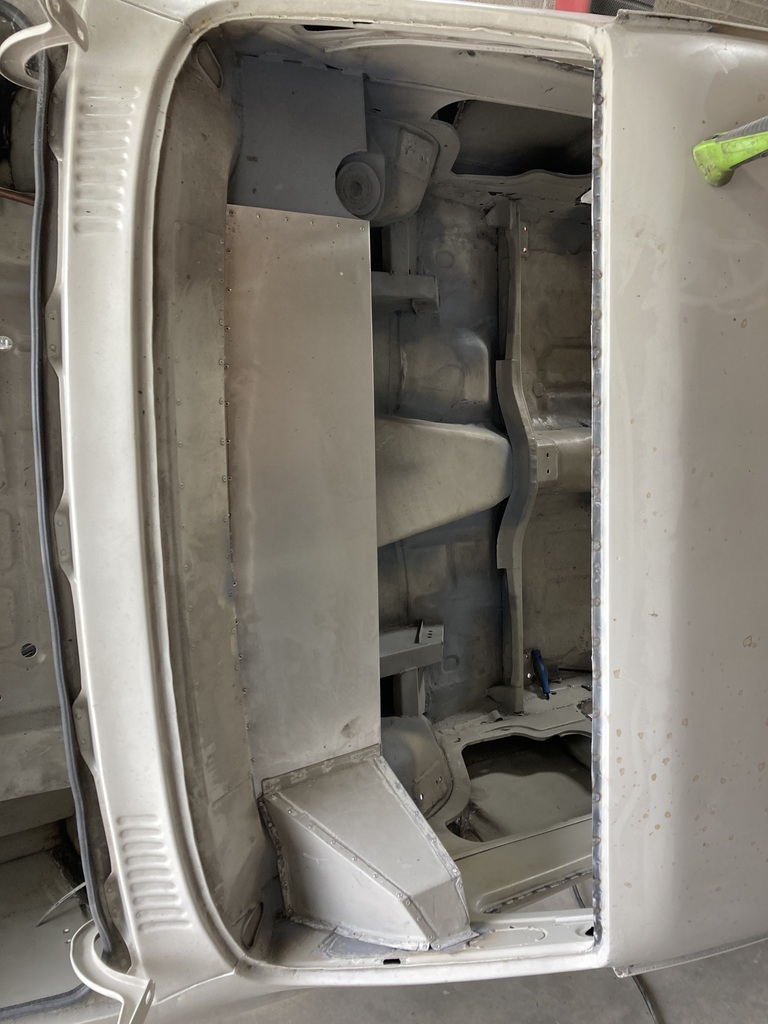 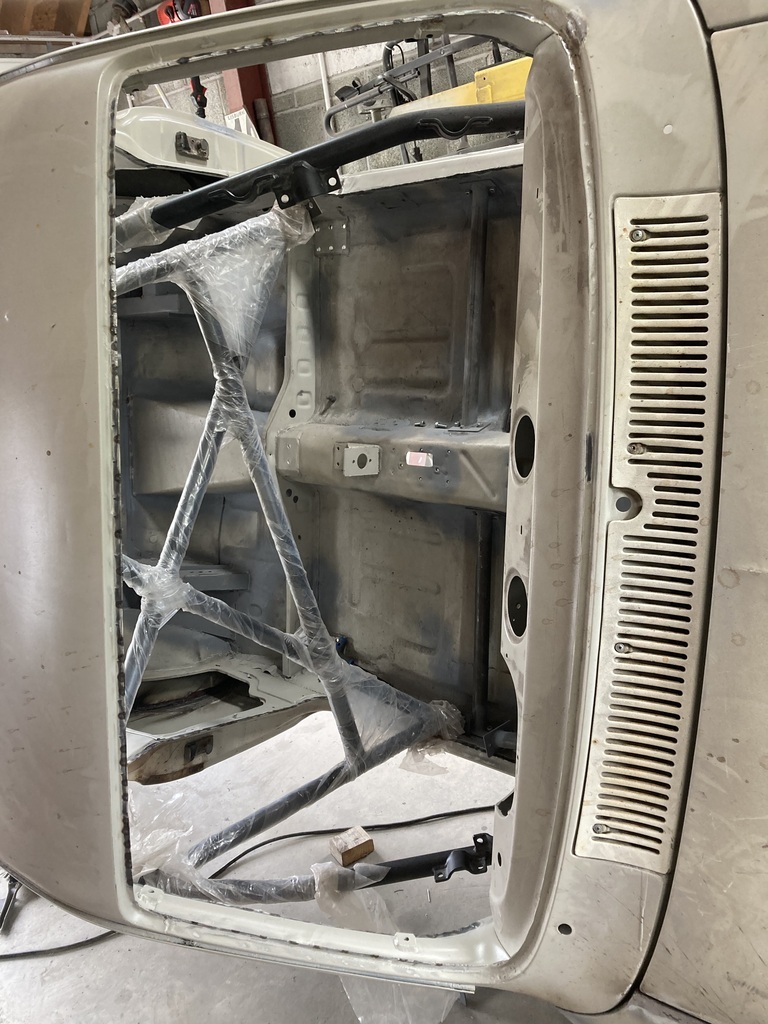 Those paying attention will remember when I boxed the fuel filler pipe back in some moths ago, I made a speed blister to seal off the bottom of it, where it rides over the rear coilover mounting. I later realised I hadn’t made it tall enough to allow me to get an Allen key in to tighten the nut up. So it got dismantled. 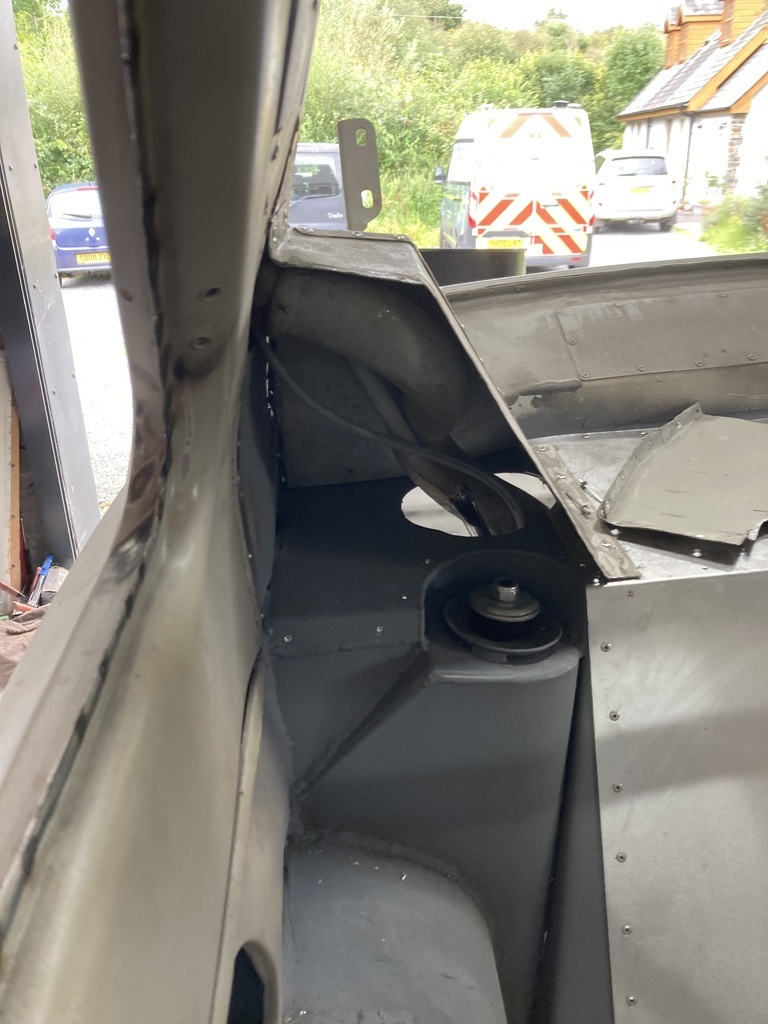 A new top hat made 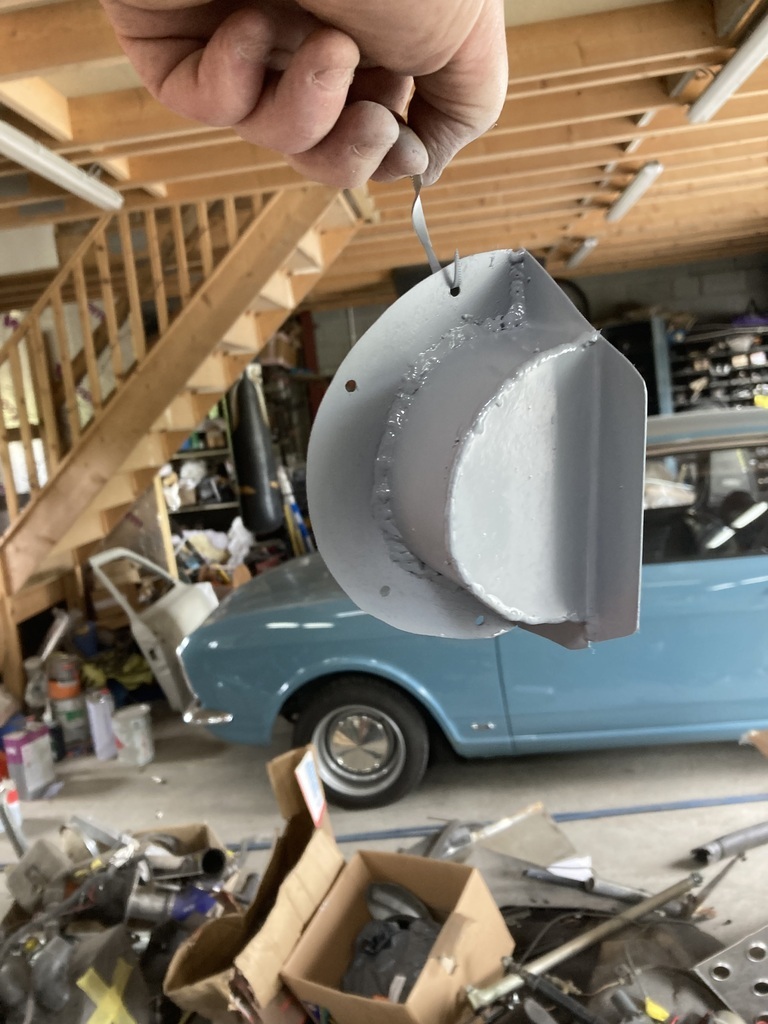 And the side refitted 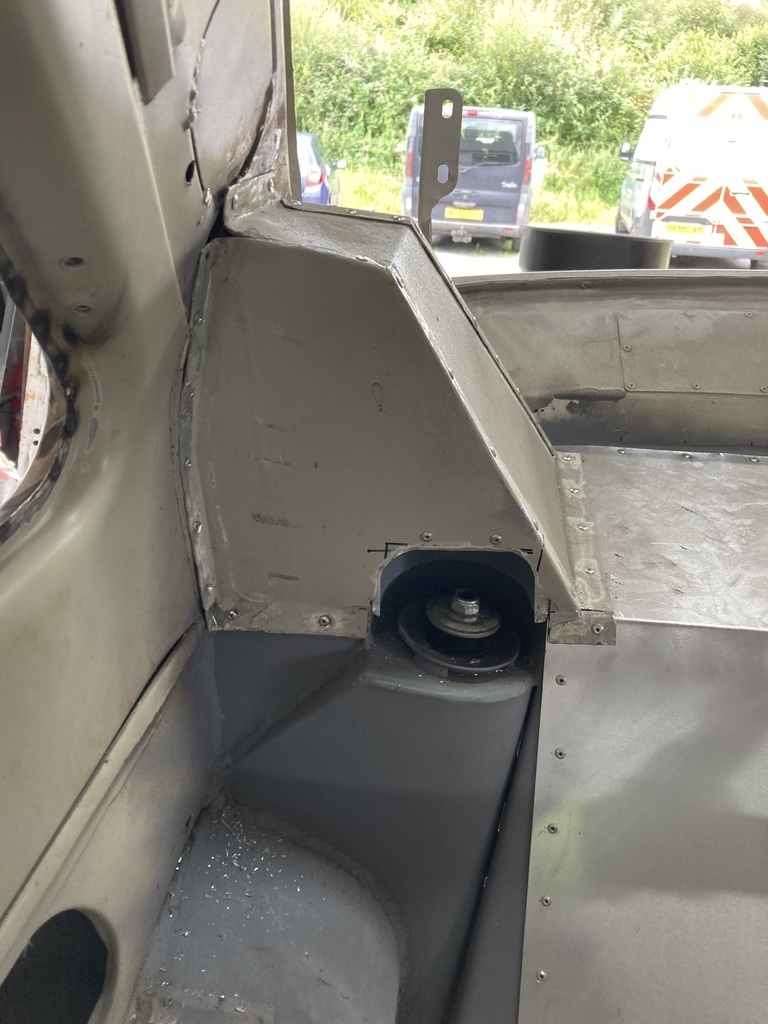 Look I can now fit an Allen key in. 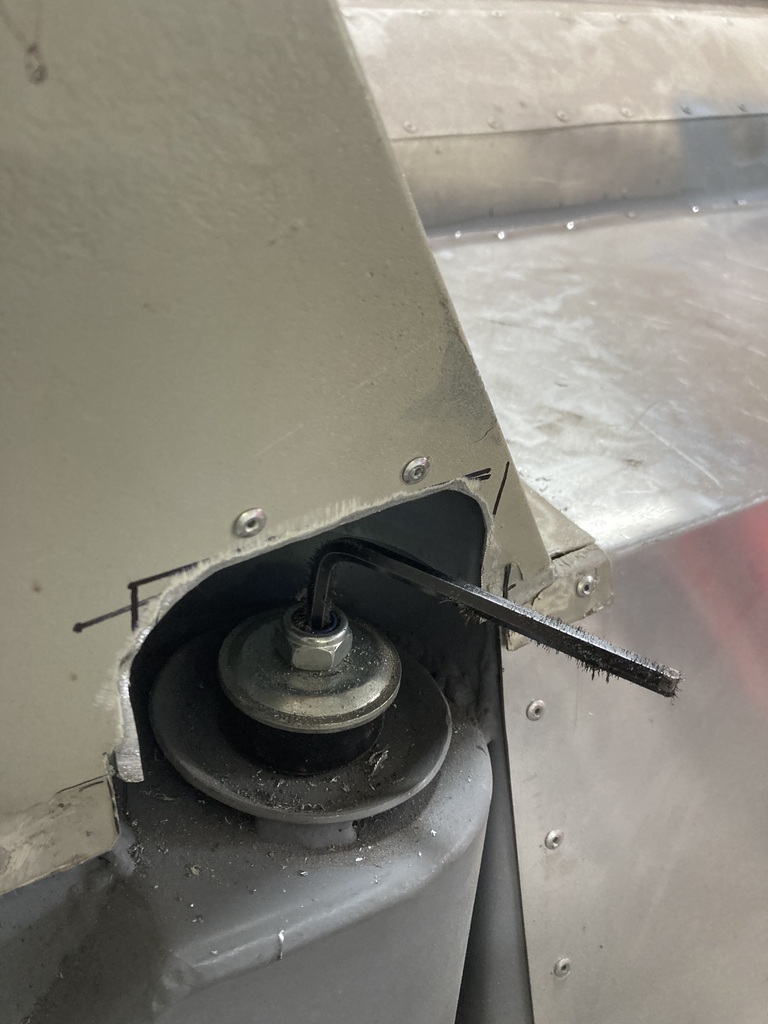 |
| |
|
|
|
|
|
Sept 10, 2023 19:37:04 GMT
|
Some day after the Bank Holiday Monday As I’m now going to be using the rear turrets for coilovers other than just shock towers, I wanted to fit a strut brace. Ideally it would have gone in the boot behind the firewall. I use a mk1 Capri 3ltr tank so it’s pretty big and takes up all of that space. I could fit one of those bling aluminum ones, but I don’t think they’re appropriate in a mk1. Only one thing for it and that is to put it in front of the fire wall. So I cut some 8mm plate as that’s what I had and drilled some holes. 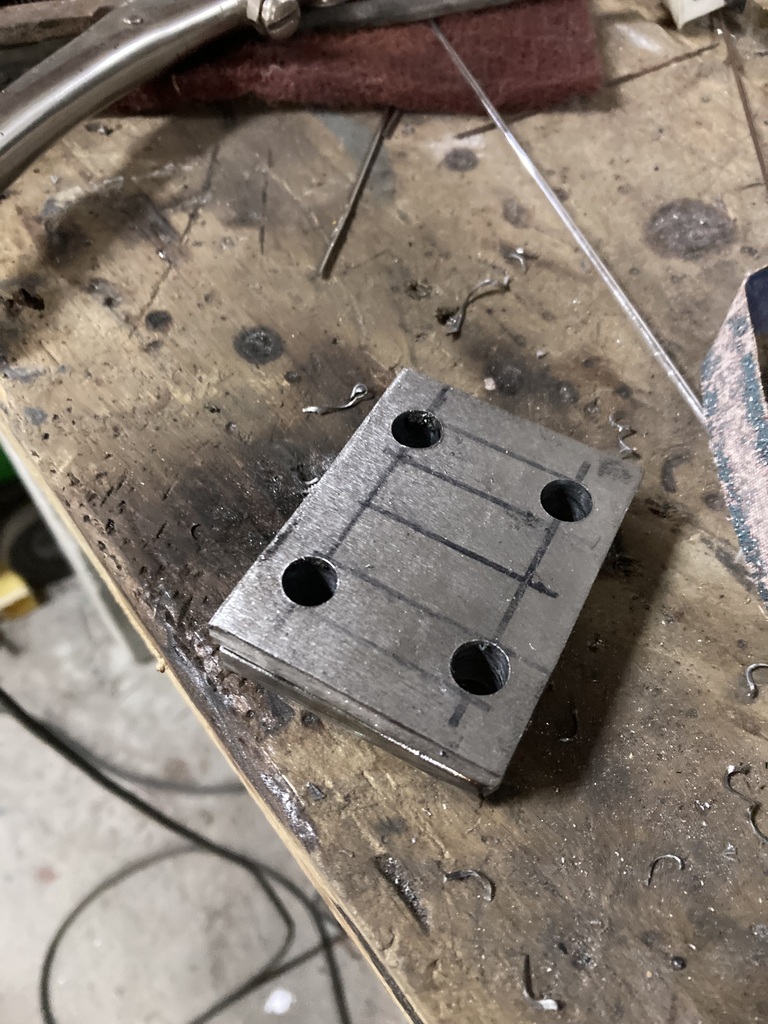 As soon as I did this I realised I wanted to tap m8 threads in the plates and I’d drilled them clearance rather than tapping size. So I cut some more plates 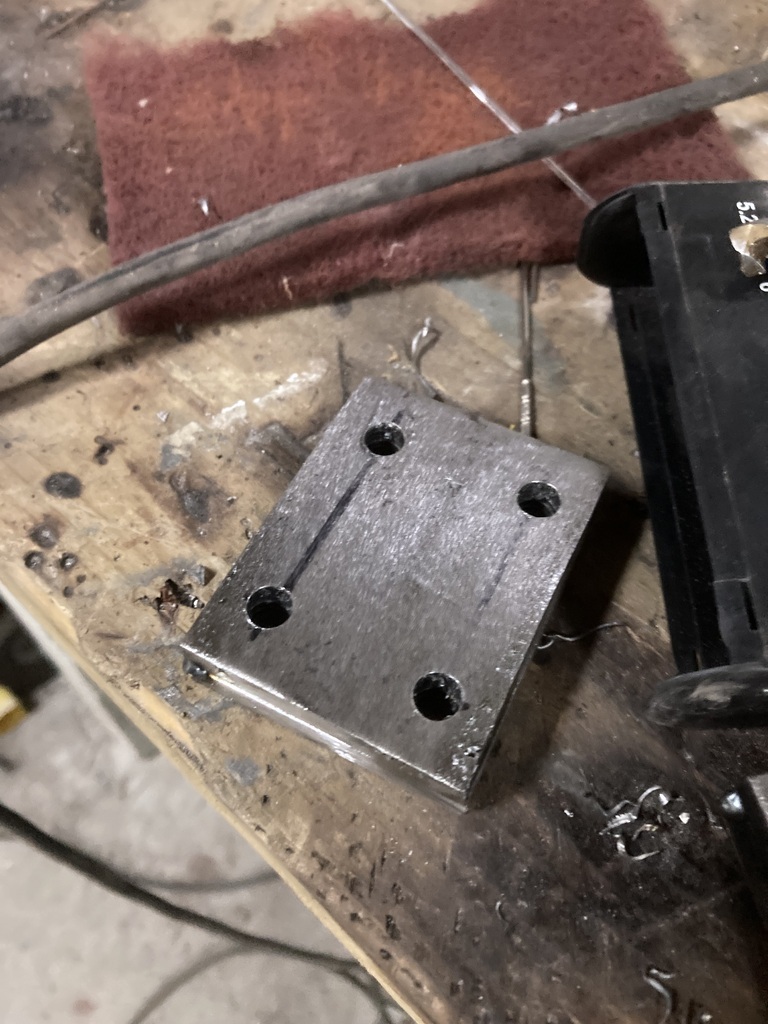 These got tapped to m8 and I made a matching set in 3mm plate (not tapped). This piece of 1” tube 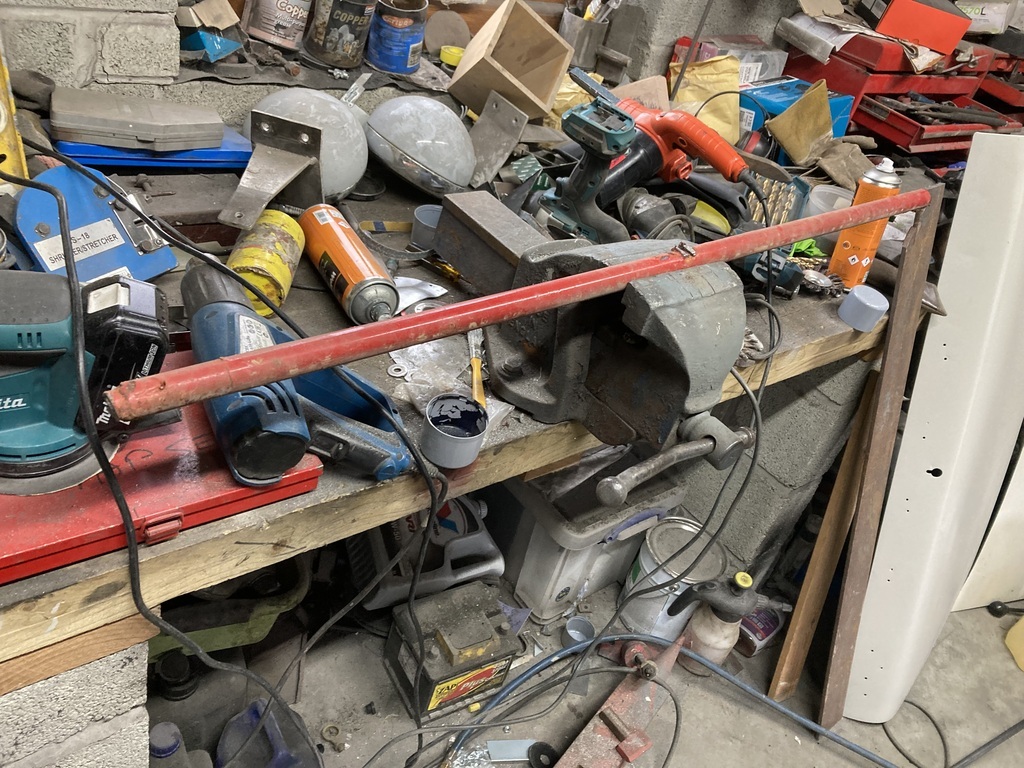 Was once the dash bar in this, 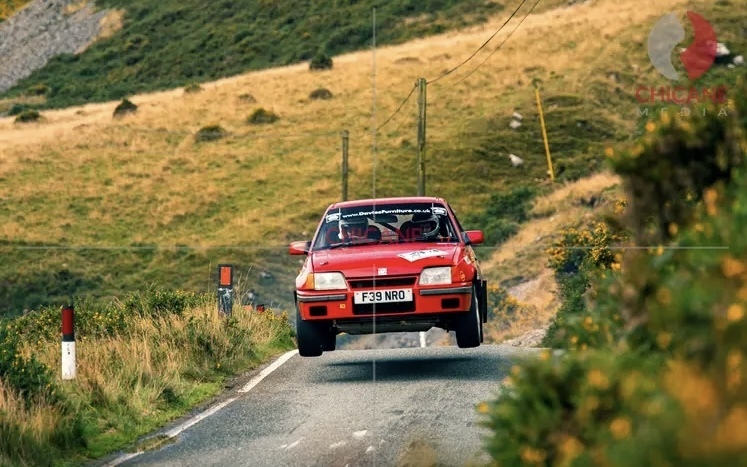 when it was my Autograss car. Before that it held up a dress makers dummy. Now it’s going to be a strut brace. I cleaned off the old paint and rust 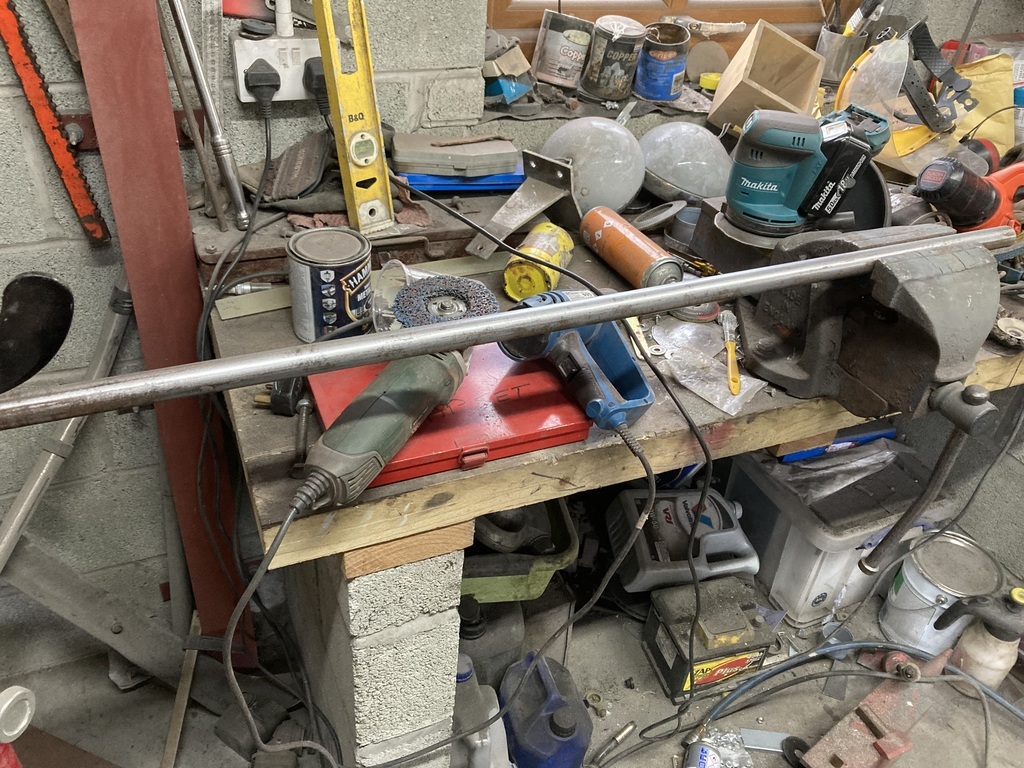 And welded on the 3mm plate 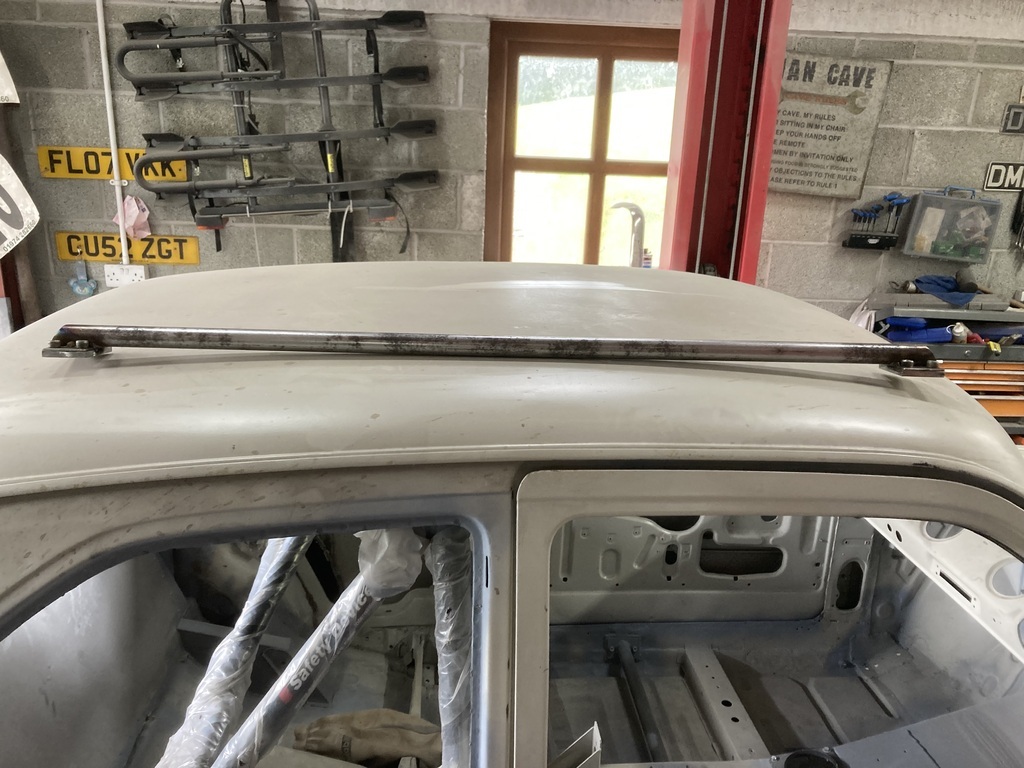 The 8mm plates were then welded to the turrets 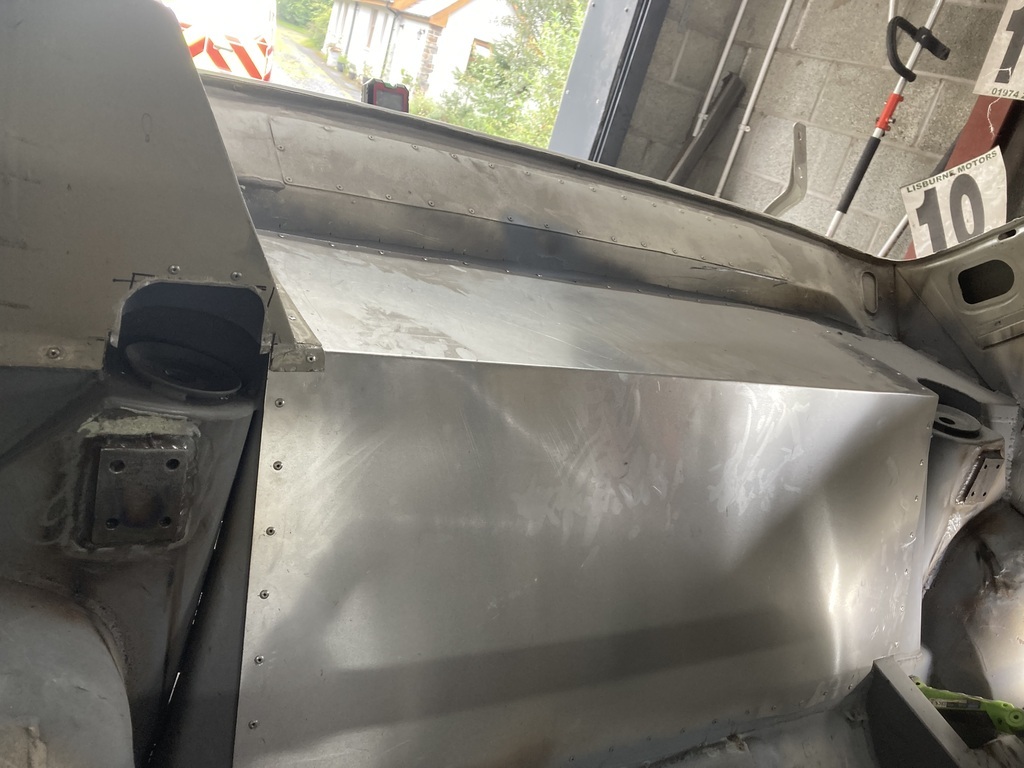 There you go. A strut brace 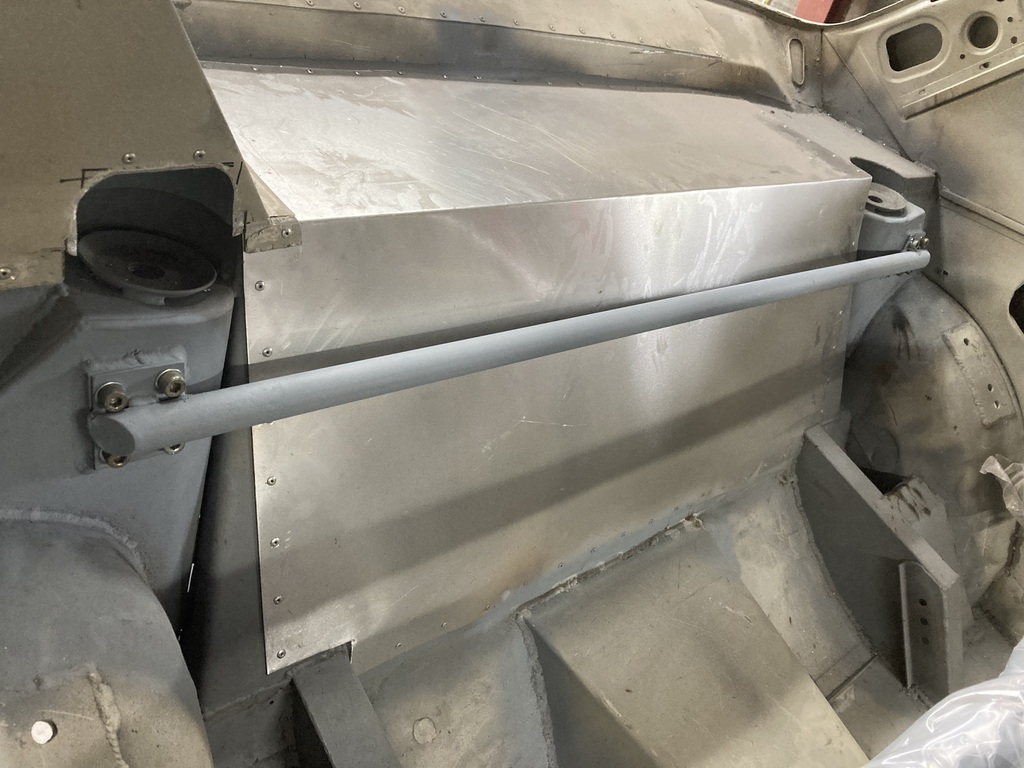 Not every Escort owners cup of tea. |
| |
|
|
|
|
|
Sept 10, 2023 19:59:43 GMT
|
Some other day in the past. The bottom of the front wings were a bit shabby with redundant holes and slits 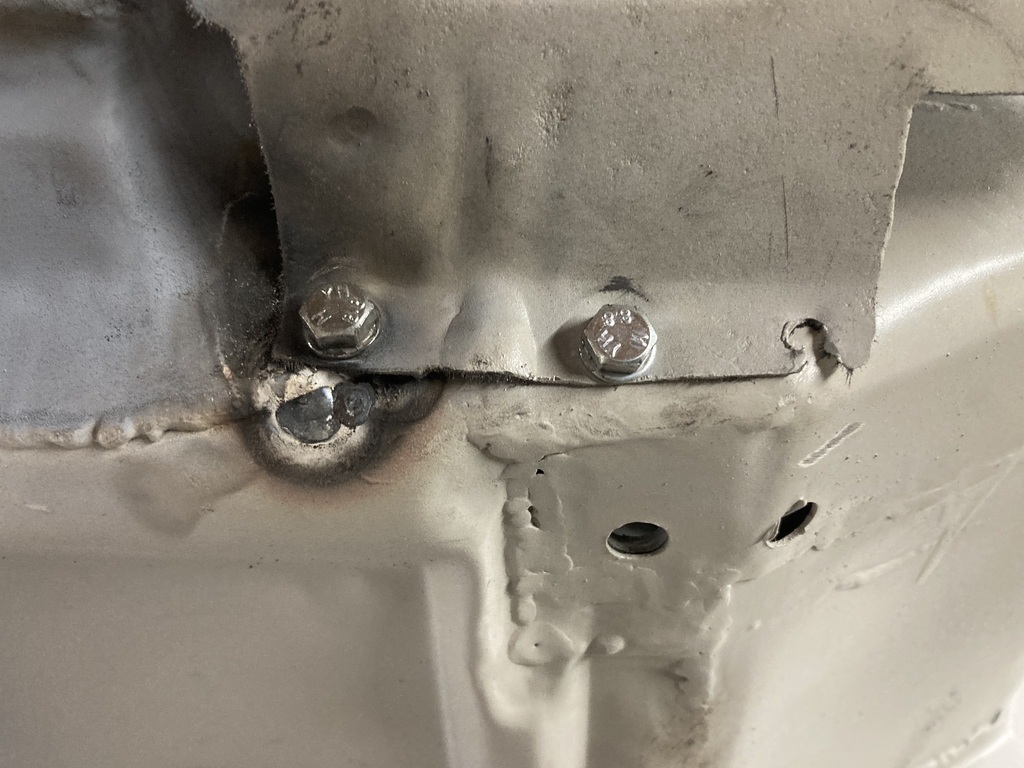 A bit welded on 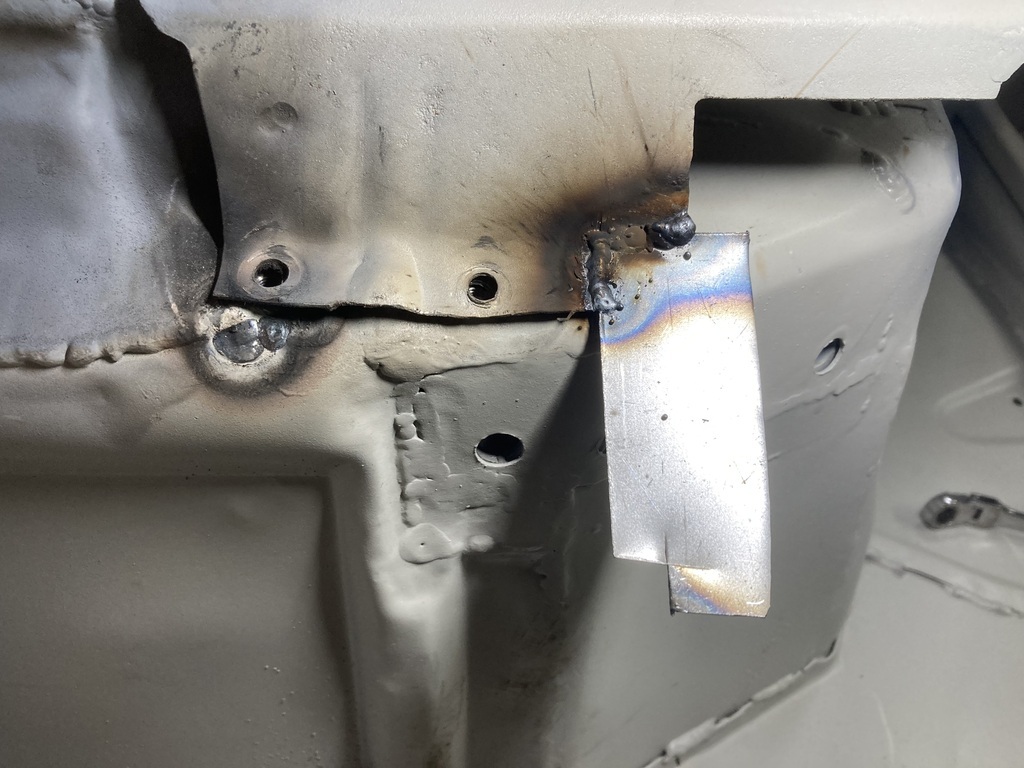 Ground back and in primer 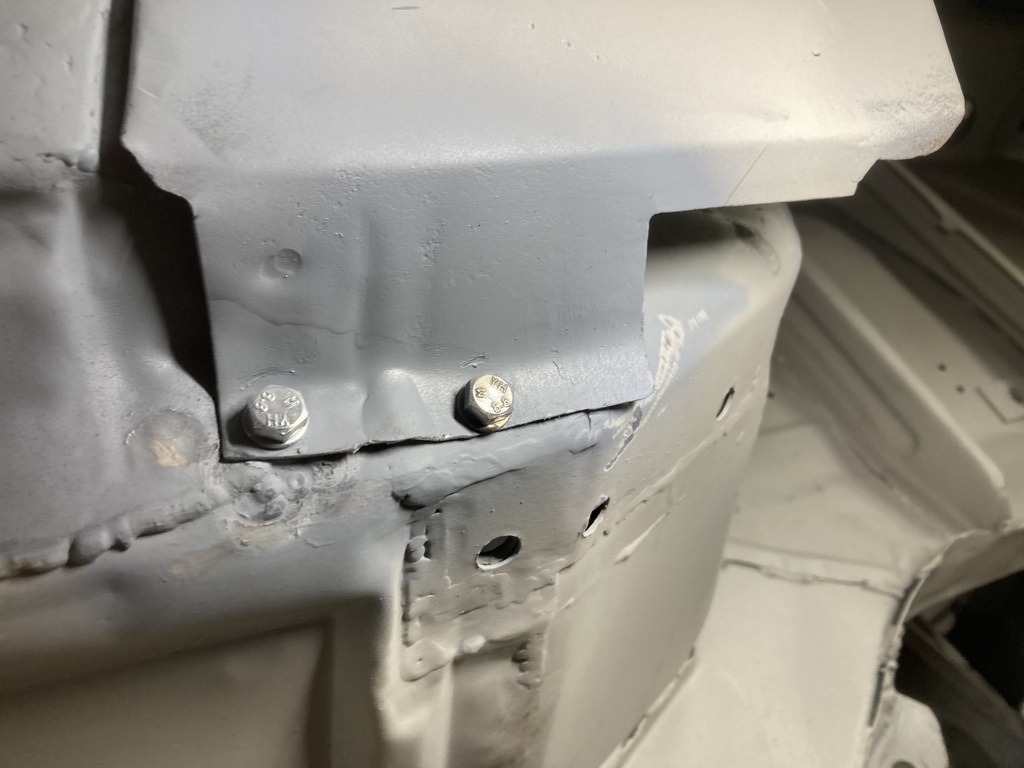 Other side 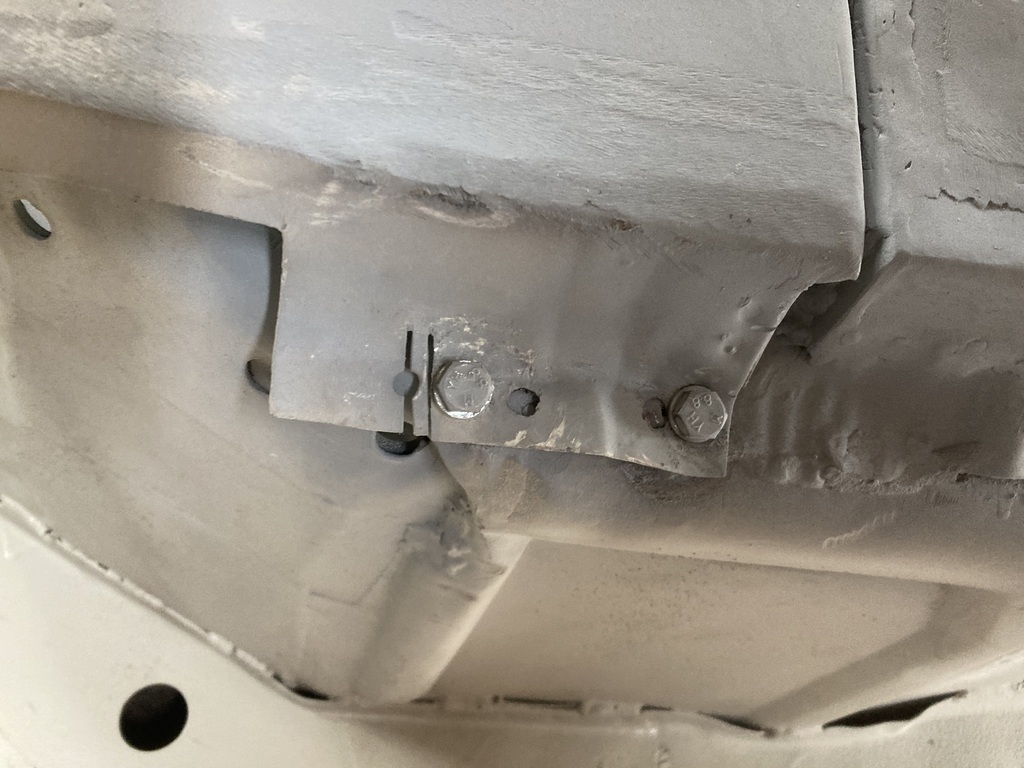 Welded 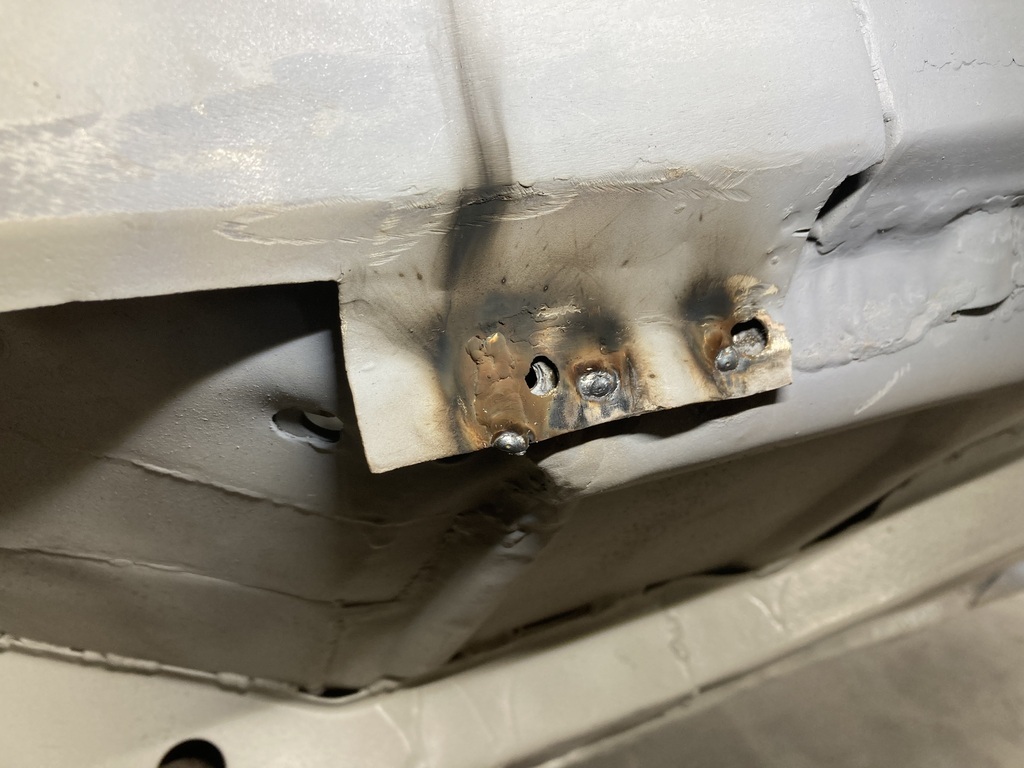 Ground and I’m primer 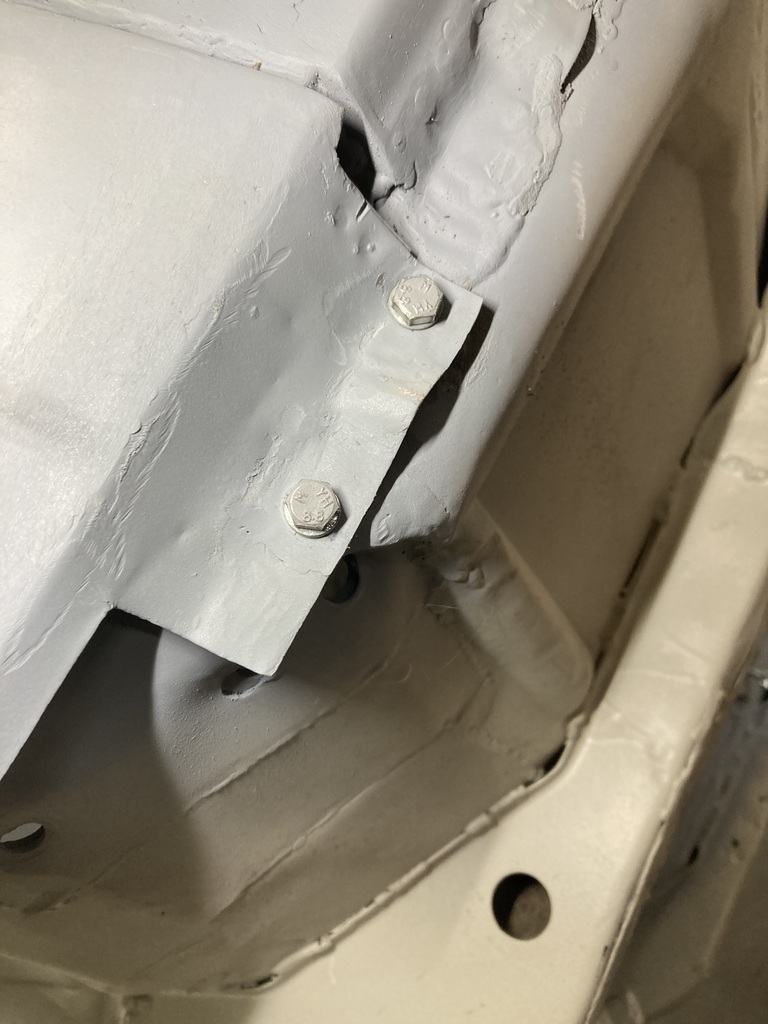 When the front wings had fiberglass wheel arches, they were bonded and riveted on. The rivet holes were still there so these got welded - no photo. The passenger door has trim holes on the inside that were no longer needed 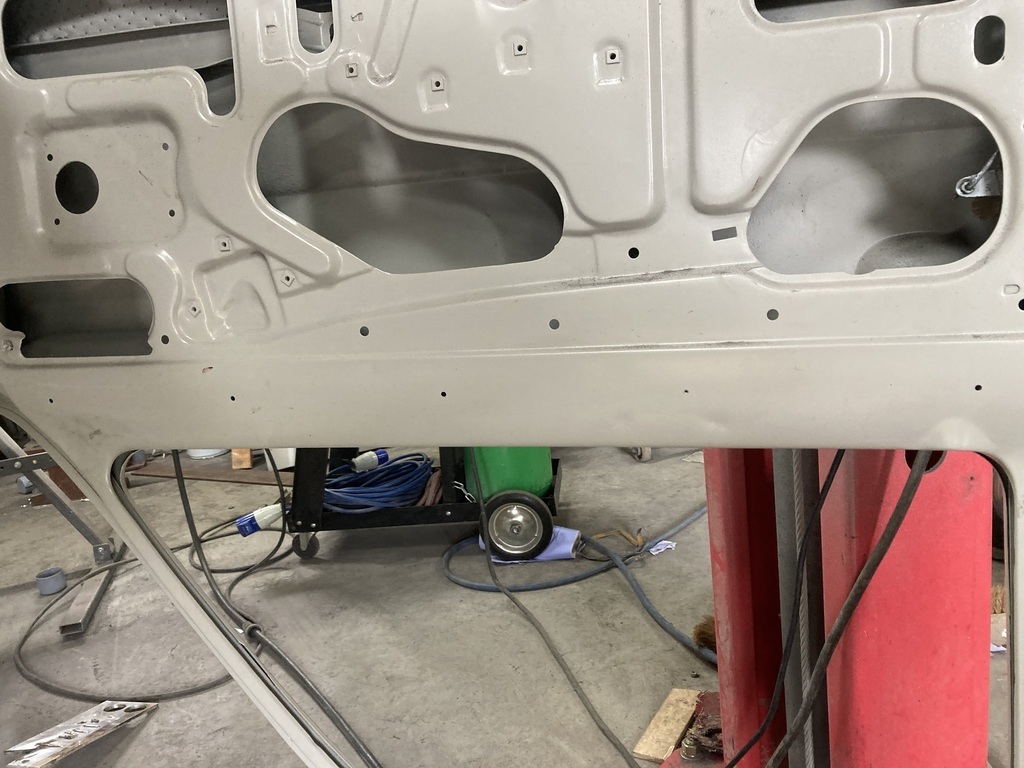 Welded 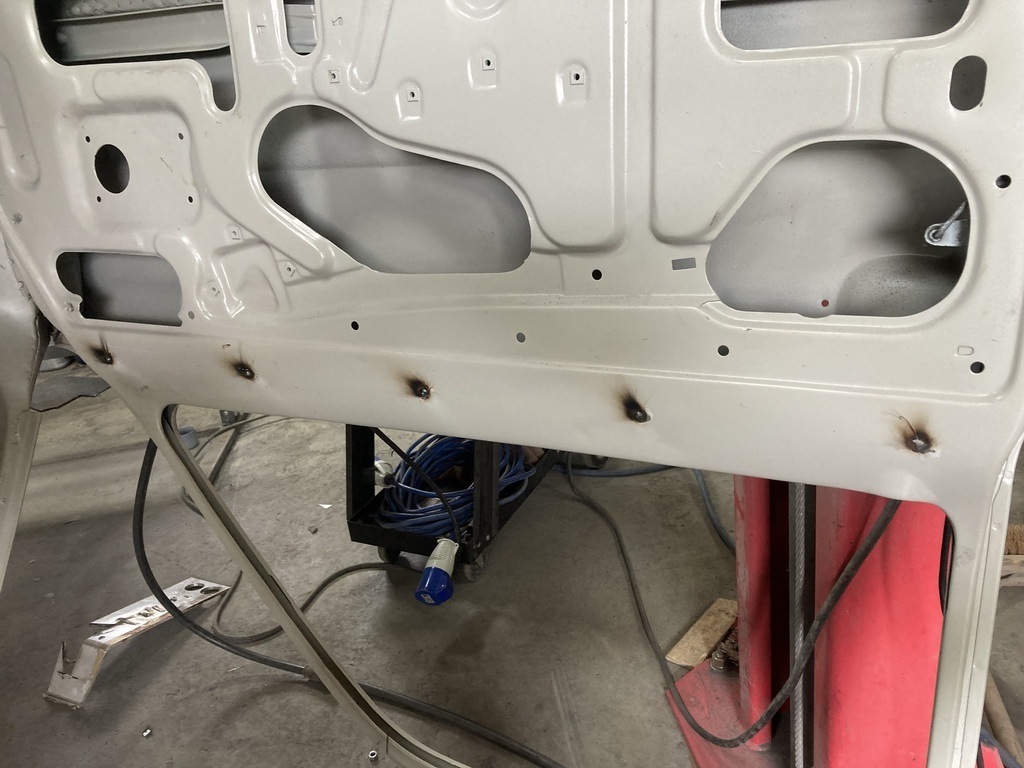 And ground 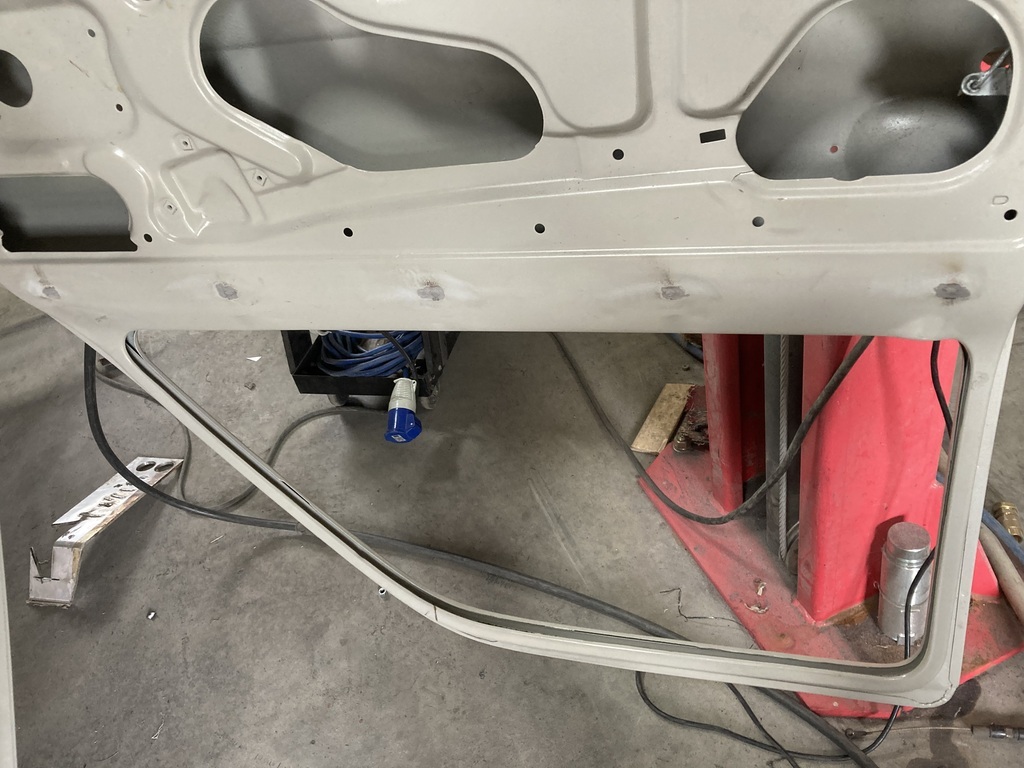 Those photos are upside down as it was easier to turn the car upside down than it was to drag the welder around the other side I also seam welded the seams either side of the diff tunnel but no completed photo apparently. 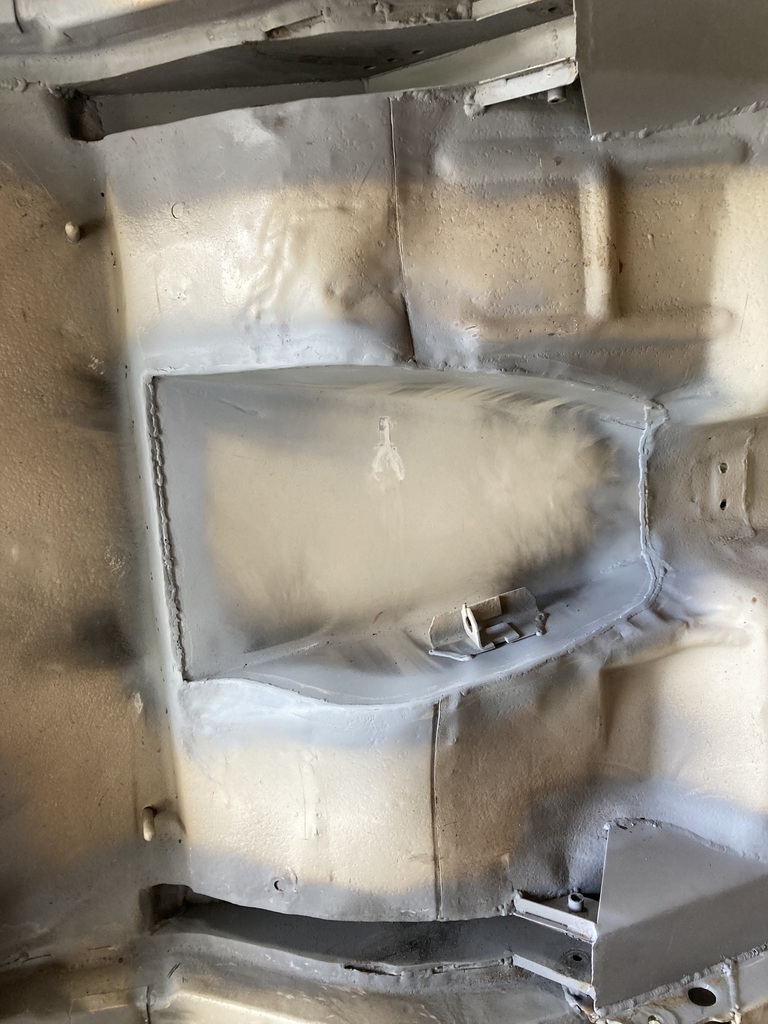 I then threw a seat in and placed the navigator’s foot rest where it needs to go. I had to use my wallet to hold it down. 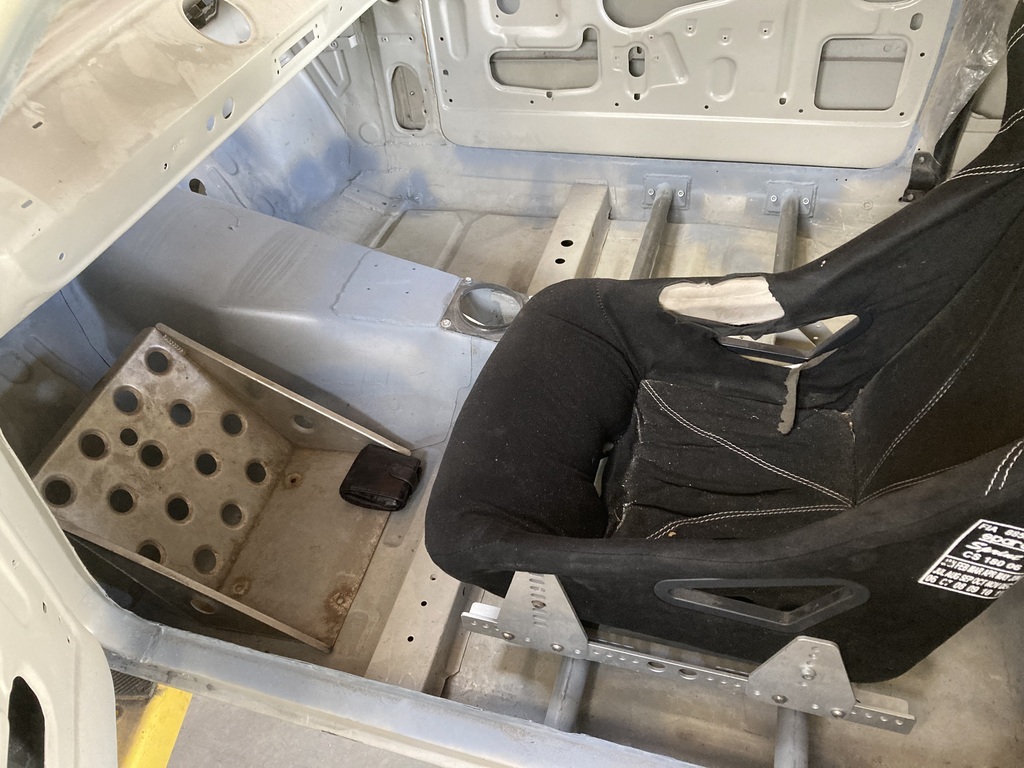 As I’ve fitted a bl00dy great big gearbox tunnel, it needs to be spaced up a bit to clear. So I made some spacers 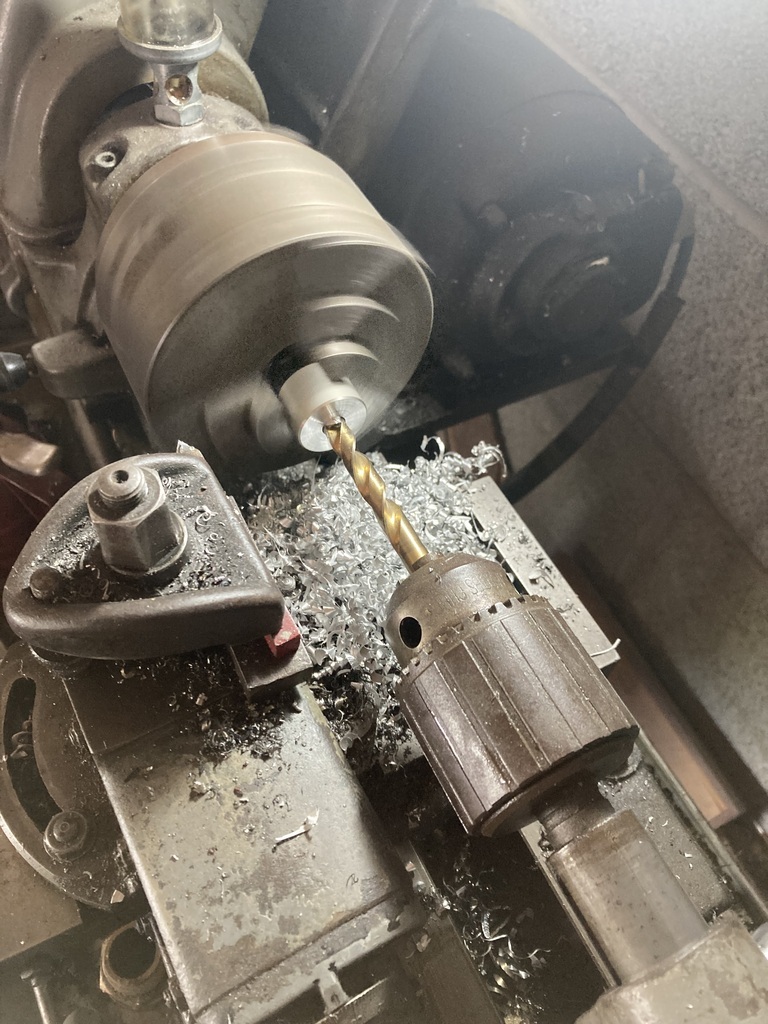 Bolted the foot rest in 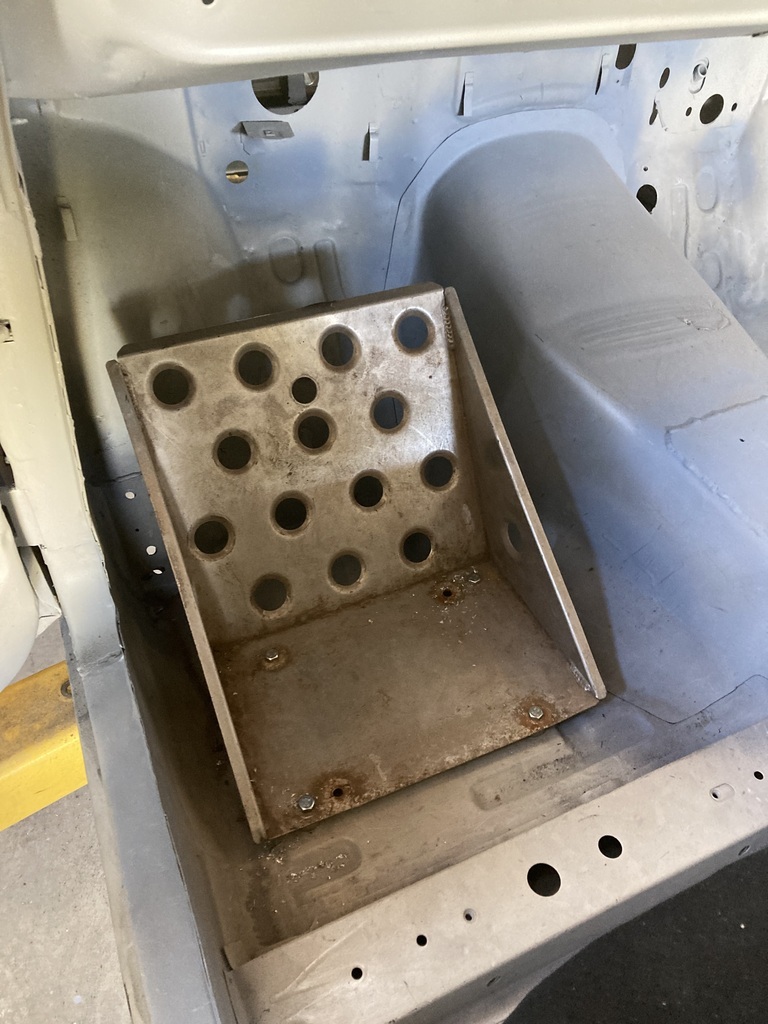 And welded the nuts underneath 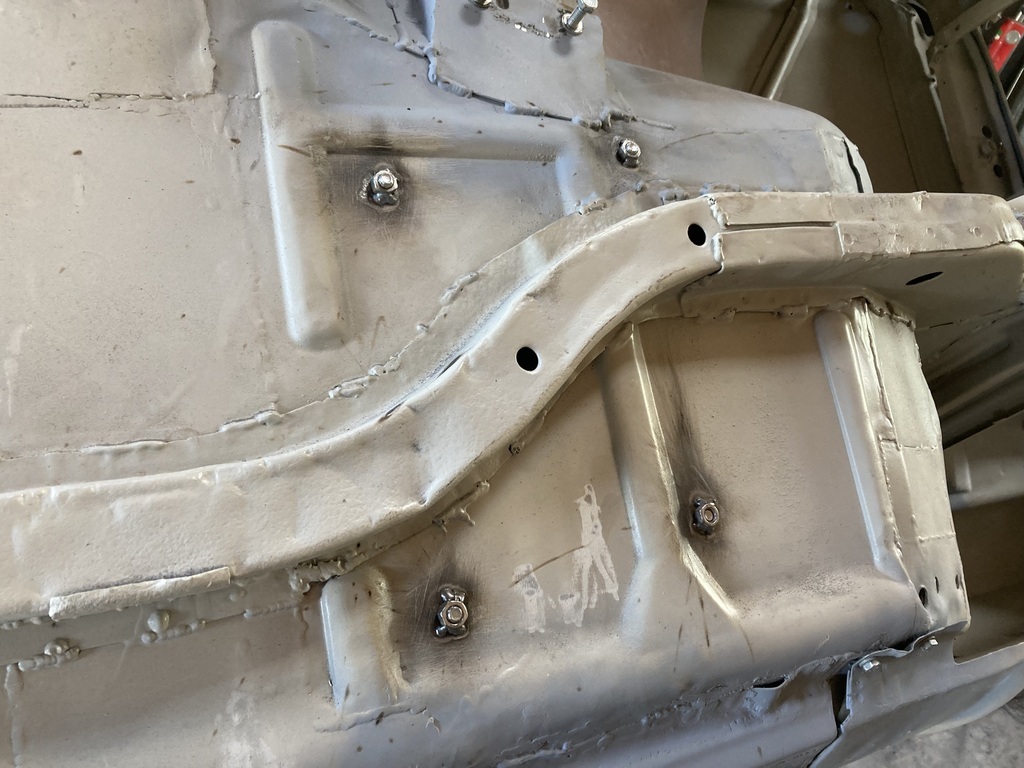 And that’s it 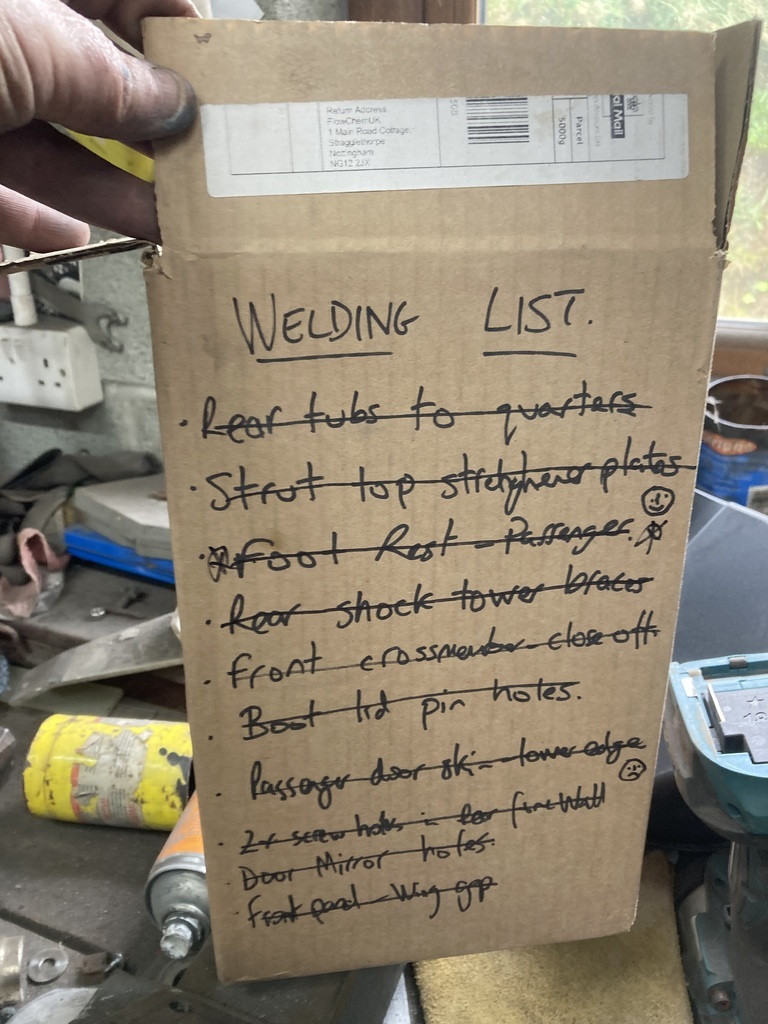 ALL THE WELDING IS DONE!!! Well I say done. I might find a few other little jobs, but that’s it for everything I can see at the moment |
| |
|
|
|
|
|
Sept 10, 2023 20:22:32 GMT
|
|
Love this!
So, slap some paint on it and bolt the gubbins on and you are away!
|
| |
|
|
teaboy
Posted a lot
   Make tea, not war.
Posts: 2,127
|
|
Sept 10, 2023 21:27:47 GMT
|
|
Cool!
Back on the road in a fortnight then?
|
| |
|
|
|
|
|
Sept 10, 2023 22:12:00 GMT
|
|
Thanks Mr Lee and T. Sadly not. I’m going to “paint” (I use this term loosely) the underside, inside and engine bay myself. The rest will hopefully be done by someone who knows what they’re doing.
This last bit could take some time, as I found out with the Cortina.
|
| |
|
|
|
|
|
Sept 16, 2023 16:11:59 GMT
|
So no update for a few weeks. Work, rally spectating, family stuff and an avoidance of starting paint prep is all to blame. I can not explain to you how much I’ve been dreading this. So I started with this 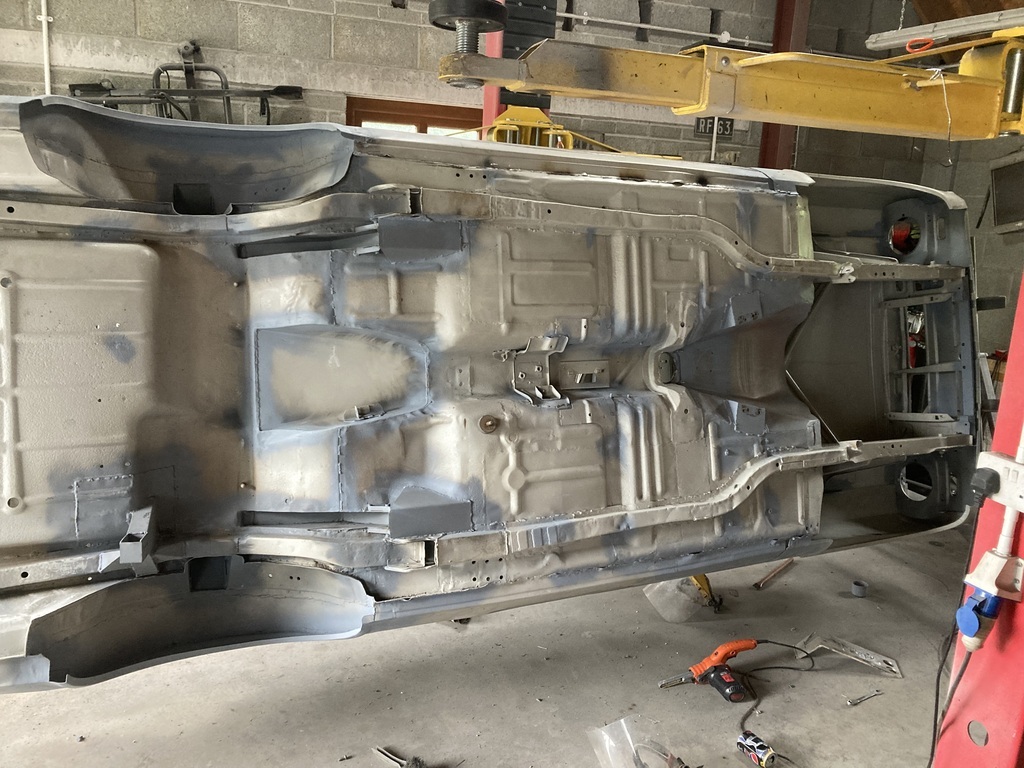 I first want to give the bottom another coat of epoxy as lots of it is only covered in tin primer. So I’ve been sanding with 80 grit and scotch padding everything to give it a key. I then realised I’d missed a bit of seam welding on the rear of the inner sills, so I did that. 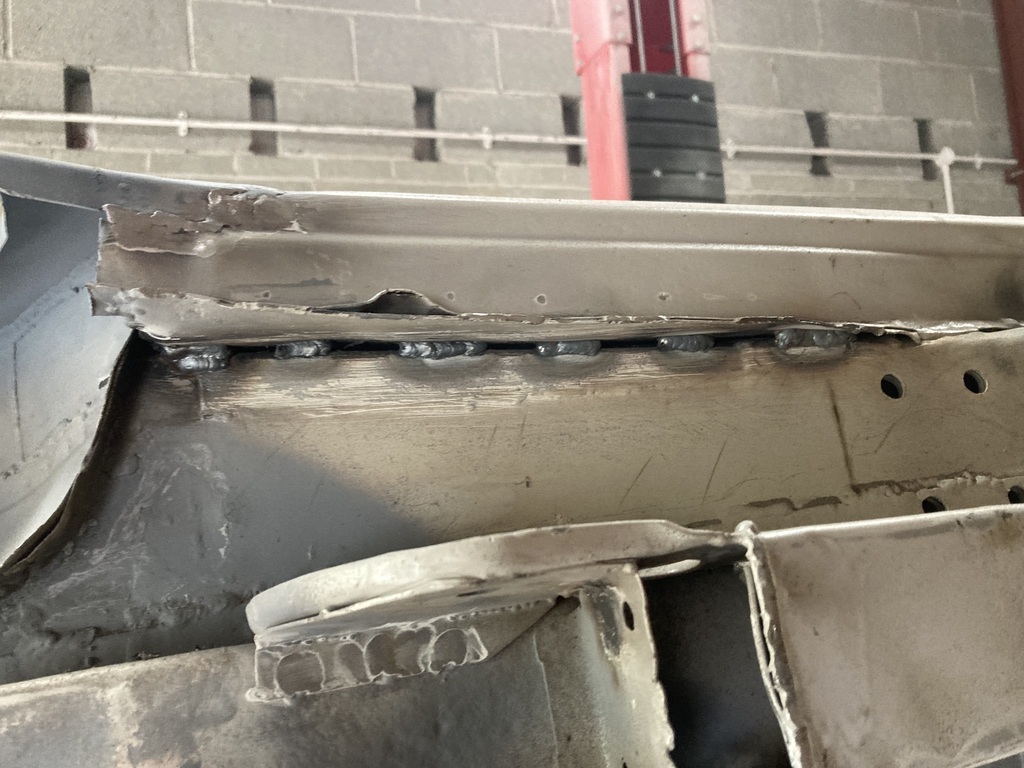 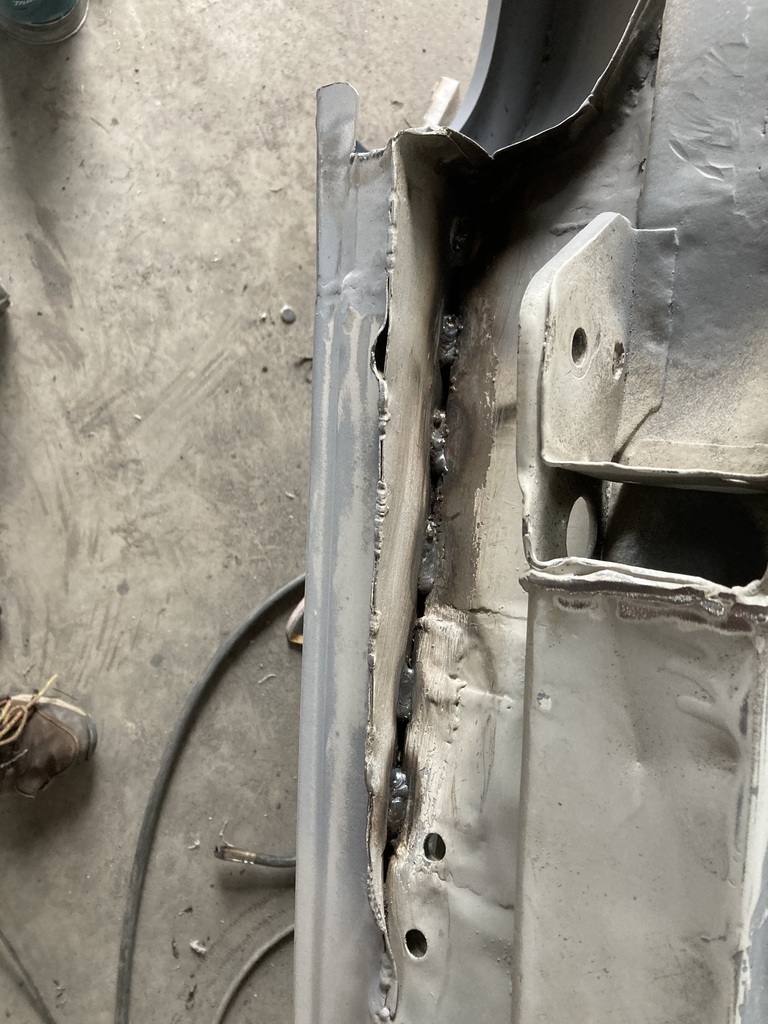 Far more interesting than sanding. I then went round with the power file filing down some (a lot) of unsightly welds that someone had left (me). No pics of that. I then needed to take the wings off to do the underside of the inner wings. This meant taking the doors off. Whilst sitting down undoing bolts, I noticed this line below where the pedal box sits 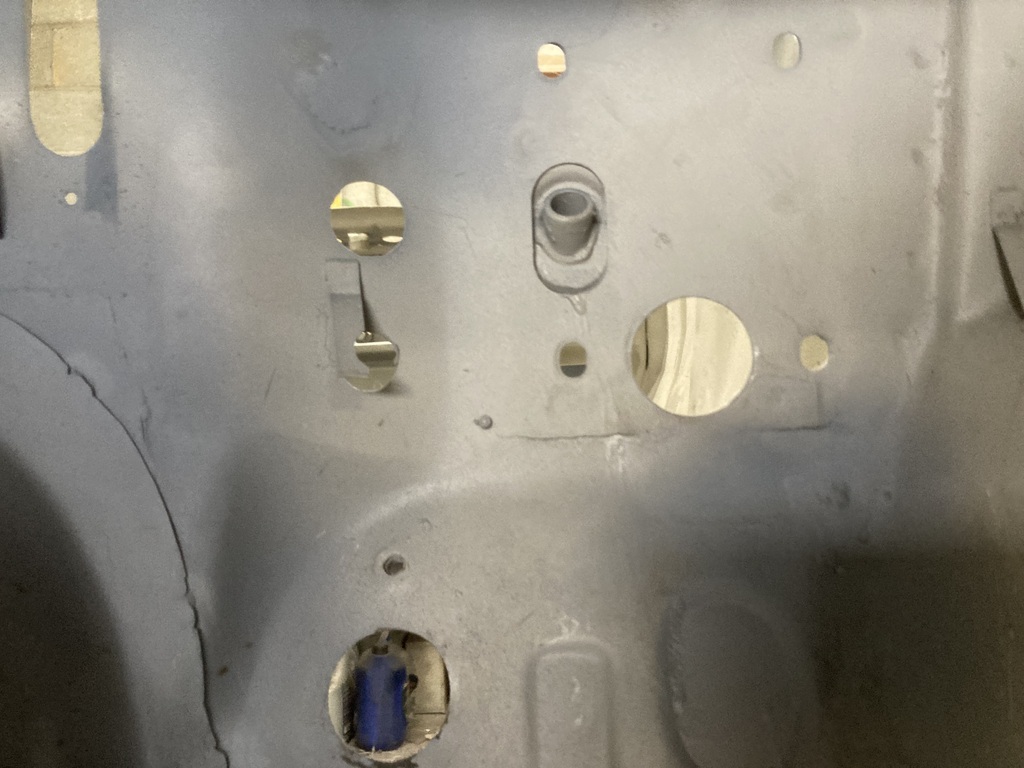 A closer look revealed light through it. The bulkhead has cracked all along where the standard pedal box / bulkhead strengthener sits. 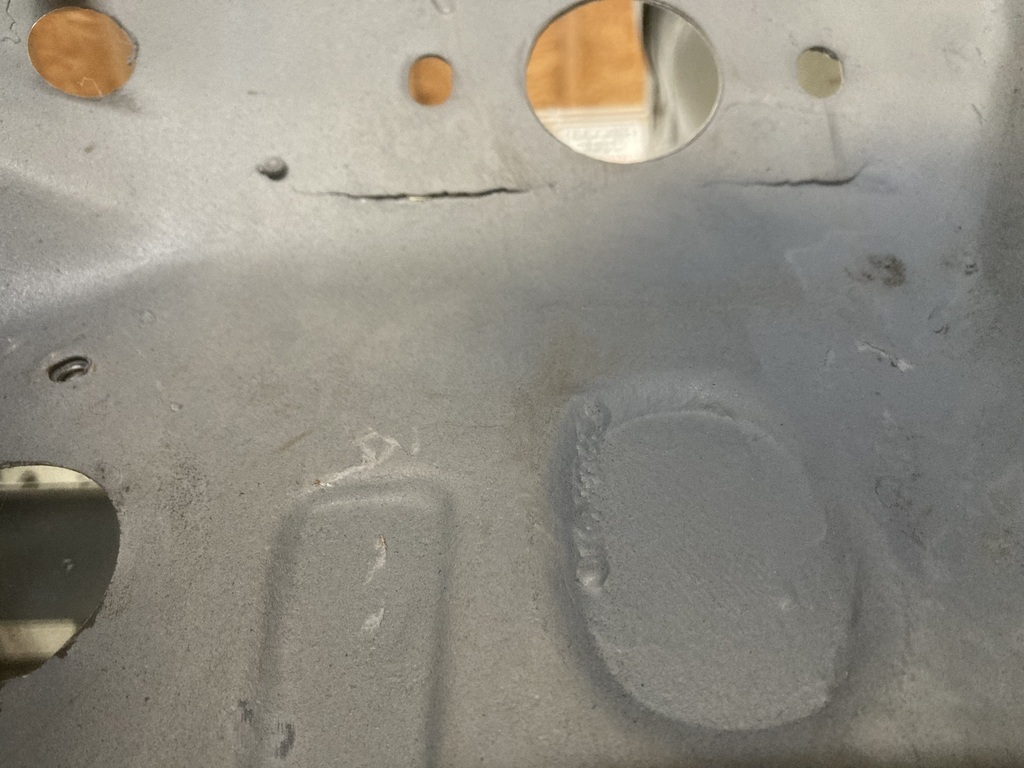 So the crack got welded up and I decided to stitch weld the strengthener to the bulkhead in some misguided attempt to stop it doing it again 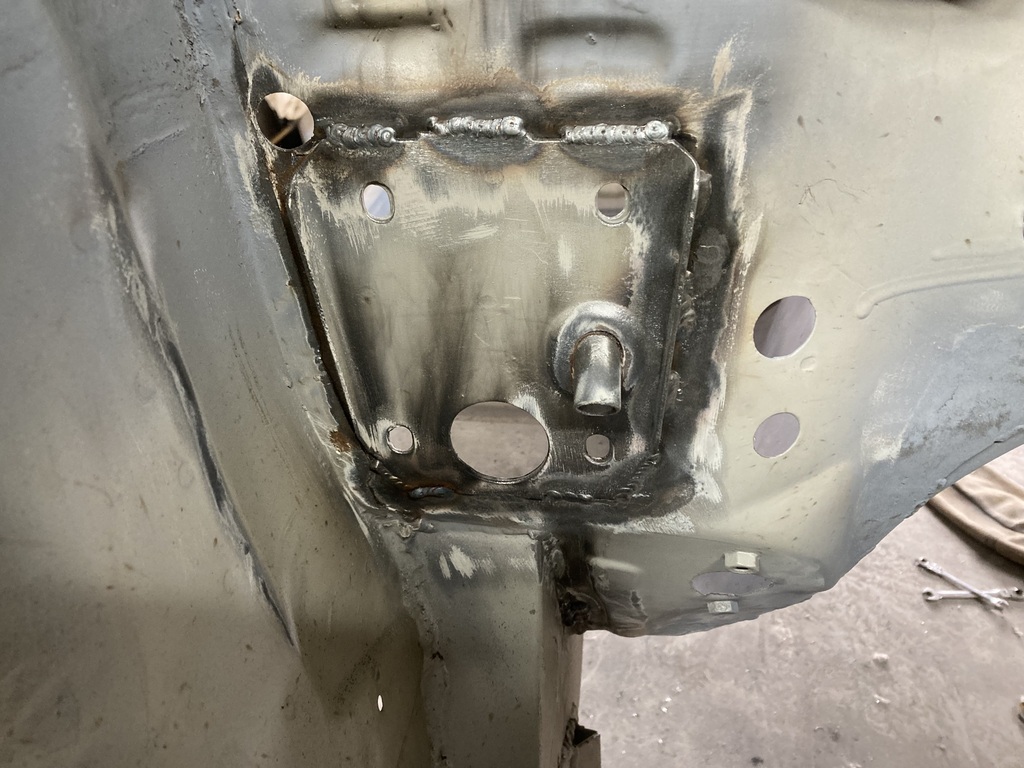 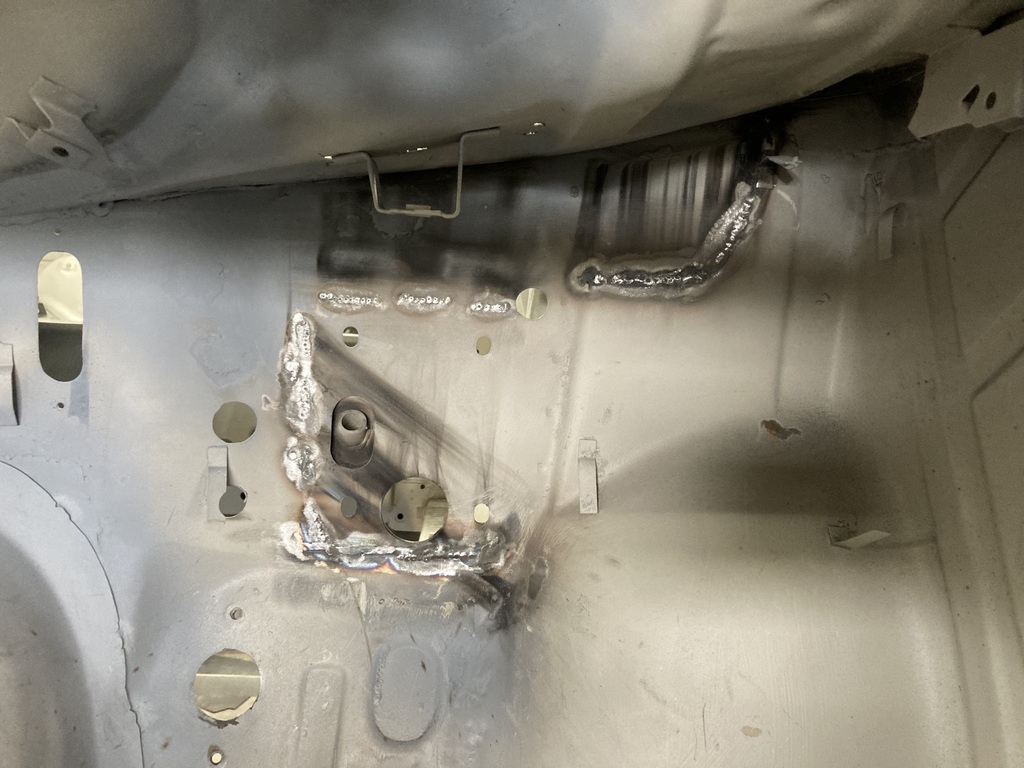 So this is how the car sits now 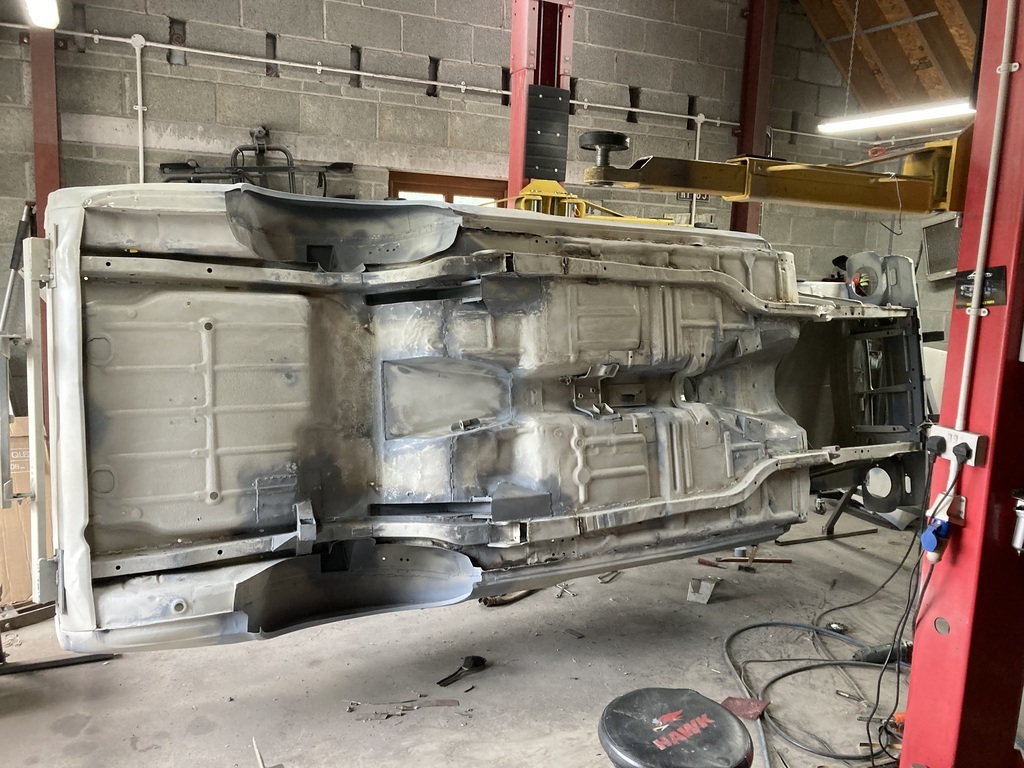 Virtually exactly the same as when I started this morning. Minus doors and wings, of course. 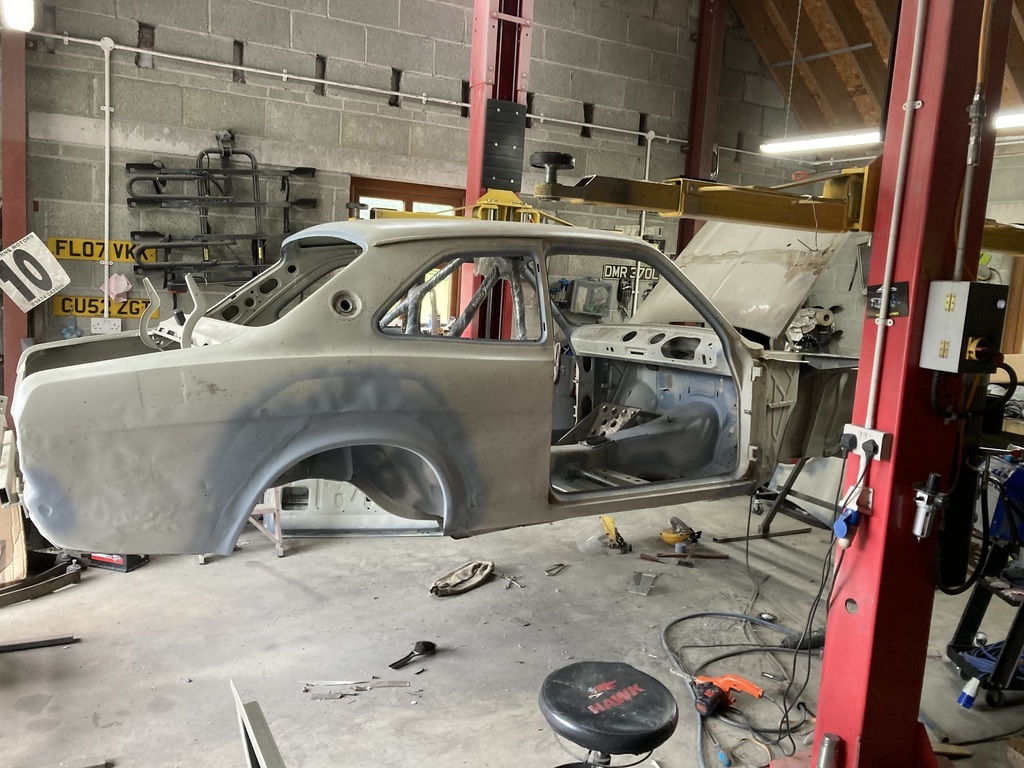 As is quite evident, I had not finished the welding |
| |
|
|
|
|
|
Sept 16, 2023 17:50:52 GMT
|
|
MMMMM......with you on the avoiding paint prep. I've been on and off of with paint prep on truck now for about 6 months. Once all the welding and fabrication work was done, I stupidly thought I was on a down hill cruise....but no! What I was actually in for, was hours and hours of priming, filling, sanding and boredom! I went over it countless times and it seemed like an eternity. Once finished, I thought I had it prefect. Well, I finally painted the truck today!! ( ...an exclusive for you right there!!😁😁)....and guess what?...there's two areas that now have a slight dent in them....despite not showing up when I blocked the panel out! I'm doing my best to ignore it and tell myself " it's only a truck!!".
Anyway....good luck with it....I sure it'll turn out just fine. Plus, cracking work so far.... as always.
|
| |
Opel Commodore A Coupe
Opel Rekord C Coupe
Opel Rekord C Saloon
Vauxhall Magnum Coupe V8 (Magnumania)
Mk1 Scirocco GLS
Mk1 Scirocco GLS (early chrome bumper)
Corrado G60
Mk1 Cortina 2 door Pre Airflow
Mk2 Escort 1300 2 Door
VW LT35 Tipper Truck
BMW 320D E91 Tourer
|
|
|
|
|
Sept 16, 2023 18:35:29 GMT
|
|
Congratulations on getting the truck in paint Mr Couper. And what a scoop for my little build thread!
I’m so bored of sanding after just a few hours. You must be a hero doing 6months of it
|
| |
|
|
|
|
|
Sept 16, 2023 18:53:06 GMT
|
|
same here 1 panel a year is about all I can tolerate!
|
| |
|
|
|
|
|
Sept 16, 2023 19:32:00 GMT
|
same here 1 panel a year is about all I can tolerate! I don’t even want to do that much. |
| |
|
|
teaboy
Posted a lot
   Make tea, not war.
Posts: 2,127
|
|
Sept 16, 2023 19:42:54 GMT
|
|
I'm glad you managed to find some more welding to do because sanding is just boring.
I get bored with sanding after about six seconds...
|
| |
|
|
|
|
|
Sept 16, 2023 20:02:46 GMT
|
I'm glad you managed to find some more welding to do because sanding is just boring. I get bored with sanding after about six seconds... Isn’t it amazing people choose to do this for a living? |
| |
|
|
|
|
|
Sept 17, 2023 16:10:22 GMT
|
I didn’t manage to get out the garage until midday. My goal? Epoxy prime the bottom of the car. I did a bit more sanding, a bit more power filing, even a bit more pin hole welding. Then it was time to tidy up, sweep up all the detritus that had gathered underneath the car and get everything out ready to mix paint. As I was moving everything to my mixing spot (the garage doorway), I noticed a rust blister in one of the rear spring hangers. How did I miss this? I’m not using the spring hangers anymore but it had to go. The blister wasn’t in the main 3mm section, but a 1mm piece that sits in the hanger. I used the die grinder to gat rid of the rust. The hole ended up about 6 times bigger than the blister. In my rush to do this I forgot to take a before picture so here’s a pic just before I welded the new bit in 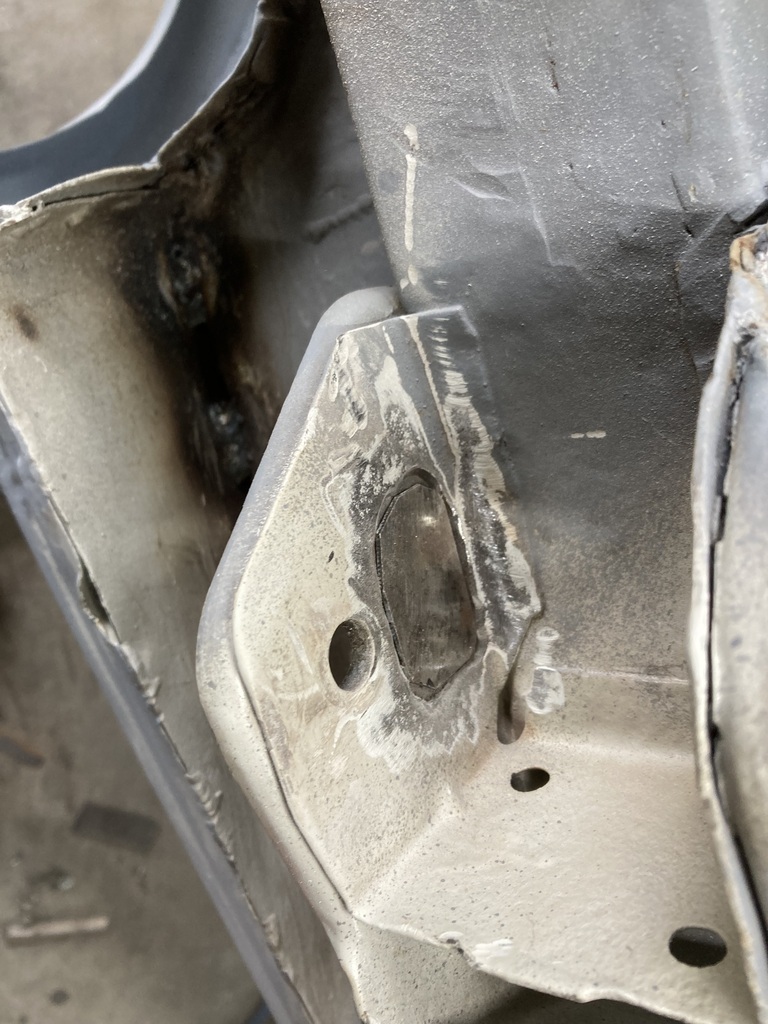 And ground back 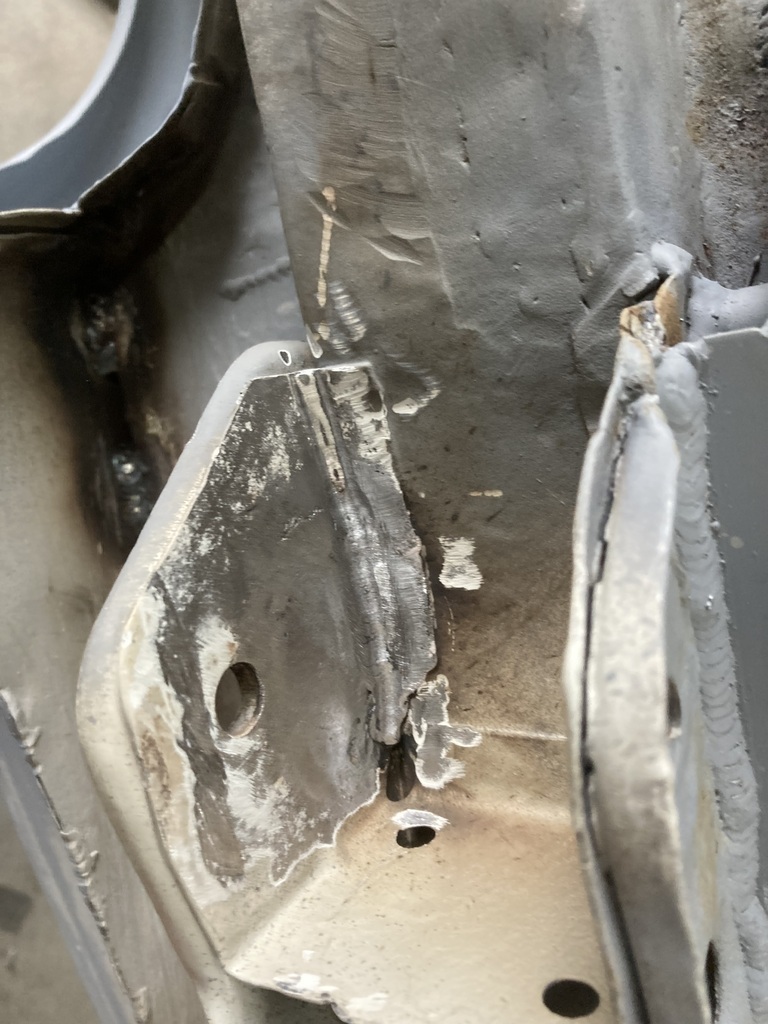 So painting commenced and a used 1.2l of the Octoral epoxy. 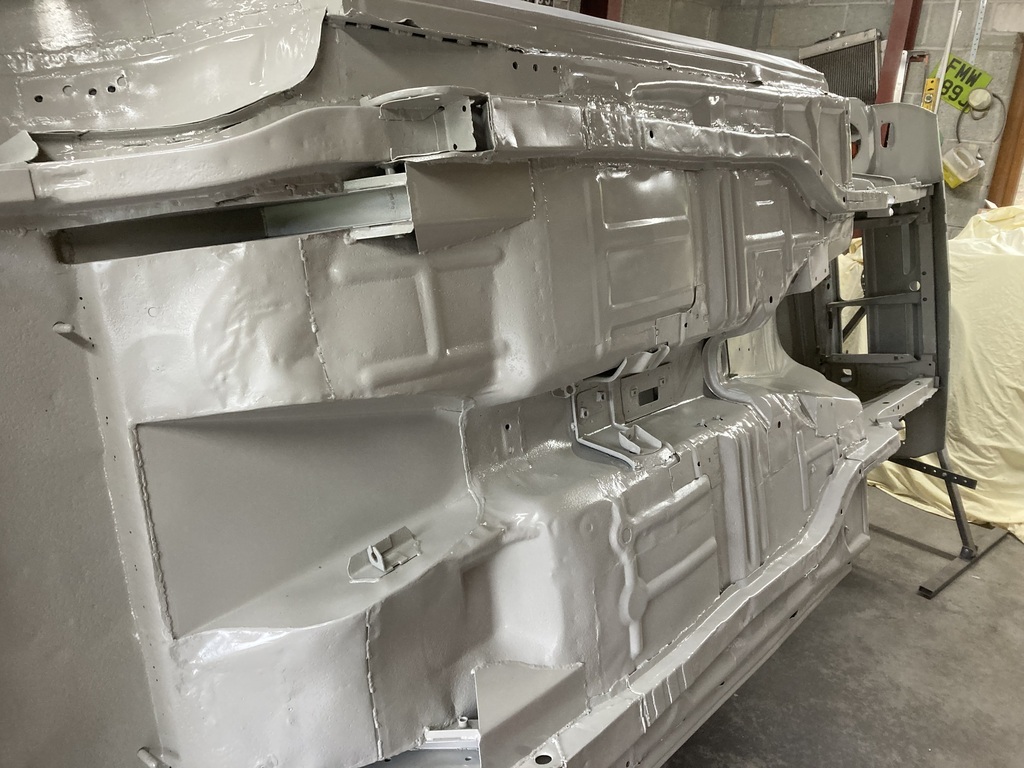 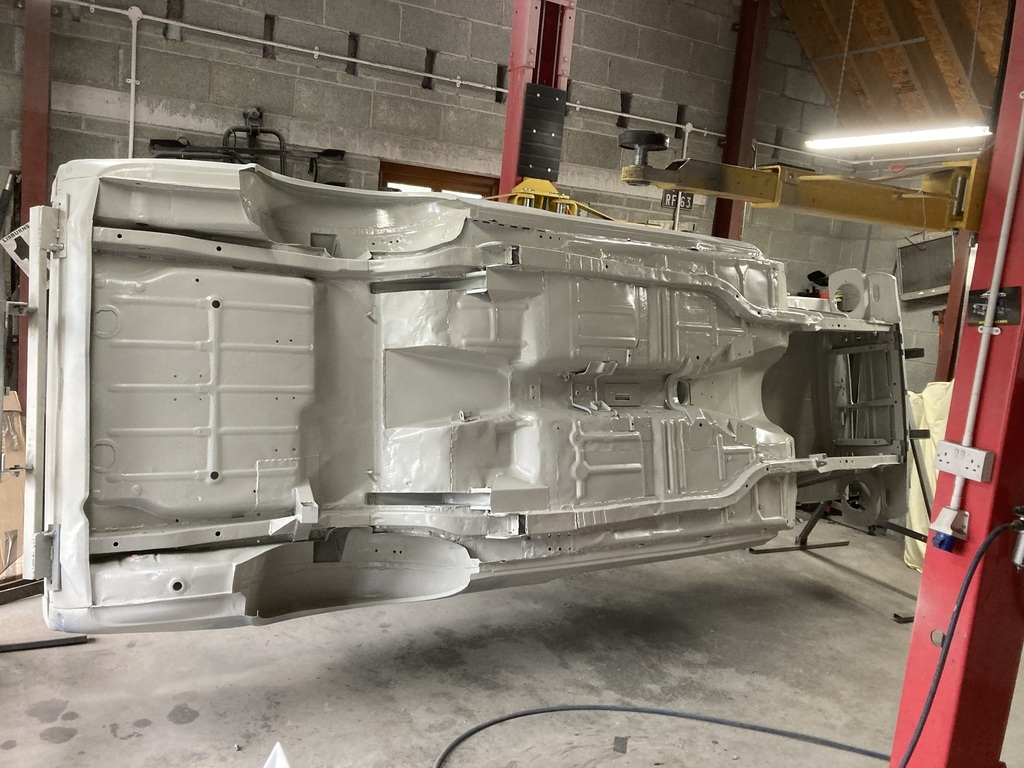 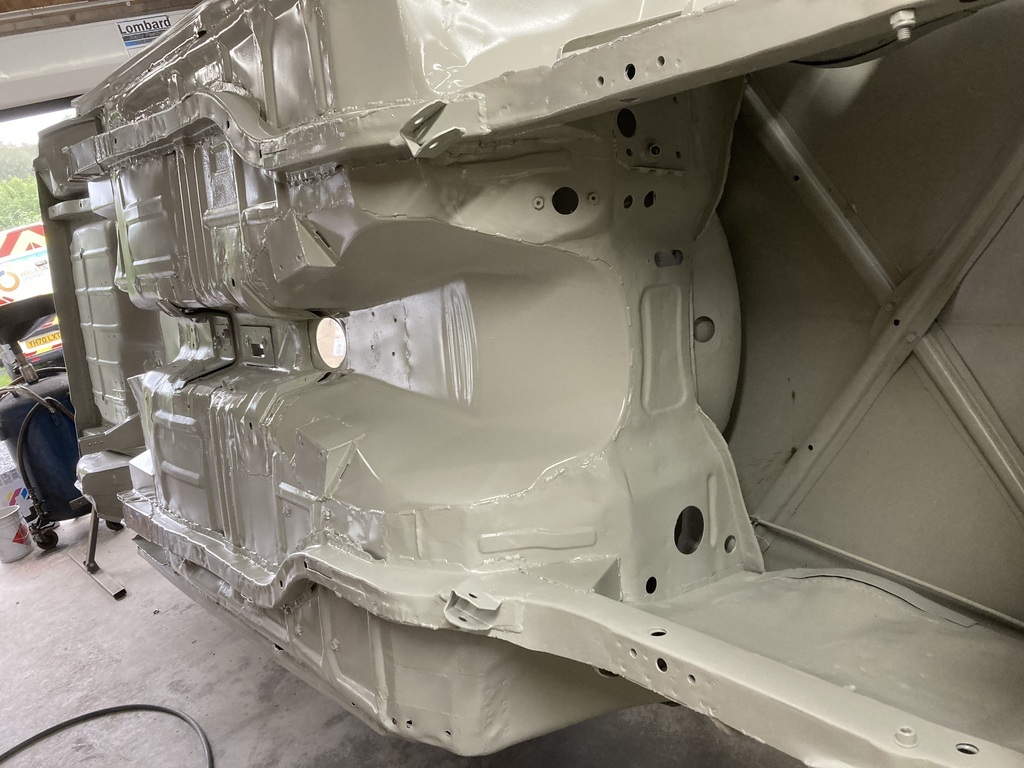 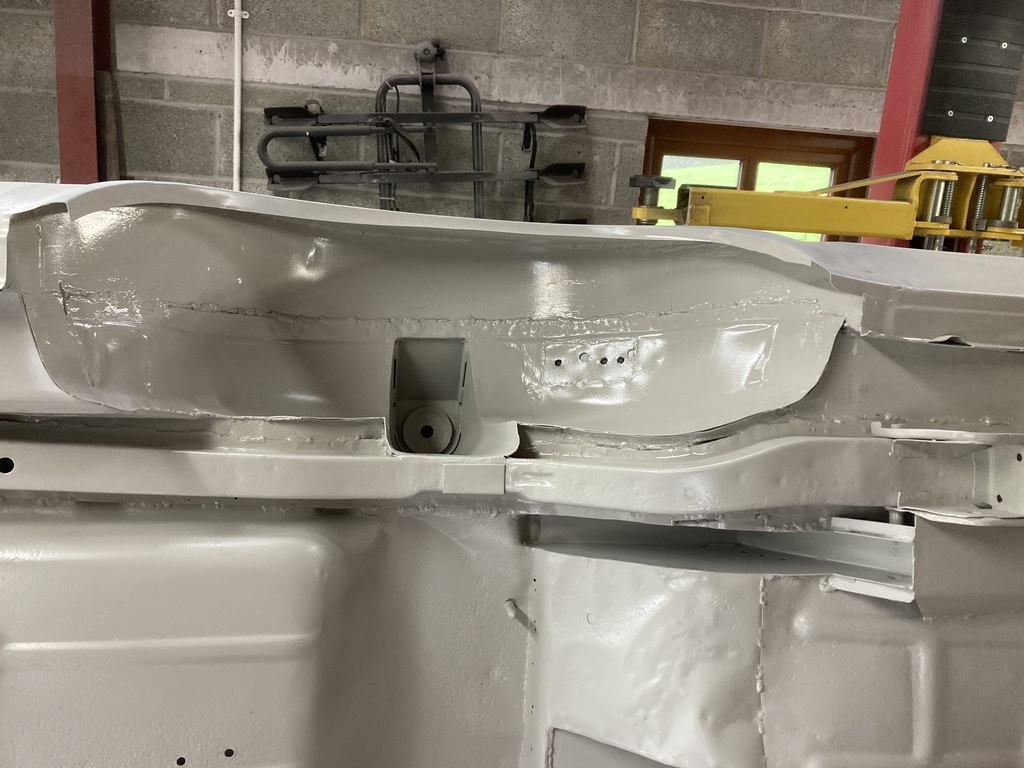 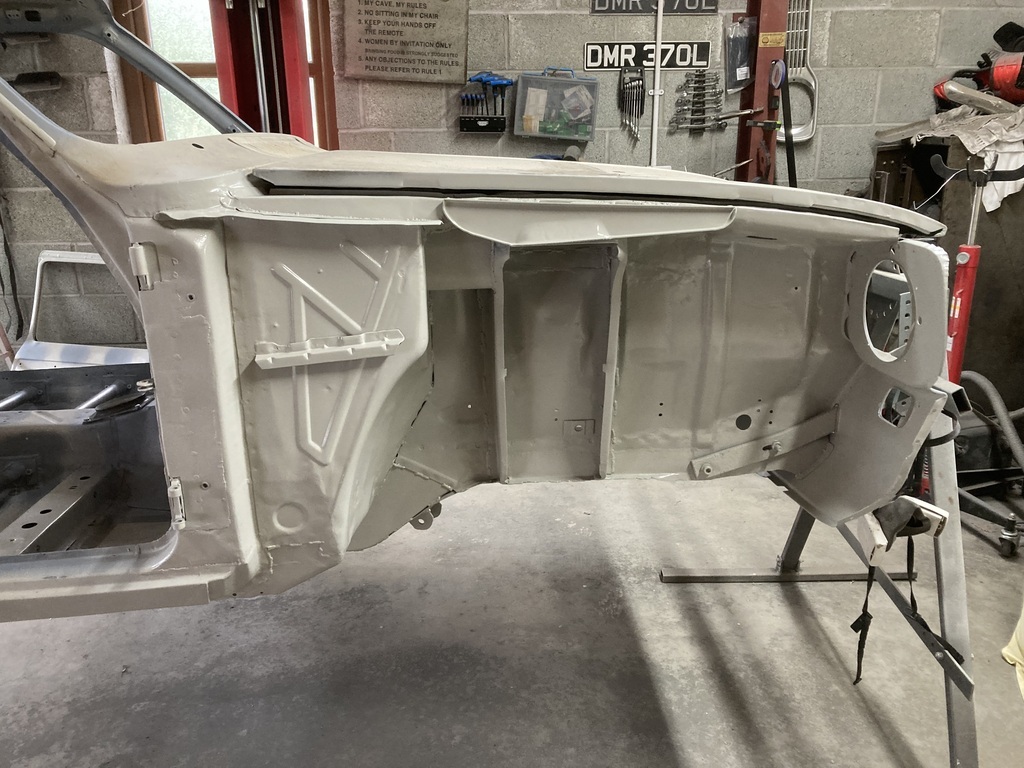 So floor, rear tubs, inner wings, lower bulkhead and inside of the front valance are all epoxied. I didn’t even get any runs! I used what was left in the mixing pots to paint the inside of the rear wheel arch lips with a brush. I couldn’t get any spray in there so the brush had to do. |
| |
|
|
teaboy
Posted a lot
   Make tea, not war.
Posts: 2,127
|
|
Sept 17, 2023 18:31:34 GMT
|
|
That's a good milestone to reach, Phil, nice one.
|
| |
|
|
|
|
|
Sept 17, 2023 18:44:49 GMT
|
That's a good milestone to reach, Phil, nice one. Thanks Mr T👍 |
| |
|
|
|
|
|
Sept 23, 2023 15:42:45 GMT
|
My goal today was to get the inside of the car painted in epoxy. Started by giving all the panels that I could, a going over with the DA sander. Then I noticed a bit of rust in the heel board 😡. How come I didn’t see this before? Got rid of the rust with the power file and made a bit to fill the gap 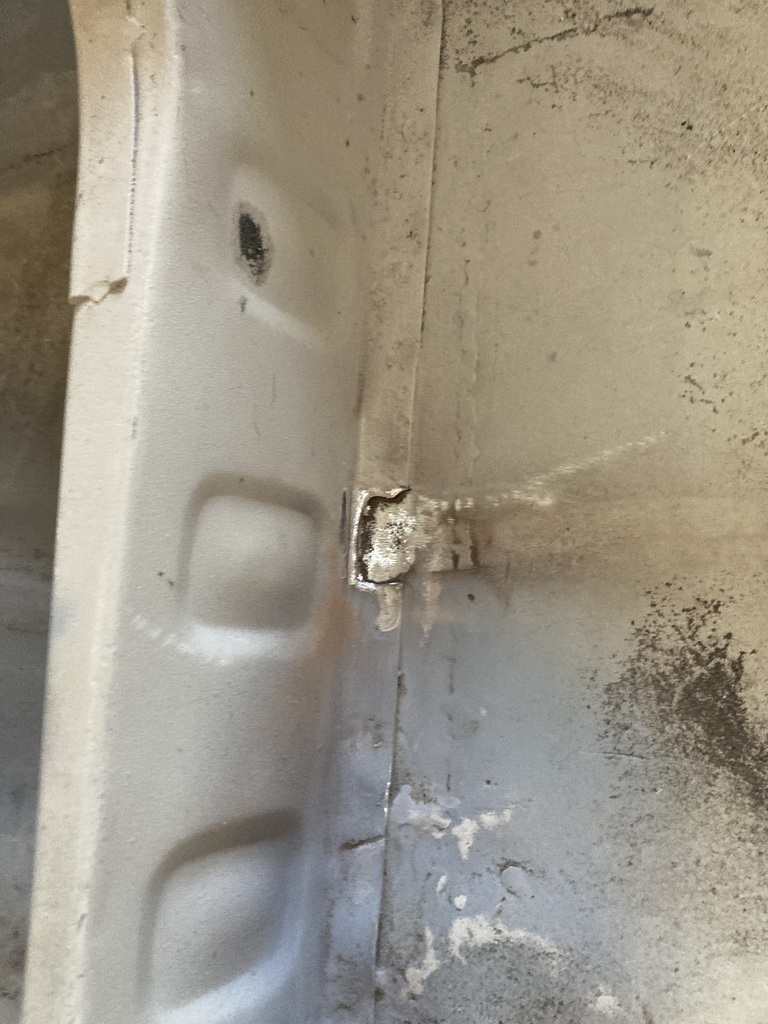 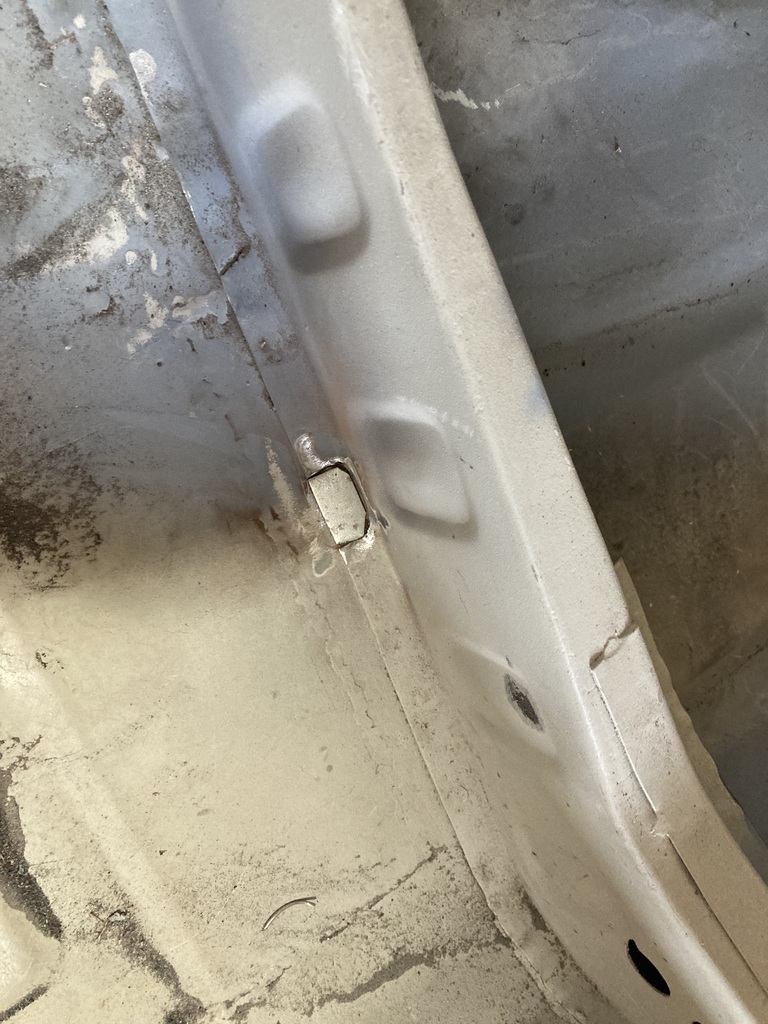 Then I found another frilly bit 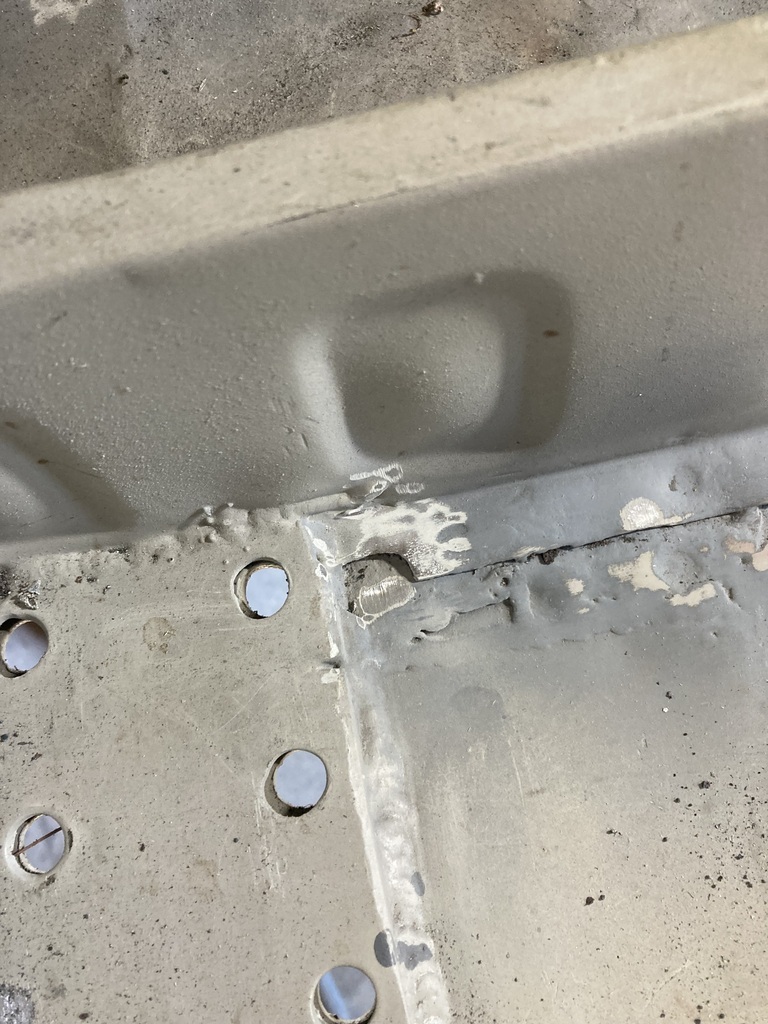 That had a bit made to fill it too. Then I found another bit! That got the same treatment, but no photo. No photo of them all welded up either for some reason. So with those bits sorted I continued the sanding and scotch padding. God this painting lark is boring. The rear parcel shelf (the bit behind the aluminum bulkhead) had not been blasted for some reason. It still had several coats of paint on it that were starting to flake. I took this back to bare metal with the power file then the DA. 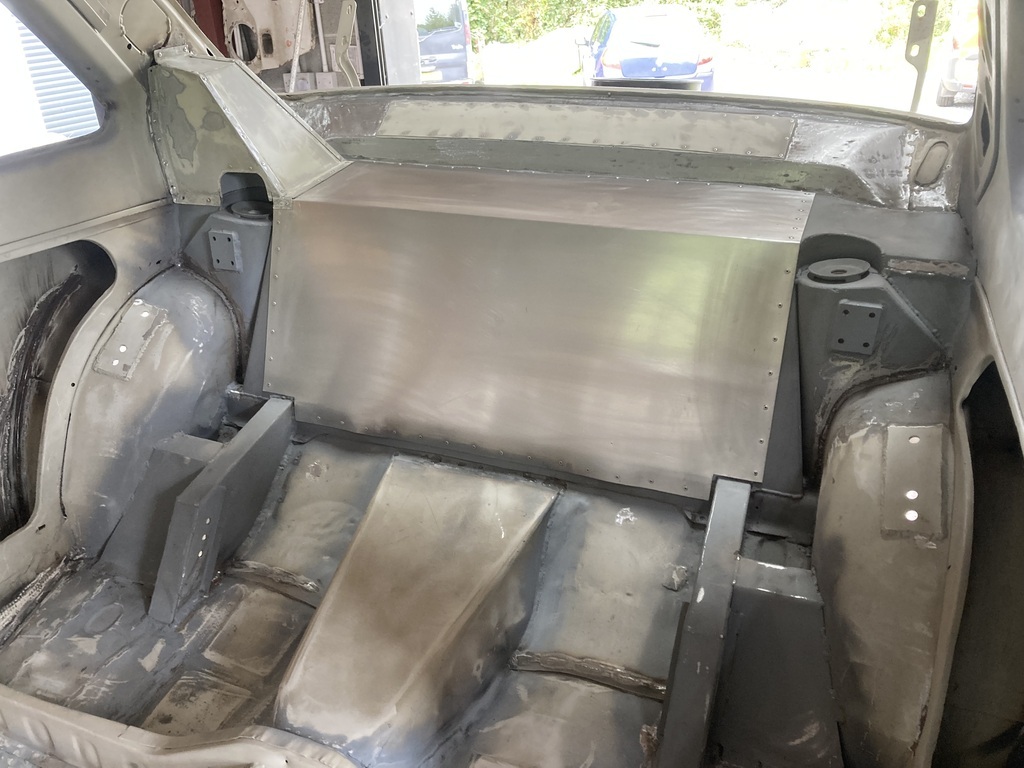 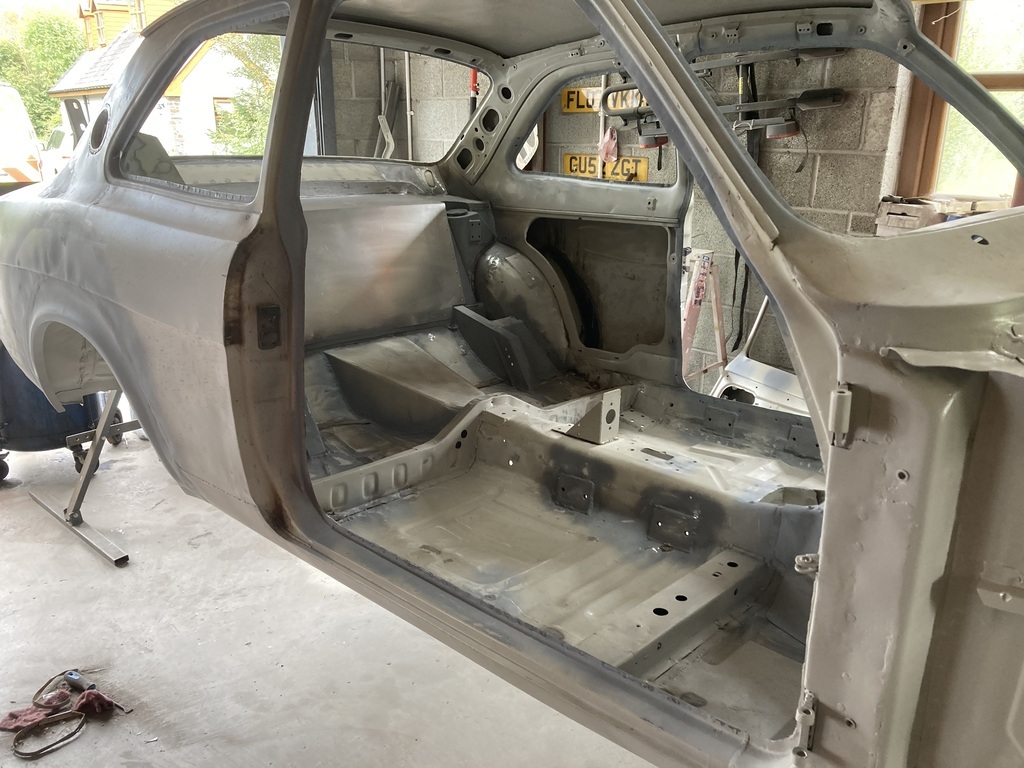 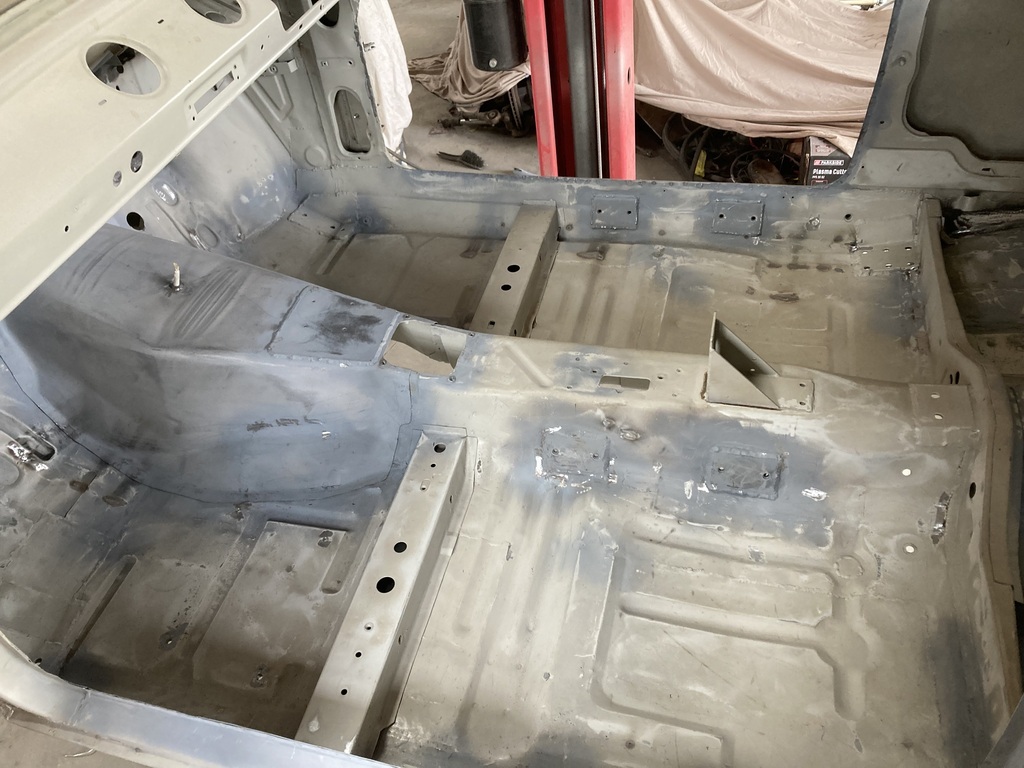 I then hovered the car out, blew everywhere with the blow jet, spun the car round and round, hovered again, then blow jet and then another Hoover for good measure to try and get rid of all the bits that want to jump in the paint as soon as I start painting. I also gave it a wipe down with this 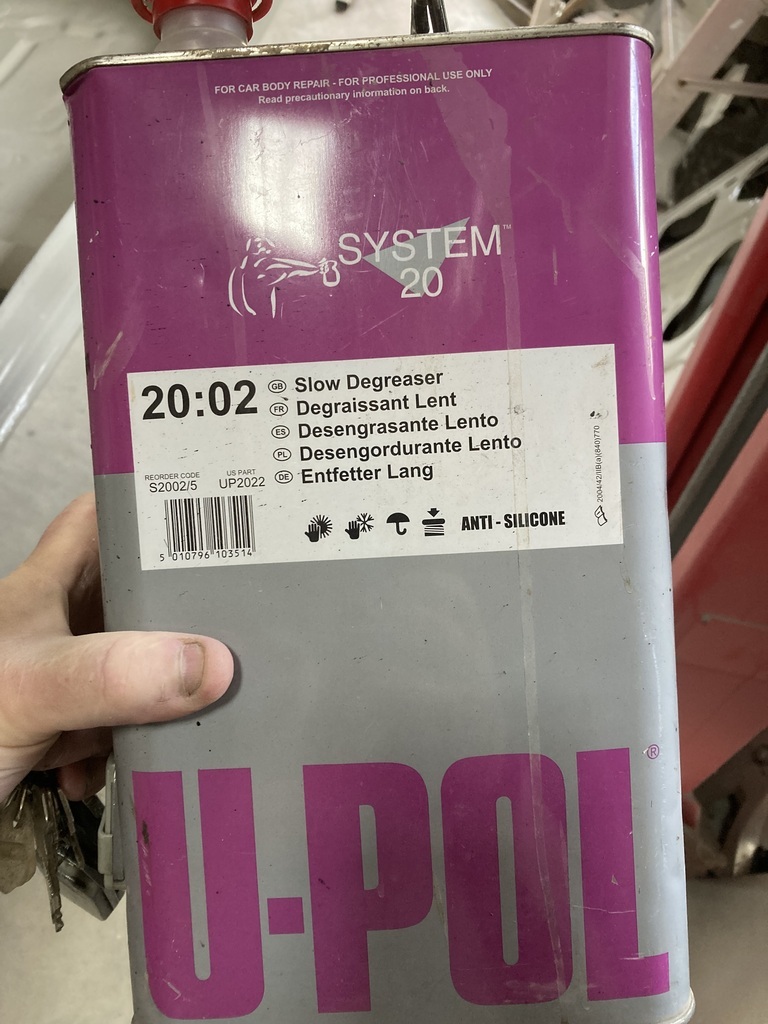 Then it was time for paint. Everything got a good coat of epoxy, using another 1.2 litres. 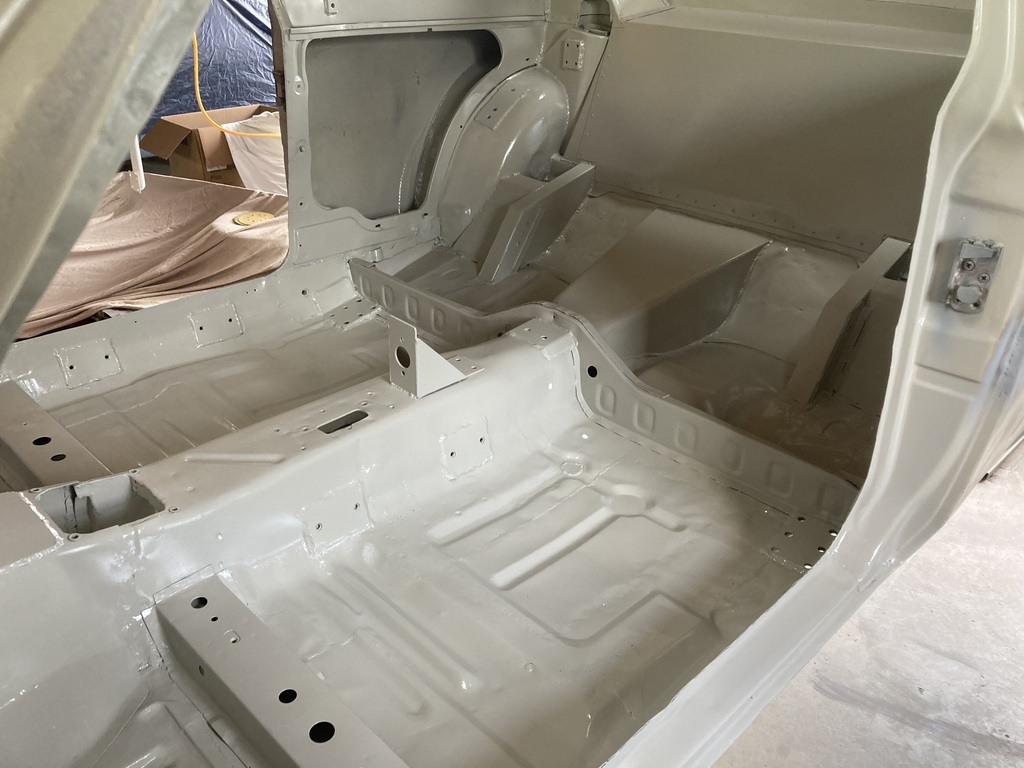 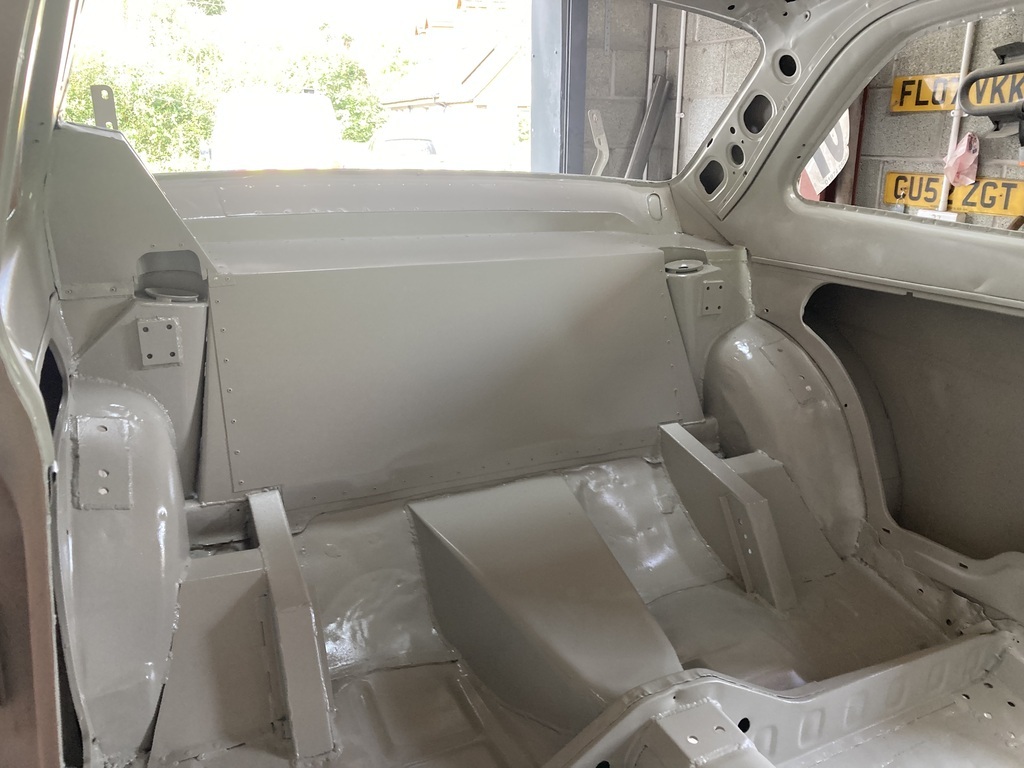 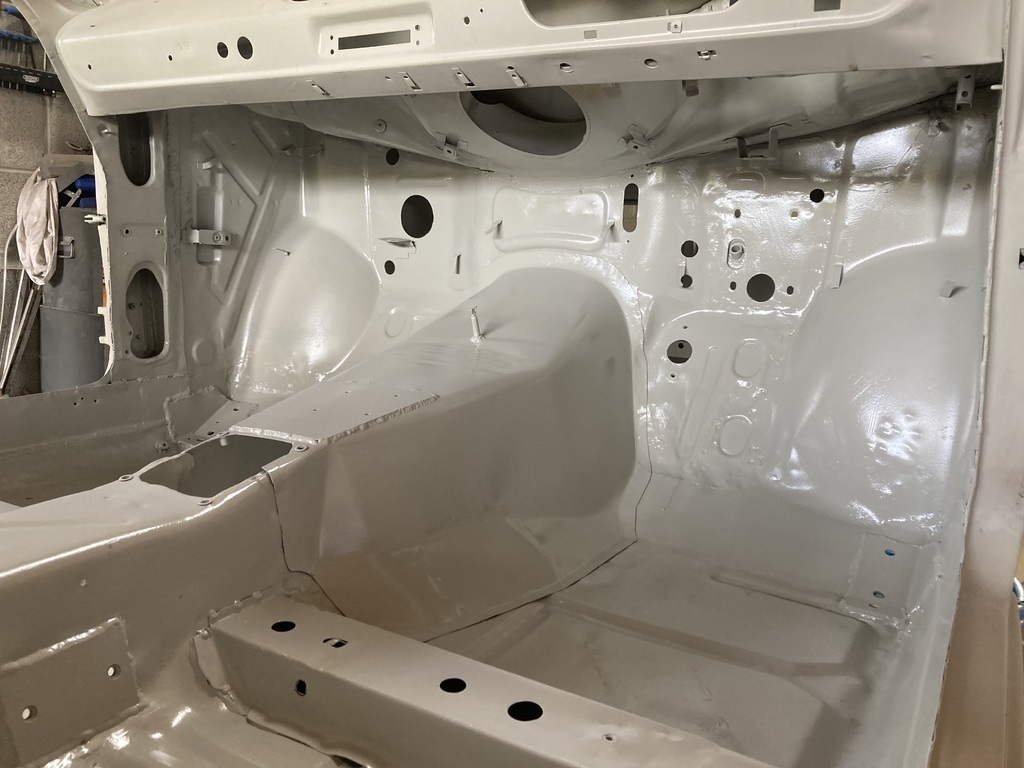 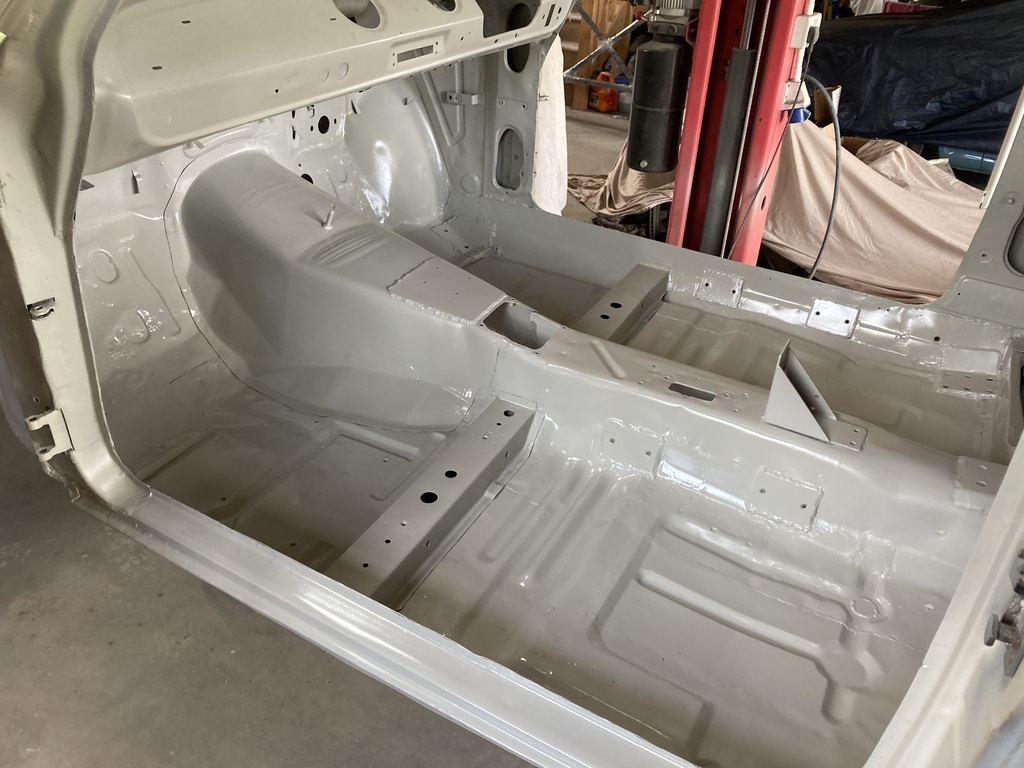 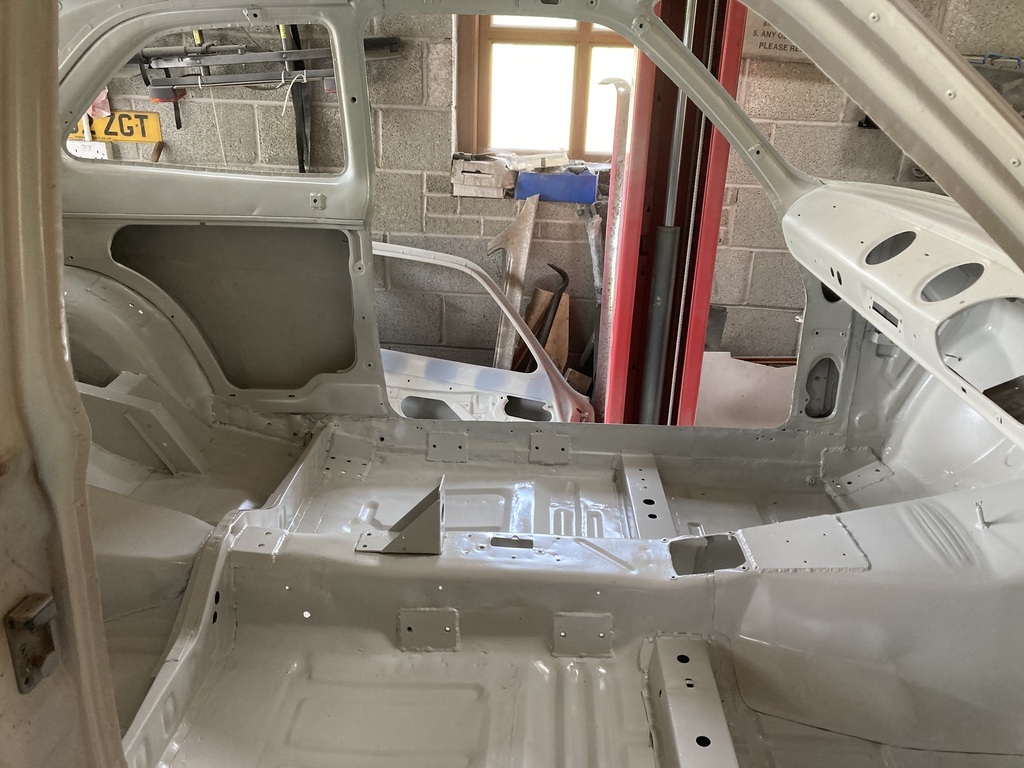 Rear strut brace got a coat too 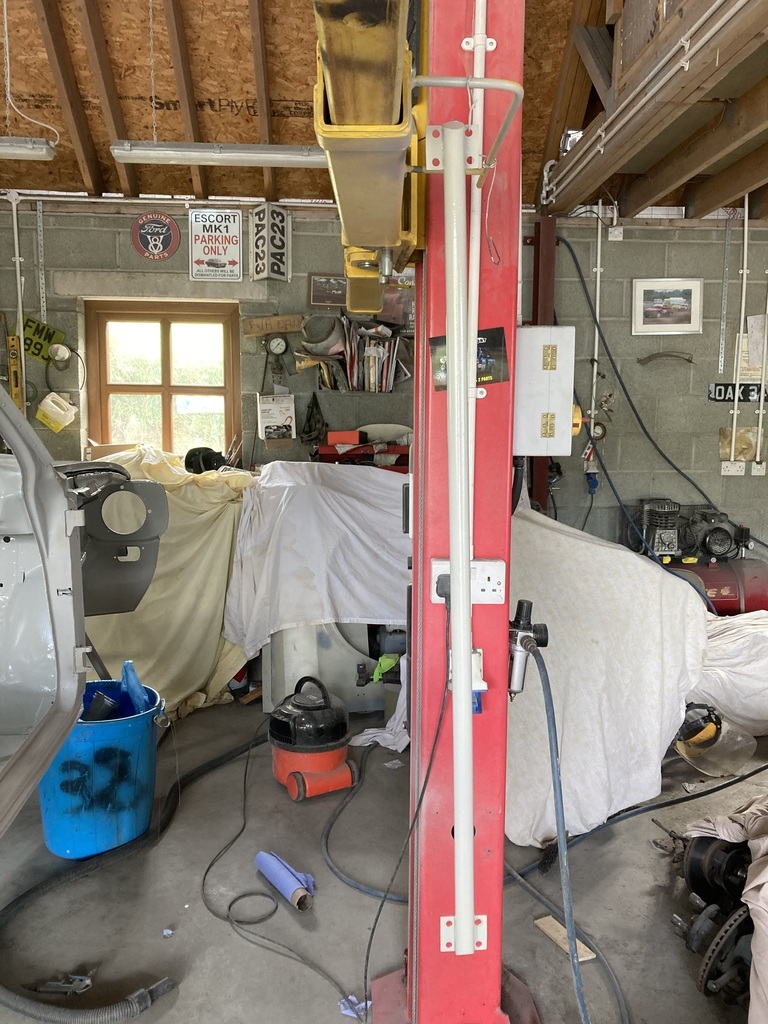 I kept a bit of paint back as I wanted to pour it into the fresh air intake in the front scuttle panel. If you were paying attention, you’ll remember I removed the heater bowl last year to repair the grot. After welding it back on, I wanted to make sure that the weld seam was coated in epoxy to help stop it rotting out again. Epoxy poured in on both sides here 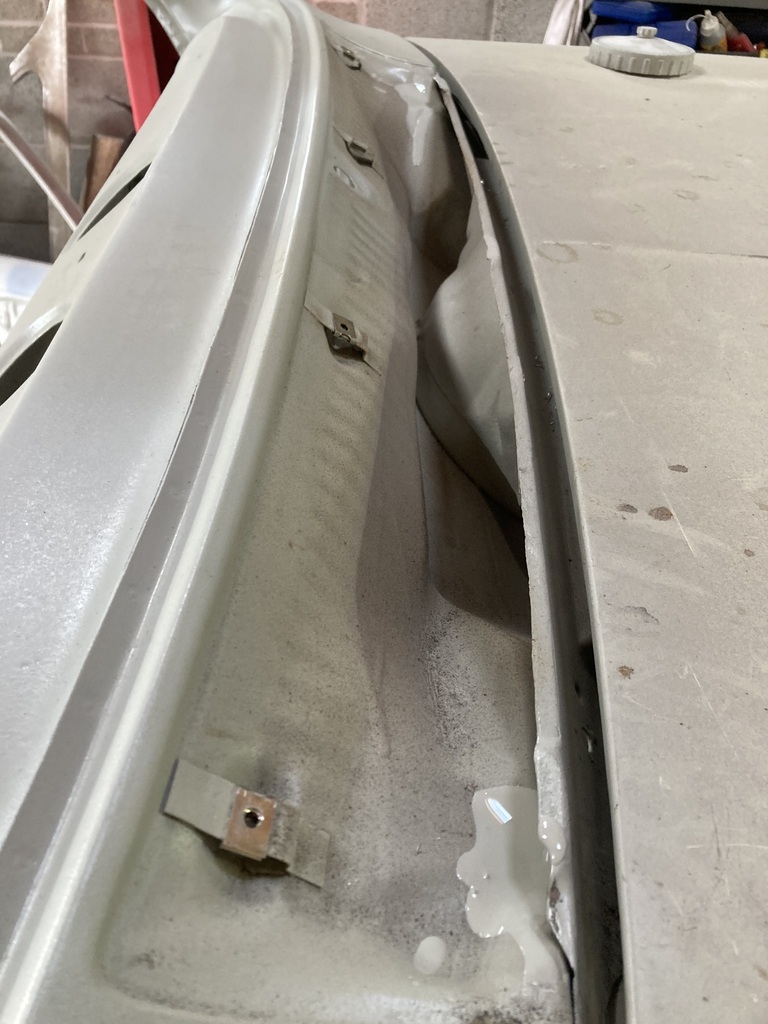 The excess came it out of the top hole here 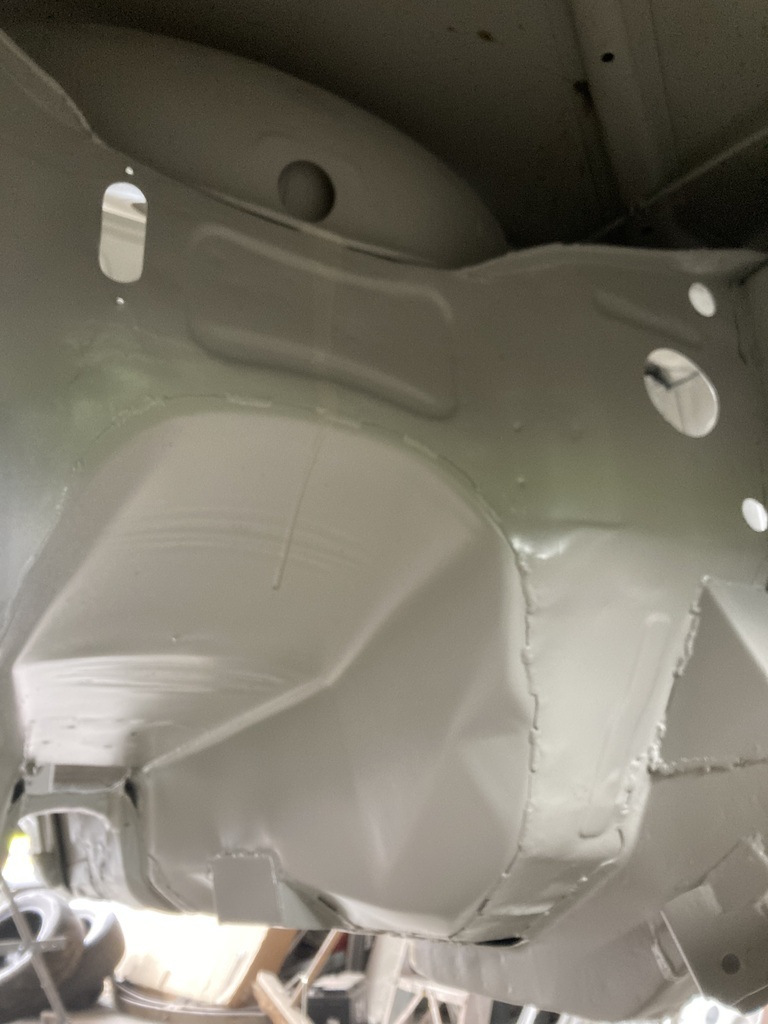 And ended up here 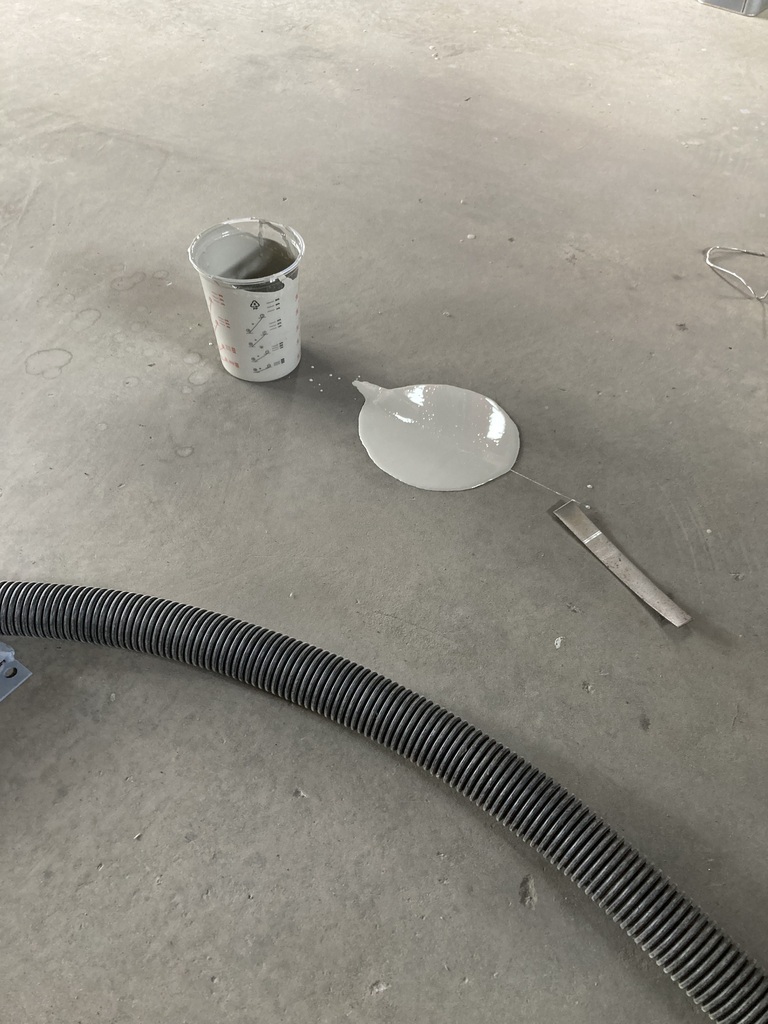 If only I’d thought to put a pot there beforehand. So that’s the inside primered. Amazingly, no runs either! But still some cr4p managed to jump in the paint. Just the boot, inner wing tops, and inside of front wings left. |
| |
|
|
|
|
|
Sept 30, 2023 15:20:49 GMT
|
Todays goal was to get the boot area, tops of the inner wings, top front bulkhead and front panel in epoxy. This involved lots of boring sanding, power filing weld splatter off, hoovering, blow jetting, hoovering, blow jetting, hoovering to infinity and beyond. And finally a wipe over with the stuff you wipe it over with, that I can’t remember the name of. This left me with this. 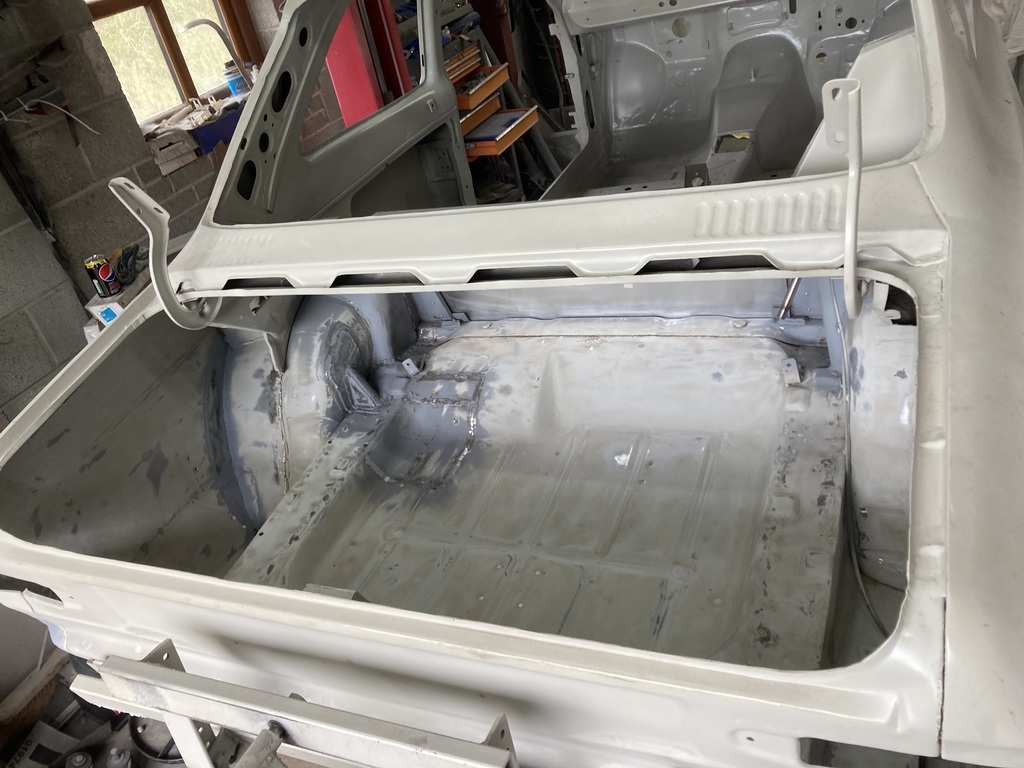 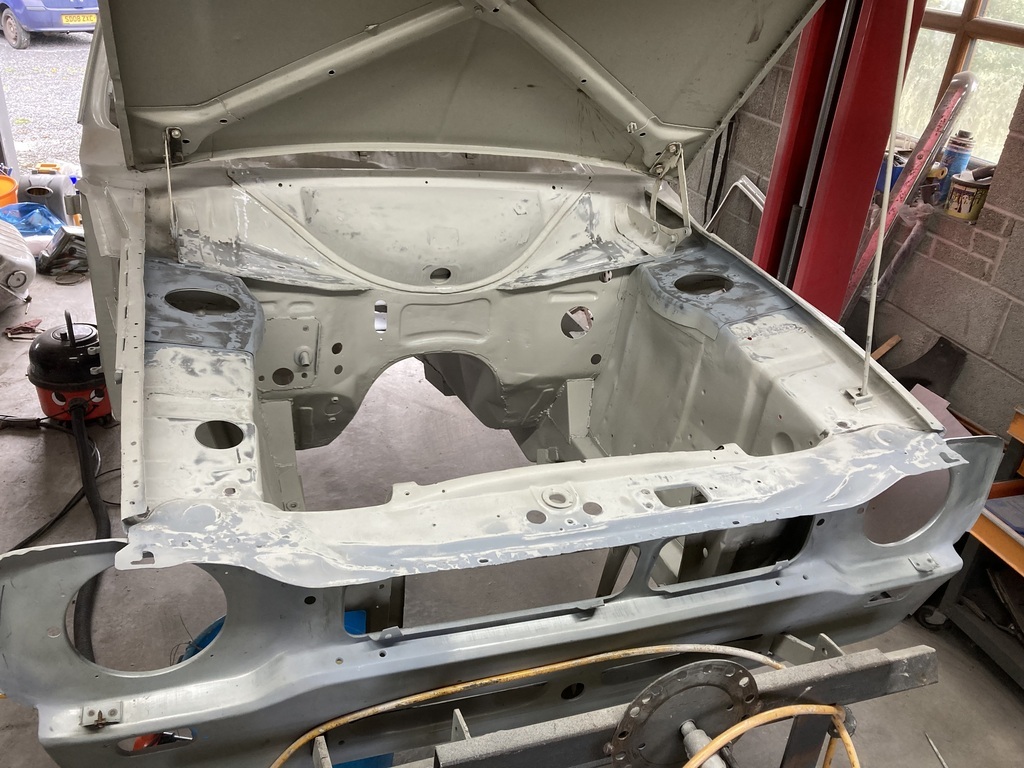 So I mixed up 0.6 litres of epoxy and sprayed it on. I actually enjoyed that bit. All that preceded was painful. This left me with this. 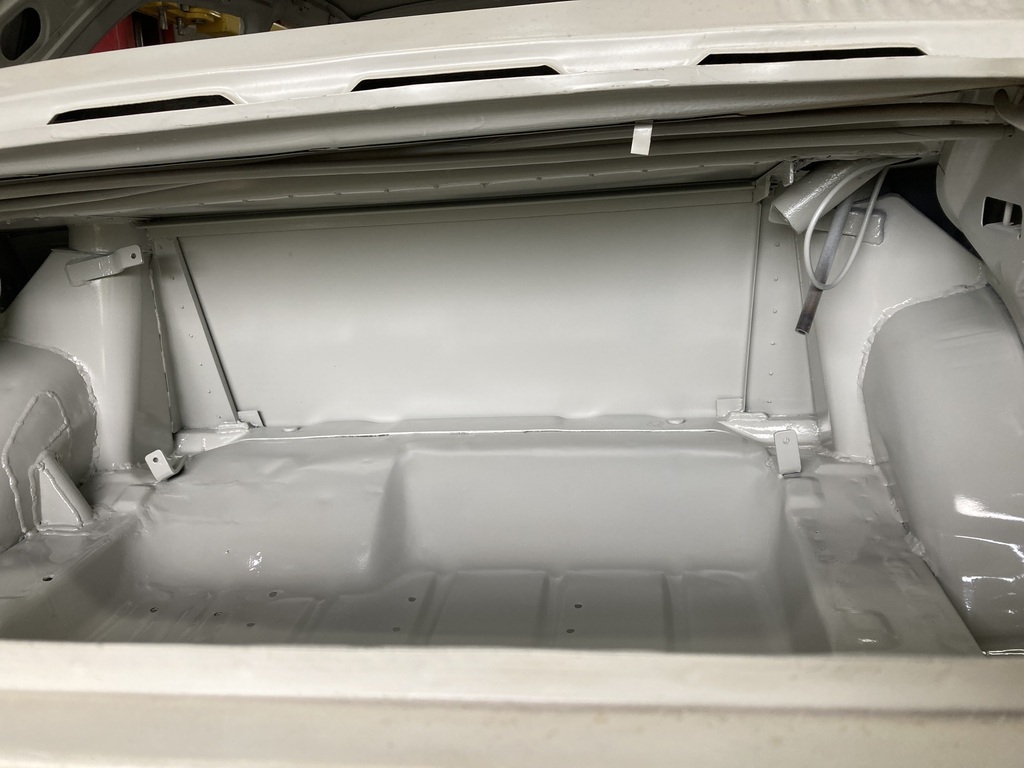 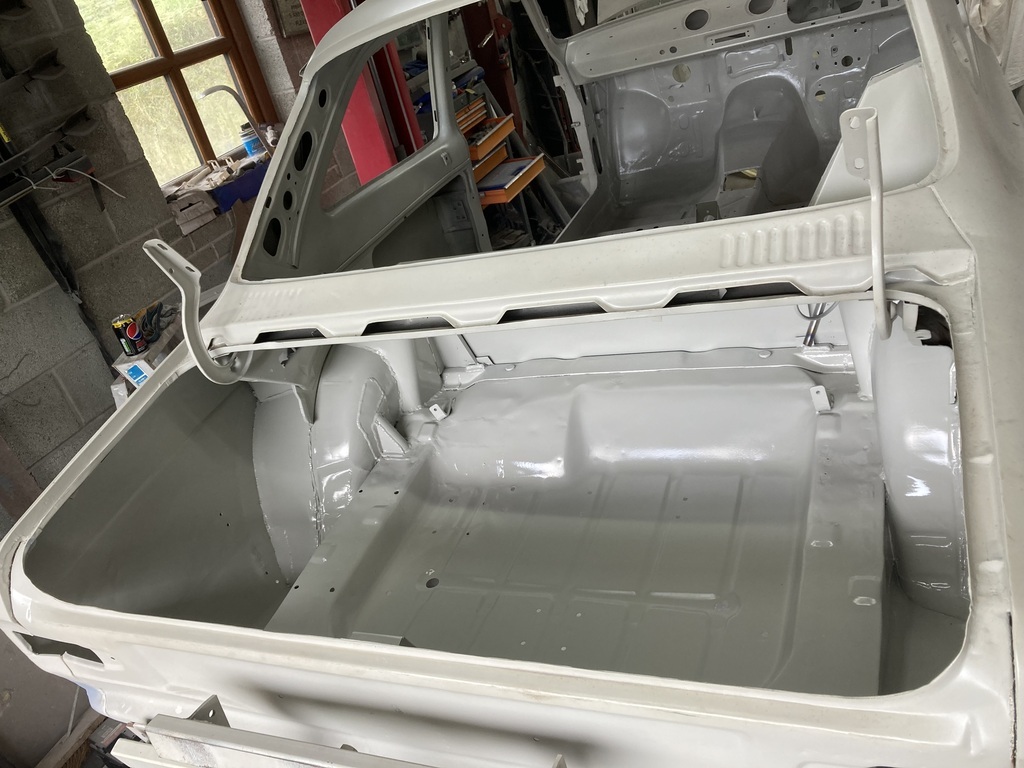 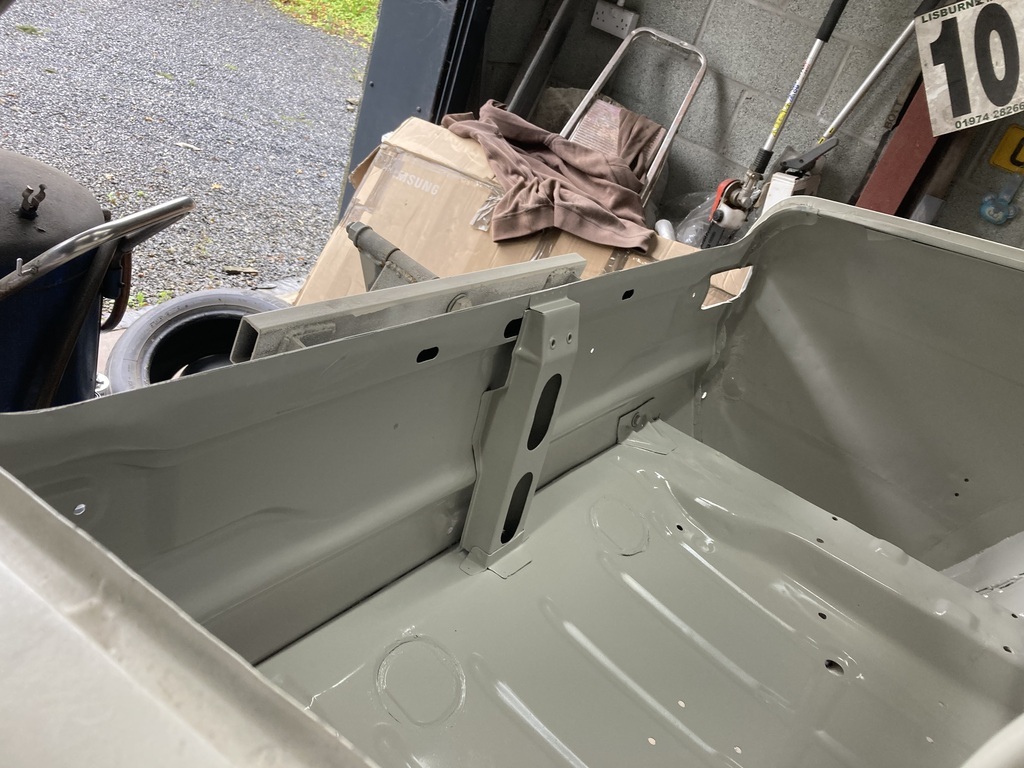 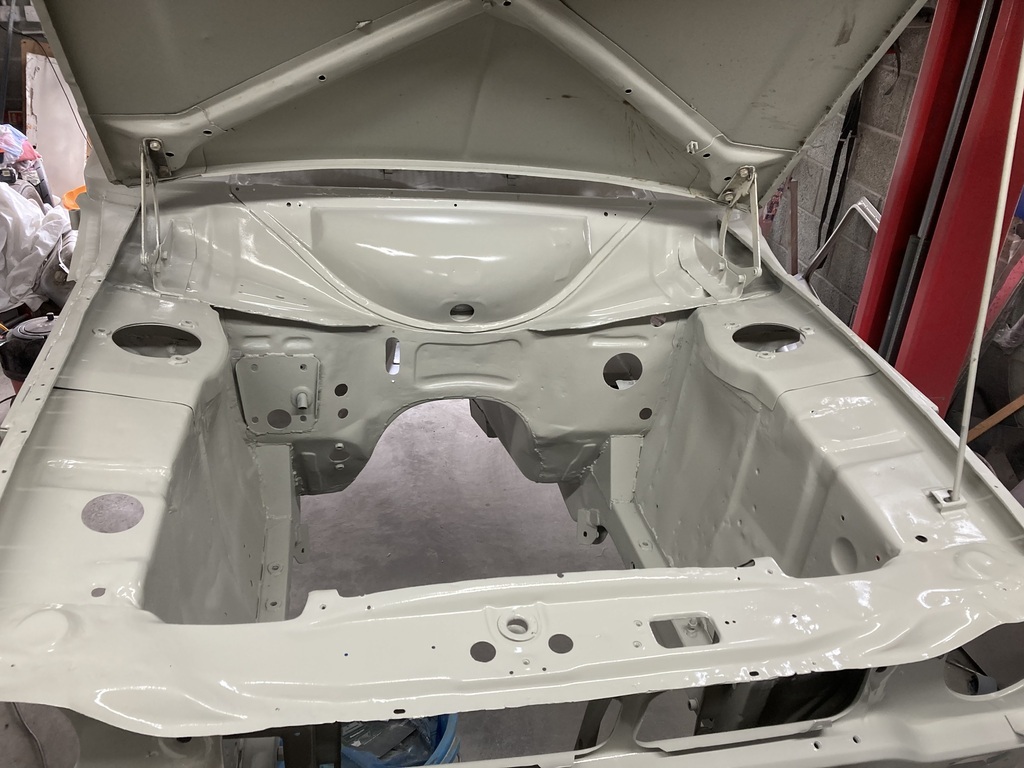 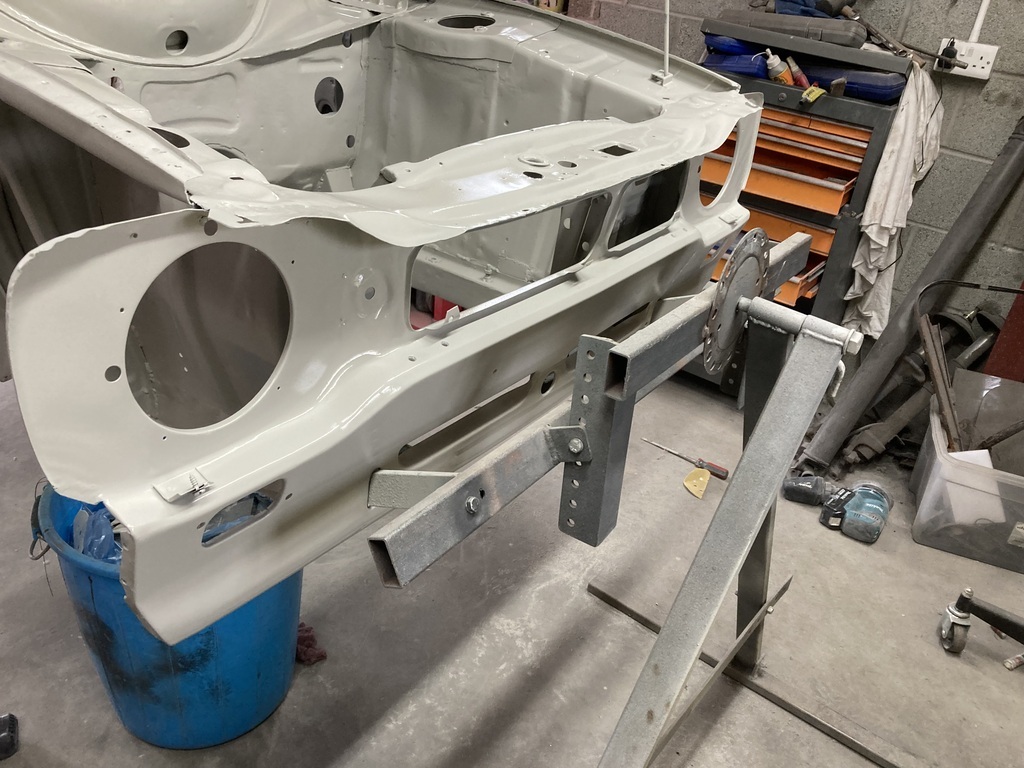 Happy with that. Actually before the paint prep I had to drill new holes for the mud flaps as they had disappeared during the rust repair / wheel arch replacement Driver side 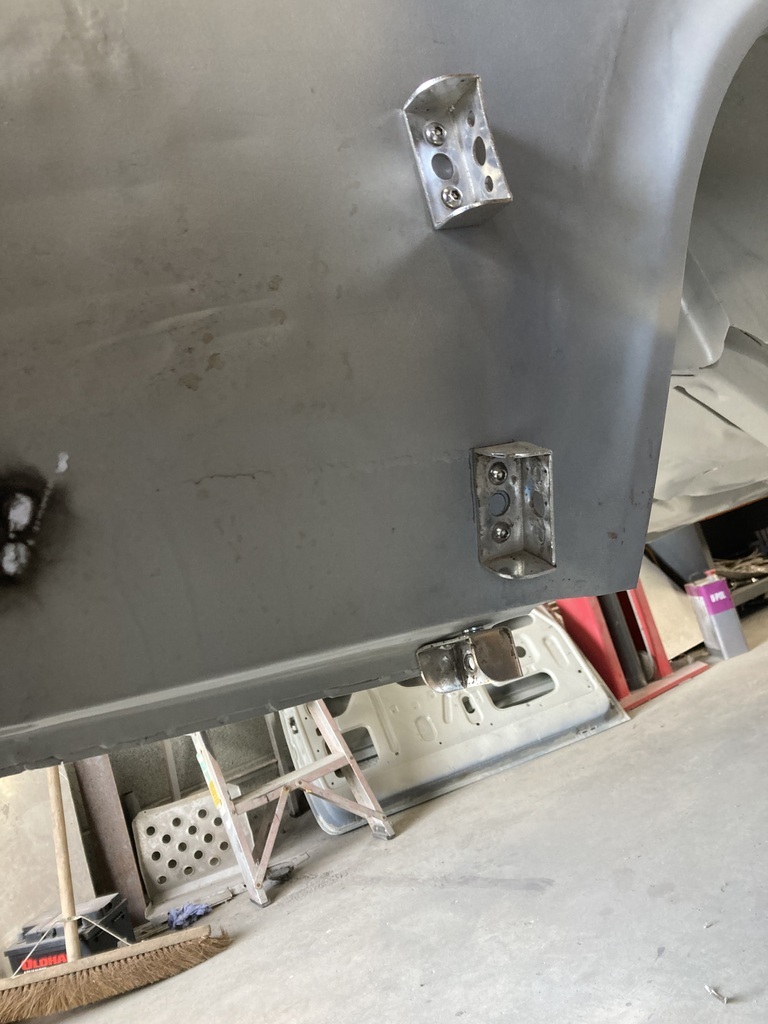 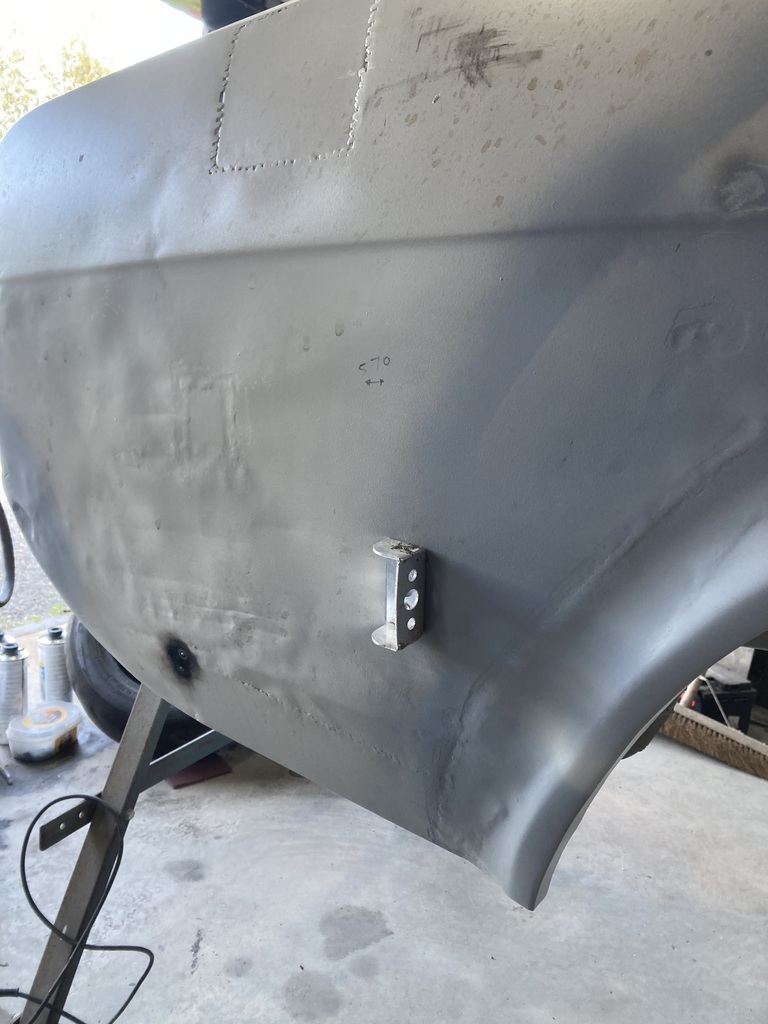 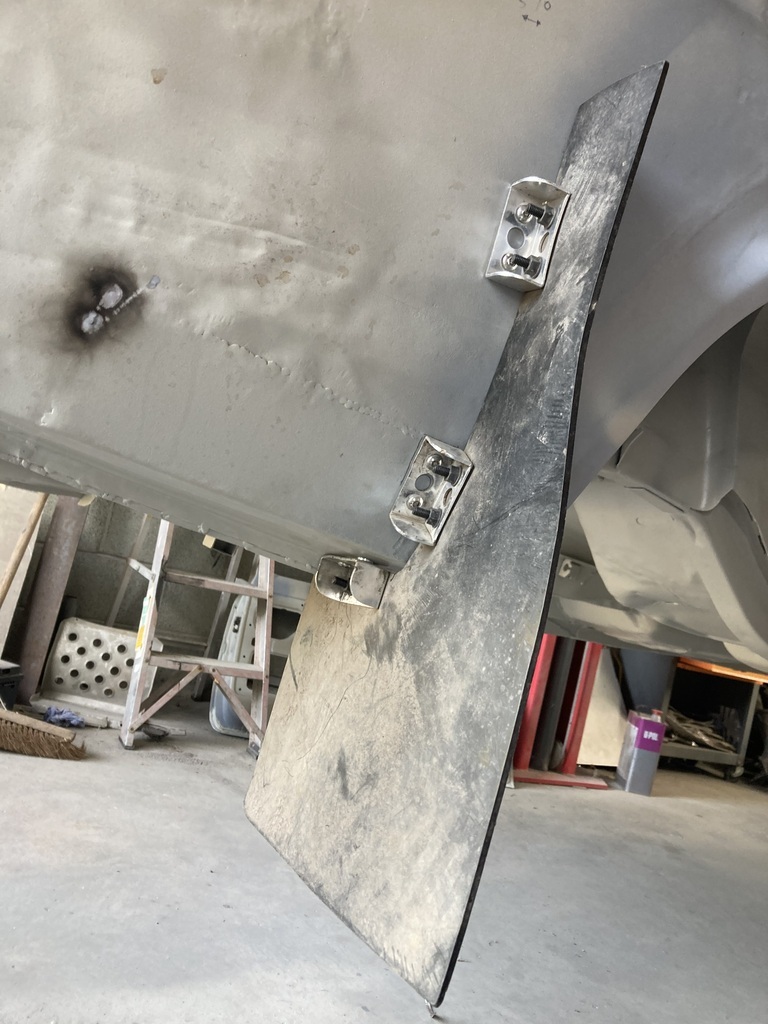 Passenger side 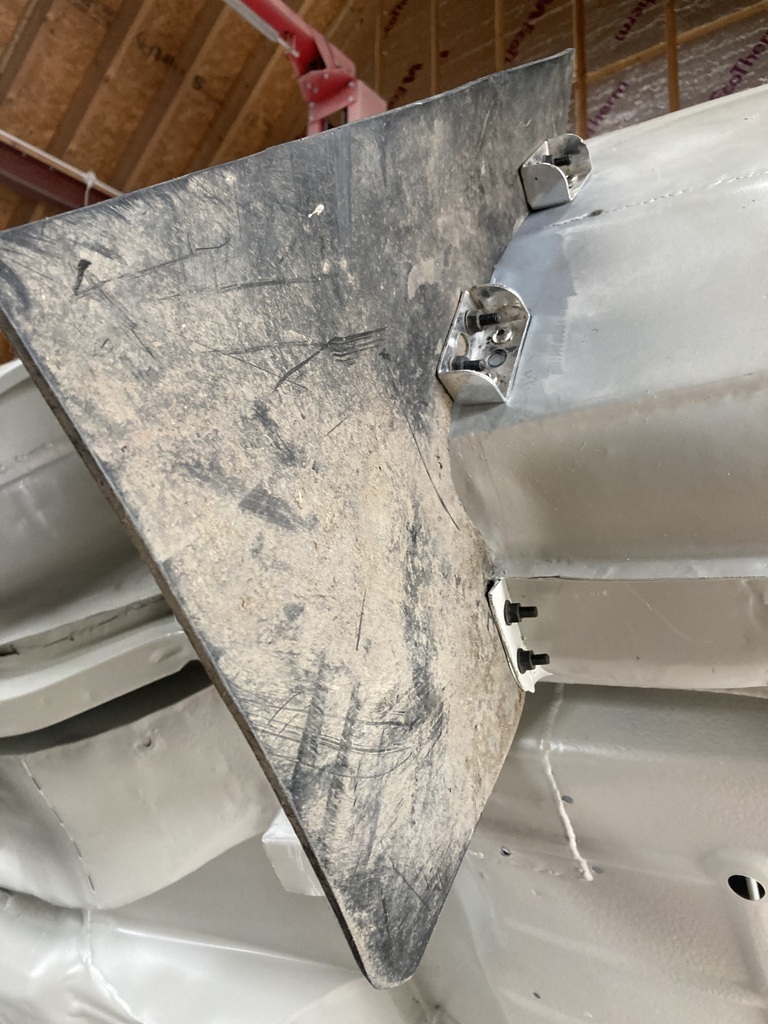 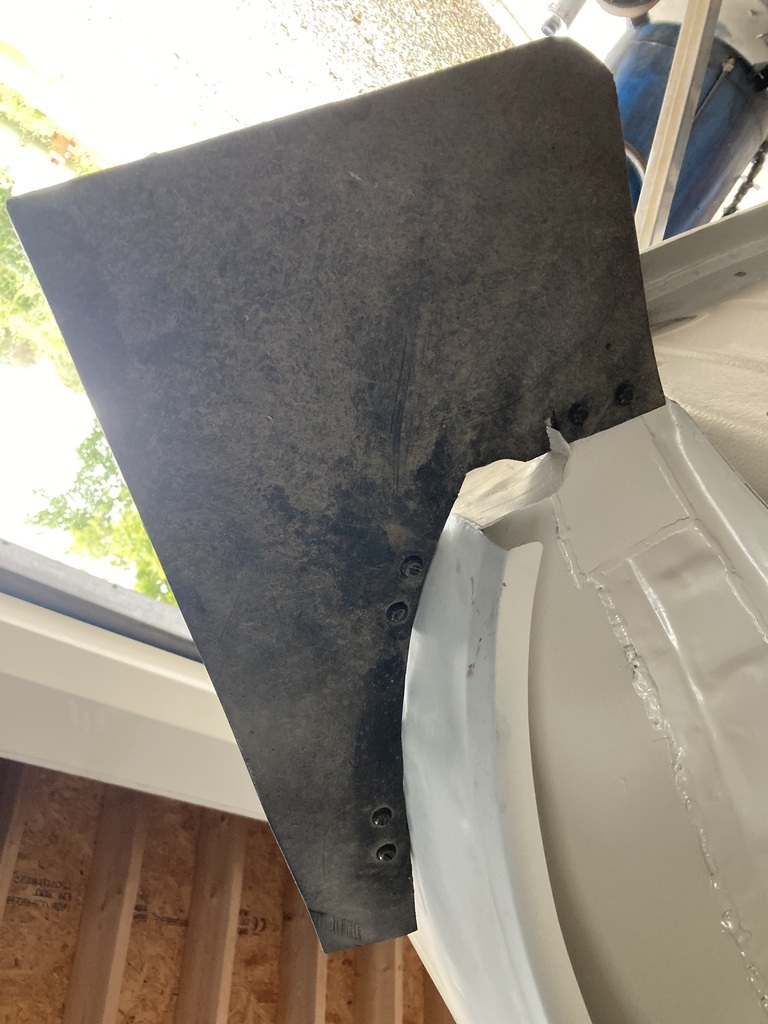 These will be held on with black plastic number plate bolts so that when they get ripped off as they inevitably will, they won’t try and take half the car with it. I’ve only ever run 2 brackets per flap as I never get round to fitting the 3rd. But that’s now sorted, the passenger side luckily lined up with the bottom of the inner wheel arch so that got used instead of a bracket. |
| |
|
|
teaboy
Posted a lot
   Make tea, not war.
Posts: 2,127
|
|
Sept 30, 2023 20:07:00 GMT
|
And finally a wipe over with the stuff you wipe it over with, that I can’t remember the name of. Ahh, that will be the wipey stuff. You should be, it's looking good now. |
| |
|
|


