|
|
|
Apr 26, 2024 20:40:04 GMT
|
So, what I’ve been up to before work this week? I can’t really remember, so I’ll just use the few photos I’d taken, and explain those. The copper pipe I’ve used to plumb the brake servo vacuum pipe over to the inlet manifold was cleaned, lacquered and fitted 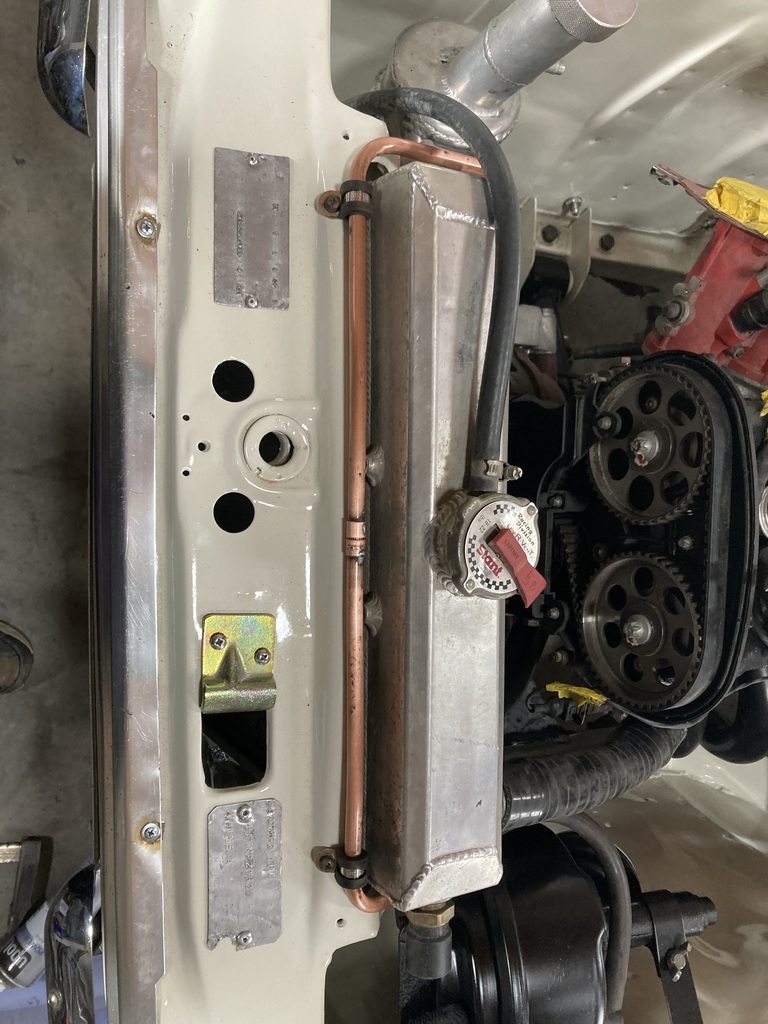 I also fitted new posts for the bonnet pins 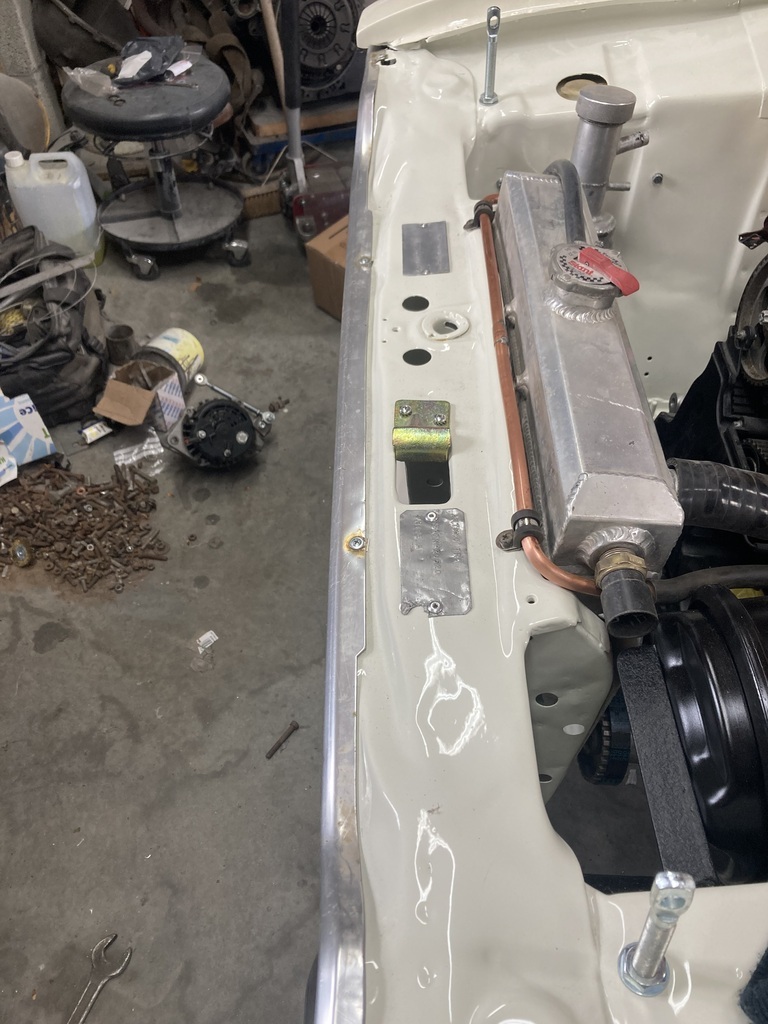 As can be seen in the above photo, I have also tried to screw a fan switch into the radiator top tank. These are usually 22x1.5 thread, but it won’t go in. The pitch matches up, but when I measured the bung that I removed, it only measured 21mm. I’ve ordered a tap from China (I’m expecting great things) to re tap it. If it doesn’t work, I’ll weld a new boss on. I made some nylon bosses up on the lathe to space the coil pack up off the bulkhead. 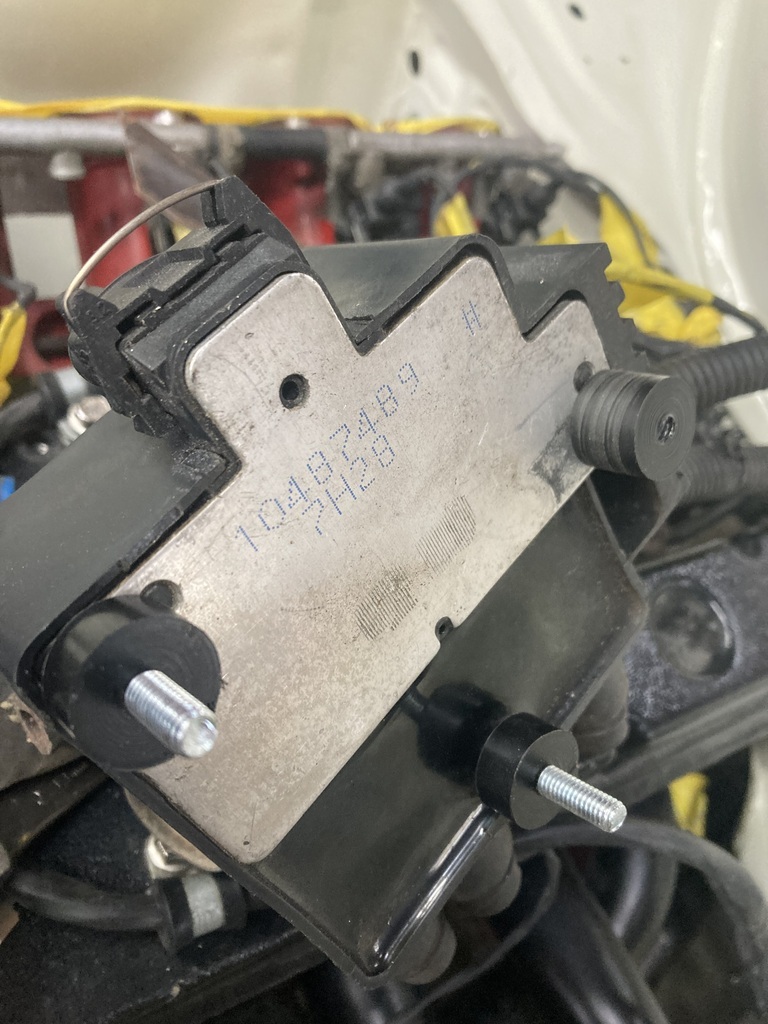 And drilled some holes 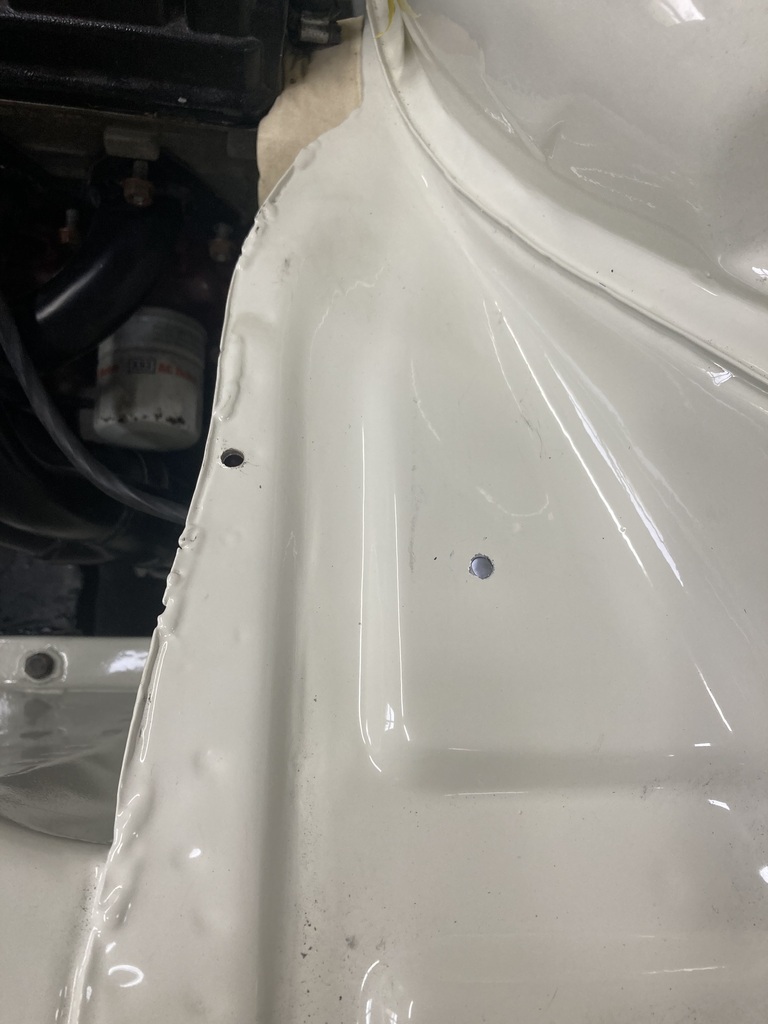 I only drilled the 2 as the 3rd is in the drain trough, so it’s just a spacer. It’s nice and solid though. 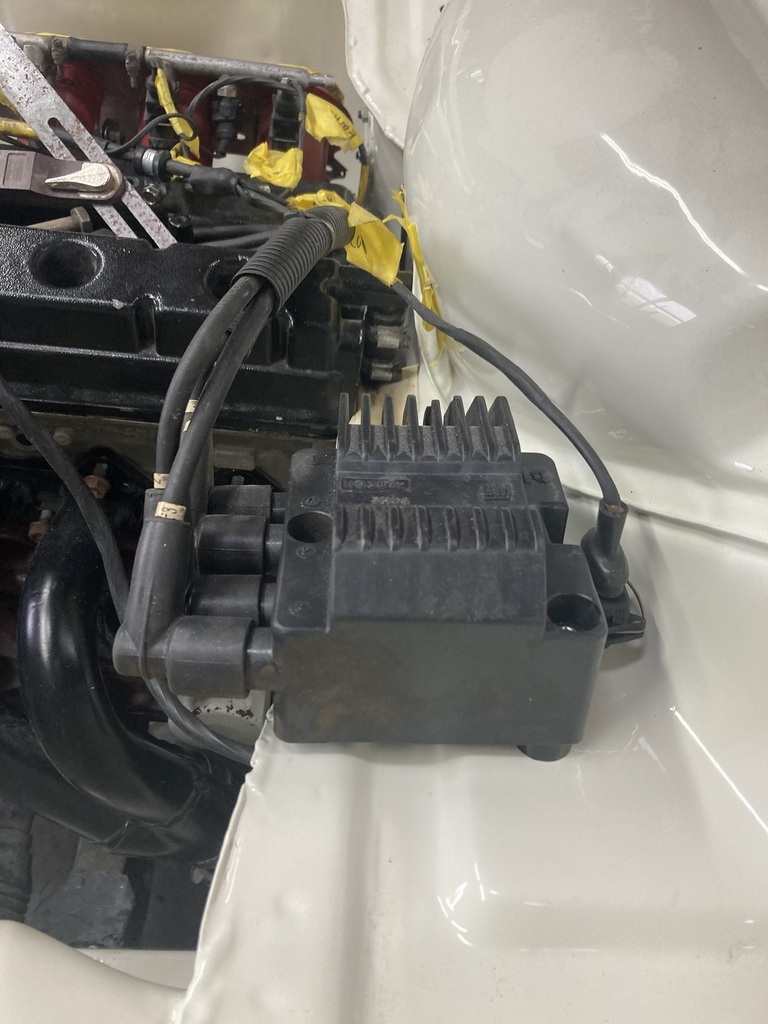 I removed the rear wheels, revealing my wheel spacers. 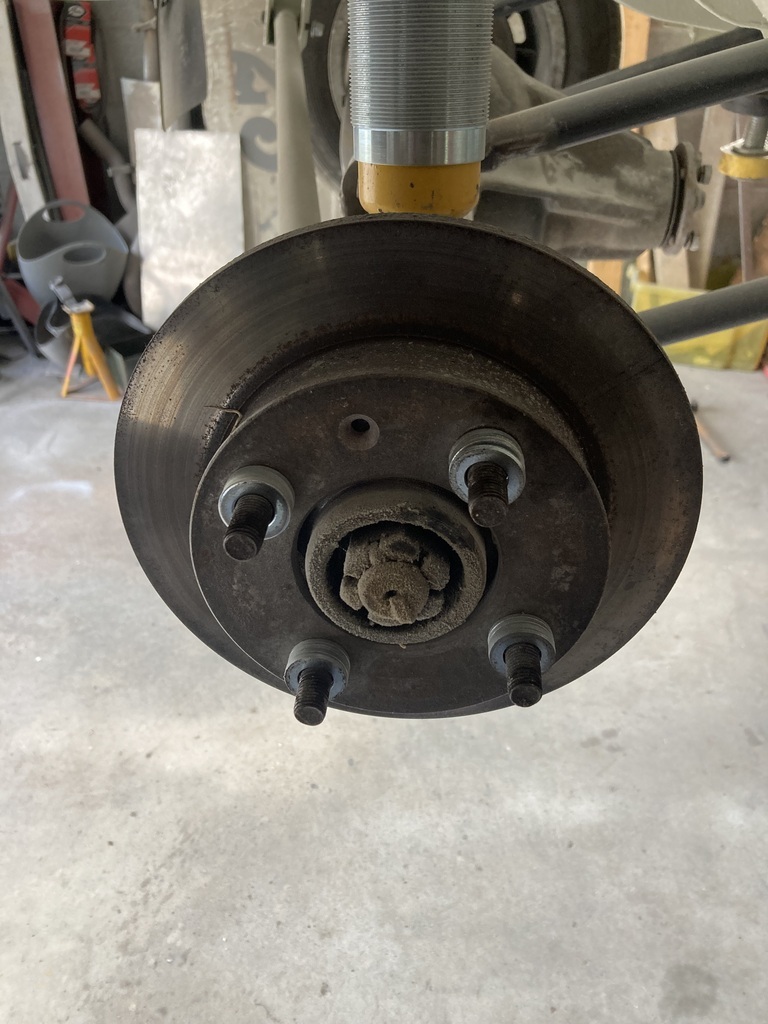 Don’t panic, I’ve got prober spacers and new longer studs, but need to remove the half shafts to fit Rear calipers were fitted to make sure the handbrake cables cleared the rear coilovers. They do ( luckily as I hadn’t checked) 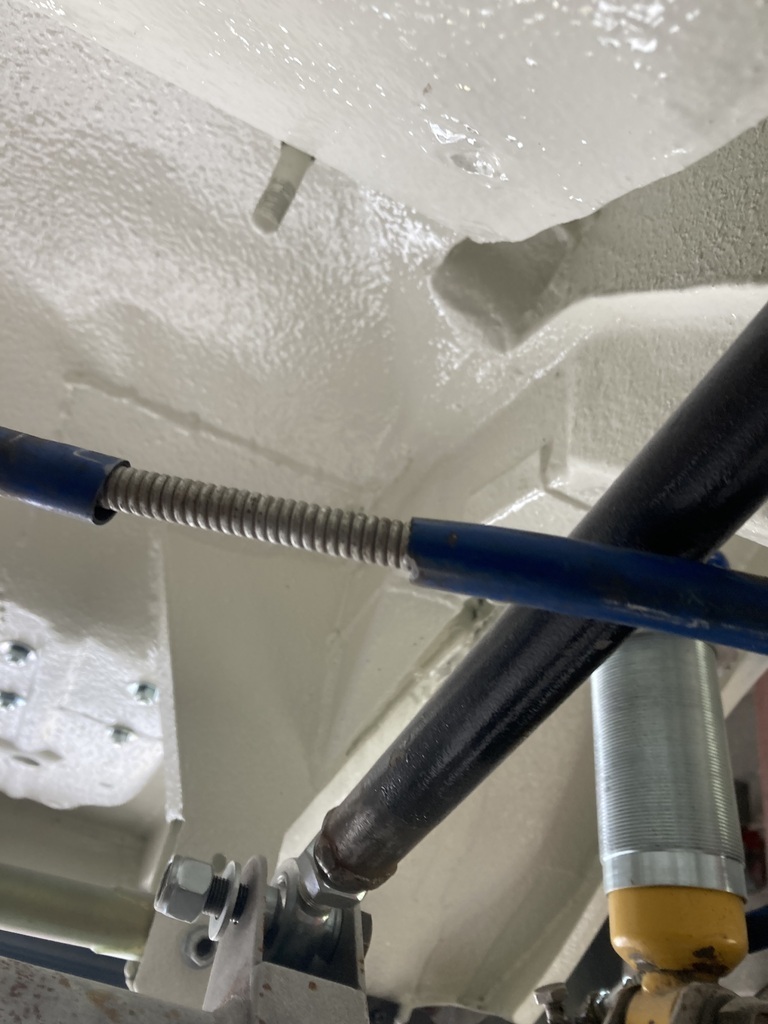 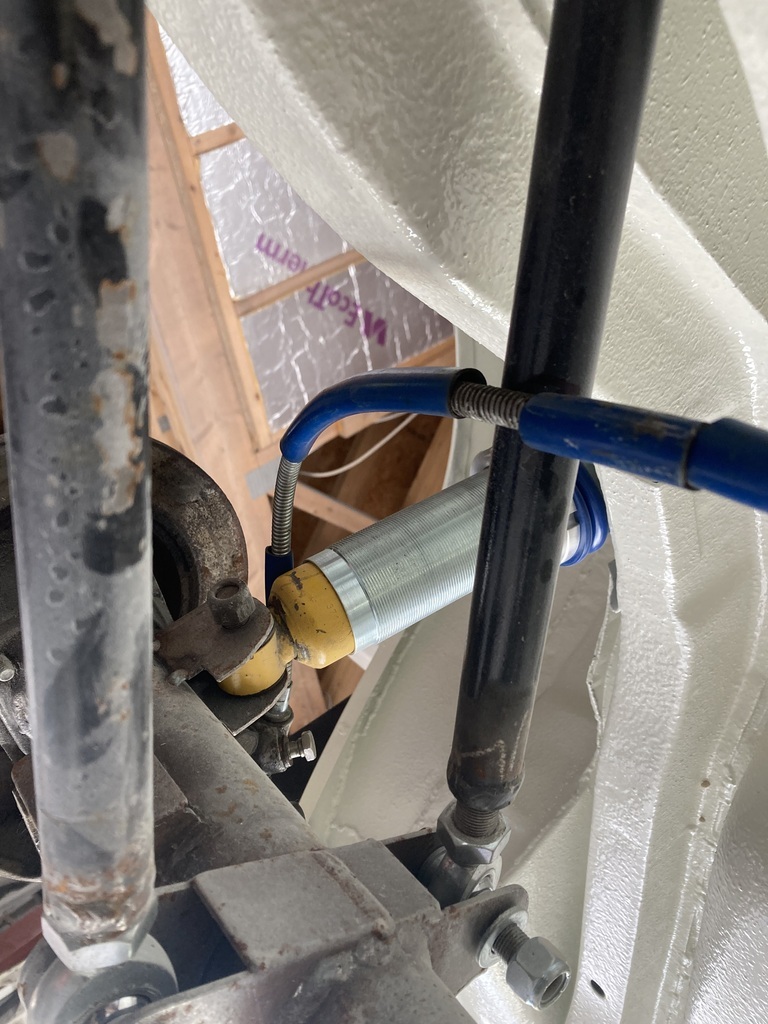 Made some bracelets to mount the cables and tacked to the top link bars 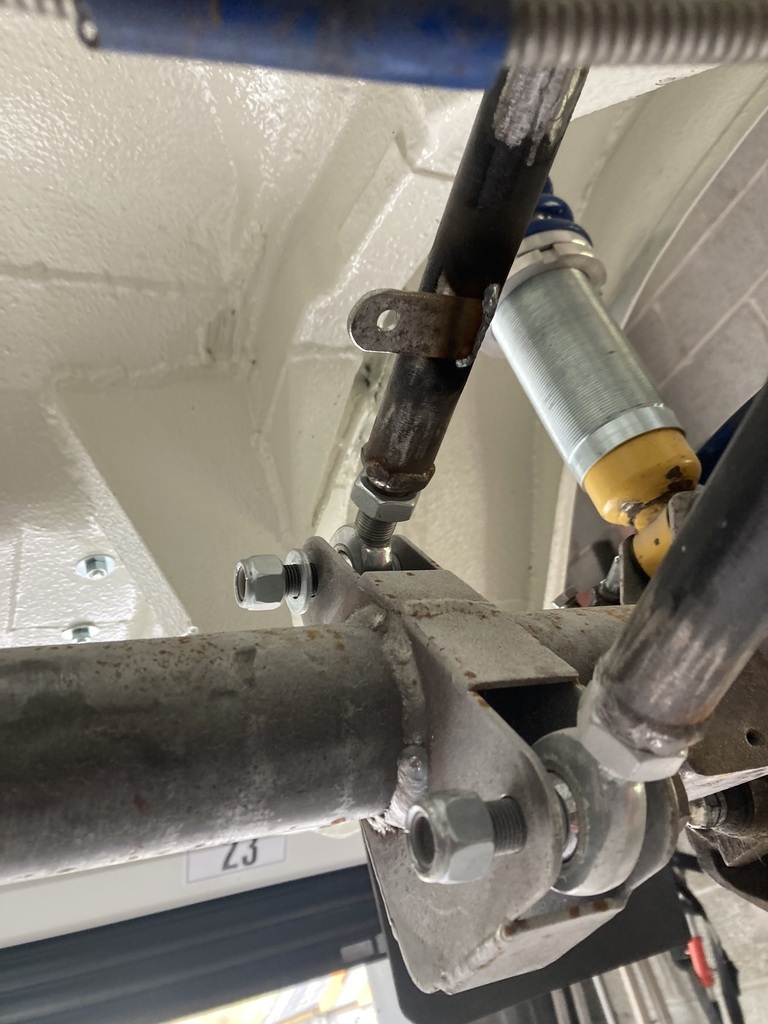 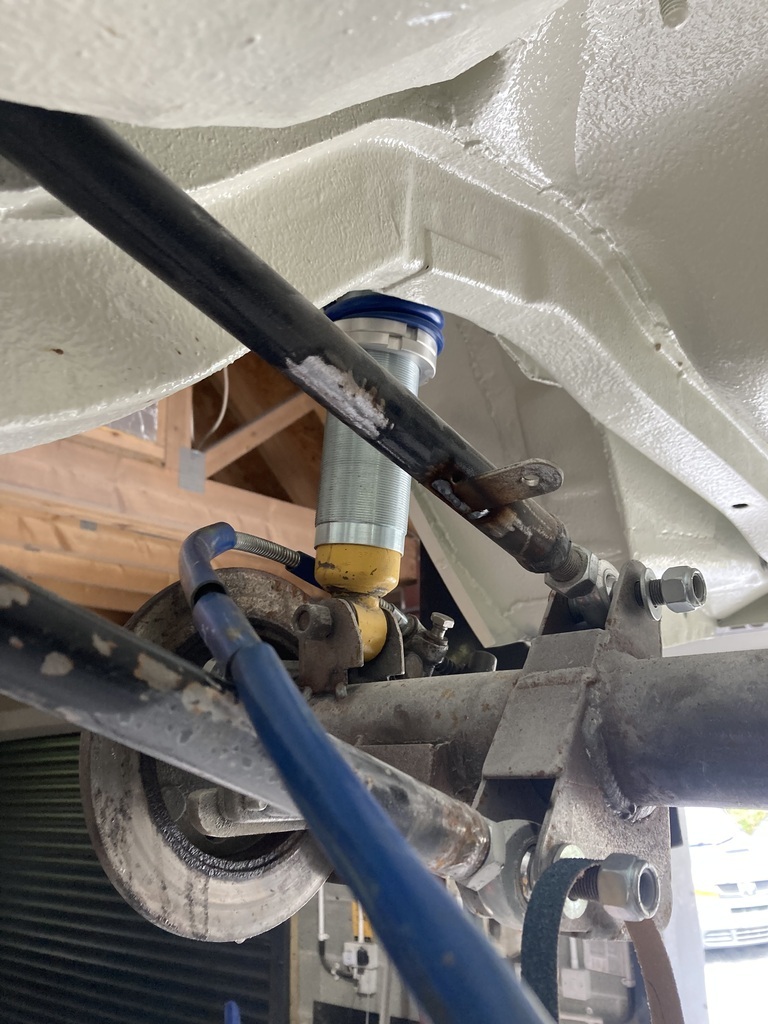 All welded and P clipped on 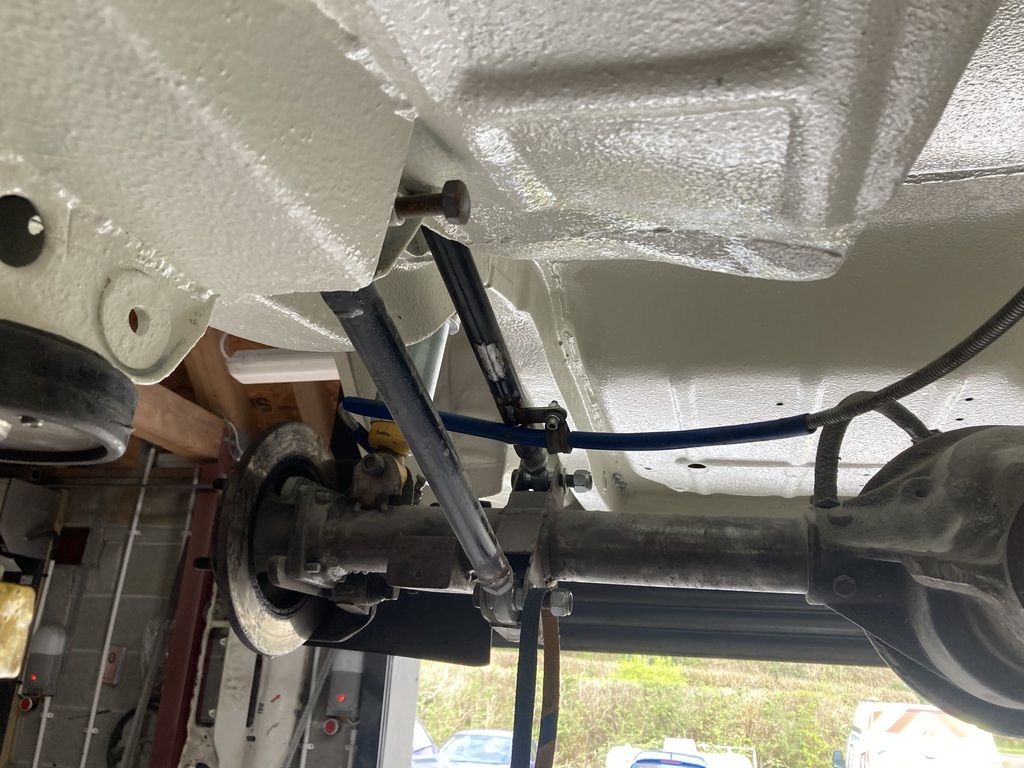 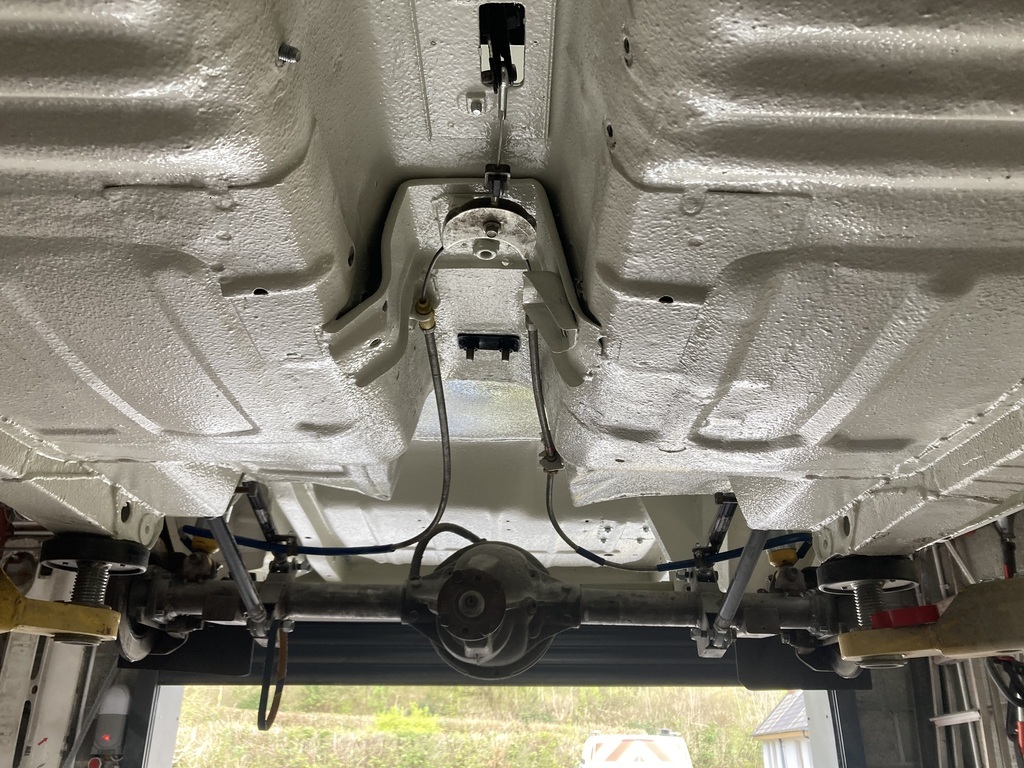 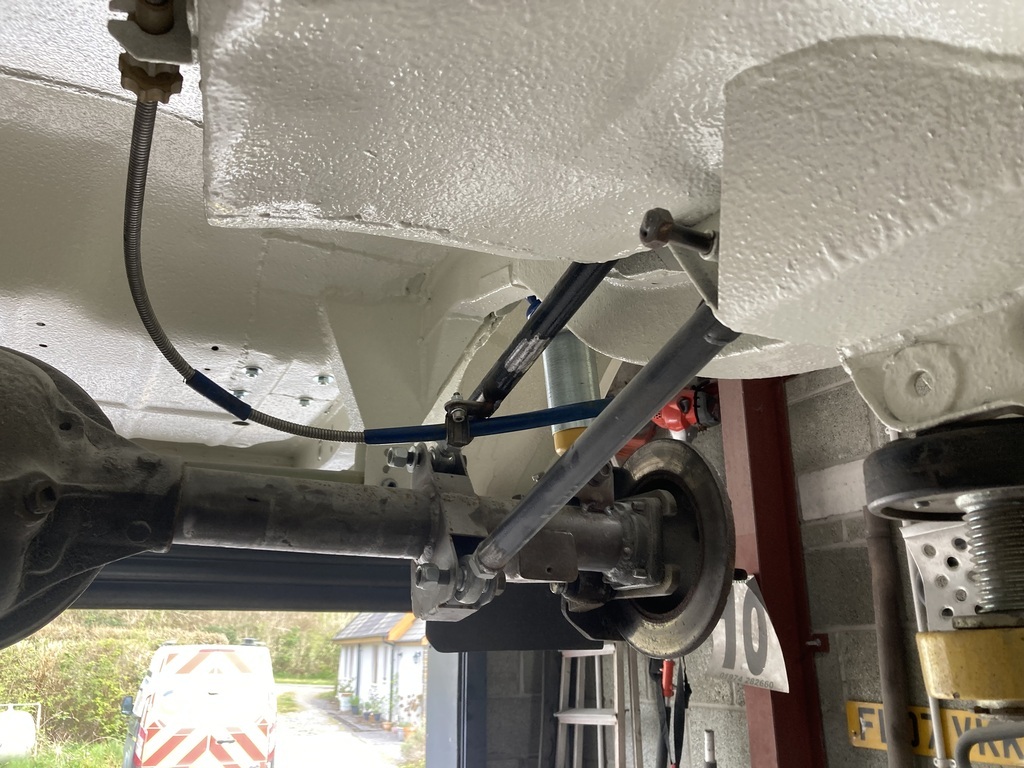 Cables even clear the wheels too 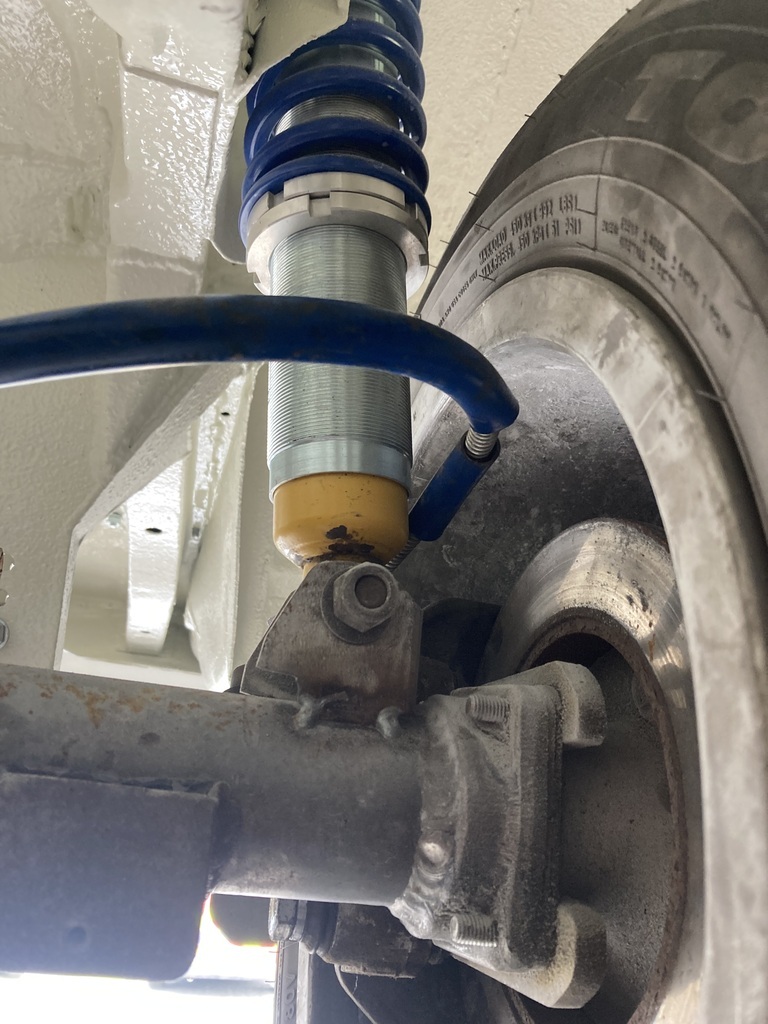 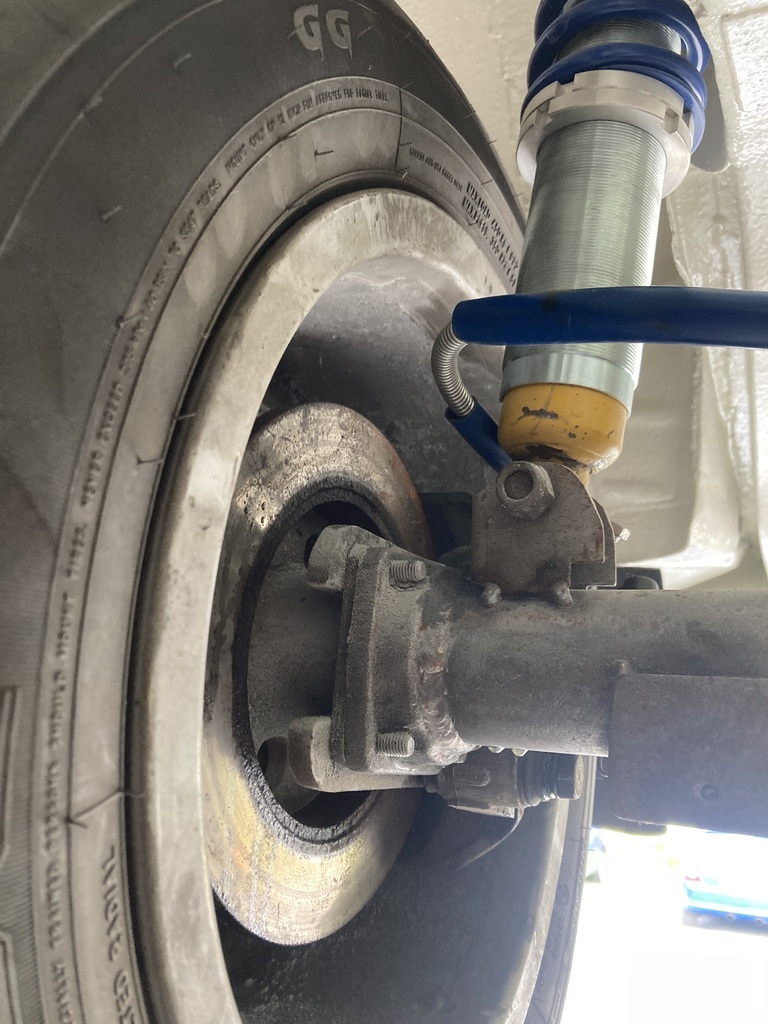 Some horses cam to see me when I was parked up in work 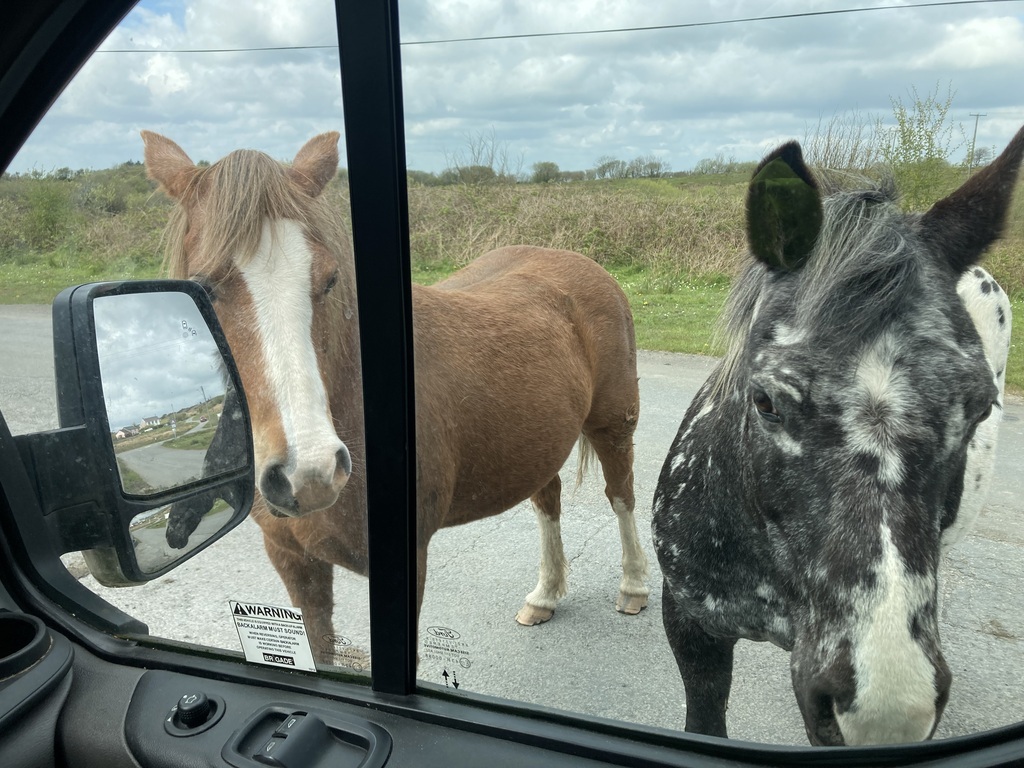 The new fan feet mounts turned up 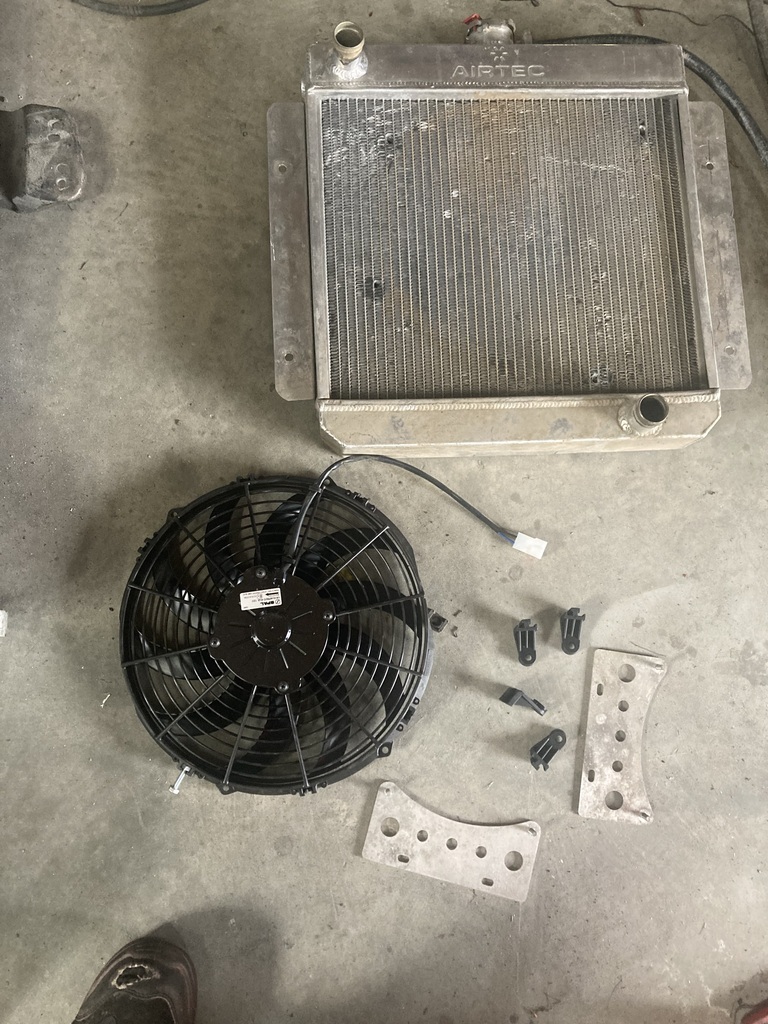 Luckily they did fit upside down. The brackets that came with the radiator had the studs removed, drilled out, bent up and cut down 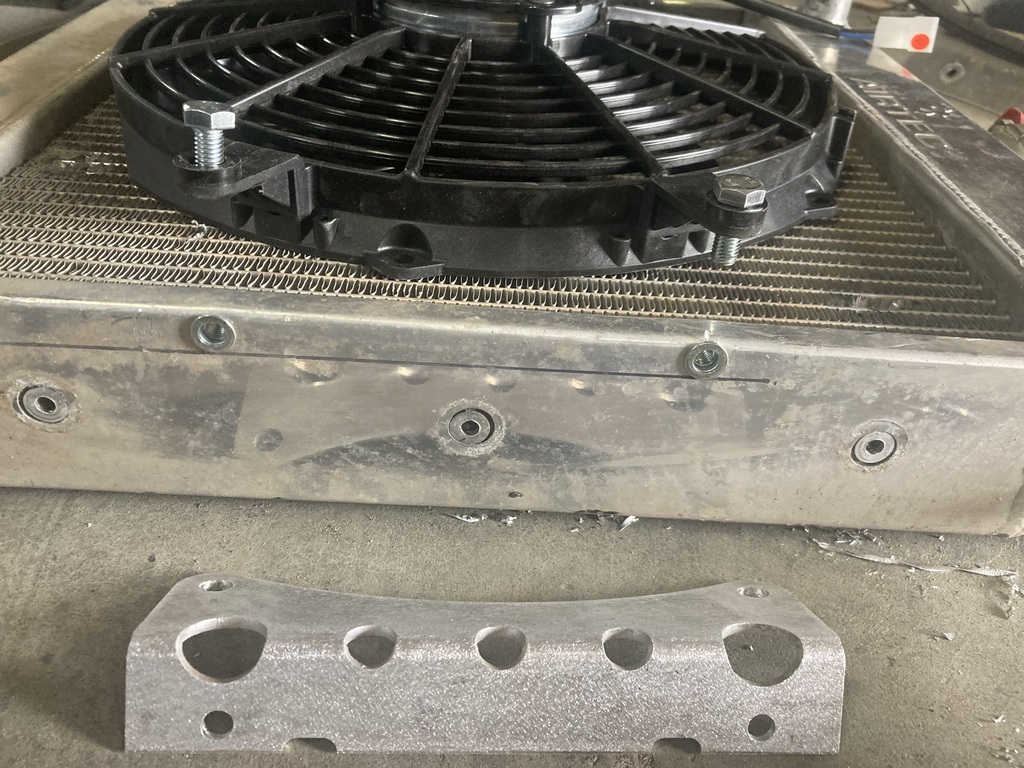 And all fitted up 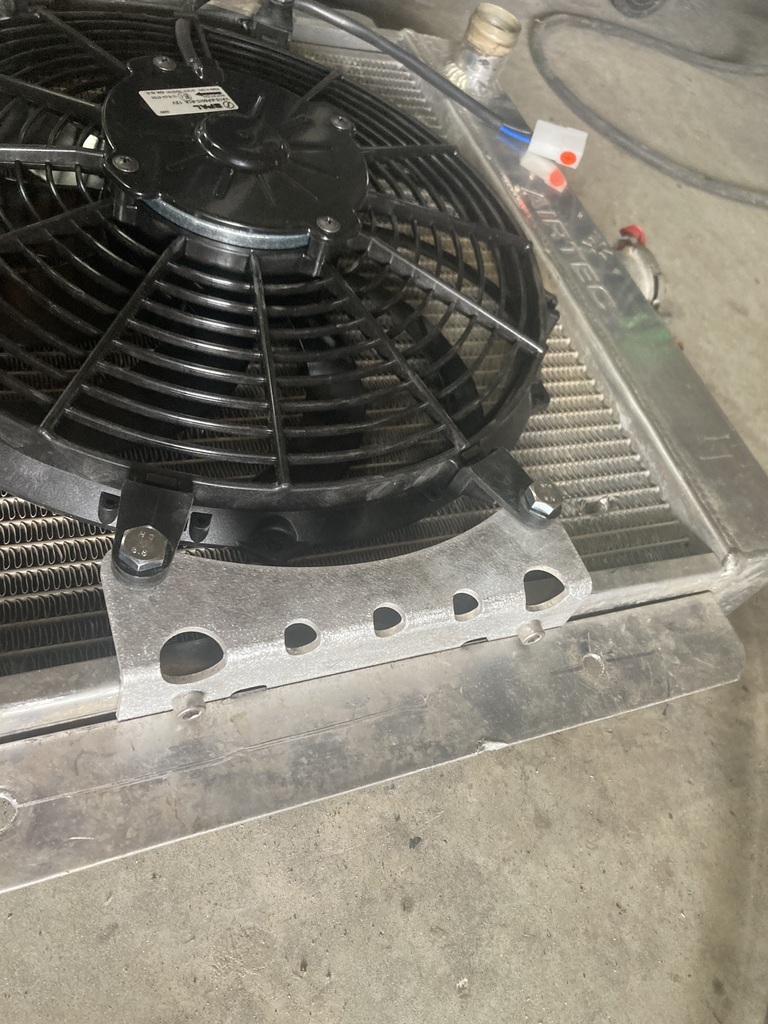 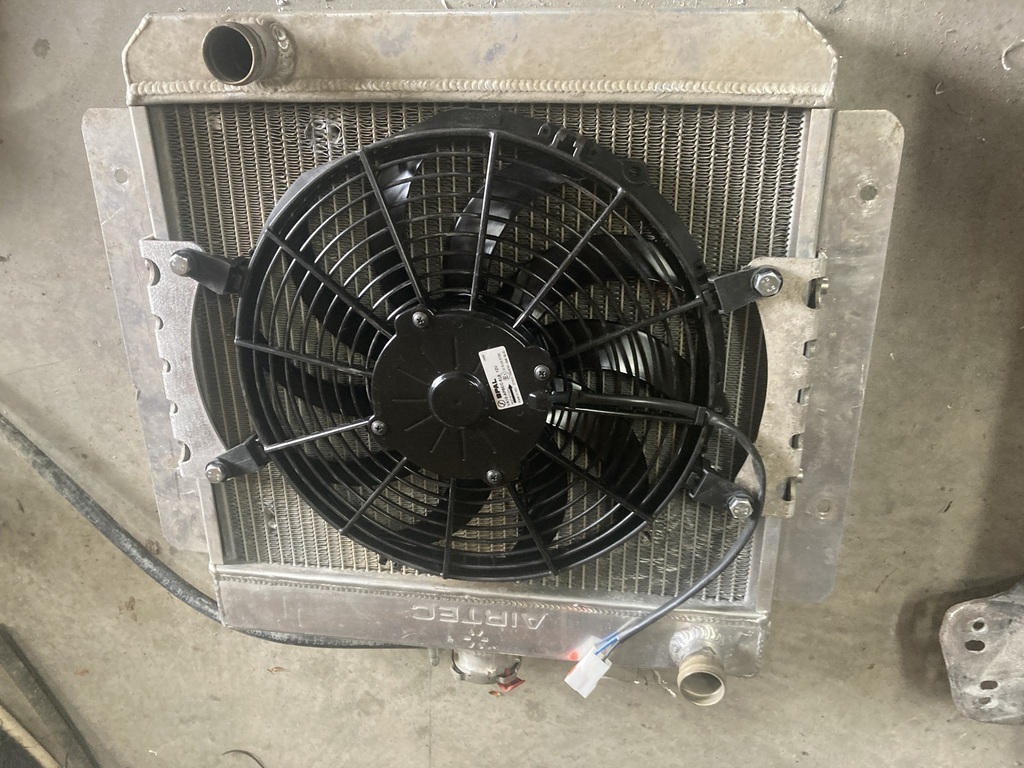 And that was it, I was back on a day shift today as a colleague wanted to do my late shift. This has allowed me to drink wine. |
| |
|
|
|
|
|
|
|
Apr 27, 2024 17:14:19 GMT
|
No work this weekend, so after food shopping with Mrs Jonsey and a visit to some of her family, it was garage time. The half inch oil pipe and all the clips turned up so I fitted those. This took an unexpected bit of time, as once you’ve put the pipes on the barbs, they really don’t want to come off. 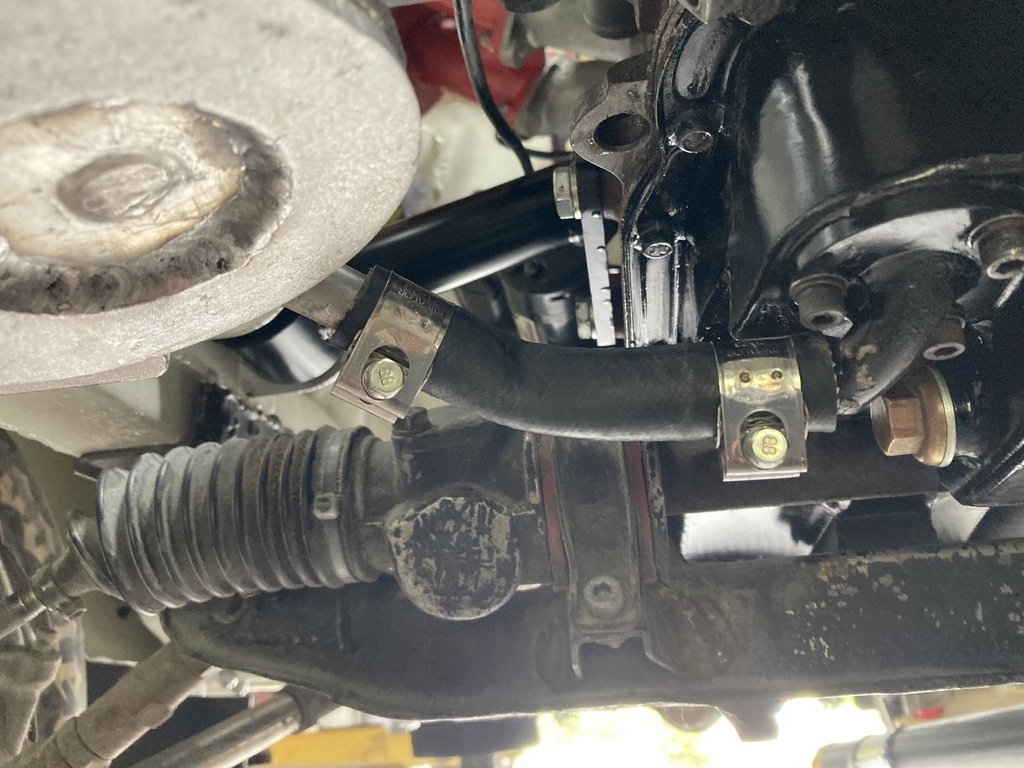 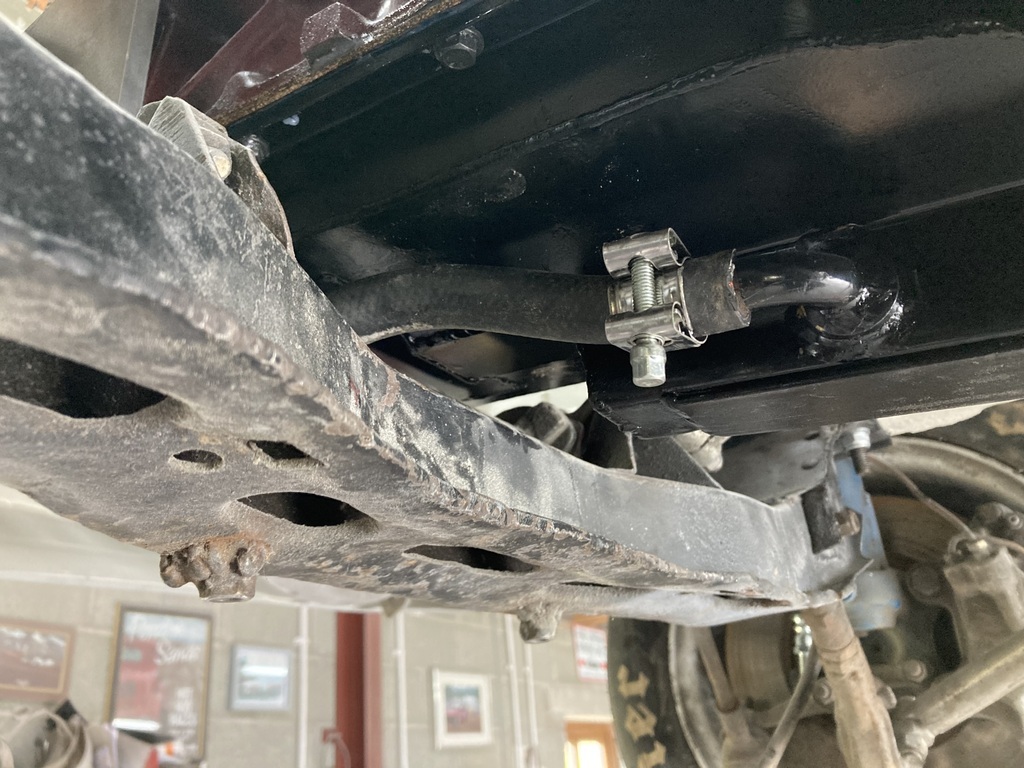 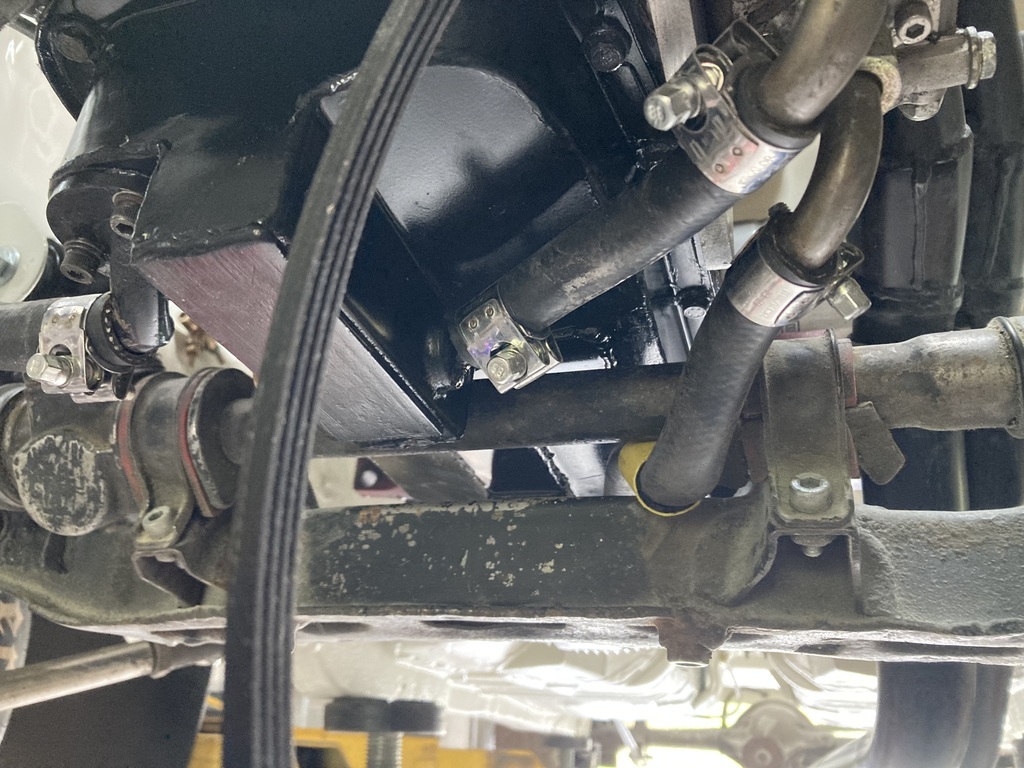 One of the scavenge pipes has had to go above the crossmember but below the steering rack so I’ve slipped a bit of yellow PE gas pipe over it to stop it rubbing. That’s the oil circuit complete except for the breather circuit. Radiator next. If you remember from last week, the bottom hose run wants to go straight through the crank sensor. So I cut the stub nearly off and bent it up 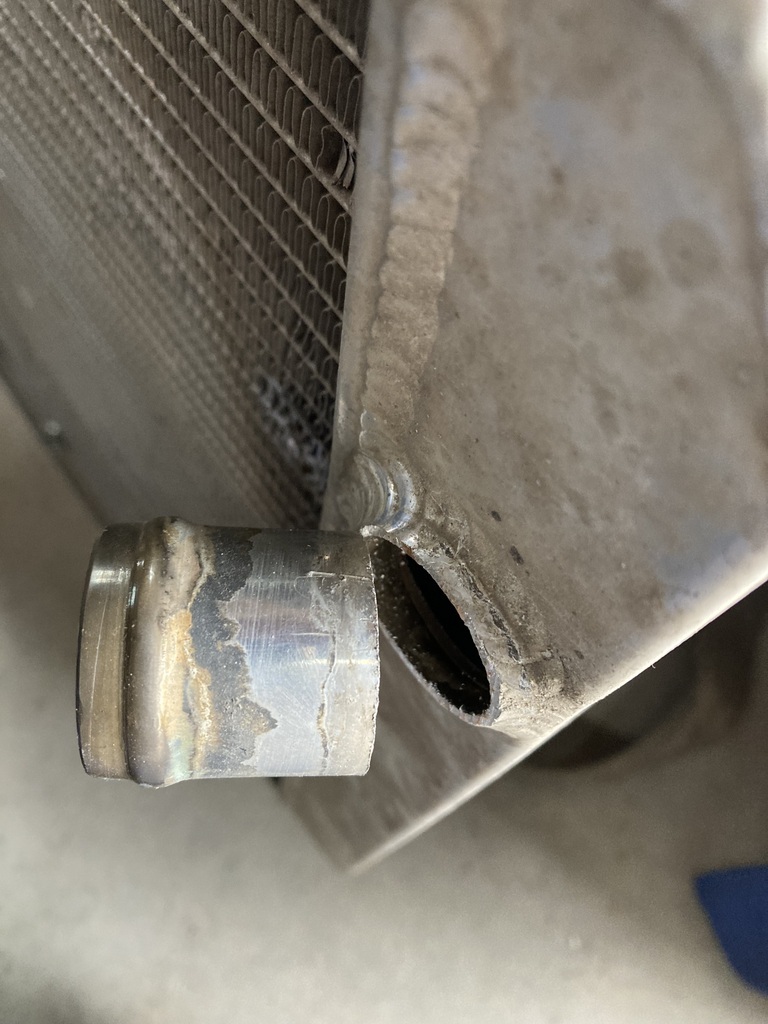 Then cut a wedge 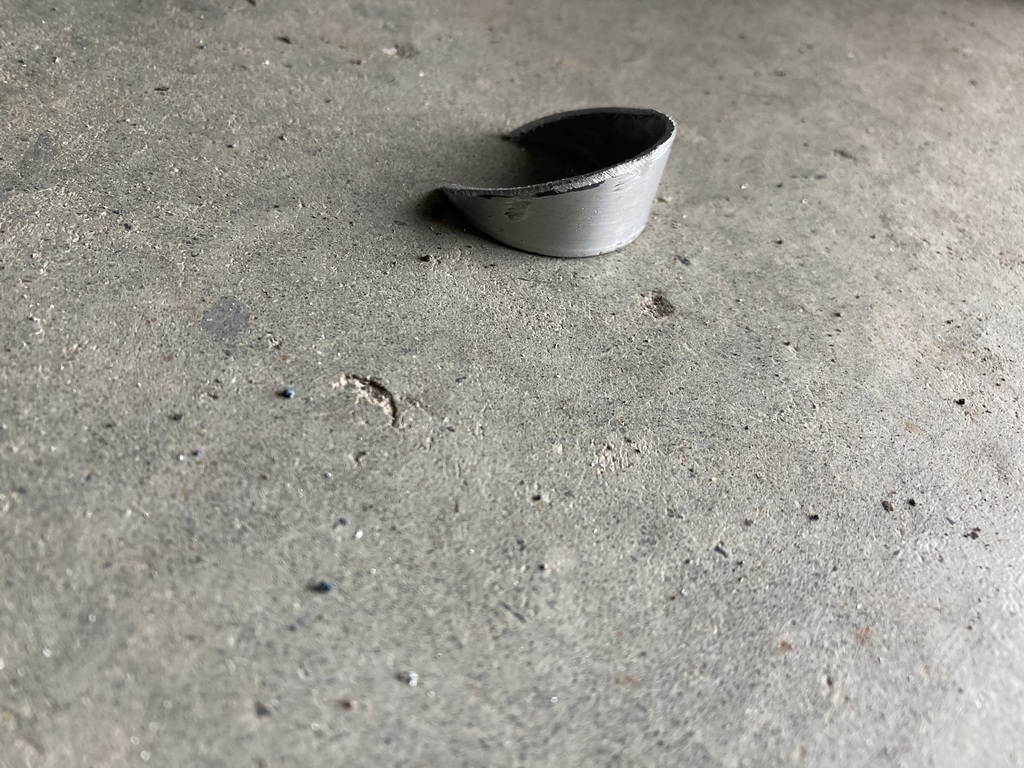 That’s not the actual wedge as after I’d taken the photo I realised the angle was wrong, so I cut another. This was welded to the radiator (badly) 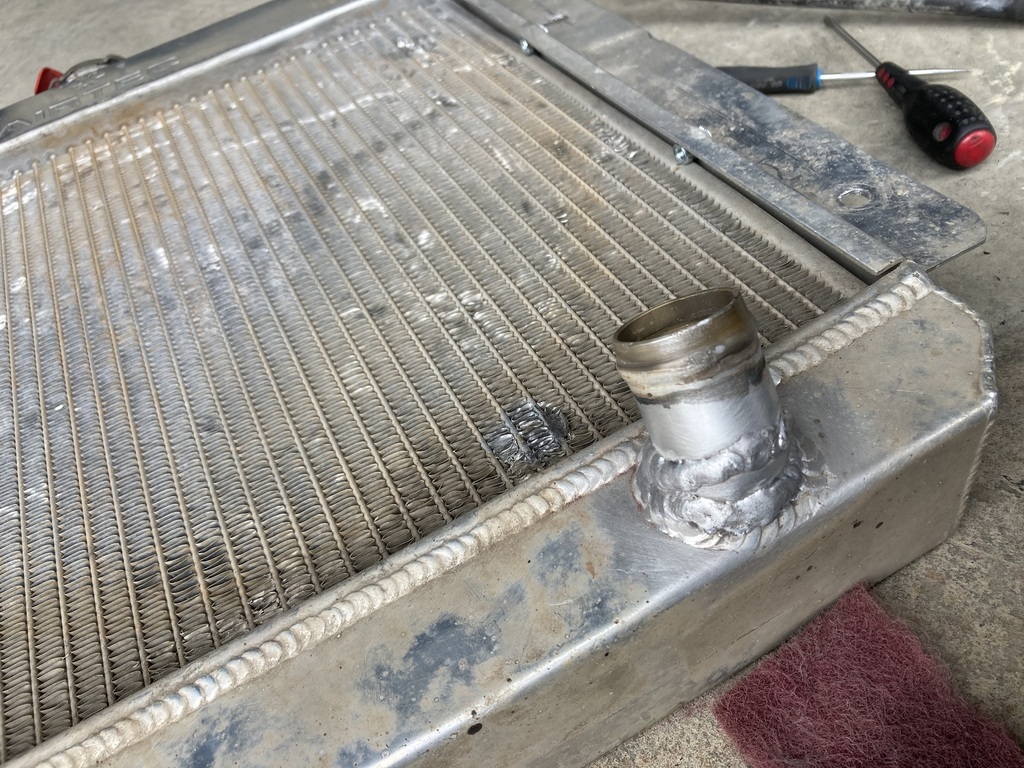 And a pic of the fan, rad and modified stub in place 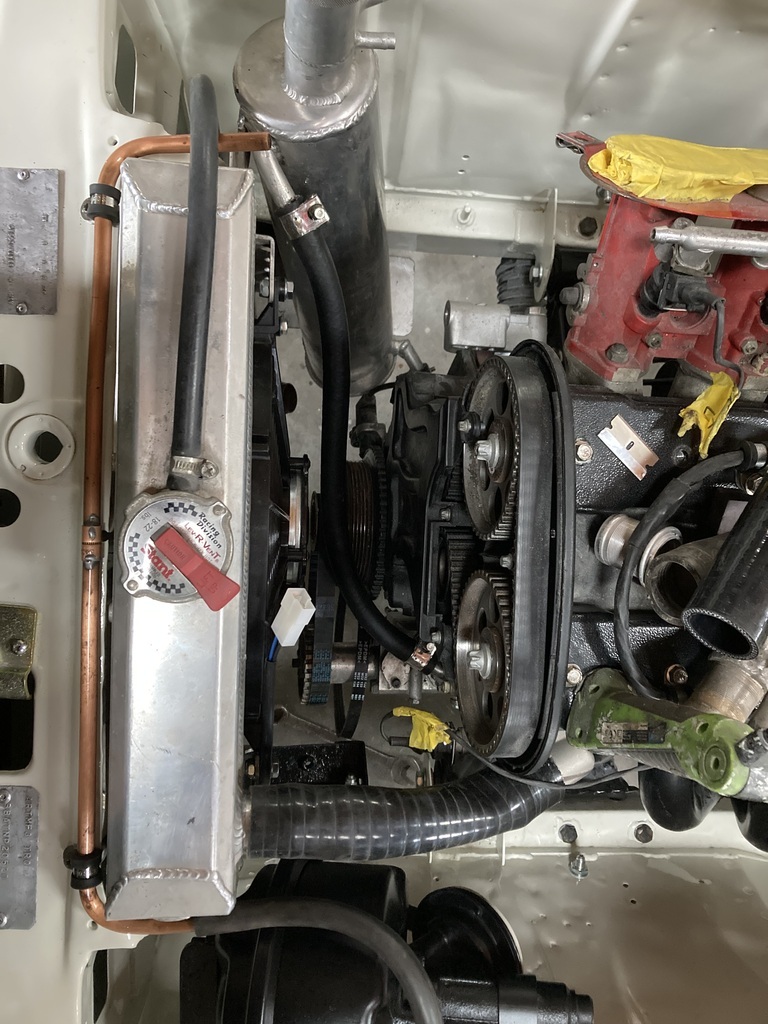 If I get a chance tomorrow I’ll try and connect the modified stub to the water pump inlet 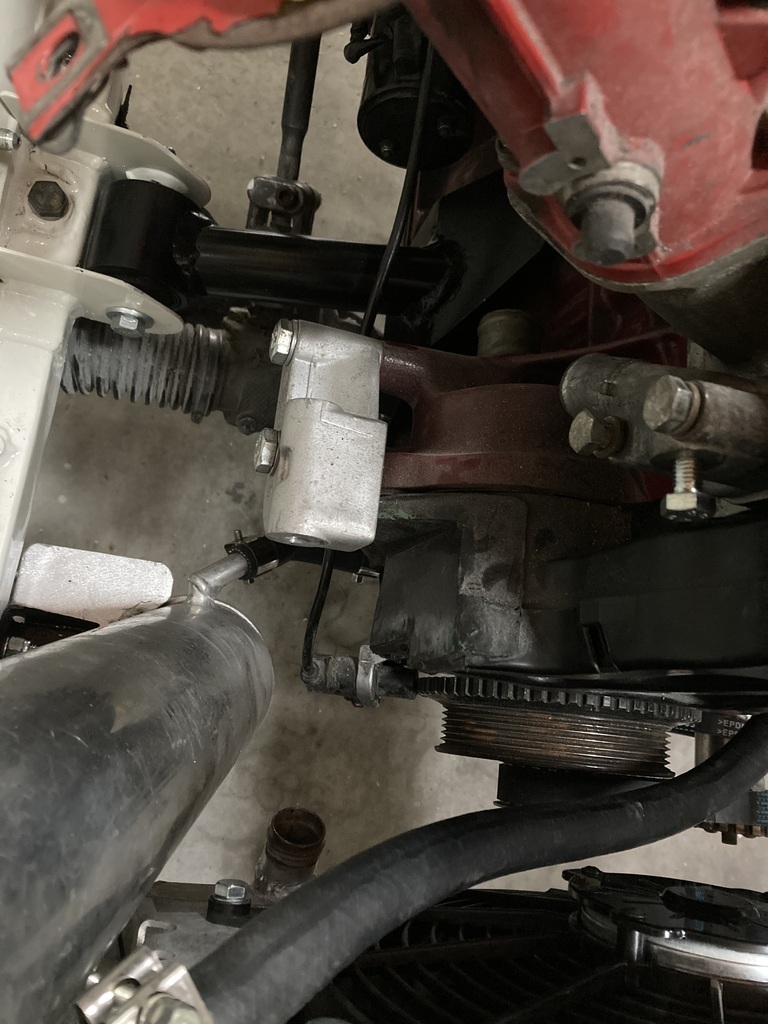 |
| |
|
|
|
|
|
Apr 28, 2024 15:14:27 GMT
|
BARN FIND EDITION, 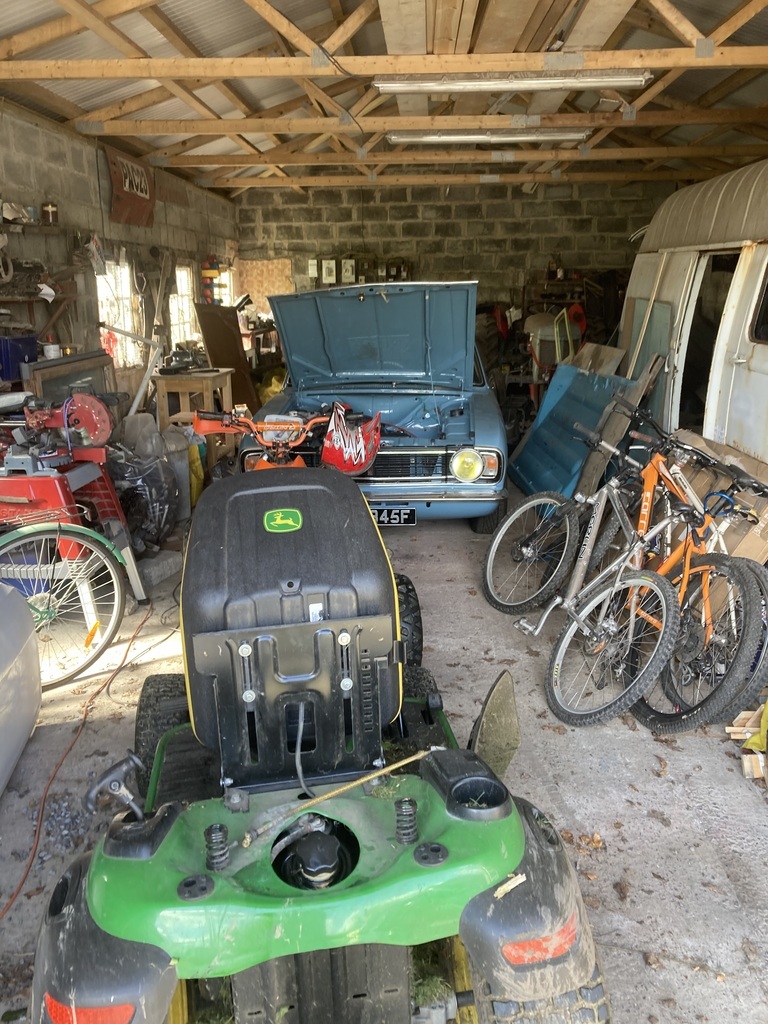 No work done on the Escort today. I decided to dig the Cortina out instead. I didn’t think there was much petrol in it so first off Jones Junior (the younger) and myself went to the petrol station in the Trafic to get a Jerry can full of 99RON. Whilst there I gave the van a jet wash as it was so green (we’re surrounded by trees), I could only see out of the screen where the wipers have been. When back home, the mower got a top up as it had run out of fuel last weekend (The Younger driving aimlessly round the field). As did The Younger’s quad, because he’d ran that dry last weekend too. But that would only idle and not take any throttle. Carb off, float bowl off, jets out, blown through, back together, sorted. It took a while to get fuel up to carbs on the Cortina as it always drains back. But once running, I drove it onto the field to see Mrs Jonsey, where it promptly ran out of fuel as in my excitement, and forgotten to add some 99RON. That sorted, The Younger and I went for a spin and thoroughly enjoyed. When back I decided to get the single seater out of the new garage and put it in the old. I wheeled it like a barrow as it doesn’t weigh much. I then cleaned that side of the garage bit 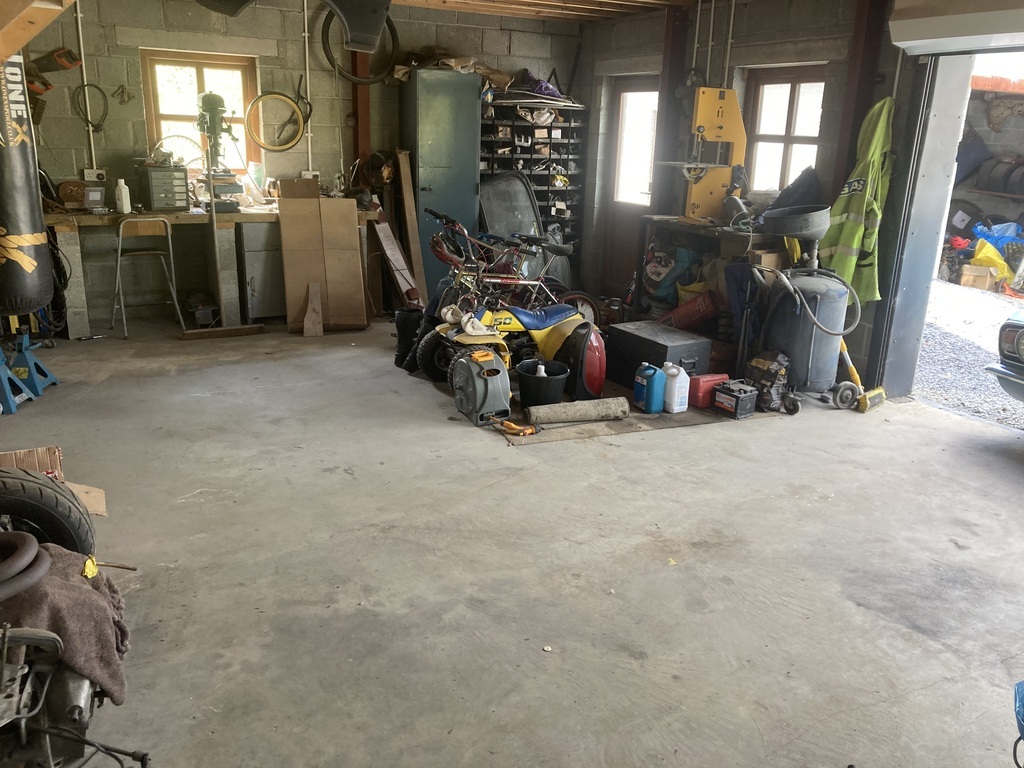 Still need to sort all this too 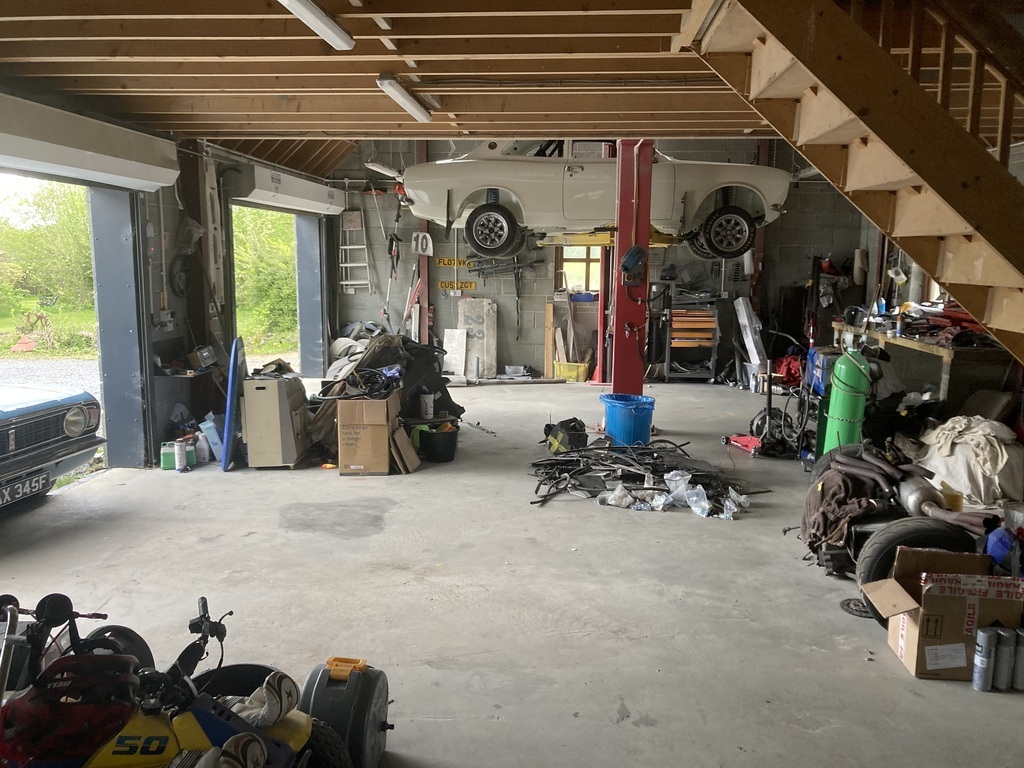 The Cortina now fits here 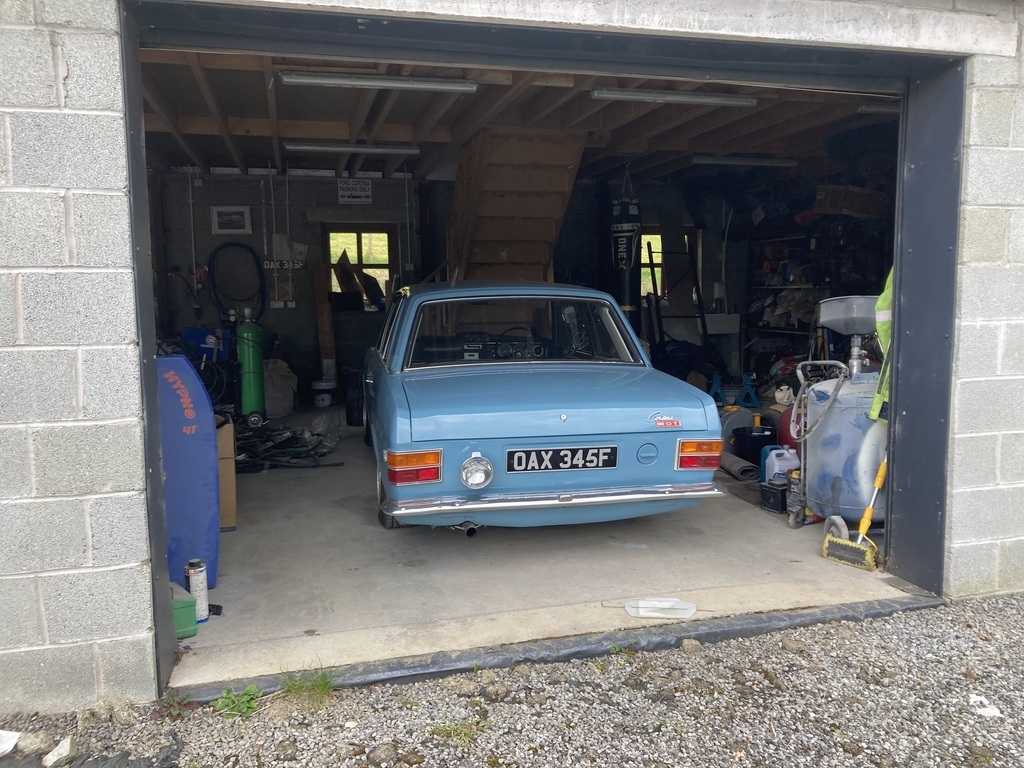 I’ll finish with a pic of the Cortina being jump started off the mower as the battery didn’t have enough go in it to suck the fuel through for a second time. 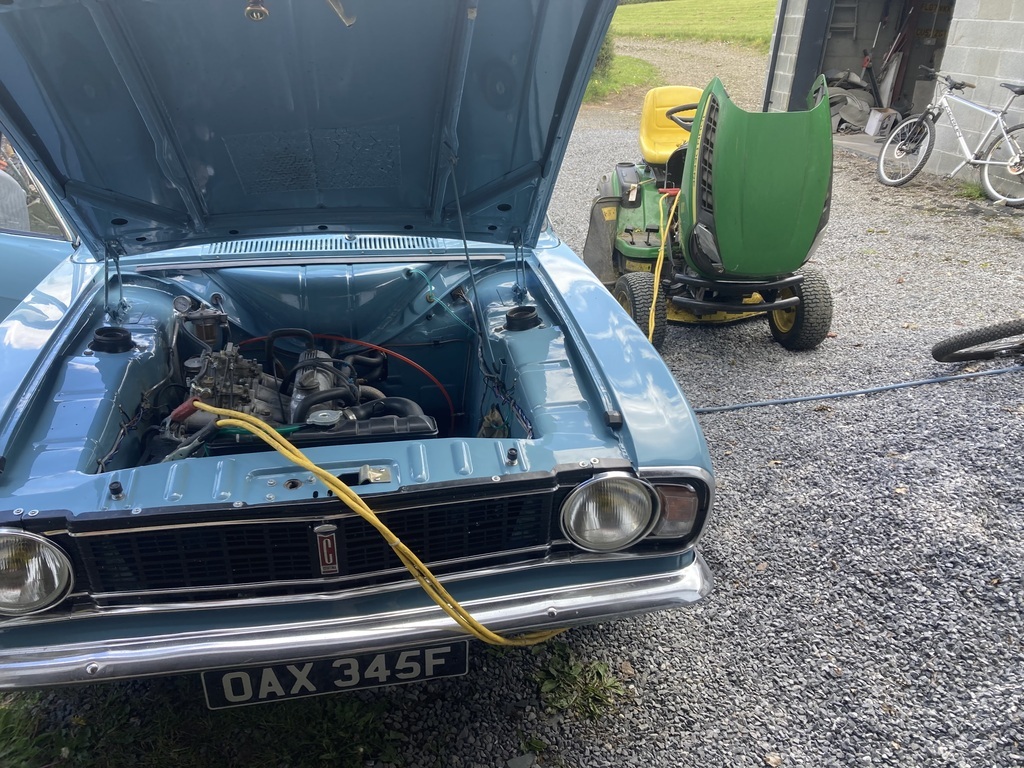 |
| |
|
|
|
|
|
Apr 29, 2024 10:34:34 GMT
|
|
As much as I enjoy the work on the Escort, it's great to see the Cortina in the sunshine
|
| |
1966 Ford Cortina GT
2018 Ford Fiesta ST
Full time engineer, part time waffler on Youtube - see Jim_Builds
|
|
|
|
|
Apr 29, 2024 10:51:31 GMT
|
As much as I enjoy the work on the Escort, it's great to see the Cortina in the sunshine The Escort has taken over my life the last 2.5 years, so everything else has been neglected. It was good to get it out again, giving it a blast down some country roads. I would love to do a rack conversion, but that is for future me. |
| |
|
|
|
|
|
Apr 29, 2024 11:03:29 GMT
|
|
The rack conversion looks great from Retro Ford but it's not 2.5K great!
|
| |
1966 Ford Cortina GT
2018 Ford Fiesta ST
Full time engineer, part time waffler on Youtube - see Jim_Builds
|
|
|
|
|
Apr 29, 2024 11:09:46 GMT
|
On call again, so another couple of hours done. I made a start on the bottom hose. I used to work developing vehicle heat exchangers and at some point I’d salvaged a couple of bent stub pipes off an aluminum brazed radiator. No before pic, but I welded them together at the angle I needed 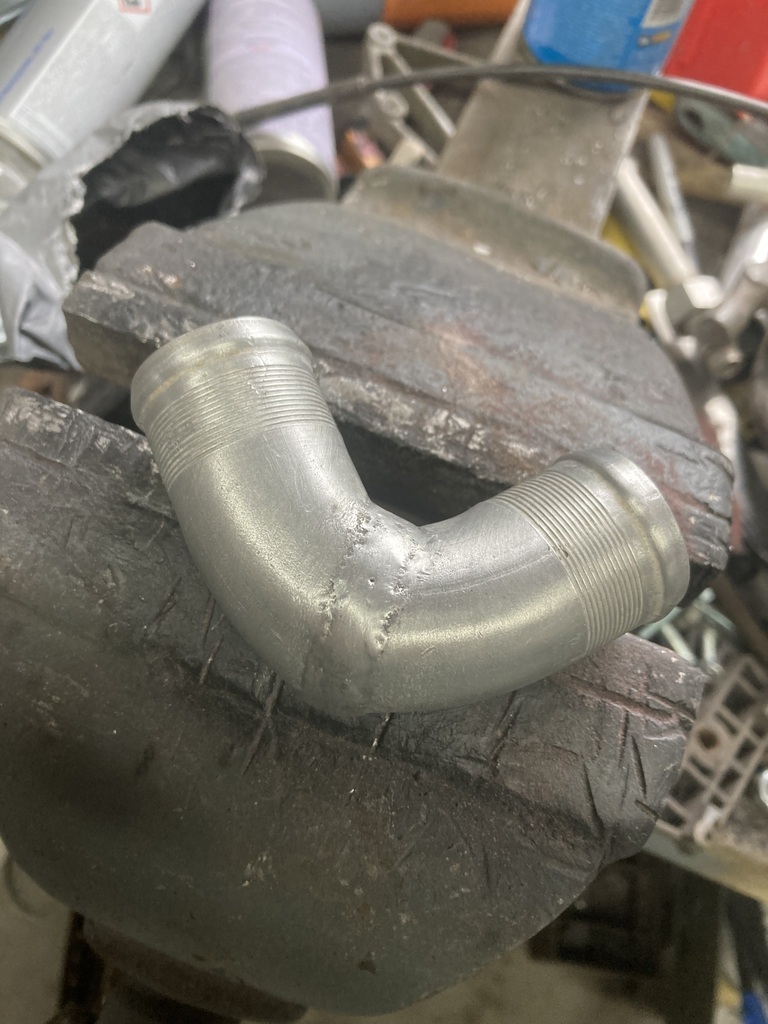 And fitted it between the bottom hose and water pump inlet. 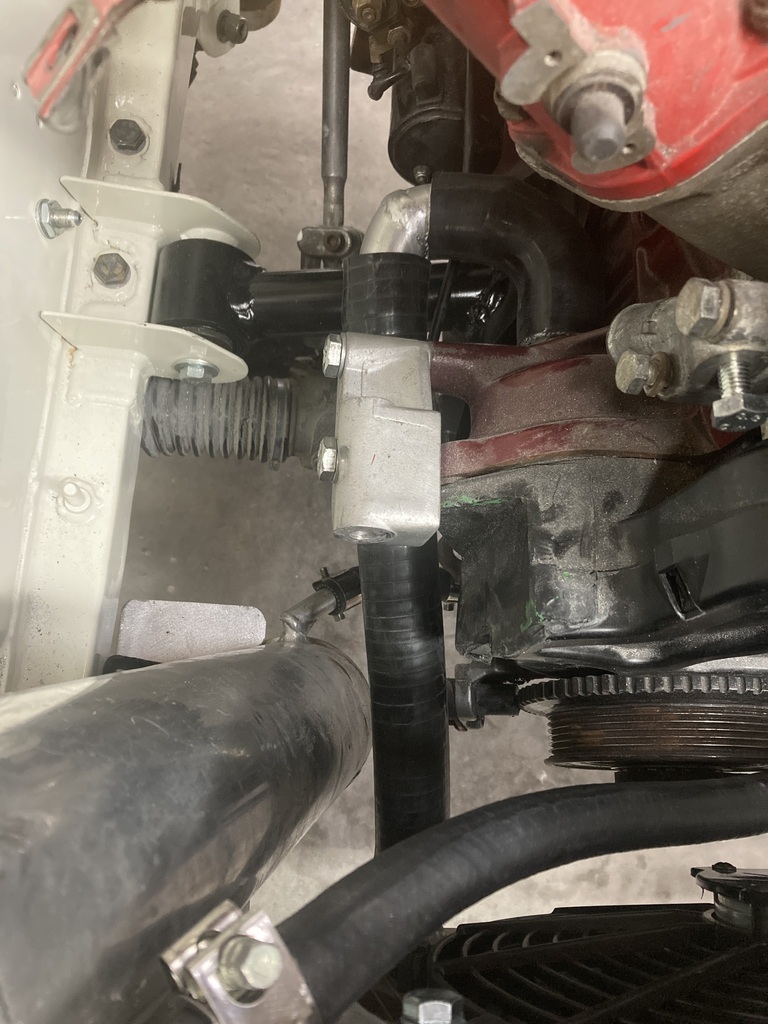 This isn’t finished yet as I have to add a stub for a heater pipe and the bypass hose from the inlet manifold, but I haven’t got the hoses yet to work out where I want them So I moved on to the throttle cable. I’m going to use the old cable but the throttle bodies don’t have anywhere to hold the cable outer. On the single seater, this was just a bracket on the chassis, so I needed a bracket. So I took the inlet manifold off 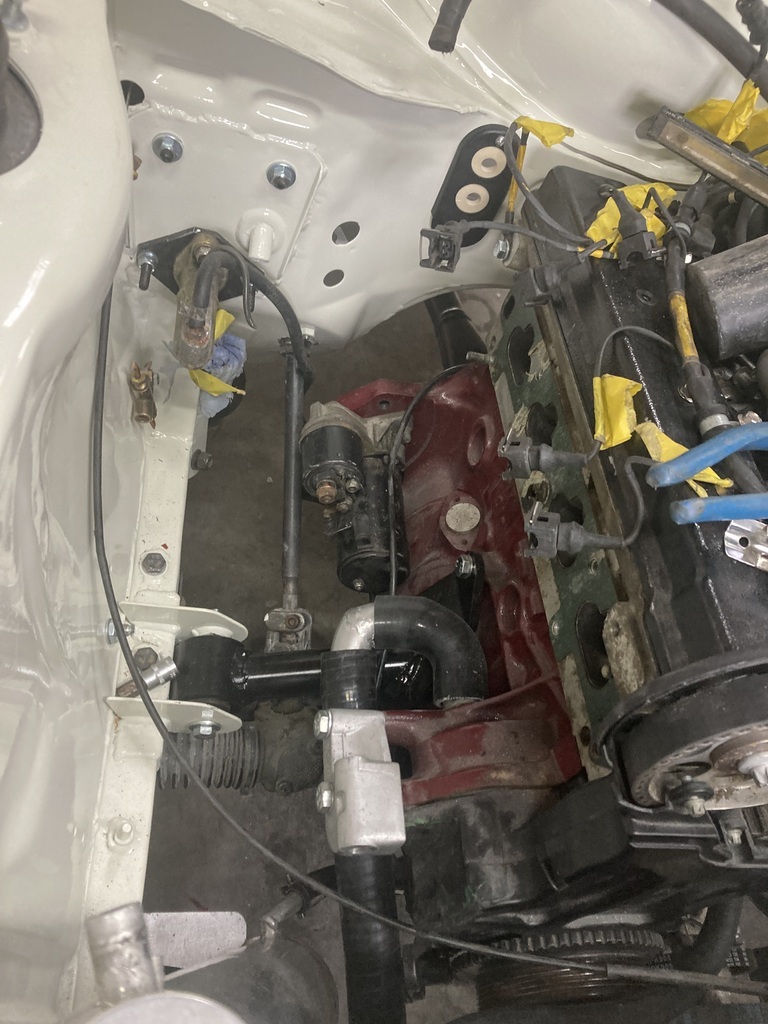 Made this 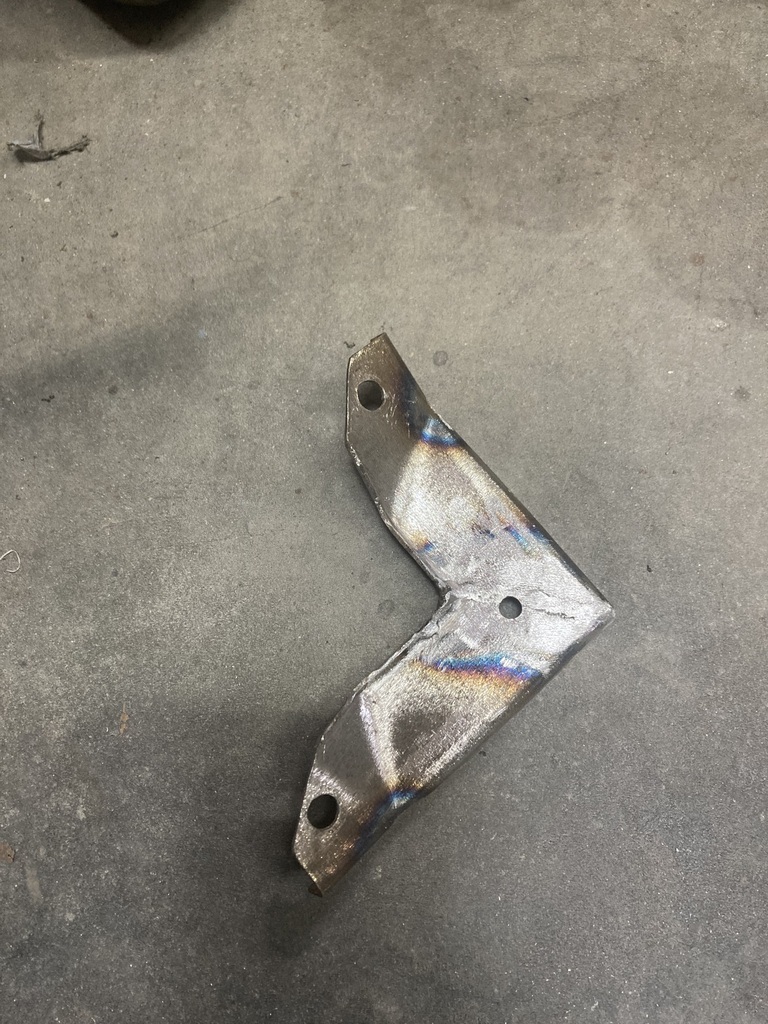 That bolts here 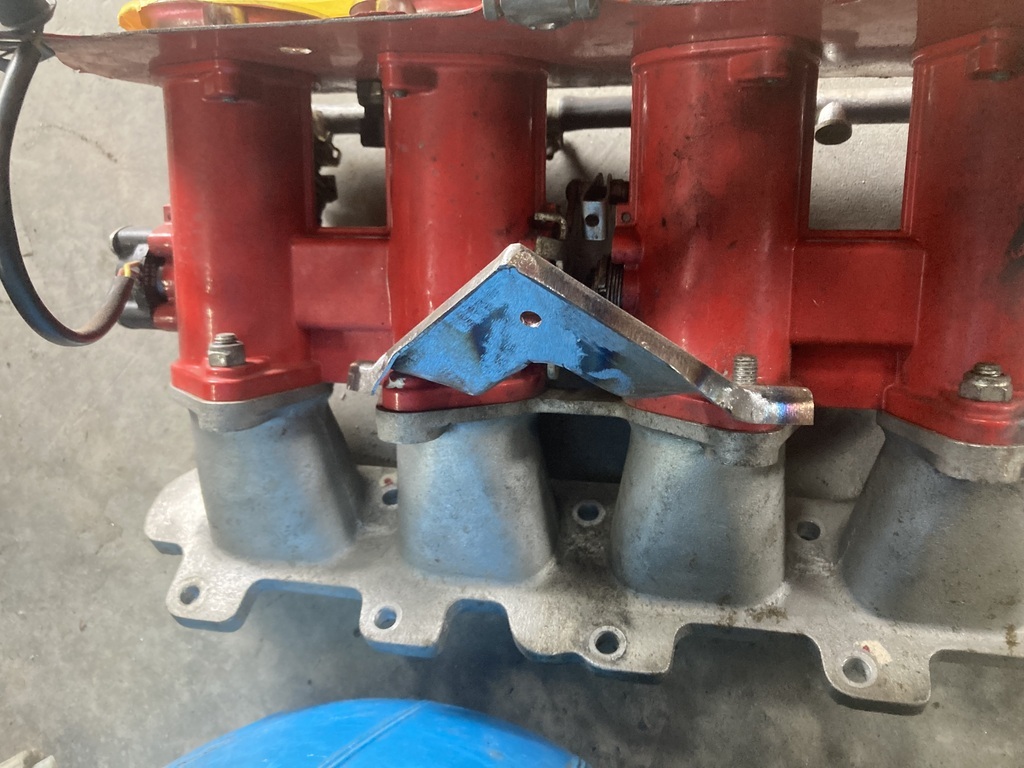 And painted it black 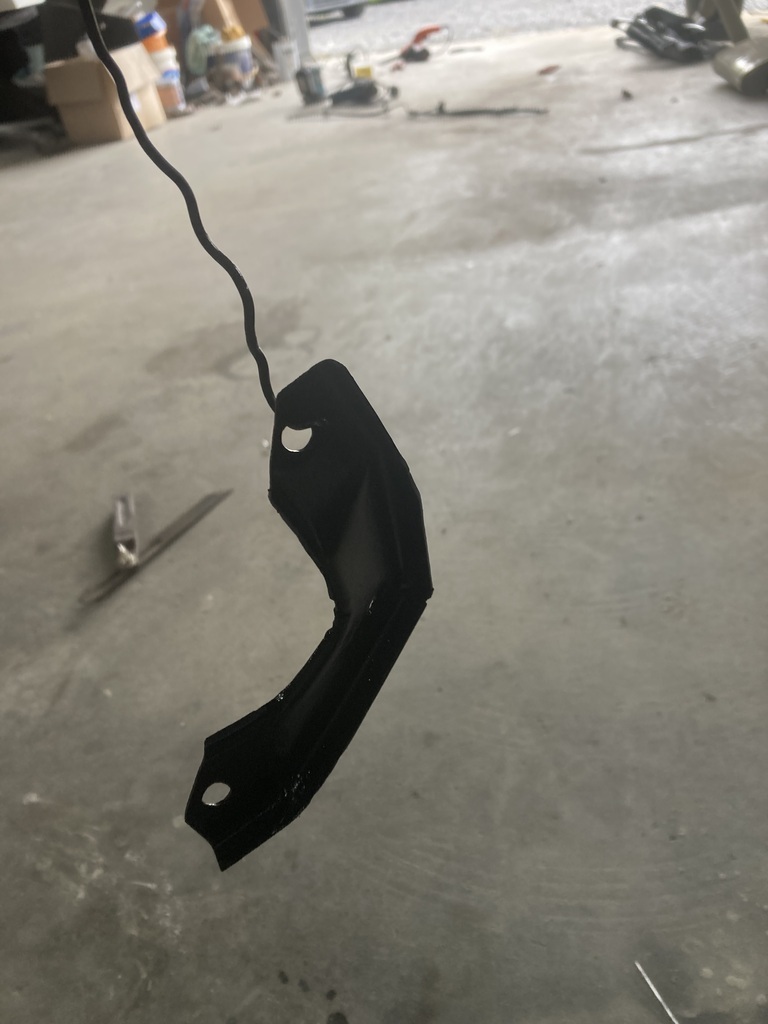 And then it was time to get some food in me before work. |
| |
|
|
v8ian
Posted a lot
  
Posts: 3,832
|
|
Apr 29, 2024 12:52:32 GMT
|
|
|
| |
Atmo V8 Power . No slicks , No gas + No bits missing . Doing it in style.
Austin A35van, very different------- but still doing it in style, going to be a funmoble
|
|
|
|
|
Apr 29, 2024 18:08:38 GMT
|
Thanks Ian. The bit onto the water pump on that hose what have been handy but I think the radiator end would try to occupy the same space as the crank sensor. The 90° silicon bend was only £13 and I had the straight hose left over from the top hose. I also needed to stop hemorrhaging money 😩 |
| |
|
|
|
|
|
|
|
Call? Yep. A couple of hours in the garage? Of course. But it nearly wasn’t as it was raining, windy and cold so I did think about giving it a miss. None of you would have known. But I have to keep chipping away. The top quality Chinese m22 tap turned up 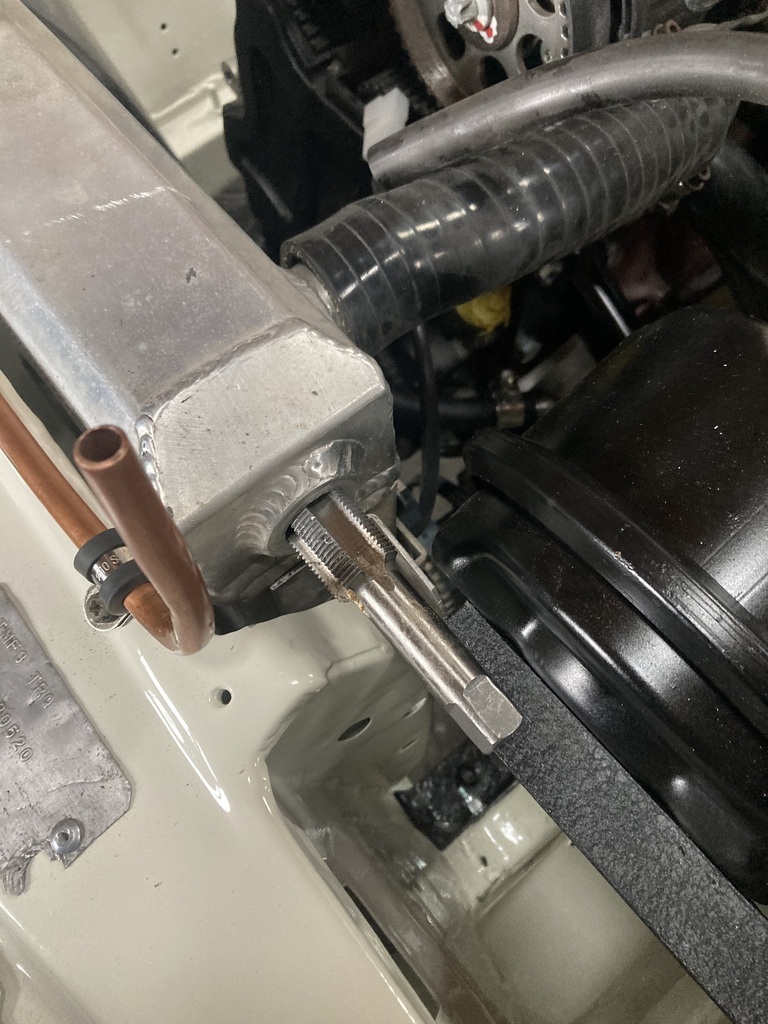 It did the trick 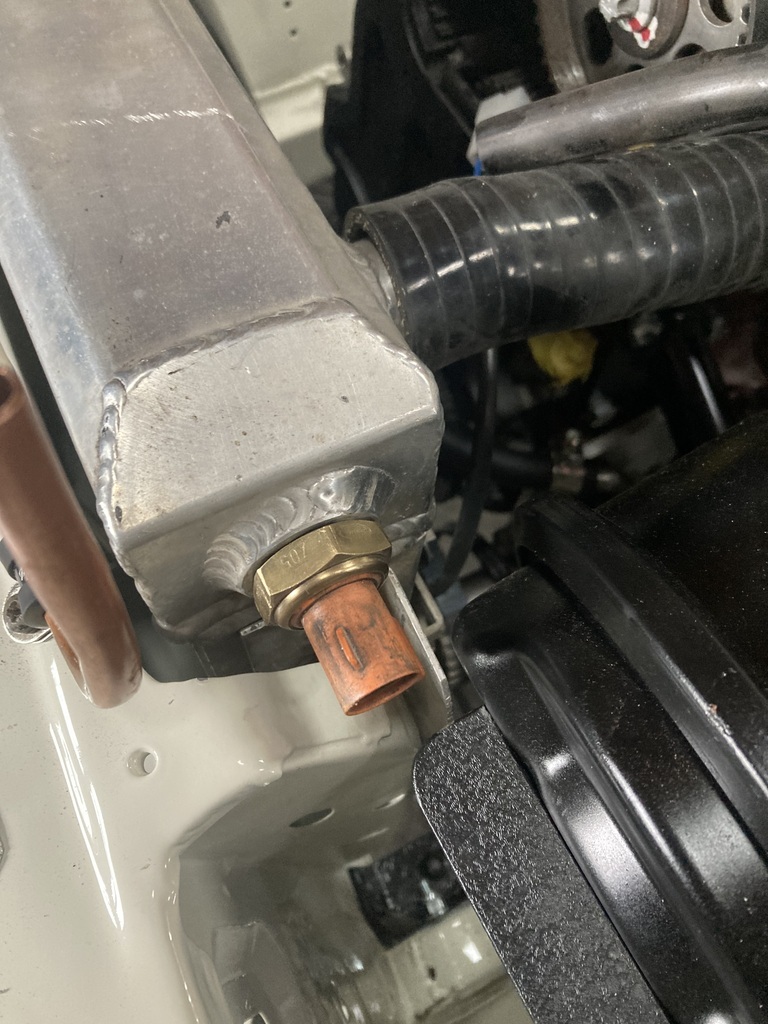 Anyone know of fan switch that kicks in around 80° or less? I bought a bypass hose from eBay. Can’t remember what car it’s from (could be Audi) but I just looked for a 24mm hose that had a bend in it so it misses the water pump (no pic) I welded a 24mm stub to the bottom hose bend 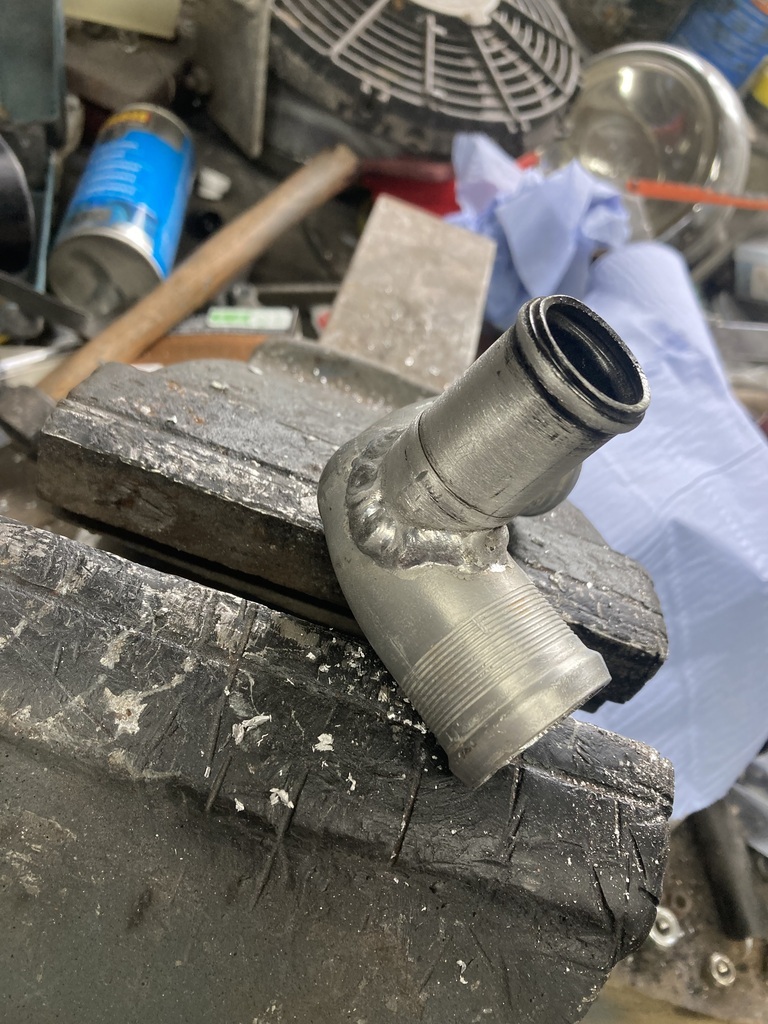 All fitted 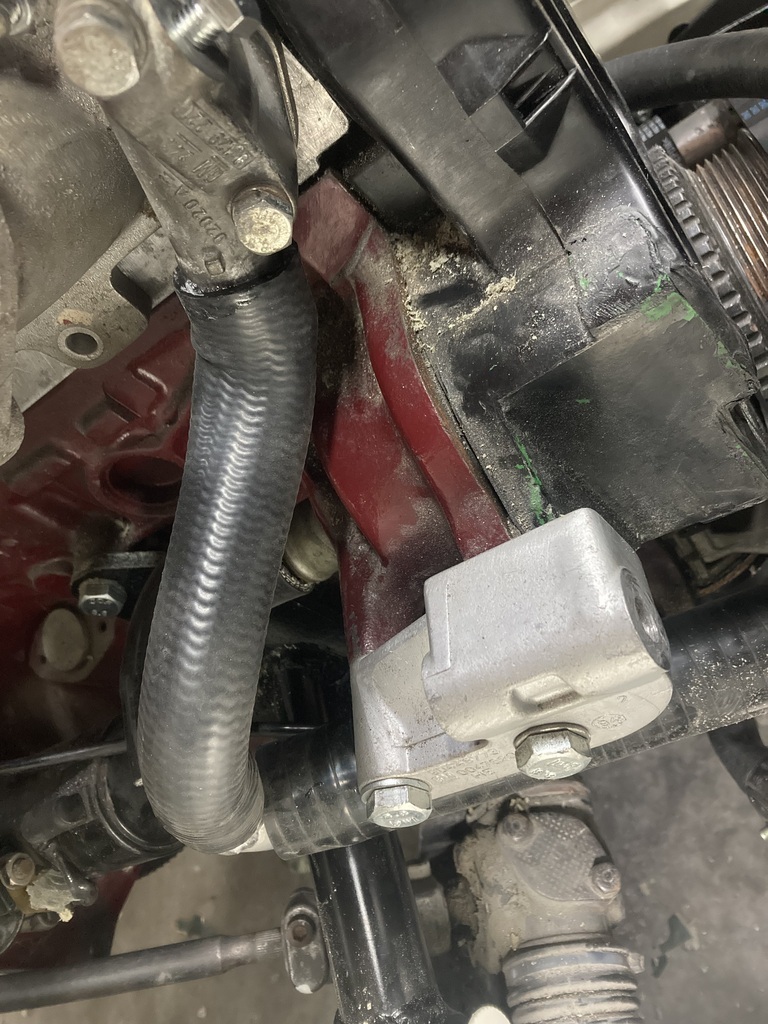 I also refitted the alternator to make sure it clears and all’s good 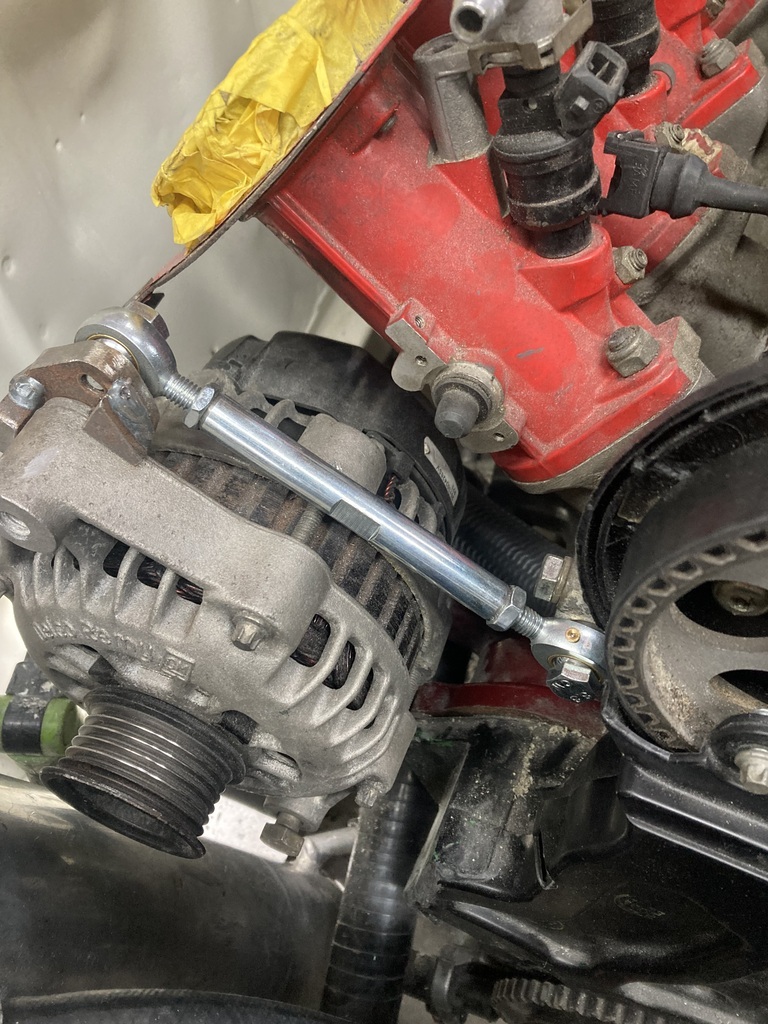 I cut the RS2000 throttle cable and machined the end to locate in the bracket I made earlier this week 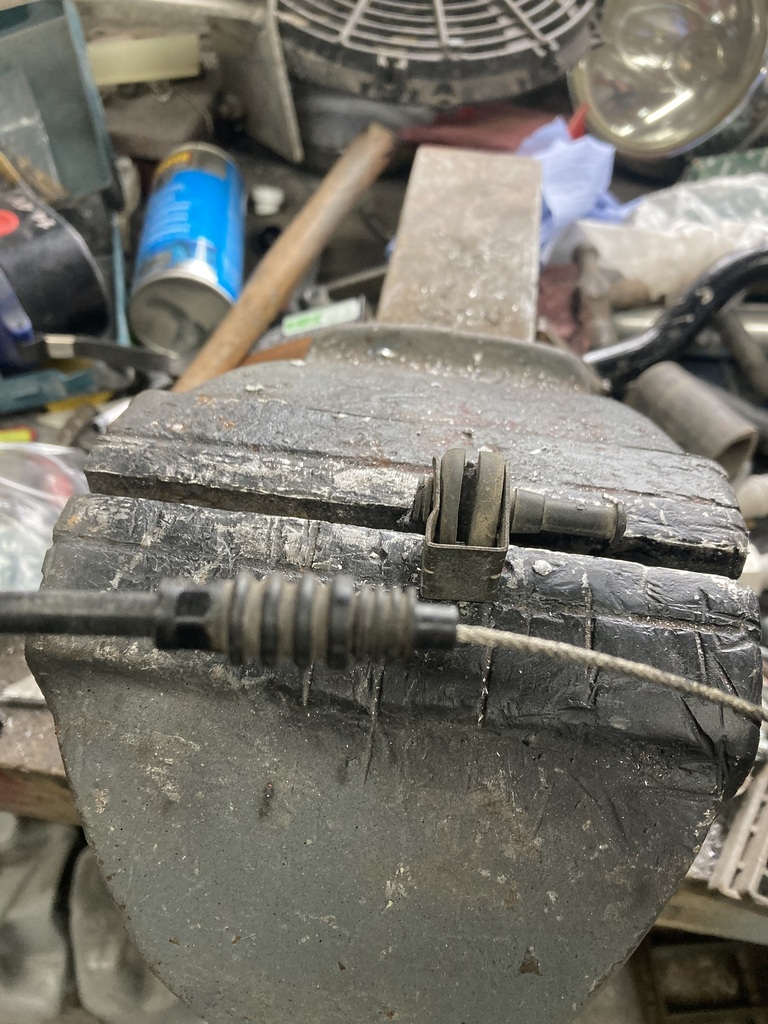 All fitted 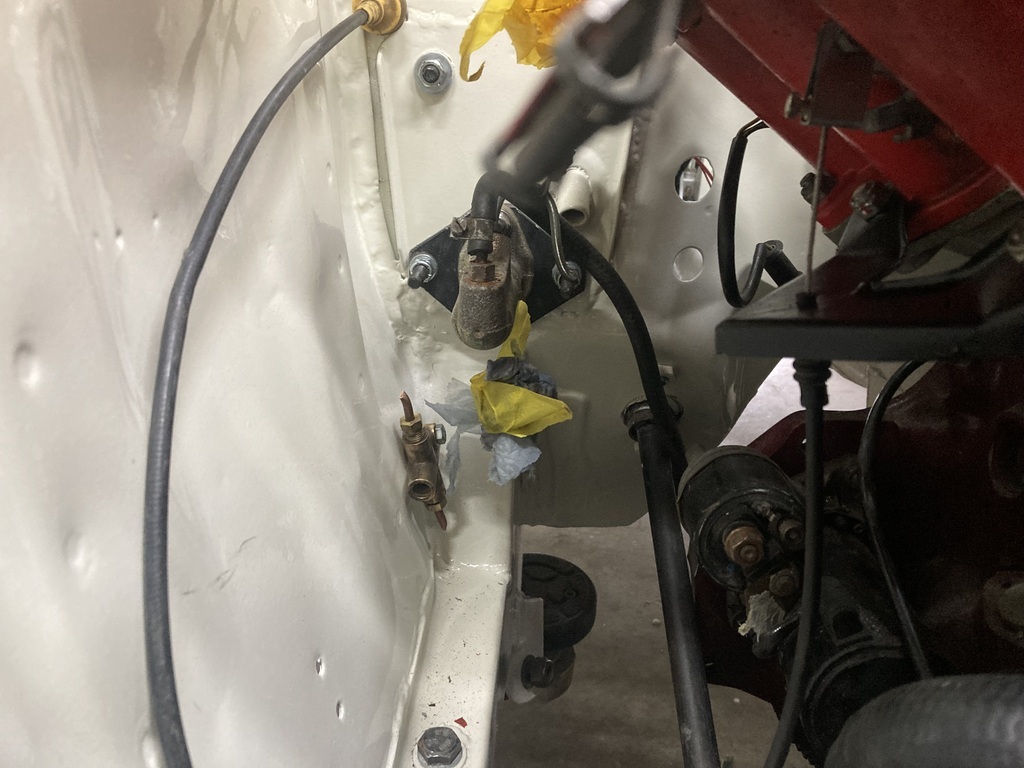 But the throttle flaps only opens 3/4, not fully. 😩 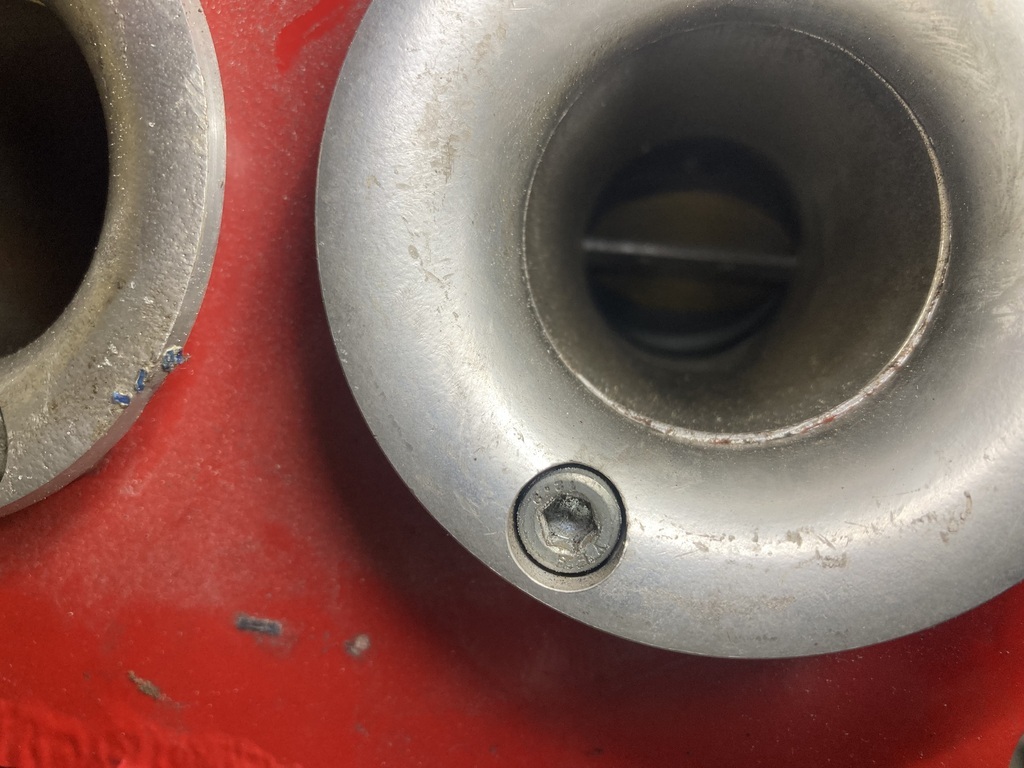 I’ll check the pedal ratio on the single seater tomorrow. An extension may be required. |
| |
|
|
|
|
|
|
|
Yesterday, I did nothing on the Escort. I went birthday shopping in the morning with The Younger, for Mrs Jonsey. Whilst out, the sun was in the sky! This mad me realise the AC in the Rav4 was not working. After shopping, I mowed the grass, and after went to my younger brother’s garage to regas the AC. Whilst there, he was mucking about making new front suspension for his Gilbern rally car so I stopped and gave him a hand. When I got home I had ham, egg and chips. It was spectacular as I’ve been on a diet for the last couple of months. Today I tackled the throttle pedal. This is a standard Escort item. 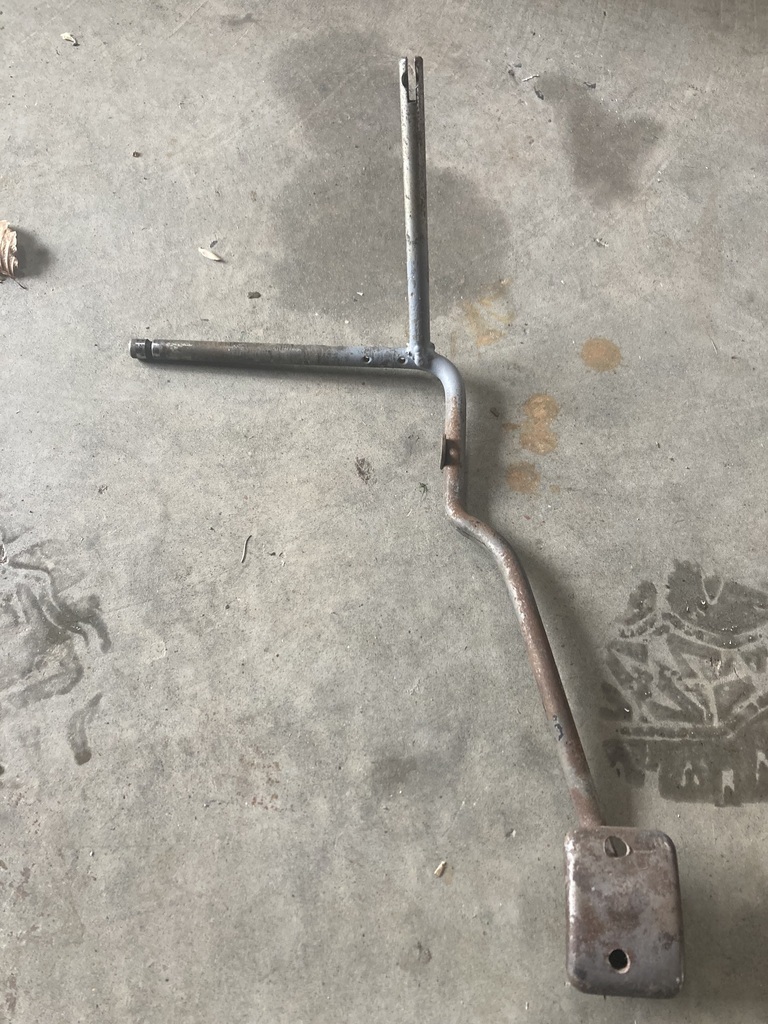 I needed to extend the amount of pull to get full throttle at the bodies. This is a group 4 throttle pedal that are on rally cars 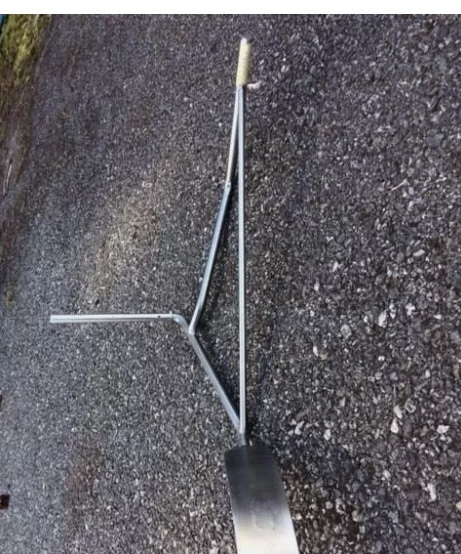 It’s the best part of £70 by the time it’s in my hand. This is a group 4 throttle pedal in kit form 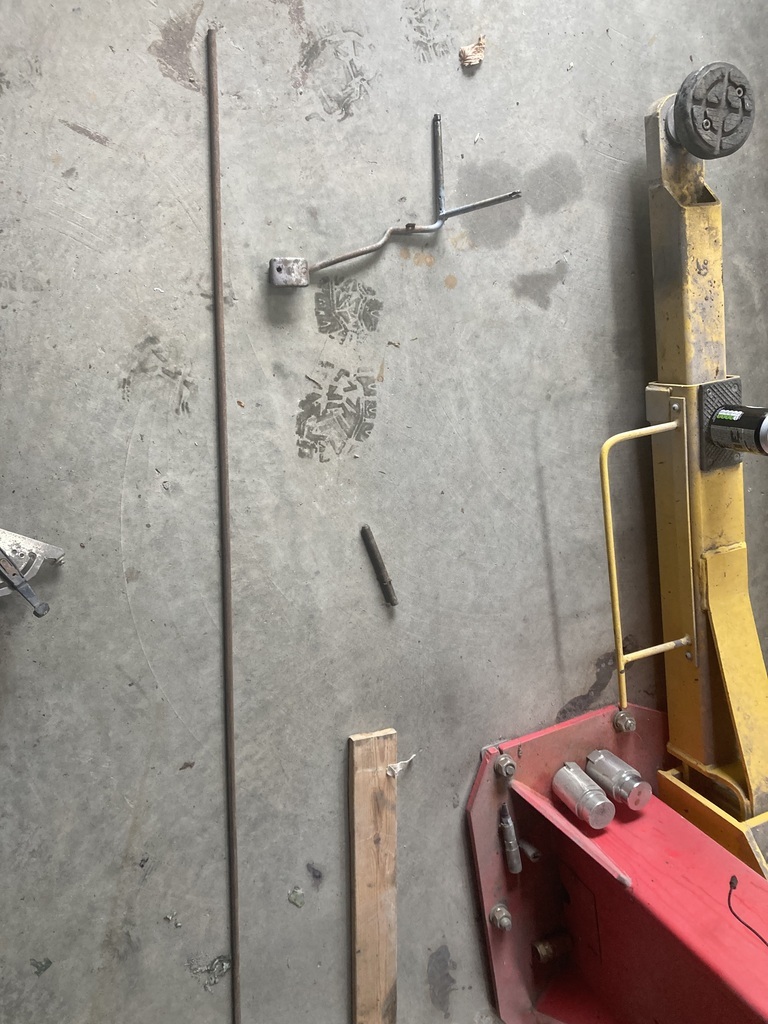 I cut off the cable pull part of the pedal and extended it the same as the group 4 item. When fitted it gave me a pull of 4.5”. That seemed too much. So I pulled the throttle cable until the bodies were wide open throttle and I only needed 2” pull. So I shortened it until I had to 2” pull and welded the original cable end to the top. I then welded a strengthening rod to it . That gave me this 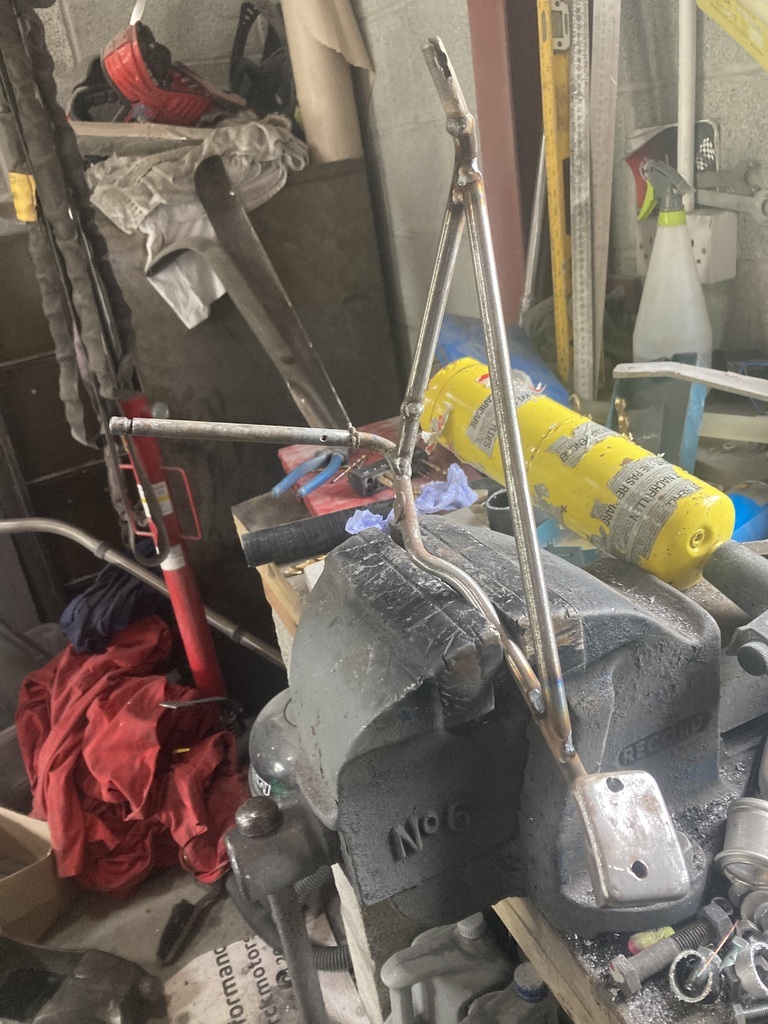 Years ago whilst competing, it was very cold, so I was wearing my walking boots (not suitable,I know). I had an aluminum grip on the throttle pedal and whilst braking, I hit the brake and throttle at the same time. This launched me over a grass bank and into the air. So I took the grip off to continue the rest of the day. I wanted to refit the grip, but cut it down a bit 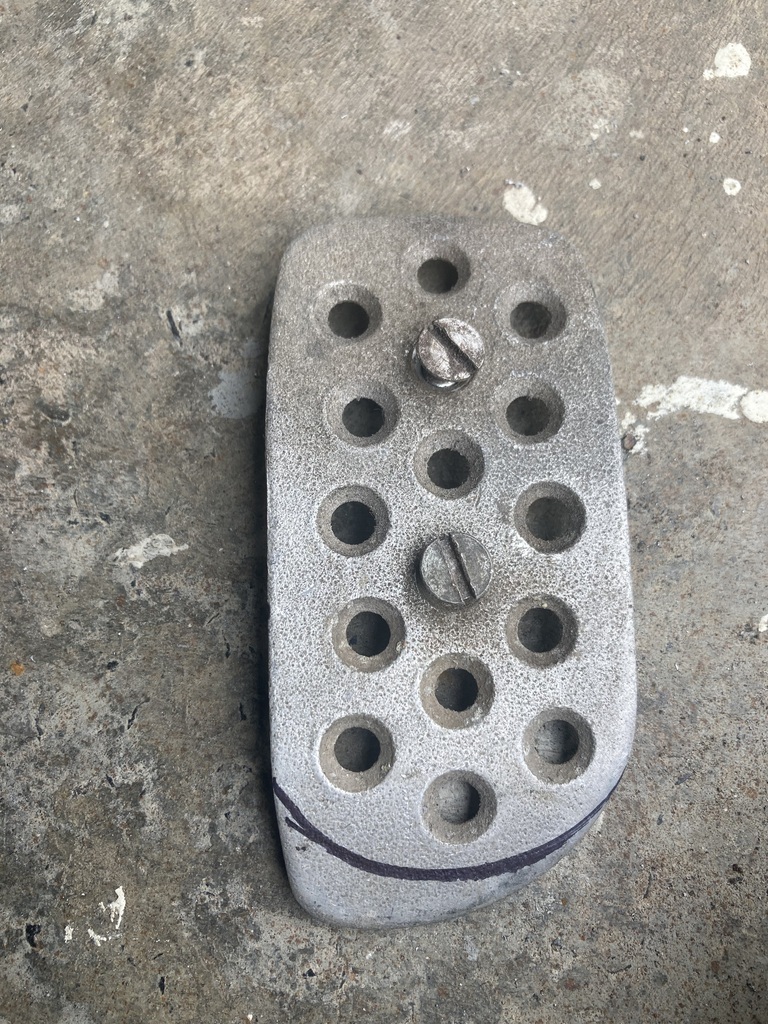 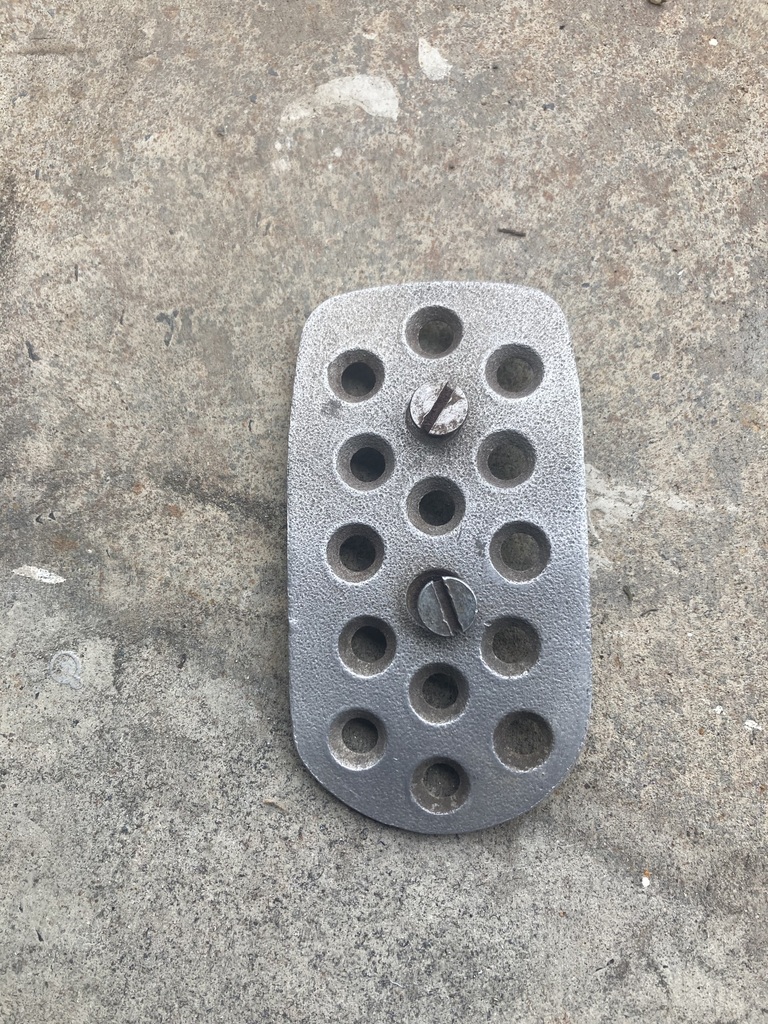 The pedal was originally zinc coated so I should have painted it silver, but I’ve not got any. I didn’t want to paint it black so I primered it and then clear coated it 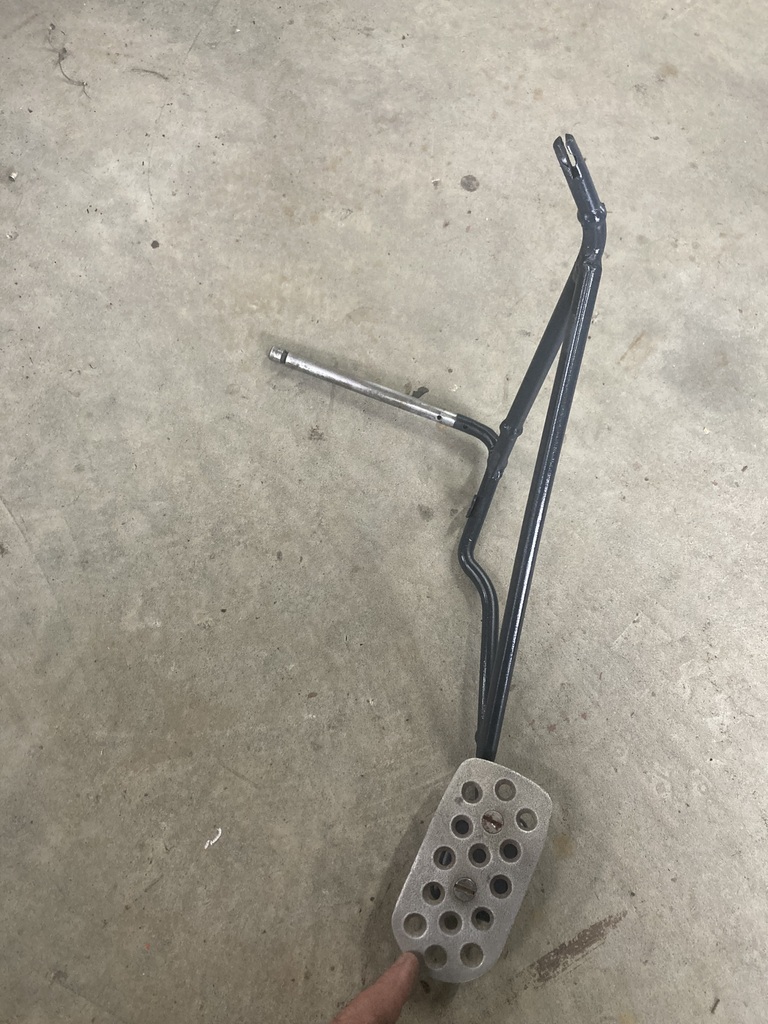 And fitted 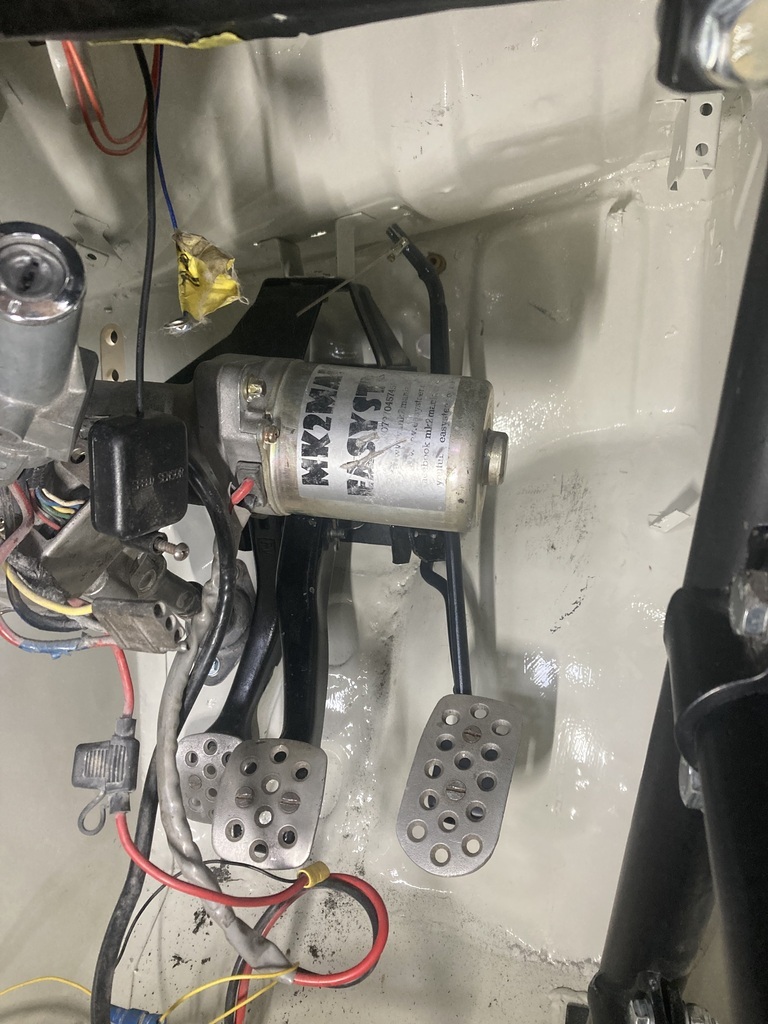 I’ve now got full throttle. 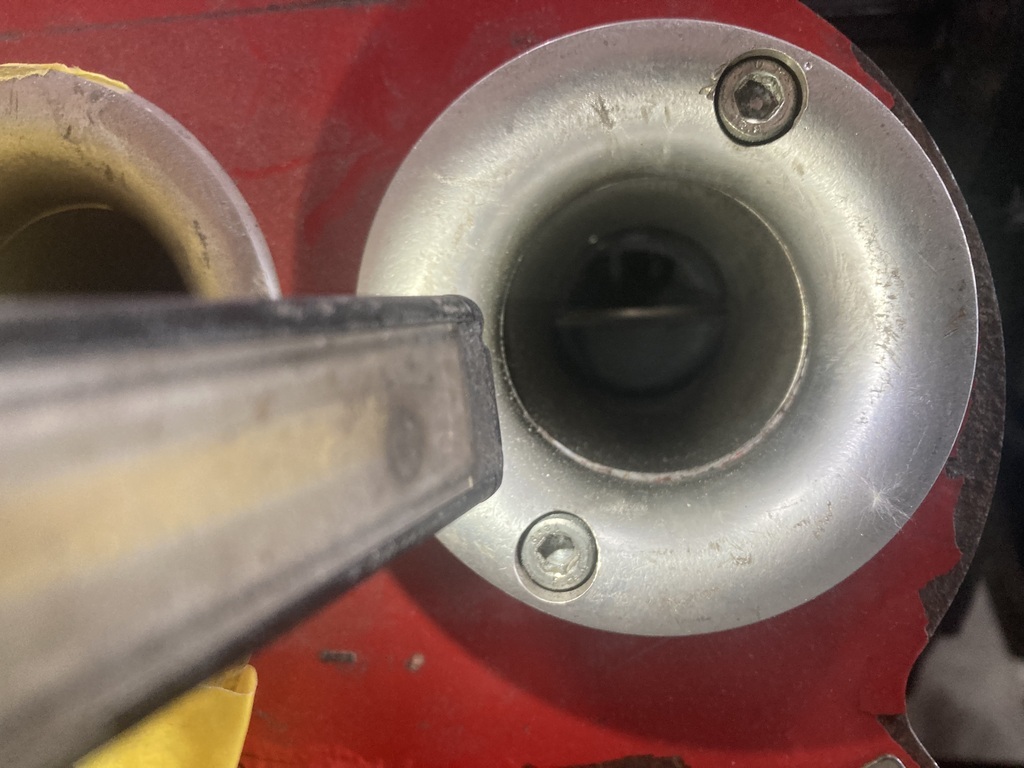 I had to drill a new hole for the cable above the old . 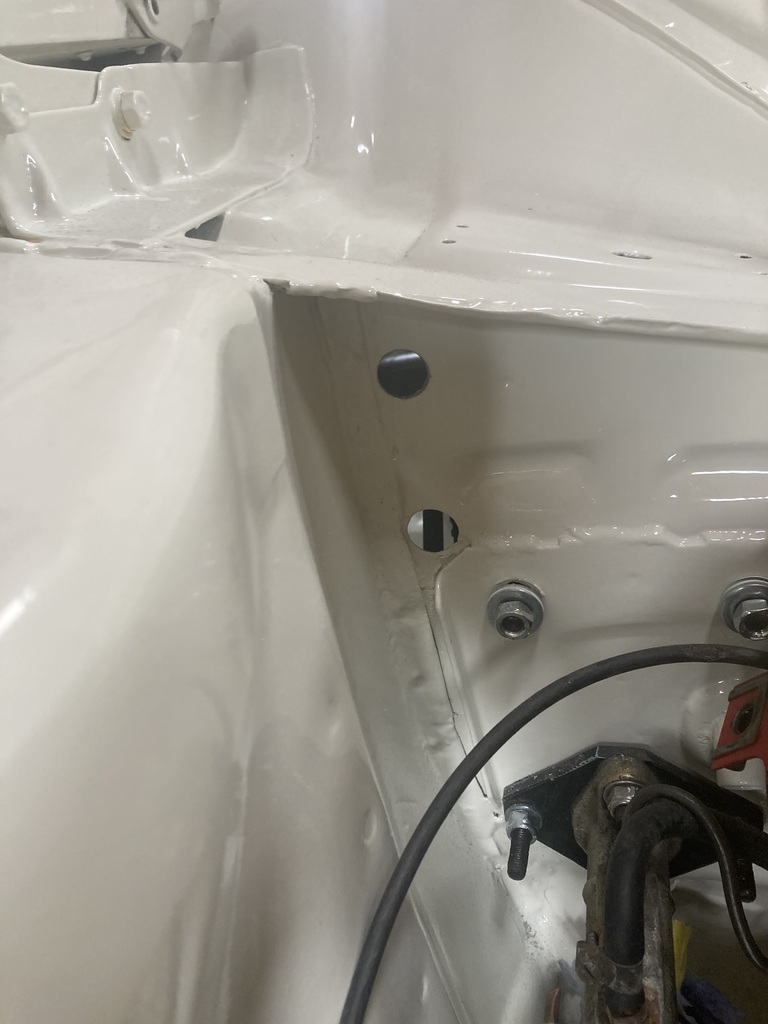 And cable fitted 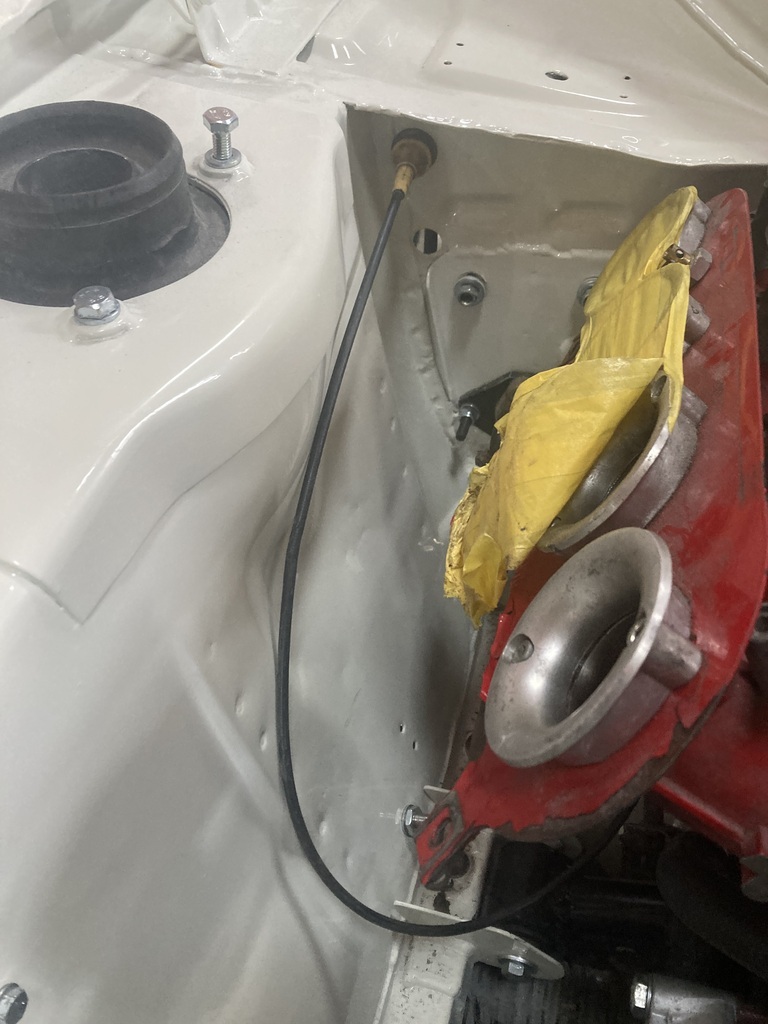 I then started plumbing the fuel system 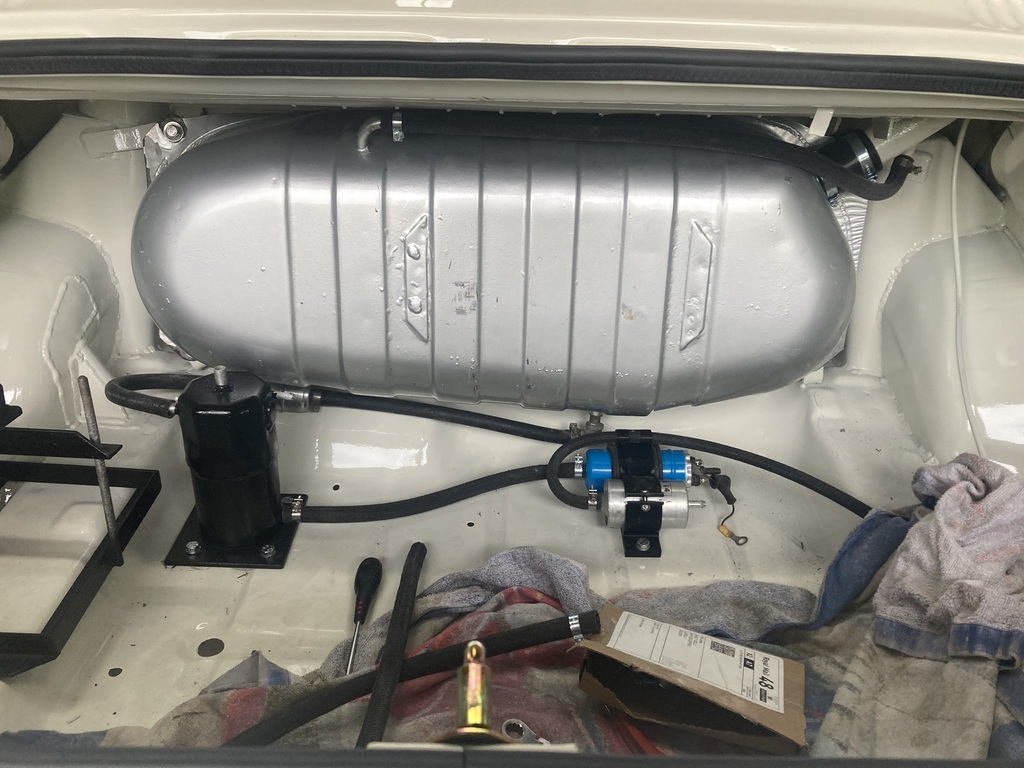 ’m hoping to go to the Singleton Classic Car Show tomorrow but the weather might not be up to muster, so I may have to give it a miss |
| |
|
|
|
|
|
|
|
Monday I took the Cortina to Singleton car show. Only took the one photo. 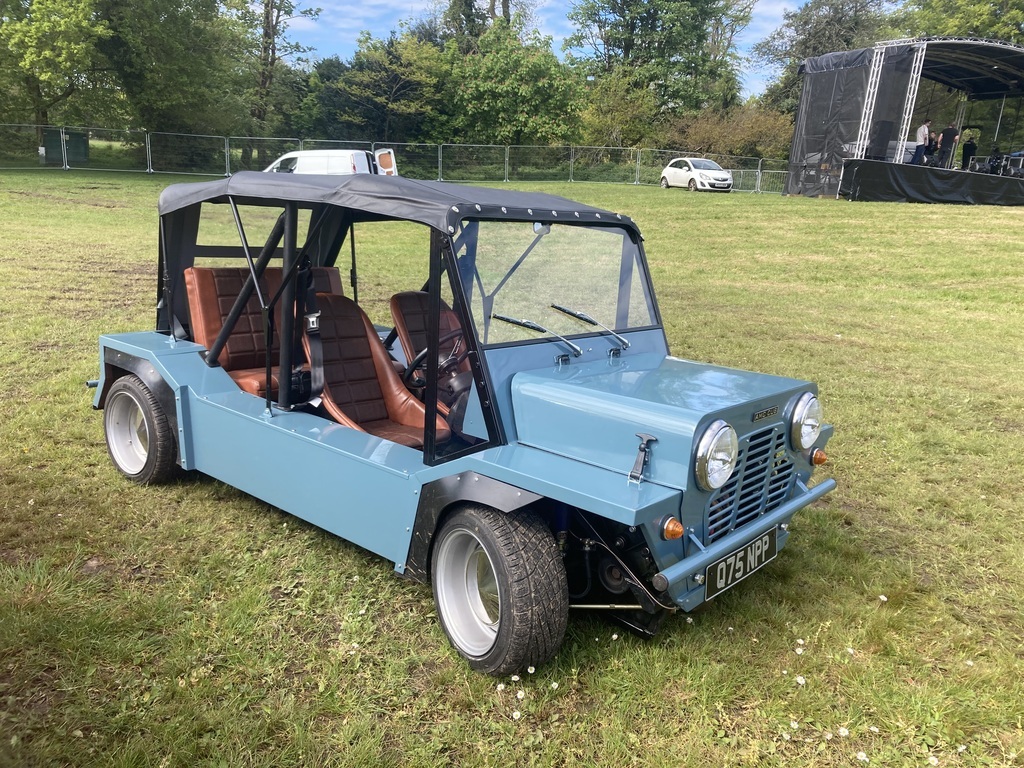 It’s the love child of my Cortina and a Mini Back to today. I’m on call, weather is beautiful, so I got another couple of hours in the garage before work. I needed a heater pipe stub to come off the inlet manifold, so I machined one up. 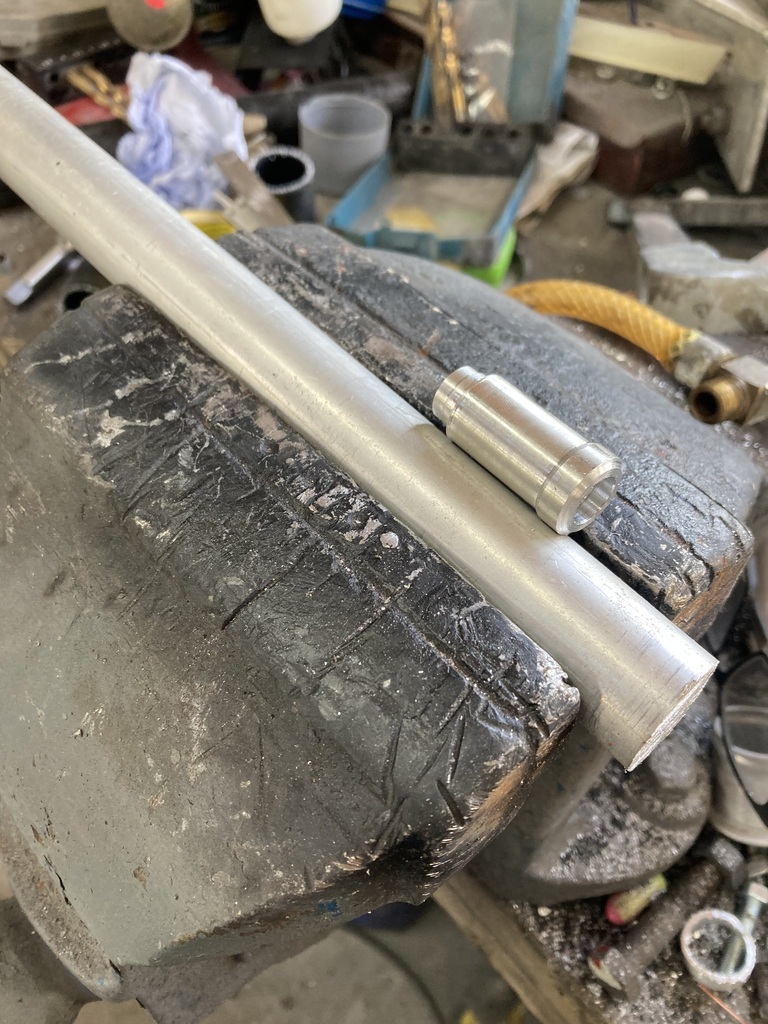 I need to drill a hole where the gasket has left a mark 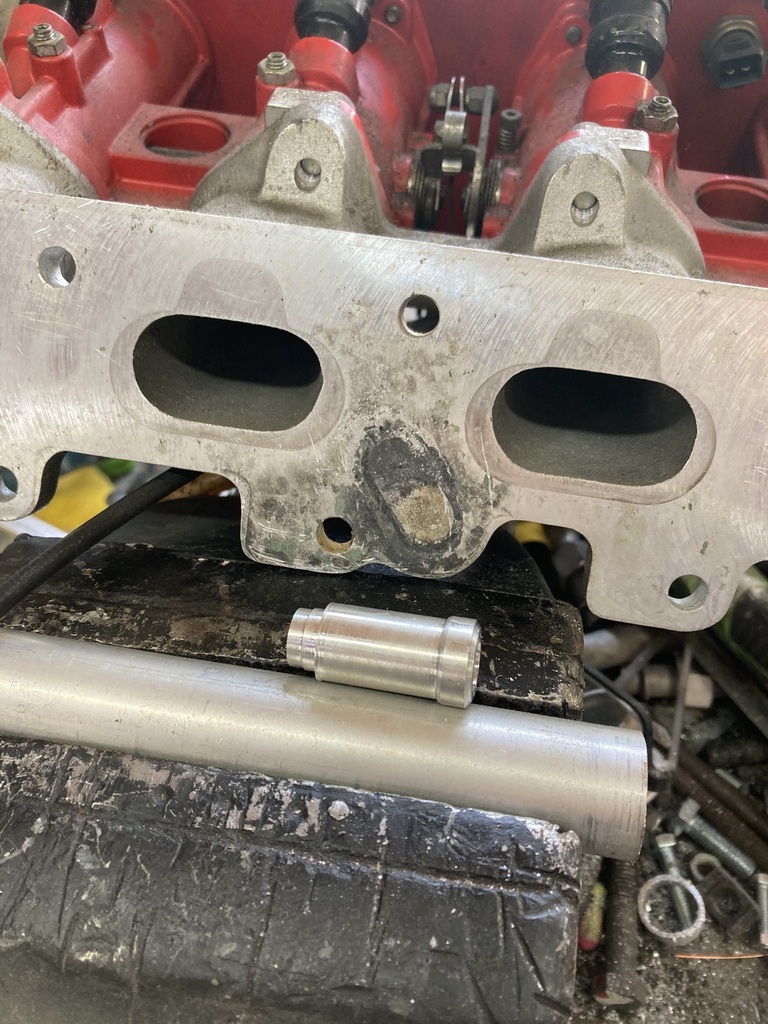 Hole drilled 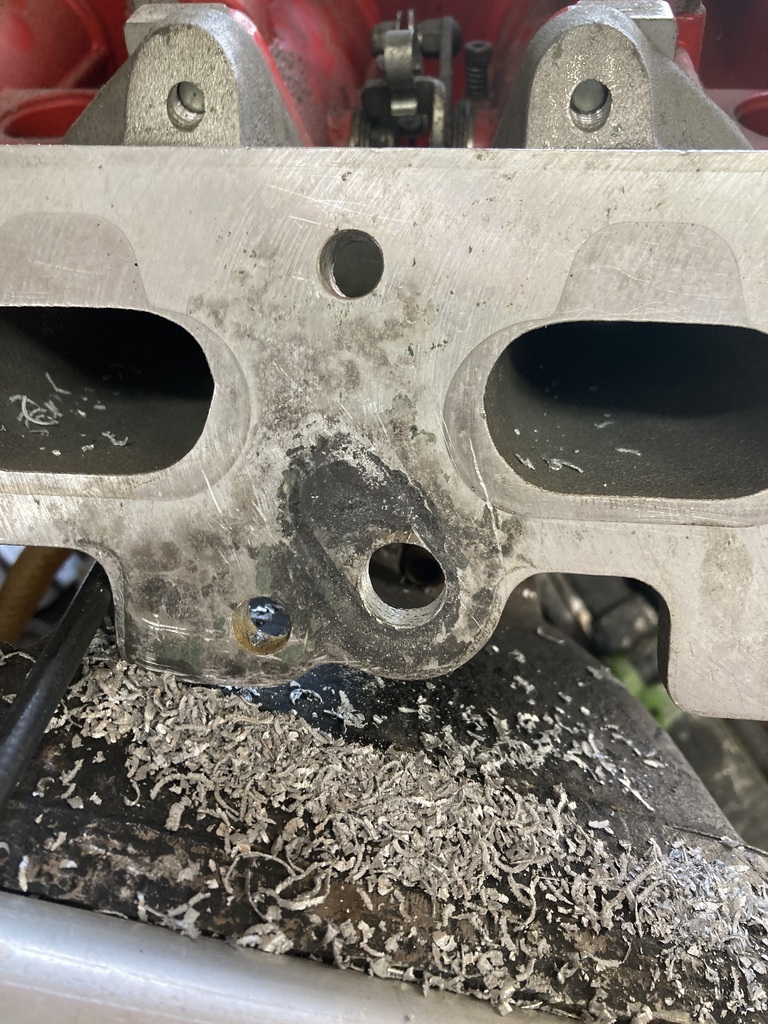 I’d made the stub an interference fit so I didn’t have to hold it whilst welding. Like I know what I’m doing with a lathe. I don’t. 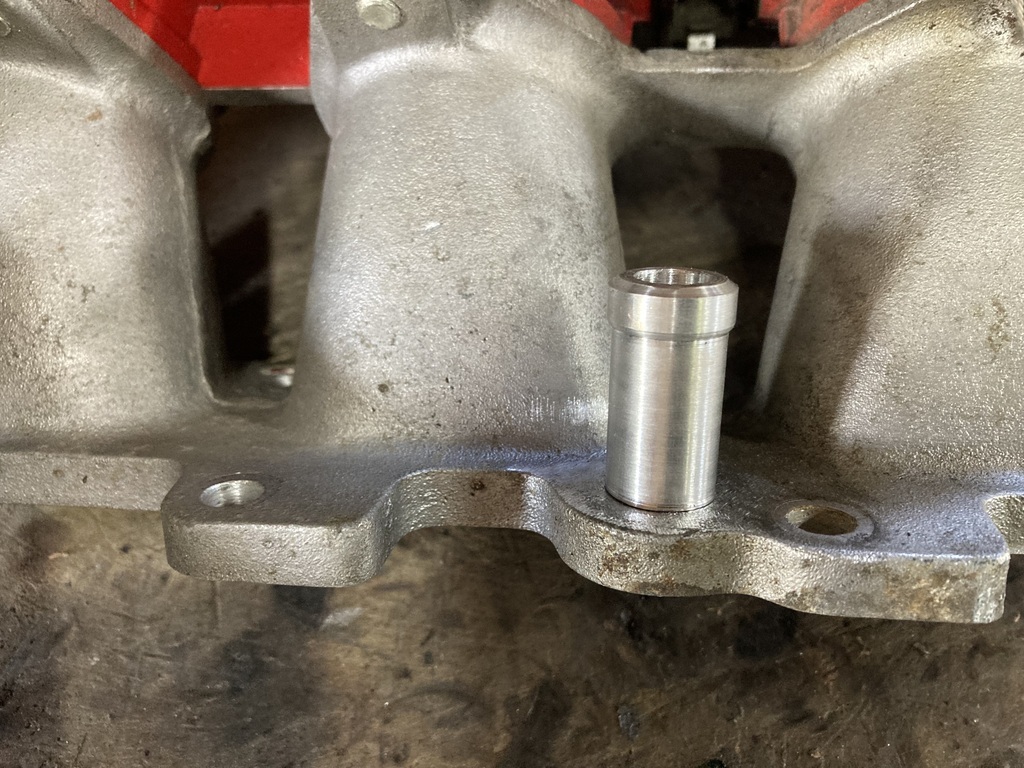 And welded on 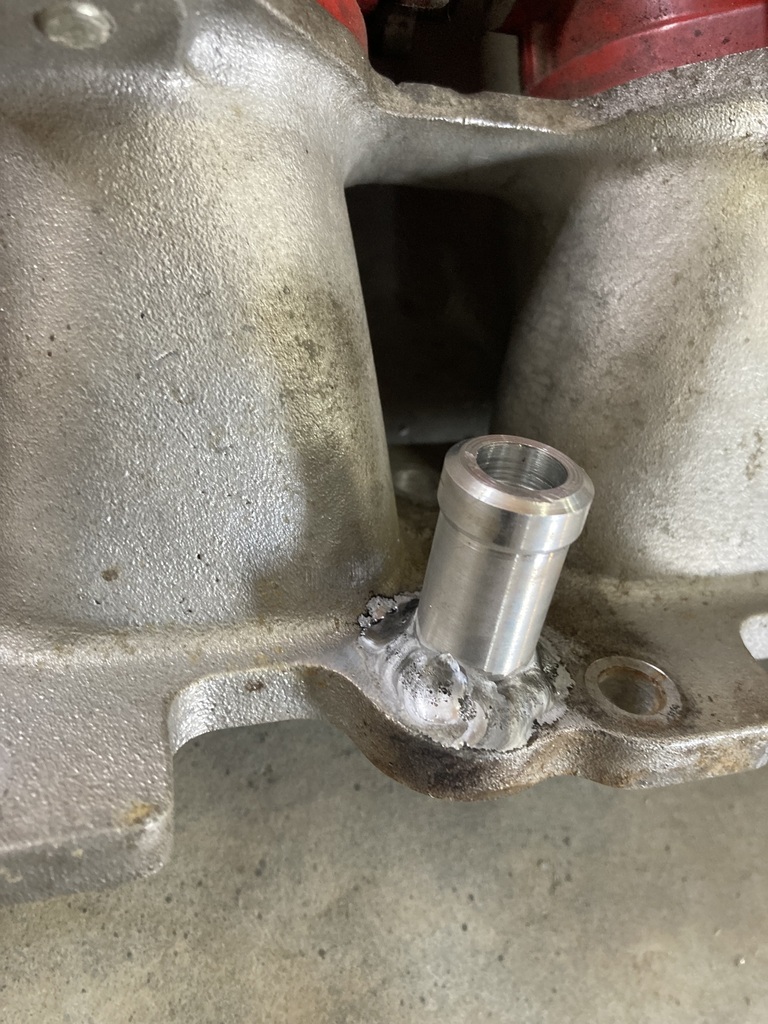 I also needed to drill a hole for where the bypass hose bolts on. 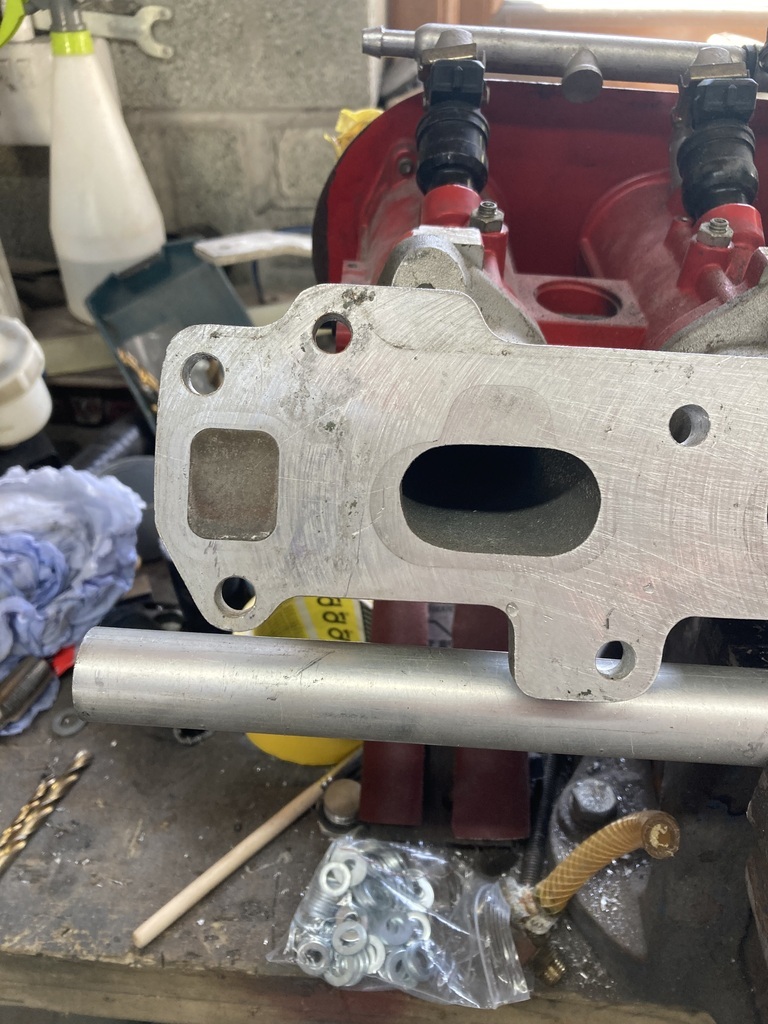 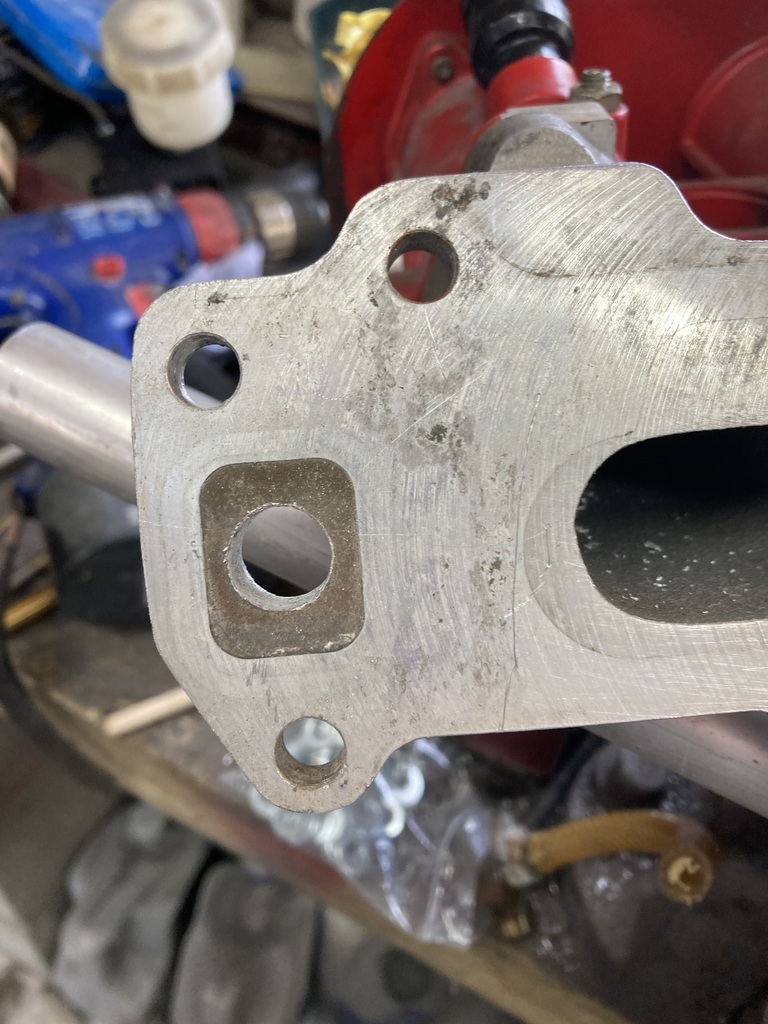 In the show on Monday I bought a pull cord for the battery cut off so put that on 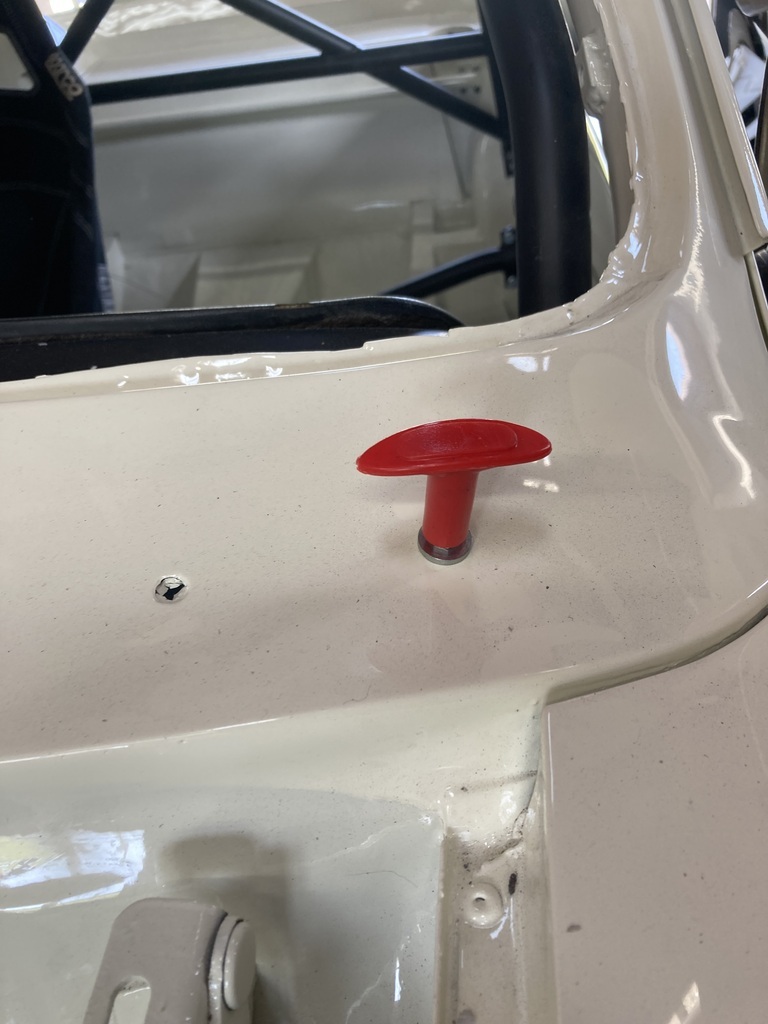 I fitted a new hose to the brake master cylinder to the fluid pot, and riveted the pot on 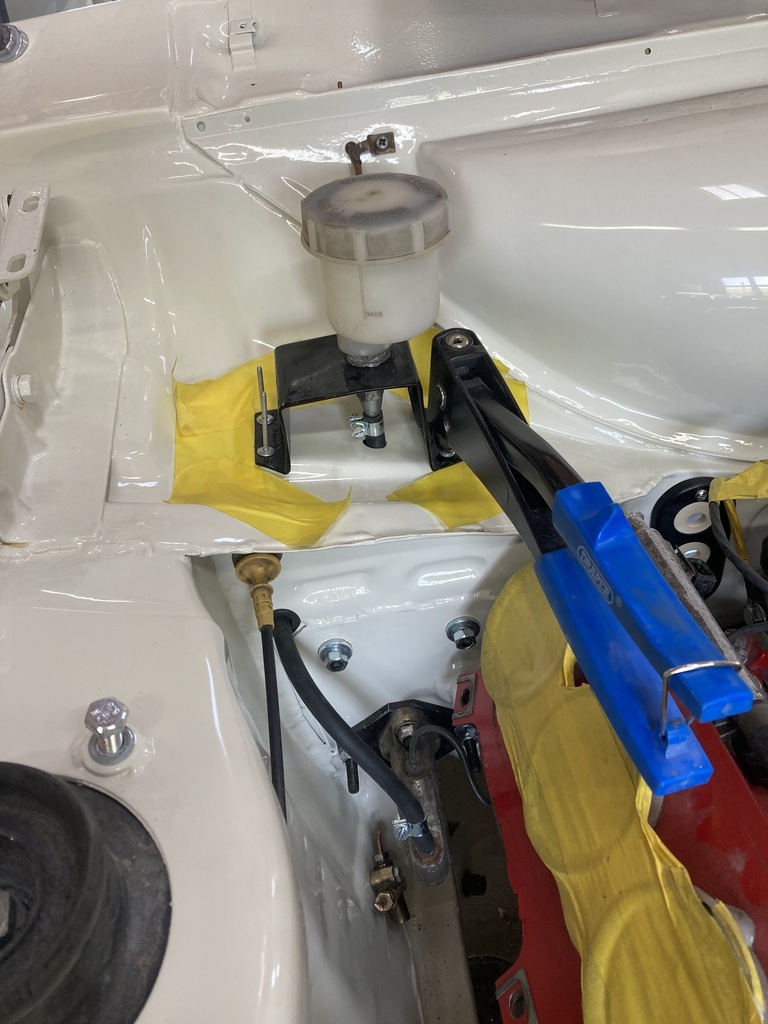 The tape is to protect the paint as the rivets I have are from a ladder factory and take so much force to use, the gun bounces everywhere when the pin snaps and fires it into your face out of the back of the gun. I had got some less dangerous rivers from my brother for this, but god only knows where I put them. 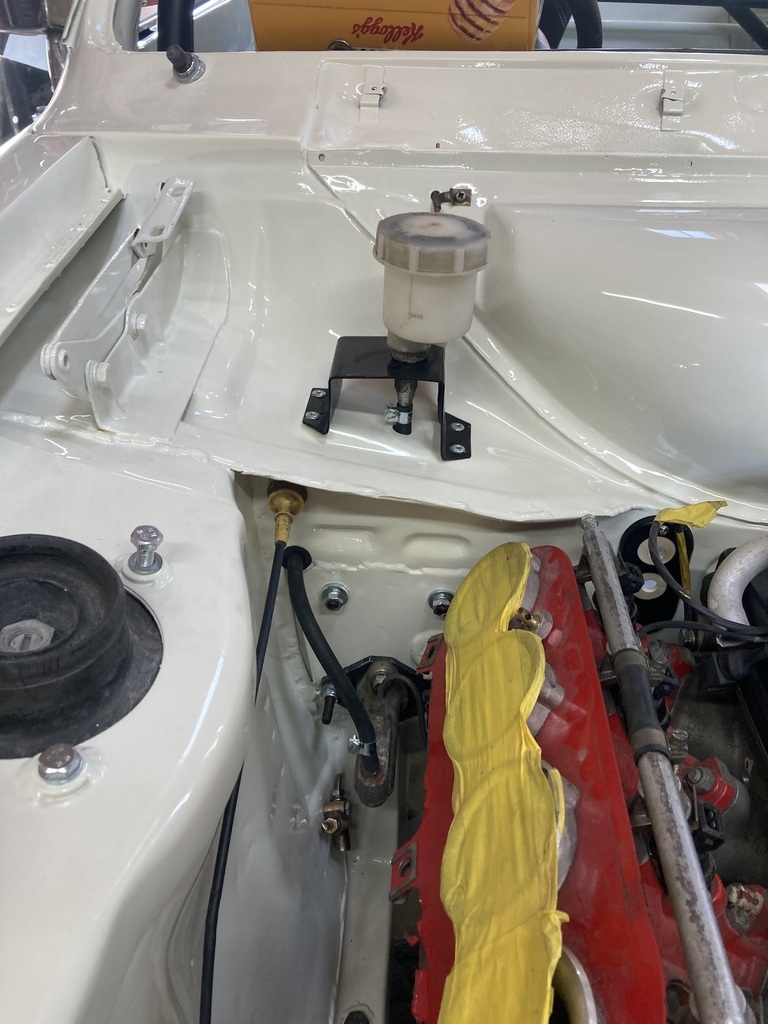 I put a new bit of hose between the throttle bodies 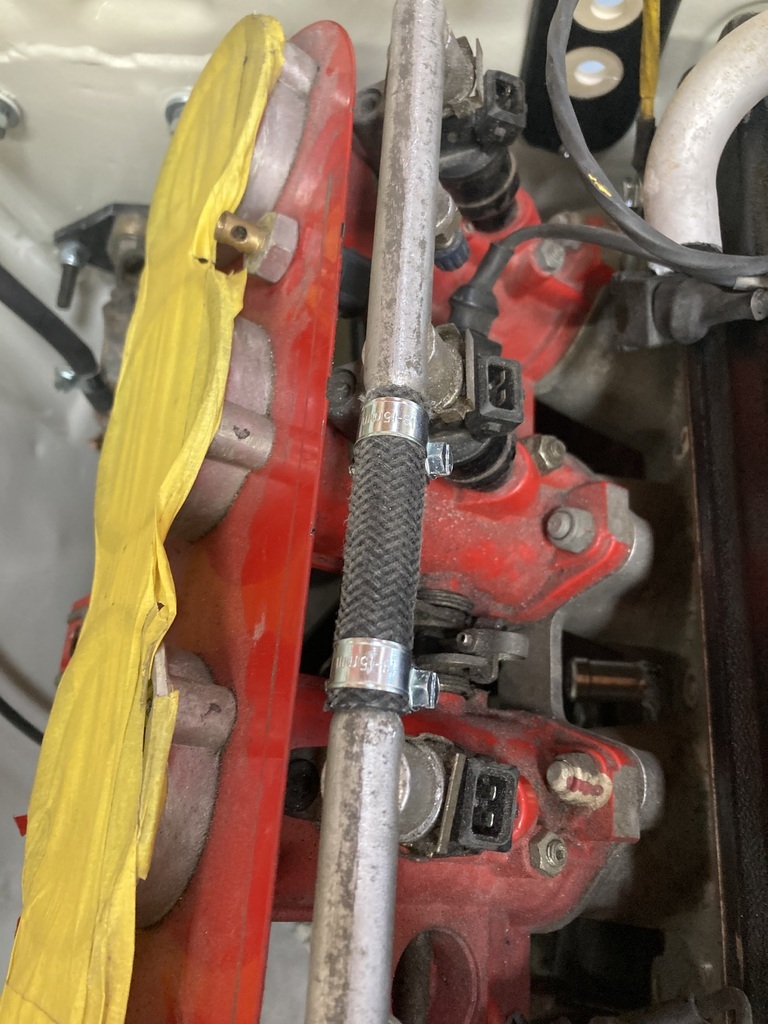 And I made a switch panel out of cardboard 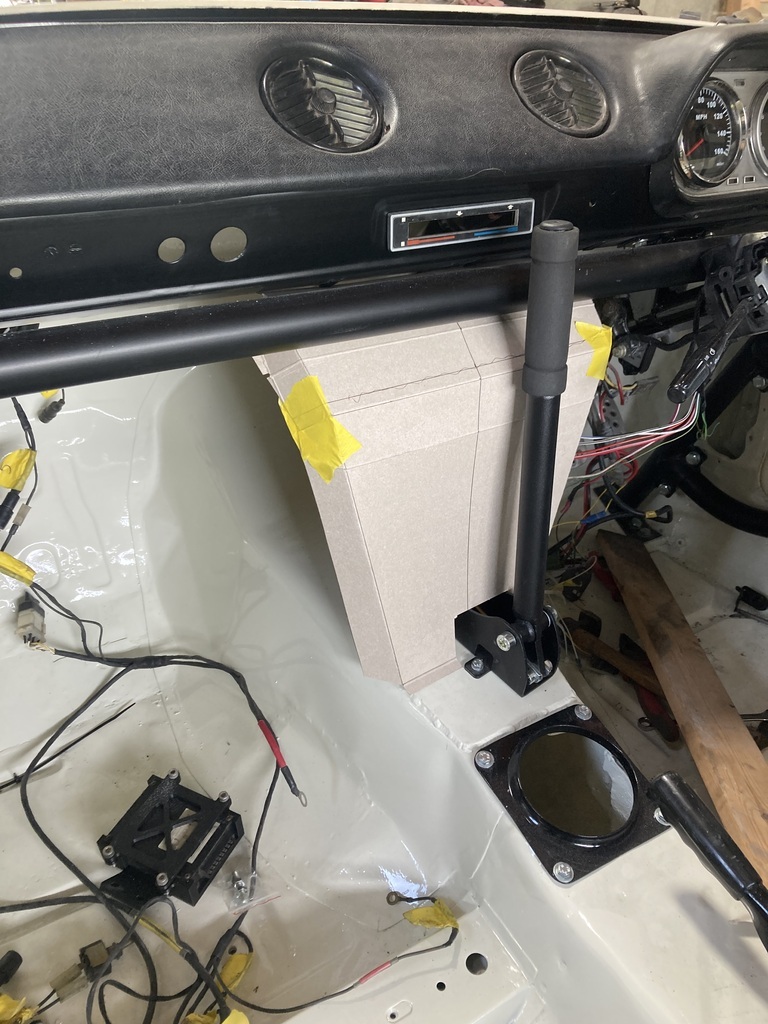 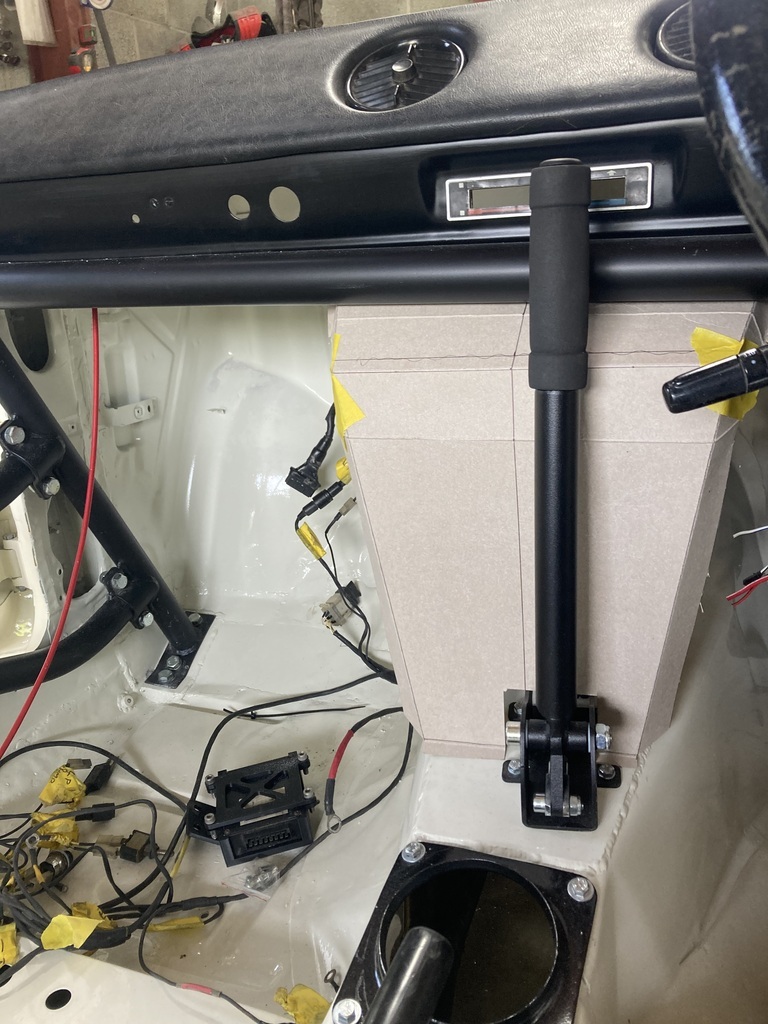 I may have to move the hydraulic handbrake back a bit as it is now a bit close to the dash bar. The bar must not have been fitted when I set its position out. Stupid boy. |
| |
|
|
|
|
|
May 11, 2024 14:07:49 GMT
|
When I logged on for work after making the template, I had no jobs sent to me. I sat in the house watching Car SOS and then thought, stuff it, and returned to the garage. I took my laptop with me incase a job was sent my way. This meant I got the template transfered to 2mm aluminum and all cut out (No photo). Just as I finished, a job pinged on my screen, so off I went to work. Good timing. I was out until 22:15 but was woken up at 06:30 for another job. After doing a few more, I drove by the house, picked up aluminum, called at my brothers, booked lunch and folded this up 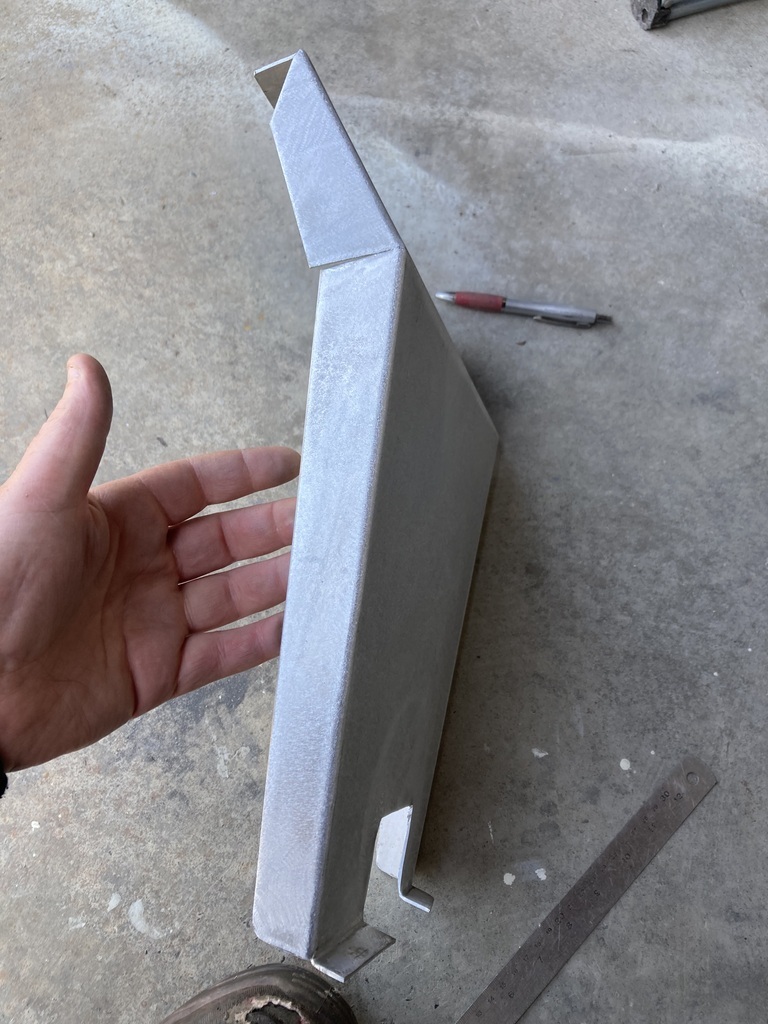 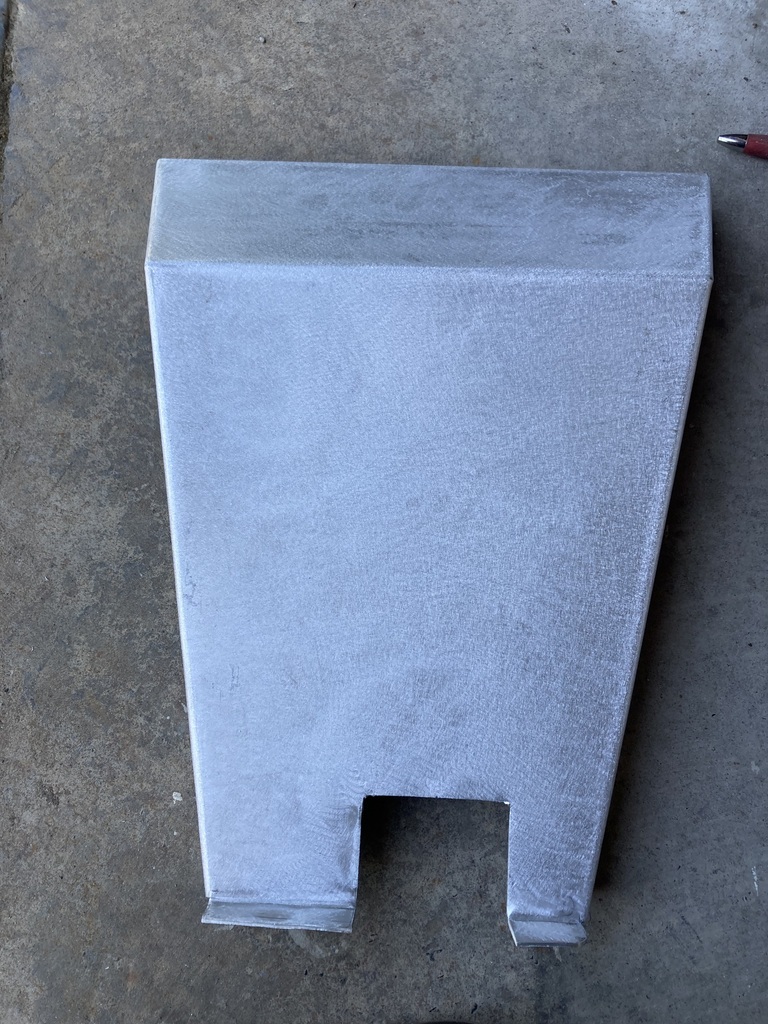 Because of the early call, I was entitled to sleep time so finished work at the 15:00, got home and checked for fitment. 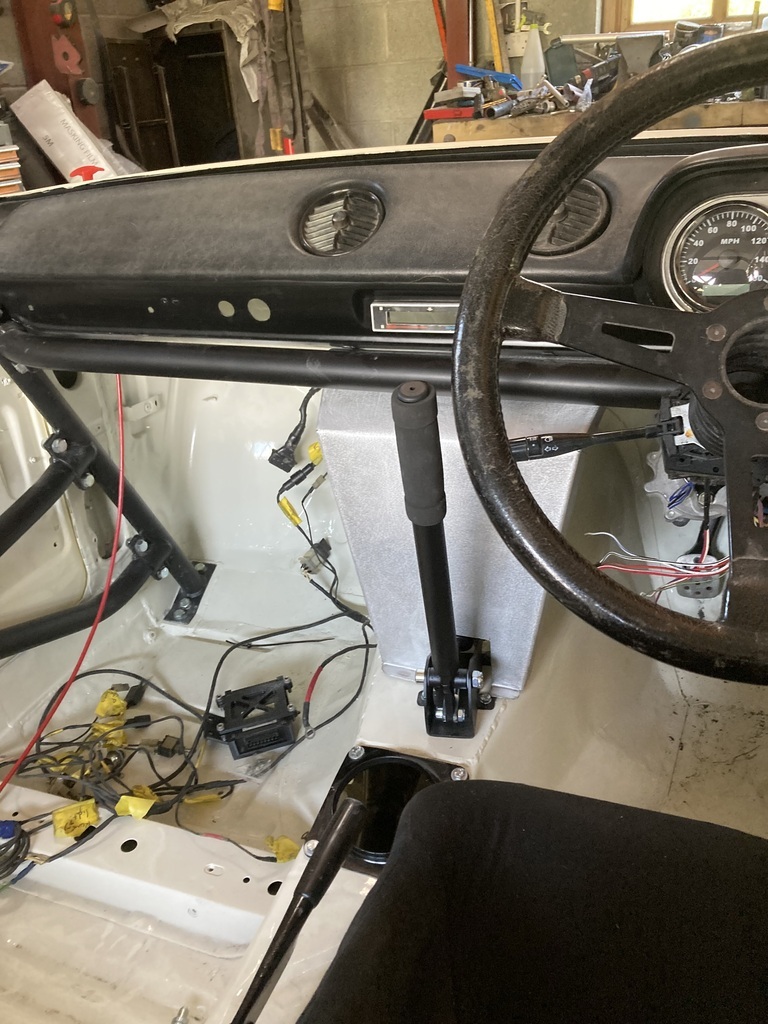 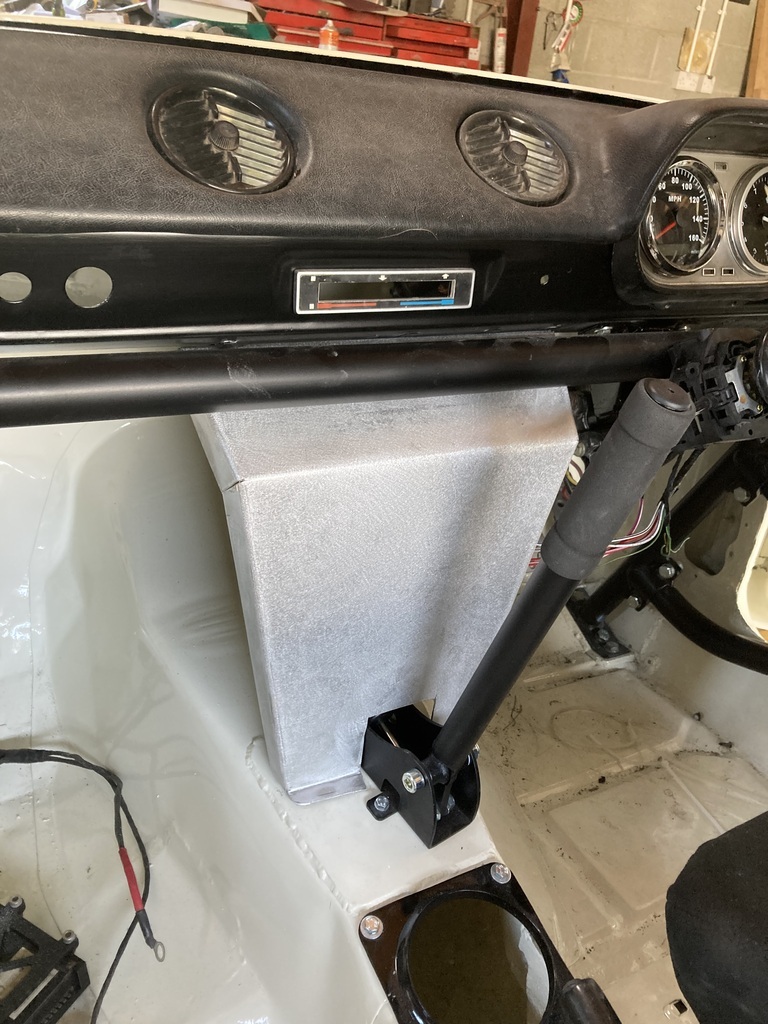 That’ll do. I made a start on welding the edges, but didn’t have enough time to finish 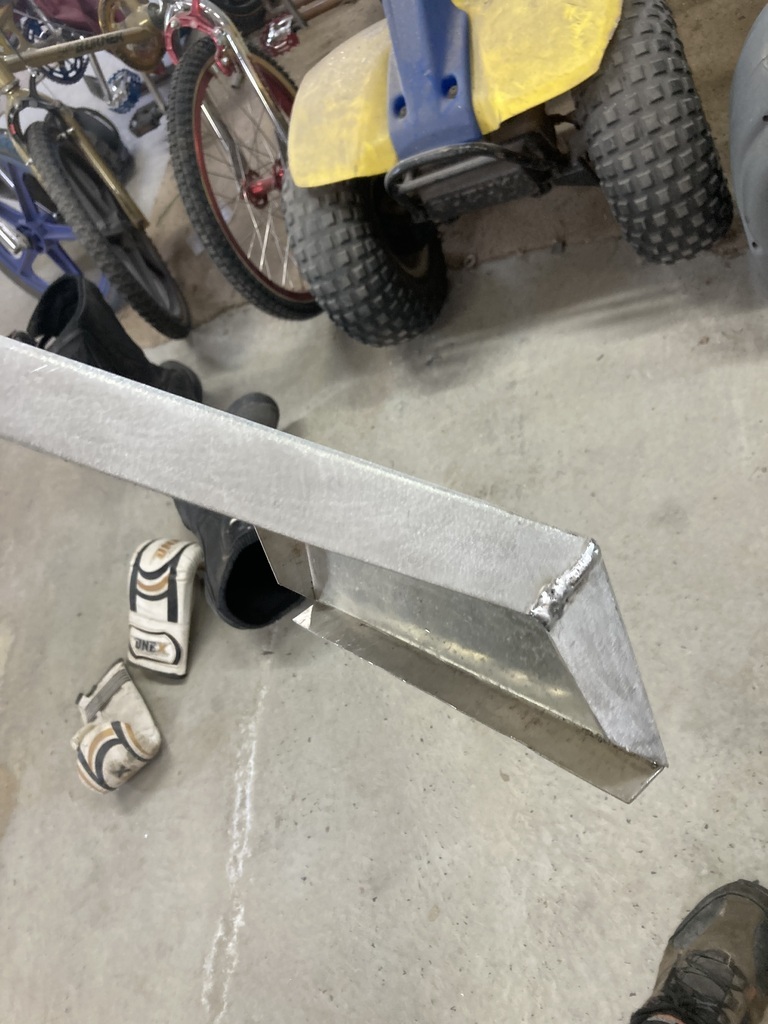 Today is Mrs Jonsey’s birthday. She wanted to do a bit of gardening after some family visiting, so in finished the welding (badly) 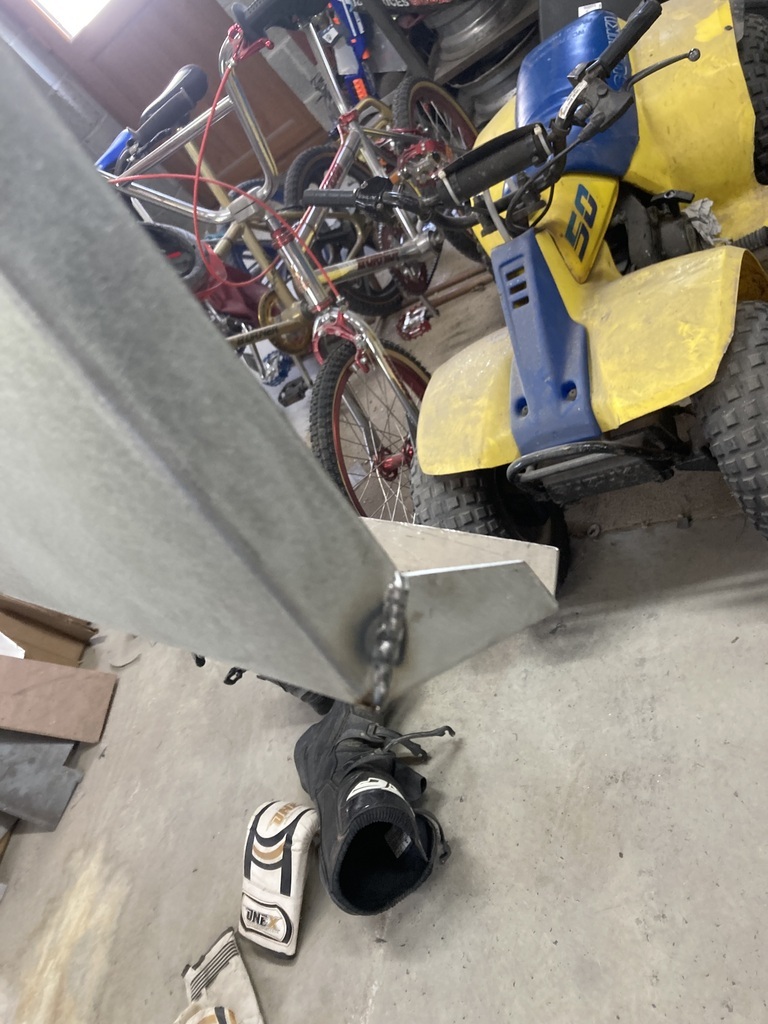 The welds were then ground back and sanded 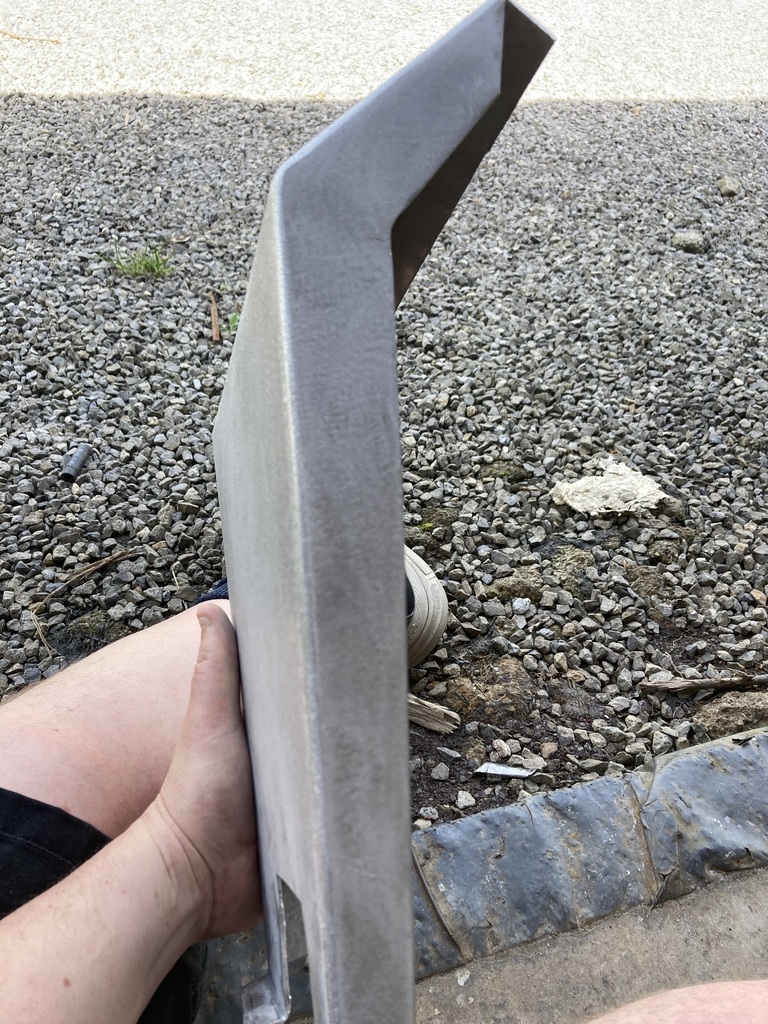 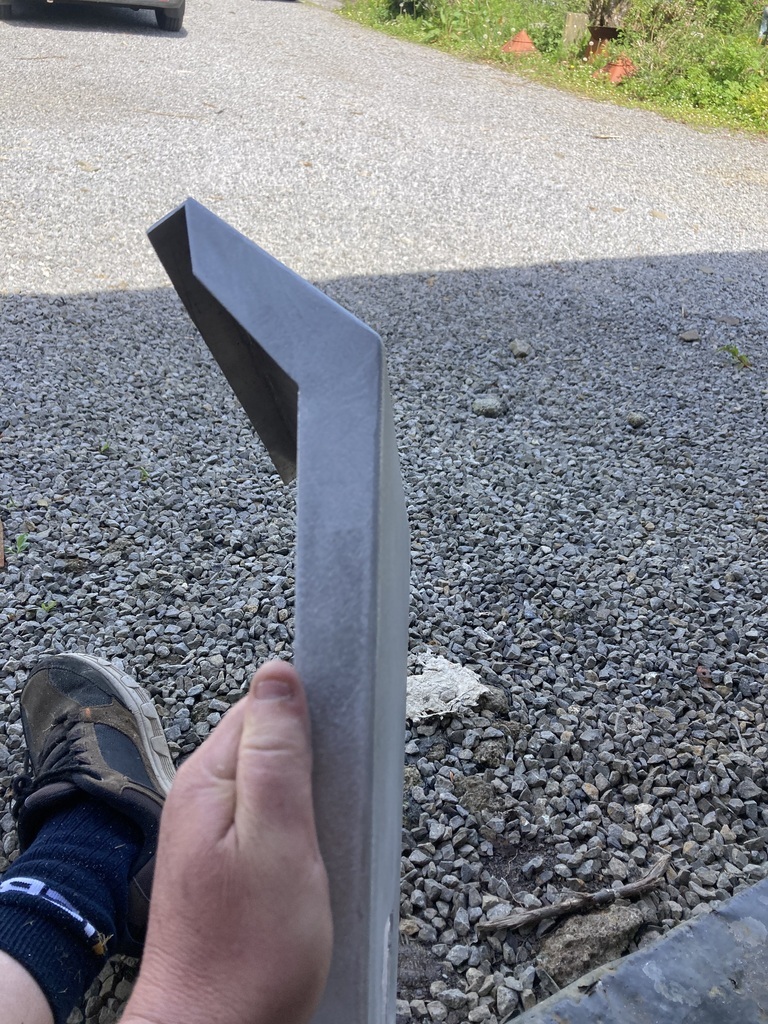 I also welded the inside as when I weld aluminum you can always see a split down the reverse of the weld. This is ok if you don’t grind the weld, but I didn’t want it to split. The tunnel was drilled and tapped 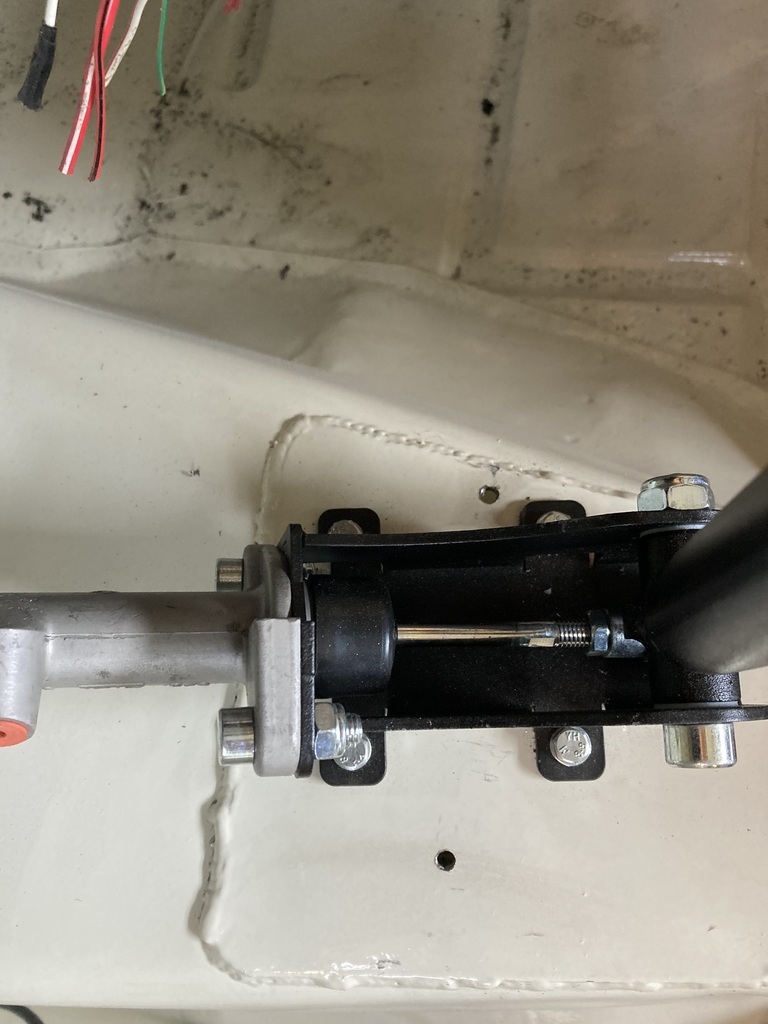 The dash was also drilled for M6 bolts, and the panel bolted in 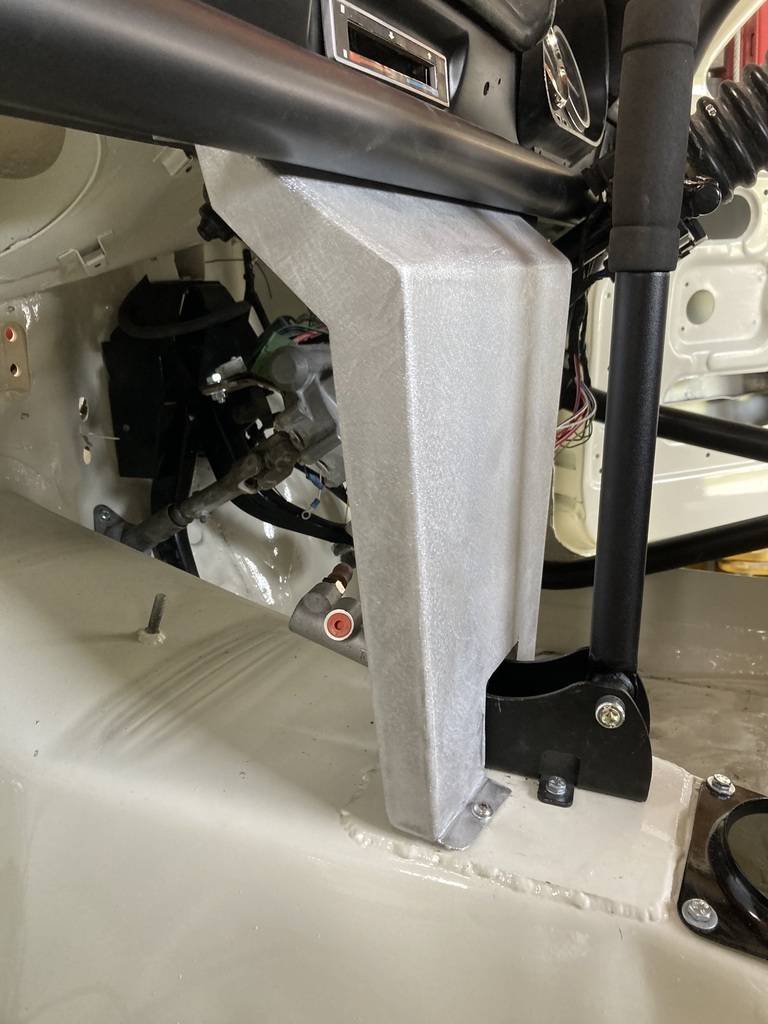 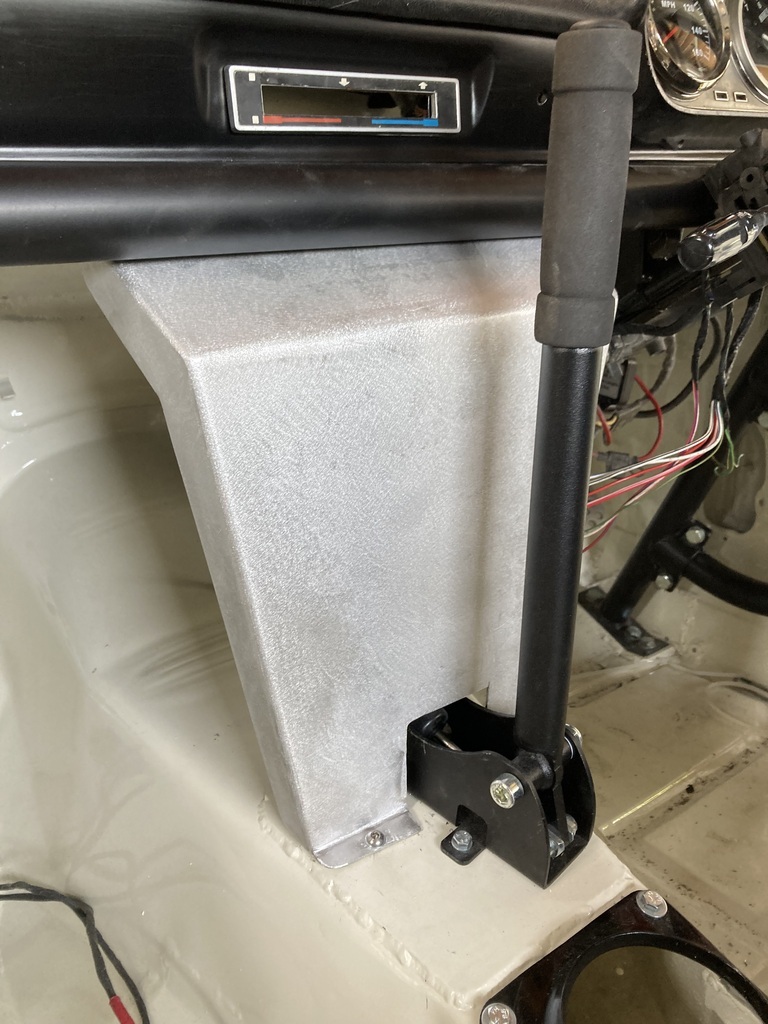 There was no need to move the hydraulic handbrake back as I have shortened the cylinder push rod which has had the same effect. 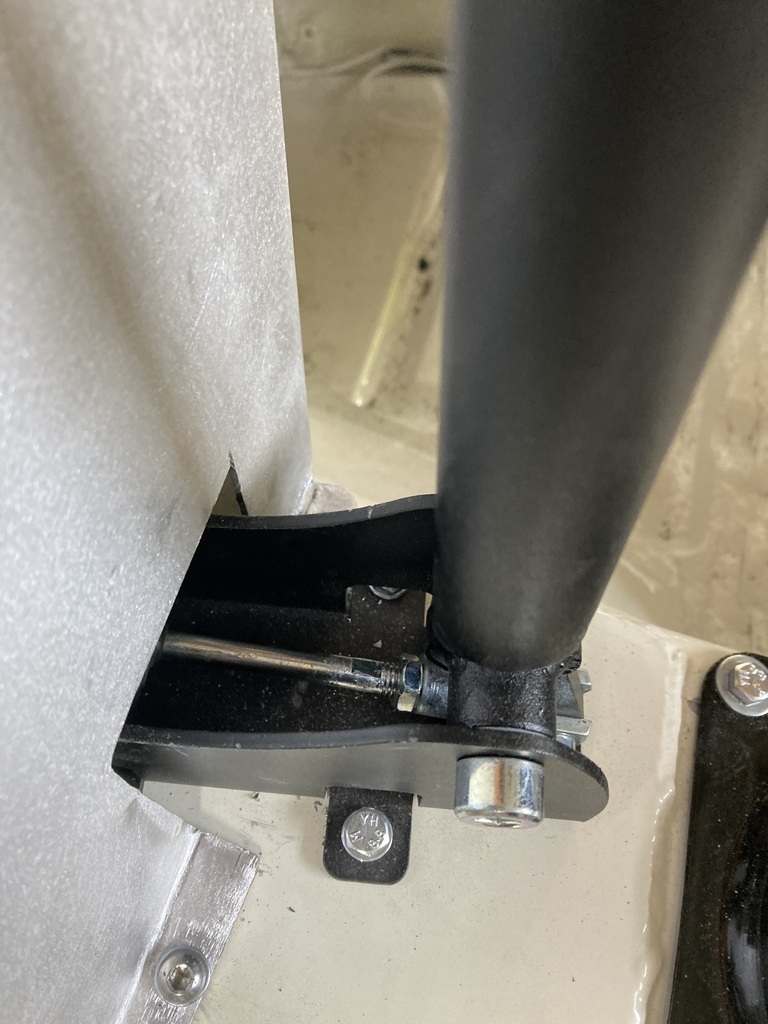 Early bath as we’re all going out for a meal. |
| |
|
|
teaboy
Posted a lot
   Make tea, not war.
Posts: 2,126
|
|
May 11, 2024 15:16:31 GMT
|
|
Happy birthday, Mrs J.
|
| |
|
|
|
|
|
May 11, 2024 16:04:57 GMT
|
|
|
| |
|
|
|
|
|
May 14, 2024 17:59:04 GMT
|
I was on call on Sunday 🙁. Which meant I had a day off today 😊. Mrs Jonsey was in work, so I had the day to myself. My task was to continue plumbing the fuel system as a reel of 8mm Kunifer (Cunifer?) had turned up. I’d previously used soft copper for this. It had been in there since 2007, but I kinked it getting it out when I stripped the car. I thought I’d replace it with Kunifer (Cunifor?) as everyone one moans that copper will crack, leak and baby ducks will die. The Kunifer (Cunifer?) is about 3 times the price aid copper and also about 3 times as had to work with. I borrowed a pipe bender off my brother and that just flattened the pipe, so I gave up on that idea and manhandled it. I won’t use it again as the baby ducks aren’t going to die. I’ve bought Kunifer (Cunifer?) for the brake pipes also. I’ve never had any issues with it cracking before, even though it was on the rally car since 2007. No baby ducks died. Anyway, fuel pipes are in and held down with steel / rubber clips as specified by the MSUK. 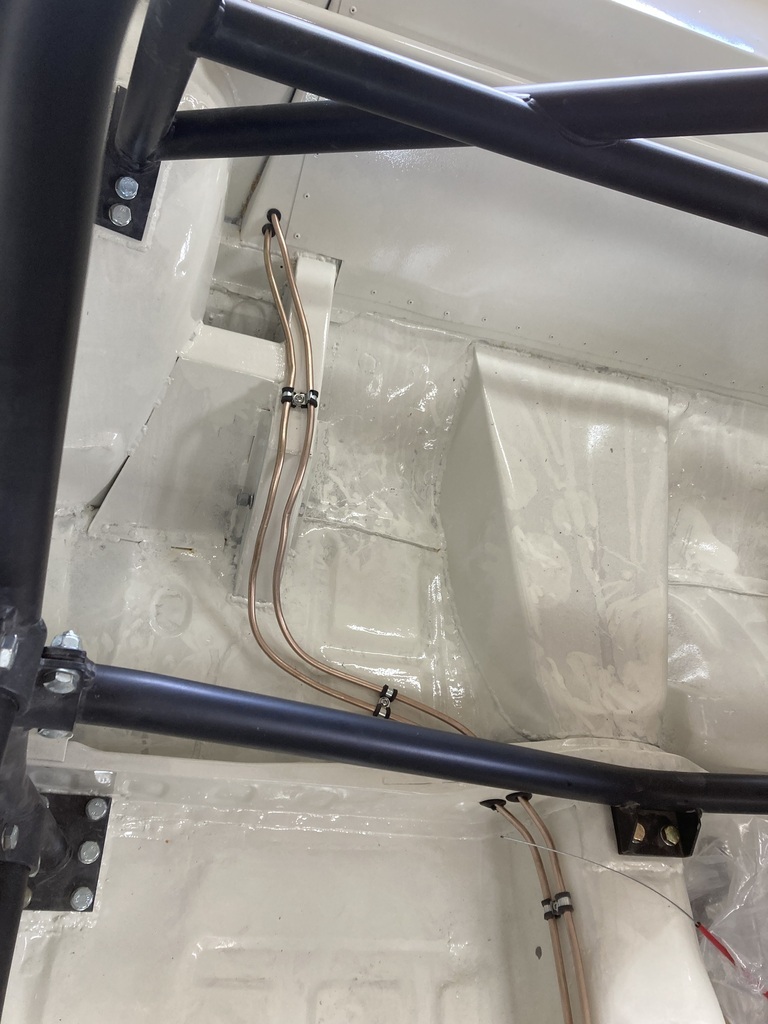 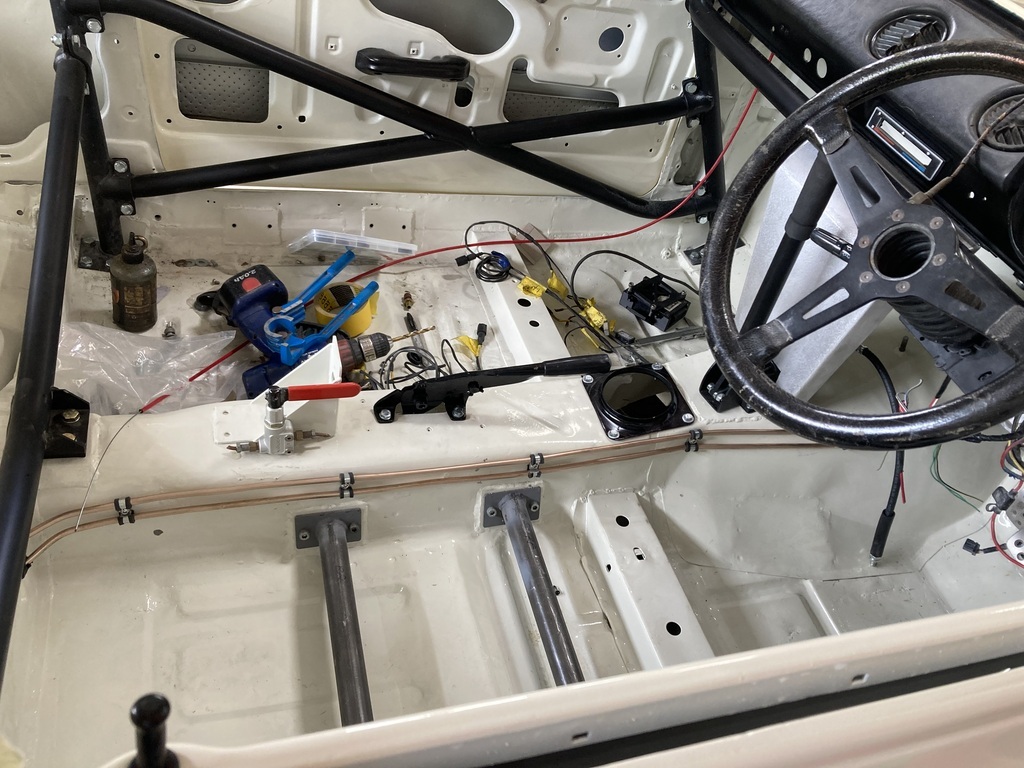 The pipes enter the engine bay through grommets, where they switch back to rubber. One connects to the fuel rail, the other connects to the fuel pressure regulator and then to the fuel rail 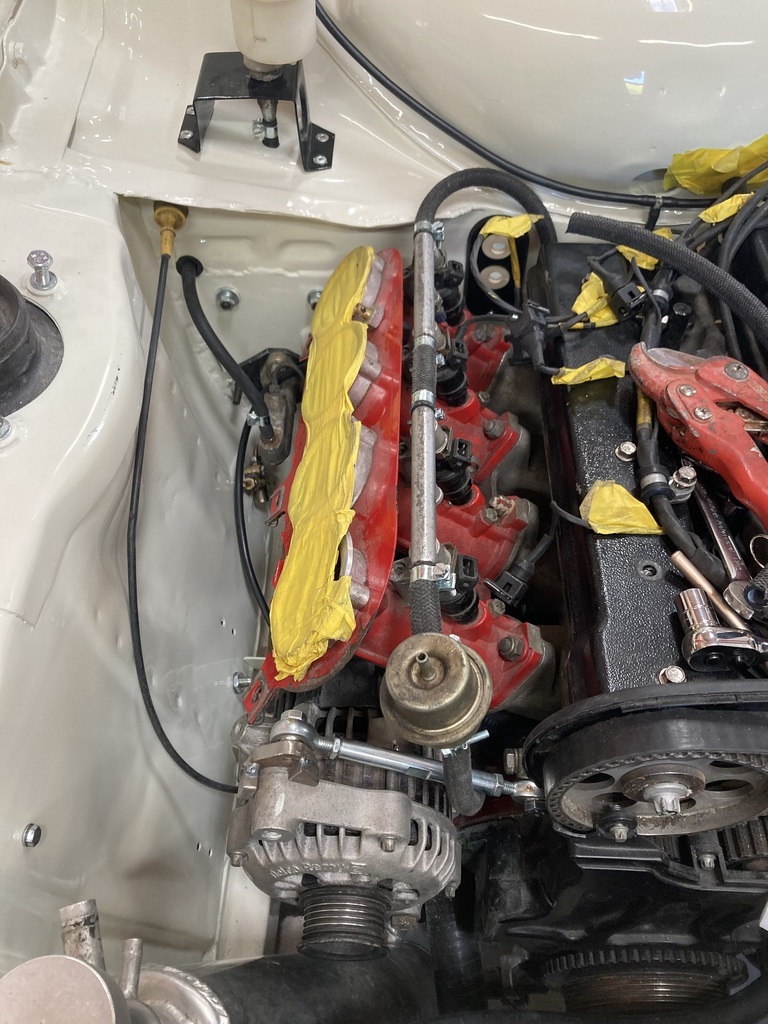 In the boot, one is connected to the high pressure pump, the other is the return from the fuel pressure regulator to the swirl tank. 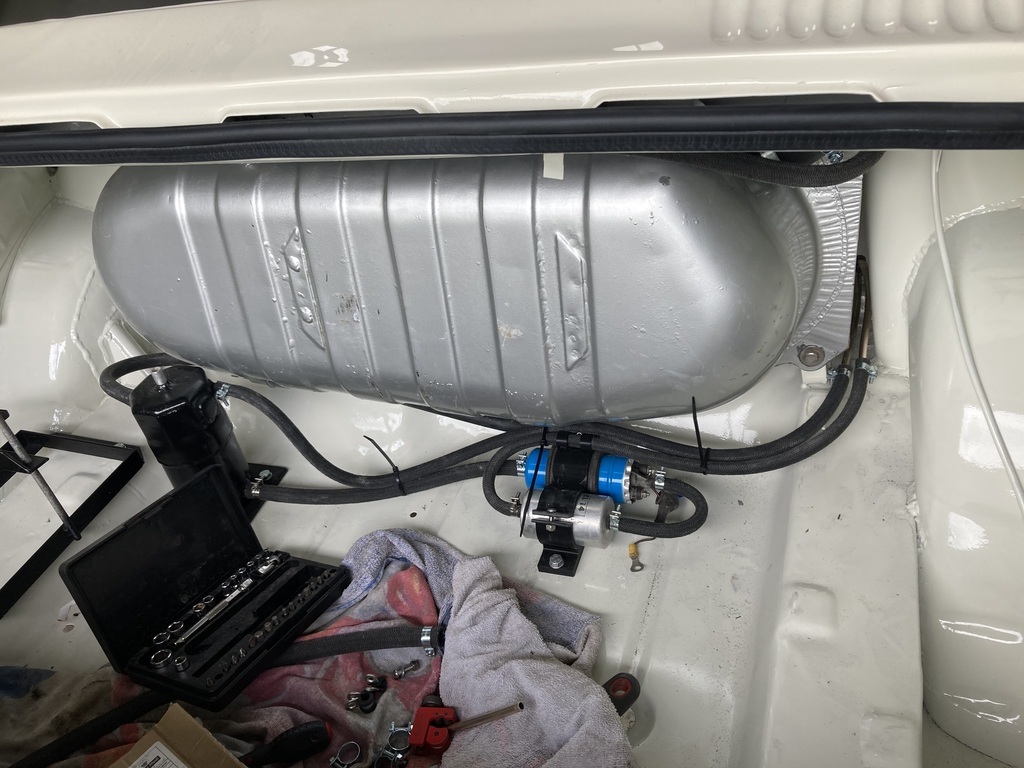 In the engine bay, there is a T piece in the return from regulator. This has a “dry break” on the end as all fuel injection cars must have a fuel sample point. (No photo) Some hose clips turned up for the coolant circuit so they were fitted 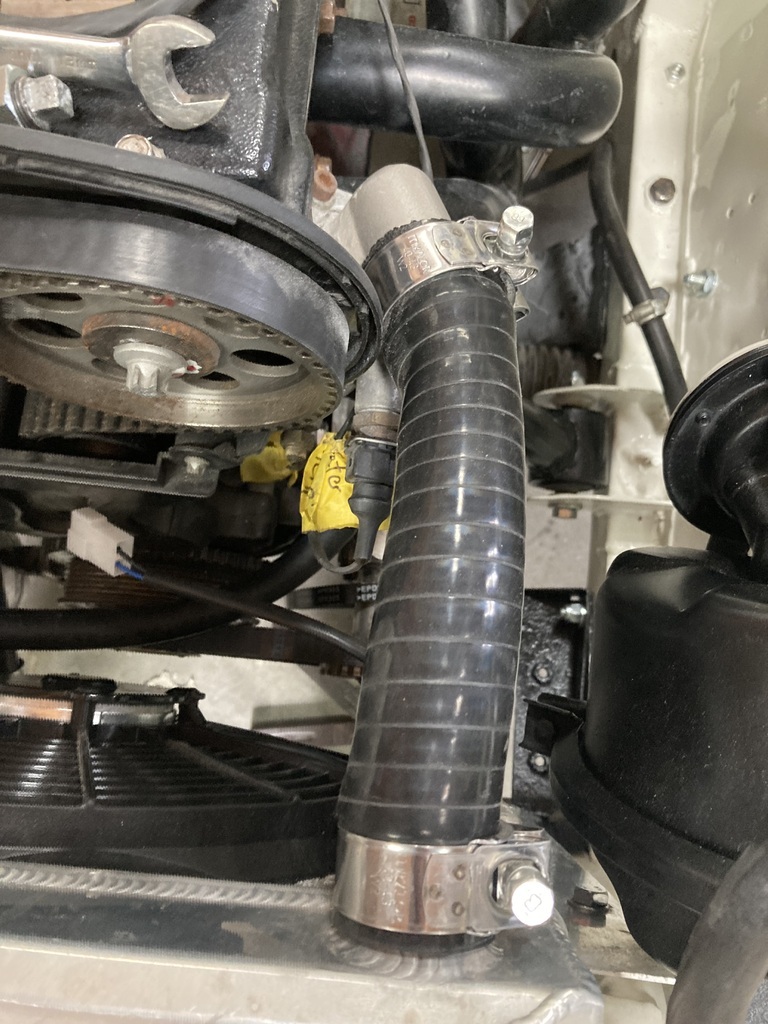 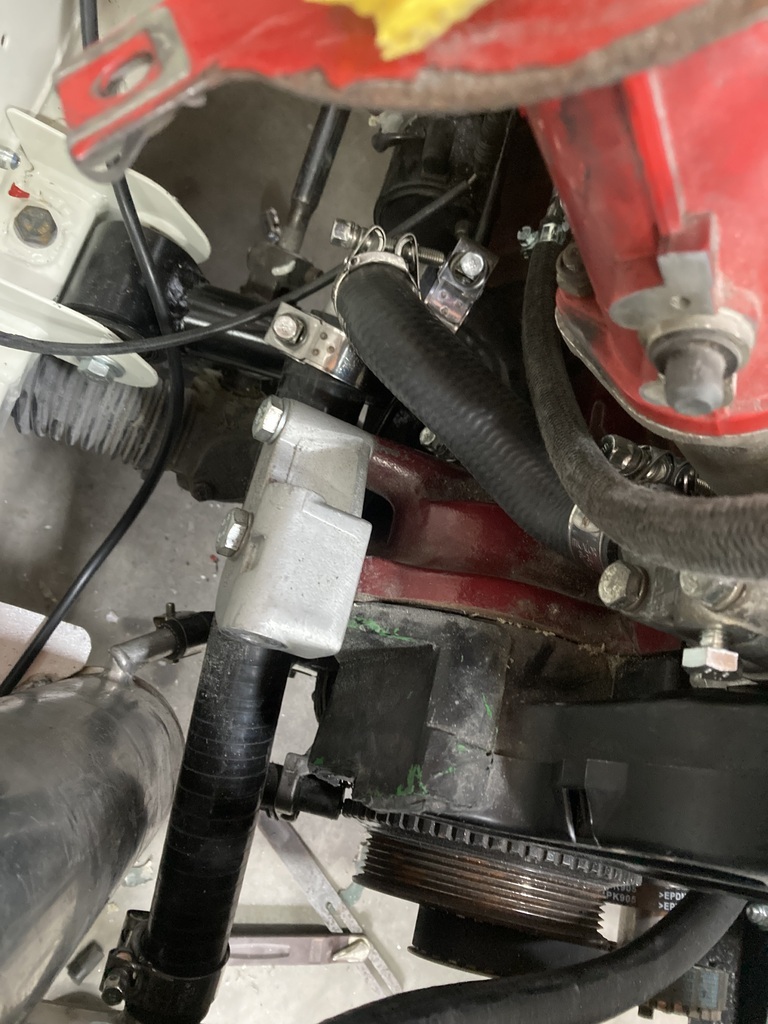 I’ve also finally managed to order the heater hoses I need from Burton Power. I’d ordered some about a month ago, waited ages and when I checked no money had been taken out. So I reordered a couple of weeks ago, checked yesterday and still no money taken out. Today I phoned them instead of using the internet, so hopefully I’ll have some heater pipes soon. |
| |
|
|
teaboy
Posted a lot
   Make tea, not war.
Posts: 2,126
|
|
May 14, 2024 19:32:23 GMT
|
the baby ducks aren’t going to die. I don't know what anyone else thinks, Phil, I'm just glad that the ducks are ok.  |
| |
|
|
|
|
|
May 15, 2024 11:21:21 GMT
|
I’m on call again, so another couple of hours in before work. Take an old flexi brake pipe 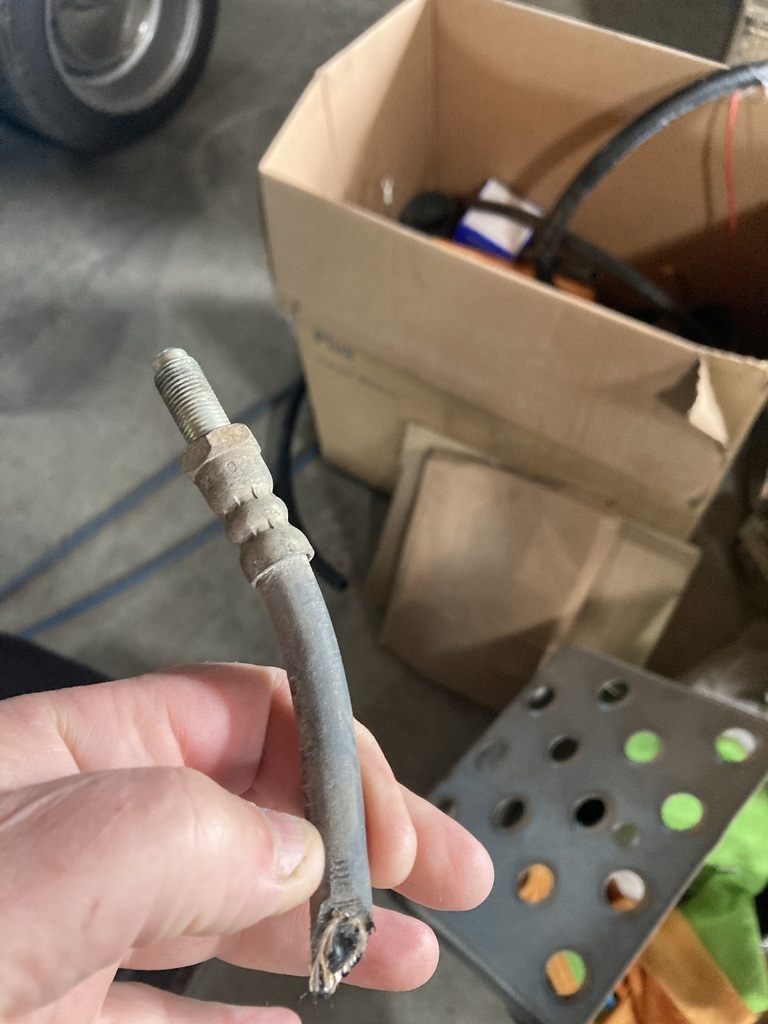 Machine the flexi bit off and drill and tap to m6 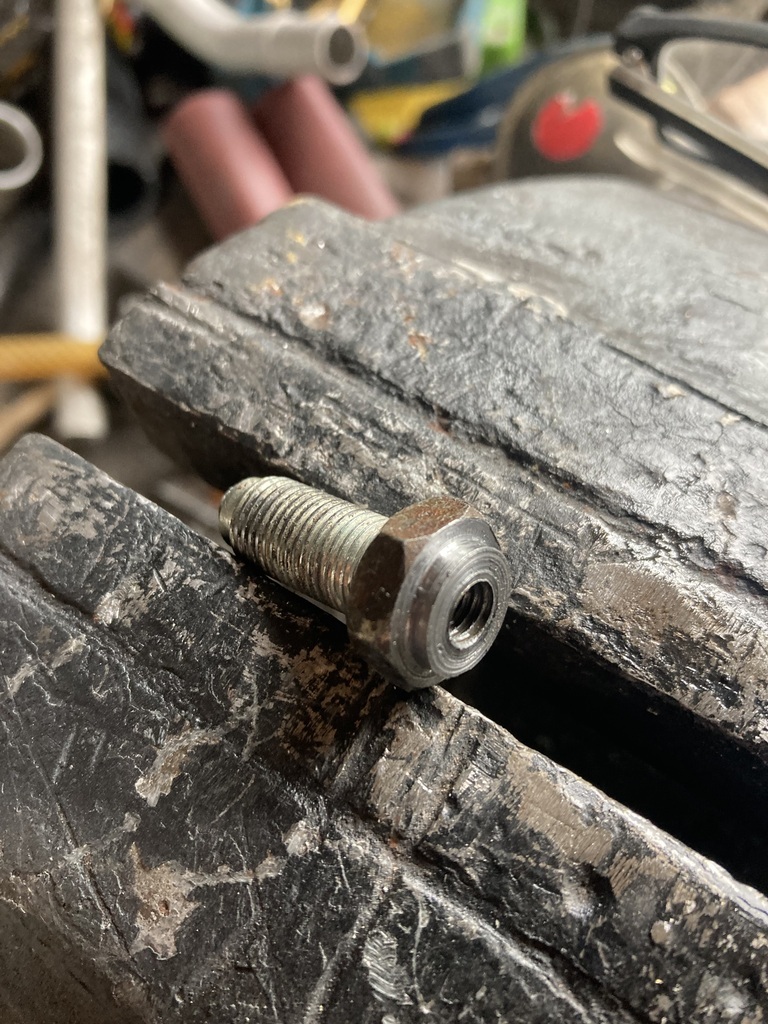 Screw in a cable receiver and add a half nut 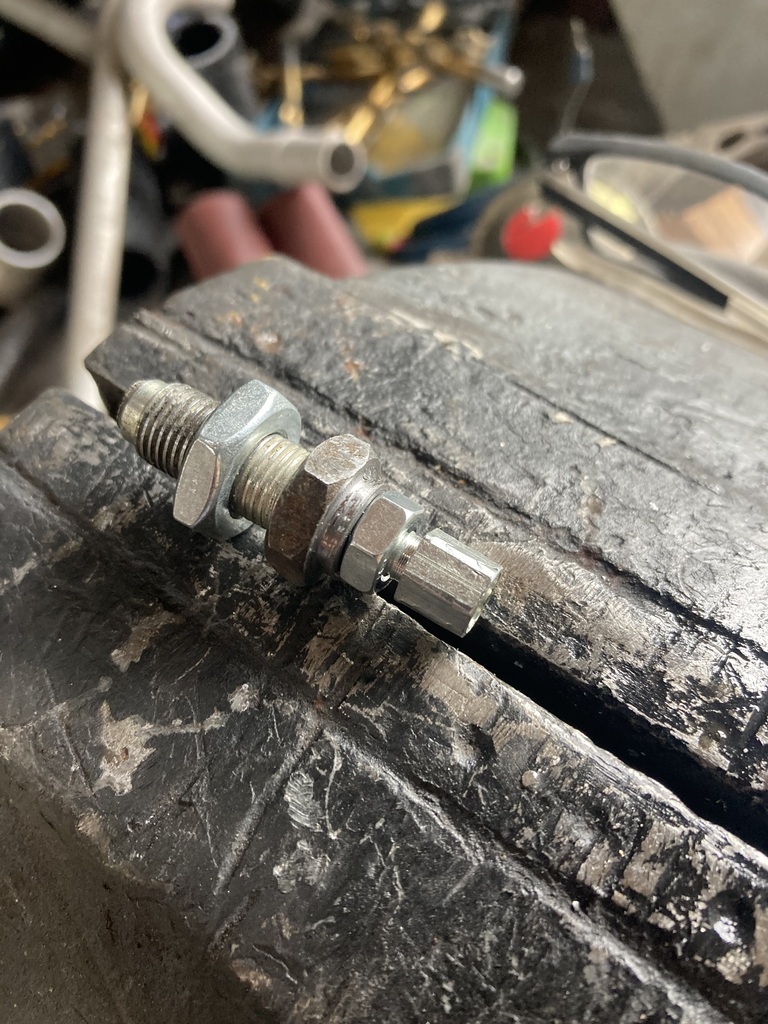 Break out my new brake pipe flaring tool. Luckily I read the small print on the lid of the grease pot, as I hadn’t had breakfast 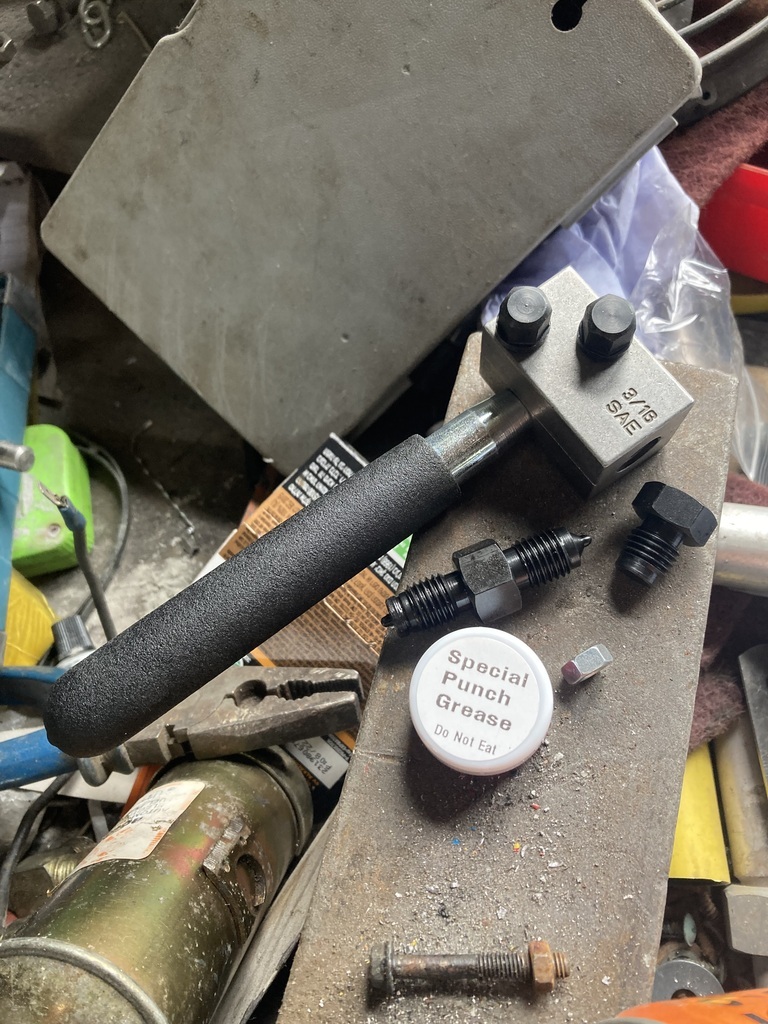 Take a female brake fitting and a short pice of Kunifer (Conifer?) as we want to protect the baby ducks 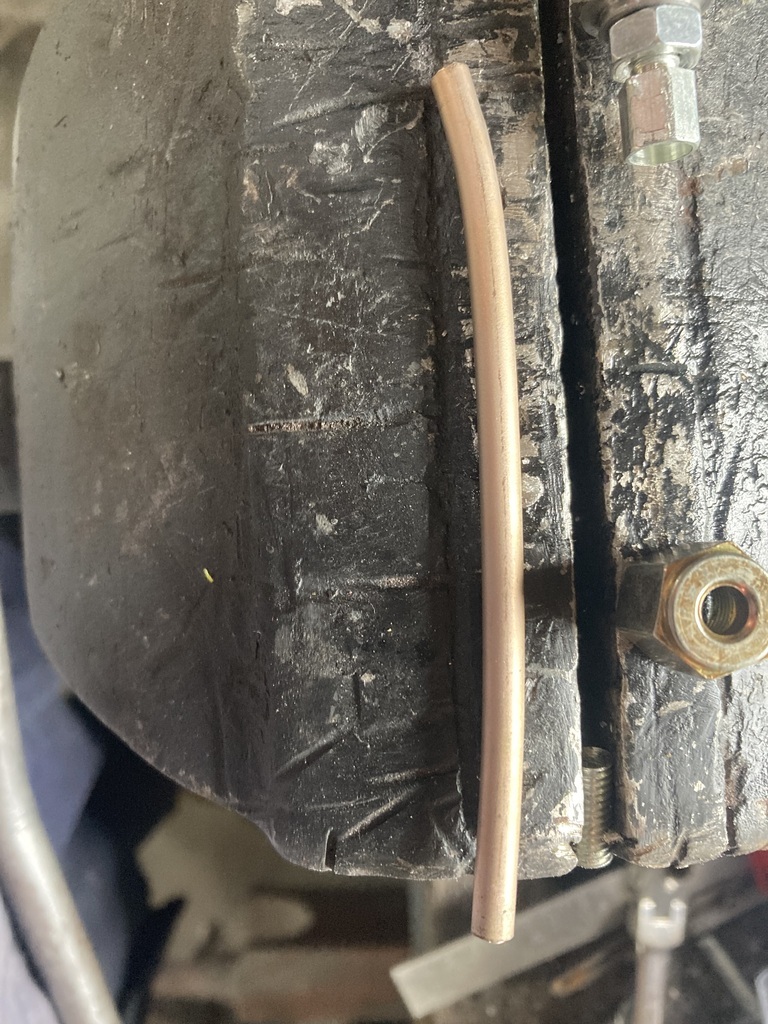 Use the new brake tool to flare one end, give it a bend (a lot easier than the 8mm pipe 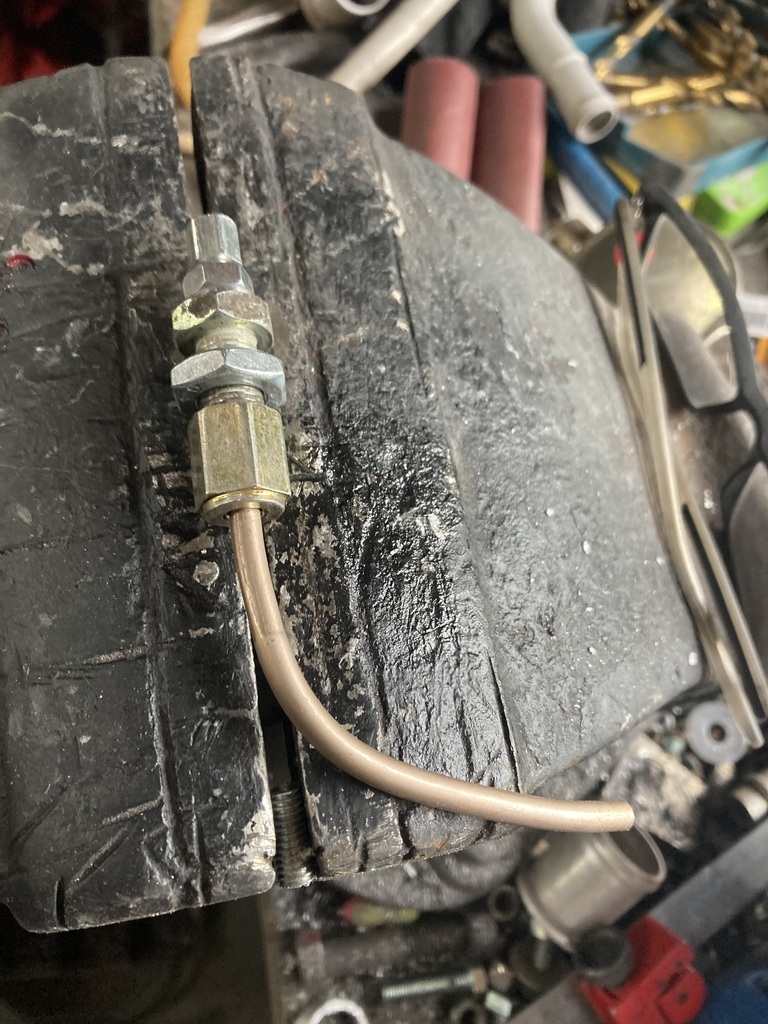 Put a sticker on the slam panel where I’d fitted a pull cord a few weeks ago 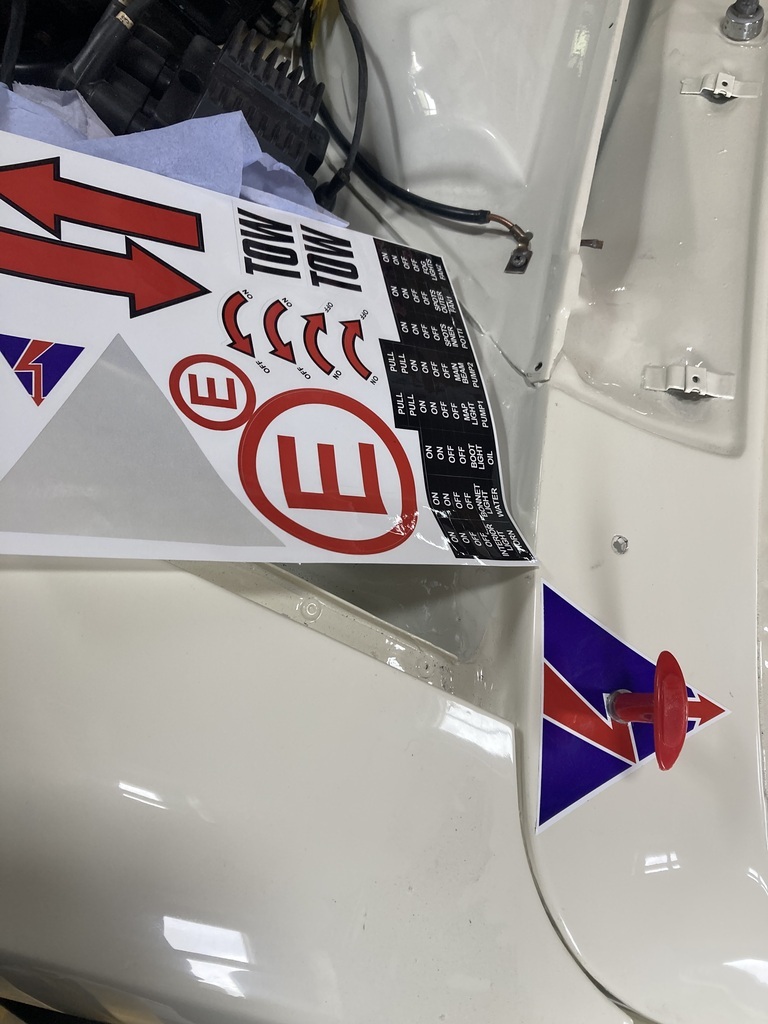 Drill a few holes in my new switch panel, mount the electrical cut off switch, mount the brake pipe thingy and feed the pull cord through the lot with a solderless nipple. 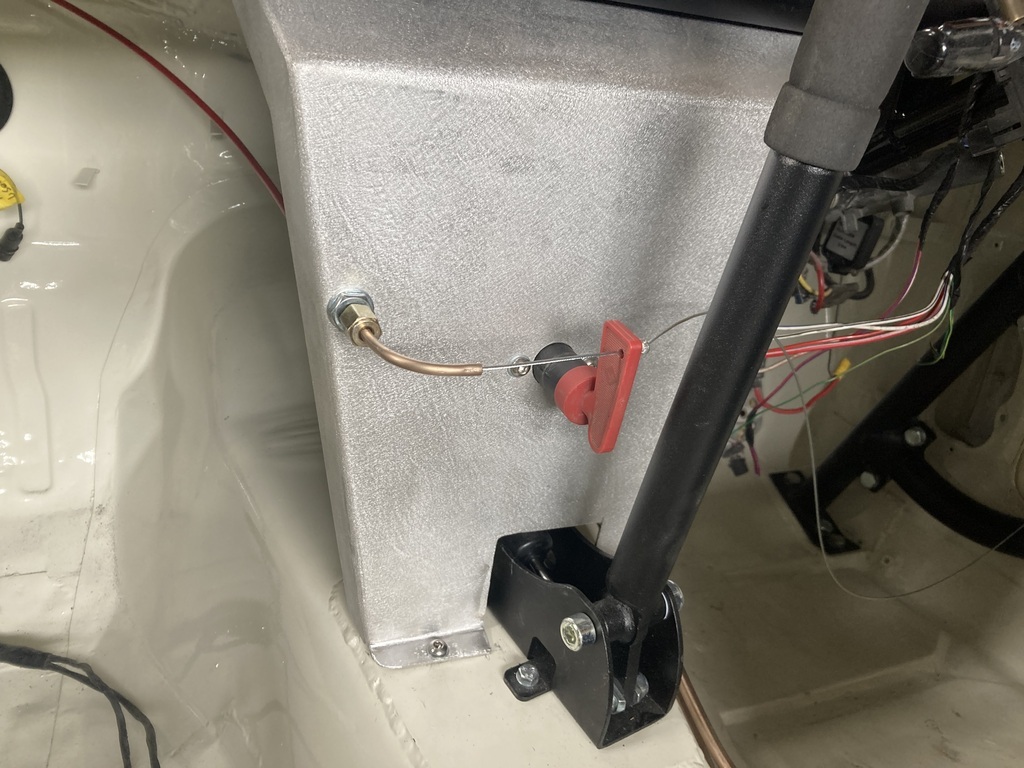 Pull this 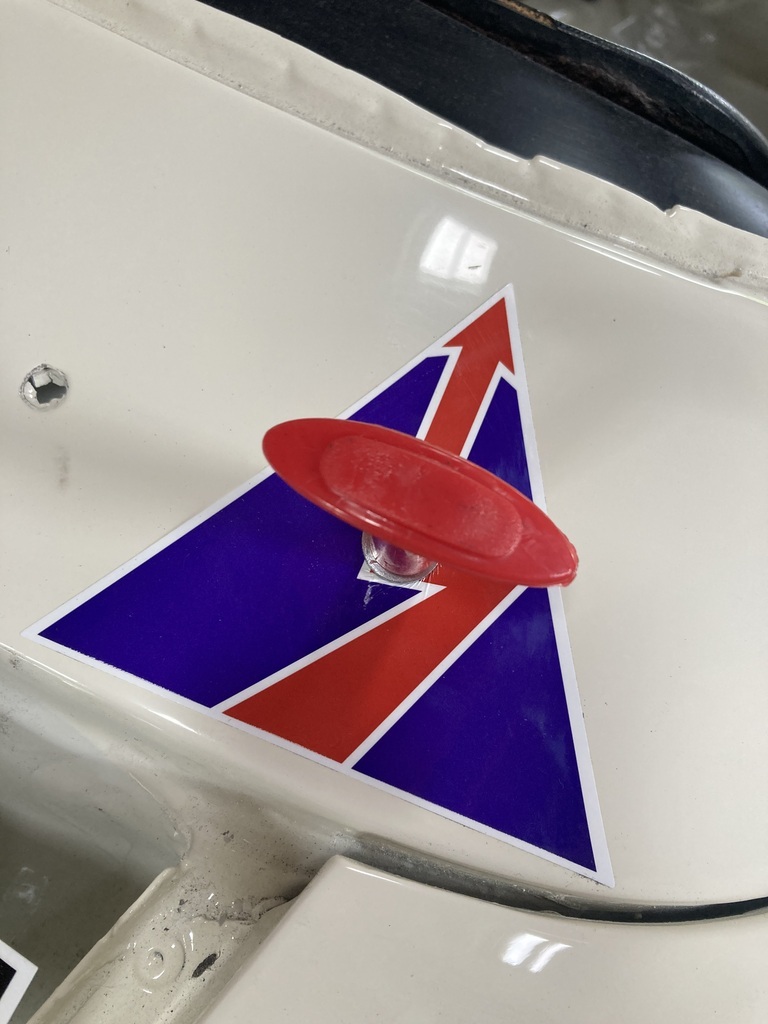 Cut off switch goes off 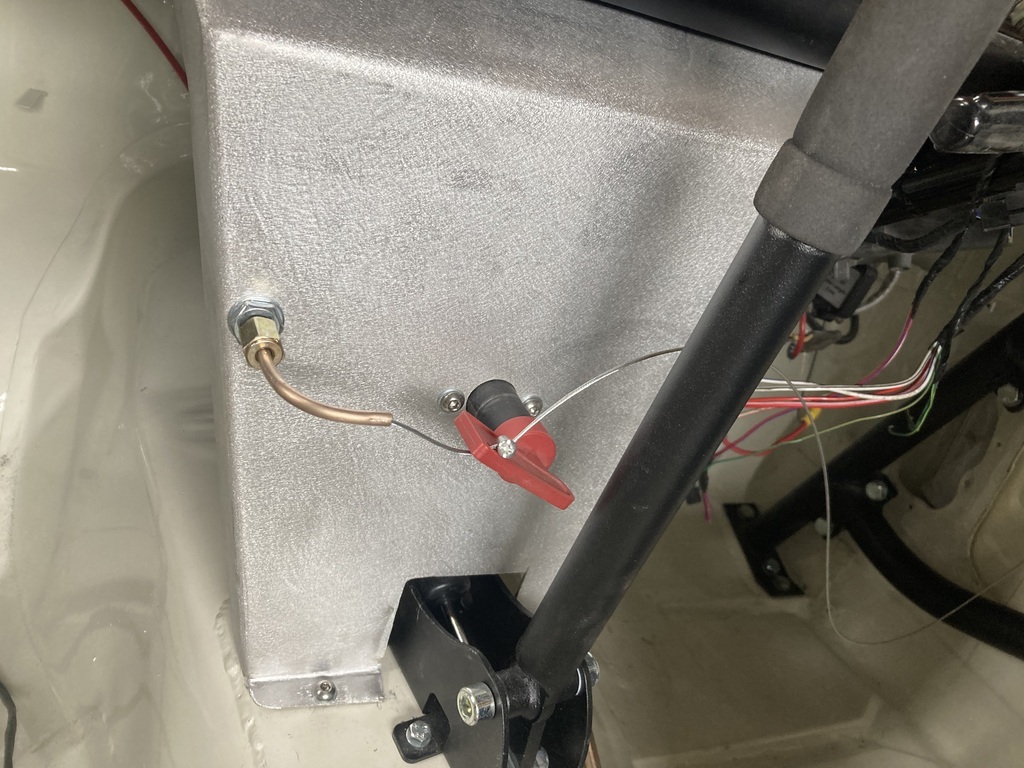 Bonza. I’ll shorten the pull cord when it’s in for good. I’ve taken out the two gauges that were in the single seater. The oil pressure gauge and the temperature gauge. Both are mechanical gauges. They will be mounted in my new switch panel. However, the sender unit for the temperature gauge was in the coolant pipework which I’m not using, so I needed somewhere to mount a boss to accept the sender So I cut the boss off the pipework and welded it to the thermostat housing 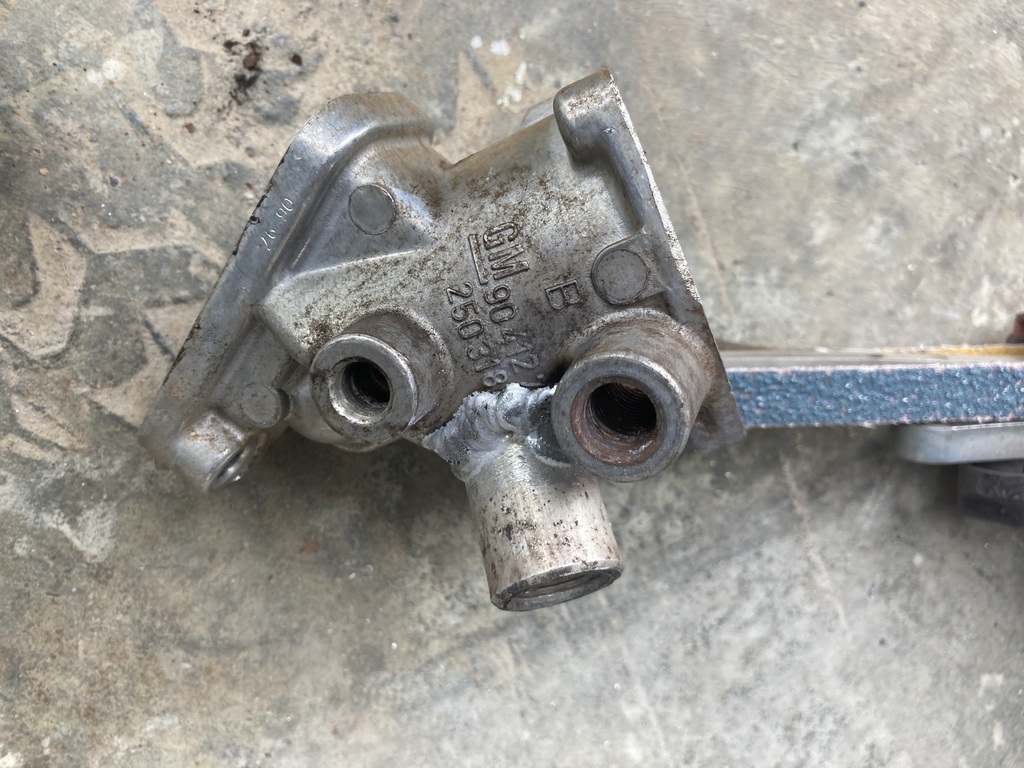 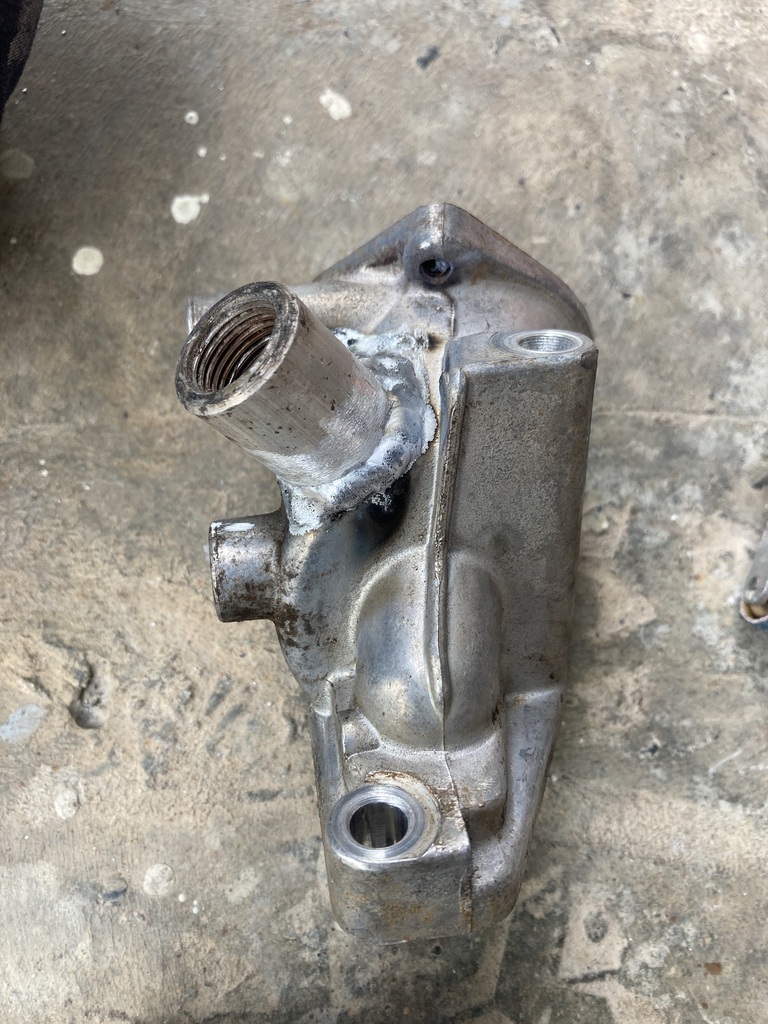 I thought it would be a pig to weld but it actually welded ok. I then drilled through the boss so the sender can access the coolant 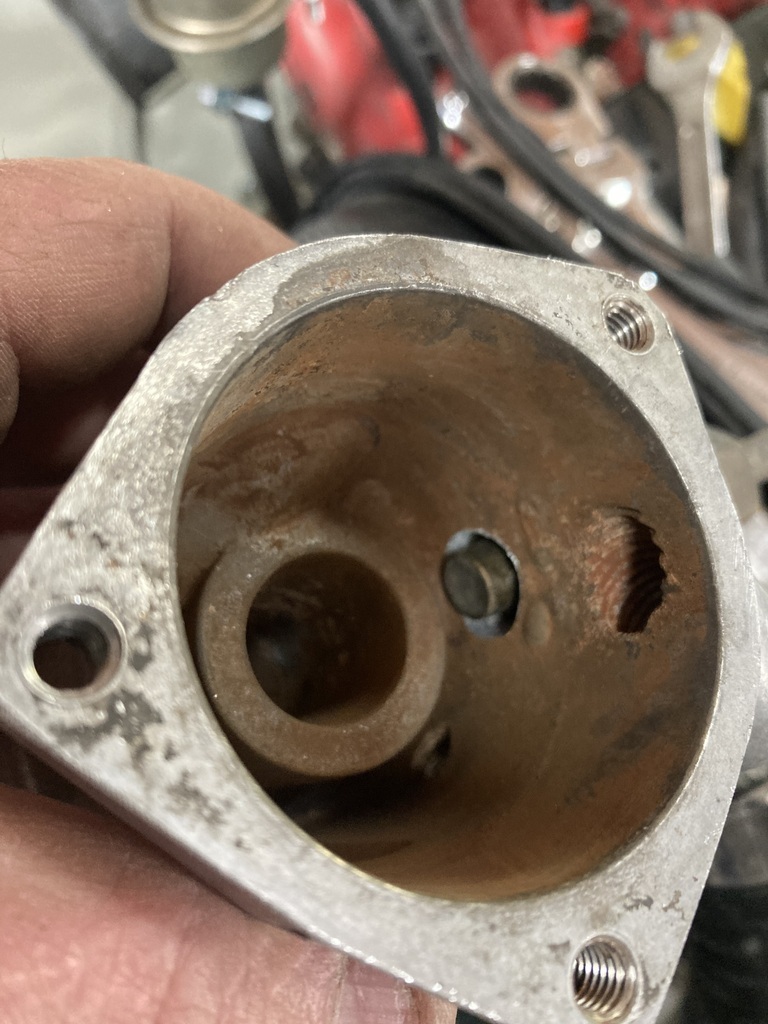 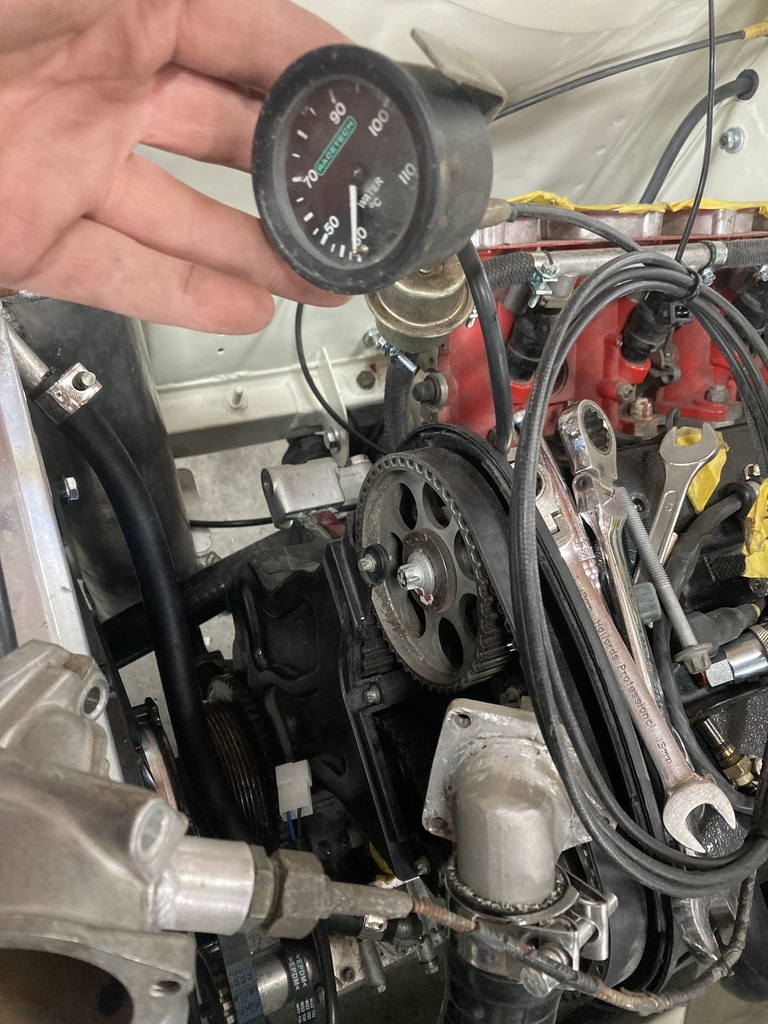 I even checked if the gauge was working by putting the sender in front of a fan heater 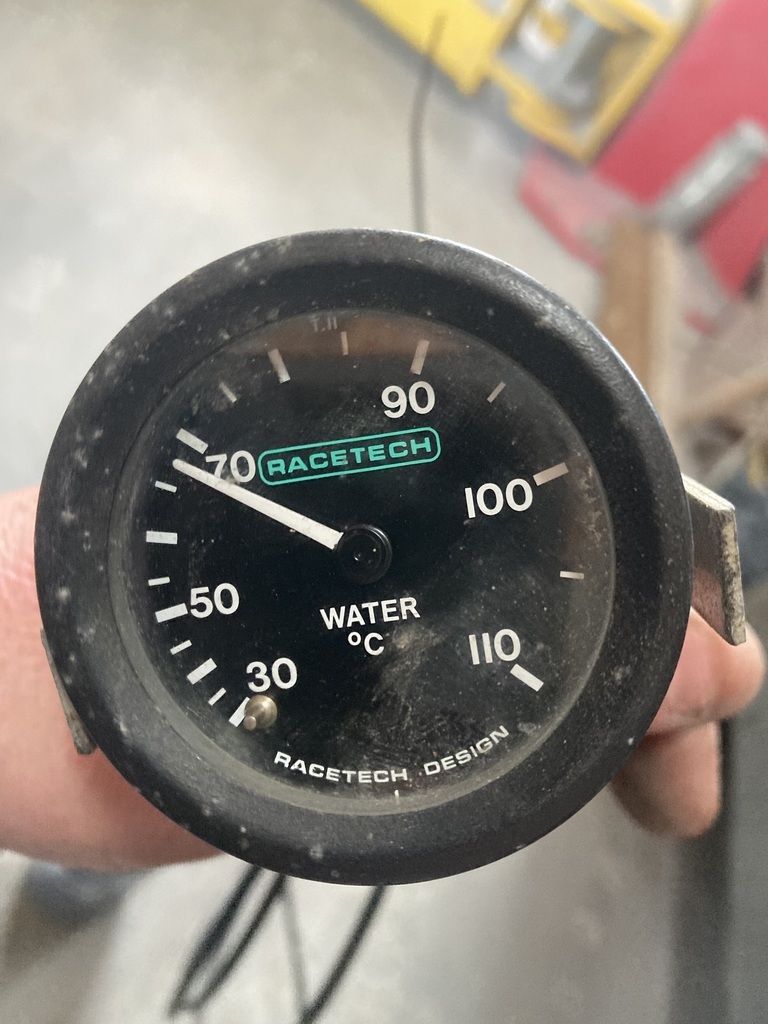 I just need to mount the gauge now |
| |
|
|
|
|
|
May 19, 2024 17:50:15 GMT
|
I was outside by 09:30 this morning. Not in the garage, but up on the field, painting our toilet block for the shepherd’s hut. I was only supposed to take all the fittings off so Mrs Jonsey could paint it, but by the time she came up the field I’d nearly finished it. That sorted, I retreated to the garage. Some fittings had turned up for the dry break for fuel sampling 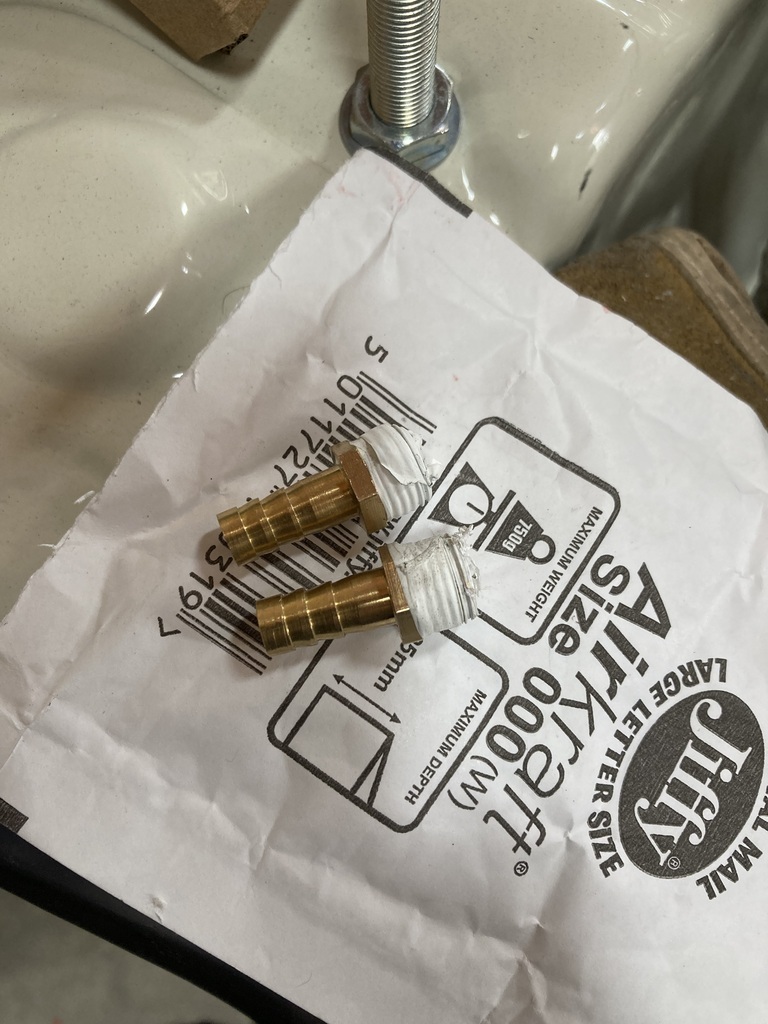 So they were fitted 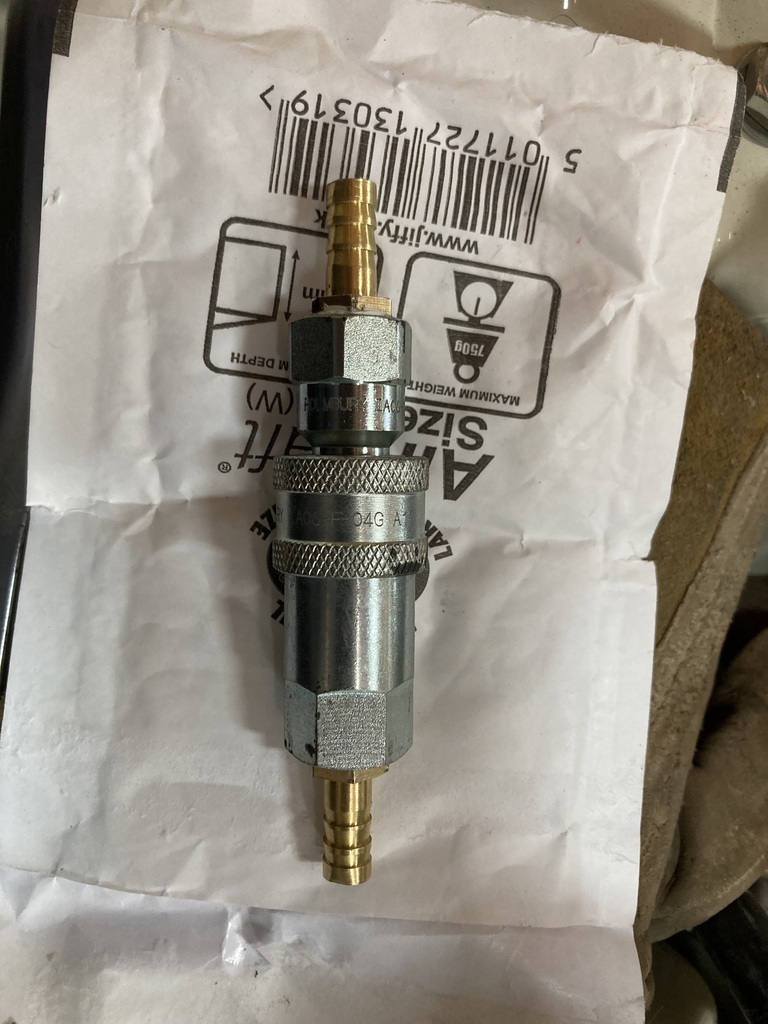 I then fitted the male end to the fuel return line under the throttle bodies (no photo). The female end will live in the car with a metre of fuel hose attached incase scrutineers ever want to sample the fuel (they won’t). I then turned my attention to the brakes lines. I started at the back axle 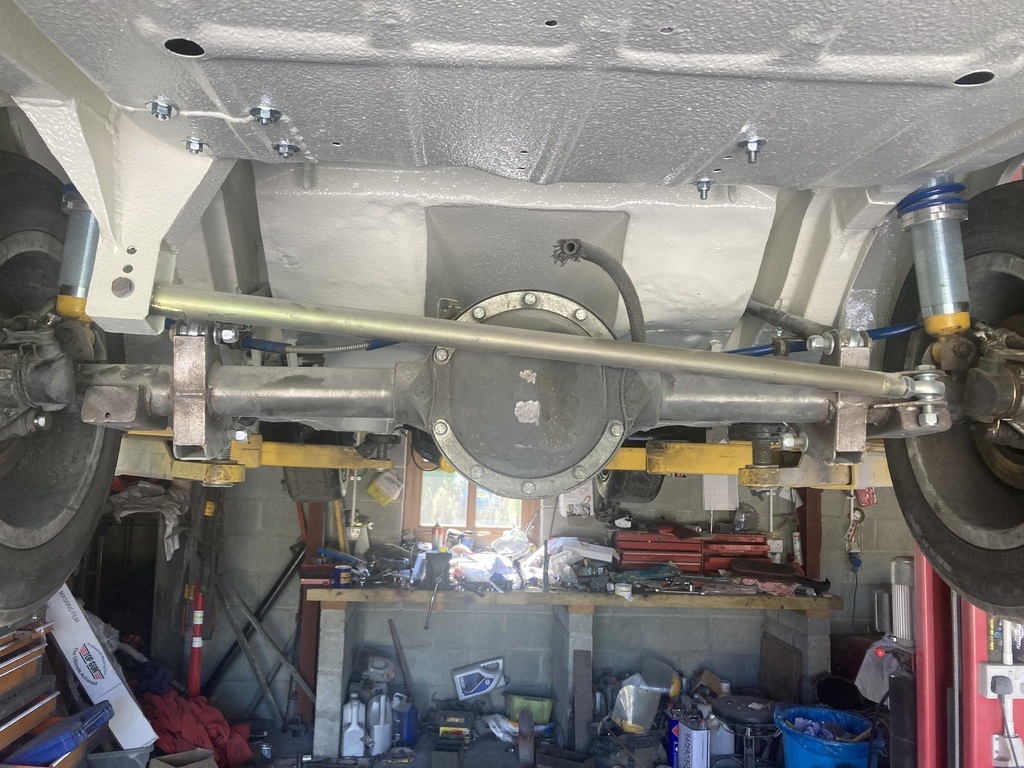 The hoses that are on the rear calipers are from a Micra (I think). They have a boss on them so they can be clamped to stop them flapping in the breeze. I had to make 2 new beckets and weld them on 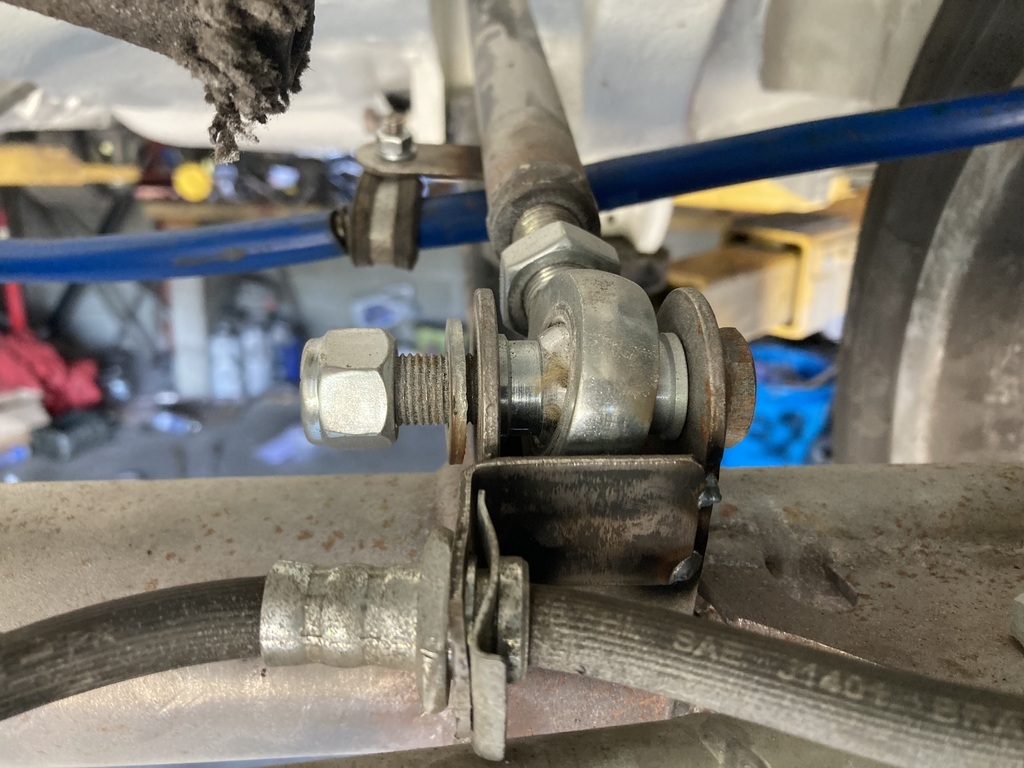 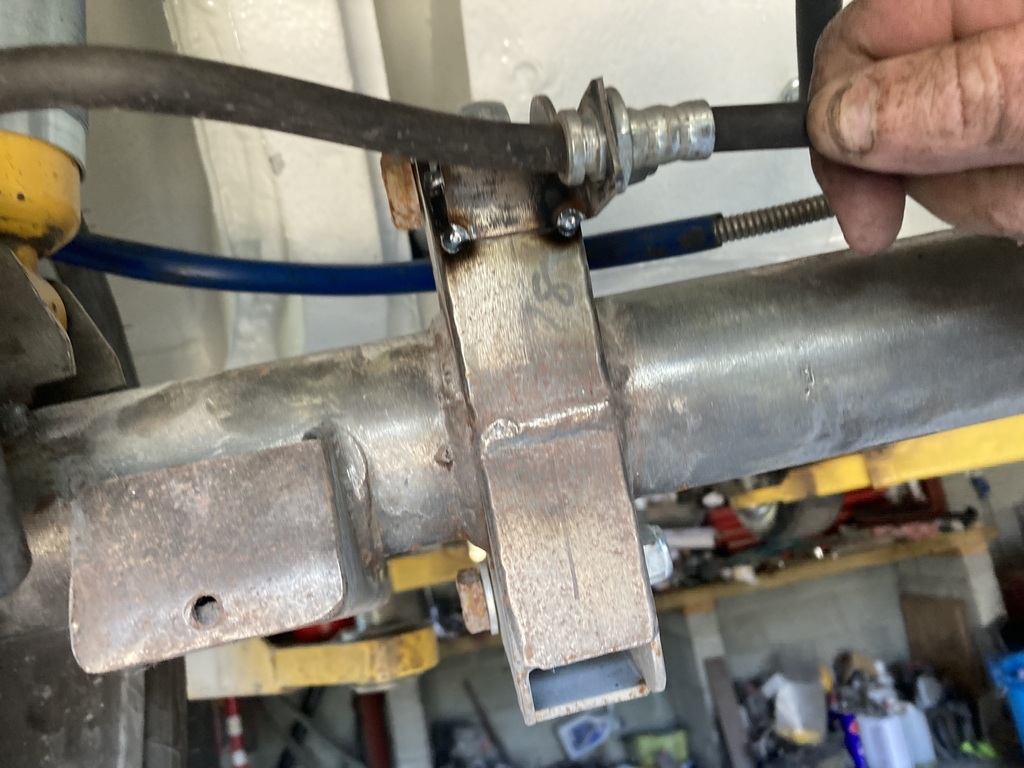 The inner end of the flexi pipes are bolted to the diff cover. A tee piece was bolted to an m6 bolt I welded to the axle. I wasn’t wearing my glasses whilst welding this so I completely missed it. A mk3 escort van rear brake pipe was then attached from the T piece to the car. 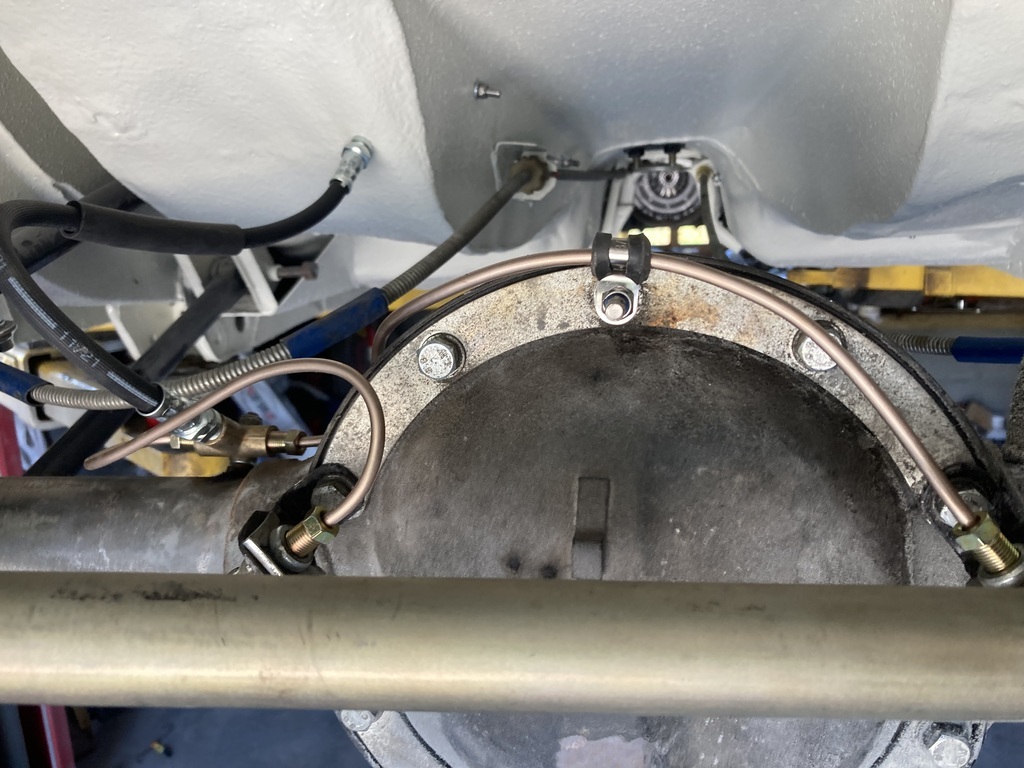 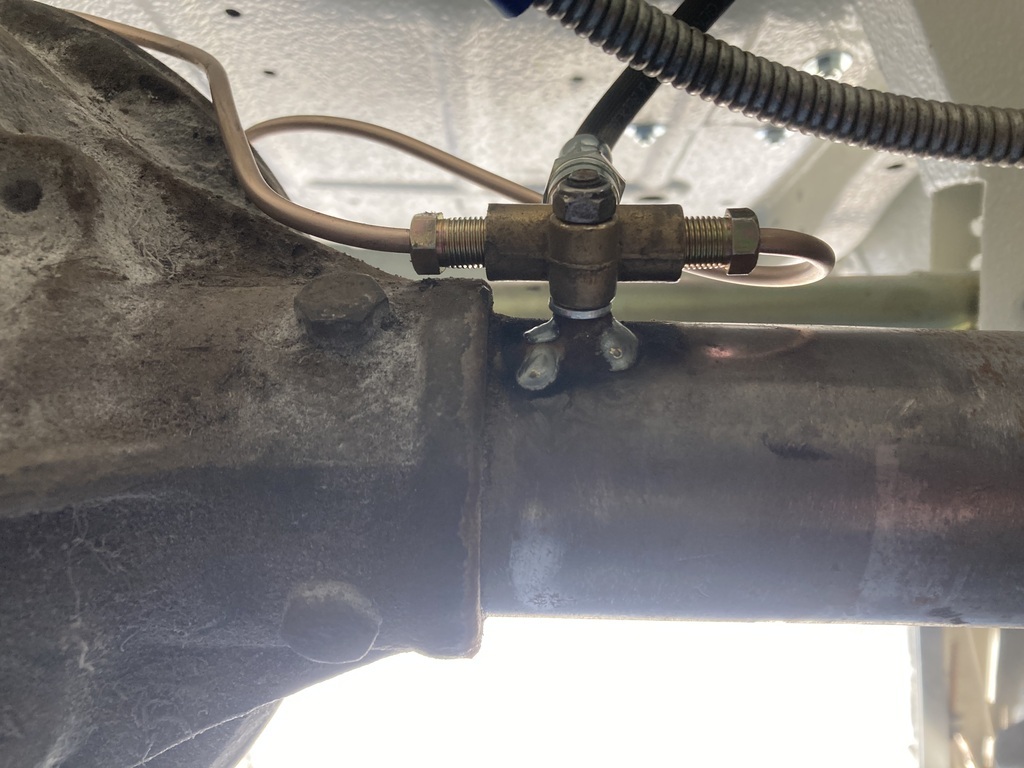 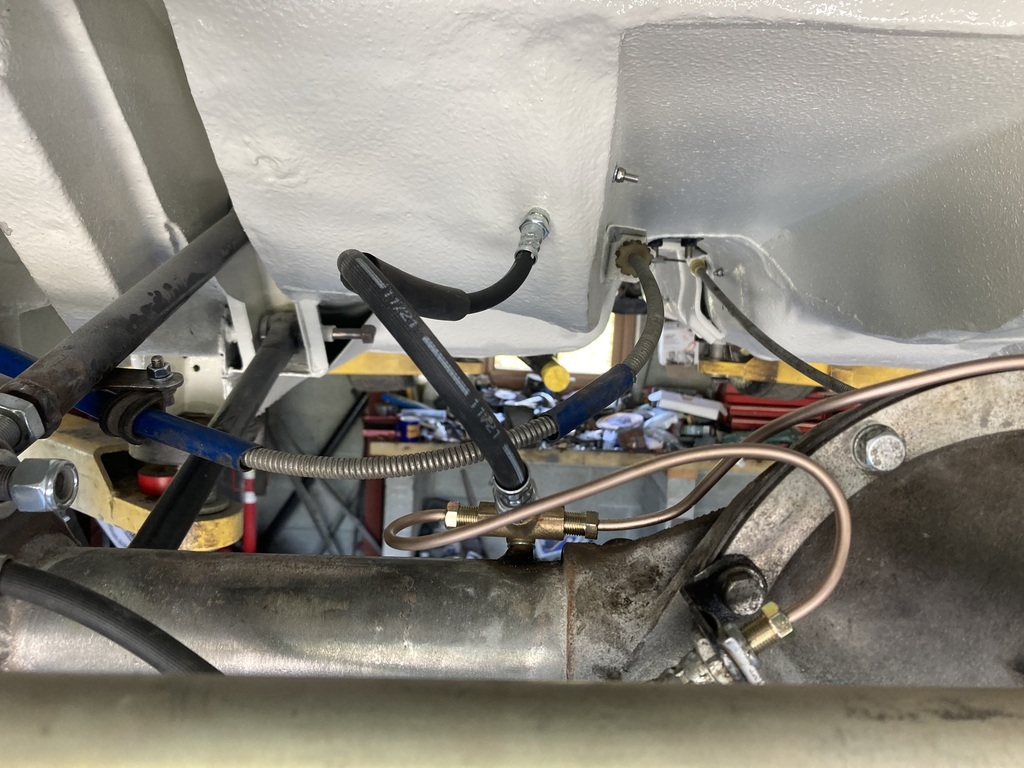 The clip at the top of the diff cover is held on by welding an m6 bolt to the m8 diff bolt. I machined the weld back to make it look a bit nicer 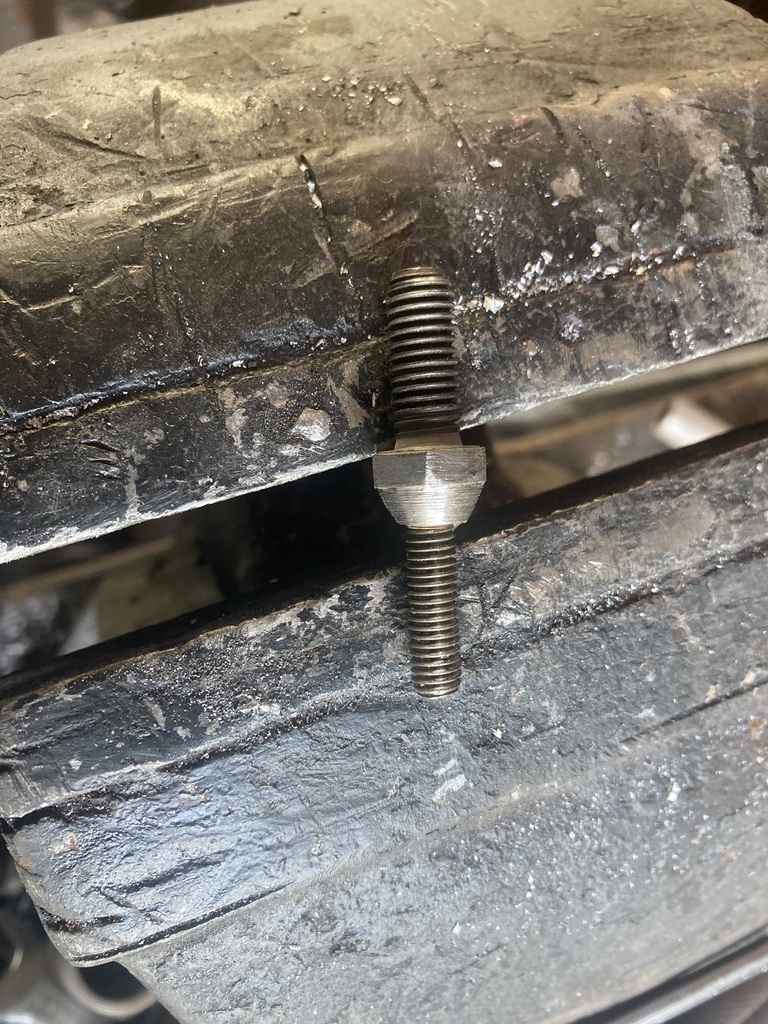 And that’s the axle part done. Where the flexi from the axle enters the car, the thread is not long enough when a half nut is fitted. 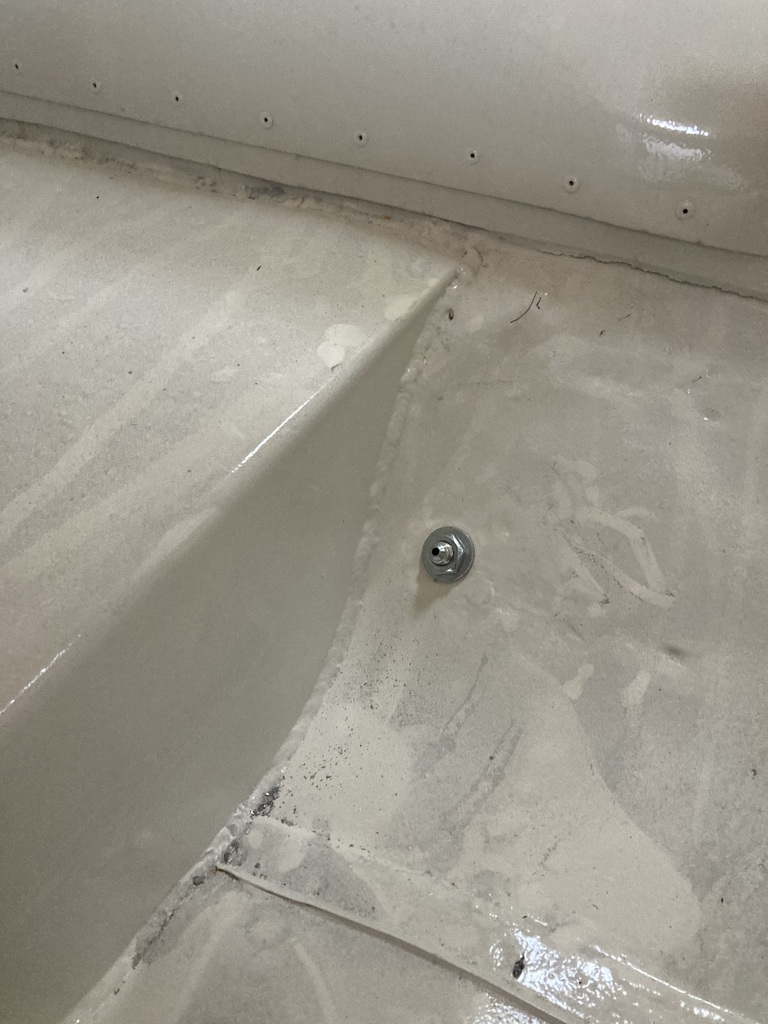 I’ll drill the hole larger and fix it with one of these clips instead 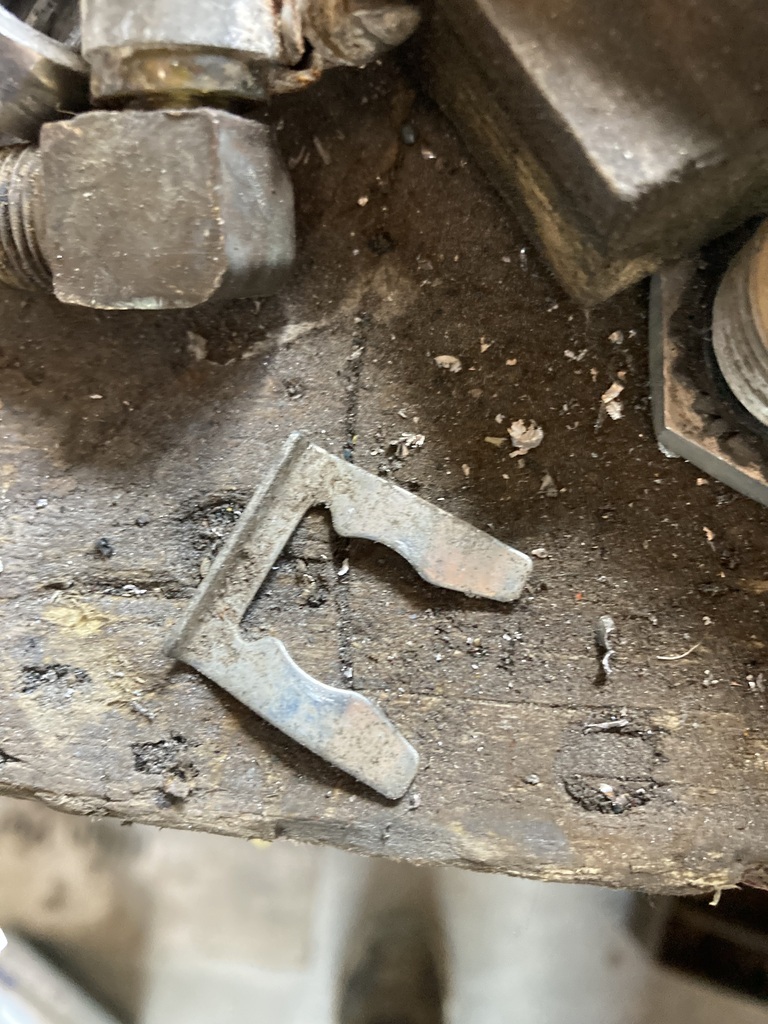 The brake bias valve was on the driver side of the old hydraulic handbrake mount. The pipe is now running on the passenger side, so I redrilled the bracket and moved it 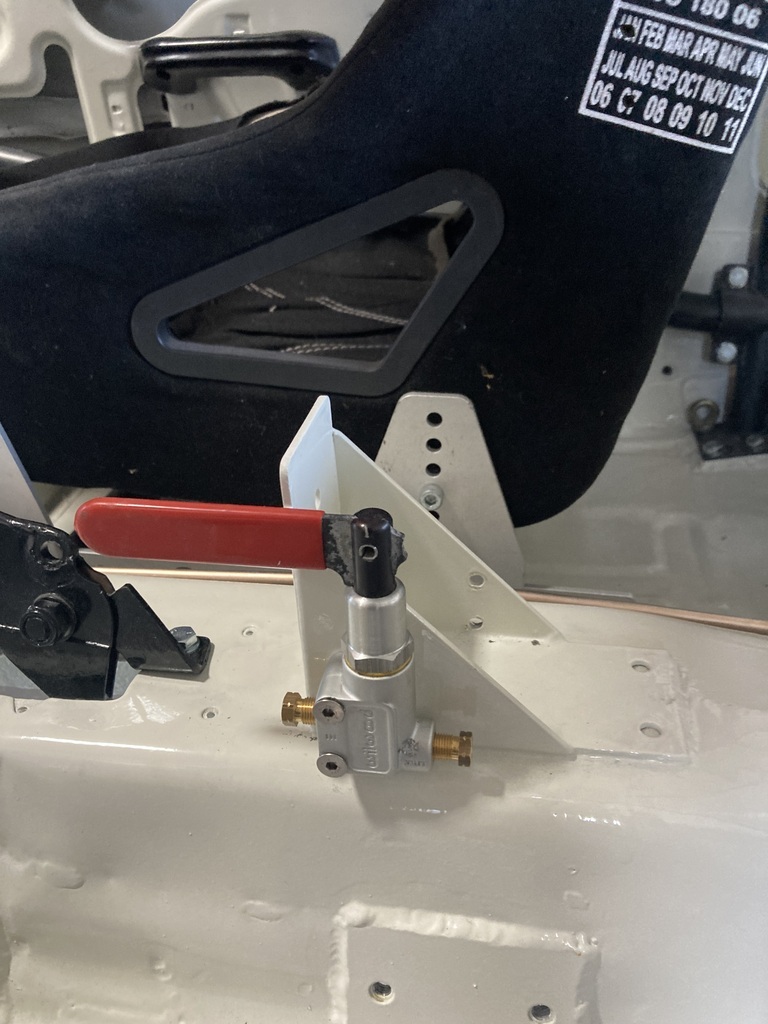 I then ran some more Kunifer (baby duck saver), and clipped it to the tunnel 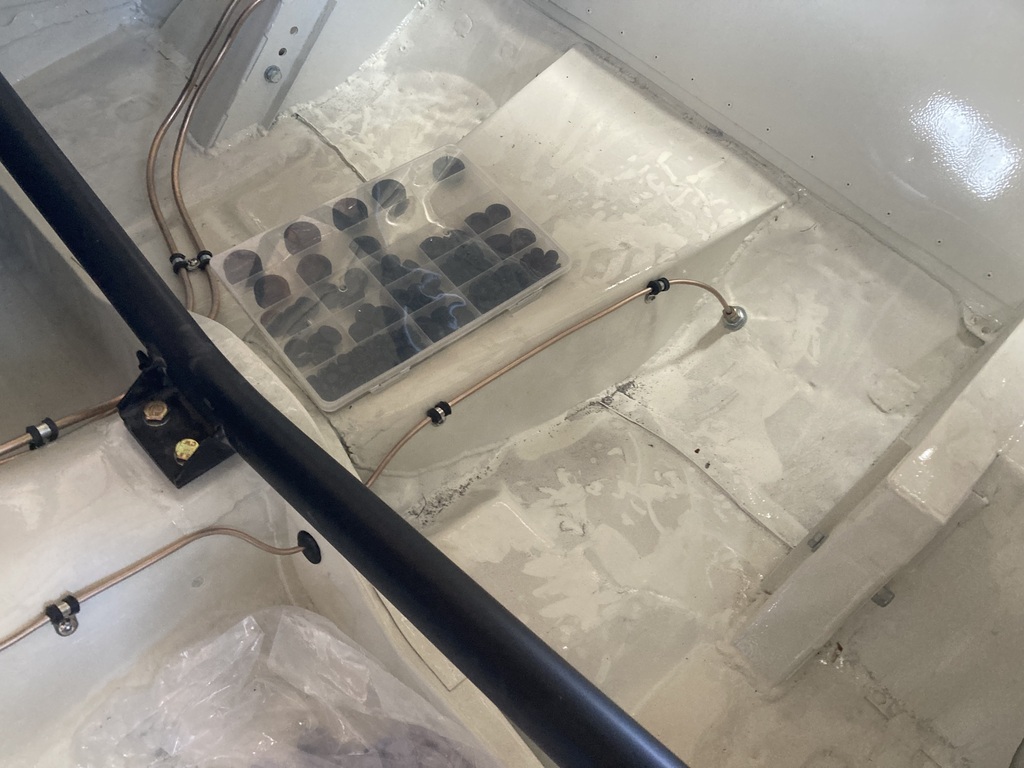 I ran another pipe forward from the bias valve to the new hydraulic handbrake too. 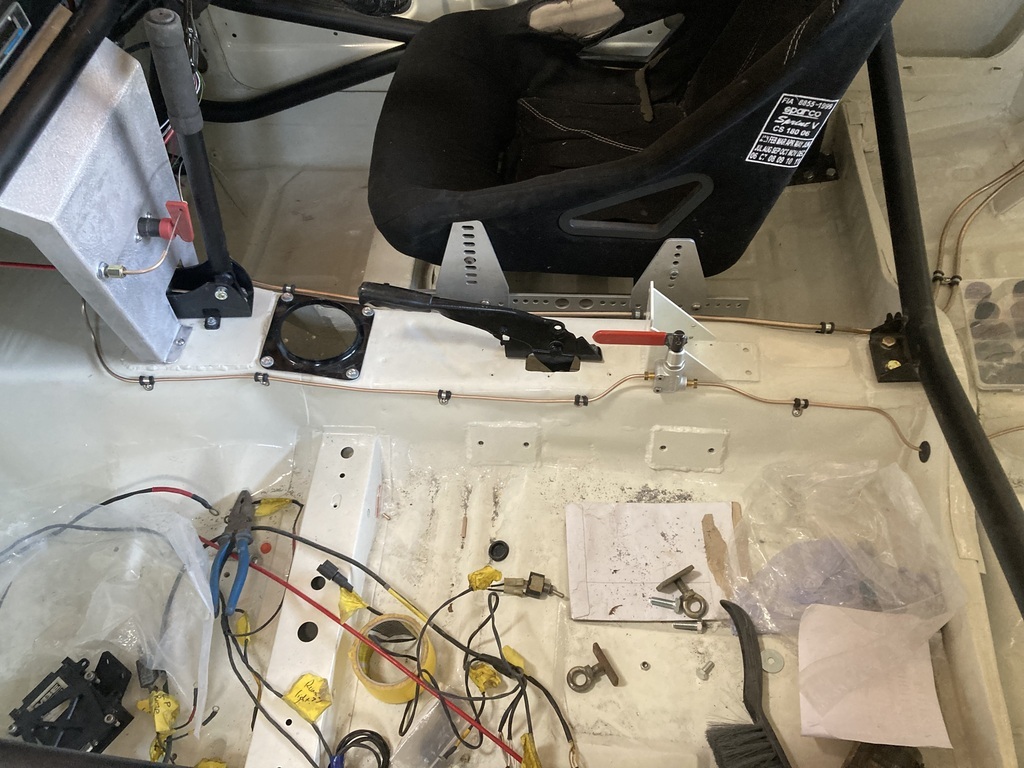 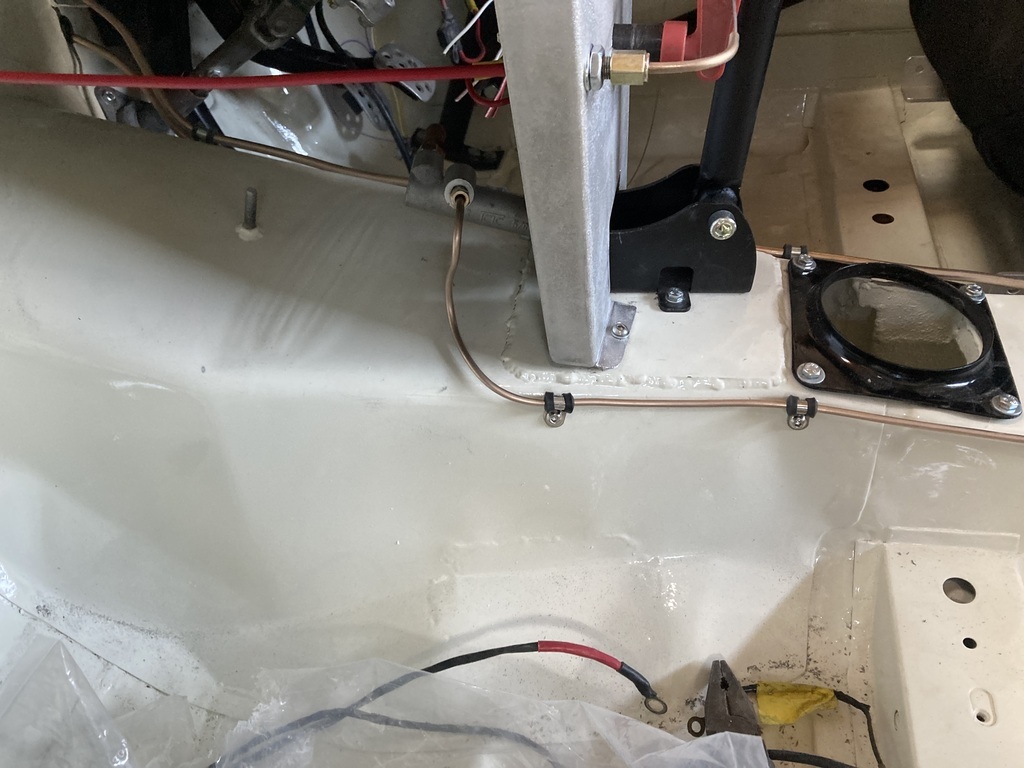 The Younger gave me a hand to tighten all the bolts for the pipe clips- me in the air and him underneath as my arms were not long enough. I have ordered a long flexi pipe (Audi A1 I think), to go from the hydraulic handbrake to the bulkhead, and a bulkhead head fitting, but they’ve not appeared yet. And that was it. The younger and I then went for a spin in the Cortina to my brother’s to see what he was up too. |
| |
|
|
|
|
|
May 21, 2024 20:56:28 GMT
|
Call = garage. I was out there just after 08:00 until 11:15 when I went in for food. As I finished food, I was called out so I’m only know getting to update progress. Bulkhead fitting and brake pipe from the hydraulic handbrake to the bulkhead fitting turned up. 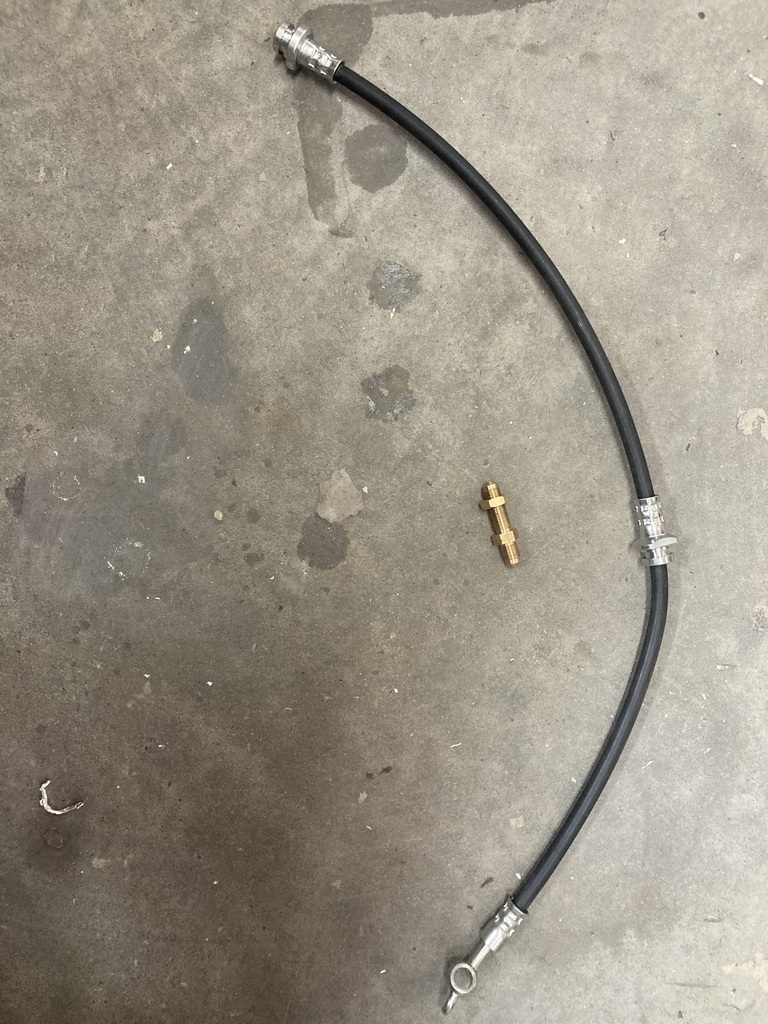 I drilled a hole in the bulkhead where there should be no interference issues. There it is , between the steering column and clutch pedal 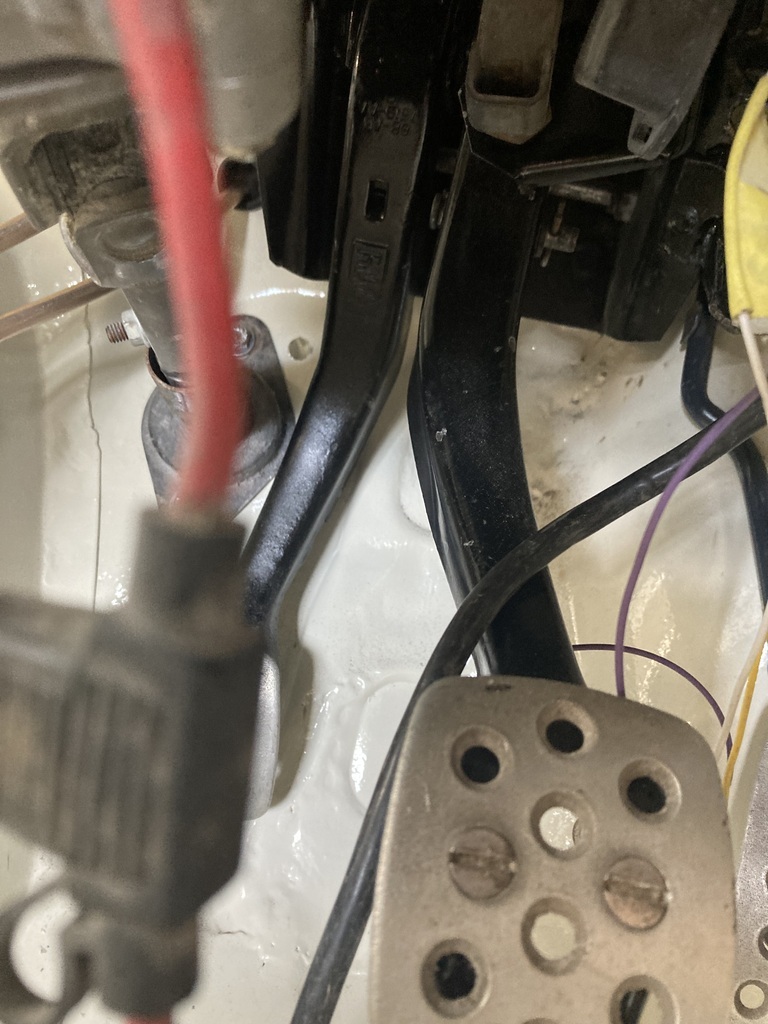 The bulkhead fitting was, umm, fitted to to the bulkhead 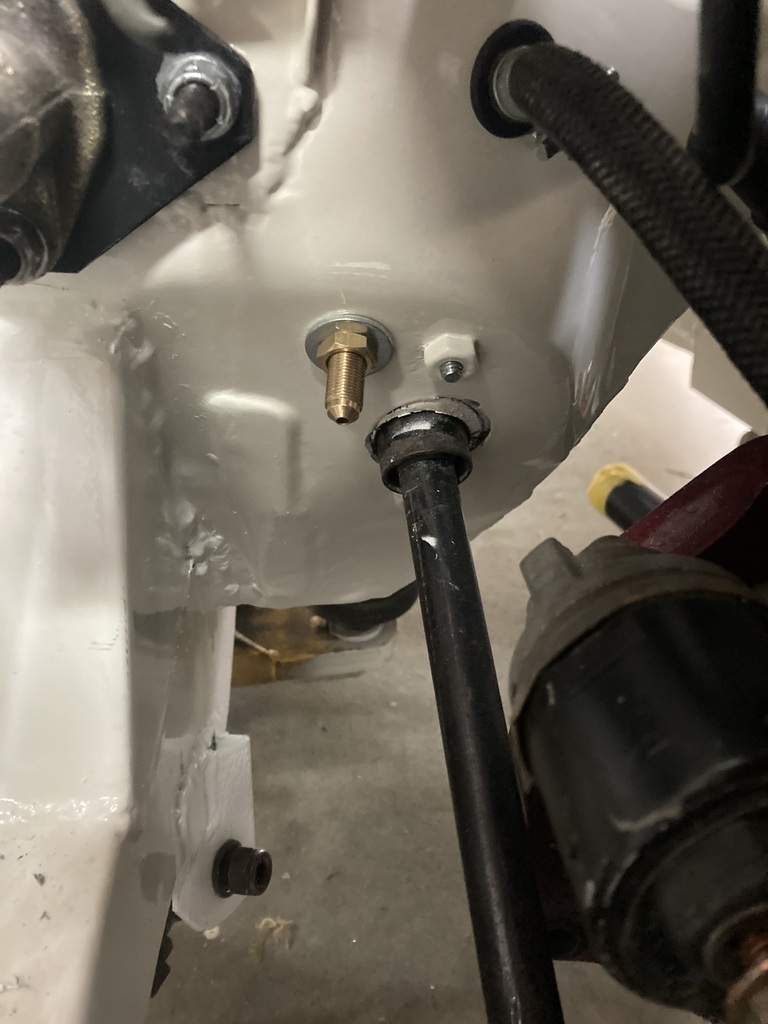 And the flexi fitted to that and the handbrake 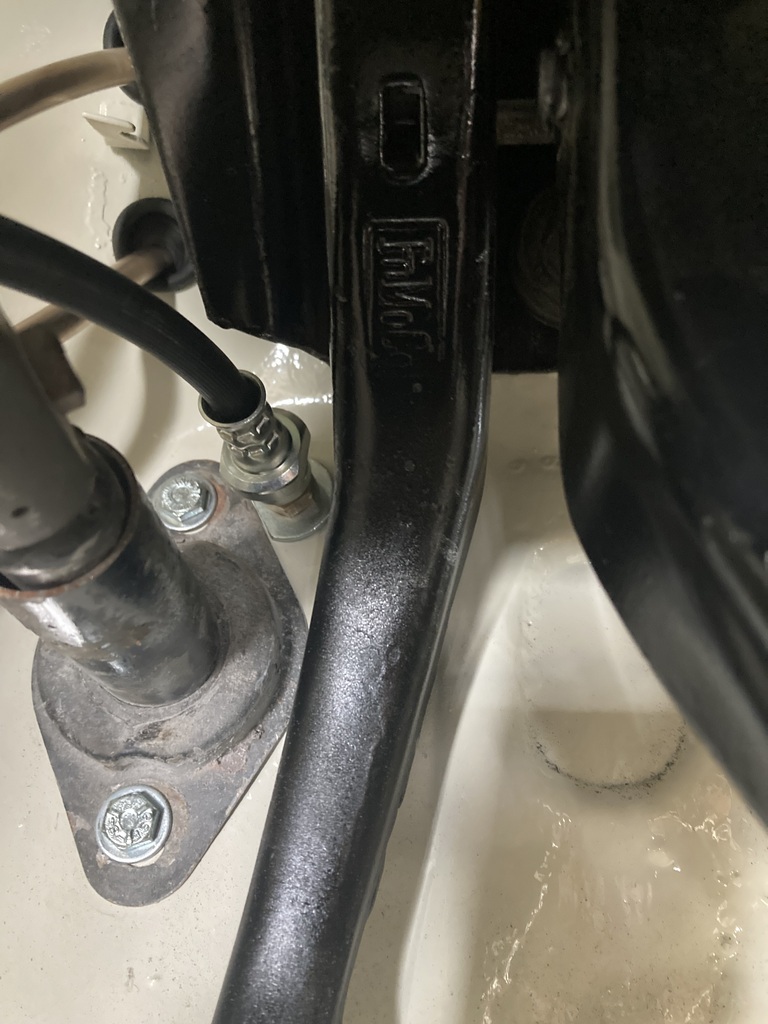 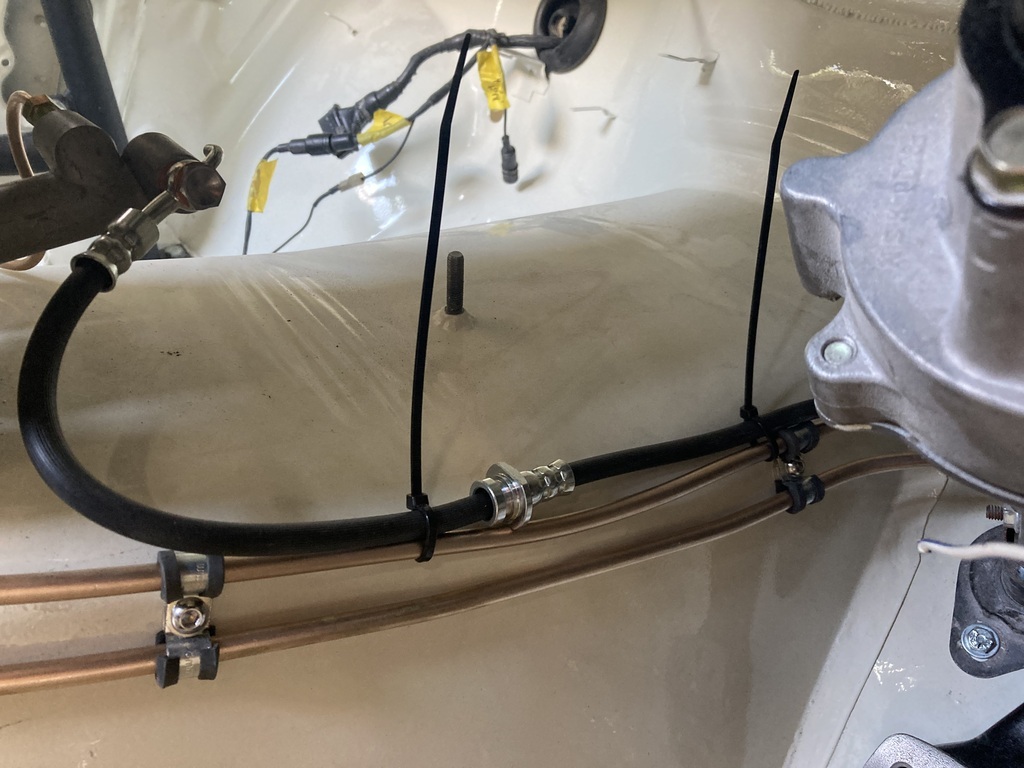 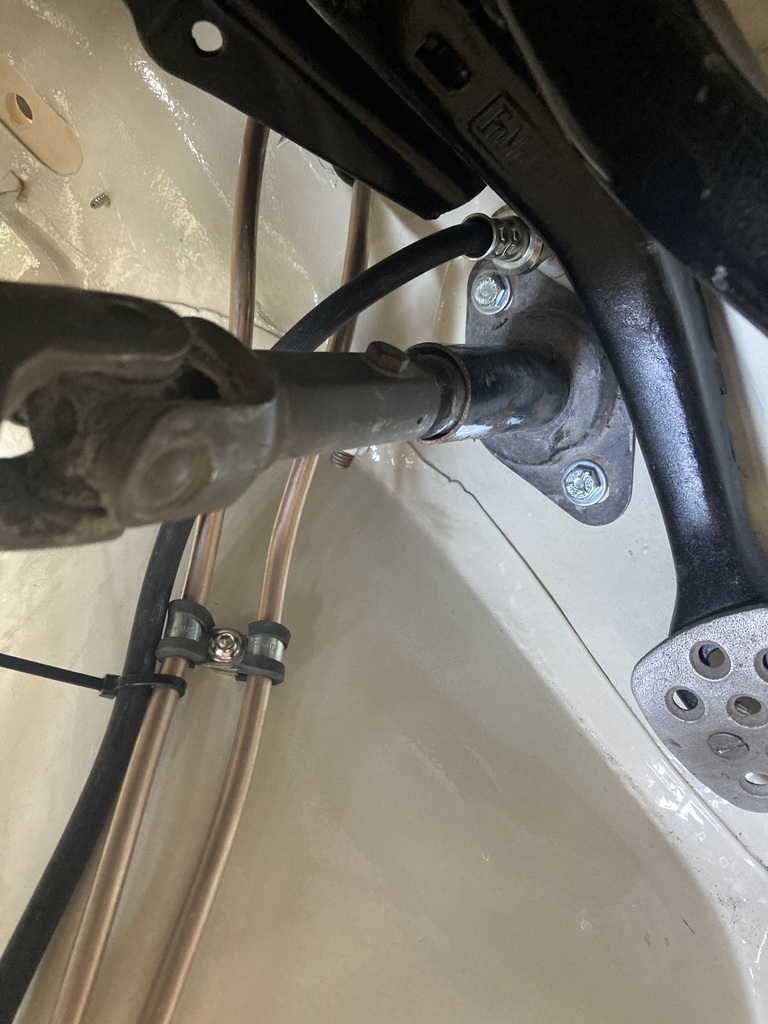 Cable tied on for now until I clip it properly. I’d like to cut the intermediate fitting off as it’s not required, but I don’t want to risk damaging the pipe. I next made a Kunifer (🐥) pipe from the bulkhead fitting to the 4 way fitting 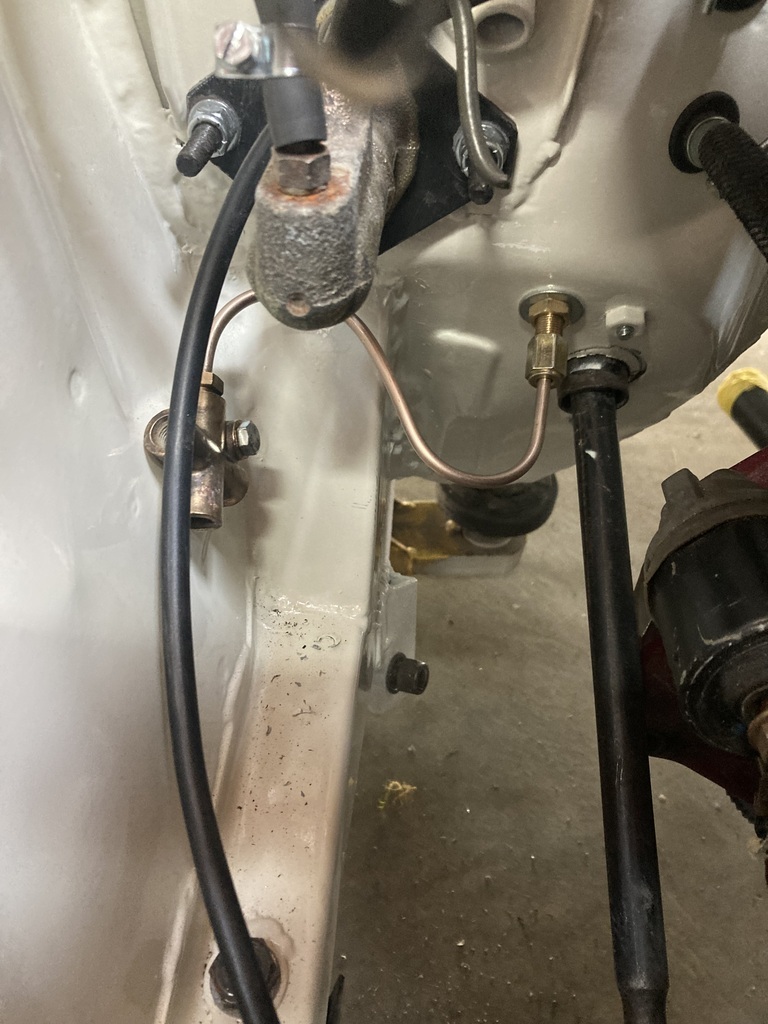 That was enough brake pipes for one day as the bag of brass imperial brake fittings I have, are actually metric. More have been ordered. So i turned my attention to cable. I ran the cable for the battery from the boot (after drilling the rear bulkhead) and connected to the cut off switch. It’s not clipped yet as I need to remove all the clips I fitted last week for the brake pipes, as I’ll be bolting the clips there also. I have no photos of any of this. Not a lot accomplished at all. It takes a bl00dy long time to build a car, doesn’t it. |
| |
|
|


