|
|
|
May 23, 2024 19:18:35 GMT
|
I was a day off today😃. Why? Because I’m on call Saturday 😭. Mrs Jonsey was in work, so I was outside by 08:45. I was unsure of what to do first. Then I realised the stop for my new brake pipe flaring tool was missing. A couple of days ago The Elder took it upon himself to replace all the wood on an old patio set in the garden, and had been in the garage looking for tools. He phoned me complaining the bench was a mess and he couldn’t find anything. He was right. 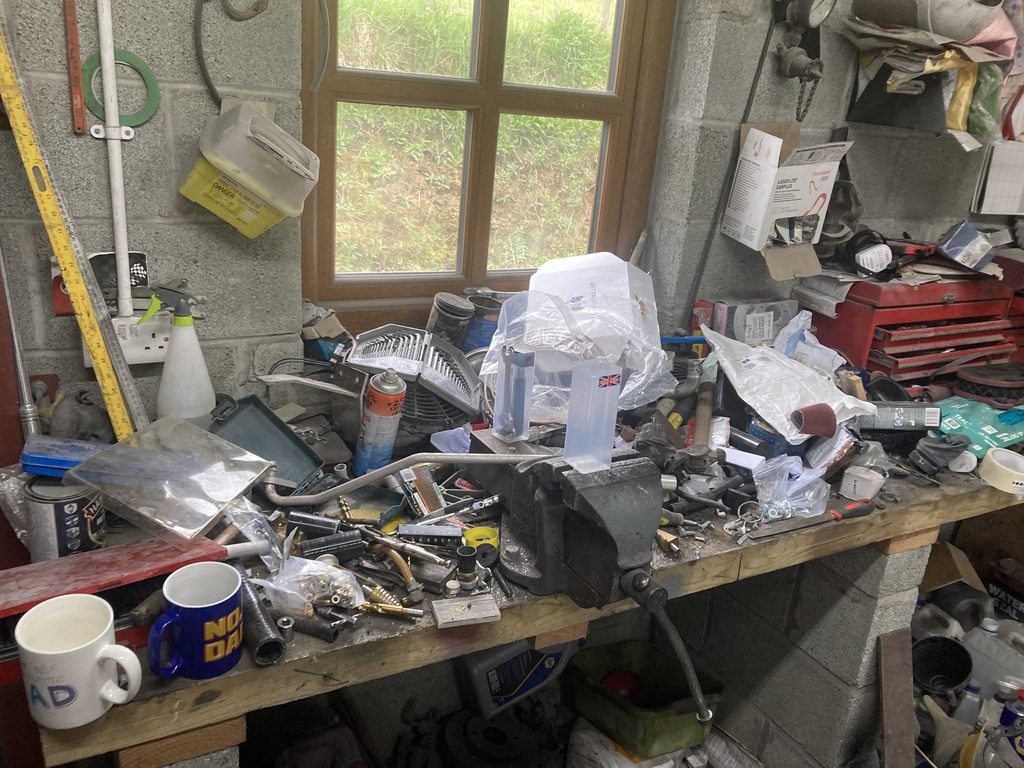 So I spent a while tidying up before I started on the Escort. Looks a bit better. 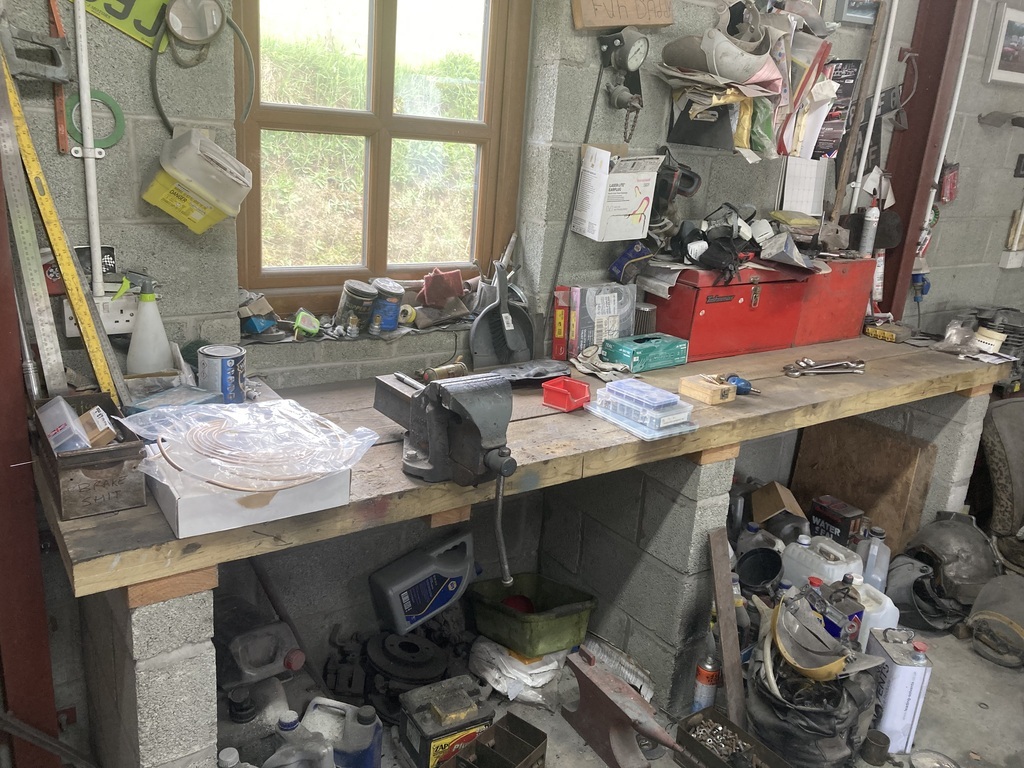 So with the aid of The Elder, as my arms still aren’t long enough, I removed all the clips holding the brake pipe, and clipped the battery cable up also. I also redrilled the floor for the axle flexi brake pipe and fitted the retaining clip 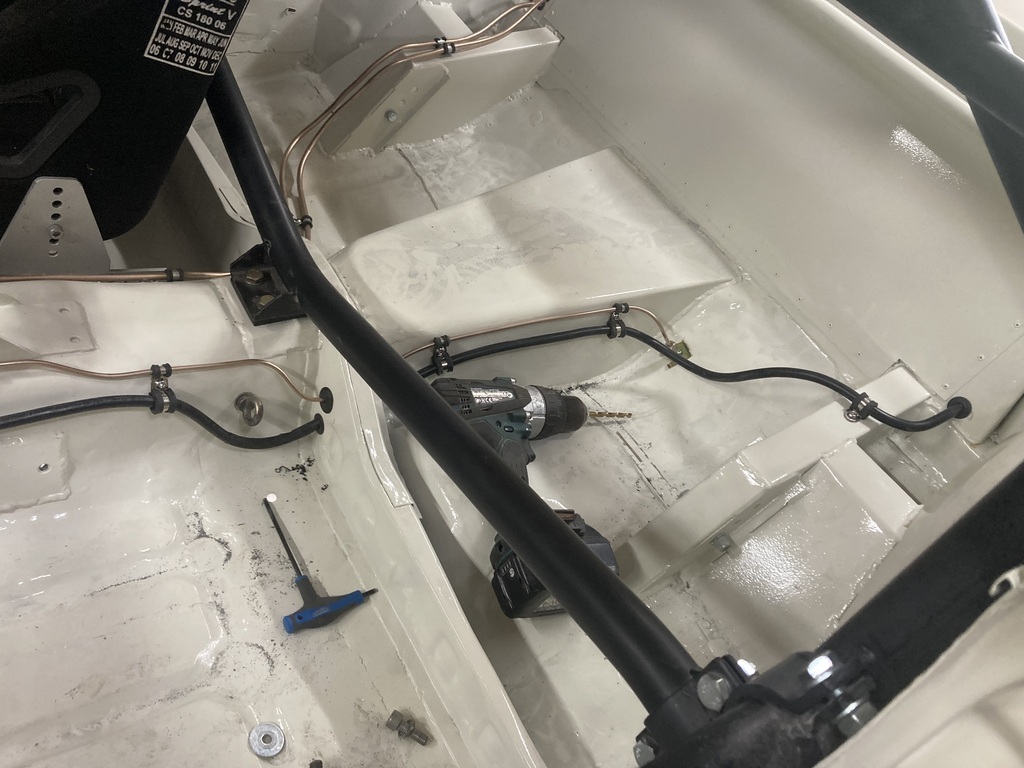 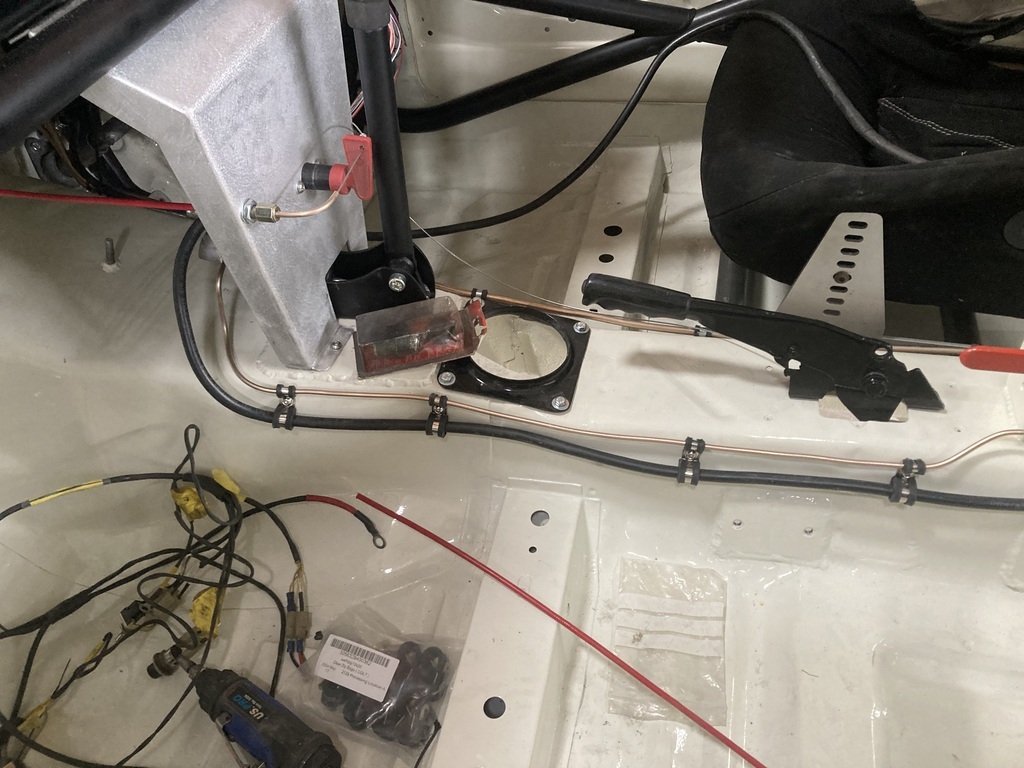 I asked him if he wanted to give me a hand to fit the gearbox but he had better things to be going. My brother was due to come around later to give me a hand anyway. With the cable in the car, I thought I’d fit the battery in the box. Now, I’d been using the Escort battery on the MGZR. When that died a few months ago, I bought a new one. But when I tried to fit it in the box, it was too big. I’d bought a 075 battery when originally I’d used a 063. So I had to make the box bigger 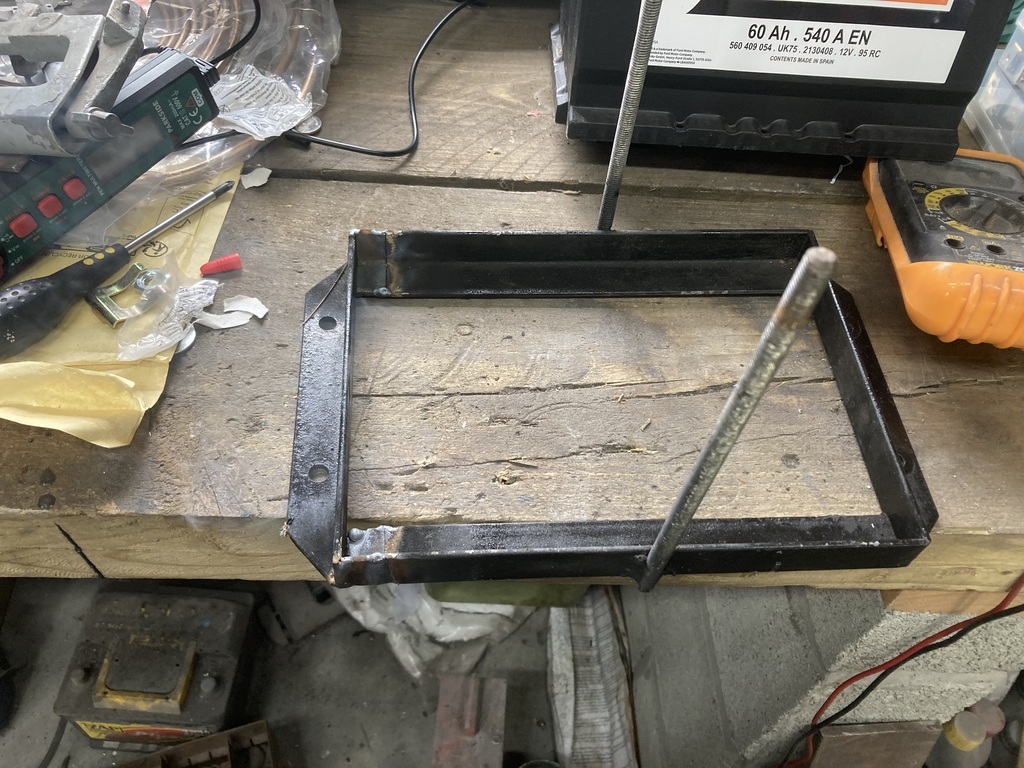 Which meant I had to redrill the boot floor and put grommets in the spare holes 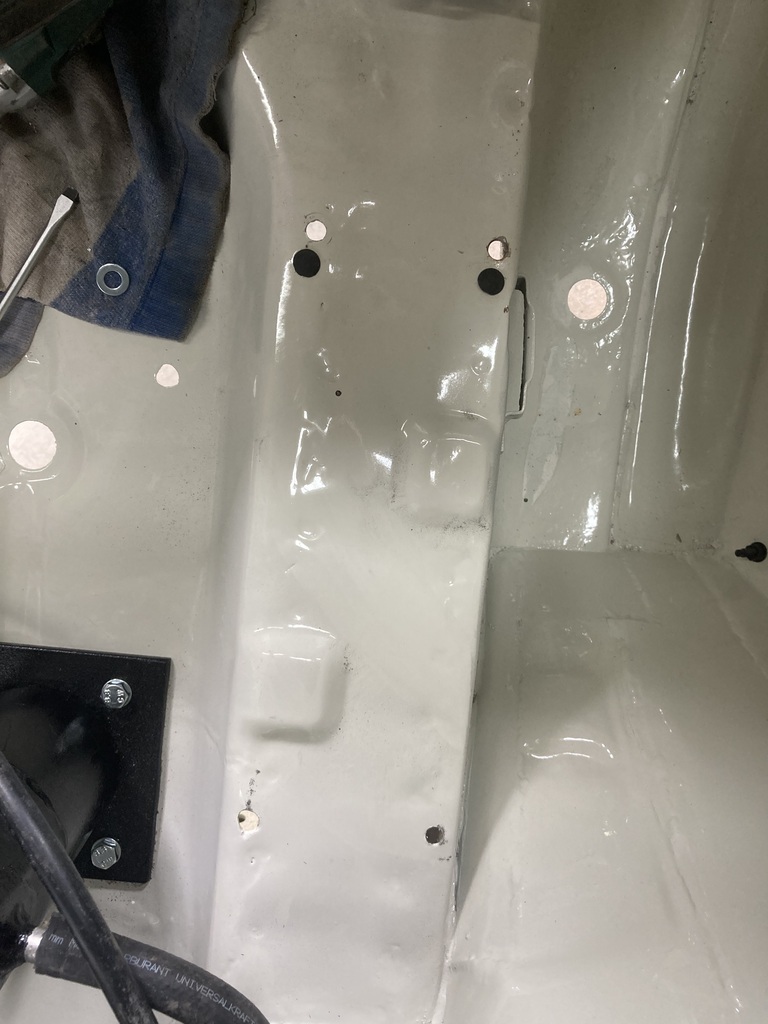 And all fitted 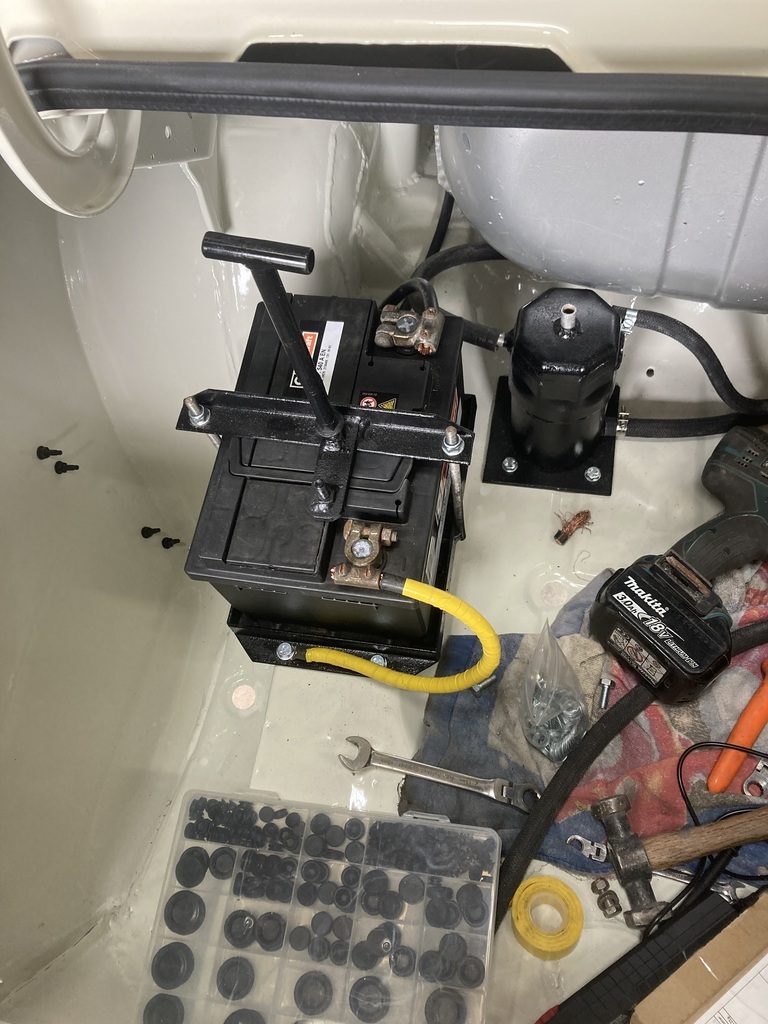 The earth to the battery is yellow on rally cars. Don’t know why. It just is. Next I fitted the new ignition key to the switch panel. I say new, I bought it about 10 years ago as the standard ignition key does not return and switch off the starter when you release the key. I just never got around to sorting it. 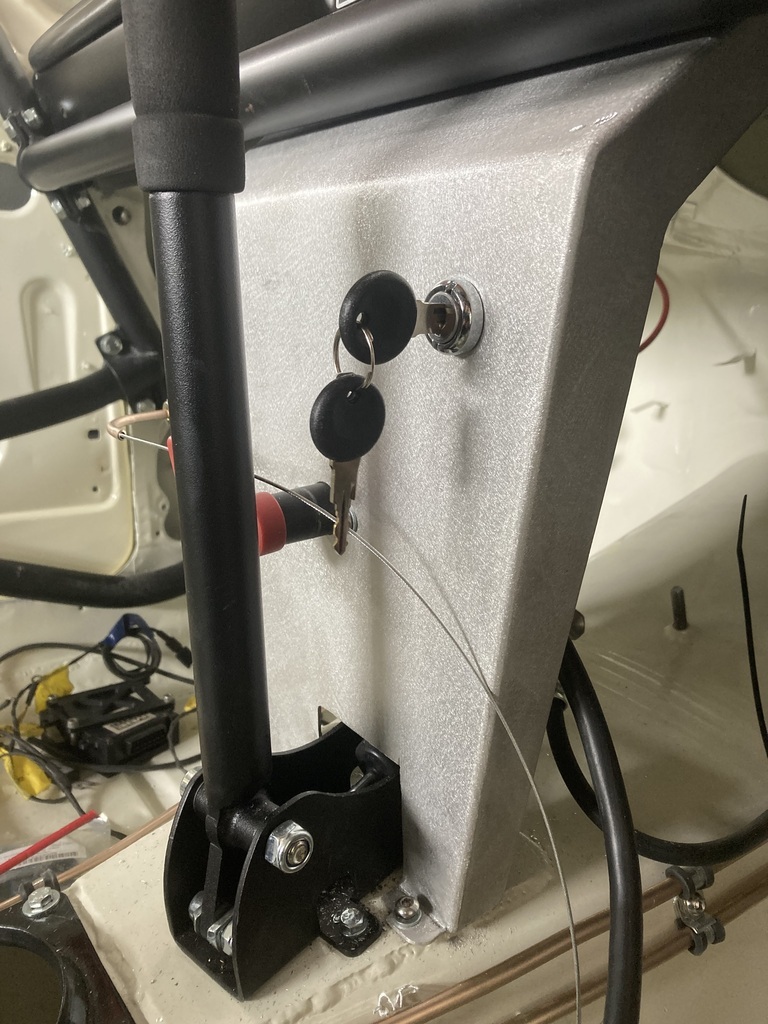 At this point , i thought I may aswell try and fit the gearbox myself. I removed the rocker cover so that it didn’t contact the bulkhead and removed the exhaust manifold to give a bit more room. I put a bit of grease on the spigot and lifted the box onto the transmission jack. I jacked up the box, to the right height, moved the jack forward and the gearbox slid on to the engine with the easiest of easy. So easy in fact, I’m sure something is wrong. I can’t remember if I tried the clutch plate onto the input shaft before fitting it to the flywheel. I must have, surely. I need to put it in gear and see if the box still turns. Anyway, the box is in. 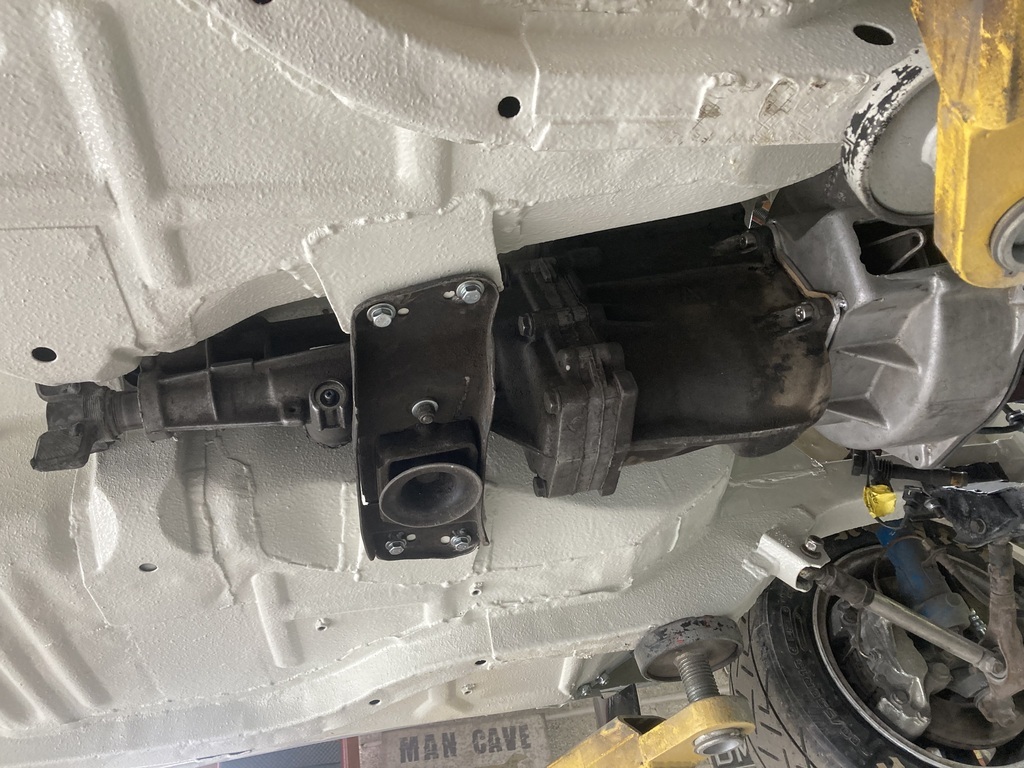 With only one minor issue (so far). Those of you paying attention will remember that a few months ago I moved the gearbox forward to fit the new engine. All was good. Or so I thought. The remote housing now hits the aluminum ring that bolts to the tunnel to hold the gear stick gaiter. 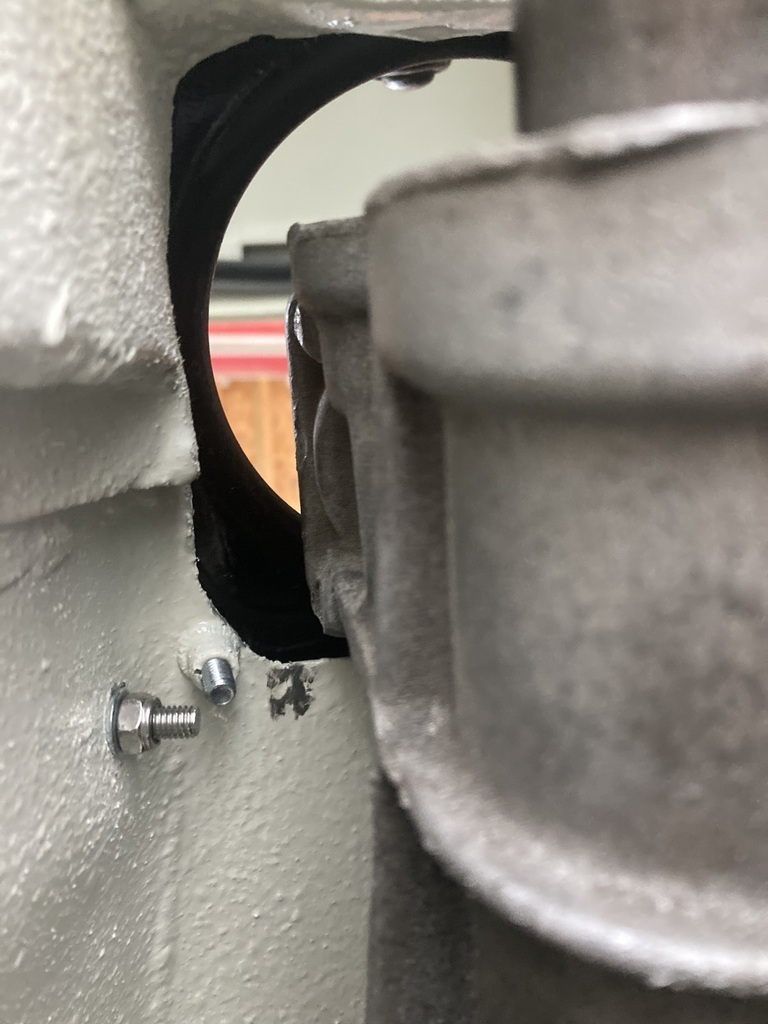 I’ll ask my nephew to 3D print me a spacer to lift it up 10mm or so. The engine is now sitting flatter as it should. It has had a roll of masking tape jammed between it and the bulkhead since it’s been back in the hole. I can now sort out the heater pipes and get the battery cable through the bulkhead as everything is sitting where it should. 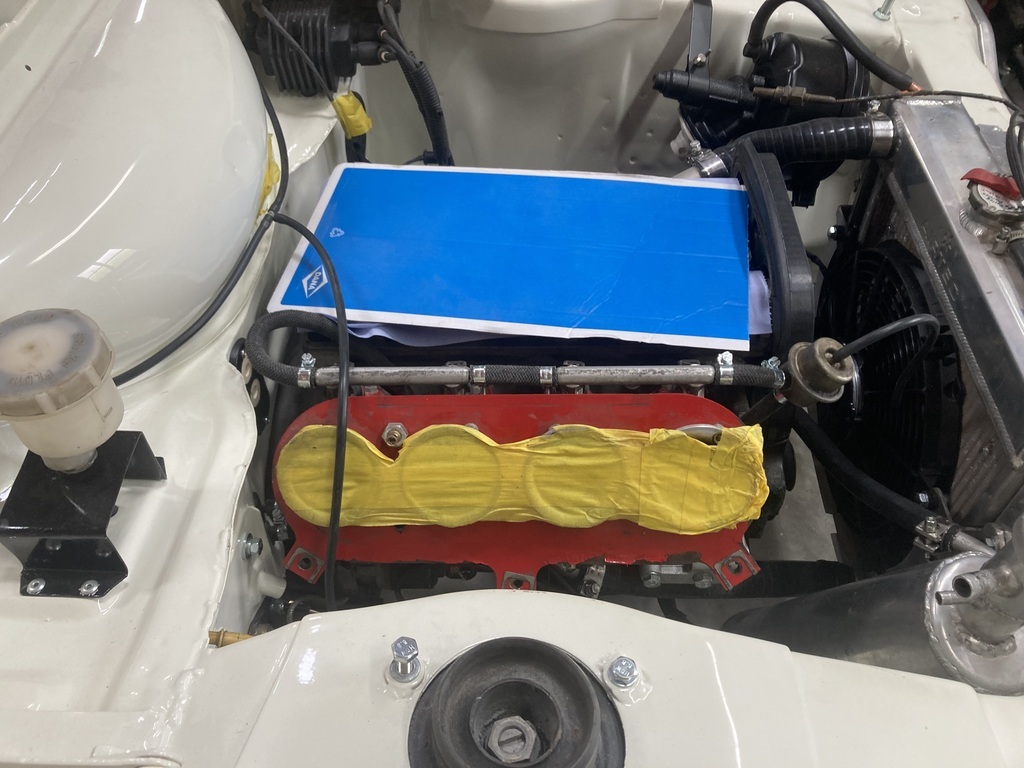 |
| |
Last Edit: May 23, 2024 19:40:24 GMT by jonsey
|
|
|
|
teaboy
Posted a lot
   Make tea, not war.
Posts: 2,126
Member is Online
|
|
May 23, 2024 19:30:58 GMT
|
My bench currently looks a bit like the before picture...  |
| |
|
|
|
|
|
|
|
My bench currently looks a bit like the before picture...  Sadly, it didn’t look quite as tidy by the time I had finished |
| |
|
|
glenanderson
Club Retro Rides Member
Posts: 4,361
Club RR Member Number: 64
|
|
May 24, 2024 10:54:14 GMT
|
My bench currently looks a bit like the before picture...  My bench pretty much always looks like that. |
| |
My worst worry about dying is my wife selling my stuff for what I told her it cost...
|
|
|
|
|
May 24, 2024 20:03:22 GMT
|
|
Get a bit of tape over the inlet trumpet nearest the radiator………. I’m thinking of sods law 😉
|
| |
|
|
|
|
|
|
|
Get a bit of tape over the inlet trumpet nearest the radiator………. I’m thinking of sods law 😉 Your right. It would be just my luck |
| |
|
|
|
|
|
May 25, 2024 16:57:18 GMT
|
I’m on call so I managed to get an hour in the garage before work as Mrs Jonsey had gone shopping. I was going to make some brake pipes but I couldn’t find the pipe cutter. A lot of my time was wasted looking for it. So I put a bit of tape over the front trumpet 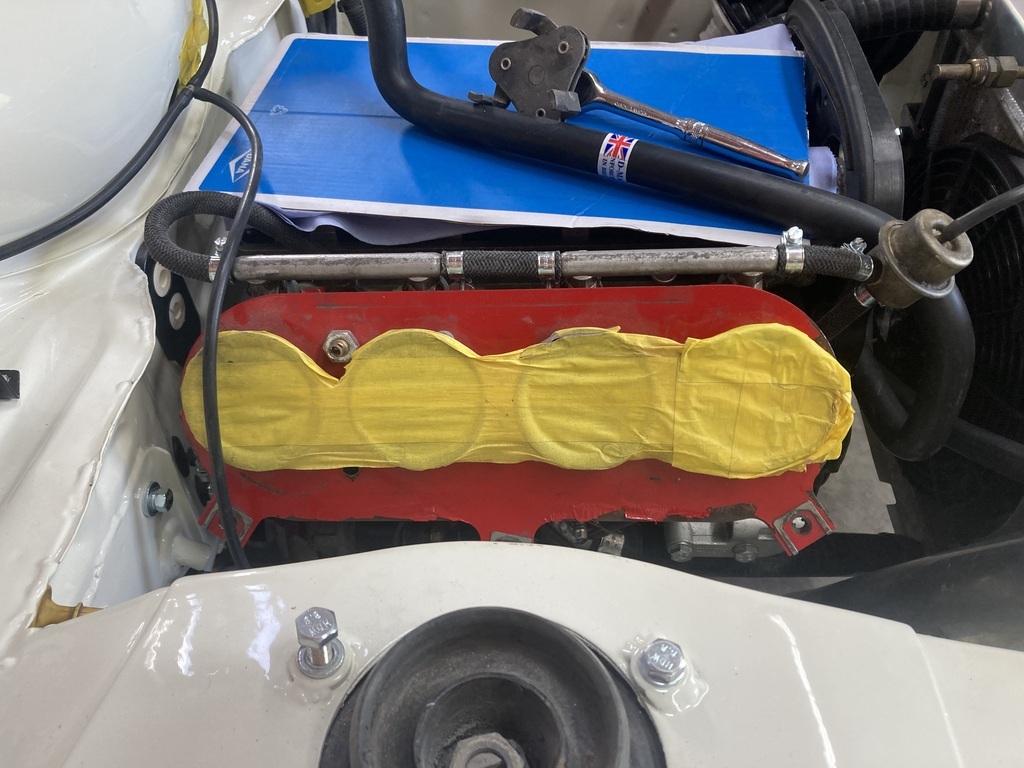 Then removed the old oil filter as it’s easy with the exhaust manifold removed 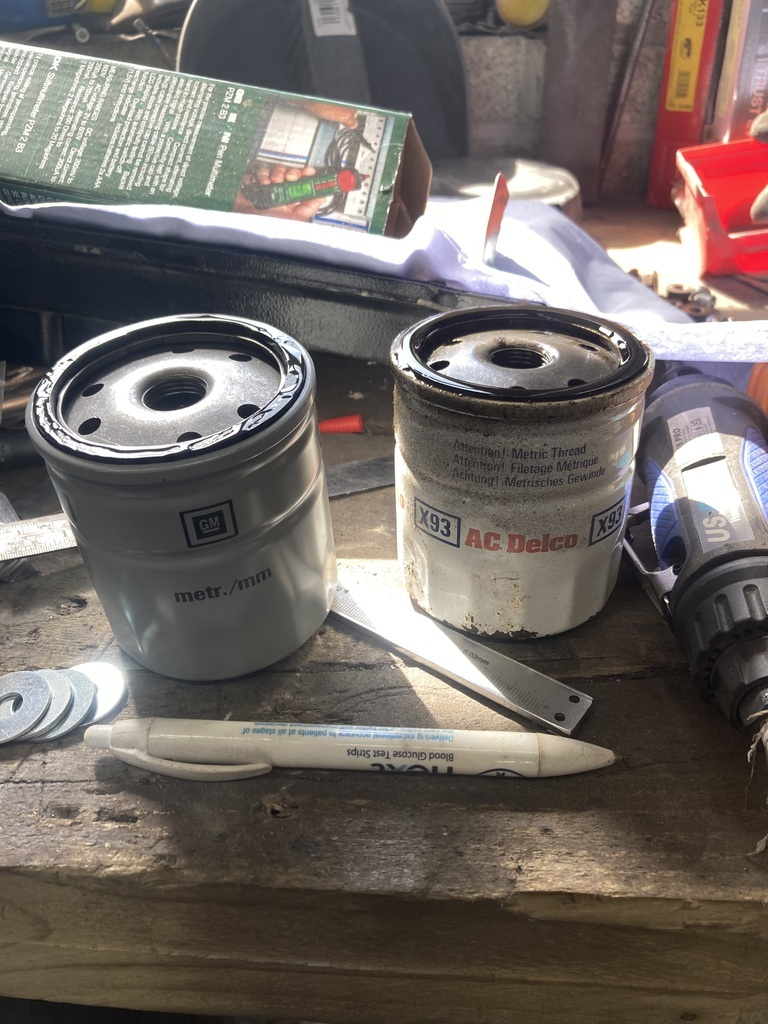 And fitted a genuine Vauxhall replacement 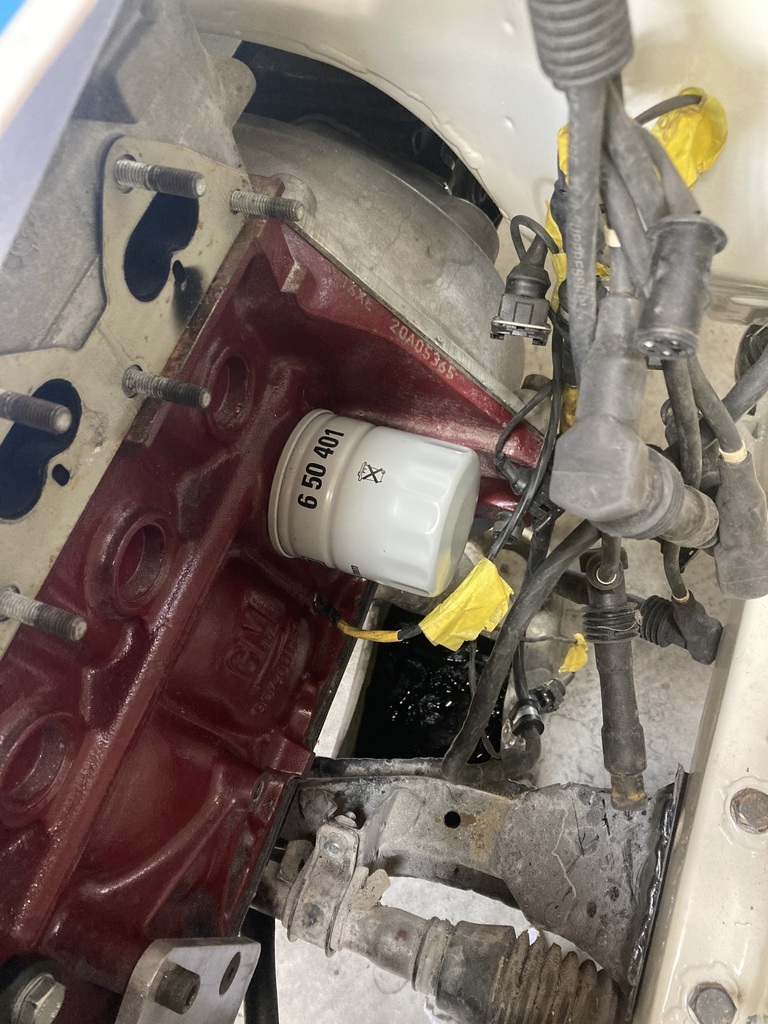 So just before work, I drove up to Srewfix and bought a new pipe cutter. This will ensure that I find the old one any day now. So that was that. But as it’s a bank holiday weekend and the weather is nice, everybody has decided that there are better things to do in life other than phone in smells of gas. This meant that I got home by 3pm and managed to get another couple of hours in the garage. And the bonus is, I was being paid too! So with my new pipe cutter (old one hasn’t turned up yet) I made some more brake pipes. 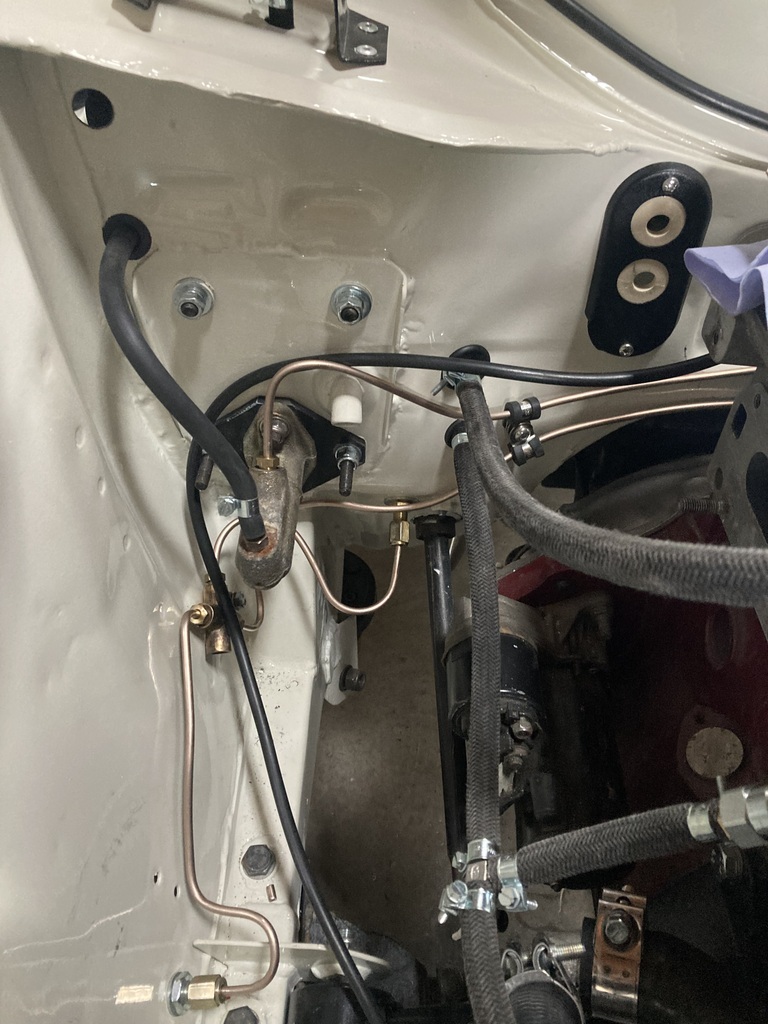 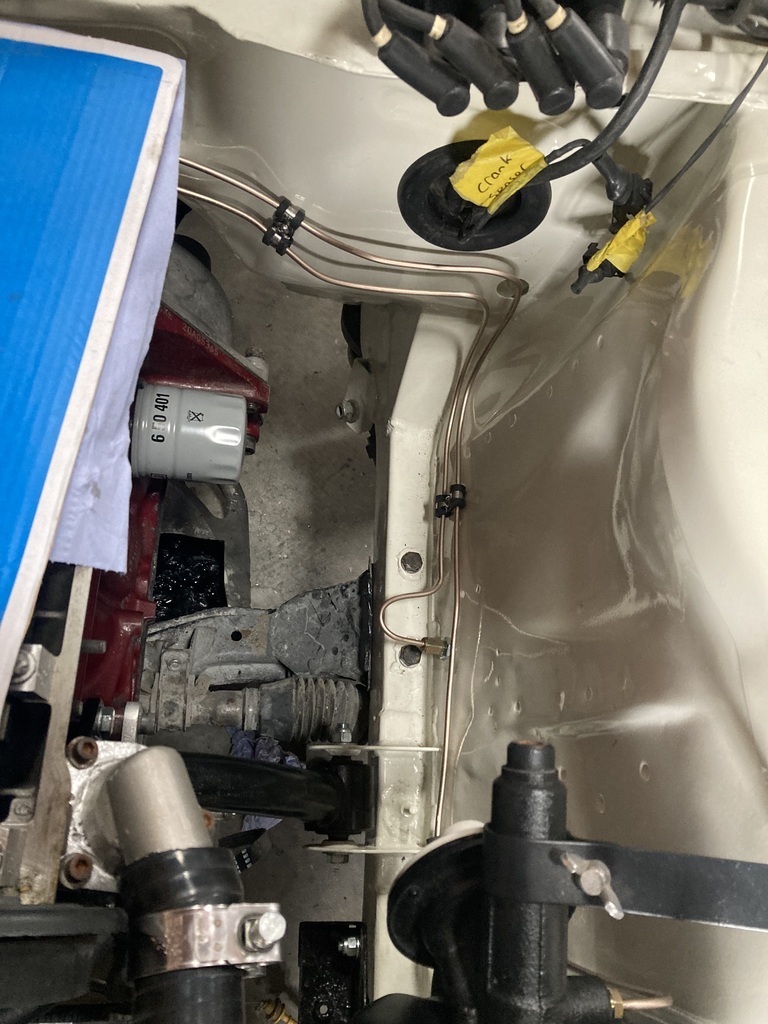 I’ve not straightened the pipes up yet as all the clips are loose as my arms still aren’t long enough. I will need assistance again from one of the Juniors The only pipe left to do is from the servo back to the 4 way connector, but sadly I have run out of Kunifer and pipe clips. I’ve now come indoors to order more and type this up whilst still being paid👌 |
| |
|
|
|
|
|
May 26, 2024 14:44:21 GMT
|
The RAV4 and the Cortina got a wash this morning. I’m going to a car show tomorrow so that’s why the Cortina was done. Tuesday we are going to Shrewsbury for a couple of days so that’s why the Rav4 had it’s yearly wash. After, I retreated to the garage. With the small amount of Kunifer I had left, I did the front flexi to caliper pipes, as I’d forgotten about those. 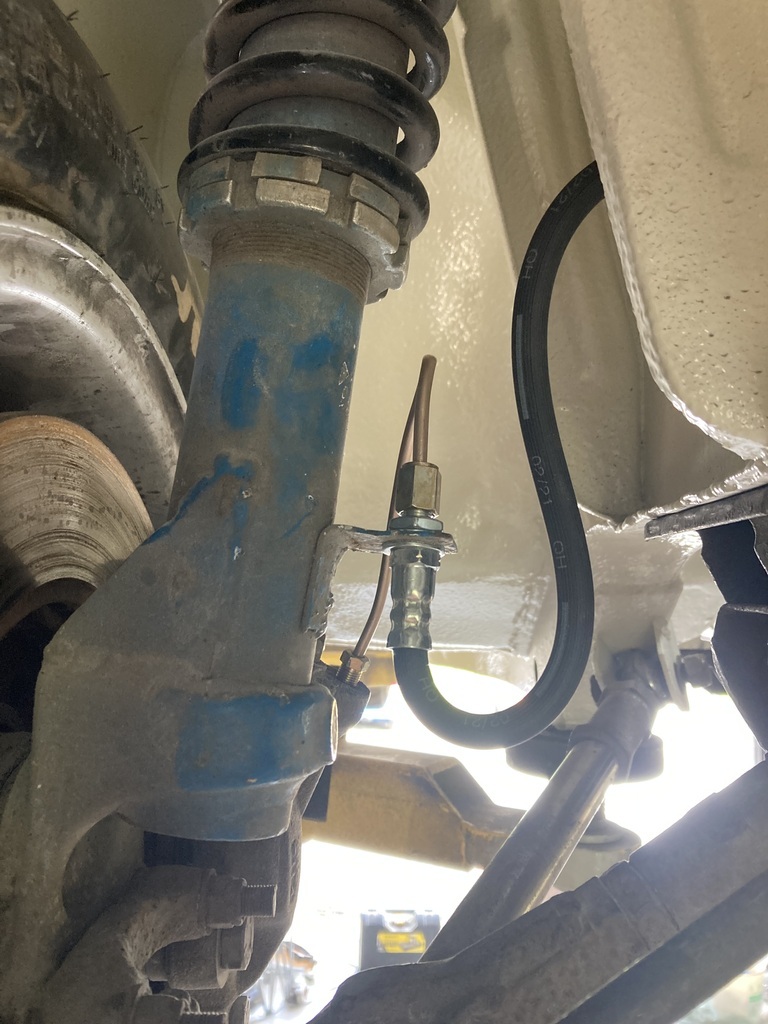 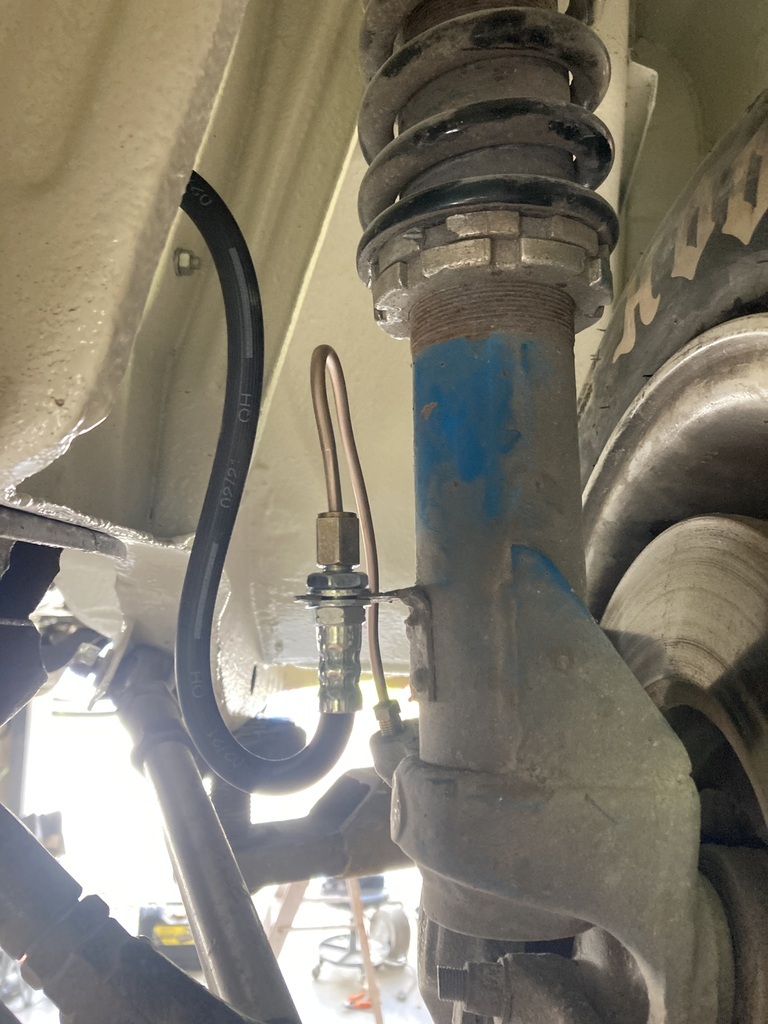 I also drilled the bulkhead and fitted the 35mm cable from the cut off switch to the starter. No photos apparently. Next I was going to make the engine earth cable. I needed another cable crimp as the old cable was too long. Whilst looking through my electrical box (fruitlessly) for another 35mm crimp I found this 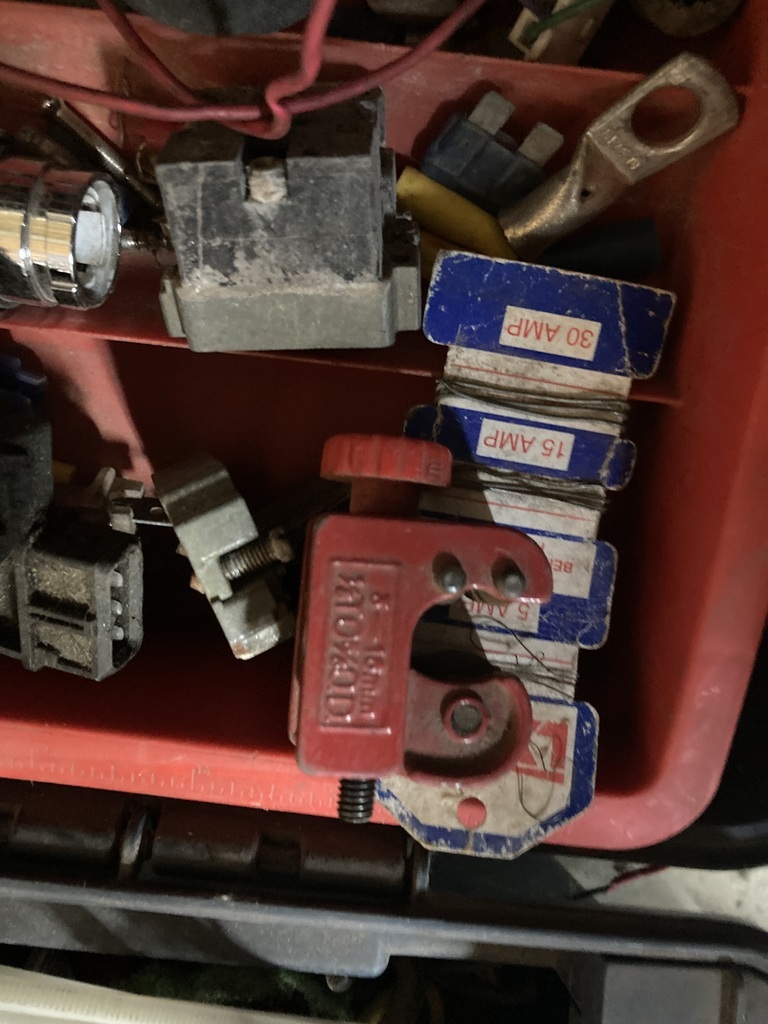 Now this is not the one I lost as it had a black knob. It is another one I didn’t know I had. I then turned around and on another bench by my spinning wire wheel thingy, I spied this 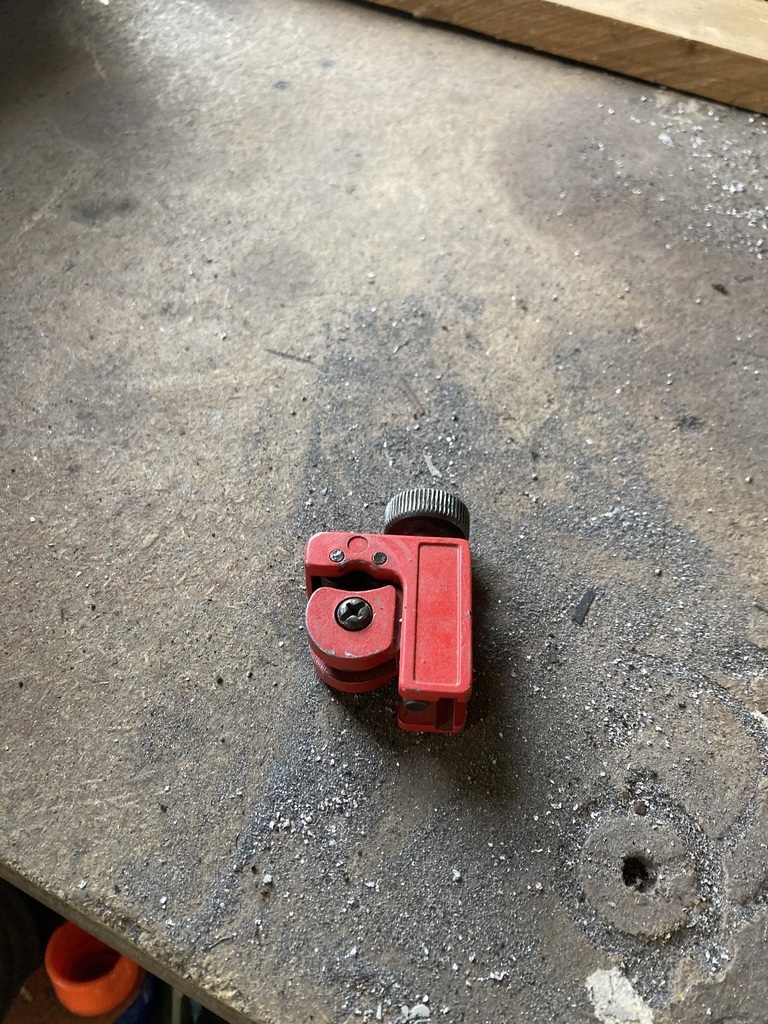 I know have 3 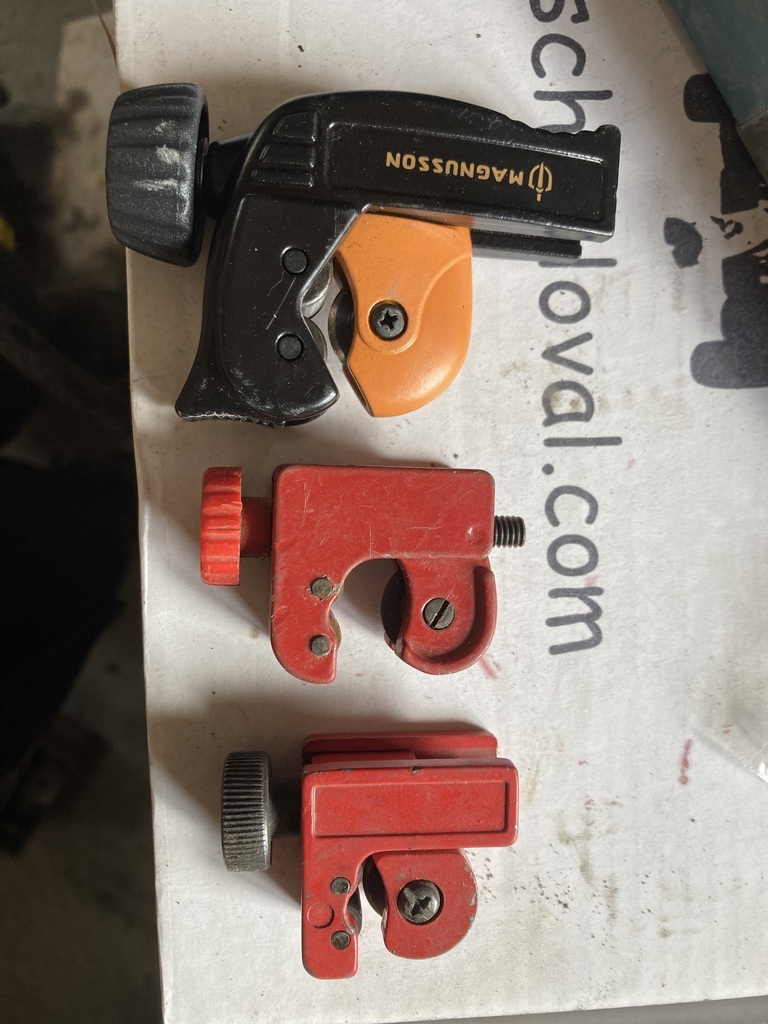 And that was that. We’re off out for a meal now as it’s the Elders birthday |
| |
|
|
teaboy
Posted a lot
   Make tea, not war.
Posts: 2,126
Member is Online
|
|
May 26, 2024 15:29:44 GMT
|
You’ve cornered the market on pipe cutters now, Phil.  |
| |
|
|
|
|
|
May 26, 2024 16:39:55 GMT
|
I think one of the pipe cutters might be mine, I haven't seen it for about 5years!  Your chipping away, cant be far off now? |
| |
|
|
|
|
|
|
|
You’ve cornered the market on pipe cutters now, Phil.  😁As I’m a gas man, that’s only half of my collection of pipe cutters, but the rest are bigger. But when it comes to the little ones, I am expecting a call from Norris McWhirter any day now. |
| |
|
|
|
|
|
|
|
I think one of the pipe cutters might be mine, I haven't seen it for about 5years!  Your chipping away, cant be far off now? Call into pick it up when your passing😁. Still a long way to go I’m afraid. |
| |
|
|
|
|
|
May 31, 2024 19:31:55 GMT
|
We’ve been away for a few days. Mrs Jonsey had bought a miniature shepherd’s hut that had to be collected from Telford. So we took the opportunity to rent a barn near Shrewsbury for 2 days to have a bit of a break. Now, Shrewsbury is only 50 mins or so from Wrexham. So I thought it was the perfect opportunity to try and meet Ryan Renolds. I’m only kidding. I know him personally. I know everyone in Wales. Well, that’s what people thought when I was in uni in Southampton. Wrexham also happens to be the home of Demon Tweeks, a Motorsport paraphernalia outlet. So we drove up as I wanted to put my ample figure into a bucket seat before I handed over any hard earned. These were in the showroom 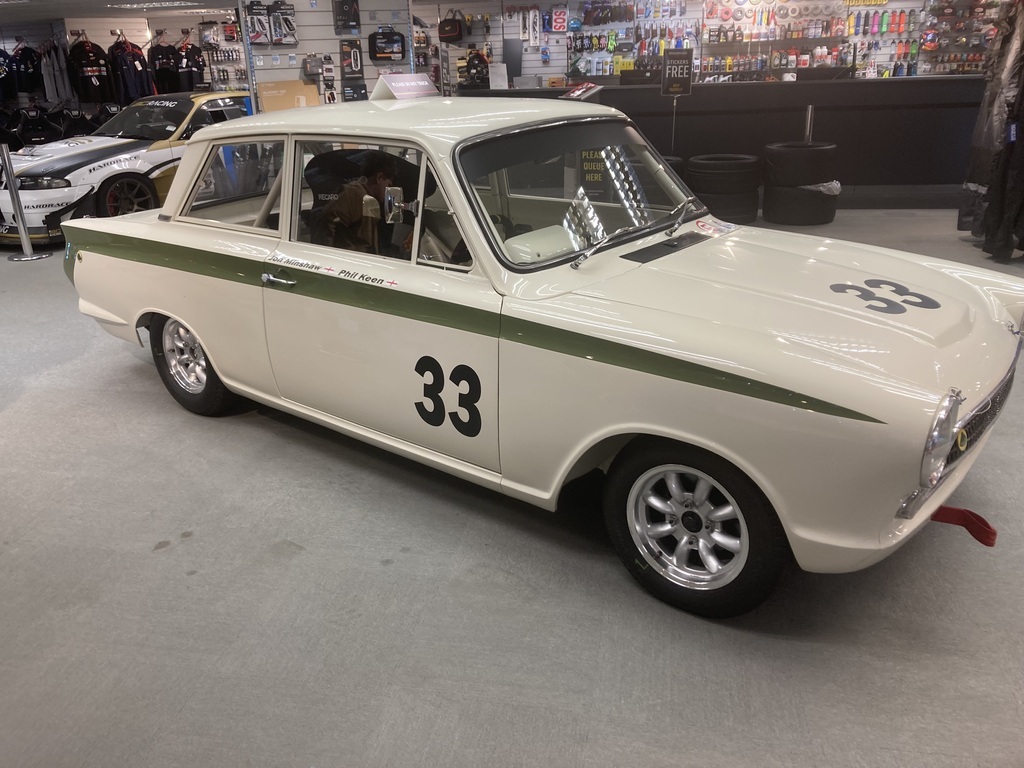 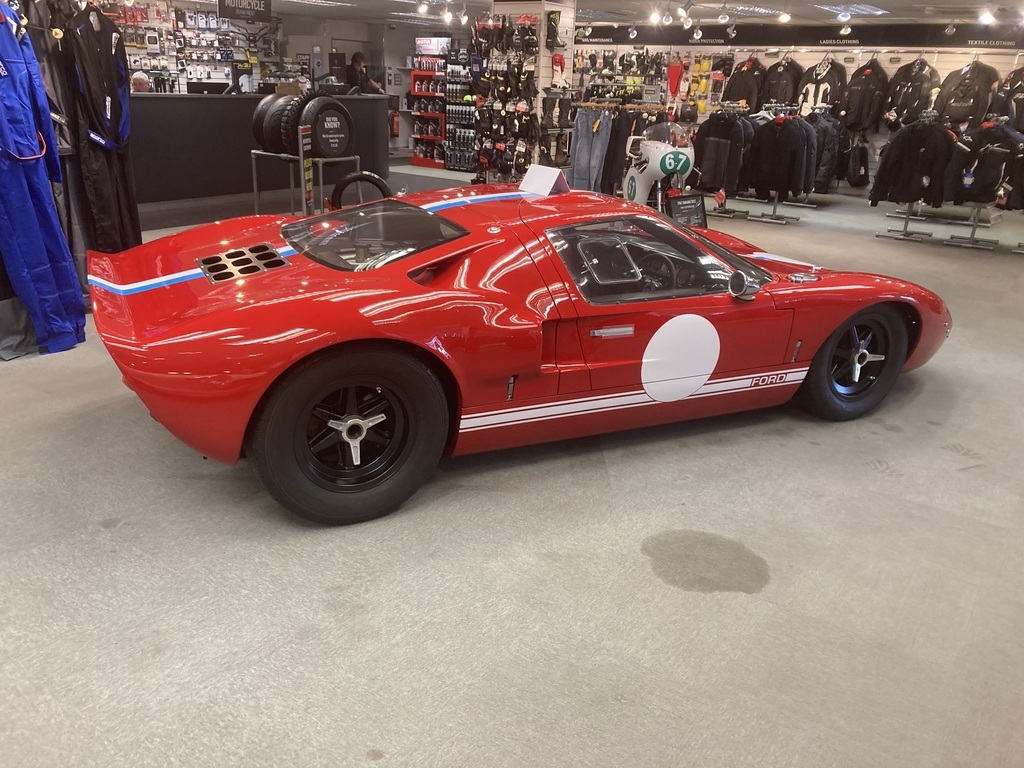 Both were very nice, but sadly outside my limited budget. In fact, most things in the showroom were outside my limited budget. Anyway, the best part of £1900 later I was the proud owner of 2 bucket seats, 2 new seat belts, a plumed in fire extinguisher kit, a hand held fire extinguisher and a Fire Stick as the 2 other fire extinguishers that are mandatory for rallying won’t actually put a fire out. As crazy as the price was, it’s not as crazy as the fact the seats and belts will have to be replaced with in the next 5 years. Mental. To be fair, the guys did knock a couple of hundred quid off and gave free next day delivery. After the shock we enjoyed a day in Chester. Lovely. Today I was back at it. More brake pipe had turned up so I got the last pipe done. 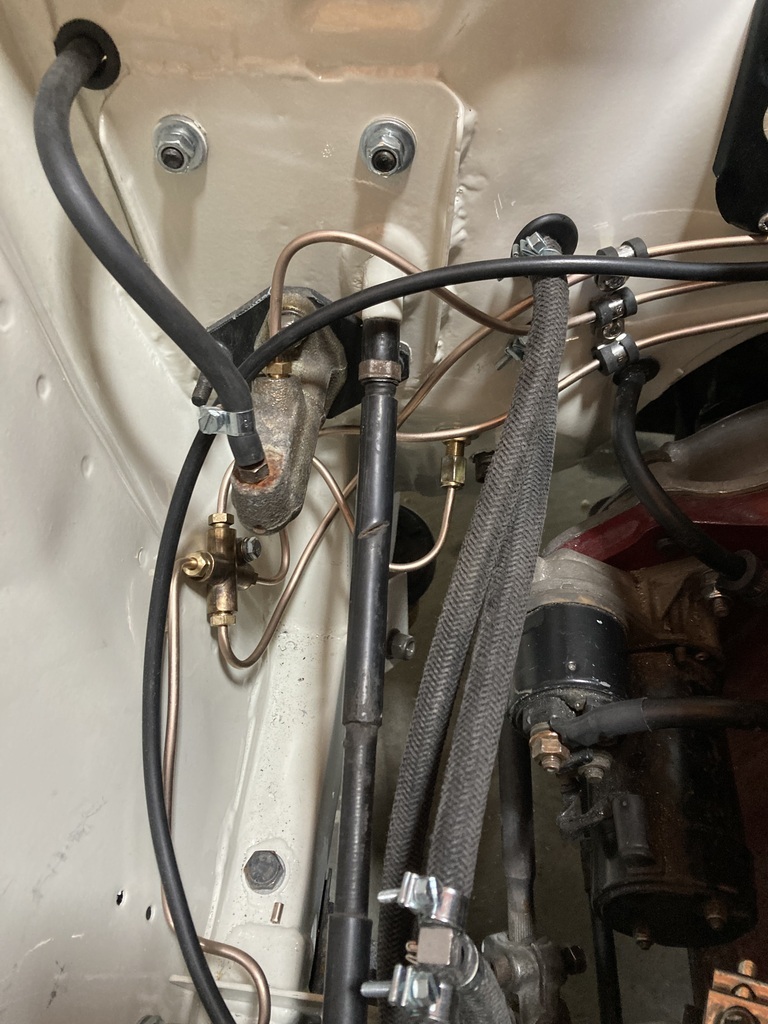 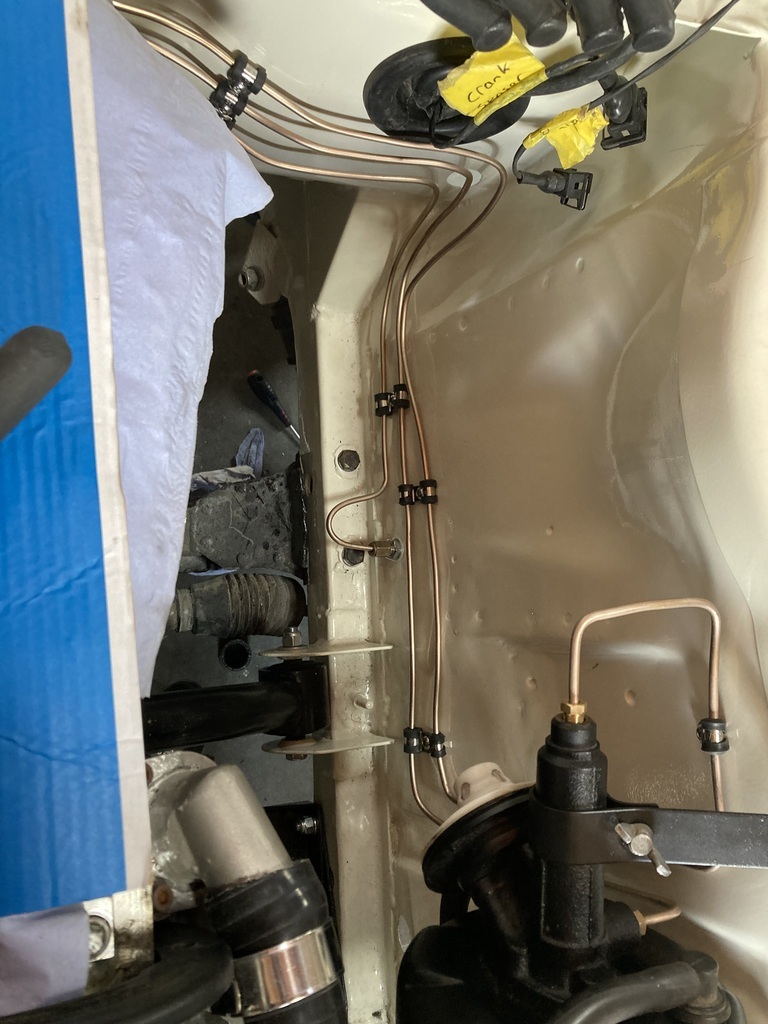 That’s the brakes all done, bar for filling and bleeding. I made a new top hose. The first one was to long as I’d made it when the gearbox was out and the engine tilted back. I cut this one shorter to suit, but I cut it too short, hence the new one. 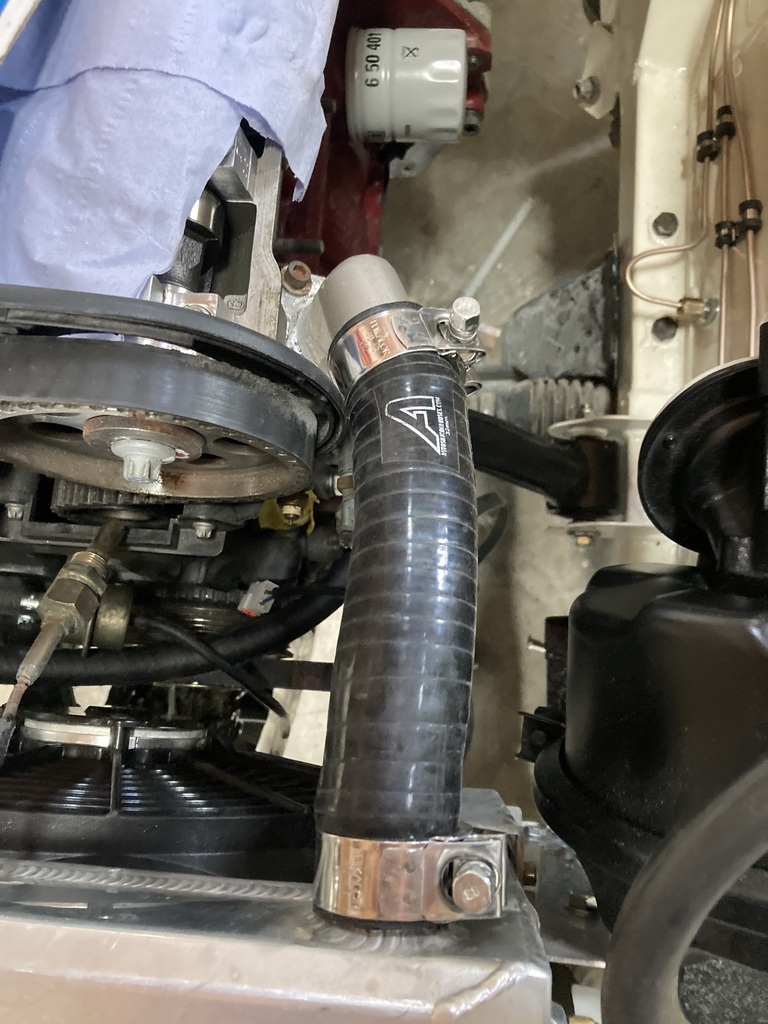 I then thought I’d tackle the heater pipes. I first made a stub pipe on the lathe 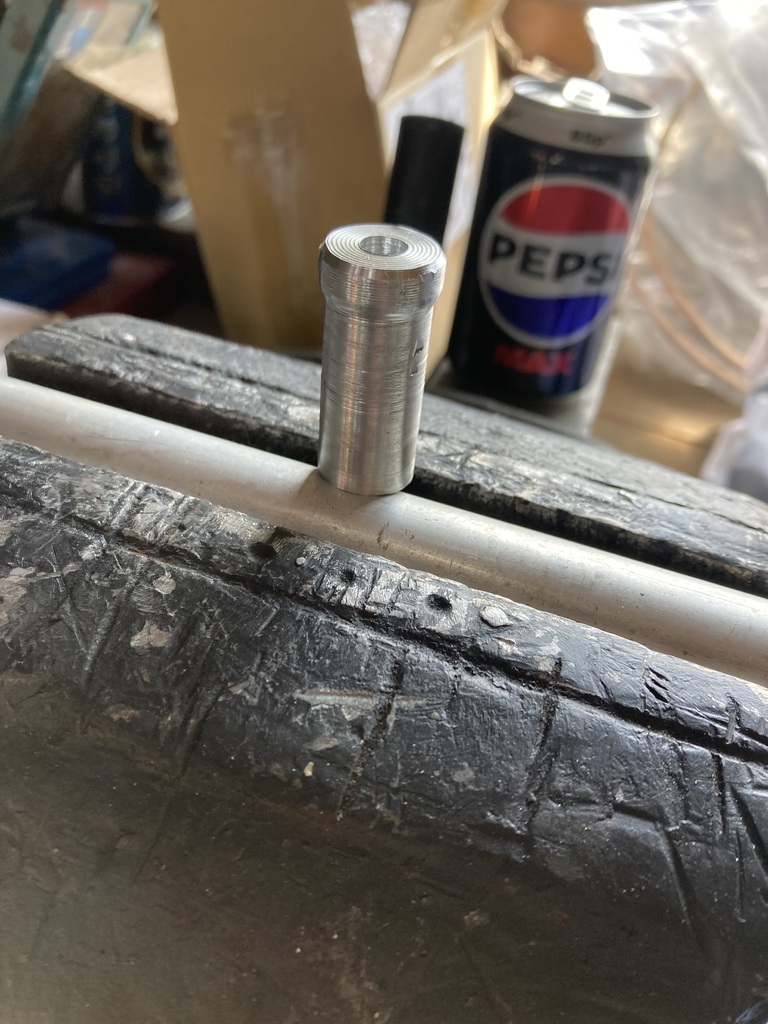 And welded it to the pipe junction I’d made previously 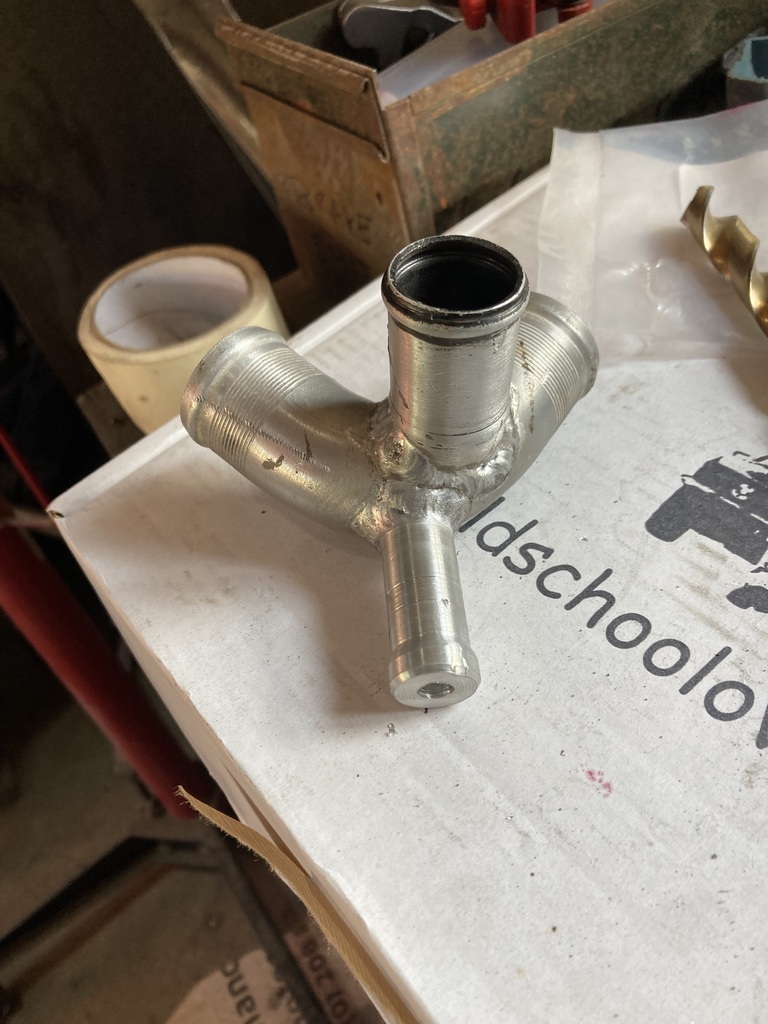 People with Corsas report overheating issues with this engine so jet down the heater circuit to promote flow through the rad. I’d only drilled a 12mm hole in the outlet of the head to do this, but the general consensus is 6mm is the kiddie. That’s why the new stub only has a 6mm ID. To run the heater pipes I needed to fit the heater box under the dash. This highlighted an interference issue with the mx5 wiper motor. The angle grinder resolved this 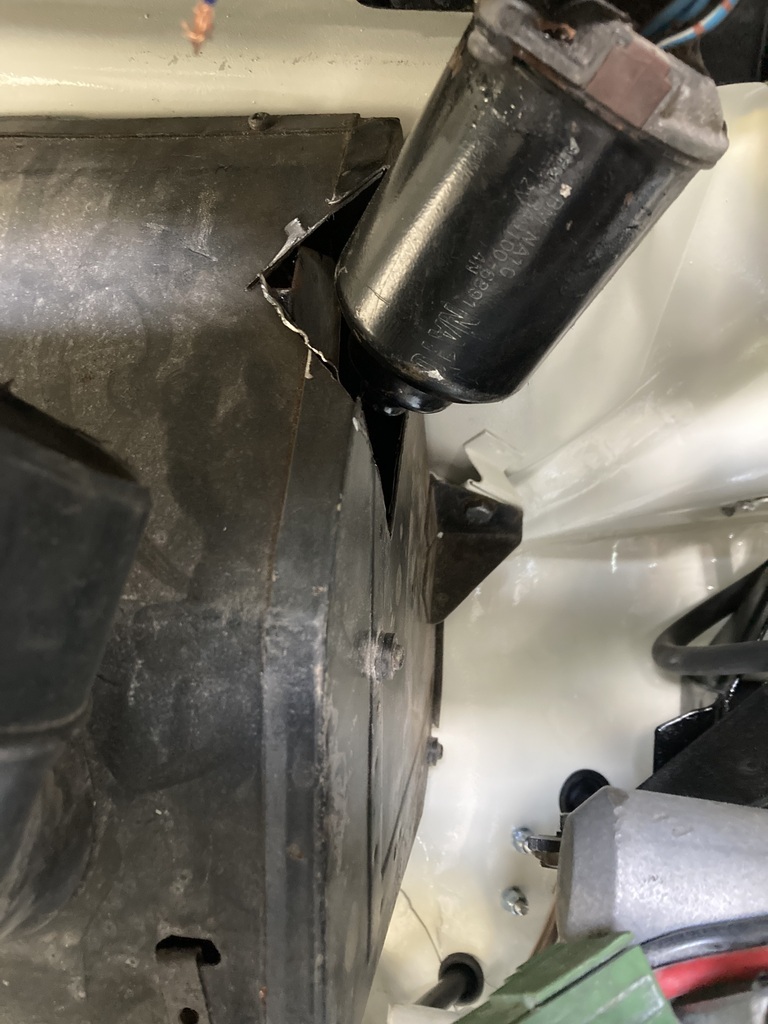 I’ll fill the hole when the heater comes back out as I know the heater matrix is leaking coolant as I’d bypassed it years ago. One heater pipe fitted 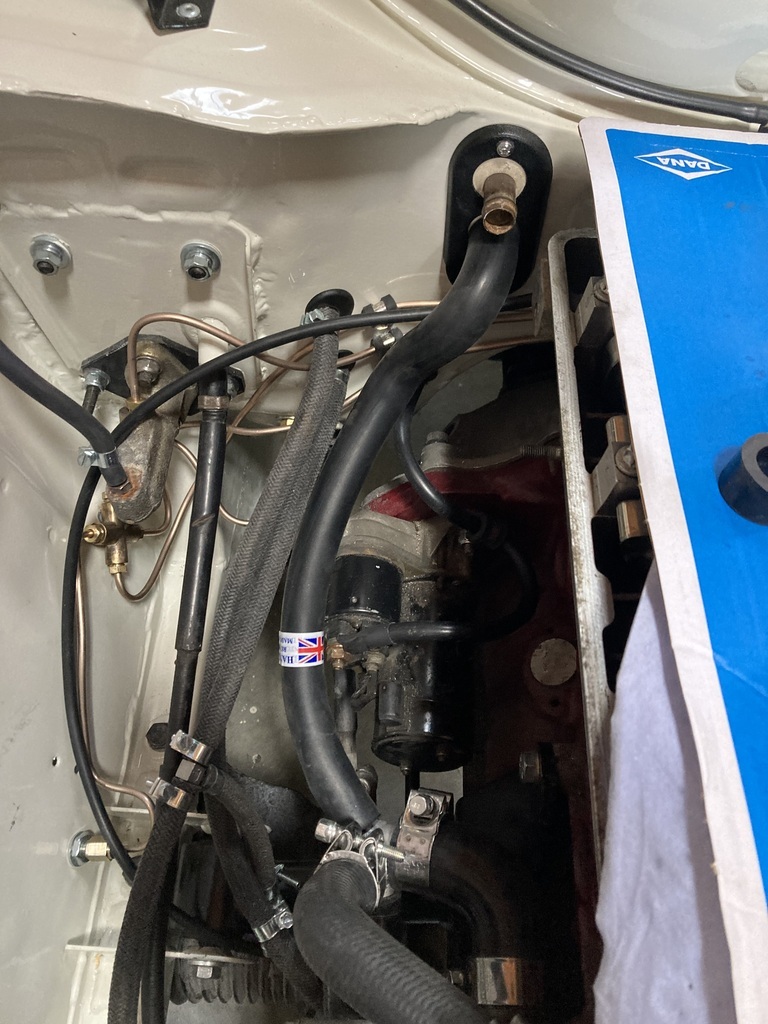 I don’t know how people do their engine bays with no wires or pipes visible. It’s all getting quite busy in here now. I’ve also done the other pipe but no photo. I refitted the inlet manifold, ran a breather pipe from the rocker cover back to the oil tank and fitted the old air filter to check for fit. A new one is required as this is rotten. 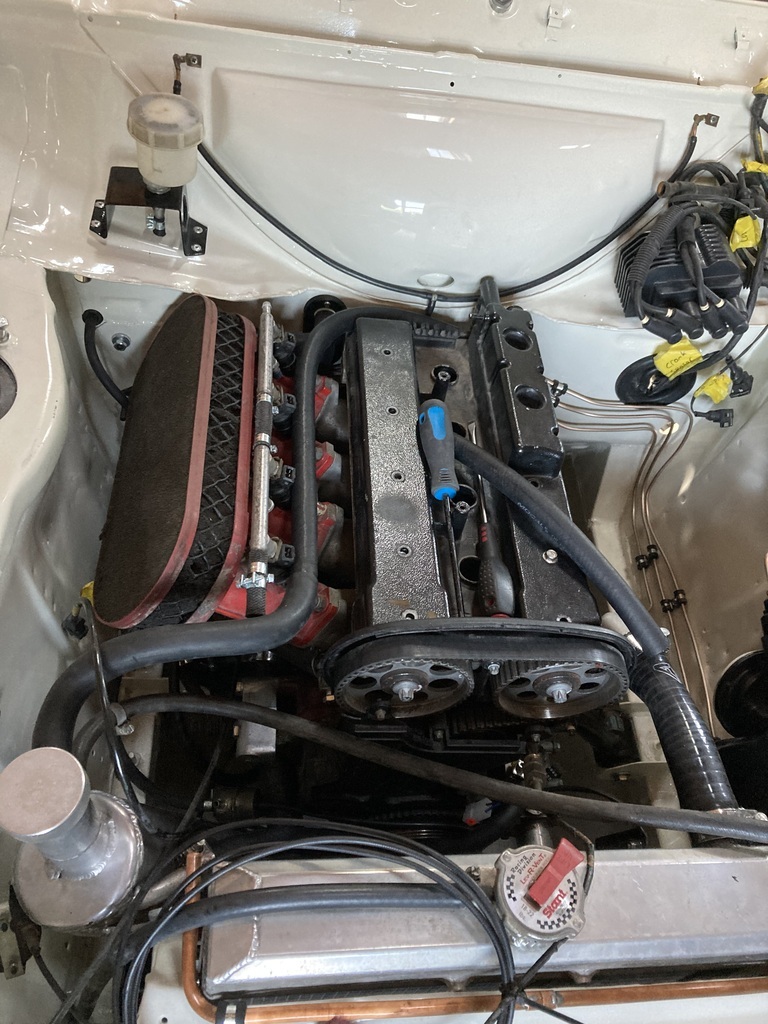 At this point The Elder came into the garage saying the brakes on his Clio 182 were making a noise and weren’t working properly. So a spin into town to pick up a new set of disks and pads was in order as one pad was down to the metal. Those were then fitted. The other 3 pads were at about 6mm and none of the pistons or sliders were seized. Quite odd. If you put £1900 into cardboard boxes, this is what it looks like 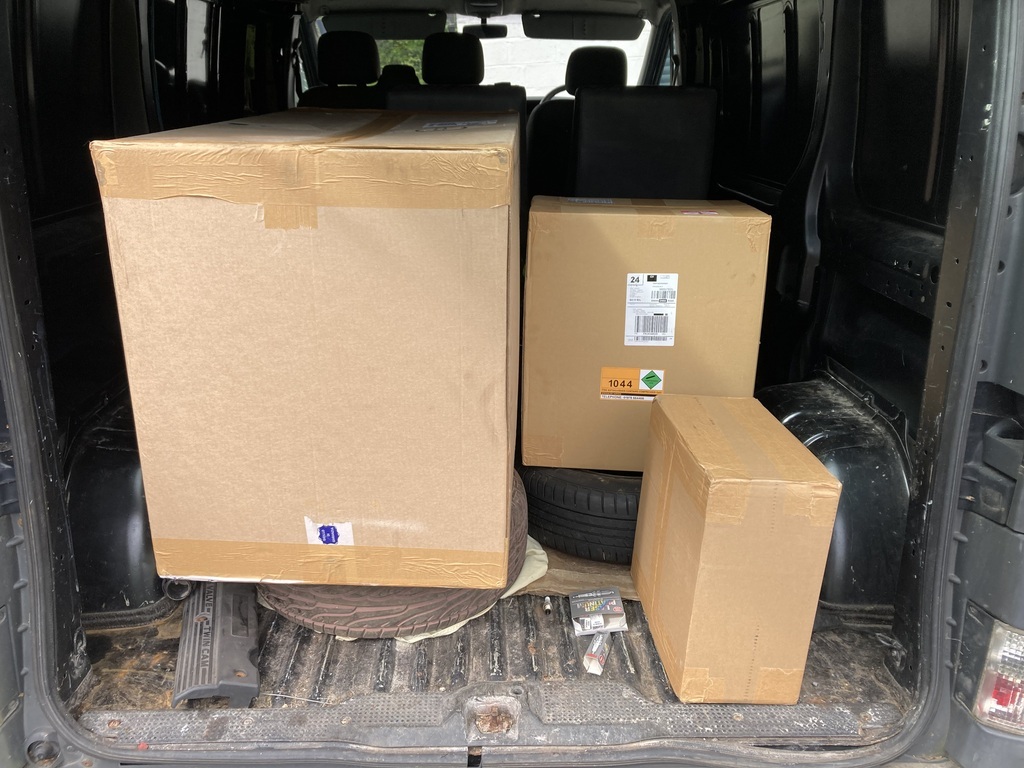 Seats 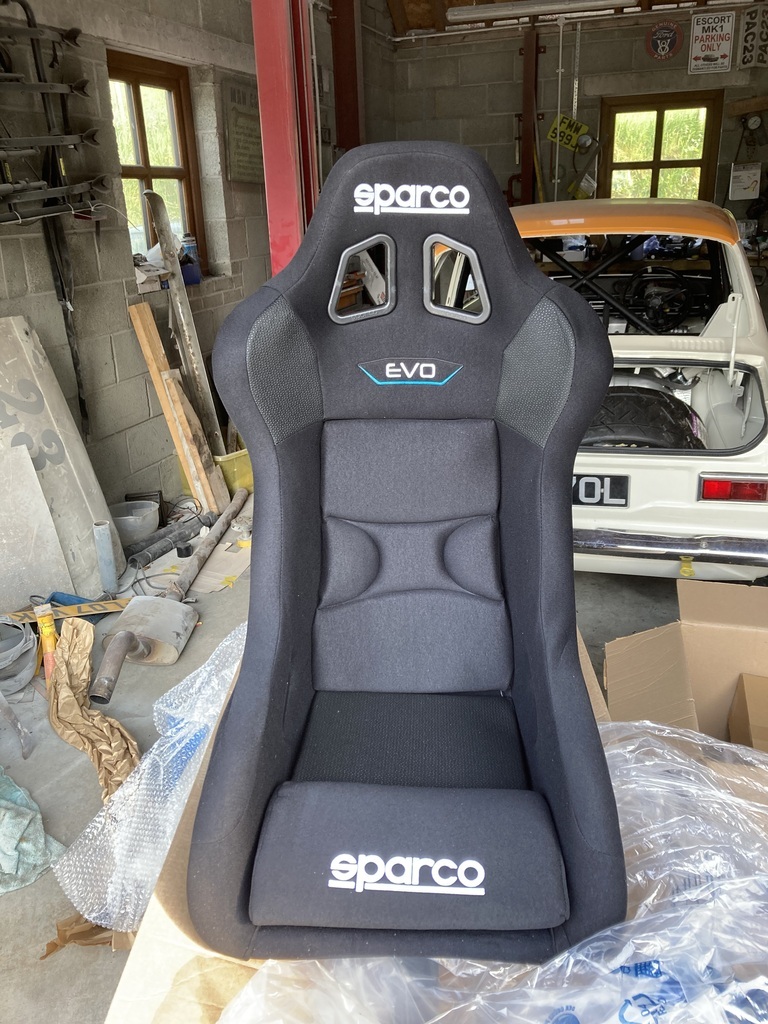 Belts 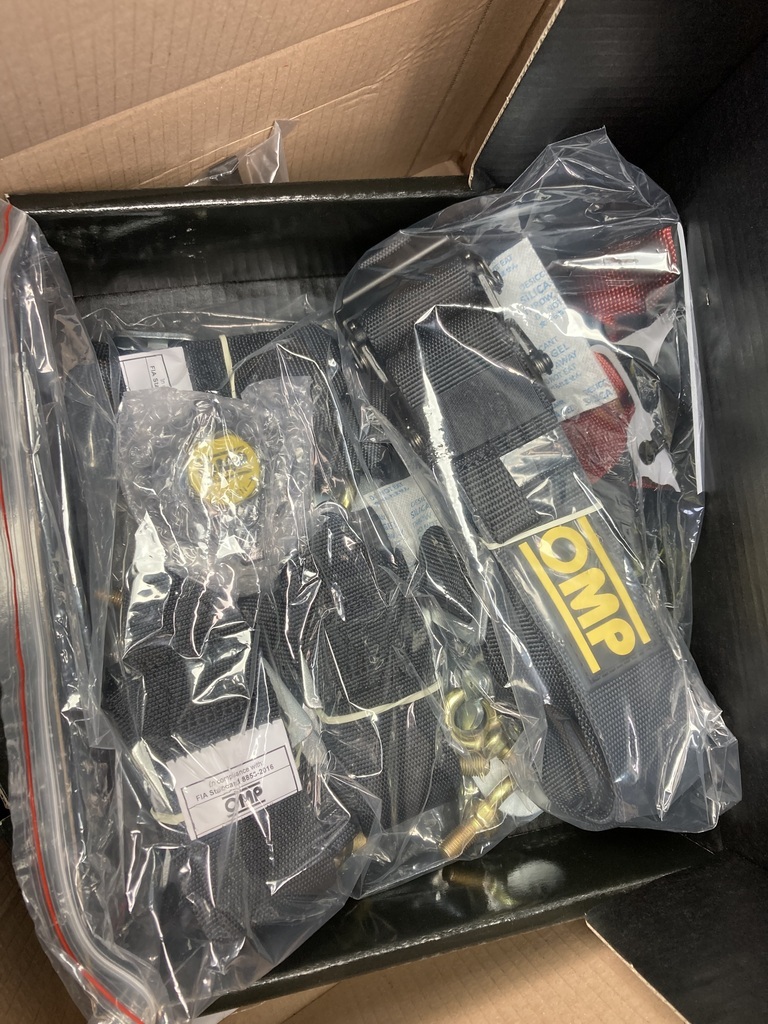 Hand held extinguisher 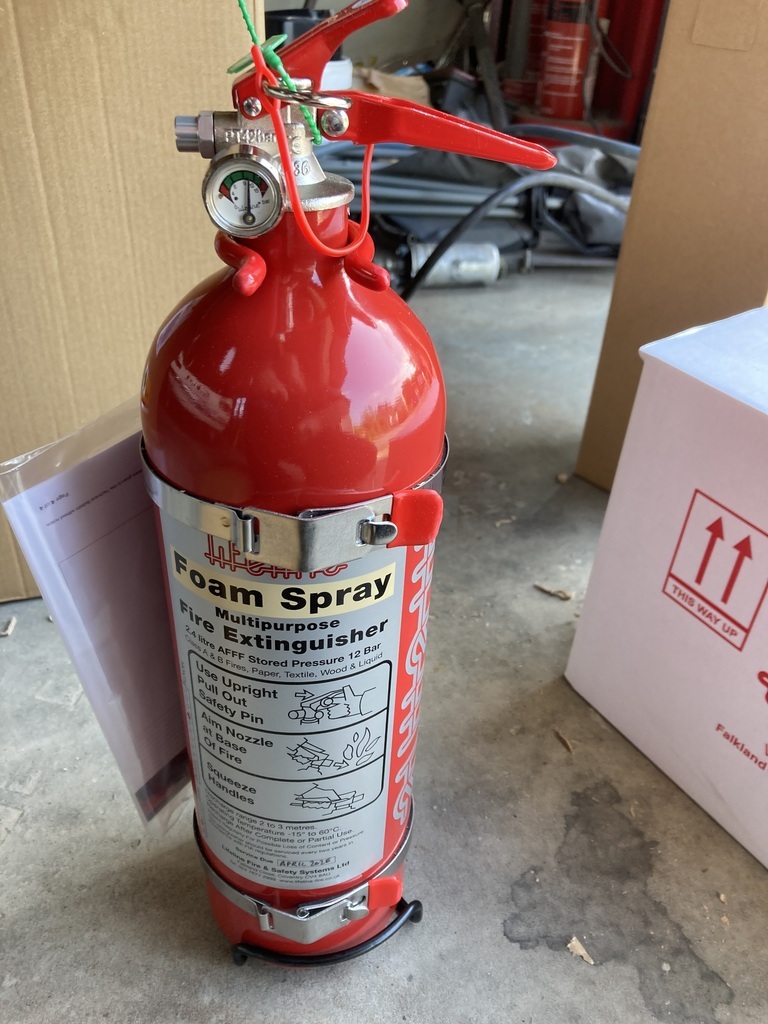 Plumbed in extinguisher kit 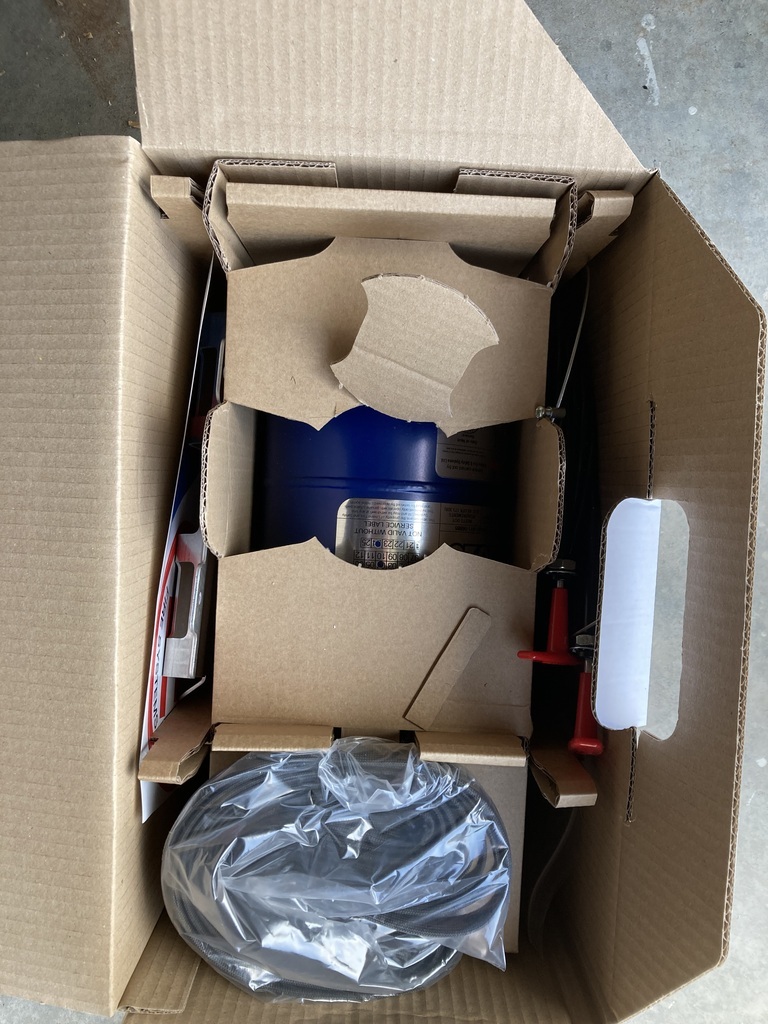 No pic of the fire stick |
| |
|
|
v8ian
Posted a lot
  
Posts: 3,832
|
|
May 31, 2024 20:13:11 GMT
|
|
Got to say that plumbing from the water pump and heater in RWD is a hellish job to get looking right, nice solution
|
| |
Atmo V8 Power . No slicks , No gas + No bits missing . Doing it in style.
Austin A35van, very different------- but still doing it in style, going to be a funmoble
|
|
|
|
|
|
|
Got to say that plumbing from the water pump and heater in RWD is a hellish job to get looking right, nice solution It is a pain, it at least it’s all hidden underneath the throttle bodies |
| |
|
|
|
|
|
|
|
It was a beautiful sunny day, so no better place to be than dodging it and heading to the garage. I’m back in work Monday so there’ll be plenty of time to be out in whichever weather turns up then. Bucket seats. Old verses new. 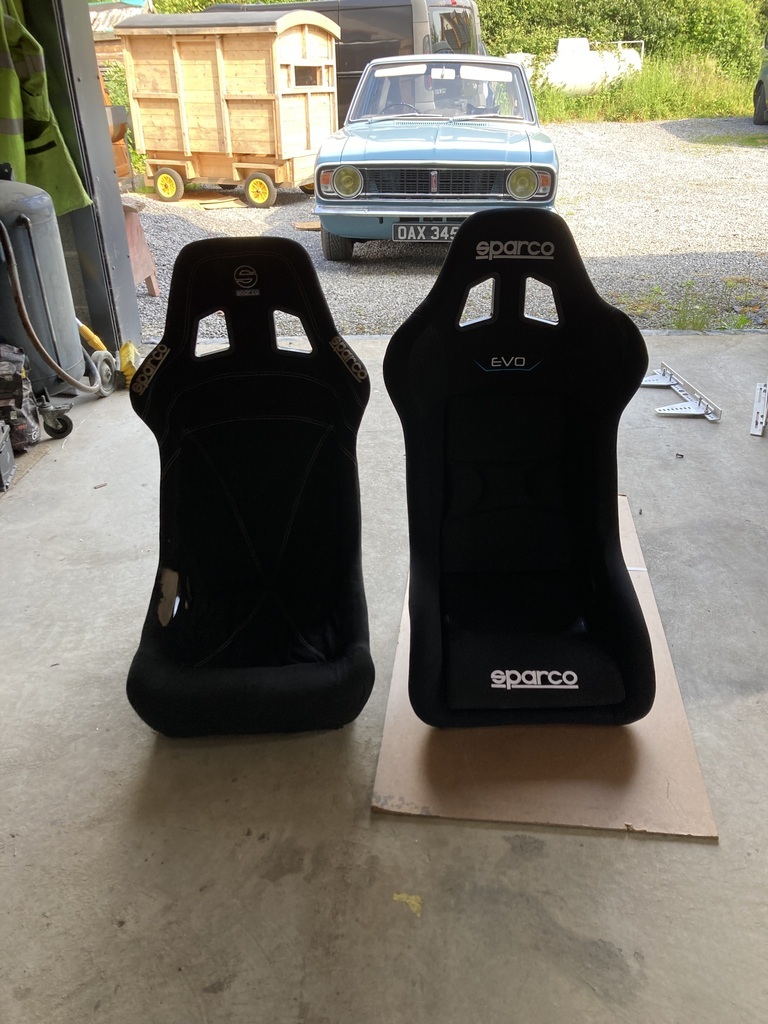 Universal, adjustable frames fitted and plonked in the car so I can see where best to mount them for my favoured position. 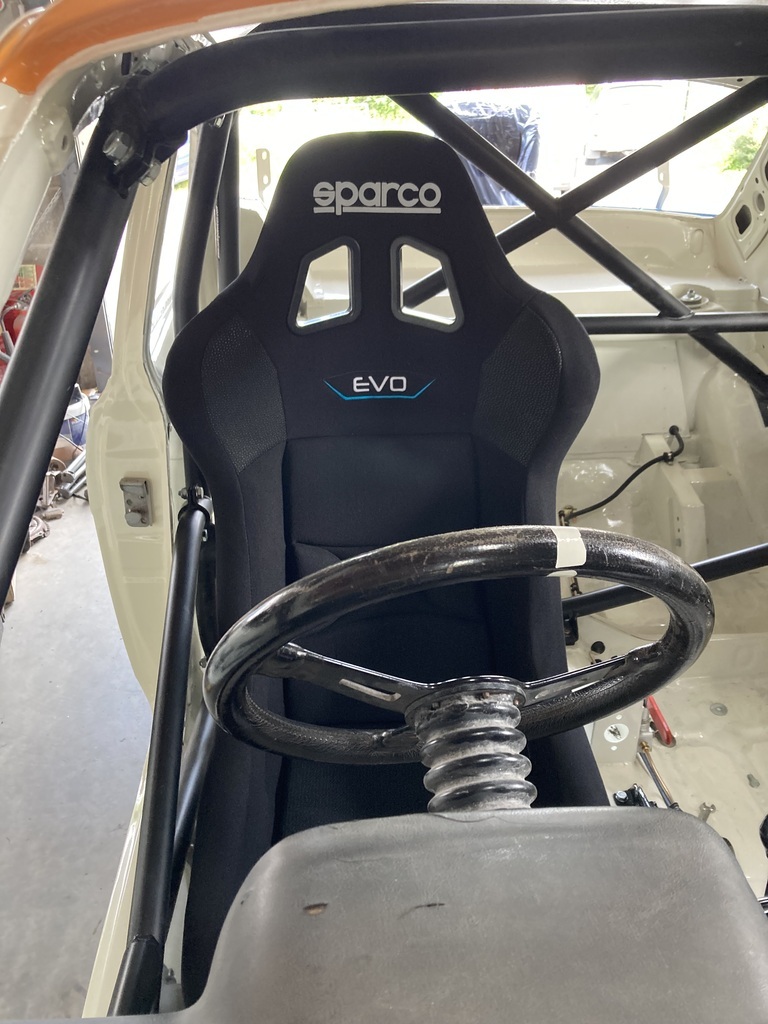 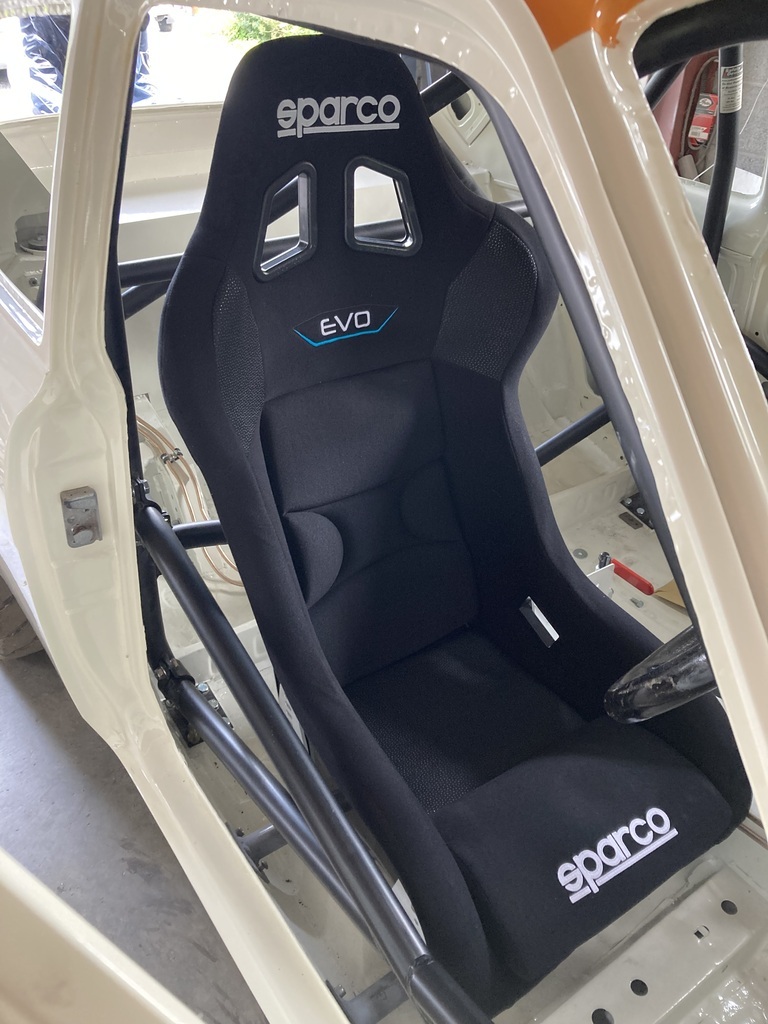 Luckily they are a fair bit smaller than my brother’s seats that I tried in the car last year or the year before, can’t remember. Those touched the doors at the shoulder but these are about 30mm away. Remember the seat rails? 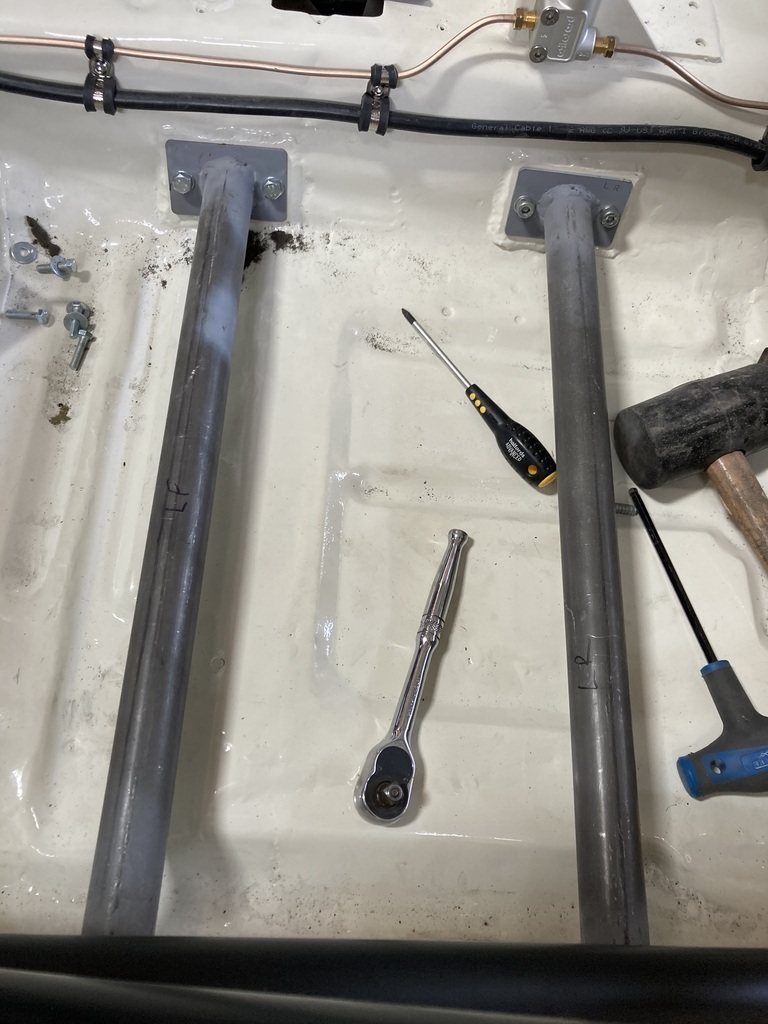 As there are 4 in total, I labelled them up with my letter punch set 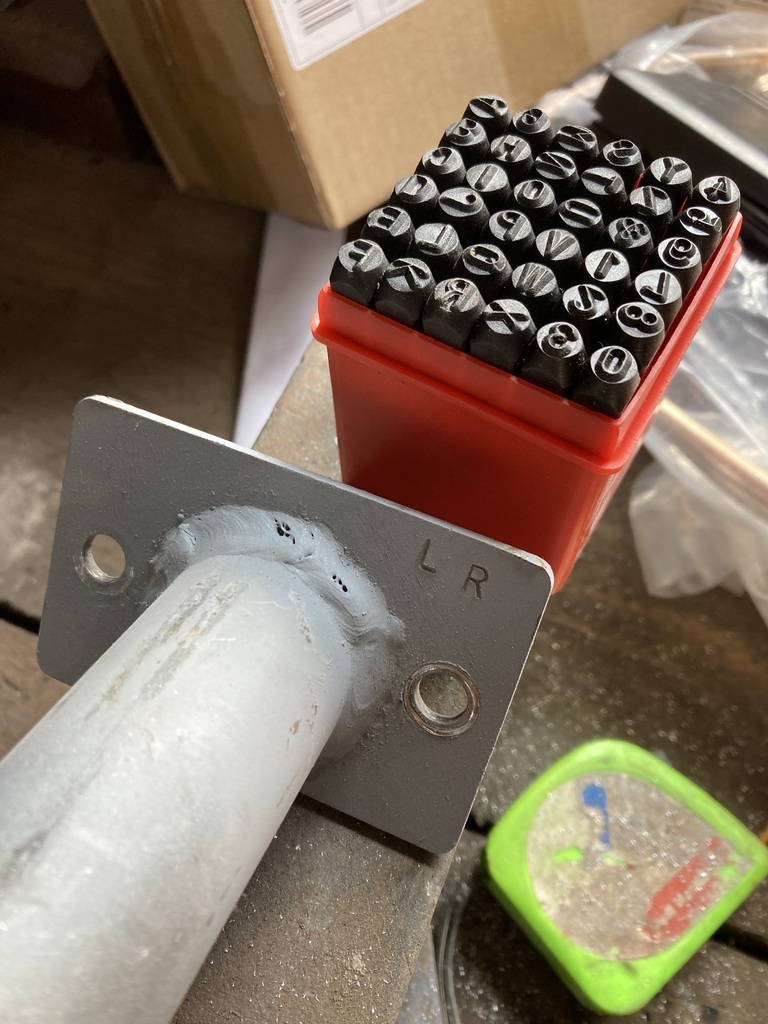 Look, I found a picture of the frames 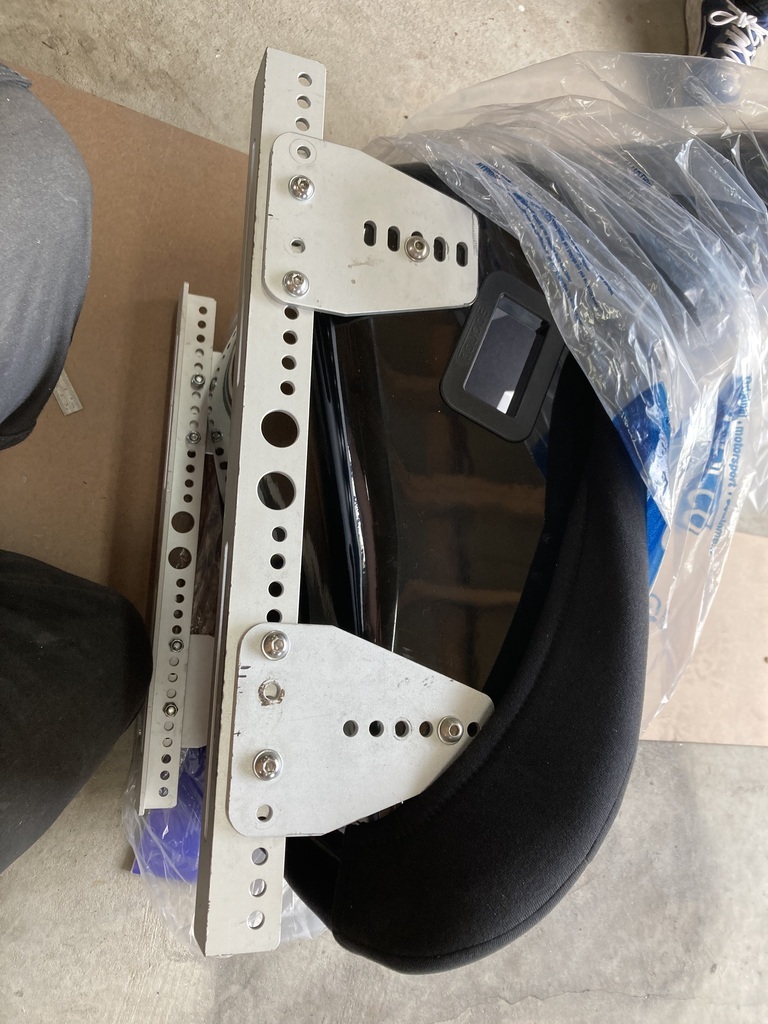 I then started to prepare the mounts to accept the seat frames. Holes drilled for the weld in bosses 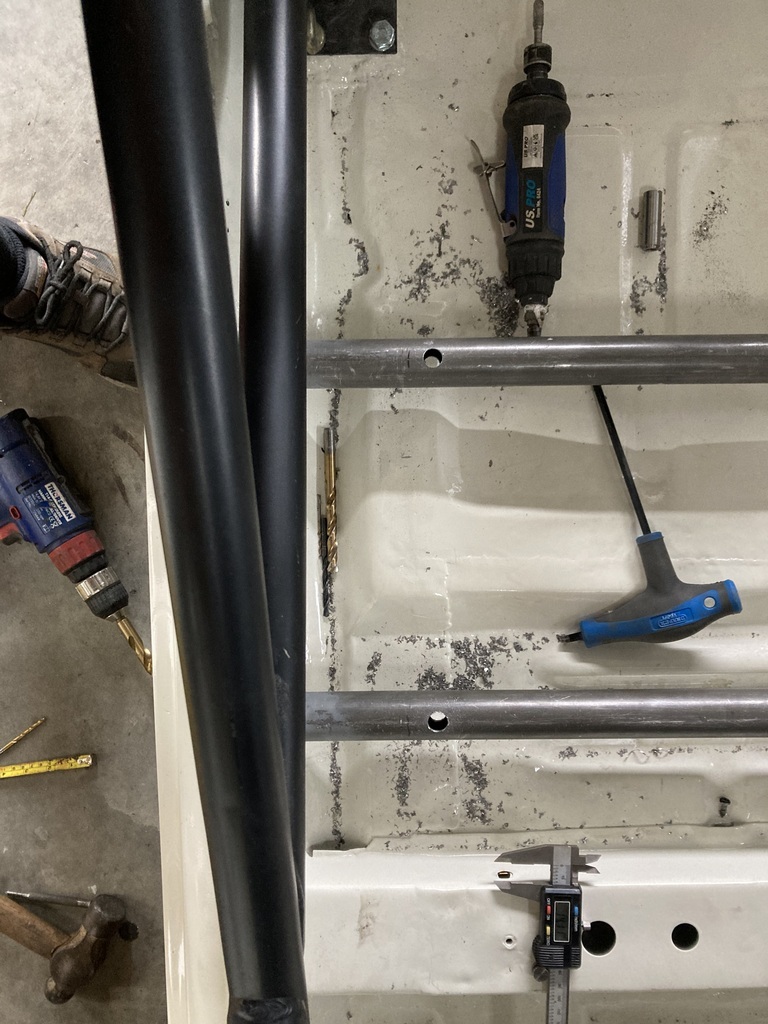 I could then mount the seat to calculate where the other side go. Forgetting to take any further pictures I welded everything together with the mig set to V hot. 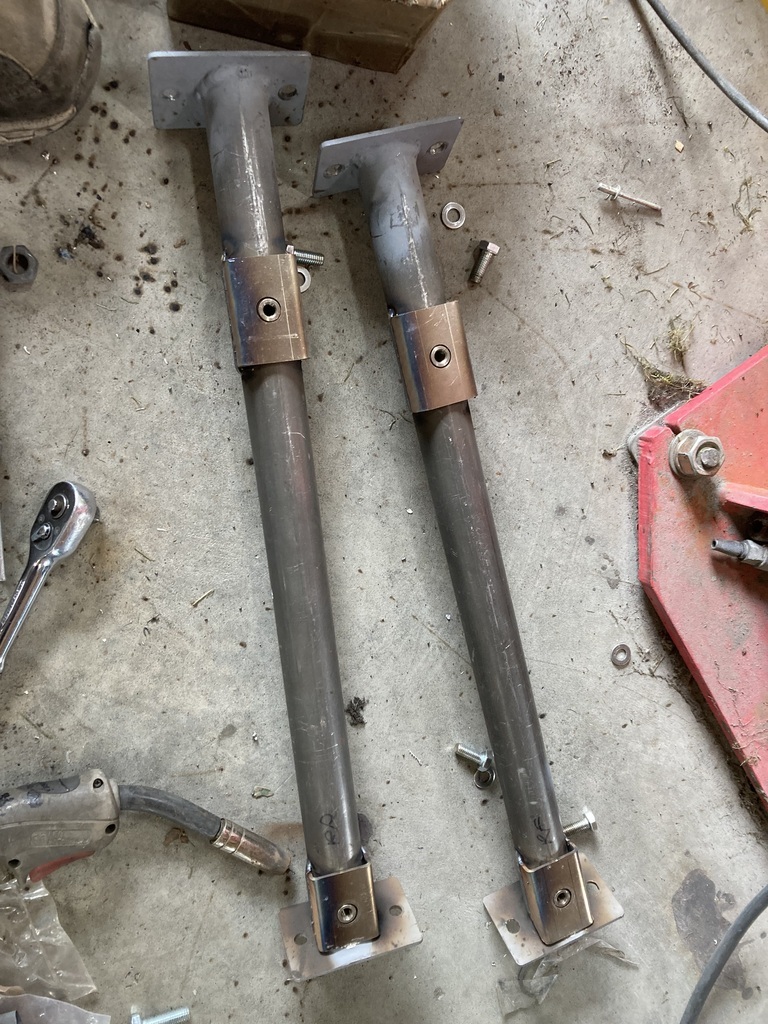 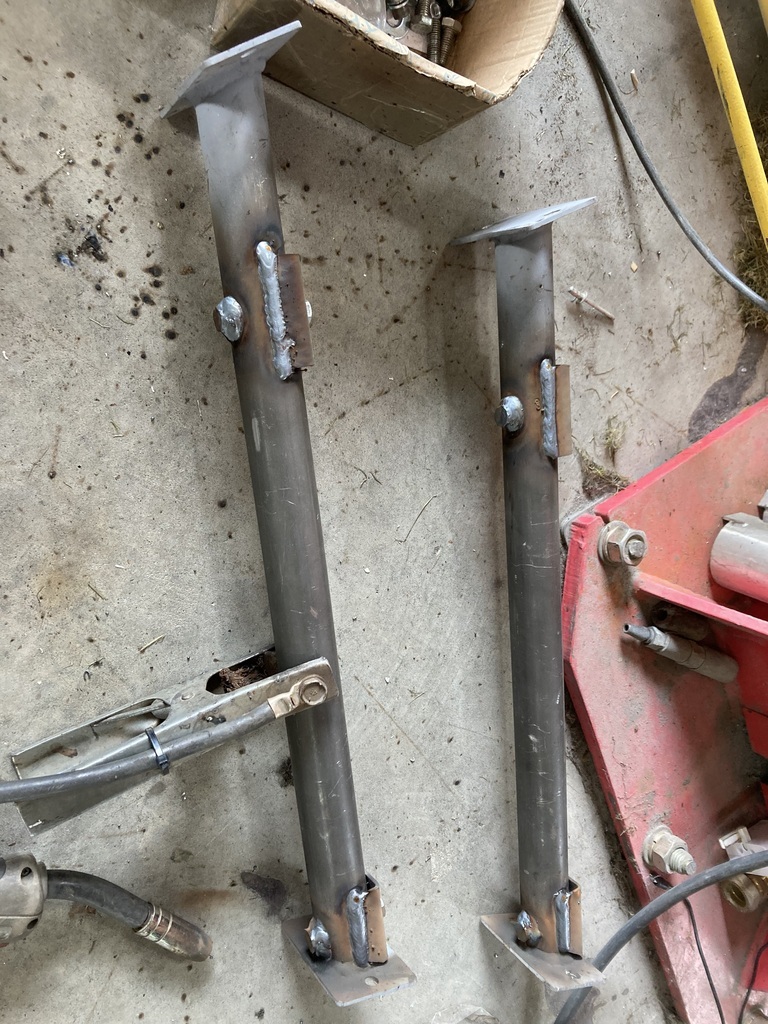 They could then be bolted back in to the car 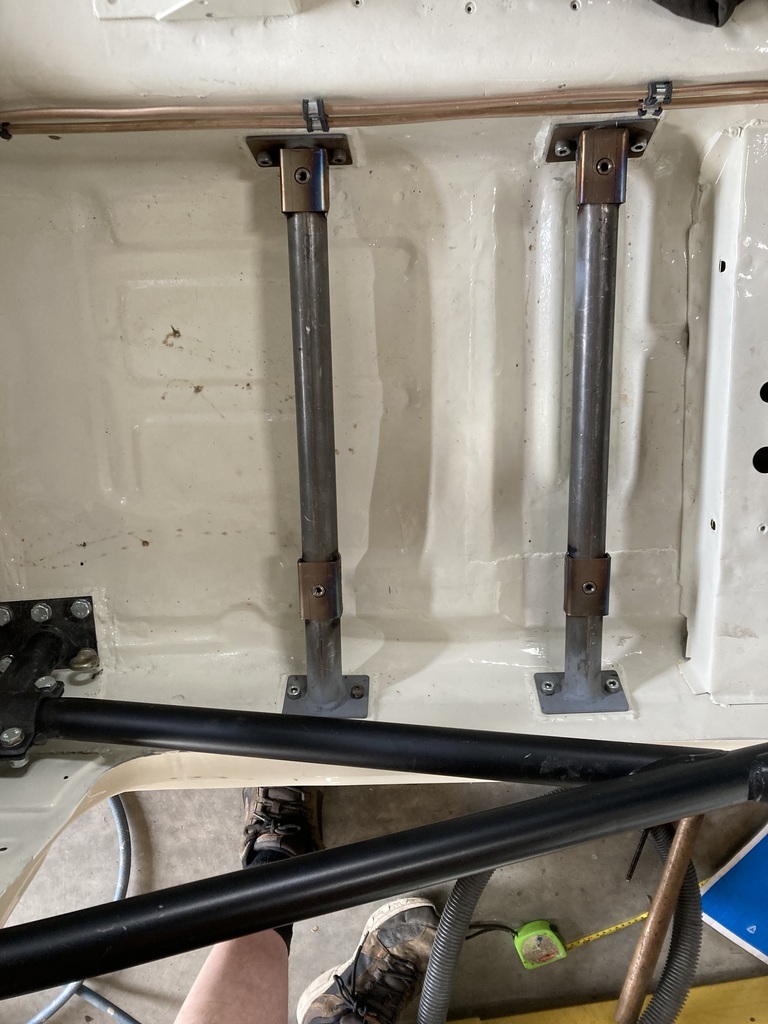 Now, the adjustable frames have slots on the bottom of them so that the seat can be slid back and forth if need be. I now from experience that when you mount the seat sitting in the garage, it won’t be right when you drive the car in anger. I had to redrill the mounts twice on the old seats before I was happy. The problem is the new seats, in the manufacturers wisdom, are 10mm narrower at the rear mounts than the front mounts. Obviously, this will mean the seat will not slide. To combat this I have fitted 5mm spacers each side between the seat and the frame. The seat now slides from here 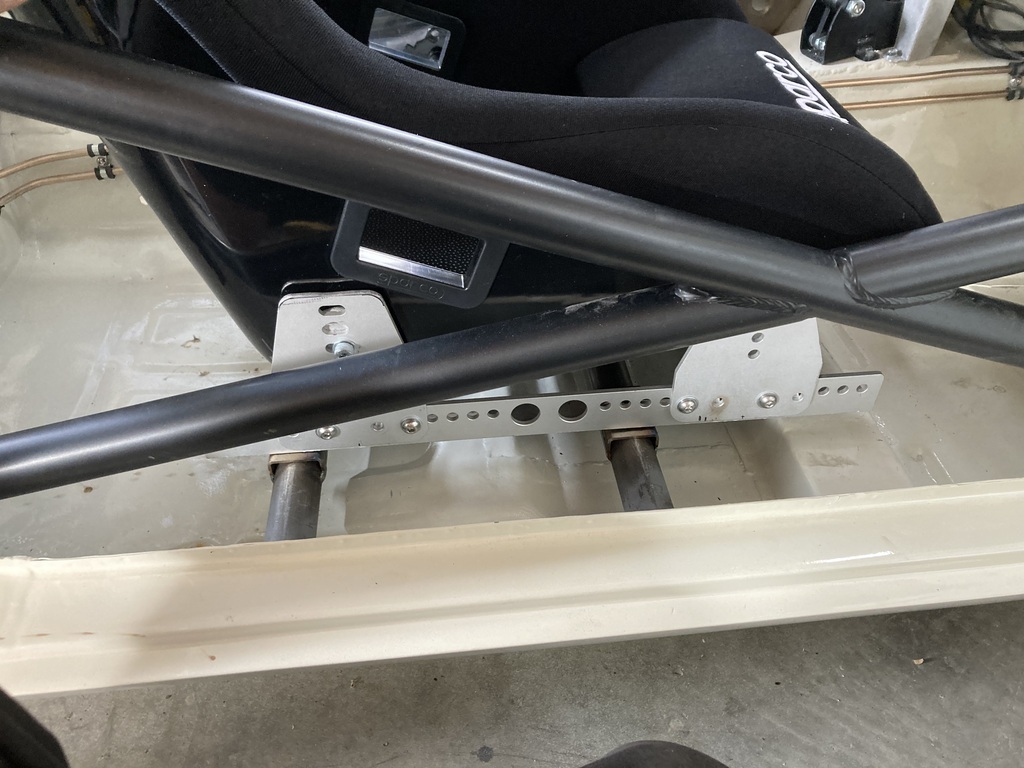 To here (a bit more actually) 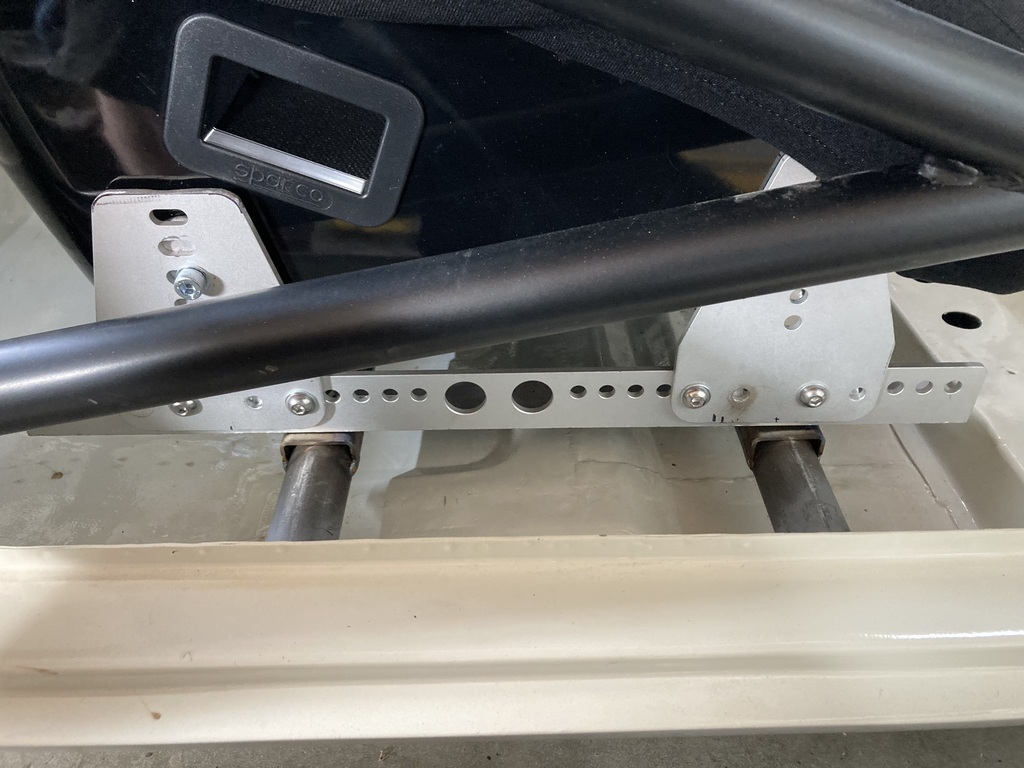 I also fitted the hand held fire extinguisher to the original passenger seat crossmember and the foot rest to the floor to see were is the best place to mount the passenger seat. 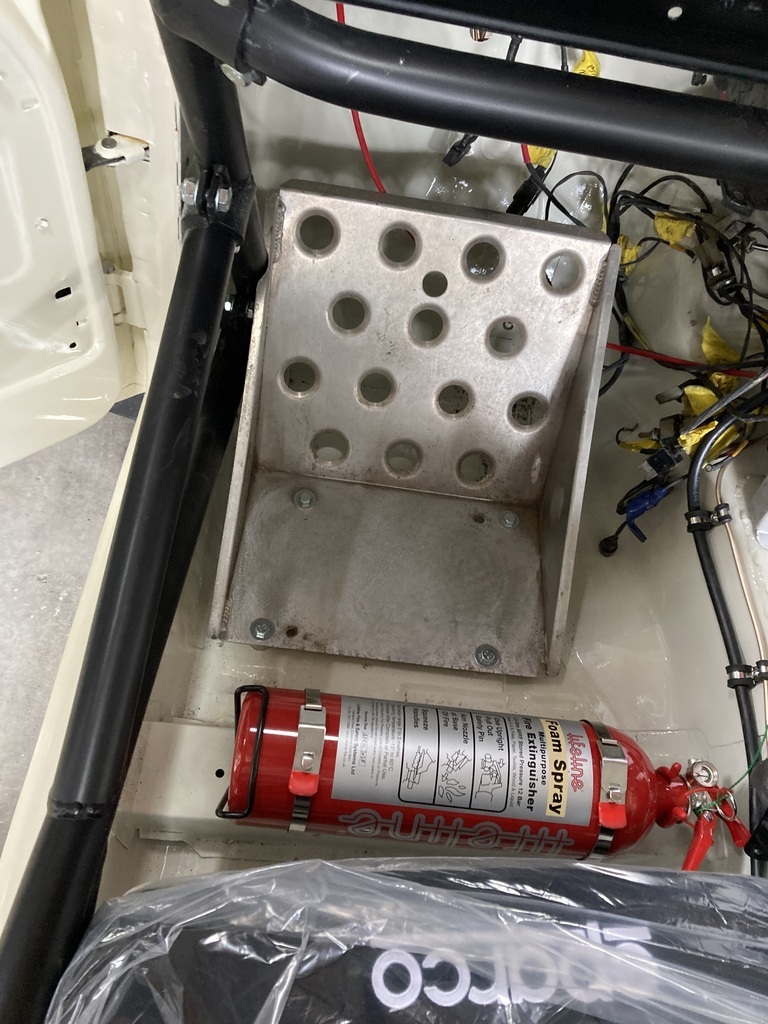 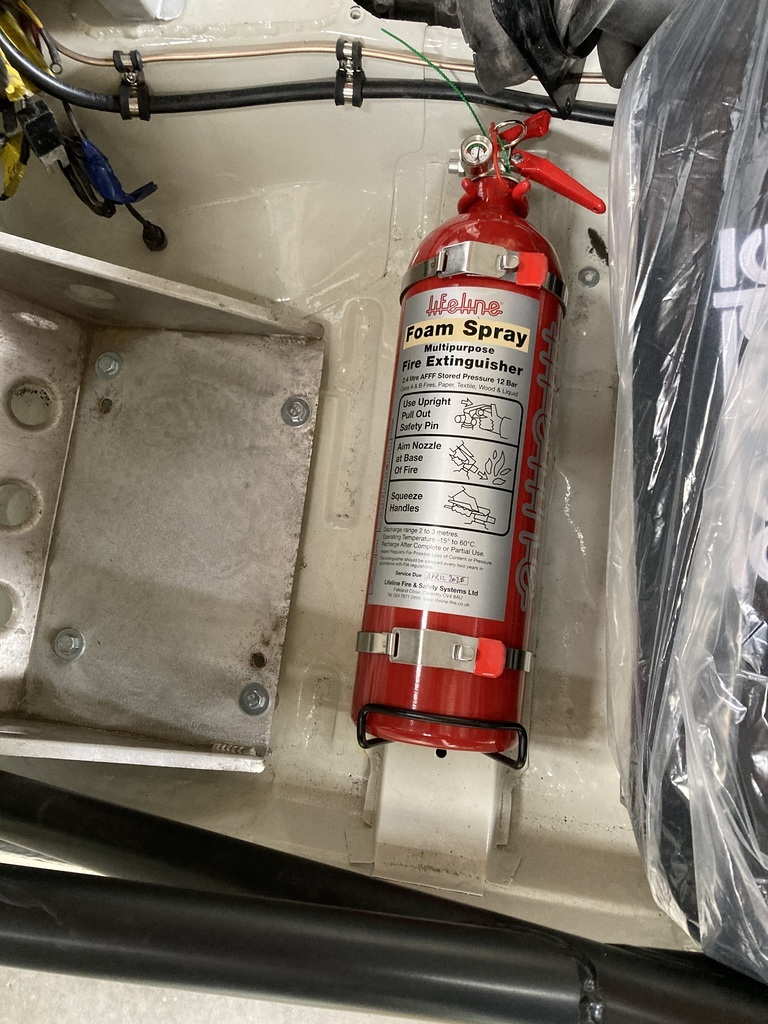 I will have to do the seat mount thing all over again tomorrow for the passenger side. |
| |
|
|
|
|
|
|
|
Another beautiful day. Had to fit new blades to the mower as the old ones were past their best and not really cutting the grass that well. 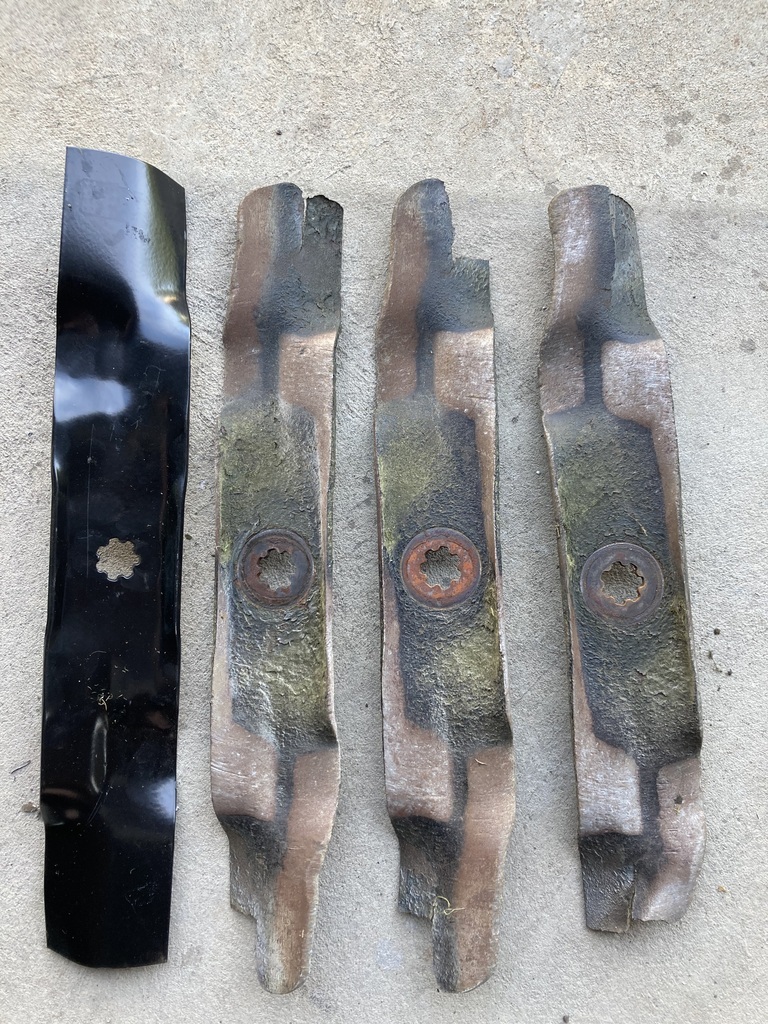 3 John Deere blades are £60. A belt to drive them is £68?? I bought a cheap one for £28 and fitted that. It is a big belt though 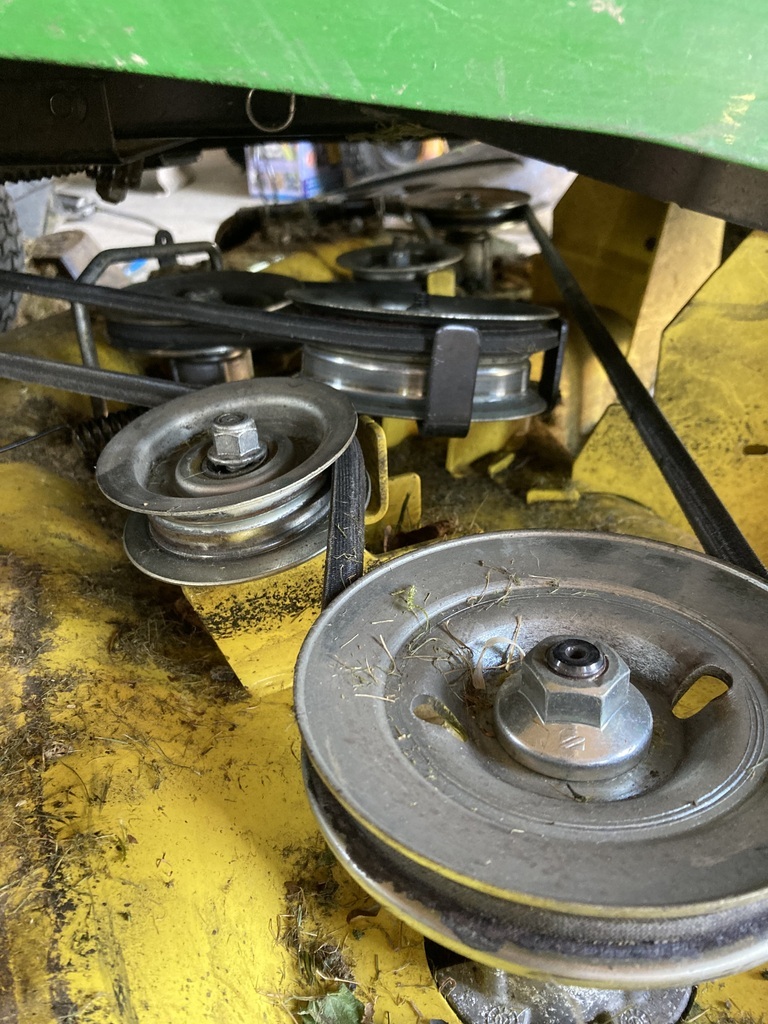 After mowing the lawns I tackled the other seat mounts 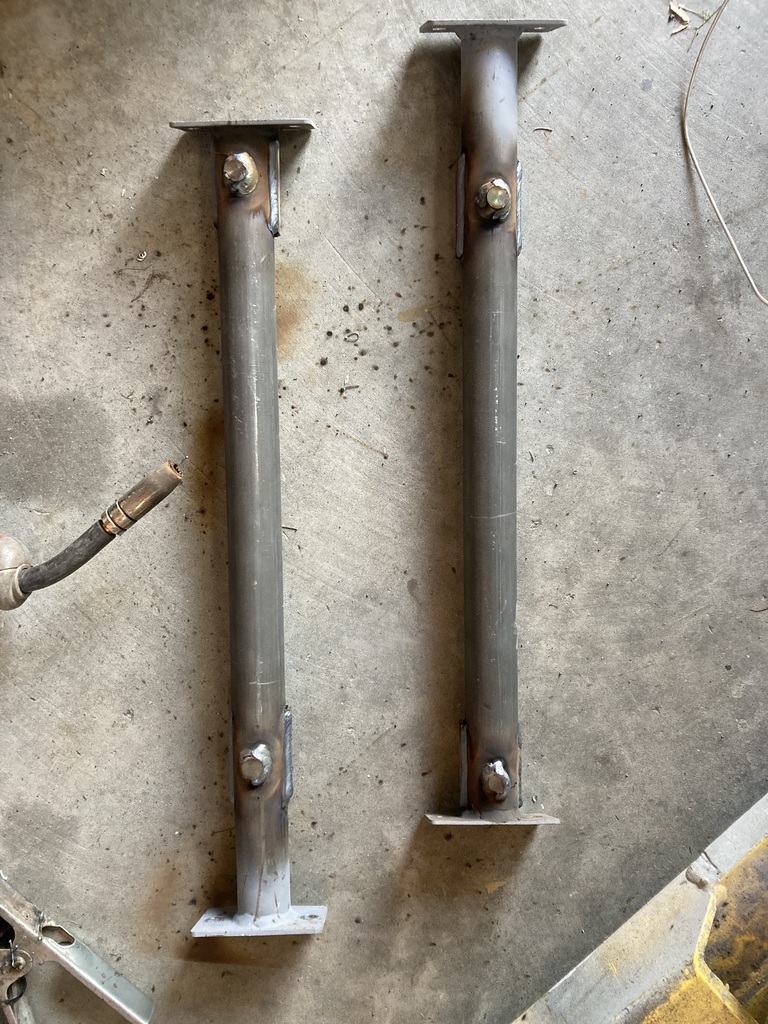 But something isn’t right. Not had a good look, but even with the 5mm spacers either side, the rear of the seat still seems to be 5 mm narrower than the front. This leaves one of the holes half a hole out. There is enough flex in the brackets to fit all the bolts but not ideal. I’ve not measured the bars to see if I’ve also drilled the holes slightly out for the mounting bosses. It could be smaller errors compounding. That’s a job for next weekend though as I’m working days all this week so no garage time before call. Have a couple of pics 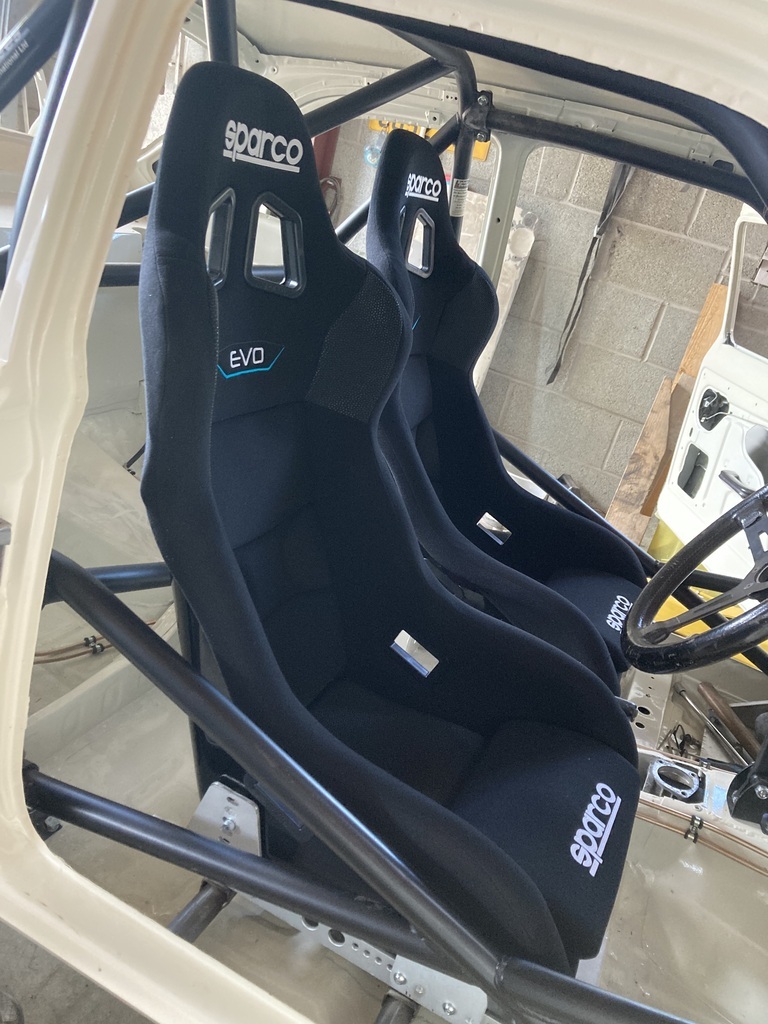 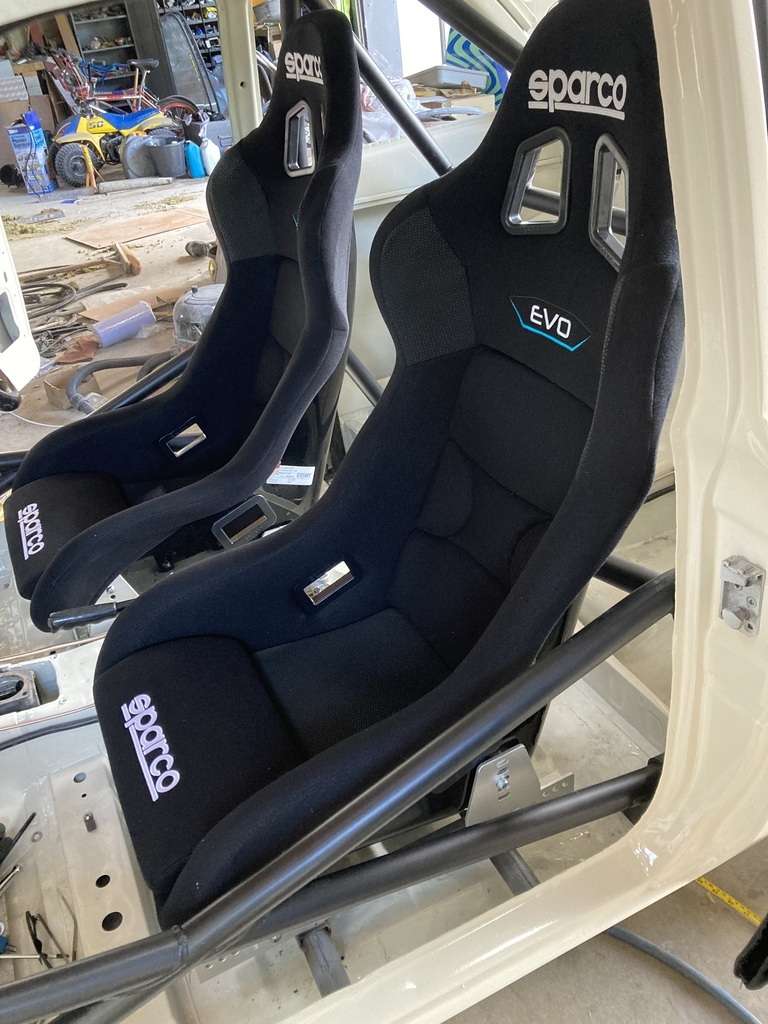 |
| |
|
|
|
|
|
|
|
|
Those seats look mega! it's really coming together quickly now
|
| |
1966 Ford Cortina GT
2018 Ford Fiesta ST
Full time engineer, part time waffler on Youtube - see Jim_Builds
|
|
|
|
|
|
|
Those seats look mega! it's really coming together quickly now Thanks Jim. Is getting there slowly. I’ve got the last few bits to finish the fuel system, so I might tackle that next time. It’ll be a good step to getting it running. |
| |
|
|
|
|
|
|
|
I’ve got a weekend with no work, so after a visit to see the father in law, I fitted an earth strap to the engine that I had made during the week 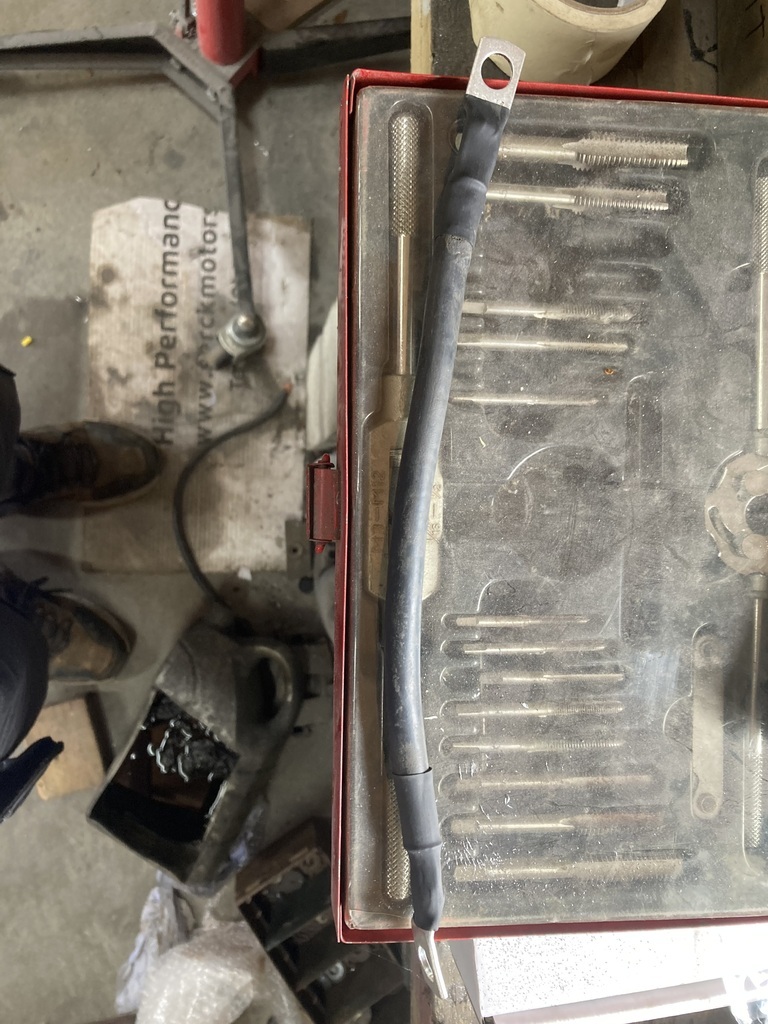 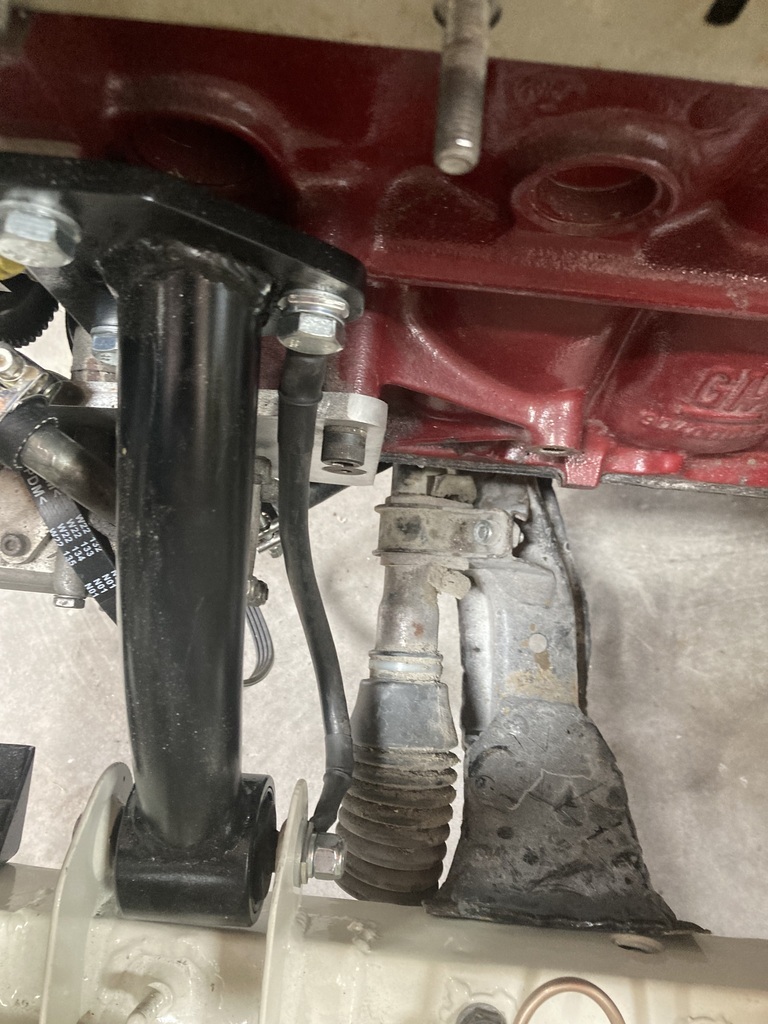 I then decided to remove the passenger seat and resolve problem with the one bolt being half a hole out 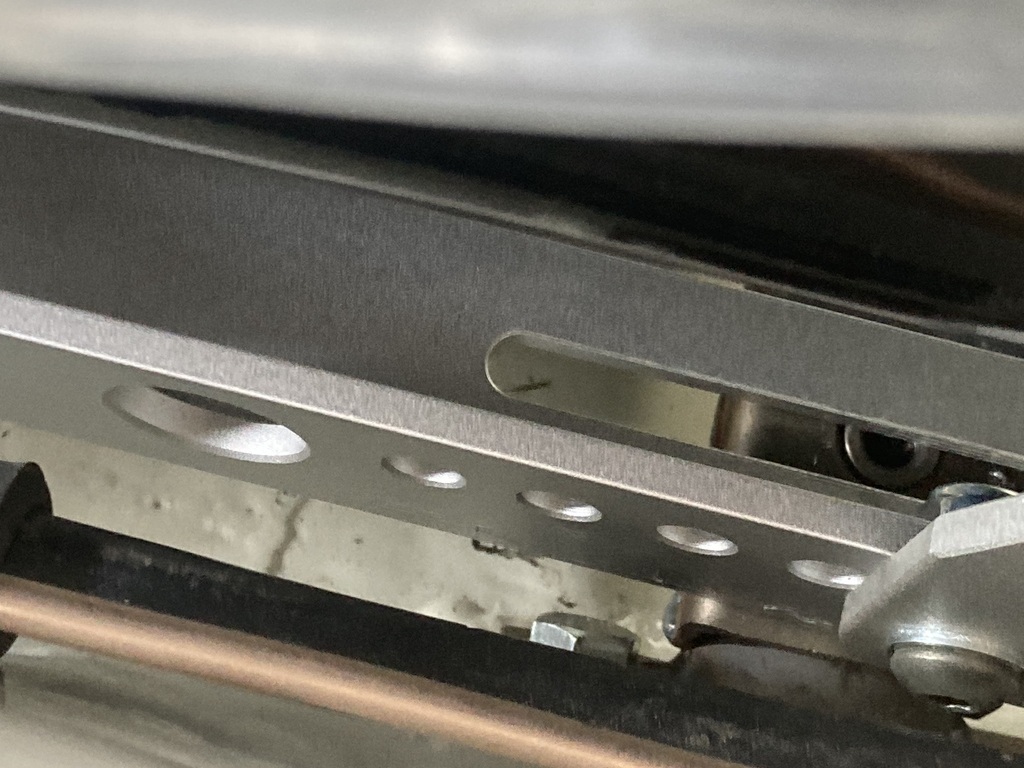 To drill for a new boss, I first put a bolt in the old thread 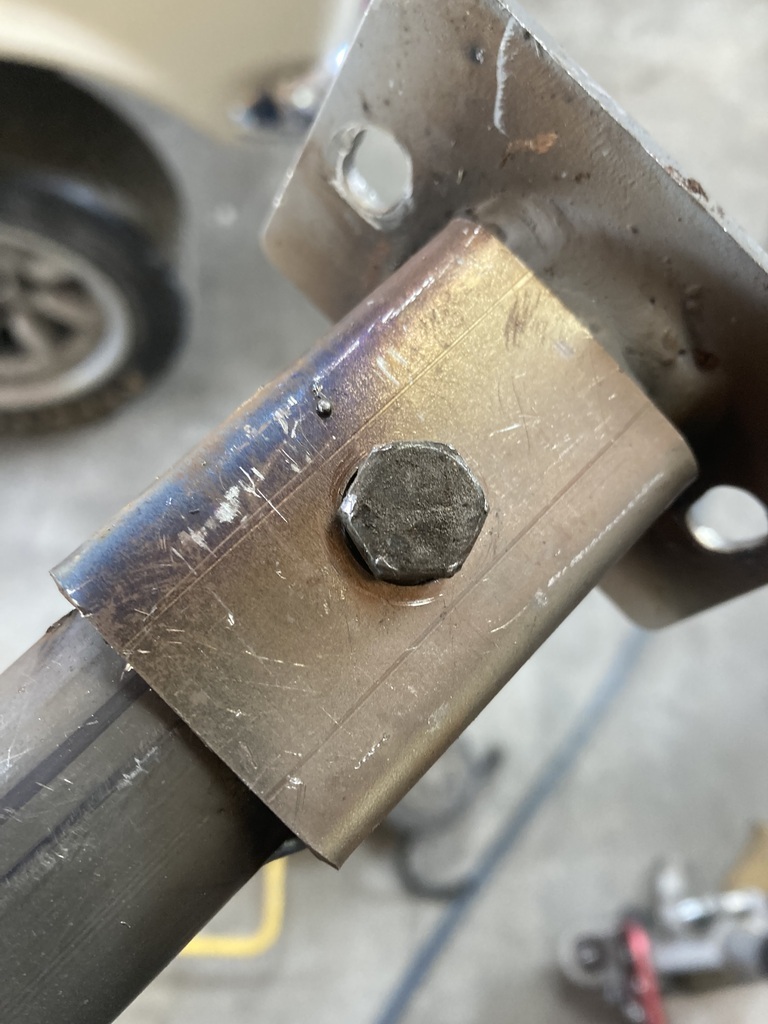 Then cut the head off the bolt 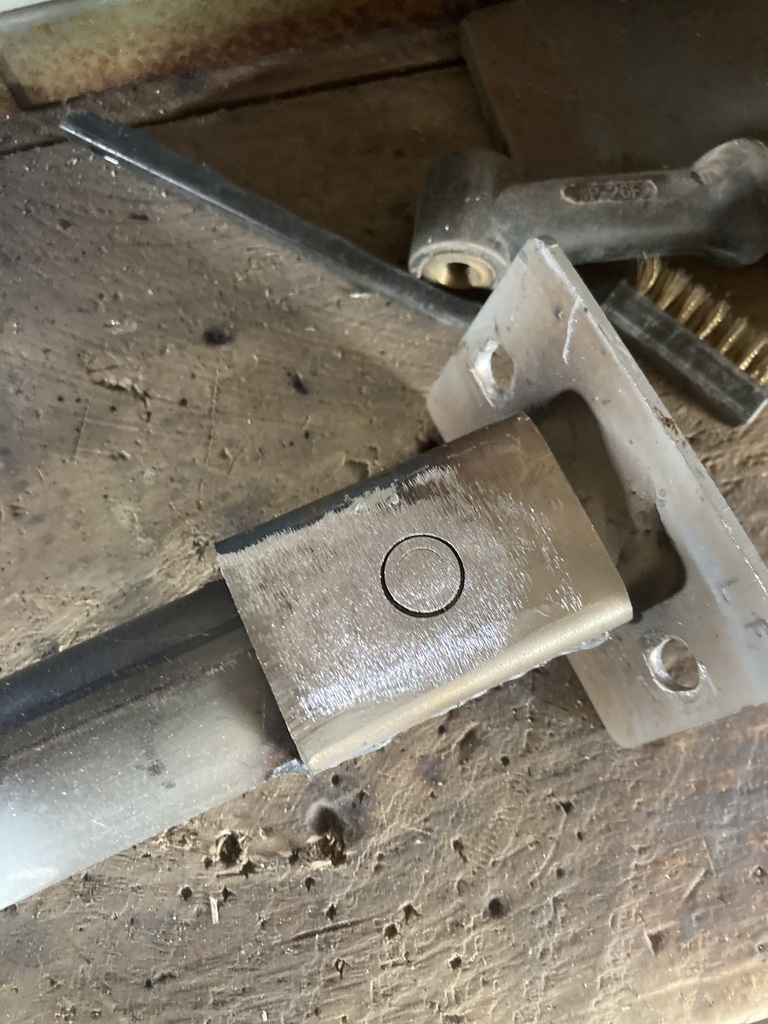 This now gave me a flat surface to drill on The hole got drilled and then half the hole I didn’t need got welded and then all burred put to 14mm 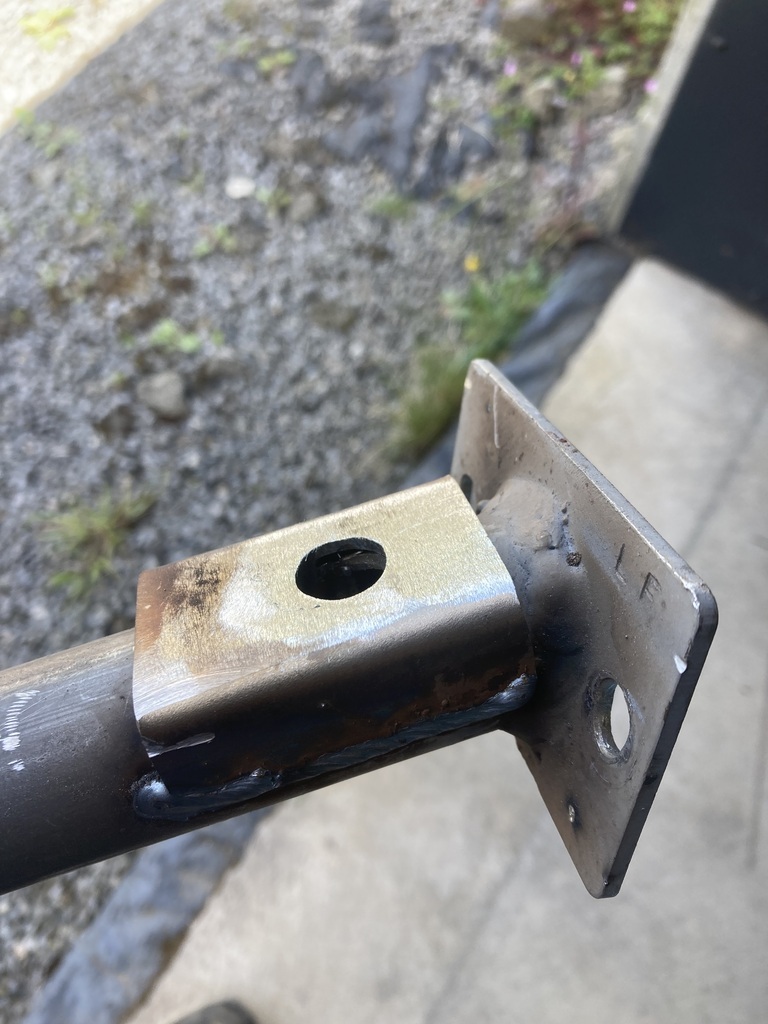 I then made a new boss on the lathe. The only steel bar I had, had been welded to a rake years ago so I cut a bit off that 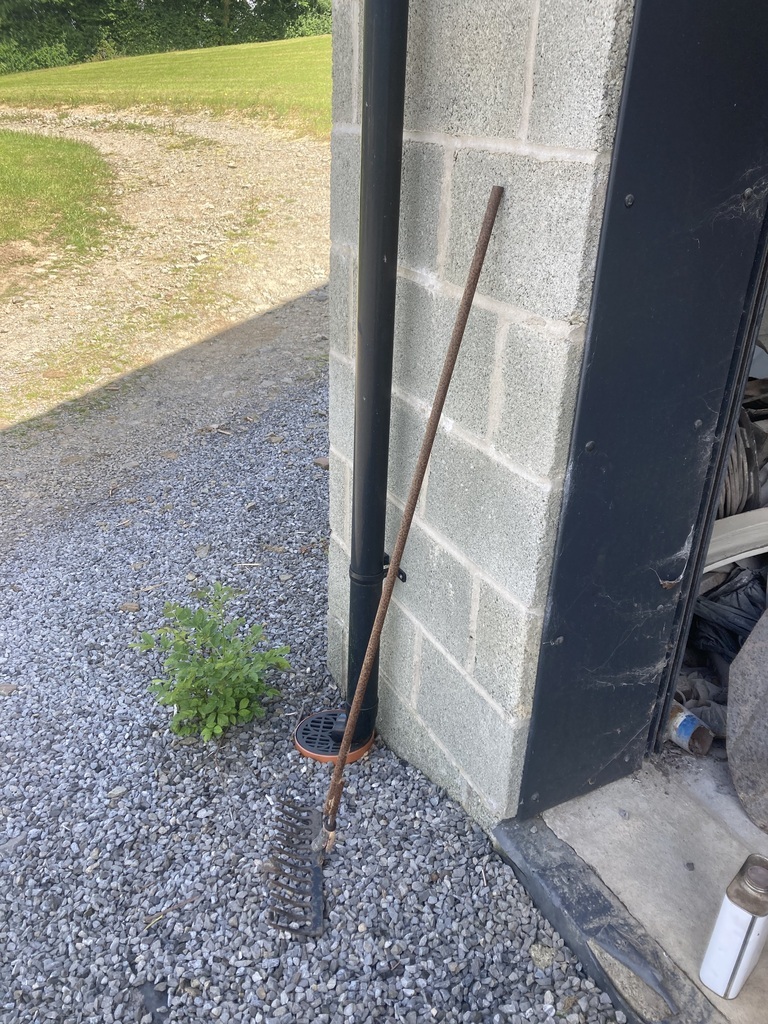 And here is the boss 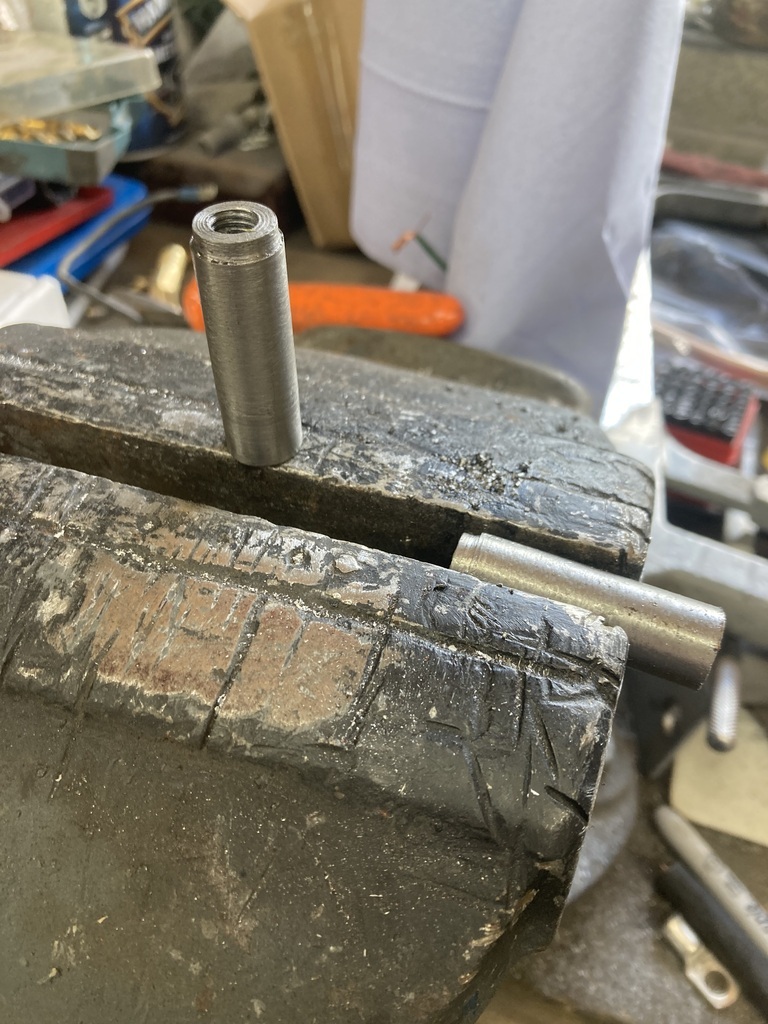 In fact you can see I made 2. This is because stupidly I drilled the first for clearance of an 8mm bolt instead of tapping size. All welded up 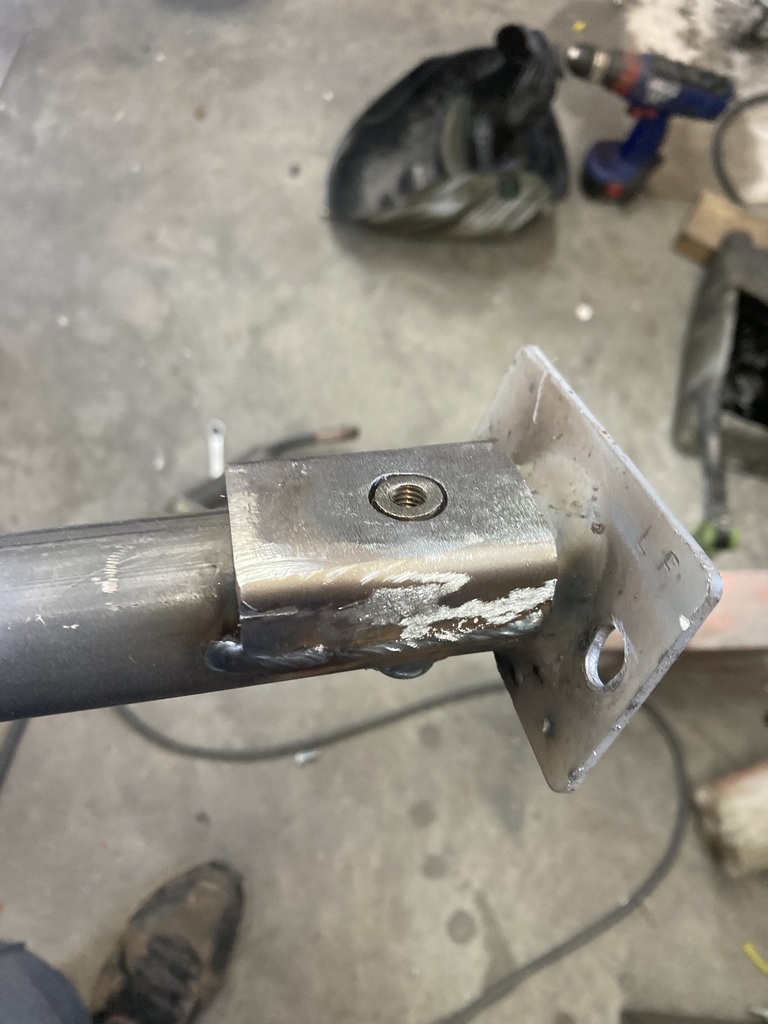 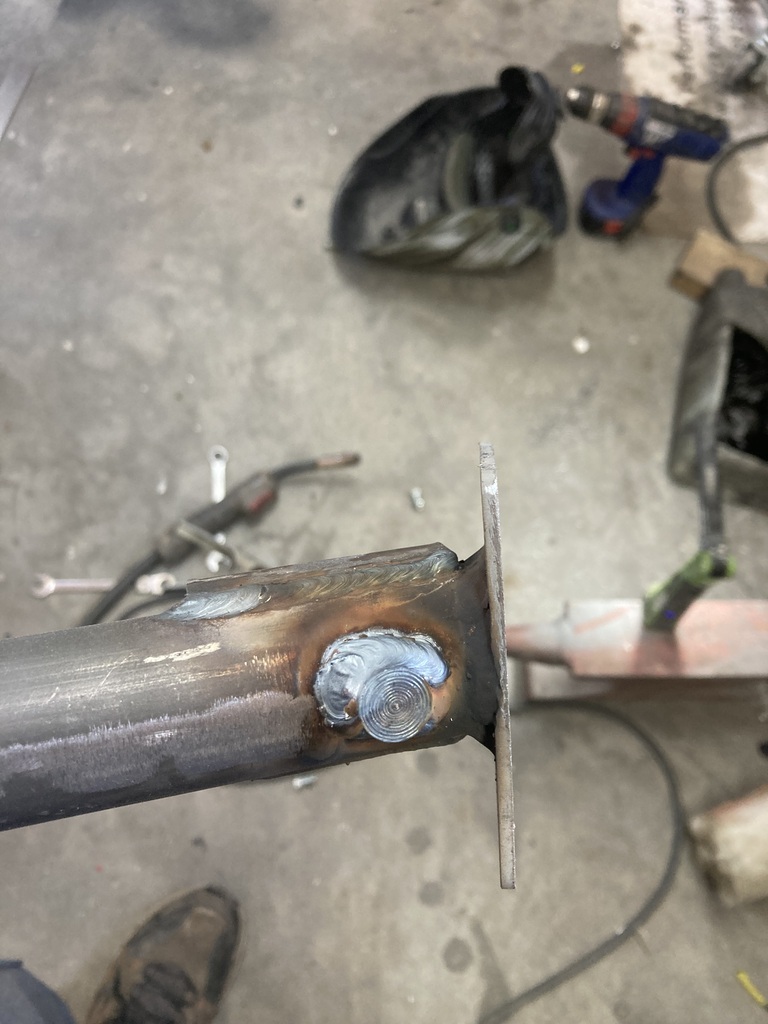 And fitted 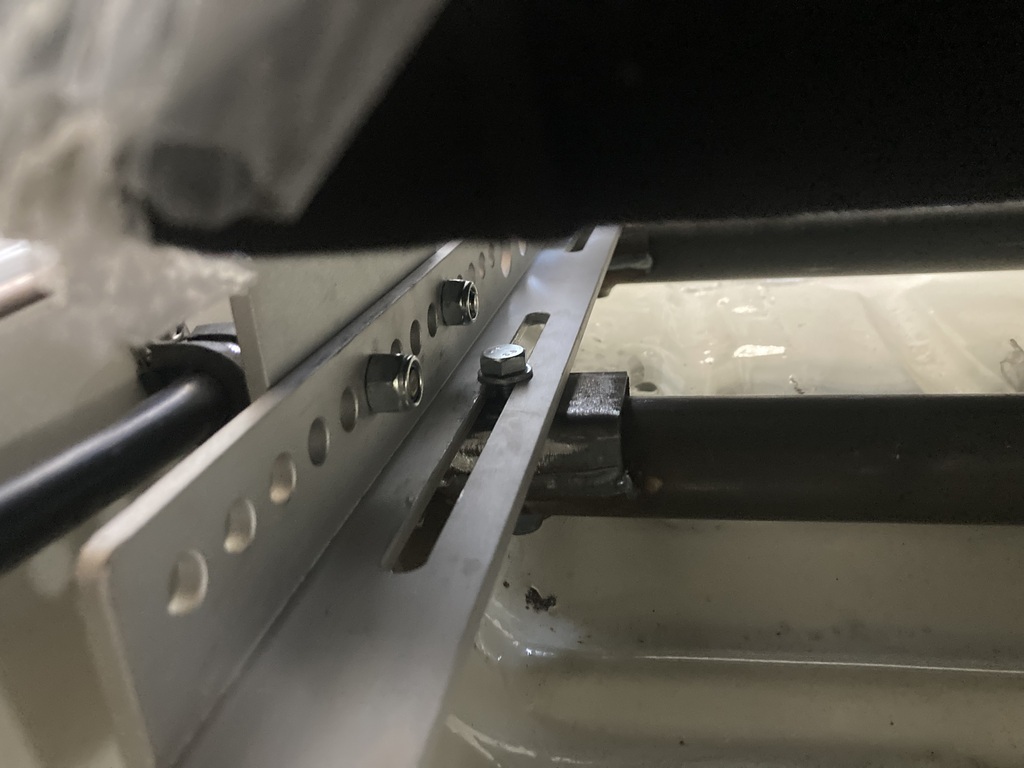 I then turned my attention to the fuel tank. I’d bought a 12mm u shaped pipe from Aliexpres and cut it in half 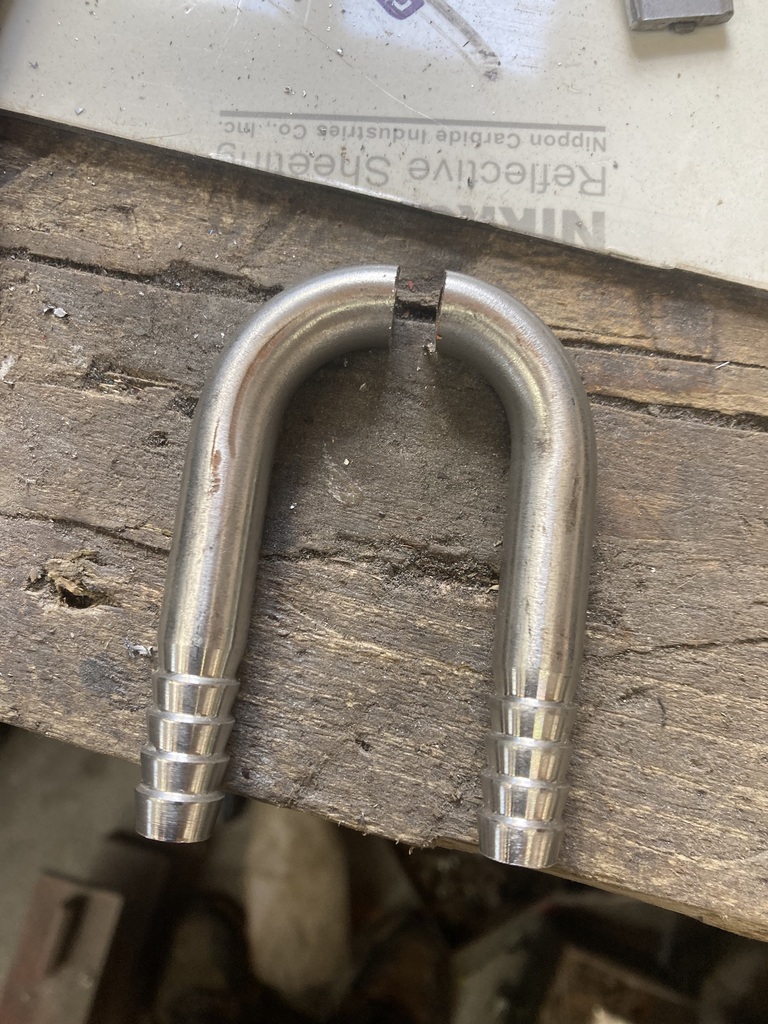 I then drilled a hole in the tank 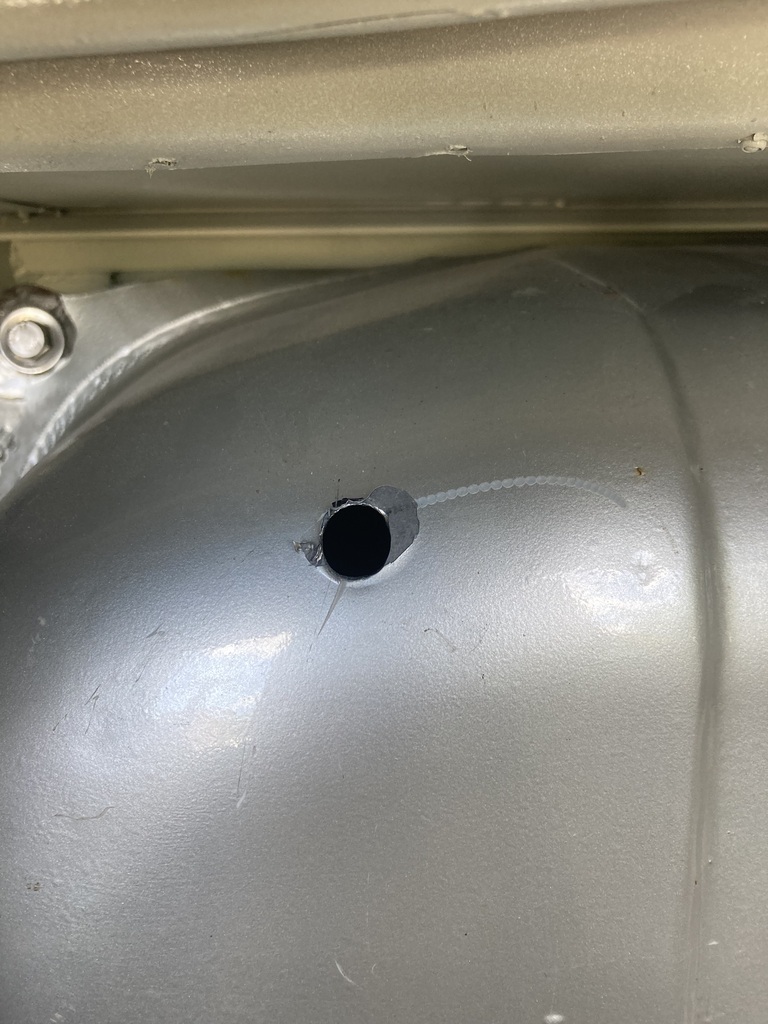 I then cut it about a bit more and welded it back together with the tig 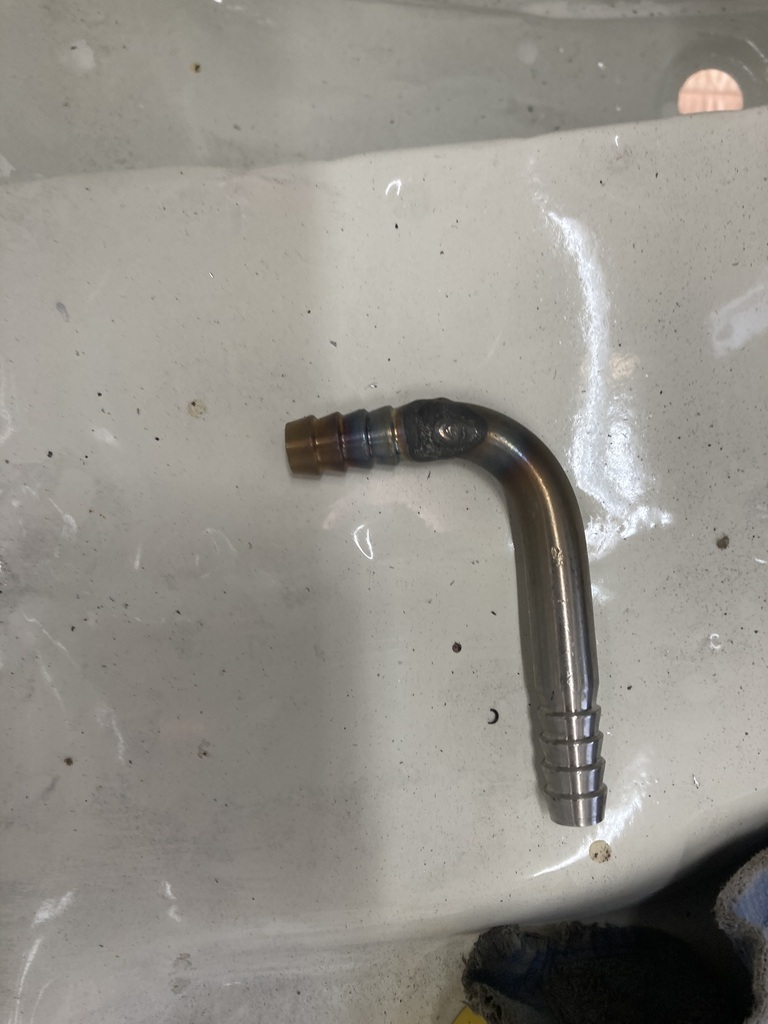 Tacked it to the tank with the mig 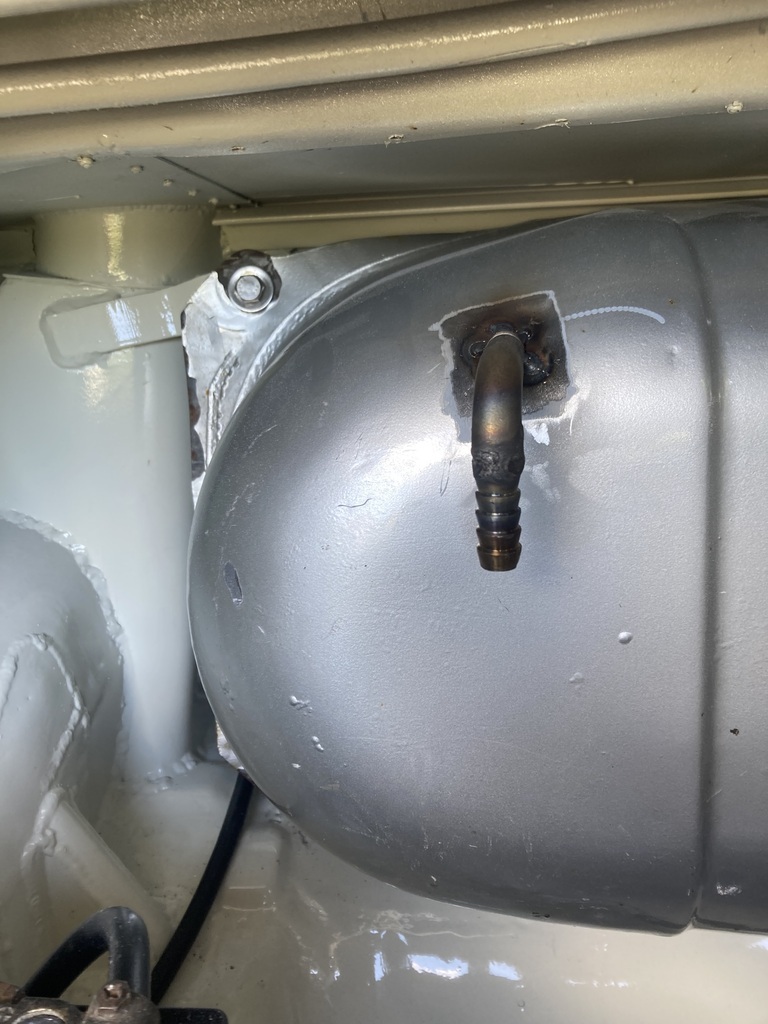 Blew a couple of holes in it with the tig 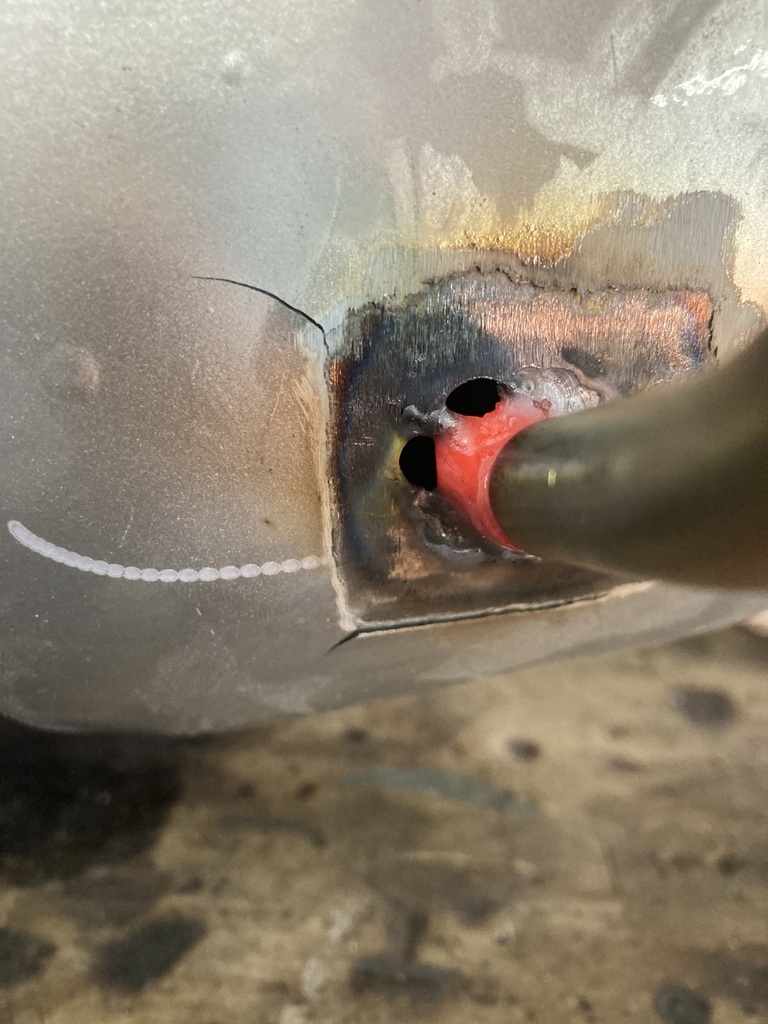 Filled them with the mig and went over them with the tig, as mig tends to leak more (looks cr4p) 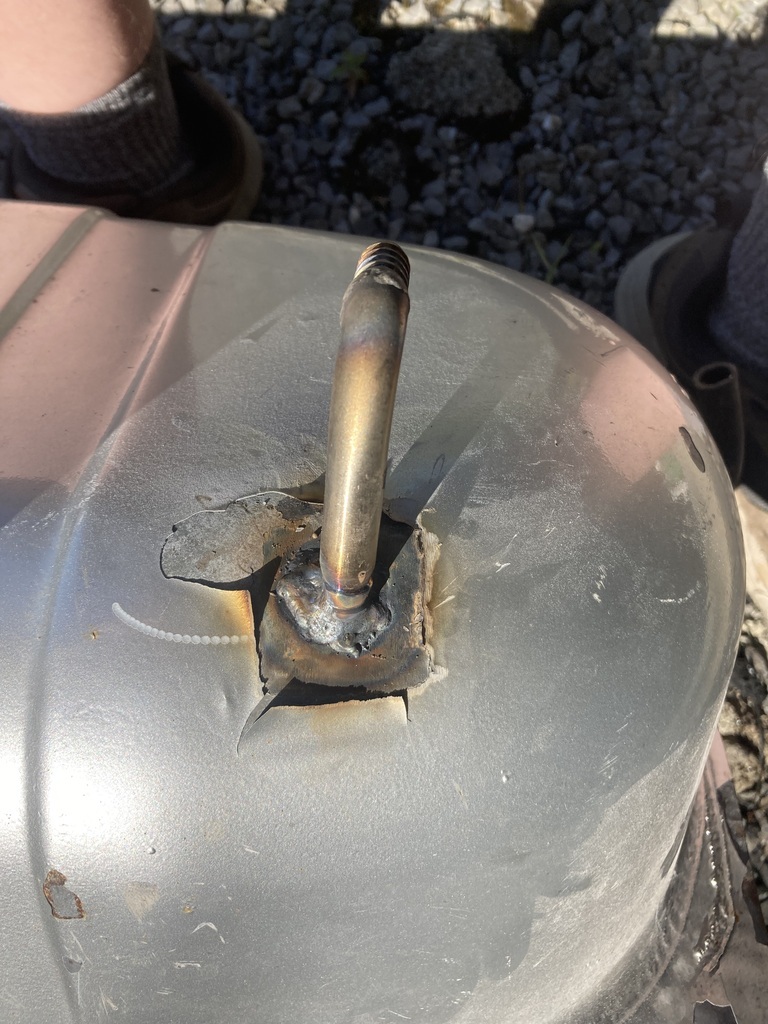 This is the return from the fuel swirl pot, that is also going to double up as a fuel level sight gauge. I am going to fit a brace to it so there is less chance of cracking. That will hopefully be tomorrow. |
| |
|
|


