|
|
|
Oct 23, 2018 11:45:23 GMT
|
|
Looking good now.
Very frustrating when you get the wrong parts sent from overseas. I've only had two wrong bits in five years, so not too bad, but a pain trying to explain to customs why their value is marked at zero!
|
| |
|
|
|
|
|
|
|
|
|
Looking good now. Very frustrating when you get the wrong parts sent from overseas. I've only had two wrong bits in five years, so not too bad, but a pain trying to explain to customs why their value is marked at zero Surely just telling them it's for the RR would help them understand that they're worth nothing.  |
| |
|
|
|
|
|
|
|
|
|
| |
Last Edit: Nov 3, 2018 12:09:17 GMT by petervdv
|
|
|
|
|
|
|
|
Looking beautiful Peter!
Lance
|
| |
|
|
eurogranada
Europe
To tinker or not to tinker, that is the question...
Posts: 2,556
|
|
|
|
|
Just lovely!!
BTW, you left one screw loose.. ;-)
|
| |
|
|
|
|
|
|
|
Looking beautiful Peter! Lance Cheers Lance! Just lovely!! BTW, you left one screw loose.. ;-) Thanks Alex, you have a sharp eye. Will tighten it Peter |
| |
|
|
|
|
|
Nov 25, 2018 22:15:34 GMT
|
Did some work on the Rover.
First thing was to remove the rotator so i could fit the bumpers
Against the ceiling, a large box was stored for rather a long time
This box contained a set of brand new SS bumpers including overriders. This set is made in Vietnam and the compagny manufacurers these for a wide ranfe of cars
On the Rover P5 forum a fellow P5 owner had ordered these a long time ago and had lots of issues when fitting these. He returned it and received a new set which was much better but not totally without issues. I once bought a new grille for my MGB and this was so poorly made that it took me a day to adapt it to fit properly.
Started with the front bumper which consists of 3 pieces and first found all the mounting brackets
fiited the brackets and front bumper parts after applying some painters tape to the overlapping areas to avoid scratches
Everything fitted without problems. The mounting brackets were welded on the right positions onto the bumper parts and the shape of the overriders corresponded with the shape of the bumper. The bumpers were polished very well and look great and am very pleased with the way these fit
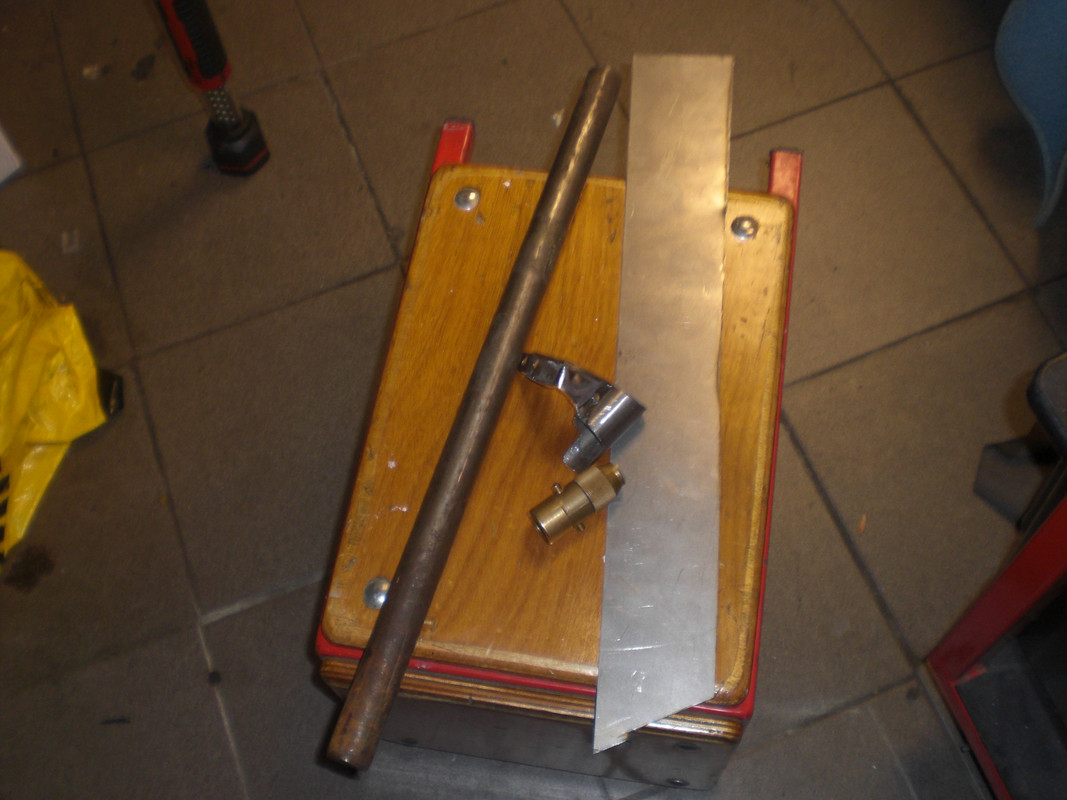
The only negative thing was that some brackets for fitting the overriders were missing. Called the dutch representative and he said that these do not belong to the set. I removed a bracket from an old bumper and had some 2mm SS sheet material and made 4
Then it was time for the rear bumper. Found the brackets and fitted these to the car
After trial fitting the rear bumper, i found out that the mounting points were on the right spot but the bumper was too far from the car body. After comparing the new bumper with the old
, i saw that 2 brackets were not right.
I cut these off.....
and tacked these closer to the bumper.
Trial fitted the bumper and it was oke. Its a big advantage these are made of SS so these can be modified and polished. With chrome bumpers, re chroming is often necesarry after modifications. Forgot to take a picture of the fitted bumper. I am very pleased with these bumpers. Not cheap at Euro 1200,- but chroming of old bumpers would be the same price.
Next thing was to fit the mirrors. These Rover standard have wing mirrors but i do not find these very practical so fitted a pair of Tex mirrors on the doors after protecting these with some painters tape
and the other side...
Thats it for now
Peter
|
| |
|
|
|
|
|
Nov 25, 2018 22:31:30 GMT
|
|
Looking good.
|
| |
|
|
eurogranada
Europe
To tinker or not to tinker, that is the question...
Posts: 2,556
|
|
Nov 26, 2018 11:26:36 GMT
|
|
Very nice work as we've gotten used to from you.
|
| |
|
|
glenanderson
Club Retro Rides Member
Posts: 4,361
Club RR Member Number: 64
|
Rover P5B Coupe - MGB V8glenanderson
@glenanderson
Club Retro Rides Member 64
|
Nov 26, 2018 11:49:47 GMT
|
|
Those stainless bumpers look really nice. Yes, they were expensive, but I paid almost as much as that to have the ones on my P4 rechromed, and they were showing signs of rust and peeling within a couple of years, so I think that’s money well spent.
|
| |
My worst worry about dying is my wife selling my stuff for what I told her it cost...
|
|
|
|
|
|
|
Nov 26, 2018 12:19:19 GMT
|
Looking bloody superb and, at 1,200 euro a bargain. It'd cost me more than that for plastic bumpers for mine, before shipping and duty. Good job I have a cunning plan!  |
| |
|
|
|
|
|
Nov 26, 2018 12:57:16 GMT
|
|
Excellent work as always but surprised to see you fitted these very 70s Tex mirrors. The P5b Coupe is so much a sixties car that, in my opinion of course, fitting these mirrors seems a tad out of period. Styling wise they look a little too bold, pumped up. The black plastic around the mirror does not help either. This mirror does miss the finesse the Rover has in spades everywhere.
Back in the eighties when I went for a holiday in the UK I stopped at the first BL dealer and bought a similar RH Tex mirror - the same as was fitted to the LH side from new on our 1979 Mini 1100 Special.
Ten years ago I bought a same new RH mirror for my 1975 Triumph 2500. Strange thing is that after 3 years that new mirror started to rust quite bad while the original LH mirror still was very good!
|
| |
Last Edit: Nov 26, 2018 12:57:58 GMT by badhuis
|
|
|
|
|
Nov 27, 2018 20:48:28 GMT
|
Cheers Jim Very nice work as we've gotten used to from you. Thanks Alex! Those stainless bumpers look really nice. Yes, they were expensive, but I paid almost as much as that to have the ones on my P4 rechromed, and they were showing signs of rust and peeling within a couple of years, so I think that’s money well spent. I thought exactly the same. It is a lot of money but well spend and i am pleasantly surprised by the quality. I had expected more adjustments were needed. They only make the bumpers for the P5 and P6 so you could not gret these for the P4 Looking bloody superb and, at 1,200 euro a bargain. It'd cost me more than that for plastic bumpers for mine, before shipping and duty. Good job I have a cunning plan!  cheers George. Agree with you about the bargain. I do not know what your plans are but they do not supply these for your RR (yet) Excellent work as always but surprised to see you fitted these very 70s Tex mirrors. The P5b Coupe is so much a sixties car that, in my opinion of course, fitting these mirrors seems a tad out of period. Styling wise they look a little too bold, pumped up. The black plastic around the mirror does not help either. This mirror does miss the finesse the Rover has in spades everywhere. Back in the eighties when I went for a holiday in the UK I stopped at the first BL dealer and bought a similar RH Tex mirror - the same as was fitted to the LH side from new on our 1979 Mini 1100 Special. Ten years ago I bought a same new RH mirror for my 1975 Triumph 2500. Strange thing is that after 3 years that new mirror started to rust quite bad while the original LH mirror still was very good! Cheers. I quess it is a matter of personal taste. I like the look of the TEX mirrors and these have a wide adjustment range. I also had some older mirrors but these had a longer mounting bracket and i had to fit these further to the rear otherwise these would interfere with the quarterlights and did not look good Peter |
| |
|
|
|
|
|
|
|
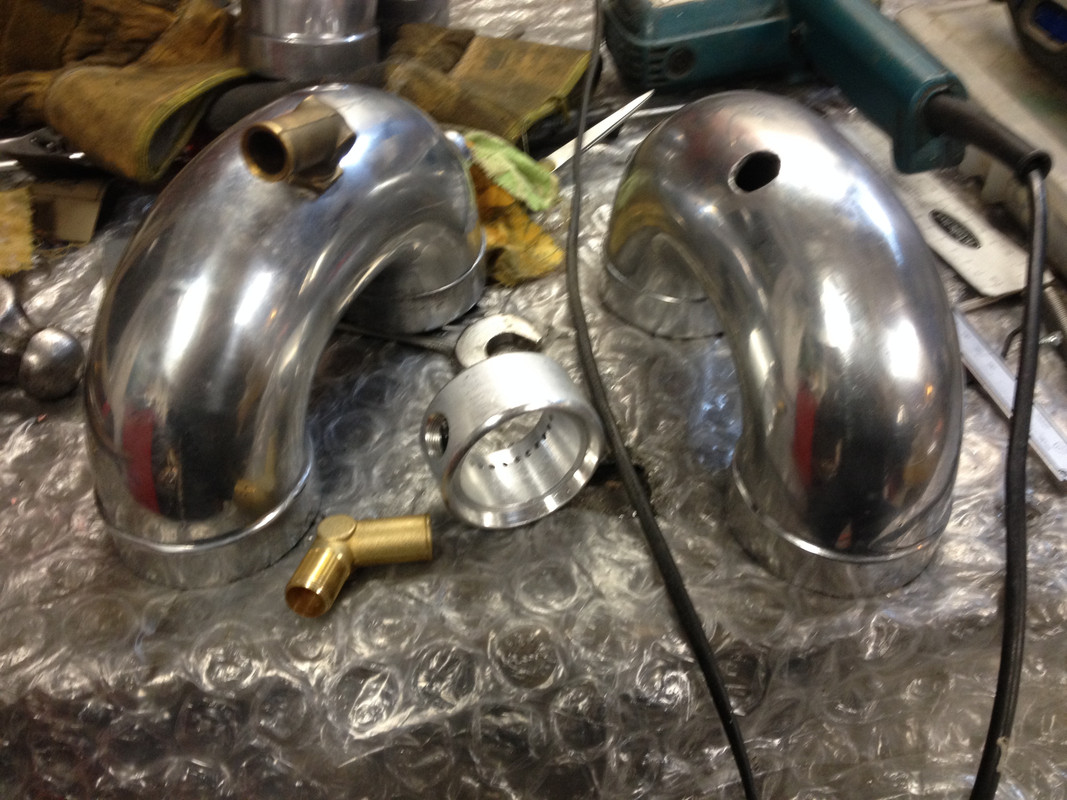
Did some work on the Rover A picture of the fitted rear bumper first...  Because the rear lights of these Rovers are not very bright, i welded a bracket onto the bumper and fitted a fog light  Next thing i did was to adjust the front wheel by setting up the steering linkages. I strapped a rope around the wheels and used some blocks of wood as a kind of spacers.  After setting the wheel straight, i could also fit the steering wheel and horn push  I like the look of this steering wheel but it has a very large diameter which is not needed with the PAS. As i am rather tall, i prefer a smaller steering wheel so may modify the steering wheel diameter and may convert it into a woodrim steering wheel. Its a lot of work but i believe its going to happen some day. Also received the rubber grommets for the RH rear light cluster  and fitted it & checked it  The mechanical fuel was replaced by an electric one years ago which dripped a bit. After cheking it, i found a bracket was a bit bend. Trying to bend the casted part back made it crack so made a new bracket out of an old bonnet stay from my MGB  Also ordered a pair of LPG mixers and fitted these to the elbows which run from the air filter to the carburators  |
| |
Last Edit: Dec 5, 2018 18:49:43 GMT by petervdv
|
|
|
|
|
|
|
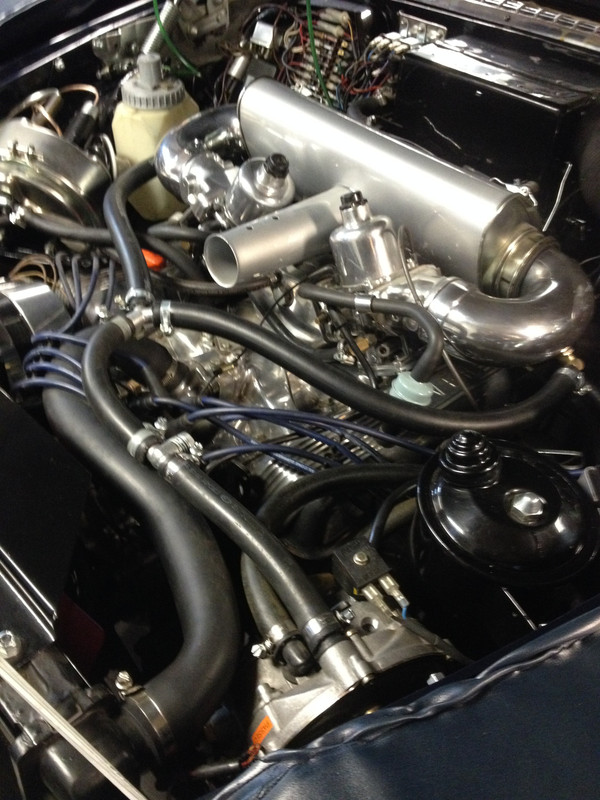
Heres a pictures of the elbows fitted together with the LPG hoses  After this it was time to make some noise as we all like smooth running V8s.... Thats it for now Peter |
| |
Last Edit: Dec 5, 2018 20:19:53 GMT by petervdv
|
|
|
|
|
|
|
|
Looks good as always and great attention to detail! how far off is its 1st ride then?
|
| |
|
|
|
|
|
|
|
|
|
|
As can seen its got an excellent oilpressure
|
| |
Last Edit: Dec 5, 2018 20:21:11 GMT by petervdv
|
|
|
|
|
|
|
|
Missed this thread somehow, excellent work Peter!
|
| |
|
|
|
|
|
|
|
Looks good as always and great attention to detail! how far off is its 1st ride then? Thanks. Ordered the trim clips,door & boot seals and some other small items earlier this week and expect these somewhere next week. When that is fitted its time for a ride…. Hope the snow and salt wont be on the road. Cheers Mark. Good info! Missed this thread somehow, excellent work Peter! Thanks! |
| |
|
|
|
|


