remmoc
Part of things
 
Posts: 931
|
|
Jul 12, 2020 17:52:22 GMT
|
Next job was to investigate why the battery was not charged. After measuring with the multimeter, i found out thst the isolation of the alternator coil was not oke. The alternator of the Ducati is inside the engine in the engine oil and has a magnitic rotor and a copper wired stator 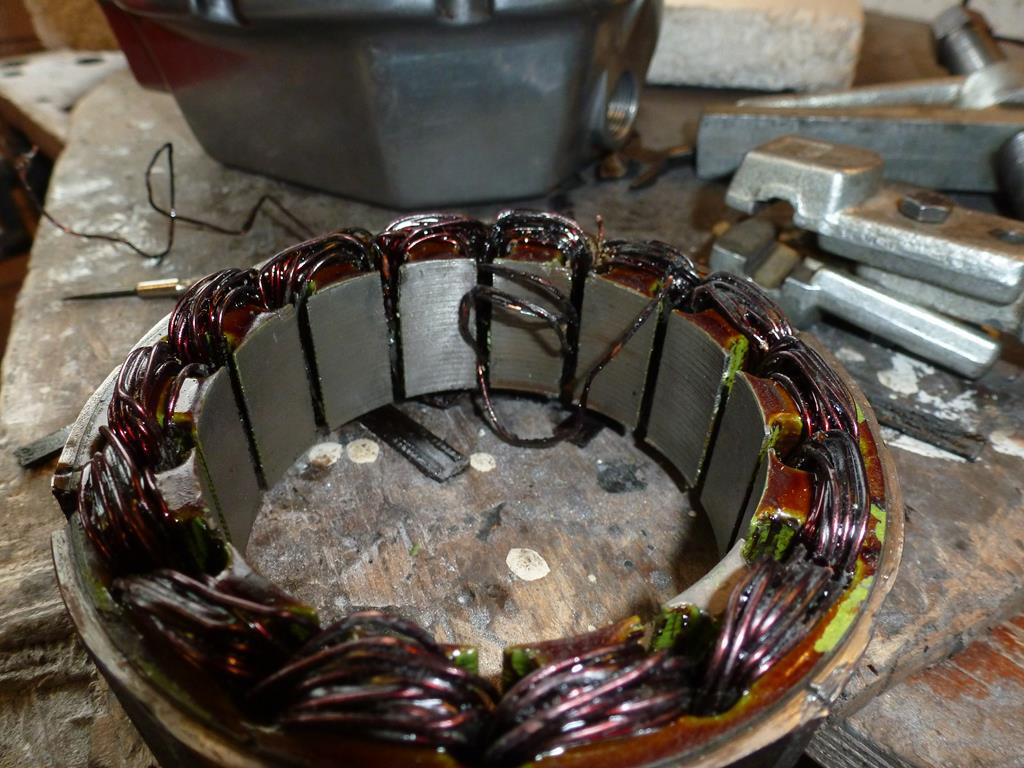 New ones can be purchased but cost Euro 450,- so i did some Googling and looked on You tune and decided the rewind it myself. There are lot of videos on Youtube from India and South America where this is still common practice. Mine is a single phase so not to difficult to rewind. Found a compagny in the UK that supplies the copper wire, insulation pieces and varnish and have asked them if their parts can handle the hot engine oil and am waiting for an answer. It looks like all the parts cost less then Euro 30,- so definetely worth a try I work for a rewind company and can do this no problem if you get stuck , don't strip it out though if your not doing it yourself as id need to get the spec , you need wire size ( cross sectional area ) , turns , how its connected ( star or delta ) , and lead out positions , don't rely on the coating on the core for insulation as it often burns away once its shorted to earth as yours has . If its just a single wire then it will be wound clockwise , next slot anticlock and so on creating the N/S poles .if you need any advise ask away . Heres a Denso one i did for one of my cars 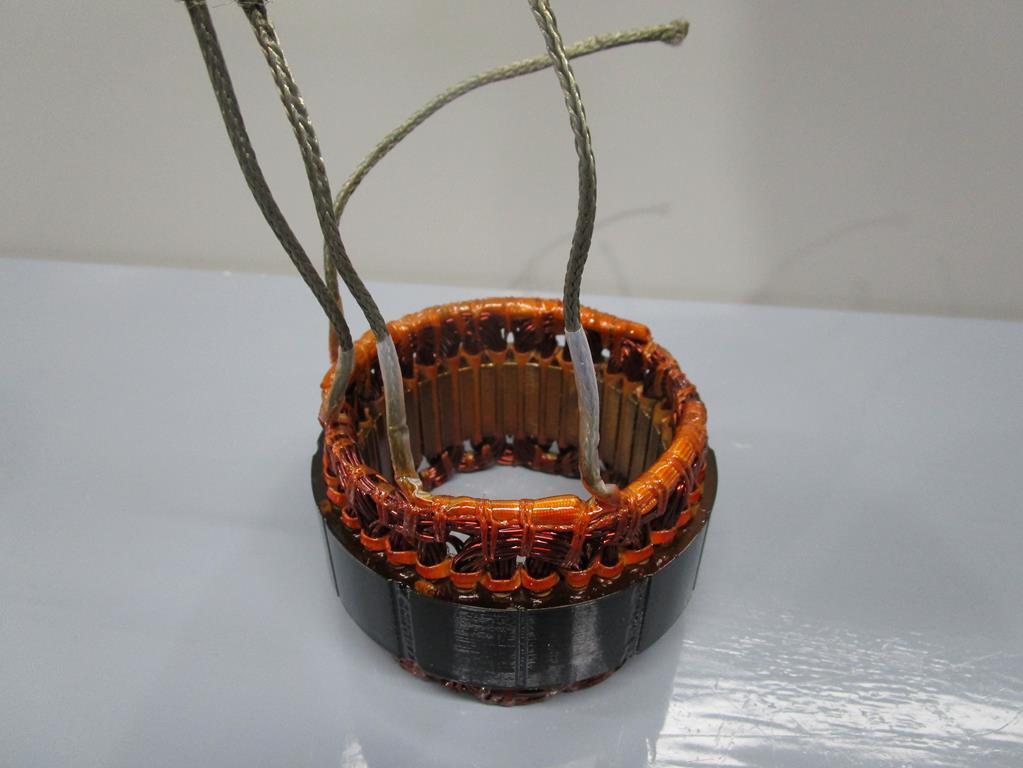 |
| |
Last Edit: Jul 12, 2020 17:57:20 GMT by remmoc
|
|
|
|
|
|
|
Jul 12, 2020 18:37:15 GMT
|
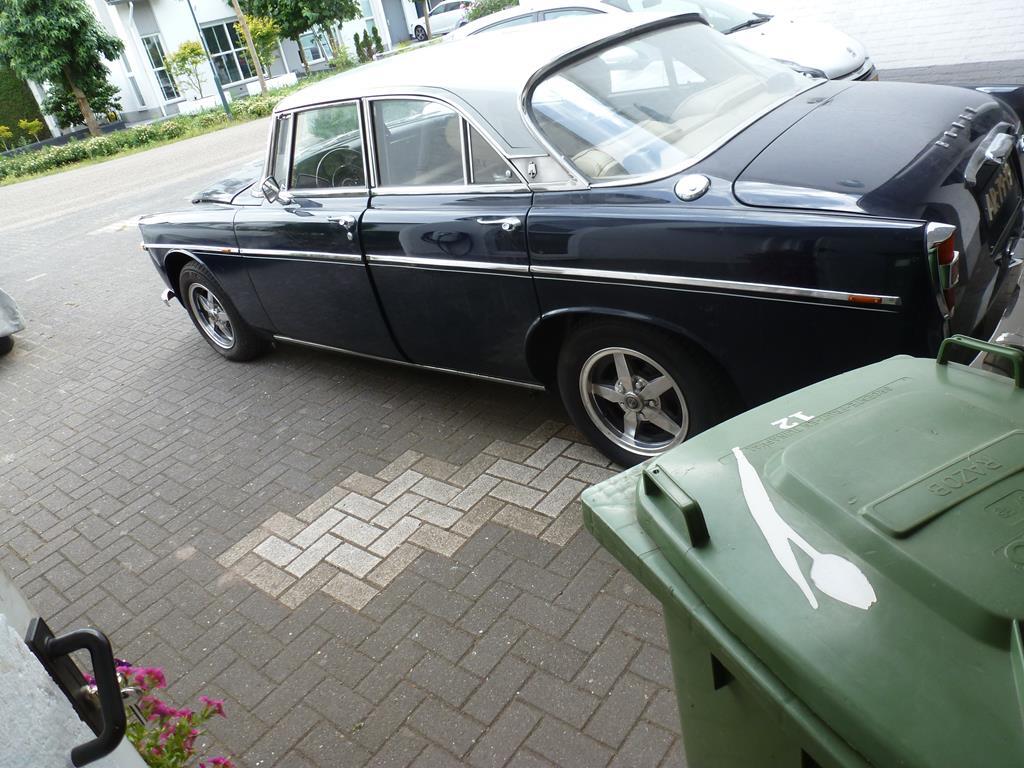
Also did some work on the daily Rover. The posts and rear wing were sprayed with a high build primer 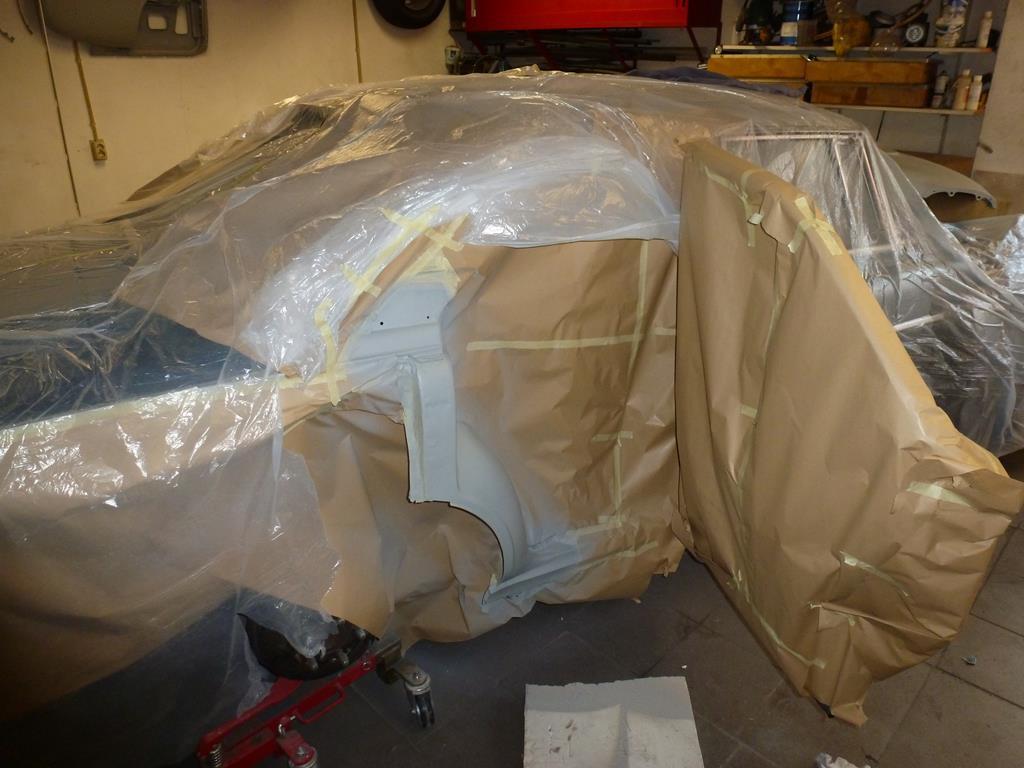 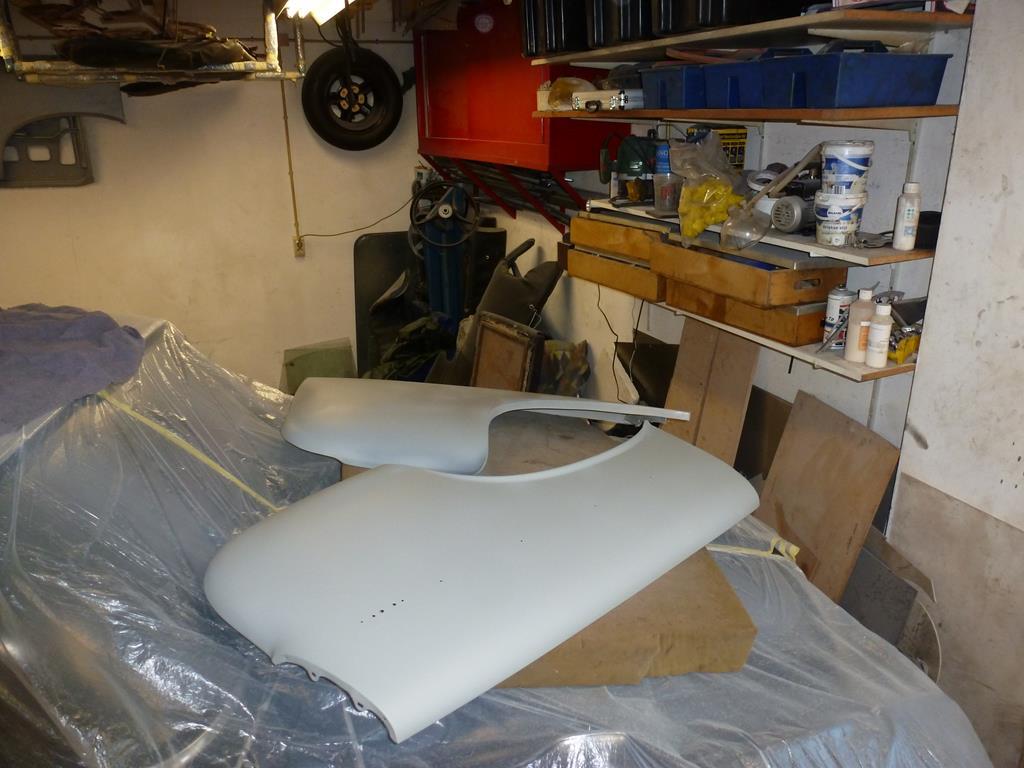 and after sanding, gave the posts a few coats of blue paint. 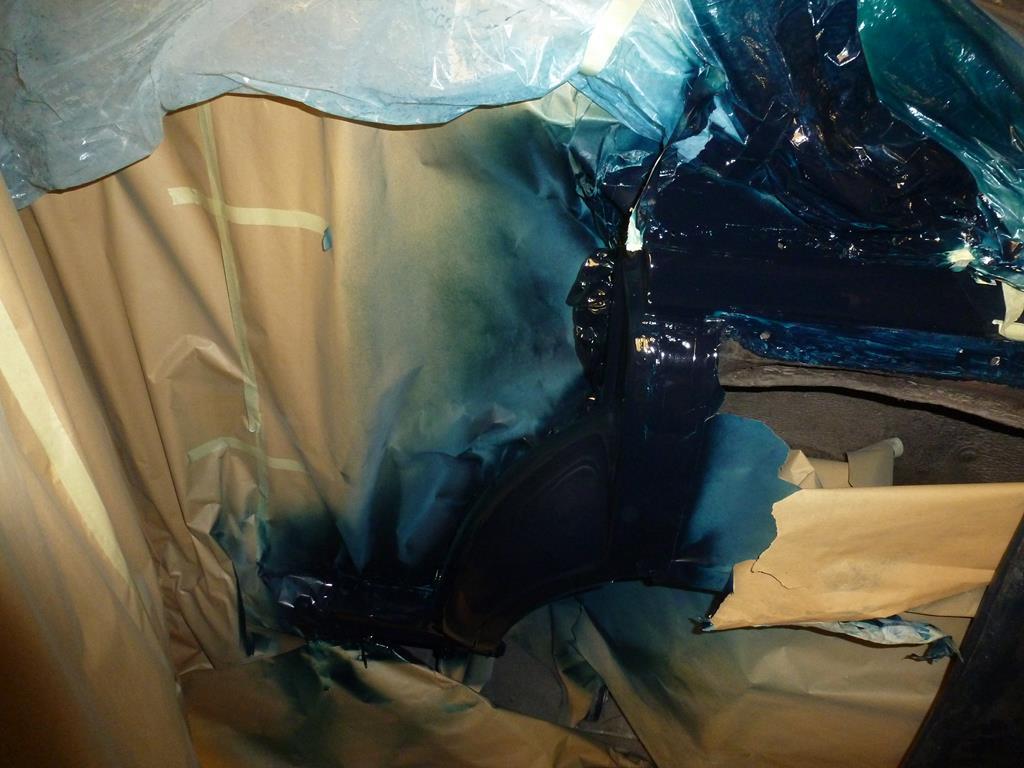 Today i also took the other P5B out for the first serious rides. Had also made some trips around the house. The carbs were still not adjusted wel enough so took it for a ride of approx 6 km, then checked a spark plug and then made adjustment to the carbs. After getting confidence from the first rides, i trips went further and further. Everything works, no leaks or strange noises. The ride is very smooth with all new bushes. The engine runs well and after the longer runs, i found out it has a very healthy oil pressure at idle also when warm 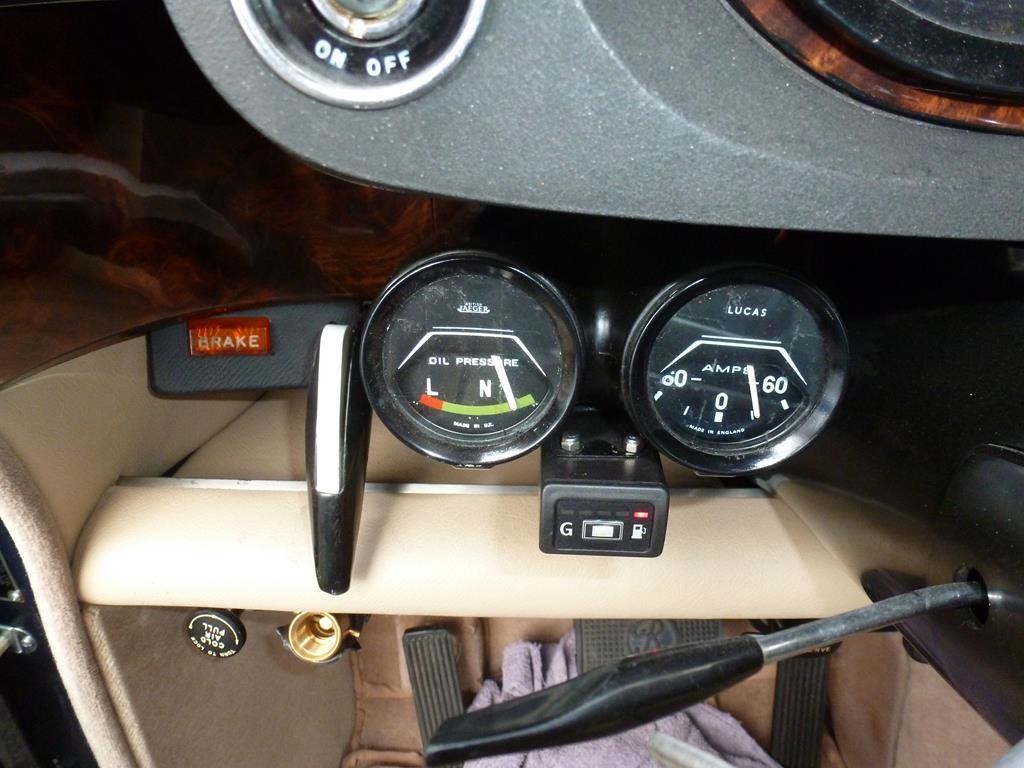 There are a few things which need some attention. The engine shakes a bit at idle and it sometimes hesitates a bit during fast acceleration. I removed the air filter housing and balanced the SU with a special tool. 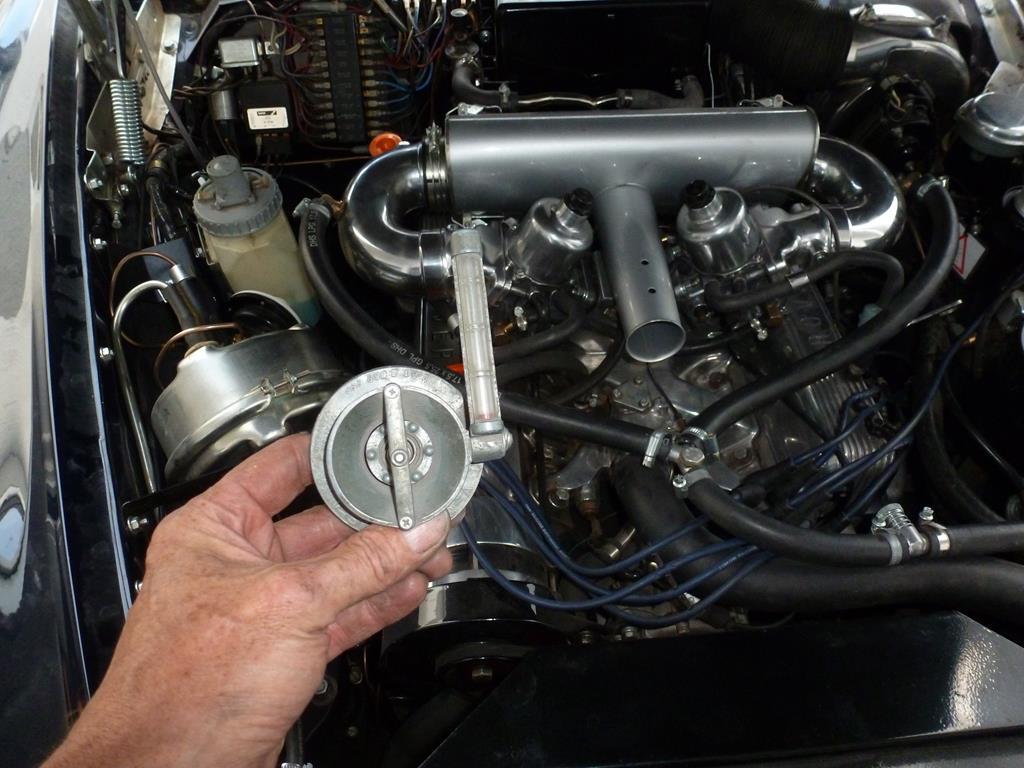 a butterfly valve on one of the SU was sticking a bit and one neede some adjustment to get a good balance but this did not help the shaking. Could be that i changed the pulley for a better one. When increasing the revs, the shaking dissappears. Will keep an eye on that one. It was a great feeling to drive and i was surprised that everything worked. Peter |
| |
|
|
|
|
|
Jul 12, 2020 21:06:15 GMT
|
Next job was to investigate why the battery was not charged. After measuring with the multimeter, i found out thst the isolation of the alternator coil was not oke. The alternator of the Ducati is inside the engine in the engine oil and has a magnitic rotor and a copper wired stator New ones can be purchased but cost Euro 450,- so i did some Googling and looked on You tune and decided the rewind it myself. There are lot of videos on Youtube from India and South America where this is still common practice. Mine is a single phase so not to difficult to rewind. Found a compagny in the UK that supplies the copper wire, insulation pieces and varnish and have asked them if their parts can handle the hot engine oil and am waiting for an answer. It looks like all the parts cost less then Euro 30,- so definetely worth a try I work for a rewind company and can do this no problem if you get stuck , don't strip it out though if your not doing it yourself as id need to get the spec , you need wire size ( cross sectional area ) , turns , how its connected ( star or delta ) , and lead out positions , don't rely on the coating on the core for insulation as it often burns away once its shorted to earth as yours has . If its just a single wire then it will be wound clockwise , next slot anticlock and so on creating the N/S poles .if you need any advise ask away . Heres a Denso one i did for one of my cars  Thanks for your kind offer but i like trying things myself. Your rewinded alternator looks spot on! I already removed the old copper wires but counted the number of windings and noticed the clockwise and anti clockwise windings and made plenty pictures of where the ends go. It is a single phase so pretty easy. As you can see on the picture the Ducati stator did not have the insulation in the holes but i will add these. One of the questions i asked the UK supplier if the varnish can handle the warm oil or is it better to use polyester resin. I also read that transformators also sometimes contain oil so there must be suitable varnish.
It may not look as nice as yours but i think i can manage. As the wire is cheap, i will buy enough and before i will apply the varnish or resin, i will check with my multimeter if its shorted to earth and if it is, i will make a new one. Thanks again for your kind offer! Peter
|
| |
|
|
eurogranada
Europe
To tinker or not to tinker, that is the question...
Posts: 2,556
|
|
Jul 13, 2020 10:22:40 GMT
|
|
Good to see you out and about in the restored Rover!
Although with your high standards I'd have expected nothing less than a 98 out of 100 score on these first trips!!
|
| |
|
|
|
|
|
Jul 26, 2020 17:42:02 GMT
|
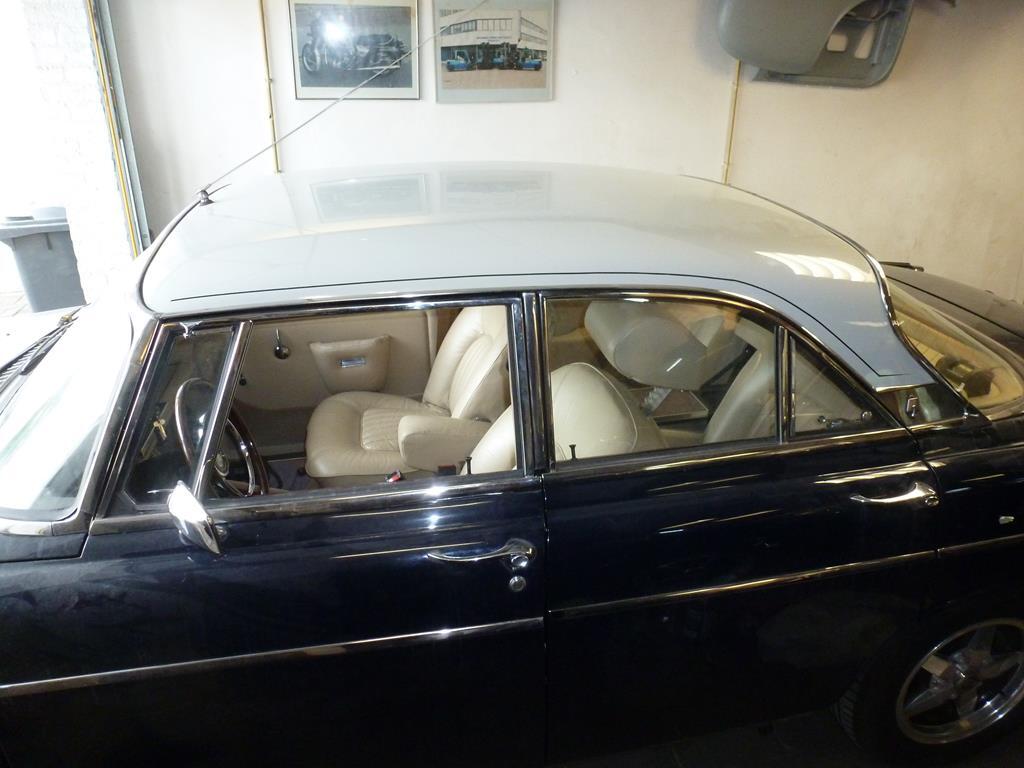
Good to see you out and about in the restored Rover! Although with your high standards I'd have expected nothing less than a 98 out of 100 score on these first trips!! Cheers Alex! Good progress on the Rover. Everything is painted and after the paint hardened, the new C posts, the sill ends and the rear chassis leg got a few squirts of Tectyl with the special gun 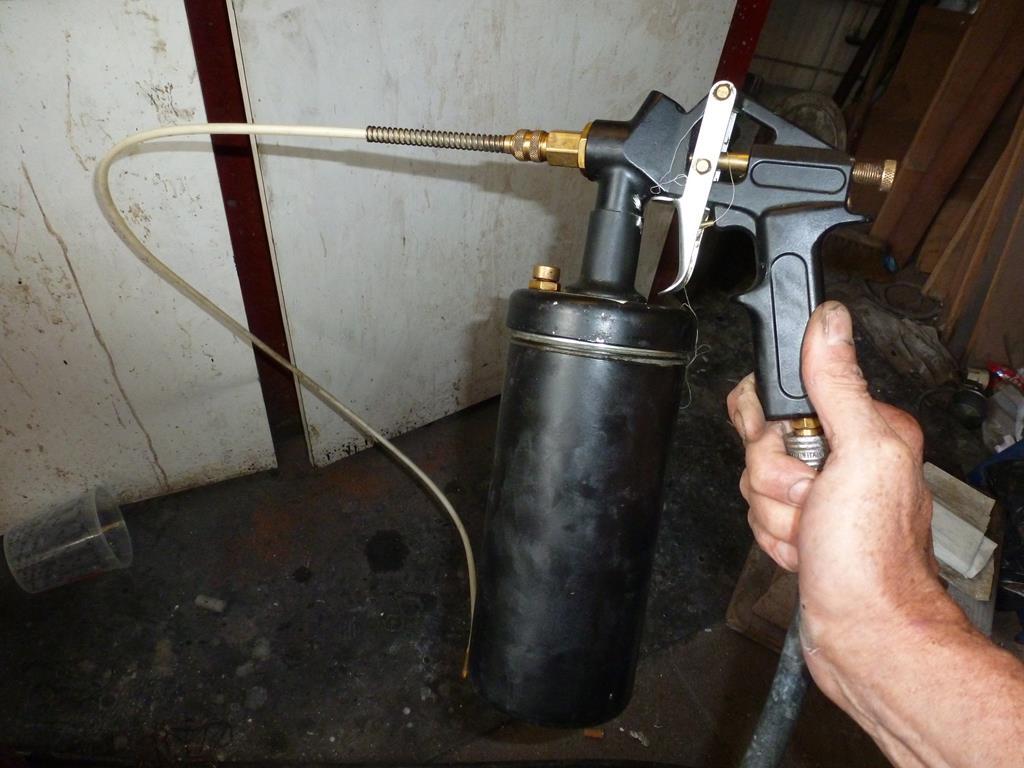 Not much to see except for the rear chassis leg 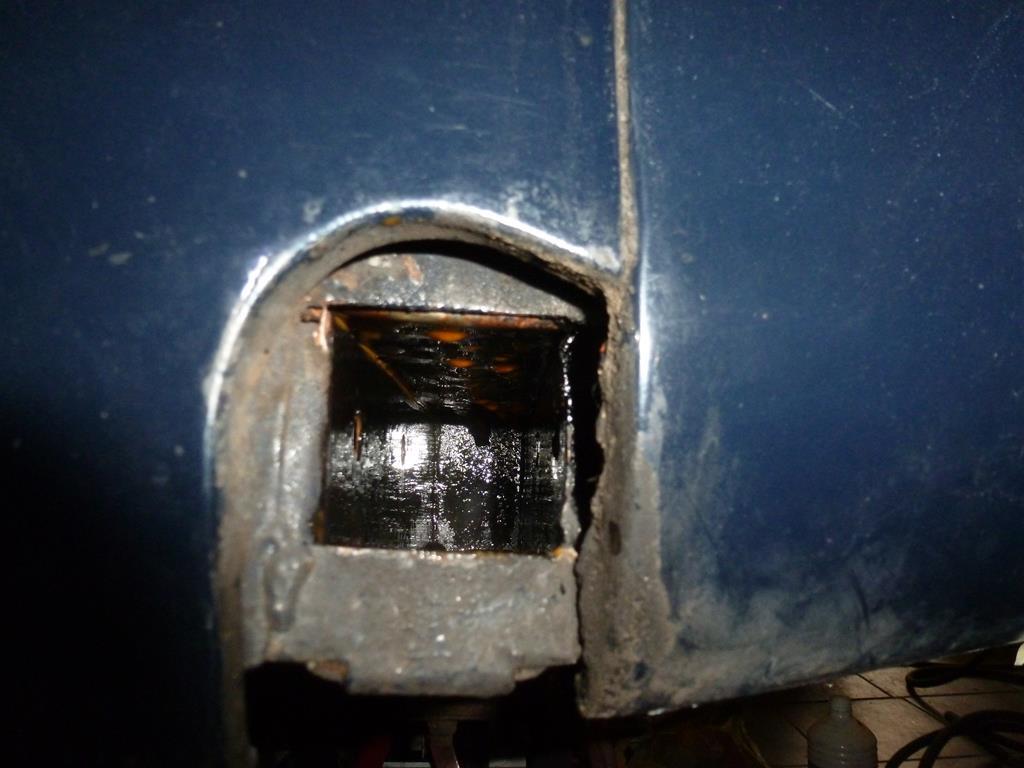 Also made some interior panels between head lining and rear window and above the C posts. These had been redone in the past but not with the correct material and i had enough left. The hardboard of the panels above the C post were rather poor so made new ones 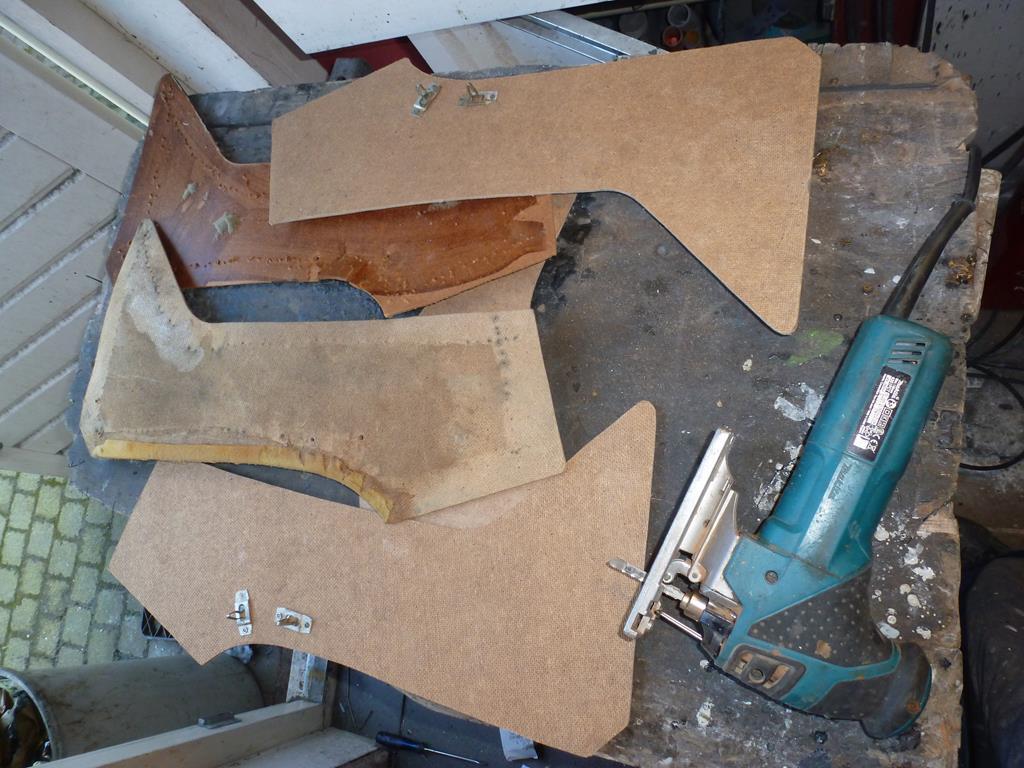 The outsides were covered with a thin foam layer and a layer of the headlining vinyl and stapled to the hardboard 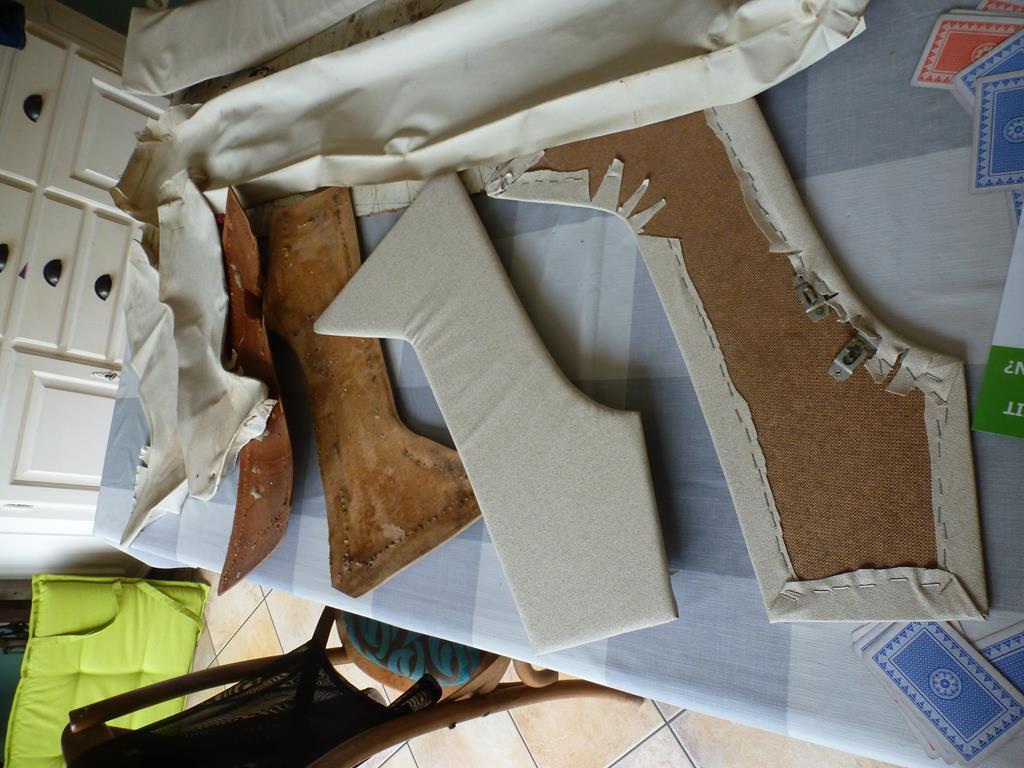 Cleaned the seats and carpets and before fitting these i gave the seat some leather creme. Underneath s picture of the freshly painted C post and the cleaned interior 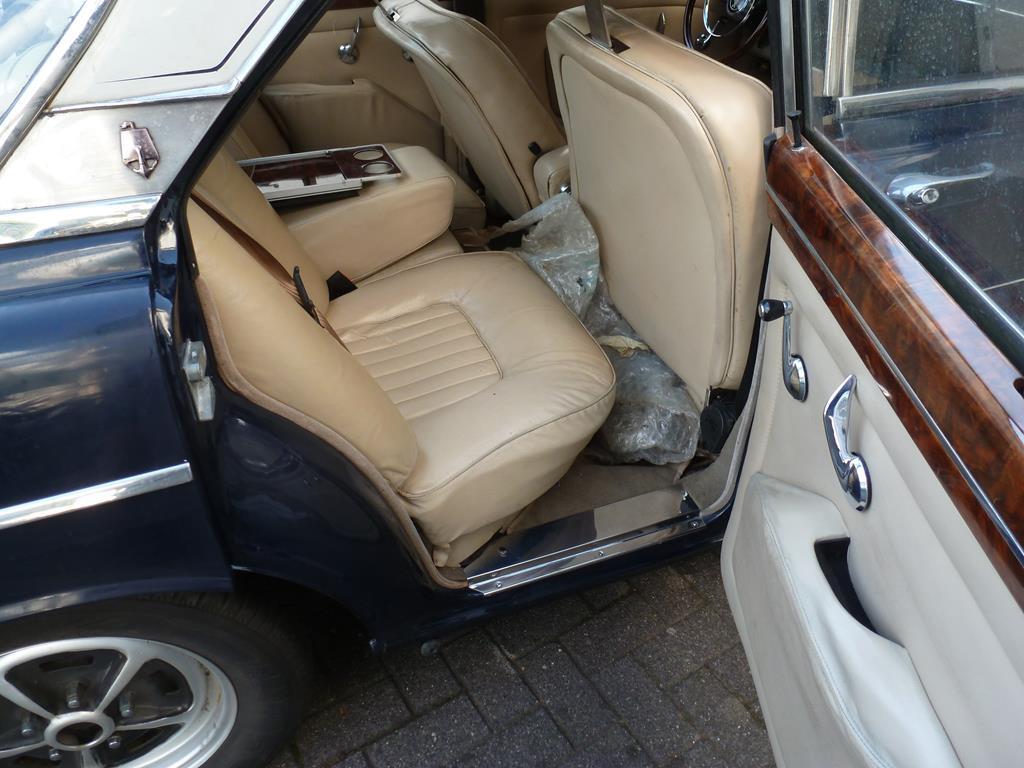 Removed als the side trim from the car as i had seen that the clips on the rear wings were pretty rusty which is no surprise as the steel clips are connected to the SS trim. There was also a fair bit of dirt but luckily hardly any rust on the doors 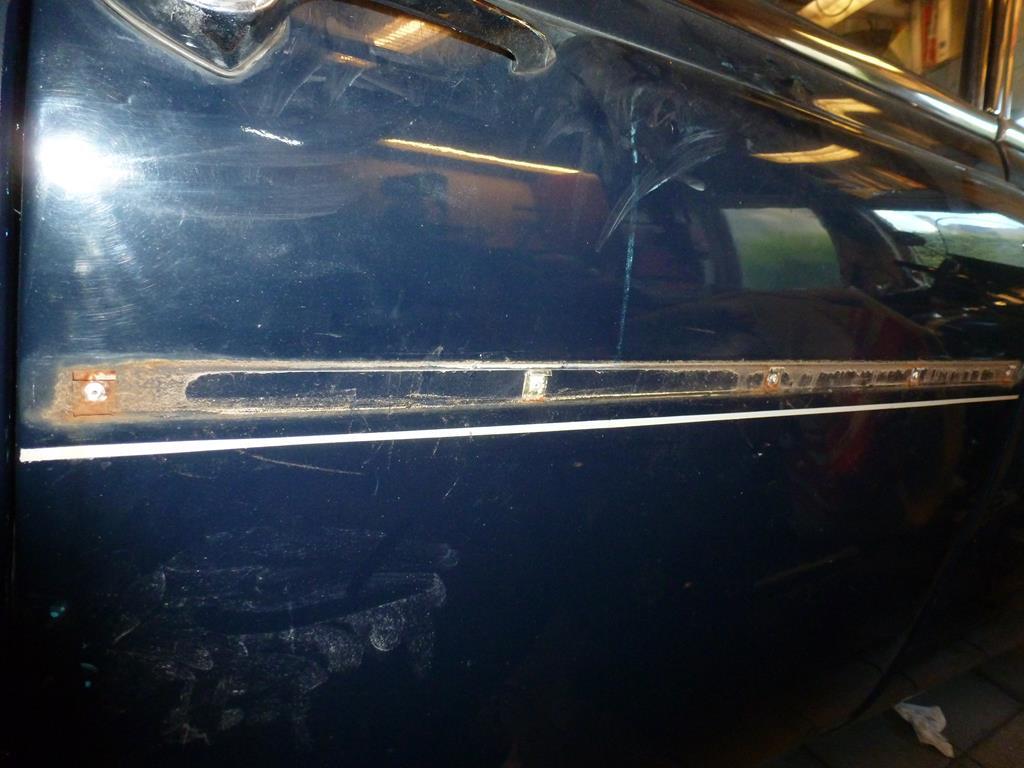 Ordered new ones from Bresco which arrived within a few days and well priced 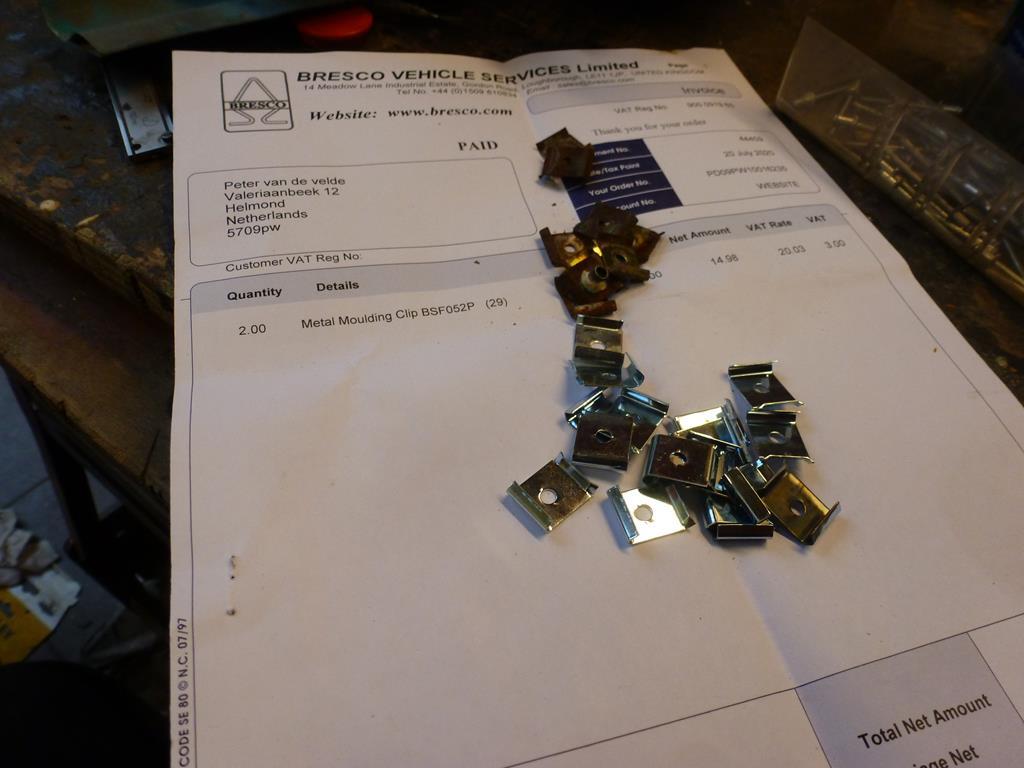 Forgot to order pop rivets so am waiting for those to arrive Also ordered a set of Mequiars car cleaning stuff to give the old paint a freshup as it was dirty and a bit faded. Used the clay bar on the roof first and then the bonnet and then the clay bar was already completey filled with dirt. The bonnet had small white drips of paint which the clay did not remove. It was clear the car was seriously dirty so i took some 2000 grind sand paper and with soapy water sanded the bonnet, the bood lid and upper parts of the painted part of the doors. With this sand paper, the white drips were easily removed. The wheather was not ideal as there was too much sun at the start so the water dissappeared rather quickly 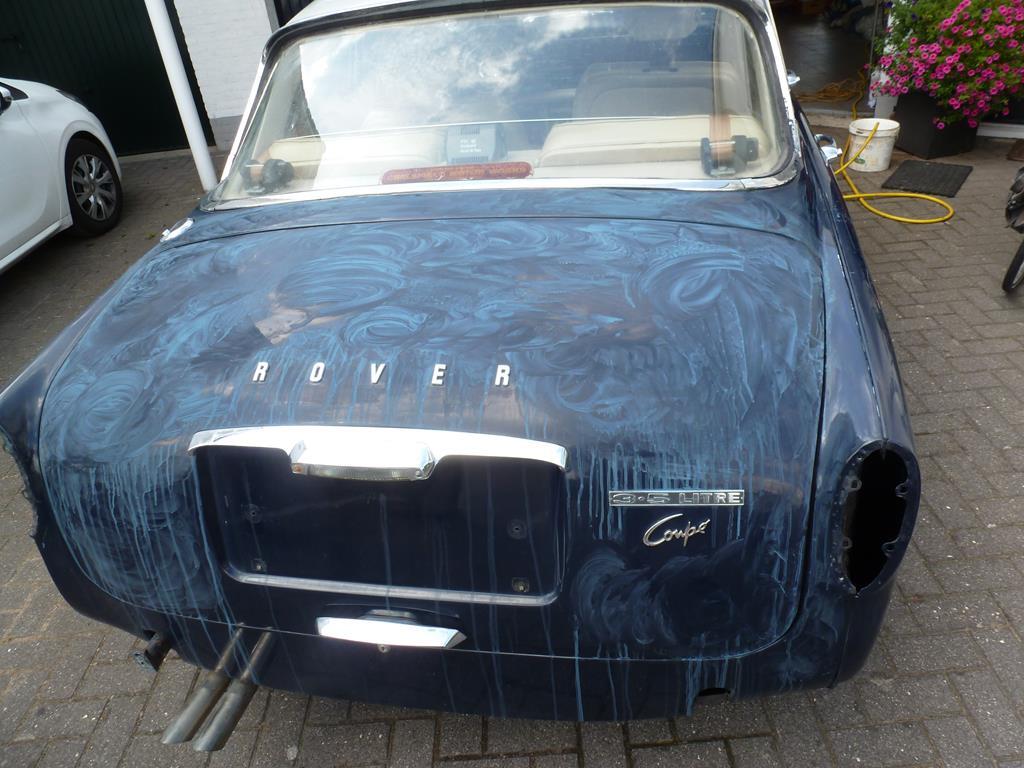 After cleanig the sanded areas, i gave it a polish with the 3M yellow polish and it looks nice again 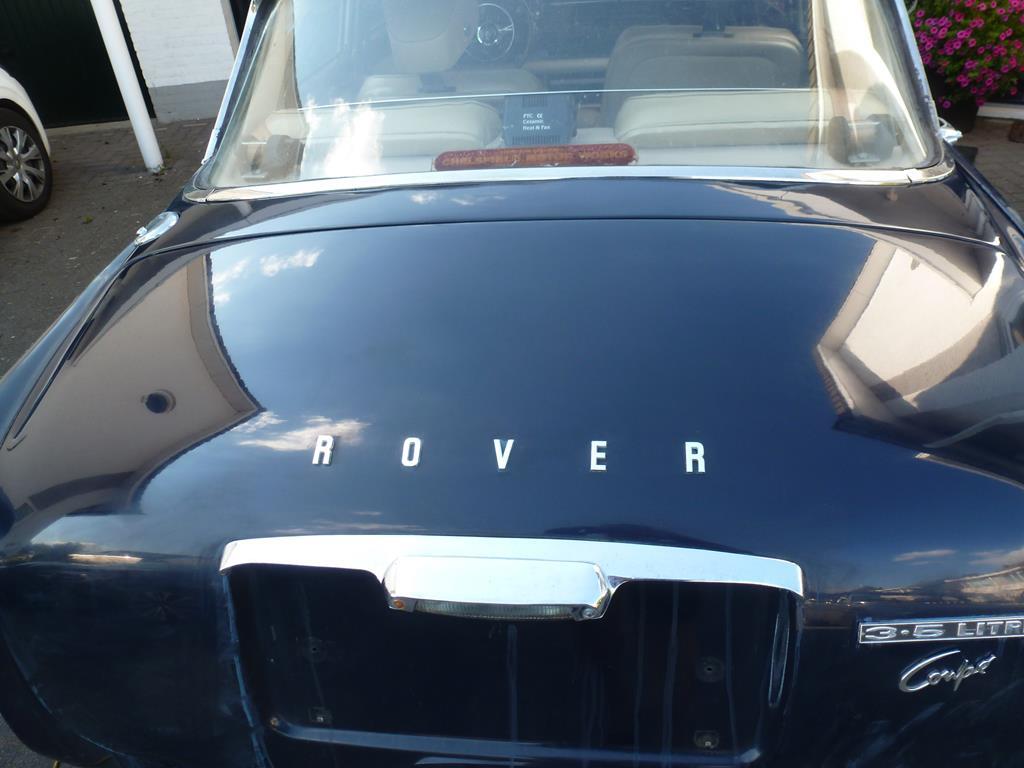 and the bonnet area and top of the front wings 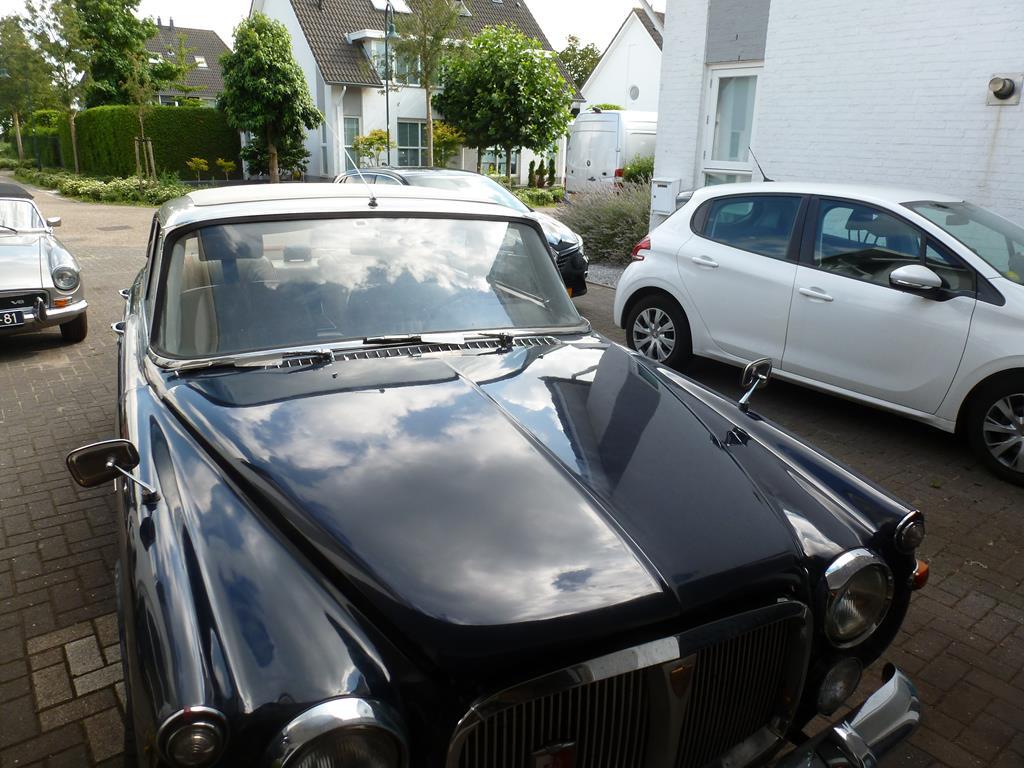 Still neead to the doors and the lower part of the car but the car never looked cleaner in the time i owned it 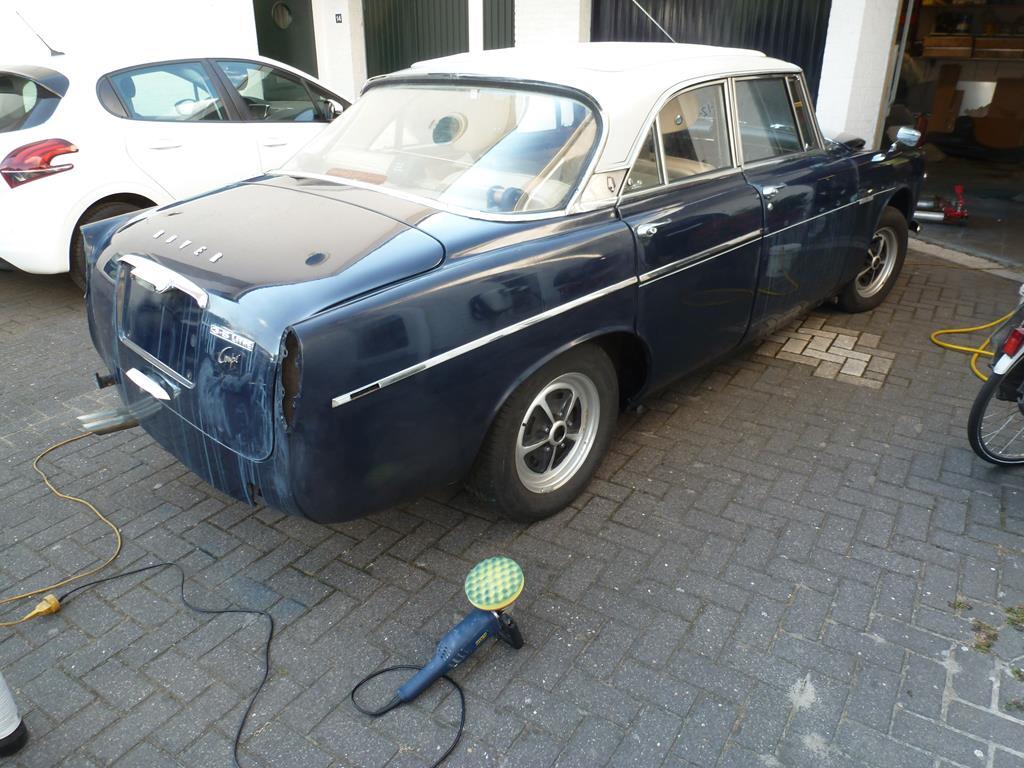 May give it a final polish with the blue 3M product Peter |
| |
Last Edit: Jul 26, 2020 17:43:00 GMT by petervdv
|
|
|
|
|
Jul 26, 2020 17:53:37 GMT
|
Also did some work on the MGB V8 as it needed a new MOT. Did a general check and saw that the RH valve cover was sweating oil. It has the excellent rubber gaskets from V8 tuner but these are over 10 years old now. 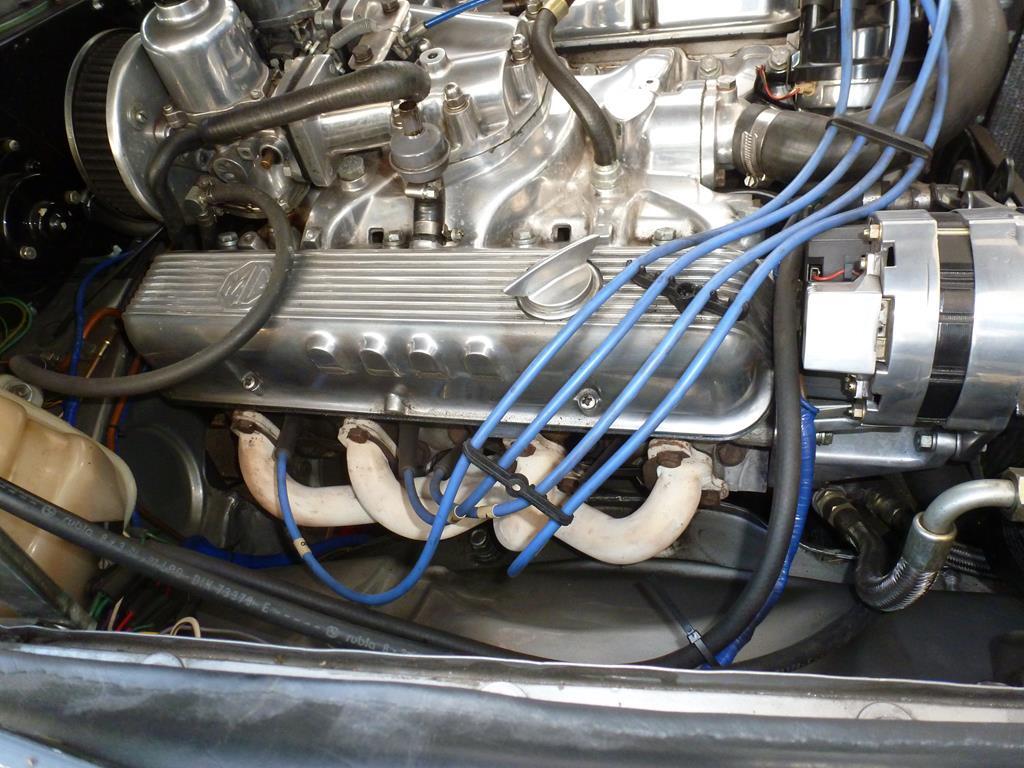 Removed the valve cover and gave it a coat of fluid gasket which stopped the sweating 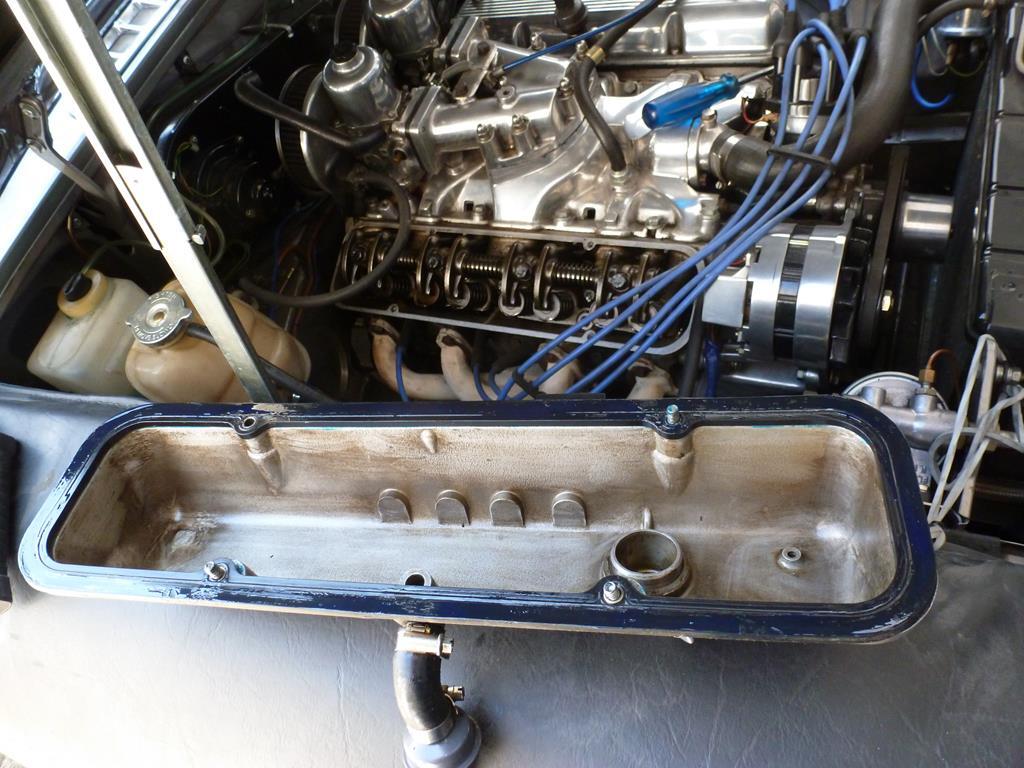 Removed the rear brake drums to see everything was fine 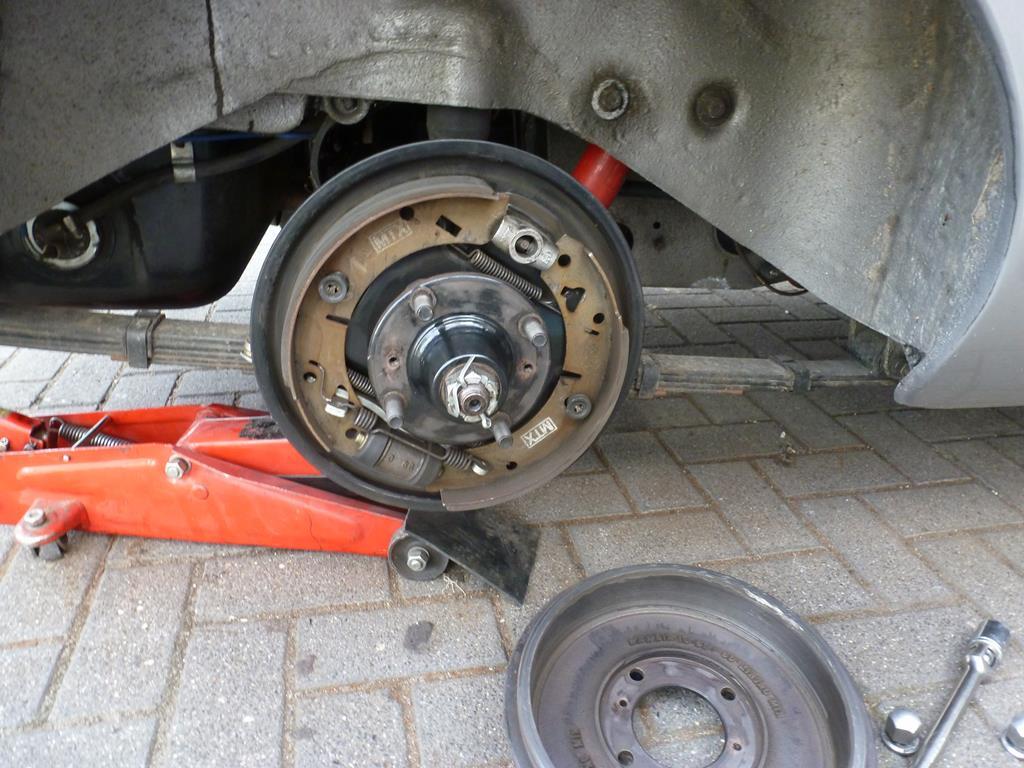 Also checked the front brakes and suspension and again all was fine 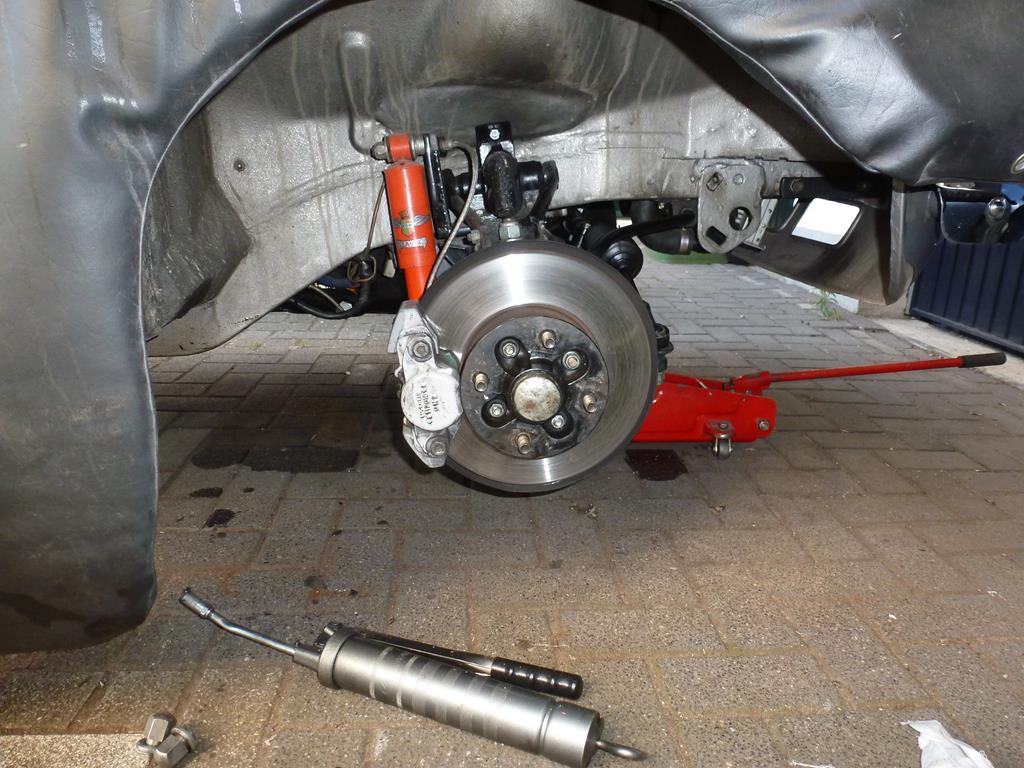 Gave the grease nipples on the front suspension a few squirts with the grease gun And some fresh engine oil 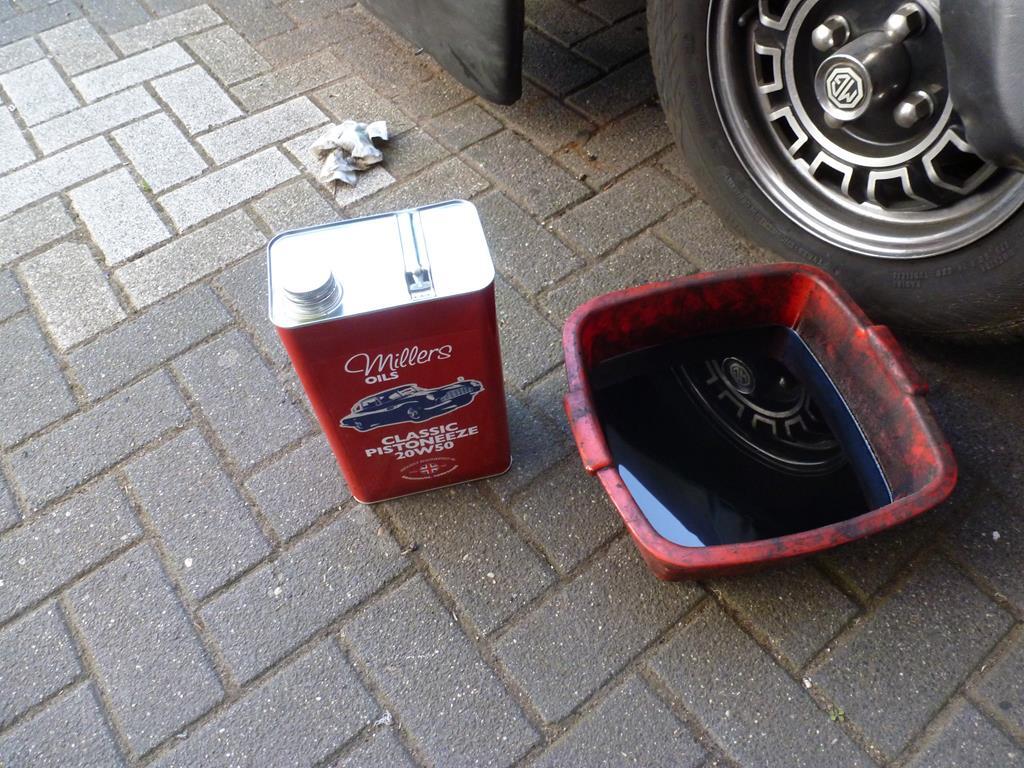 Also cleaned the leather seats with water with natural soap and a coat of leather cream from the Furniture clinic 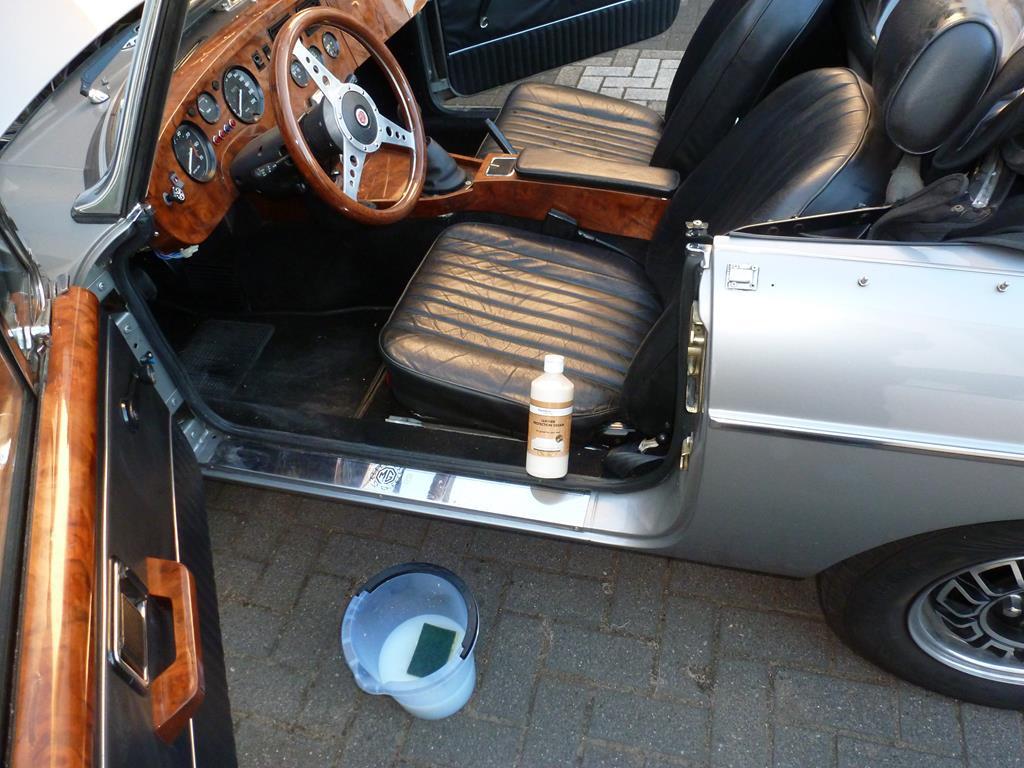 And the car passed the MOT test without problems Peter |
| |
|
|
|
|
|
|
|
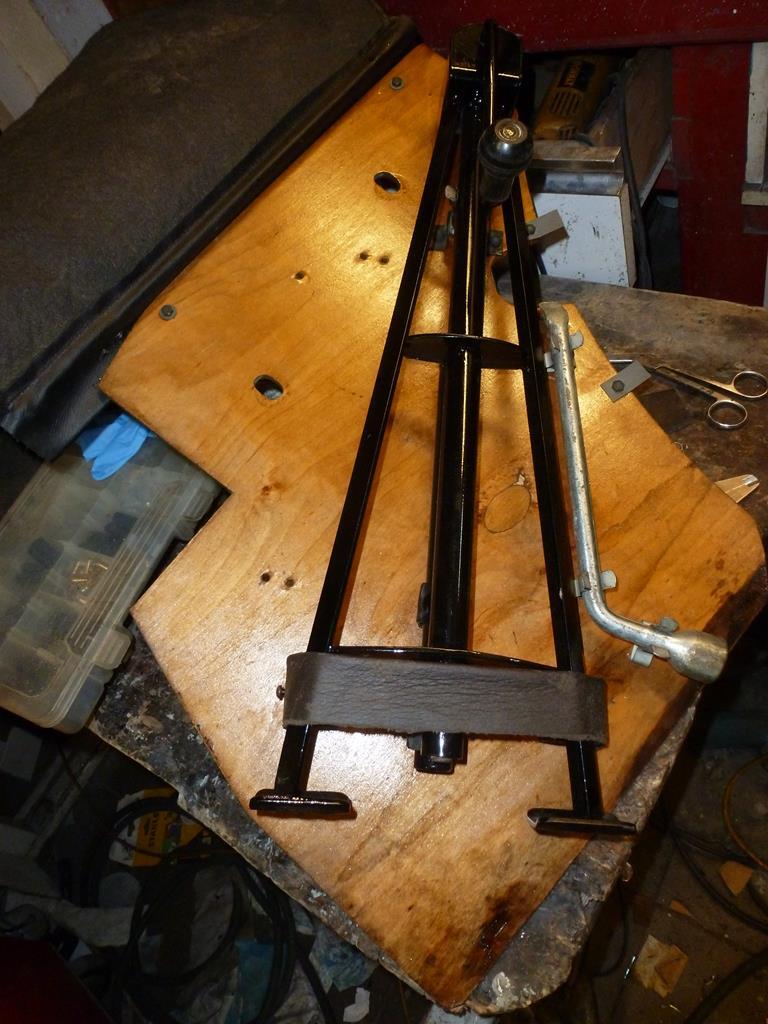
Did some work on the daily Rover. The poprivets arrived and all trimp clips were fitted with pop rivets doped in Tectyl. Bought some 3M striping tape to apply the coach lines on the painted rear wings. At the factory these coach lines were done by hand without tape but i did not believe this would get a proper result doing it myself. I still had to do the coachlines on the project P5B. Found a post on the P5 forum with the correct position and dimension. The 3M tape which works well 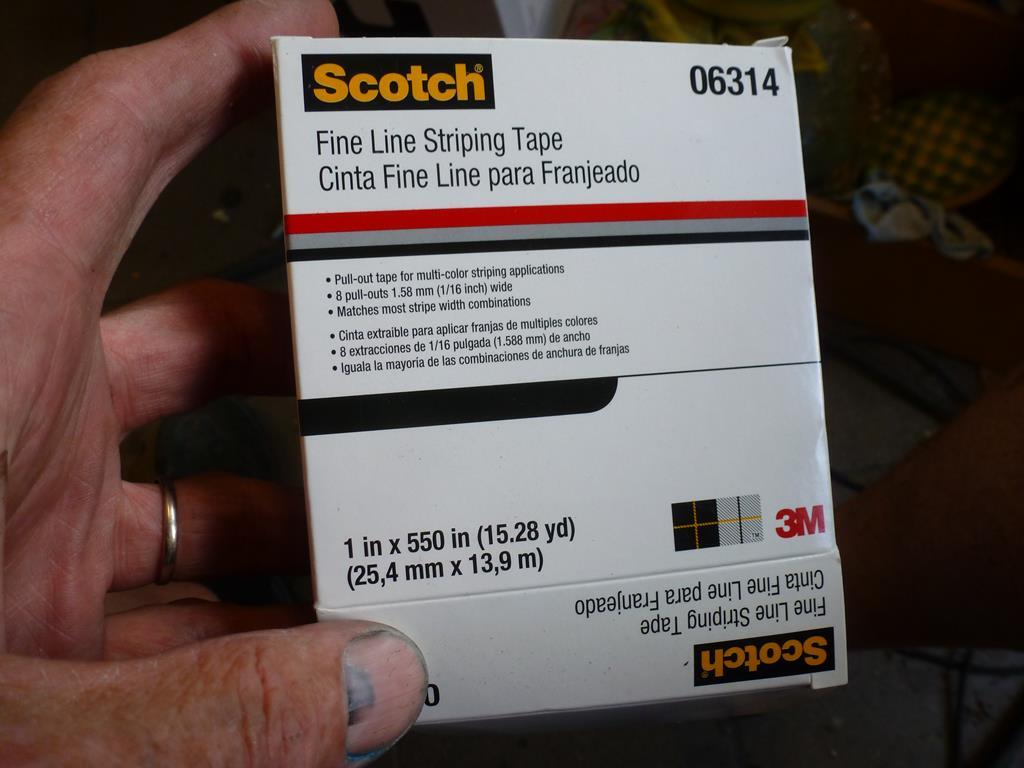 Applied the tape to the project P5B 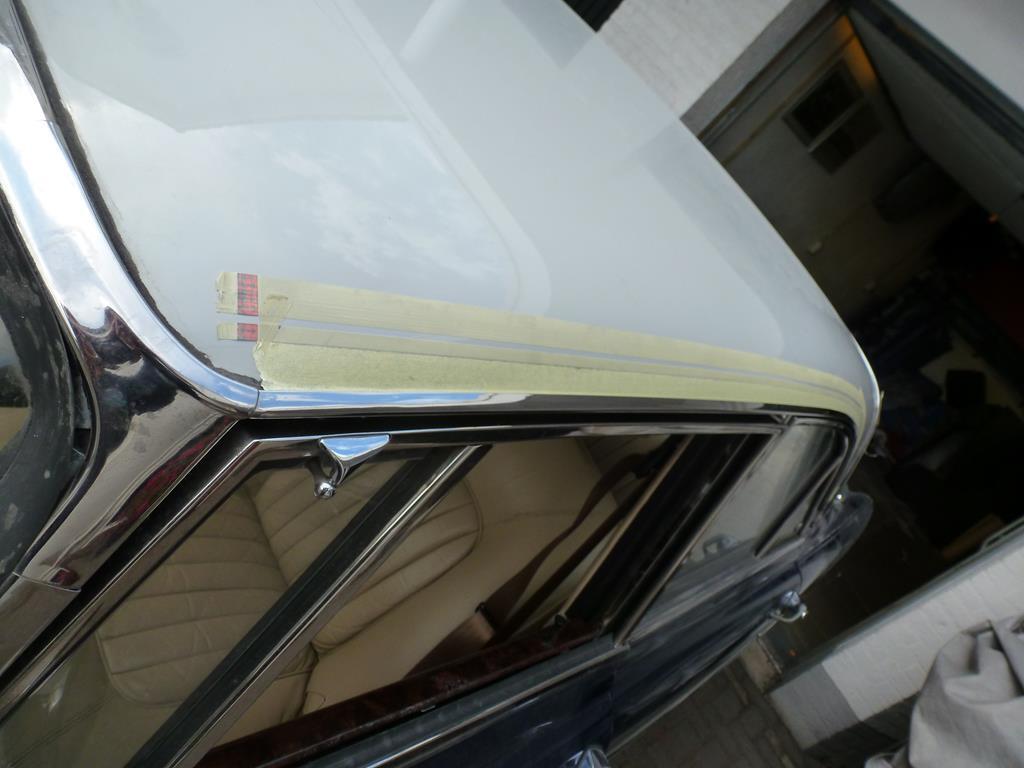 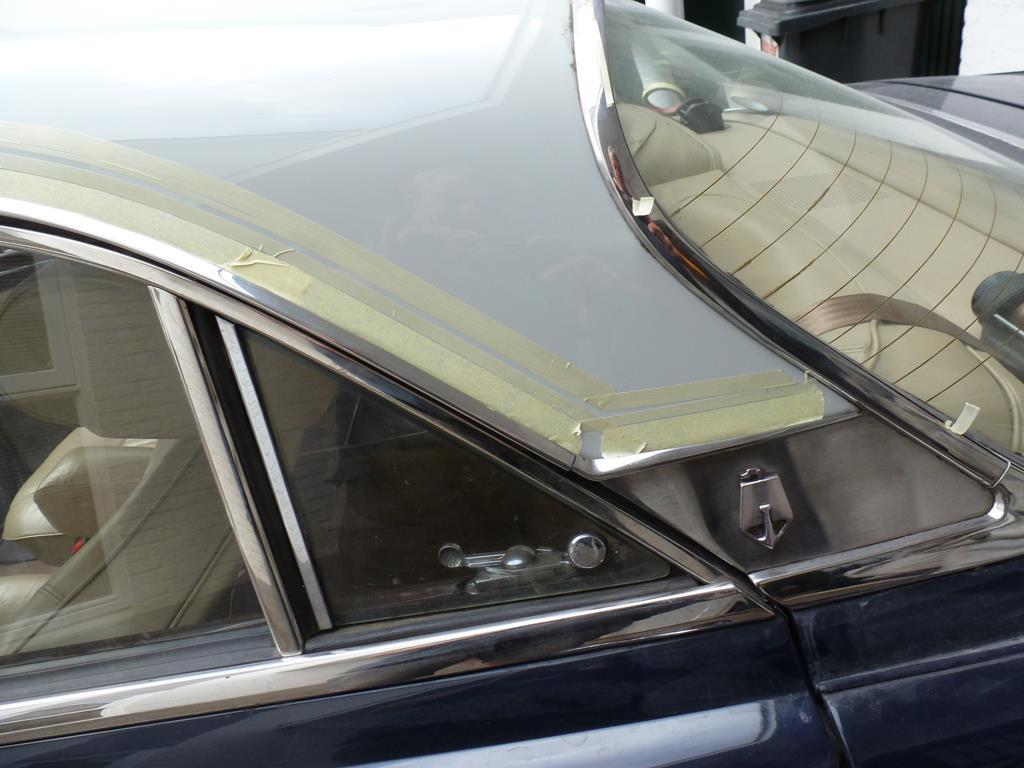 and found out that the coachlines on the roof on the daily P5B were situated a bit low. 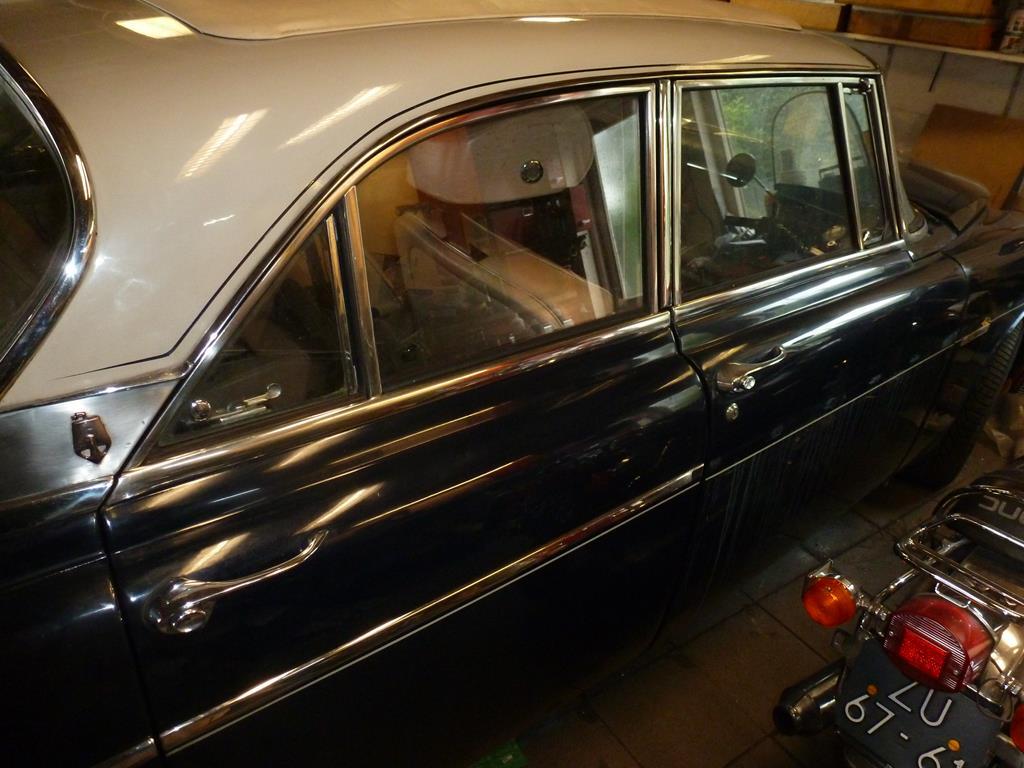 Sandet the strip where the coack lines would come with sandpaper on a thin piece of wood 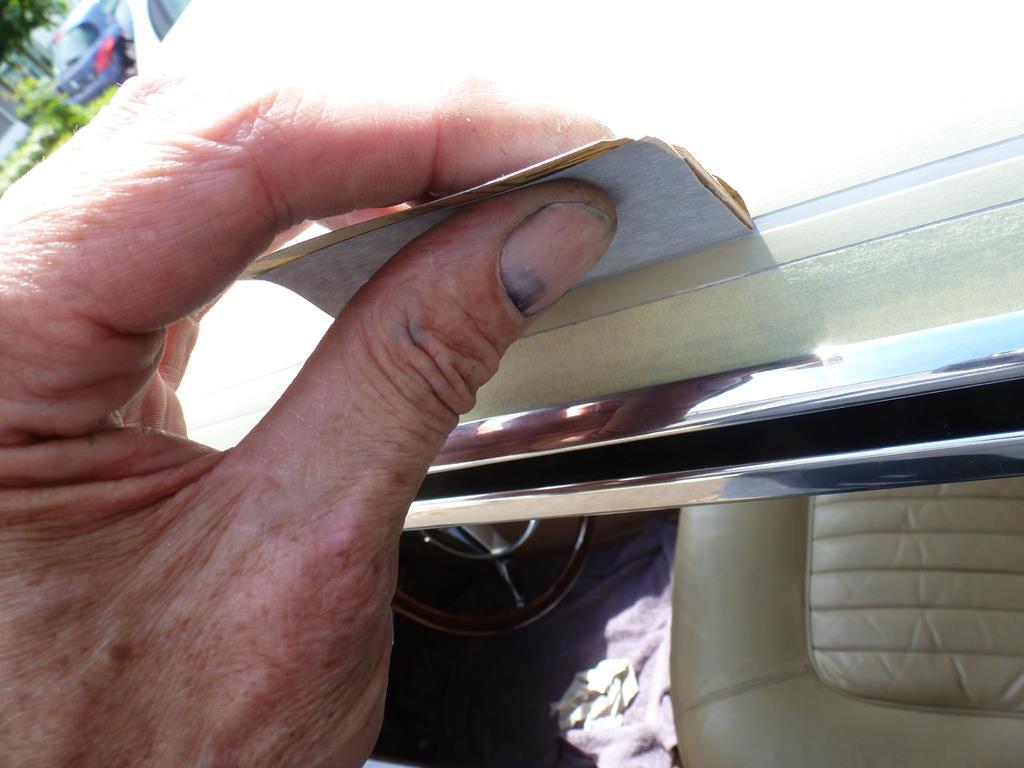 mixed a bit of 2k black paint and applied the lines on the roof with a small brush and removed the tape rather quickly after painting Then did the coachlines on the doors and the wings which is a leight gray. Decided to do this with a 2K spray rattle can so ordered this in a RAL color which meets the leight gray. My paint shop only prepares a 1 liter can of paint which is a bit to much for a bunch of coachlines Masked both cars after applying the special 3M masking tape and sprayed the coach lines on both cars 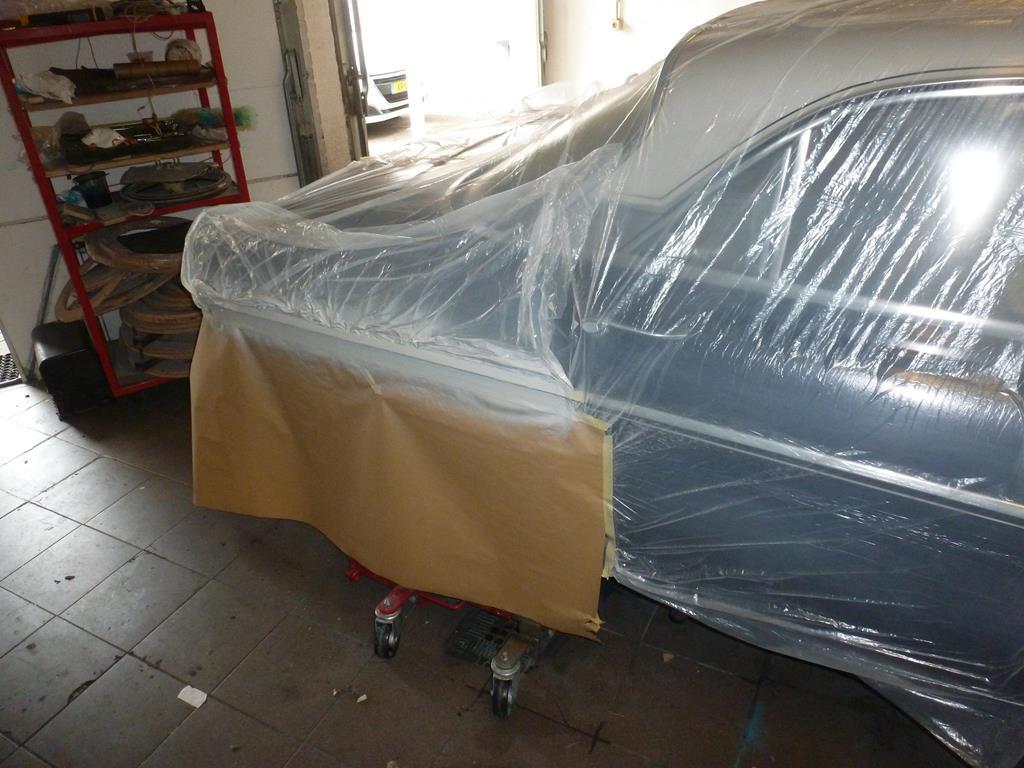 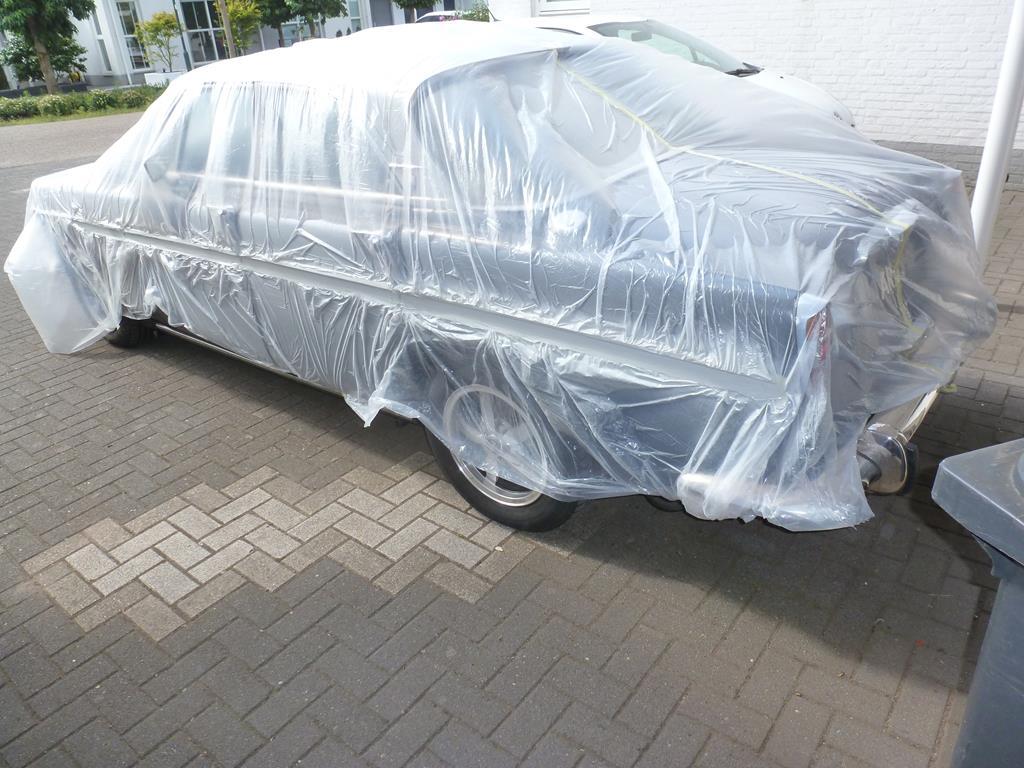 Happy with the result When i removed the toolboard in the boot to get to the side repeaters, i saw that the wood had delaminated due to moisture 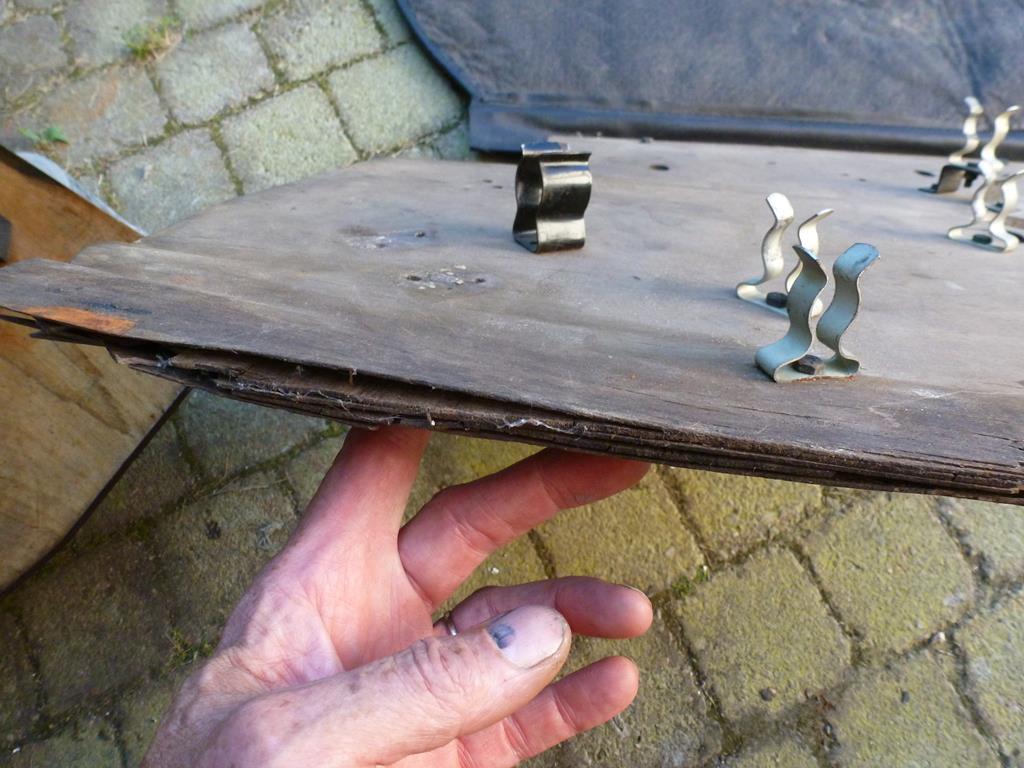 Luckily ihad a spare which was given a few coats of yacht varnish 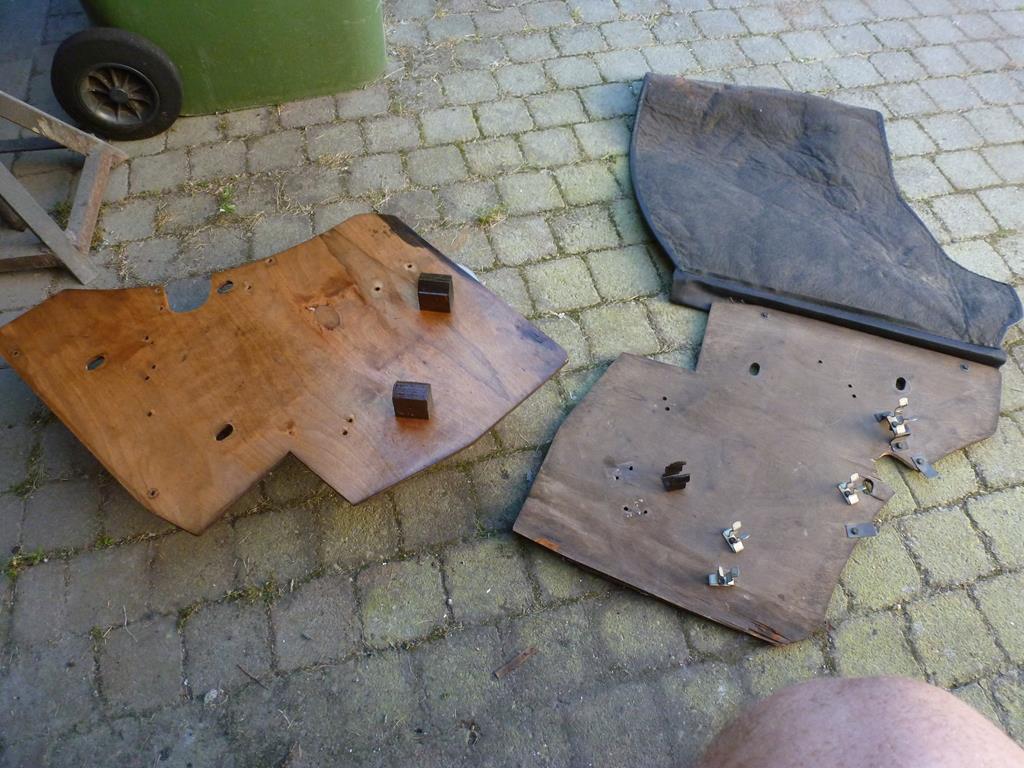 Switched all the clips and made a new belt out of a scrap piece of leather and trial fitted the jack which was derusted and painted some time ago Another job was to clean up the rear direction indicator covers. These lost their amber color a bit because of the sun and this was a failure at lost years MOT but quickly fixed with a orange bulb. Only had one spare Someone posted a Youtube video on the RR forum some time ago that this could be restored with a small rattlecan from Tamiya (clear orange) so this was ordered 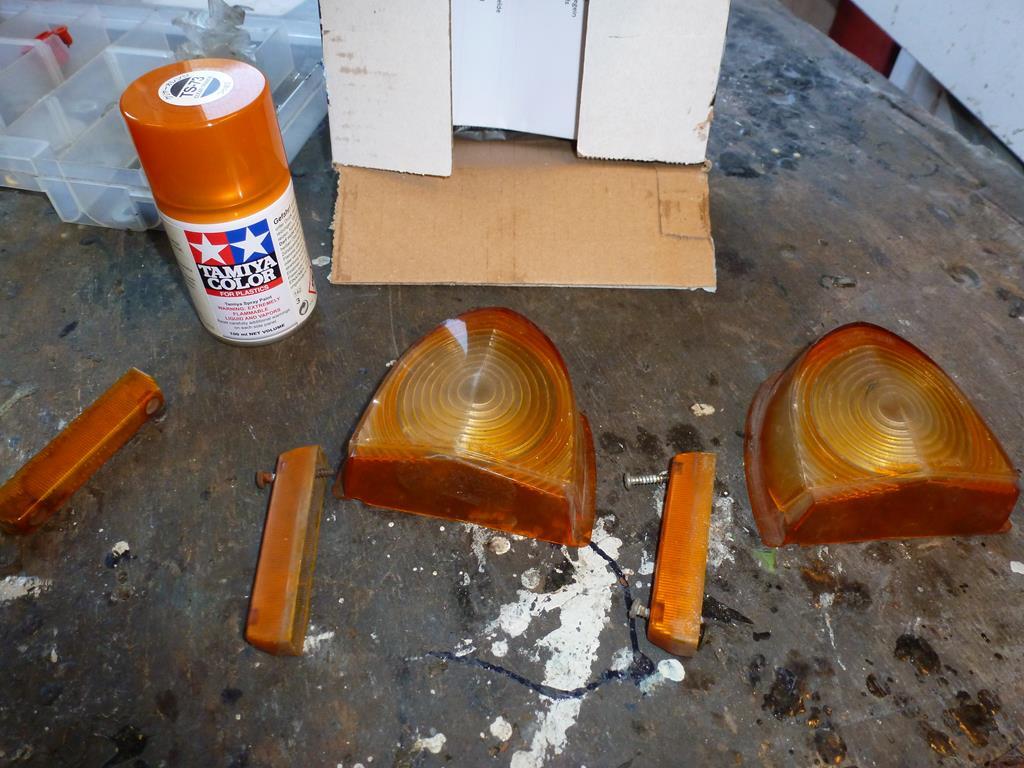 Cleaned the inside, put some masking tape on the outside and gave the inside a few coats of the Tamiya paint to see if it works well and it does 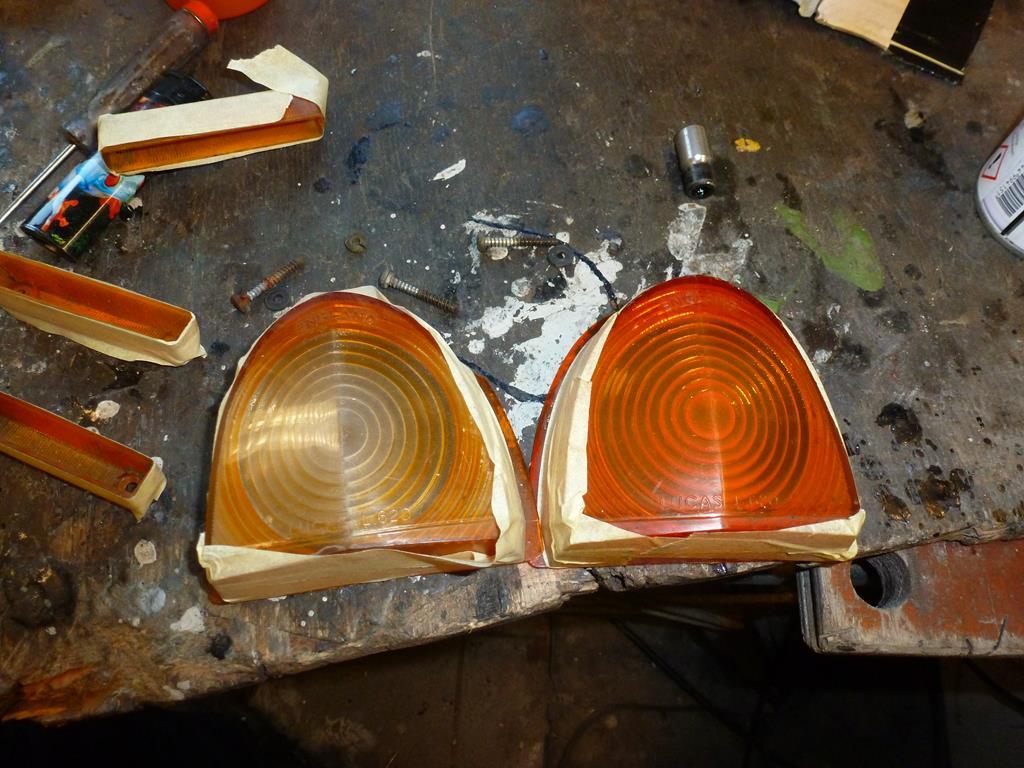 On the RH the one with a few coats and on the LH the untouched one. Will give both a few more coats Thats it for now Peter |
| |
|
|
|
|
Rover P5B Coupe - MGB V8peteh1969
@peteh1969
Club Retro Rides Member 107
|
|
|
|
Peter
If you use the Tamiya Clear on top you can polish it to a glass finish.
Top work I like the pin striping just adds that finishing touch.
|
| |
|
|
|
|
|
Aug 11, 2020 14:19:59 GMT
|
|
Cheers Pete. Painted the inside of the indicaties inkt. The outsides look pretty good.
No updates from the workshop as we are on holiday. Took the MG and drove along the Rhine in Germany to the Schwarzwald and the Bodensee and we are now in Austria. Very Nice wheather , extraordinary roads and montains and the MG is doing very well
|
| |
|
|
|
|
|
Aug 11, 2020 23:36:44 GMT
|
No updates from the workshop We'll take some 'MG on holiday' pics to make up for it!  |
| |
|
|
|
|
|
|
|
Aug 12, 2020 20:17:10 GMT
|
No updates from the workshop We'll take some 'MG on holiday' pics to make up for it!  I tried to upload the pics with my iPhone but it did not work Peter |
| |
|
|
|
|
|
Aug 13, 2020 21:48:54 GMT
|
|
Your work is always primo.
I bet you'd do well with some long squirrel-hair brushes and sign-painters' enamel ... you'd likely pick that skill (hand painting coachlines) up quickly. Or, use the same paint in a (German) Buegler brand striping machine.
So many skills to learn and tools to buy! I still need to figure out my Singer sowing machine.
Best, John
|
| |
|
|
|
|
|
Aug 14, 2020 12:50:26 GMT
|
|
Deleted, wrong thread! Sorry...
|
| |
Last Edit: Aug 14, 2020 12:52:24 GMT by mr2fc
|
|
|
|
|
Aug 16, 2020 19:40:51 GMT
|
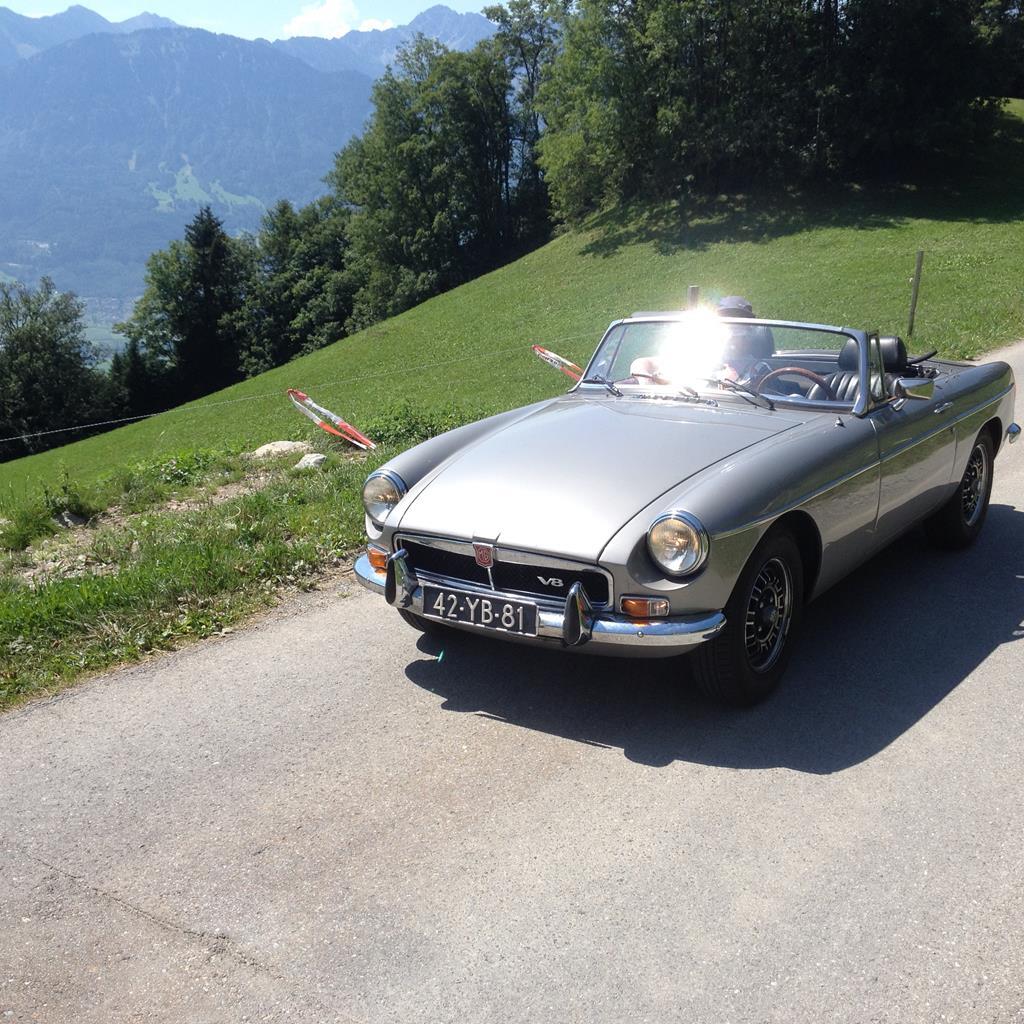
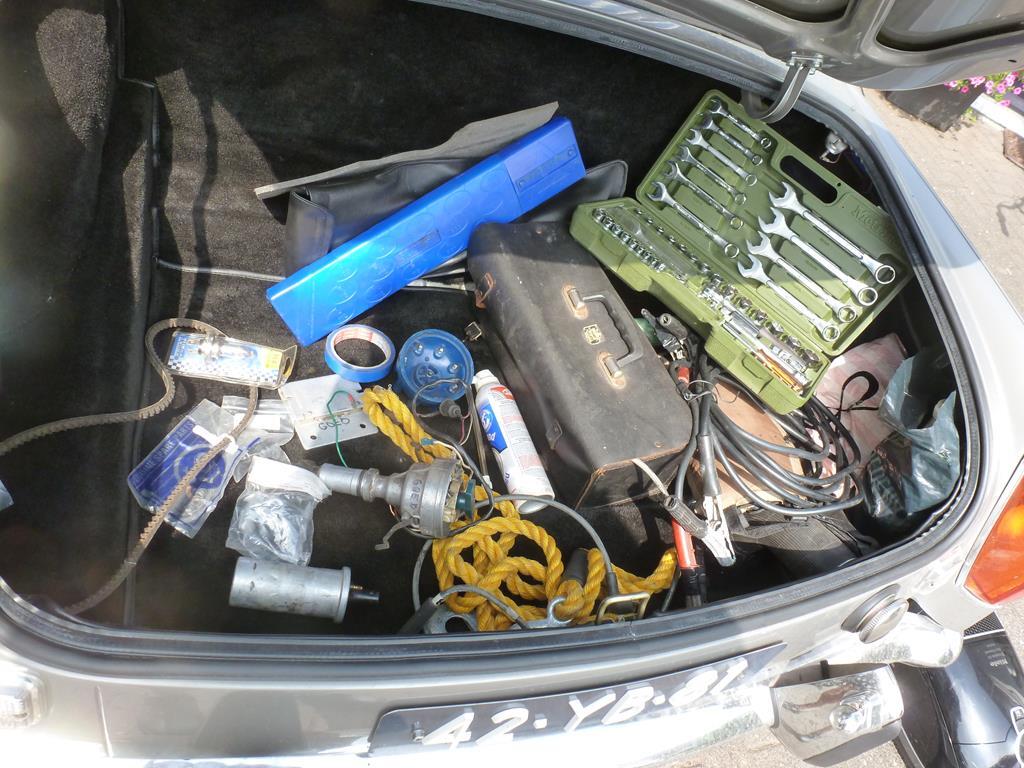
Your work is always primo. I bet you'd do well with some long squirrel-hair brushes and sign-painters' enamel ... you'd likely pick that skill (hand painting coachlines) up quickly. Or, use the same paint in a (German) Buegler brand striping machine. So many skills to learn and tools to buy! I still need to figure out my Singer sowing machine. Best, John Cheers John, Have a fair bit of confidence in what i am doing but pin striping would not be a great succes so i go for the special 3M tape  Underneath some pics of our trip which went along the rhine in Germany to the Schwarzwald and the Bodensee. From there we headed to Swiss and Austria. Mostly used the B roads which are very good in those countrys, Wider then in Holland and no speed bumps and much less traffic! We had very good wheather, even closed the roof because it was too hot and zipped out the rear window. Some pics First pic was the preparation. Always like to carry some spares and tools with me. Left the spare wheel at home to create some space. As the SD1 ignition system have a not so good reputation, i always have a spare dizzy, resistor and coil with but never had any problems with it in the 12 years the car is on the road now. Also have a SU gasket set, seals for the master brake and clutch cylinder and off course a V belt and engine oil, gearbox oil, coolant and some silicon brake fluid
 First stop was at a hotel next to the Rhine 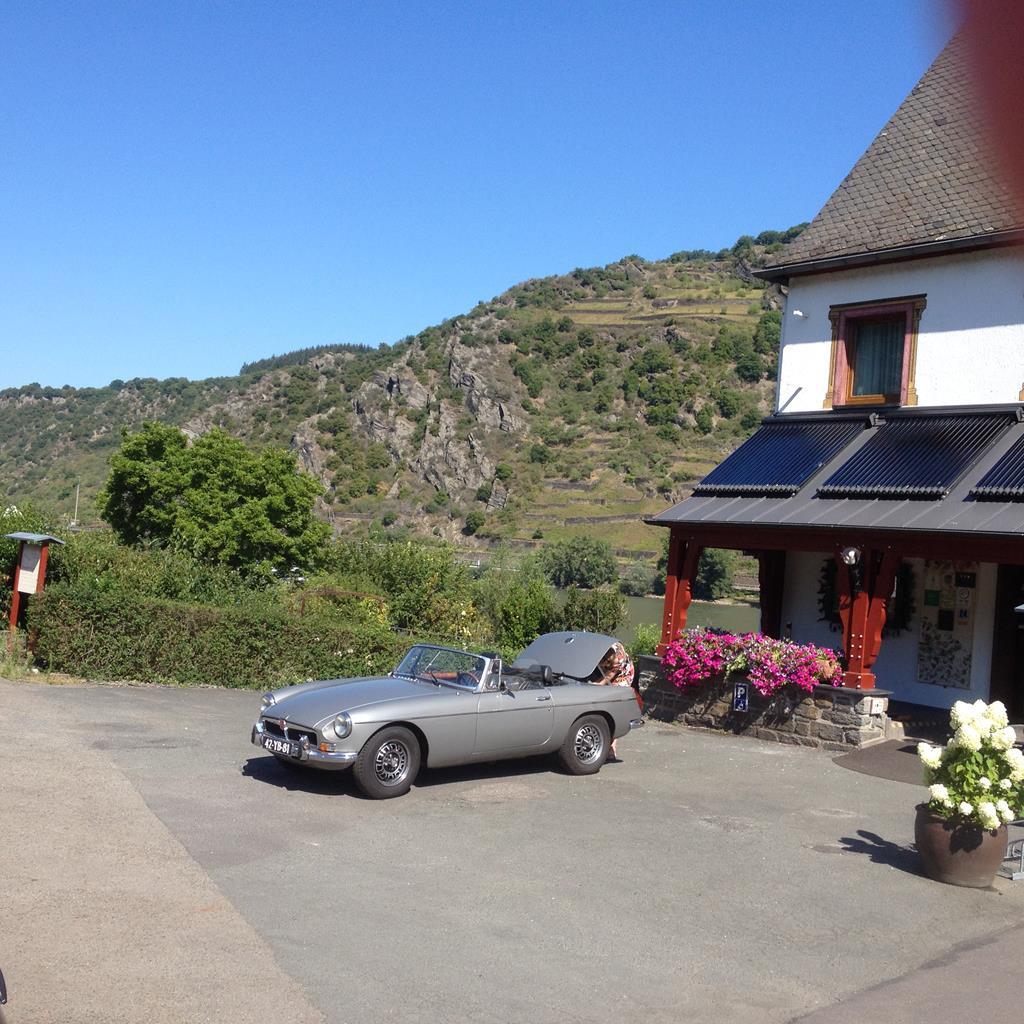 Beautifull mountains roads and vieuws everywhere 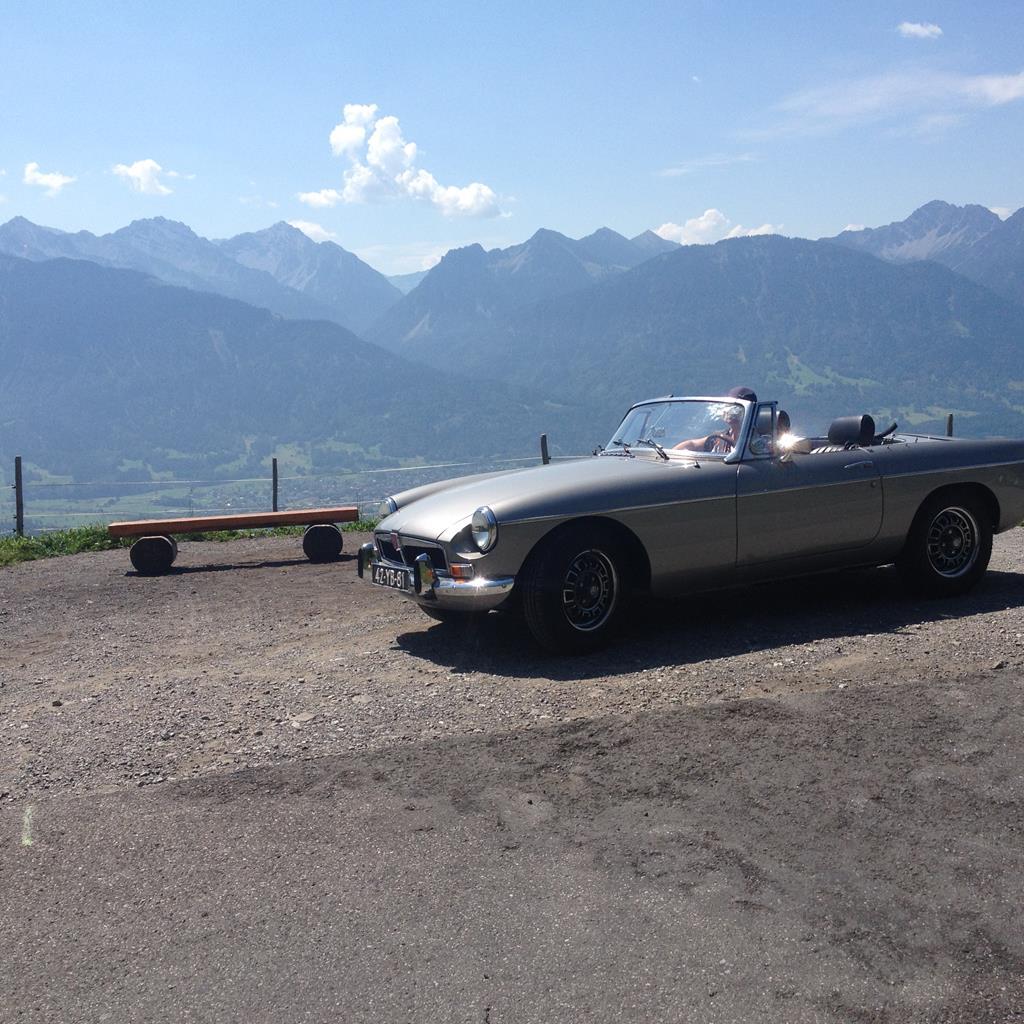 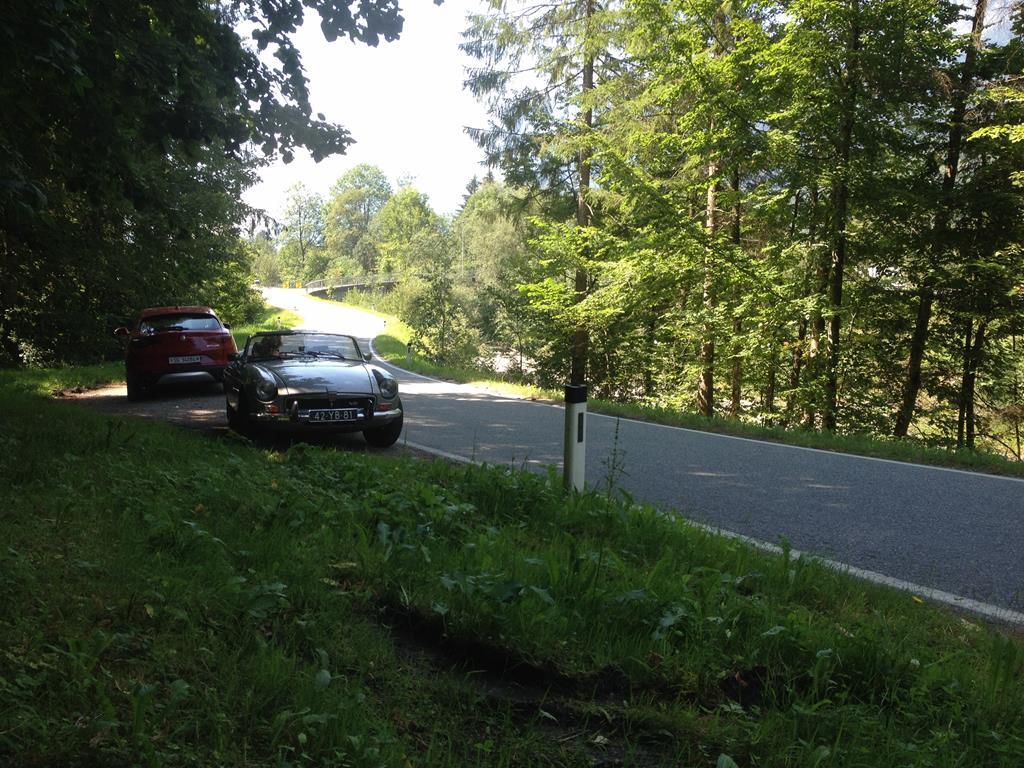 Always take a bit of care where to park my car. This was the car park from one of the hotels we had 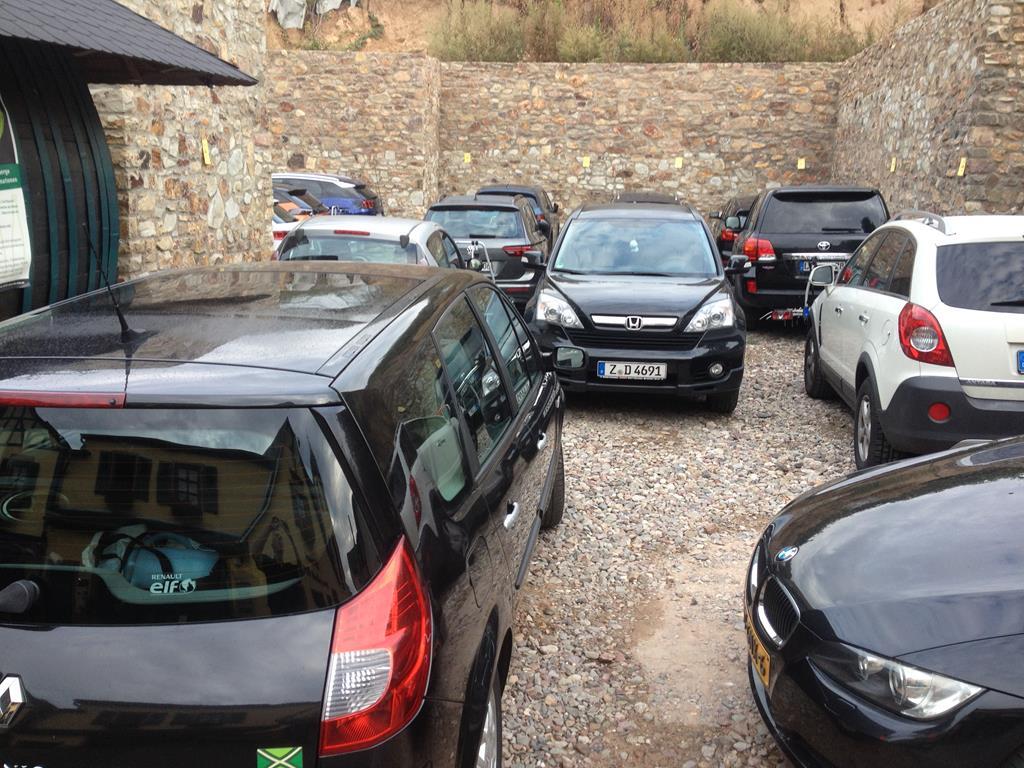 If you wanted to use this, you had to hand over the car keys to a chap who aranged to get out the cars. This was not going to happen with my MG so found a nearby parking place with lots of room 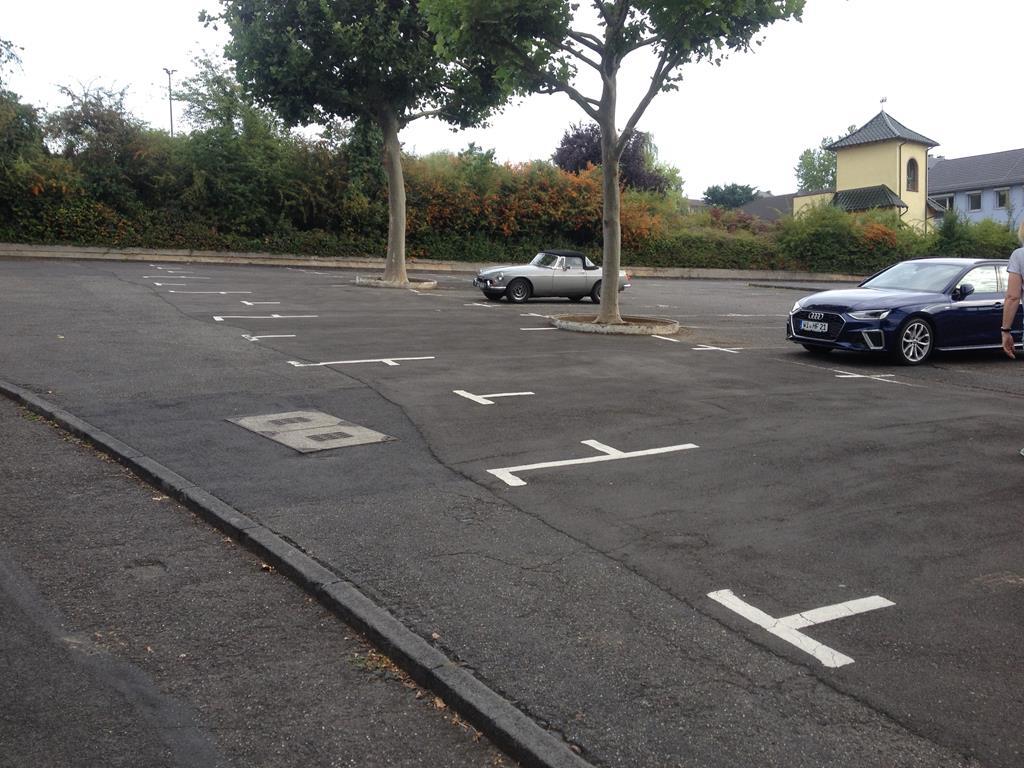 It was a great trip with the MG. We did 2200km and although it was up to 37 deg C, the MG behaved without faults. Checked the fluids every day but no topping up was needed. This MG with the V8 is such a relaxing car to drive in these areas with mountains. It has bags of torque and with the SU°s it is so smooth and easy to cruise around and it is very reliable. We have used it as a holiday transport for about 10 years now and never faced a problem. Peter |
| |
Last Edit: Aug 16, 2020 19:41:52 GMT by petervdv
|
|
|
|
|
Aug 16, 2020 22:08:57 GMT
|
|
Looks like a nice trip! Can I ask what colour your MG is painted in?
|
| |
Sometimes, others may not understand why you like a car so much. Sometimes, you may not even understand why you like a car so much. But none of that matters; all that matters is that you like the car, and having it makes you happy.
|
|
|
|
|
|
|
Looks like a nice trip! Can I ask what colour your MG is painted in? Its a Rover metallic grey paint. I do not have further specs Peter
|
| |
|
|
glenanderson
Club Retro Rides Member
Posts: 4,353
Club RR Member Number: 64
|
Rover P5B Coupe - MGB V8glenanderson
@glenanderson
Club Retro Rides Member 64
|
Aug 16, 2023 18:16:07 GMT
|
|
Any updates? Been a while since we’ve heard from you. Hope everything is OK.
|
| |
My worst worry about dying is my wife selling my stuff for what I told her it cost...
|
|
remmoc
Part of things
 
Posts: 931
|
|
|
|
|
look up Ultimeg varnish , I'm sure theres an oil proof one
|
| |
|
|


