Cheers for all the compliments! Glad you enjoyed it.
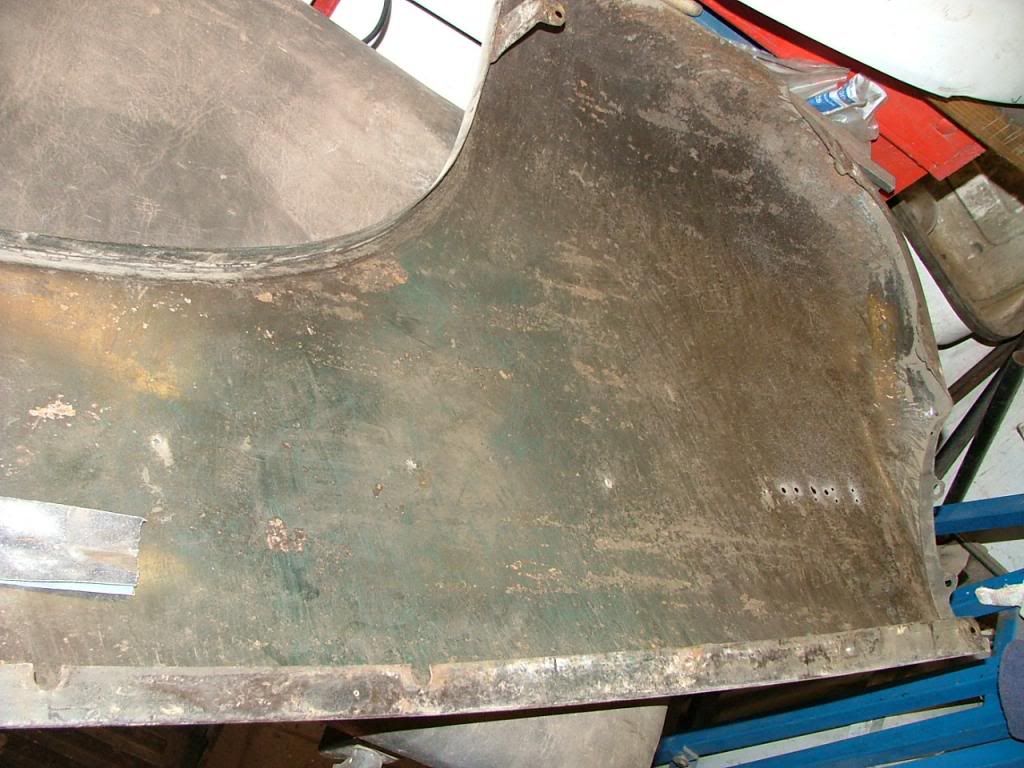
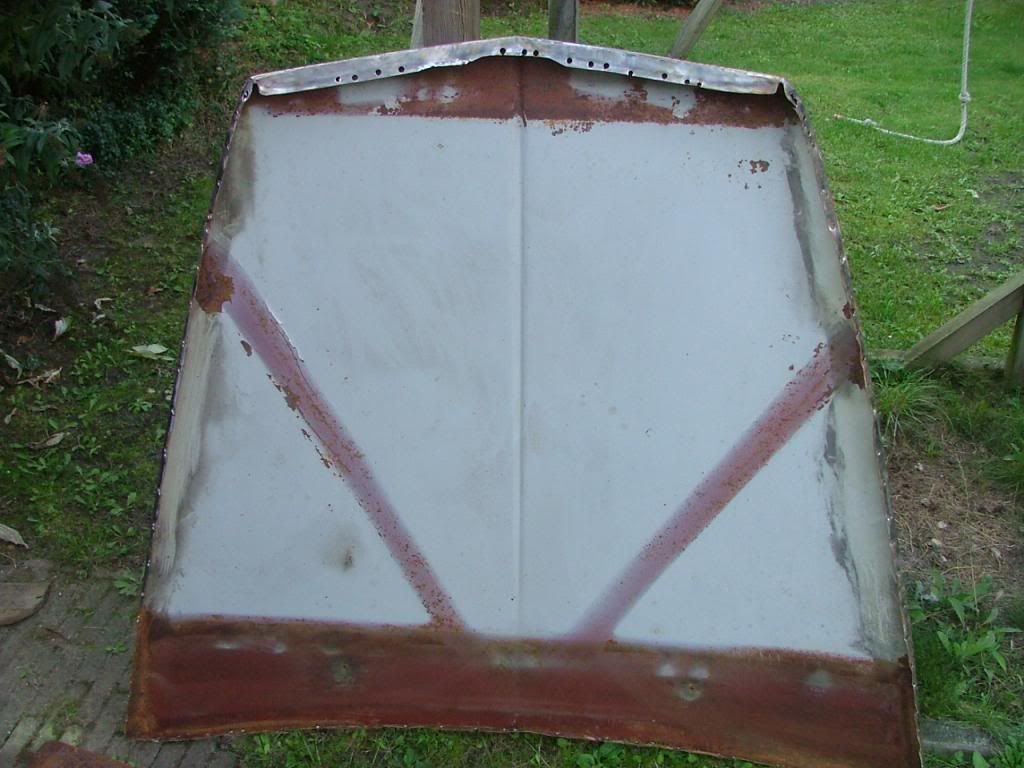
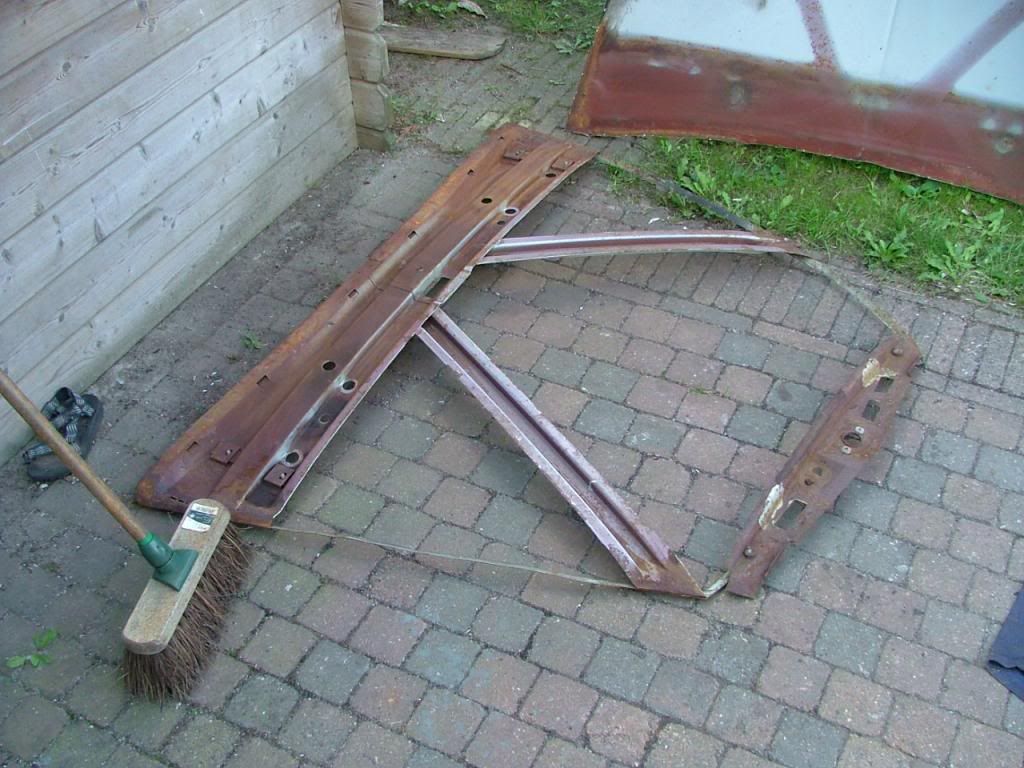
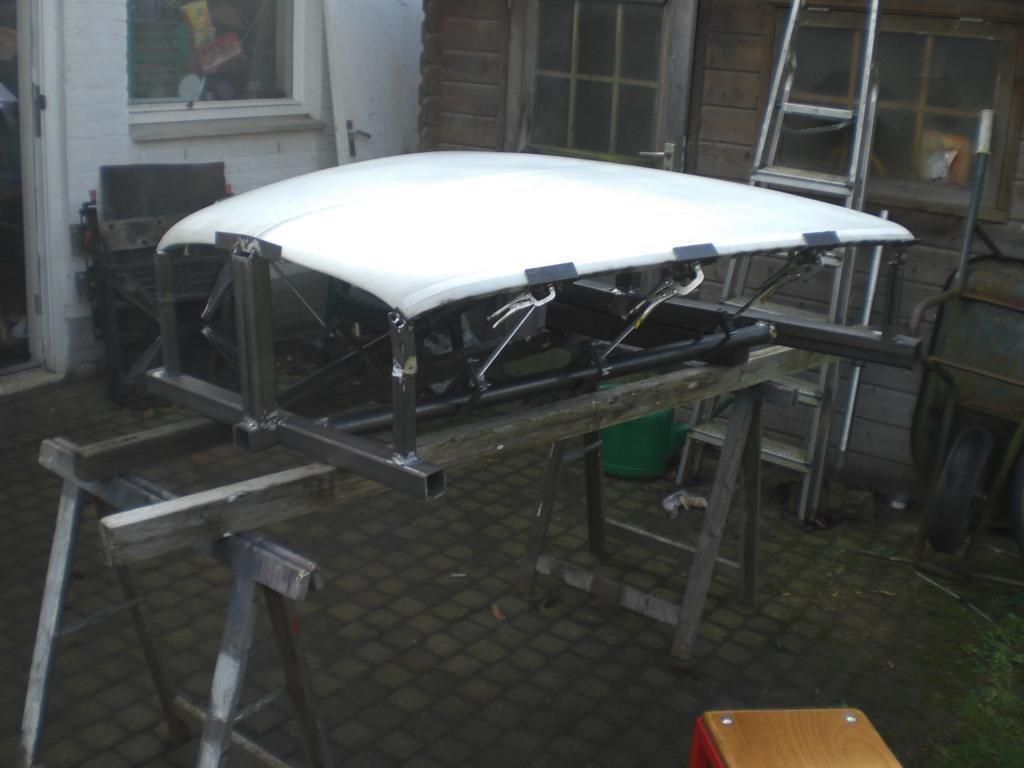
Well you may have missed the boot but this was the only panel which didn't need any repairs.
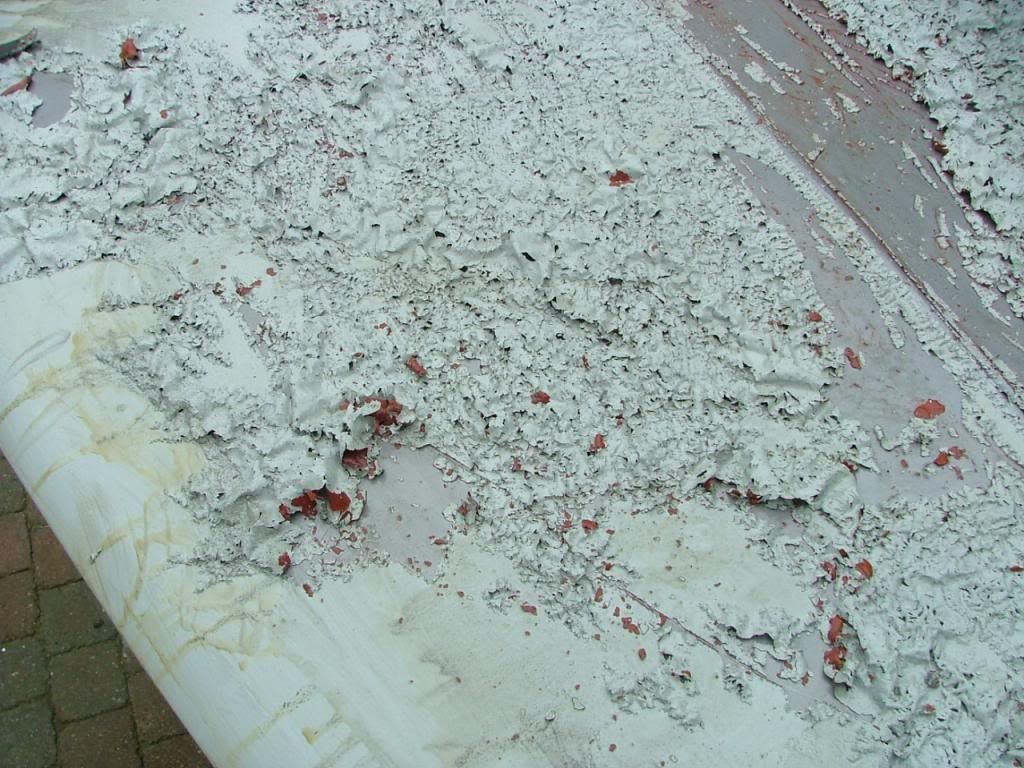
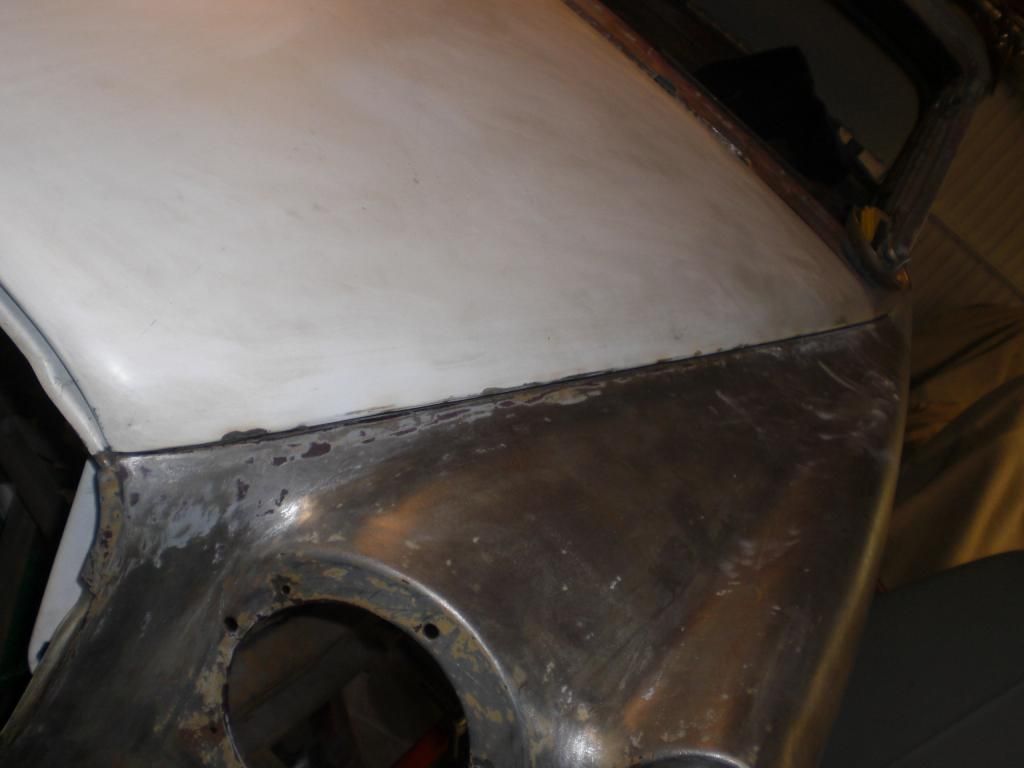
After that the entire shell was attacked with paint stripper. The paint stripper is rather aggressive but didn't removed the entire paint so after neutralizing it with water, the shell had a rad rod look.
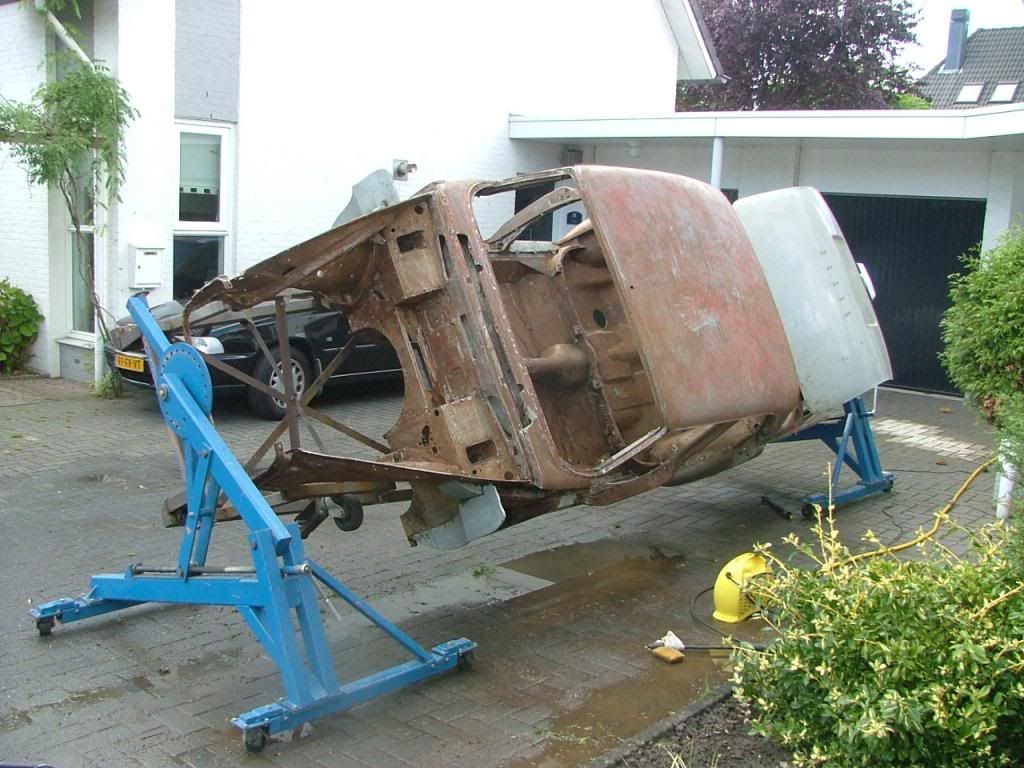
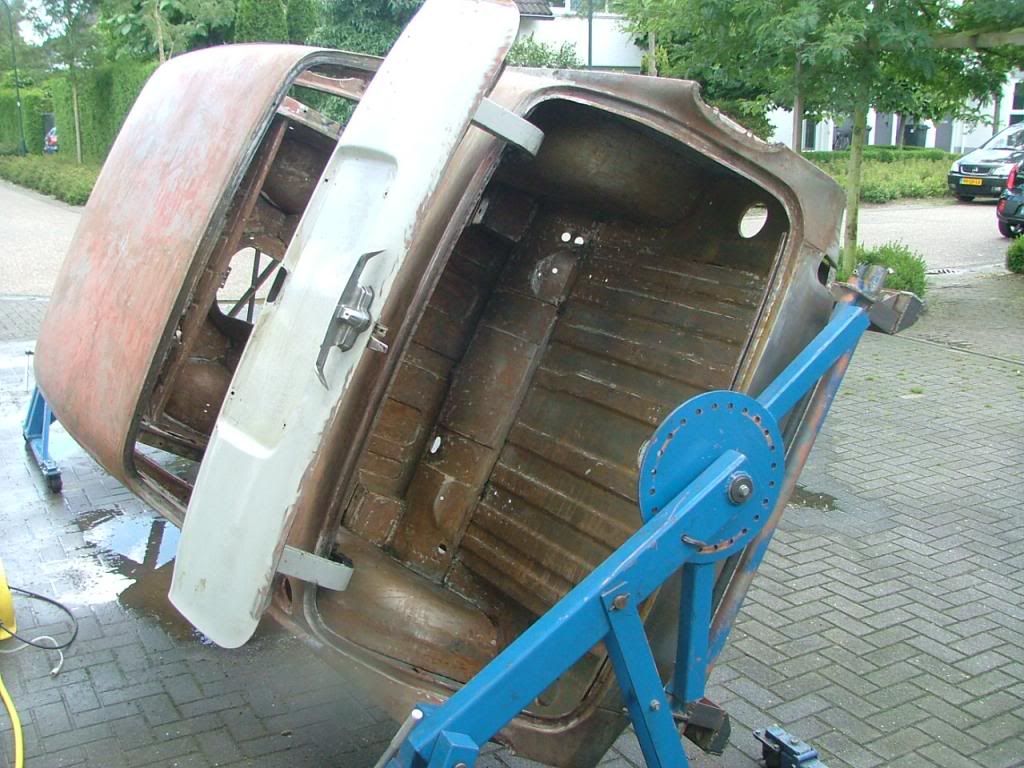
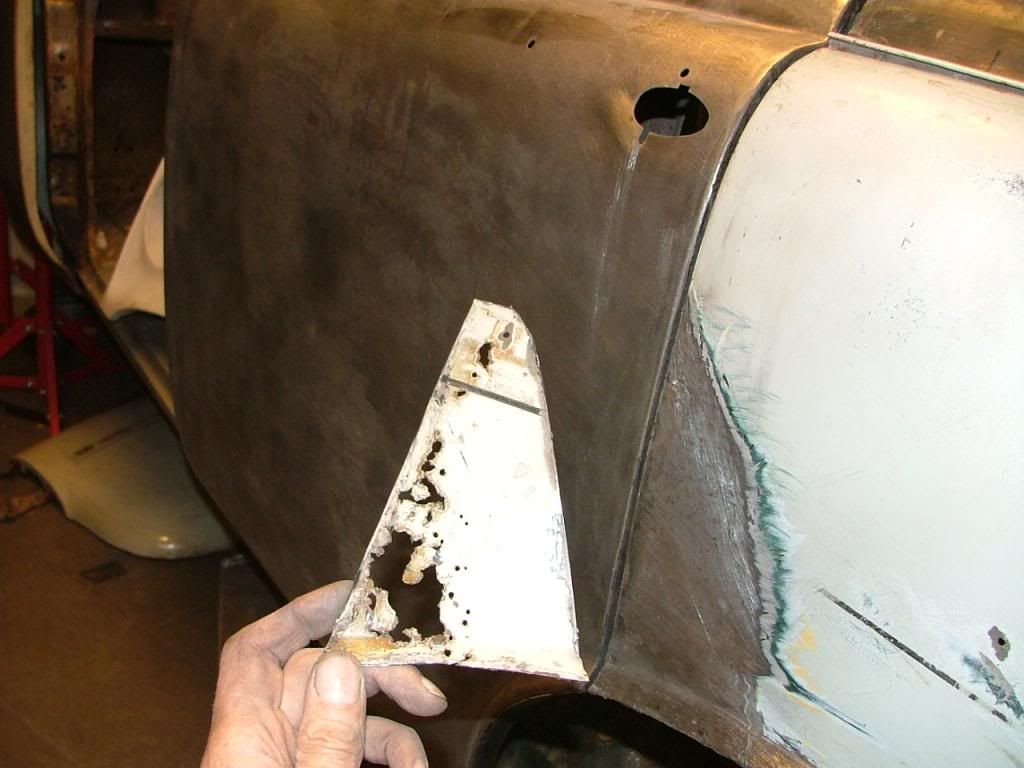
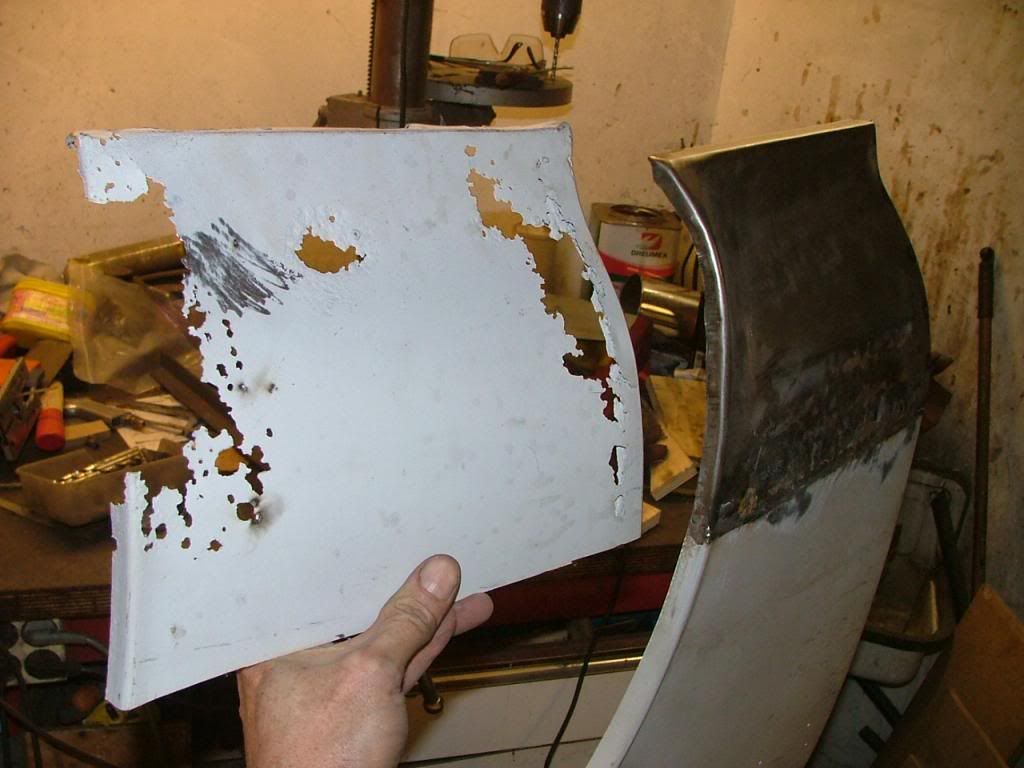
On the shell of these Rovers, the factory used a fair bit of lead. Some was lost due to the repairs so after the paint stripping session, all panels were fitted to the car where adjustments and/or lead was needed.
Some of the mounting points on the shell didn't match with the panels so these had to be altered
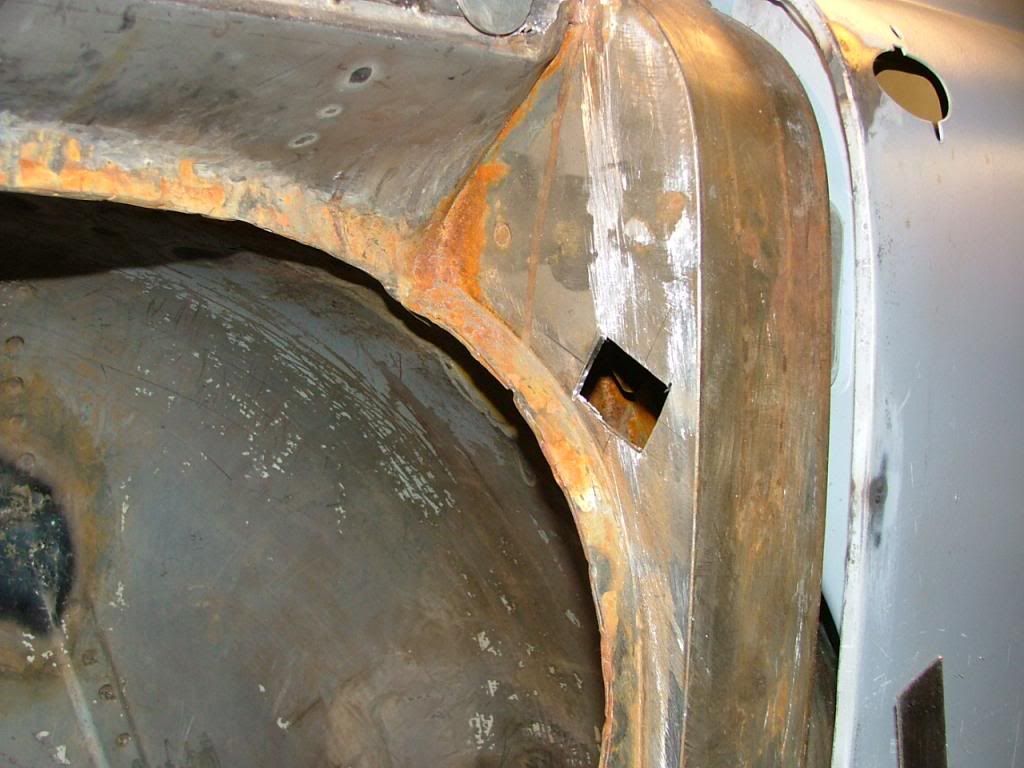
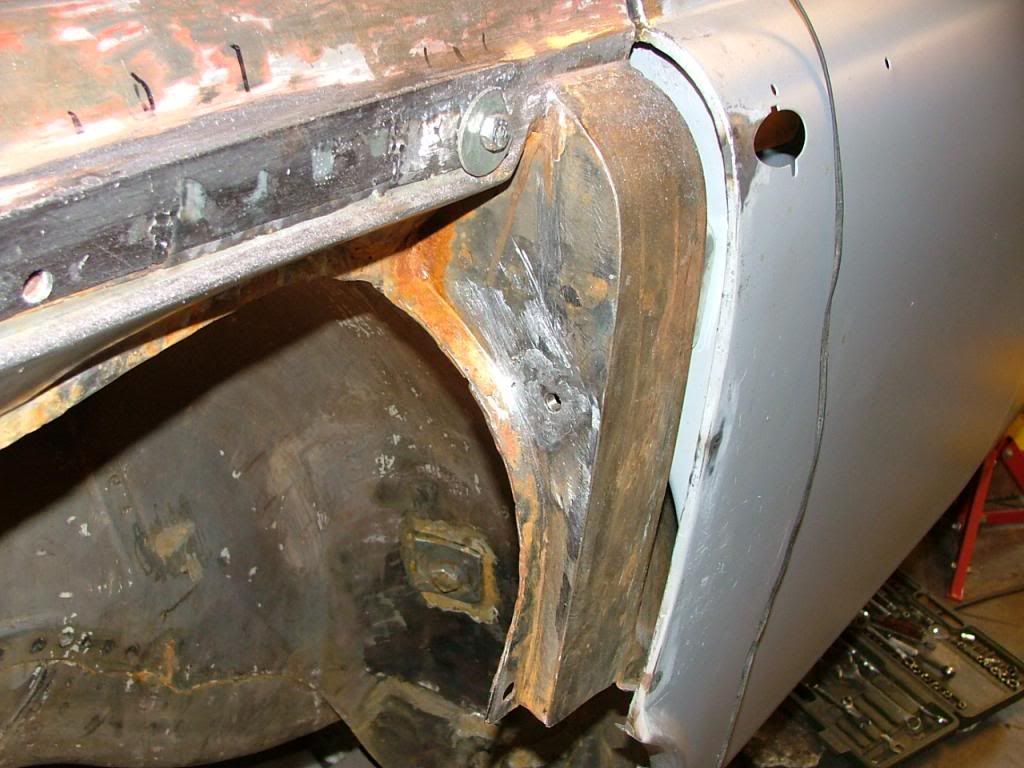
All panel gaps were checked and a few had to be adjusted by cutting and or welding
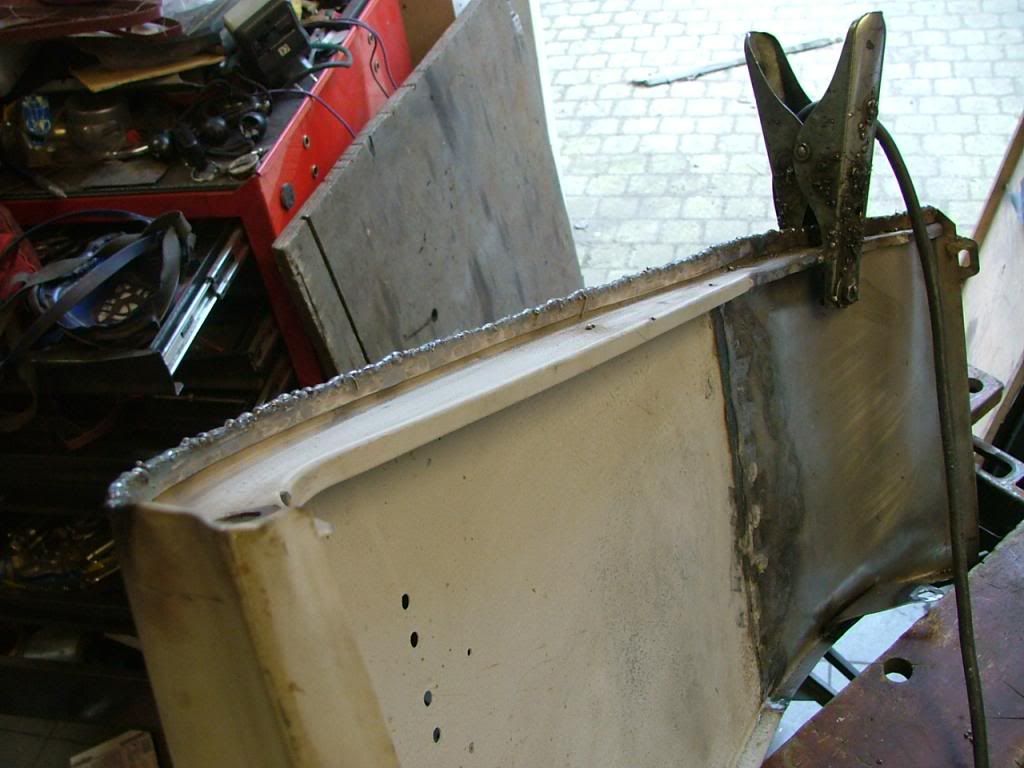
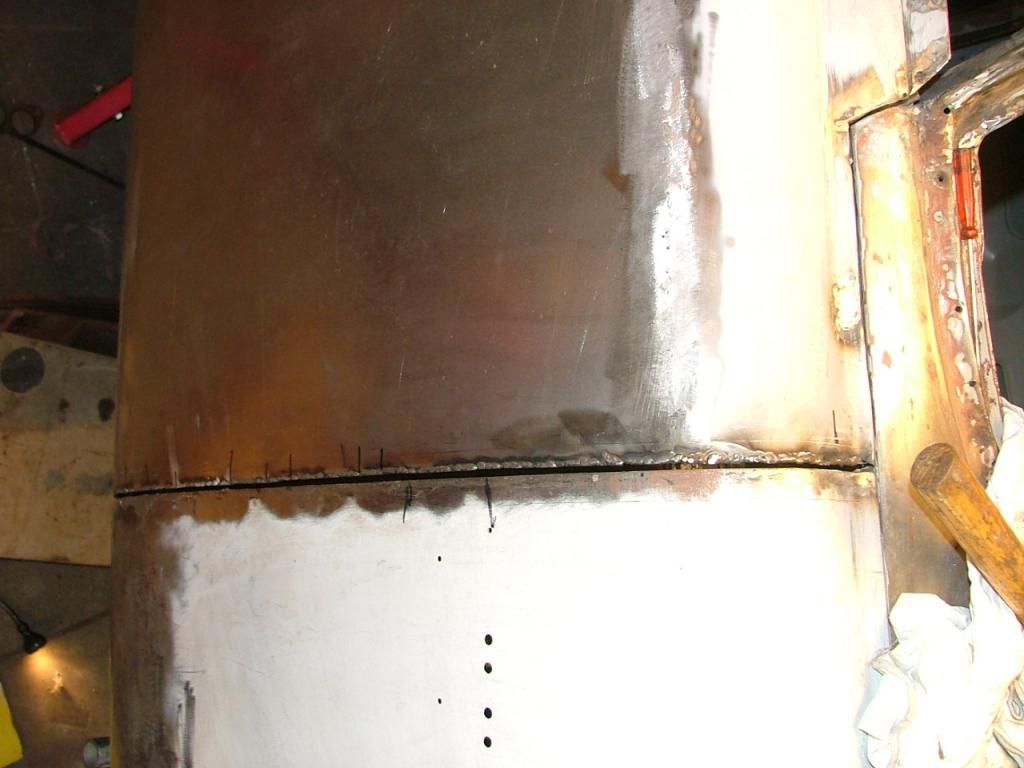
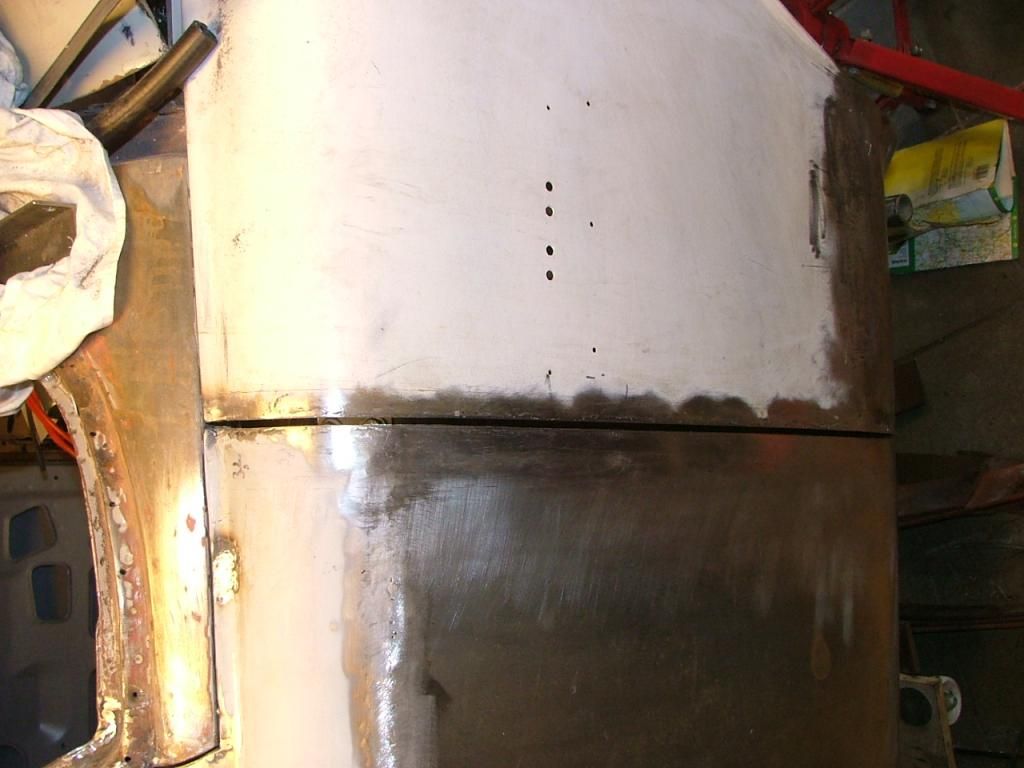
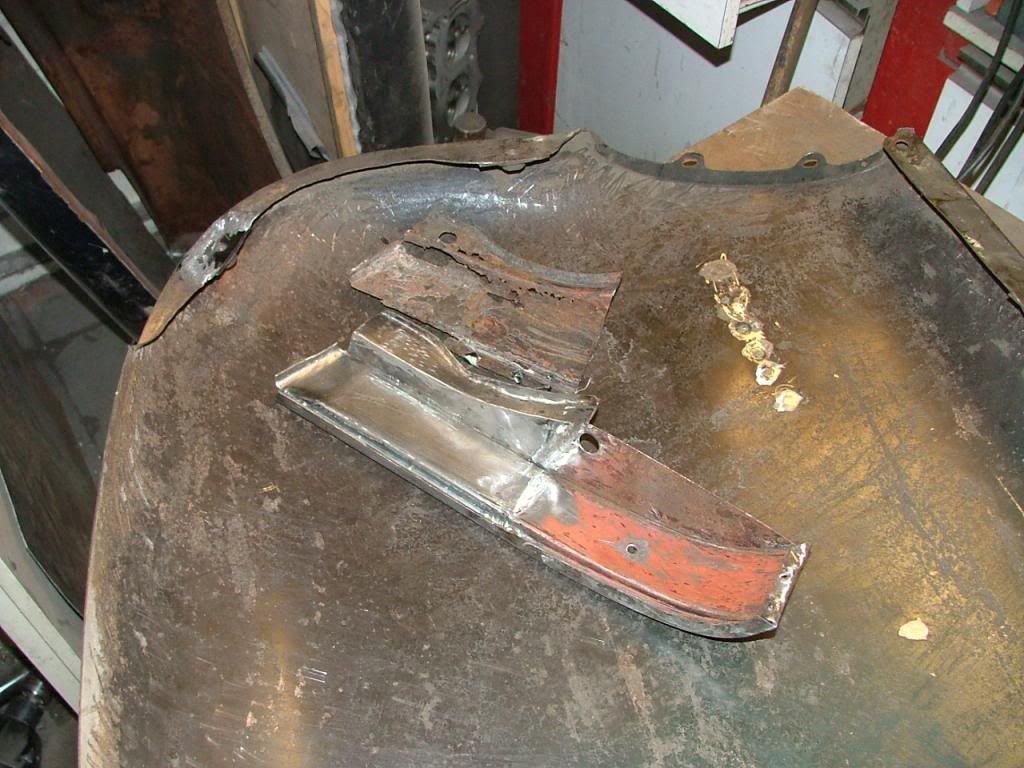
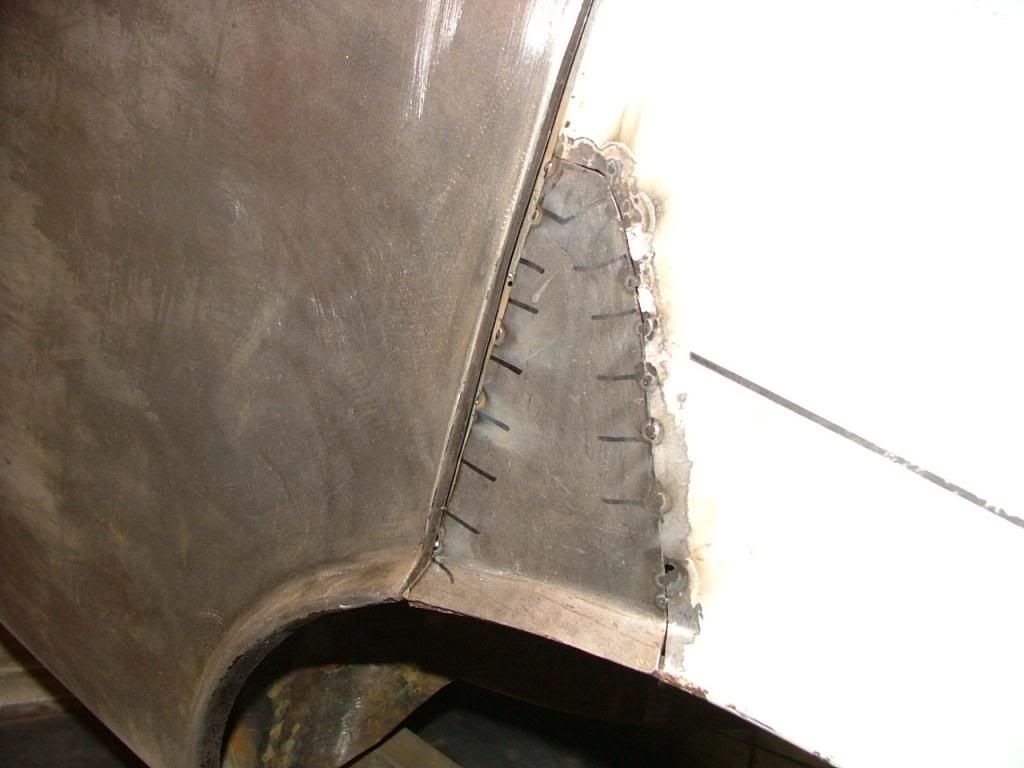
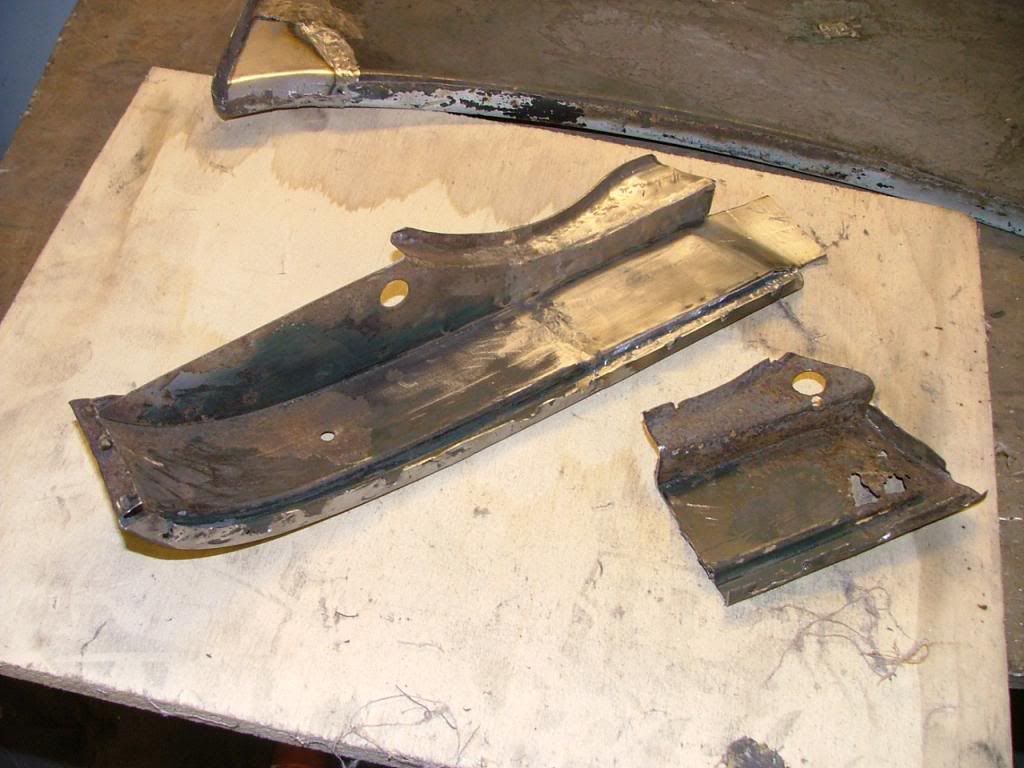
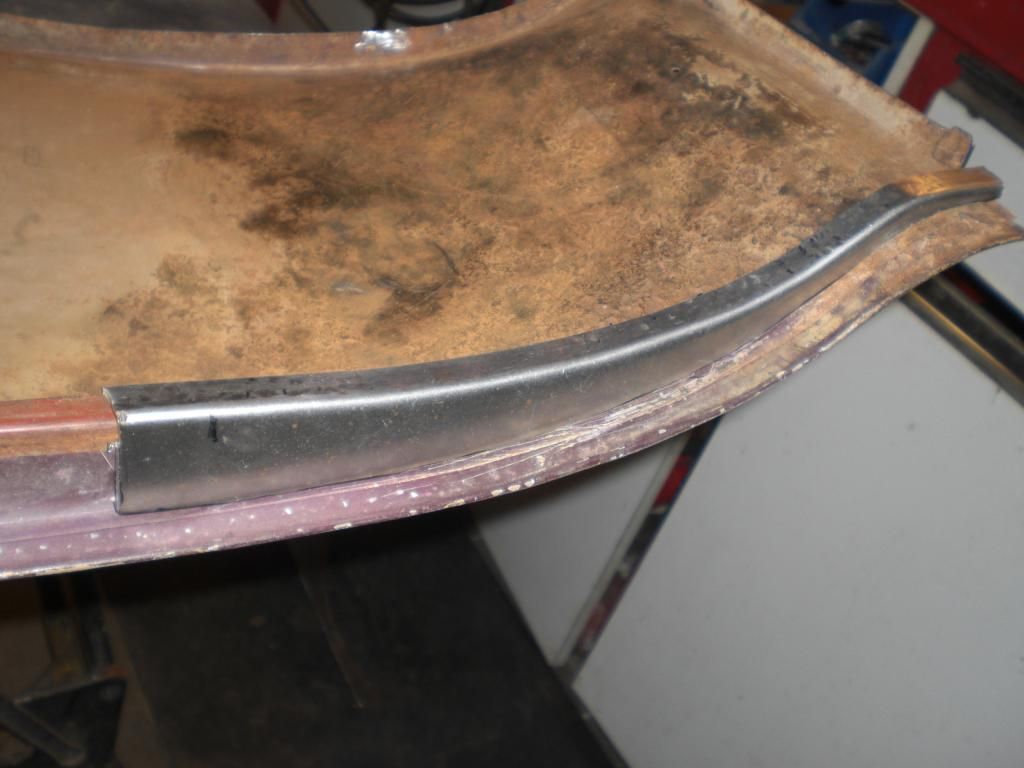
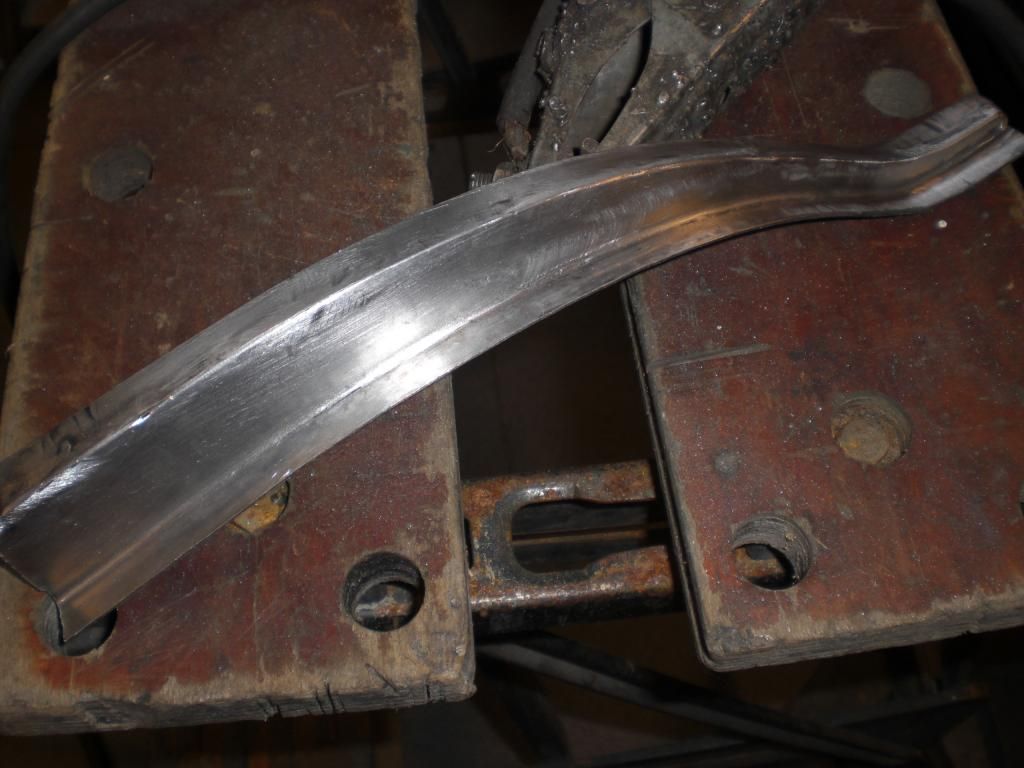
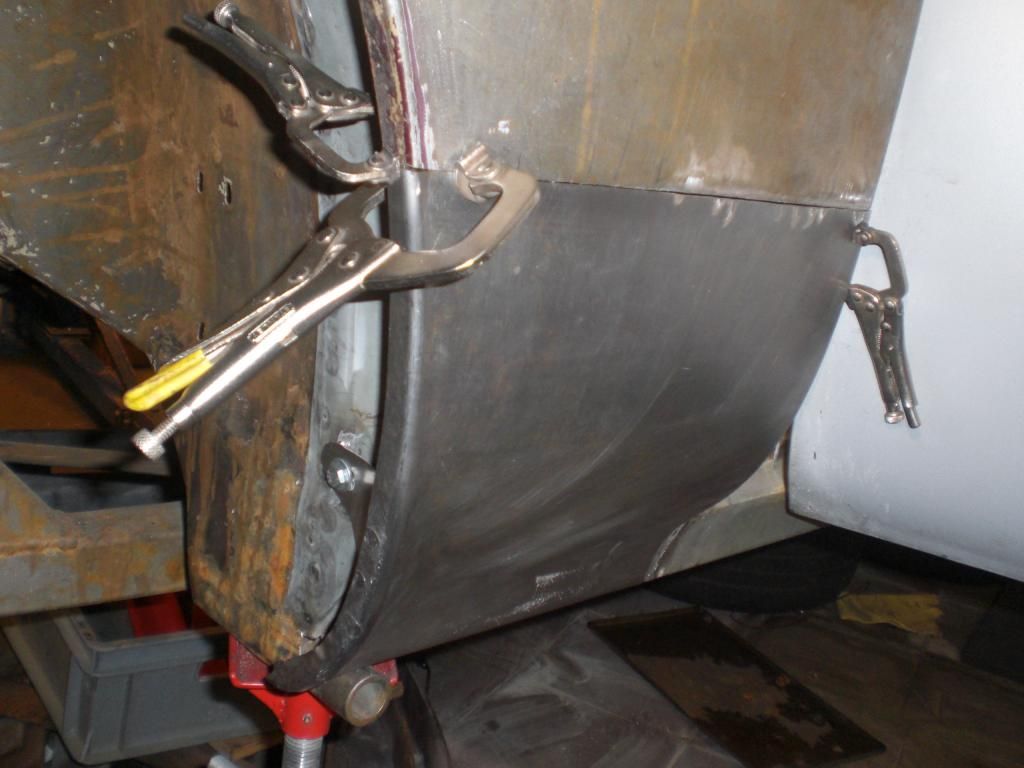
The sill end covers could then be made and welded inn
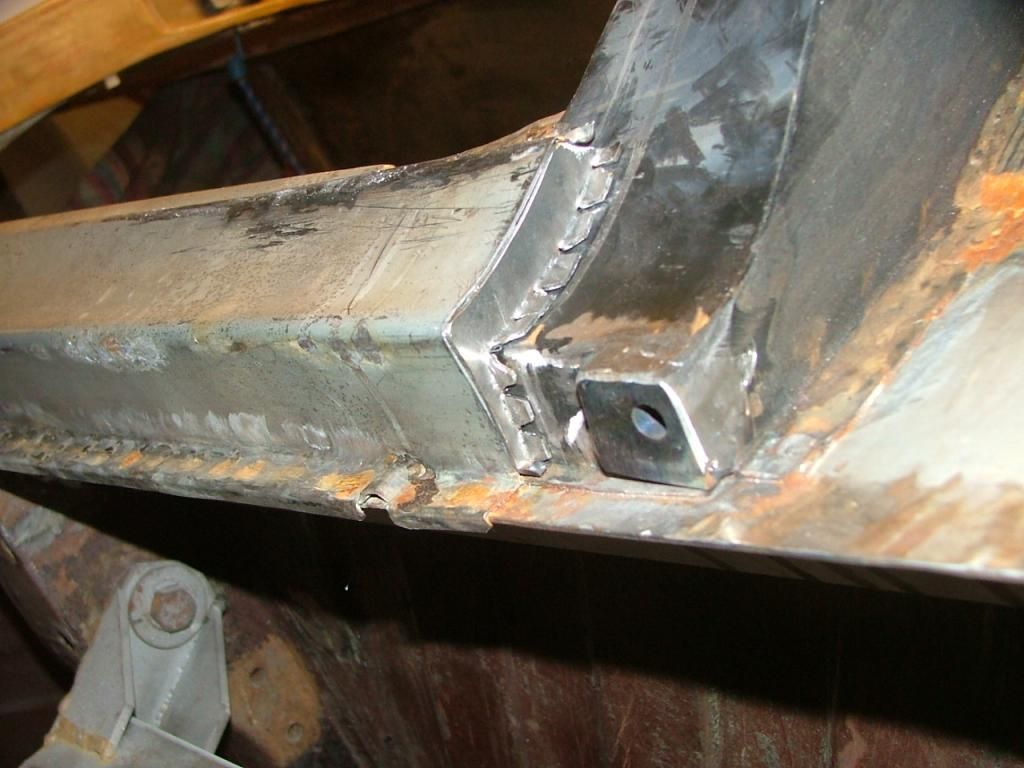
One of the sill ends i had fitted before but was to long so was altered
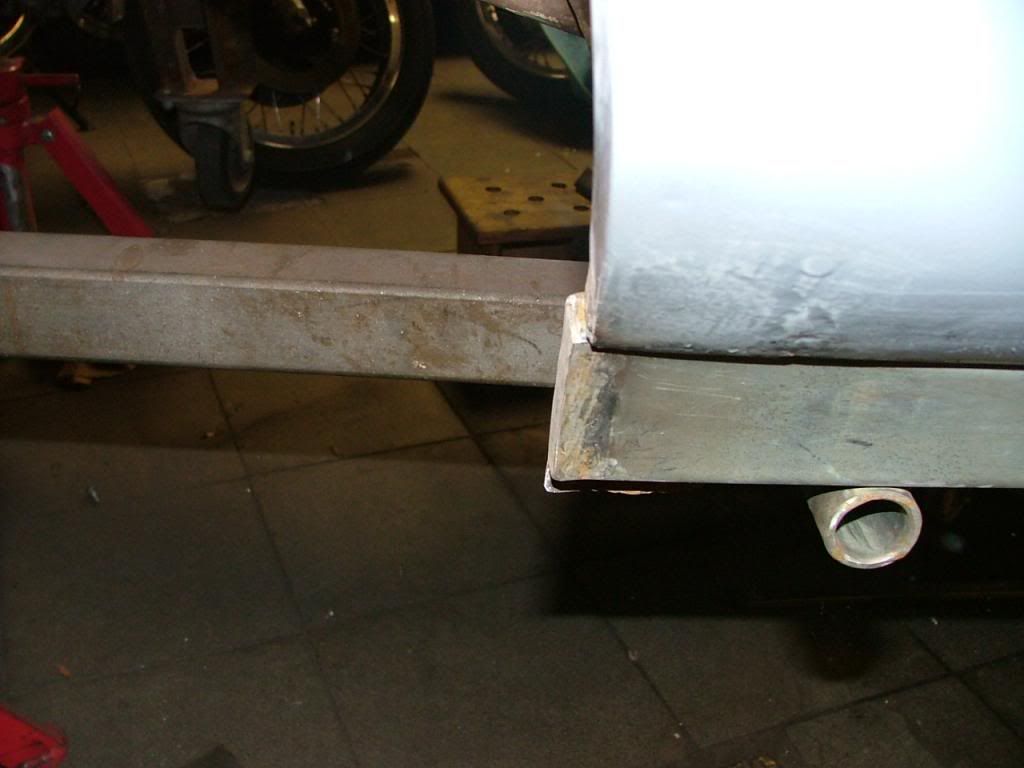
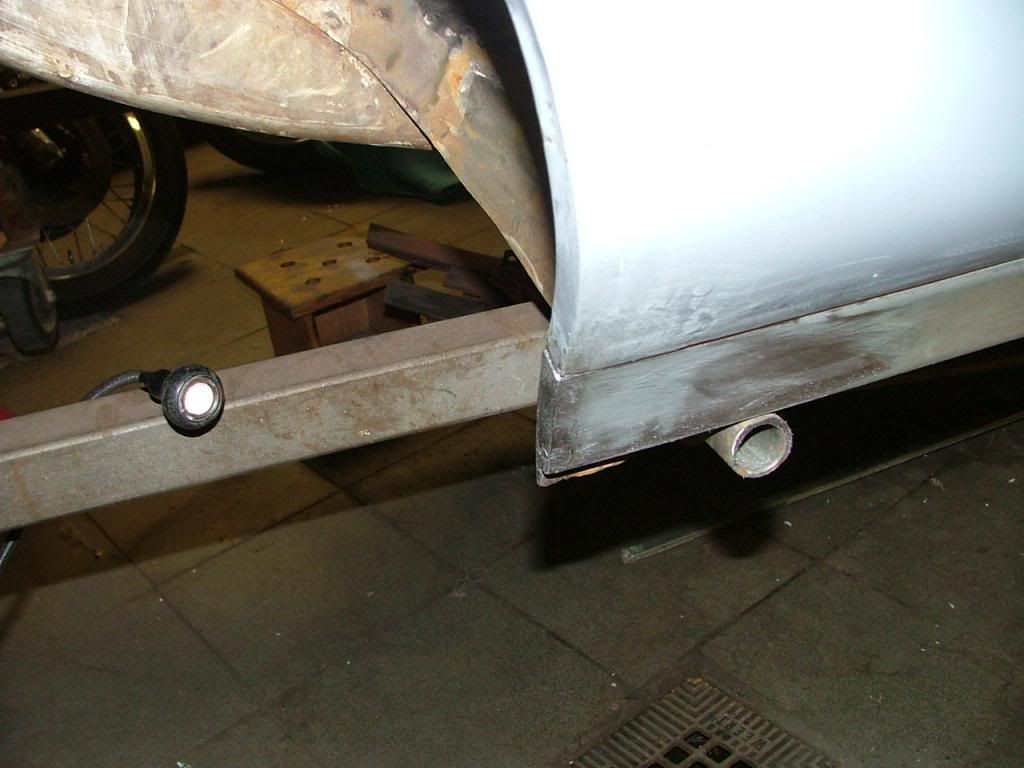
Now it is flush with the rear door
There were lots of adjustments needed and it took a lot of time but i think it is worth it
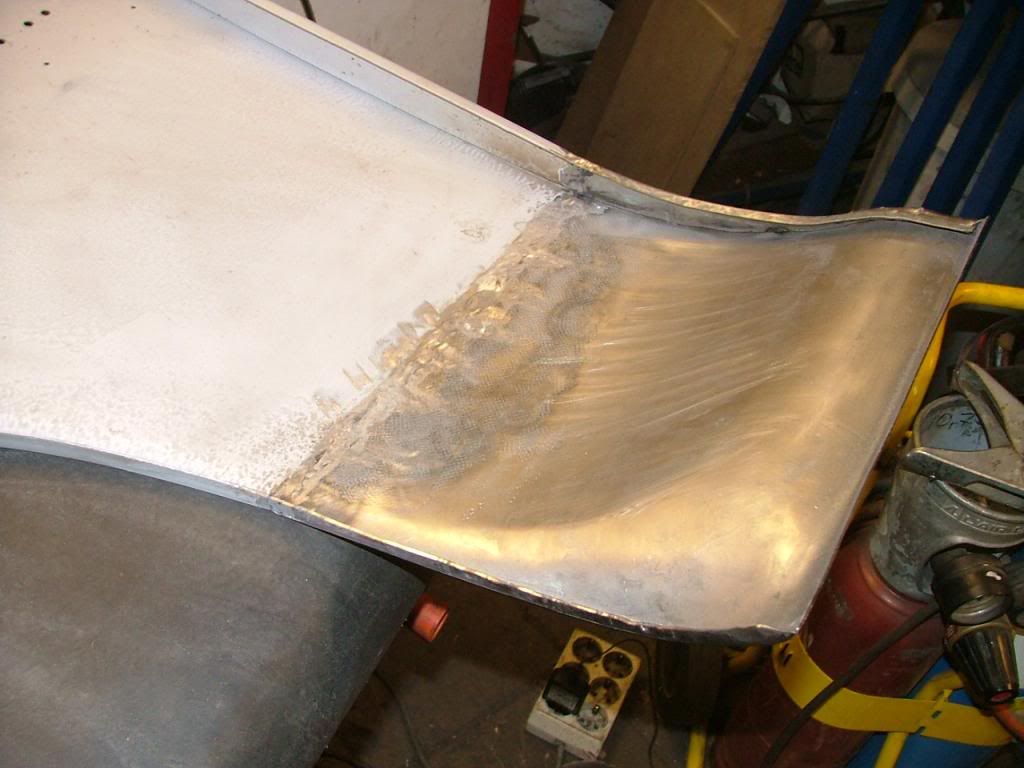
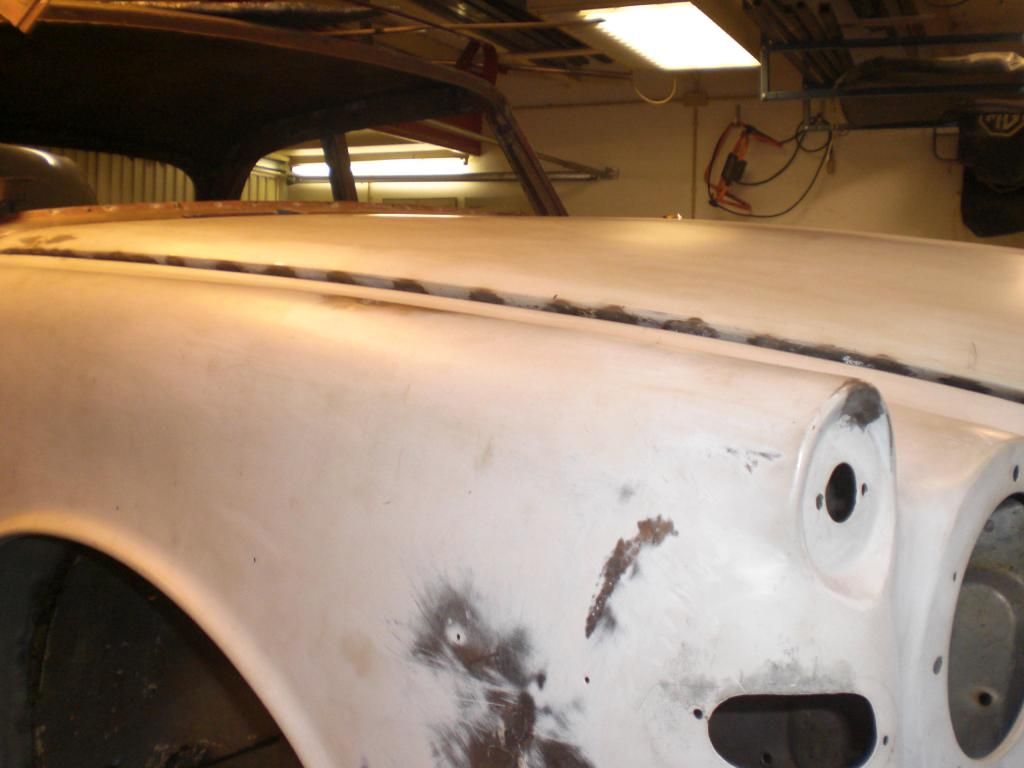
Then started with the lead. The shell originally has a fair bit of lead on the shell where the shell meets the upper rear wing. I never did this before and looked at several video's on the internet
After cleaning it thoroughly, the tinning past was applied
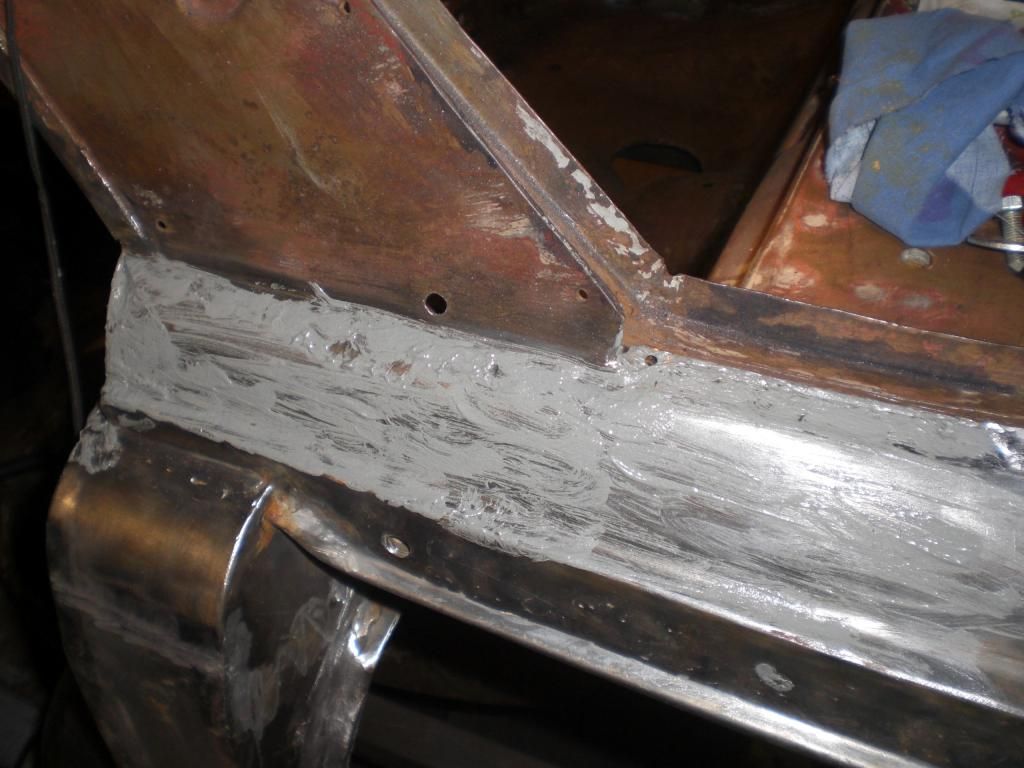
And after heating up and neutralizing the acid in the tinning paste with a wet cloth lead/tin was applied. In the beginning a lot end on the floor as i applied too much heat
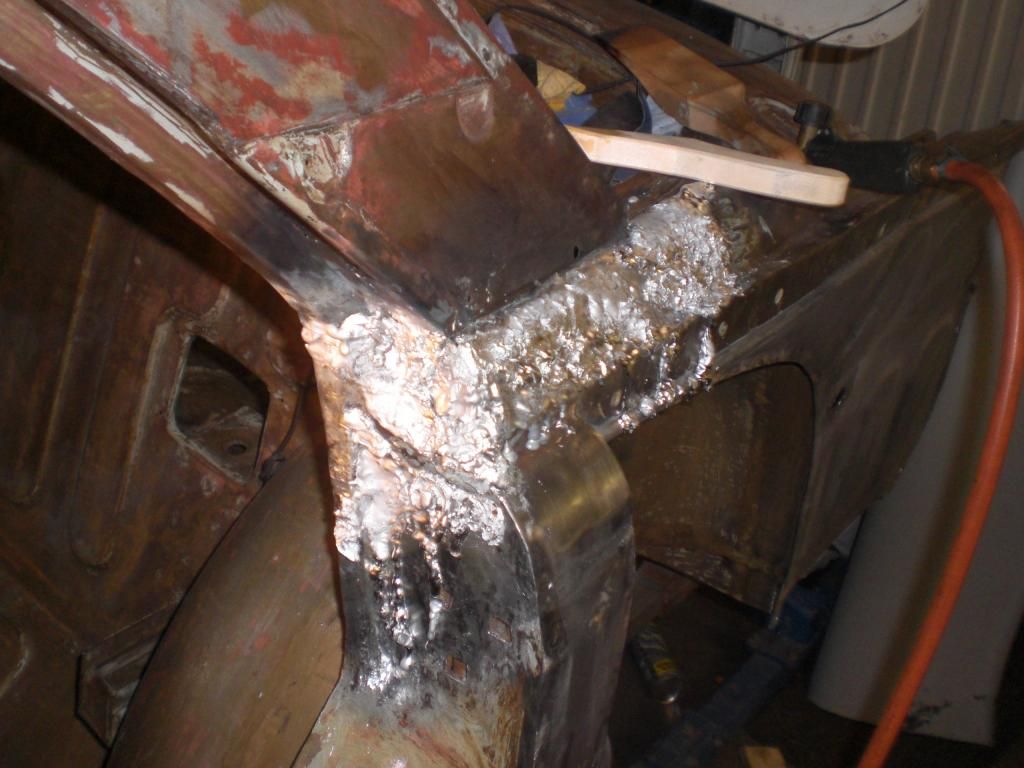
The horizontal area's are not that difficult but the vertical one are as it easily drips of the panel on the floor
Then with a file, it was made in the right shape. You should not grind it as the lead dust created then is good for your health.
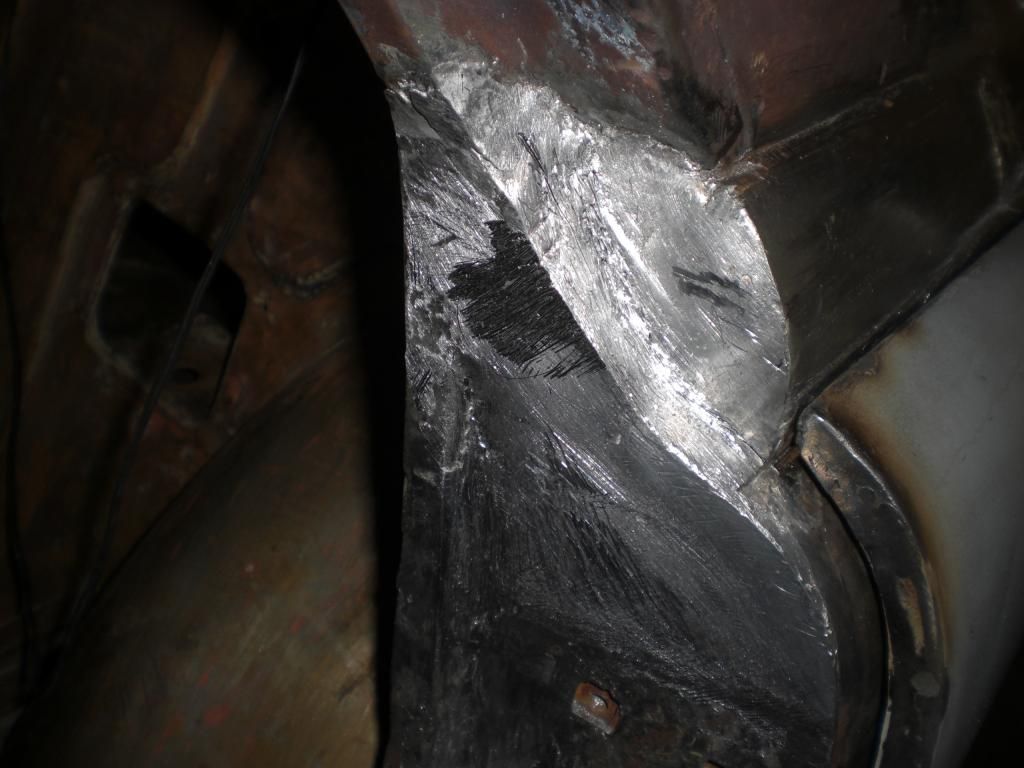
After many hours i got the right fit with the rear wing
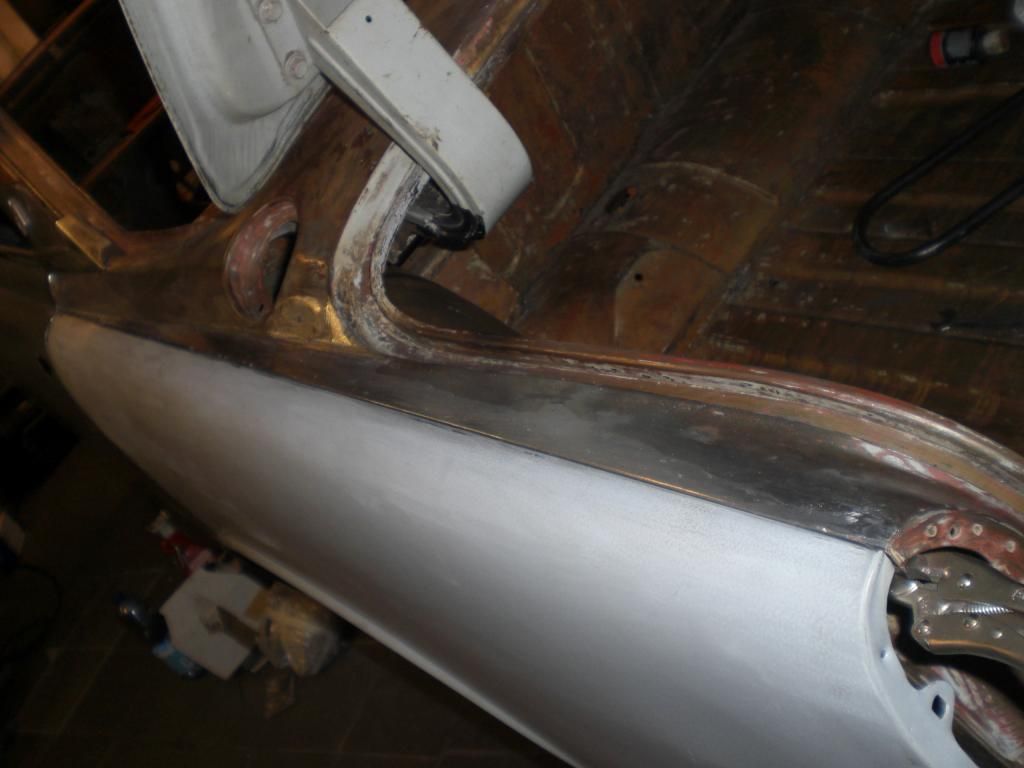
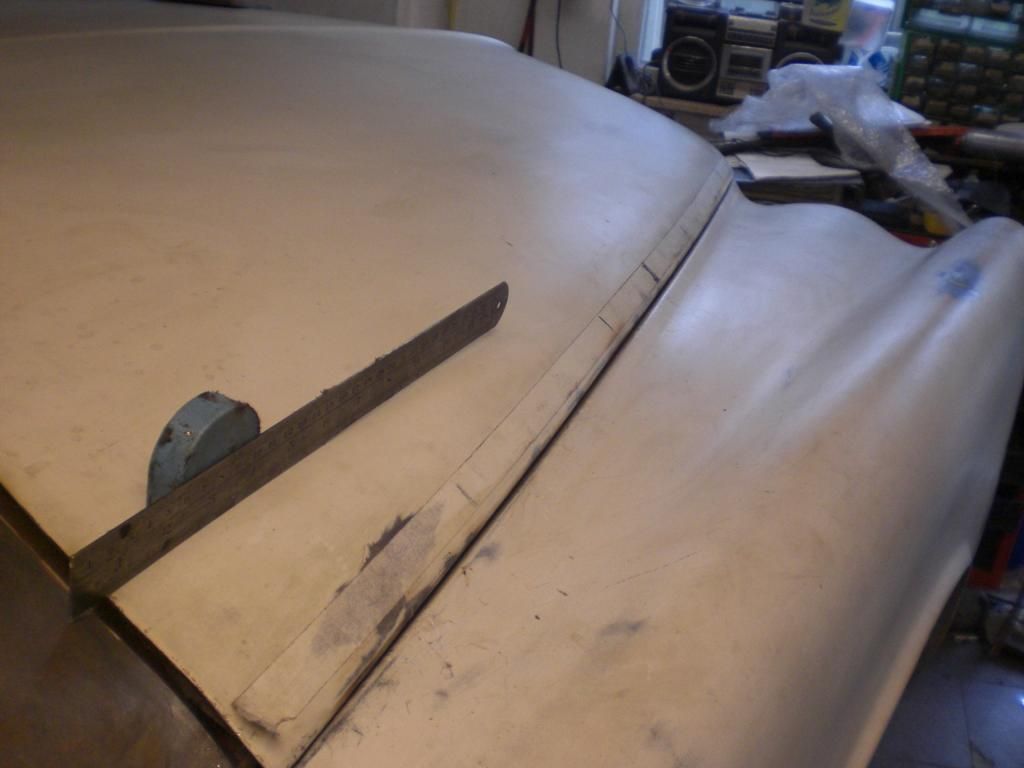
On the picture beneath, you can see how many lead/tin needed to be applied
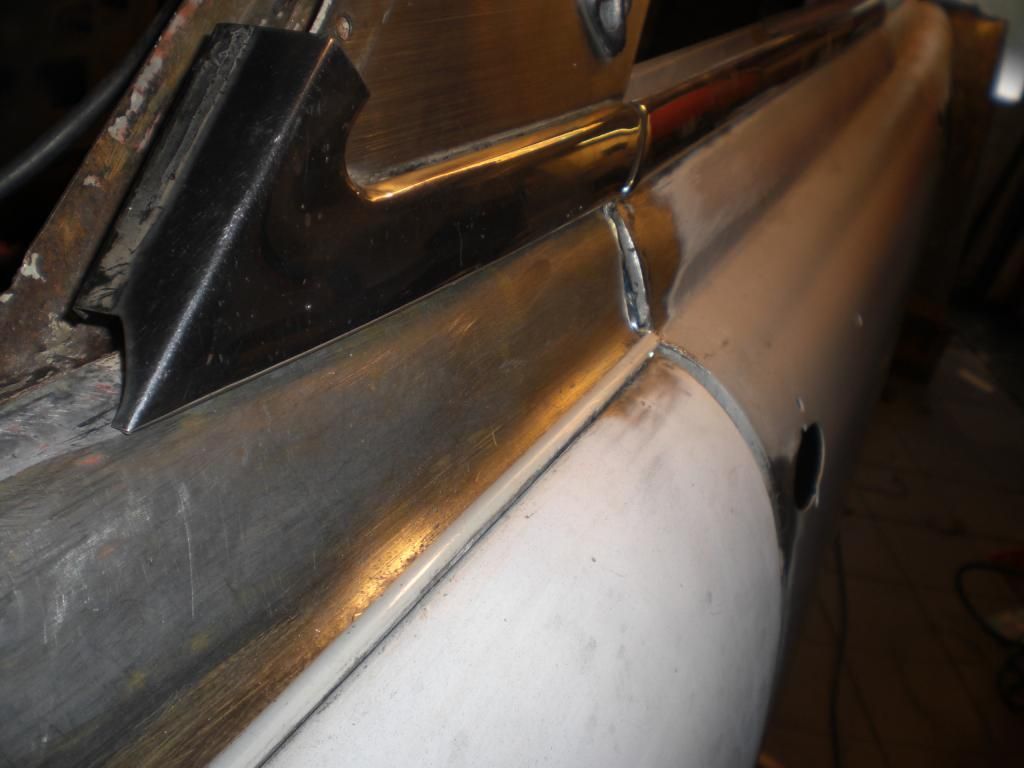
Had to apply led/tin on 8 places so you can imagine the time involved for an un experienced person like myself
After the lead work was done the shell was checked on incorrection, welding spatters ect. For this my rotating eguipment is very handy
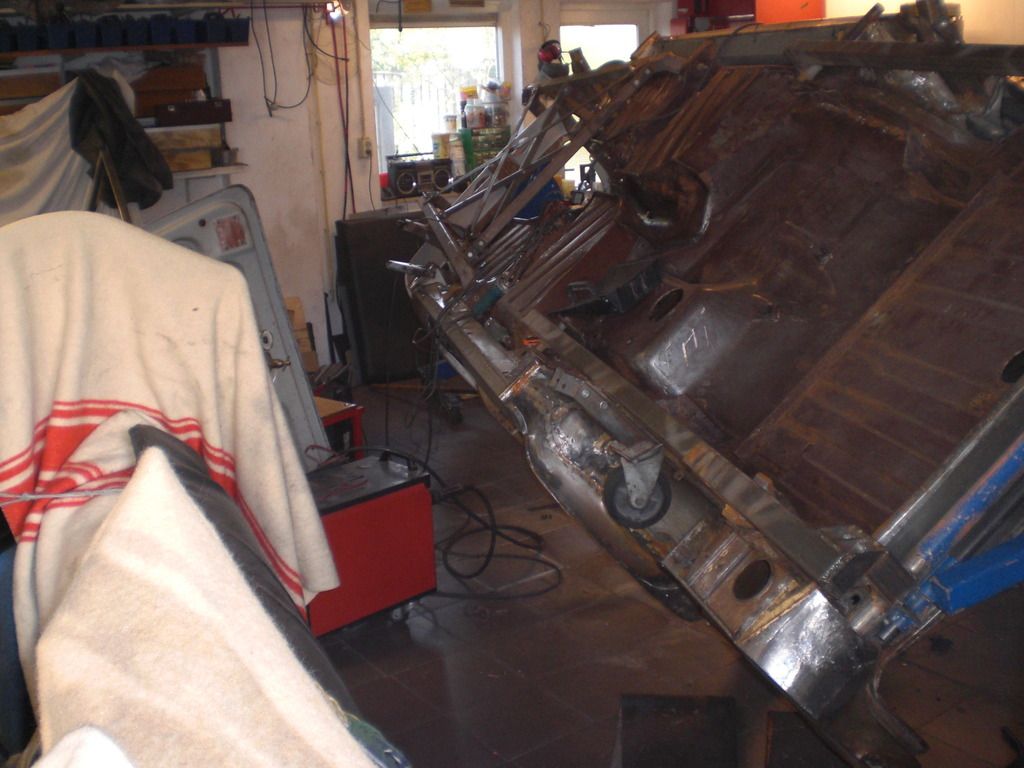
The next job was to trial fit the locks, door handles, window frames, lights and trim
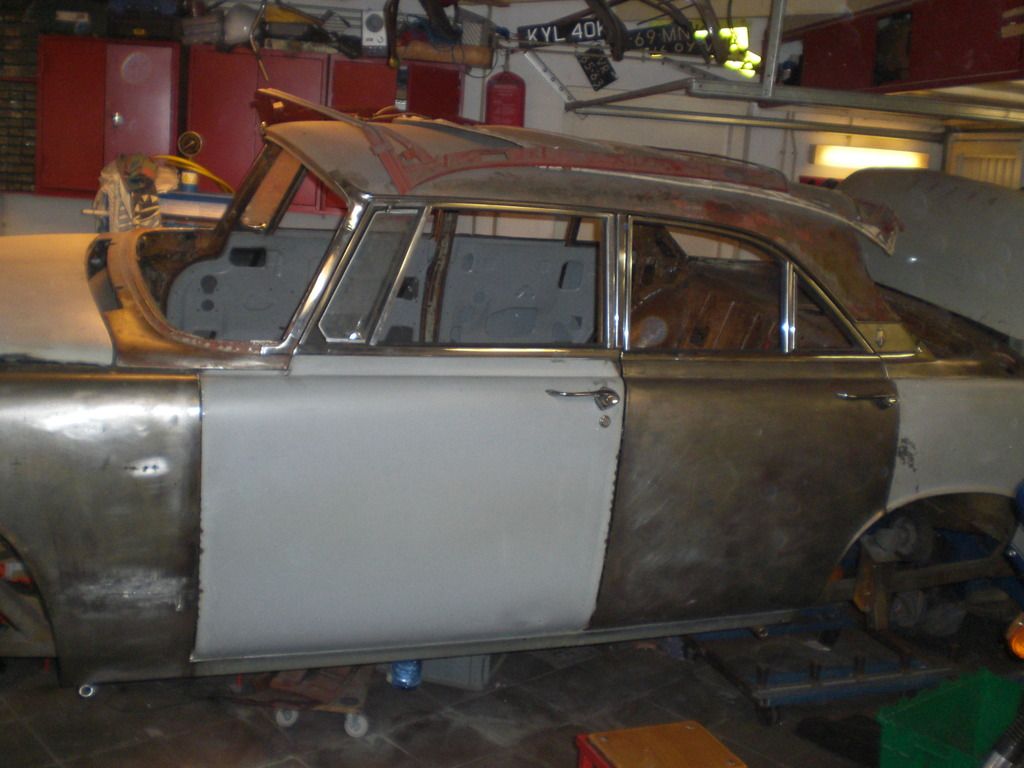
The next moment was a real milestone as the body went to the shot blasting compagny
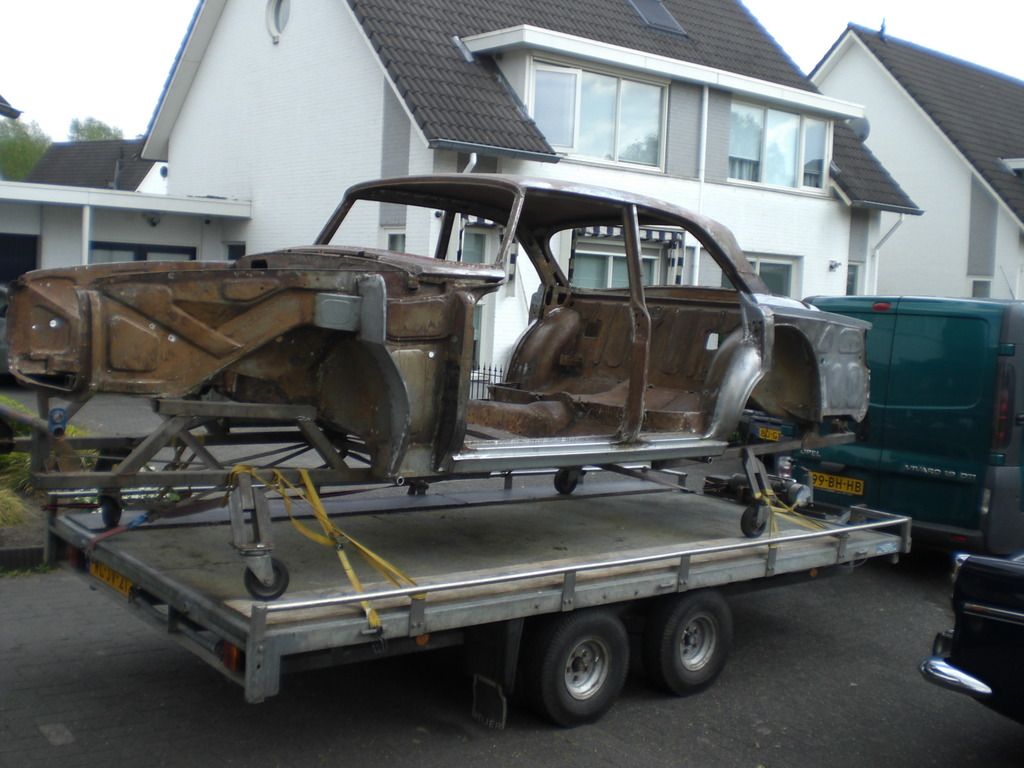
It was shotblasted and got a coat of expoxy primer
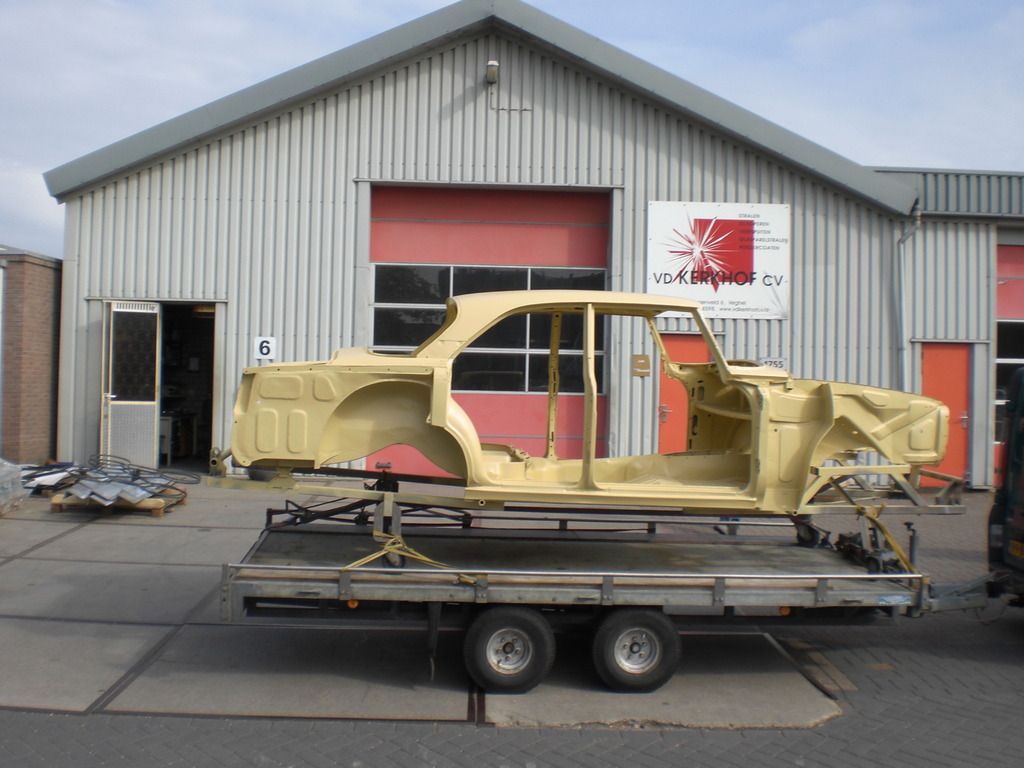
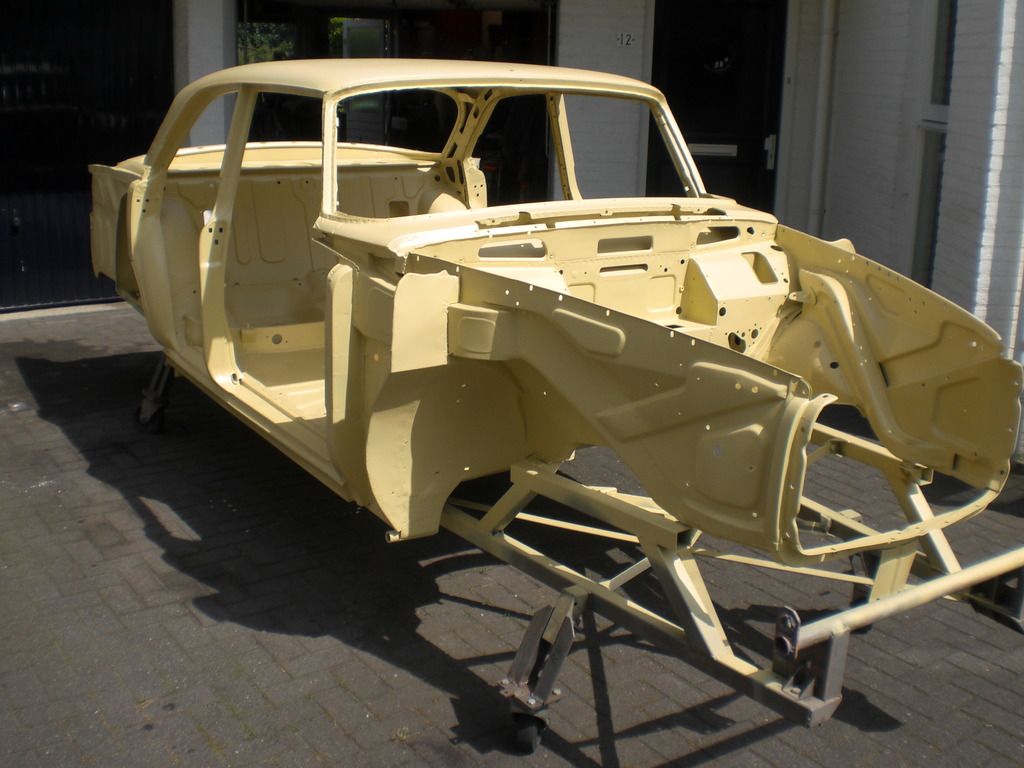
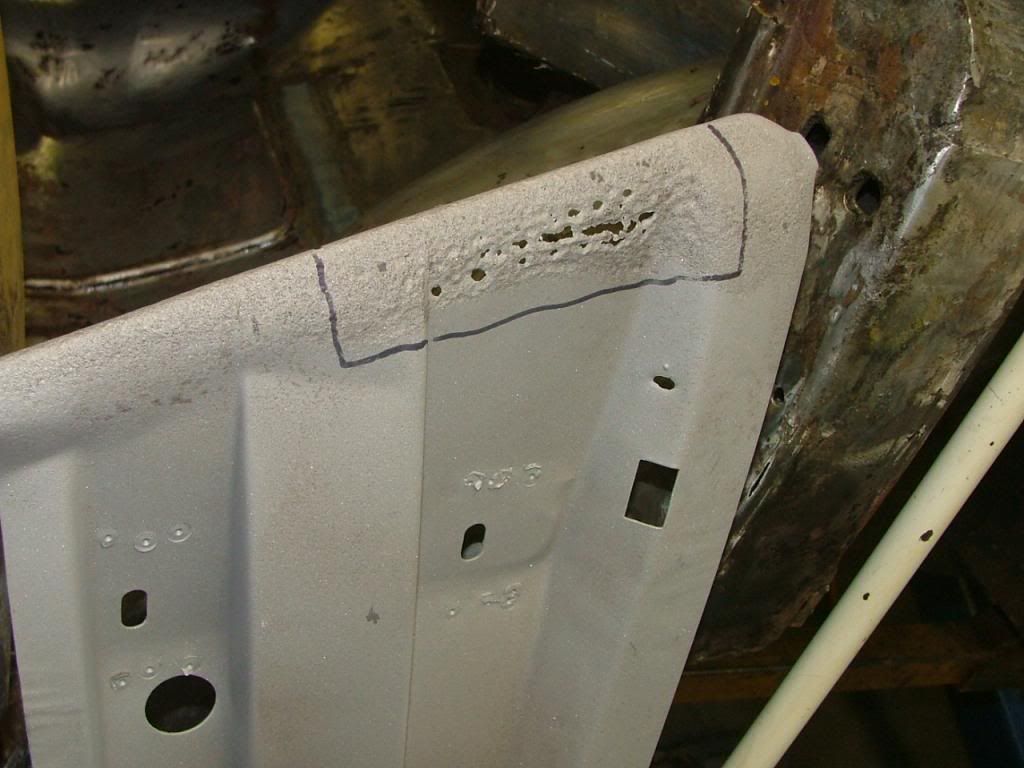
some small holes caused by the blasting had to filled up
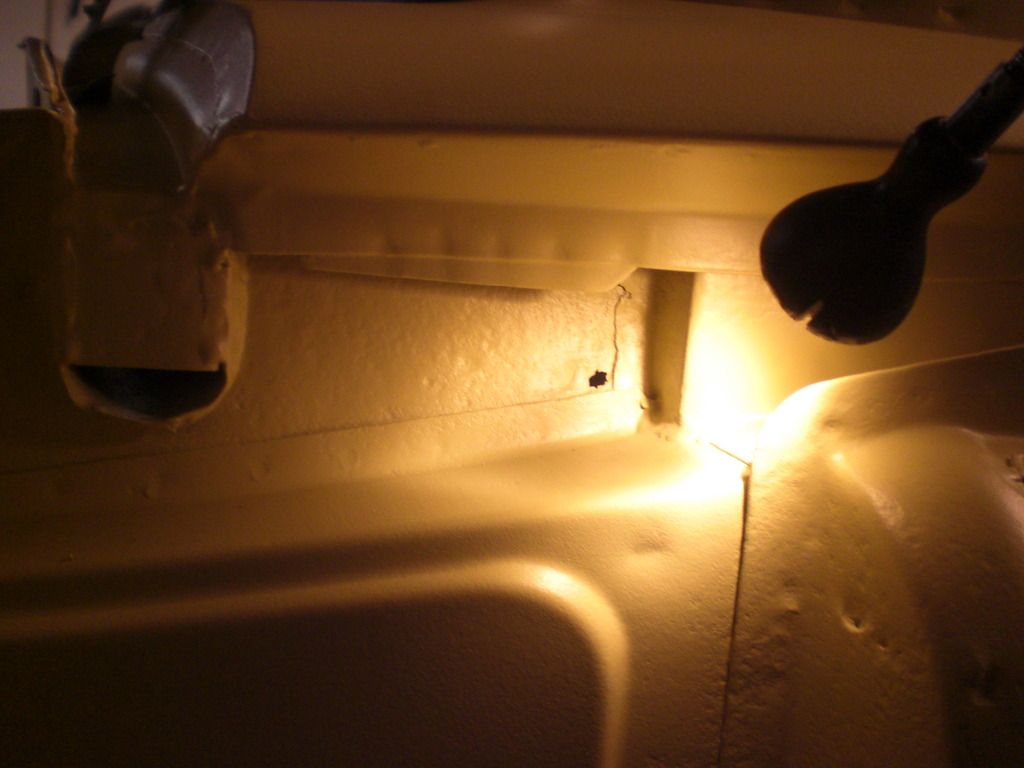
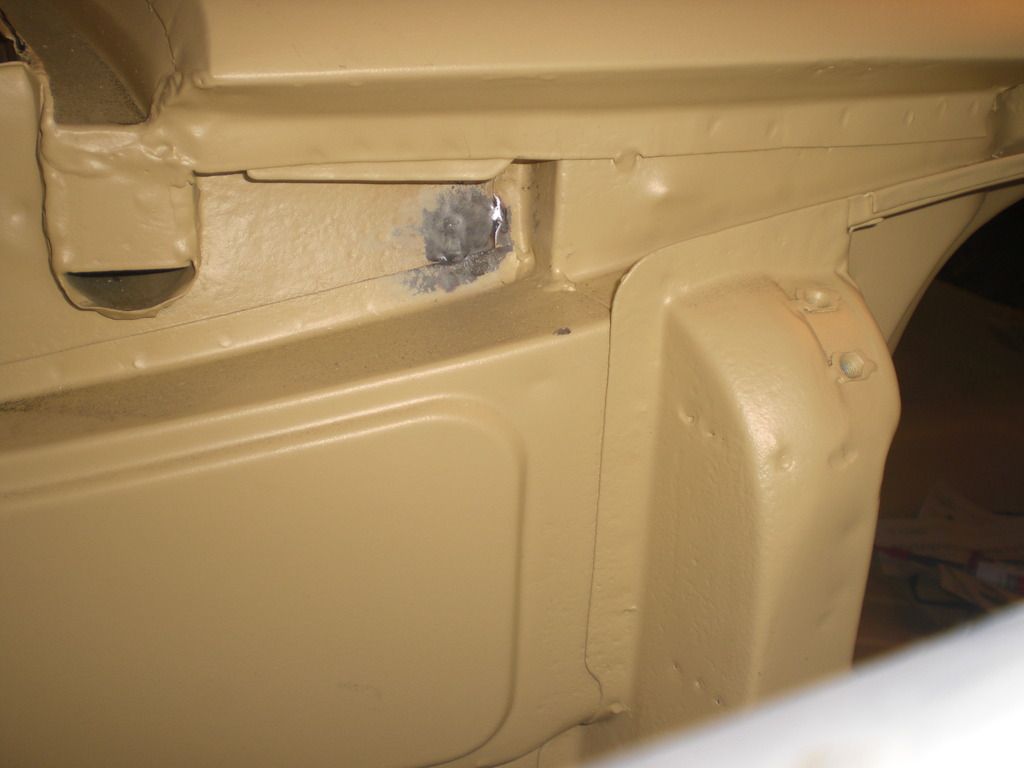
Then it was seam sealing time! I didn't want to use the brush type seam sealer but applied a thin line of sealer onto the seam. Again this took many hours
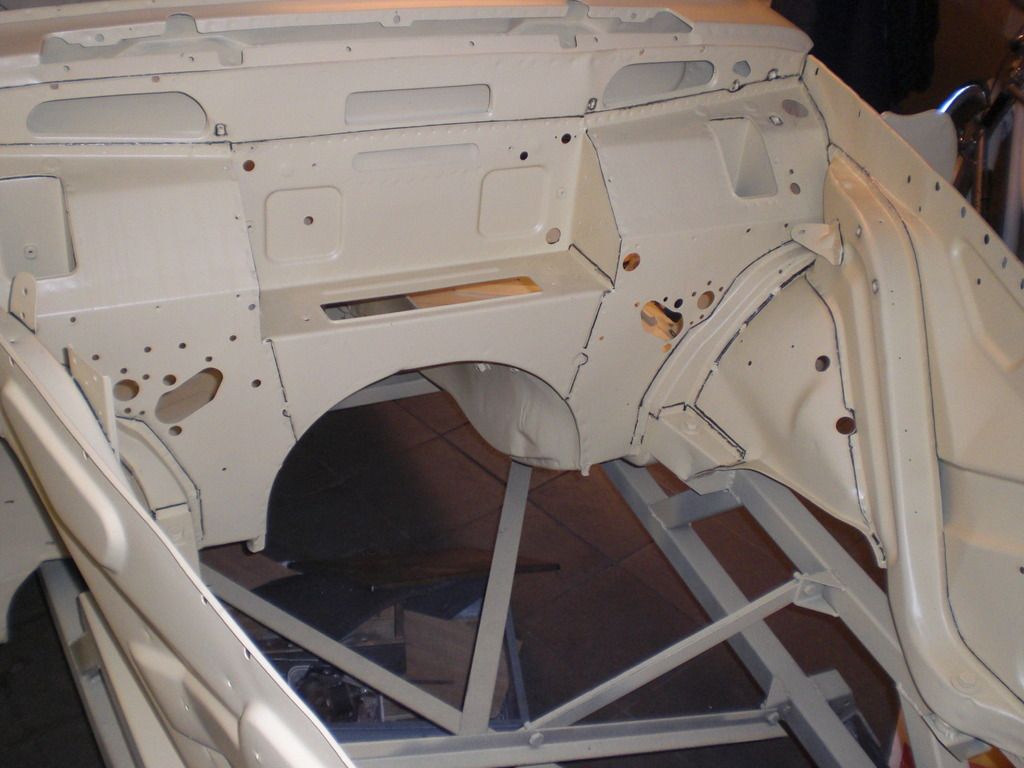
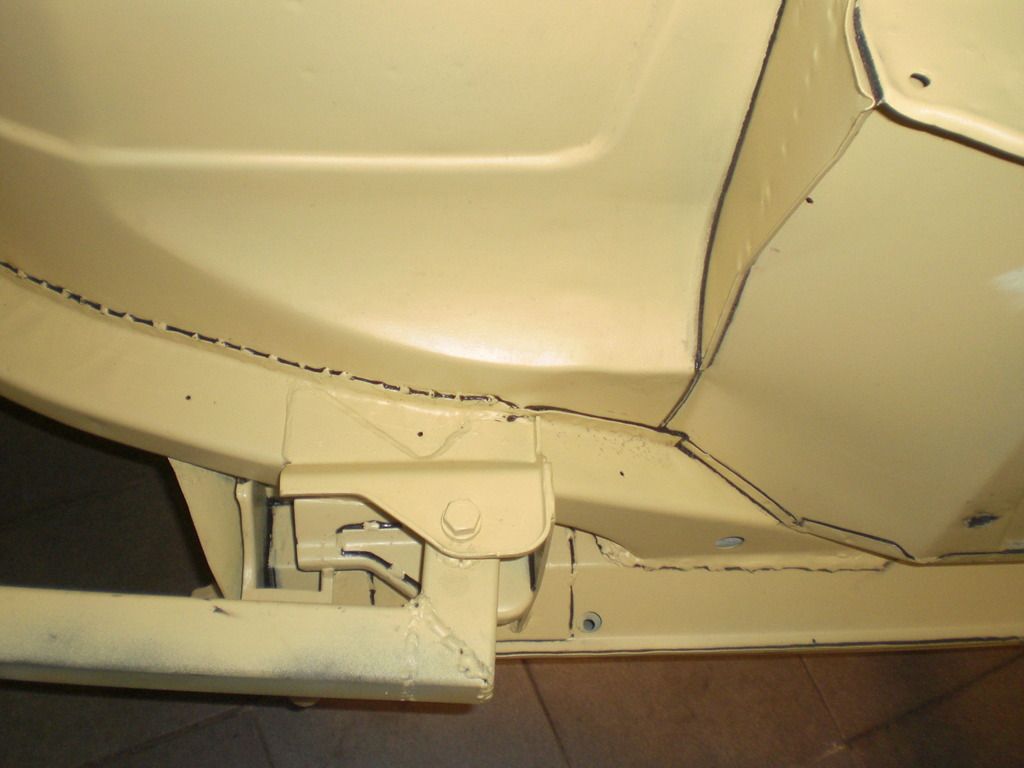
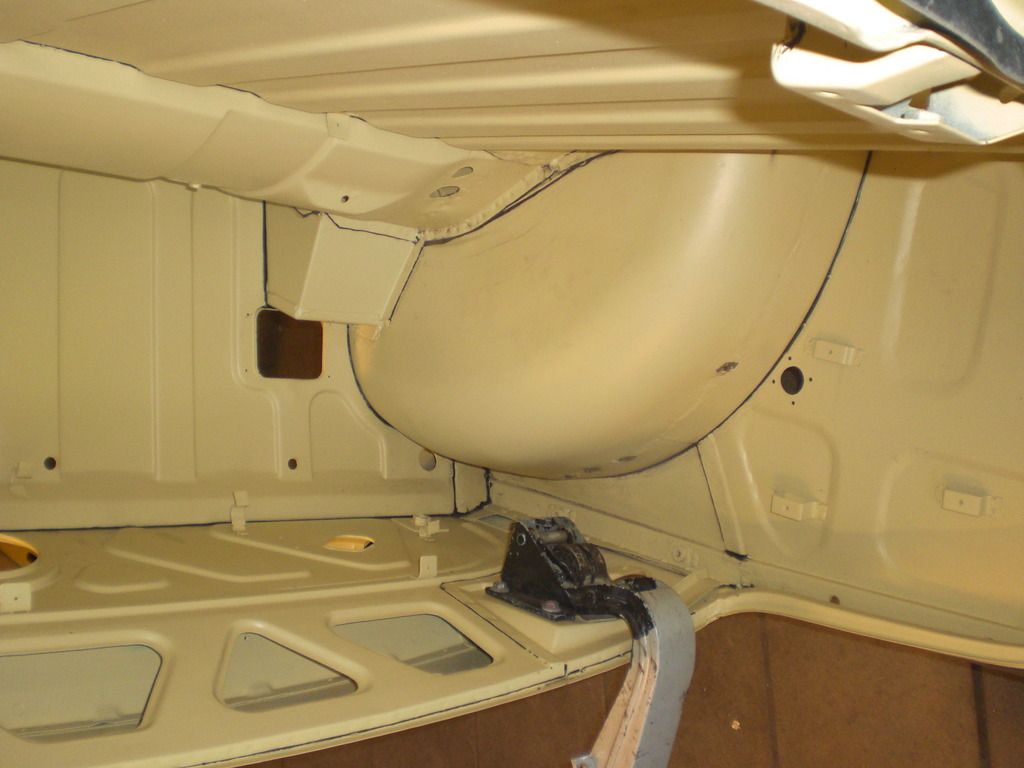
Then all panels were fitted again and the car was brought to the paint shop
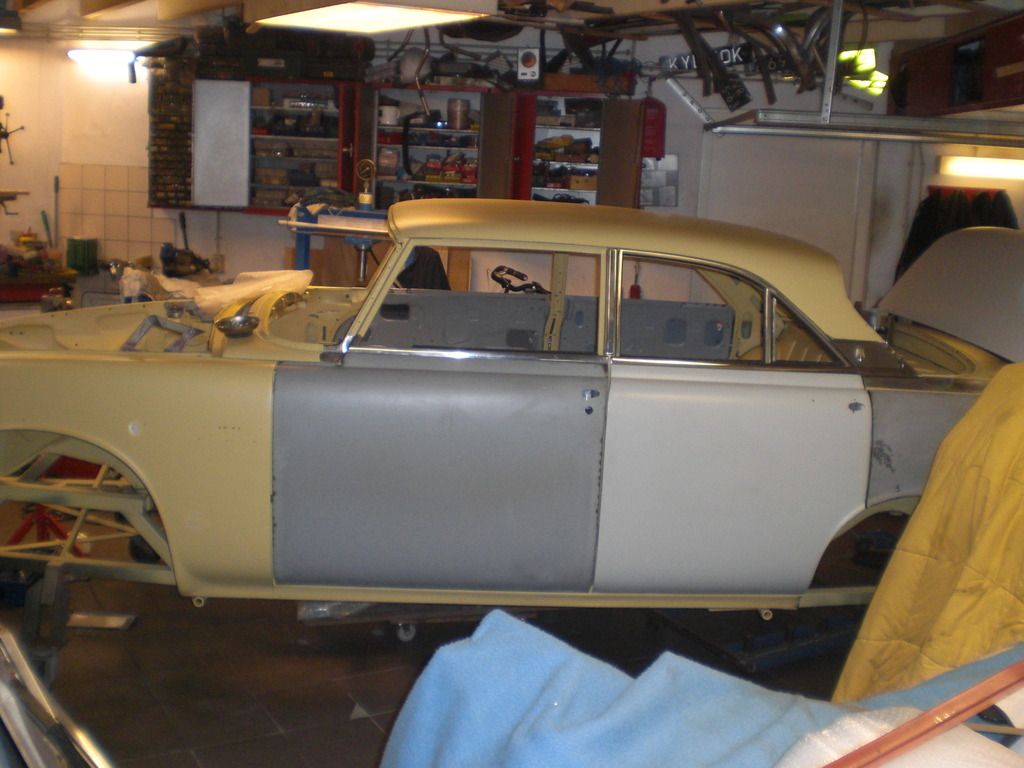
Here is the car at the paint shop for paint prep.
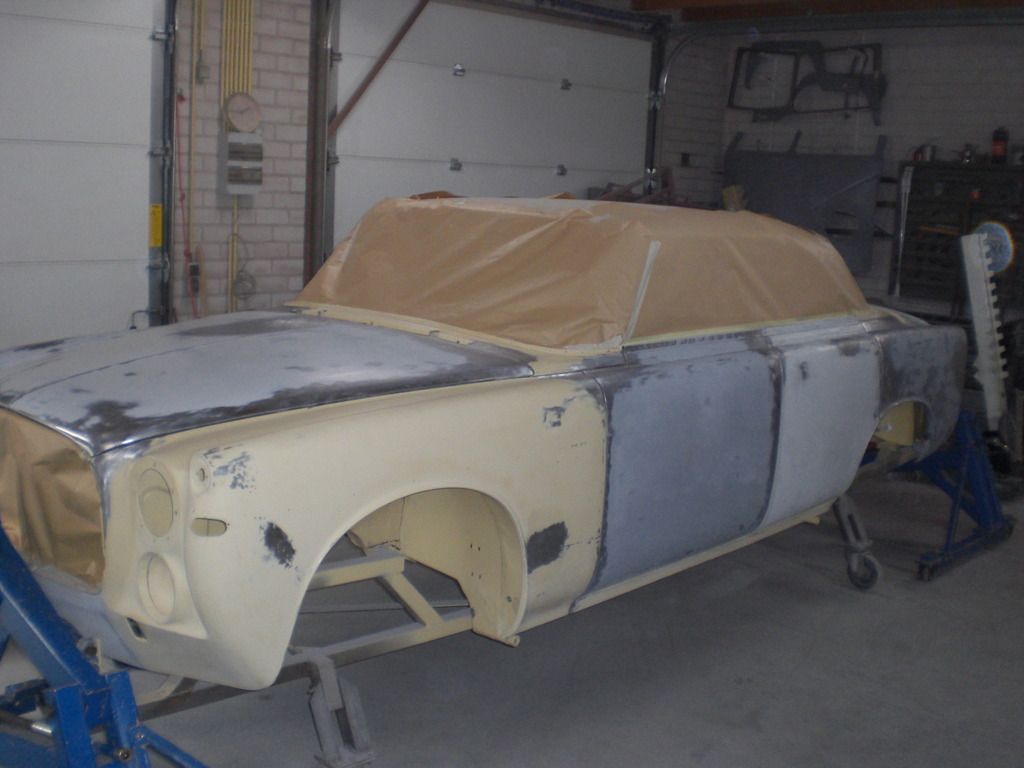
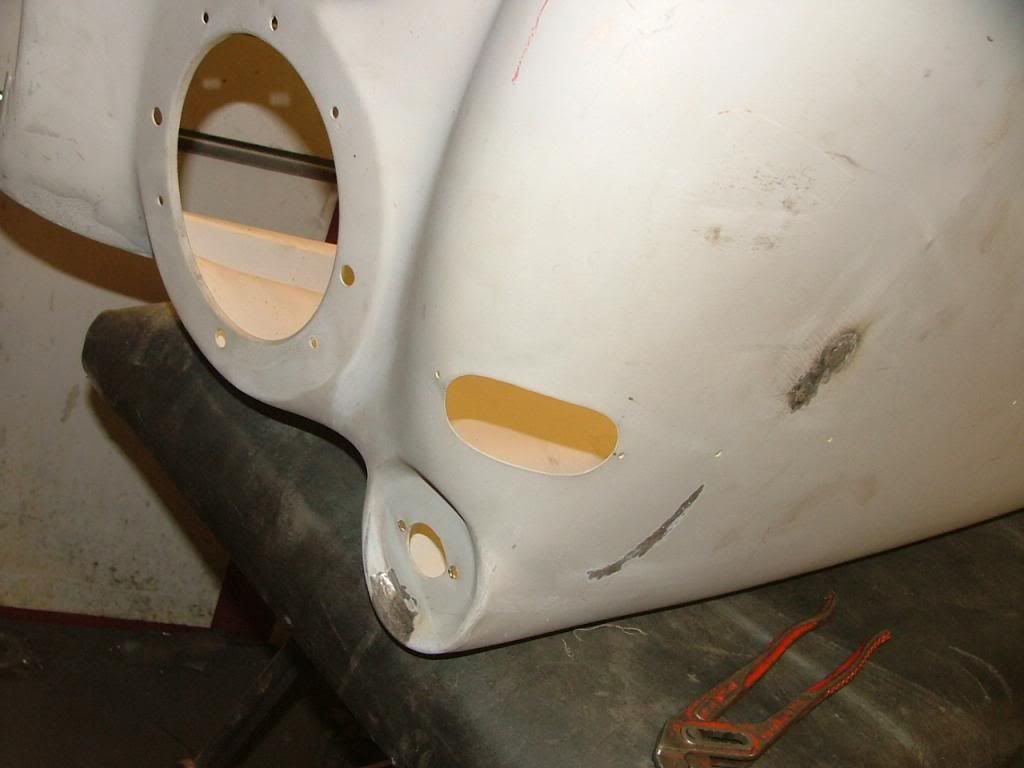
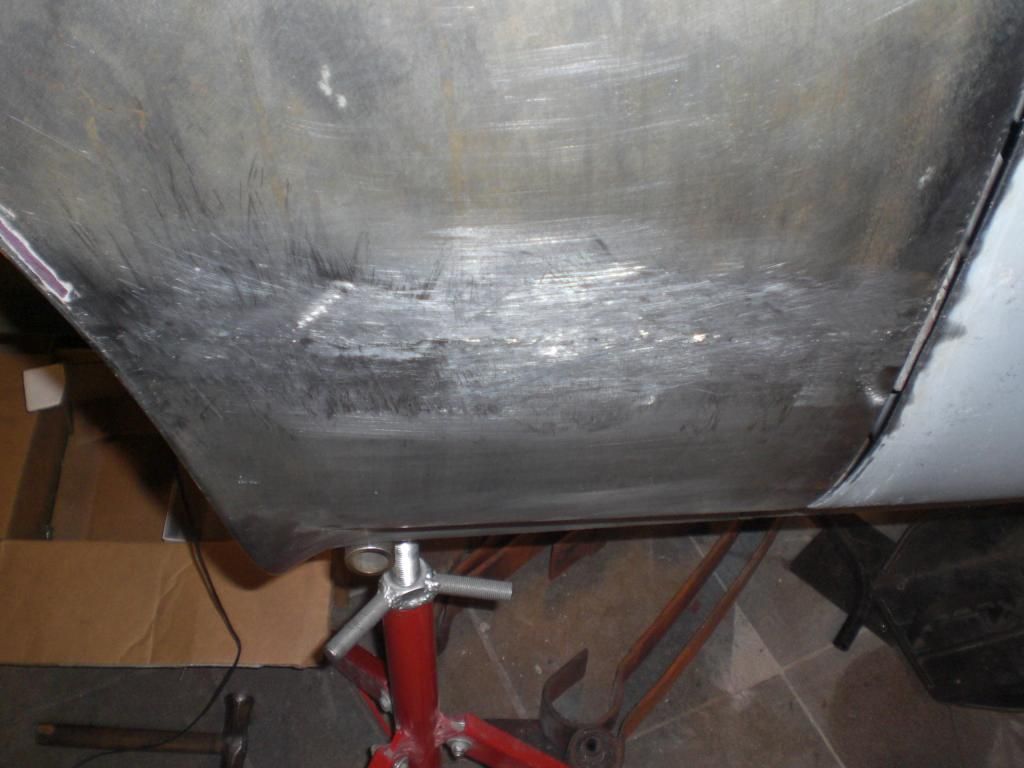
Lots of small dents were removed with a hammer and dolly. That is an art which i cannot do but my paint shop man is really an artist. the rear wing wasn't smooth at all and
had a fair bit of dents
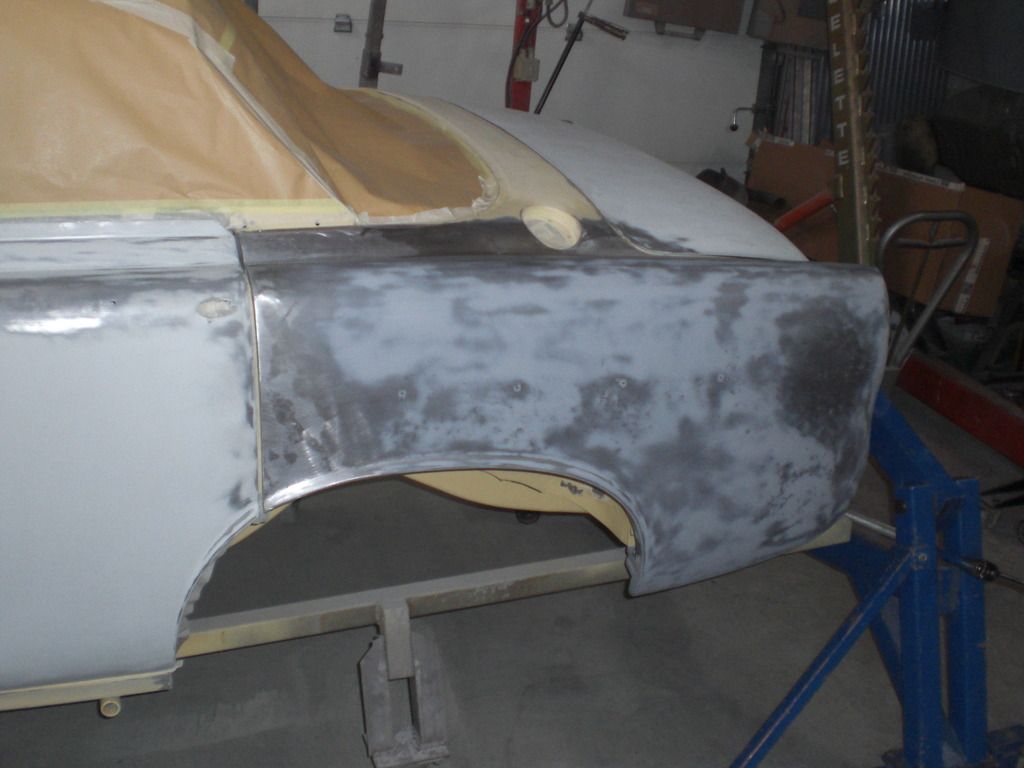
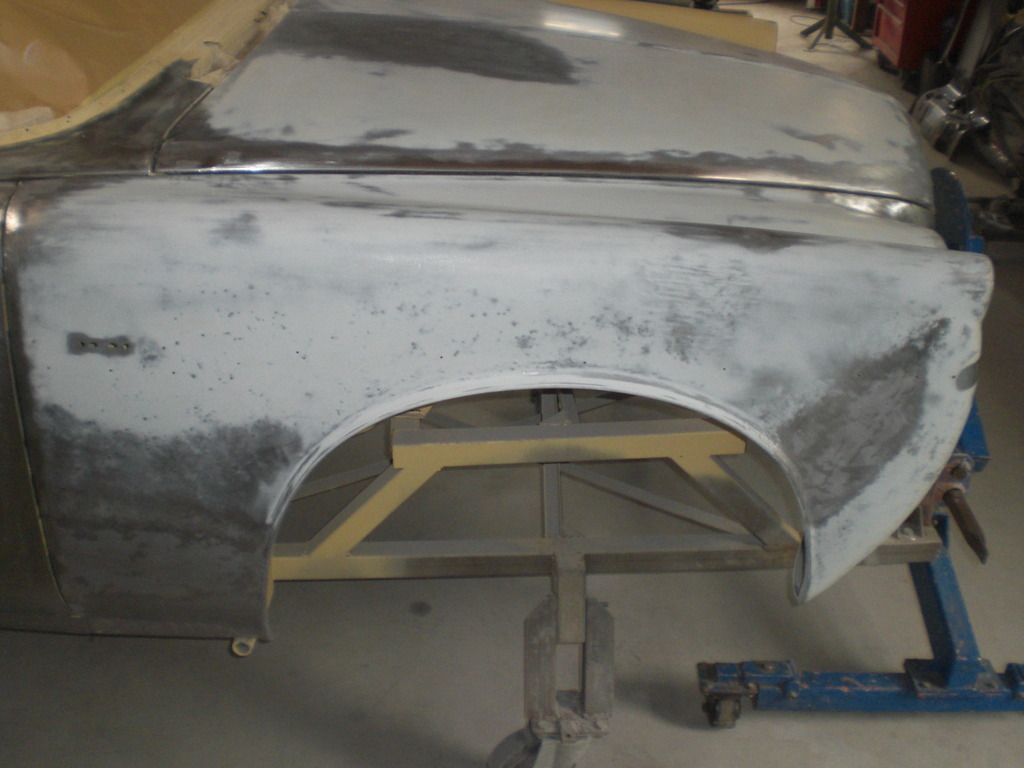
Then another coat of primer
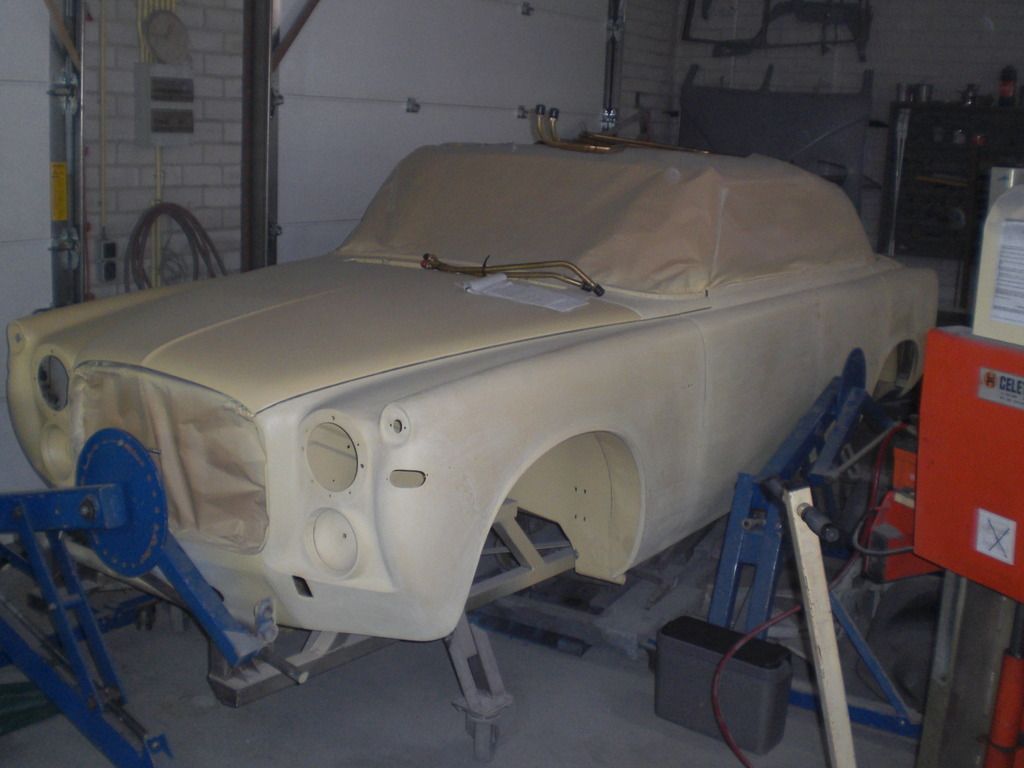
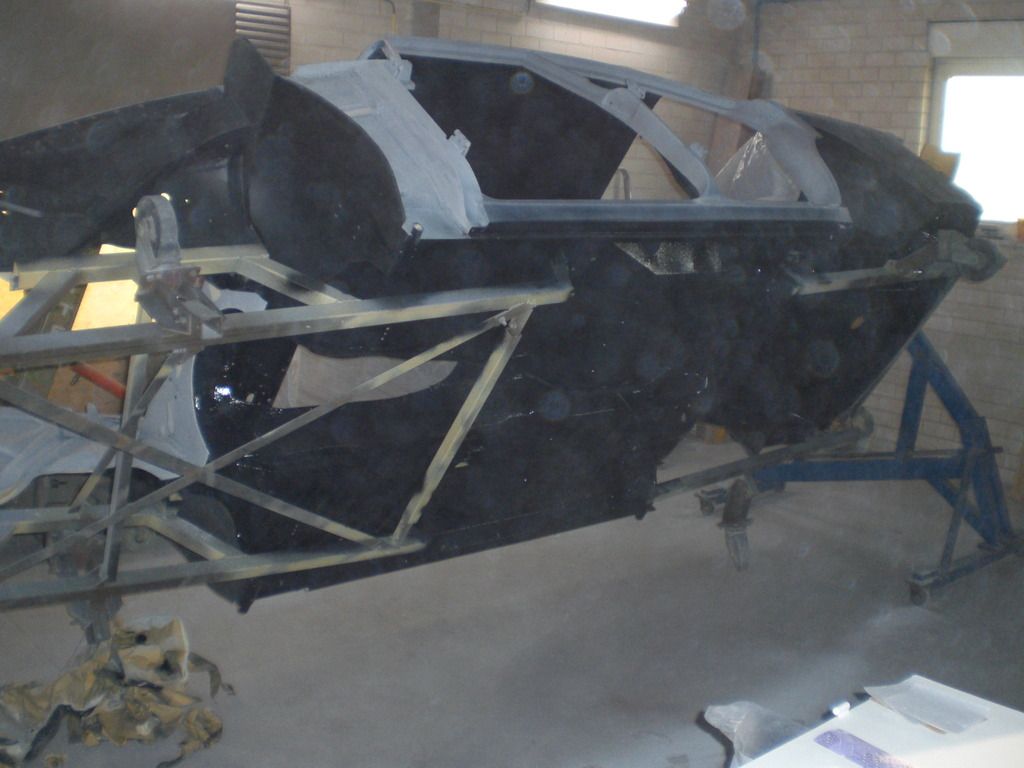
The wheel arches and underside got a coat of a anti chip coating
And then the great moment: the body in paint
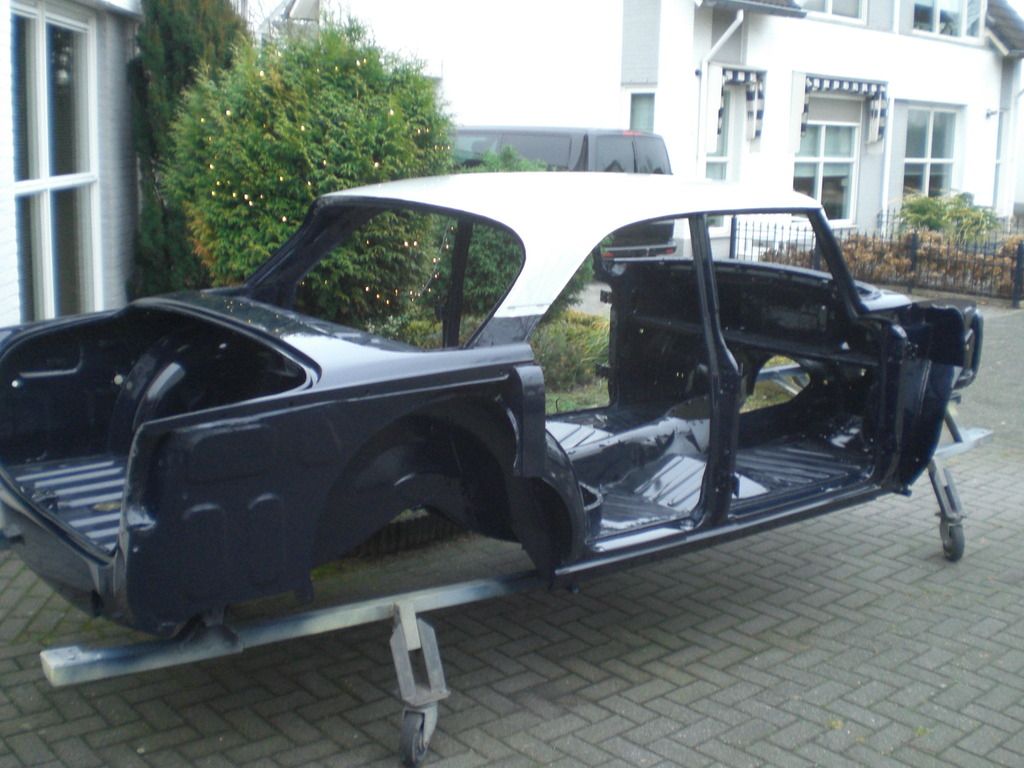
It has been at the paint shop for more then year. This man is very busy and only wanted to do if he was allowed to take 1 year. I accepted that as i wanted him to do it. Previously he has done a motorbike for me and i was so impressed about his standard that i only wanted him to do the job.
All the panels have not been painted yet which i don't mind as i can start assembling the car
That's it for now
Peter
![]()
![]()


