jonomisfit
Club Retro Rides Member
Posts: 1,790
Club RR Member Number: 49
|
|
Oct 15, 2017 20:01:30 GMT
|
I managed to get a bit of time in the workshop today. spit 2 ready for a weld and tidy up 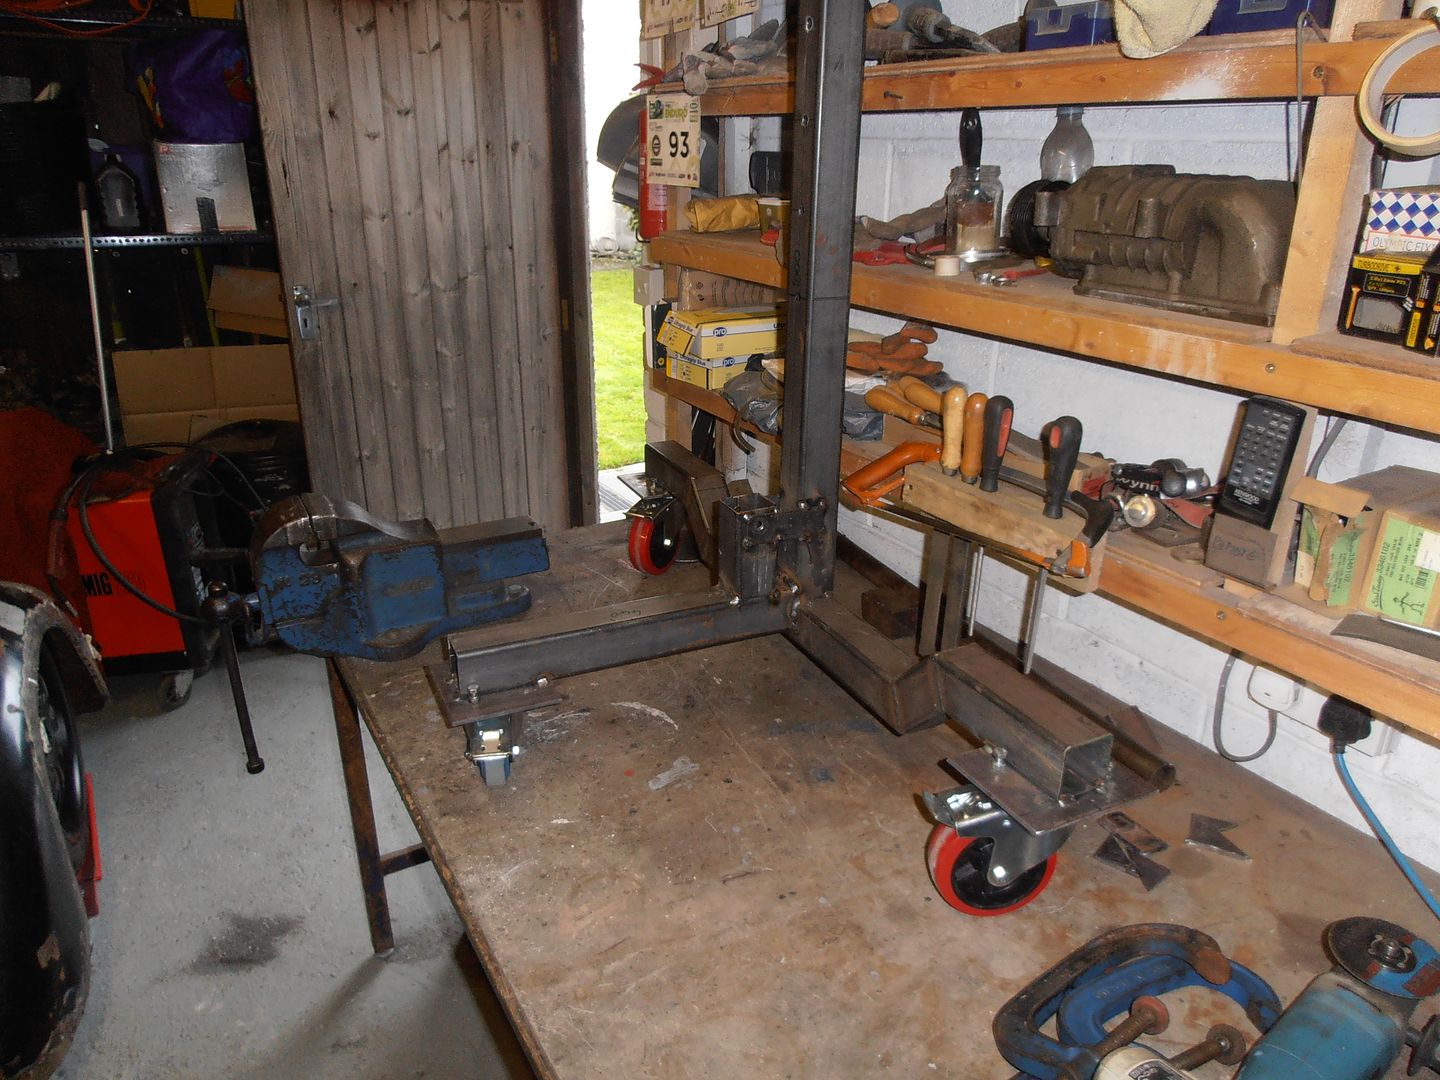 mid weld with the support stays going in 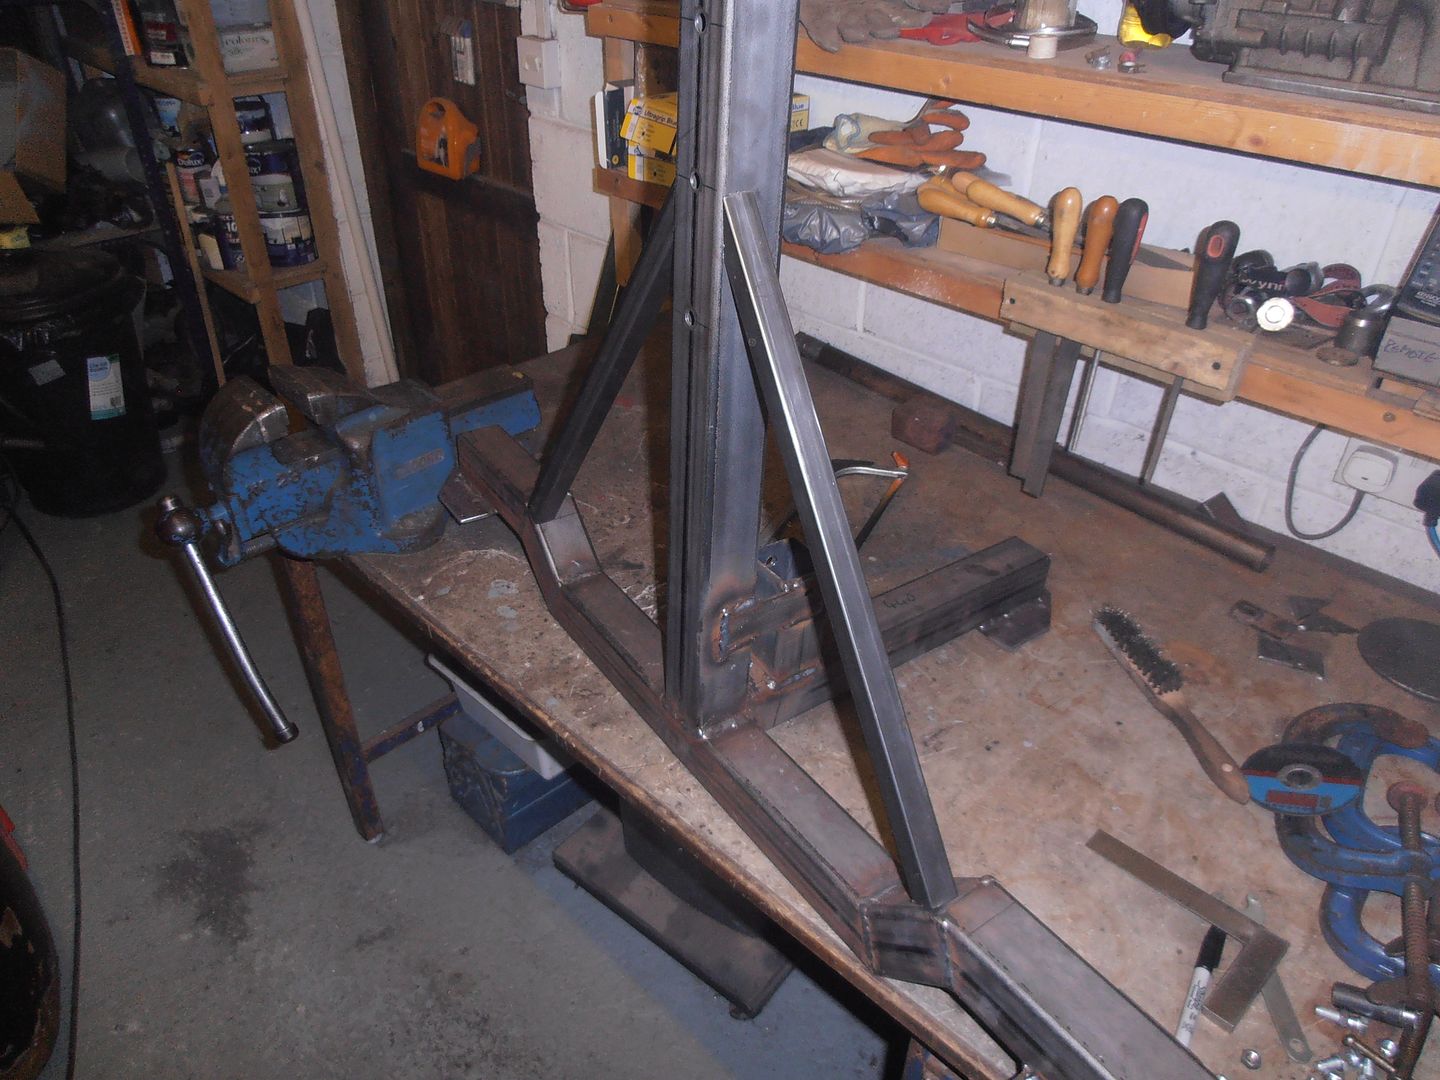 more welding 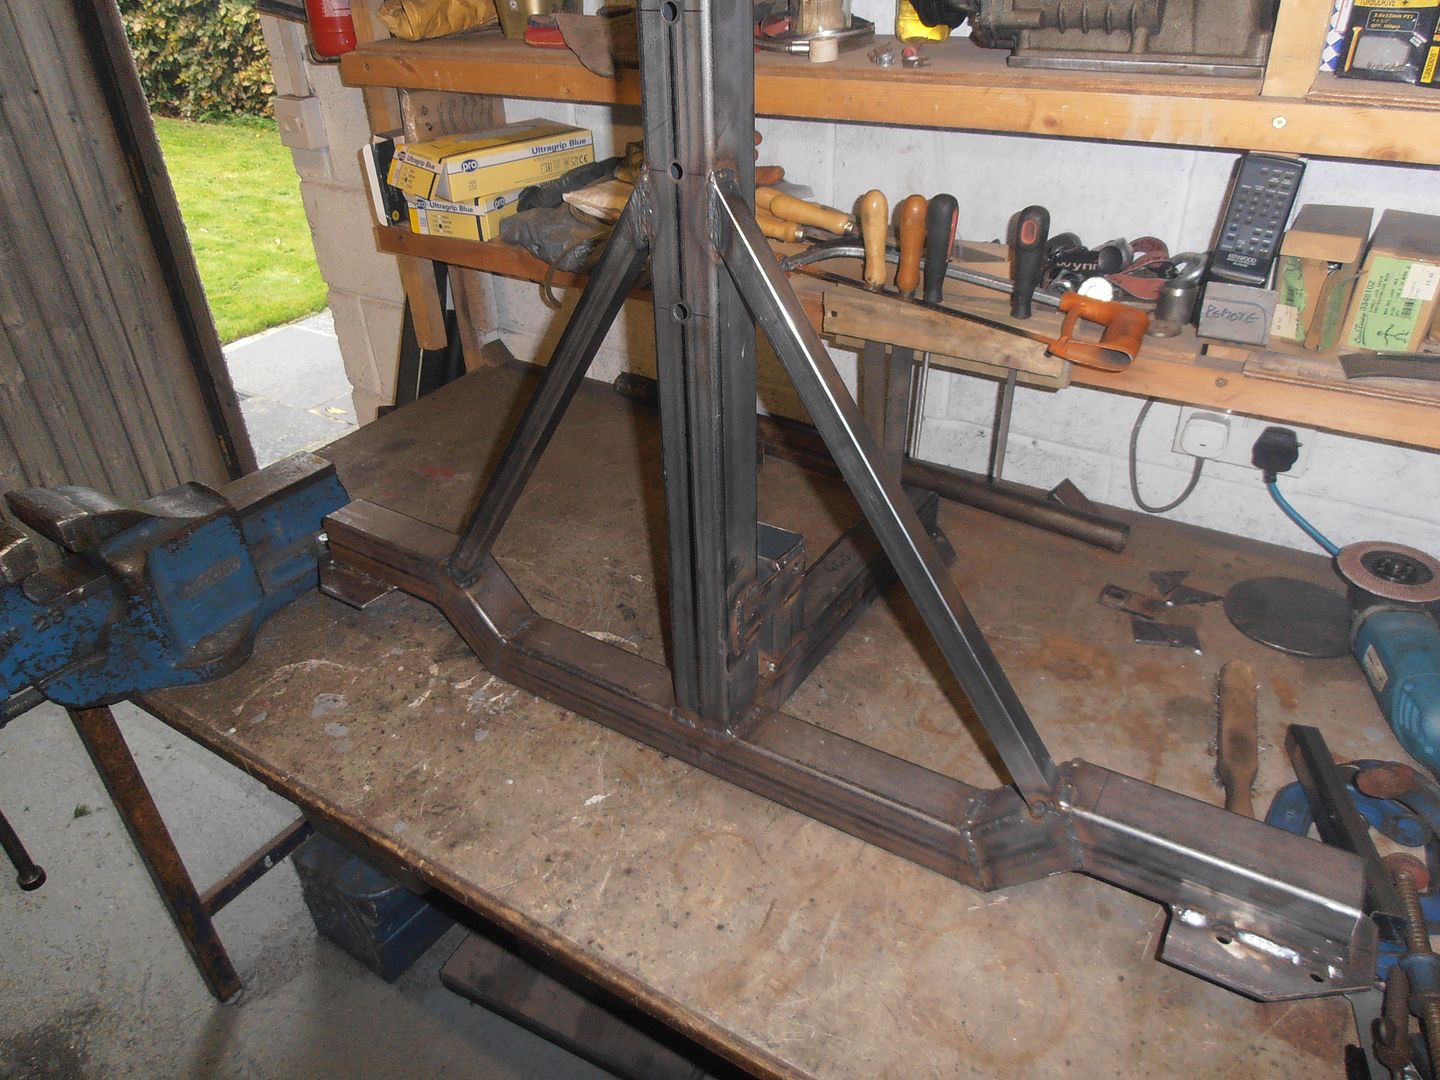 weld on the rotation lock 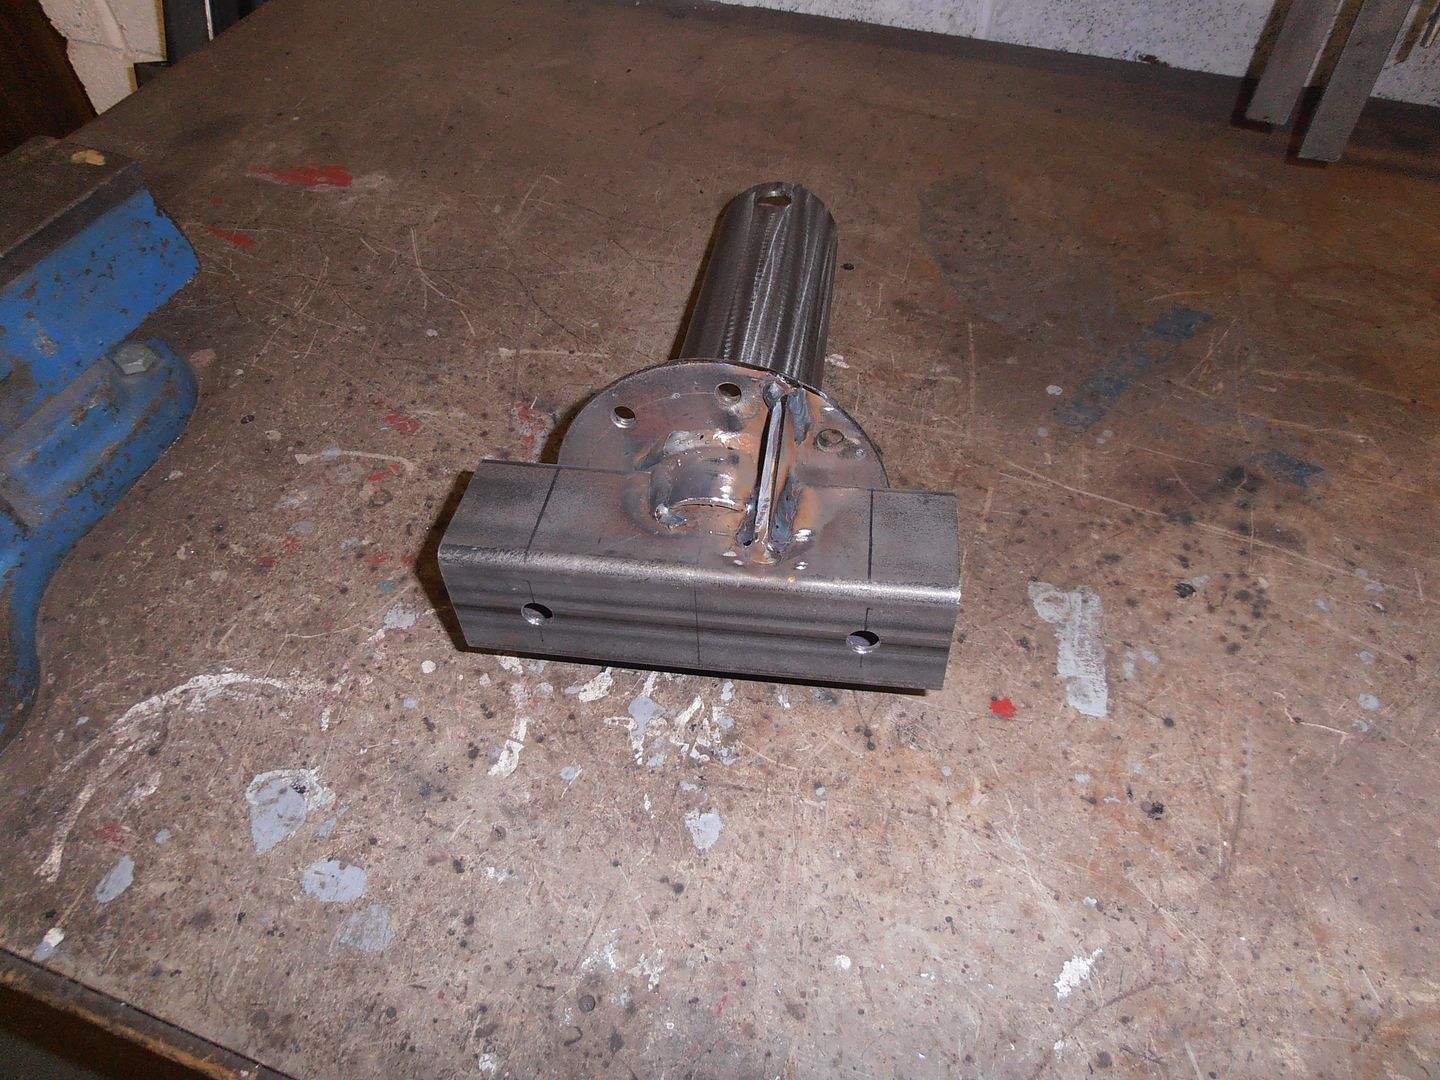 forget to take pictures for ages.... Then remember again 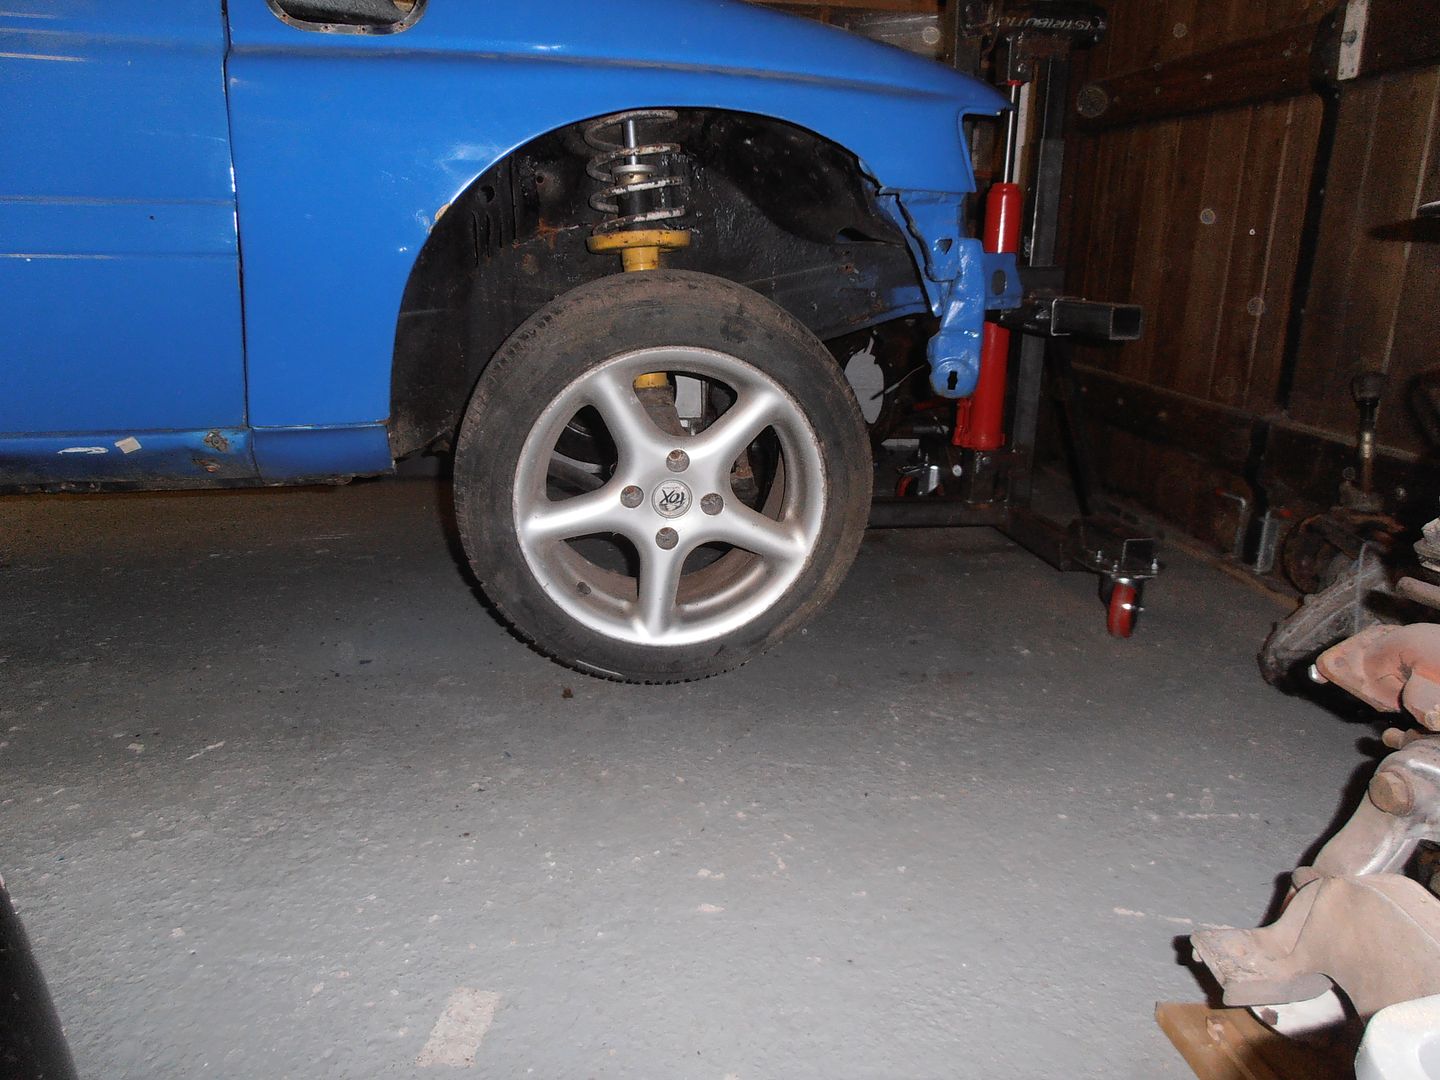 thats the car supported on the spits only at about 1/2 height 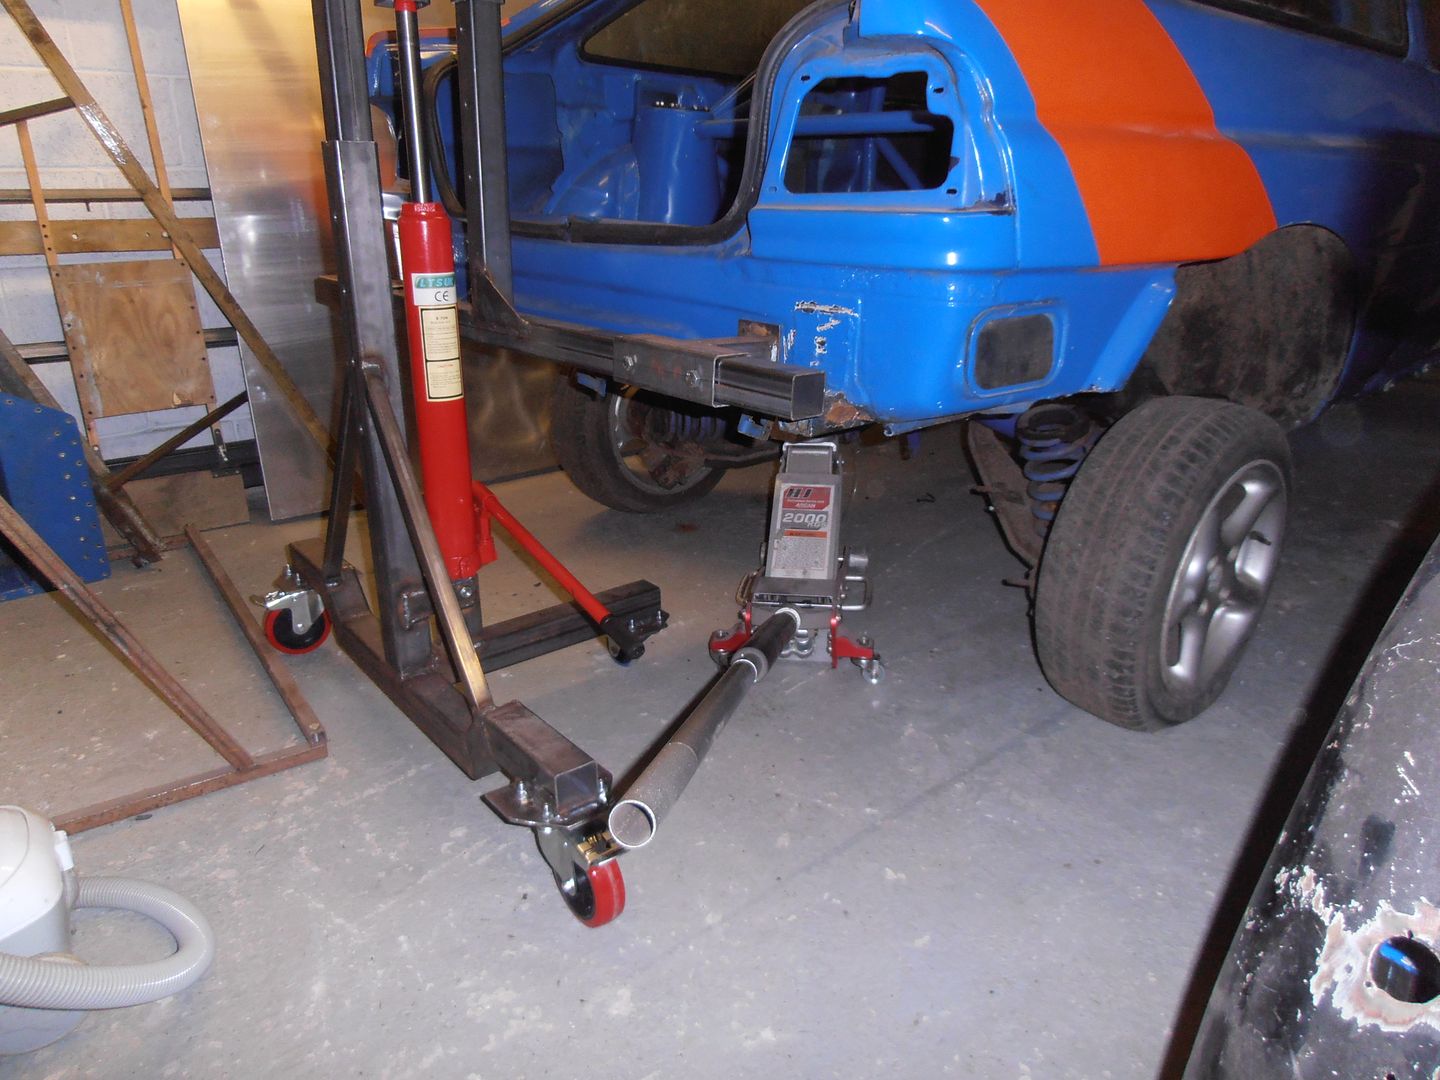 and starting to raise the spits to get close to the centre of gravity of the shell. I think i'll need to go up 1 hole more on the upper arm 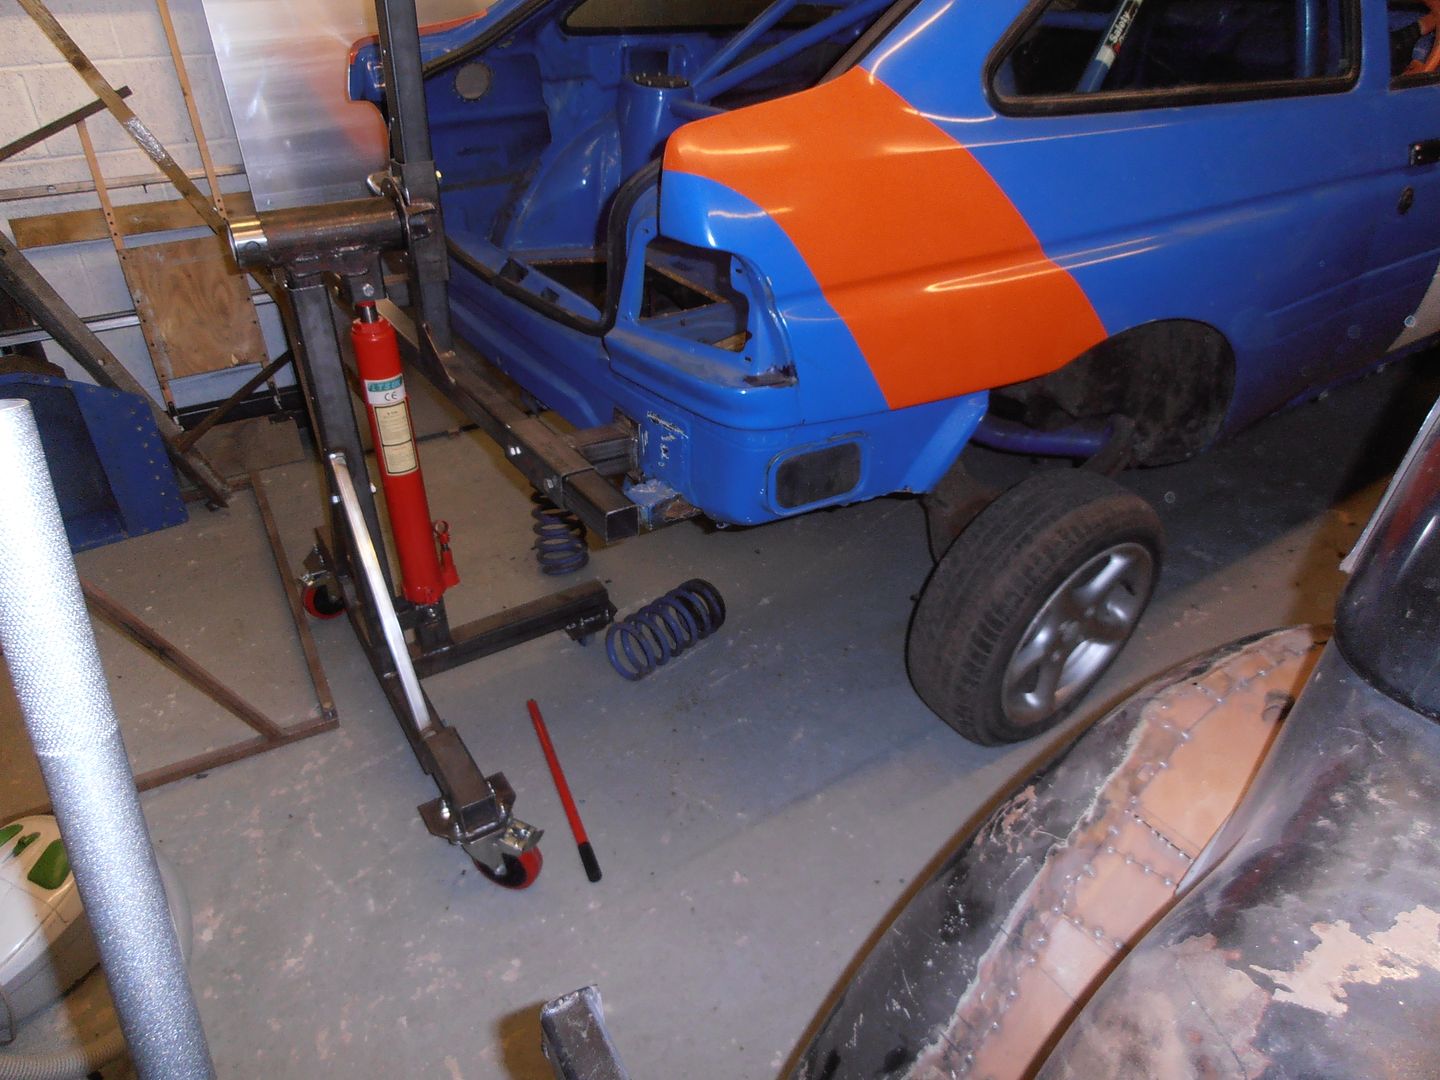 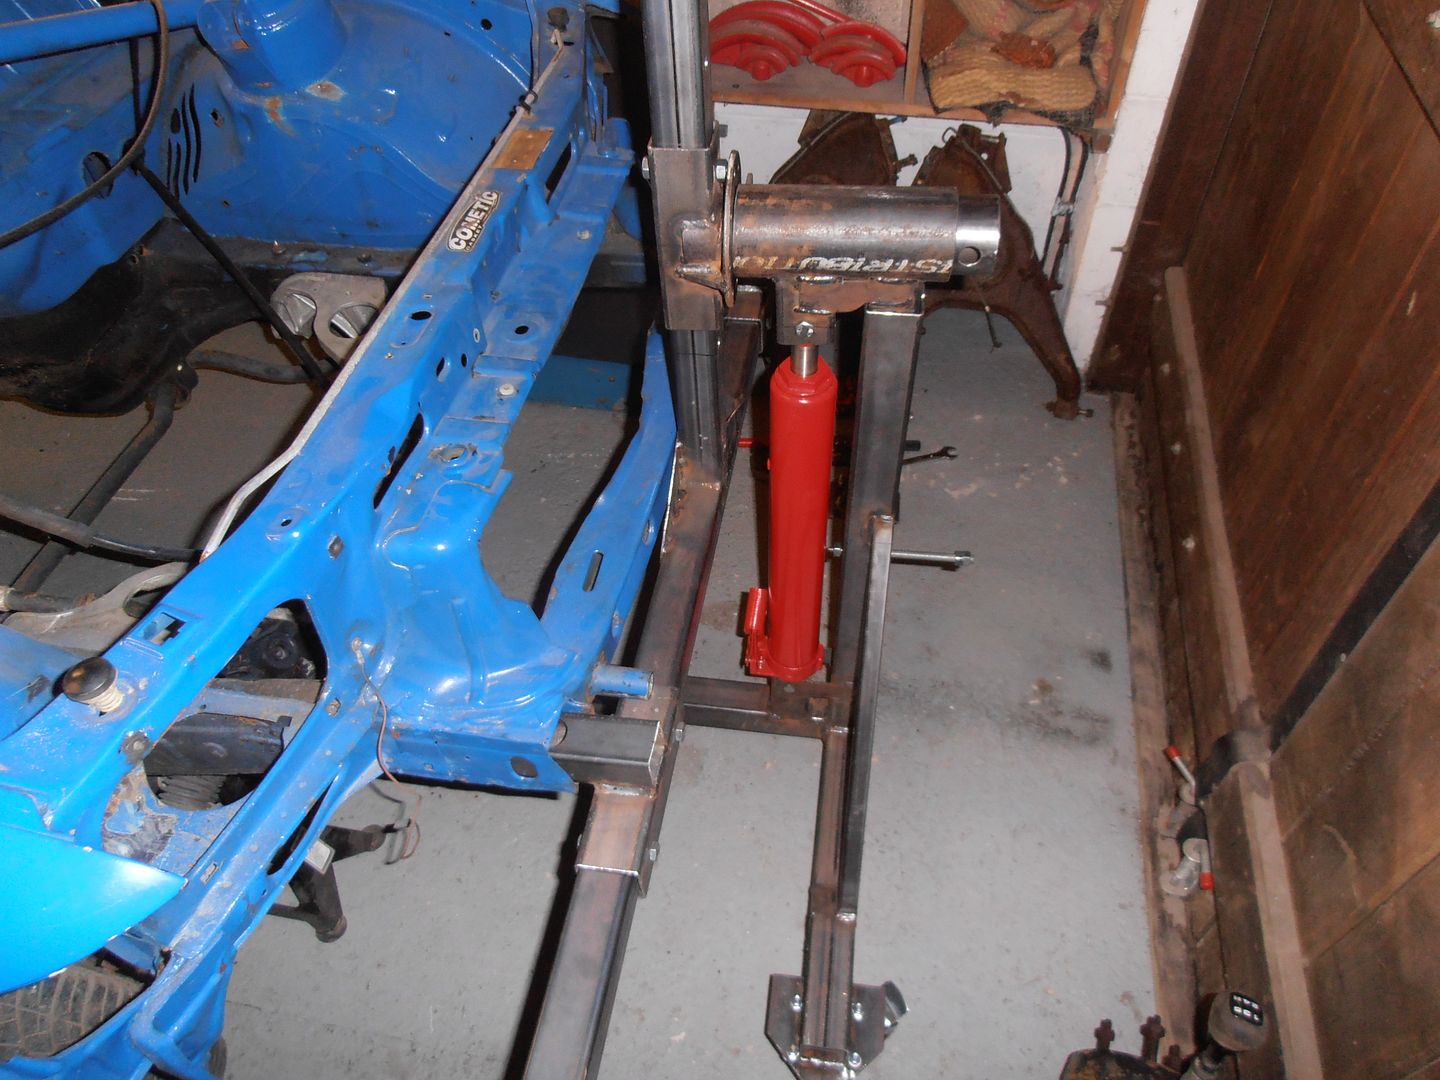 fair bit of heigh on it at base position 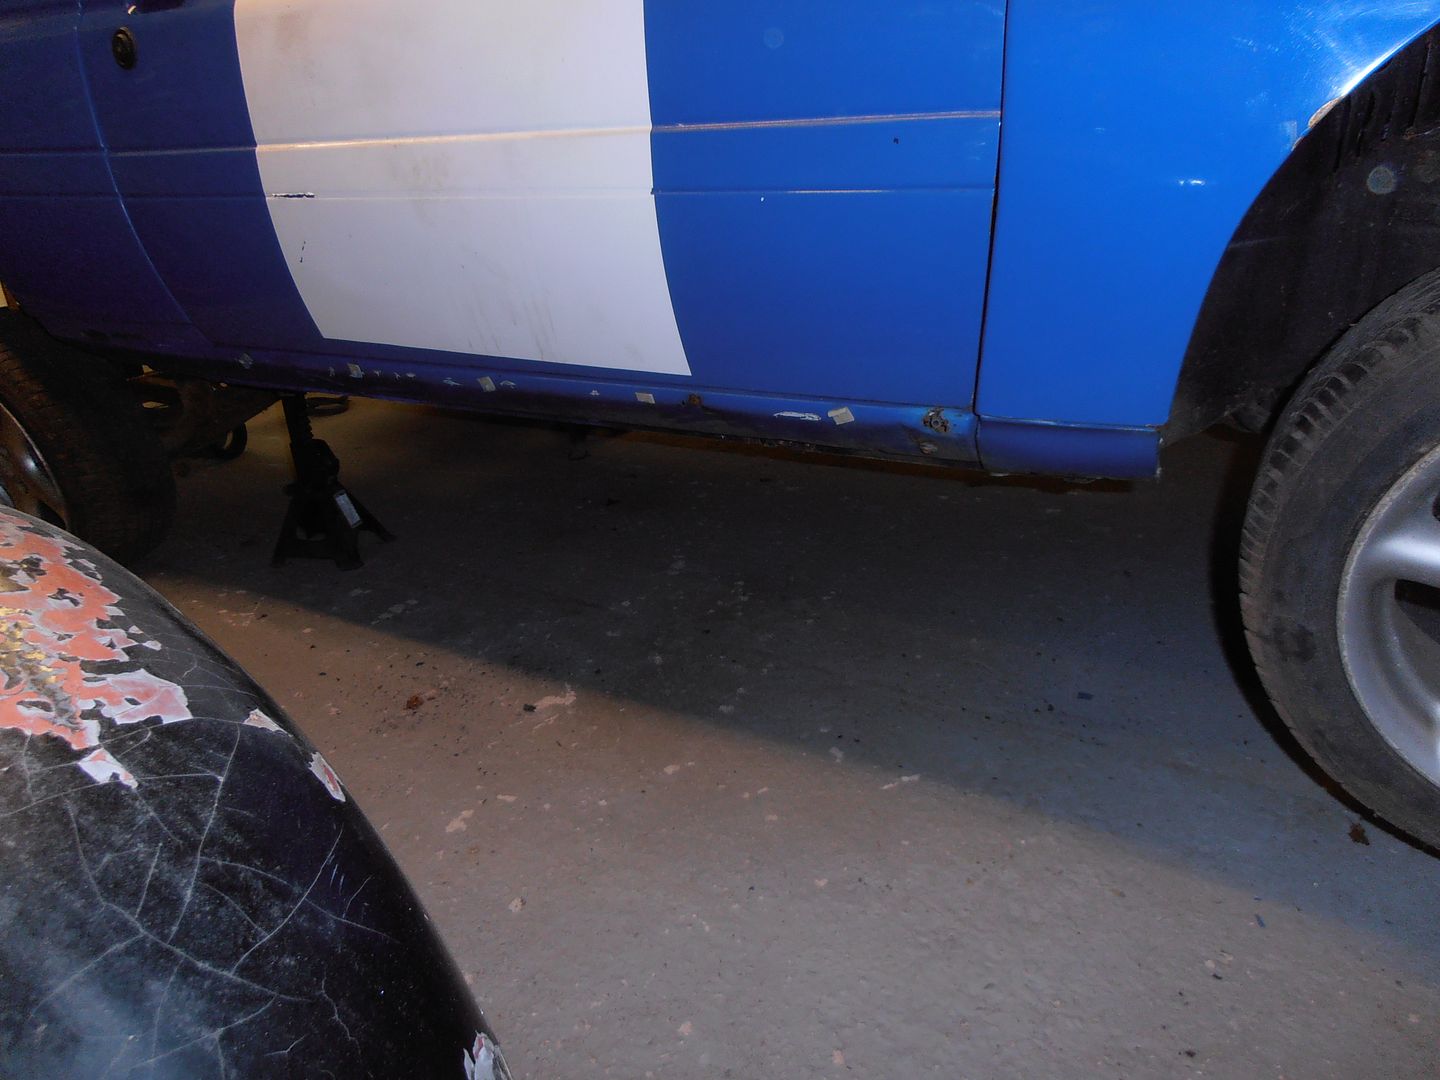 after locking the spit off I took the opportunity to use the car crawler to get underneath. Whole underside has been caked in thick black tar like underseal. Its horrible and was someones poor attempt to hide the rust... like so 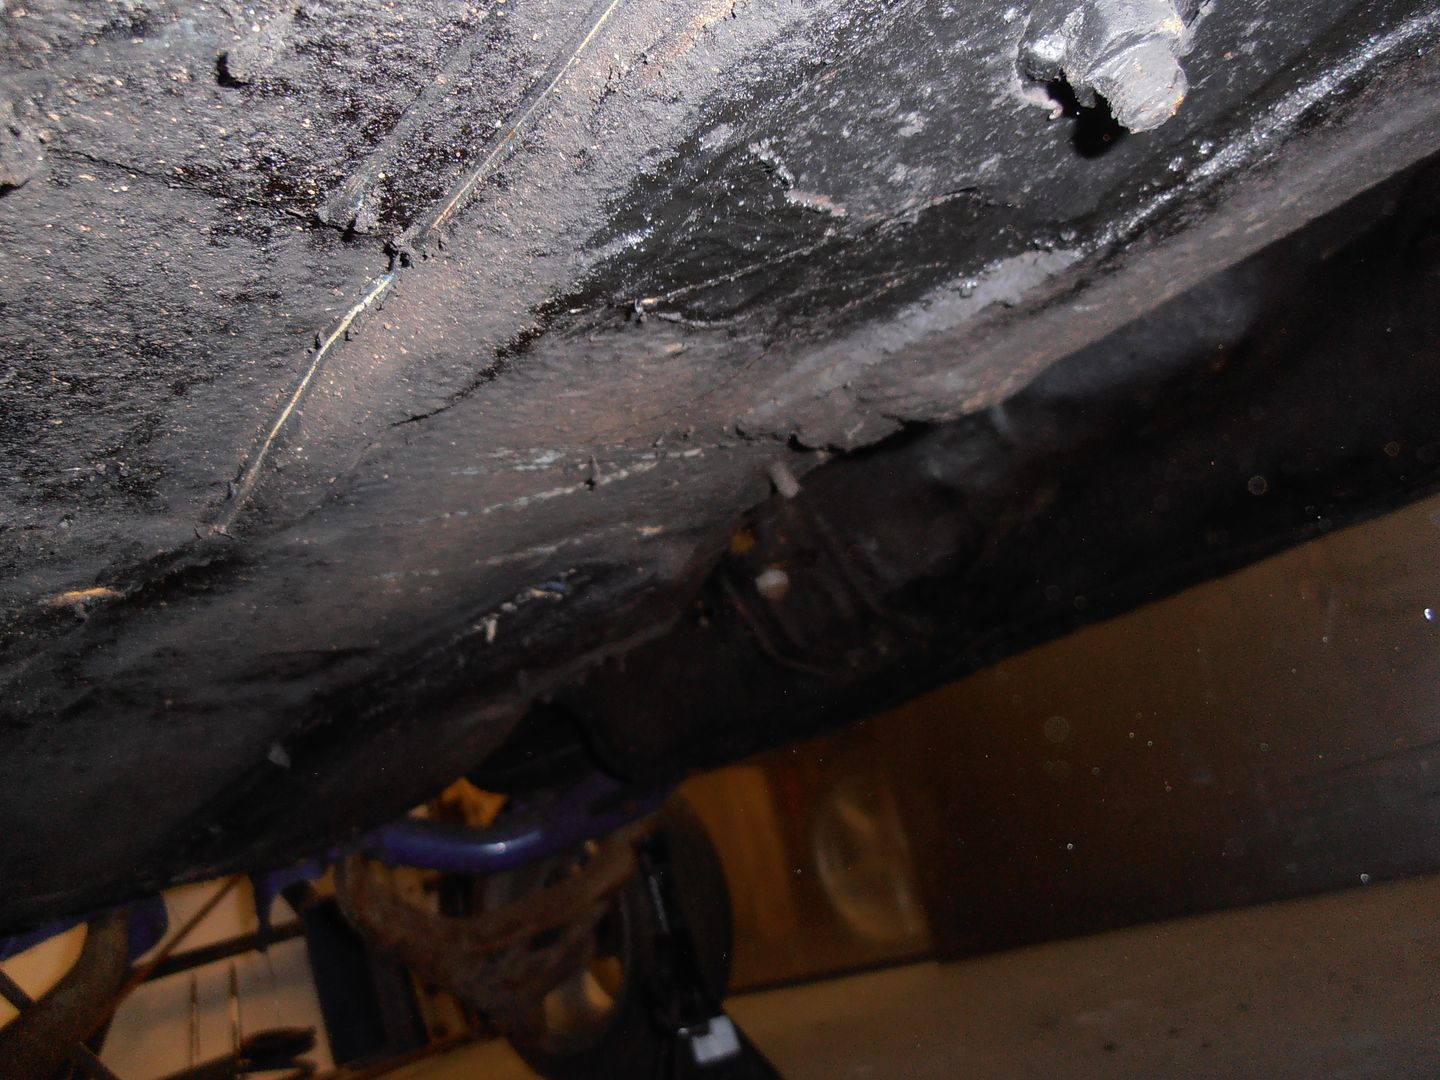 there are a few holes in the floor, but i knew about most of them already, along with the pretty poor repairs. 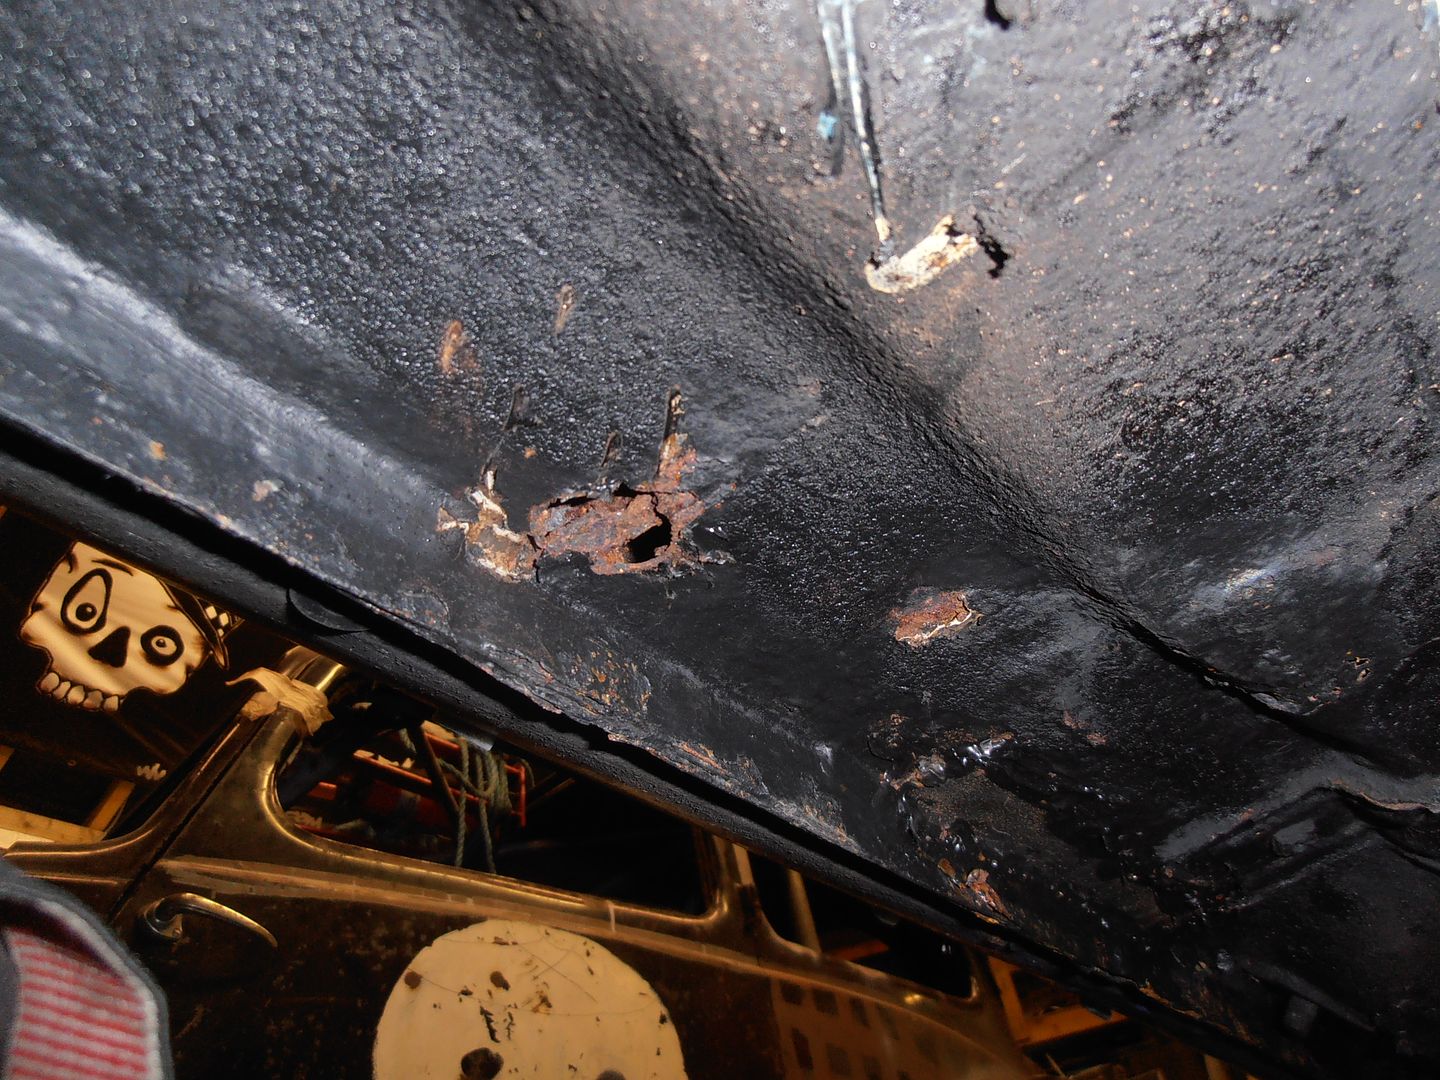 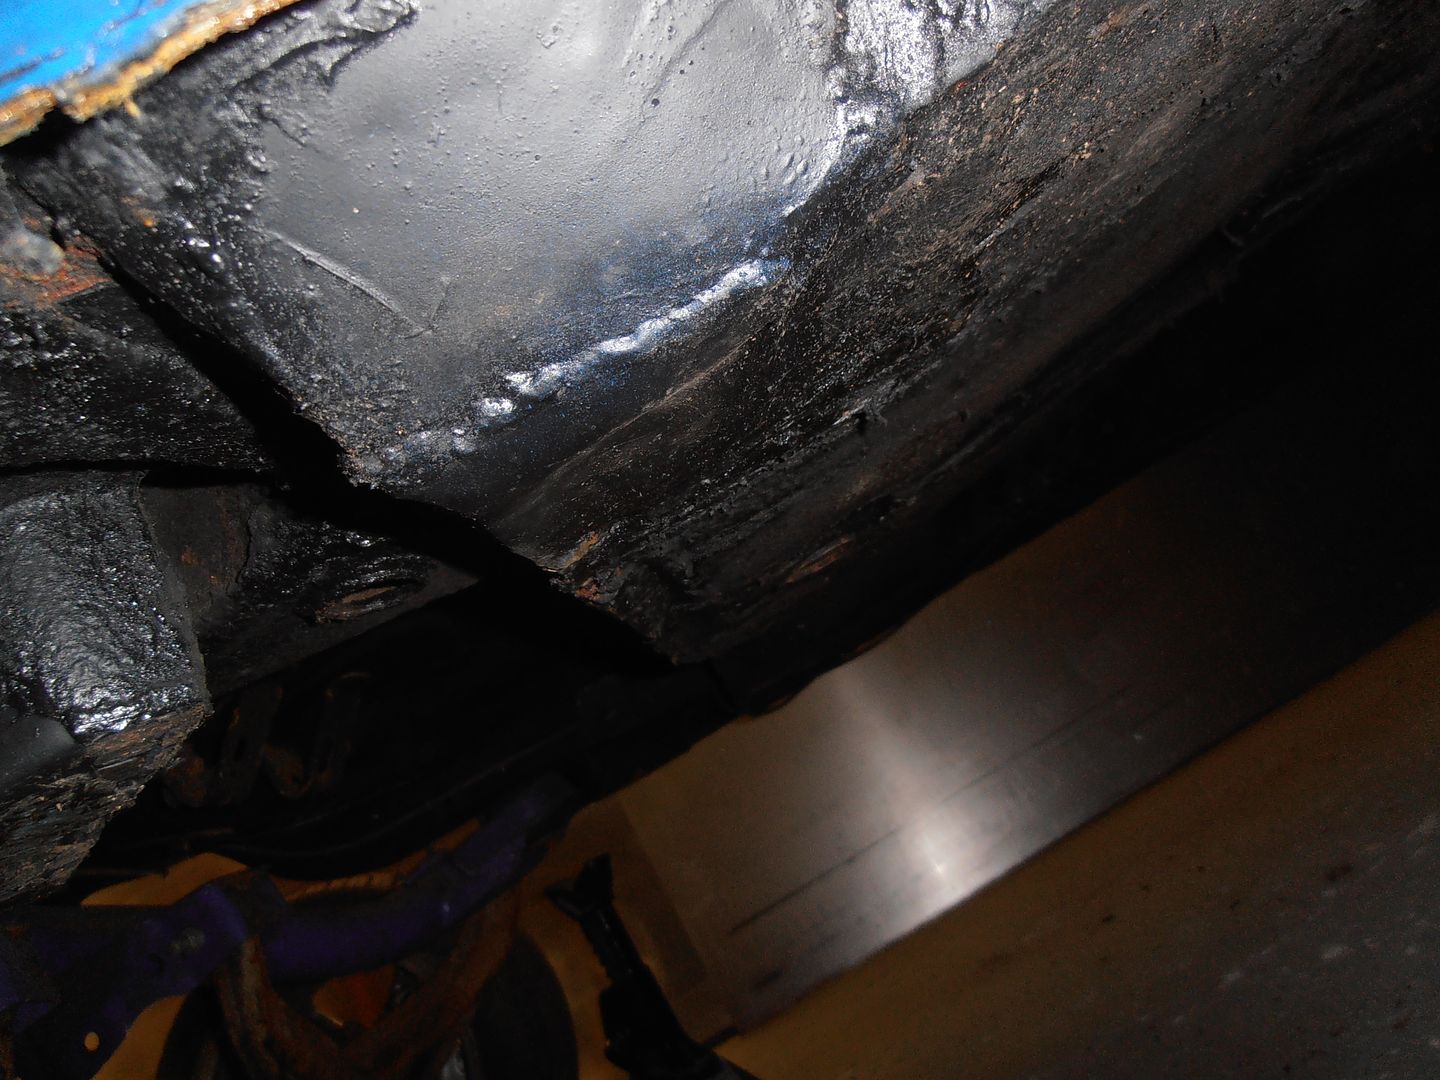 as i said the tar like coating is everywhere.... I'll save about 50kg just geting that cleared off 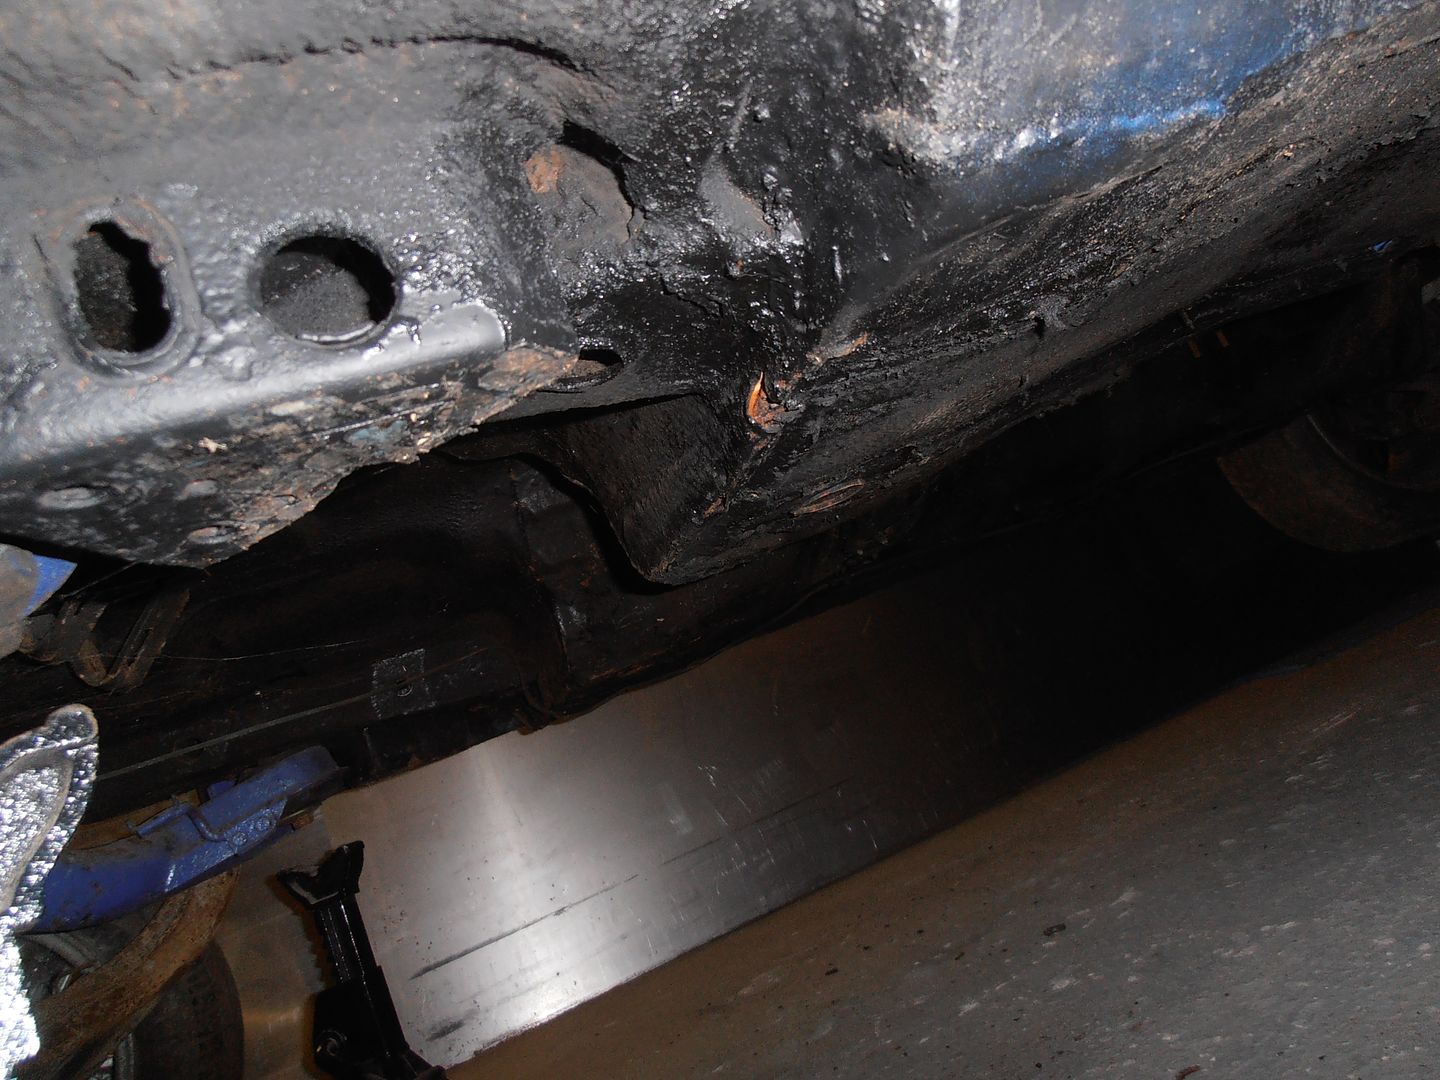 turrets have been nicely fitted 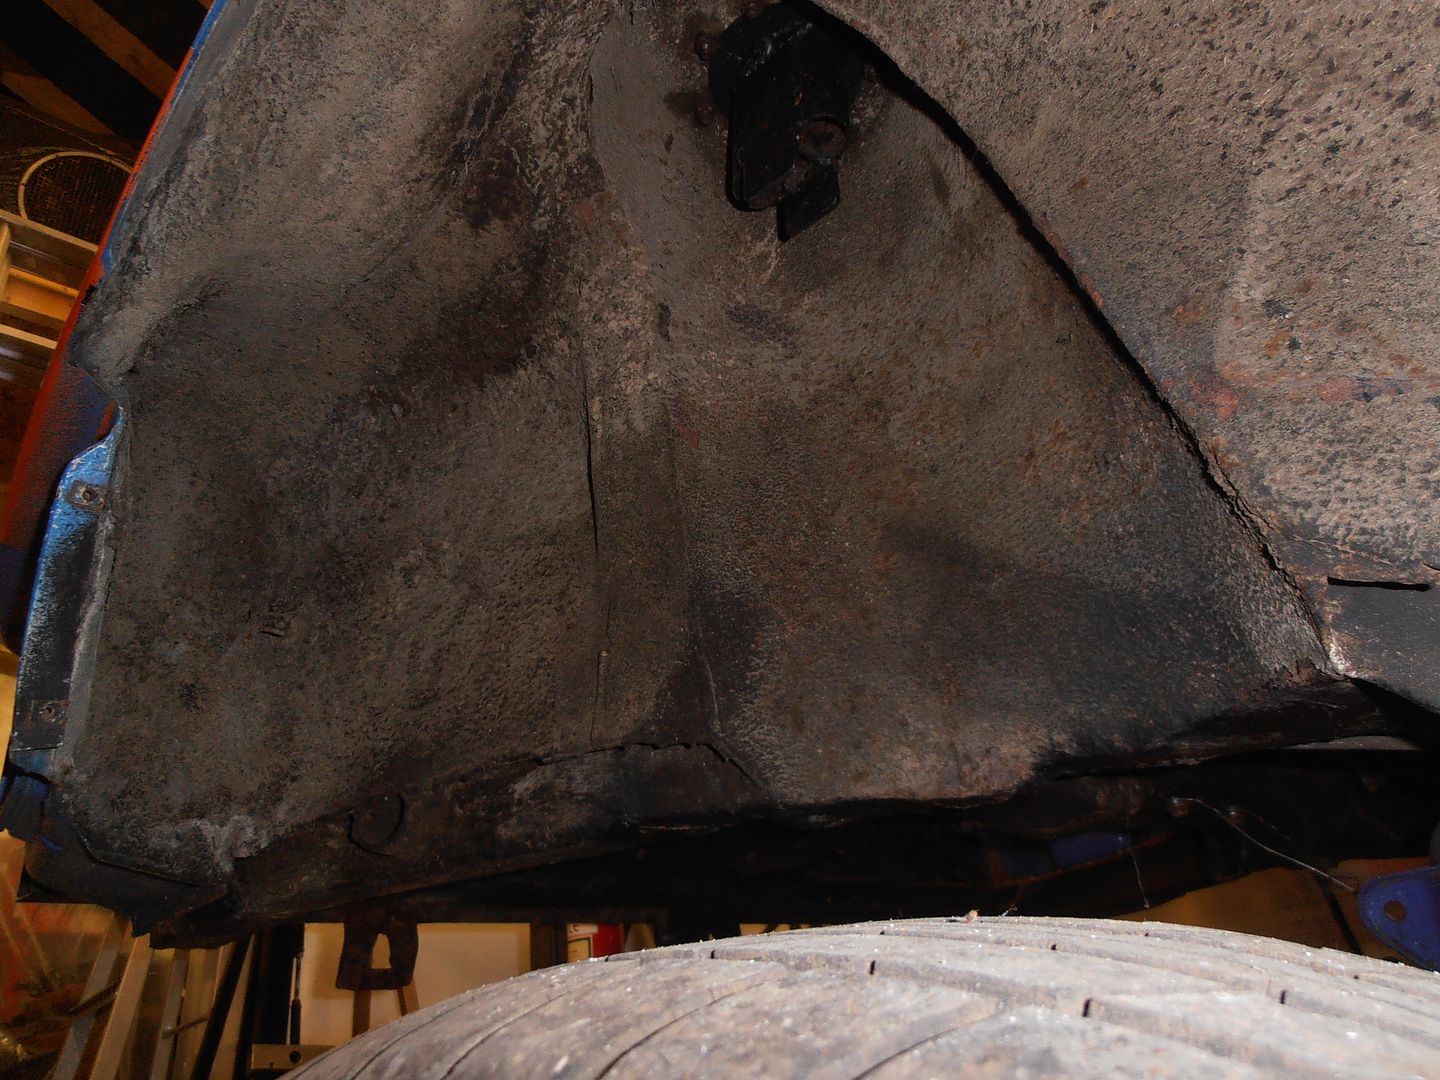 and this is the adaptor someone made for using it with standard rear suspension 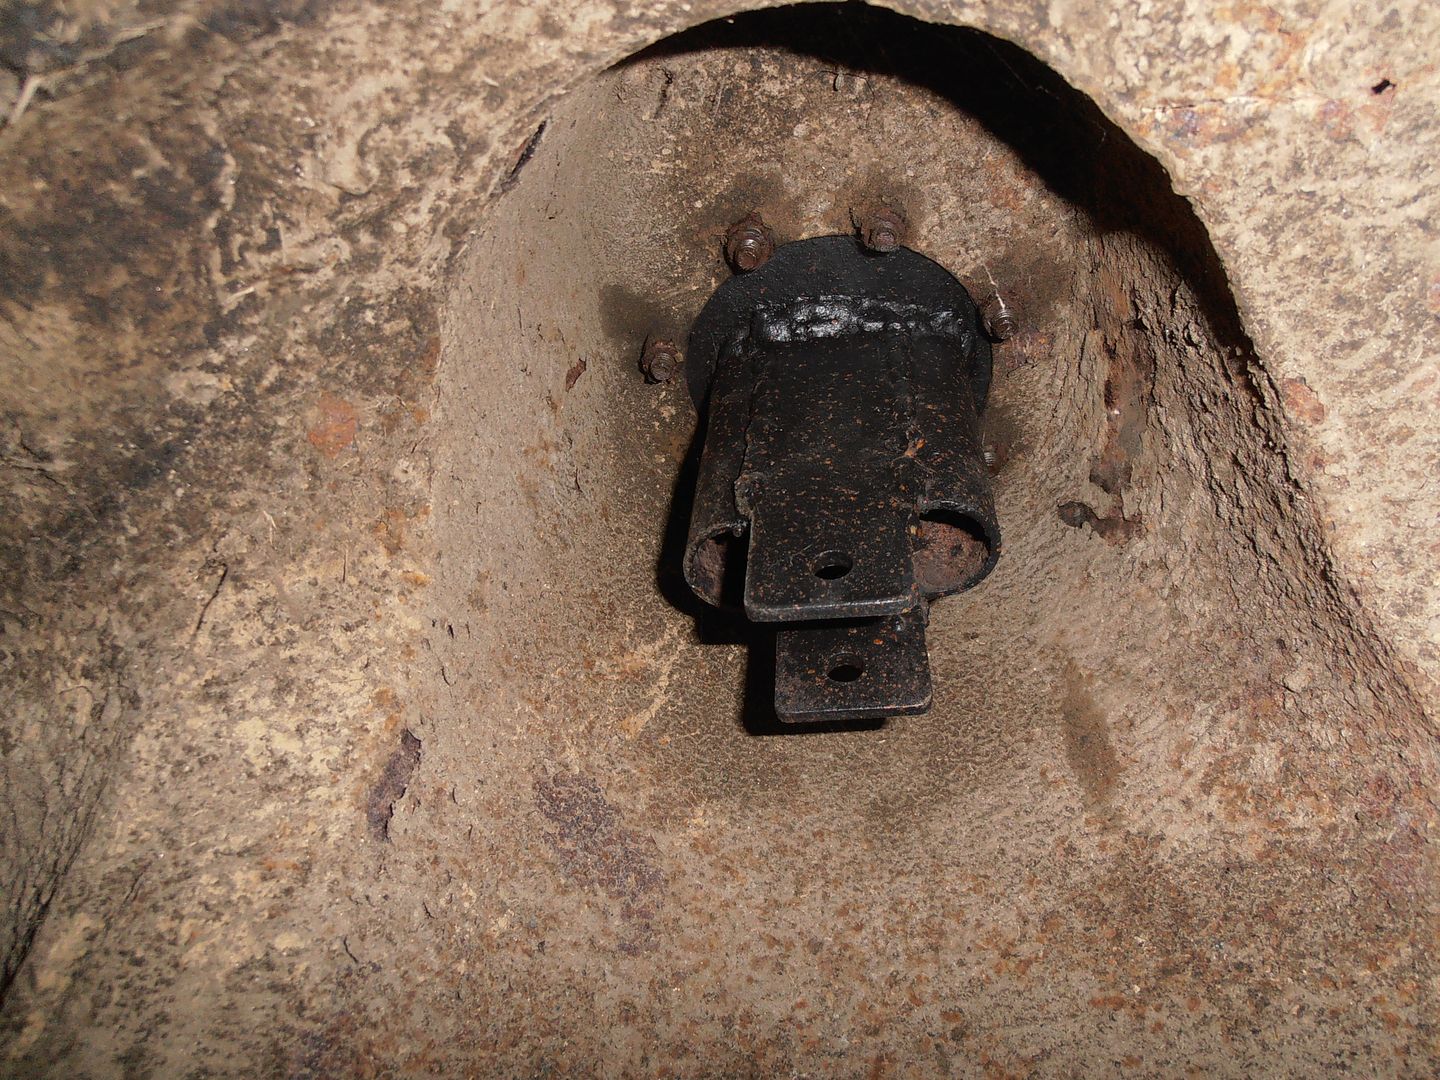 this is the worst bit of the whole car 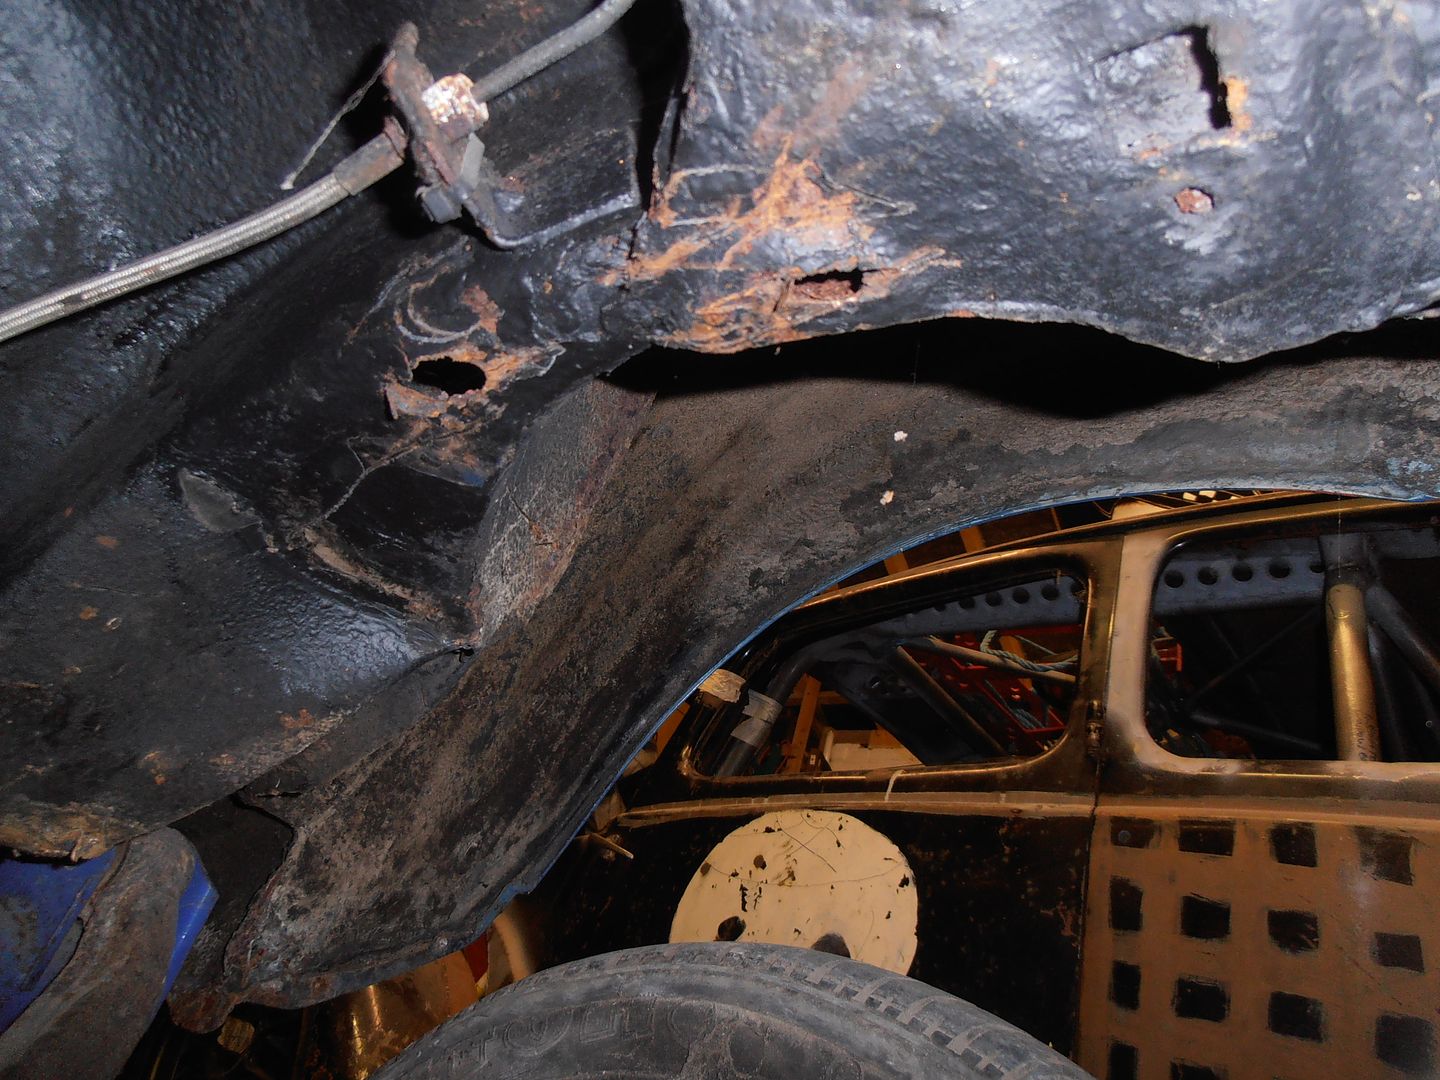 it almost looks like vent holes in the chassis leg, but is in fact rotted out chassis leg. This is why i've already bought a complete new leg. I suspect i'll chop it up to fit though, rather than put in a full leg. the other side (passenger side) is in much better condition as far as I can tell today. 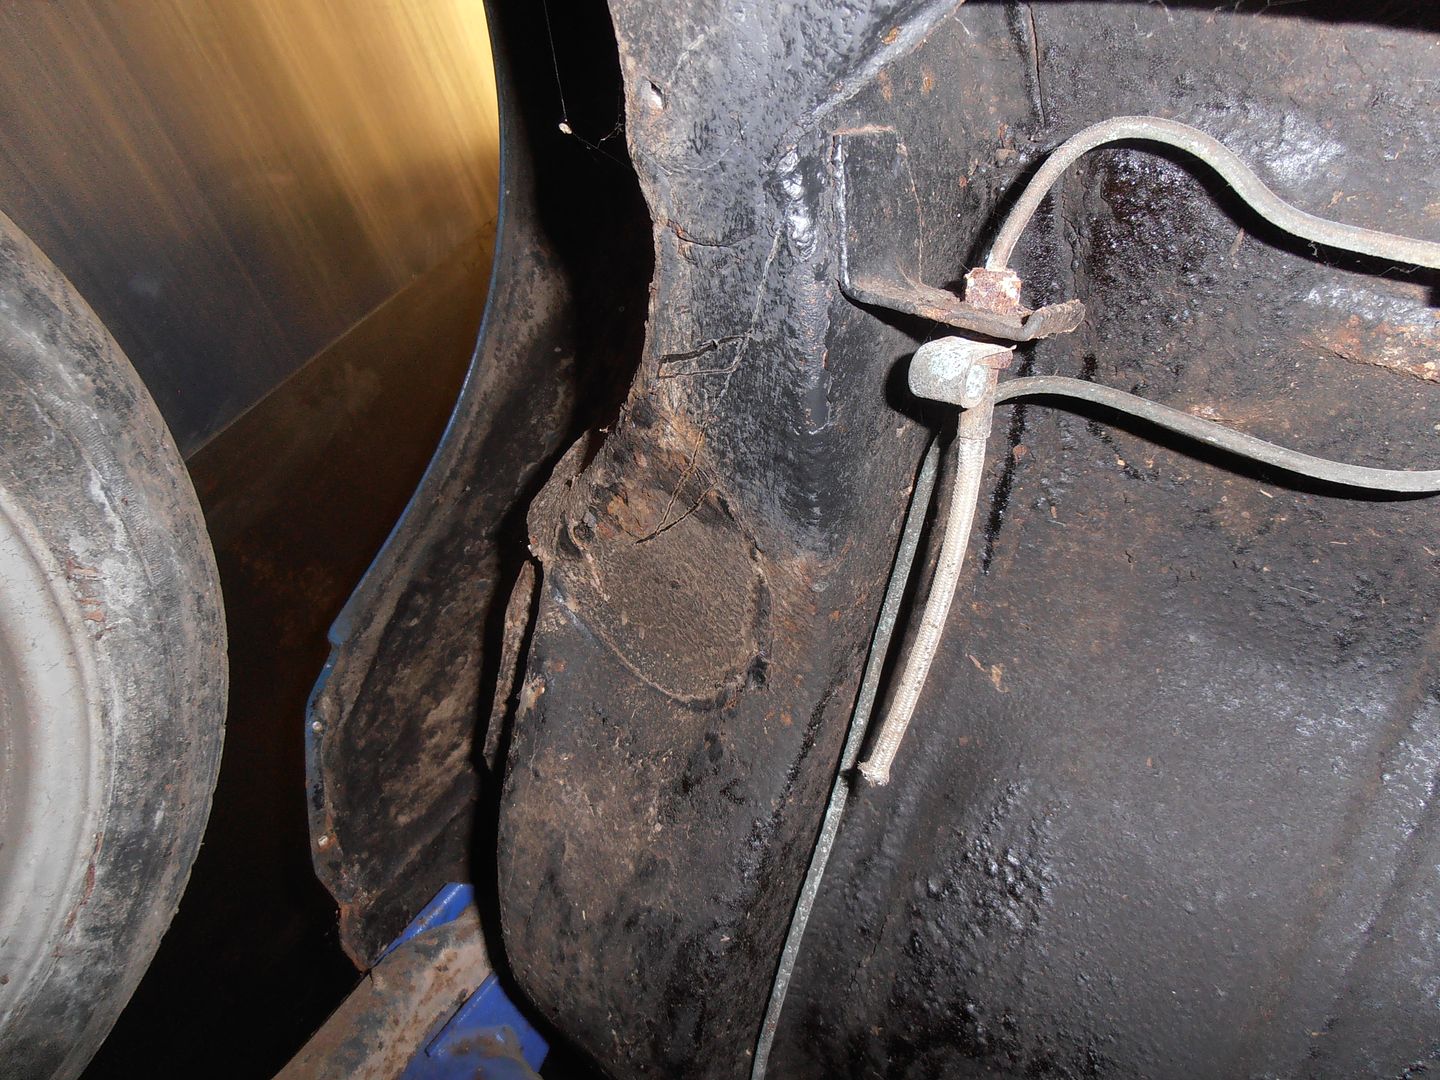 Still a lot better than some of the others i've seen on the escort forum. Will see where i get to next weekend. Still a few bits to sort out with the jig. |
| |
|
|
|
|
jonomisfit
Club Retro Rides Member
Posts: 1,790
Club RR Member Number: 49
|
|
Oct 21, 2017 19:43:28 GMT
|
I'm determined to get this spit finished so i can get back onto the morris! Tie bar for between the spits length of box 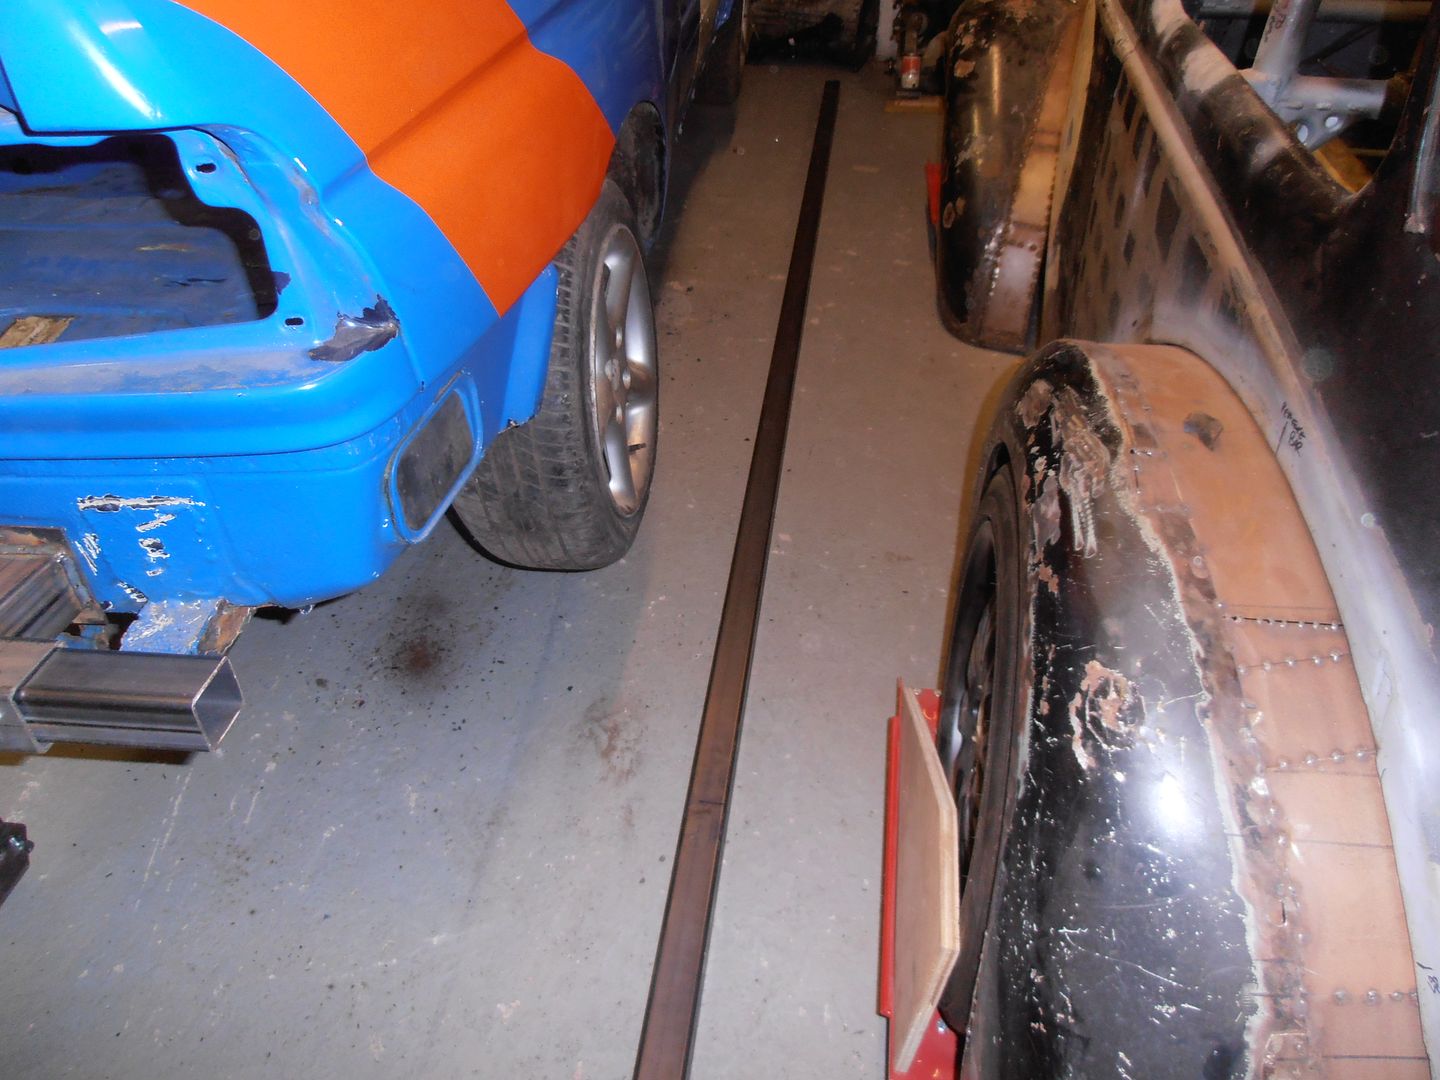 cut some weld hole in one end 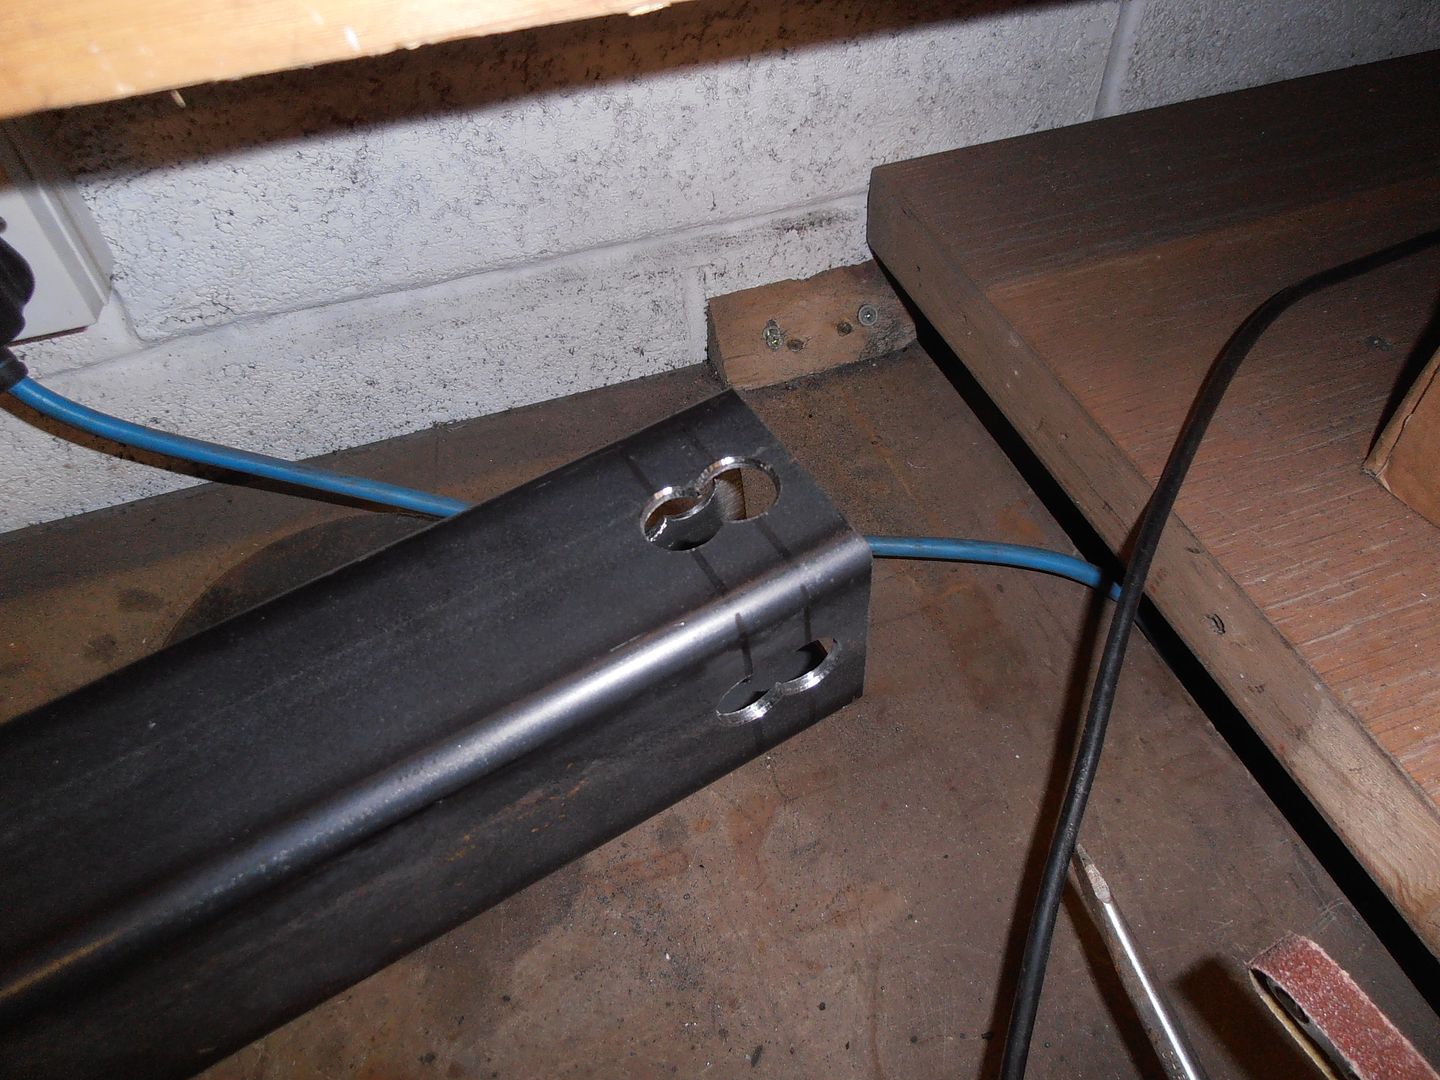 weld on tabs 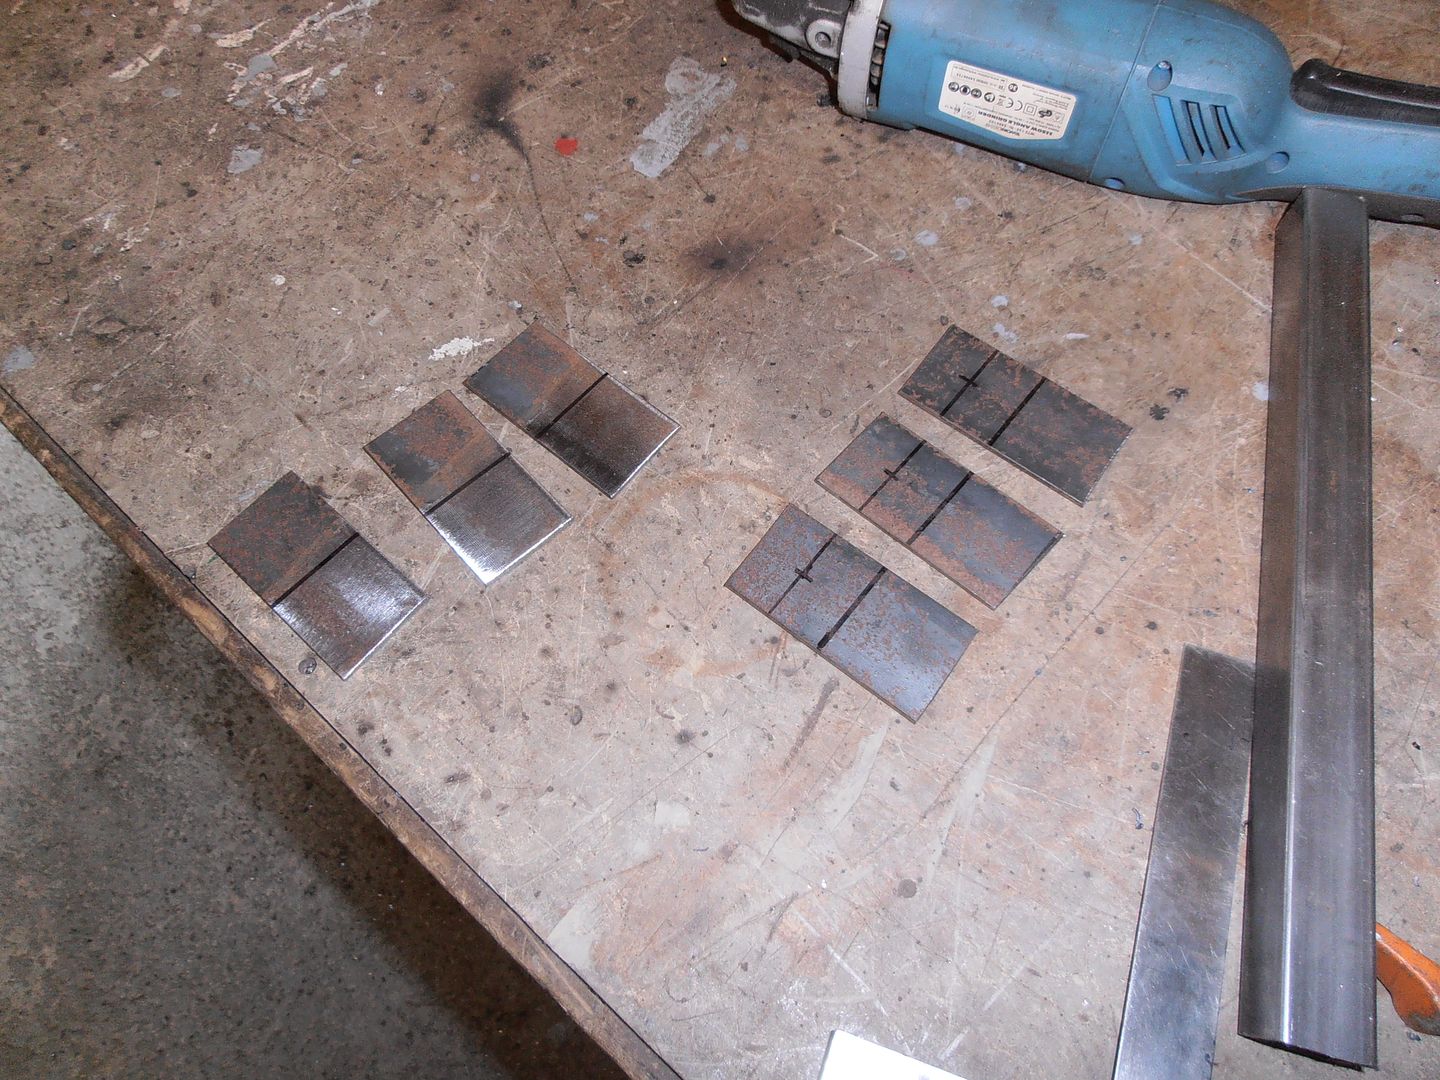 clamped in 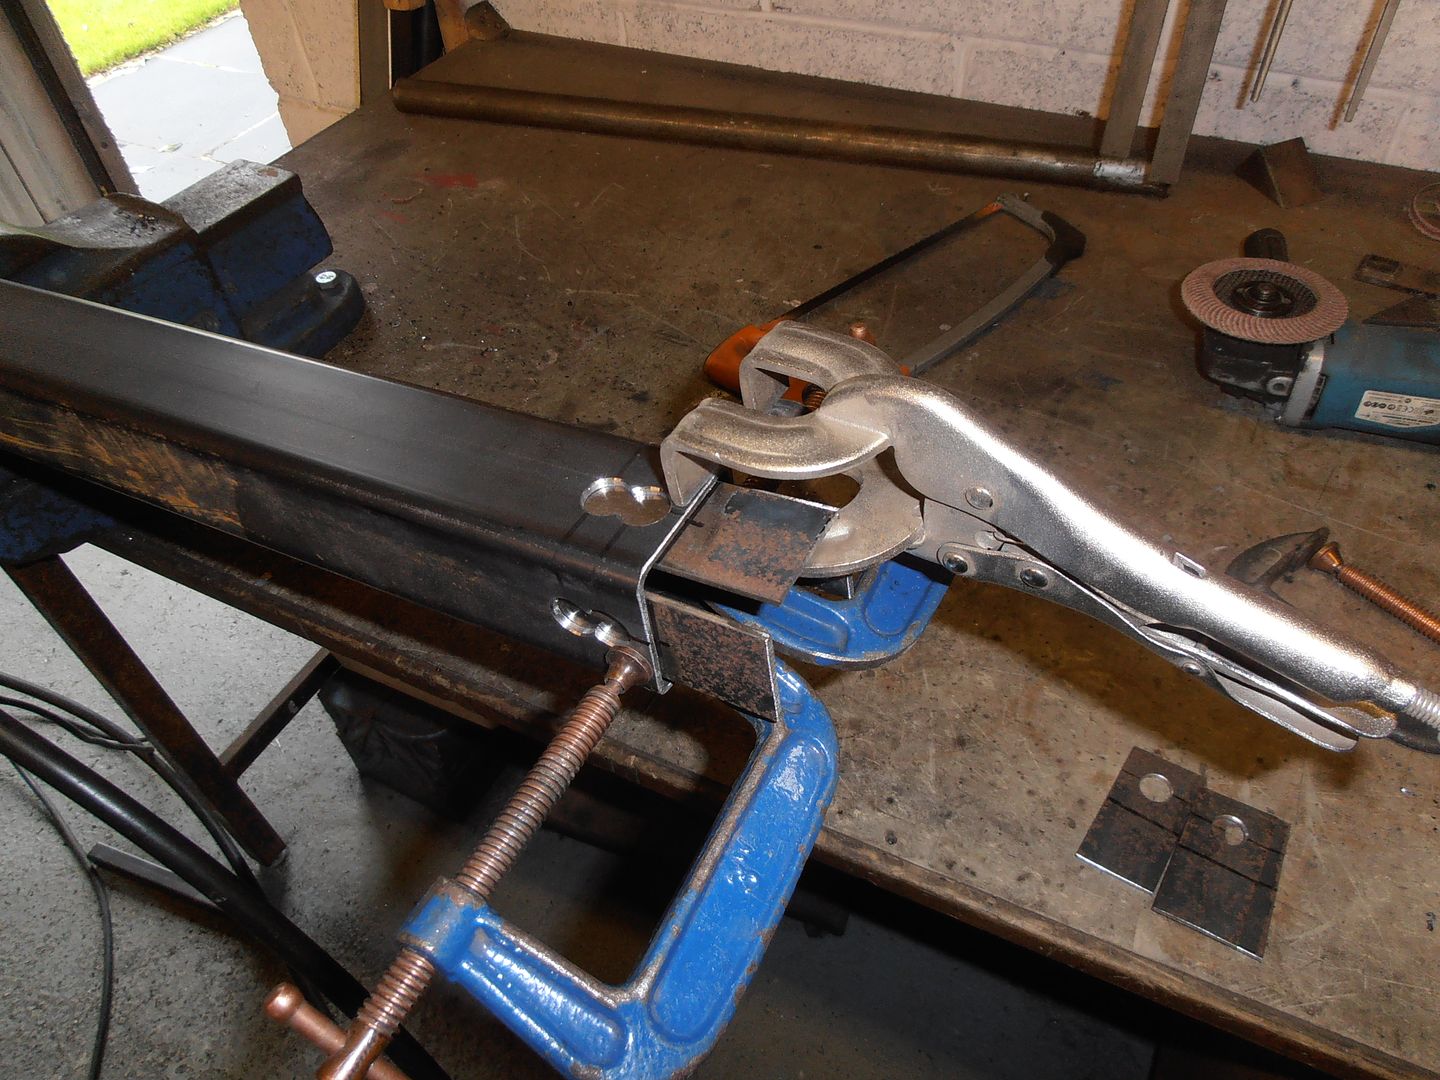 weld 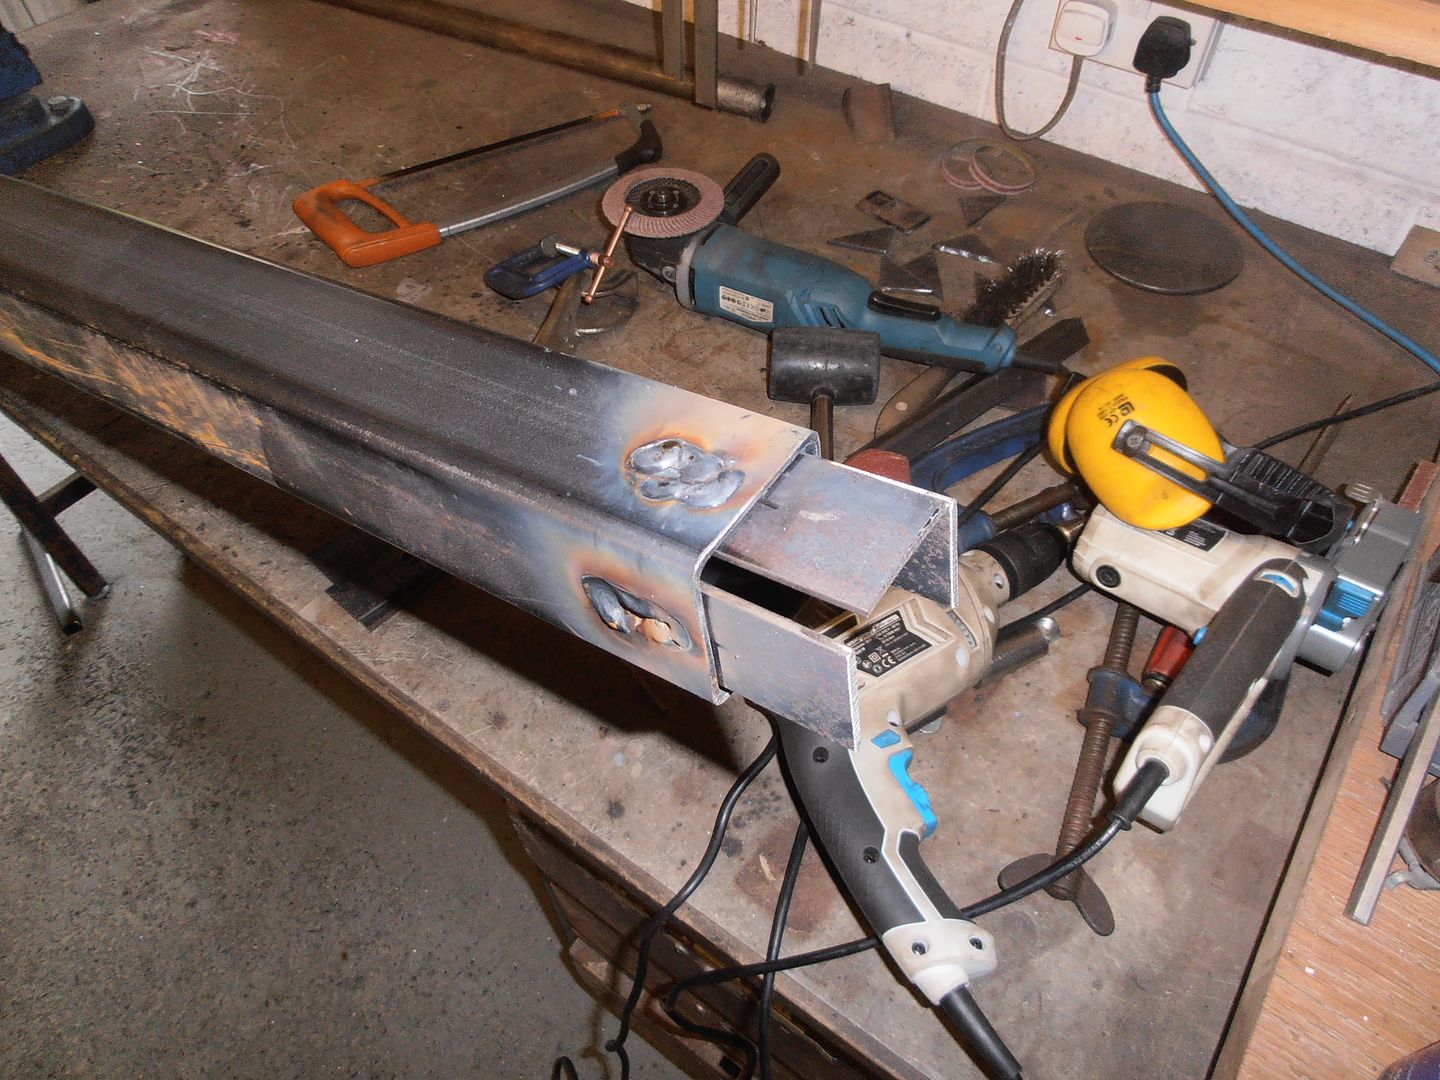 and the other end 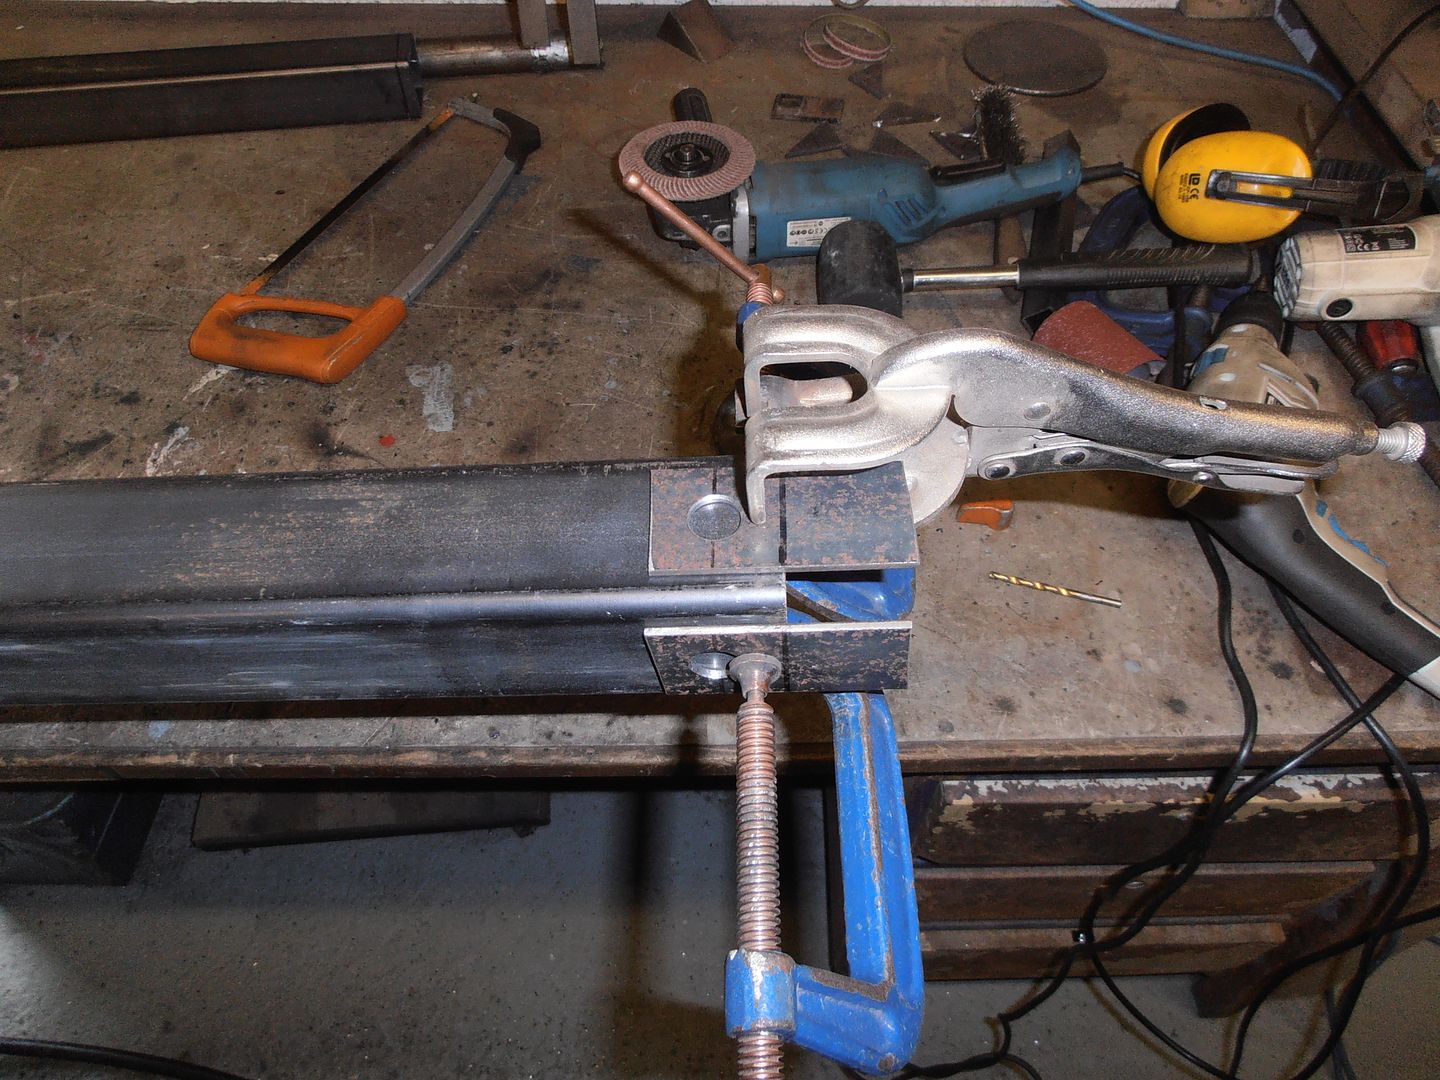 One set is internal and the other external so i can slot it into place without splitting the jig. Assembling the jig then attaching the car is more difficult, so this way I can do each end then tie it together. starting to put it in position 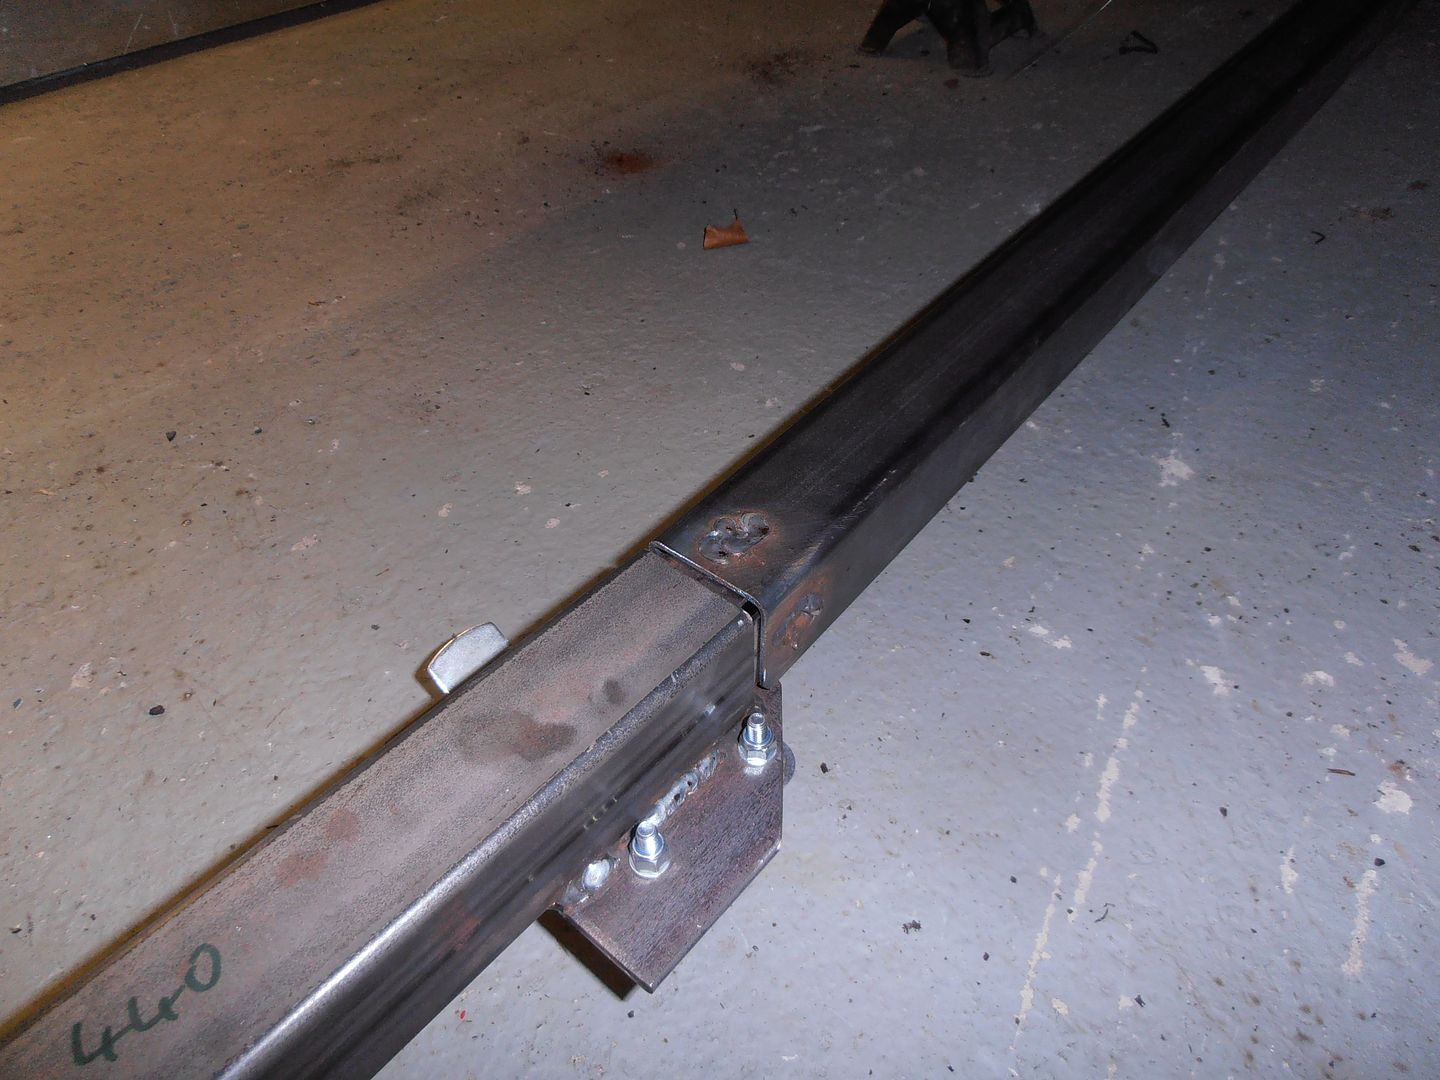 foot drilled 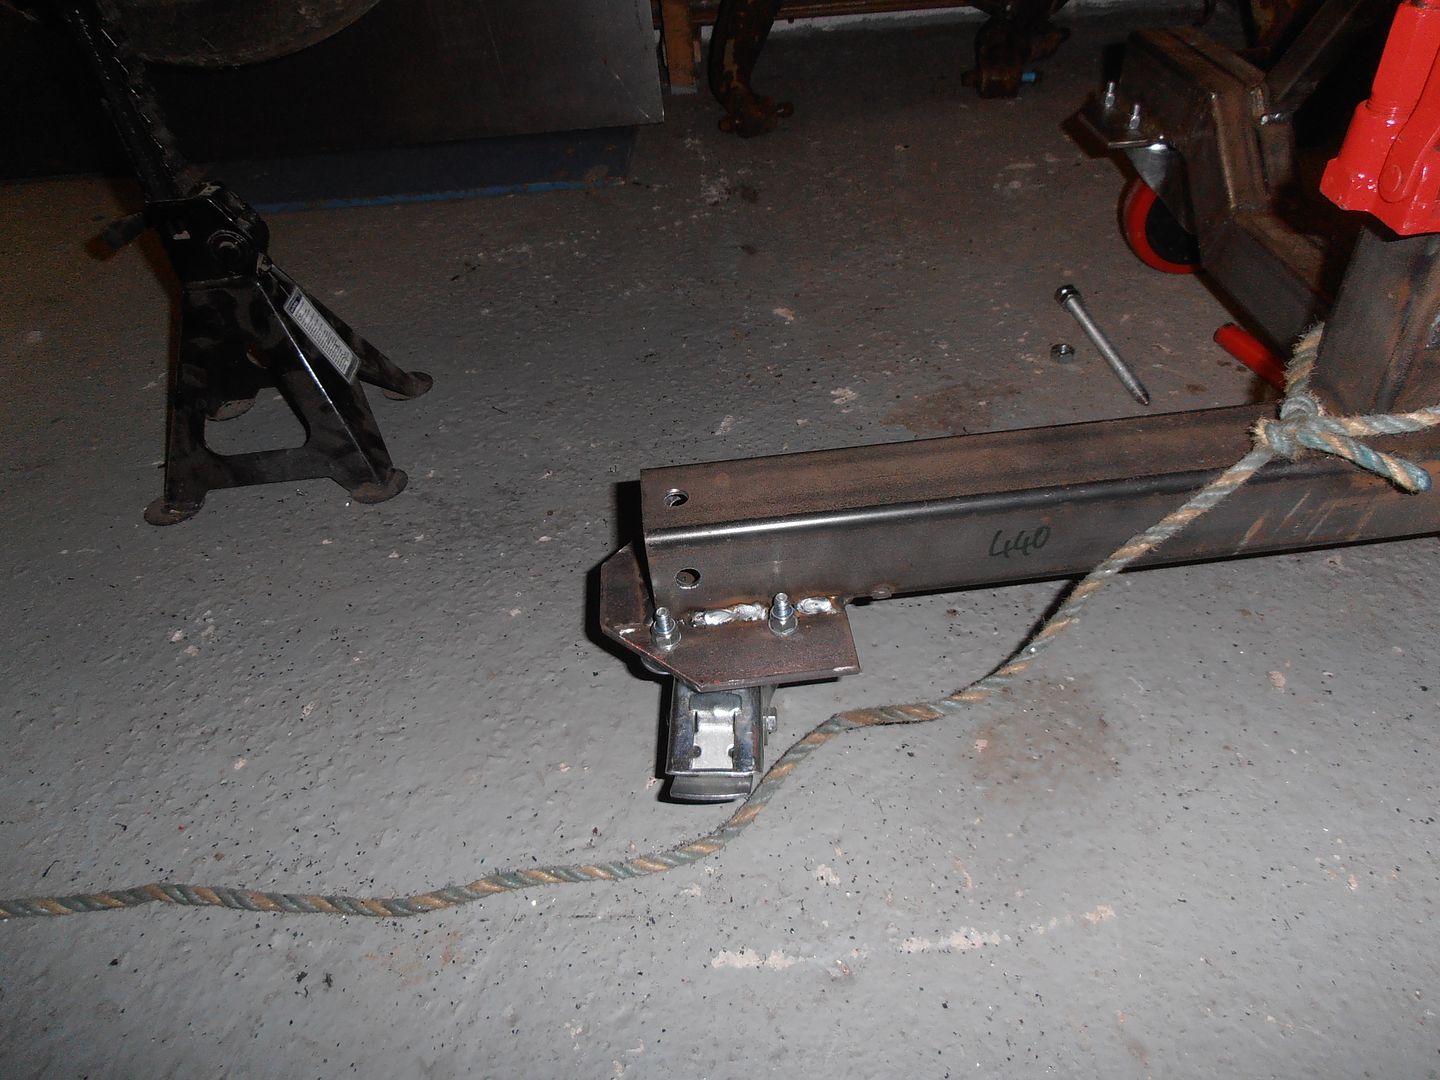 bar drilled  bolted up 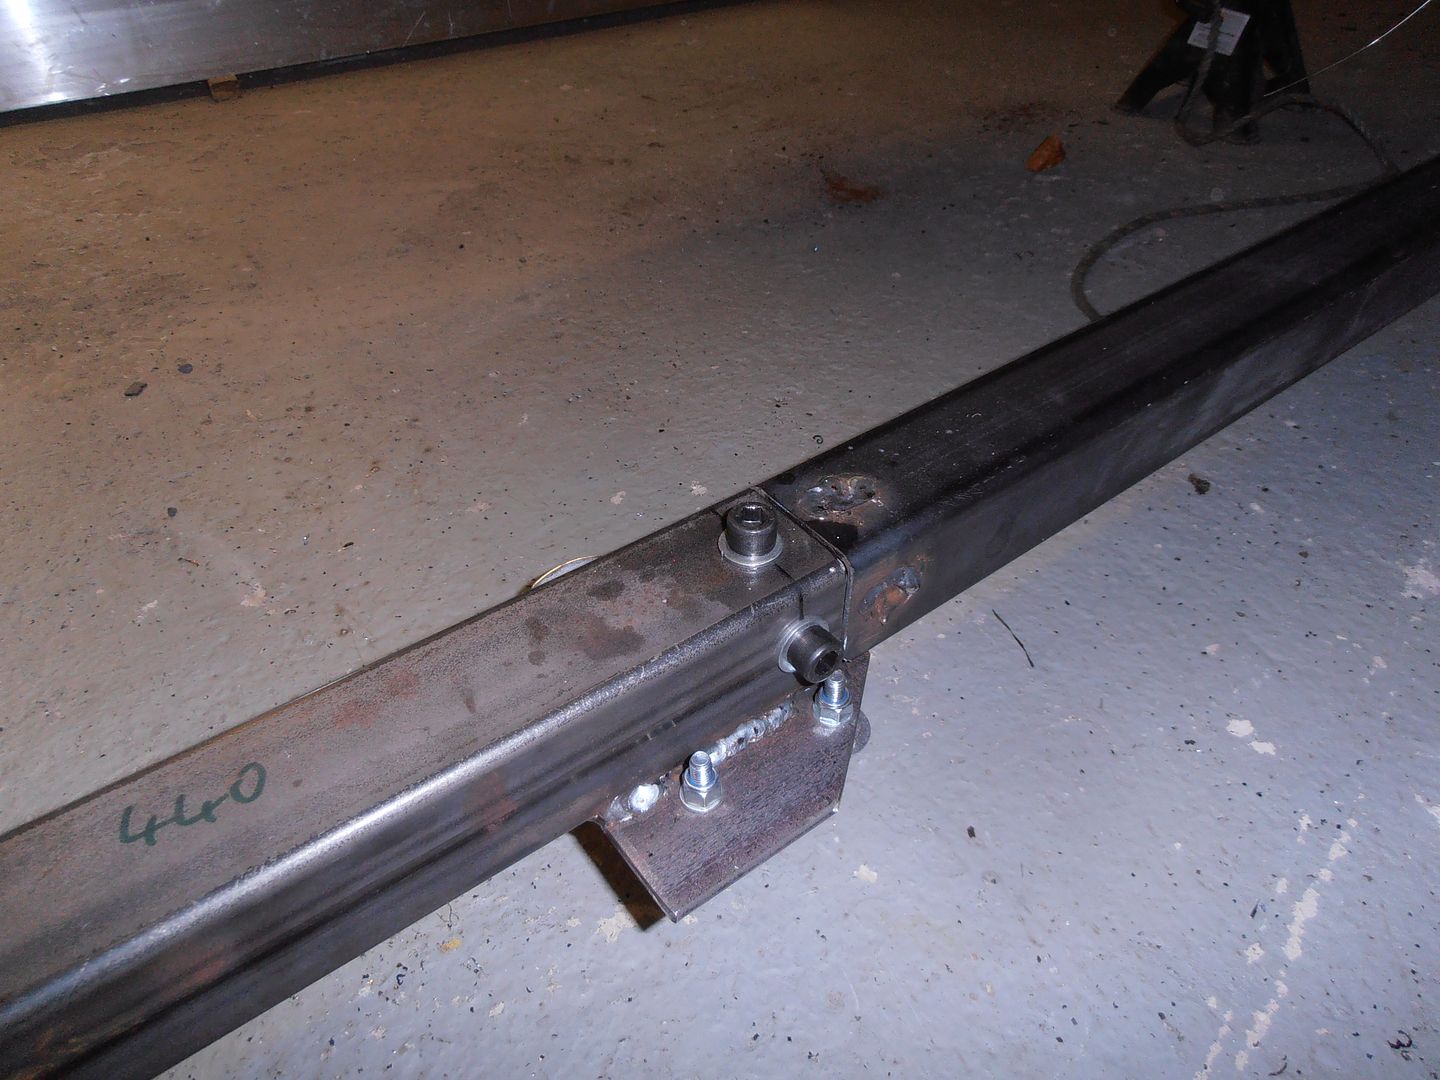 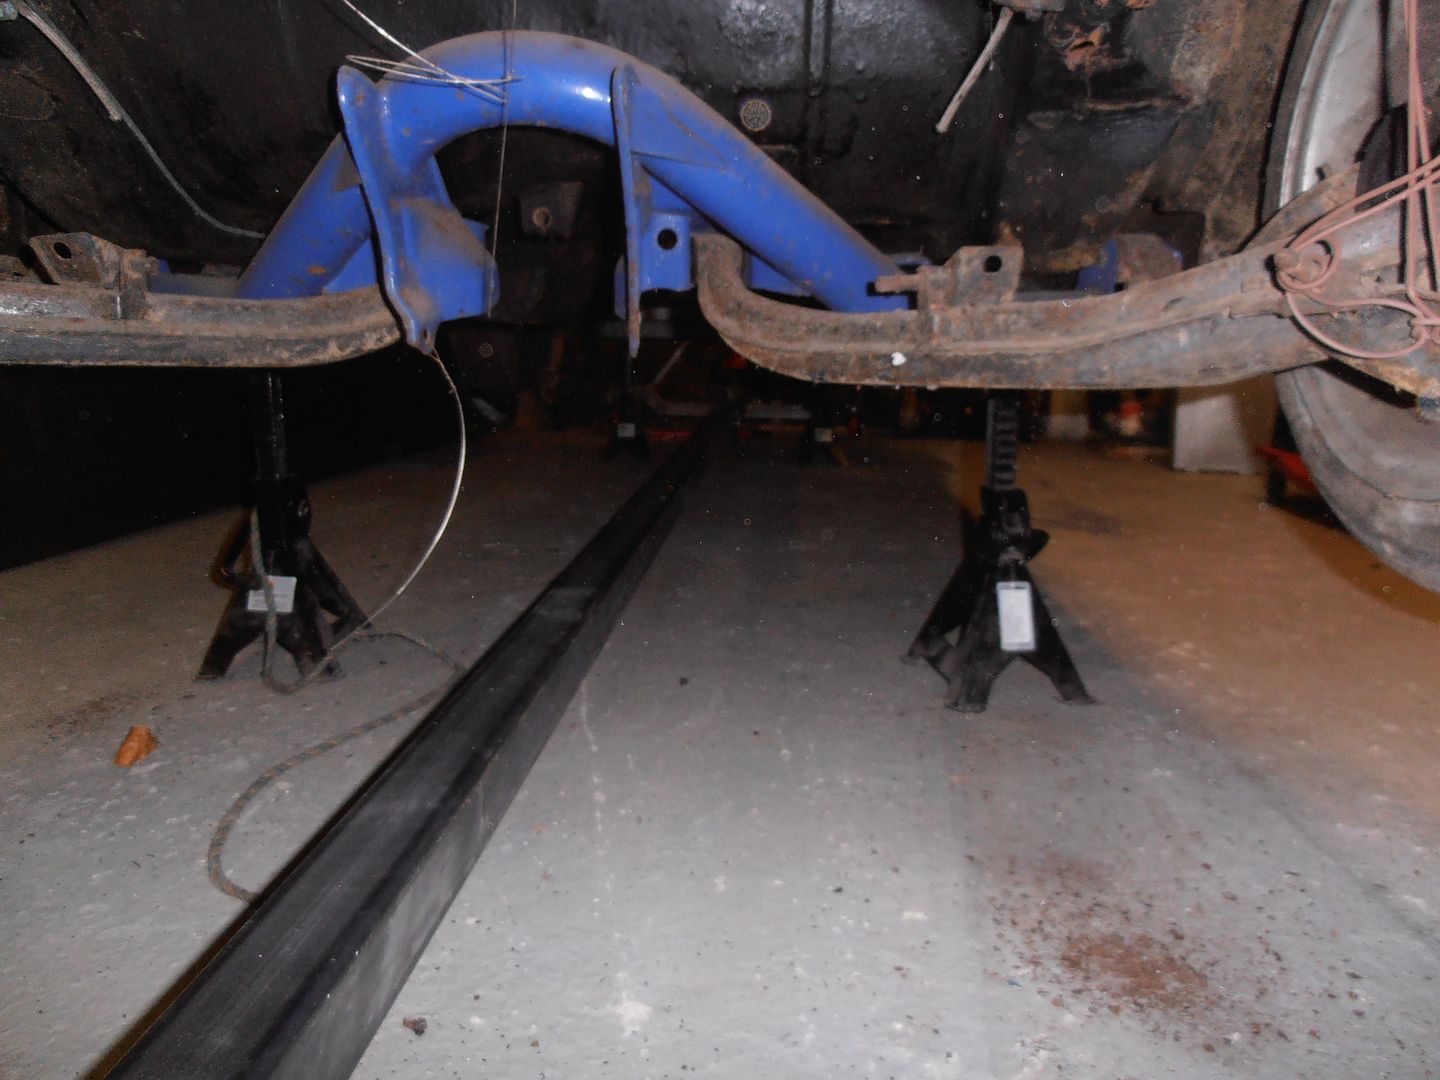 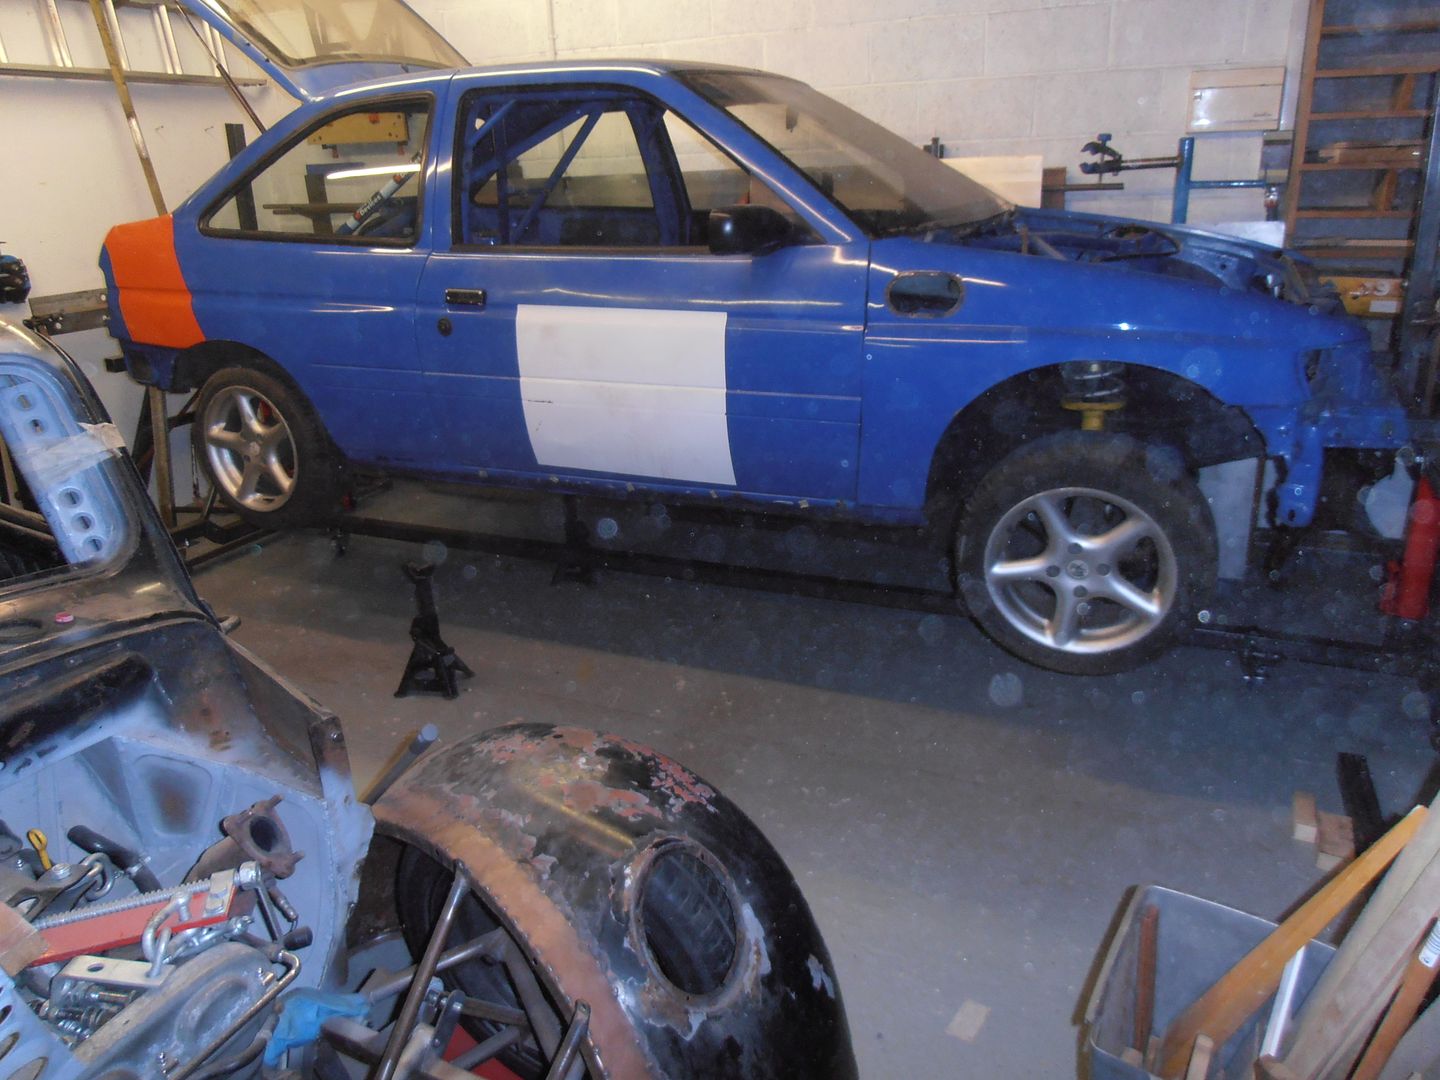 this nicely links the two end and it feels a lot more stable when moving it round Start stripping all the bits off the car Doors, which must weight 30kg each! I shall be looking at reducing the weight on these. 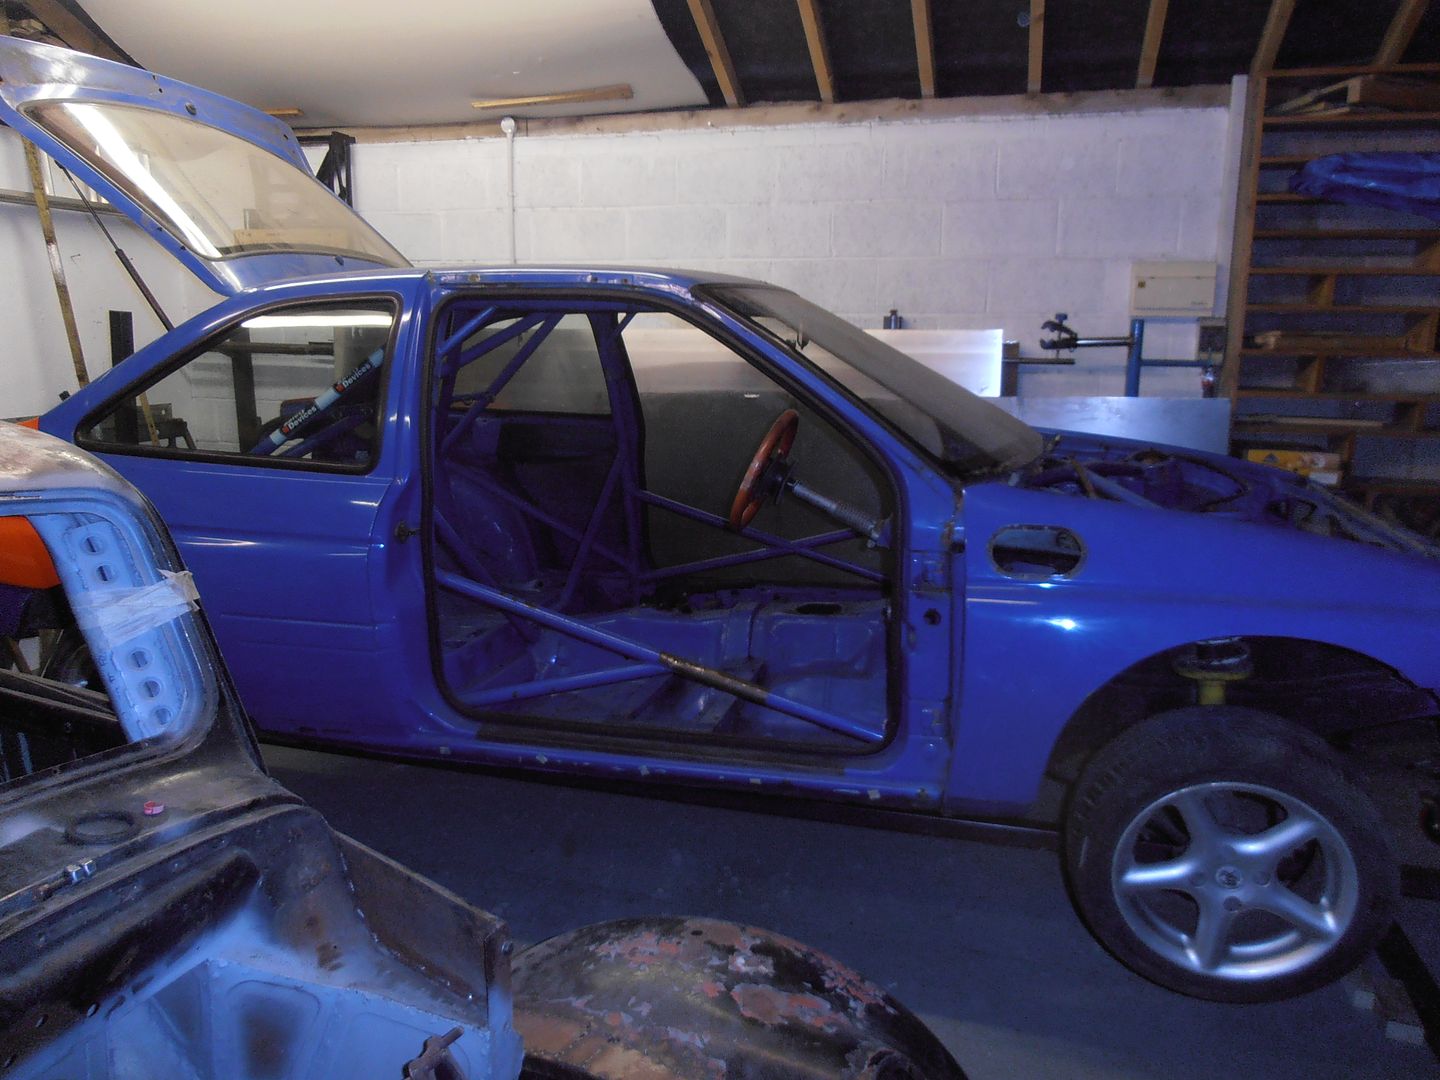 rear suspension 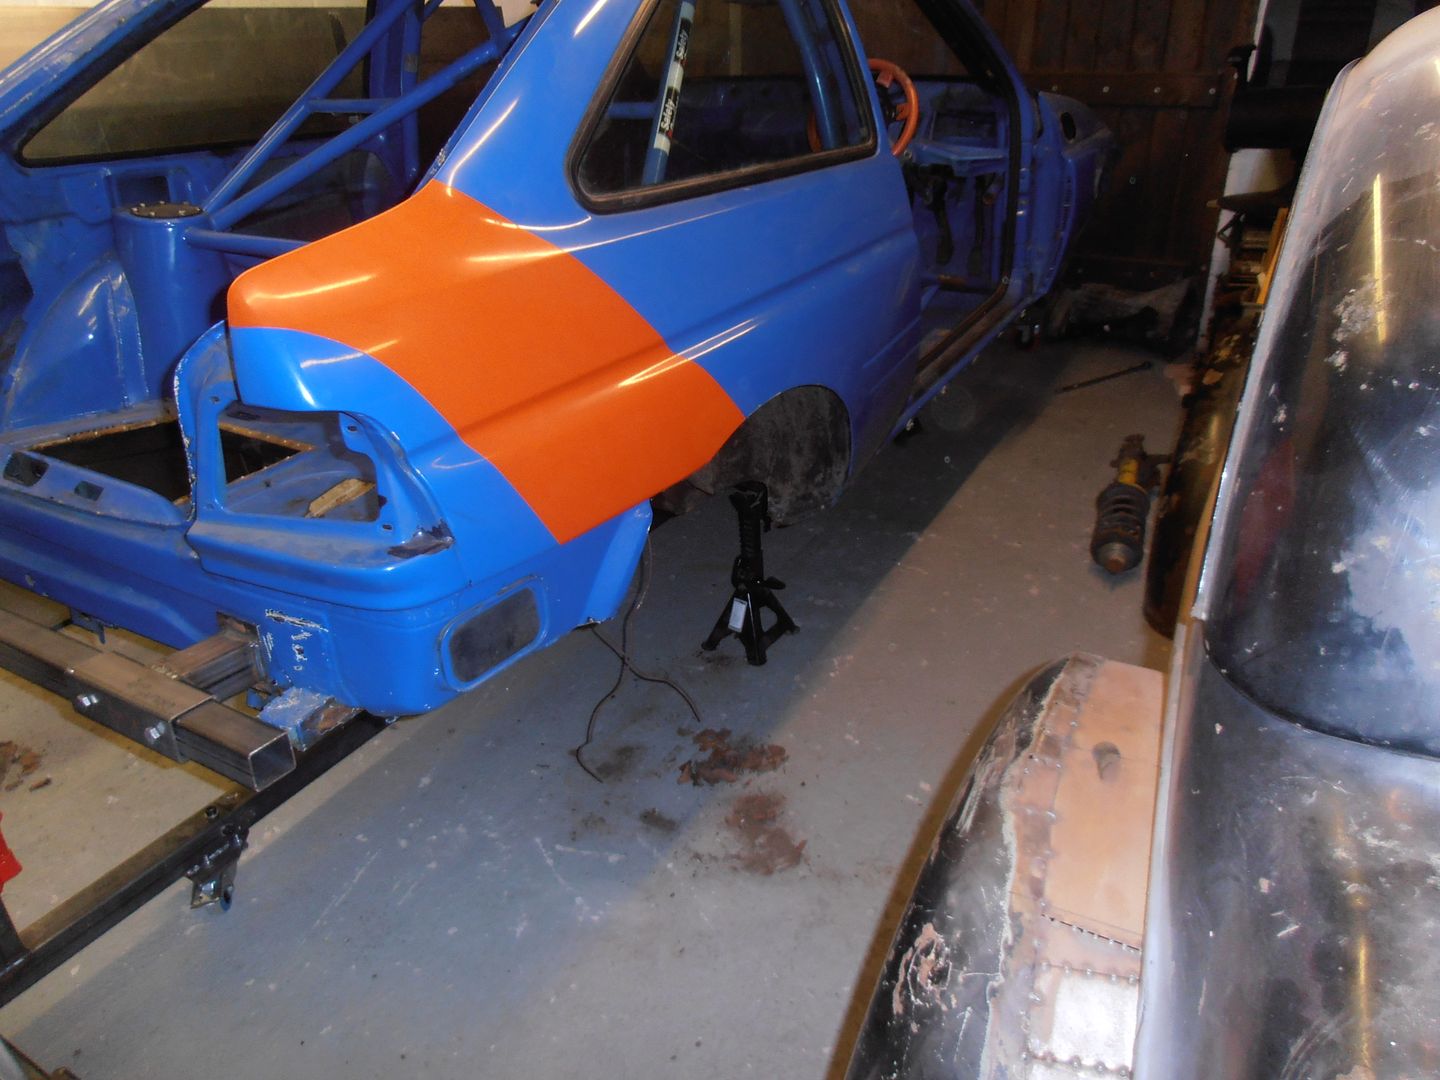 front part way through 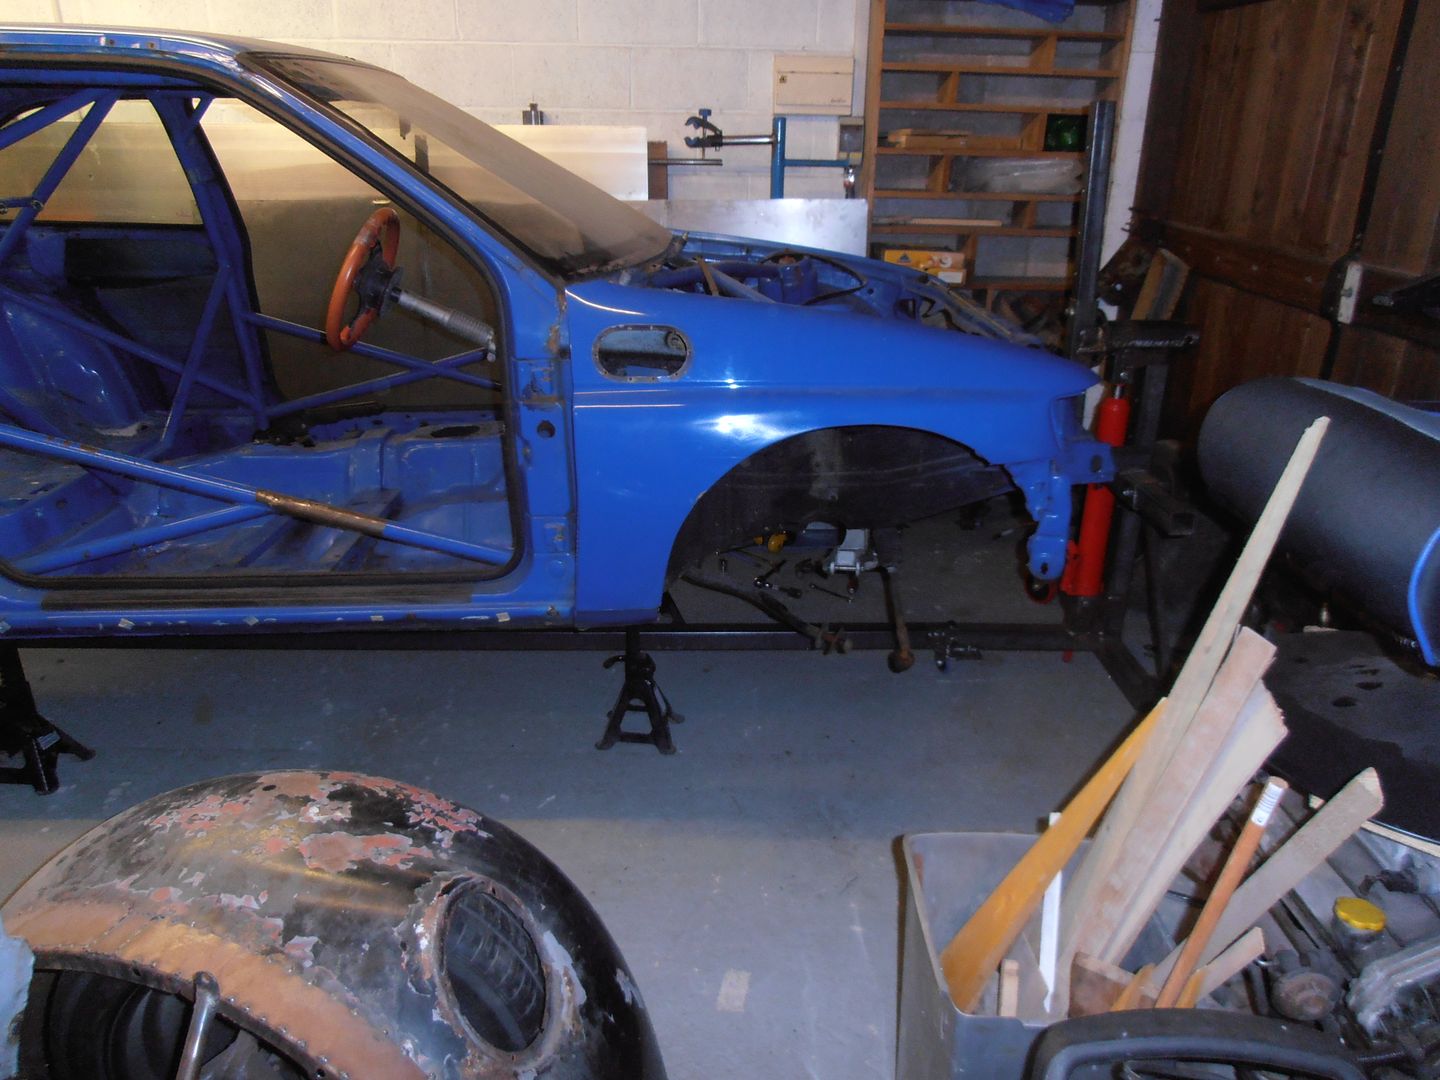 forget to take pics for a while..... And upside down escort 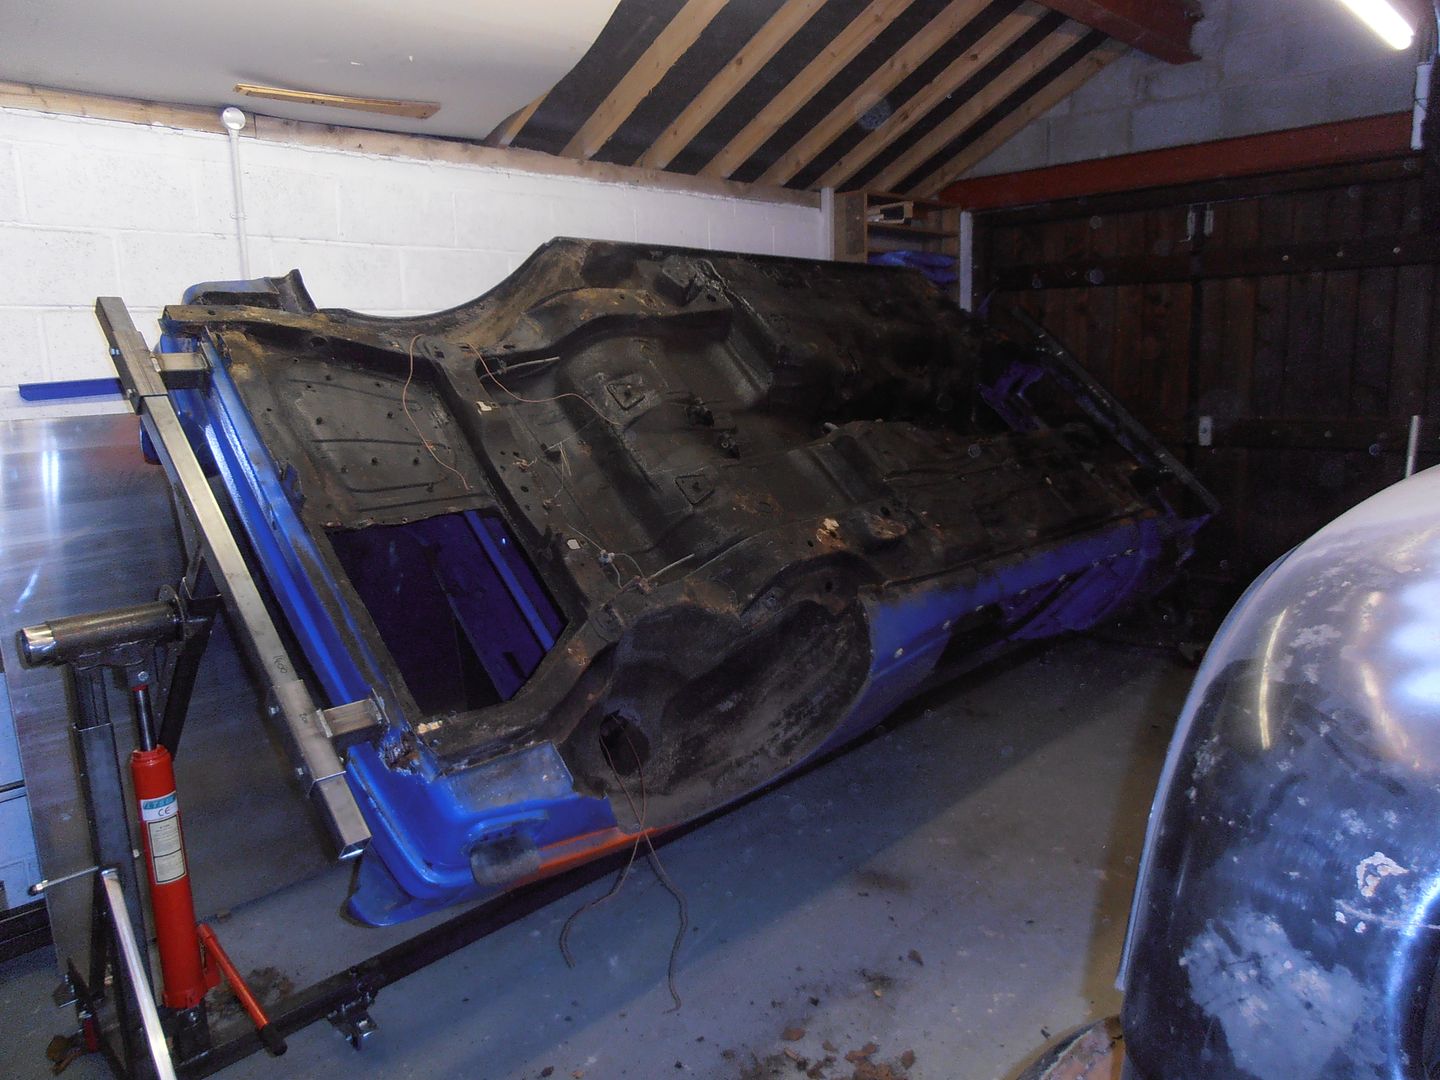 I took the opportunity to inspect some of the rusty points Pass Rear chassis leg and the panel join 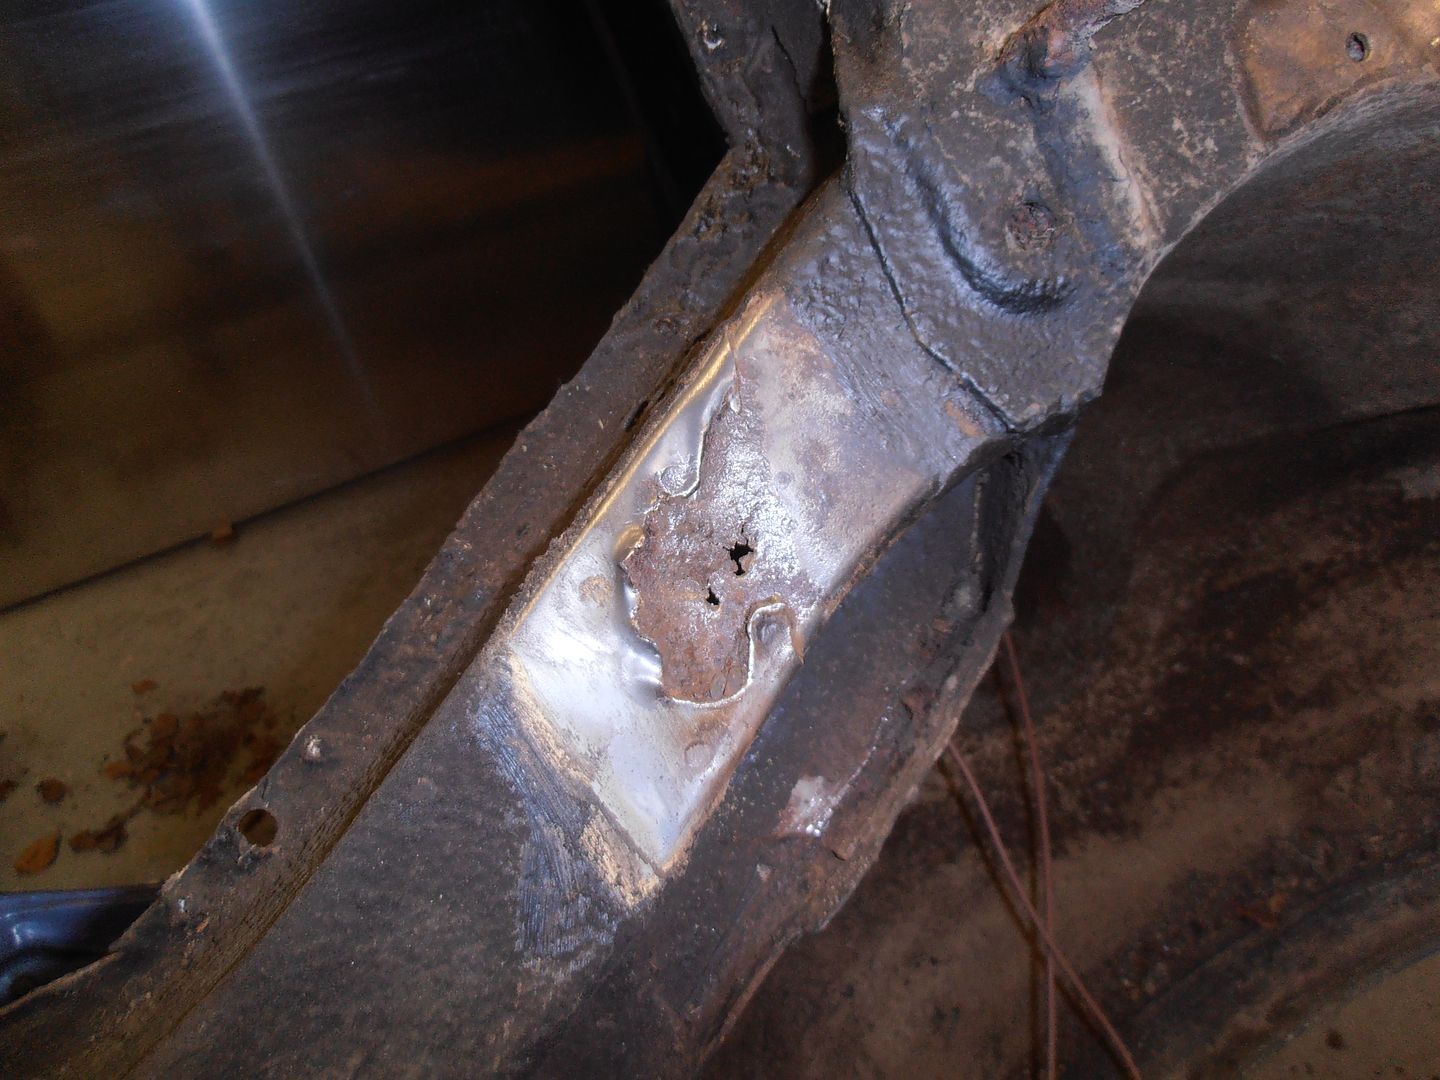 pass side rear beam mount (a very common sierra / escort rust point) 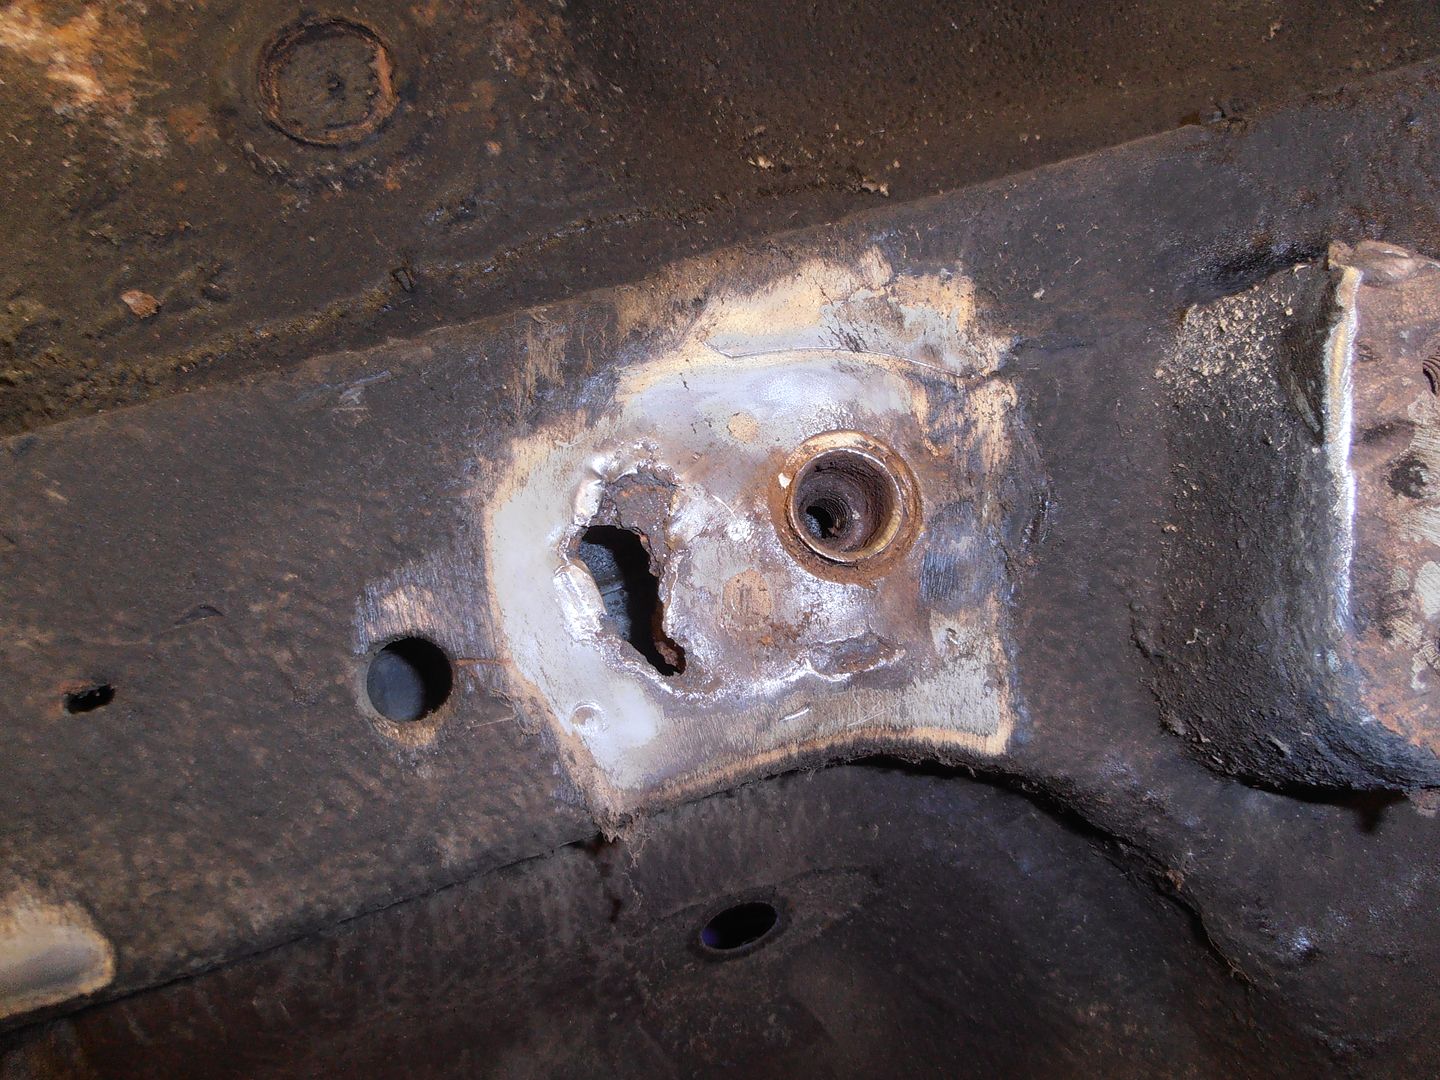 drivers is equally rusty 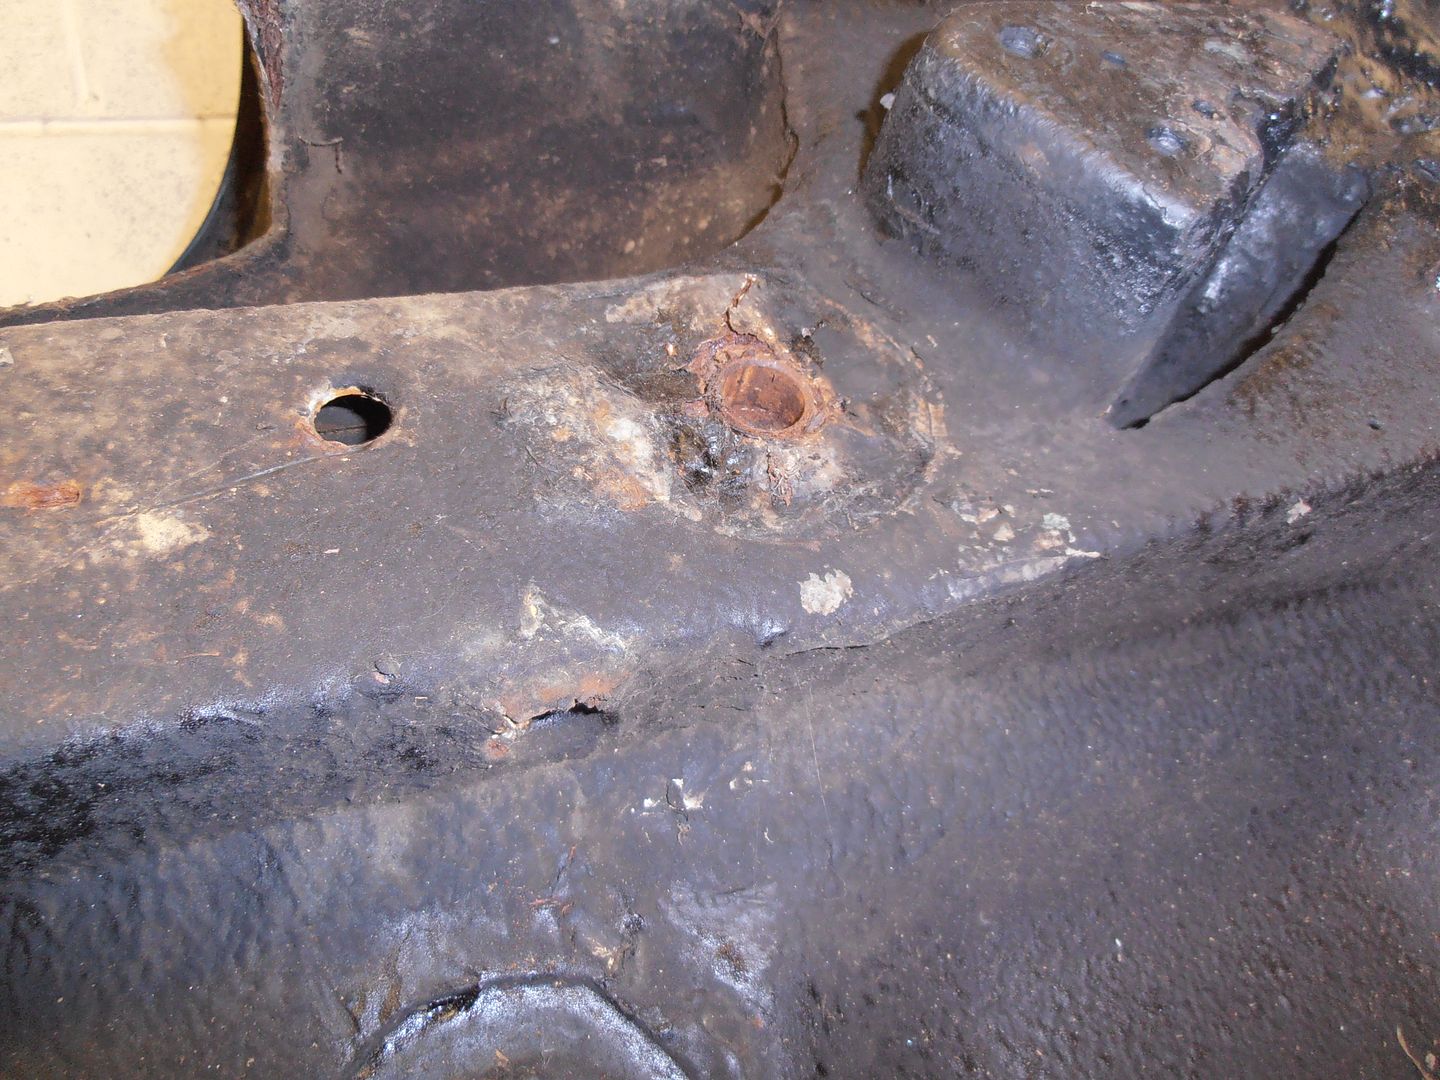 drivers rear leg 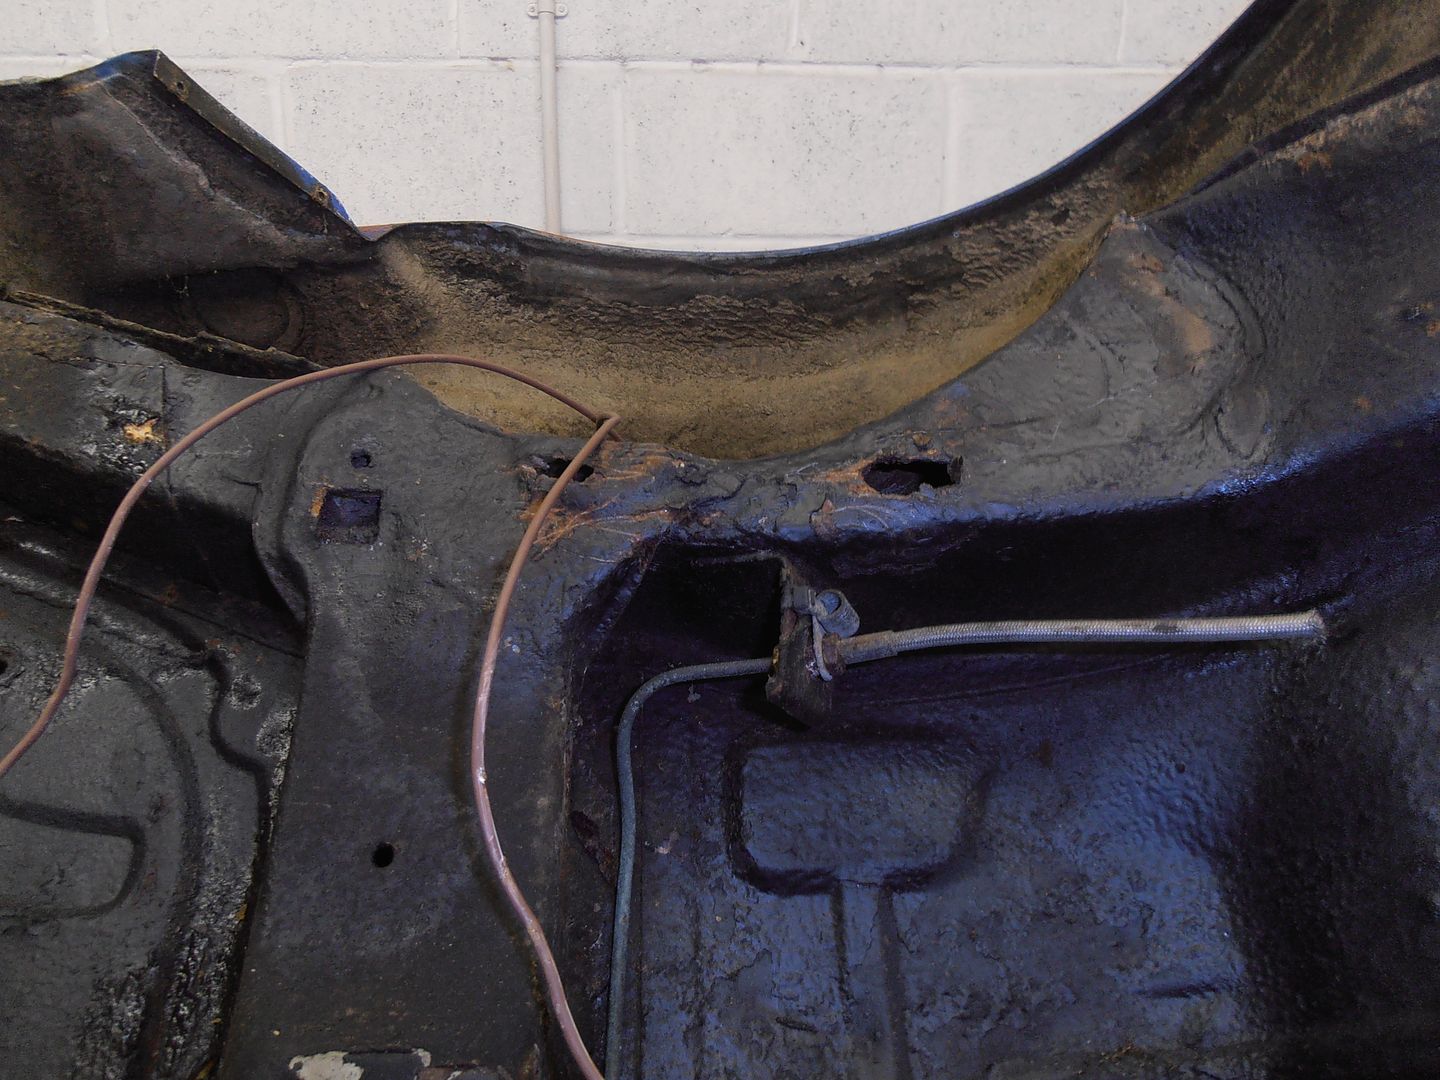 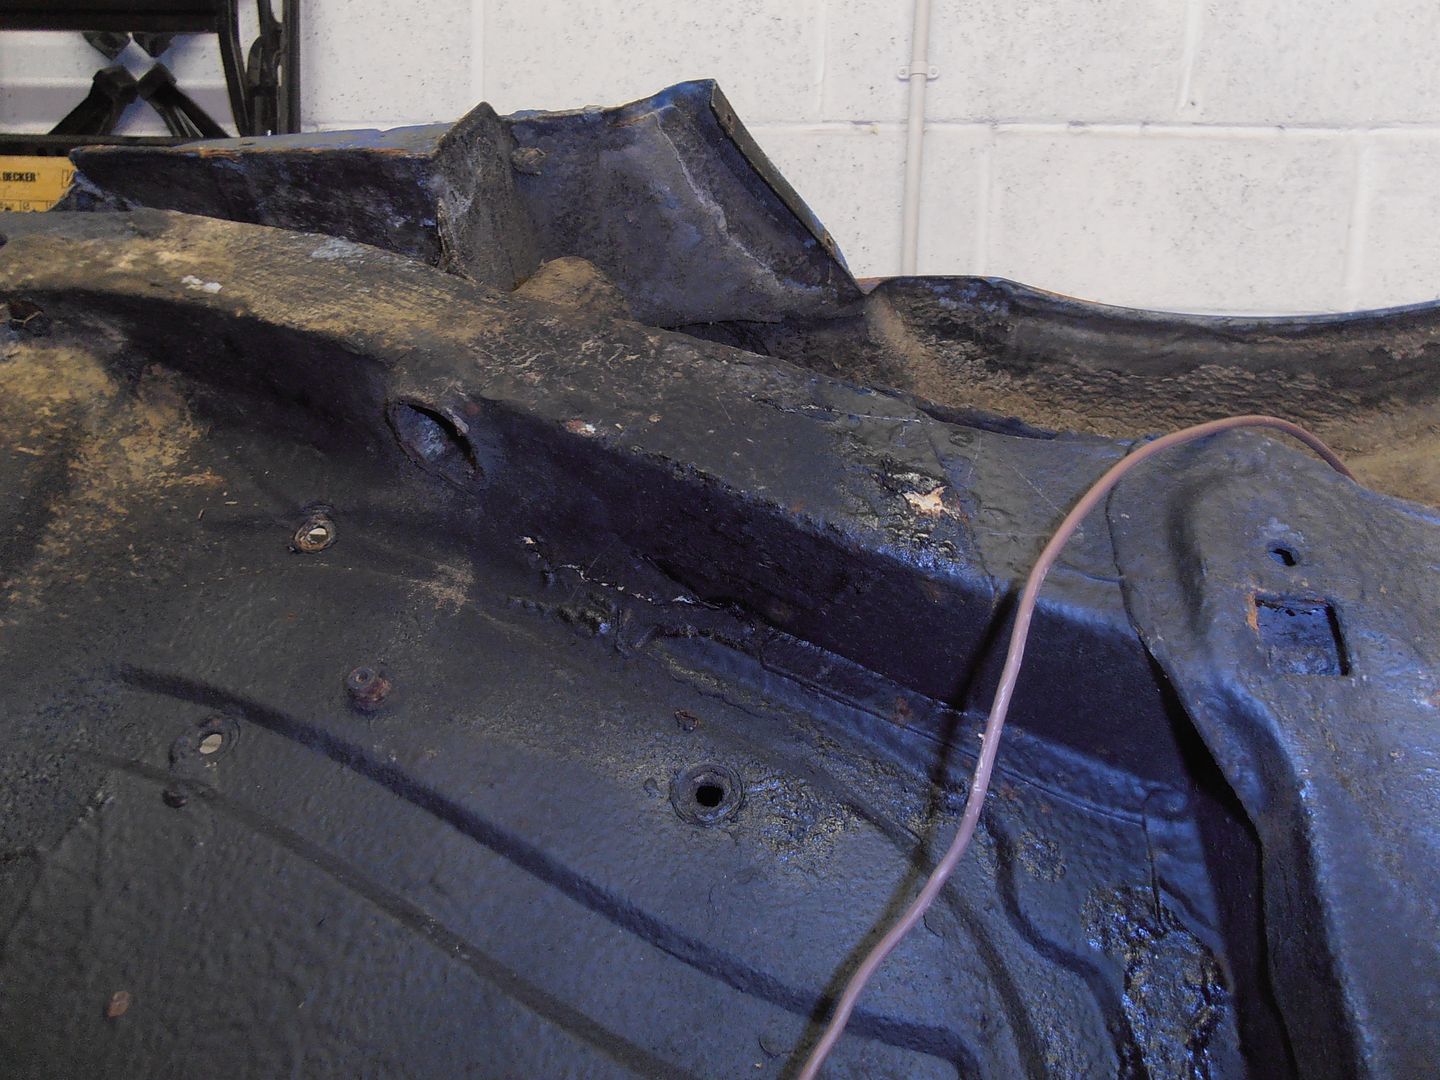 Pass floor behind drivers seat, where the cage main hoop is. Looking at it someone has jacked in the wrong place, and also failed to re-seam this when the cage was welded. 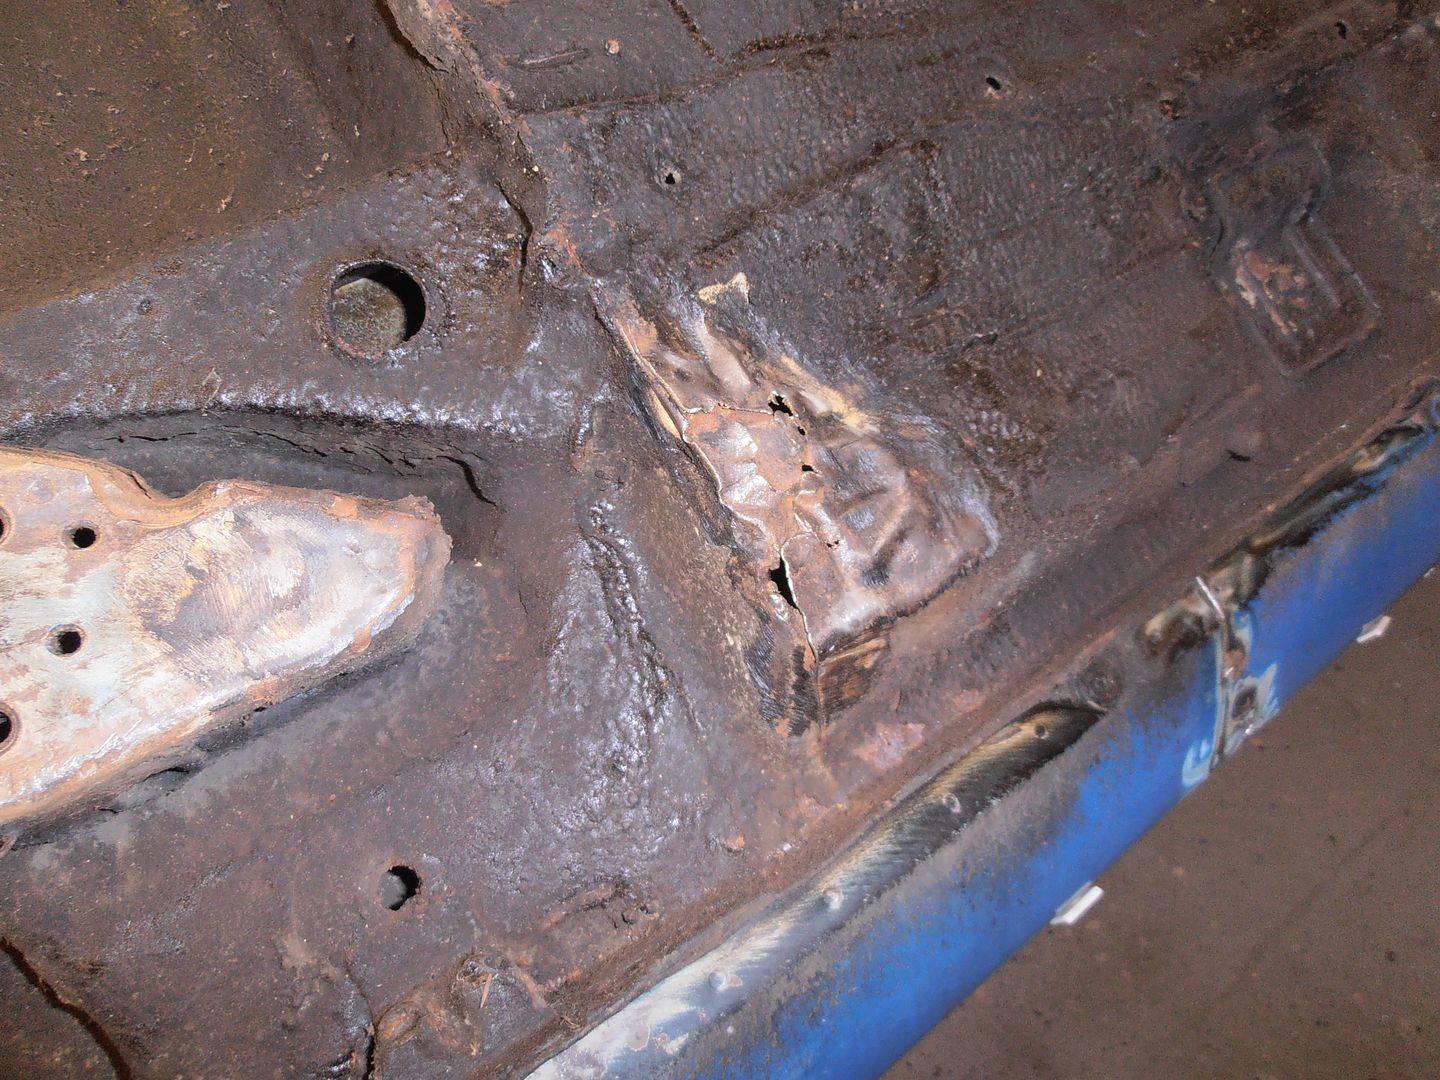 Bottom of the sill at the front 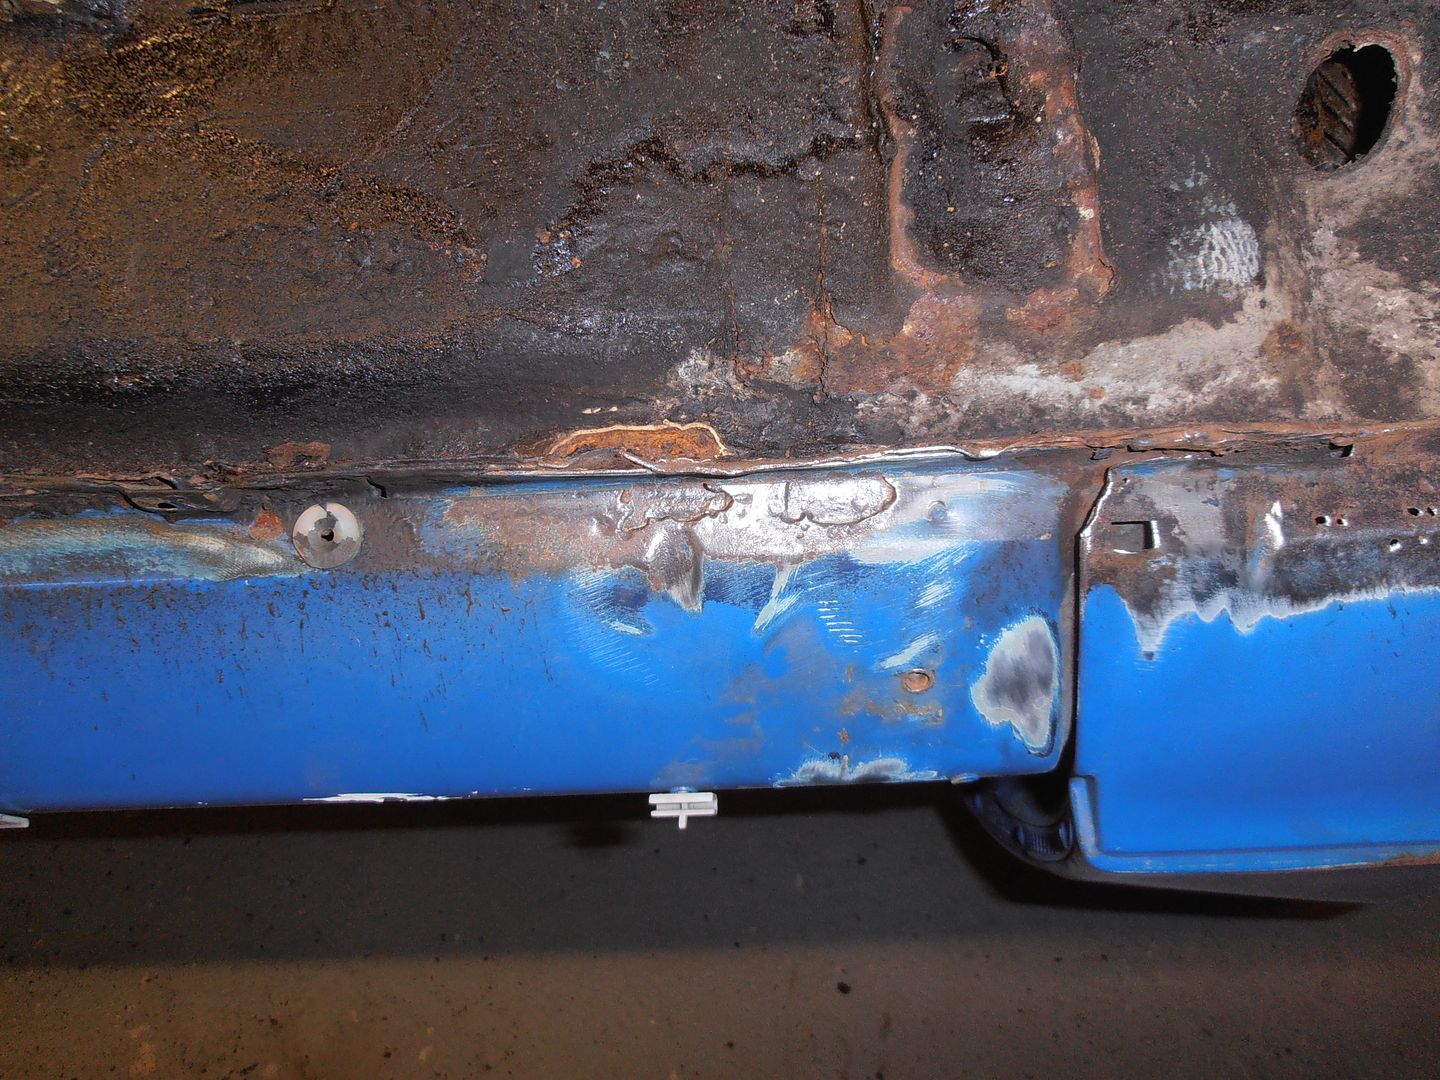 bottom of the front wing has pin holed 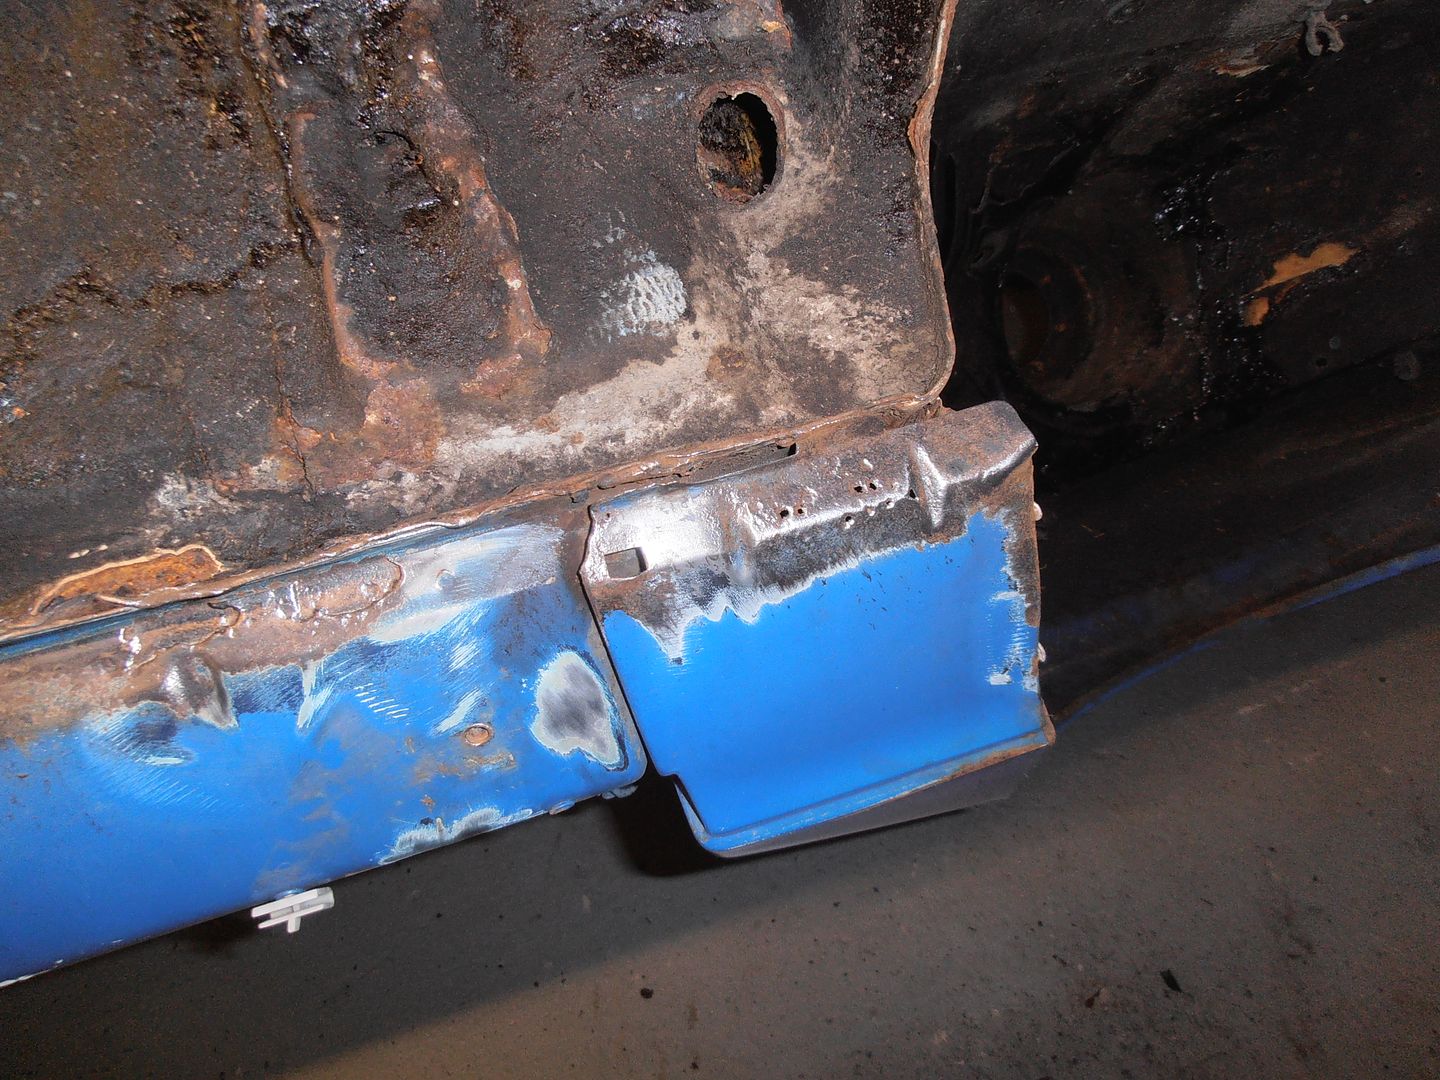 Gearbox mount piece of the tunnel doesnt look to have rusted (at least from this view point) 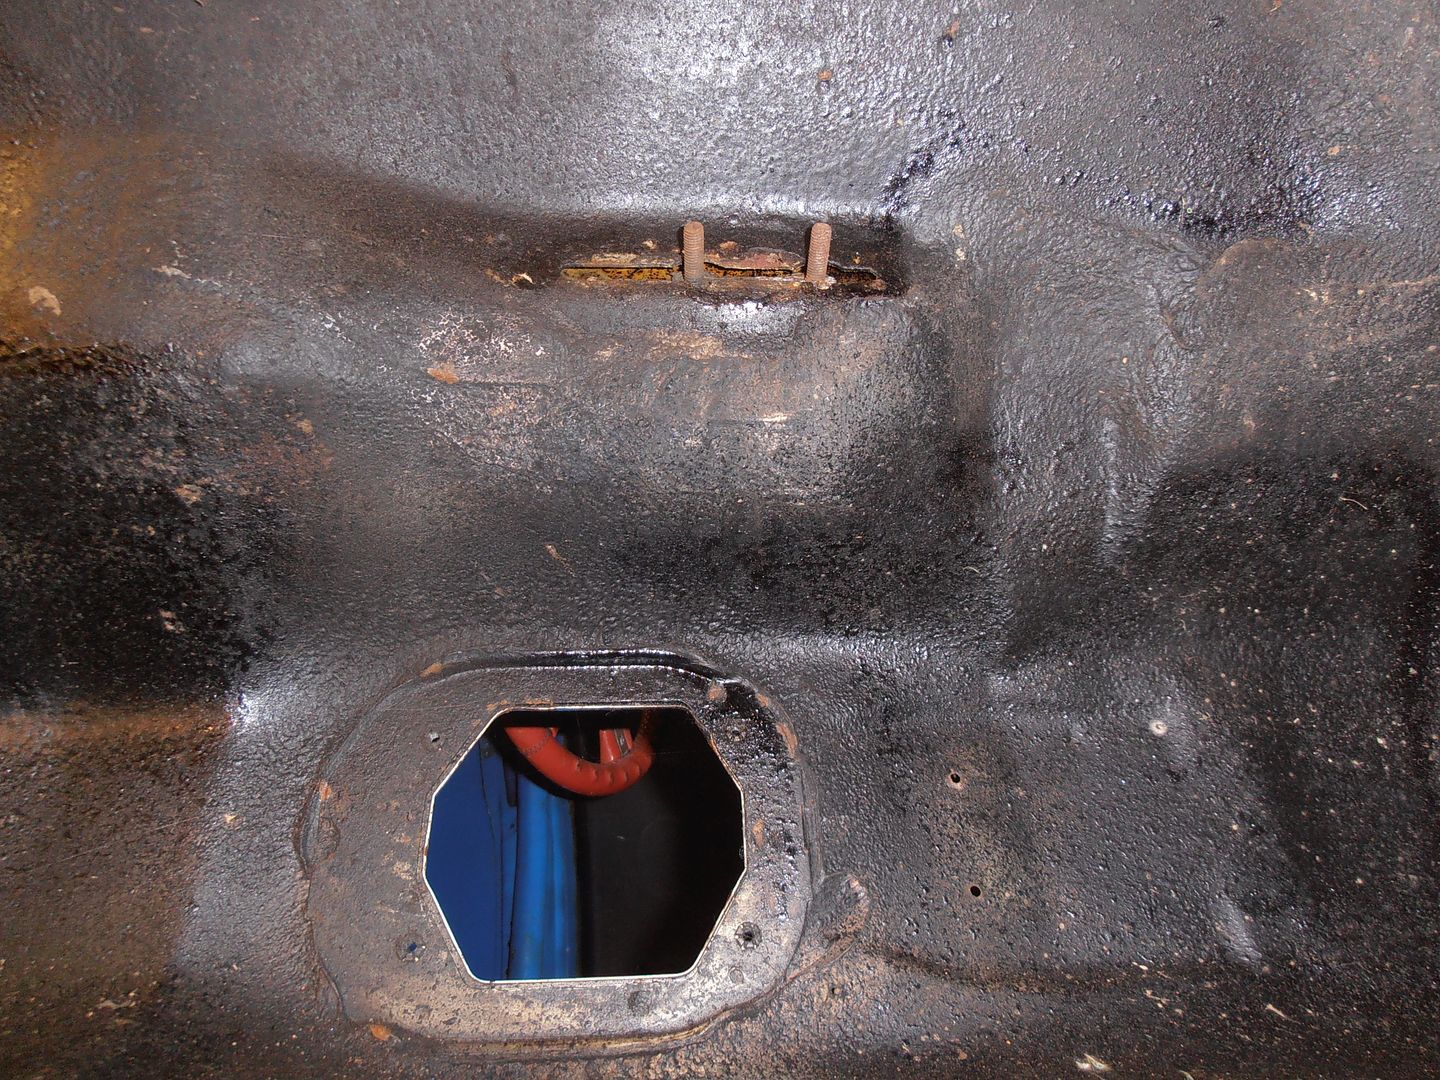 front end needs a clean bit looks solid 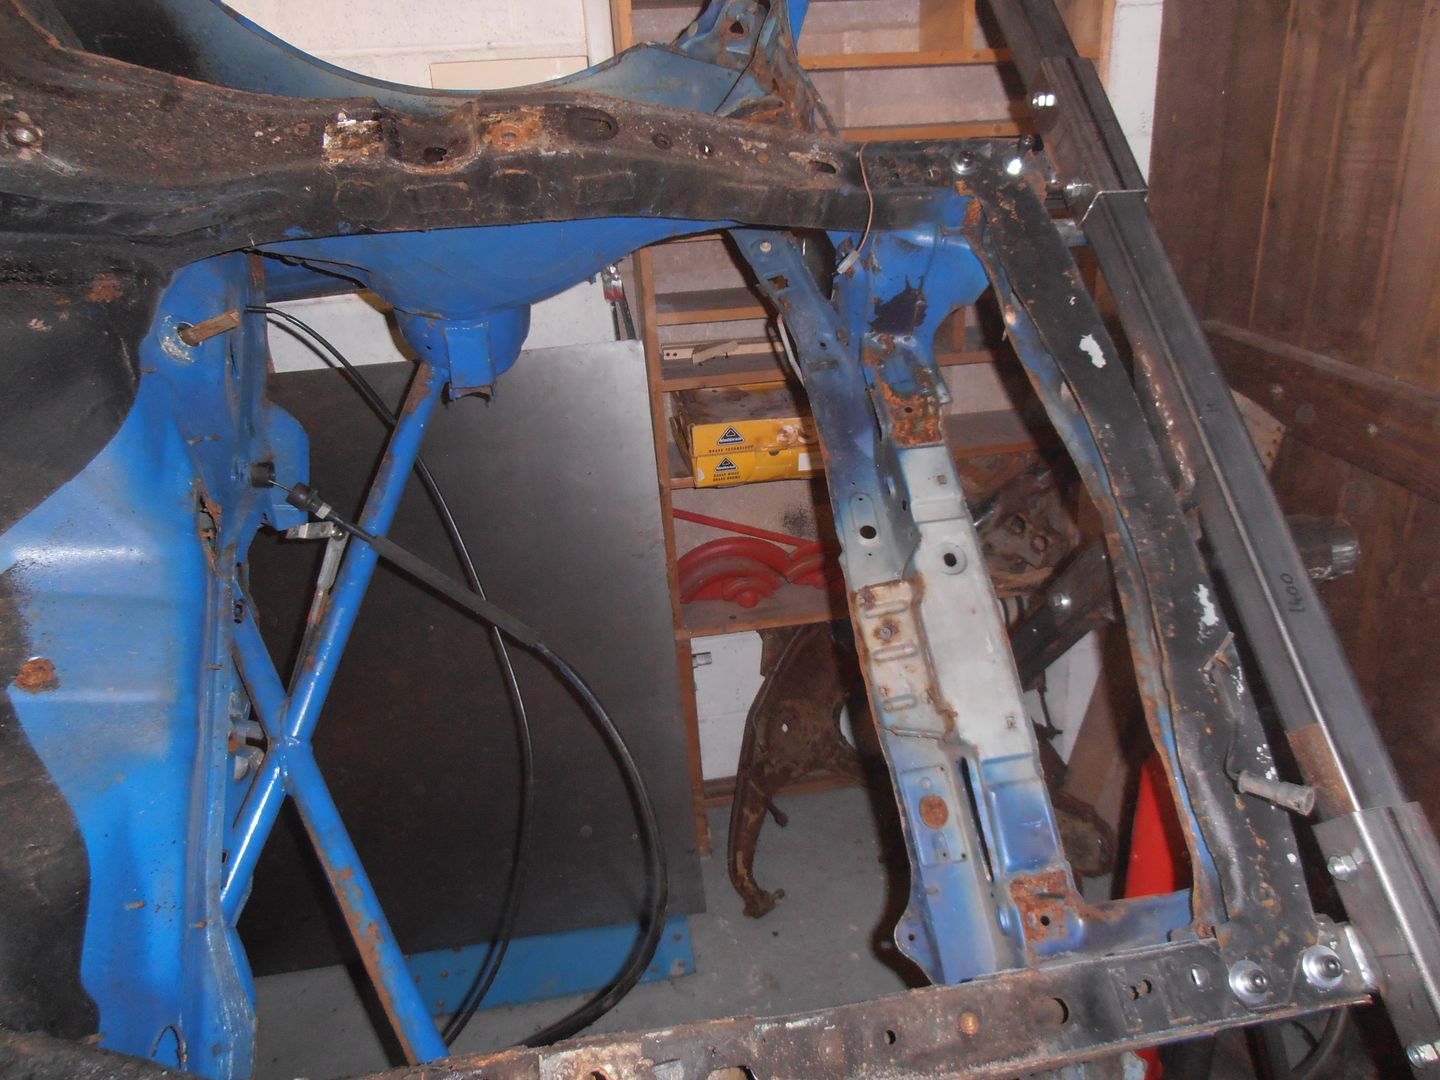 A completely crushed front outrigger 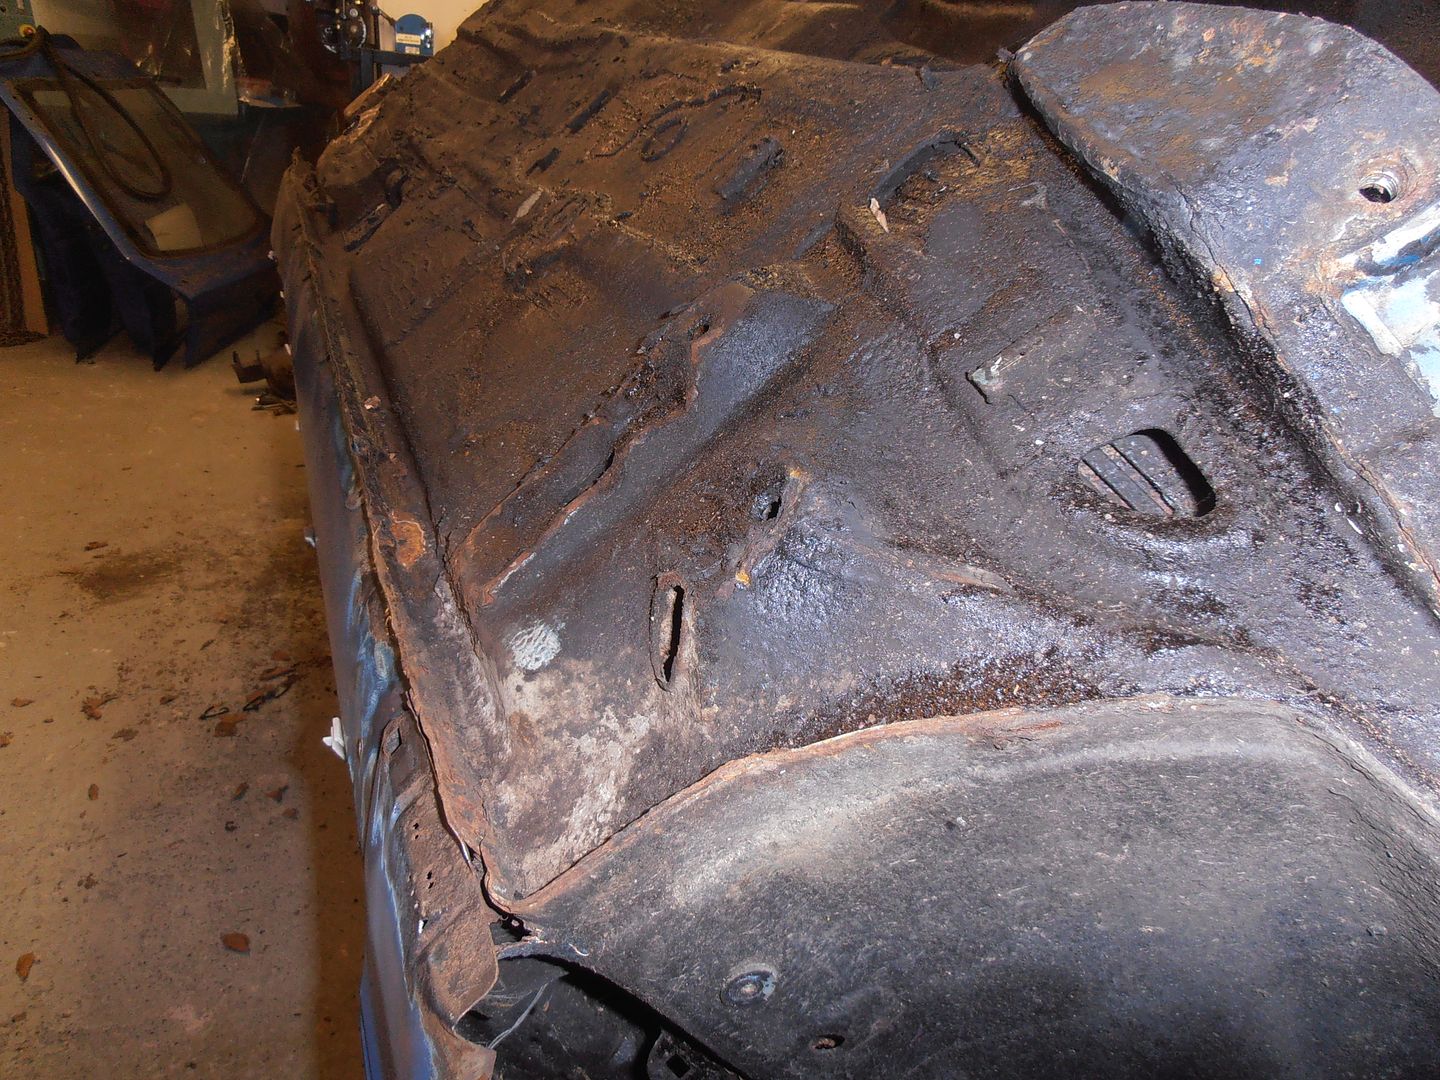 front to rear sill seam (a traditional escort cosworth rust point) 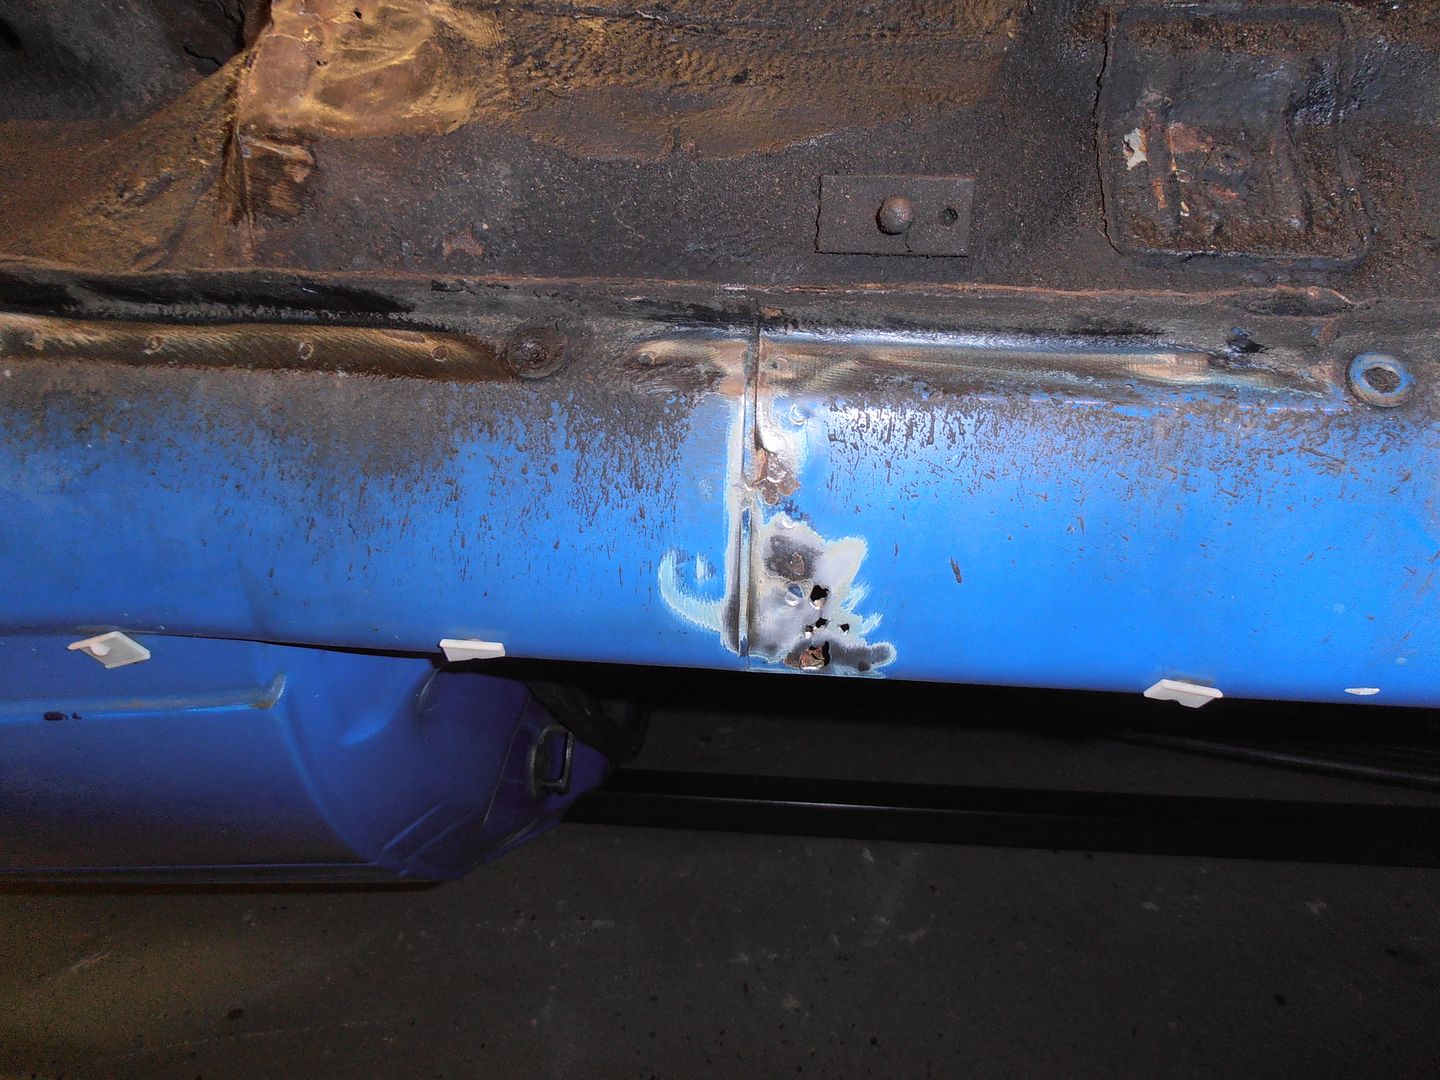 rear of this sill is solid 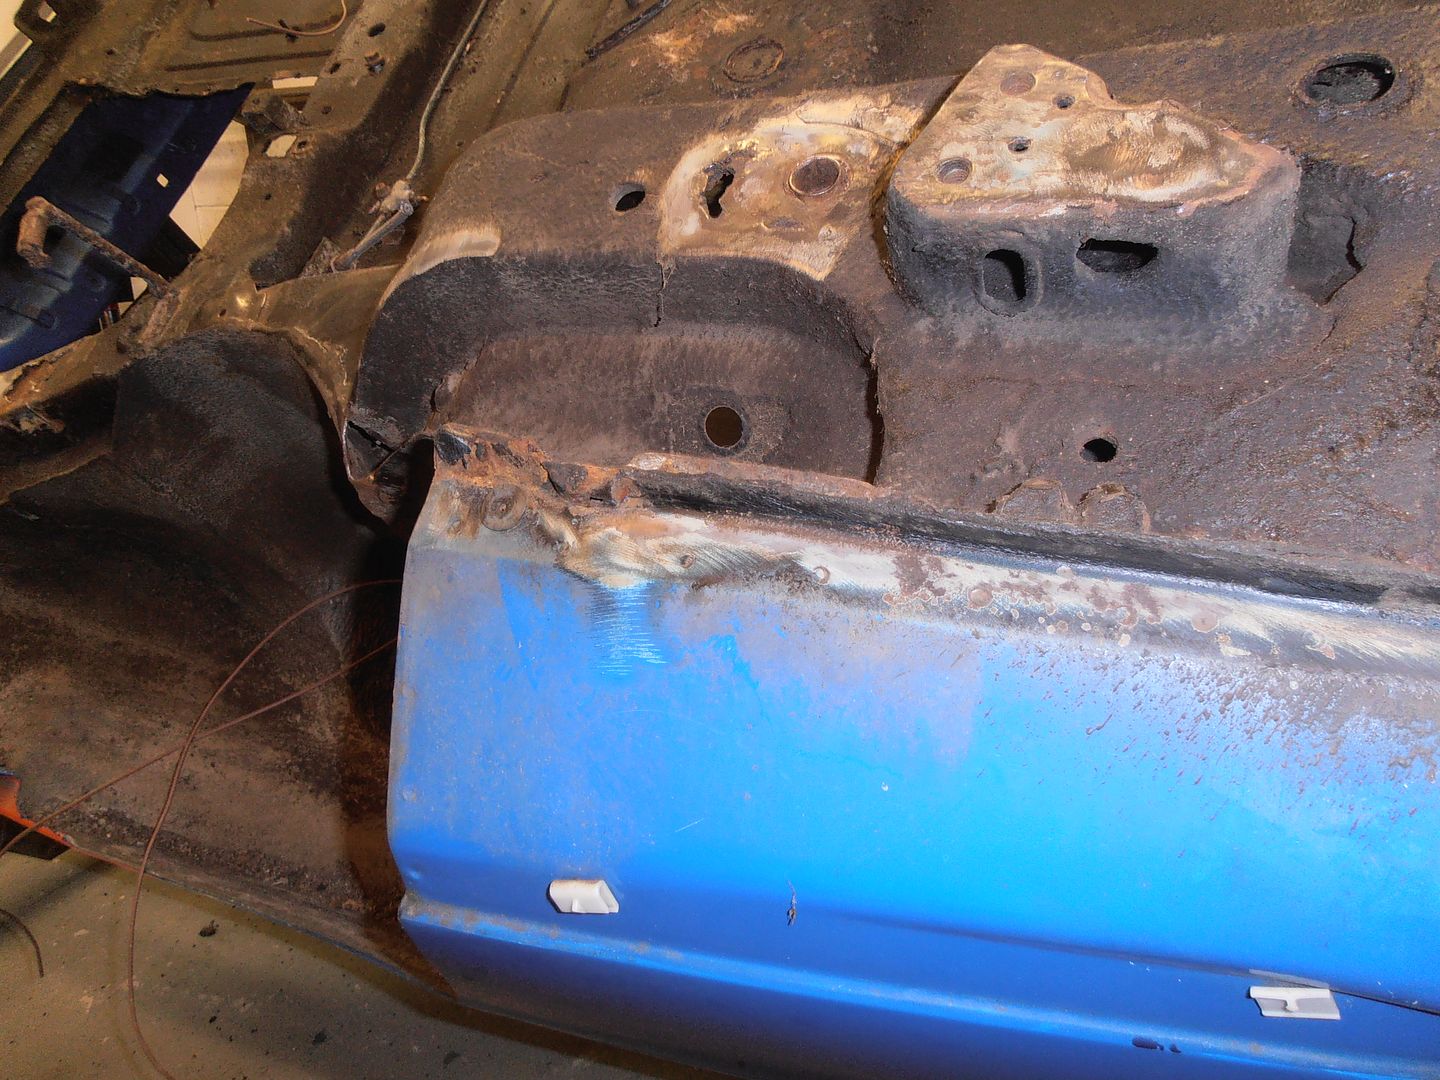 I then did some more digging. The seam behind the outrigger box has rusted through, but as i need to take it off to straighten / remake it'll be easy to get in and repair. 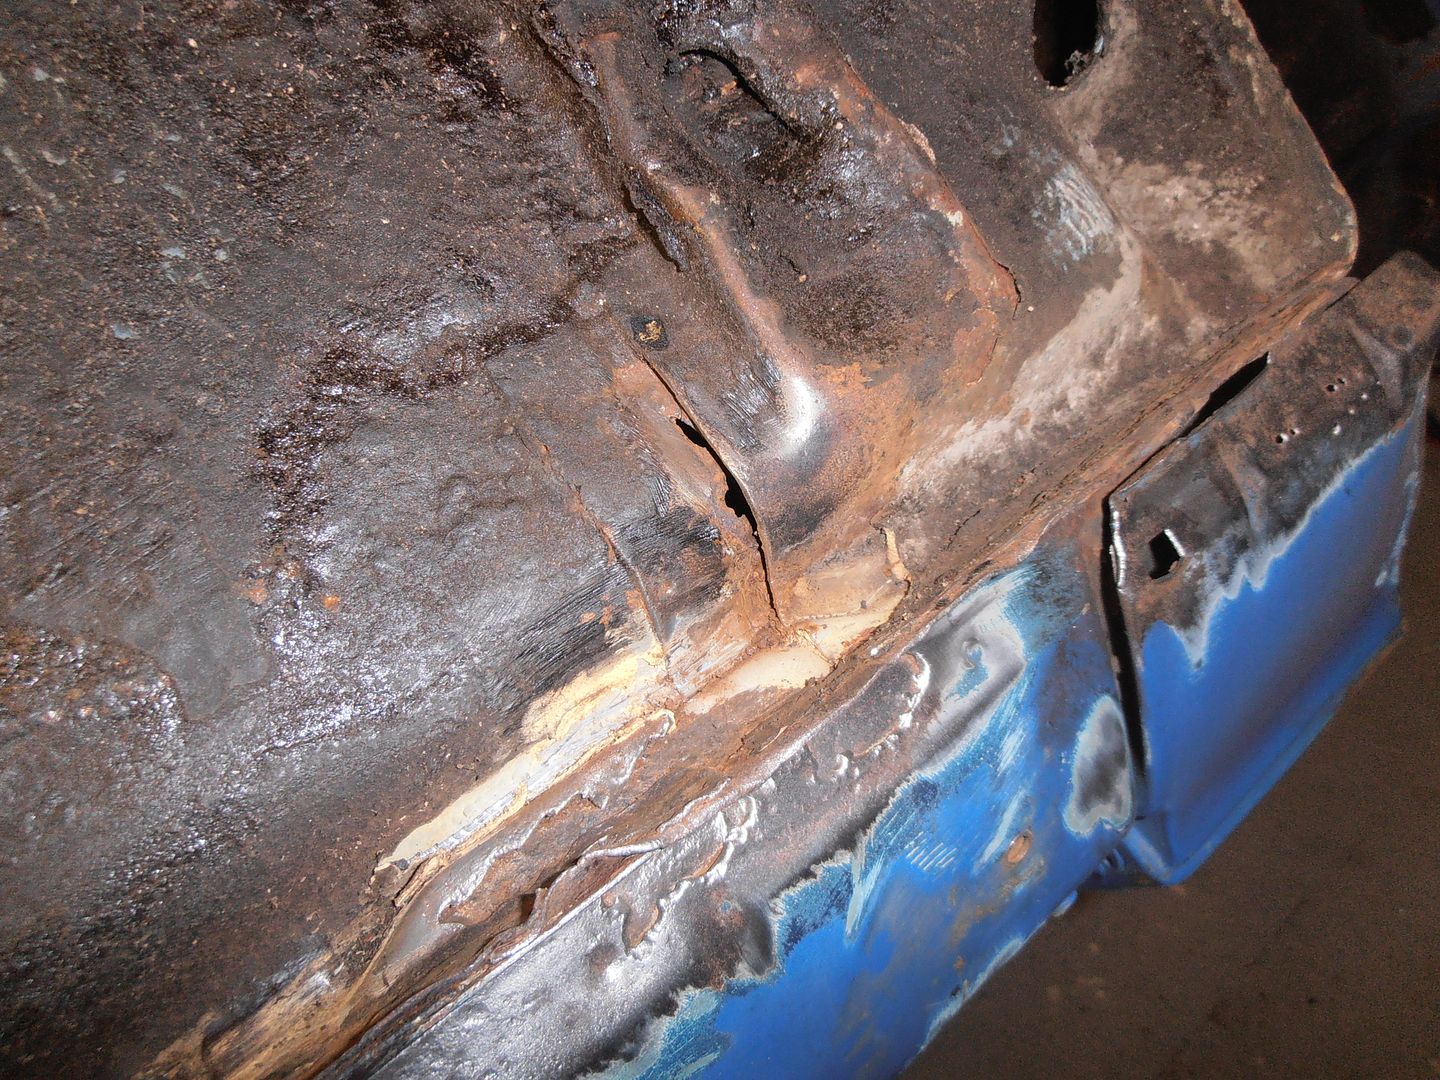 and a few more bits of sill have pin holed. 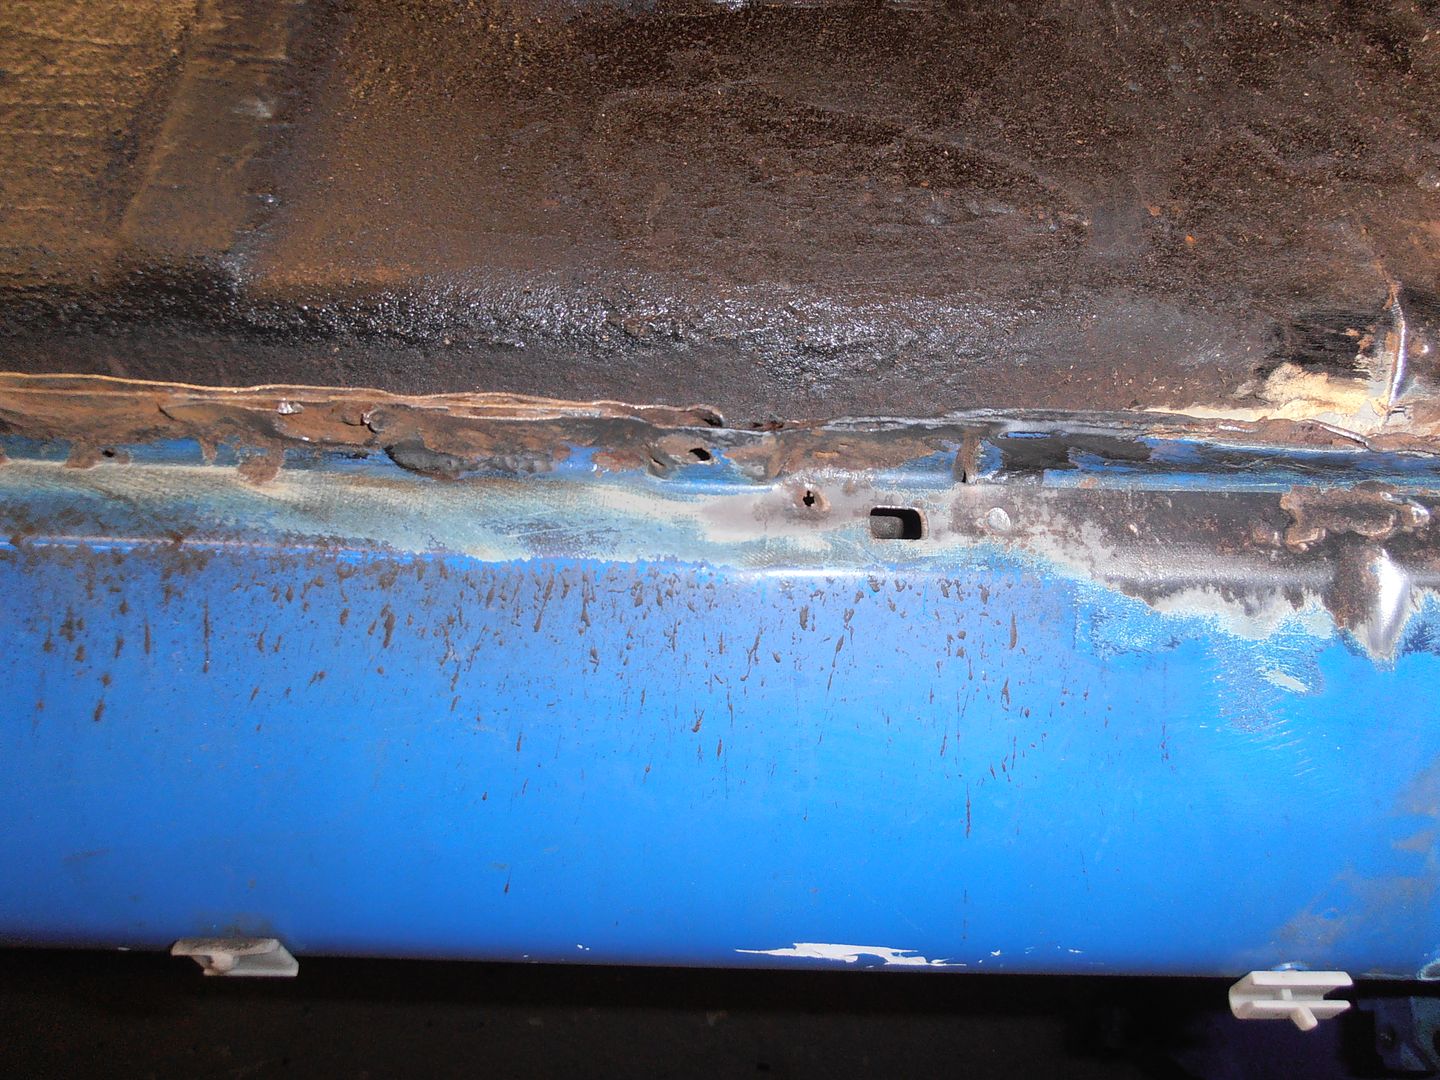 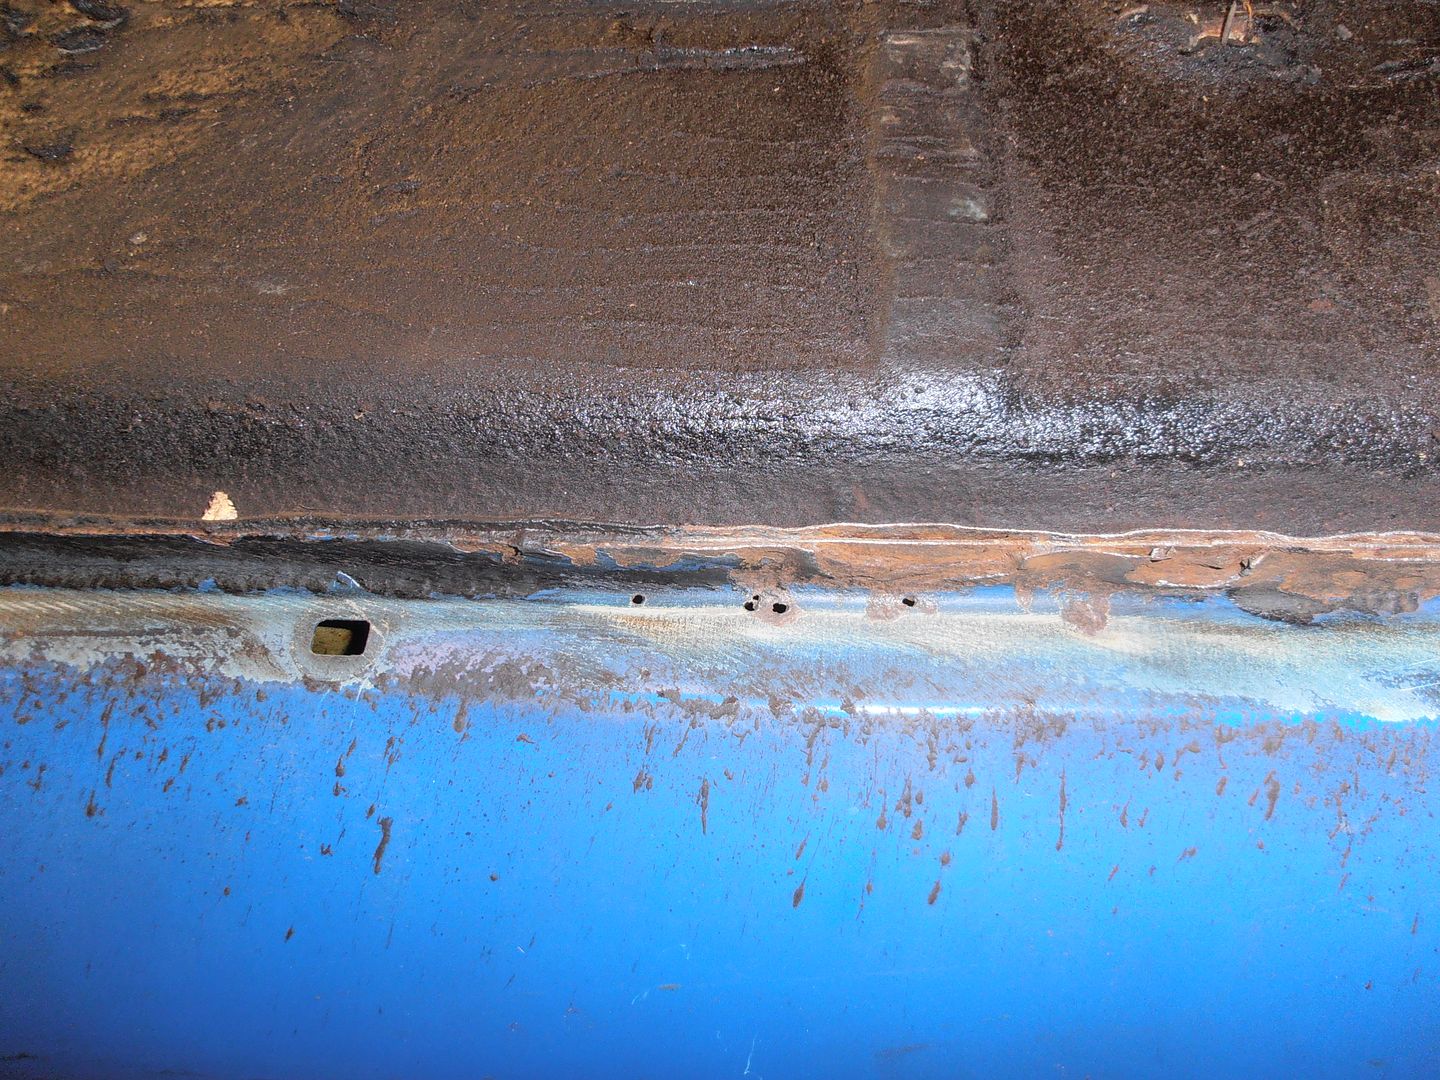 back end of the diff mount looks like repairs are needed  As expected it needs a number of repairs (and repairs to badly done repairs) but generally i'm happy with the condition. Getting the underseal (both Ford factory and the manky tar like stuff someone else has tried to hide the rust with) will be a nasty smelly, dirty, and loooooong job. Other than a few things i'm going to look at now, the escort will be moth balled again so I can get back on with the morris. |
| |
|
|
|
|
|
Oct 21, 2017 22:13:17 GMT
|
Nice job on the rotator!. I also made a set by copying a design that was already on the market. It makes the welding and other jobs on the underside of the car so much easier and gives better quality. One remark i have: i made a rotating construction between rotater and car brackets on front and rear. This is to avoid stress on the car/construction when you lift or lower it. In theory, you have to lift /lower front and rear at the same time to avoid stress. With this rotating point on my rotator it is not necessary. I can easily lift the front higher then the rear. It is the solid round bar with the inner hexagon screw on the picture beneath ![]() 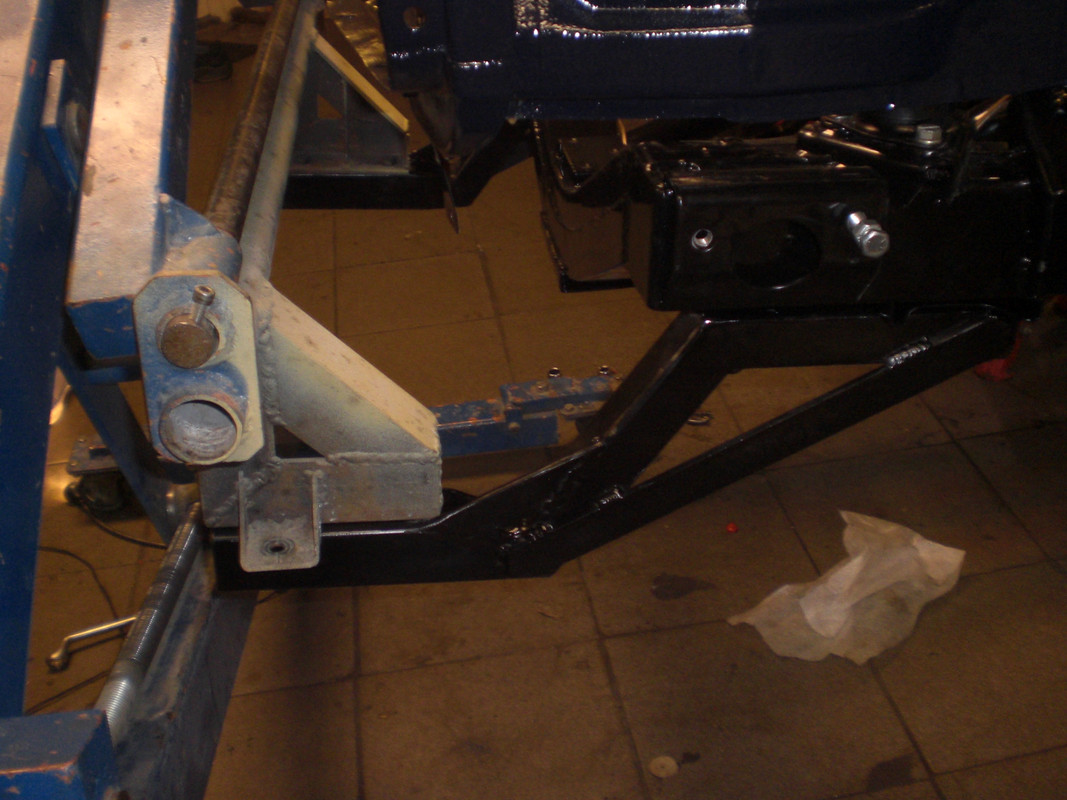 Good luck with the work as there is a fair bit to be done and keep posting! Peter |
| |
Last Edit: Oct 21, 2017 22:25:22 GMT by petervdv
|
|
jonomisfit
Club Retro Rides Member
Posts: 1,790
Club RR Member Number: 49
|
|
|
|
|
Thanks Peter.
A good idea that I may well incorporate.
I took care to only raise each side only slightly for exactly that reason. There is a fair bit of movement at the bolted joints so it helps. Some hinges in there would work better and I can likely incorporate into the cross bar to body joints. I can then also shim out the movement at the joints as well.
I had been thinking about a cross link bar so jacking at one point operates both jacks but I think the hinges would be better.
|
| |
|
|
|
|
|
Oct 22, 2017 10:24:06 GMT
|
My remarks was based on theory and i guess there is enough flexibility on your construction and the car to cope with the issue but the bars i incorporated are also easy to quickly remove the shell from the rotator without needing to remove the brackets on the car and this is especially handy after the car was painted so the chances on damaging the paintwork with removing/fitting the brackets is minimized. Your rotator is a quality build so it will last. I have seen lots of crappy rotators being made/used. I used my rotator also to fit brake lines, the front and rear axle/suspension on my MGB V8 and it worked great an no damages to the body or the parts 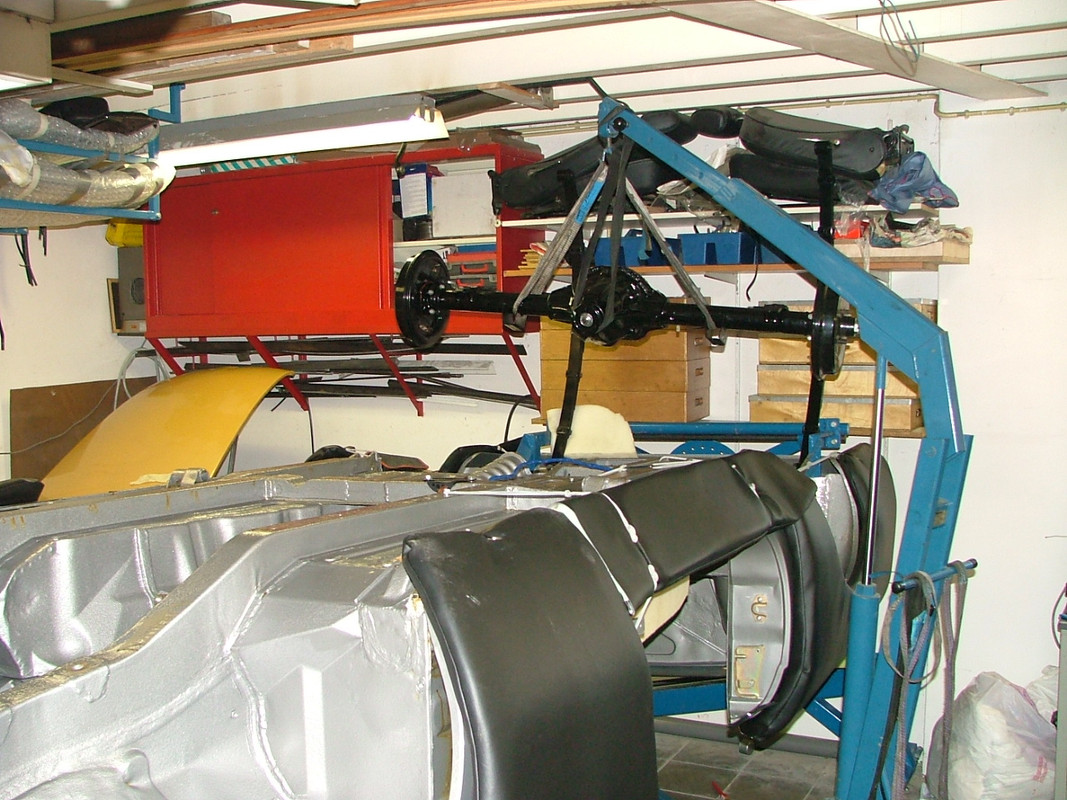 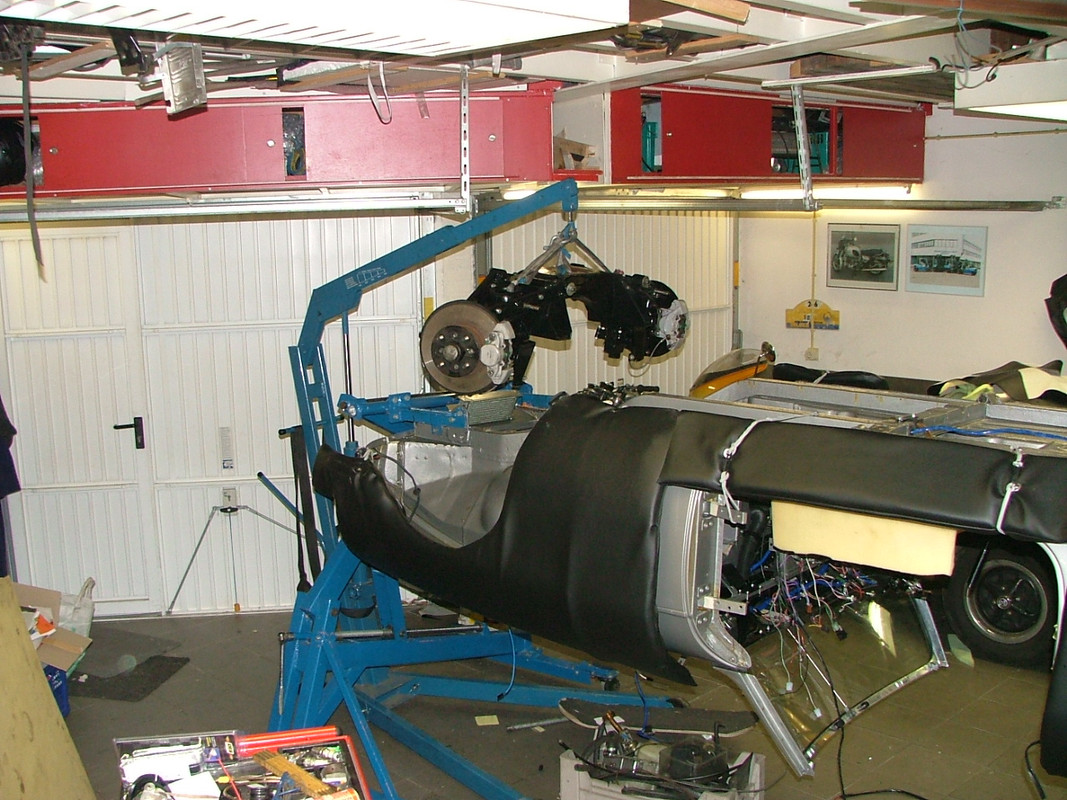 Peter |
| |
|
|
jonomisfit
Club Retro Rides Member
Posts: 1,790
Club RR Member Number: 49
|
|
Oct 22, 2017 10:53:52 GMT
|
|
Looks a great jig. I had thought about that style as well.
There may well be a mk2 jig at some point. :-)
|
| |
|
|
820
South East
Posts: 793
|
|
Oct 22, 2017 11:29:26 GMT
|
|
Great job on the jig. Quality pictures of your progress makes for an easy understandable read, top stuff. Looking forward to following your progress.
|
| |
|
|
|
|
|
Oct 22, 2017 12:57:55 GMT
|
|
Having been there many, many times with the paint & especially the underseal removal I would seriously consider having the escort shell dipped - it will save you no end of time in the long run - you have to be careful which company you use - all my stuff goes to Envirostrip at Tamworth who I can highly recommend - I appreciate that there is a cost to this and then the problem of getting the shell there and back (but most body shells go into the back of a hired transit luton body with a tail lift (in fact I am collecting a body shell on Tuesday using this very method) - probably see how easy the underseal comes off first whilst also taking into consideration how many coats of paint it has on the outer shell.
|
| |
|
|
jonomisfit
Club Retro Rides Member
Posts: 1,790
Club RR Member Number: 49
|
|
Oct 22, 2017 14:17:09 GMT
|
|
Something I've been considering. The factory underseal is very well stuck on. The black far stuff not so.
Tamworth is about 4hrs each way so doable in a long day.
There's only two coats of paint. It's nasty blue with a filler primer base over the factory imperial blue.
When I get onto the escort I'll have to make the call.
Have you had any issues with rust regenerating in the seams / box sections after dipping?
|
| |
Last Edit: Oct 22, 2017 14:19:00 GMT by jonomisfit
|
|
|
|
|
Oct 22, 2017 16:26:05 GMT
|
Something I've been considering. The factory underseal is very well stuck on. The black far stuff not so. Tamworth is about 4hrs each way so doable in a long day. There's only two coats of paint. It's nasty blue with a filler primer base over the factory imperial blue. When I get onto the escort I'll have to make the call. Have you had any issues with rust regenerating in the seams / box sections after dipping? There has been a lot of bad press with this process but has originally stated you need to go to the right company who has a proven process so Envirostrip initially bake the panels / shells through a multi staged process carefully bringing the oven up to temperature in order to avoid any distortion then carefully cooling prior to pressure washing - the parts / shells are then fully immersed in phosphoric acid for timed periods - once all paint, sealer, underseal & rust is removed the parts / shells are oven dried - you then have a choice - they can leave the parts / shell in bare metal and spray with a clear inhibitor (only lasts a few weeks but enough to get the parts / shell home) or they can apply a etch primer / weld through primer Some companies utilise a different process and there are horrific stories out there where owners have completely restored their cars only to find acid from the process burning out of the seams - creating rust ingress and ruining the paintwork - Envirostrip have done several jobs for me and I have not had any issues - obviously its critical that seams are sealed, cavities treated with a cavity wax and undersides protected with a underbody wax has part of the restoration process but starting with a bare metal bodyshell & panels makes life just so much easier |
| |
Last Edit: Oct 22, 2017 16:28:20 GMT by Deleted
|
|
sonus
Europe
Posts: 1,392
|
|
|
|
|
|
| |
Current
1968 TVR VIXEN S1 V8 Prototype
2004 TVR T350C
2017 BMW 340i
Previous
BMW 325d E91LCI - sold
Alfa Romeo GTV - sold
Citroen AX GT - at the breakers
Ford Puma 1.7 - sold
Volvo V50 2.0d - sold
MGB GT - wrecked by fire
MG ZT 1.8T - sold
VW E-golf Electric - sold
Mini Countryman 1.6D -sold
Land Rover Discovery TD5 - sold
|
|
|
|
|
Oct 25, 2017 12:06:43 GMT
|
Two things at fault here - firstly whoever dipped the shell / panels have not dried them sufficiently (if at all) after the dipping process - secondly you cannot just rely on the e coating & paint no matter how good or shiny it is - has your rust protection - all cavities and seams require a good dose of a proven cavity wax treatment - something that creeps into every seam & crevice - under floor / under wing areas require again a proven underbody wax treatment - it's pointless putting shiny paint in these areas unless you are building a completely impractical trailer queen of a motor - (pointless exercise in my book) but to just rely on a fancy primer and some paint to prevent rust forming in seams & cavities is again pointless. |
| |
Last Edit: Oct 25, 2017 12:09:06 GMT by Deleted
|
|
|
|
|
Oct 25, 2017 16:59:11 GMT
|
|
I also considered dipping my Rover shell but was afraid of the risks. if it isn't flushed properly. I guess Chris is right with mentioning to use the body kit and rhe wax. But i still would be guessing it is done properly which only time will tell.
I sometimes use a one man shot blasting company for shot blasting body panels. He always puts these in an oven first so he doesn't need to use much pressure to shotblast it afterward. On my rover i removed the door skins from the door frame, repaired these and then brought the skins and door frames to this shotblaster. Everyrhing came back and was oke (not warped)
Maybe you can find such a company which has a large oven.
|
| |
|
|
v8ian
Posted a lot
  
Posts: 3,832
Member is Online
|
|
Oct 25, 2017 17:48:45 GMT
|
|
I'm just in the process of building a rollover jig, I just love the self lifting ability, i cant copy it as I don't have the room in my garage
|
| |
Atmo V8 Power . No slicks , No gas + No bits missing . Doing it in style.
Austin A35van, very different------- but still doing it in style, going to be a funmoble
|
|
jonomisfit
Club Retro Rides Member
Posts: 1,790
Club RR Member Number: 49
|
|
Oct 25, 2017 20:52:09 GMT
|
|
It doesn't add too much to the length. About 300mm at a guess.
You can also save the length by mounting the jacks inside the box section. Needs a bit of thinking about how but should be pretty doable.
The jacks are surprisingly cheap as well.
|
| |
|
|
|
|
|
Oct 26, 2017 14:08:42 GMT
|
|
Ovens burn all the sealers and internal protection out in the same way as dipping, so it will still need something which creeps like cavity wax afterwards.
|
| |
|
|
|
|
|
Oct 26, 2017 14:36:01 GMT
|
|
I know this will sound silly but why not just get a new floor pan and fit it?
My thinking is this you could spend months cleaning off and patching that floor and still be no further along,
why not just cut it out and and fit new then alter that for the additions you want to do and be done with.
|
| |
|
|
jonomisfit
Club Retro Rides Member
Posts: 1,790
Club RR Member Number: 49
|
|
Oct 26, 2017 17:18:24 GMT
|
|
I may do some floor replacement.
Ex press panels do half Sierra floor pans, inner and middle sills, and outriggers. There's a price to it though, and they are not 4x4 floor pans.
Probably about £1000 of panels.
But would give a good floor. I already have 1 rear leg and am thinking about buying escort sills to sort the front.
|
| |
Last Edit: Oct 26, 2017 17:19:33 GMT by jonomisfit
|
|
|
|
|
Oct 26, 2017 17:31:02 GMT
|
|
It would take much less time and give you a better result that you could adapt to your needs more easily than with old crusty stuff that you have to patch before you can mod.
|
| |
Last Edit: Oct 26, 2017 17:37:34 GMT by peteh1969
|
|
jonomisfit
Club Retro Rides Member
Posts: 1,790
Club RR Member Number: 49
|
|
Oct 30, 2017 20:29:06 GMT
|
My dad turned up on saturday with a few more (old) bits 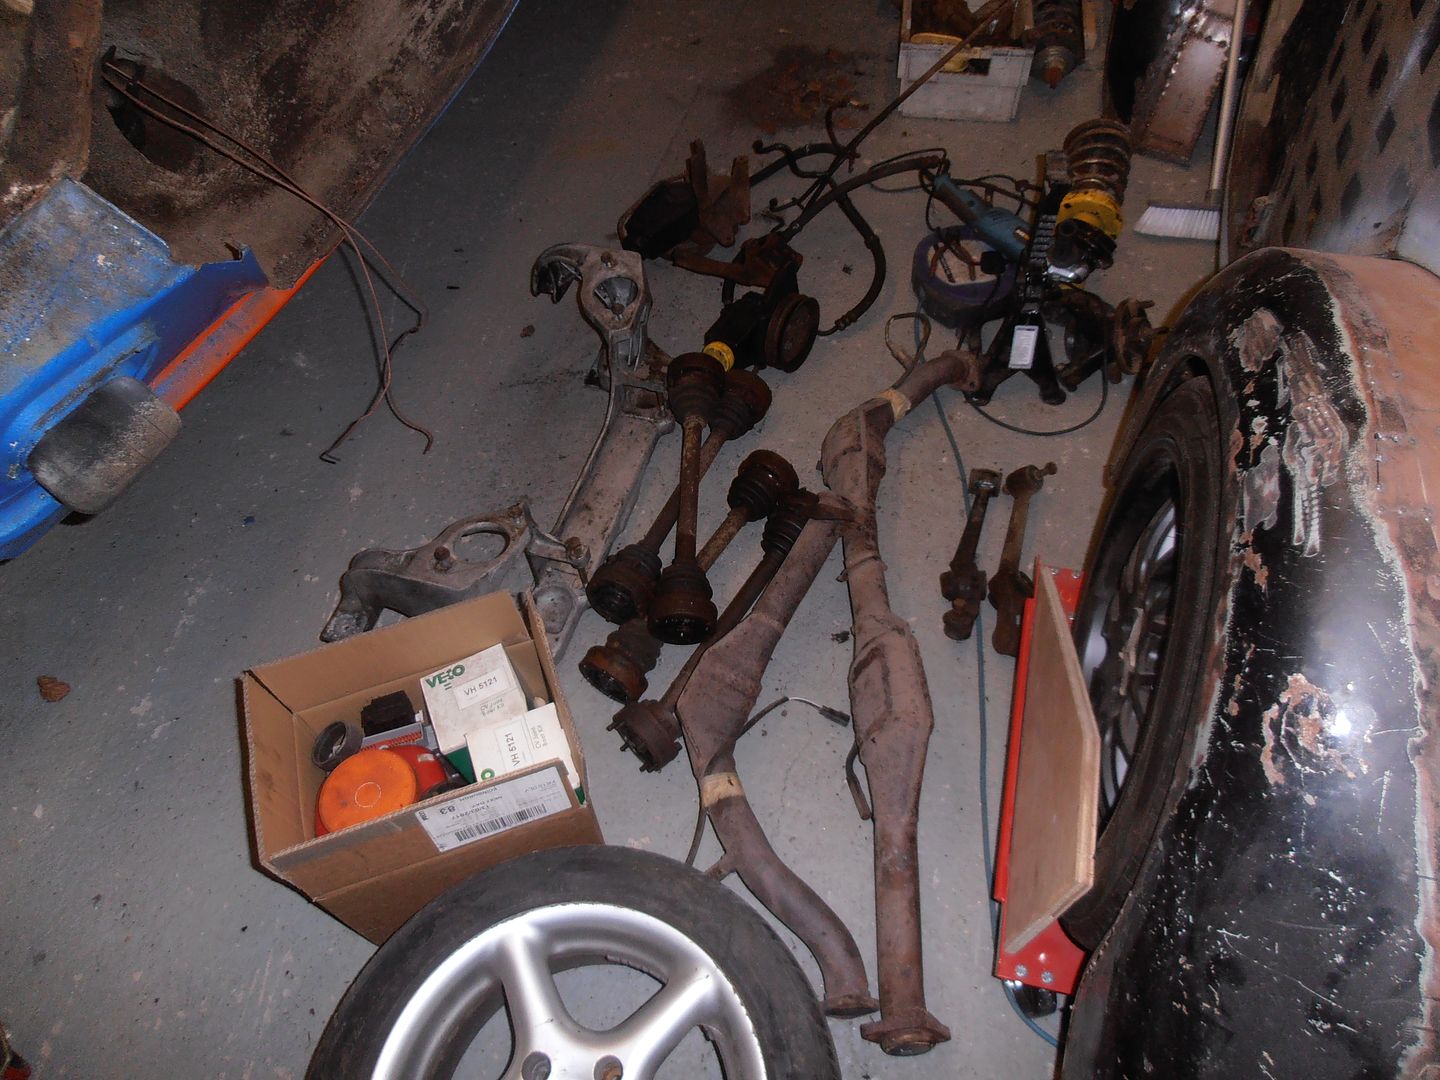 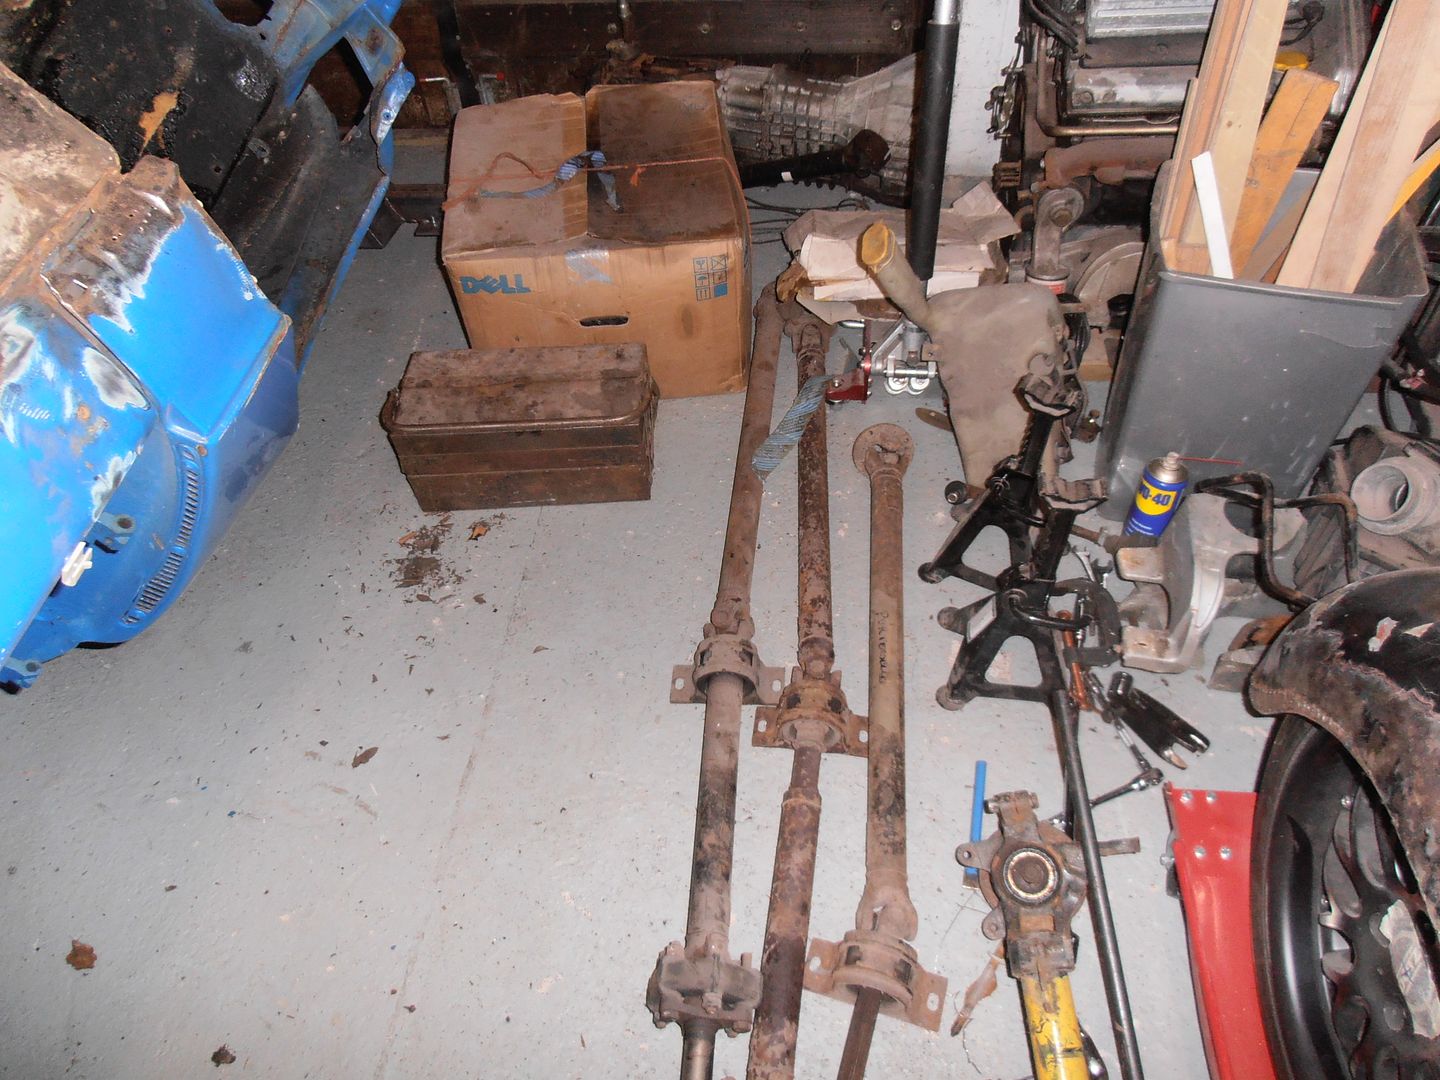 i put all them away on the shelves (which are bowing a bit now....) and flipped the car over so I could prod the other side, which is crusty as i was expecting 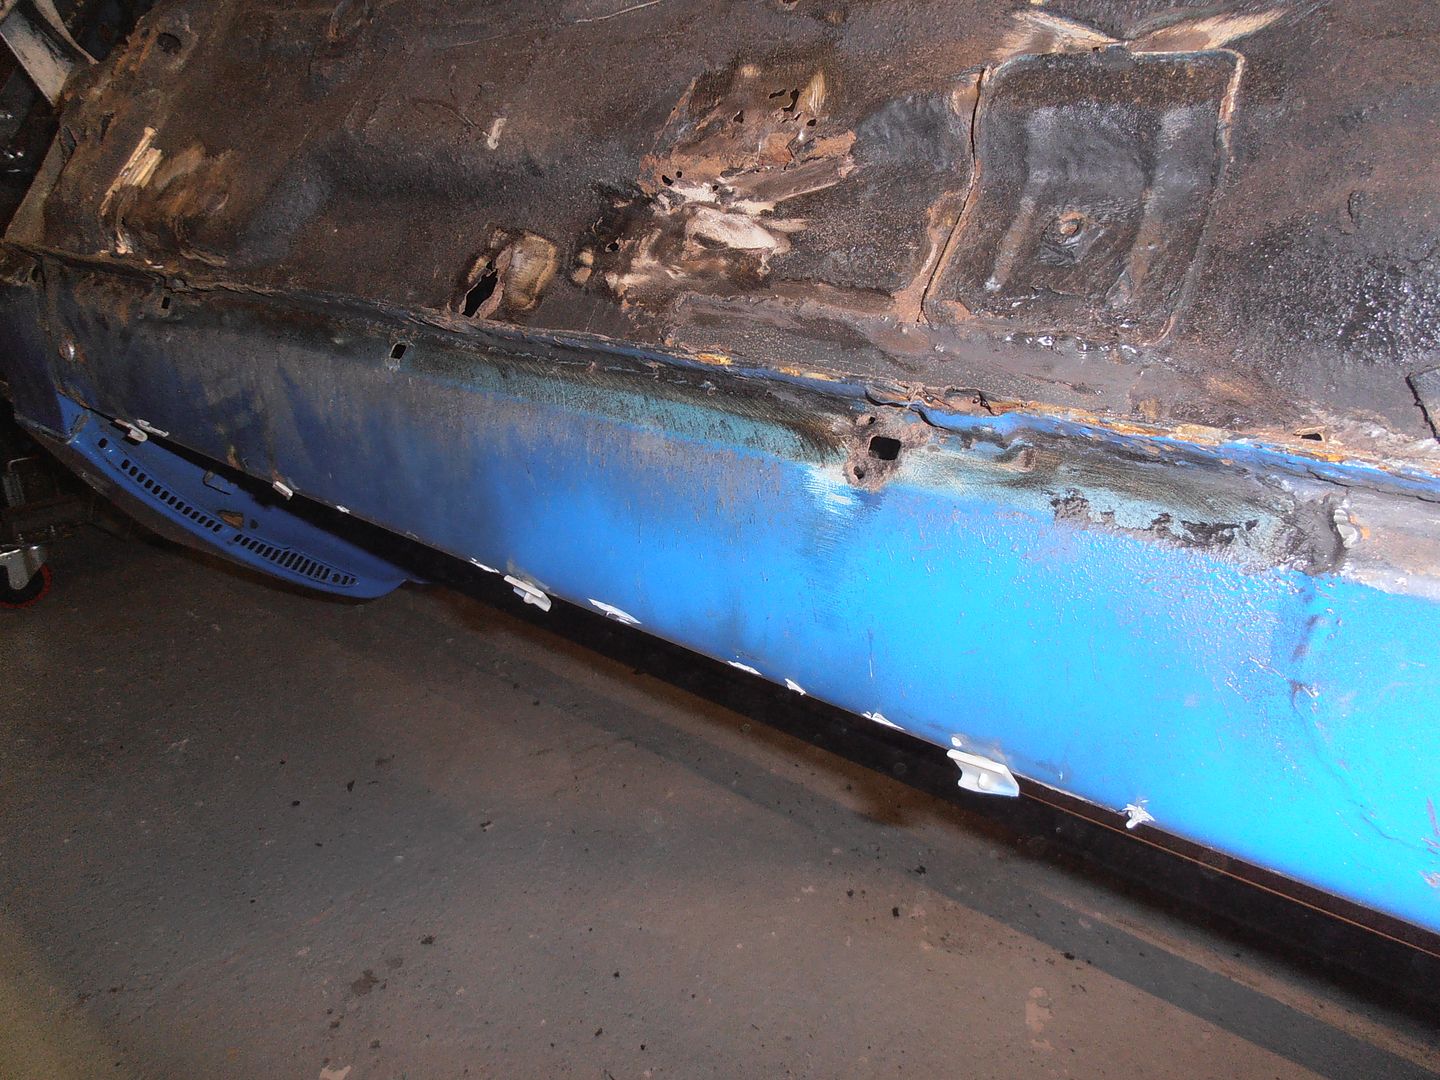 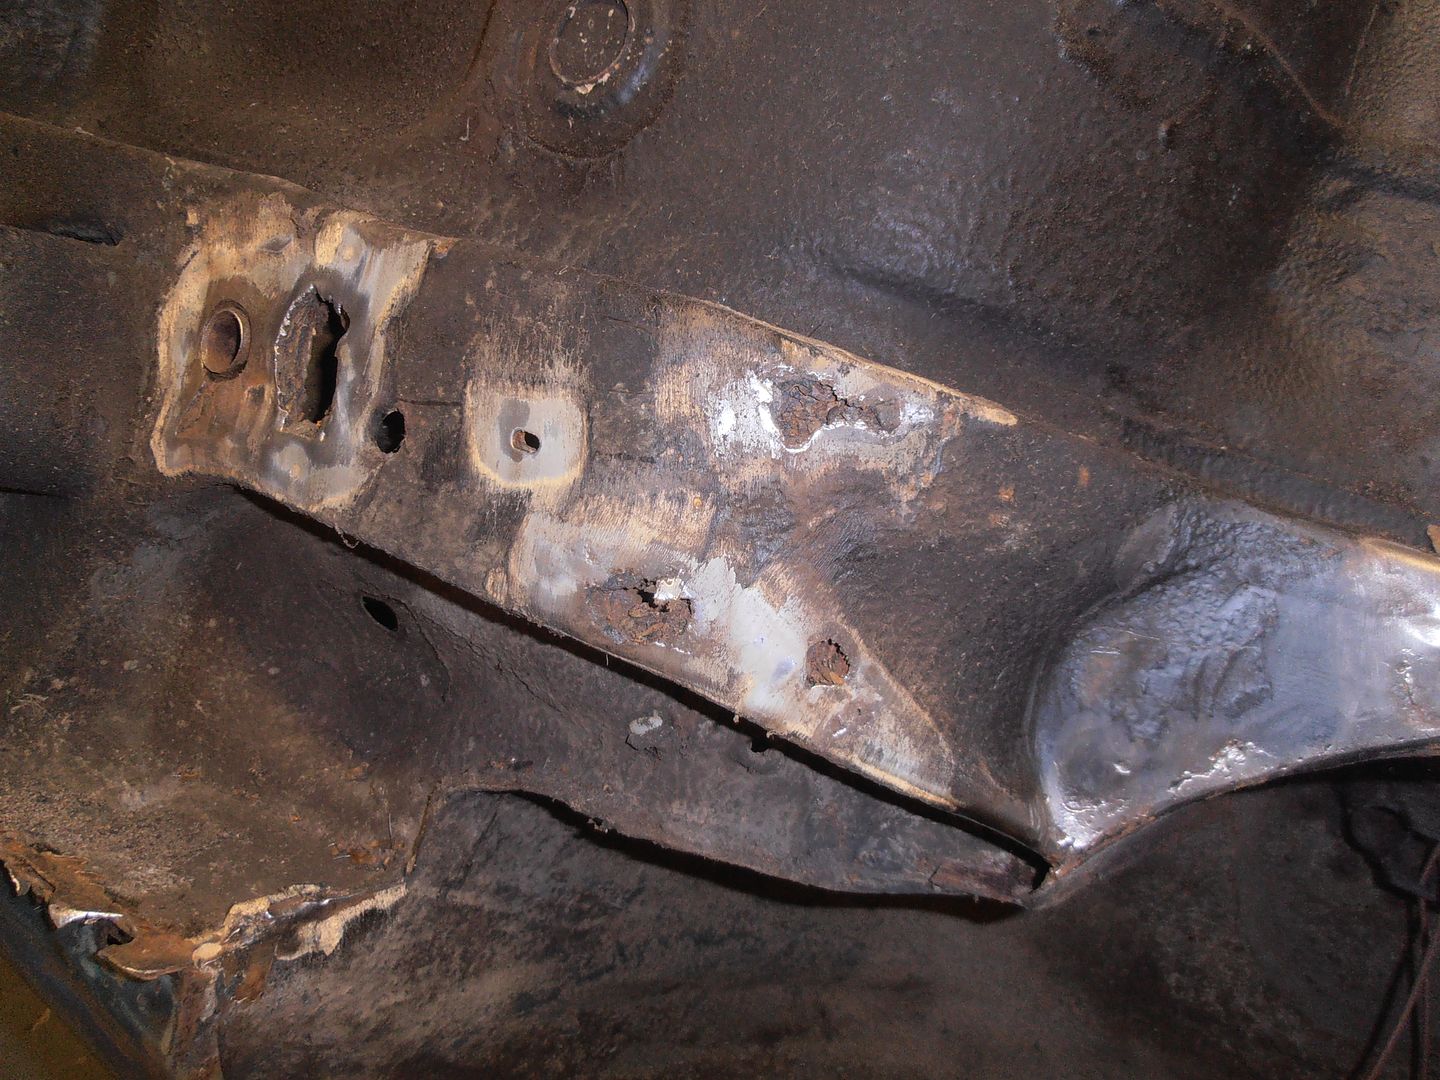 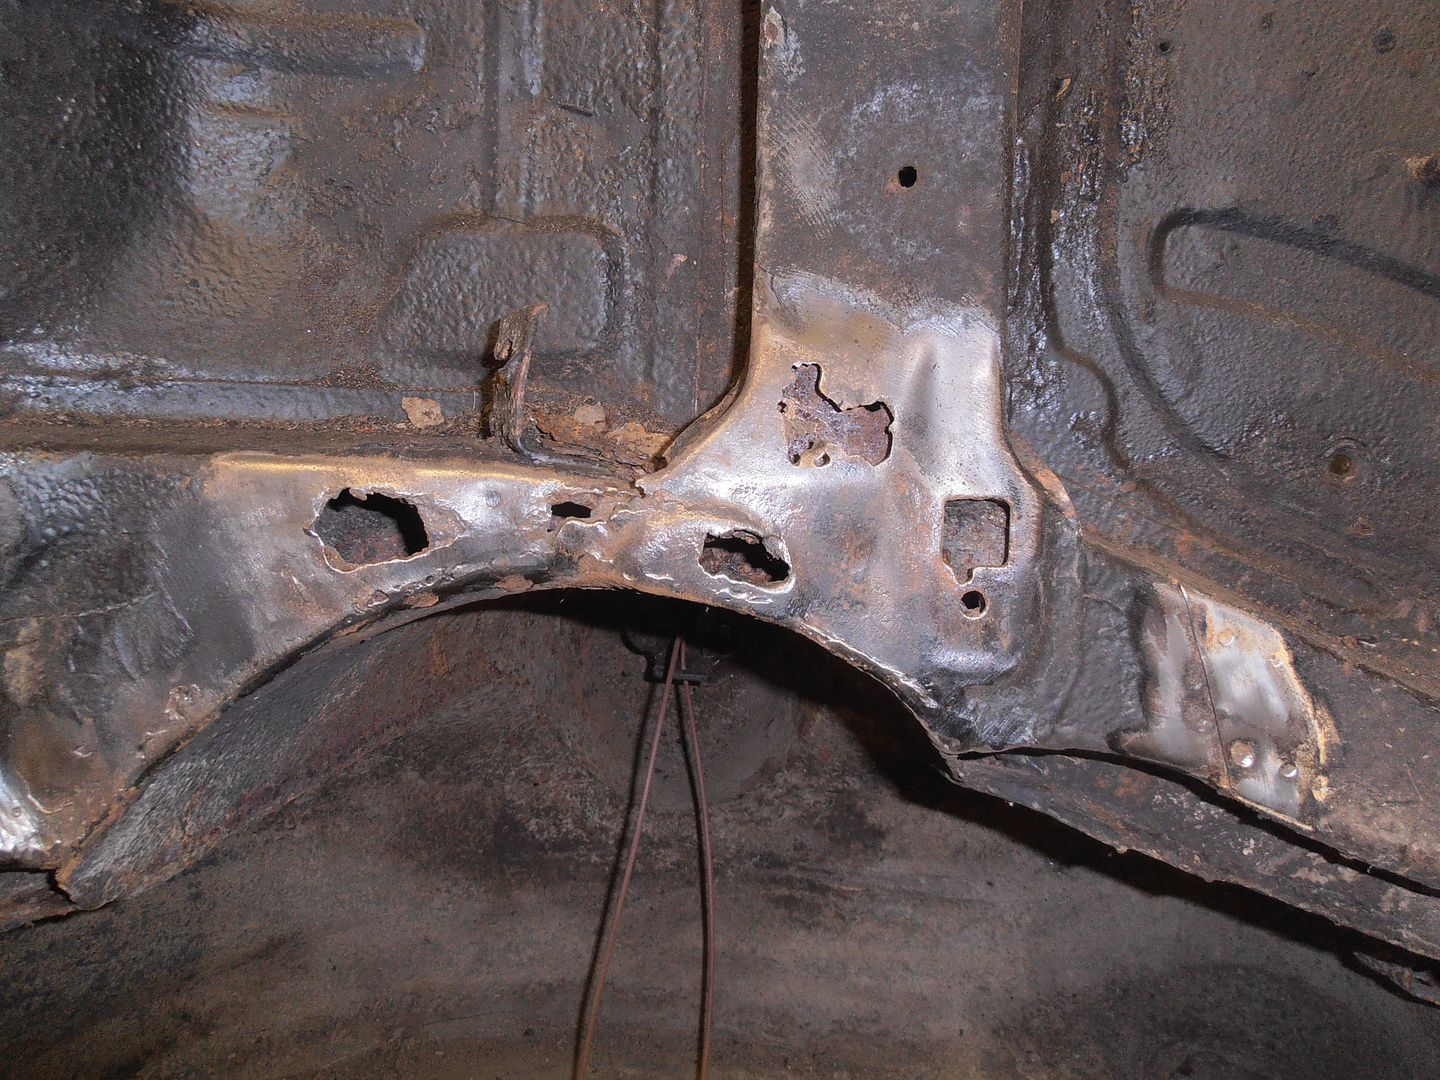 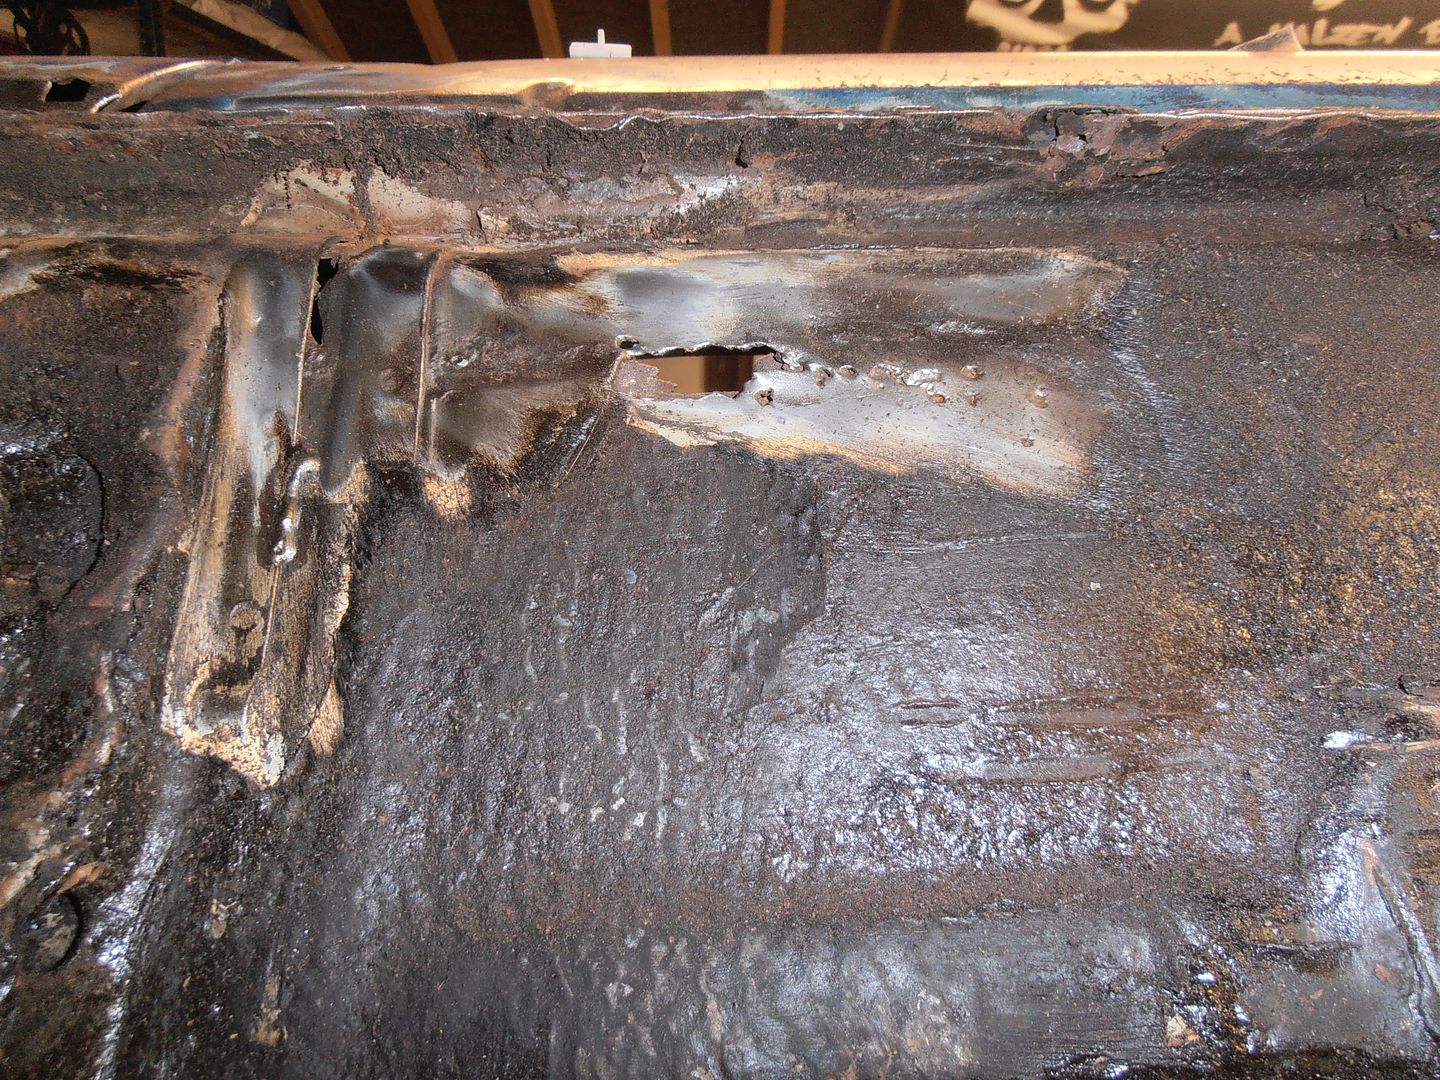 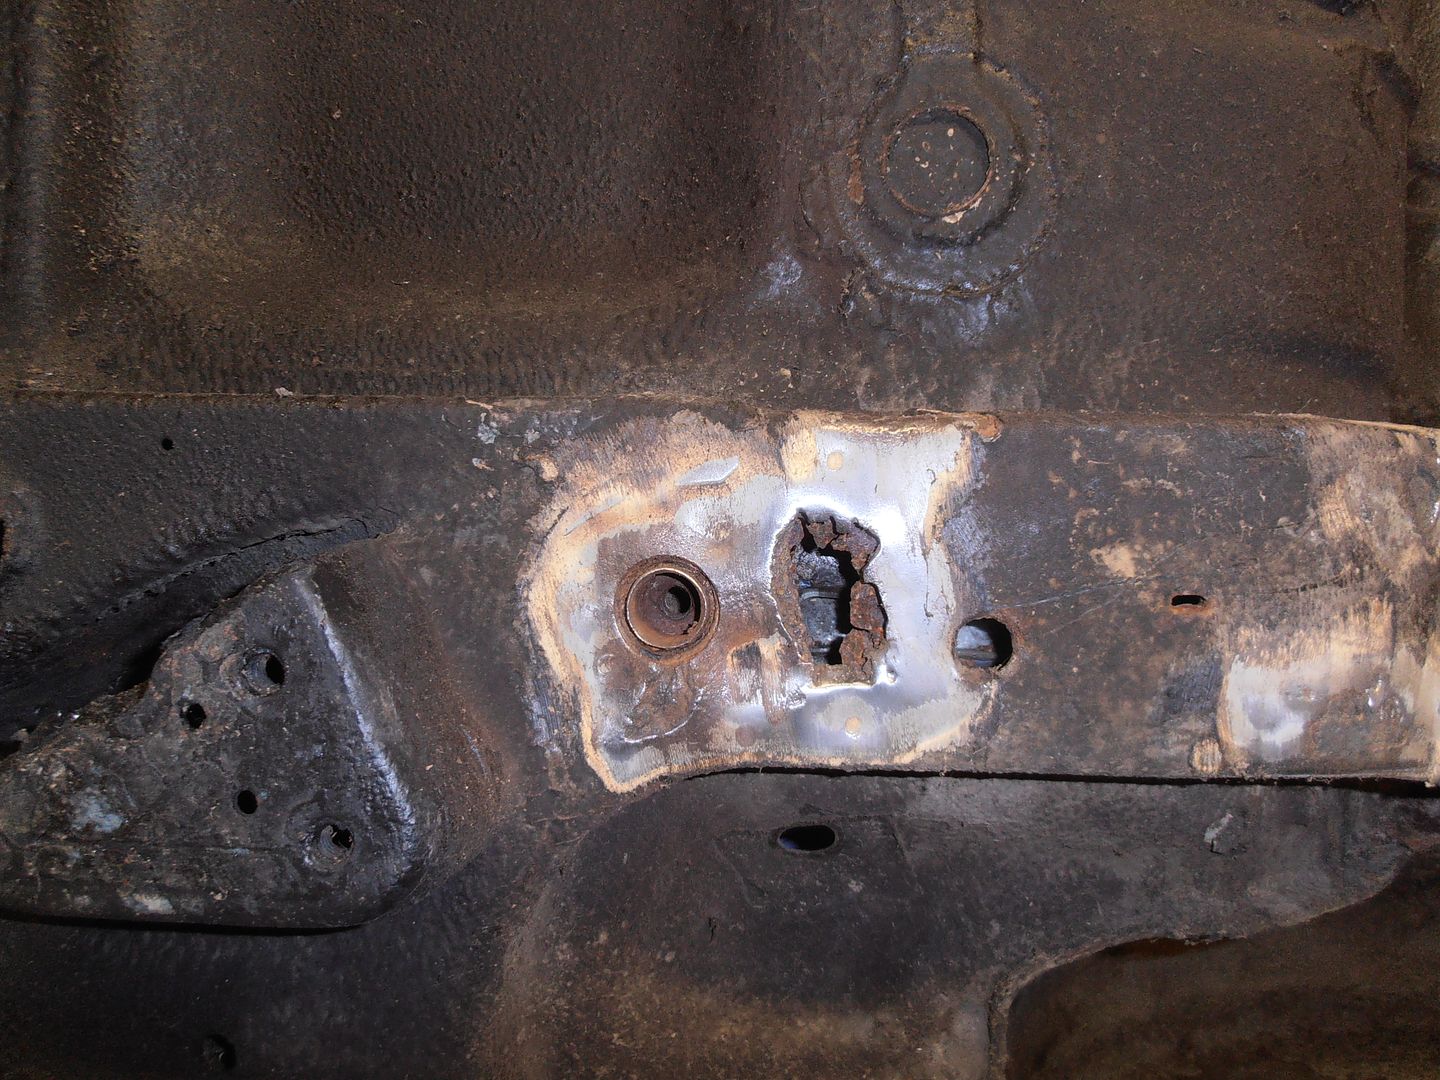 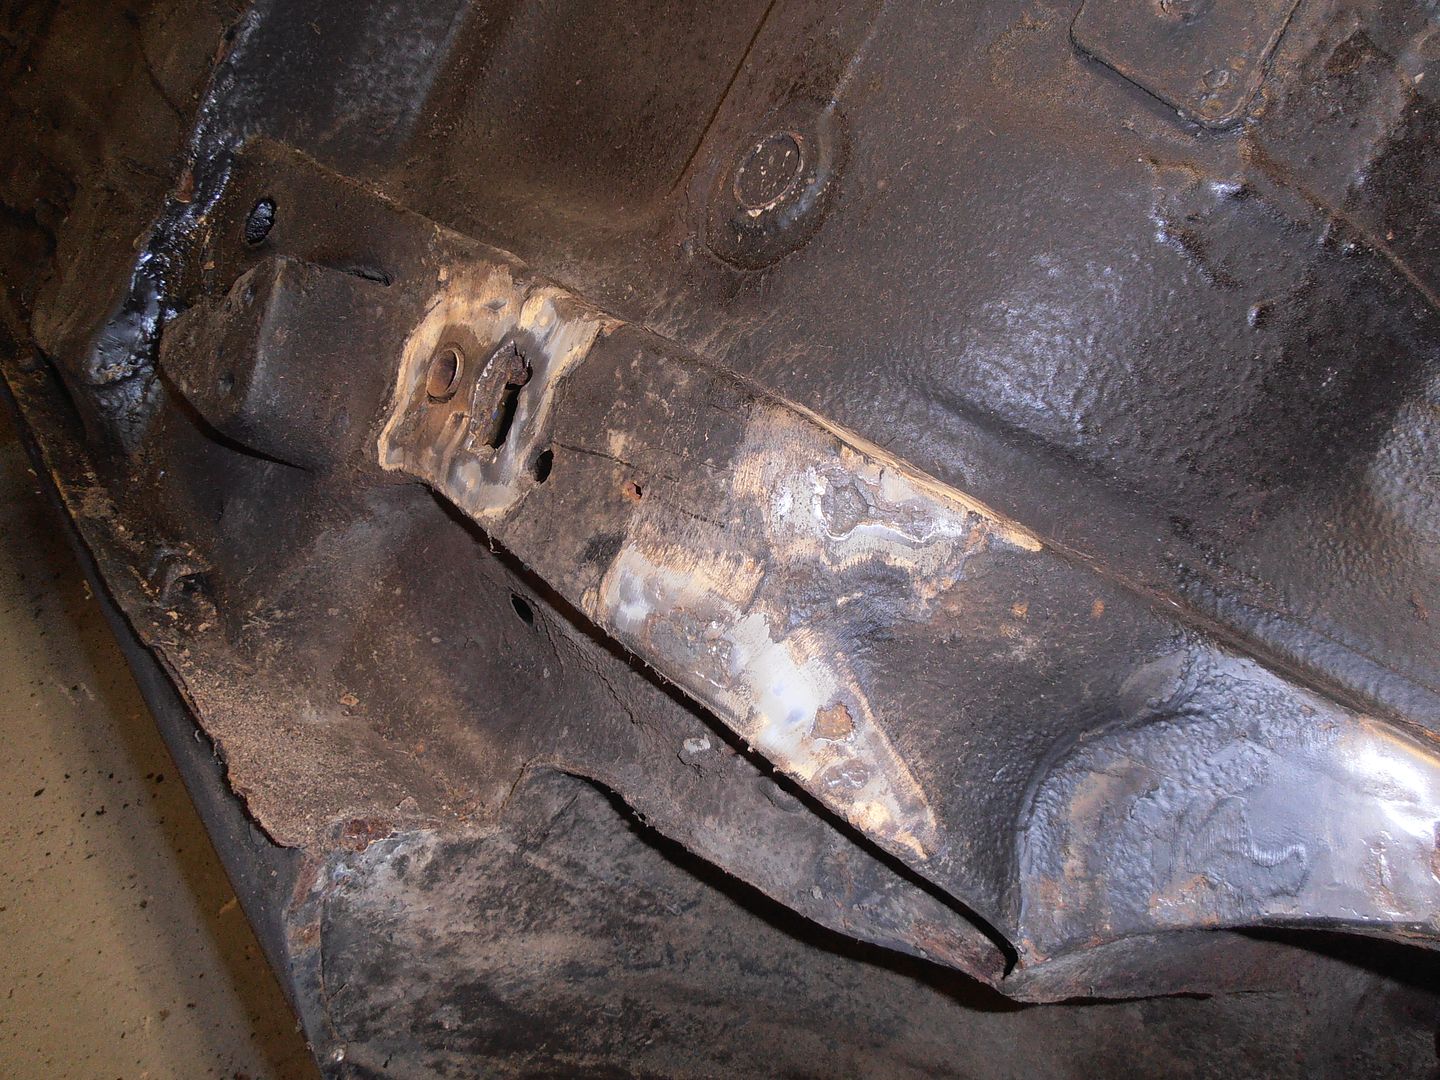 Not pretty but all fixable. A lot of the rust looks to be caused by a lack of suitable protection being applied after the cage and other mods were welded in. The original underseal was removed and nothing don't to protect the metal. It doesnt even look as though paint was applied! I cant understand this myself. Why spend a load of money on getting this done to the shell only to not protect it in some way. Anyways thats the end of the escort for a while. Back to the morris for a bit. |
| |
|
|


