jonomisfit
Club Retro Rides Member
Posts: 1,788
Club RR Member Number: 49
|
|
|
|
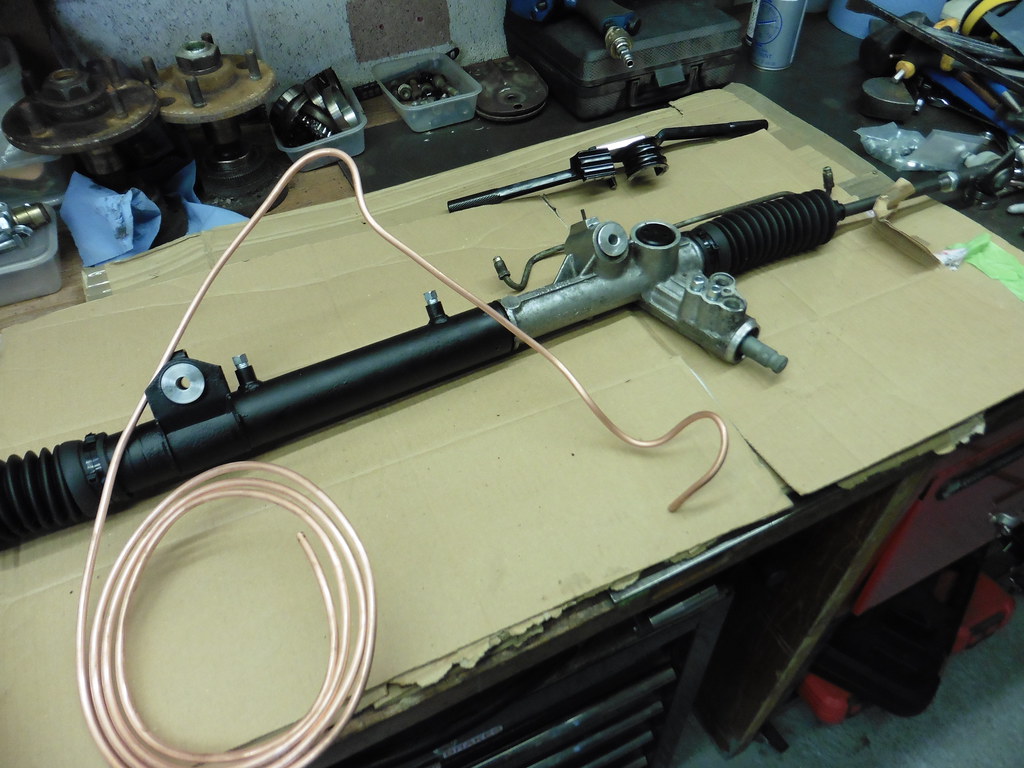
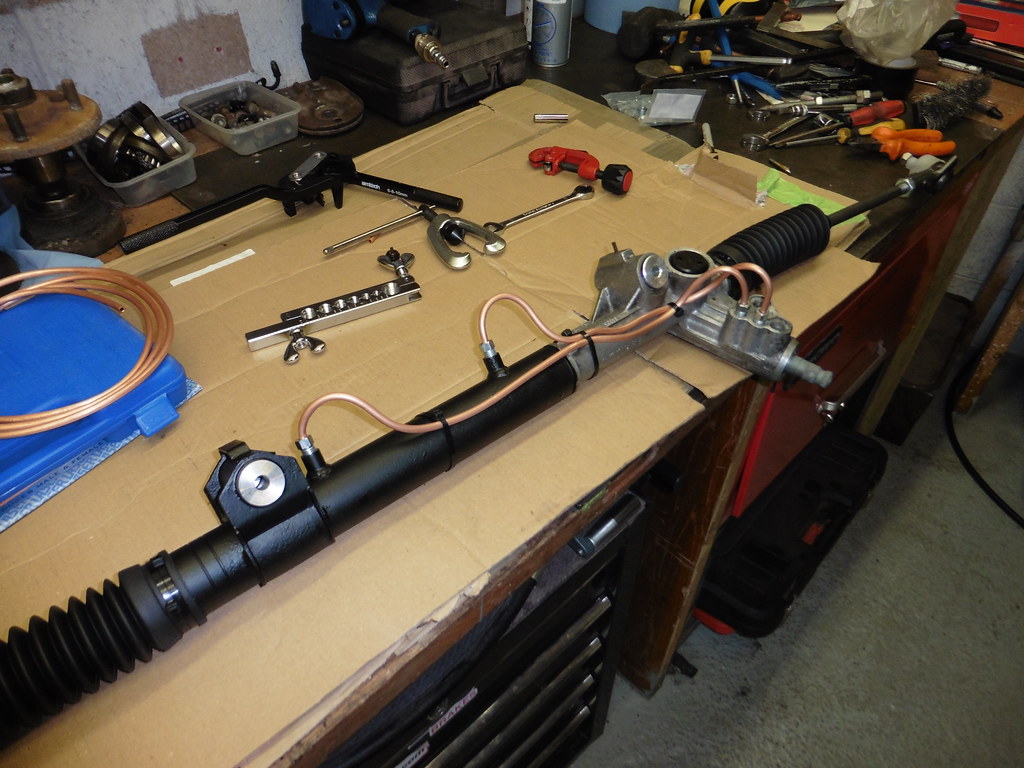
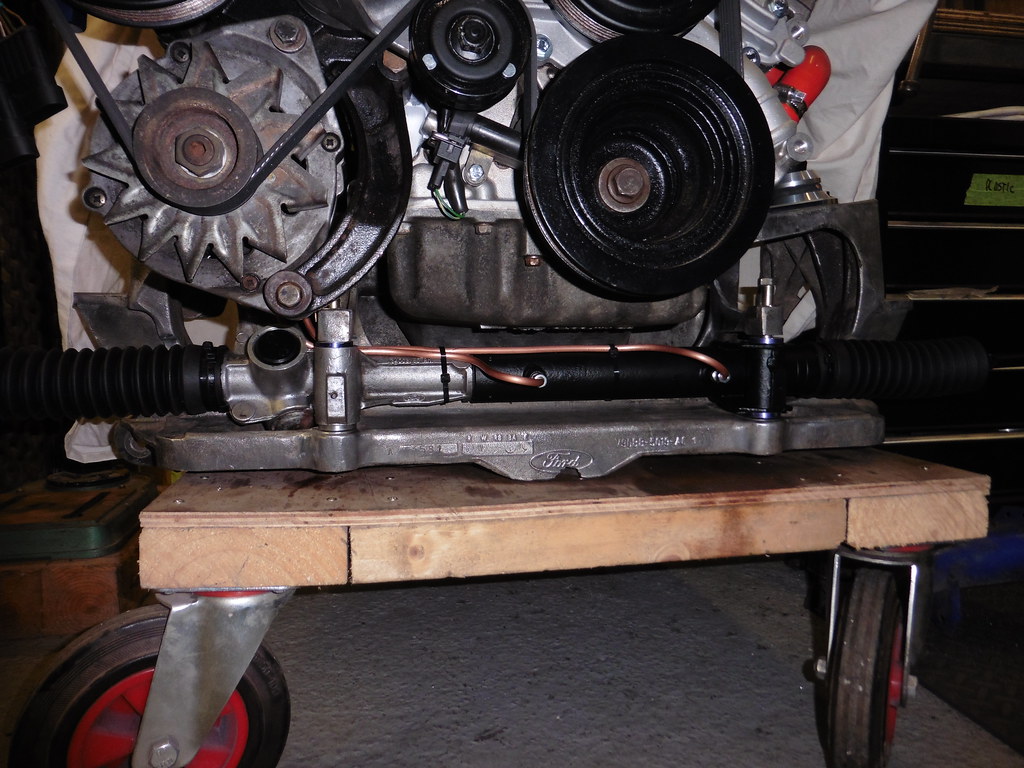
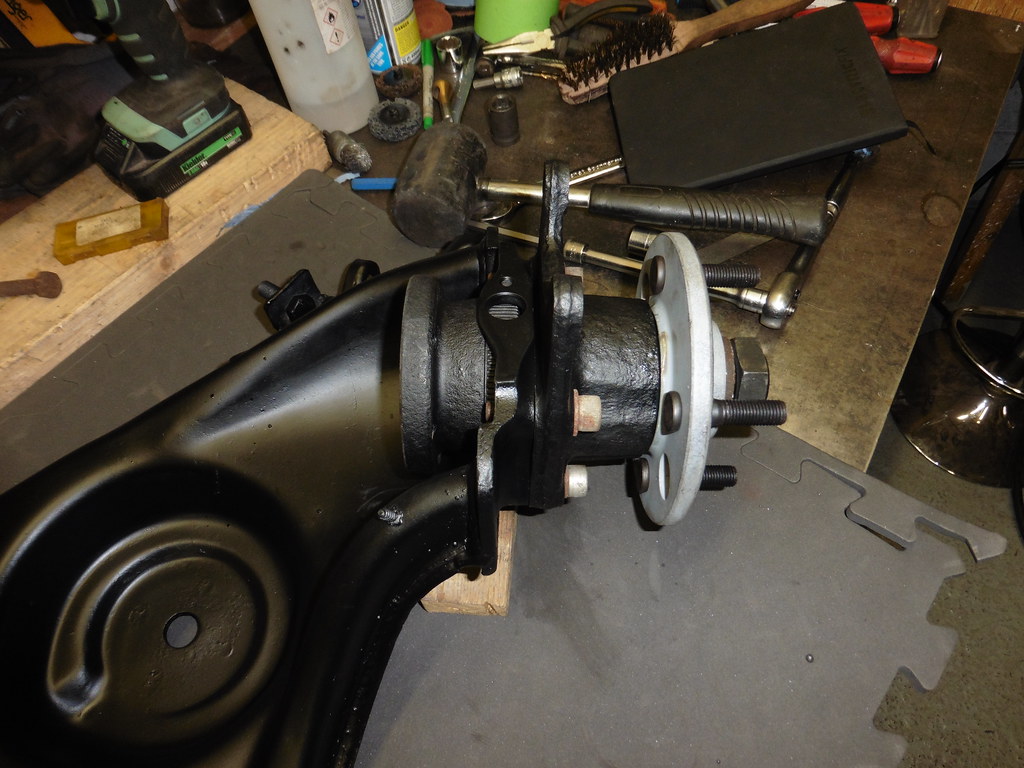
I sealed up the important bits of the rack with rags and duct tape, then gave the steel part of the rack a clean in the blast cabinet  P1070356 P1070356 by jono_misfit, on Flickr  P1070357 P1070357 by jono_misfit, on Flickr i then gave the whole rack a good clean down  P1070358 P1070358 by jono_misfit, on Flickr then cleaned up and resealed the valve block and rack  P1070359 P1070359 by jono_misfit, on Flickr  P1070360 P1070360 by jono_misfit, on Flickr I painted the rack body (zinc primed, then a couple of coats of black) then did a fill in job. aluminium mounts to the lathe I didnt have the 30mm ali bar I needed... only 40mm.... cue a lot of material removal  P1070361 P1070361 by jono_misfit, on Flickr marked up and started trimming to size 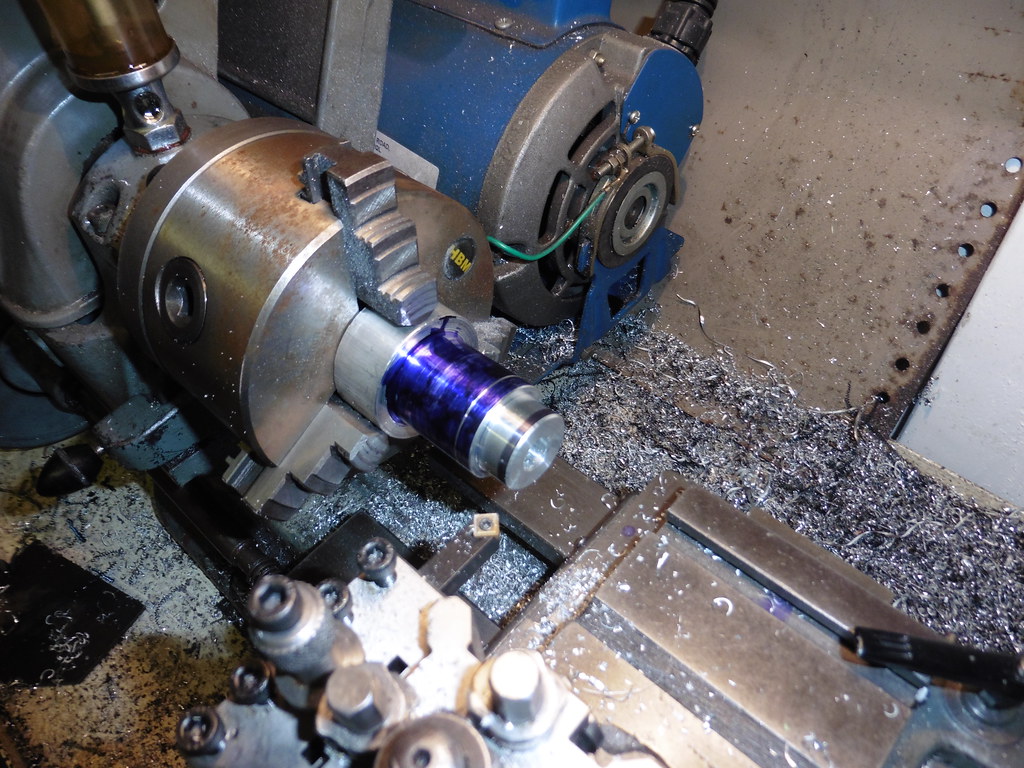 P1070362 P1070362 by jono_misfit, on Flickr turned round, sized the bar and started cutting out the steps (pic shows 2 back to back, and two nose to nose) 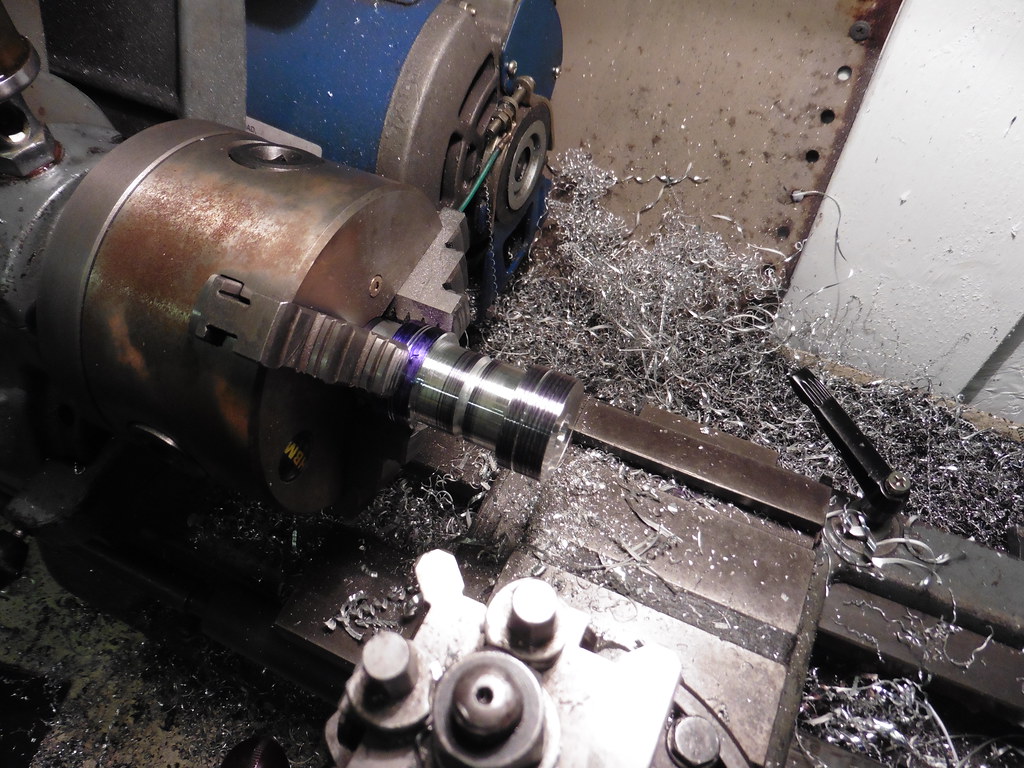 P1070363 P1070363 by jono_misfit, on Flickr 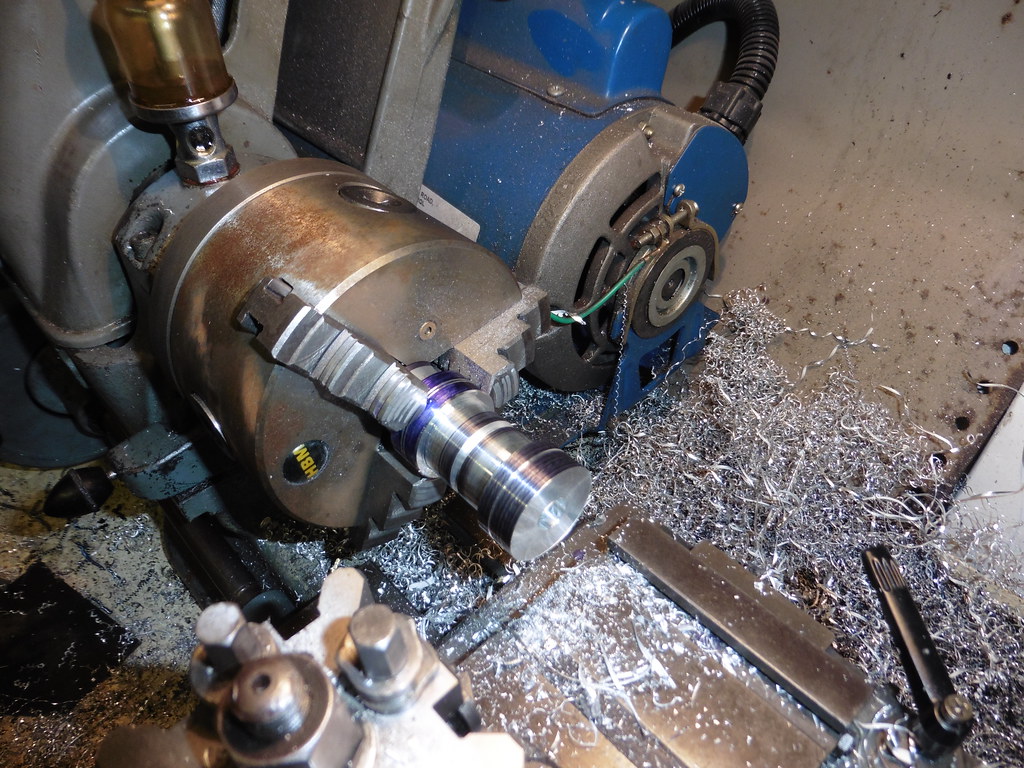 P1070364 P1070364 by jono_misfit, on Flickr end up with these  P1070365 P1070365 by jono_misfit, on Flickr fitted them to the now dry rack body, a light press in with the vice 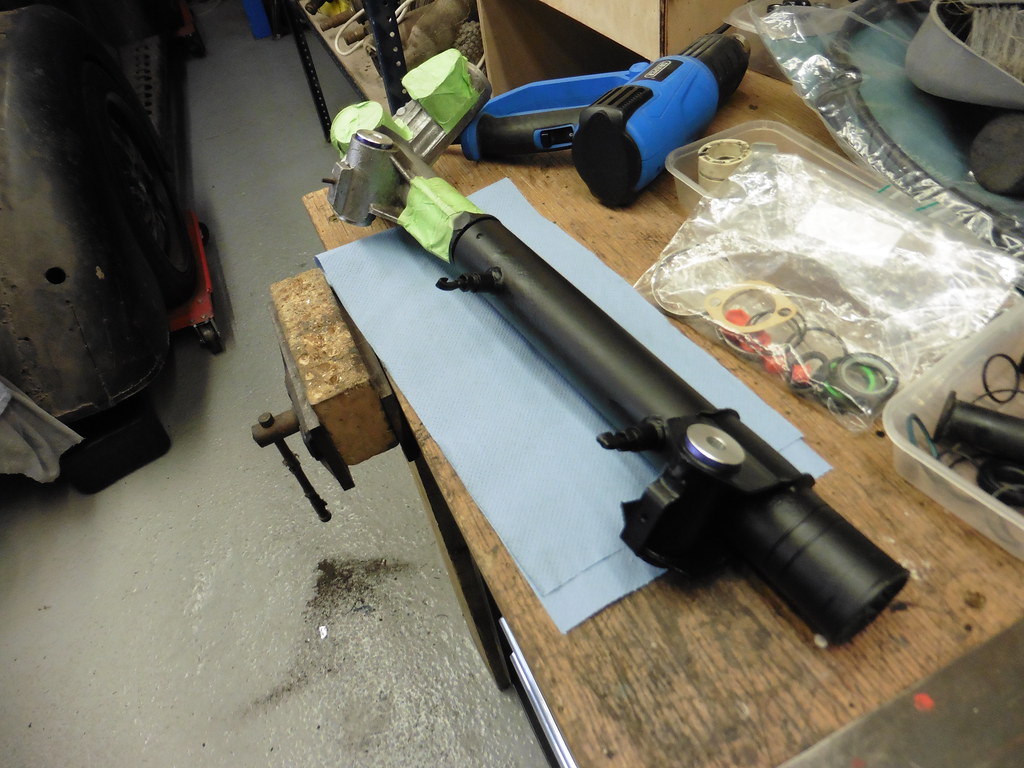 P1070366 P1070366 by jono_misfit, on Flickr  P1070368 P1070368 by jono_misfit, on Flickr I test fitted it to the cross member, which was perfect one side and had a gap the other... A measure of the bushes I pushed out show them to both be the same size... a measure of the cross memeber shows one gap to be 5mm bigger than the other. I shall need to look at this.... Started putting the rack back together. replaced seals and greased the bits as I put it together. Finger crossed i've not pinched any seals as getting the pinion back in was a right pain.  P1070369 P1070369 by jono_misfit, on Flickr The screw in cap to set the pinion rack preload had been cross threaded previously (i think this rack has been rebuilt before) and I couldnt get it to hold the spring down. Back to the lathe and made this. Luckily I had the right set of change gears to get the 1.25mm pitch metric thread.  P1070370 P1070370 by jono_misfit, on Flickr the two holes are for what I'd call a pin drive, which allows you to get a decent shear to turn it in. I used some drill bits and a length of box section with holes in it  P1070371 P1070371 by jono_misfit, on Flickr and screwed in  P1070372 P1070372 by jono_misfit, on Flickr I set it so the rack doesnt move back and forth off the pinion, but still moves freely side to side  P1070372 P1070372 by jono_misfit, on Flickr More rack rebuilding next time. |
| |
|
|
|
|
Enbloc
Part of things
 
Posts: 398
|
|
|
|
|
Nice work.
I've been asked to rebuild a rack, which I've never done before, so this is a good eyes on.
|
| |
|
|
jonomisfit
Club Retro Rides Member
Posts: 1,788
Club RR Member Number: 49
|
|
|
|
We'll find out how well i've done it when i've put oil through it It it comes back out again the answer will be not very well  |
| |
|
|
jonomisfit
Club Retro Rides Member
Posts: 1,788
Club RR Member Number: 49
|
|
Feb 10, 2023 21:39:18 GMT
|
My dad had a rummage round in his sheds and found 6 different starter motors of 4 different types... After a bit of an internet search I think i found the right part number which one of the starters had on it... He posted it down A comparison  P1070373 P1070373 by jono_misfit, on Flickr The perspective in the image is misleading as its only 5mm shorter than the one I have.  P1070373 P1070373 by jono_misfit, on Flickr I stripped it down and cleaned up the internals  P1070374 P1070374 by jono_misfit, on Flickr rebuilding  P1070375 P1070375 by jono_misfit, on Flickr and built back up  P1070376 P1070376 by jono_misfit, on Flickr I connected it up to the little tester battery (and then recharged the battery as it was flat....) and checked the solenoid throws and the motor spins ok. Which it did. So sanded it and painted it  P1070379 P1070379 by jono_misfit, on Flickr  P1070380 P1070380 by jono_misfit, on Flickr and ready to fit  P1070381 P1070381 by jono_misfit, on Flickr and fitted  P1070382 P1070382 by jono_misfit, on Flickr 5mm length difference on the starter doesnt sound like much, but you can see how tight it all is round here. The starter is 5mm shorter, and the tube that carries the nearside drive cross sump shaft has a clearance notch in it, and it only just get in there  P1070383 P1070383 by jono_misfit, on Flickr I had a spare 10 mins, so took a look at the heat shielding again. The exhaust pipes are going to run very close to the chassis legs so have extended the shielding  P1070384 P1070384 by jono_misfit, on Flickr  P1070385 P1070385 by jono_misfit, on Flickr |
| |
|
|
jonomisfit
Club Retro Rides Member
Posts: 1,788
Club RR Member Number: 49
|
|
Feb 12, 2023 20:55:27 GMT
|
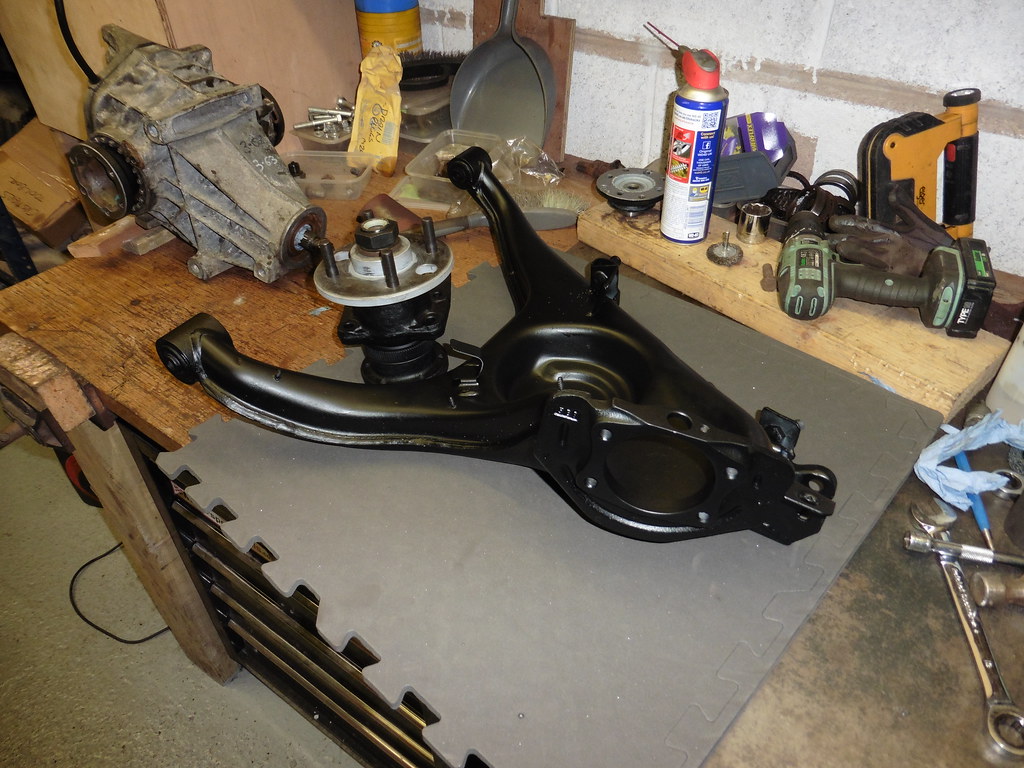
I saw my backside with the state of the workshop, so spent some time tidying, sweaping up, and a tip trip to get rid of some junk. Not perfect, but better than it was  P1070386 P1070386 by jono_misfit, on Flickr 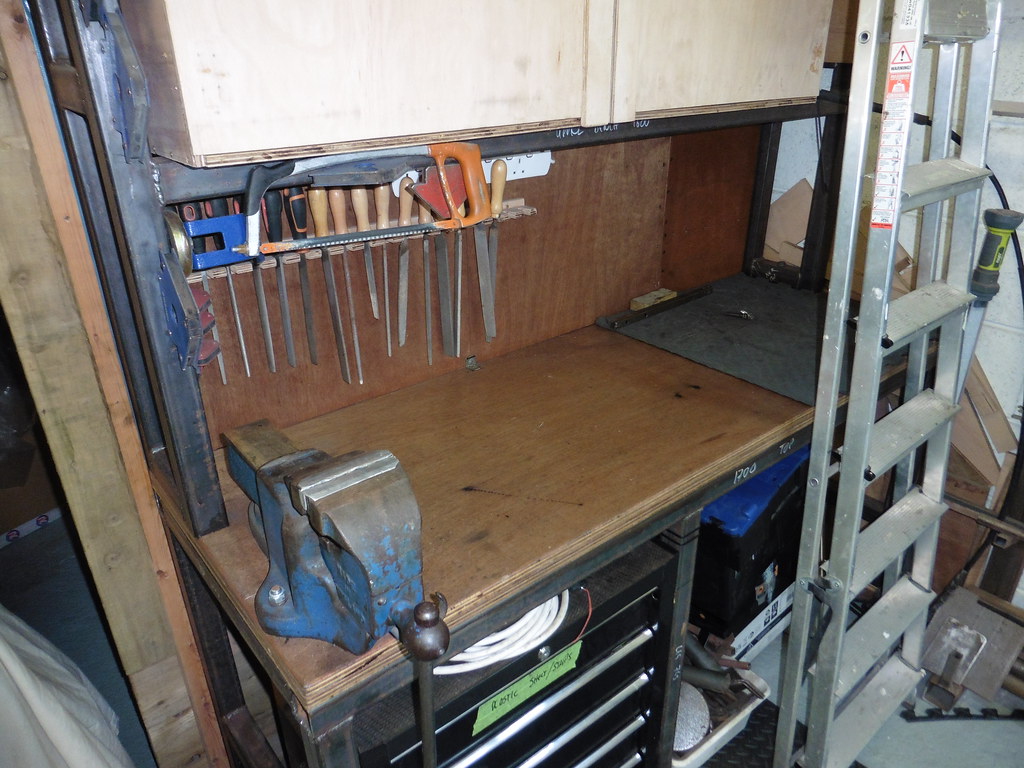 P1070387 P1070387 by jono_misfit, on Flickr  P1070388 P1070388 by jono_misfit, on Flickr and was embarrased by the state of the lathe, so gave that a clean up as well. 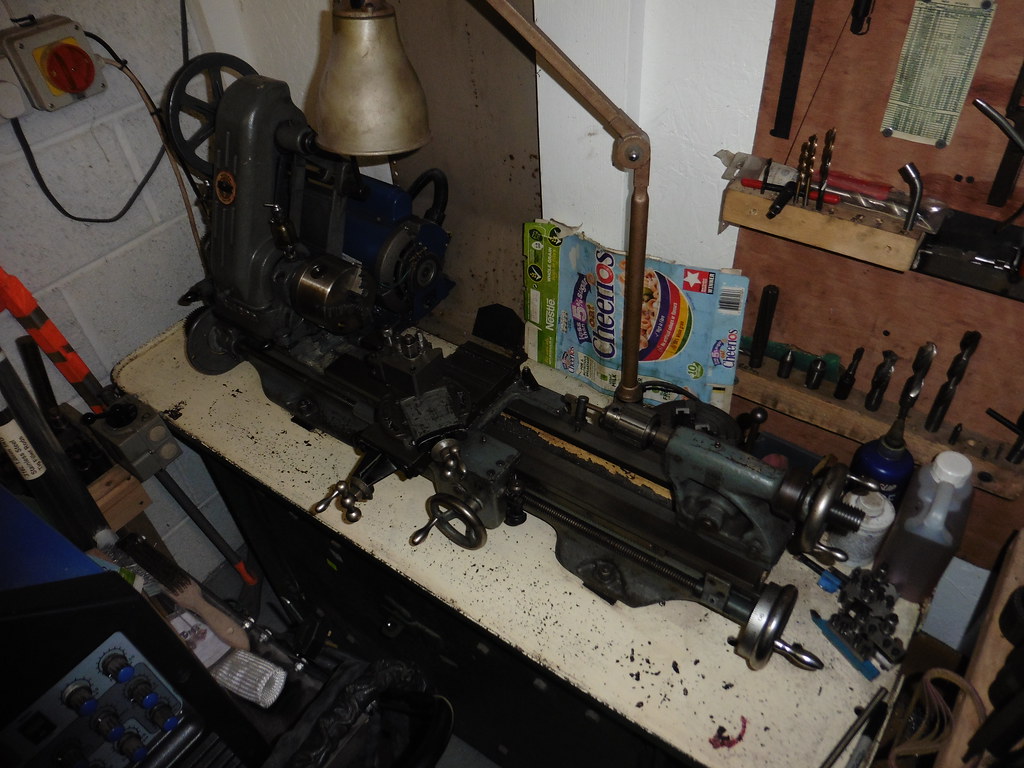 P1070389 P1070389 by jono_misfit, on Flickr I'm still waiting for some flare fittings and tube to arrive so I can finish off the steering rack, so made a quick list of some of the major jobs to do on the escort.... there are quite a few.  P1070390 P1070390 by jono_misfit, on Flickr first one picked from the list.... rear suspension 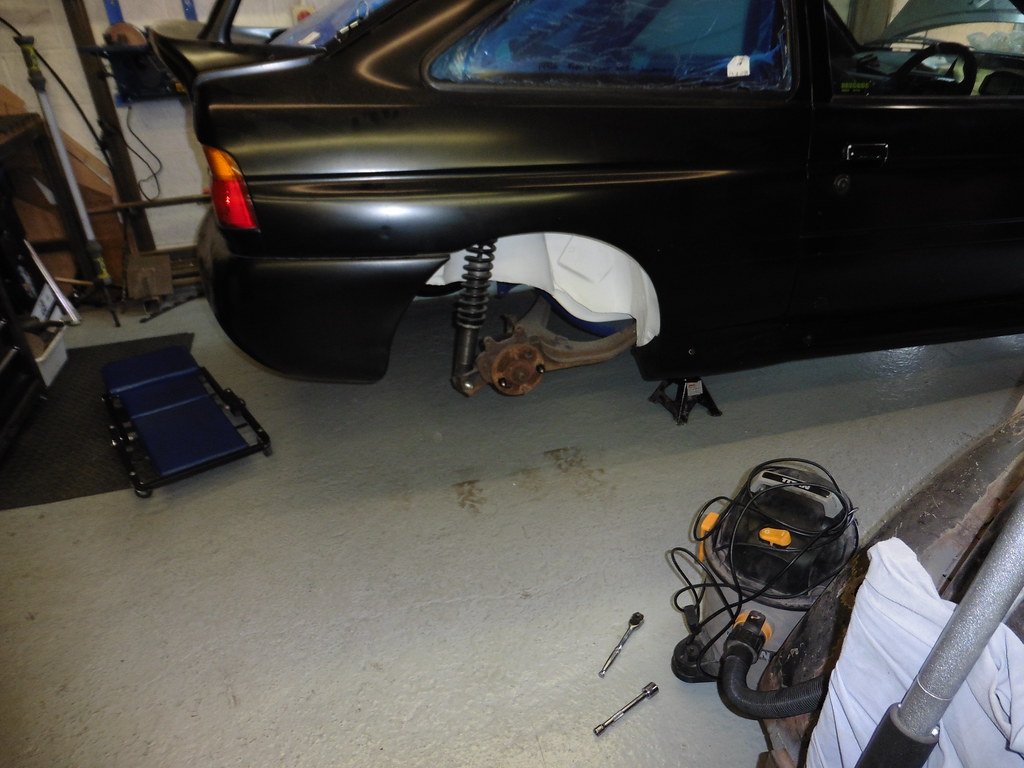 P1070391 P1070391 by jono_misfit, on Flickr damper out 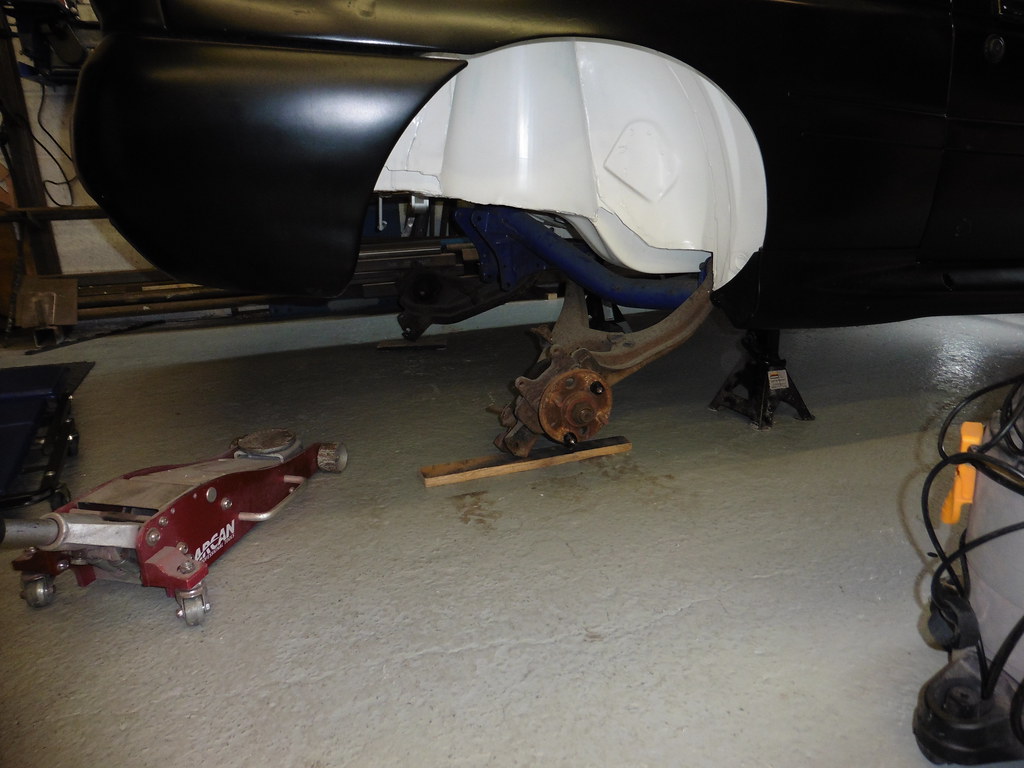 P1070392 P1070392 by jono_misfit, on Flickr beam dropped  P1070393 P1070393 by jono_misfit, on Flickr there isnt much in the back end...  P1070394 P1070394 by jono_misfit, on Flickr start stripping down the arms (my camera is on its way out as its constanly out of focus in half the pictures....)  P1070395 P1070395 by jono_misfit, on Flickr I could get the nut off one of the hubs, but despite full pelt with the imapct driver, and a good yank with the extension bar (plus extender tube) i couldnt get it to budge. I've put it asside to take to local garage tomorrow to see if they can get it! stripped the one I could get the nut off and put in the blast cabinet for a light tickle. The ends are duct taped up as they are spherical bearings in the end of cosworth arms, not bushes, and as they are in OK condition I don't want to junk them. I want to change to a 6degree rear beam in the future which uses rod ends not these bushes. As the bearings are £95 each I'd like to can avoid buy new ones if I can as it'll be wasted money. 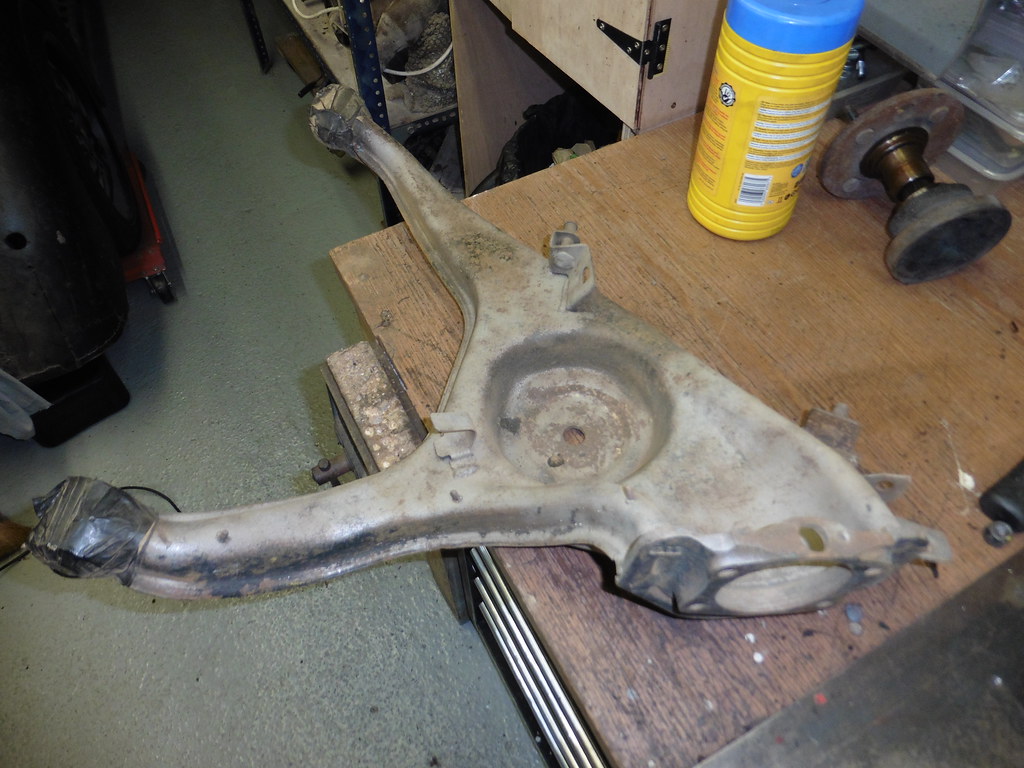 P1070396 P1070396 by jono_misfit, on Flickr cleaned up a few other bits  P1070397 P1070397 by jono_misfit, on Flickr The hub carrier bearings are toasted... but as there's loads of grease in there I taped over them so prevent the blast media getting contaminated. the arms need a few mods. First one is this relief cut. I'm running group A rear dampers which are intended for use in the mag rear arms. The damper mount for which are much shallower  P1070398 P1070398 by jono_misfit, on Flickr but using them on standard beams causes this issue on droop 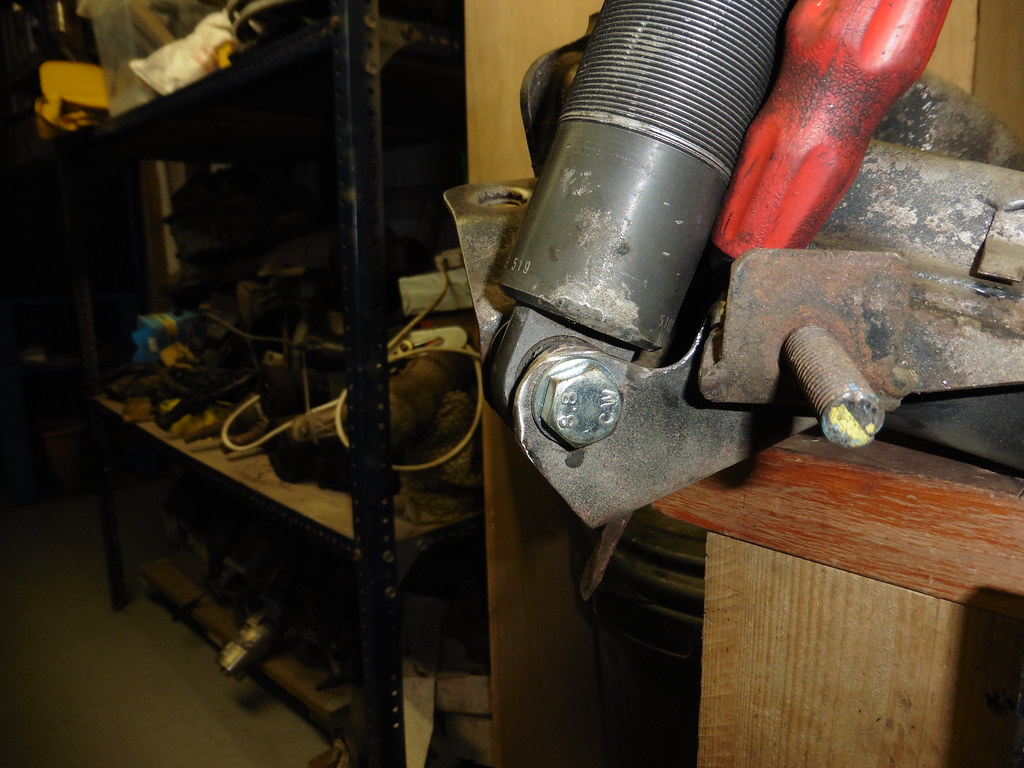 P1070399 P1070399 by jono_misfit, on Flickr the damper body wedges on the arm, so I've trimmed clearance.  P1070400 P1070400 by jono_misfit, on Flickr Tigged on a new flange  P1070401 P1070401 by jono_misfit, on Flickr  P1070402 P1070402 by jono_misfit, on Flickr Just... and I mean just.... enough space to get a socket on The bracket with the bolt is bent, so I need to straighten it to finish the flange..... and work out what its for.... The roll bar mount is further forward on the arm. I think it might be for the group A anti roll bar. But its not clear.  P1070403 P1070403 by jono_misfit, on Flickr 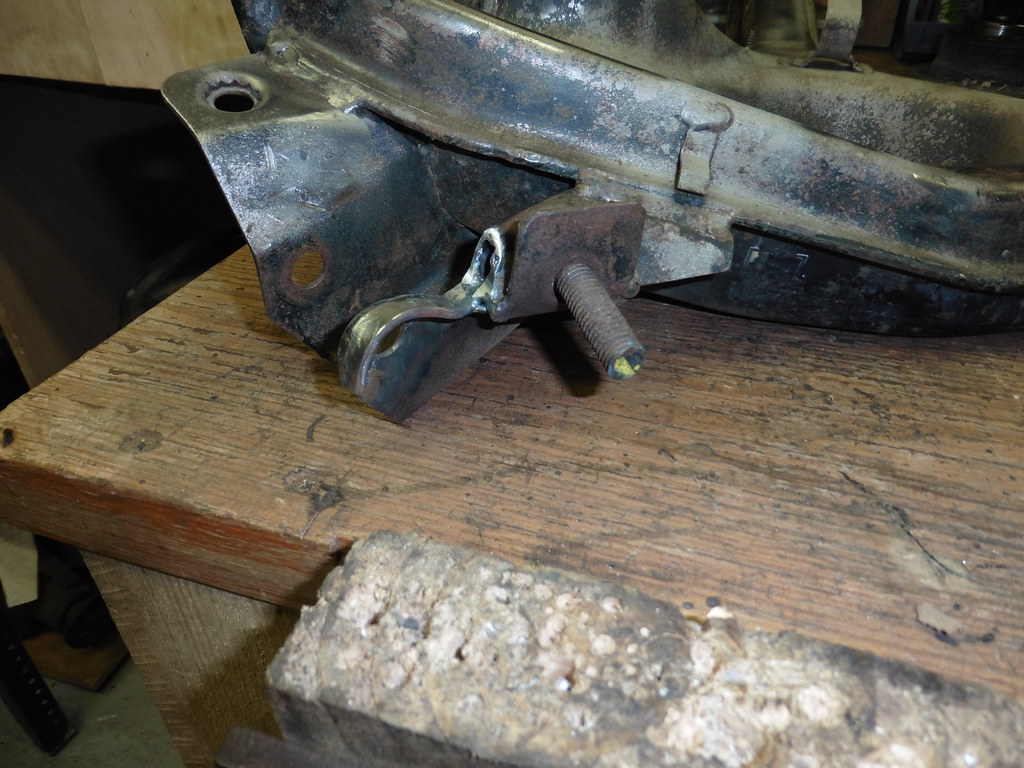 P1070404 P1070404 by jono_misfit, on Flickr The problem with coil over dampers on the rear is it shifts load to a relatively week point on the arm. Looking at some pics online the 6 degree beam rear arms get a reinforcing plate under the existing bracket, same with the strngthened arms for rallying. go here  P1070405 P1070405 by jono_misfit, on Flickr some box  P1070406 P1070406 by jono_misfit, on Flickr a bit of trimming 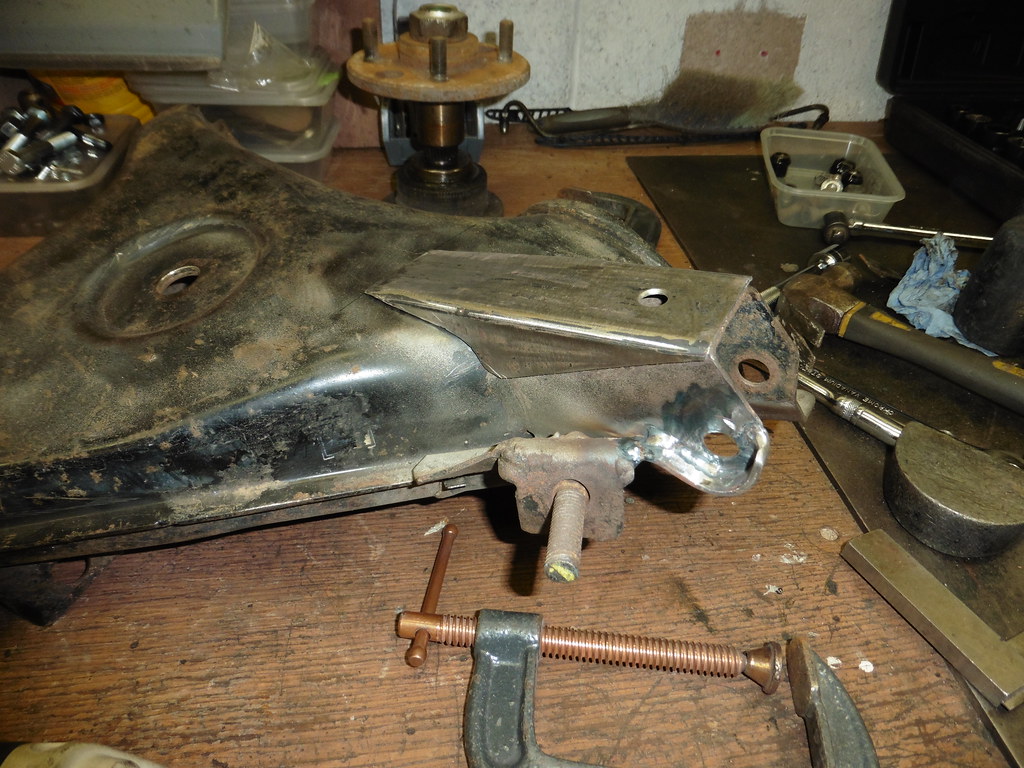 P1070407 P1070407 by jono_misfit, on Flickr 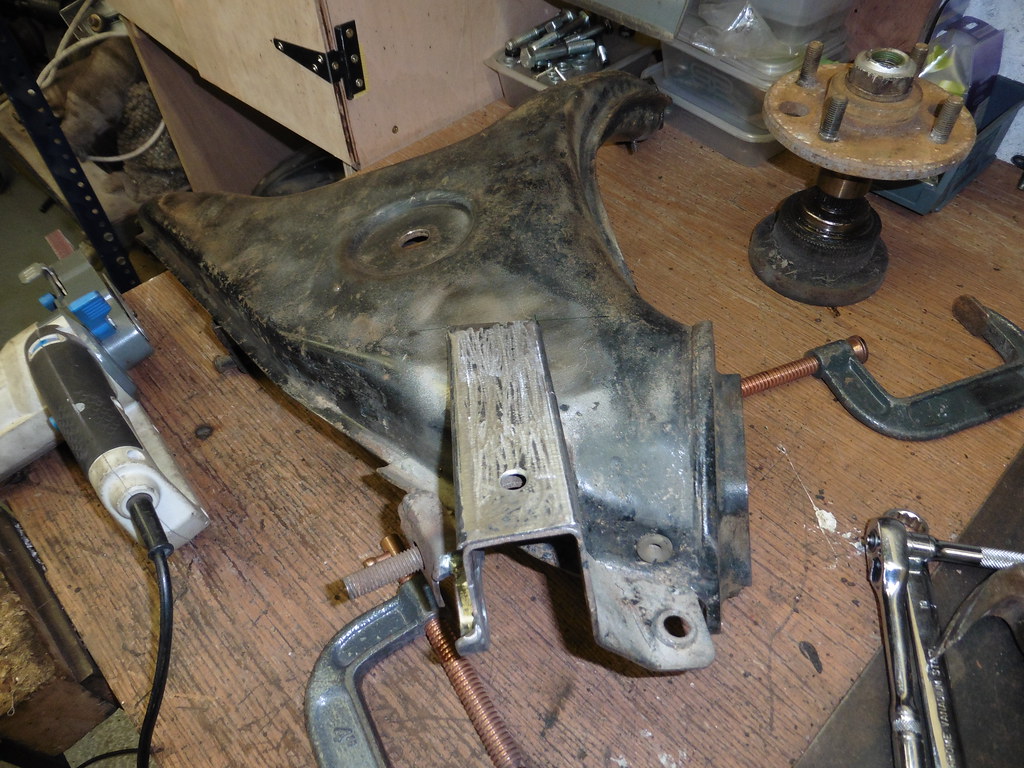 P1070408 P1070408 by jono_misfit, on Flickr ready for a clean up and weld on  P1070409 P1070409 by jono_misfit, on Flickr |
| |
Last Edit: Feb 12, 2023 21:09:04 GMT by jonomisfit
|
|
jonomisfit
Club Retro Rides Member
Posts: 1,788
Club RR Member Number: 49
|
|
Feb 14, 2023 21:26:20 GMT
|
I fettled the brackets a bit more then welded them in 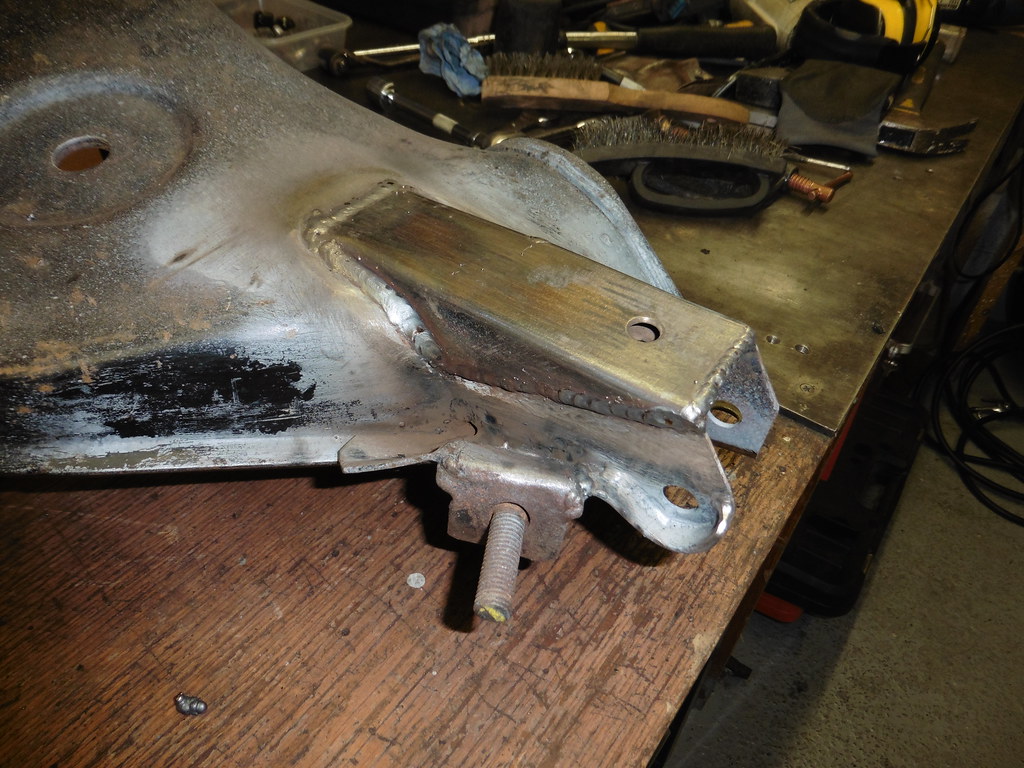 P1070410 P1070410 by jono_misfit, on Flickr 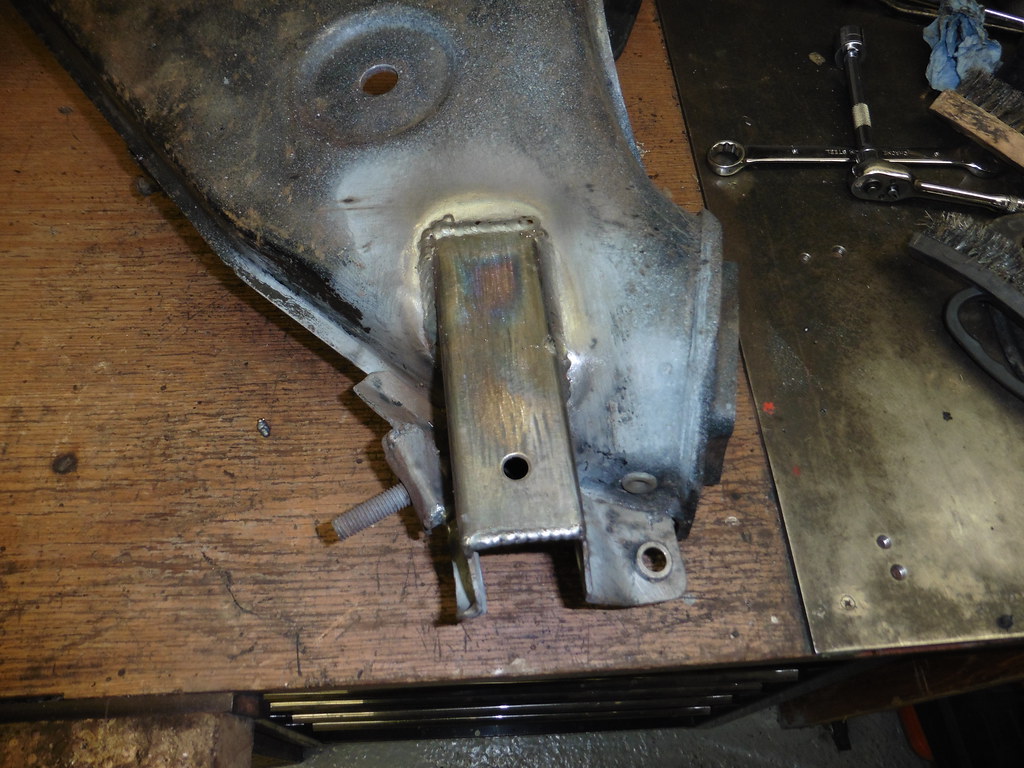 P1070411 P1070411 by jono_misfit, on Flickr 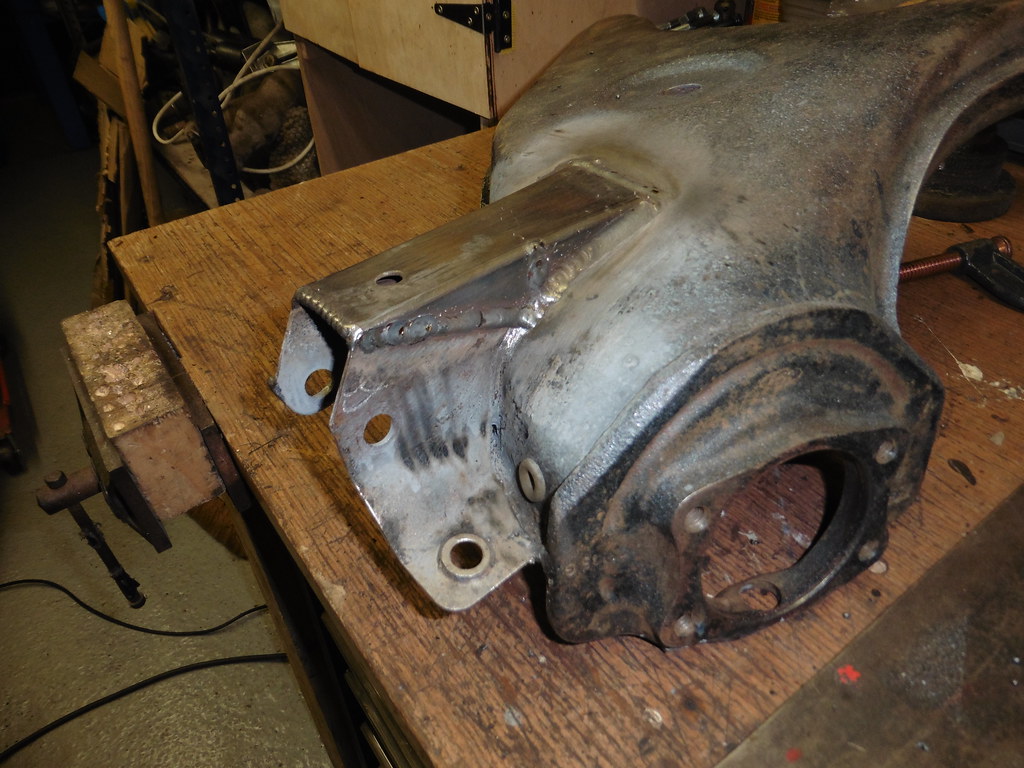 P1070412 P1070412 by jono_misfit, on Flickr Should add a fair bit of strength to rear damper mount  P1070413 P1070413 by jono_misfit, on Flickr I knocked out the bearing on the rear bearing carrier  P1070414 P1070414 by jono_misfit, on Flickr 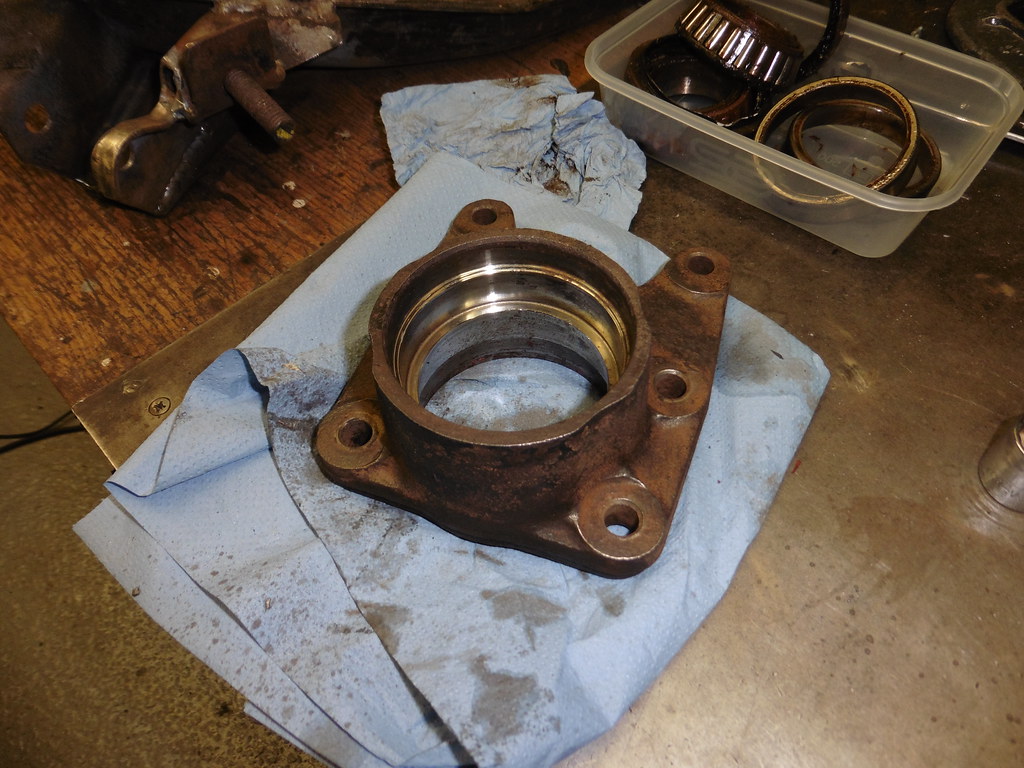 P1070415 P1070415 by jono_misfit, on Flickr Its in OK condition. A few marks where it bearings havent been knocked out well in the past, but should be useable bearings feel ok and look in not bad condition  P1070416 P1070416 by jono_misfit, on Flickr the shells look fairly clean too  P1070417 P1070417 by jono_misfit, on Flickr appart from that.... that doesnt look good....  P1070419 P1070419 by jono_misfit, on Flickr I have new bearings though. The other arm is with the local garage to try and get the nut undone. |
| |
|
|
mk2cossie
Club Retro Rides Member
Posts: 3,059  Club RR Member Number: 77
|
|
Feb 14, 2023 22:19:54 GMT
|
Always good to see a nicely welded gusset...bracket  Certainly looks strong enough to last a forest stage 👍 |
| |
|
|
jonomisfit
Club Retro Rides Member
Posts: 1,788
Club RR Member Number: 49
|
|
Feb 14, 2023 22:30:02 GMT
|
|
And will also hopefully survive the terrible country roads round where i live. I think most forrestry roads are smoother and have less pot holes.
|
| |
|
|
jonomisfit
Club Retro Rides Member
Posts: 1,788
Club RR Member Number: 49
|
|
Feb 17, 2023 20:26:34 GMT
|
The local garage got the nut off for me in about 5 seconds. a little light pull got the hub out  P1070420 P1070420 by jono_misfit, on Flickr but this pulled out with it  P1070421 P1070421 by jono_misfit, on Flickr  P1070422 P1070422 by jono_misfit, on Flickr Which may explain why this bearing was rumbling.... knocked the bearing shells out and put the housing through the blast cabinet  P1070423 P1070423 by jono_misfit, on Flickr 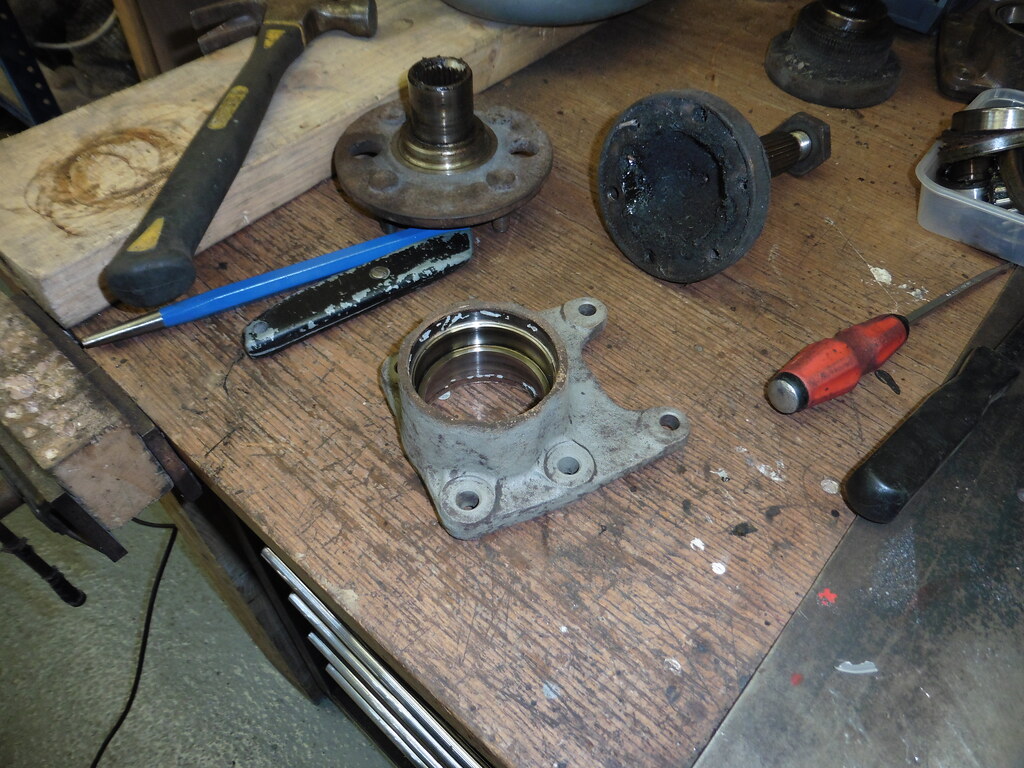 P1070425 P1070425 by jono_misfit, on Flickr got the arm ready for a tickle 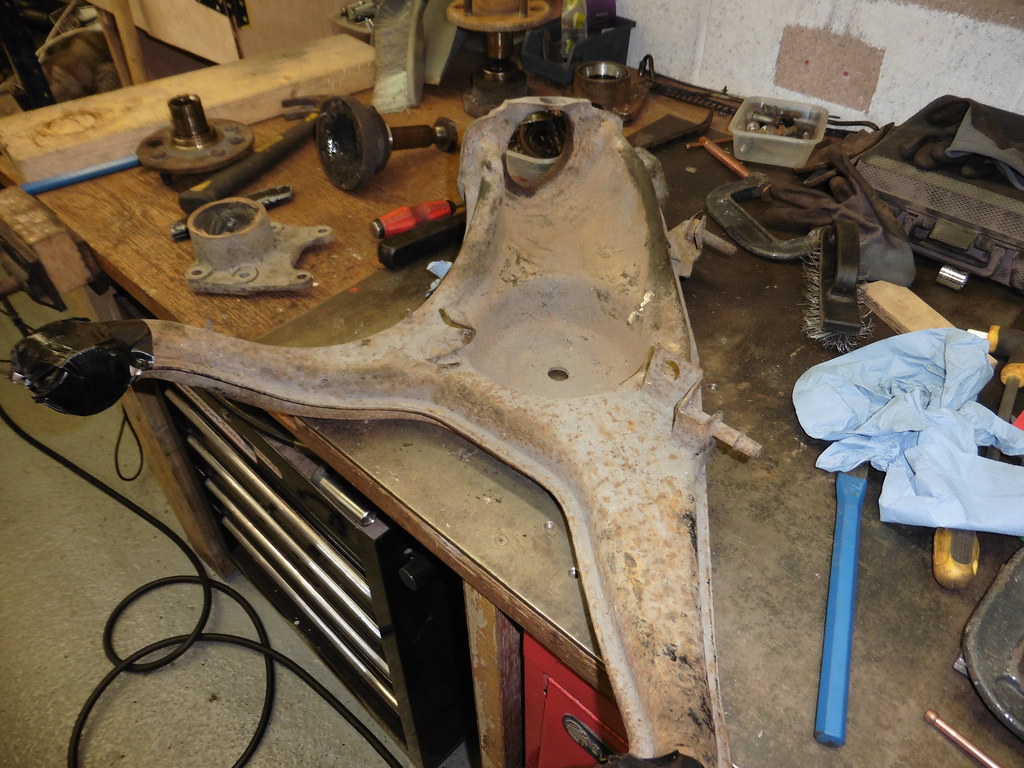 P1070424 P1070424 by jono_misfit, on Flickr worst bits cleaned off  P1070426 P1070426 by jono_misfit, on Flickr marked out to trim the relief round the damper mount  P1070427 P1070427 by jono_misfit, on Flickr trimmed  P1070428 P1070428 by jono_misfit, on Flickr stiffening strip tigged on 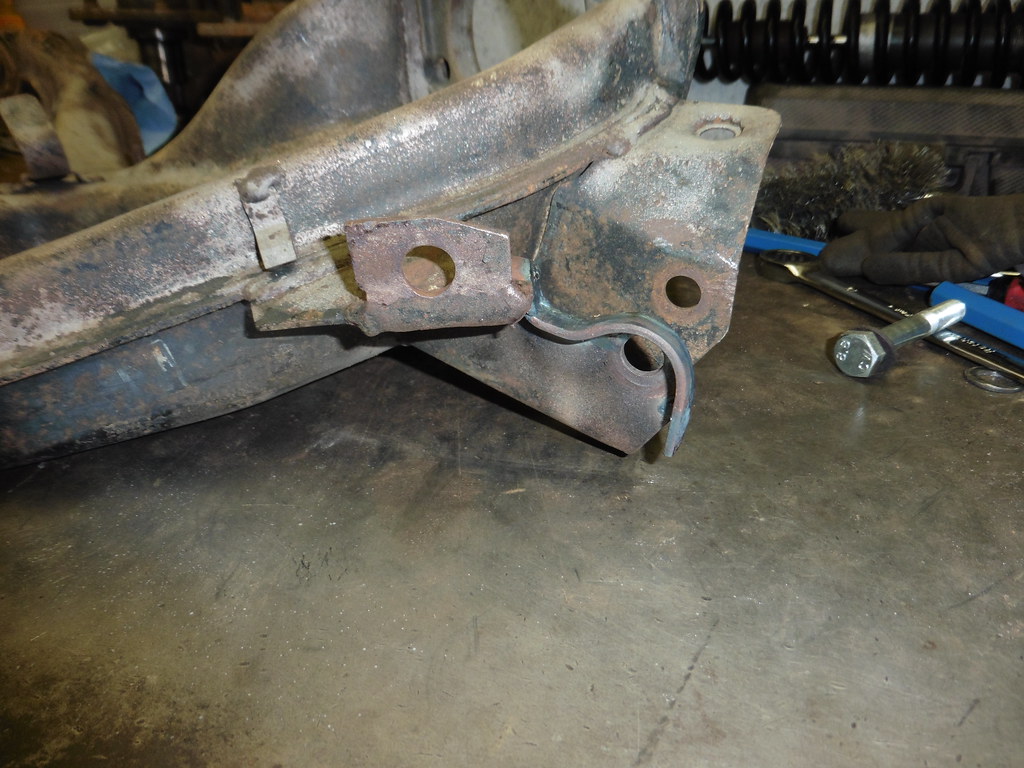 P1070429 P1070429 by jono_misfit, on Flickr 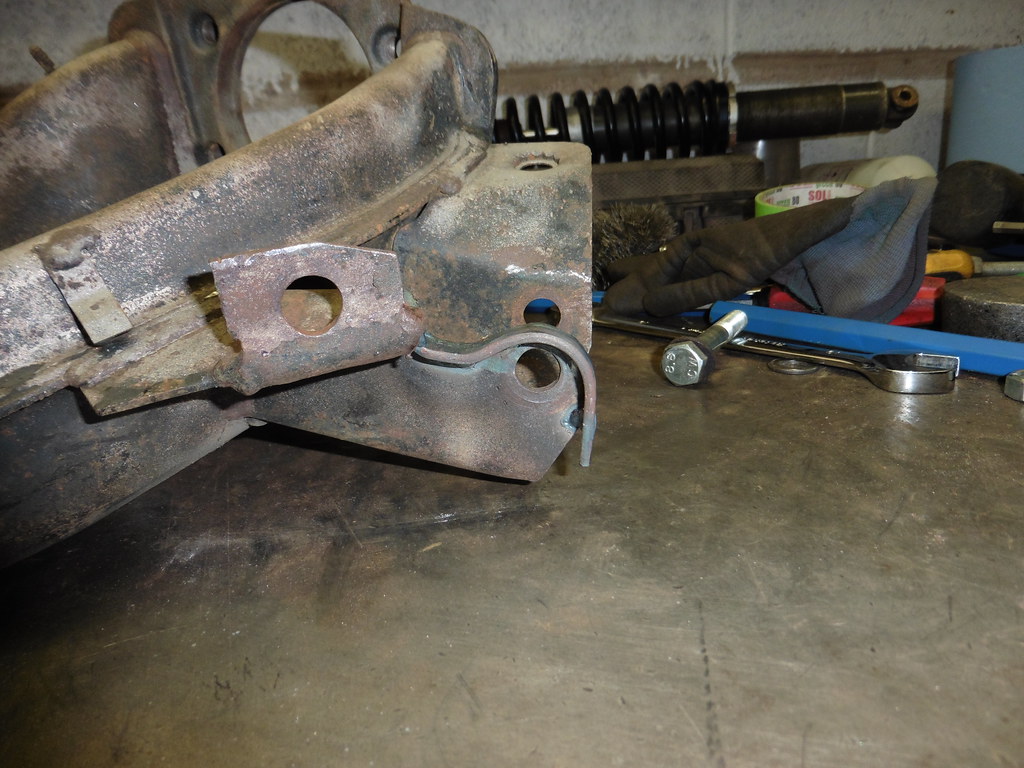 P1070430 P1070430 by jono_misfit, on Flickr 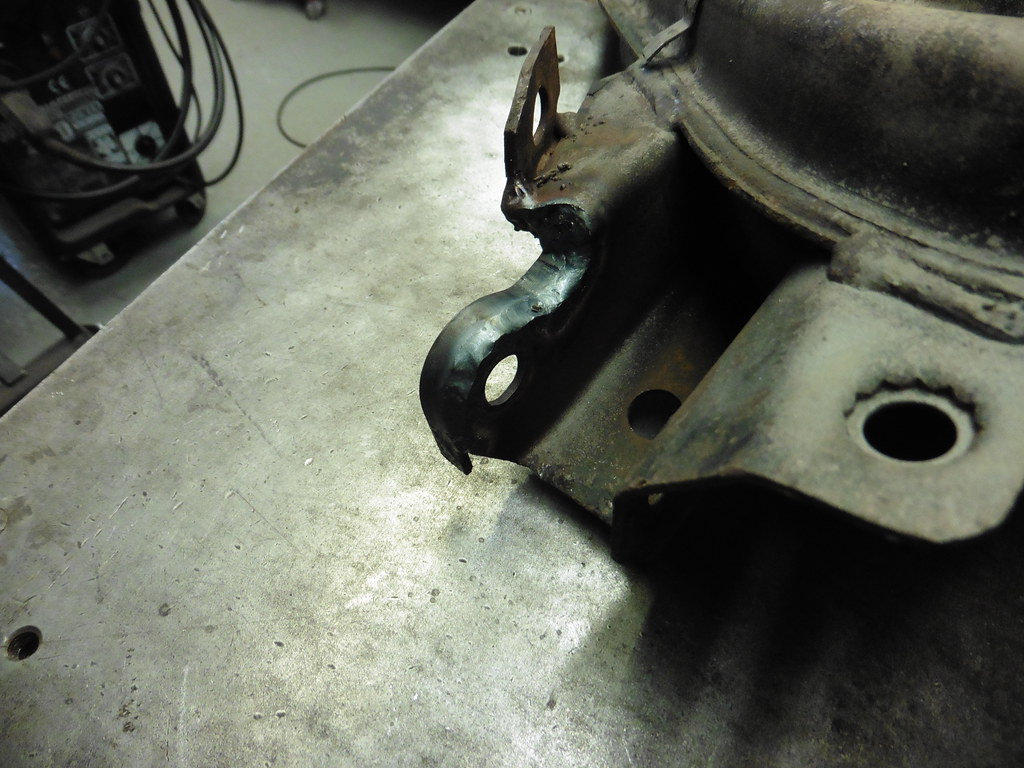 P1070432 P1070432 by jono_misfit, on Flickr added the coil over gusset and welded in  P1070433 P1070433 by jono_misfit, on Flickr cleaned up the bearing housing and etch primed 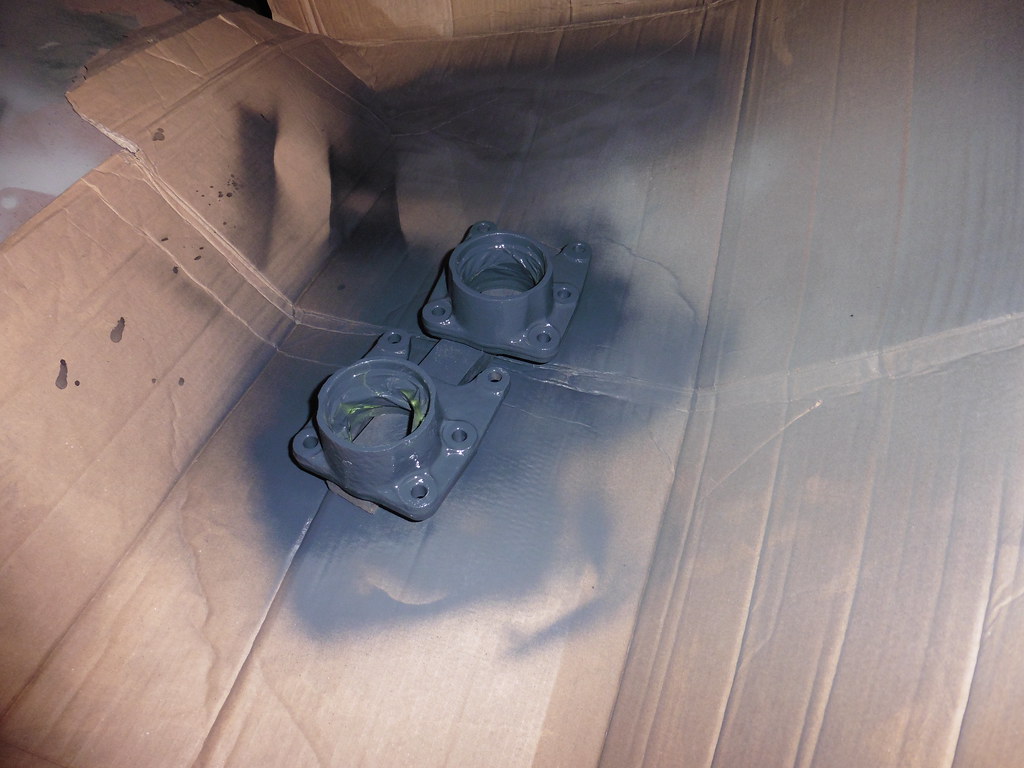 P1070434 P1070434 by jono_misfit, on Flickr  P1070435 P1070435 by jono_misfit, on Flickr |
| |
|
|
teaboy
Posted a lot
   Make tea, not war.
Posts: 2,122
|
|
Feb 17, 2023 20:50:20 GMT
|
I think that is ready for a new bearing.  |
| |
|
|
jonomisfit
Club Retro Rides Member
Posts: 1,788
Club RR Member Number: 49
|
|
Feb 18, 2023 20:56:40 GMT
|
|
|
| |
|
|
jonomisfit
Club Retro Rides Member
Posts: 1,788
Club RR Member Number: 49
|
|
Feb 18, 2023 21:10:26 GMT
|
Better start dealing with this as well 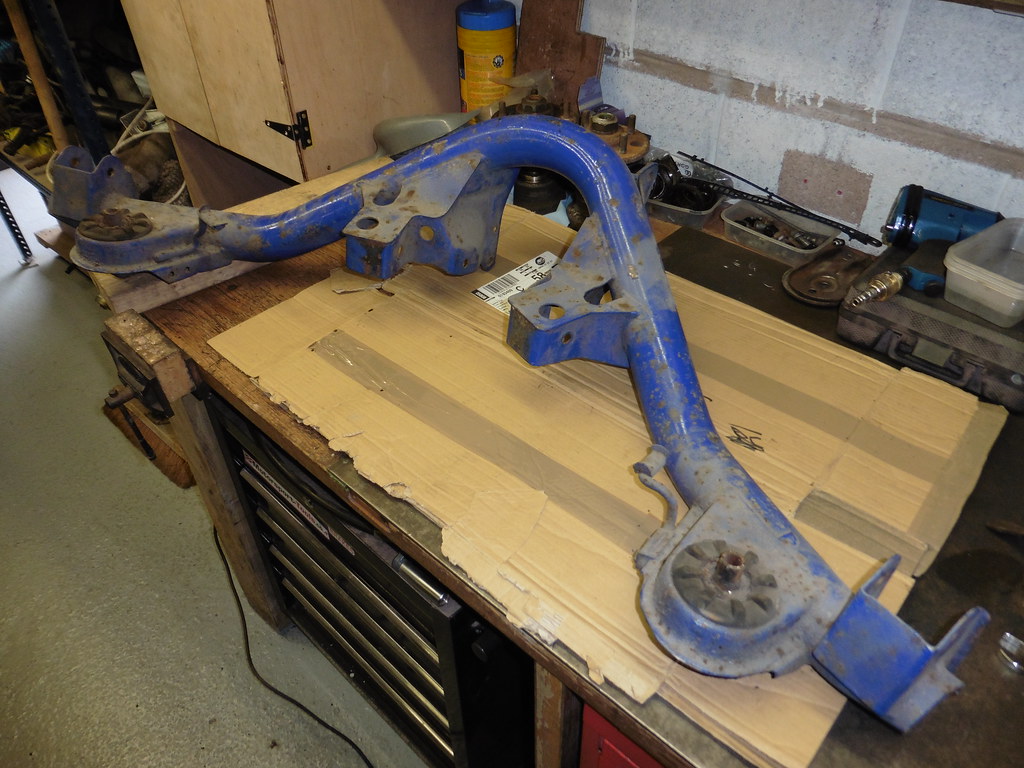 P1070445 P1070445 by jono_misfit, on Flickr the bushes are toast and being replaced with aluminium mounts. Best get them out and check the beam isnt rotted out under them as often happens.  P1070446 P1070446 by jono_misfit, on Flickr the state of the bush.... 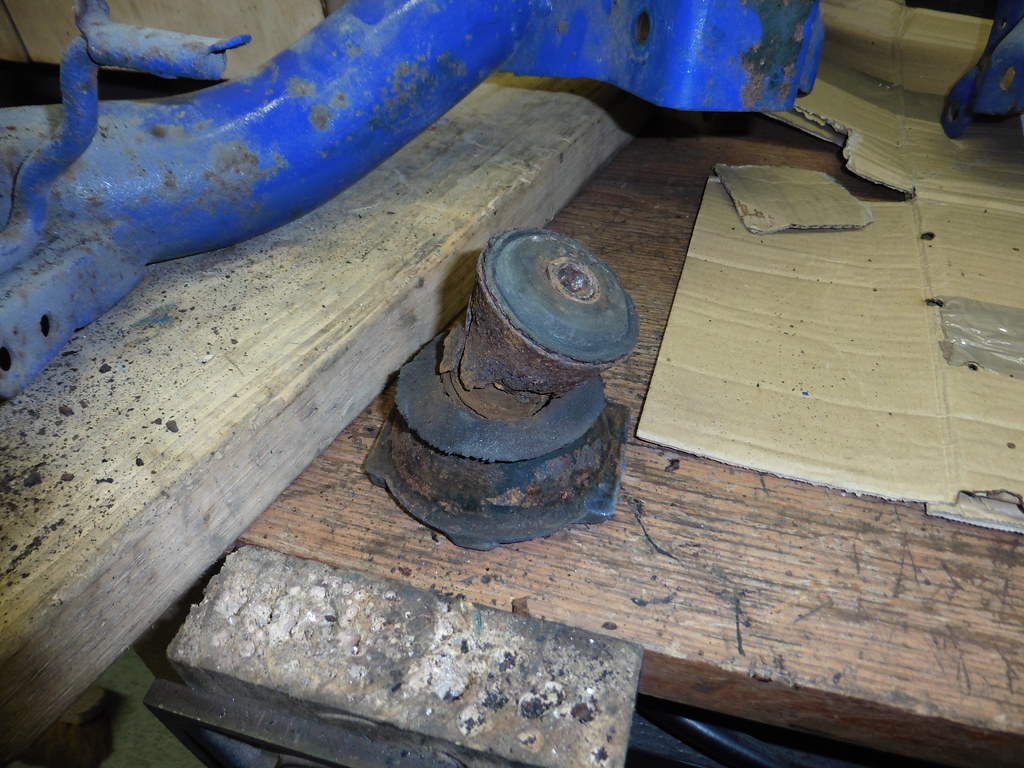 P1070447 P1070447 by jono_misfit, on Flickr and the other side. 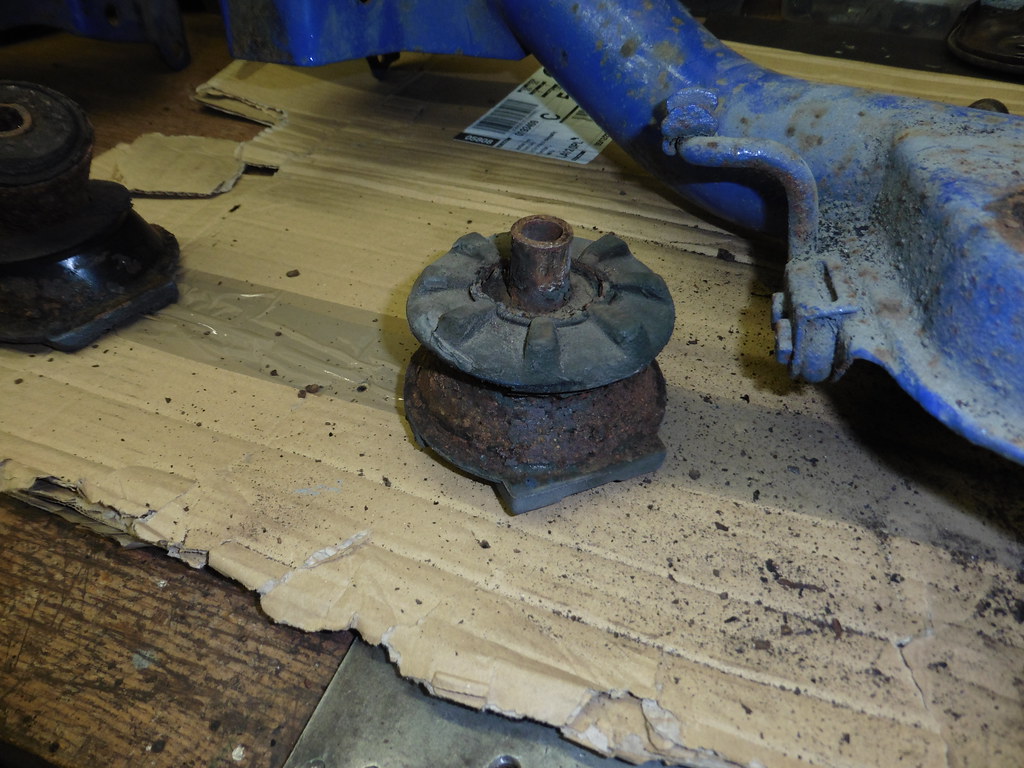 P1070448 P1070448 by jono_misfit, on Flickr I cut the top off the rubber and tapped them out A little bit of rust in the cups, but not toooooo bad 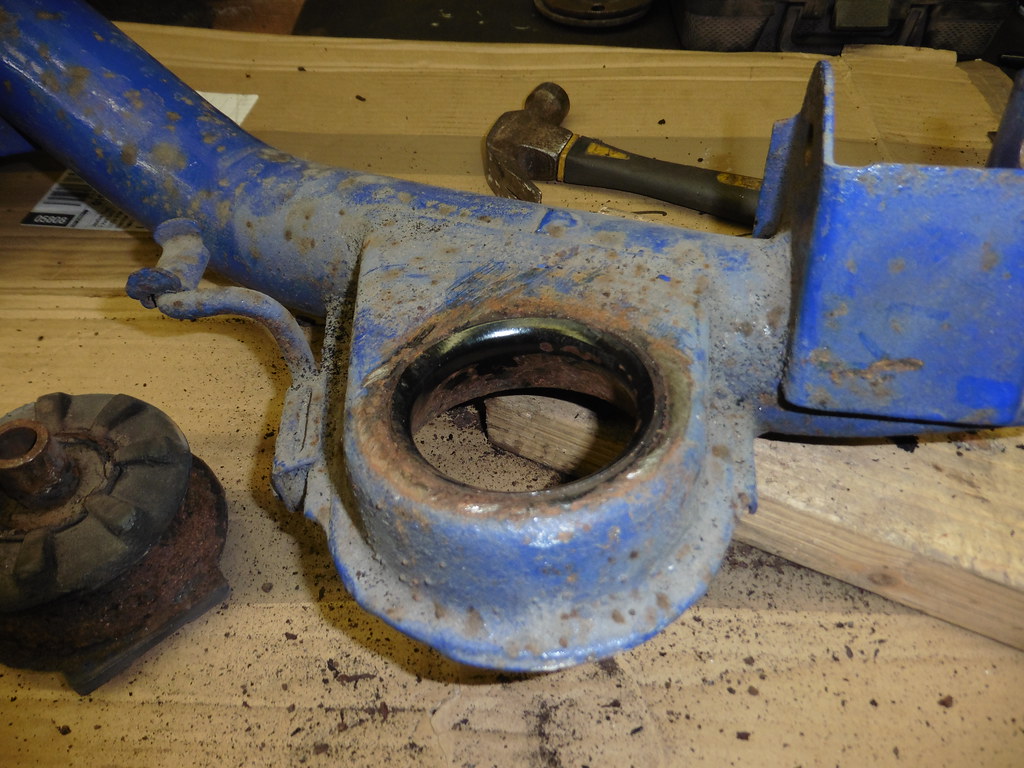 P1070449 P1070449 by jono_misfit, on Flickr Doesnt quite fit in the cabinet....  P1070450 P1070450 by jono_misfit, on Flickr but a combination of blast, twist knot in the grinder, and scotch bride discs in the die grinder got most of the paint off. 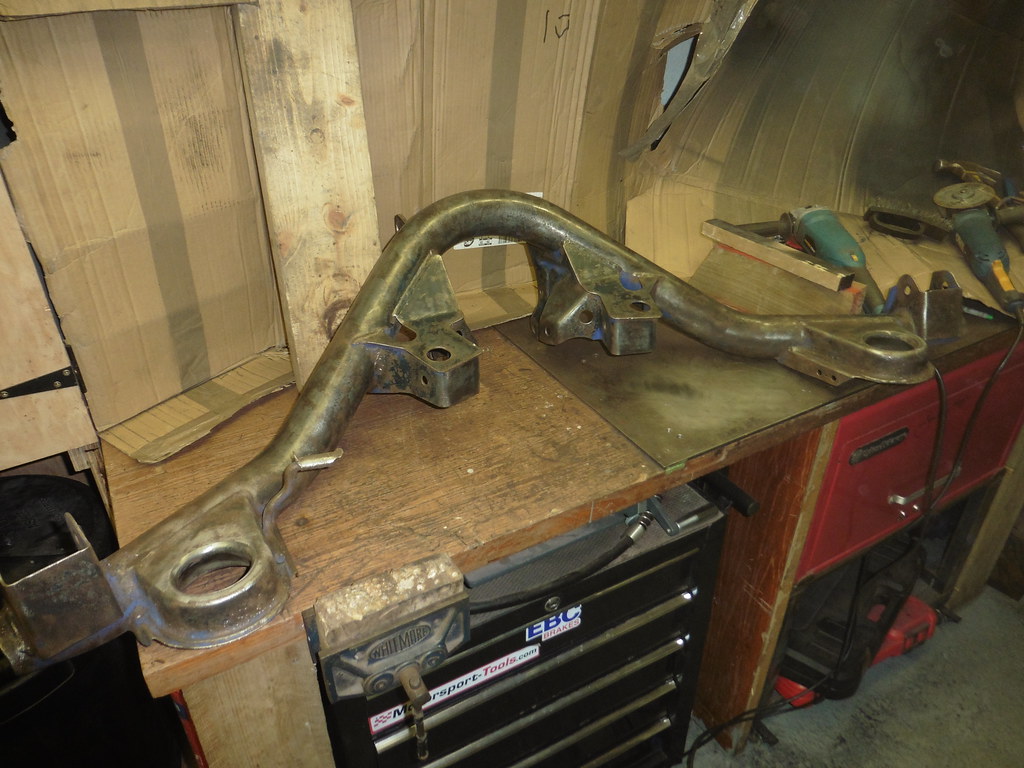 P1070451 P1070451 by jono_misfit, on Flickr a few bits are just tough to get to 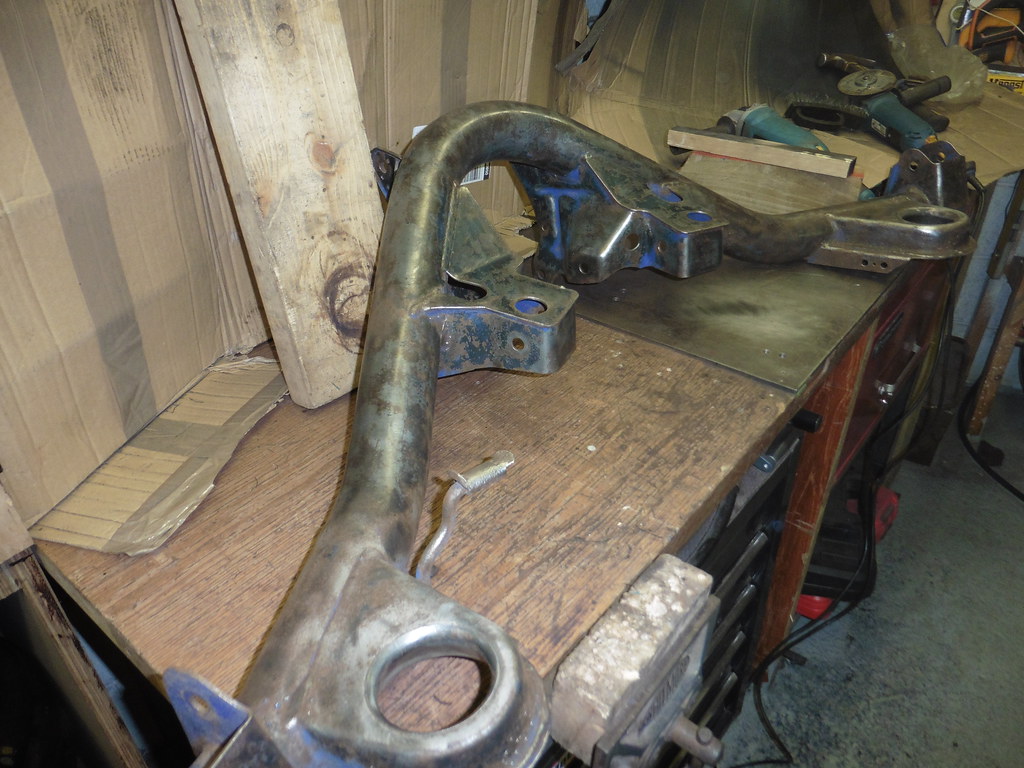 P1070452 P1070452 by jono_misfit, on Flickr bit more effort on it got off what I can get to 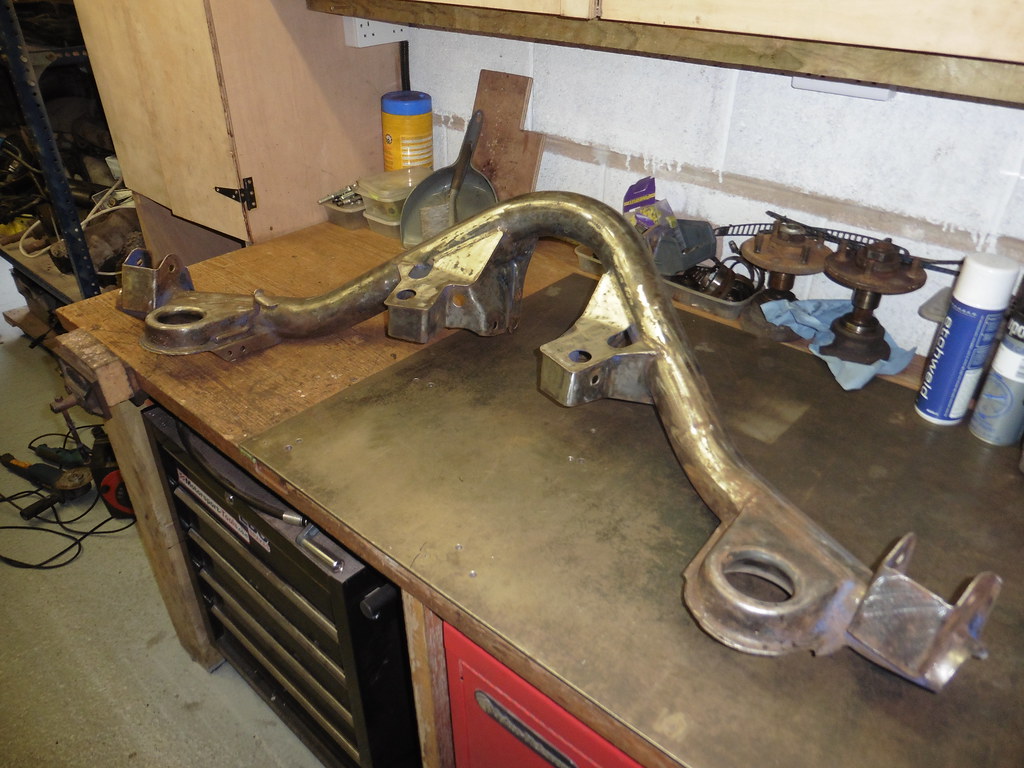 P1070453 P1070453 by jono_misfit, on Flickr then cleaned it down and on with some etch prime  P1070454 P1070454 by jono_misfit, on Flickr  P1070455 P1070455 by jono_misfit, on Flickr and leaving to cure  P1070458 P1070458 by jono_misfit, on Flickr Then sorted through some driveshafts to find the right ones I need for the rear, and find the right sized drive flanges. I have 2 different sizes, the 2wd cosworth ones which are 108mm and the 4wd cosworth ones at 100mm. My rear diff is the 7" one which has the 100mm joints. they are in there somewhere  P1070456 P1070456 by jono_misfit, on Flickr and eventually found the right output flanges  P1070457 P1070457 by jono_misfit, on Flickr which needed a really good clean down and a zinc prime to protect them  P1070459 P1070459 by jono_misfit, on Flickr Will see what I get on with next time. |
| |
|
|
teaboy
Posted a lot
   Make tea, not war.
Posts: 2,122
|
|
Feb 18, 2023 21:24:21 GMT
|
|
Looking good dude.
|
| |
|
|
mk2cossie
Club Retro Rides Member
Posts: 3,059  Club RR Member Number: 77
|
|
Feb 18, 2023 22:13:14 GMT
|
Are the 108mm shafts and hub drive stubs surplus to requirements jonomisfit? As I know someone that is after some of each  |
| |
|
|
jonomisfit
Club Retro Rides Member
Posts: 1,788
Club RR Member Number: 49
|
|
Feb 18, 2023 22:41:26 GMT
|
Are the 108mm shafts and hub drive stubs surplus to requirements jonomisfit? As I know someone that is after some of each  At this point, no. I may end up changing things up later down the line and I've got a 7.5" Diff and beam that I may swap to, which run the 108's. Sierra's R Us may have some for sale though. |
| |
|
|
jonomisfit
Club Retro Rides Member
Posts: 1,788
Club RR Member Number: 49
|
|
Feb 24, 2023 20:44:09 GMT
|
I pressed in the new bearing shells, the orange colour is the protective oil 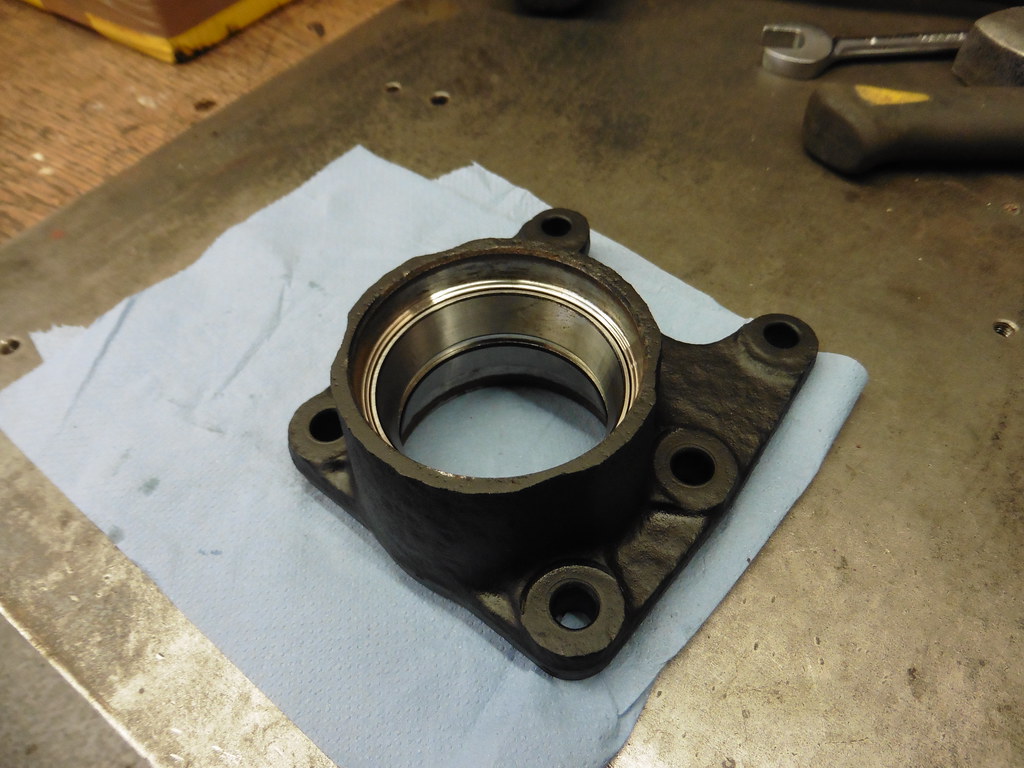 P1070460 P1070460 by jono_misfit, on Flickr the stub axles cleaned up and a light coat of paint on non mating faces  P1070461 P1070461 by jono_misfit, on Flickr I need to clean these up before I reassemble anything  P1070462 P1070462 by jono_misfit, on Flickr studs pressed out using the press, some of which went with a bang and a half! 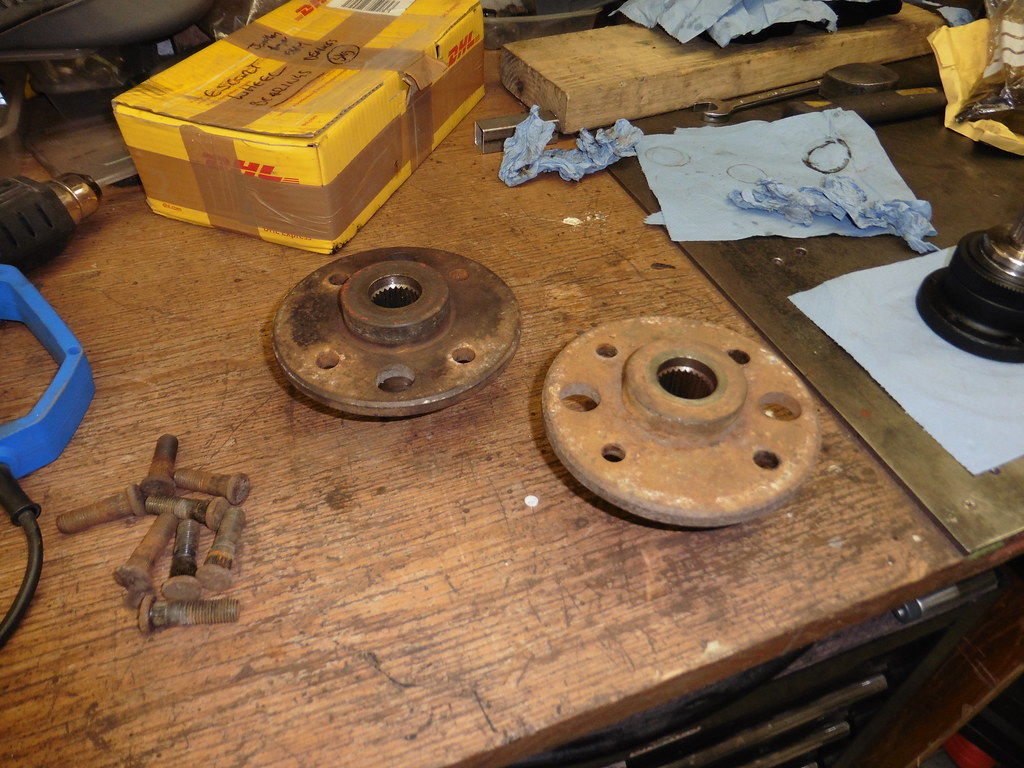 P1070463 P1070463 by jono_misfit, on Flickr faces all buffed up  P1070464 P1070464 by jono_misfit, on Flickr I could do with re-plating these, but I don't have a plating kit so ive painted the faces with zinc primer  P1070466 P1070466 by jono_misfit, on Flickr then paint polished back from mounting / clamping faces to prevent slackening new longer studs to go in  P1070468 P1070468 by jono_misfit, on Flickr fitted  P1070469 P1070469 by jono_misfit, on Flickr  P1070470 P1070470 by jono_misfit, on Flickr then on with rebuilding the rear bearing carriers. Taper bearings greased and fitted  P1070472 P1070472 by jono_misfit, on Flickr The cosworth manual call out some specific ford stanard the grease has to be compliant to, and this FUSCH one matched it 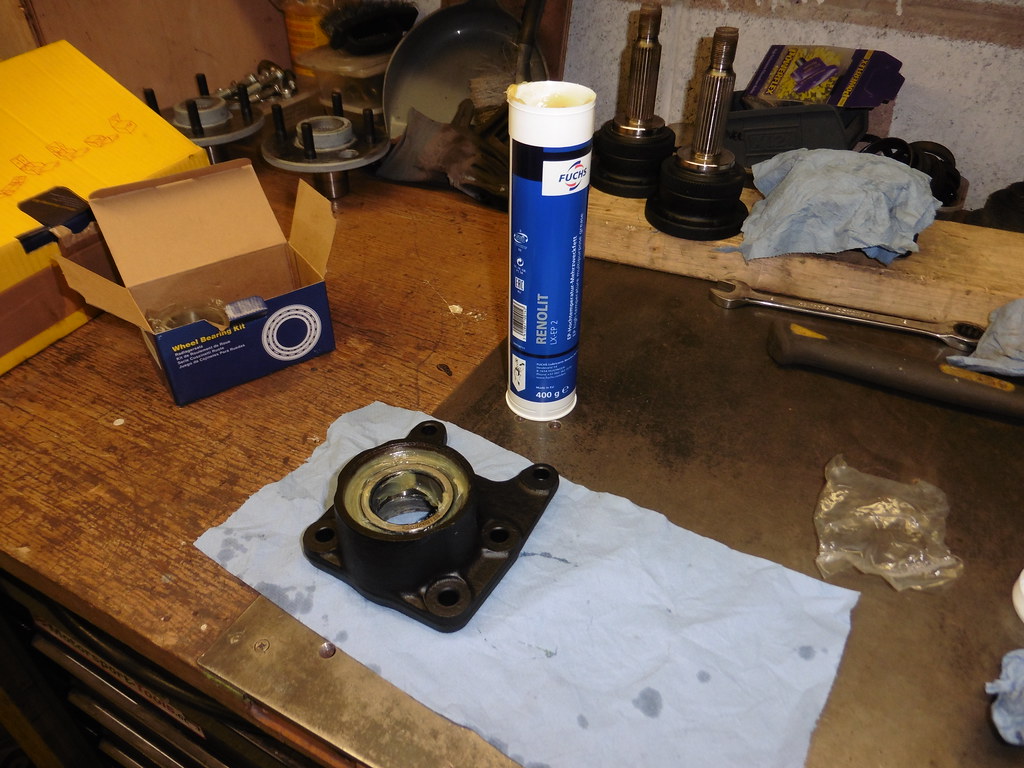 P1070473 P1070473 by jono_misfit, on Flickr wiper seal fitted 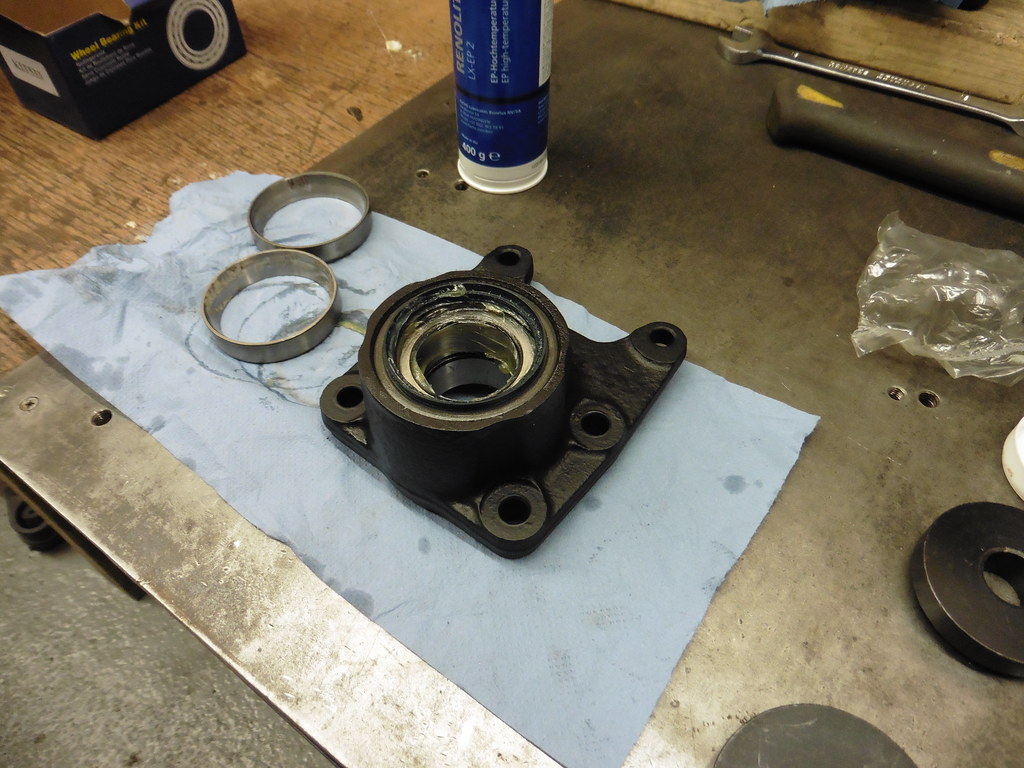 P1070474 P1070474 by jono_misfit, on Flickr And re-assembled  P1070476 P1070476 by jono_misfit, on Flickr Nuts not done up as I need to split them to fit to the beam Beam given a once over with some black  P1070465 P1070465 by jono_misfit, on Flickr Paint left to harden 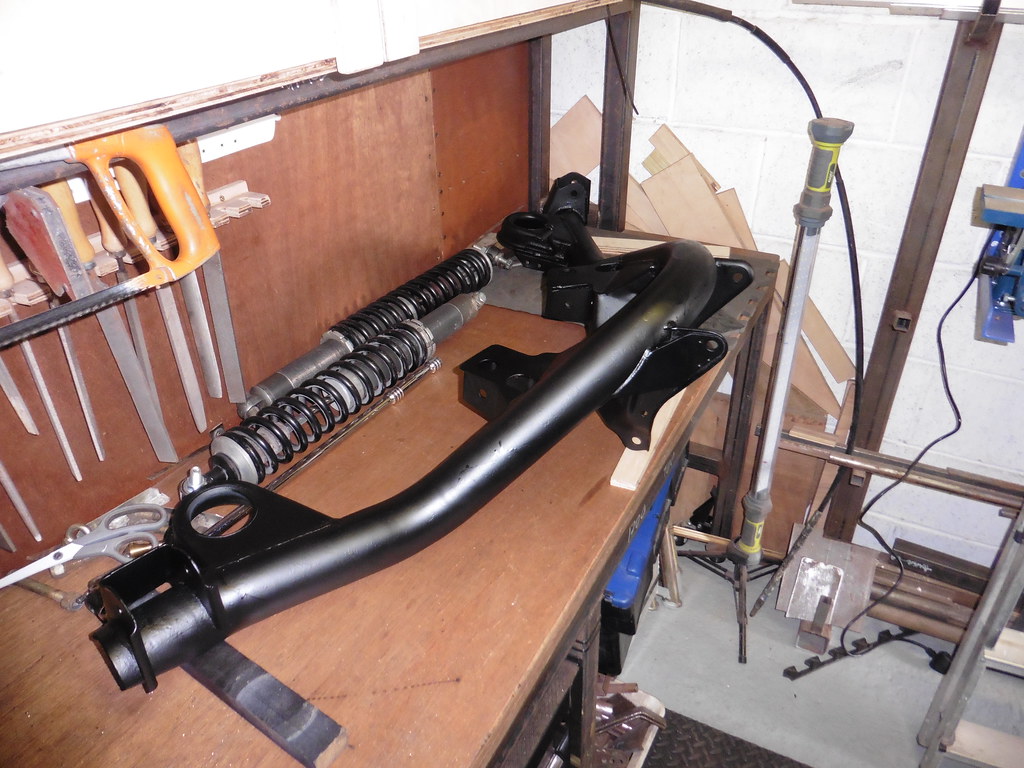 P1070475 P1070475 by jono_misfit, on Flickr I was looking for the parts to rebuild the driveshafts.... and it was as cheap to just buy new ones. So I have. If they turn out to be rubbish i'll rebuild the original ones  P1070477 P1070477 by jono_misfit, on Flickr boot pushed on 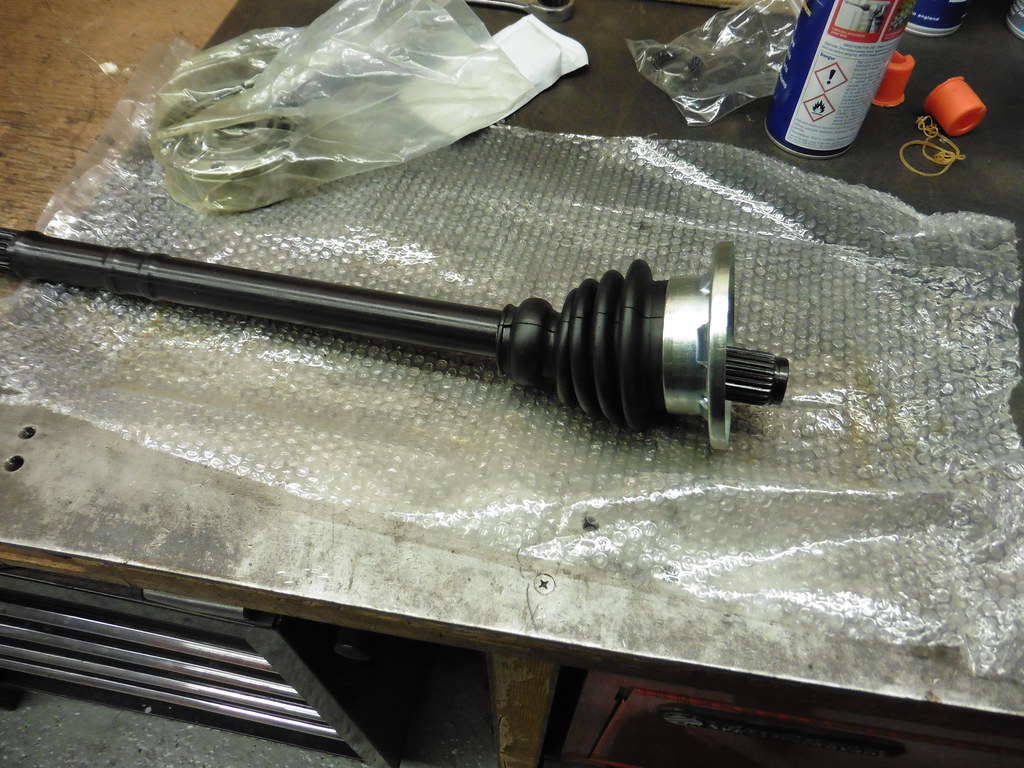 P1070478 P1070478 by jono_misfit, on Flickr lobro joint fitted  P1070479 P1070479 by jono_misfit, on Flickr got coated in grease so no pics mid assembly  P1070480 P1070480 by jono_misfit, on Flickr I ran out of time to do the other one, so will do it next session. But quickly put some etch prime on the rear arms  P1070481 P1070481 by jono_misfit, on Flickr  P1070482 P1070482 by jono_misfit, on Flickr  P1070483 P1070483 by jono_misfit, on Flickr These will get a quick flat and paint next time. |
| |
|
|
jonomisfit
Club Retro Rides Member
Posts: 1,788
Club RR Member Number: 49
|
|
Feb 26, 2023 20:59:48 GMT
|
|
|
| |
|
|
jonomisfit
Club Retro Rides Member
Posts: 1,788
Club RR Member Number: 49
|
|
Feb 26, 2023 21:38:37 GMT
|
then onto the rear diff, which looks fine  P1070486 P1070486 by jono_misfit, on Flickr except..... oil has started leaking from here......  P1070487 P1070487 by jono_misfit, on Flickr Which means the output shaft seal has let go. Which has happened in the time its been here I was apprehensive about undoing the torx head bolts on the diff cover, but they all cracked nicley and undid easily. 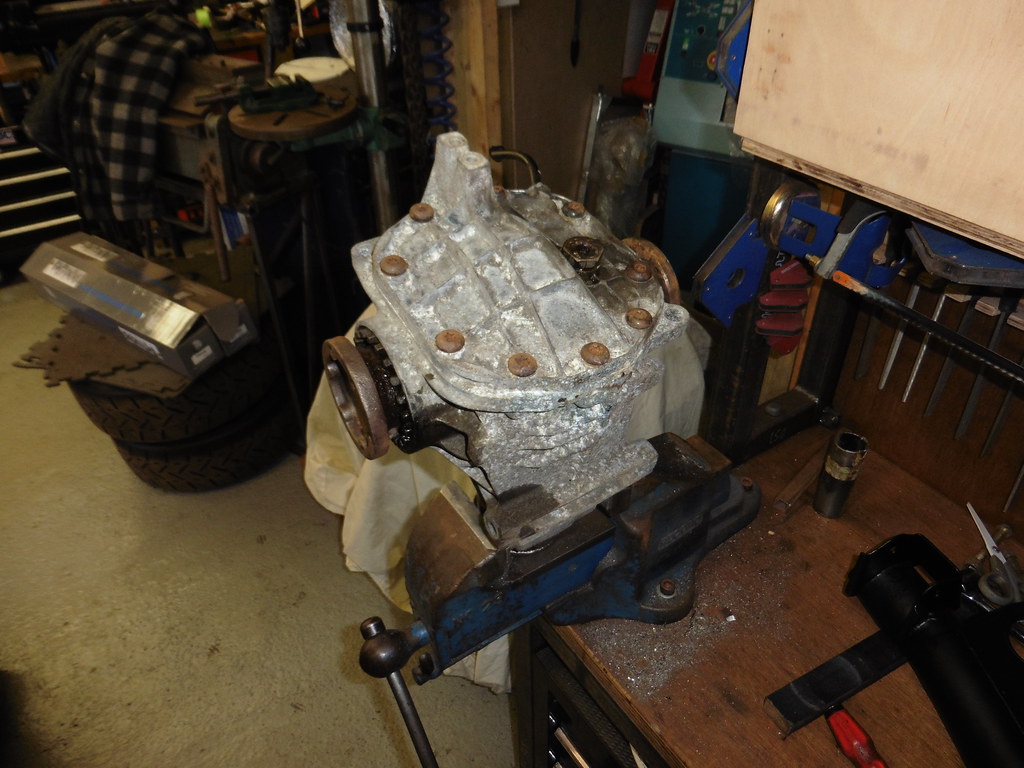 P1070488 P1070488 by jono_misfit, on Flickr there is no diff drain.... so positioned over the edge of the bench, put under the seat with the oil catch can  P1070489 P1070489 by jono_misfit, on Flickr and unleashed the stench 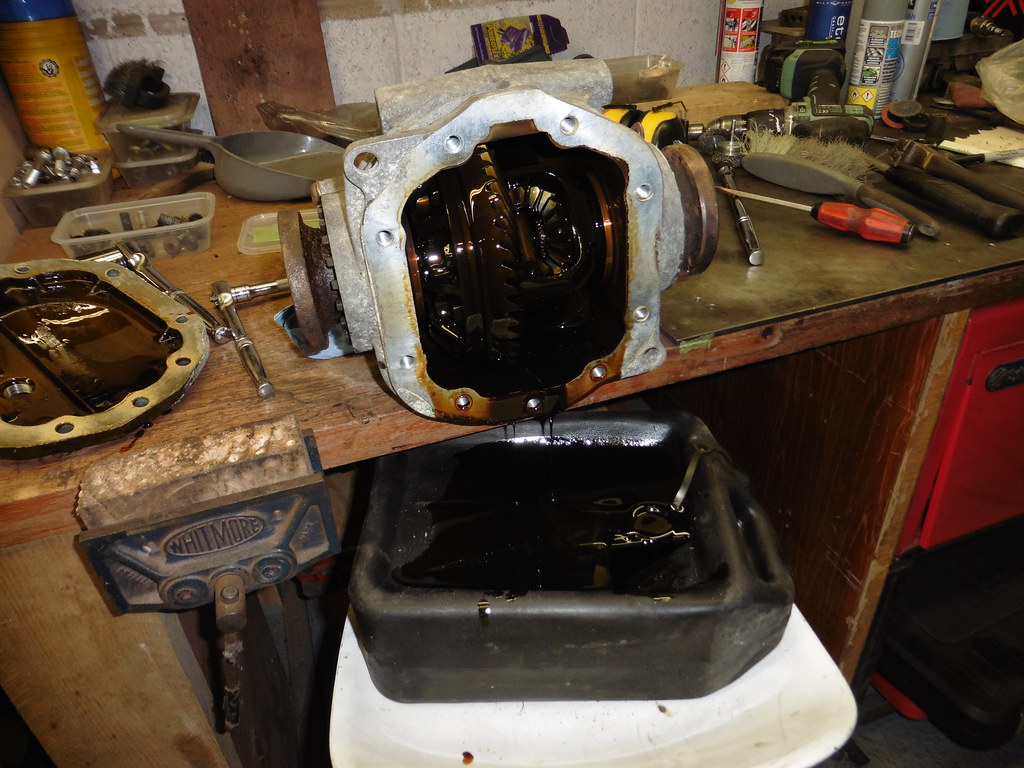 P1070490 P1070490 by jono_misfit, on Flickr Oil was faily clean, although old. And on to why I was taking the cover off..... These C clips hold in the output shafts 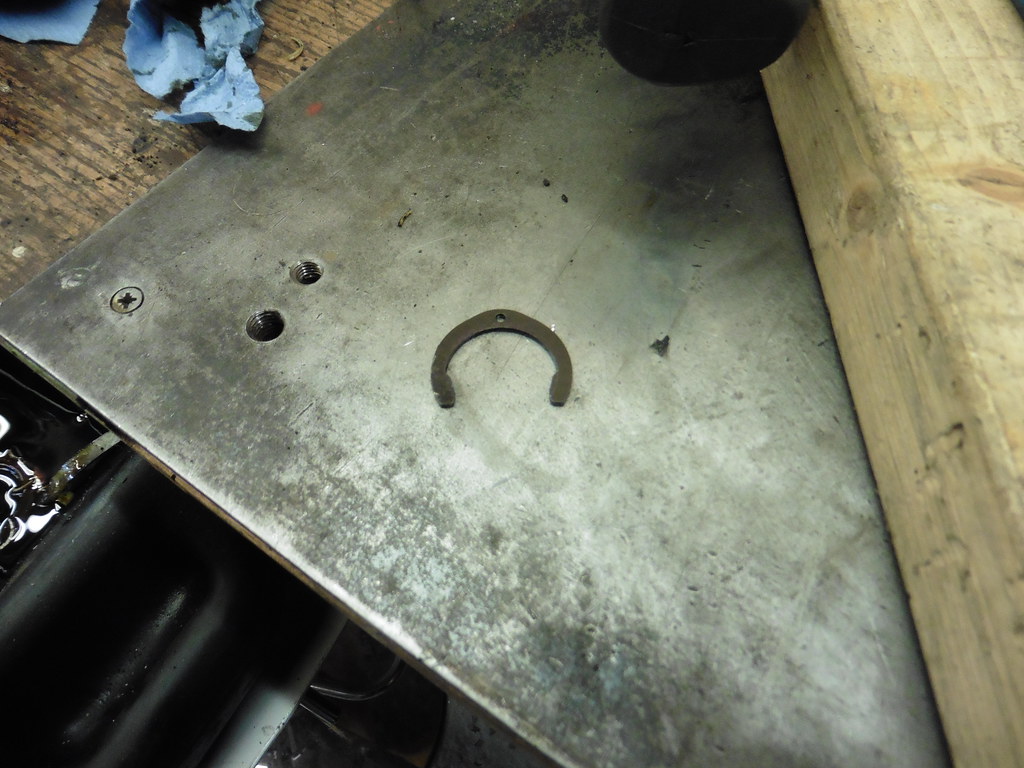 P1070491 P1070491 by jono_misfit, on Flickr and the second one  P1070492 P1070492 by jono_misfit, on Flickr output shafts  P1070493 P1070493 by jono_misfit, on Flickr lovelly...  P1070494 P1070494 by jono_misfit, on Flickr that looks eaqually lovelly.... explains why its leaking 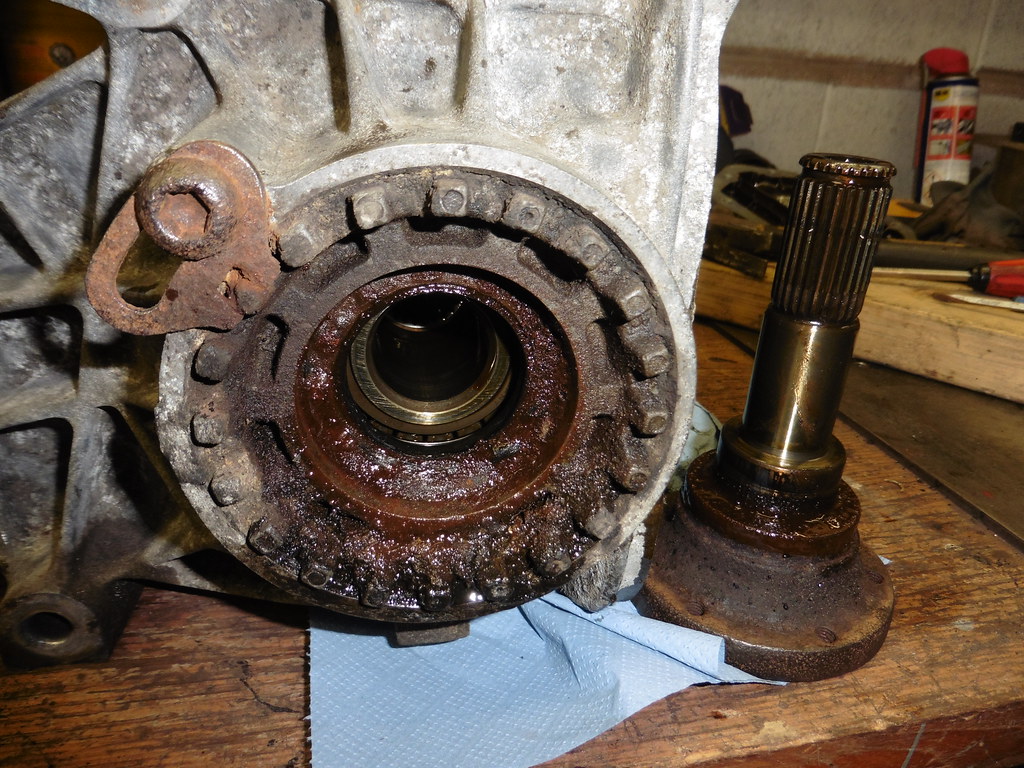 P1070495 P1070495 by jono_misfit, on Flickr bunged up the bearings up to prevent anything going into them, then cleaned up as best I could  P1070496 P1070496 by jono_misfit, on Flickr other side was much better 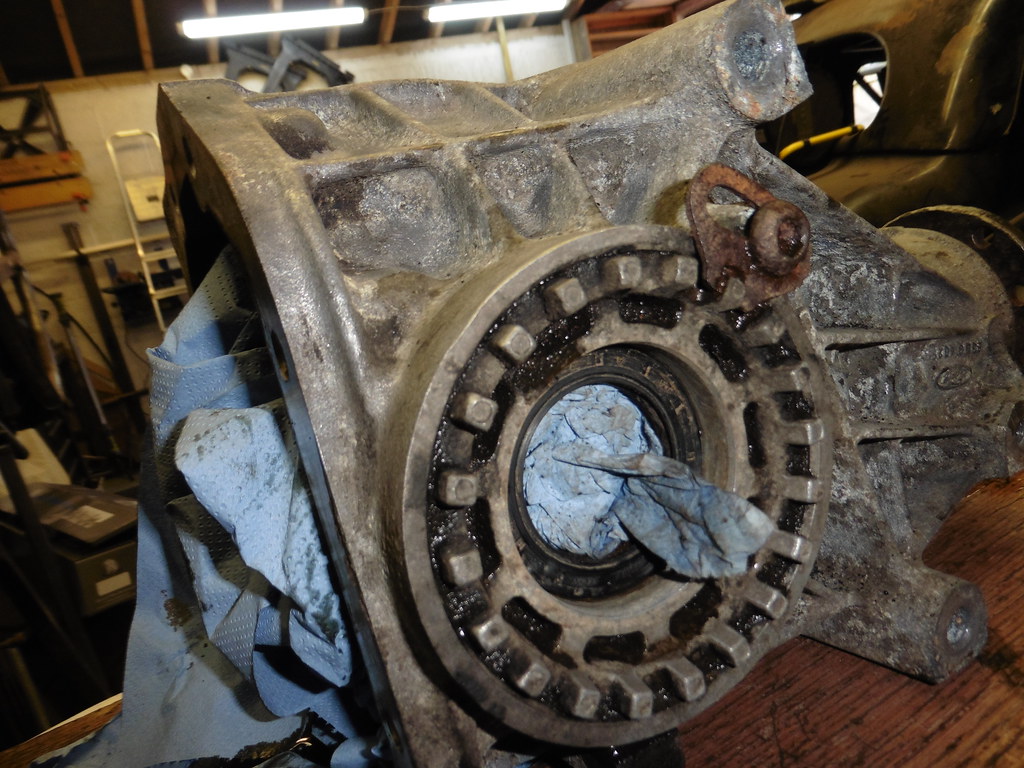 P1070497 P1070497 by jono_misfit, on Flickr the front flange is also a mess. I looked in the manual and then selected ford tool A123-456  P1070498 P1070498 by jono_misfit, on Flickr yes..... yes that will also need replaced  P1070499 P1070499 by jono_misfit, on Flickr I cleaned up the flange in the blast cabinet  P1070503 P1070503 by jono_misfit, on Flickr  P1070504 P1070504 by jono_misfit, on Flickr Still not pretty Zinc primed all over  P1070505 P1070505 by jono_misfit, on Flickr I sprayed it all black, then cured it, then flatted the mating flange using my steel plate, some wet and dry, and WD40 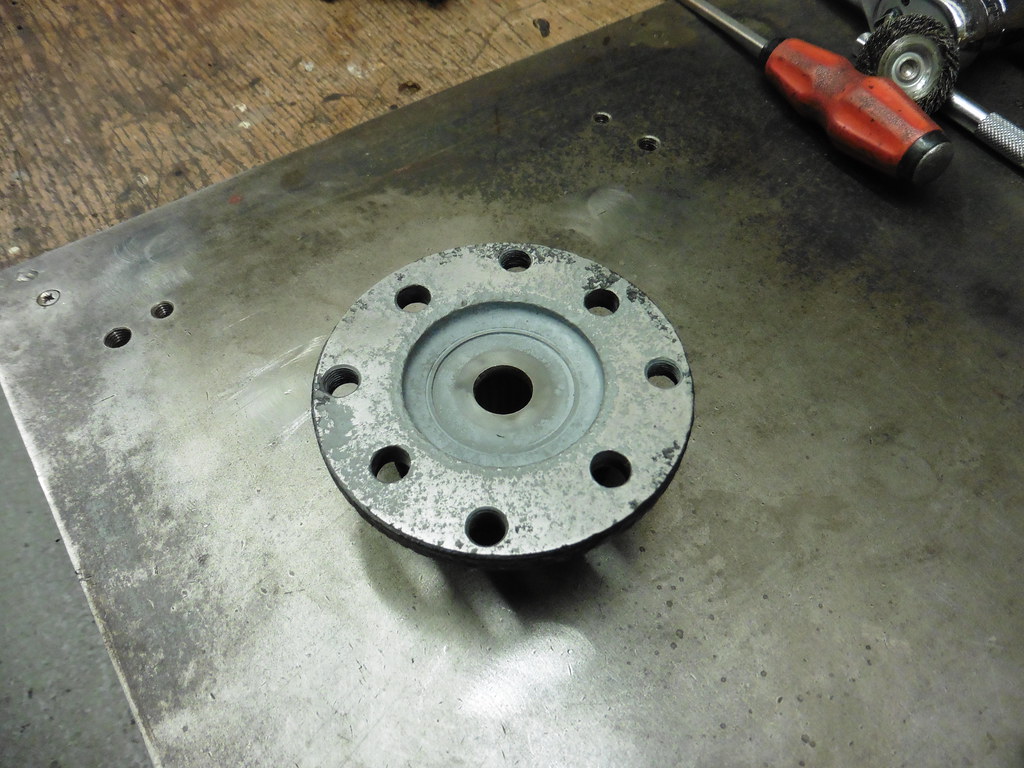 P1070517 P1070517 by jono_misfit, on Flickr hmmmmm. I don't like that for mating to the prop. I clocked it up in the lathe, which wasnt easy and took a couple of thou off the front face Looks a lot better, not perfect, but better 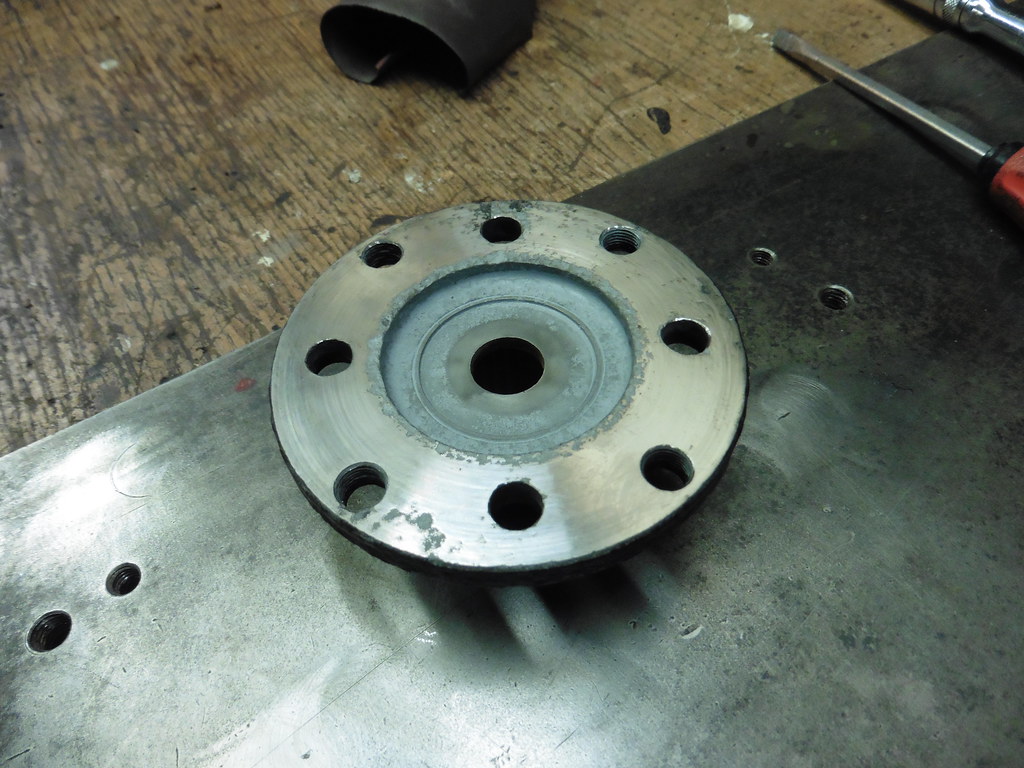 P1070518 P1070518 by jono_misfit, on Flickr  P1070519 P1070519 by jono_misfit, on Flickr That should work, but if it doesnt then I'll need to releave one of the other diffs of its prop flange. output shaft seals pulled out  P1070500 P1070500 by jono_misfit, on Flickr they resisted....  P1070501 P1070501 by jono_misfit, on Flickr Cleaned up further and new seals fitted  P1070507 P1070507 by jono_misfit, on Flickr  P1070508 P1070508 by jono_misfit, on Flickr Then the output flanged got protected where they needed it and took a trip through the blast cabinet.  P1070506 P1070506 by jono_misfit, on Flickr gave them a clean, a zinc prime, and then a coat of satin black  P1070509 P1070509 by jono_misfit, on Flickr and fitted 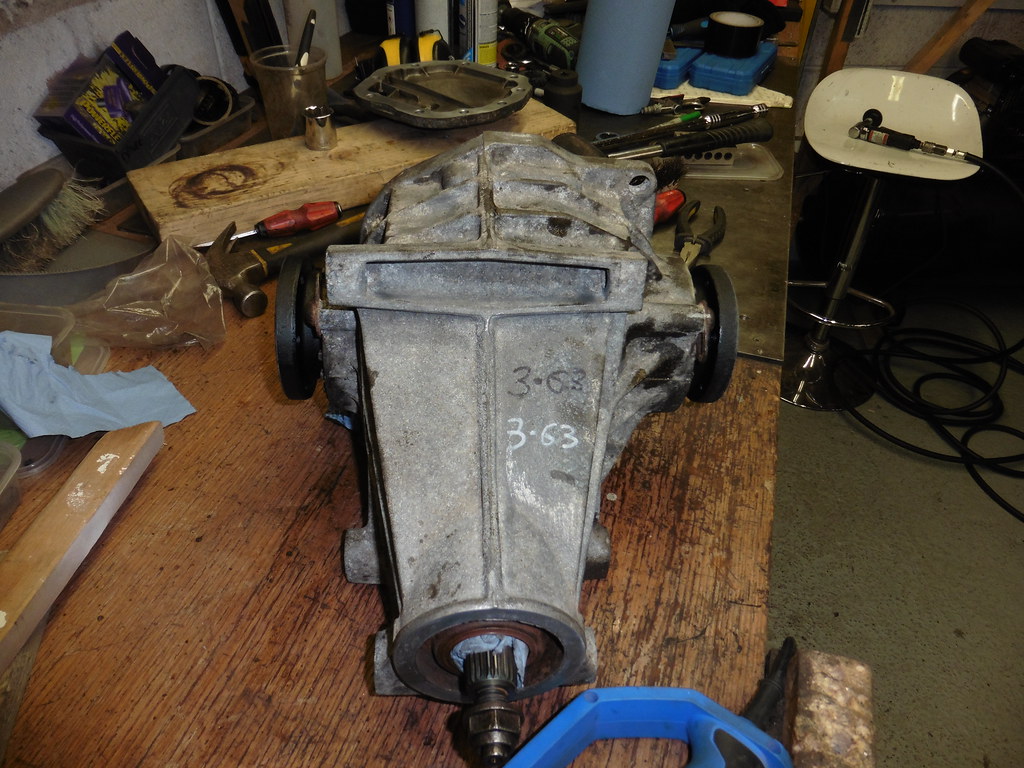 P1070510 P1070510 by jono_misfit, on Flickr  P1070511 P1070511 by jono_misfit, on Flickr Cleaned up the diff mounting face  P1070513 P1070513 by jono_misfit, on Flickr Cleaned up the back plate  P1070502 P1070502 by jono_misfit, on Flickr then applied the sealing paste to the diff cover 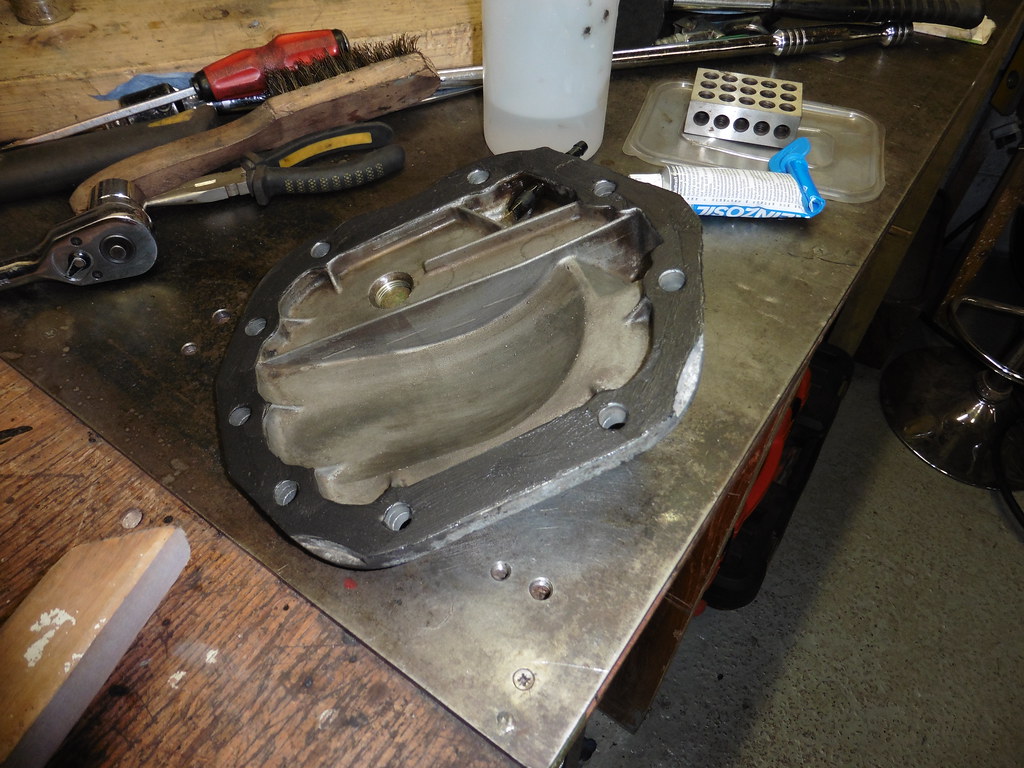 P1070512 P1070512 by jono_misfit, on Flickr bolted on and torqued up  P1070515 P1070515 by jono_misfit, on Flickr  P1070516 P1070516 by jono_misfit, on Flickr Once the pinion seal turns up I'll fit that and that'll be the diff done... after a bit of a clean. |
| |
|
|
mk2cossie
Club Retro Rides Member
Posts: 3,059  Club RR Member Number: 77
|
|
|
|
What is it with Ford not putting a drain on their differentials?  Mk1 and 2 Granada is the same. Although I did repurpose one of the lower diff cover bolt holes in to a drain, with a small amount of drill action  |
| |
|
|
jonomisfit
Club Retro Rides Member
Posts: 1,788
Club RR Member Number: 49
|
|
|
|
|
Saving those vital pence from a machining op and a bung...
I was contemplating putting a drain point in, and may well do that on the 7.5" diff.
|
| |
|
|
 P1070356 by jono_misfit, on Flickr
 P1070357 by jono_misfit, on Flickr
 P1070358 by jono_misfit, on Flickr
 P1070359 by jono_misfit, on Flickr
 P1070360 by jono_misfit, on Flickr
 P1070361 by jono_misfit, on Flickr
 P1070362 by jono_misfit, on Flickr
 P1070363 by jono_misfit, on Flickr
 P1070364 by jono_misfit, on Flickr
 P1070365 by jono_misfit, on Flickr
 P1070366 by jono_misfit, on Flickr
 P1070368 by jono_misfit, on Flickr
 P1070369 by jono_misfit, on Flickr
 P1070370 by jono_misfit, on Flickr
 P1070371 by jono_misfit, on Flickr
 P1070372 by jono_misfit, on Flickr
 P1070372 by jono_misfit, on Flickr
 P1070356 by jono_misfit, on Flickr
 P1070357 by jono_misfit, on Flickr
 P1070358 by jono_misfit, on Flickr
 P1070359 by jono_misfit, on Flickr
 P1070360 by jono_misfit, on Flickr
 P1070361 by jono_misfit, on Flickr
 P1070362 by jono_misfit, on Flickr
 P1070363 by jono_misfit, on Flickr
 P1070364 by jono_misfit, on Flickr
 P1070365 by jono_misfit, on Flickr
 P1070366 by jono_misfit, on Flickr
 P1070368 by jono_misfit, on Flickr
 P1070369 by jono_misfit, on Flickr
 P1070370 by jono_misfit, on Flickr
 P1070371 by jono_misfit, on Flickr
 P1070372 by jono_misfit, on Flickr
 P1070372 by jono_misfit, on Flickr


