cjhillman
Posted a lot
   1979 Capri (Rolling Project) 1985 Escort mk3 (Daily)
Posts: 1,614
|
|
Mar 17, 2021 17:11:43 GMT
|
Right then, so I took it out for a spin to get warmed up and adjusted the mixture probably about 1 1/2 to 3/4 out. I say that as it was stiff as and already at the bottom of its travel. I don't think this was how I had set it so maybe the garage did that when they tried to set it up with the non working Accelerator pump. Double checked what the timing is set too (10 Degrees). I read between 8 - 10 is good but around 10 you will get Pinging/Pinking. Its a whole lot better now though!! Its still doing it a little bit on lite Aceleration in gears 2-4. I honestly thought it was the gearbox / bearing as it sound a bit like a squeal with the usual nails dropping down an exhaust sound (when my Escort does this is sounds different but, its a different Engine). Its a lot better now so I either need to get a Colour tune as you say and maybe notch forward the timing to 8 or, bring out the mixture screw a bit more. Its still really stiff though so I don't want to mess with it too much untill I have to. Re the choke... It still doesnt really seem to do anything. Its stiff as a board pulling the lever and it will shut the "flaps" but doesnt push them open. I made sure they were fully open when I did all the above. Also the choke idle screw that goes on the choke cam. I backed this right out as I was hoping this would free up the choke mechanism/cable. Didnt change anything though. I may have asked this before but is this screw irrelevant on a manual choke. Mine is the Weber aftermarket unit but I see on the manual replacement Carbs its a much simpler choke set up and seems to do away with that? I was only out 20/30 mins locally but when it cooled down i whipped the plug out. Looks a bit black still but you can see where I whipped off the soot yesterday. I think this is a bit better but, will need time and more tuning. 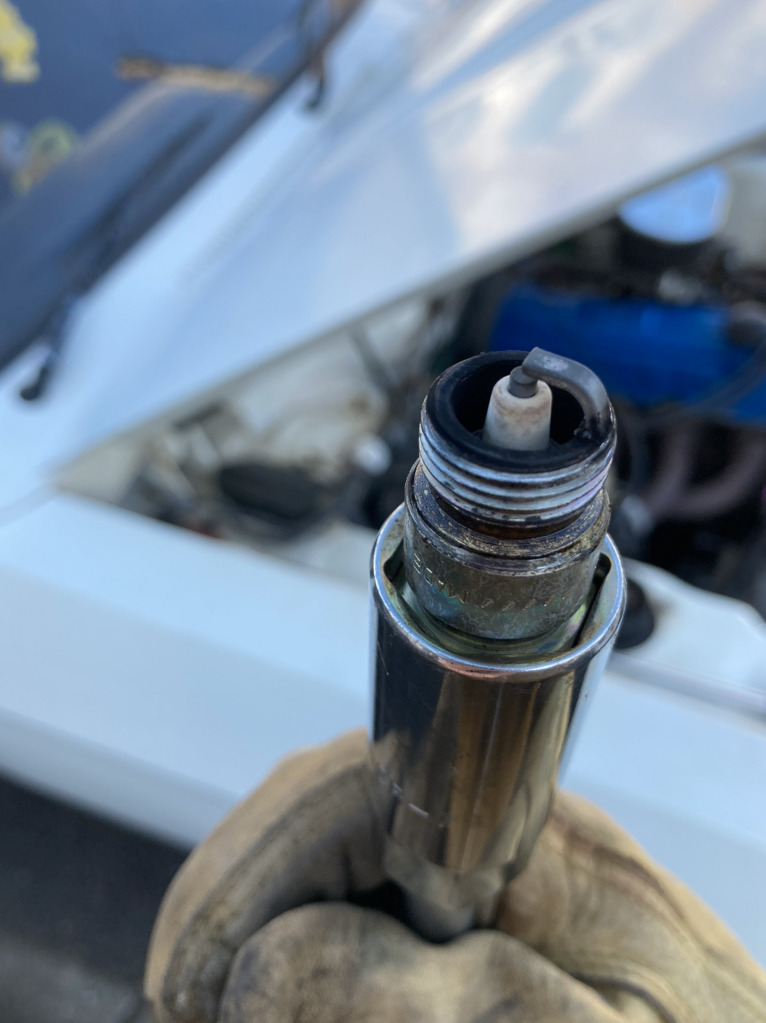 Thinking I need to replace the Diff cover next. I already have the cover but just working up the guts to get on with the job. Its still leaking slightly on the face of the old cover. Plus if I'm there I need to buy new anti roll bar bushes and handbrake bush, sealant and of course the oil. Also, its still wandering around a little bit. I noticed the clutch cable is stuck between the engine mount and the steering column . Maybe this is holding it. I've managed to move it down a little so I'll see if that helps. The brakes are still a lot to be desired 😂 Not sure if anything has changed or its my imagination, especially driving other cars too. Something was definitely sticking yesterday but didnt do it today. I can here a higher pitched rotating noise when I break now but i'm guessing that is the front disks. This has 3.0 legs on the front which means disks are expensive ... Think replacing these would help a lot. Its all £££ though so i have to pick my battles... obviously safety is at the top. Did i mention she needs new tyres too? 😂I wouldnt mind different wheels though if I was going to spend on Tyres. Eek!! |
| |
|
|
|
|
|
|
|
Mar 17, 2021 18:54:09 GMT
|
Ok your are making progress with the mixture (it is still to weak a mixture) yes get a colourtune also when you can carefully unscrew the mixture screw take it out look at it make sure it is not warn away there will be a ridge warn into the needle if it is warn if it is you need to change it for a new one you should of had one in the rebuild kit you had if it is ok great re fit it all the way in but wind it out two full turns and try the car and keep winding it out until the pinking eases (if you get to four or five turns then you need to think about a brand new carb Manual choke version) don't alter the timing until you cannot alter it buy winding the mixture screw out.
The sooner you can get the colourtune the easier it will be to sort this out.
Pete
|
| |
|
|
cjhillman
Posted a lot
   1979 Capri (Rolling Project) 1985 Escort mk3 (Daily)
Posts: 1,614
|
|
Mar 25, 2021 22:39:01 GMT
|
Ok your are making progress with the mixture (it is still to weak a mixture) yes get a colourtune also when you can carefully unscrew the mixture screw take it out look at it make sure it is not warn away there will be a ridge warn into the needle if it is warn if it is you need to change it for a new one you should of had one in the rebuild kit you had if it is ok great re fit it all the way in but wind it out two full turns and try the car and keep winding it out until the pinking eases (if you get to four or five turns then you need to think about a brand new carb Manual choke version) don't alter the timing until you cannot alter it buy winding the mixture screw out. The sooner you can get the colourtune the easier it will be to sort this out. Pete
Hey peteh1969 I got my hands on a Colourtune. Funny enough I was talking to my Dad on the phone and he has one. I knew he did back in the day but thought i'd got rid of it (he always told me he got a blast off it and that was the end of that). Anyway, hes posted it down to me but its 14mm rather the 18mm. I had a look in my compression tester box and found an adapter that will fit in there although, its deeper than Gunsons official ones. Also not sure why the Gunsons one comes with an Allen key? I was hoping to try this today but we had builders round so it didnt happen. 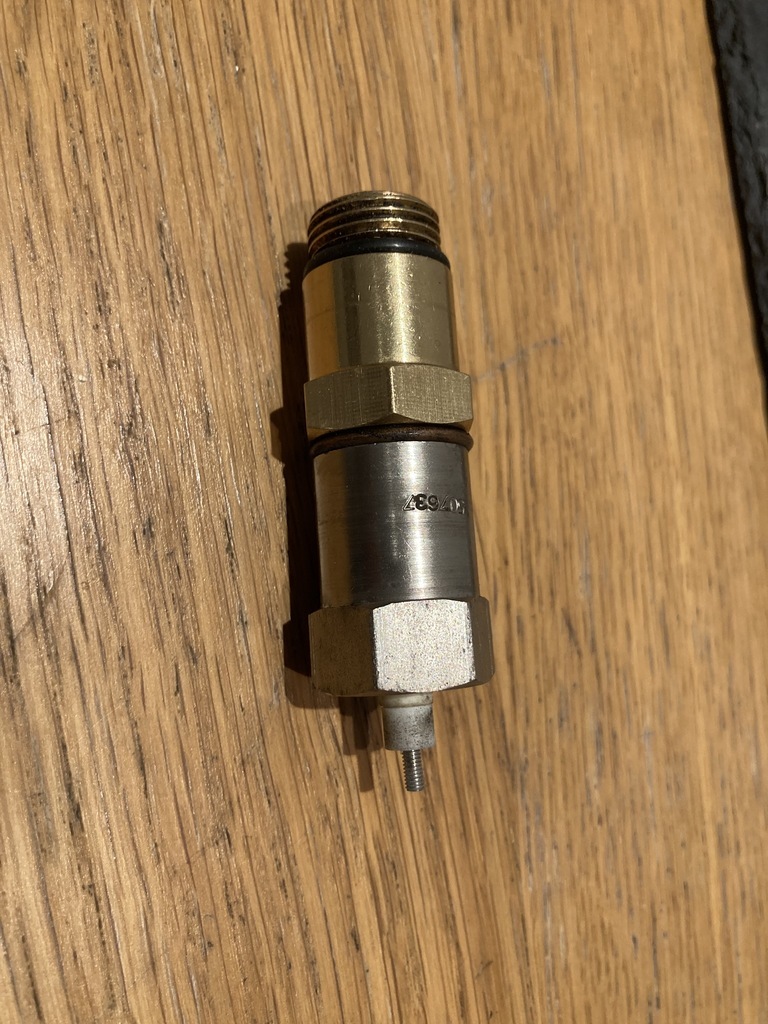 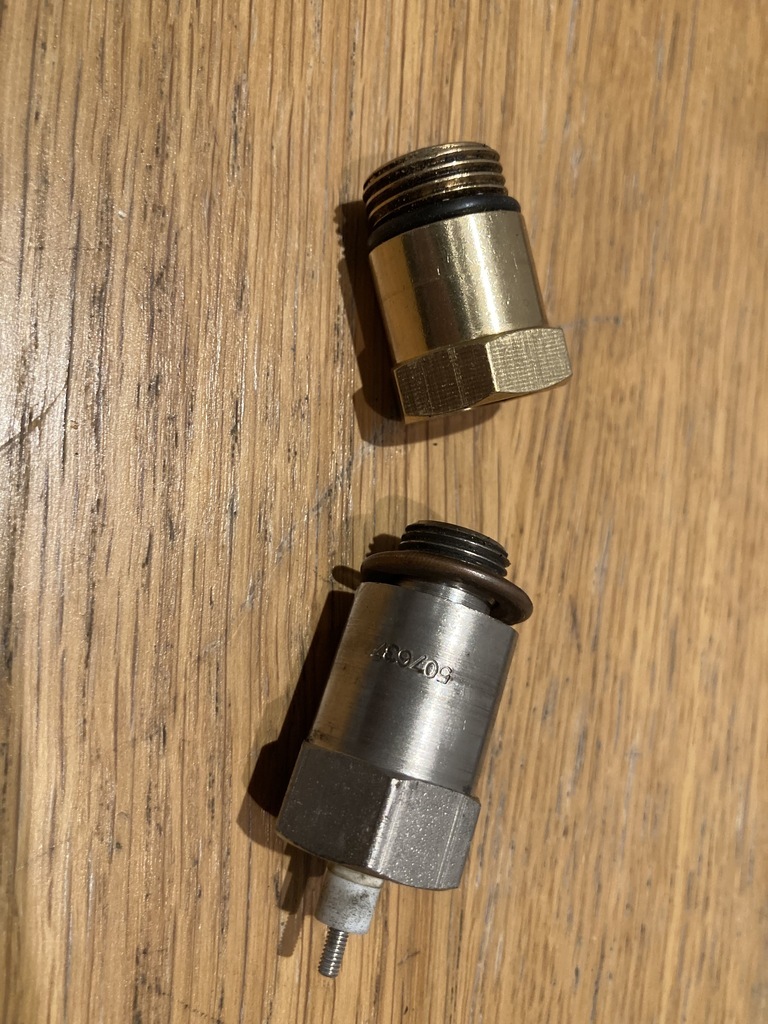 Other news is I had a little box from Capri Gear containing an Exhaust Rubber, 2 rear anti roll bar bushes and a handbrake bush for the diff cover. I sprayed up the new diff Cover but still need to get the Diff oil and gasket sealer for the job. Also I have some exhaust putty to put on as it seems to be blowing at the back too. Also... I bought some original headlight bulb holders/looms as mine acts up on one side and if I want to go for the original bumpers in the future, I'll need these. I quickly wired on into the fast flashing side and it flashes perfect!!! Result. I put it back as I'm still missing bumper parts to convert it to origional spec. I did however pick up a rear bumper, end caps plus overriders for £40 local  A couple of instagram pals are helping out with the front end caps and missing indicator lens for one side... when I get all this i'm thinking of going for it. Heres a mock up using the two rear plastics ... 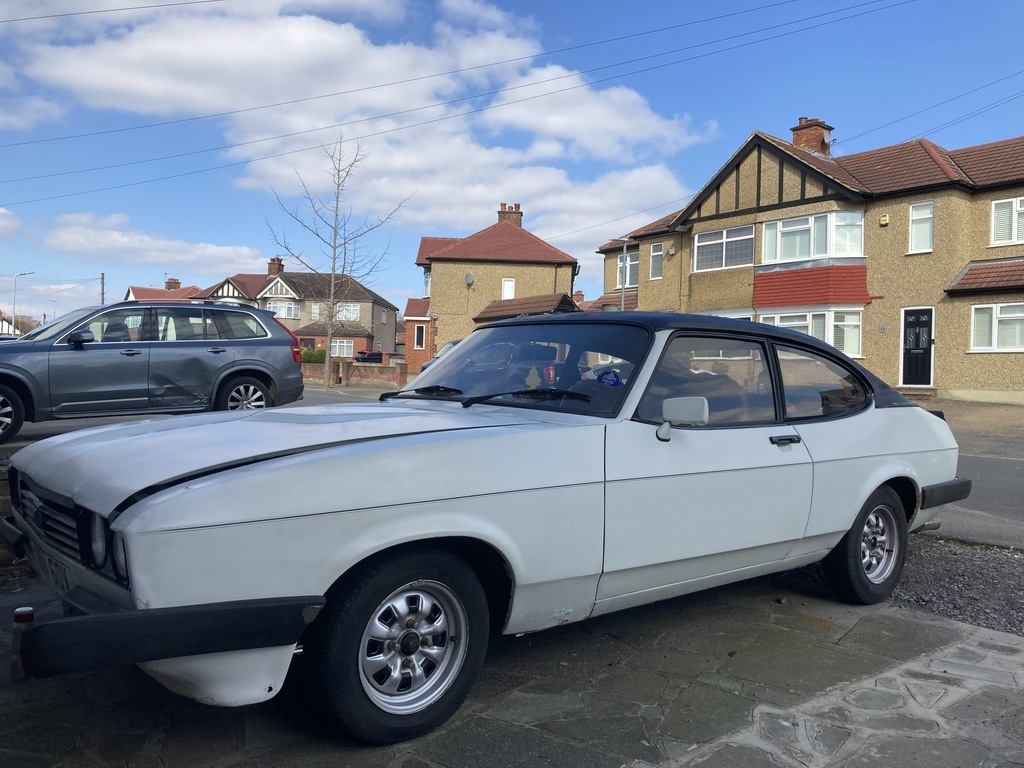 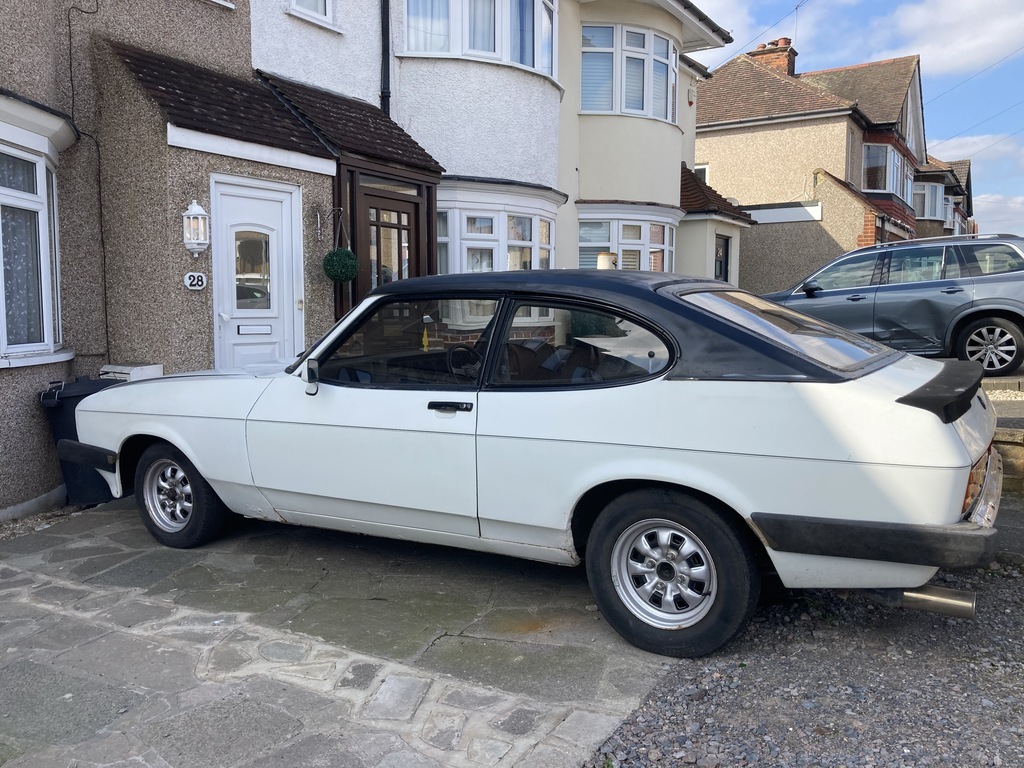 |
| |
|
|
|
|
|
Mar 26, 2021 11:41:11 GMT
|
|
Great I'm glad you have a colour tune to use two things that will cause you problems with it.
1. if you use the long converter rather than the Gunson one it puts the part that sparks too far away from the fuel air mix and it won't ignite the mixture, get the proper thing.
2. If you use it without the carbon connector screwed on to it and then connect that to the plug wire the park will jump to the closest metal part and it wont work, and you could get an electric shock.
Other than those two things the bumpers look much better.
|
| |
|
|
cjhillman
Posted a lot
   1979 Capri (Rolling Project) 1985 Escort mk3 (Daily)
Posts: 1,614
|
|
Mar 26, 2021 15:53:21 GMT
|
|
Cheers for the advice. Just bought an adapter which I’m guessing will be here sometime late next week. I did wonder about the distance so glad I asked.
I think the new bumpers will look good if I can get them to fit. It would be nice to see it looking like a normal Capri especially next the the Escort. Once I get a second front indicator lens I’ll start trying to fit them. The front should be easy but as the back has been smoothed off it’s lost the original bumper location points so... that’s going to take a bit of thinking. The bumper that’s on the car doesn’t use the same mounting position.
|
| |
|
|
cjhillman
Posted a lot
   1979 Capri (Rolling Project) 1985 Escort mk3 (Daily)
Posts: 1,614
|
|
Mar 31, 2021 19:31:52 GMT
|
Colour tune adapter has turned up. If anyone wants one, check out Powerspark as they seem to be the cheapest. I havent used it yet though. The big jobs on the list are getting it running right and then a load of rear end stuff (replacing the diff cover, checking the rear brakes for a clunk and fixing an exhaust leak) which i'm building up too. Today I thought i'd take a look at these "new" bumpers. I already figured out the rear will be no problem at all as the original bumper holes just have filler in them. The front however is what needs to fit before I start on the back. I had to take off the existing Escort bumpers and drill through the filled in front which is filler on metal to get the bumper irons through. I wasnt too bad but needs a bit of tidying up now. 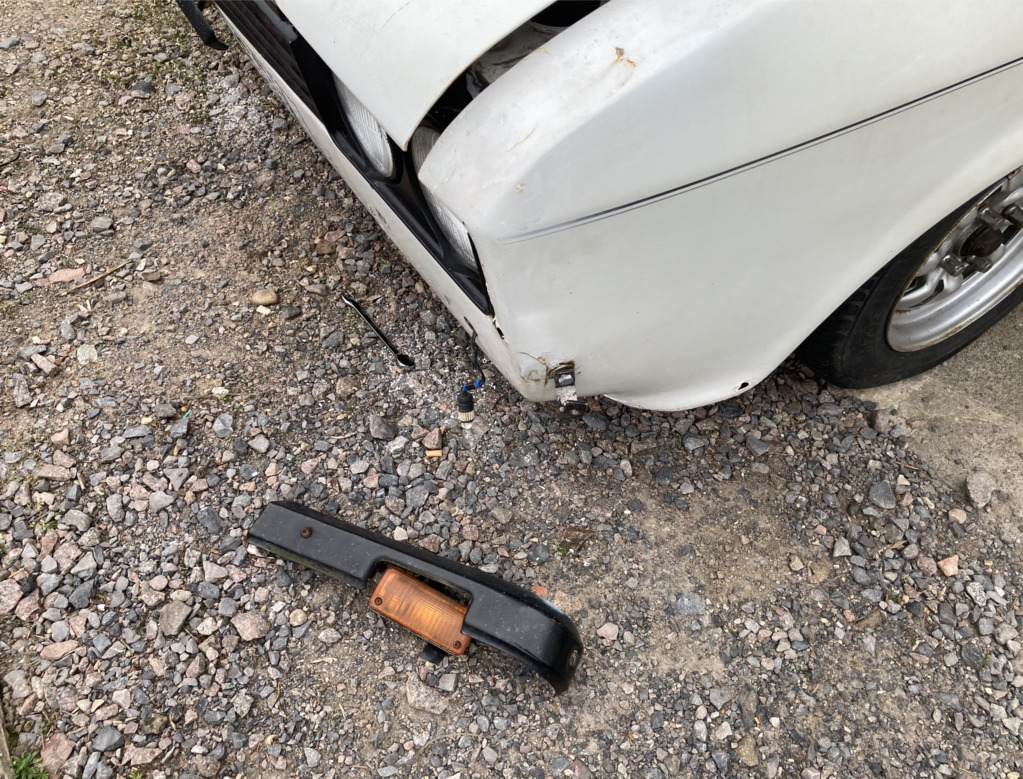 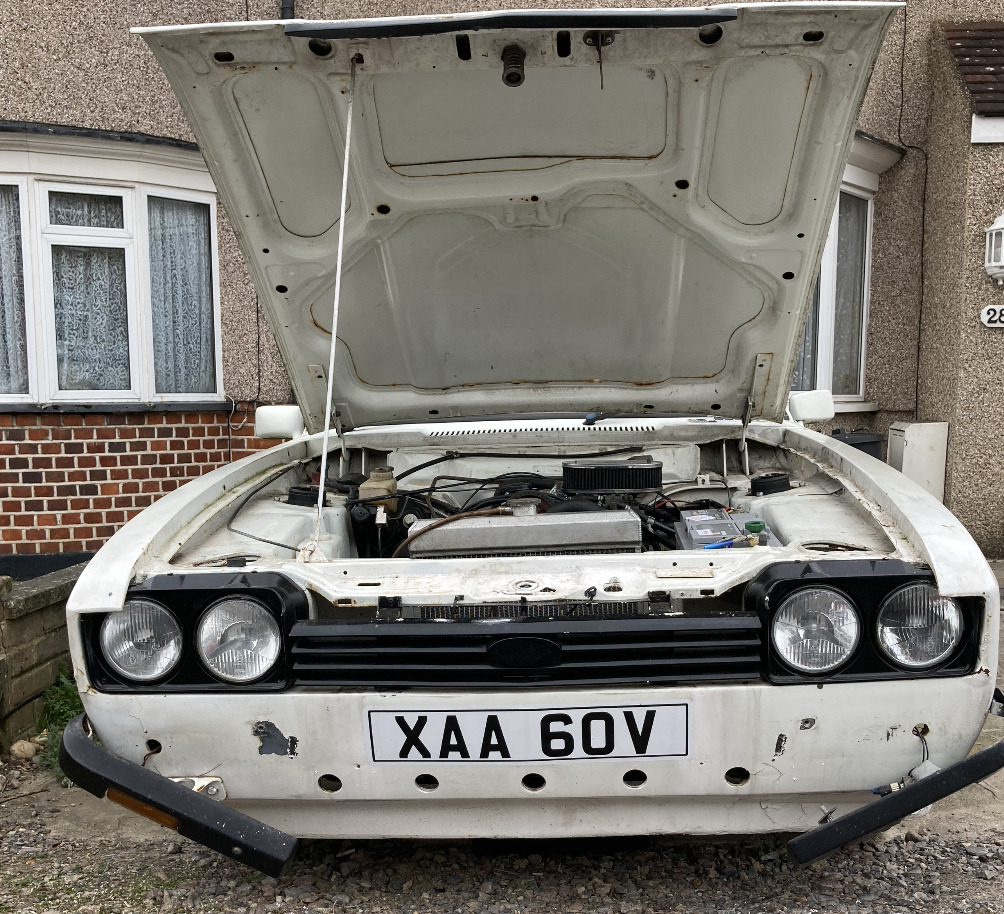 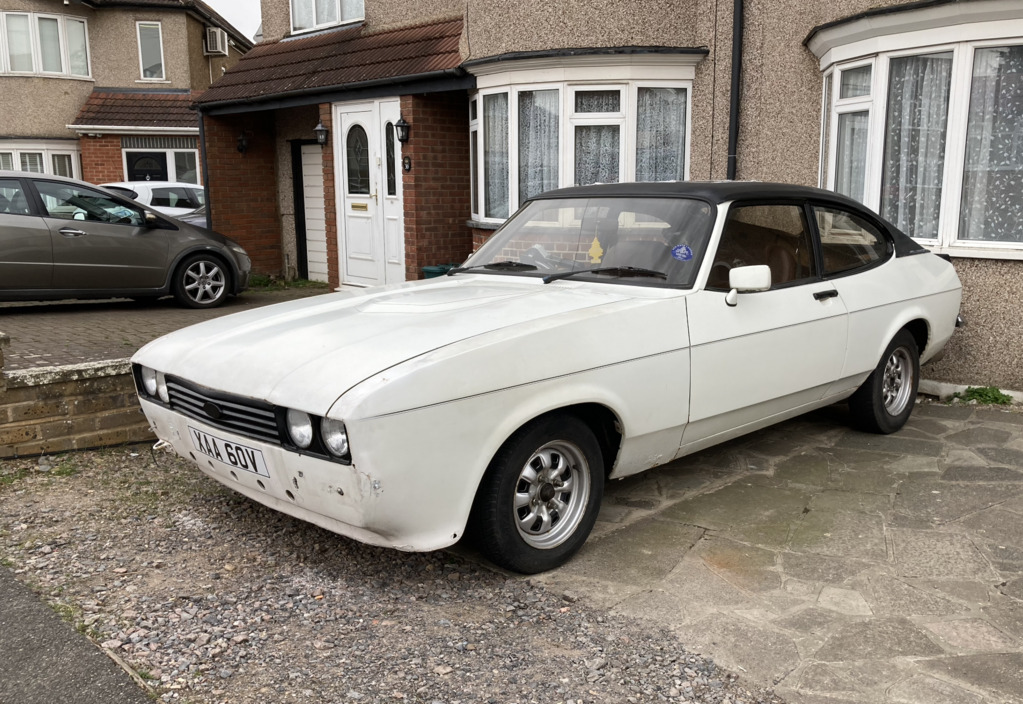 The only problem is, with the front being filled over, the holes for the bumper irons are about 5mm-1cm out. I tried drilling new holes through the irons (bumper brackets) but thats not happening with my hand drill. The nuts that hold these onto the bumpers are rusted solid with a rivet type face. I may have to buy an angle grinder for this. Heres what it will kind of look like with a bumper on... 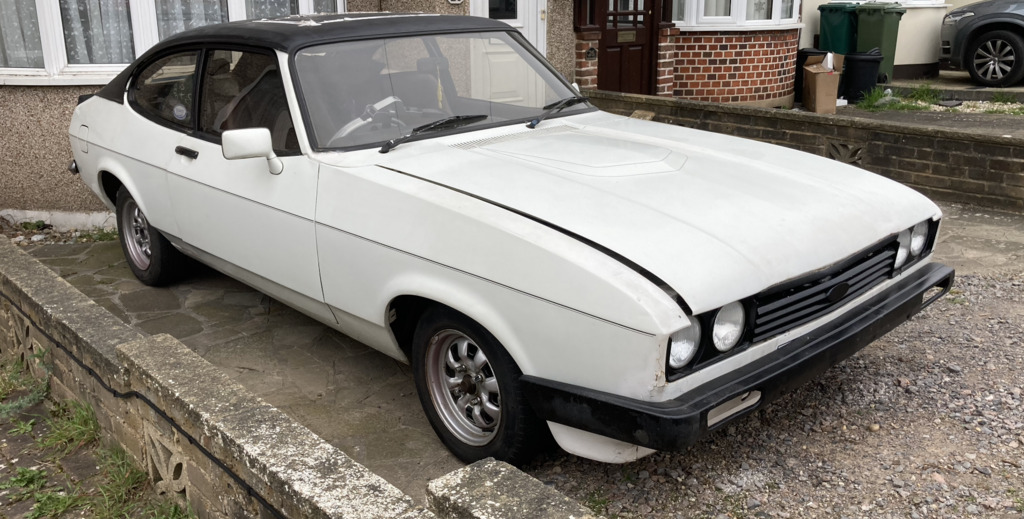 I'll try again tomorrow with some fire to get the nuts off but I'm not holding my breath. Unfortunately i'll have to figure something out with the indicators before it can leave the drive way again. Not into the escort bumpers so would probably go for the landrover indicators lenses . Also, picked up a can of Diamond white on the off chance that was the right colour... turns out it was. Will be sorting out the rust spots post bumper. Who likes the new bumper verses bumperless??? I'm a bit gutted to see the rear chrome one go if I'm honest. |
| |
Last Edit: Mar 31, 2021 19:34:35 GMT by cjhillman
|
|
|
|
|
Mar 31, 2021 20:10:01 GMT
|
On a Dog walk before the Rain. Fits in with suburbia .  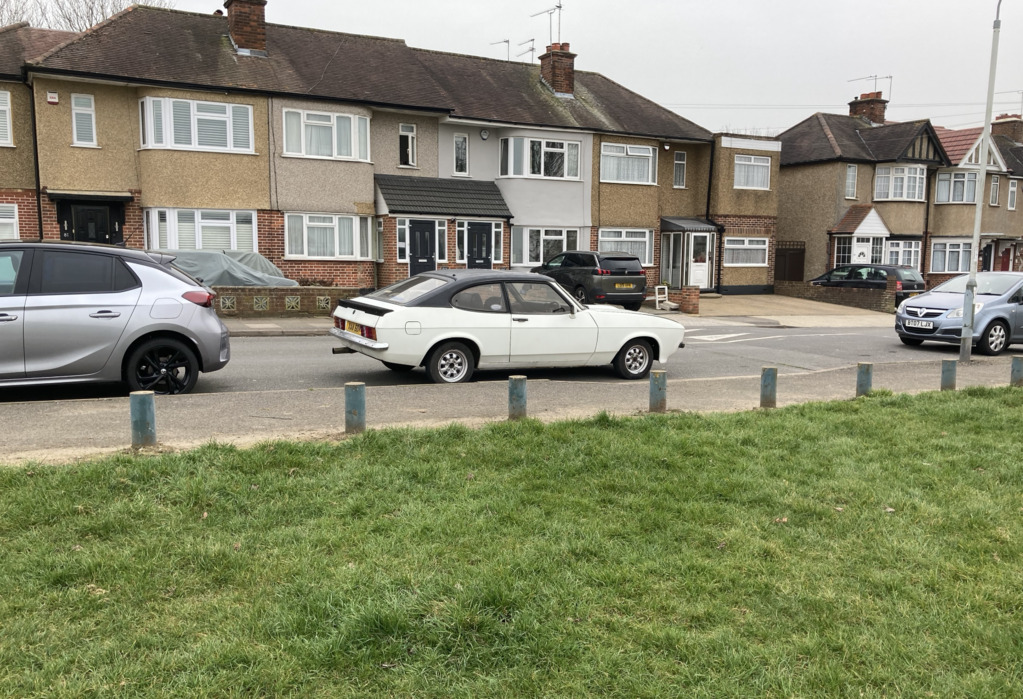 Well it certainly fits in with the suburbia of my youth 
I never owned a Capri but, my mum had two of them and, in my teenage years I spent many hours in the passenger seat of my mates 2.0S.
I prefer the full bumper look myself.
|
| |
Last Edit: Mar 31, 2021 20:18:13 GMT by wildrover
|
|
cjhillman
Posted a lot
   1979 Capri (Rolling Project) 1985 Escort mk3 (Daily)
Posts: 1,614
|
|
Mar 31, 2021 20:30:55 GMT
|
Yeah I think i'll definitely go with the full bumper look for now. Just need to angle grind the nuts off to get the new bumpers to fit. I'm going to buy longer nuts and pack them out with a ton of washers or one other nut I guess. don't really want to loose the gap between the arch and front bumper plastic by bringing them out any further Cheers for the heads up on Nathan post! I read the whole story of the garage build but missed that! Not sure what i might need but let me know if you are selling anything mate! The tabs have also broke off the "new" indicators so ill have to fabricate something for that too. |
| |
|
|
eurogranada
Europe
To tinker or not to tinker, that is the question...
Posts: 2,556
|
|
|
|
|
Full bumper and black both ends or chrome both ends... I do think on your white car the black adds a nice bit of contrast...
|
| |
|
|
cjhillman
Posted a lot
   1979 Capri (Rolling Project) 1985 Escort mk3 (Daily)
Posts: 1,614
|
|
|
|
Full bumper and black both ends or chrome both ends... I do think on your white car the black adds a nice bit of contrast... I think you are right. If I had a mk2 chrome bumper I might stick with chrome on white. I've worked away a little more at it today. Had to buy an angle grinder to get the bumper brackets off. That made short work of that. 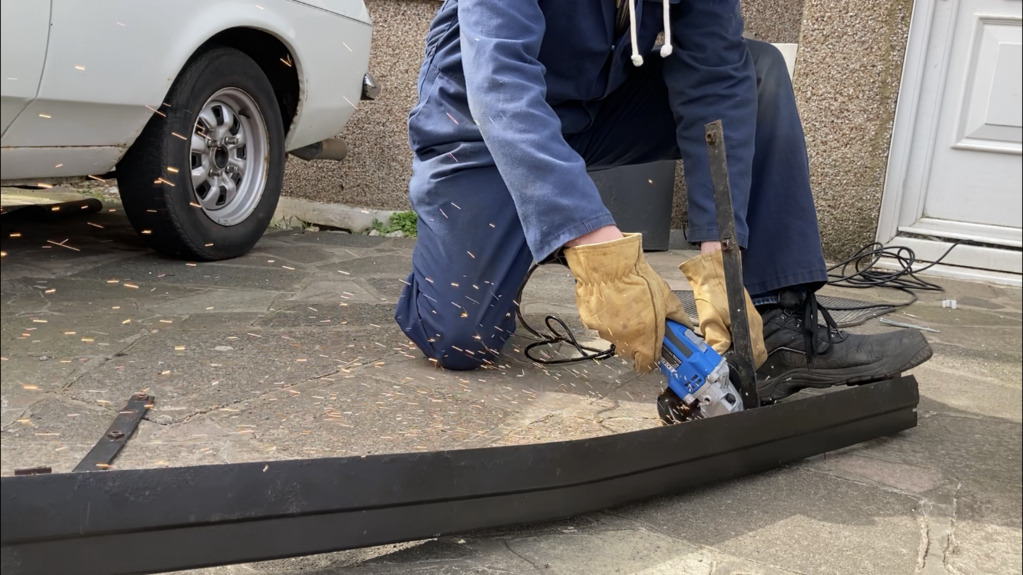 I then bolted the brackets to the car and then fitted M8 bolts to the front with an extra nut to space the bumper slightly away from the body. 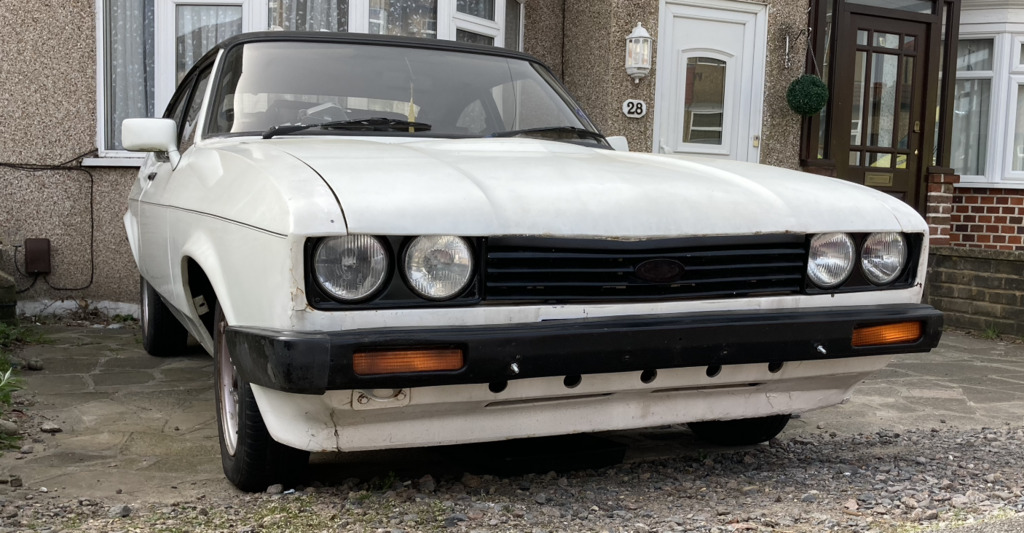 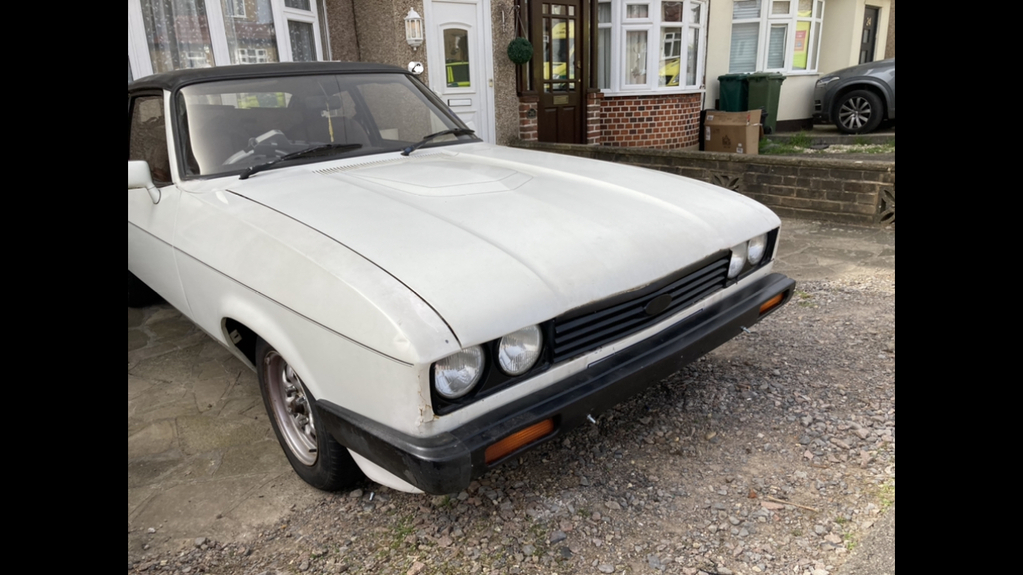 I've taken the bumper off again now as I need to touch up a few things, remove the stick on plate, properly bolt the brackets down and mainly sort the tabs out on the indicators. 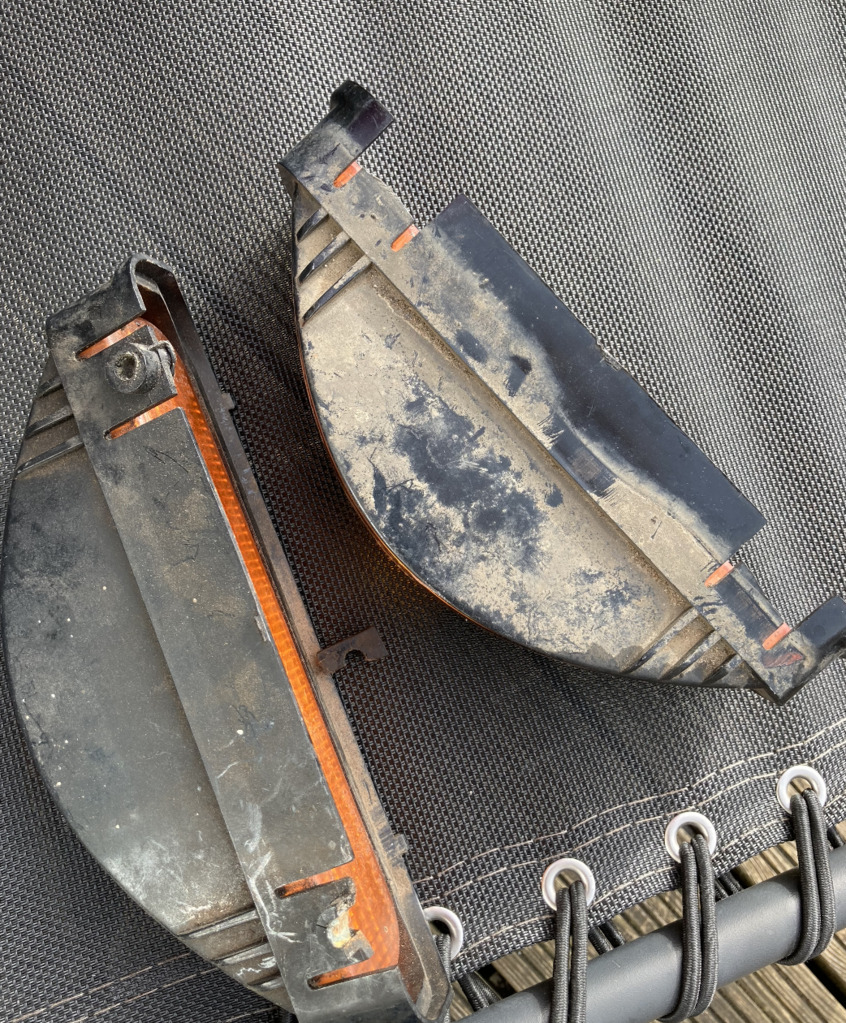 |
| |
|
|
|
|
cjhillman
Posted a lot
   1979 Capri (Rolling Project) 1985 Escort mk3 (Daily)
Posts: 1,614
|
|
|
|
|
|
| |
|
|
|
|
|
|
|
|
I love that look, tidy up the front grill, fill the arches with a big set of wheels - dogs nuts
|
| |
|
|
cjhillman
Posted a lot
   1979 Capri (Rolling Project) 1985 Escort mk3 (Daily)
Posts: 1,614
|
|
|
|
What I thought would be a days work has taken about a week.  I still havent fitted all the bumper parts yet as I've only had a couple of hours at a time but by the weekend it should all be together. Basically after spraying the front I had to find a way of bolting the indicators to the bumpers which for some reason took a few days to figure out. They all have damaged or broken tabs so a mixture of metal new tabs bolted to the plastic and Araldite screws sorted that this morning. Once the indicators were done I could bolt the front bumper back on and wire up the indicators. I wasnt worried about spending time on the back as I felt like this would be done in about 10 mins (i was right) but the front ended up taking me about 2-3 hours and its only loosly bolted on. I'm going to get my misses to help with the bumper bracket bolts and lining it up... my arms just are not long enough and theres only so many times I want to hear a set of mole grips hit the deck while i'm bolting up the other side  Heres a still from a video on my phone. Both indicators now flash in time sooooo much better. As you can see its not the most perfect of bumpers and the wiring is a bit long on the passenger side indicator. Two really great people have sent me stuff from Instagram so a really really really big thanks to westycapri who sent me a front corner,indicator lens and mounting tabs  and SteveDlr on Instagram who sent over more front corners so I'll have a full set soon. 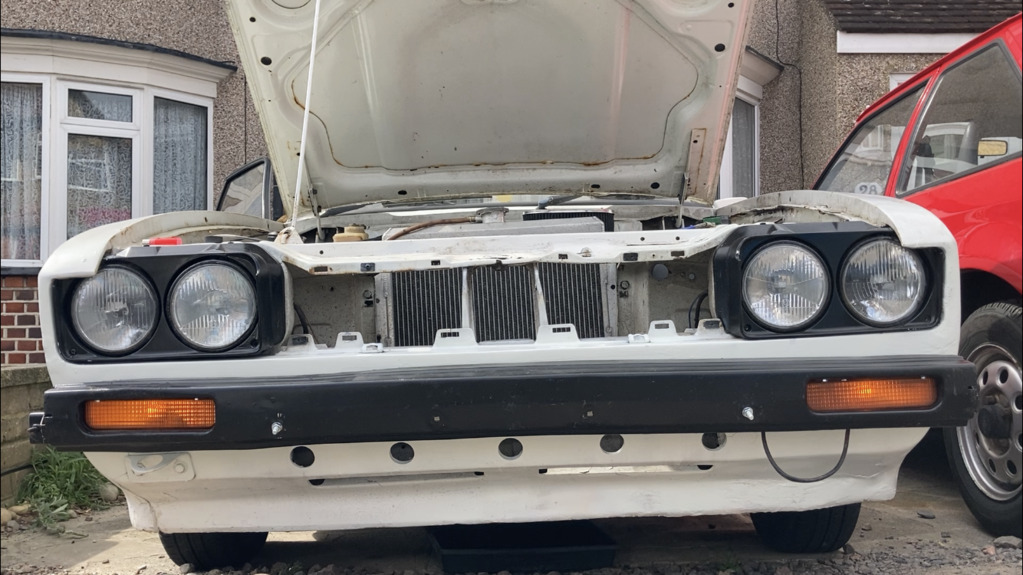 Now I fired the old girl up for the first time in a while and span it around. The rear was super easy. the hole were just filled with some sort of silicon sealer so I drilled that out from the inside and fitted the new rear bumper in about 5 mins.  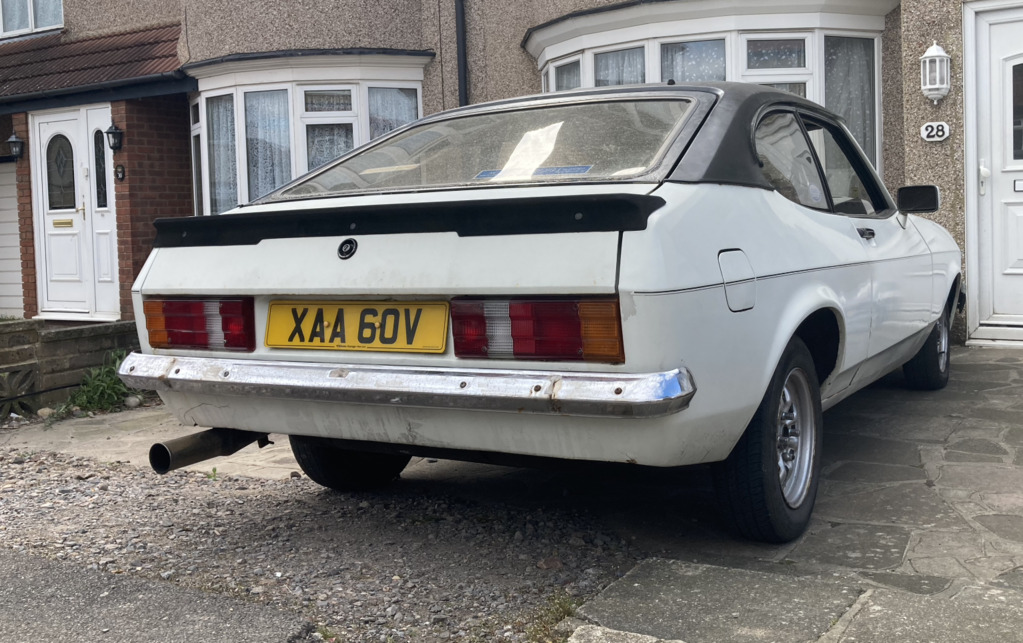 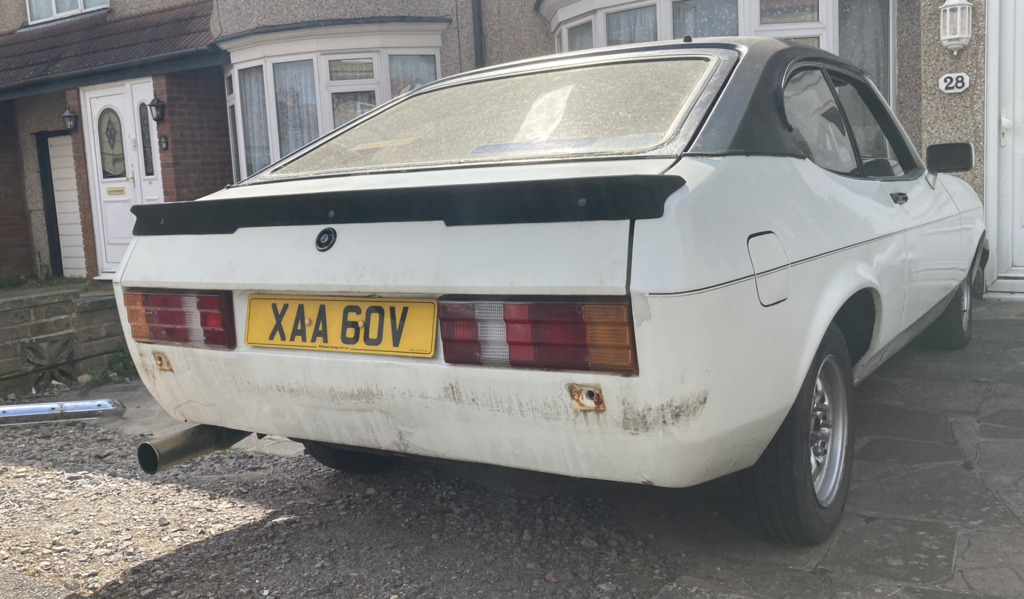 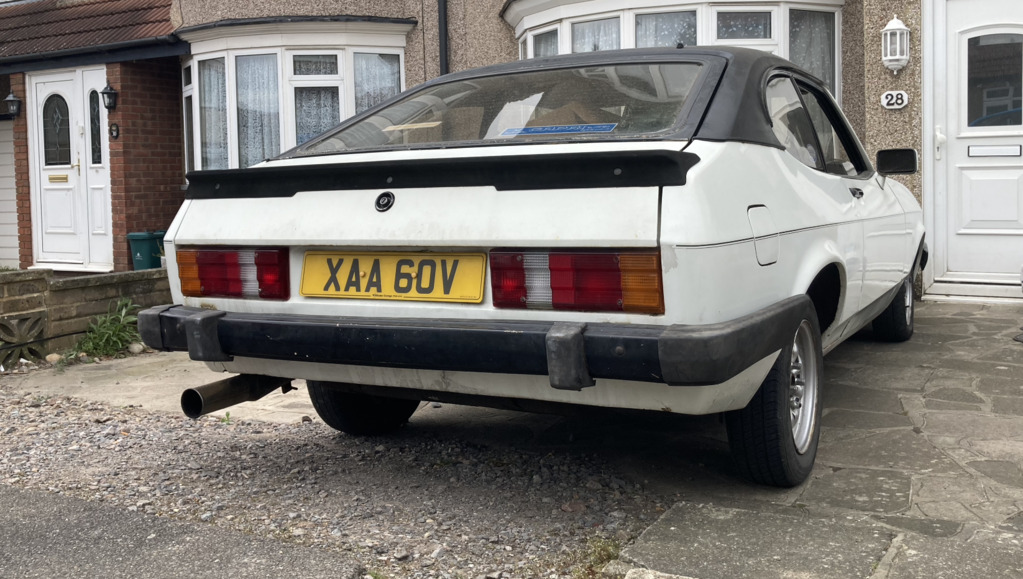 After this I took the bumper back off, filled the chrome bumper holes with P38 , sanded and sprayed it back up. Its a bit rough but does the job for now...I might take the dermal tool/hand drill and round off the Exhaust area too tomorrow. Would love to know your feelings on the look above. It honestly feels really weird seeing the Car look standard as the "mk2" chrome bumper is probably a big reason I bought the Car as I love the Minder Car but! I think it will grow on me, especially as it will match my Escort. I know people might say well why did you change it then but the front also looked like it was missing a ton of stuff without any bumpers. If it really gets me down I will probably go back to chrome bumper and landrover indicators but... I cant see me doing that now...
Last pic... drying white back side ready for its "new" bumper tomorrow. I did try and straighten the "new" rear bumper out a bit so it probably will look a little better. Only just noticed how bent the front one is ... was only £4 though . 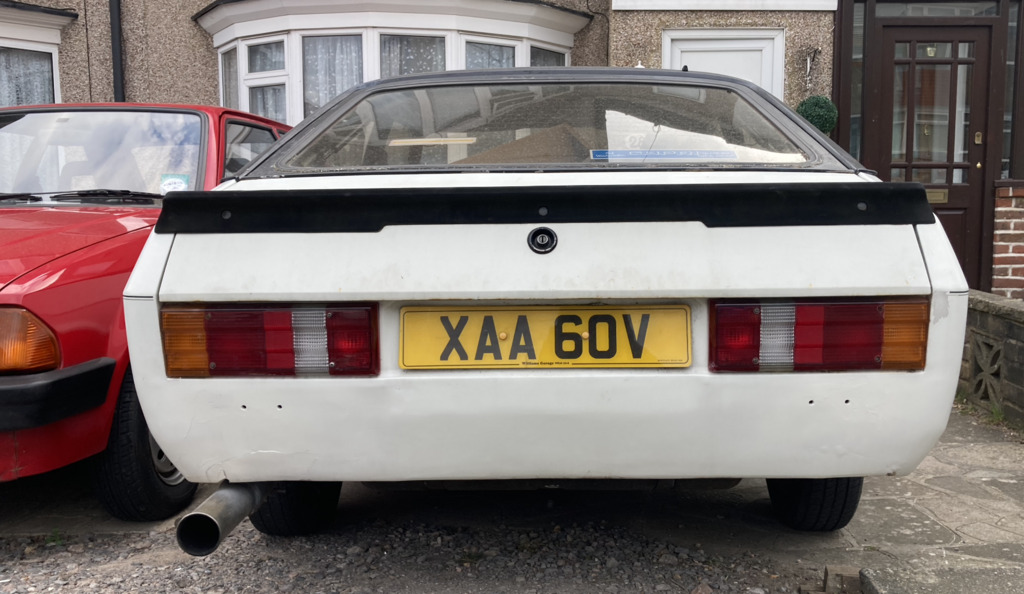 |
| |
|
|
|
|
|
|
|
|
I prefer the mk3 bumpers especially the contrast between the black and white, looks just right for the era, the mk2 always looked a bit of a mix up of 60's and 70's styling to me.
As said above some wider wheels or even spacers would really finish it off.
|
| |
|
|
cjhillman
Posted a lot
   1979 Capri (Rolling Project) 1985 Escort mk3 (Daily)
Posts: 1,614
|
|
|
|
I prefer the mk3 bumpers especially the contrast between the black and white, looks just right for the era, the mk2 always looked a bit of a mix up of 60's and 70's styling to me. As said above some wider wheels or even spacers would really finish it off. Definitely on the wheels! I'd love to get some banded ones or something to make it stand out now. Also, this needs new tyres as most of them are cracked before I go near a motor way. These wheels were £40 and i did think about getting them banded/spraying them all sliver. The only thing stopping me is a few other possible spends. Definitely need an alternator as this one is charging at around battery level and I think from memory they struggled tracking this up due to the rear suspension... just dawned on me yesterday DOH!!. Mainly theres an oil leak down the manifold side and I'm not sure if its coming from the head or not.  i'm going to send it to my regular guys I think this month to see about it... I was hoping to get it all right for Retro Rides (the aim anyway) but if it has any head problems I want to catch it early. I have been told to just re torque the head bolts to see if it stops but I'll let them do that. Definitely worth an hour of professional time me thinks. |
| |
|
|
|
|
|
|
|
|
Don't worry to much about the oil leak even if it is the head gasket they have got to be one of the easiest ones out there to change, back in the day we used to take the head off change the cam and have it all back together in less than 2 hours, from memory, it was fuel line and throttle cable off, exhaust down pipe off, pull the plug leads, slip the cam belt off undo the head bolts and lift it off with the manifolds. Being big lumps of iron they rarely ever needed skimming and just went back in the same way, being a non interference engine we only bothered changing the cam belt if it showed cracks, all so simple and so much access to everything compared to modern motors.
Mind you some preferred to pull the engine to change the cam, if you had the right tools that only took about an hour as well and you didn't have to pay for a head gasket! try that on a modern.
|
| |
Last Edit: Apr 8, 2021 7:30:12 GMT by kevins
|
|
|
|
|
|
|
|
I like it - it’s gradually looking more and more like mine as time goes by 😉
Just loose the rear spoiler and fit some slots and we’ll be twins 😂
|
| |
|
|
cjhillman
Posted a lot
   1979 Capri (Rolling Project) 1985 Escort mk3 (Daily)
Posts: 1,614
|
|
|
|
I like it - it’s gradually looking more and more like mine as time goes by 😉 Just loose the rear spoiler and fit some slots and we’ll be twins 😂 haha I think your right. Especially once I satin black the wing mirrors and find some banded steels or slot mags! I think yours is a fair bit tidier then mine though. Have you used the ole girl much lately? I finally got all the plastic corners on today but they still need securing properly. As I lost the tab holes due to it being smoothed off i used double sided numberplate tape on the little plastic mounts.. It didnt really work though. I don't want to drill into the panels of the Car so, I'll have to keep thinking of how to do this on.  Went for a quick blast around the neighbourhood post fitting. So pleased with the outcome!! It looks a lot better now. Also, the indicators now don't flash/tick faster on one side now  thats a massive win for me. It makes driving it a lot more plesent plus! knowing the Car looks right makes it feel like a proper nice Capri to be in now  weird that, really didnt expect that. I havent fitted the old number plate yet... if I'm honest I'm a bit gutted to haha!! Really wanted some of the old style raised ones (i have the numbers and letters just no plate) but that will have to wait, they're expensive to have made up. I might get another stick on one for the front. 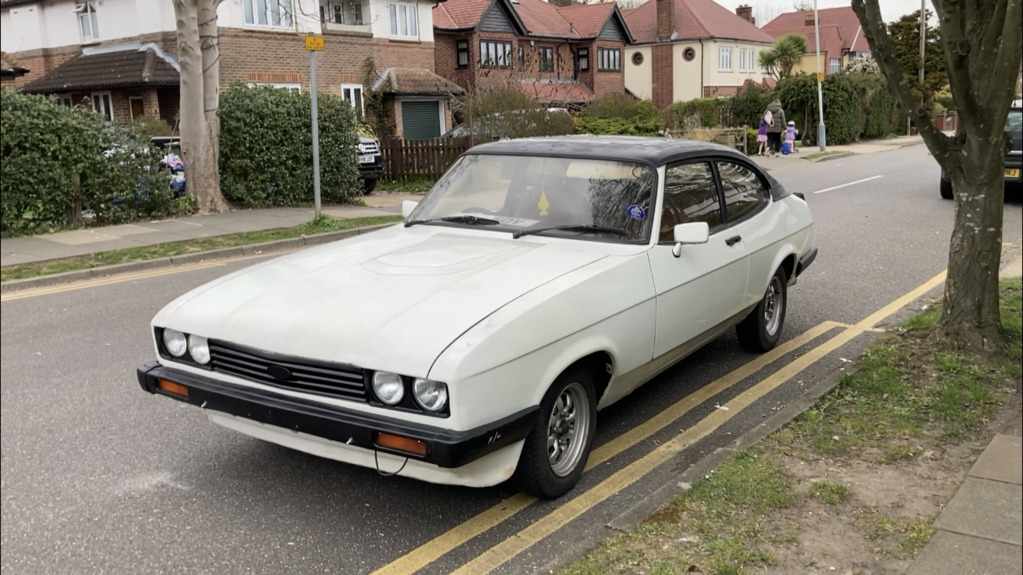 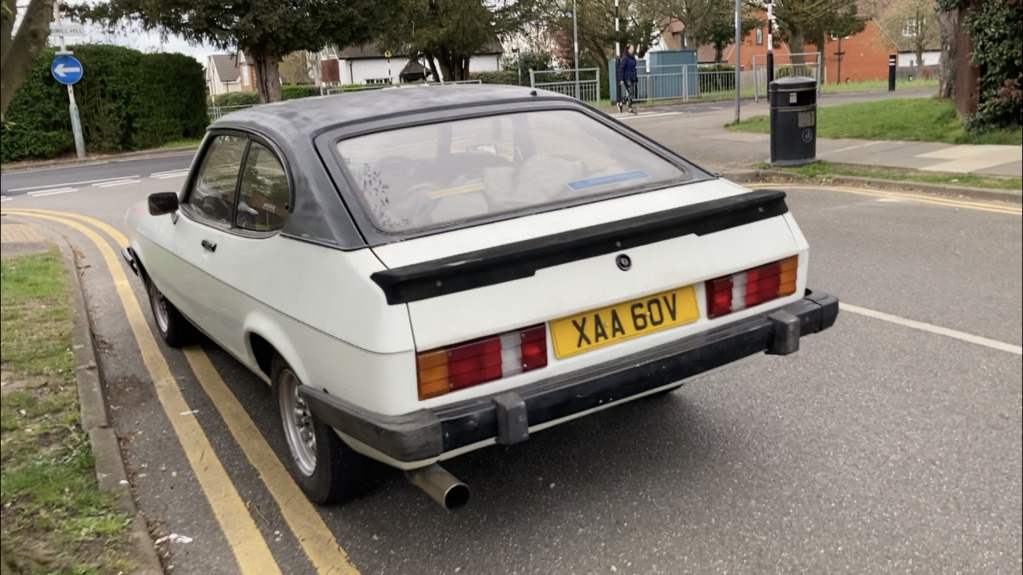 Two years on and looking a LOT better   Also, couldnt help myself with the location... looks like a badly parked 70s Ford Brochure. 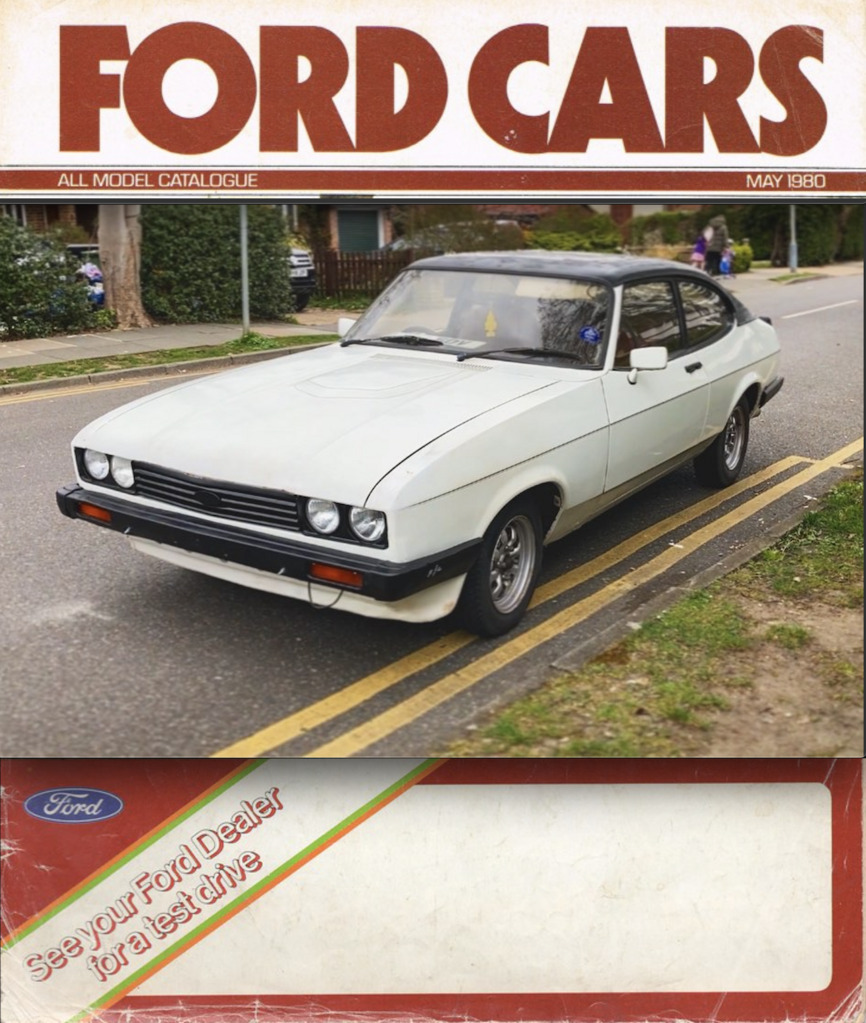 |
| |
|
|
eurogranada
Europe
To tinker or not to tinker, that is the question...
Posts: 2,556
|
|
|
|
|
Looks a lot more complete for one. It's a good look for the car!
|
| |
|
|
rickygolf83
Scotland
Mk2 Golf 8v & 16v, VR6, Nova Antibes, Mk4 1.8t & mk4 Gt Tdi 130
Posts: 560 
|
|
Apr 13, 2021 19:33:26 GMT
|
|
Love it in both guises, but you are doing the doing the car justice with the oem parts, it looks spot on 👌
|
| |
|
|
|
|


 A couple of instagram pals are helping out with the front end caps and missing indicator lens for one side... when I get all this i'm thinking of going for it.


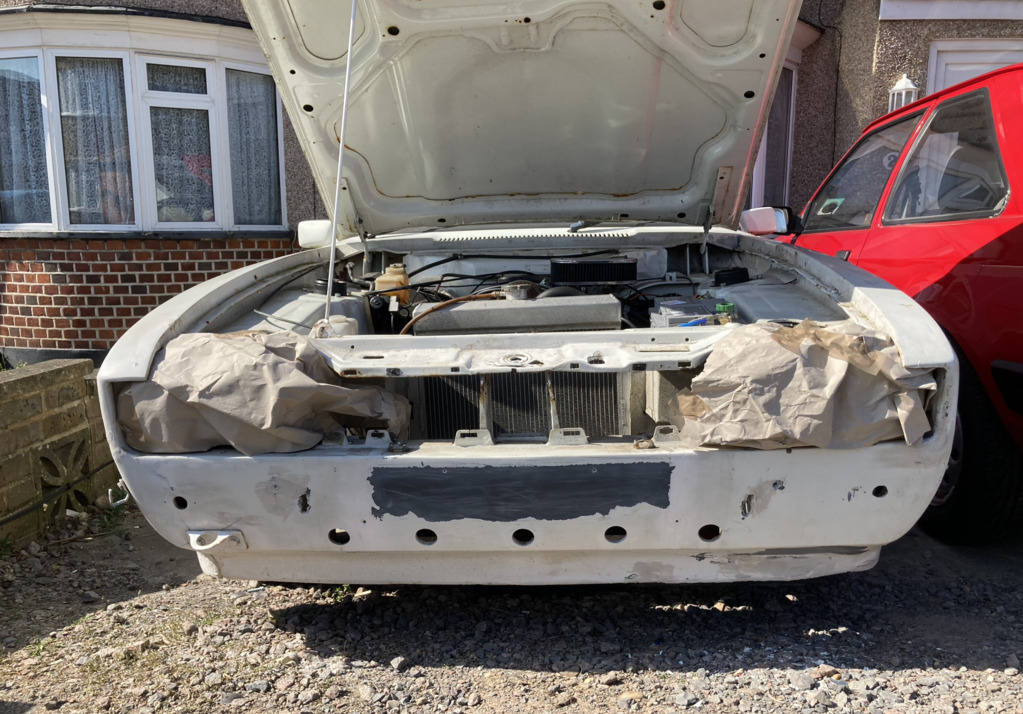
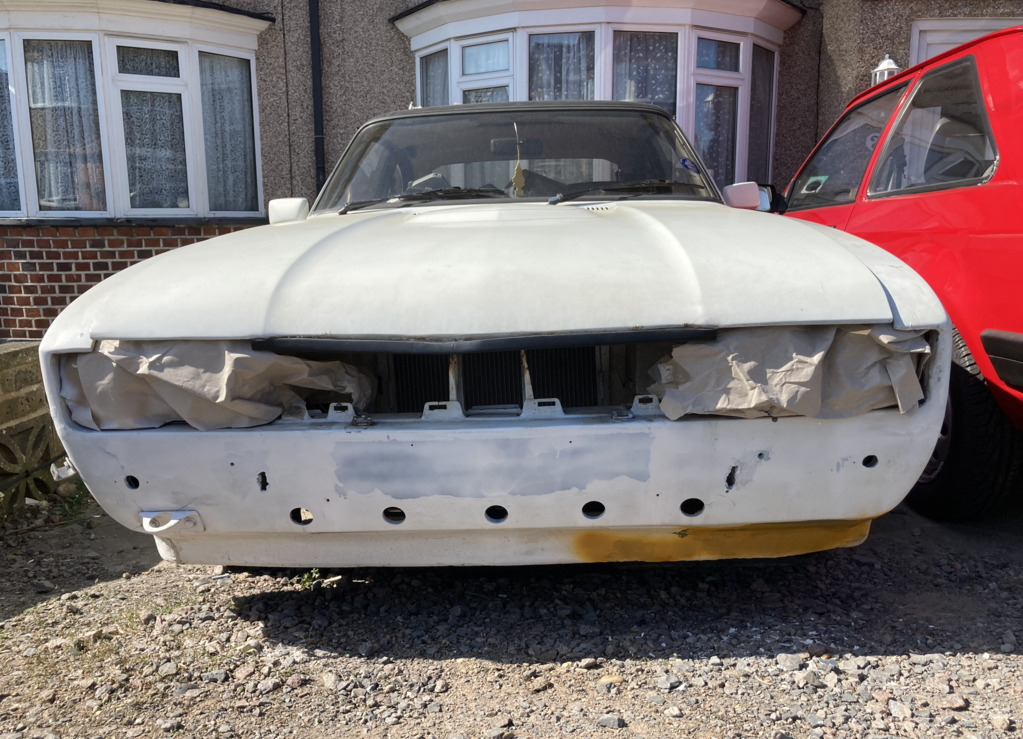
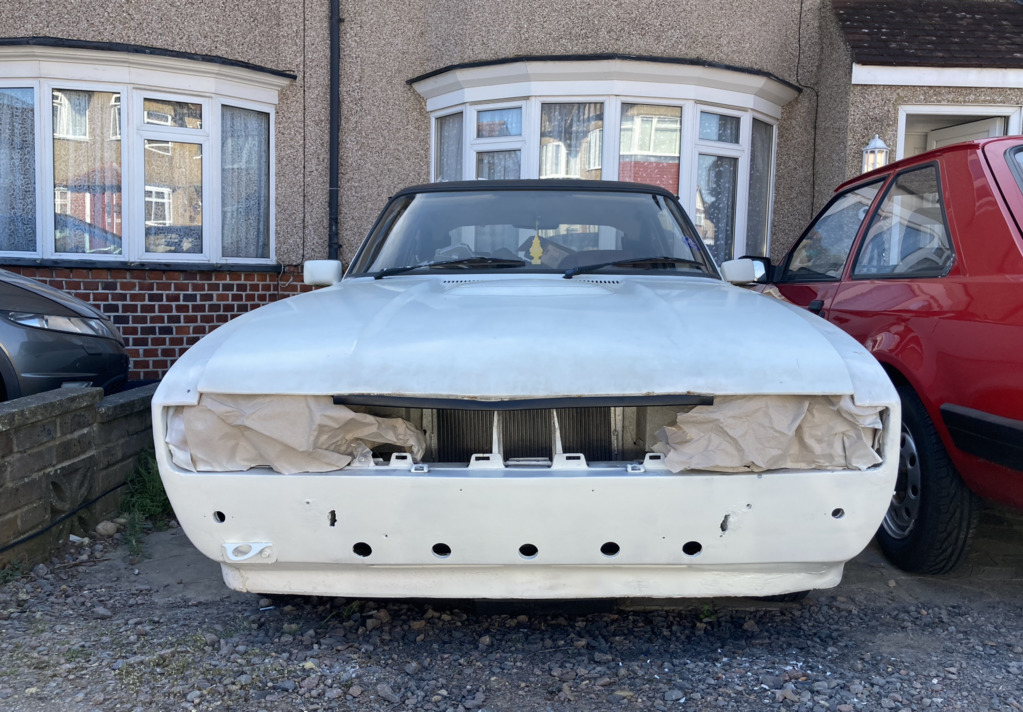
 Although I LOVE standard cars so... this is throwing me a bit. Anyway. Going to keep on with this this week... and also the rear end stuff that i'm 100% procrastinating on.
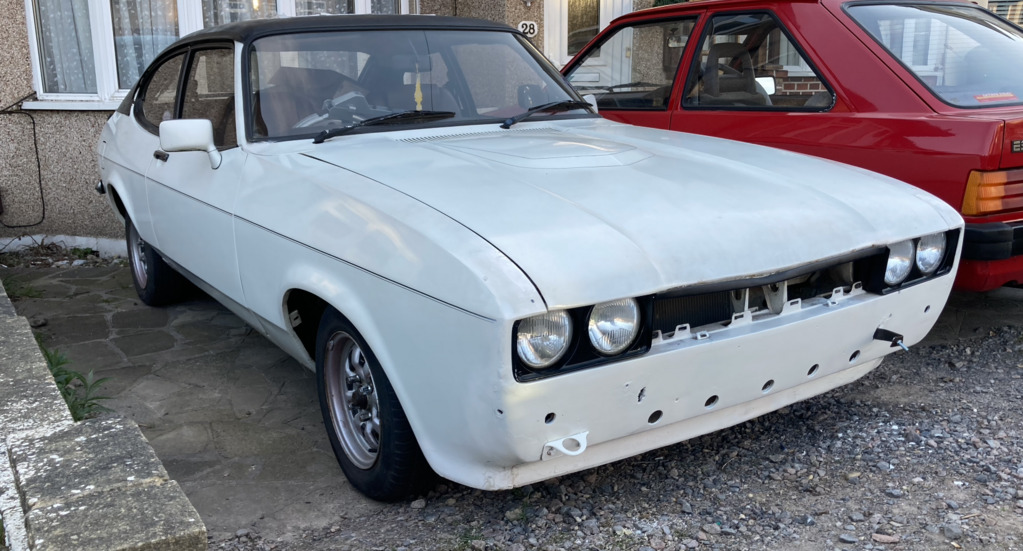


 i'm going to send it to my regular guys I think this month to see about it... I was hoping to get it all right for Retro Rides (the aim anyway) but if it has any head problems I want to catch it early. I have been told to just re torque the head bolts to see if it stops but I'll let them do that. Definitely worth an hour of professional time me thinks.


