|
|
|
Aug 29, 2022 18:36:19 GMT
|
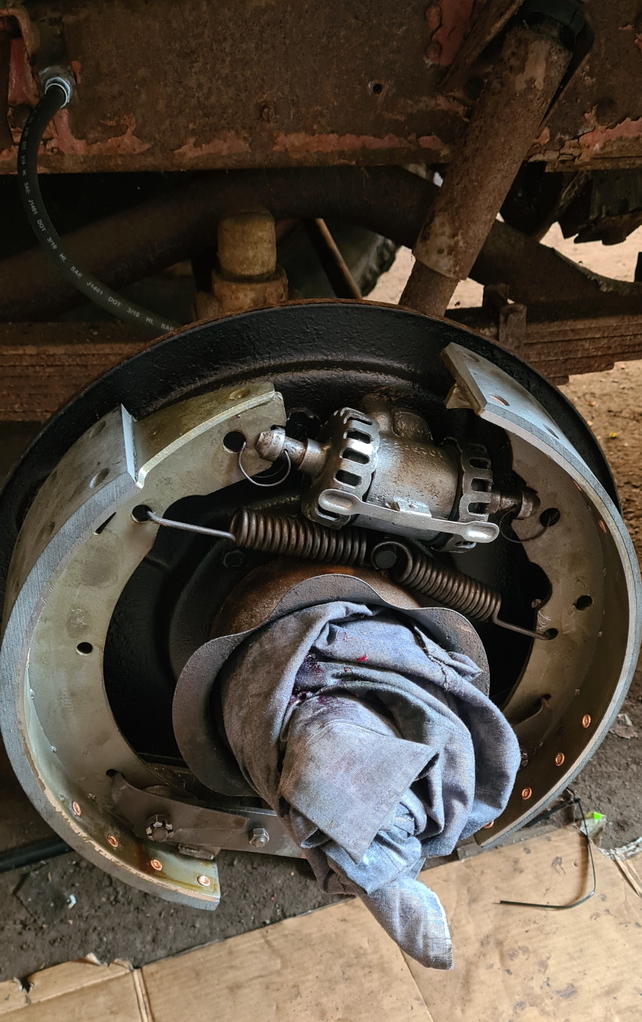
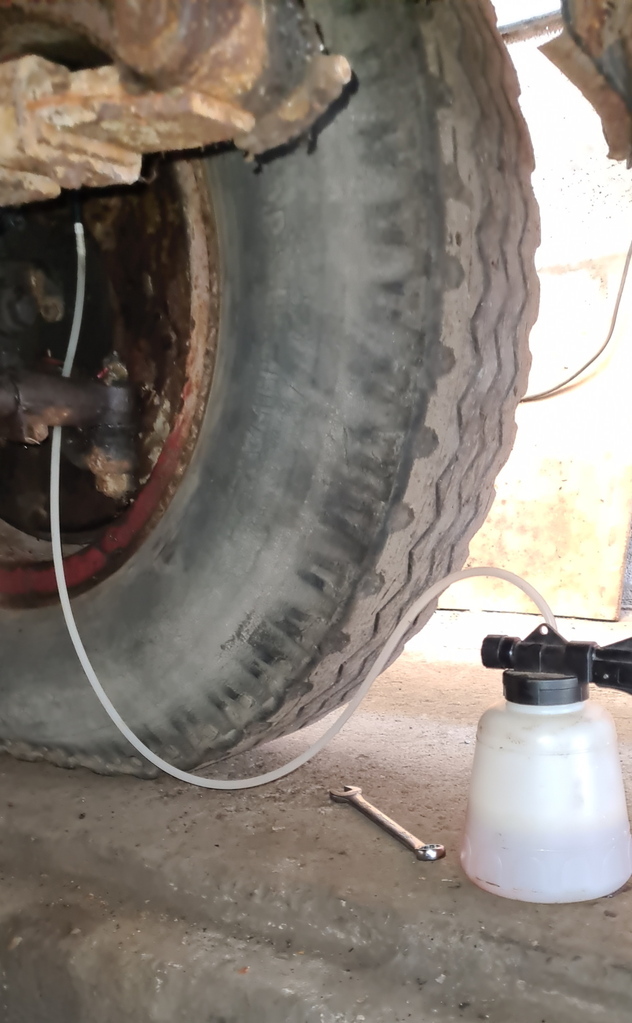
Made quite a bit of progress over the last few weekends but never seem to have the time to update the thread! Managed to get the N/S/F brakes built up and both of the replacement brake drums fitted. Had some rubbing issues with the backplates but a few tweaks soon sorted those. Then came bleeding the system, long runs of 5/16" brake pipe mean LOTS of air, but with a combination of my vacuum bleeder and the old fashioned pumping the pedal method we got all the air replaced with fresh DOT4. After re-adjusting all the brakes and a few brake tests in the driveway we managed to get all four wheels to lock, success!
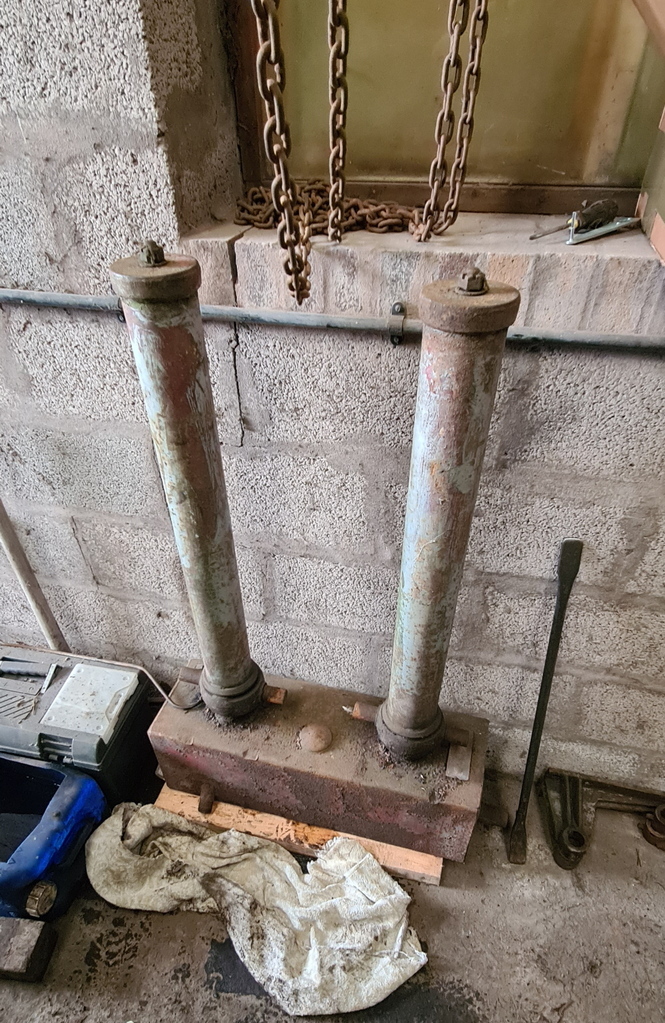
Next was the job I'd been dreading, removing the tipping rams in preparation for removing the body. They were fitted so close to the rear of the cab I was scared we were going to either damage the cab or break one of the rear windows, but with a lot of thought and some very gentle persuasion with a gantry crane, Dad and I managed to remove them without any damage, phew!
The new rear crossmember is finished so I'm just waiting for that to arrive now. Next weekend should see the body get removed from the chassis so I can get a proper look at the chassis rails and crossmembers and also provide better access for the sandblasting.
|
| |
|
|
|
|
|
|
|
Sept 26, 2022 19:14:59 GMT
|
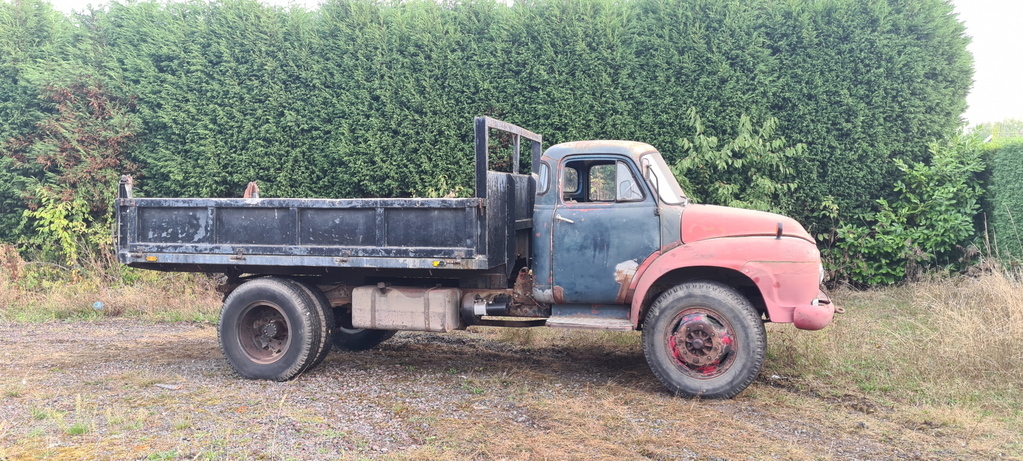
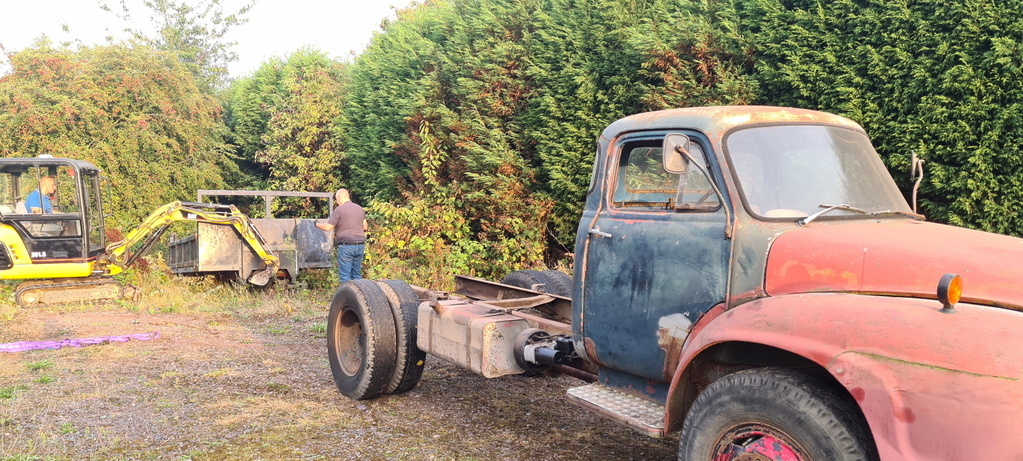
It's been a few weeks since I last posted and there has been quite a bit of progress in that time! Firstly and perhaps most importantly, the tipping body is now off, with the help of a friend's mini digger and some careful persuasion it came off pretty much exactly as planned and with no damage to the lorry whatsoever.
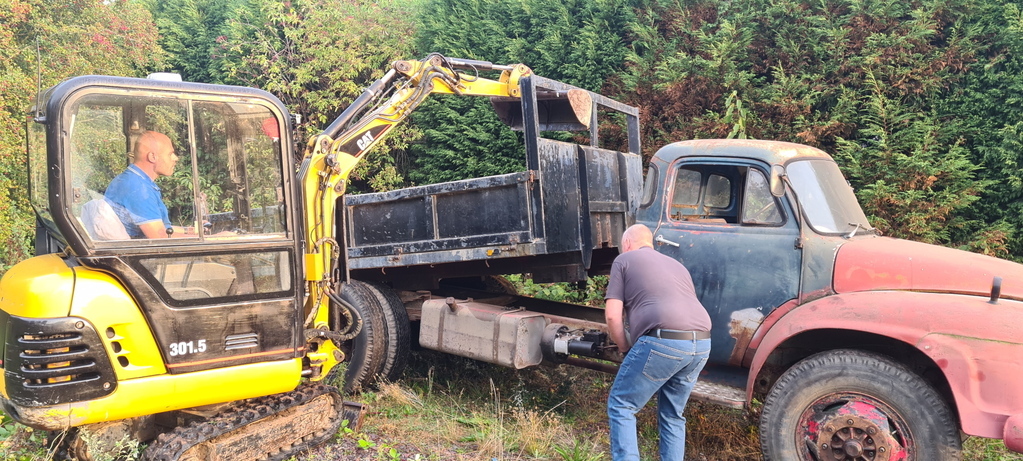
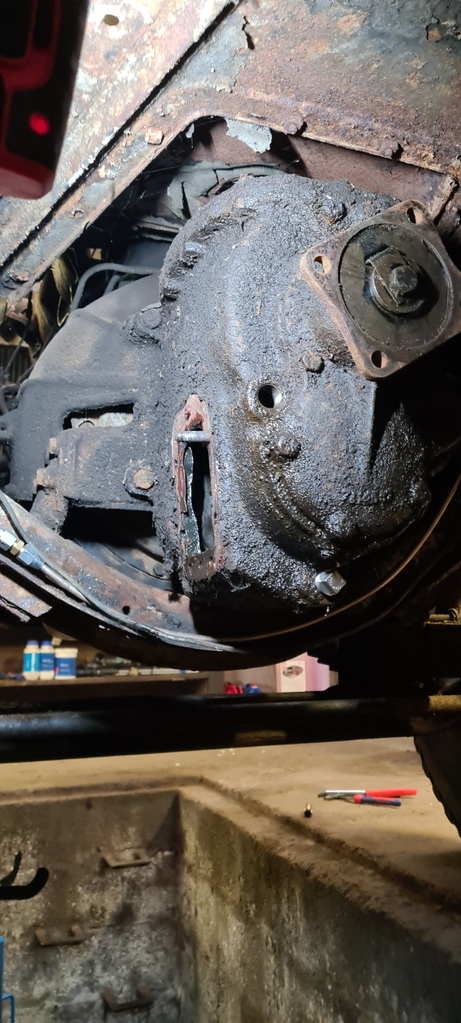
Once that was done, I started stripping some of the chassis components off, including the spare wheel carrier, wiring loom and two speed axle pipework.
Also managed to test fit the new rear crossmember, which looks fantastic and fits perfectly!
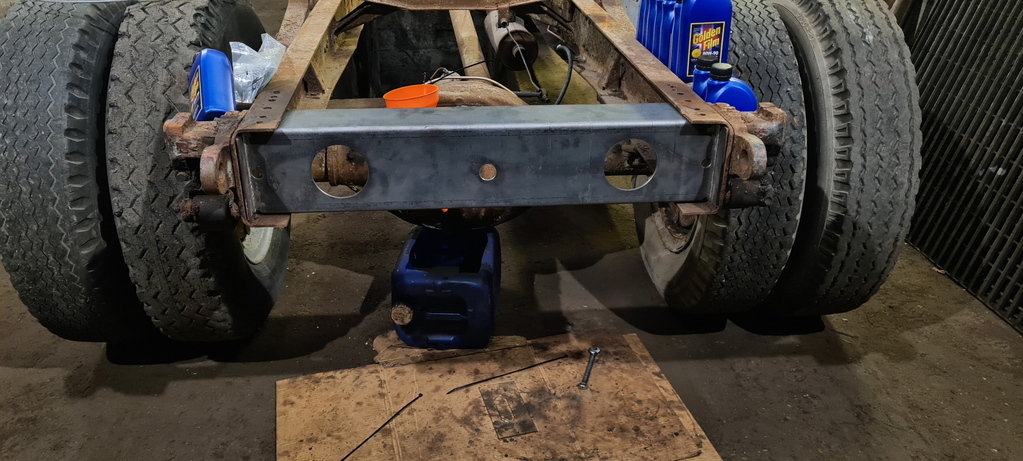
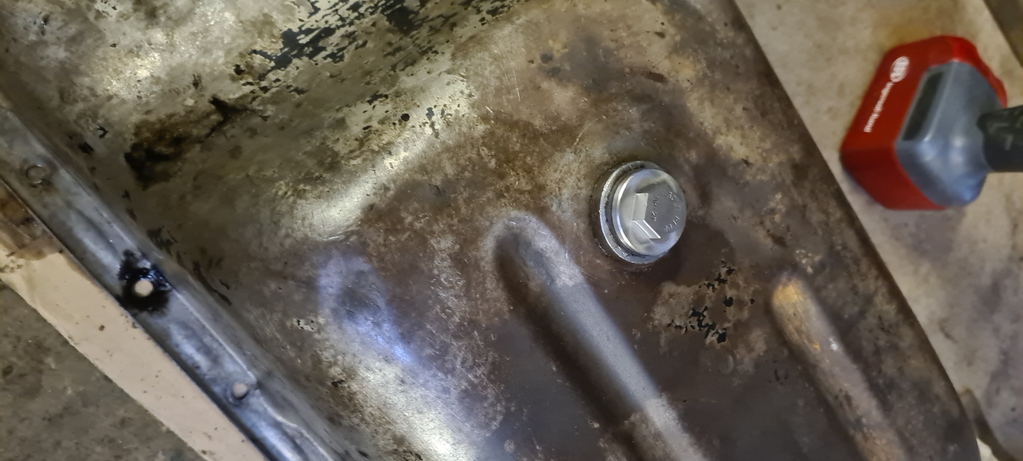
It was at this point things started to go slightly wrong, I decided to drain the engine oil so it could drip out while I was away during the week, hopefully removing the worst of the sludge from the sump without too much effort. This proved to be a bit of a challenge as the sump plug had previously been overtightened and no amount of leverage would break it free, as you can see I ended up knocking it loose with a hammer and chisel in the end. I then got a little carried away and removed the sump and the main bearing caps too! Amazingly, all 30 flat head screws holding the sump on came out with very little hassle and the main bearing shells looked to be in great condition and the Plastigauge check showed the clearances to be at almost new values. Then came the big end bearings which as you can see from the pictures were not so good. Replacements were ordered and with another Plastigauge measurement showing them to now be well within the correct clearance range, I fianlly had a complete rotating assembly again!
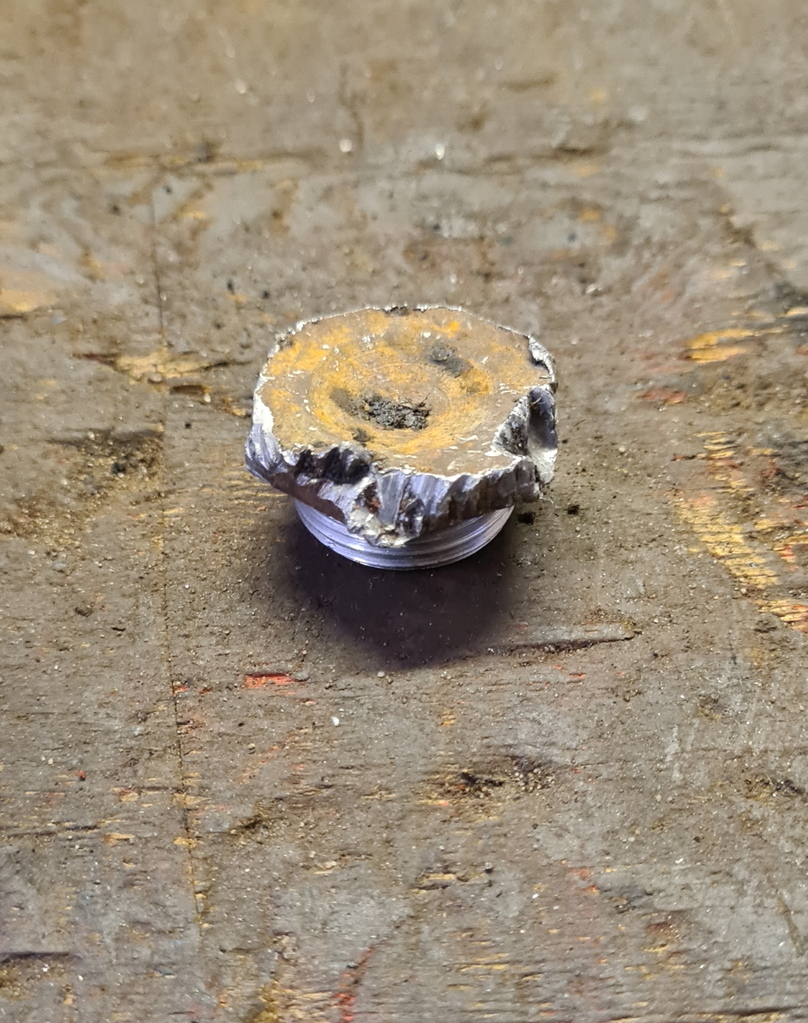 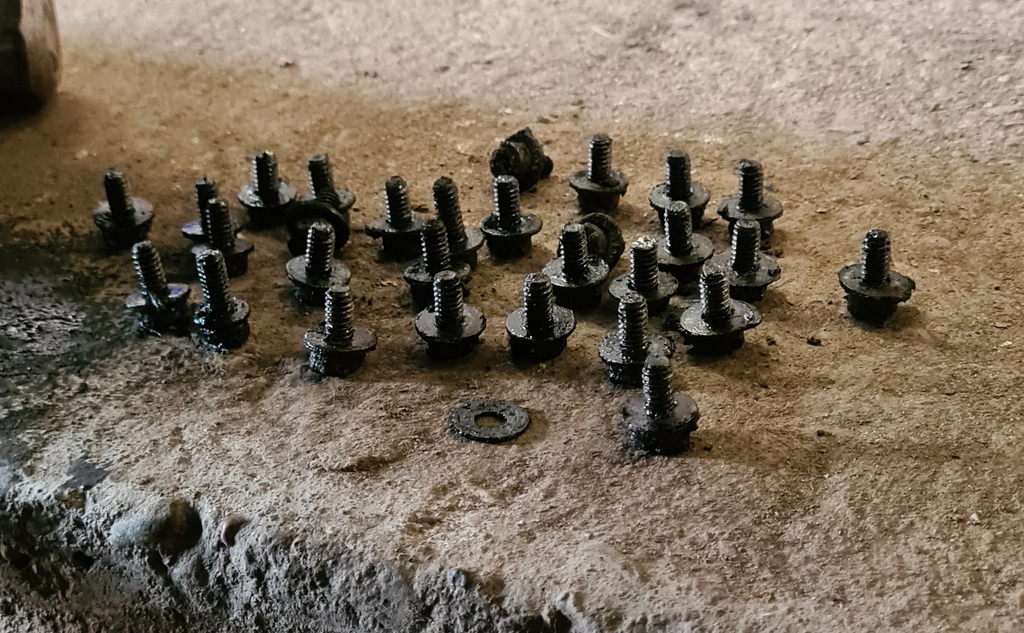 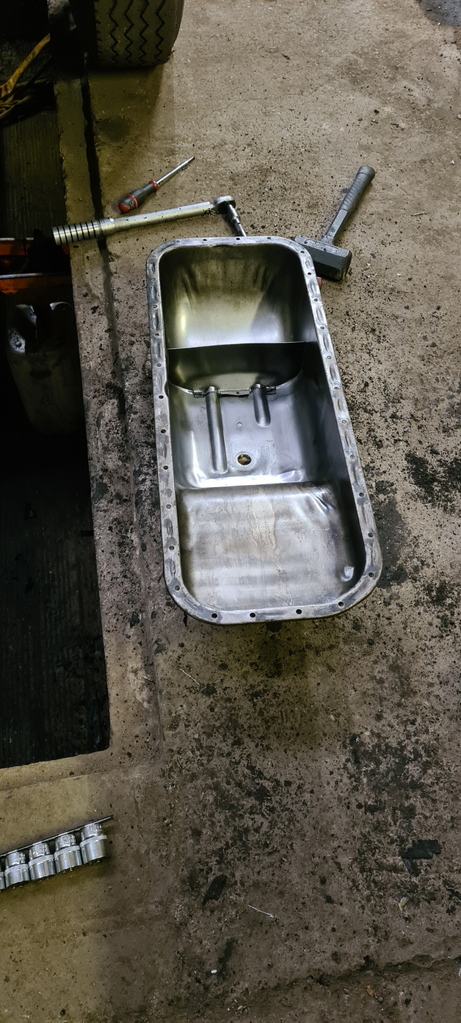 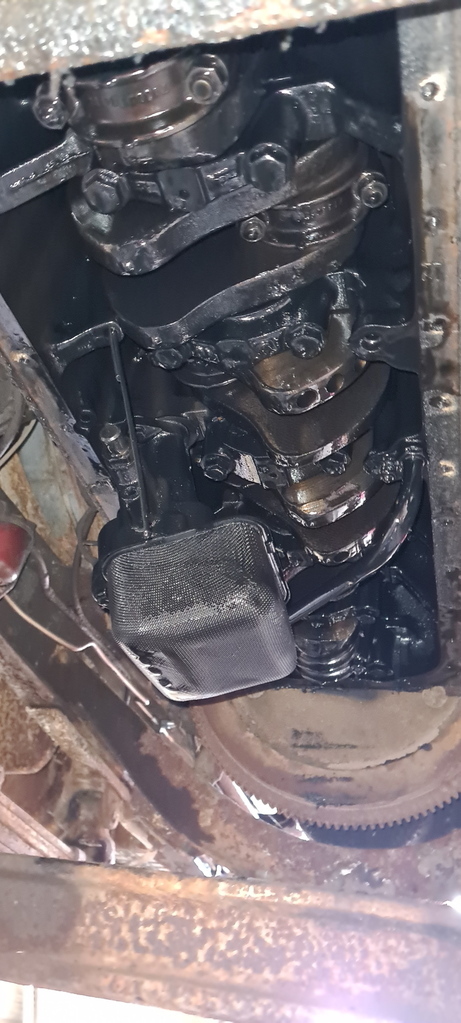 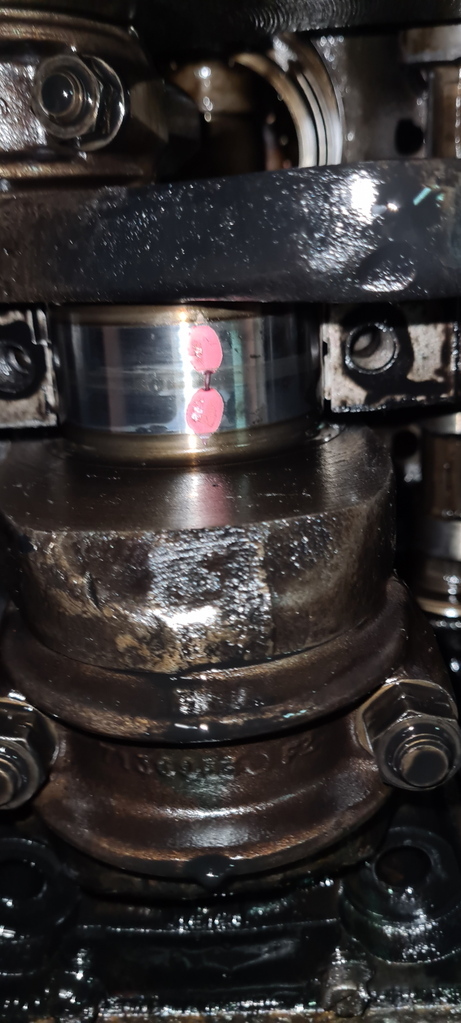 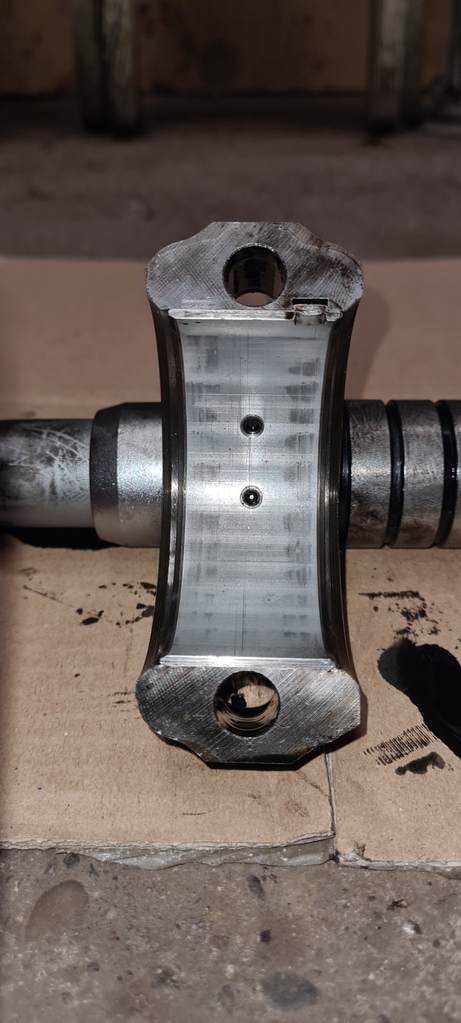 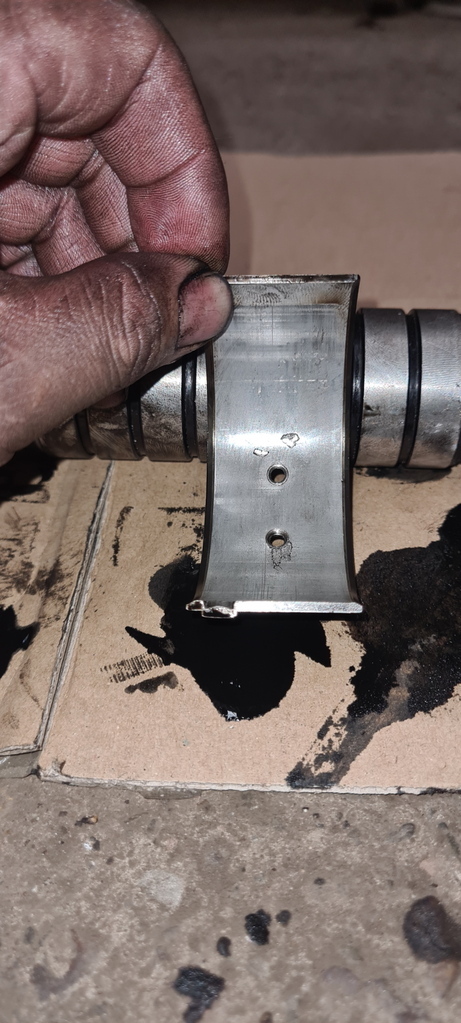 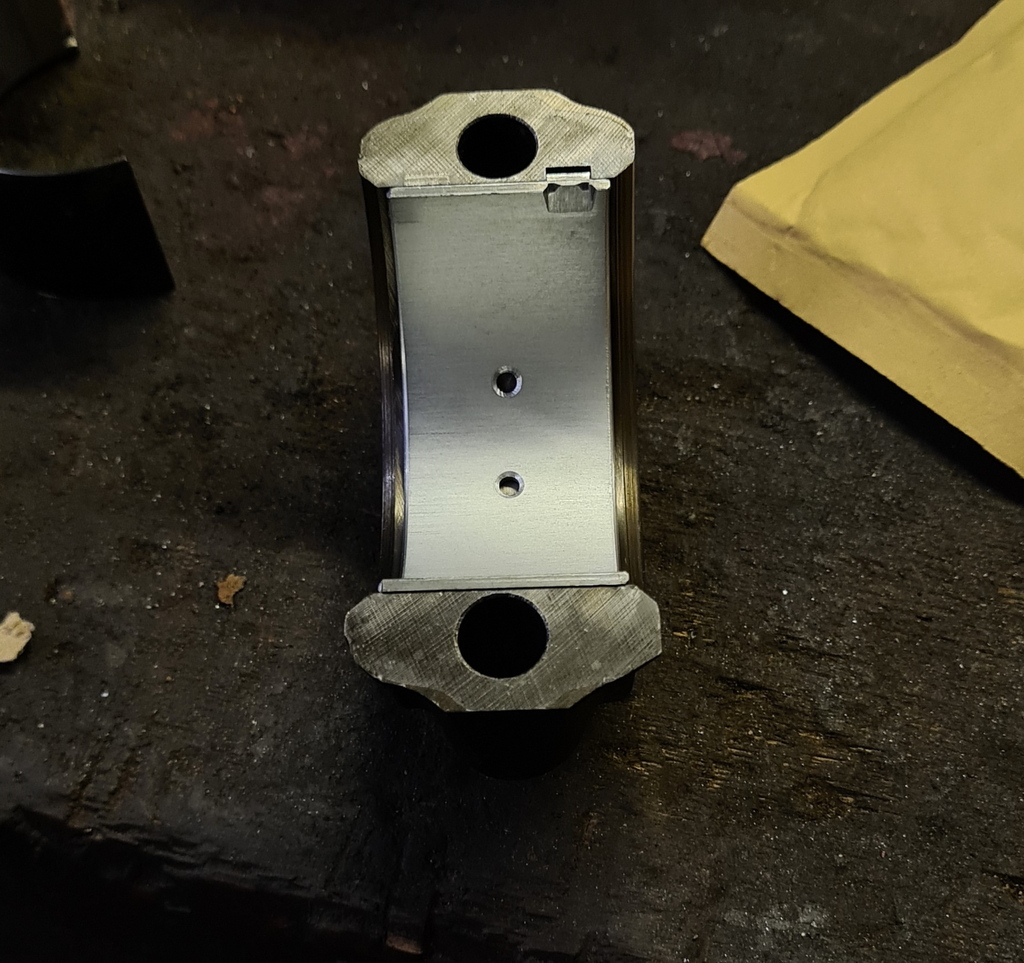 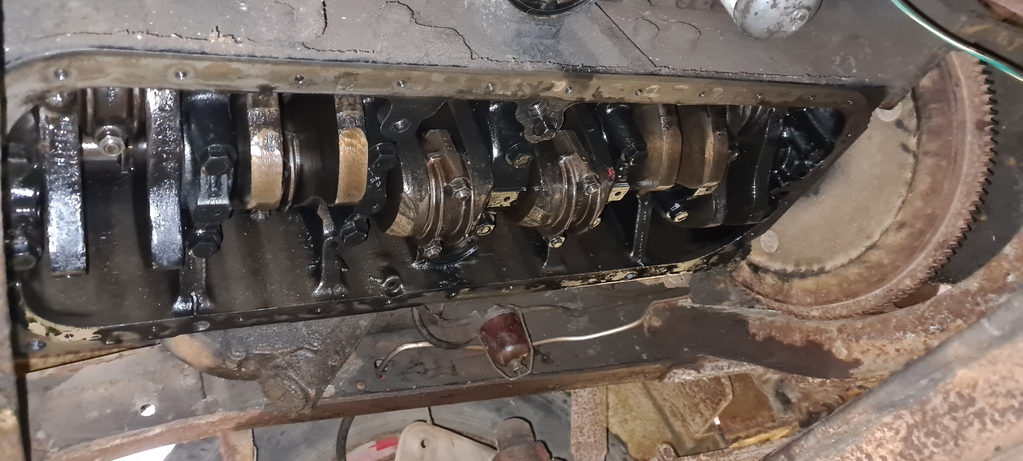
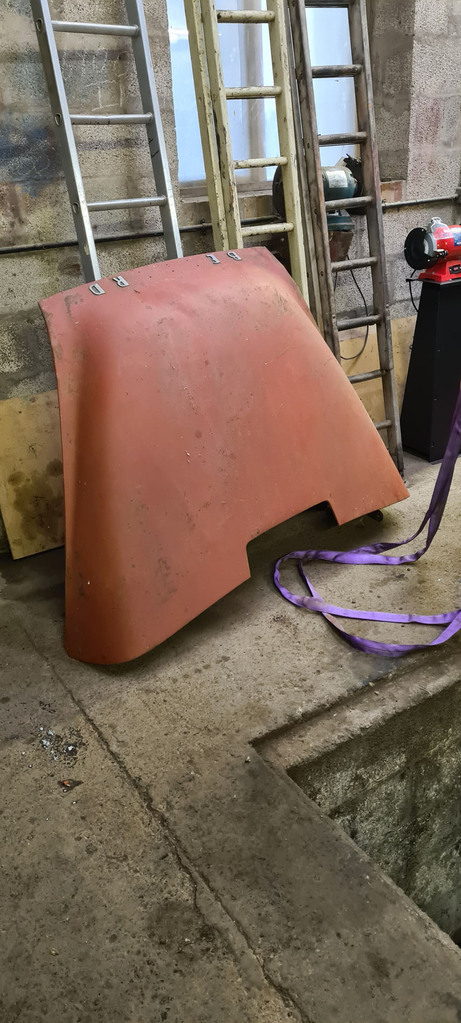
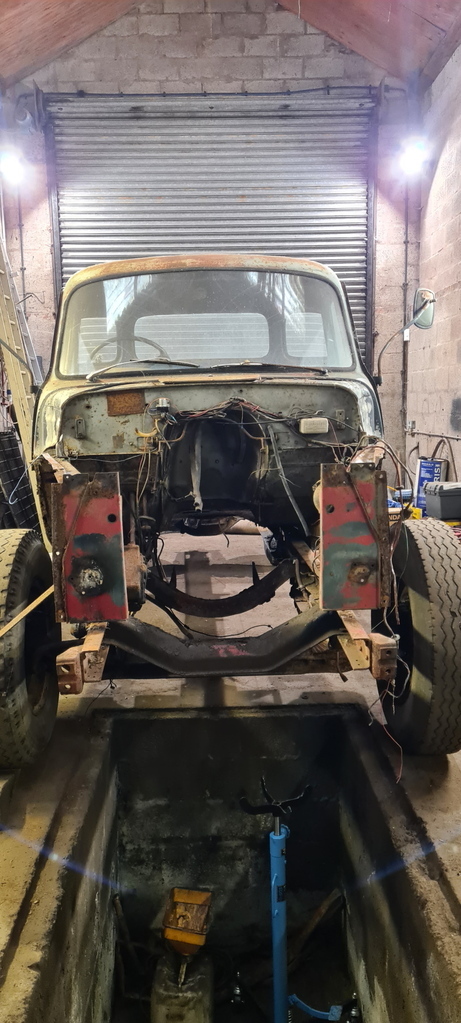
I even had time to make a start on removing the front end panels
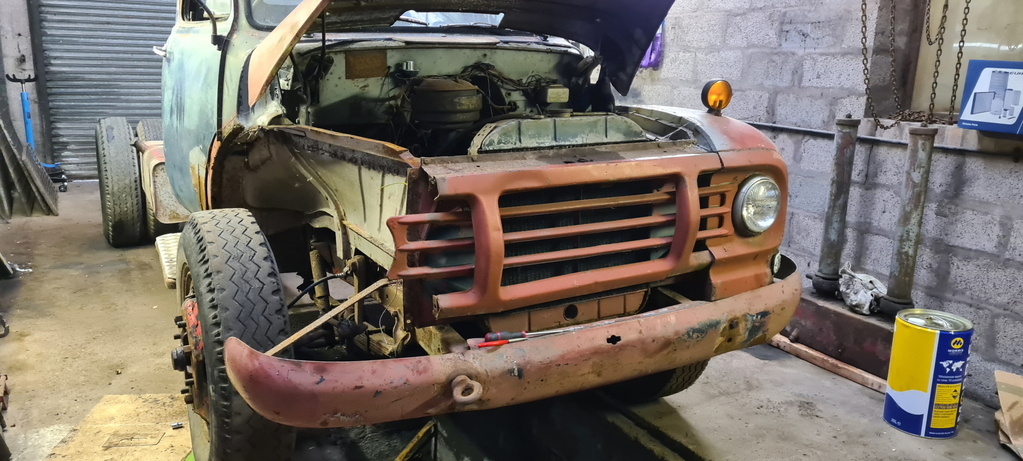 |
| |
|
|
teaboy
Posted a lot
   Make tea, not war.
Posts: 2,126
Member is Online
|
|
Sept 26, 2022 22:19:57 GMT
|
|
Excellent progress, dude.
|
| |
|
|
|
|
|
Sept 27, 2022 13:20:57 GMT
|
|
Super cool truck! Look forward to following along as more updates come in!
|
| |
|
|
|
|
|
Sept 27, 2022 13:49:09 GMT
|
|
Excellent progress, no small undertaking... do love a Bedford J series👍
|
| |
2014 - Audi A6 Avant 3.0Tdi Quattro
1958 - Chevrolet Apache Panel Truck
1959 - Plymouth Custom Suburban
1952 - Chevrolet 2dr Hardtop
1985 - Ford Econoline E350 Quadravan
2009 - Ovlov V70 2.5T
1970 - Cortina Mk2 Estate
2007 - Fiat Ducato LWB 120Multijet
2014 - Honda Civic 2.2 CTDi ES
|
|
jamesd1972
Club Retro Rides Member
Posts: 2,922  Club RR Member Number: 40
|
1964 Bedford J6jamesd1972
@jamesd1972
Club Retro Rides Member 40
|
Sept 27, 2022 14:32:10 GMT
|
|
Nice progress, how did the engine sound before ?
James
|
| |
|
|
|
|
|
Sept 28, 2022 6:12:17 GMT
|
Nice progress, how did the engine sound before ? James Surprisingly, no bad noises at all, the oil pressure light just took a little longer to go off than I would like so I decided to take the sump off and check the clearances, glad I did now! |
| |
|
|
|
|
glenanderson
Club Retro Rides Member
Posts: 4,361
Club RR Member Number: 64
|
1964 Bedford J6glenanderson
@glenanderson
Club Retro Rides Member 64
|
|
|
Great stuff. Sorry I’m a bit late to the party. My dad was a Bedford fan, and we had a few TK/TM variants when I was little. This is him with a predecessor of your lorry, an A type in 1953-ish. 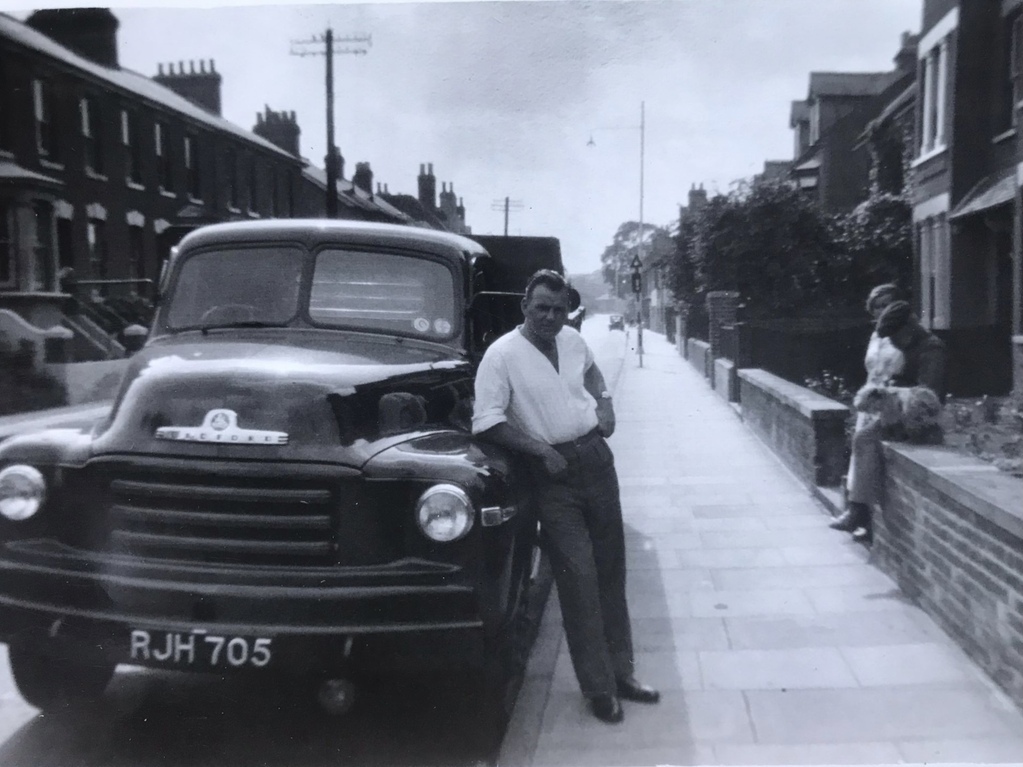 |
| |
My worst worry about dying is my wife selling my stuff for what I told her it cost...
|
|
|
|
|
|
|
|
Bedford were still exporting J series especially to developing countries in knock down form when I worked at a Bedford dealer in 1979!
|
| |
Last Edit: Oct 4, 2022 18:58:26 GMT by duggers
Needs a bigger hammer mate.......
|
|
|
|
|
|
|
Oct 20, 2022 18:09:21 GMT
|
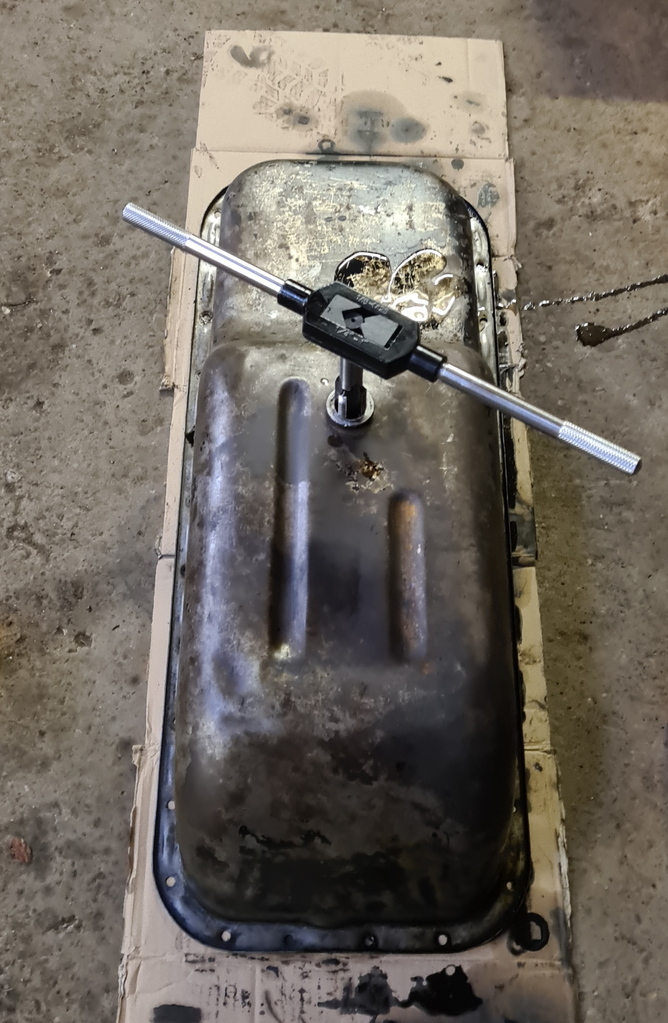
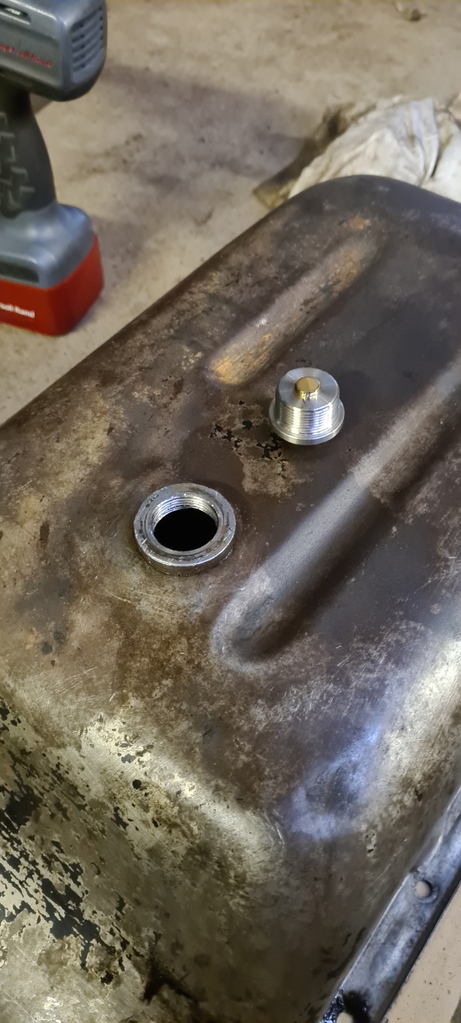
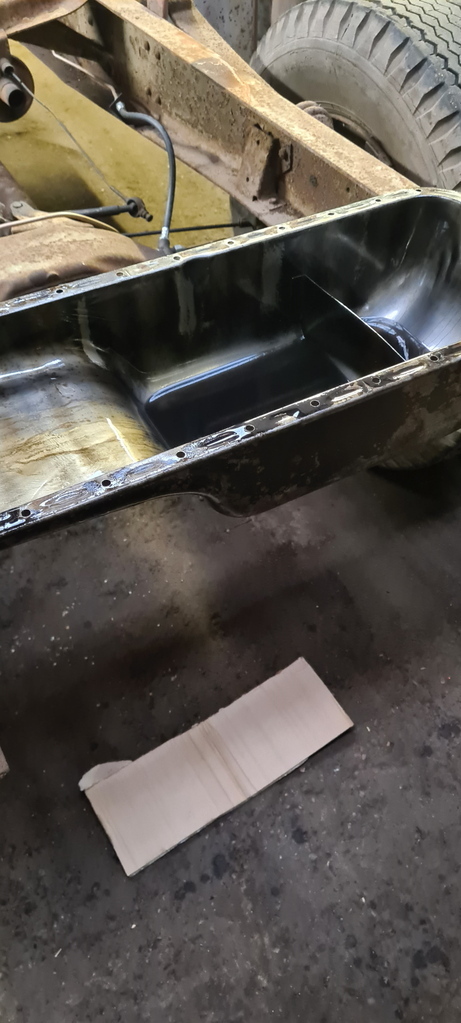
So a couple of weekends ago I got very brave and decided to tackle re-tapping the sump plug threads. I had originally planned to fit a 3/4" BSP plug but I was worried about getting the tapered thread wrong so I decided on an M26 magnetic Gold Plug in the end. The job went extremely well, old threads drilled out easily and the new ones tapped in very well. Plug fits nicely with plenty of clearance from the oil pump pickup which is right above the sump plug when installed. I poured some petrol into the sump and supported it across the back of the chassis rails to check for leaks and I'm happy to report there were no spots on the cardboard after an hour or so, result!
So I made some dowels out of some 1/4" UNC bolts to help align the sump and it's cork gasket and got that re-fitted but forgot to take a picture of it all sealed back up to the bottom of the engine.
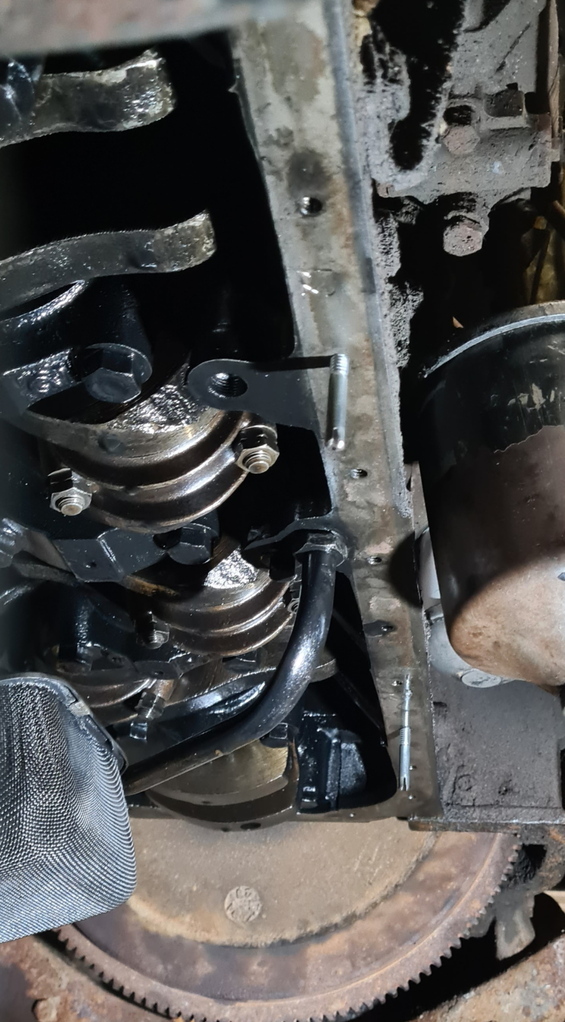
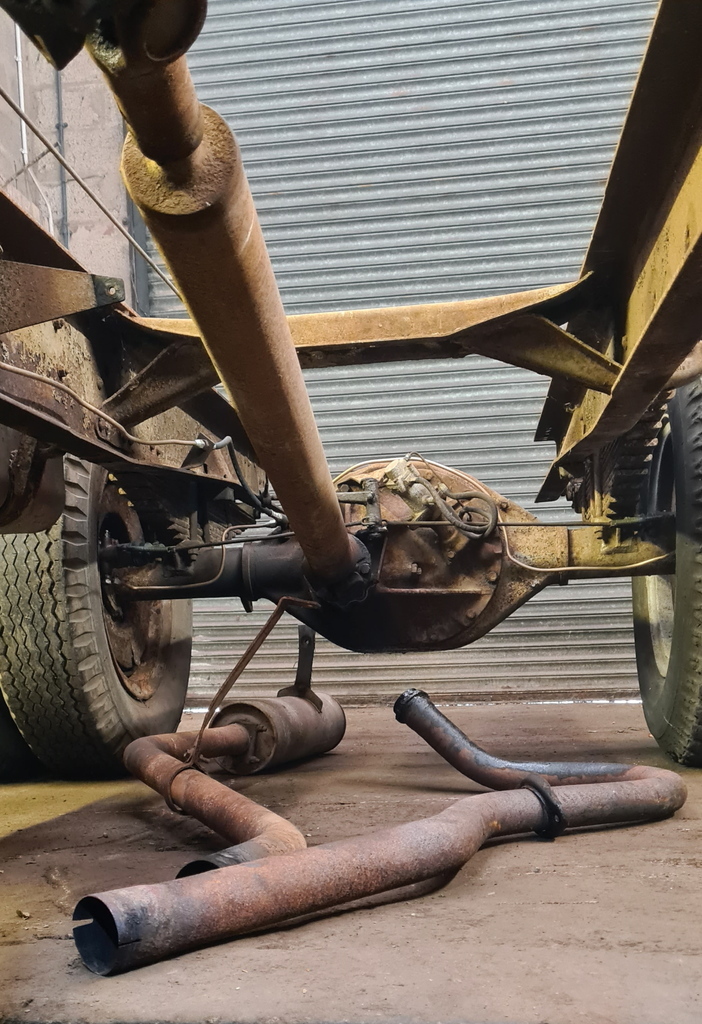
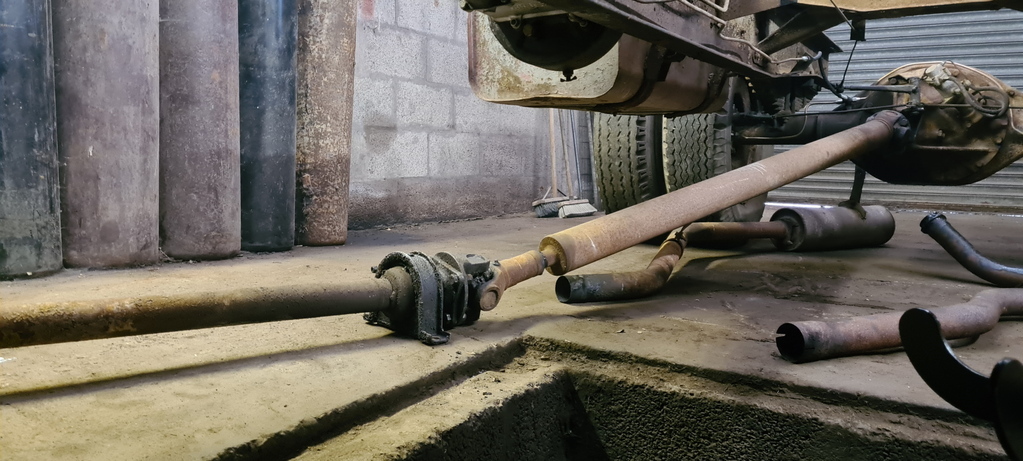
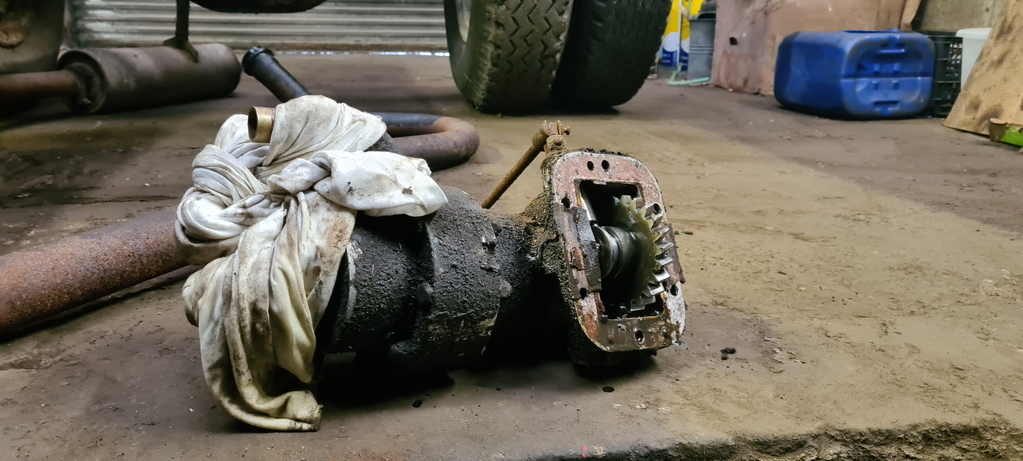
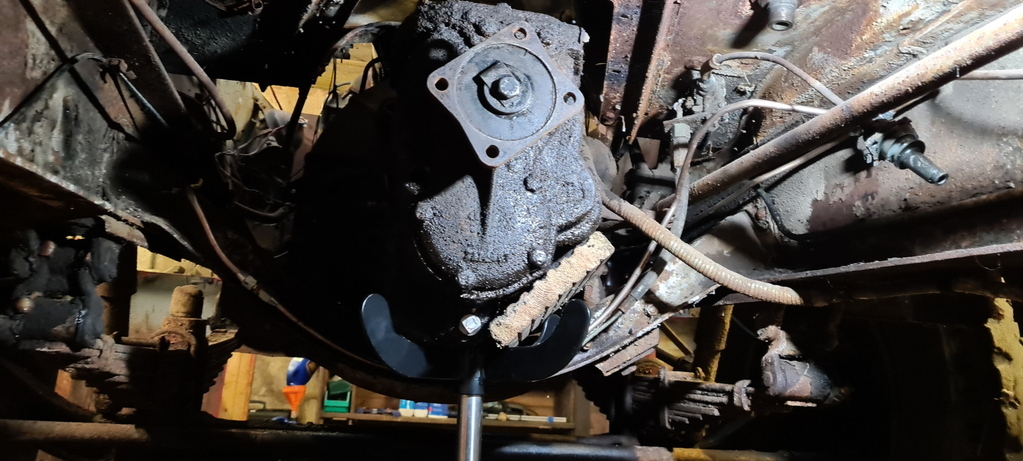
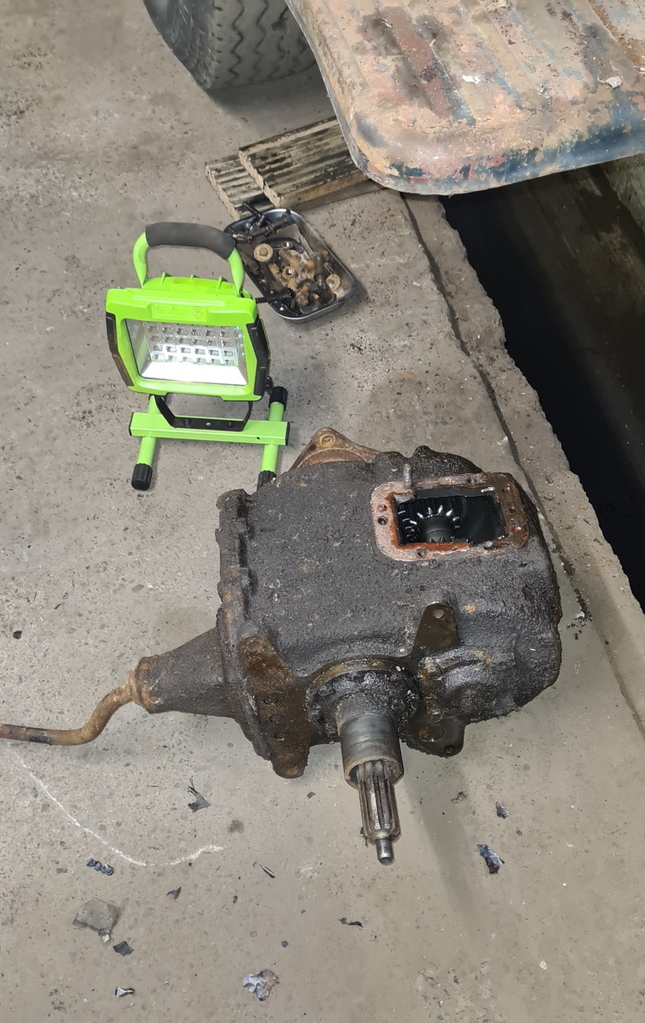
Last weekend was even more productive, with the PTO, propshaft, exhaust and gearbox being removed. Everything came apart surprisingly well, including the exhaust sections which I was expecting to have to cut apart, upon removing the downpipe from the manifold I discovered a decent amount of oil, which I will have to investigate in the future. If anyone can recommend a compression tester suuitable for these CAV two bolt style injectors that would be very much appreciated,
Very glad I invested in a gearbox jack as that little four speed is a lot heavier than it looks! Hopefully I can get the clutch assembly removed and inspected soon.
|
| |
Last Edit: Oct 20, 2022 18:31:35 GMT by marke95
|
|
glenanderson
Club Retro Rides Member
Posts: 4,361
Club RR Member Number: 64
|
1964 Bedford J6glenanderson
@glenanderson
Club Retro Rides Member 64
|
Oct 20, 2022 19:11:31 GMT
|
|
Everything on a lorry like this is heavier than you think it’s going to be. I can’t lift the 4-speed gearbox that came out of my Austin; not without risking hurting myself. Just watch your step (and your fingers!), and you’ll be fine. 😃👍
|
| |
My worst worry about dying is my wife selling my stuff for what I told her it cost...
|
|
|
|
|
Oct 21, 2022 21:47:58 GMT
|
Bedford were still exporting J series especially to developing countries in knock down form when I worked at a Bedford dealer in 1979! I have an idea that the little Js were still available new here in New Zealand until about 1981. I could easily be wrong though. |
| |
|
|
Tamber
Part of things
  Shattered. Held together by spite and tape.
Posts: 342
|
|
Oct 21, 2022 23:44:59 GMT
|
That "little" 4-speed is made out of a lot of gravity. You think it's going to be heavy, and it turns out to be even heavier than that! I got mine out with a trolley-jack and a piece of wood. ...Well, it mostly landed in my lap, but it came out. Just about manhandleable, if you can figure out a good way to hold it. My boss has stories, from back in the day, of having to go out to market traders locally who came to start their wagon in the morning and couldn't get any gears; only to find a neat line of nuts on the spring, and that their gearbox had been freshly liberated during the night.  |
| |
-< Welder. Allegedly a mechanic. Bodger of Things >-
* 1958? Bedford RL - Progress: Glacial.
* 1994 Skoda Favorit - It's baaaaaaaack!
* 2018 Herald Classic - Gone!
|
|
|
|
|
|
|
That "little" 4-speed is made out of a lot of gravity. You think it's going to be heavy, and it turns out to be even heavier than that! I got mine out with a trolley-jack and a piece of wood. ...Well, it mostly landed in my lap, but it came out. Just about manhandleable, if you can figure out a good way to hold it. My boss has stories, from back in the day, of having to go out to market traders locally who came to start their wagon in the morning and couldn't get any gears; only to find a neat line of nuts on the spring, and that their gearbox had been freshly liberated during the night.  I've manhandled FWD van gearboxes out before so I didn't think this would be all that different but lifting it off the stand onto the side of the pit was a bit of a challenge, glad I had my Dad there to help. I don't think I'd want to steal one! 😂😂 |
| |
|
|
totti
Posted a lot
  
Posts: 1,153
|
|
|
|
|
Hi!
What a great rebuild!
Please....leave the outside like it is ....so it can show it's age!
Greet
|
| |
65 'Ford Taunus 17m
66' Ford Taunus 17m Turnier
73' Ford Taunus
63' Ford Taunus Transit 1250
72'Ford Escort 2000cc
71'Ford Escort 1700 4 door
89'Ford Escort Express
87'Ford Fiesta Diesel
64'Ford Cortina 1500 deluxe
57'Volvo PV 444 Califonia
54'Peugeot 203 Commerciale
2004 Harley Davidson Fat Boy
78'Zündapp ZR 20
88'MZ ETZ 250
|
|
|
|
|
|
|
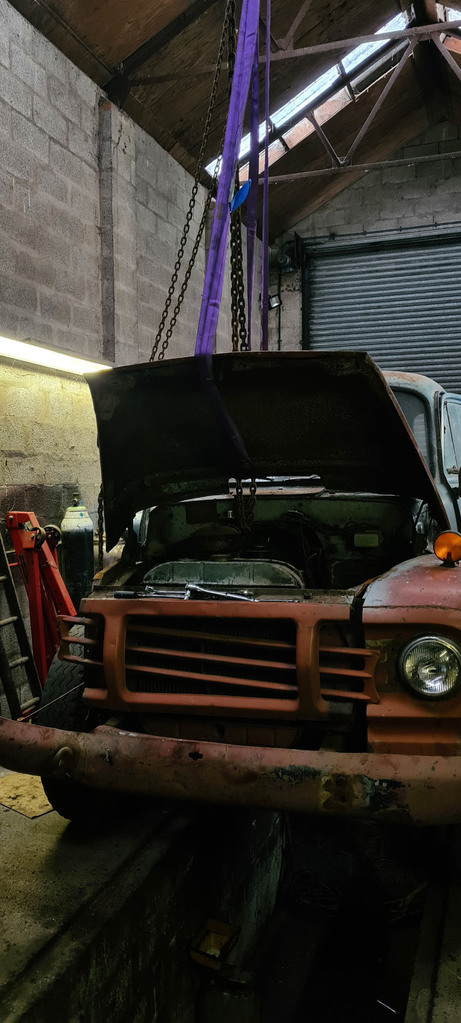
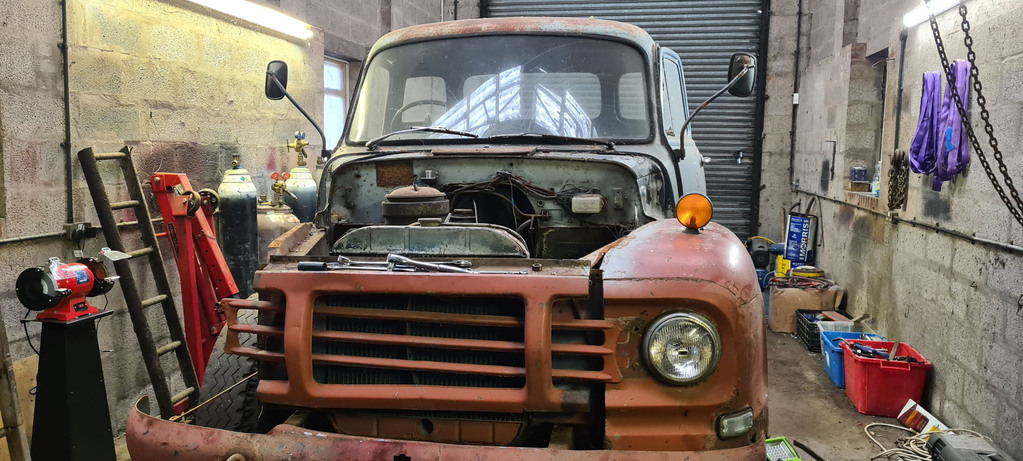
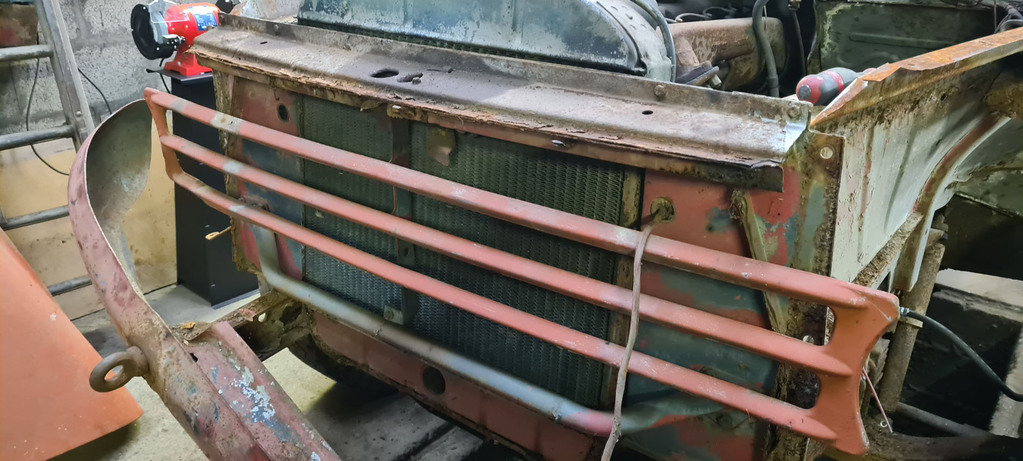
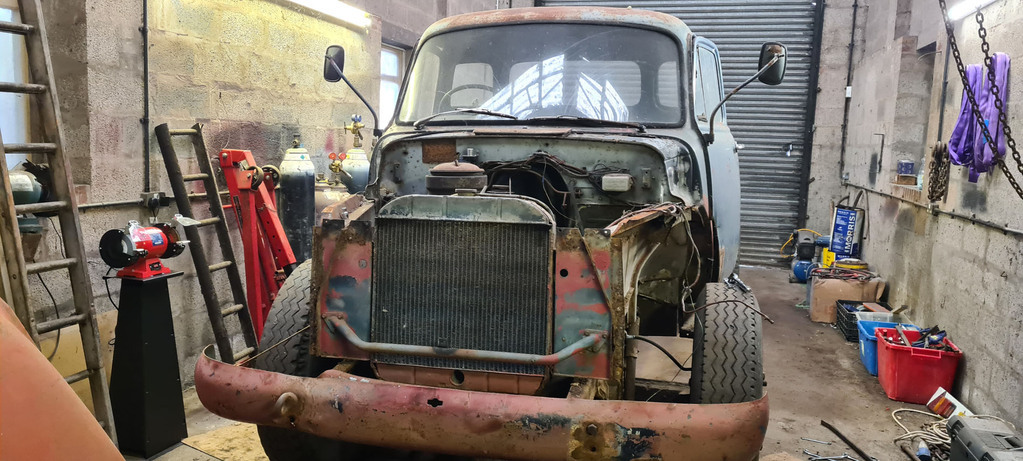
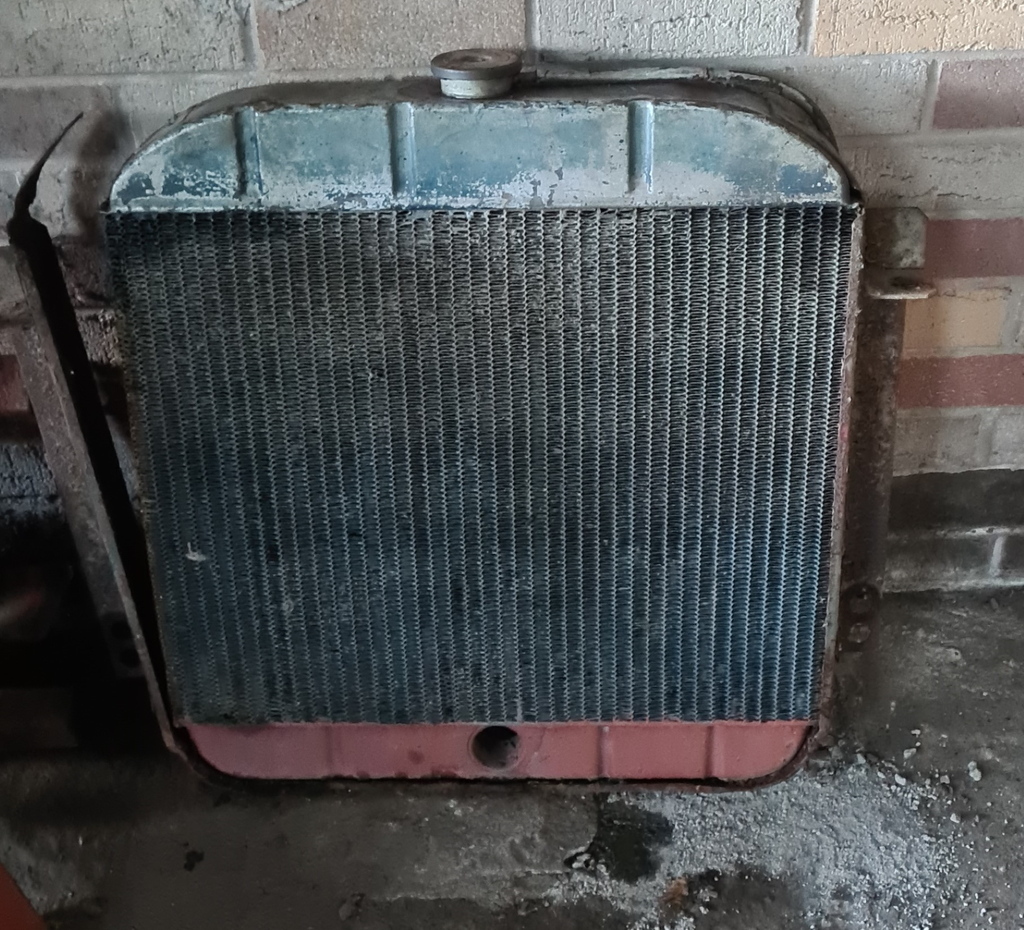
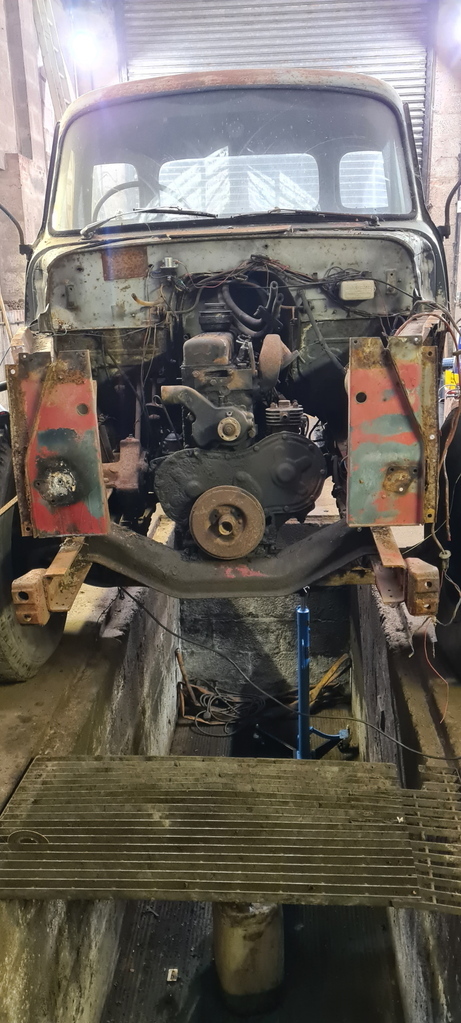
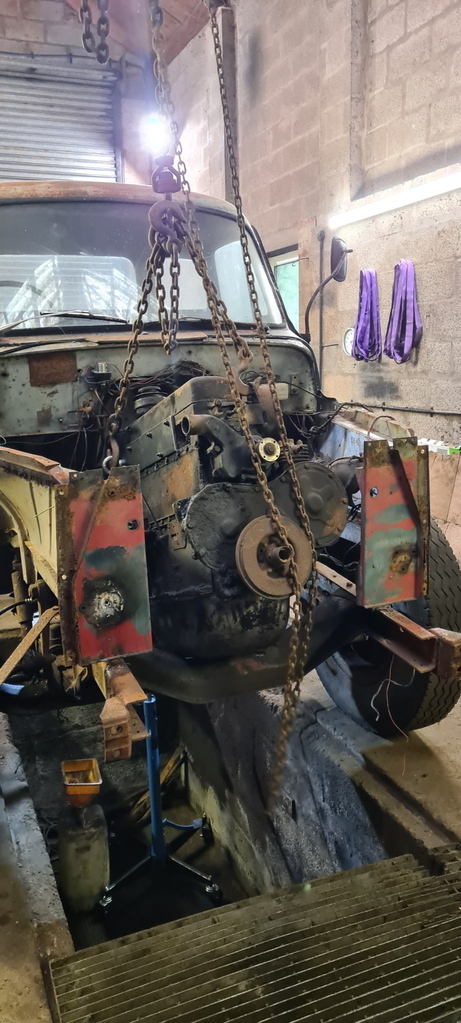
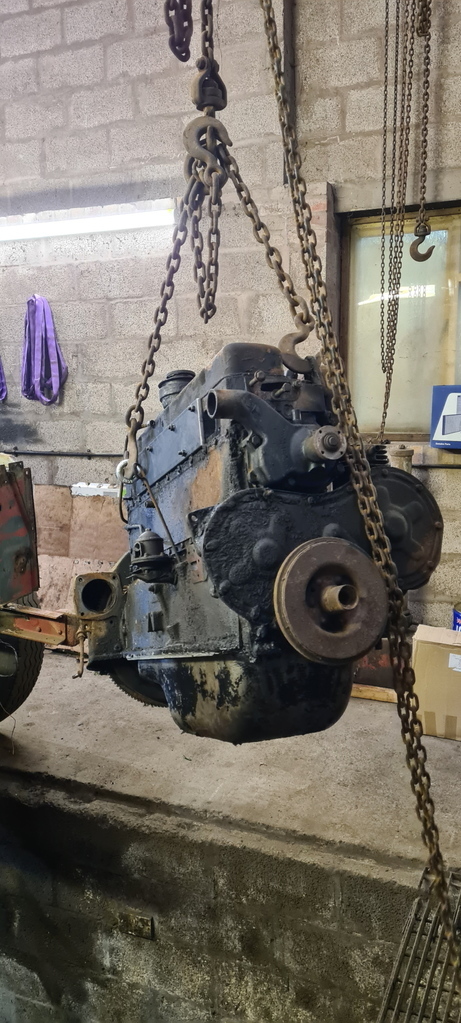
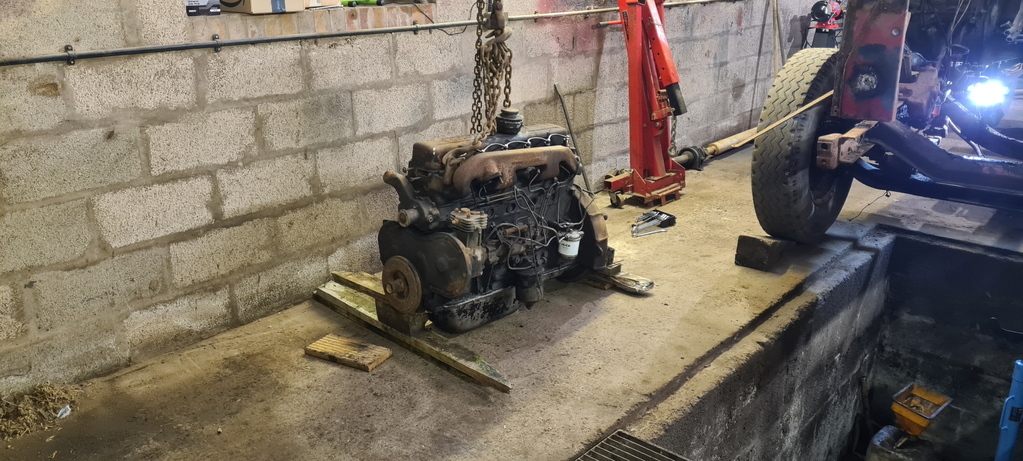
Lots of progress since the last update! After the gearbox was removed, I focussed on getting everything ready for the engine to come out, this meant that the radiator and front bumper had to come off to give the engine room to swing forward.
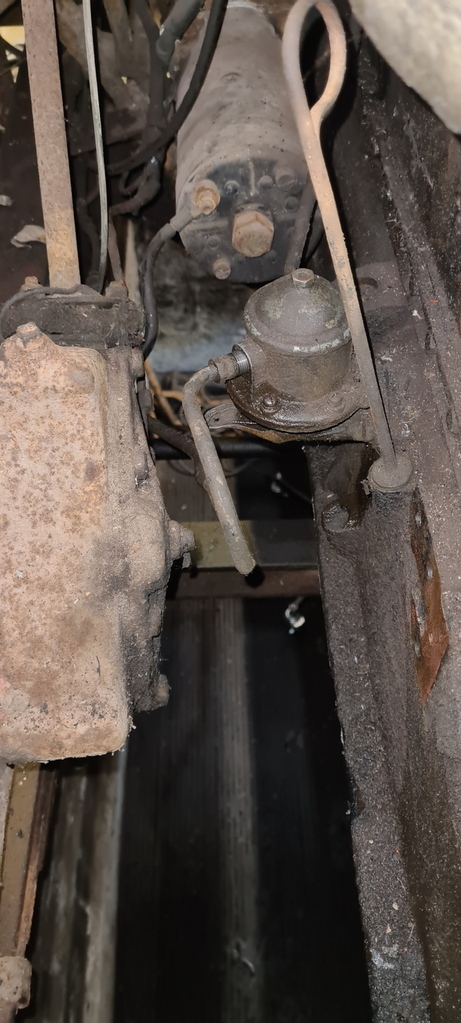
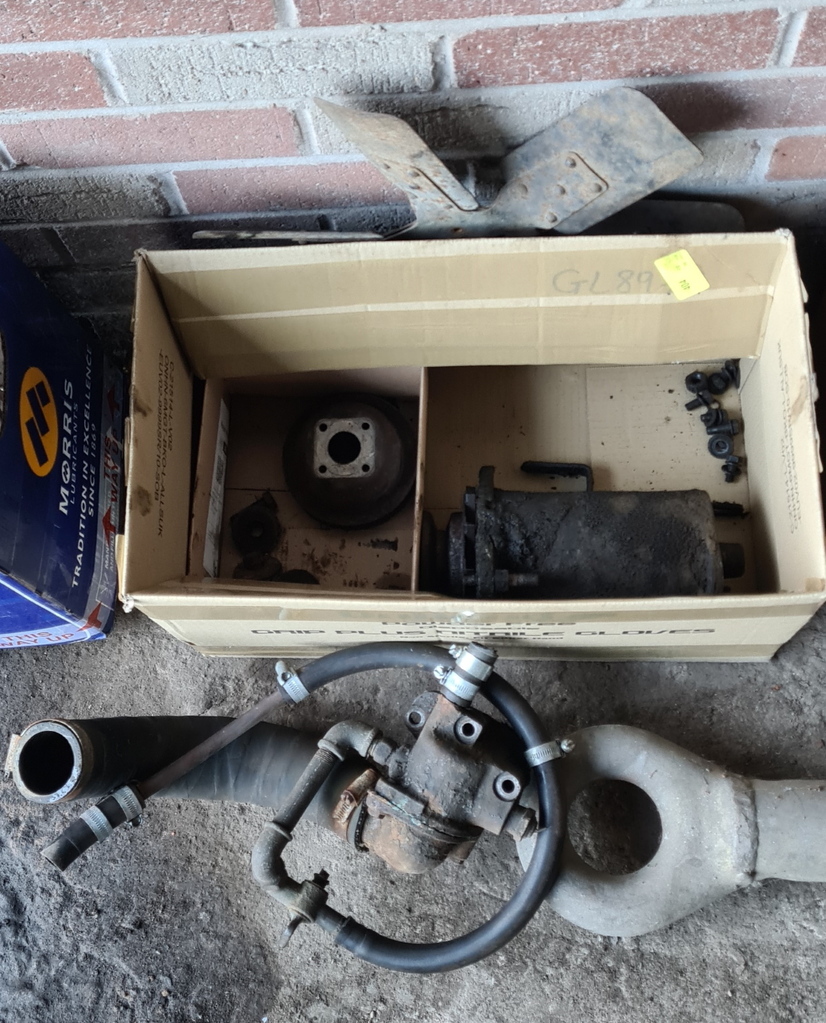
After that I started removing everything connecting the engine to the rest of the lorry, such as the fuel pipes, stop cable, accelerator and clutch pedal linkages, followed by the starter motor and dynamo.
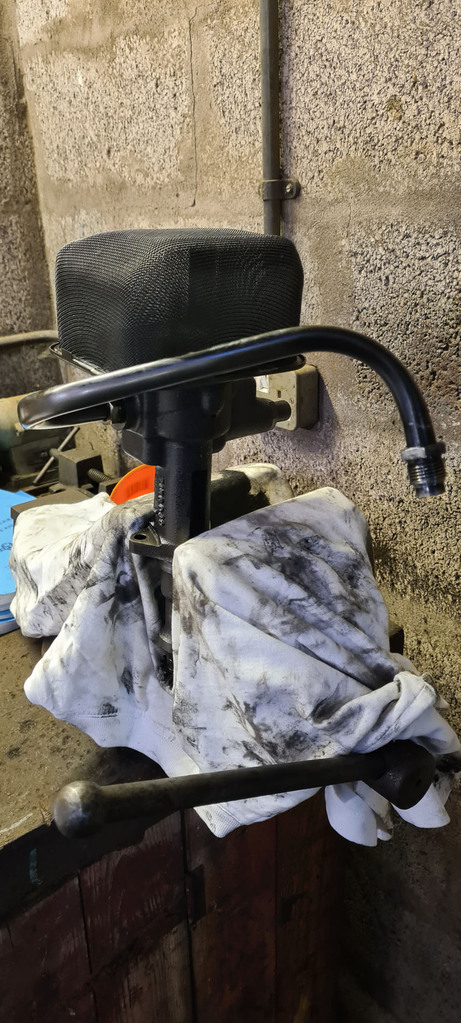
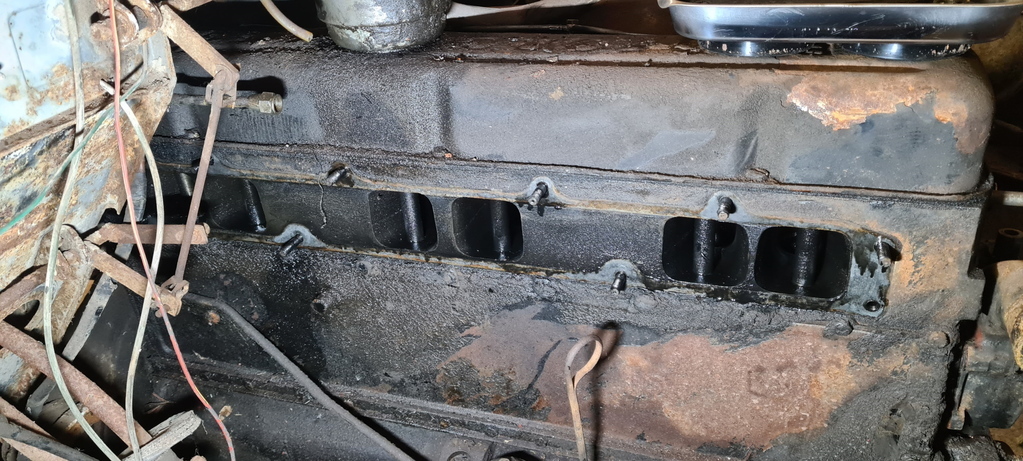
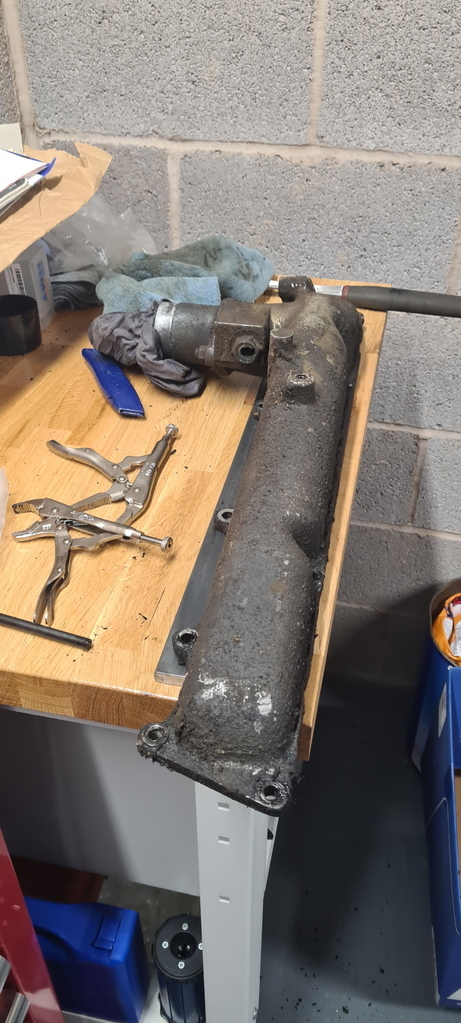
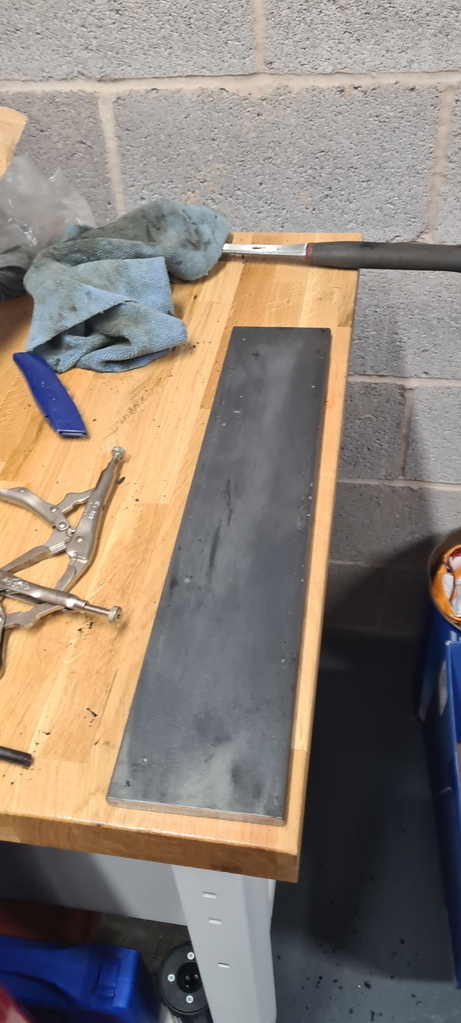
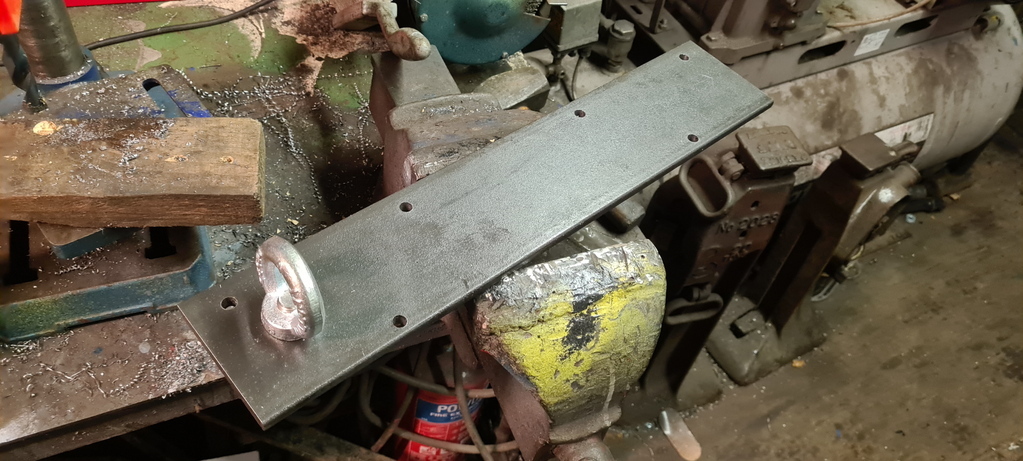
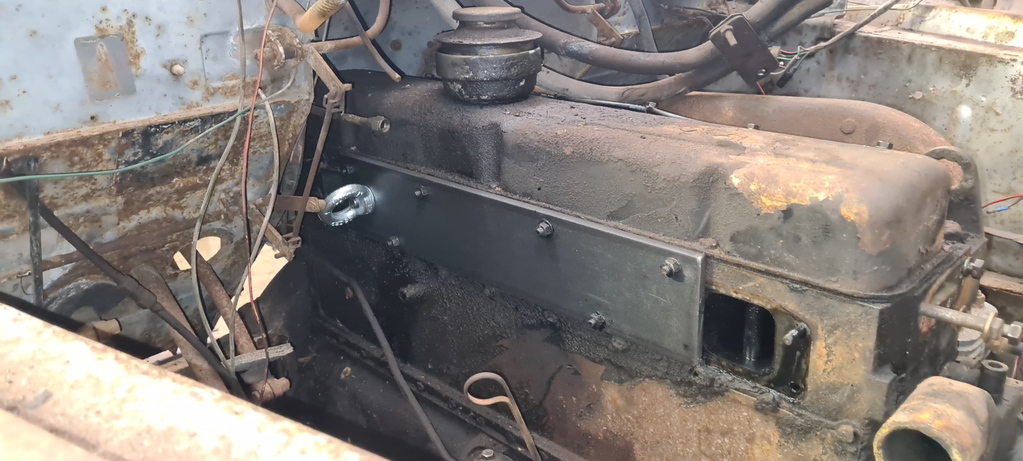
Then I realised there was only one lifting eye fitted on the N/S of the engine, with nothing to support the other side, so off came the inlet manifold to act as a template for an engine lifting plate to be fabricated from.
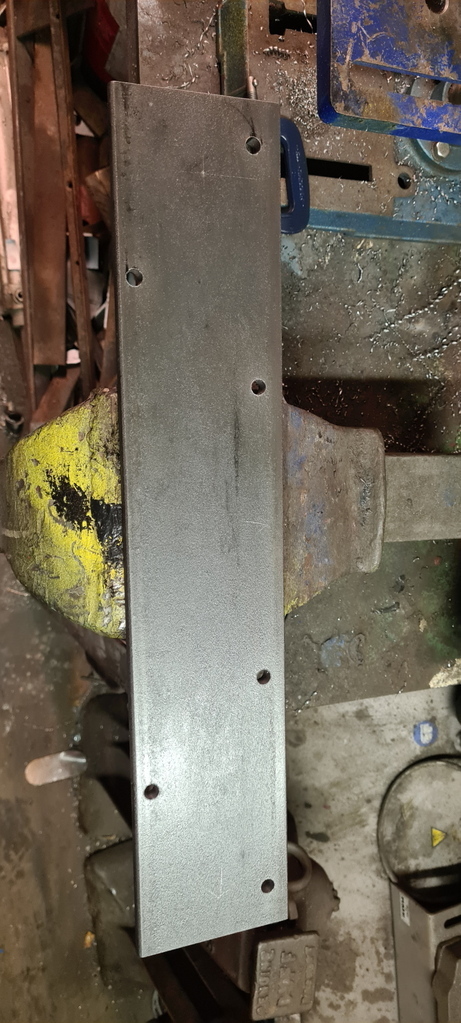
I marked the hole positions onto a piece of 10mm steel and then added another hole for a lifting eye.
Everything fitted up nicely and as you can see it worked a treat.
Next project is to strip off all the remaining bits and pieces to provide the best possible access to the chassis and cab for sandblasting.
|
| |
Last Edit: Nov 8, 2022 19:27:38 GMT by marke95
|
|
|
|
|
|
|
|
You're a brave man lifting an engine on the manifold studs. I've always used rope slings in the absence of proper lifting eyes.
|
| |
|
|
thomfr
Part of things
  Trying to assemble the Duett again..
Posts: 695
|
|
|
|
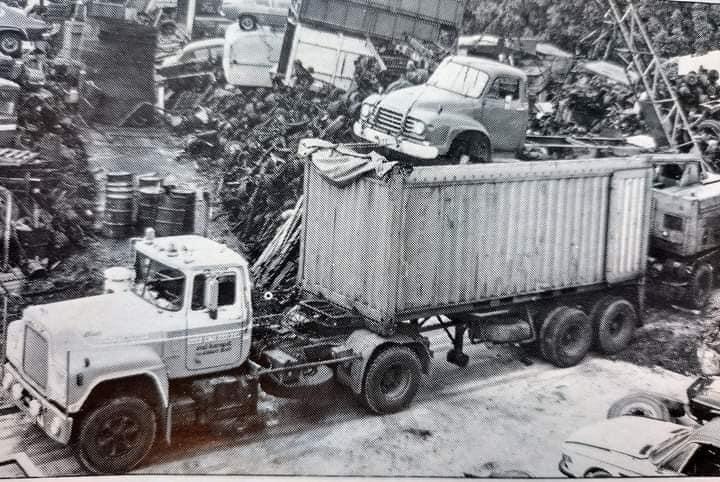 Found a sad 70's picture. Might have provided a lot of useful parts for you. Thom |
| |
73' Alfa Giulia Super
64' Volvo Duett
65' Volvo Duett
67' Volvo Amazon 123GT
09' Ford Focus 1.8
20' VW ID4
71' Benelli Motorella
65' Cyrus Speciaal
The difference between men and boys is the price of their toys
|
|
|
|
|
|
|
|
Nice lifting eye solution, that would spread the load really well.
|
| |
Nuttier than squirrel sh...
|
|
|
|
