|
|
|
|
|
Hi everyone, first post on here. This is my 1964 Bedford J6 tipper restoration project that I recently inherited from my late Grandad.
History
The vehicle was bought new by a local haulier named Len Ashley who used it for around 5 years until it was bought by my Grandad in 1969 when he started his own haulage company. It was used to transport a variety of cargo, from sugar beet pulp to tarmac, depending on what work was available at the time. He did so well in his first year in business that he decided to replace the Bedford with a Dodge and it was sold to another Shropshire haulier, George Middle. He used it for local coal deliveries for a while before retiring it and keeping it stored away on his farm. My Grandad would attempt to buy it back several times over the next few years, with George refusing to sell it because it occasionally came in handy for deliveries where the larger, more modern lorries couldn't access. Following George's death around 1989, his family finally agreed to sell the Bedford back to my Grandad. A deal was done and the Bedford was back home! For the next 33 years that was where it sat, a few little projects were completed, including the fitting of a new master cylinder / servo assembly and a second hand tipping body sourced from a Ford Cargo. After my Grandad's death late last year, the Bedford eventually passed to me and that's where this build thread really starts.
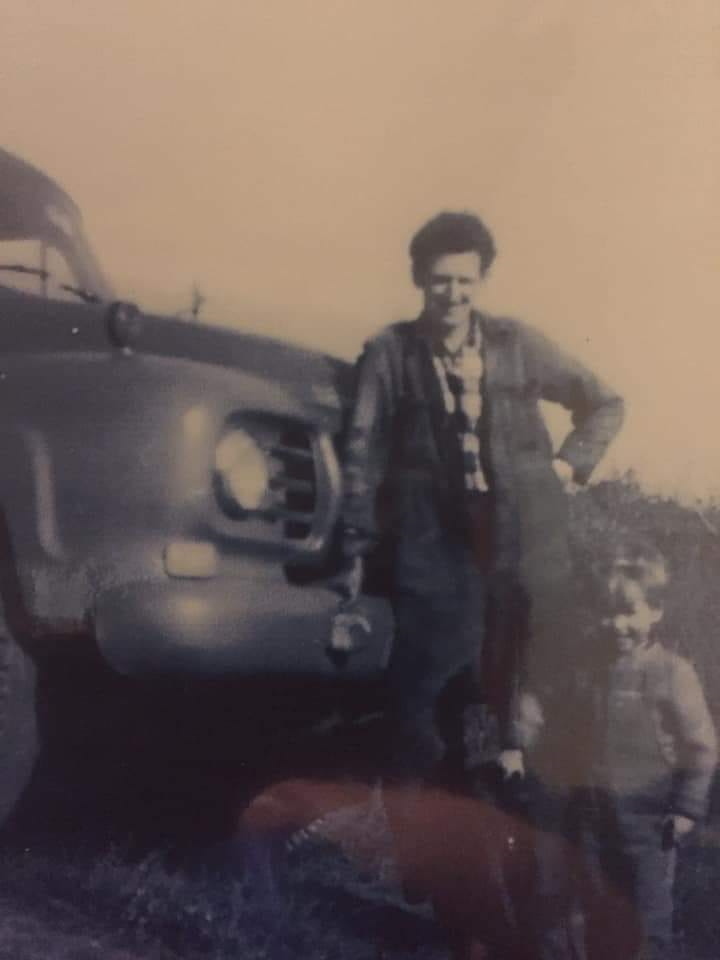
My Grandad standing next to the Bedford with my Dad in 1969...
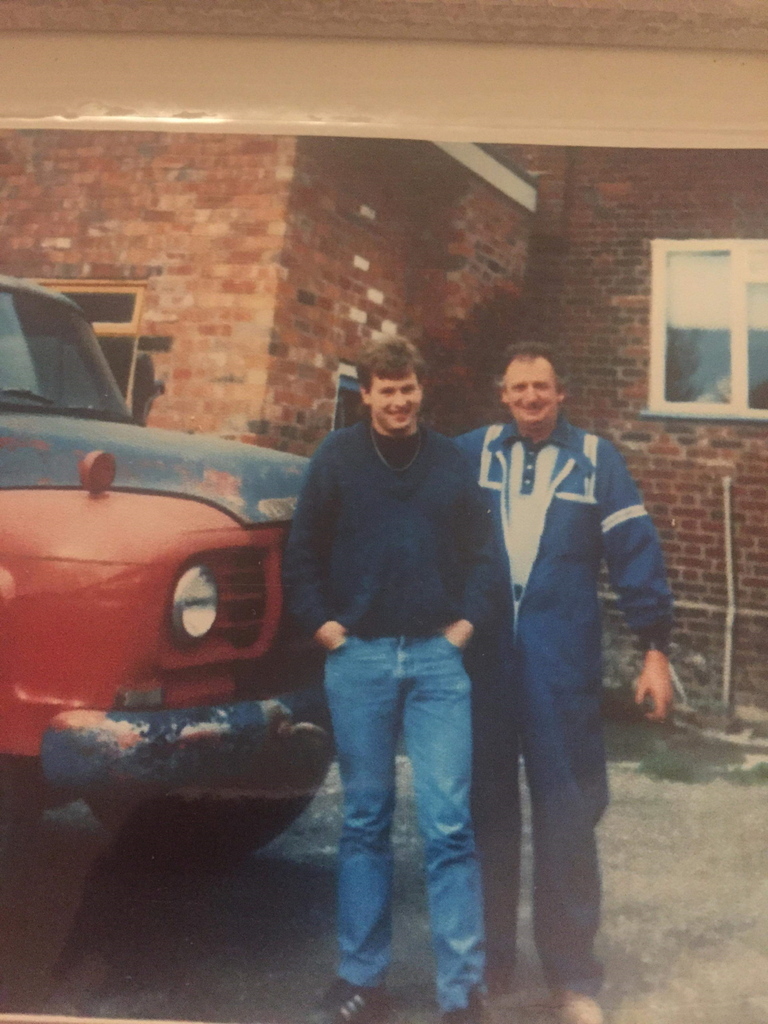
when he bought it back in 1989...
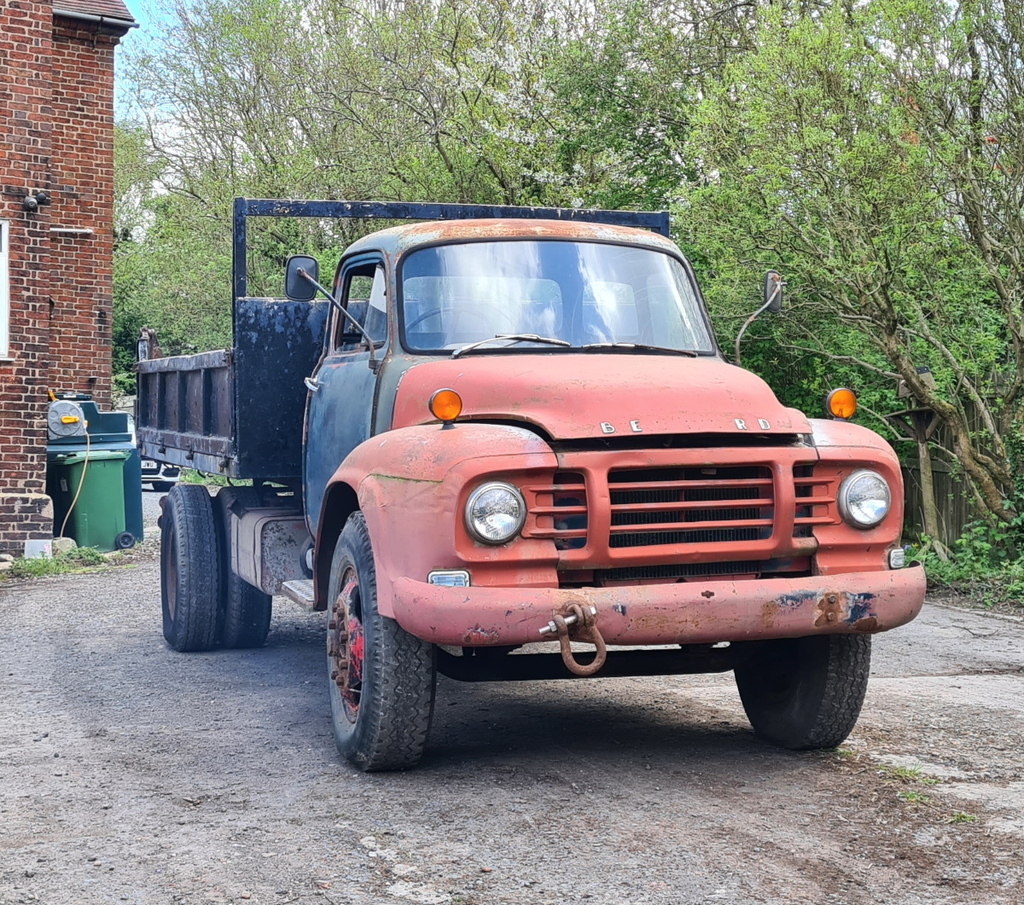
and how it looked when I started on the restoration
Progress so far
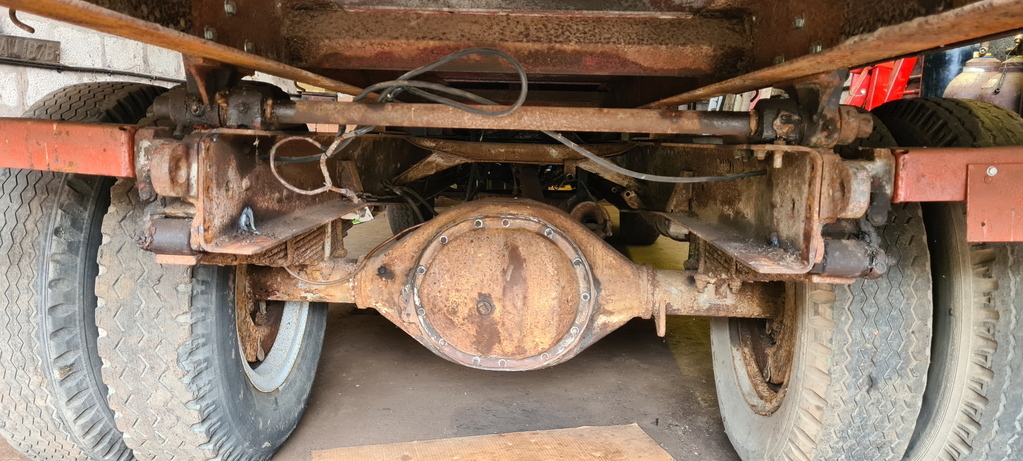
As this is my first restoration project i wasn't really sure where to start so I decided to start with the leaky rear axle and go from there, the rather murky gear oil was drained out before removing the rear inspection cover to inspect the 2 speed diff, luckily all seemed well so after 50+ years of sludge and copious amounts of orange gasket sealer was removed from the axle casing and various diff gears the rear cover was refitted with a more appropriate amount of sealer. Then came the leaky pinion seal, this was removed along with yet more orange sealer, including a large blob that had blocked the oilway to the pinion bearing! Luckily it didn't seem to have caused any harm so after thoroughly removing all traces of the sealer a new pinion seal was fitted into the housing and the hosuing was refitted before re-filling the axle with Morris EP90 gear oil. 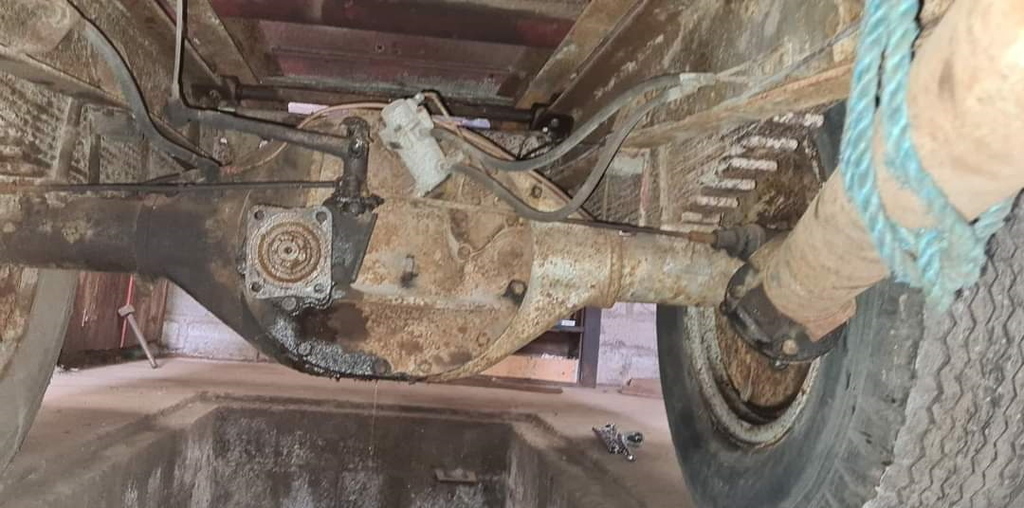 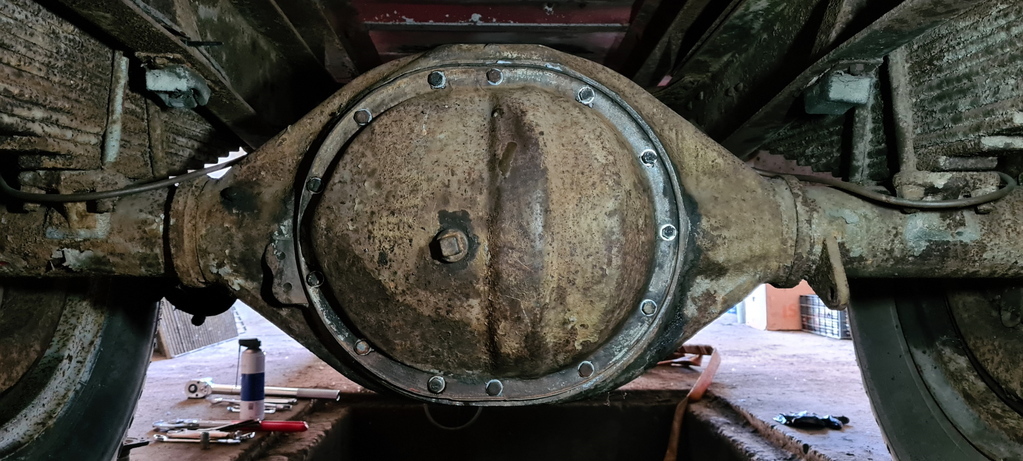 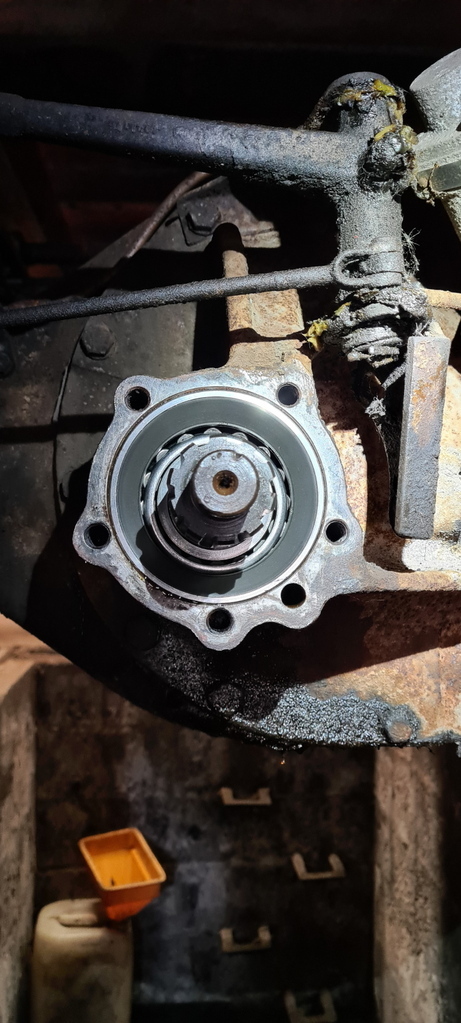 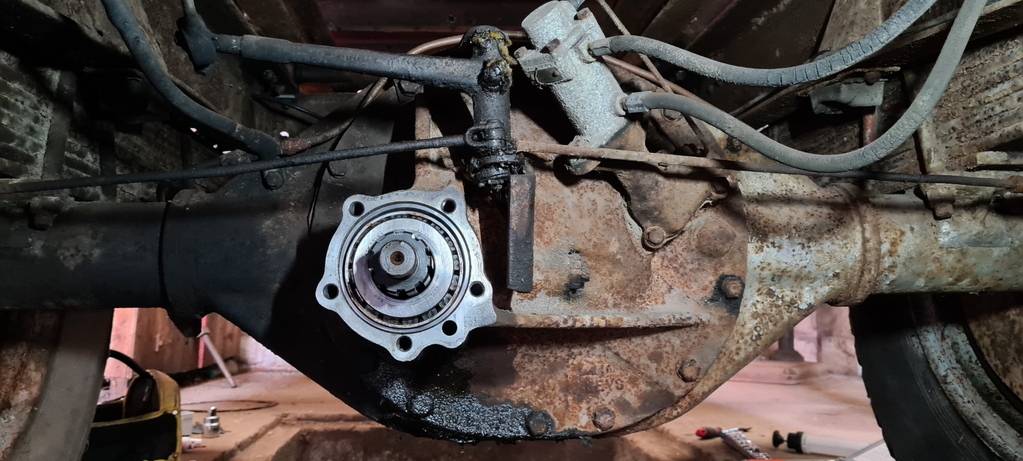 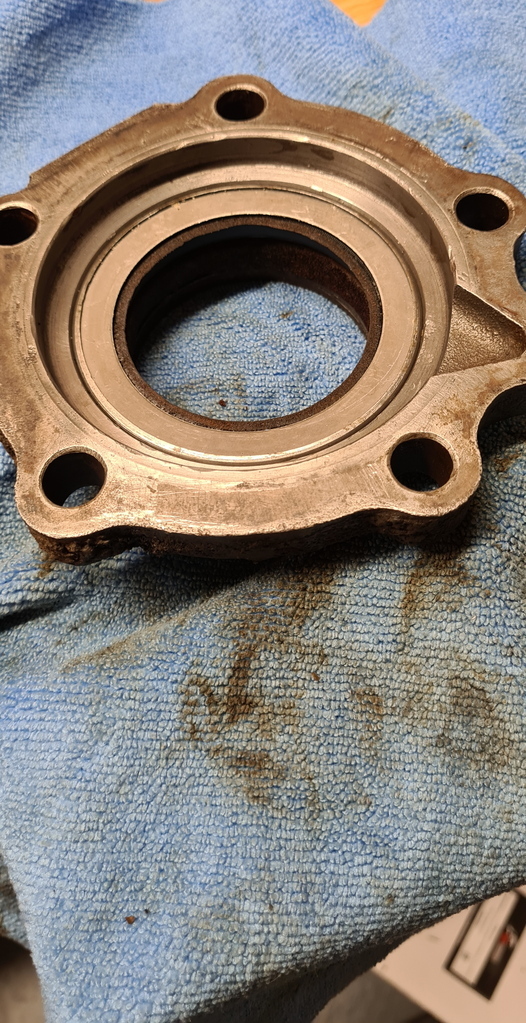 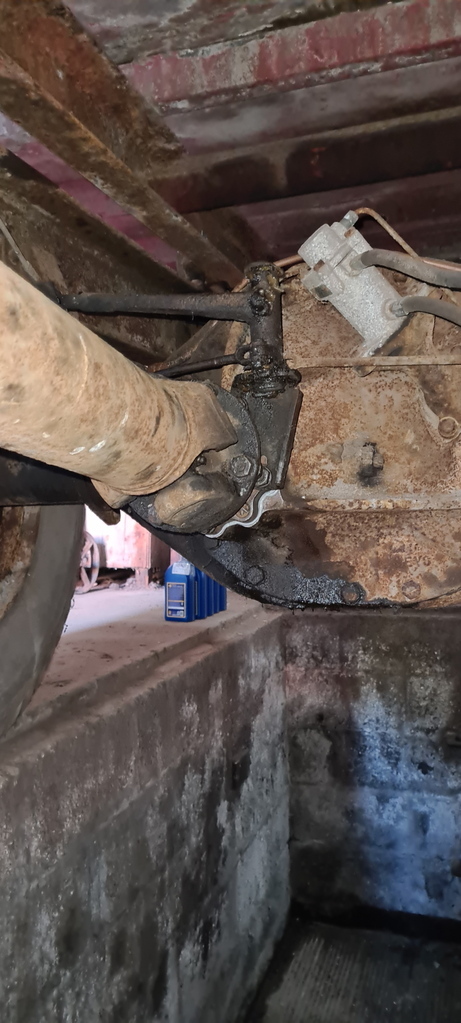 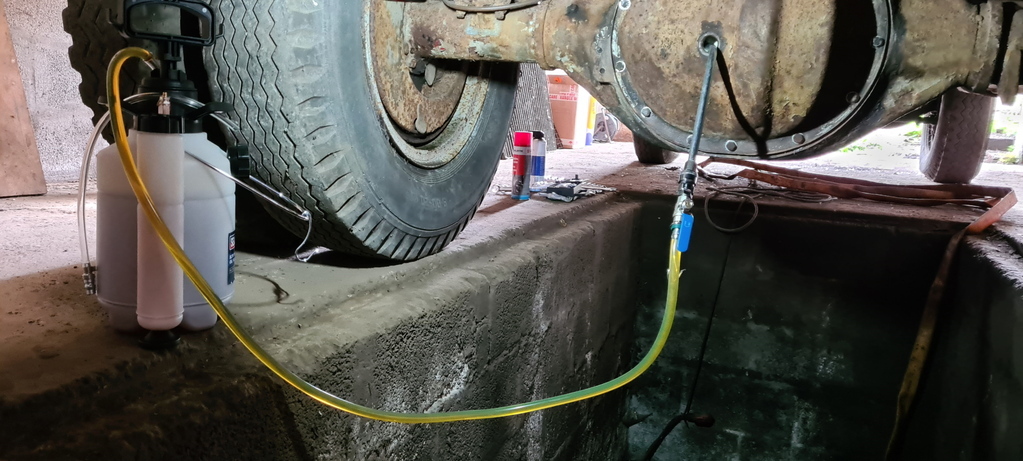
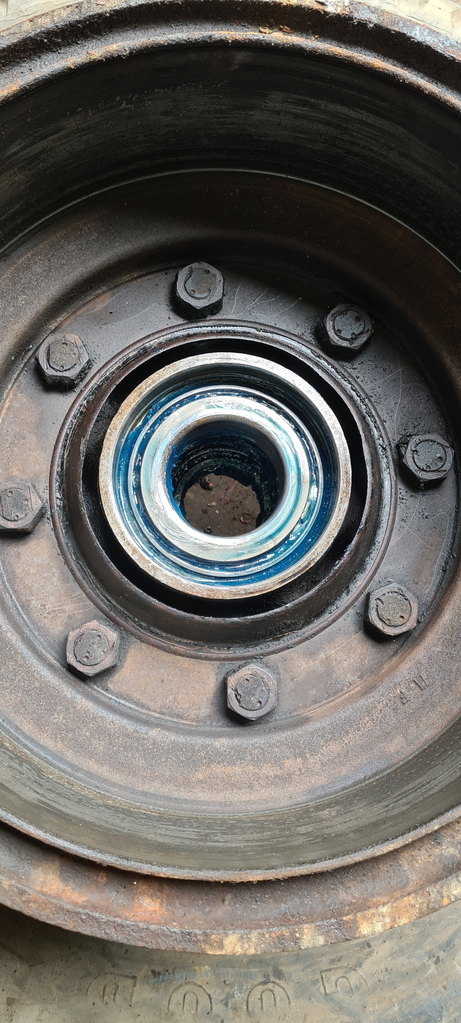
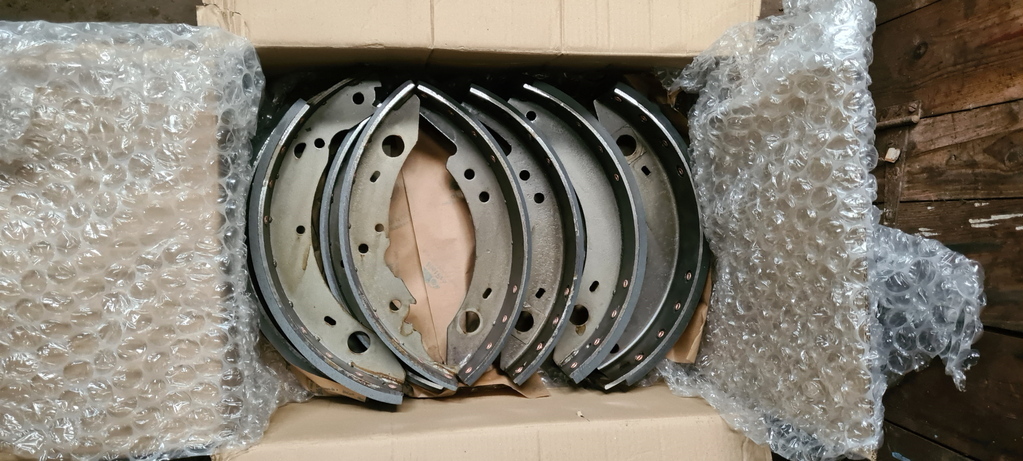
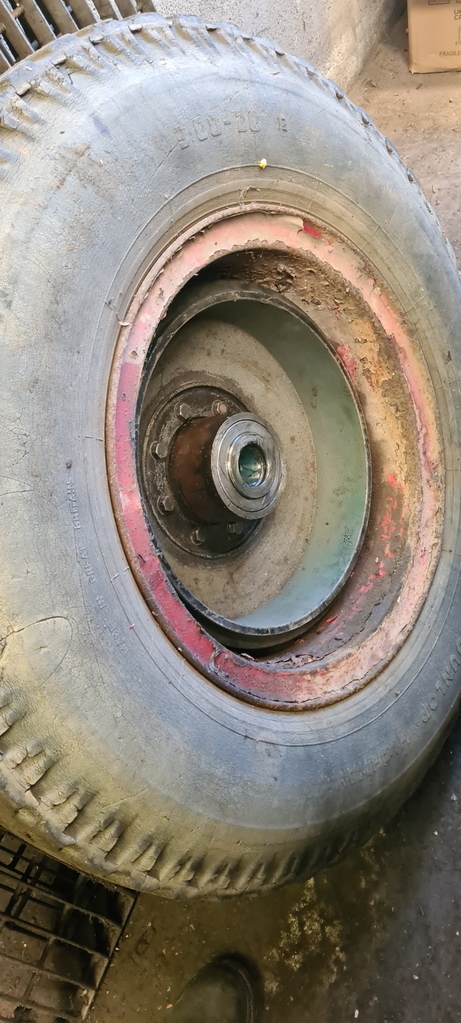
Next came the front axle, with the old brake shoes being removed ready to be sent for relining, followed by removing the scored brake drums from the hubs with the careful application of a sledgehammer! Once the drums were removed, I could strip the bearings from the hubs and inspect them. They were all in very good condition and were re-installed with fresh grease except for the O/S/F outer bearing that had started to wear the chrome plating off the rollers, so that was temporarily re-installed to keep the truck mobile while a replacement bearing was found.
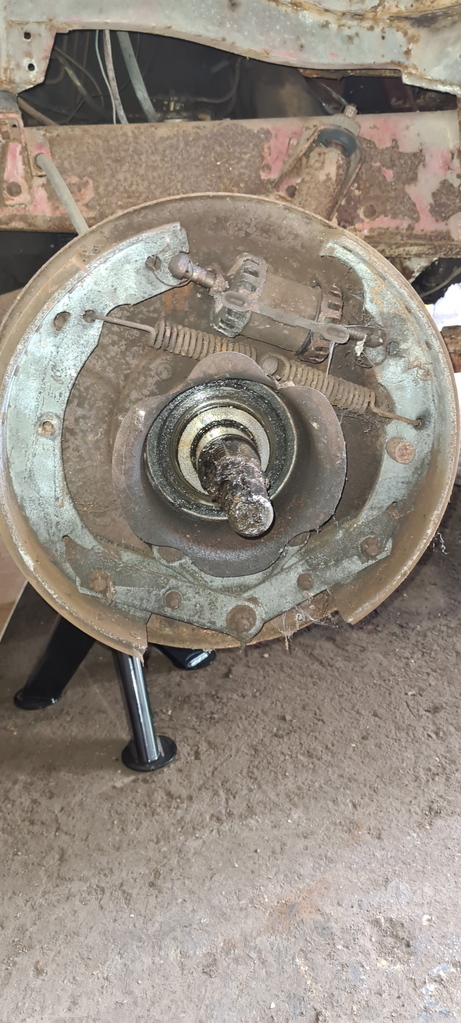 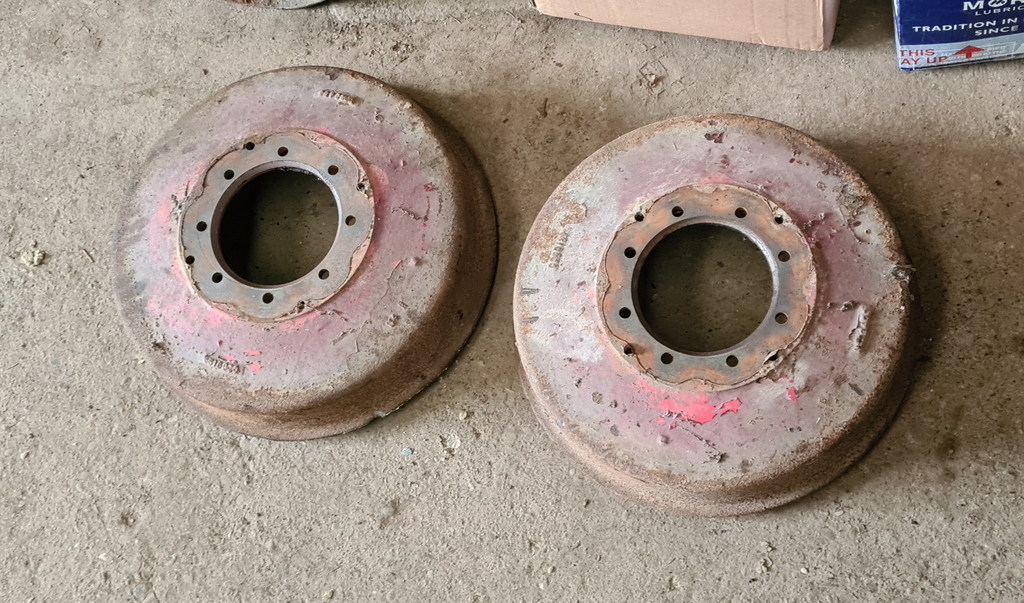 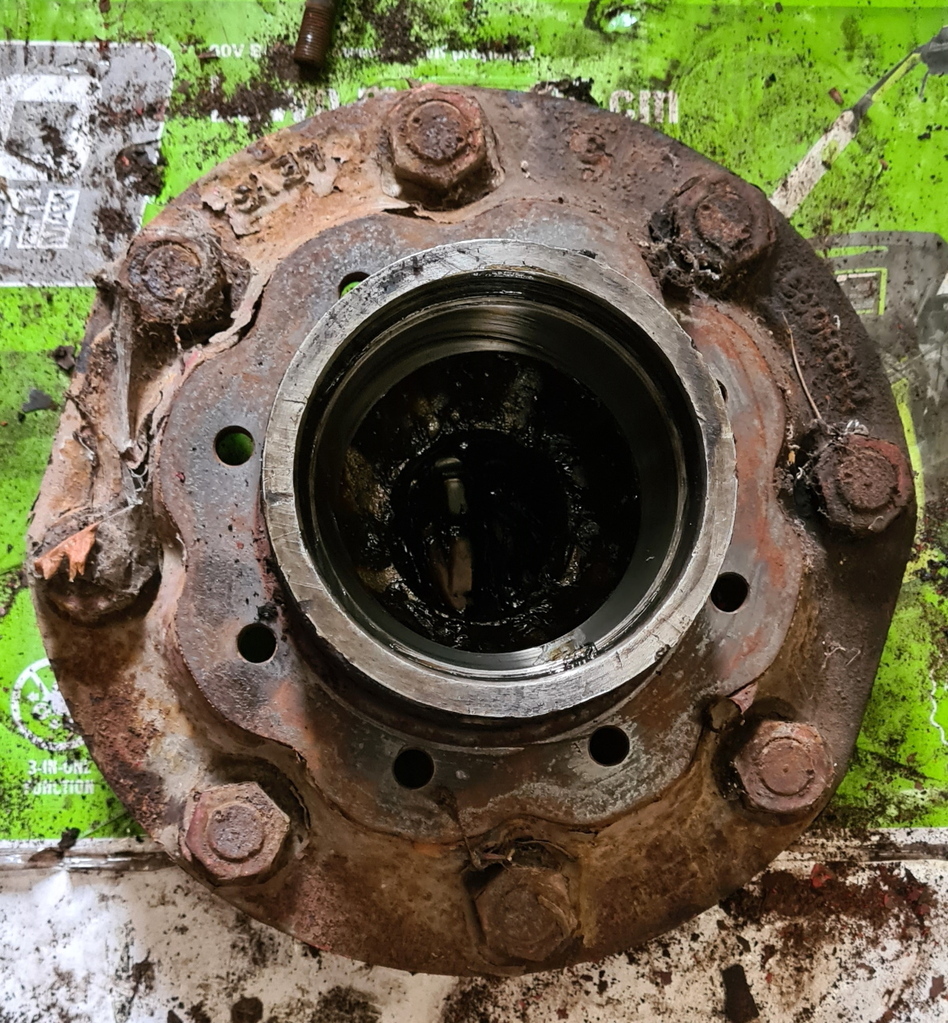
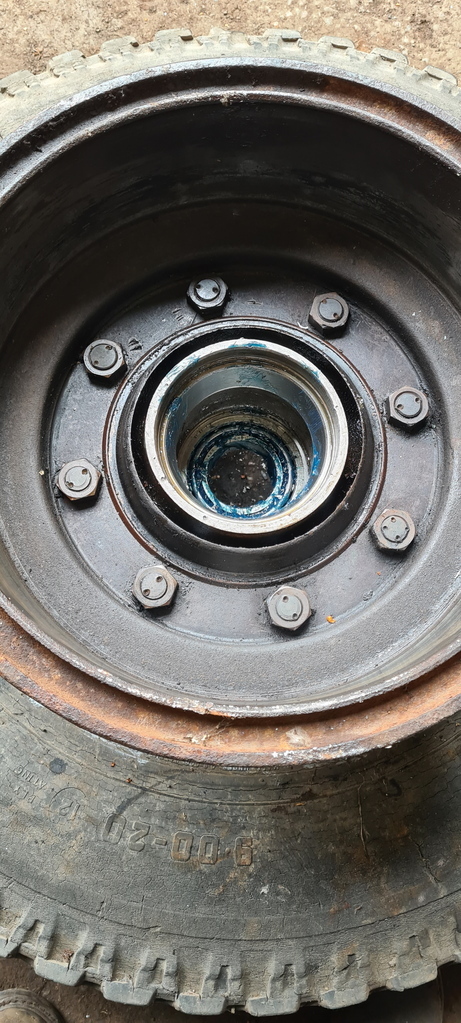
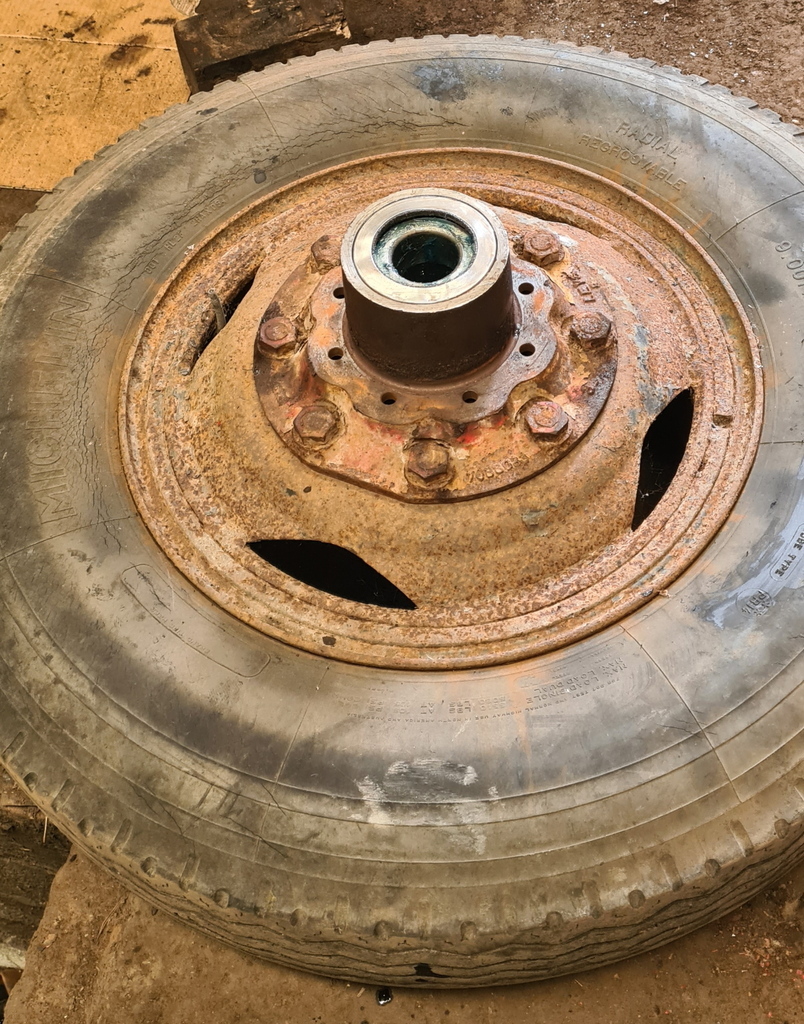
The following weekend saw a move back to the rear axle in order to strip and inspect the hubs and bearings and remove the rear brake shoes. Luckily the rear drums seemed to be in good shape so they were left alone while the shoes and brake linkages were removed for inspection and repair. Next came removing the rear wheel bearings, the inner bearing and hub seal were driven out followed by removing the large circlip that secures the outer bearing in place. This was then driven out using a modified punch through the access holes created by removing several of the halfshaft securing studs. Both outer bearings had seen better days so replacements were ordered along with two new hub seals, while the inner bearings cleaned up nicely ready to be re-installed at a later date.
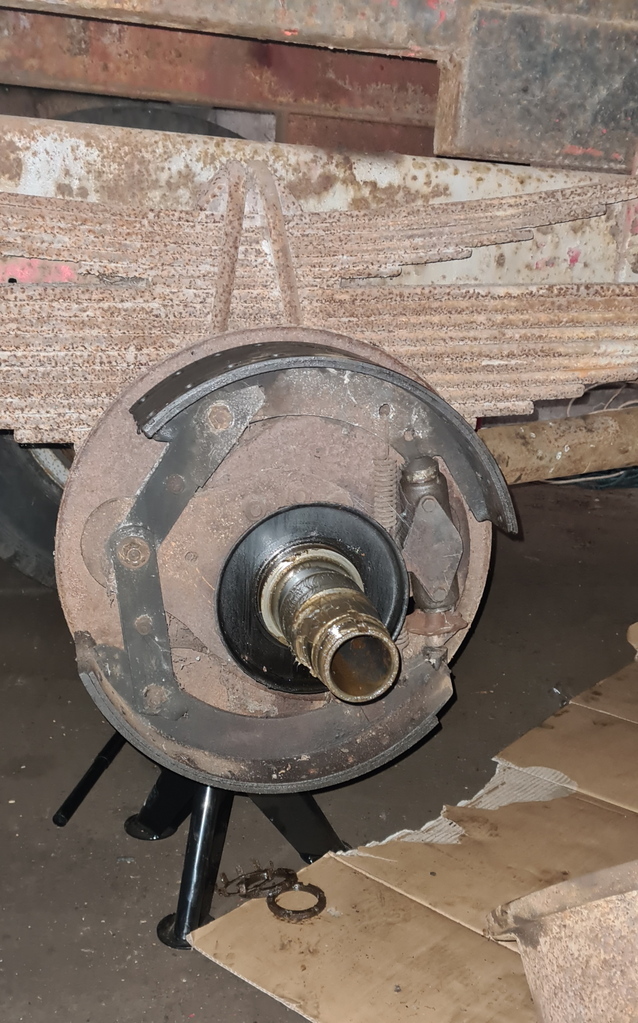 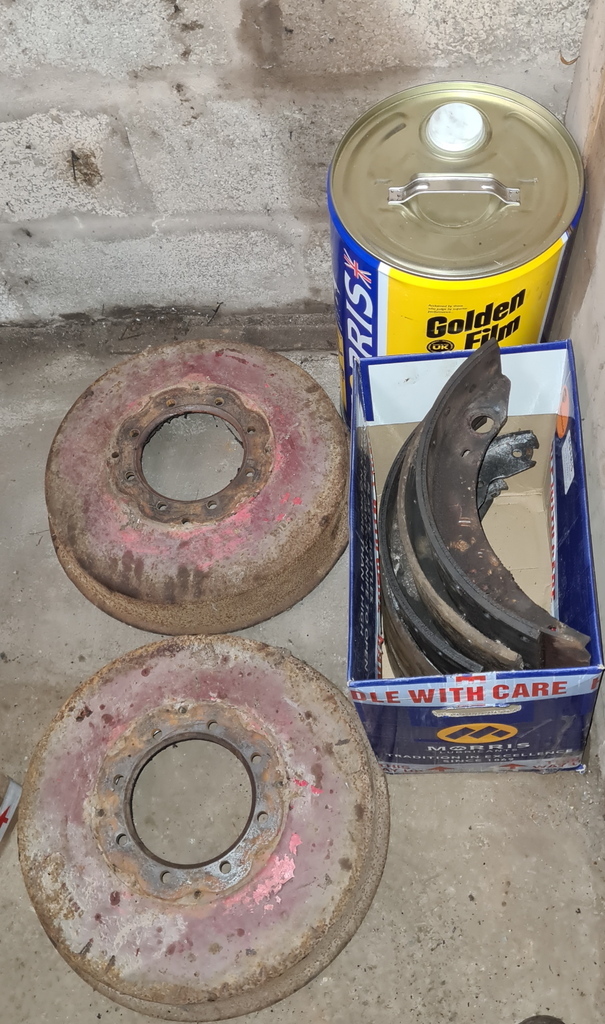 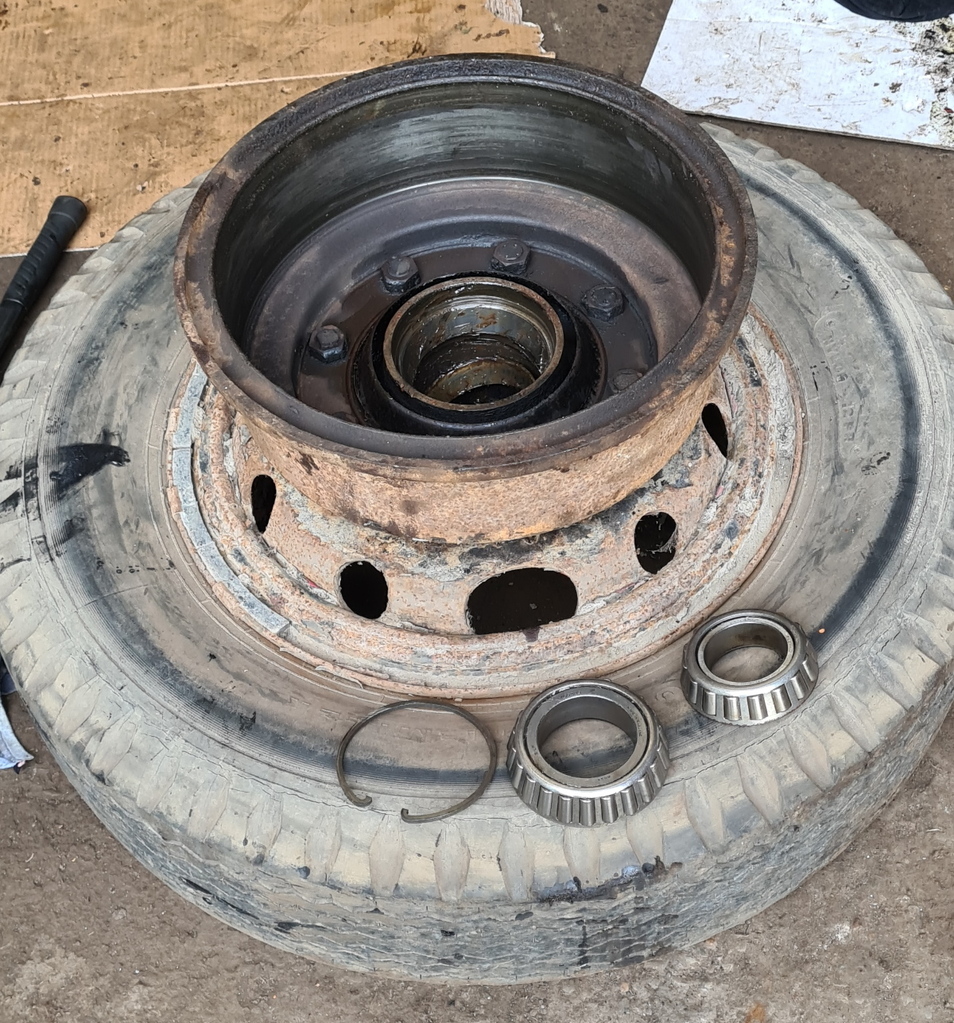
Last weekend saw quite bit more progress, with the rear wheel bearings and hub seals being replaced and the rear brake cylinders and expanders removed ready to be either sent off for professional repair or to be cleaned and repaired by myself. The replacement outer bearings were packed with grease before being slowly lowered into the hubs and the bearing races driven down over them (quite a strange way of installing these bearings as they have to be removed and re-installed from the rear of the hub) followed by re-fitting the circlips. Next came the inner bearings and the new leather hub seals that had been soaked in engine oil prior to installation.
Sorry this was such a long post but I wanted to show the progress that has been made up to this point, hopefully I can make a bit more progress later today.
|
| |
Last Edit: Aug 29, 2022 18:39:37 GMT by marke95
|
|
|
|
|
|
|
|
|
|
What engine? 300 petrol for all of the gas hogging goodness?
|
| |
|
|
|
|
|
|
|
|
330 diesel which will hopefully be coming out soon for a bit of an overhaul.
|
| |
|
|
|
|
|
|
|
Massive spring pack and tiny brakes by today's standard. As another grandson of a tipper operator I love this, fancy 2 speed back axle too! Have you driven it? I recall 4L, Top L, 4H, top H was quite a common shift pattern depending on gearing. Great fun with the switch on the dashboard. |
| |
Last Edit: Jun 27, 2022 6:53:14 GMT by Rich: Fixed quote
|
|
|
|
|
Jun 26, 2022 19:58:12 GMT
|
Massive spring pack and tiny brakes by today's standard. As another grandson of a tipper operator I love this, fancy 2 speed back axle too! Have you driven it? I recall 4L, Top L, 4H, top H was quite a common shift pattern depending on gearing. Great fun with the switch on the dashboard. I've only driven it up and down the driveway (which is quite long but not exactly a road test!), the control for the two speed axle is on the side of the gearstick on this, but the cable is seized so I haven't had chance to see if it works yet. |
| |
Last Edit: Jun 27, 2022 6:54:16 GMT by Rich: Fixed messy quote
|
|
|
|
|
Jun 26, 2022 20:34:37 GMT
|
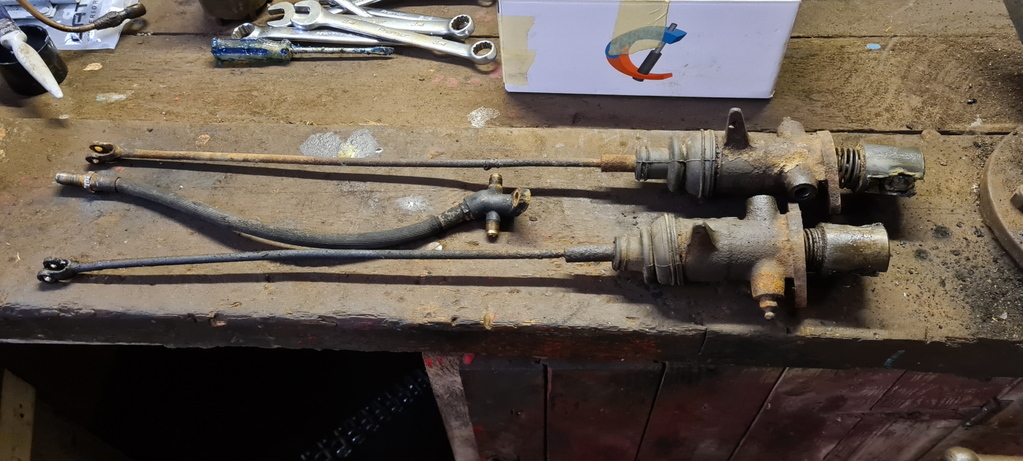
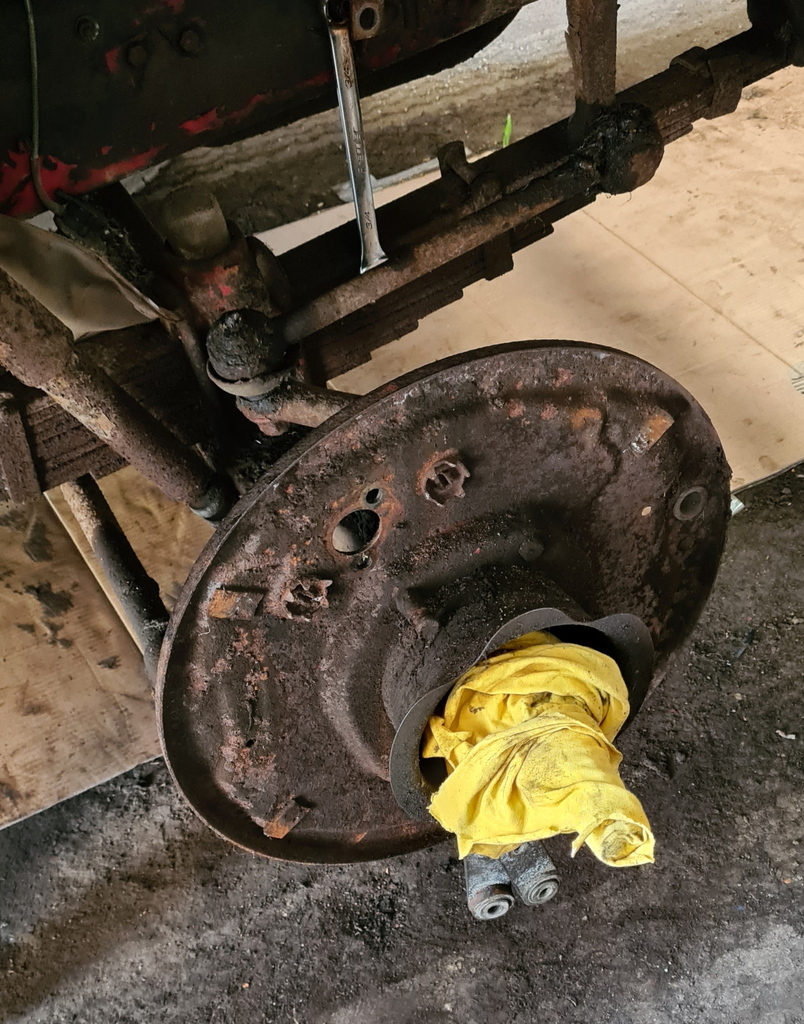
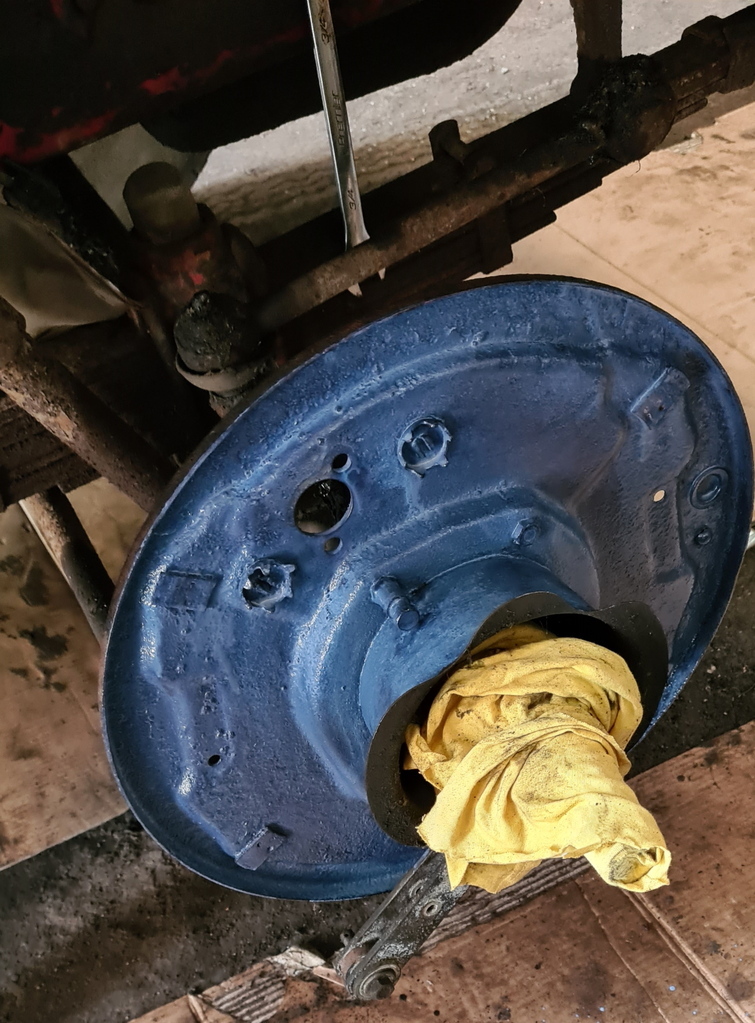
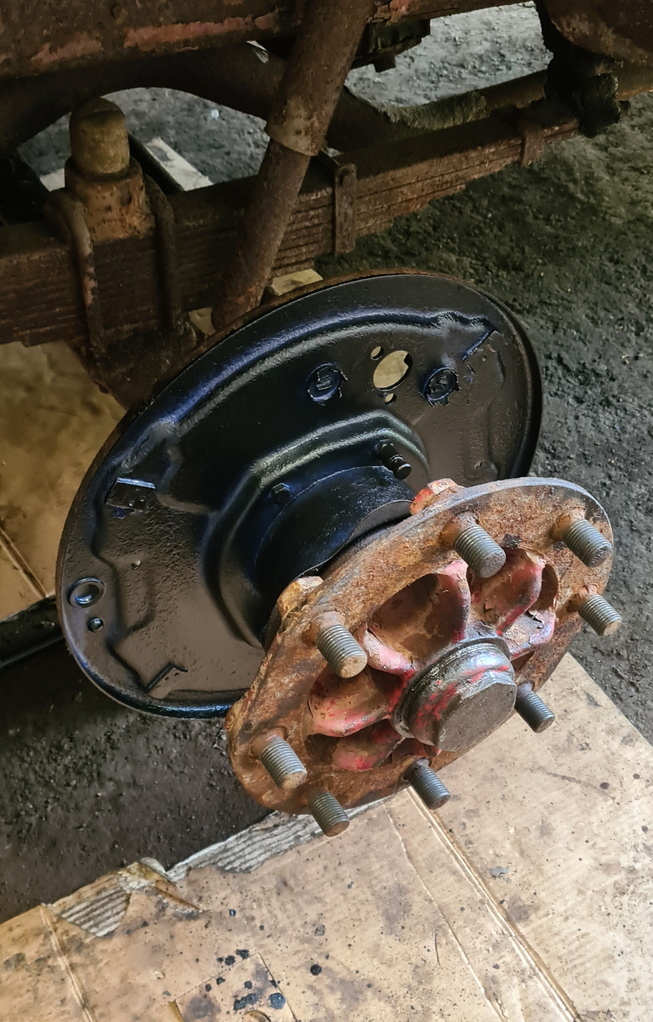
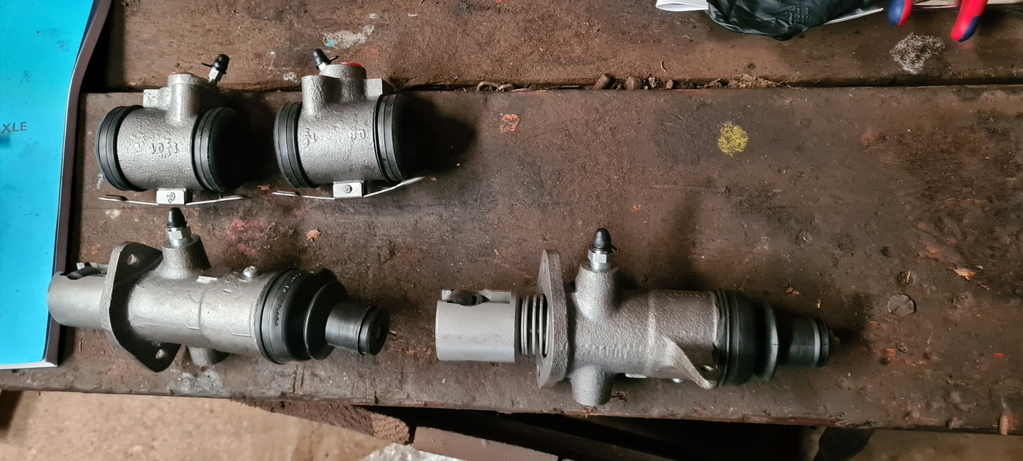
Today's goal was to get the front wheel cylinders and brake hoses off so that they can be sent off to PastParts along with the rear cylinders to be stainless steel sleeved and resealed. Once the cylinders were off, the backplates were treated to a good wire brushing and some rust converter to tidy things up.
The replacement bearing I ordered for the O/S/F turned out to be wrong so I could only fit the N/S/F hub seal but at least that side is now all done, just waiting for the new drum and relined brake shoes.
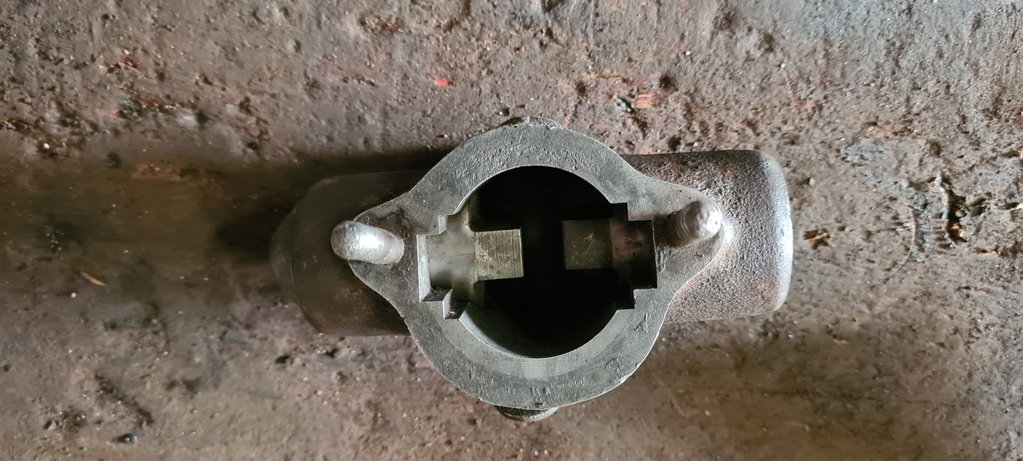
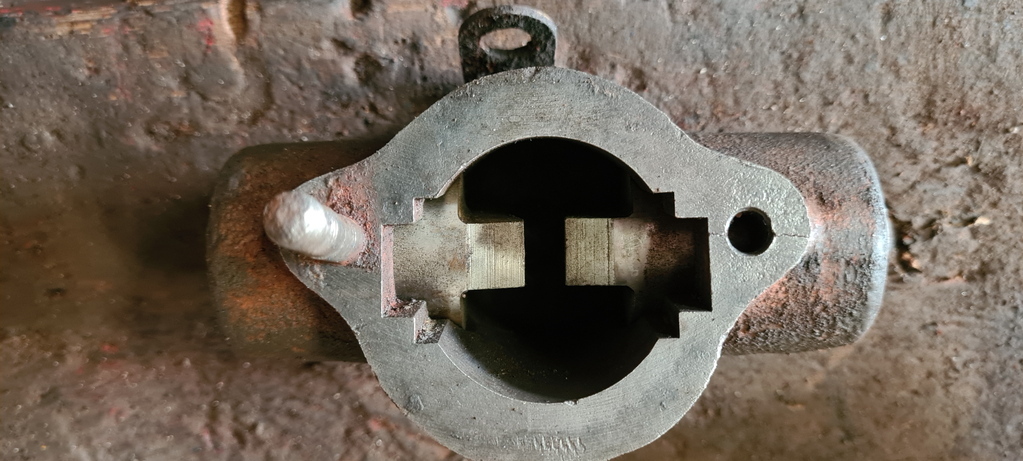
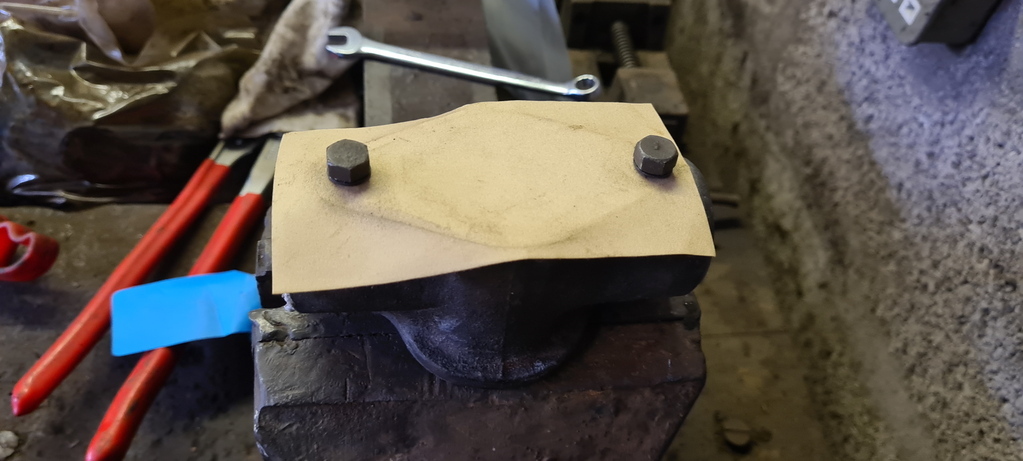
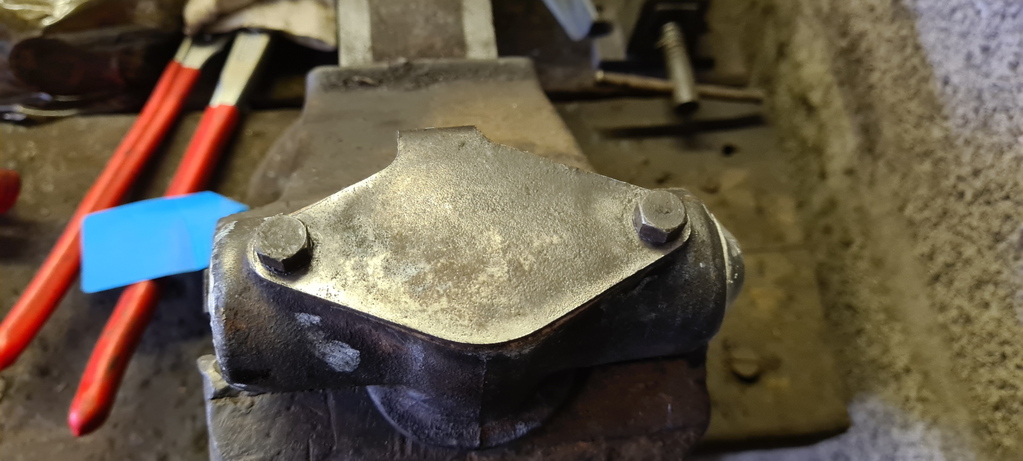
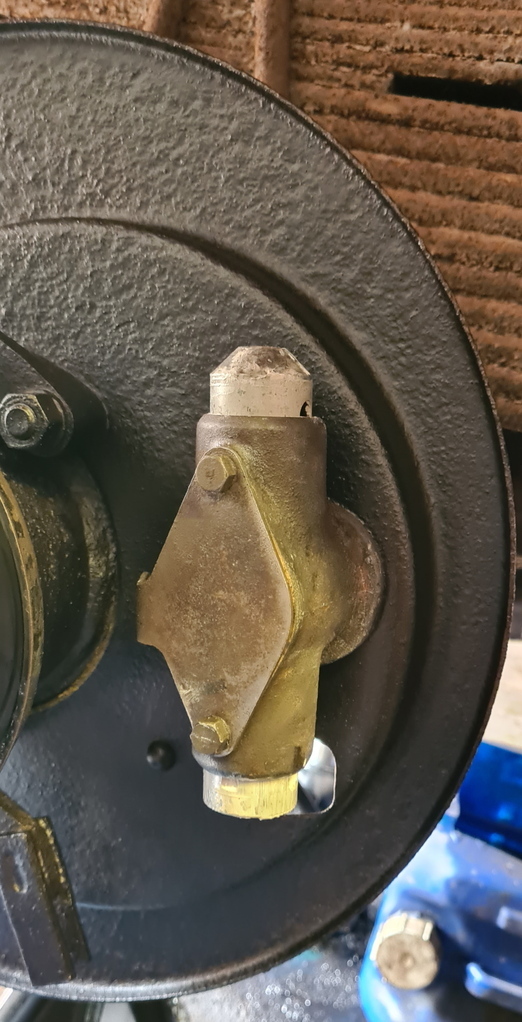
Cleaned up the brake bisectors that I removed from the rear axle last weekend and found a bit of a nasty surprise waiting for me. When I removed the N/S one, one of the securing studs was already broken, once I managed to get that removed I found that there was a crack right through the threaded hole. Luckily the other side was OK. If anyone knows the correct grease to be used in these bisectors please let me know, as the workshop manual lists a specific GM grease that is no longer available.
|
| |
Last Edit: Jun 26, 2022 20:36:49 GMT by marke95
|
|
|
|
|
|
|
|
Brilliant work so far,
My late Father was an HGV mechanic who, over the years, worked on wagons from little 4 wheel tippers to 32 ton artics,
I spent many a day watching / "helping" him, I suppose that's where my car interest originated,
Looking forward to seeing future updates on this thread,
Bookmarked,
Nigel
|
| |
BMW E39 525i Sport
BMW E46 320d Sport Touring (now sold on.)
BMW E30 325 Touring (now sold on.)
BMW E30 320 Cabriolet (Project car - currently for sale.)
|
|
|
|
|
|
|
|
What's the GM grease? There might be a cross reference, or an alternative.
|
| |
|
|
|
|
|
Jun 27, 2022 10:57:00 GMT
|
What's the GM grease? There might be a cross reference, or an alternative. According to my workshop manual it's GM 4613-M |
| |
Last Edit: Jun 27, 2022 10:57:38 GMT by marke95
|
|
|
|
|
Jun 27, 2022 11:48:44 GMT
|
What's the GM grease? There might be a cross reference, or an alternative. According to my workshop manual it's GM 4613-M Hm. High temperature stuff. Tamber may have the answer for that. Edit: I was going to suggest what I had used in my steering box, but I'm not sure if it would be up to the temperatures involved in brakes. John Deere "corn head" gearbox grease. It's a thixotropic grease with resistance to hardening, and good "flop", where it'll fall back into a gap made by something moving past. My concern would be the proximity to the brakes and if it got runny. I can ask around and see if there's a cross reference. |
| |
Last Edit: Jun 27, 2022 13:13:21 GMT by PhilA
|
|
|
|
|
|
|
Jun 27, 2022 12:26:40 GMT
|
|
Great history/backstory, and always cool to see a commercial being saved. Have a bookmark and keep the posts coming when you can.
Steve
|
| |
|
|
|
|
|
Jun 27, 2022 22:00:16 GMT
|
|
Checked at GM for you, doesn't even flag up any more.
Service guy suggested caliper slider grease, he said the synthetic stuff doesnt go runny (if it gets too hot it dries out).
He said any car parts store should have it, it's normally red (seen it used as a gen purp grease for tractors, articulated arm pin bearings etc).
Hope that helps.
Phil
|
| |
|
|
|
|
|
|
|
Checked at GM for you, doesn't even flag up any more. Service guy suggested caliper slider grease, he said the synthetic stuff doesnt go runny (if it gets too hot it dries out). He said any car parts store should have it, it's normally red (seen it used as a gen purp grease for tractors, articulated arm pin bearings etc). Hope that helps. Phil Thanks Phil, that's great! |
| |
|
|
Tamber
Part of things
  Shattered. Held together by spite and tape.
Posts: 342
|
|
Jul 11, 2022 22:22:06 GMT
|
I used a ROCOL dry-lube moly-paste stuff when I did mine, it's got an alcohol base that evaporates off after application. Supposed to be very temperature resistant and prevent scuffing. Ah! Here we go: www.rocol.com/products/dry-molybdenum-disulphide-paste(The ol' EMER for the RL says LG-280, though, which is still available because assorted military junk still uses it!) |
| |
Last Edit: Jul 11, 2022 22:27:28 GMT by Tamber
-< Welder. Allegedly a mechanic. Bodger of Things >-
* 1958? Bedford RL - Progress: Glacial.
* 1994 Skoda Favorit - It's baaaaaaaack!
* 2018 Herald Classic - Gone!
|
|
Brigsy
Part of things
 
Posts: 617
|
|
|
|
|
Great history, good to see its getting some tlc
|
| |
|
|
|
|
|
Jul 17, 2022 14:02:28 GMT
|
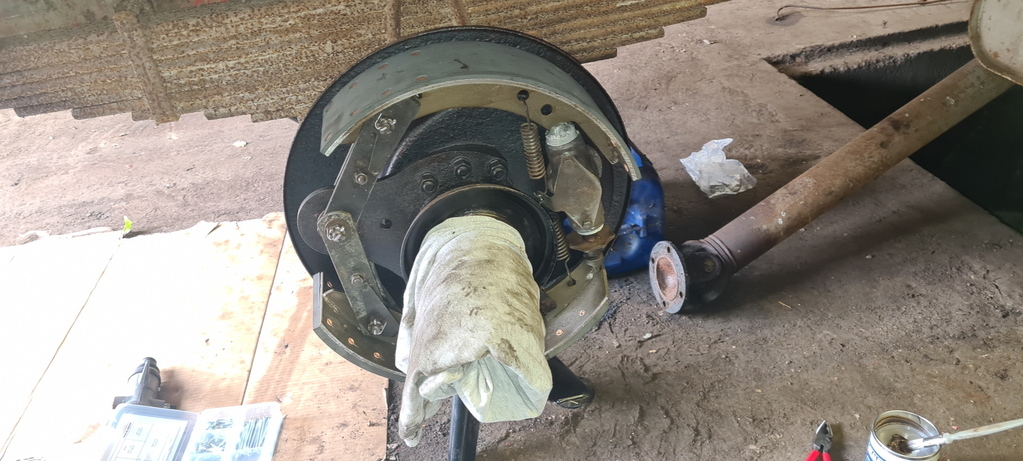
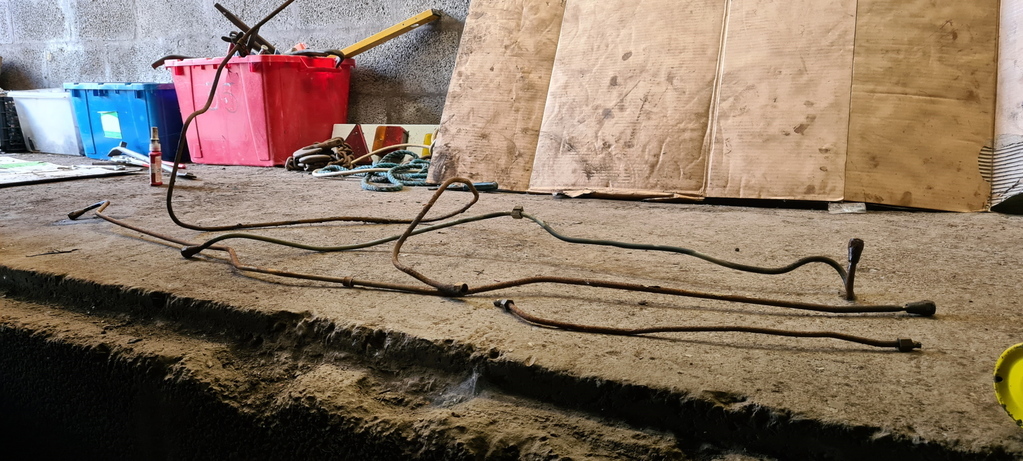
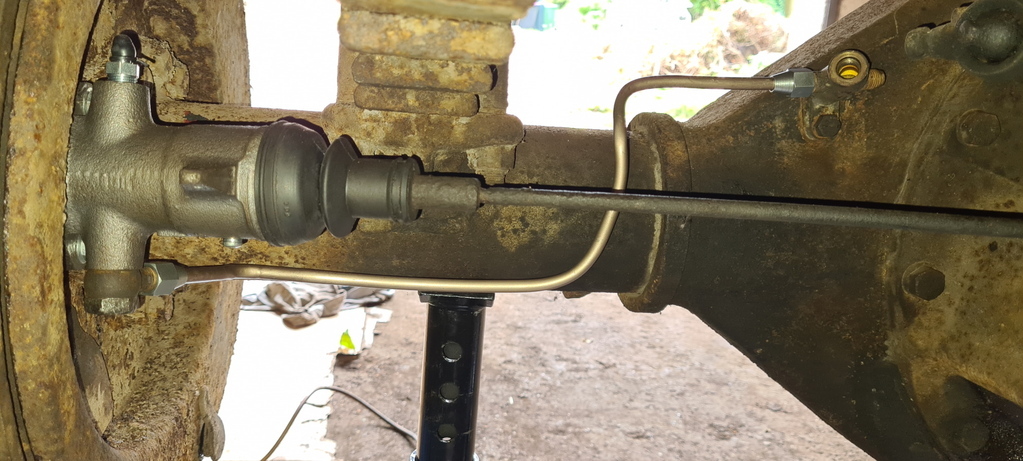
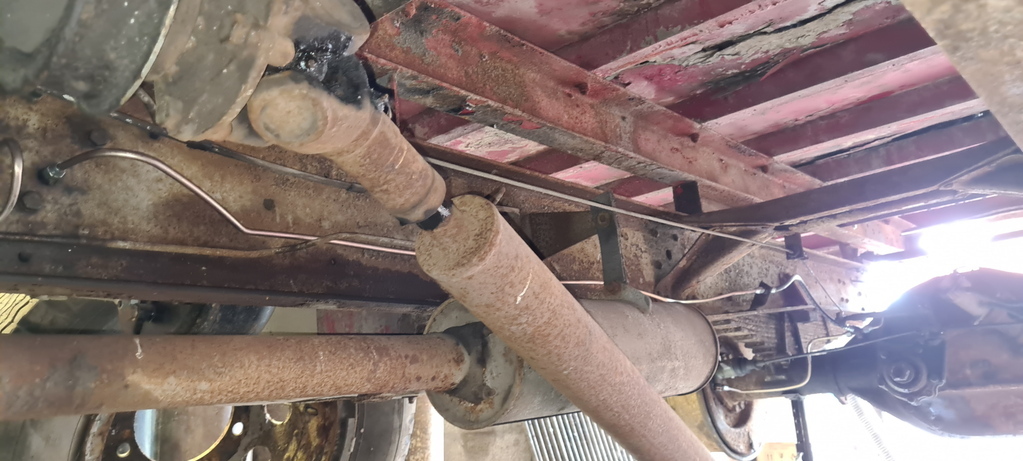
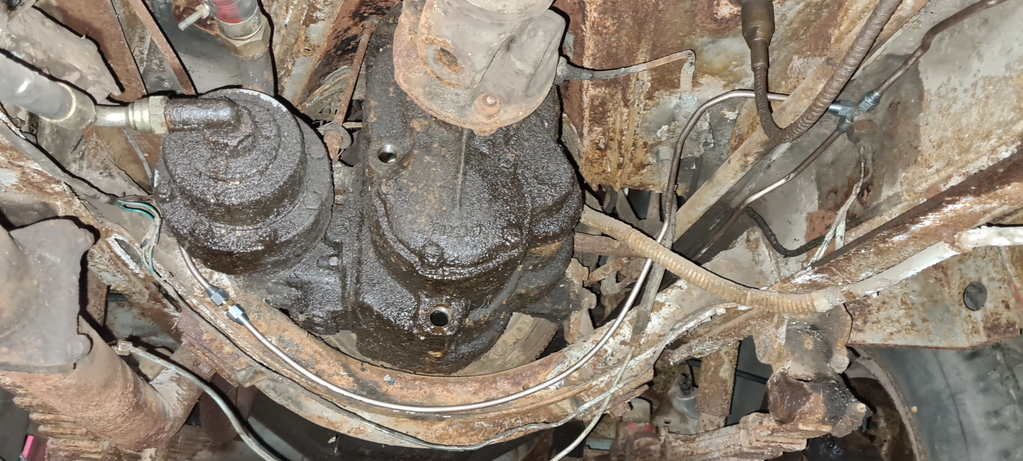
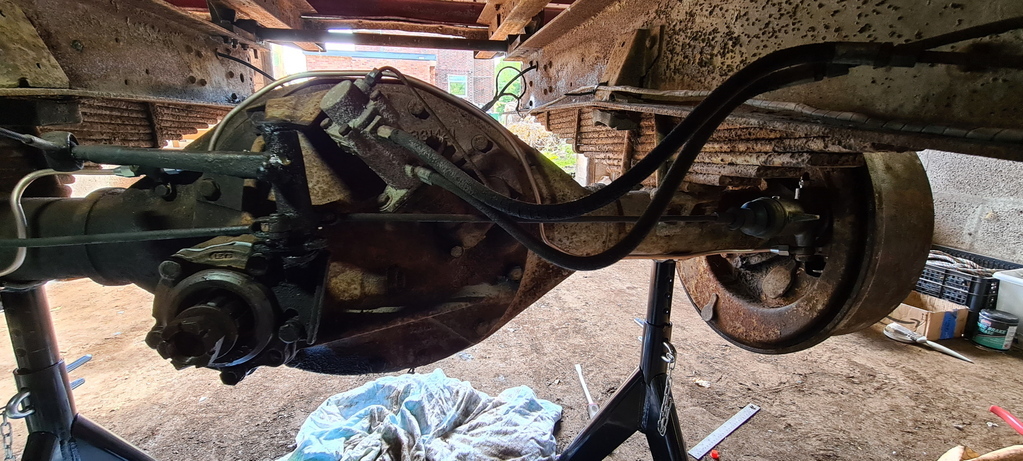
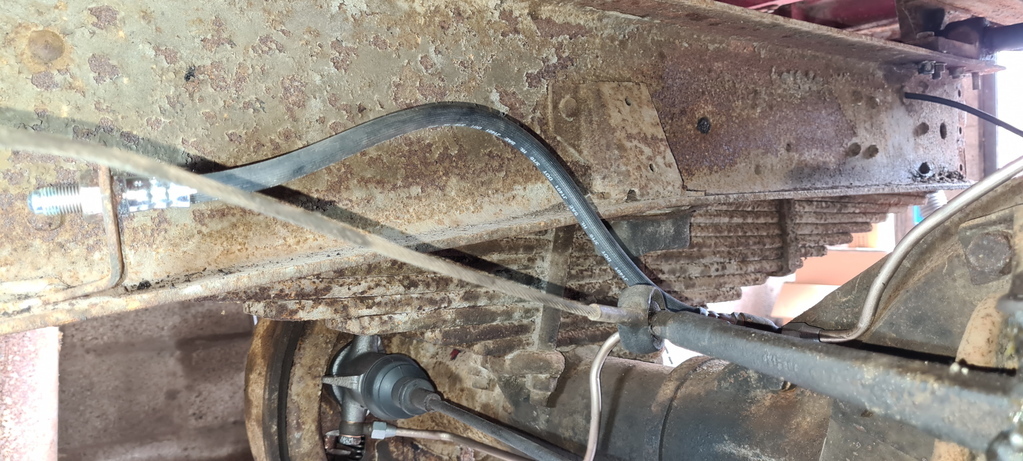
Hi everyone, sorry the updates have been a little slow, I haven't had any internet access for the past two weeks but I've also been off work during that time so there's plenty of progress to share! First off, I'd like to say thank you to everyone who has commented and bookmarked this thread so far and also thank you to those of you who have already been able to help with the project. First job was to remove the poorly repaired rear crossmember from the chassis, this was then dropped off at Ambrose Wood and Son Engineering in Macclesfield to be used as a pattern to produce a completely new crossmember. 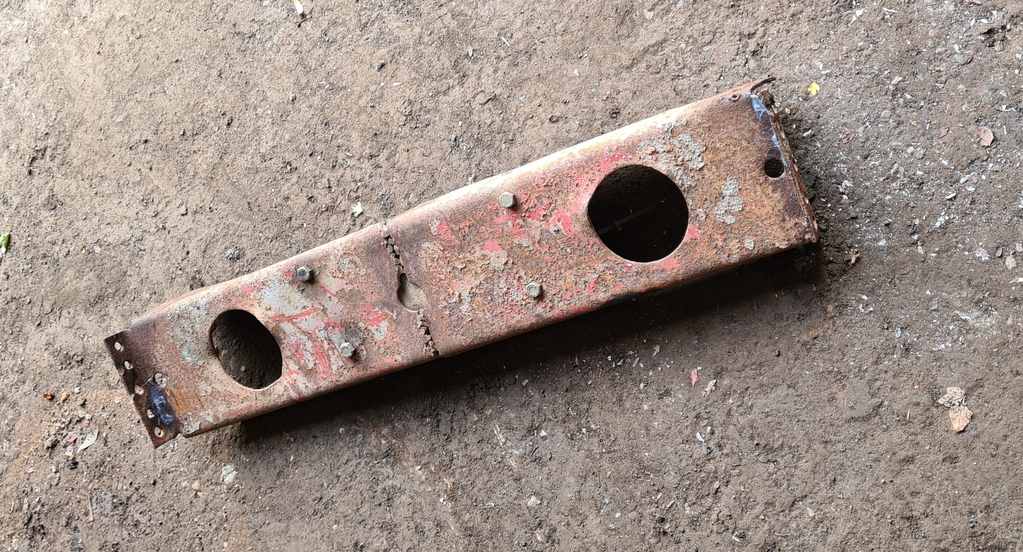 Then came a trip to Midland Auto Parts in Oswestry, who were able to supply me with a brand new pair of front brake drums, a new brake bisector to replace the cracked original and a few other items such as filters, locktab washers and brake shoe retaining clips. Once the brake shoes had returned from Clutchfix after being relined and the brake cylinders were back from Past Parts after a complete rebuild including stainless steel sleeves, new seals and a replacement handbrake plunger, the rebuild of the rear brakes could begin. I started by making a new gasket for the one original brake bisector, and then lubricated the plungers with high temp brake grease and fitted the bisectors and new brake cylinders to the backplates, 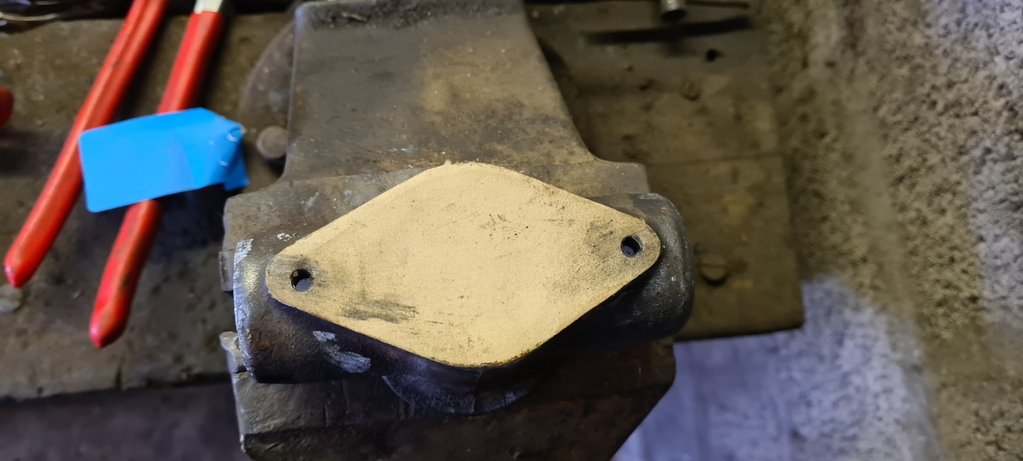 Then the newly relined brake shoes were fitted. Once the brakes had been adjusted and the handbrake mechanism re-fitted, the next project was to replace all the brake pipes. Not a job I was really looking forward to but I don't think they turned out too badly in the end. Just need to fit some securing clips to finish them off now.
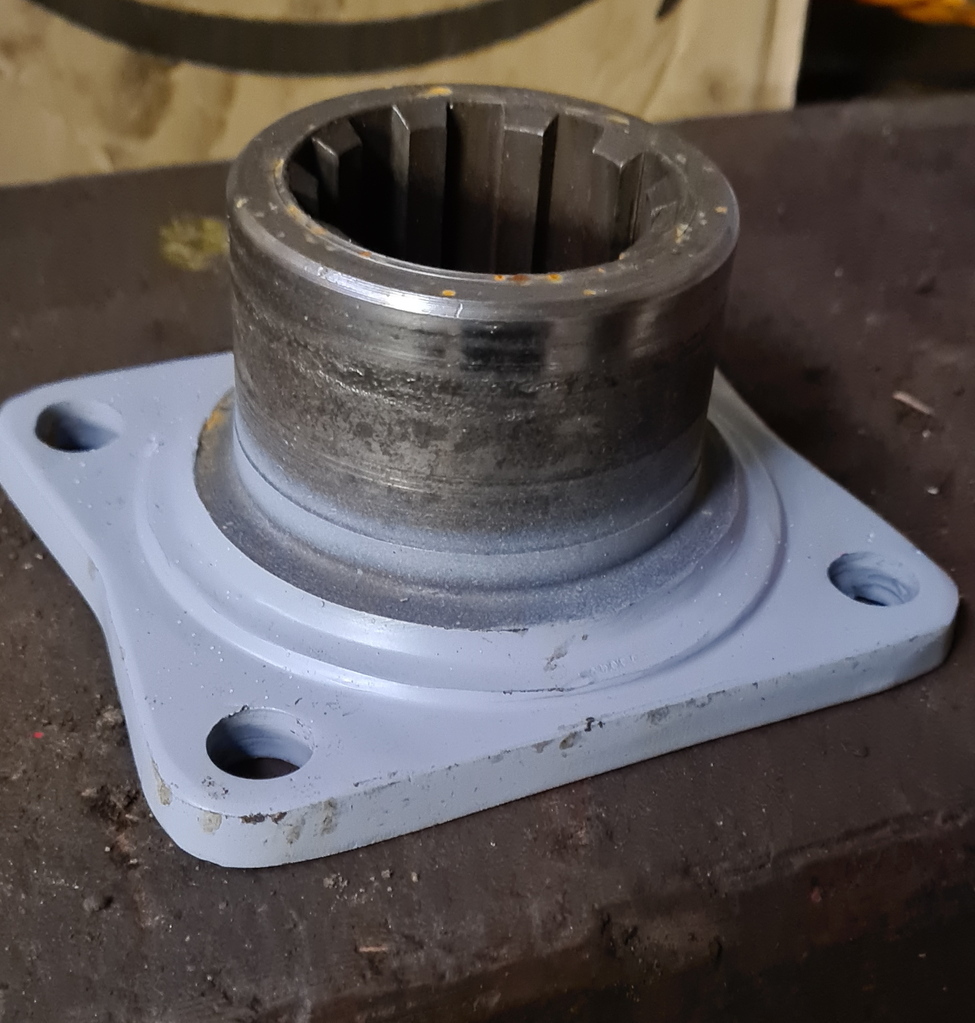
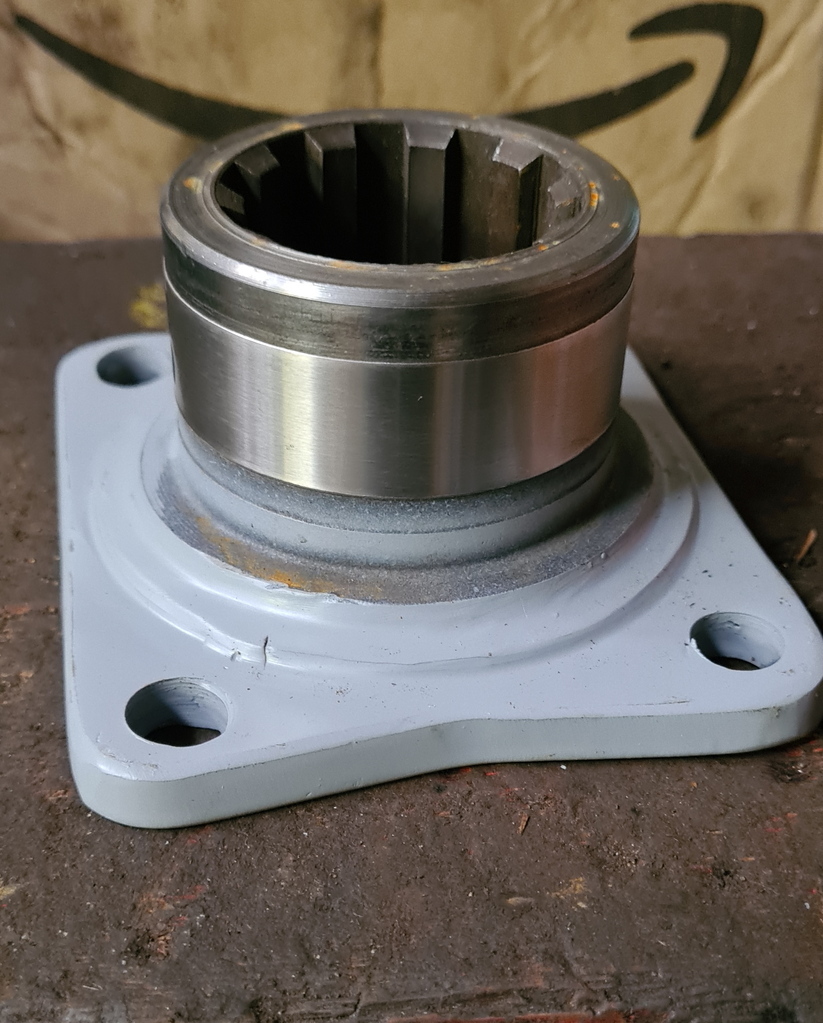
The rear diff flange was also removed so that a friend of mine can weld up some damage around the bolt holes, just waiting for that to come back now so I can move the lorry back to jack up the front axle and fit the new front brakes. Hopefully the new crossmember will be finished soon so that can be re-fitted too.
|
| |
Last Edit: Jul 17, 2022 14:08:45 GMT by marke95
|
|
|
|
|
|
|
|
Only a massive grin to add.
Loving it.
|
| |
|
|
|
|
|
Jul 25, 2022 20:16:04 GMT
|
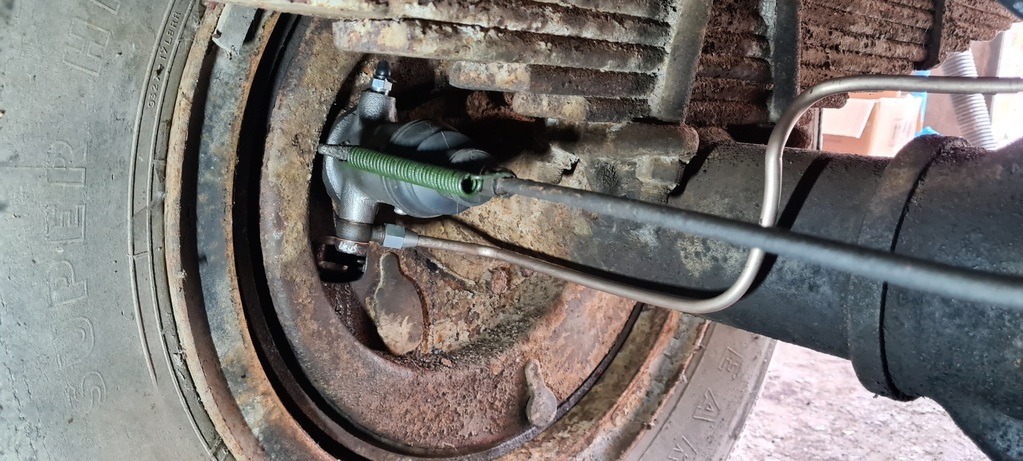
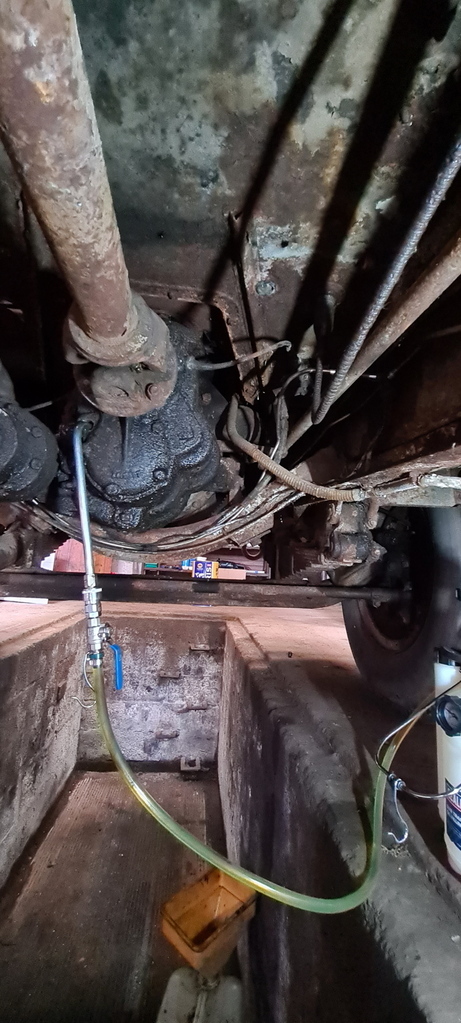
Only a small update this weekend as I'm still waiting for the propshaft flange to be repaired so I can't move the Bedford back off the pit to jack the front end up and replace the front brakes, also still waiting for the new rear crossmember to be made so I can't get on with that either! So I thought I'd fit the new return springs to the handbrake mechanism so that the rear brakes are completely finished apart from bleeding now. Also decided to change the rather murky gearbox oil, still have to find where all the leaks are but at least what oil is remaining inside is now clean!
  |
| |
|
|
|
|
|
|
|
|
Excellent work, great family connection.
|
| |
1941 Wolseley Not Rod - 1956 Humber Hawk - 1957 Daimler Conquest - 1966 Buick LeSabre - 1968 Plymouth Sport Fury - 1968 Ford Galaxie - 1969 Ford Country Squire - 1969 Mercury Marquis - 1970 Morris Minor - 1970 Buick Skylark - 1970 Ford Galaxie - 1971 Ford Galaxie - 1976 Continental Mark IV - 1976 Ford Capri - 1994 Ford Fiesta
|
|
|
|
|
Jul 31, 2022 20:24:48 GMT
|
Bit more progress this weekend, it may look much the same on the outside but things are really starting to take shape underneath now!
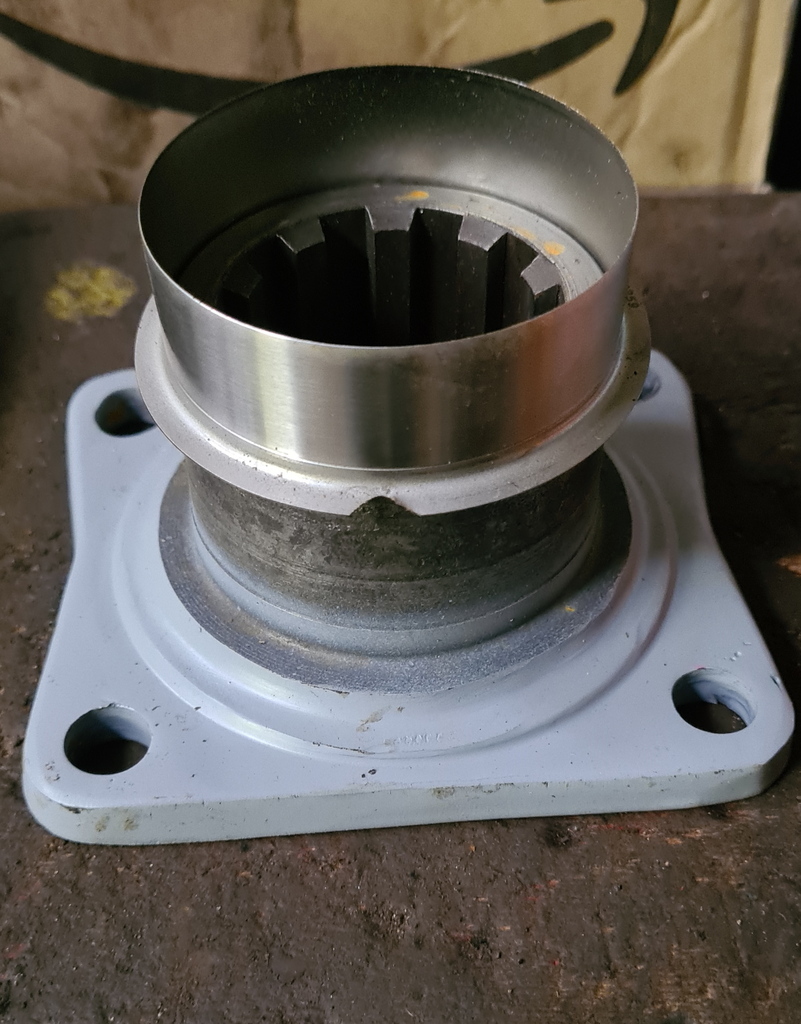
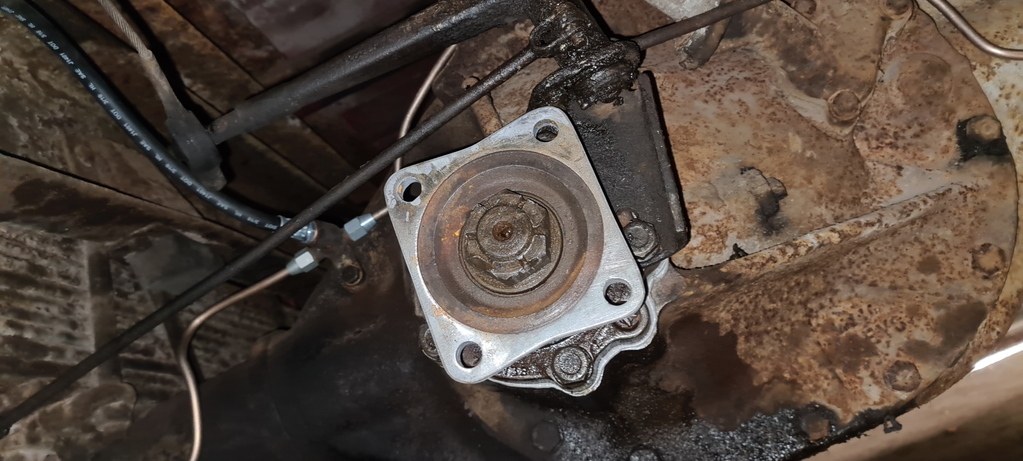
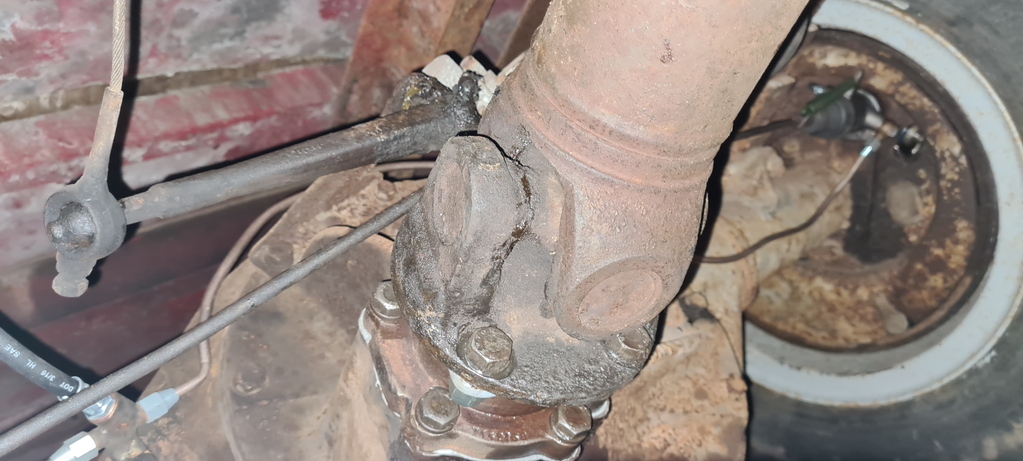
Got the pinion flange back from being repaired so started by fitting a Speedi Sleeve to the worn portion of the flange where the pinion seal sits, with that done I fitted the flange to the diff and got the propshaft re-connected so I could finally move the lorry back and jack up the front axle to start work on rebuilding the front brakes.
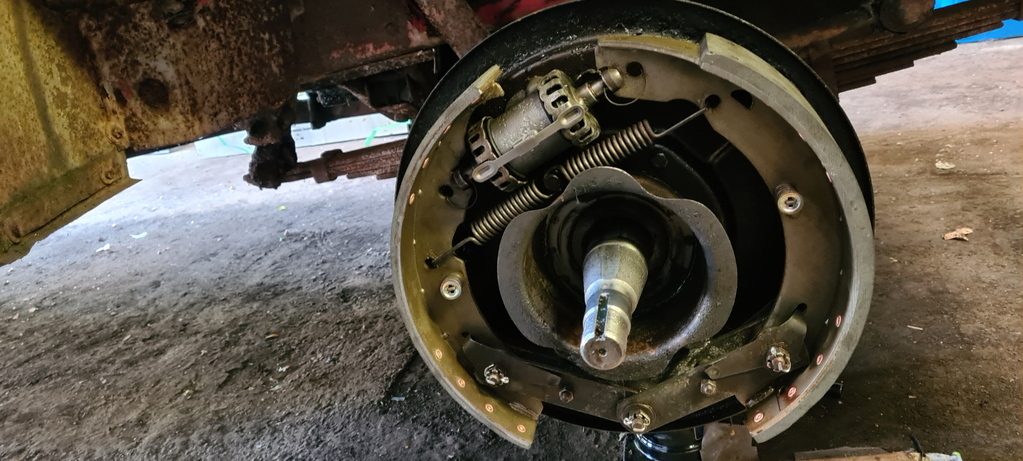
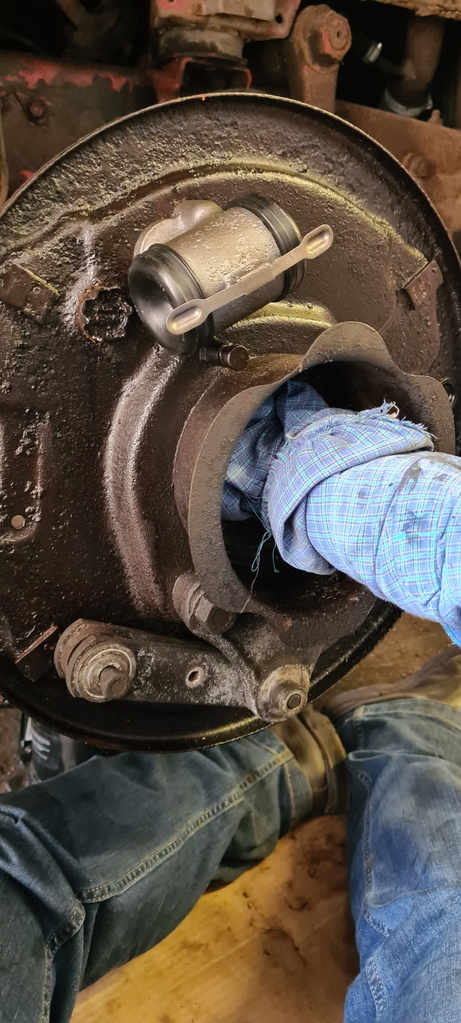
I started by fitting the newly refurbished wheel cylinder to the backplate before connecting the flexi hose and rebuilding all the various brake shoe links, springs and pins to end up with this.
Just had time to test fit one of the new drums before I had to pack everything away and leave for another week, hopefully I can get the other side rebuilt next weekend and then move on to bleeding the system.
|
| |
|
|
|
|
