|
|
|
|
|
|
Hi there
I used to run a supercharged clk and the charger used to get seriously hot even after a short run so I don't think
115c is a problem.
Cheers - mike
|
| |
|
|
|
|
|
|
|
|
|
It's the Ideal gas law: PV =nRT P=Pressure V=Volume n= number of moles of gas. R=Ideal Gas constant T=Temperature. because at a constant temperature the change in pressure is not linearly proportional to the change in volume (Boyles law) 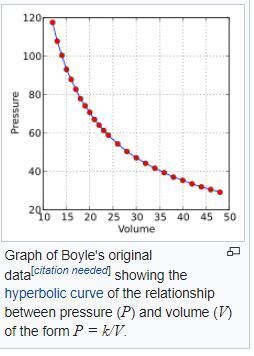 the temperature will rise as you pressurise the gas. |
| |
Last Edit: Dec 2, 2022 16:37:43 GMT by kevins
|
|
Davey
Posted a lot
   Resident Tyre Nerd.
Posts: 2,350
|
|
|
|
|
120 is fairly normal it seems.
|
| |
K11 Micra x3 - Mk3 astra - Seat Marbella - Mk6 Escort estate - B5 Passat - Alfa 156 estate - E36 compact
Mk2 MR2 T-bar - E46 328i - Skoda Superb - Fiat seicento - 6n2 Polo - 6n polo 1.6 - Mk1 GS300
EU8 civic type S - MG ZT cdti - R56 MINI Cooper S - Audi A3 8p - Jaguar XF (X250) - FN2 Civic Type R - Mk2 2.0i Ford Focus - Mercedes W212 E250
|
|
misteralz
Posted a lot
   I may drive a Volkswagen, but I'm scene tax exempt!
Posts: 2,500
|
|
|
|
It's the Ideal gas law: PV =nRT P=Pressure V=Volume n= number of moles of gas. R=Ideal Gas constant T=Temperature. Thank you. I was ridiculously tired yesterday, and it was frustrating me that I knew it but didn't know it. |
| |
|
|
teaboy
Posted a lot
   Make tea, not war.
Posts: 2,126
|
|
|
|
It's the Ideal gas law: PV =nRT P=Pressure V=Volume n= number of moles of gas. R=Ideal Gas constant T=Temperature. I’m more familiar with Sod’s Law… |
| |
|
|
gazzam
Part of things
 
Posts: 746  Member is Online
|
|
|
|
|
Yep, I agree that compressing a gas will make its temperature rise, but I still think this might be a bearing problem.
The (thin aluminium) pressure tube (between the pump and the inlet manifold) wasn’t particularly hot, but the pulley end of the pump was.
We’ll hopefully see this temp drop with a new bearing.
|
| |
|
|
gazzam
Part of things
 
Posts: 746  Member is Online
|
|
|
|
The new bearing showed up and the pump went back together, no problem. I’m getting pretty good at it now, had plenty of practice. And the thing turned nice and freely once it was done. Very gratifying. So put the pump back on and did a double check of everything. Again practice. Took it for a few runs up and down our lane and was very pleased. I’d put a new set of spark plugs in, given the points a touch with a points file, taken the suppressor out of the coil lead. One or more of these things cured the miss, and it ran very nicely. It doesn’t return to idle as quickly as it should, don’t know why. The throttle cable is definitely not the cause . I had no reason not to take it out on the road now, so I got my wife to give me a lift with the bonnet. It’s not particularly heavy, just bulky and awkward. Put the four screws in and it was ready for the road. As I said before,there’s a lot to like about simple cars. And I’m pleased to report that it ran well. It really is better to drive. Heaps of torque, it would pull a taller top gear no worries. So I’m thinking the supercharger drive ratio is close enough. Engine didn’t get hot, even though the day was 30C. And the new bearings kept the pump temperature much lower. But I am concerned about these. 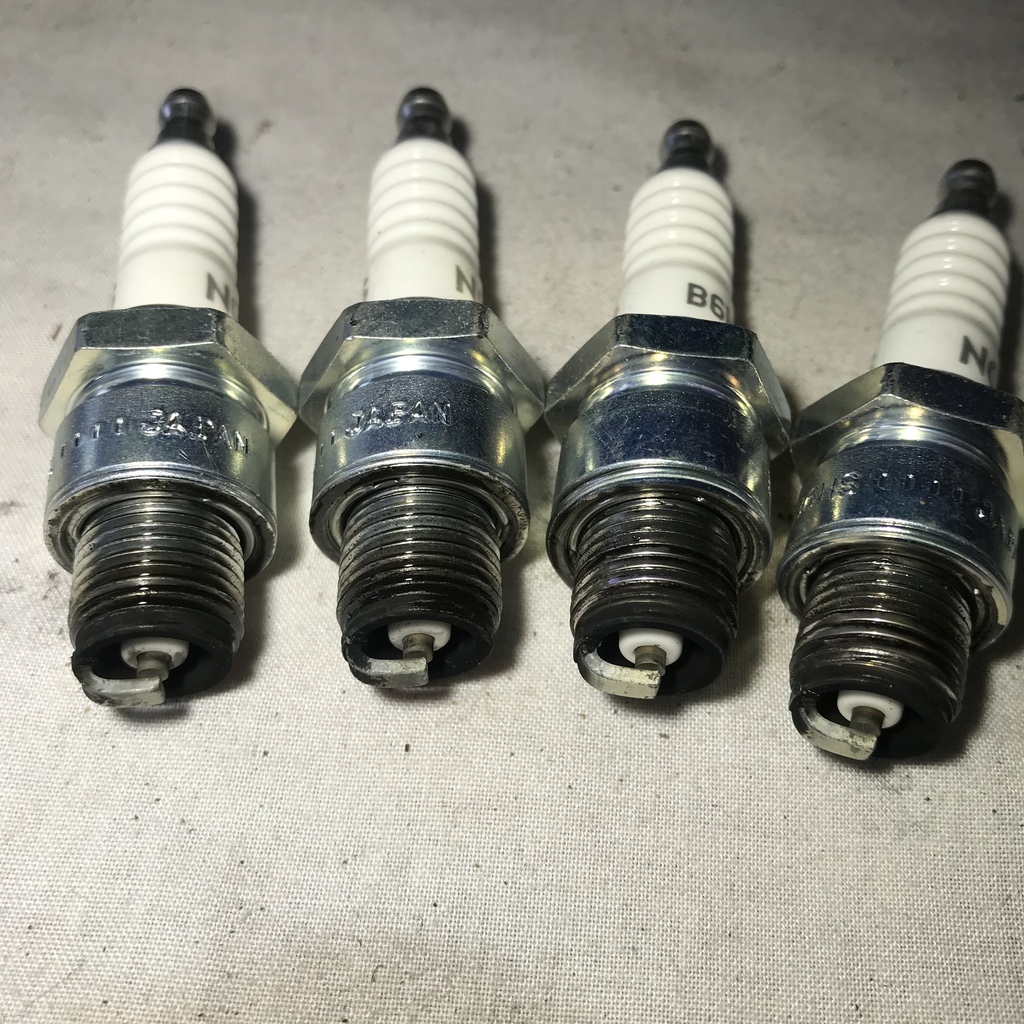 I’m no expert, but they look a little white to me. I’d prefer they were a light tan. Mind you, this wasn’t after a proper plug chop, it had been idling around for probably 10 minutes before these were removed. I’ll try and do a proper chop tomorrow. Haven’t been able to find much info on the carb. 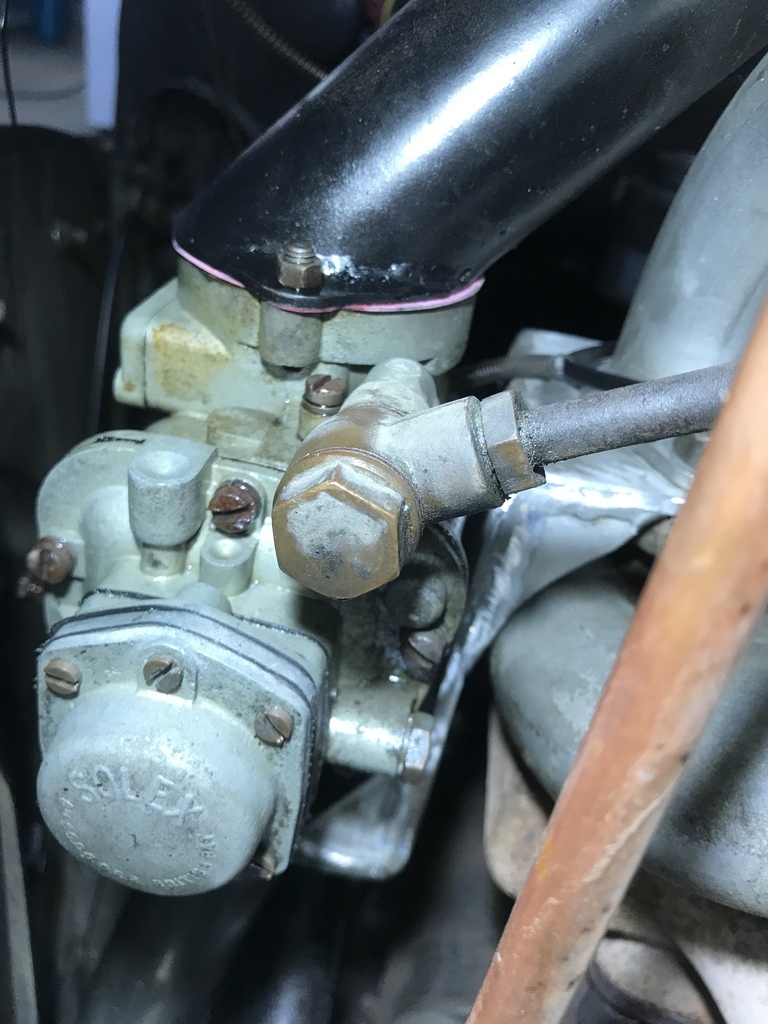 It’s a Solex 35FAIE, here’s the other side. 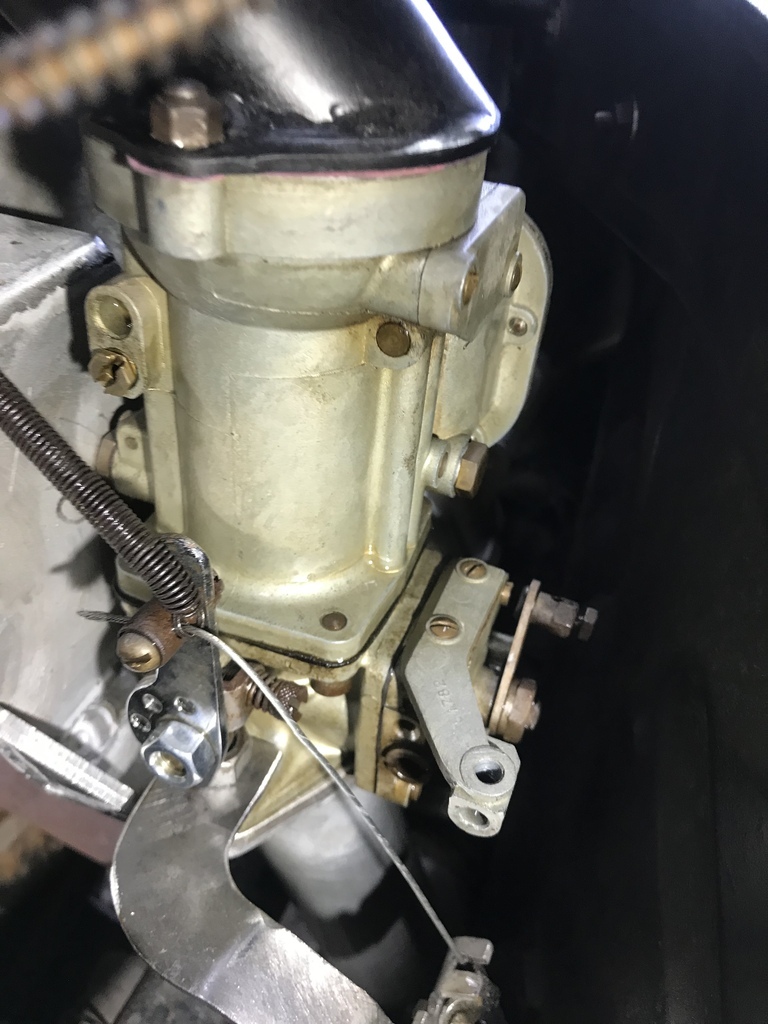 Some info on mixture adjustment would be great. I’m hoping there’s a screw, it’s a bit early to be thinking about drilling main jets etc. But early results are very encouraging. |
| |
|
|
|
|
|
|
|
|
definitely looks too weak, the screw adjustments usually only affect idle and light load, the flow under driving is normally a fixed jet.
For the slow return to idle it may be pressure building up between the almost closed throttle and supercharger forcing more air in, first step would be to fit a pressure gauge and have a look at what is happening.
|
| |
|
|
|
|
|
|
|
|
|
| |
Last Edit: Dec 6, 2022 12:13:18 GMT by westbay
|
|
gazzam
Part of things
 
Posts: 746  Member is Online
|
|
|
|
Thanks for the link westbay, but unfortunately it’s a different model. I sought advice from the mechanic who used to work at my bike shop. I’d rate him as one of the smartest people I know, and certainly the smartest mechanic. He confirmed what kevins said, the main jet size is what needs sorting. He also said that if I go too far, just solder it closed and redrill it. So I started to remove the carb, in order to get to the main jet. When I removed the air filter pipe, this is what I could see: 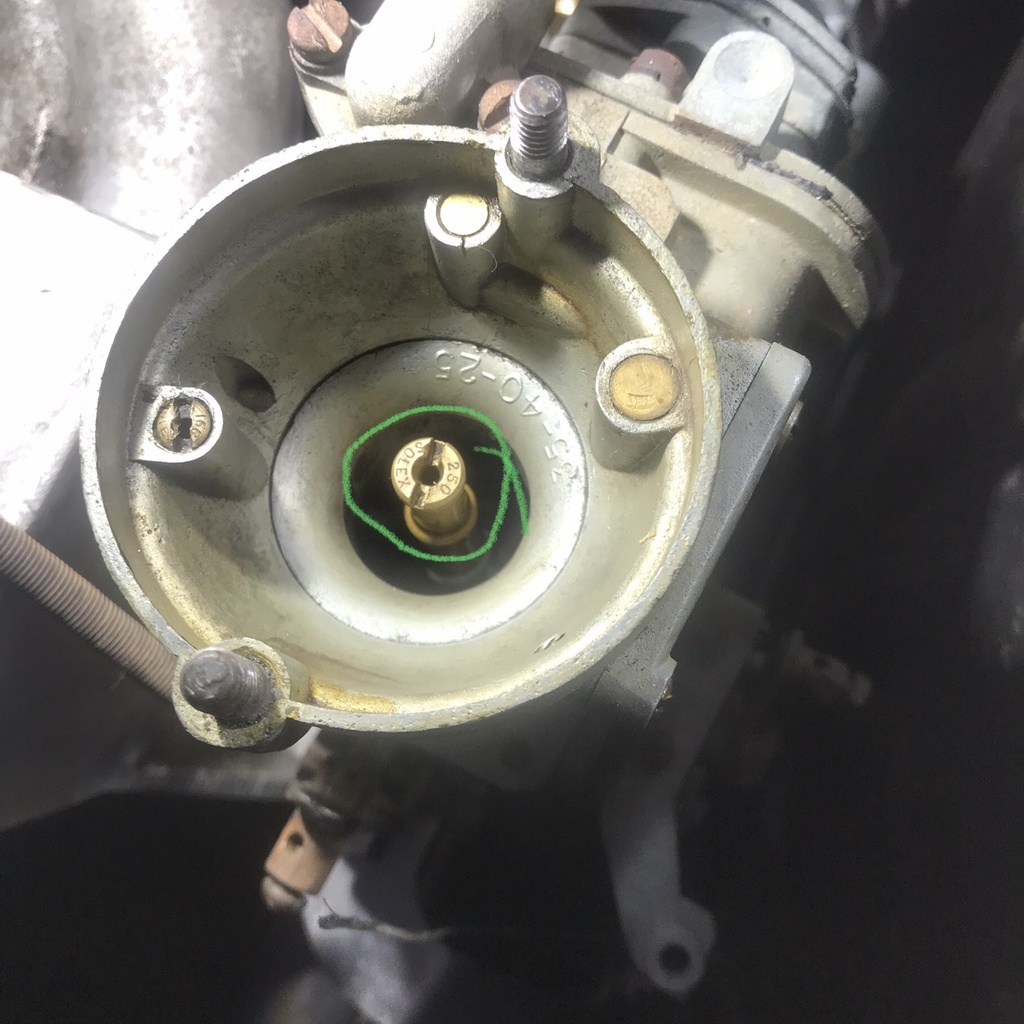 That’ll be the main jet, I thought. Stamped with 250, so that’ll be 2.5mm. A 2.5mm drill wouldn’t go through, but I could feel that it was close. So I turned it through by hand. And then put that bit in the cordless and opened it up a carefully measured “poofteenth”. The next biggest drill I have is 7/64 which is about 2.78mm, about 10% more than 2.5, and I was able to wind that through by hand. Took it for a drive and tbh it wasn’t noticeably different. Then I remembered that I have a maintenance book for the car. It’s an actual Triumph handbook, not an Autobooks or some other pos, so it might hold something useful. 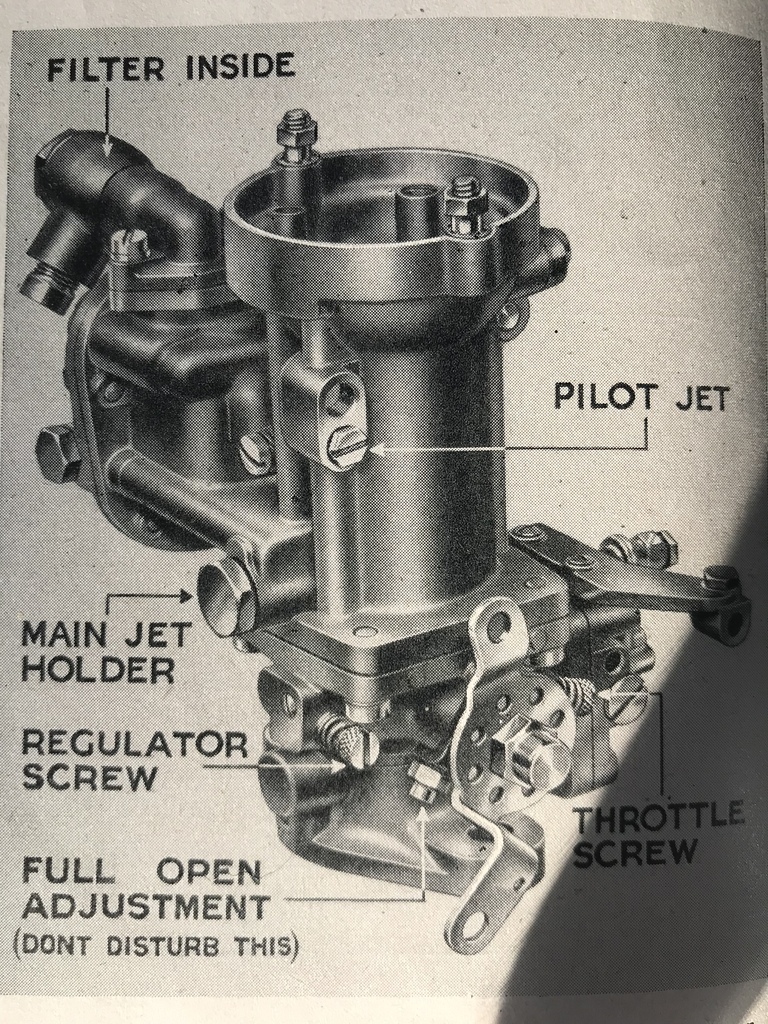 As you can see it does. It also has this table. 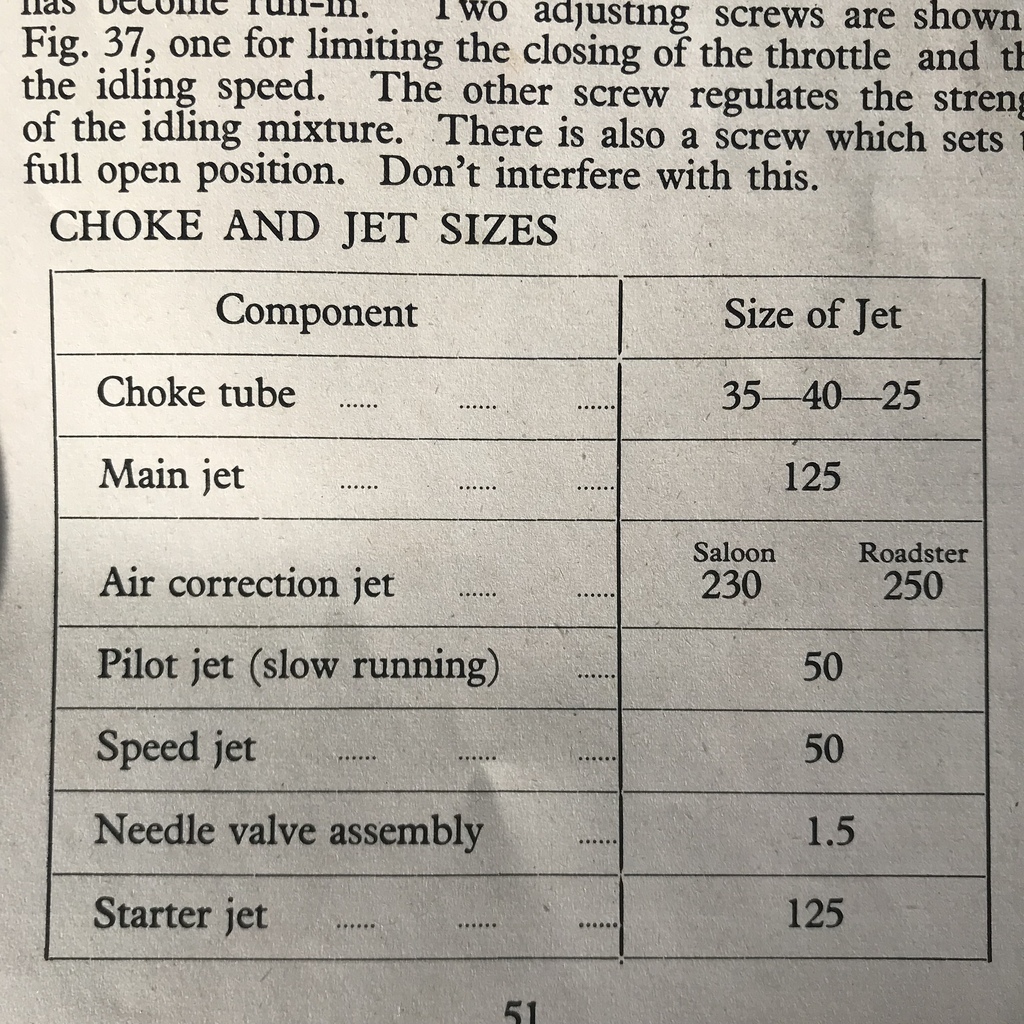 So the thing I’d drilled out is an “air correction jet” and the main jet is hidden behind a plug that I need to remove the carb to get at. Carb isn’t particularly difficult to remove, so I did that and took the main jet out. It is a 125 as per the table, and a 1.25mm drill fitted nicely. The next bigger drill I have is 1.36mm, so I ran that through. Keen to see if it made a difference, I put it all back together and took it for a short drive. Down through the village it was good, but an uphill highway run wasn’t any better than my first run this morning. I wondered whether drilling the air correction jet may have counteracted the main jet. But my consultant mechanic reckons the air correction jet wouldn’t have made much difference, so I’ll go bigger on the main and see what happens. The next size drill I have is 1.5mm, so I put that through. So that’s a 20% increase in main jet size. A lot of black smoke on start up, so it’s made some difference. Driving it felt a little better. No huge change though. I did a plug chop as I came up the highway towards our gate. This was uphill, under power in top gear. Coasted into our lane and phoned my wife to come and tow me home. Pulled the plugs while parked outside the shed, and they are a pleasing light tan. I think that’ll do. 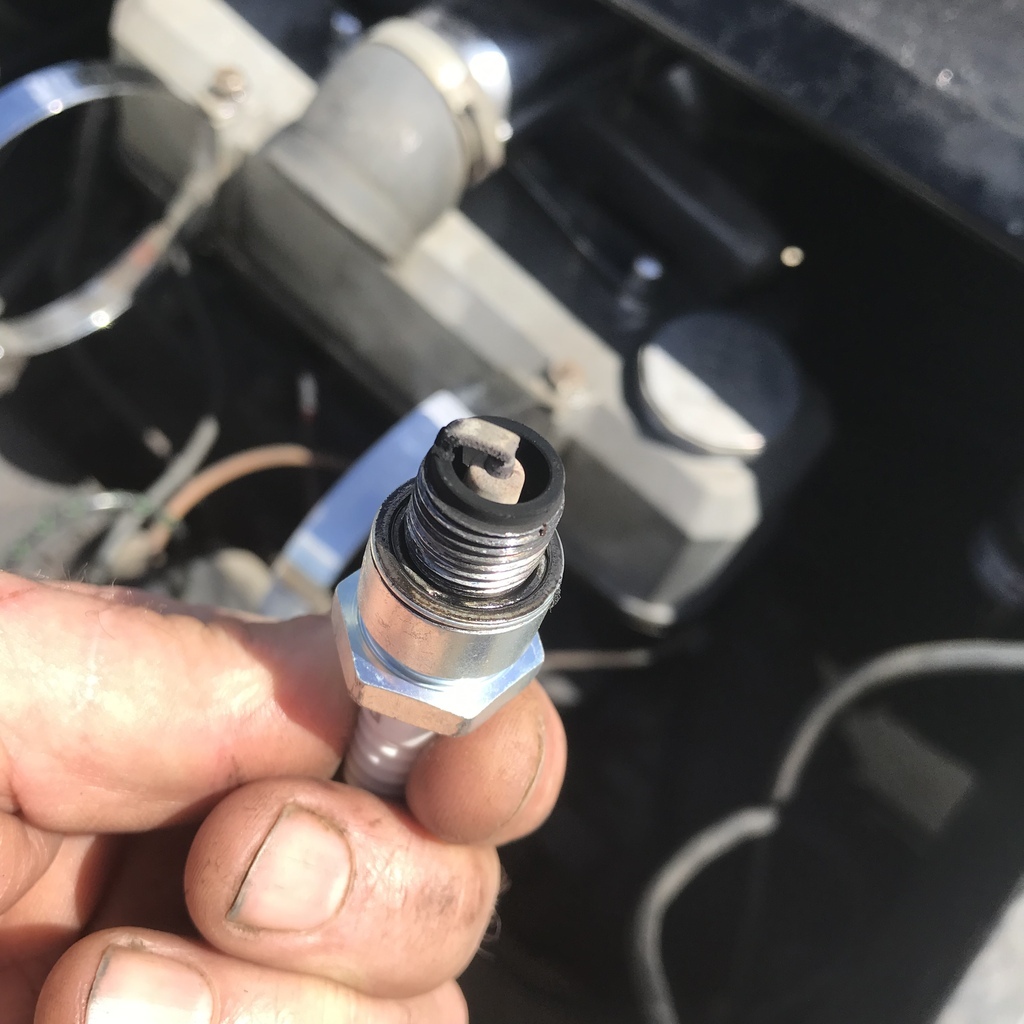 Next I’ll be investigating a diff ratio change. It’s got a heap more torque and I’d like to drop the revs right through the gears. |
| |
|
|
|
|
thomfr
Part of things
  Trying to assemble the Duett again..
Posts: 695
|
|
|
|
|
Pulled the plugs while parked outside the shed, and they are a pleasing light tan. I think that’ll do.
That looks good!
If you want to check under different load conditions ask from Santa for a lambda sonde (heated and bandmeasuring) and a gauge for it. Tape it temporary to you car (well not the sensor but the gauge) and you know if it is not running lean in any rpm or load band.
Thom
|
| |
73' Alfa Giulia Super
64' Volvo Duett
65' Volvo Duett
67' Volvo Amazon 123GT
09' Ford Focus 1.8
20' VW ID4
71' Benelli Motorella
65' Cyrus Speciaal
The difference between men and boys is the price of their toys
|
|
gazzam
Part of things
 
Posts: 746  Member is Online
|
|
|
|
|
thomfr,
That might as well be in Martian, I would understand as well!
Could you please explain what you mean?
I think you’re talking electronics?
My mechanic says I should keep the temperature out of the cylinder head, and I think you may be saying the same?
Thanks
Garry
|
| |
|
|
thomfr
Part of things
  Trying to assemble the Duett again..
Posts: 695
|
|
|
|
|
A lambda sonde is measuring the the exhaust gas temperature and mixture (basically) so not the head but the exhaust side. This helps to indicate if the engine is running lean or rich at certain rpm's.
Thom
|
| |
Last Edit: Dec 8, 2022 12:55:47 GMT by thomfr
73' Alfa Giulia Super
64' Volvo Duett
65' Volvo Duett
67' Volvo Amazon 123GT
09' Ford Focus 1.8
20' VW ID4
71' Benelli Motorella
65' Cyrus Speciaal
The difference between men and boys is the price of their toys
|
|
logicaluk
Posted a lot
   Every days a school day round here
Posts: 1,373
|
|
Dec 10, 2022 22:49:08 GMT
|
|
An air fuel ratio gauge, so you can actually read the exhaust gasses to tune the carb, very useful, a wideband kit (narrowband is no use) comes in at about £180, that's cheaper than a half day on the rolling road.
Dan
|
| |
|
|
gazzam
Part of things
 
Posts: 746  Member is Online
|
|
|
|
Haven’t done anything to the Triumph other than take it for a few short runs. Power is good, but I want to do something about the gearing. I’ll take it to a guy who has a diff/transmission workshop and see if he thinks it might be possible to find a taller CROWNwheel and pinion for it. Been thinking about building a belt sander for a little while now. Looking at belt sizes/cost and have decided on 150 x 2000. I have a motor, 2 hp and 1400rpm. Should be plenty of power. I’ve done a bit of research and belt speed apparently needs to be more than 4000 feet/min, so even with a large (150mm) drive pulley, it will need gearing up. Made a start on the pulleys. Bought a larger crucible, just fits in the furnace. Glued a couple of pieces of timber together in order to make a blank. 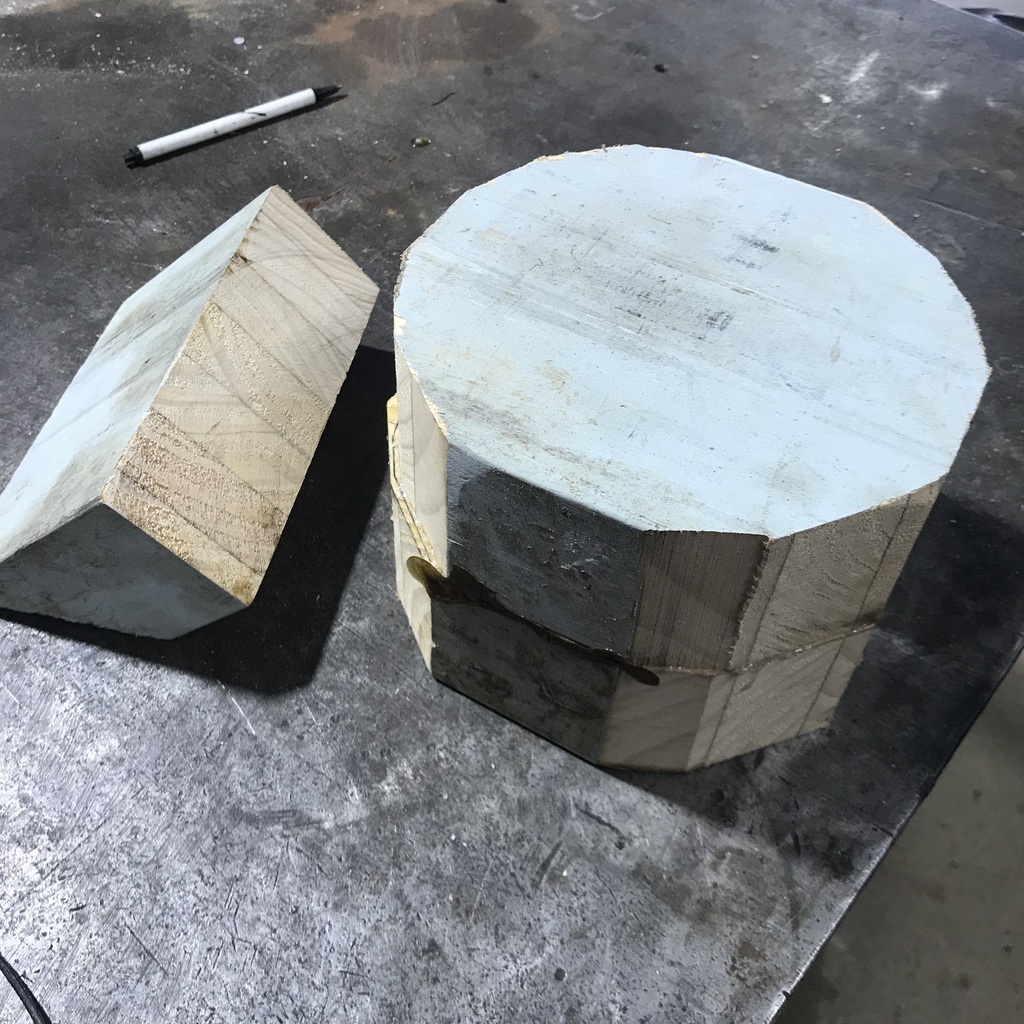 Mounted on an improvised faceplate - it’s a part of an old drillpress. And started on the shape. 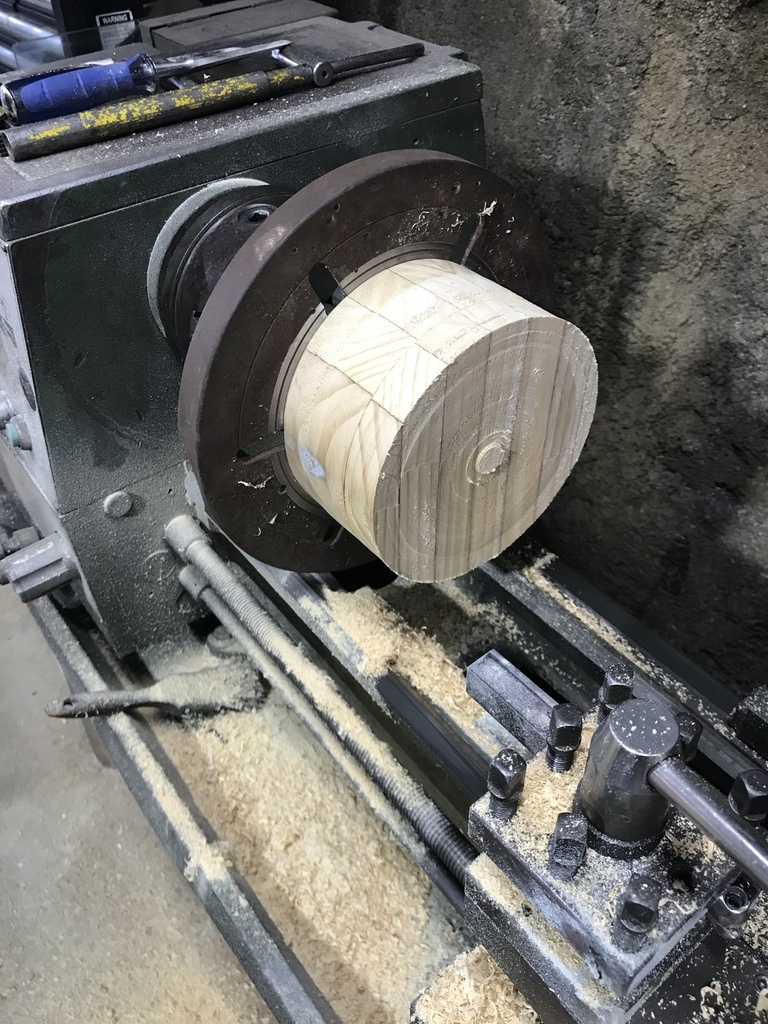 More latheing… 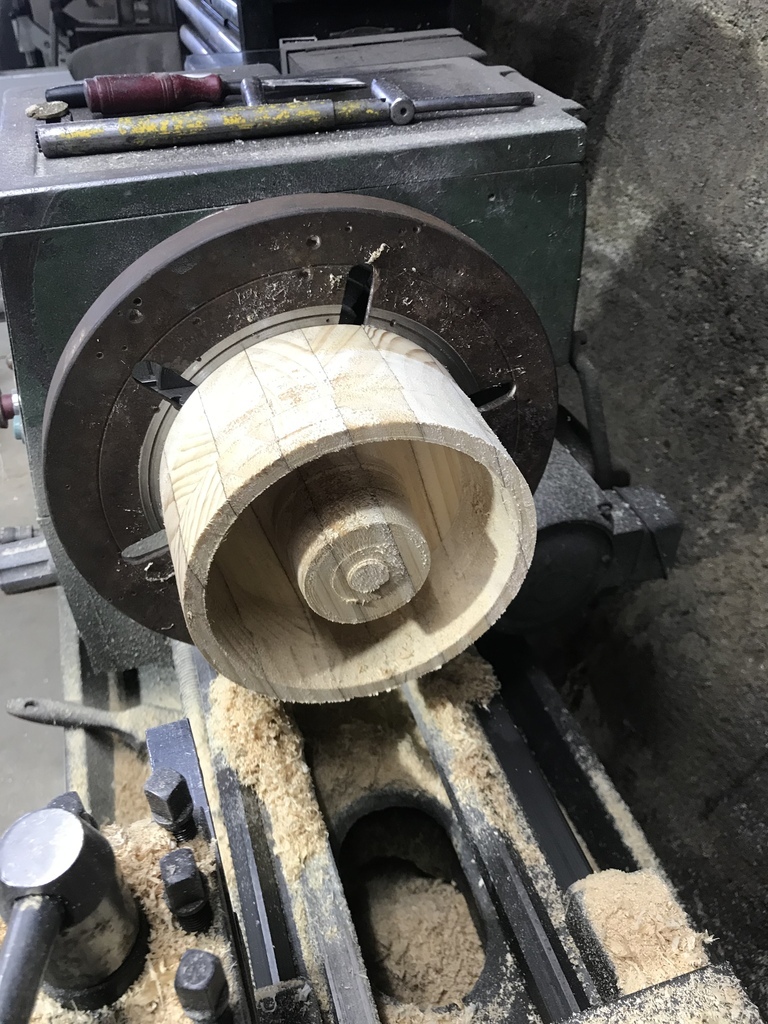 Once I was happy with the shape, it was sanded. 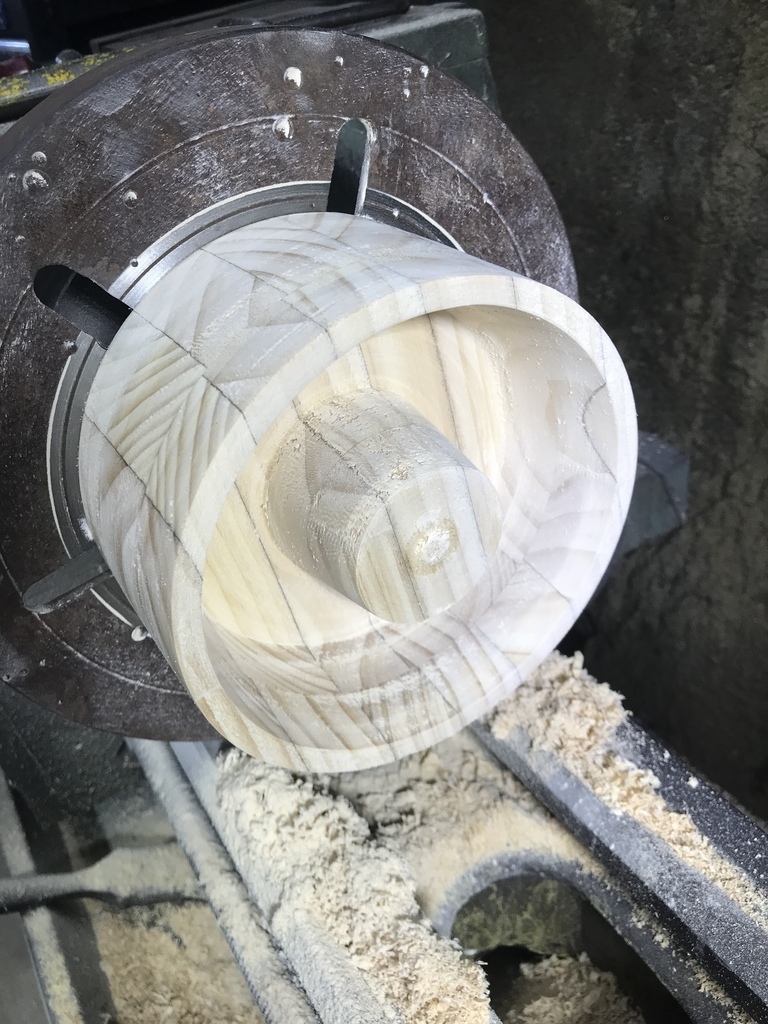 And then the rough spots were treated to some body filler. 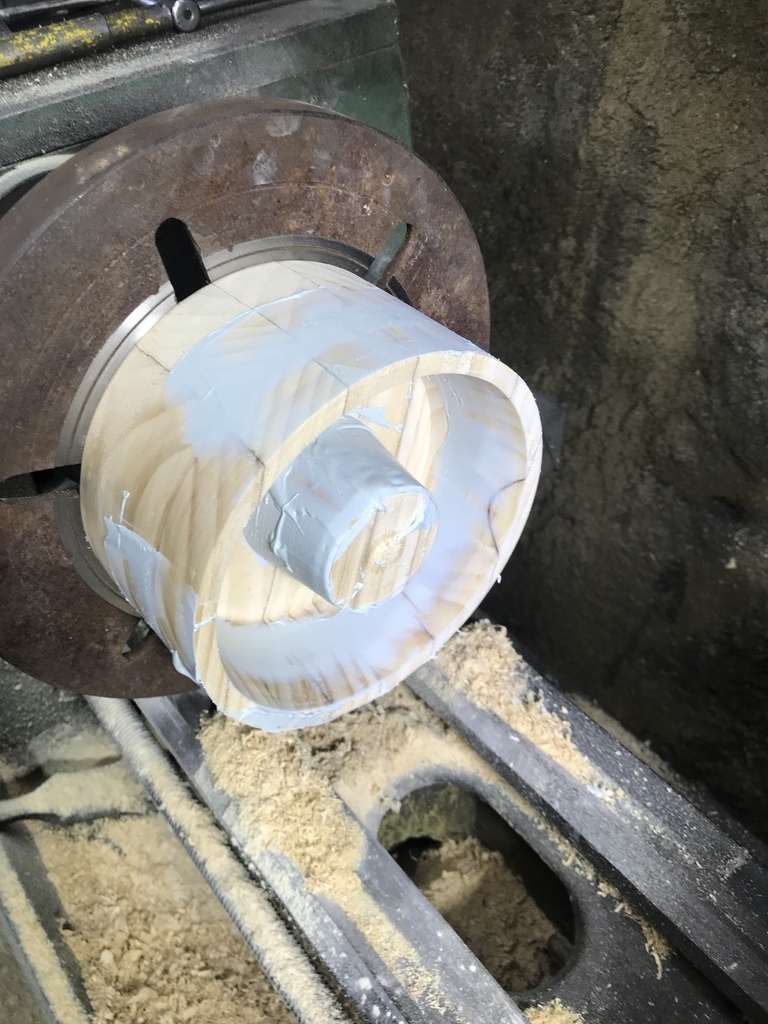 And sanded. 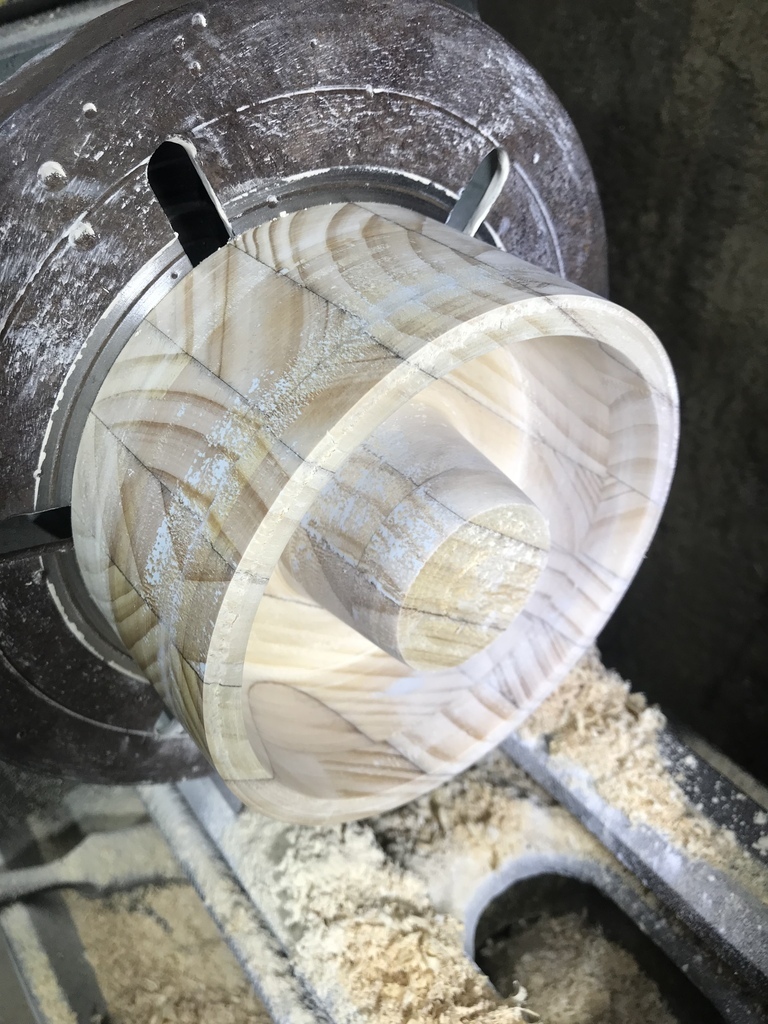 Then made a rough box to hold the mould. 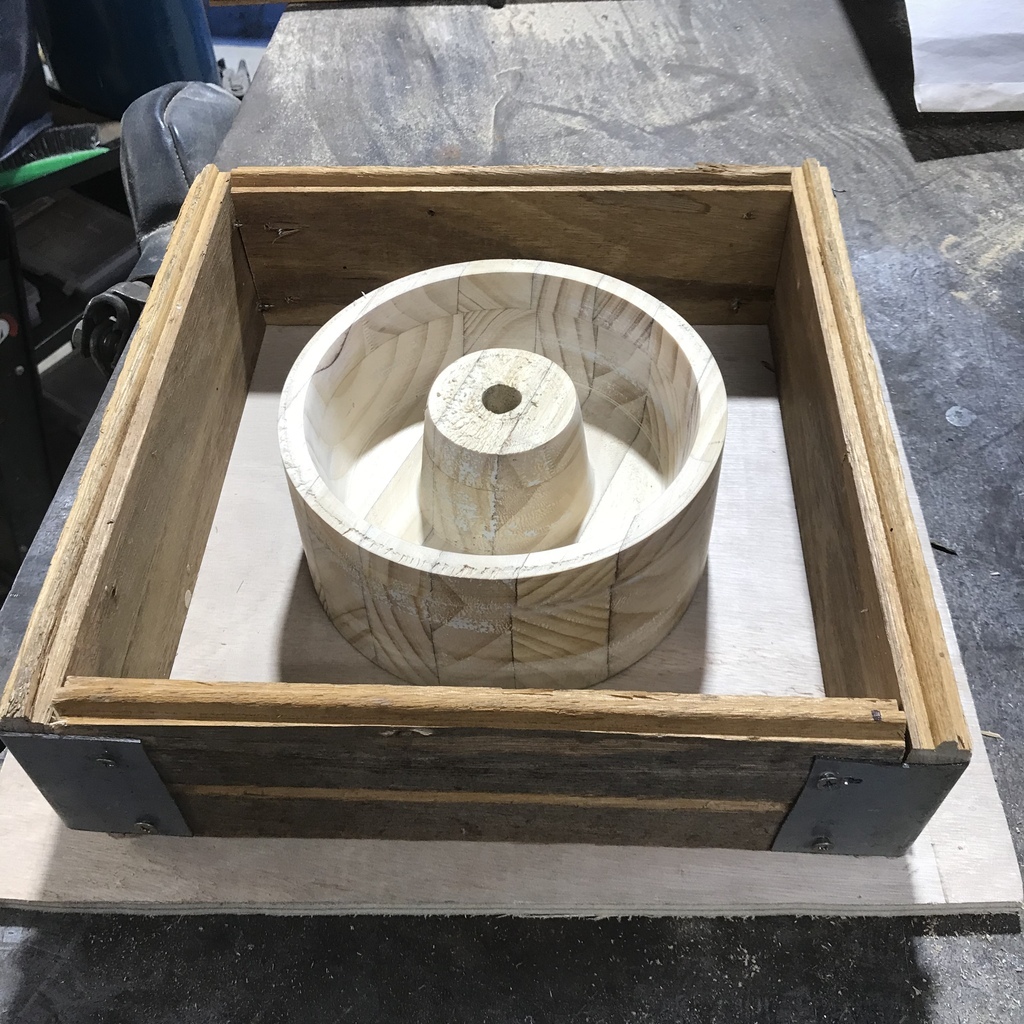 Prior to this I’d brewed up some “green sand” using an internet recipe. Packed the sand around the blank and removed it leaving the mould. 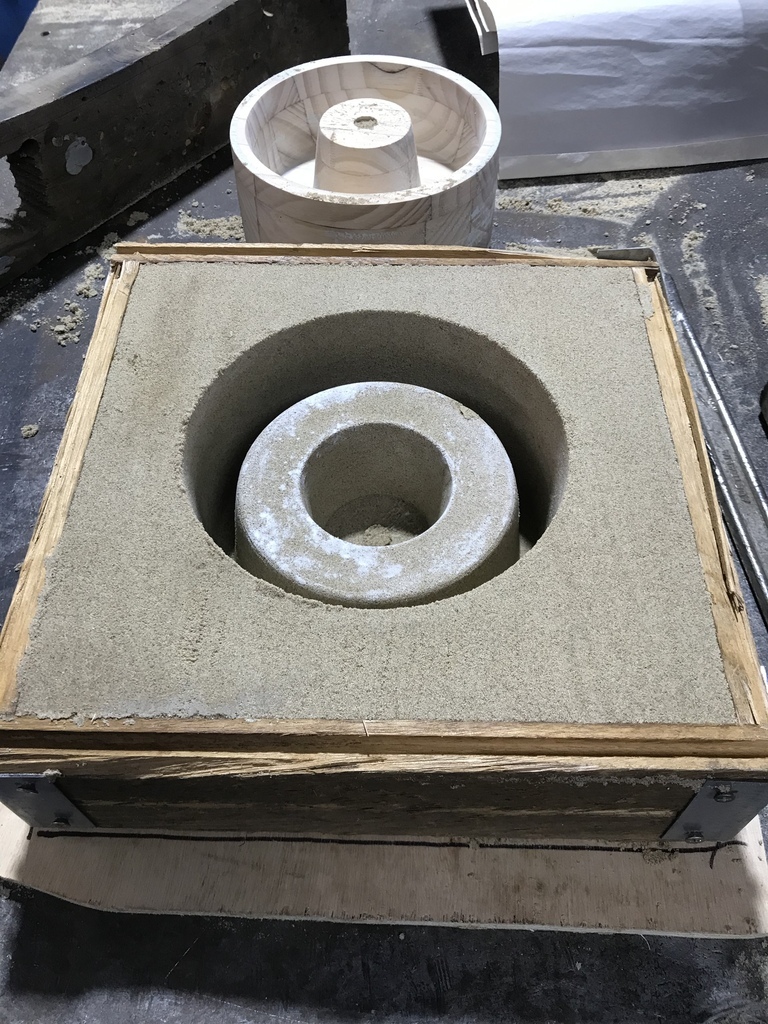 Used the recently sorted bandsaw to cut up a pair of buggered atv crankcases that I’d kept from the shop days. 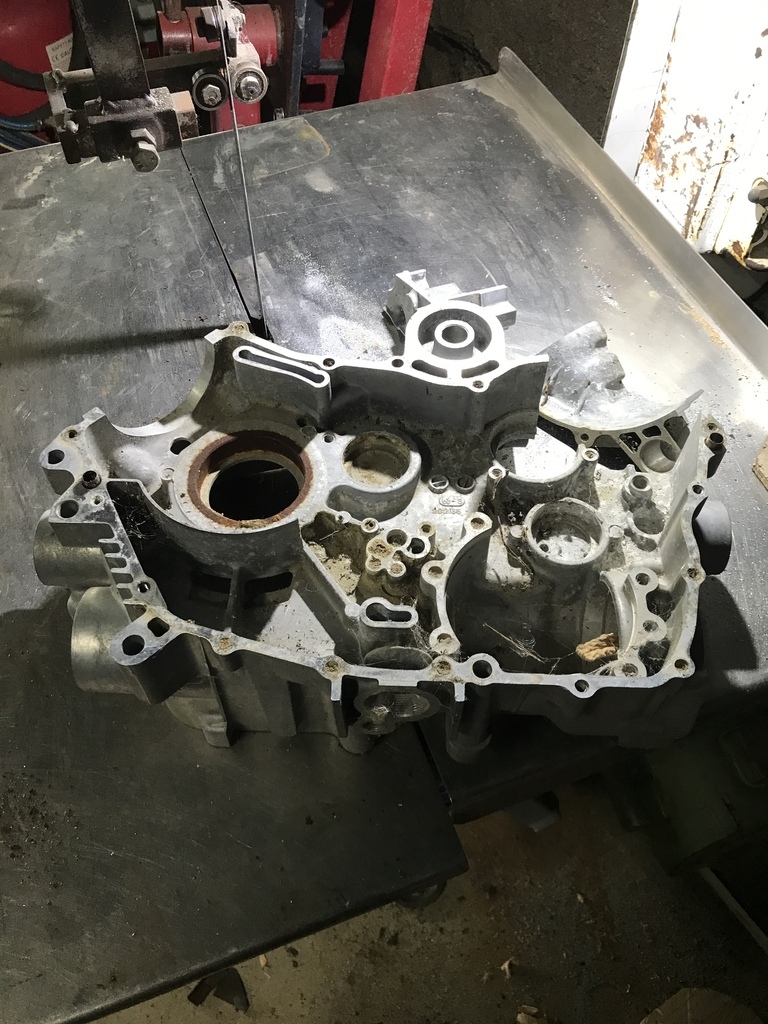 Melted this down and poured it in. 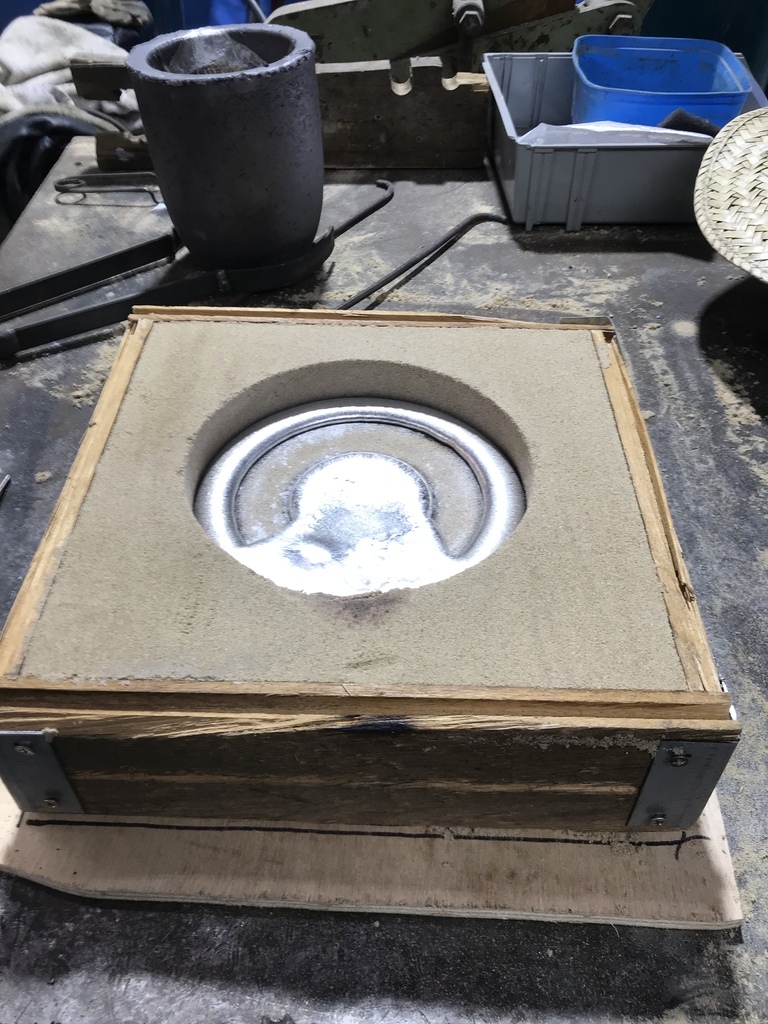 Not enough ally. Damn. So put the blank back in the lathe and thinned it down, to reduce the amount of ally that I’d need. That was all good, but I had to make a deeper box so the blank would come out and leave the mould intact. That’s better. 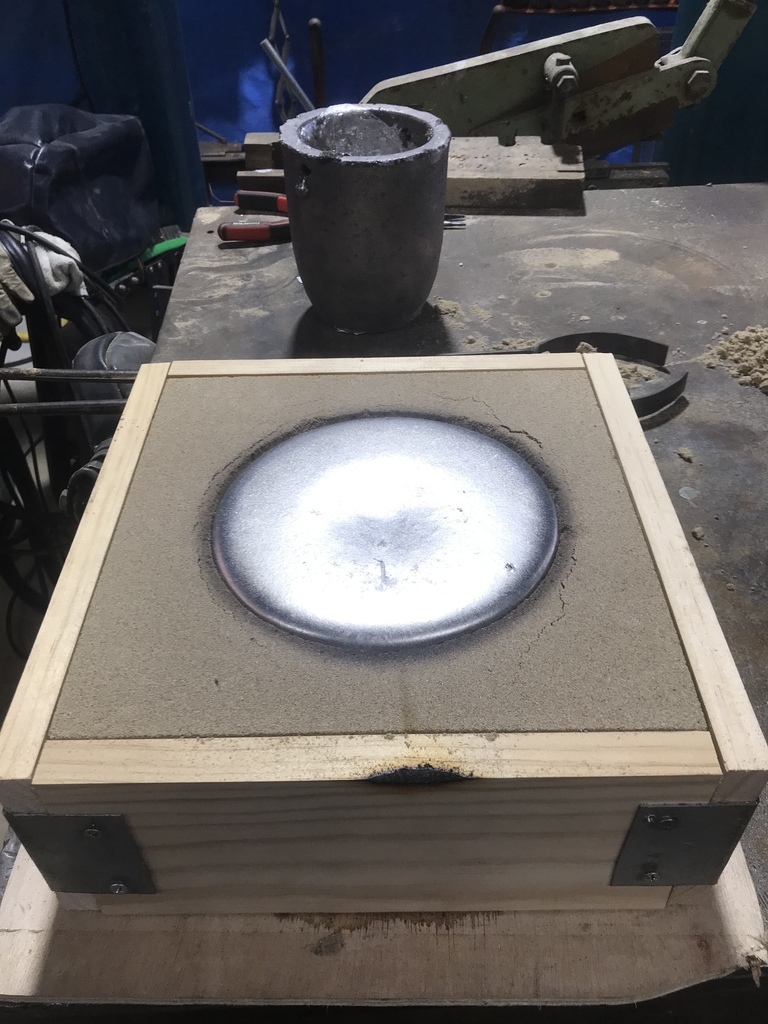 And out of the mould. 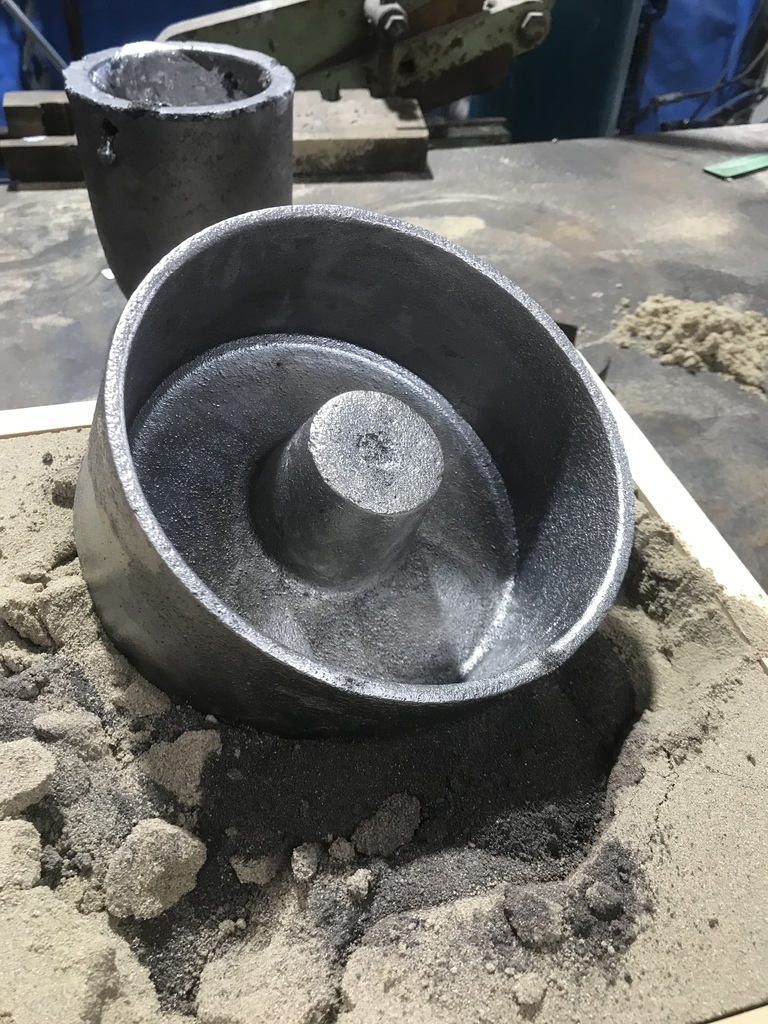 Not as good a surface finish as I’d have liked, but it should be ok. Tidied up on the lathe and I’m pretty pleased. This will be one half of the drive pulley for the sanding belt. 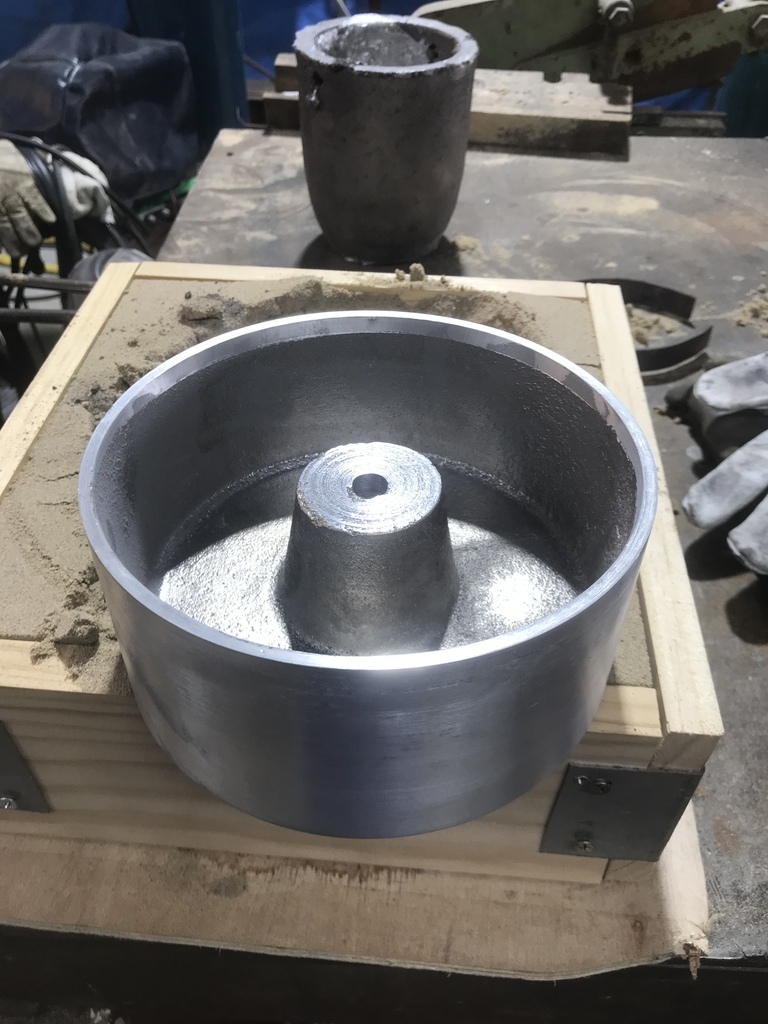 Second one made the same way. Then both bored to size and drilled to be bolted together. 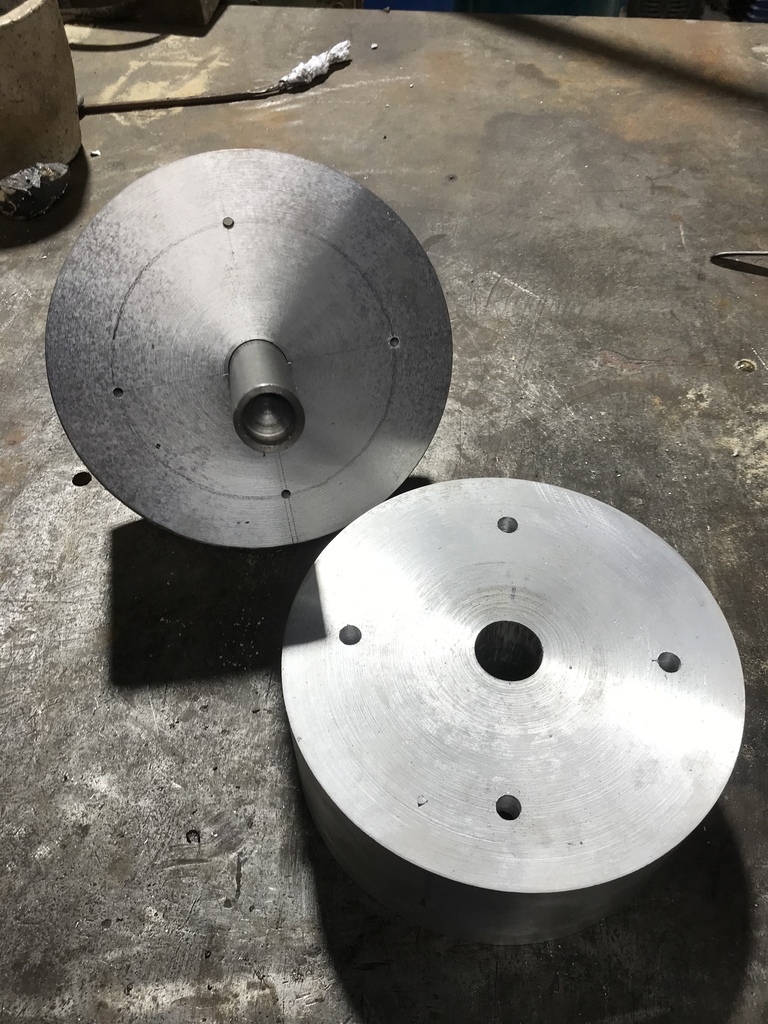 Keyway cut and hole drilled and tapped for a grubscrew. This needed an access hole cut in the surface of the pulley. 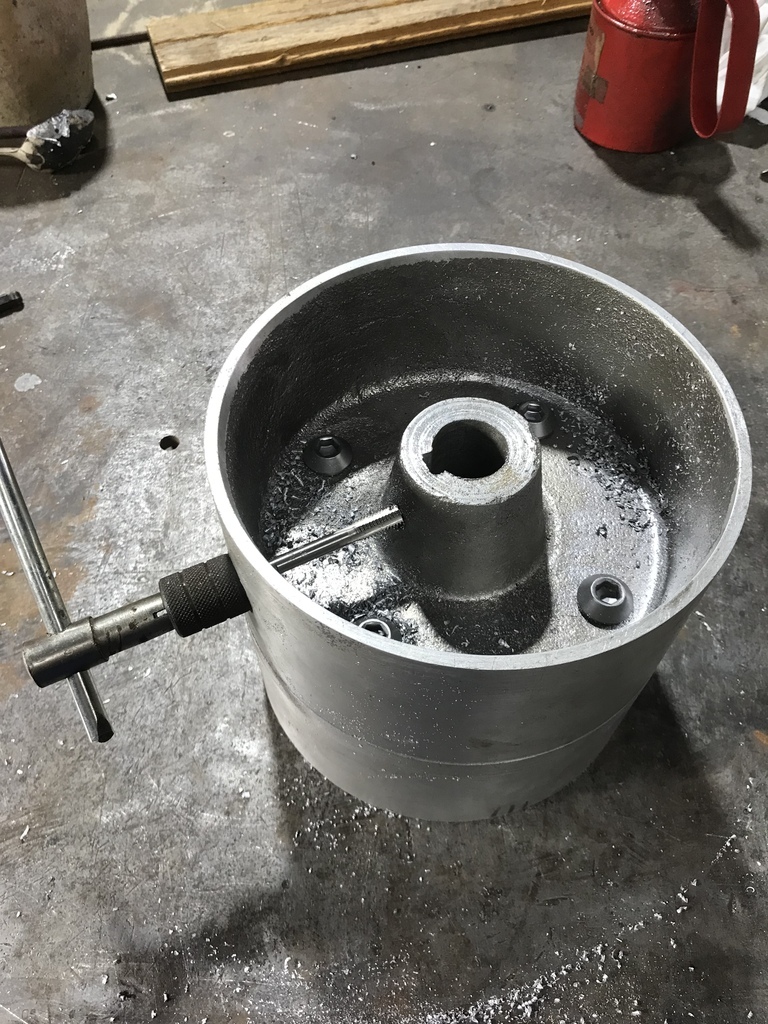 Once I had the keyway done I could mount the whole unit on a piece of shaft, put it back in the lathe and true up the running surface. All done. Diameter is 175mm and 150 wide. 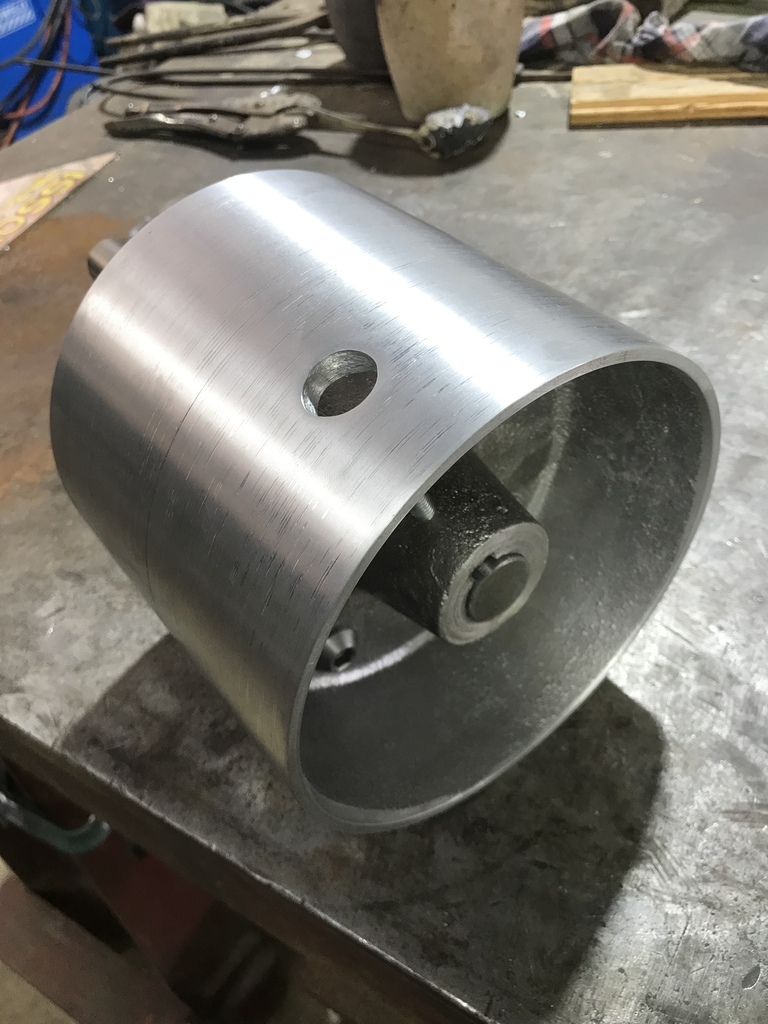 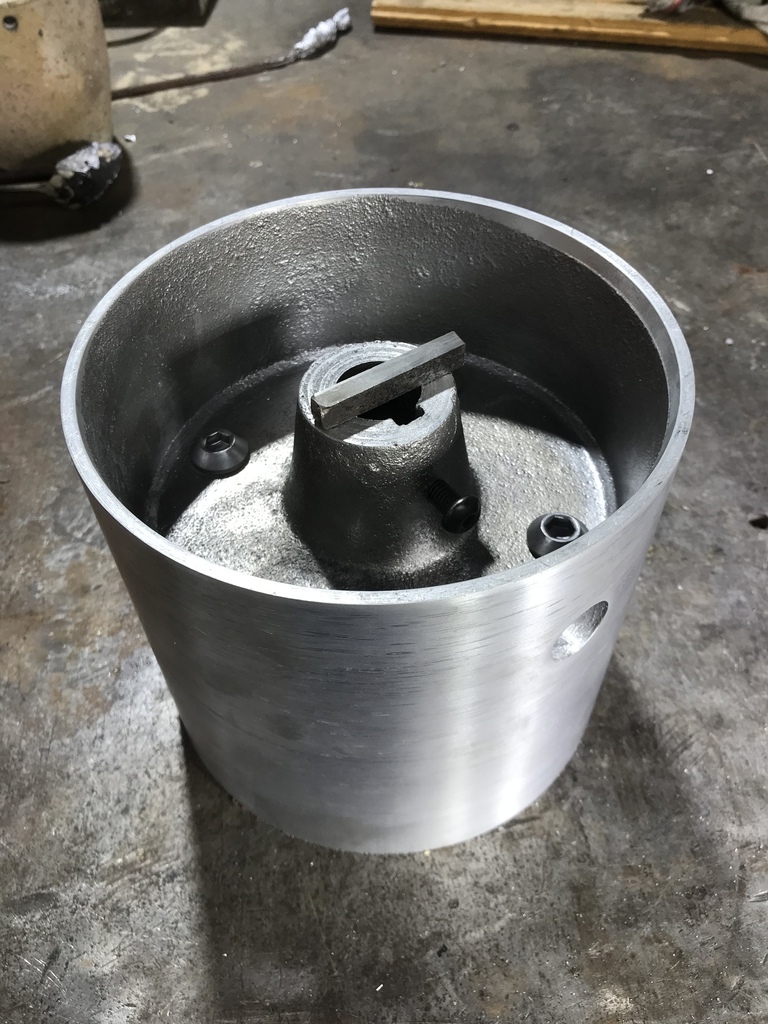 All I have to do now is plan and build the rest of the machine! |
| |
|
|
eurogranada
Europe
To tinker or not to tinker, that is the question...
Posts: 2,556
|
|
|
|
|
Very nice to see the process!
|
| |
|
|
|
|
|
|
|
|
Superb….
|
| |
1967 Triumph Vitesse convertible (old friend)
1996 Audi A6 2.5 TDI Avant (still durability testing)
1972 GT6 Mk3 (Restored after loong rest & getting the hang of being a car again)
|
|
Enbloc
Part of things
 
Posts: 399
|
|
|
|
|
Brilliant.
|
| |
|
|
stealthstylz
Club Retro Rides Member
Posts: 14,962
Club RR Member Number: 174
|
|
|
|
|
That is brilliant. Triumph looking great too, though I'd definitely look at getting a wideband lambda and display on it, they're a good way to spot potential issues and aren't complicated to wire up.
|
| |
|
|
|
|
|
Jan 11, 2023 20:10:35 GMT
|
|
Stumbled across this last night as being honest pre60’s cars don’t usually do it for me.
Loving the thought, skills and ingenuity used. Sadly these things appear to have been mostly lost in the uk. Now bookmarked.
|
| |
|
|
|
|


