jossd
Part of things

Posts: 31
|
|
|
|
Hi all, I’ve been battling a Japanese car addiction for most of my life, and foolishly thought I could kick the habit once and for all when I sold my last R34 Skyline a couple of years ago – before prices went boom, naturally.  I tried some different avenues to try and broaden my horizons – I bought a 68 Mustang to try the classic car thing, had some fun with it but felt it was a bit too much of a change of pace. Sold it and picked up a neat little Clio 172 which had been stood for 6 or so years, recommissioned it and used it as a nice daily and track car for a year or so, whilst I contemplated by life choices.  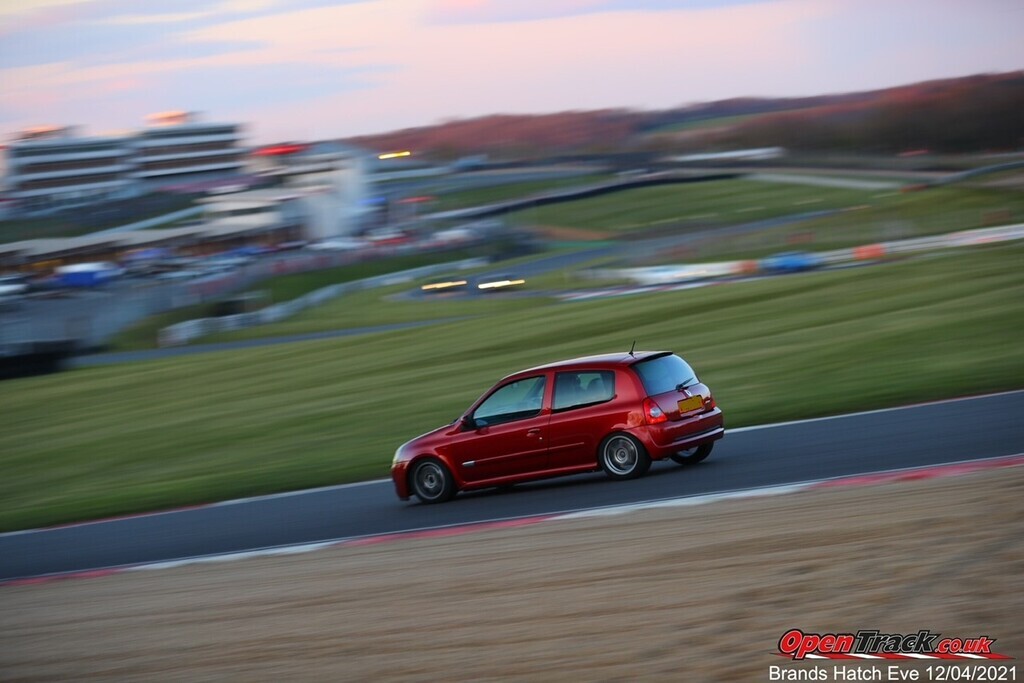 The missus caught that disease where they start bleating on about ‘babies’ and ‘weddings’ all that miserable stuff, so I decided I needed to throw one last hail-mary before things took a turn for the worse and I was forced to… *checks notes* grow up. I went off in search of a clean, rust free 2 door R34 as a base, and found a 2001 car, factory manual but non turbo RB25DE NEO. I wanted something as standard as possible, with minimal ‘enthusiastic’ Japanese workmanship to correct. I had the car inspected, where the man from Japan said ‘OK’, and then had it shipped over to Southampton. Papa J and I set off in a borrowed low-loader on the rainiest day of the year to collect the car dockside, which is always exciting… part of the whirlwind experience of importing a car is the crippling anxiety and regret, handing over a buttload of cash for what could turn out to be a complete shed. 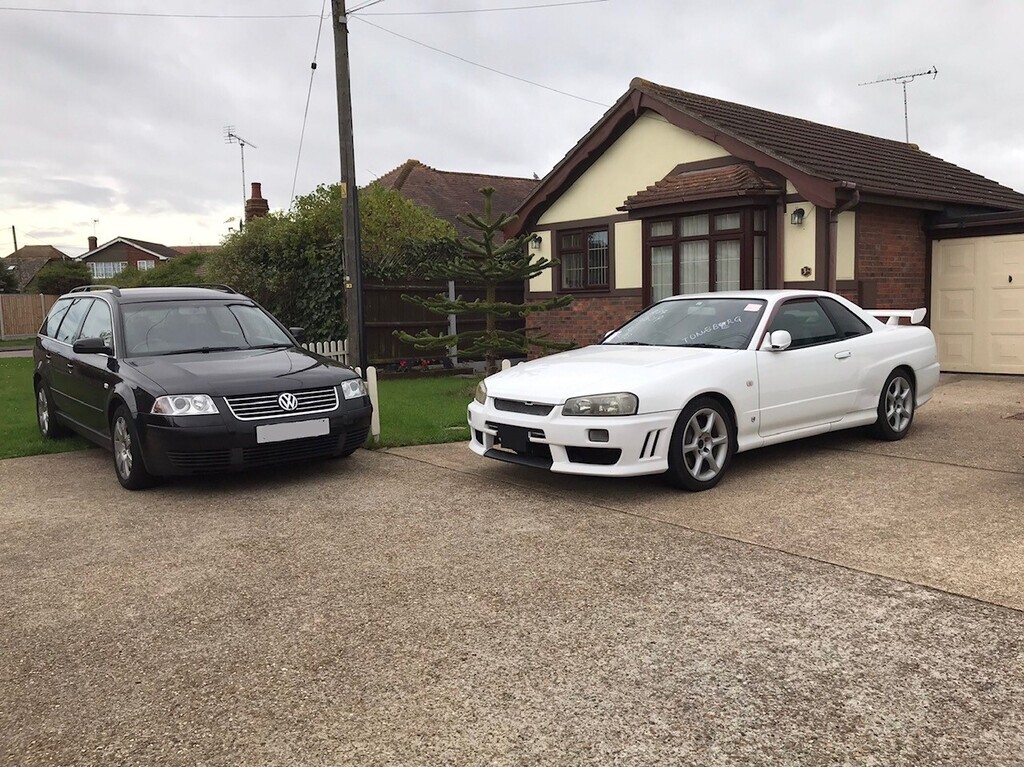 So what did we end up with? Most of the stuff I knew I was getting: R34 Skyline 25GT, on approximately 200,000kms RB25DE Neo – Non-turbo 2.5L 6 Cyl Mostly rust free shell (they all have a little bit, somewhere, somehow) Some marks on the bodywork (known, not an issue) Well used but mostly complete interior No obvious crash damage repairs, no obvious interior damage, healthy, albeit well used drivetrain. Unexpected bonuses: Kakimoto stainless steel exhaust Trust/GReddy coilovers, which are interesting as I’ve not seen a set before, usually J imports come on HKS or Tein coilovers. They’re seized solid so that’s nothing new. Electronic toll card reader, so a pleasant Japanese voice welcomes me every time I start the car. It's exceptionally clean underneath which is the main thing. These cars rot for fun, and despite clearly being a well used example, it's a perfect base: 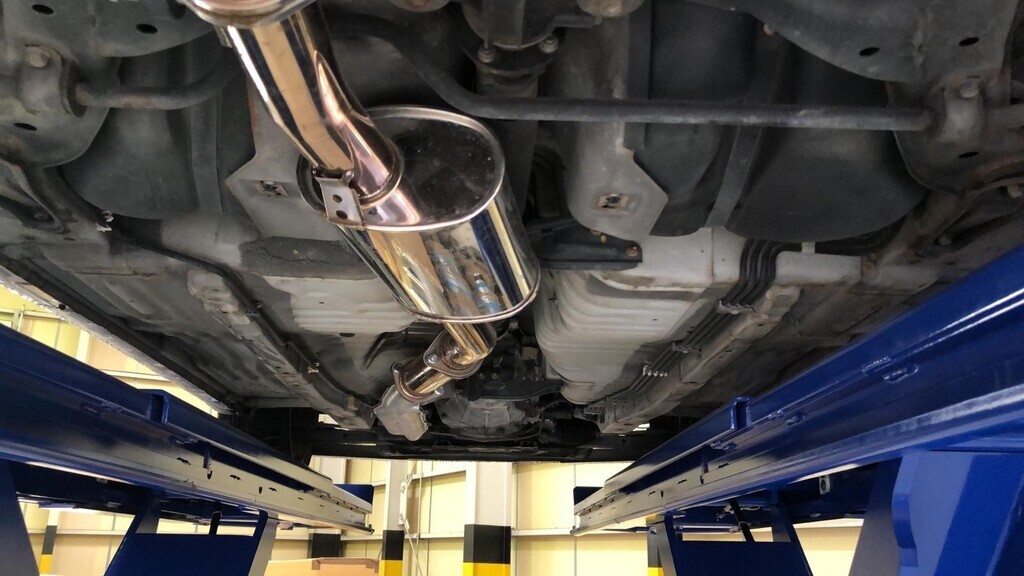 I jumped through all the hoops getting the car registered, so I could insure it, drive it to the shops exactly one time on a very crisp, sunny December morning, then immediately take it off the road. And I’ll be honest, I’m going to be in wayyy over my head on this one. 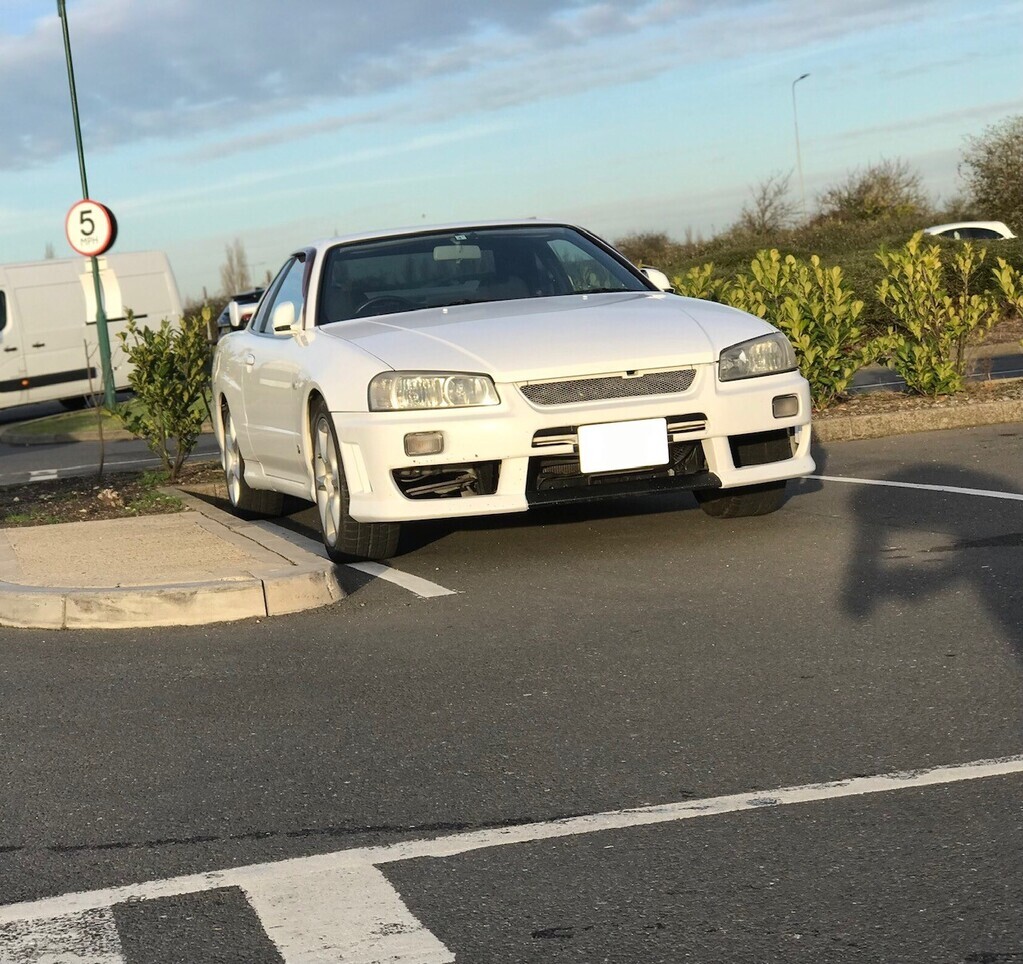 |
| |
|
|
|
|
jossd
Part of things
Posts: 31
|
|
|
|
What’s the plan then? Having had stripped out track cars, classic cruisers, hot hatches, scruffy drift cars, and some newer performance stuff with all the bells and whistles, it was fairly easy to cherry pick a list of ‘Wants’ and ‘Absolutely DO NOT Wants’. The plan is to end up with an extremely capable fast road car, a ‘Skyline GT3’ if you like, which is at home on a Eurotrip across the continent as it is around Brands Hatch. I’d like a full interior, decent ICE, useable luggage space, comfort, and practicality. I’d also like spicy turbo noises, track-spec suspension & geometry, and modern real-world performance and reliability. Easy-peasy. The beginning of the project has been the hardest, both financially and logistically, but it’s all my own doing. The R34 GTR is the looker among the R34 range, with wider front wings and rear quarters. Whilst I’m not looking to build a GTR replica, I’d like to end up with the same wider 2 door R34 platform, firstly because it swallows much larger rubber and secondly because it looks awesome compared to the standard narrow body GT/GTT spec. As I’m looking for the best quality fit/finish I can, there was only one option: 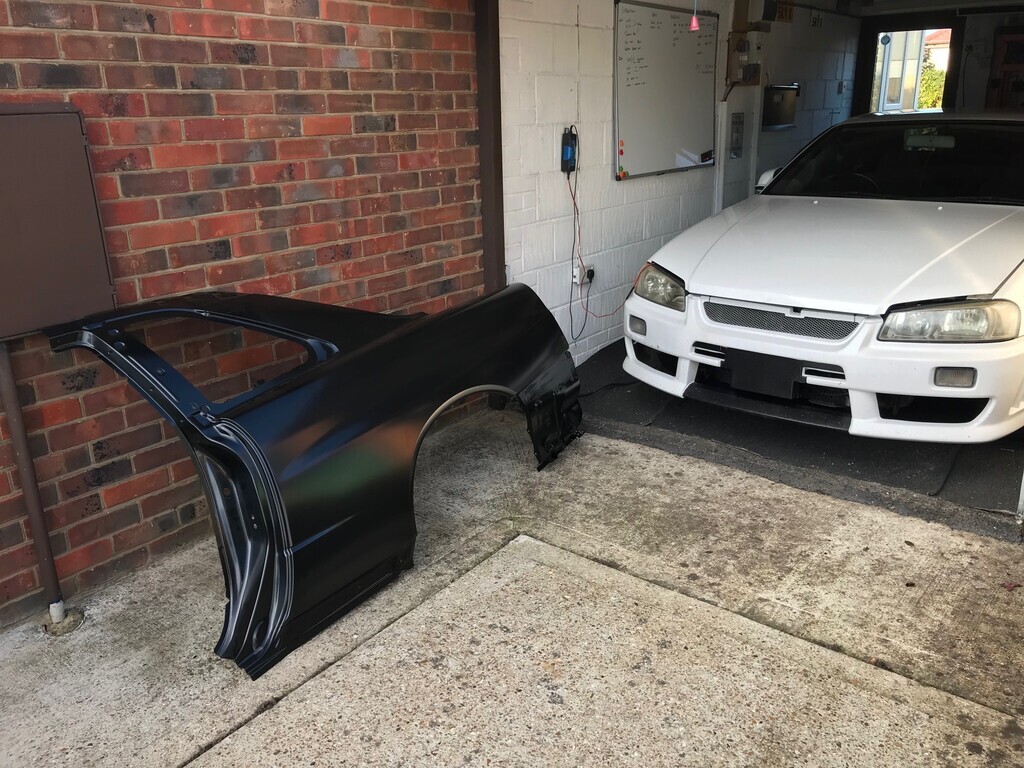 Brand new OEM GTR rear quarters, direct from Japan. These are no longer available, and as such, ridiculously expensive. They were originally available at £800 per side when I first bought the car, and were discontinued not long after, sending the price stratospheric. I sadly missed the boat so had to pay way over the odds for them from a stockist in Japan, and this put a bit of a delay on the project whilst I recovered both financially and physically, after the missus found out. The quarter panels on an R34 are spot welded around the windows, door shut, sill, rear panel, and boot, and then joined mid-way up the C pillar (I think they are brazed, but may be wrong). The basic R34 shells are the same in these areas, meaning the original R34 GT quarters can be carefully removed and wider R34 GTR quarters installed. Simple on paper, but a mammoth task in reality. Remember I said the beginning of the project has been tough logistically? I want to strip, clean, and restore the underside of the car, before coating with a protective layer of paint or similar. Unfortunately, because of the fab work required to install the quarters, I’ll end up ruining any of the coatings I put on! So first things first, get these damn quarters installed! 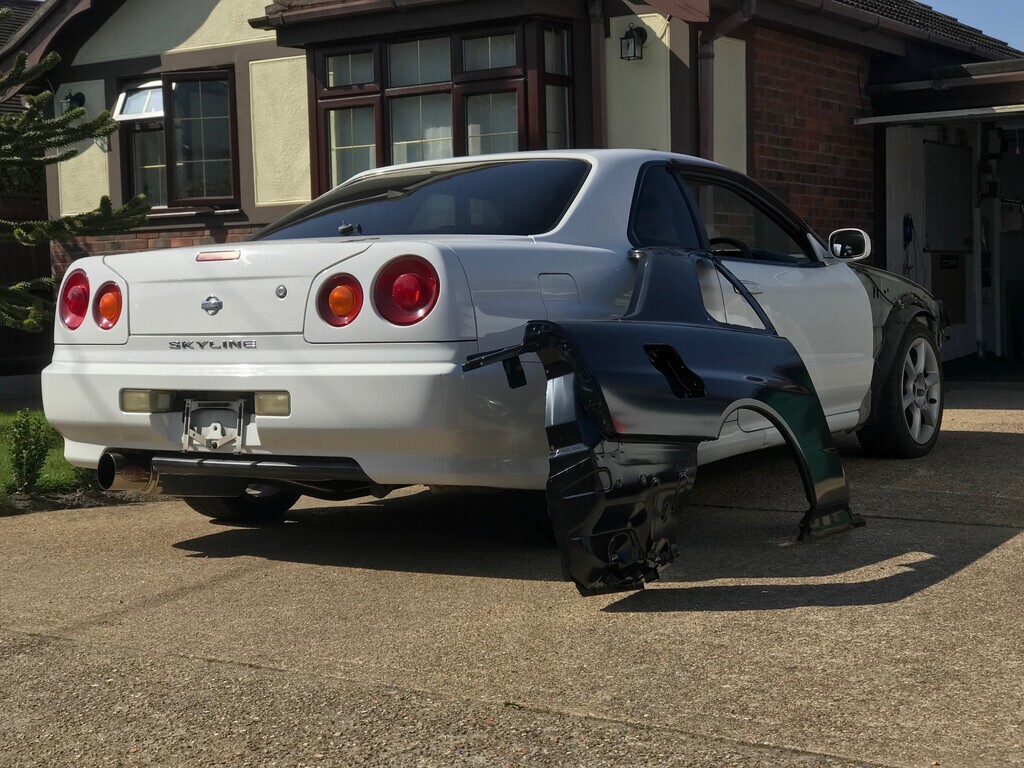 |
| |
|
|
jossd
Part of things
Posts: 31
|
|
|
|
In order to carry out the rear quarter swap, it helps to have a reference for alignment. The GTR taillights are slightly different to the narrow body GT taillights, in that they step outwards slightly to match the profile of the wider quarter. As with everything related to Japanese cars, prices have gone through the roof in the past couple of years. A set of used GTR taillights seem to command upwards of £1k these days, so I had to think of a different solution. It turns out, if you look hard enough, you can buy the tail light covers, I.e. the actual external body of the tail light, brand new, painted, from Nissan. The best bit? They’re £100 each. They had Bayside Blue in stock, not my first choice but it’s a lovely colour in the sun. Interestingly, it was originally going to be called Wangan Blue, but it was changed to have a more global appeal – The name Wangan Blue was recently revived and is now available on the R35 GTR. 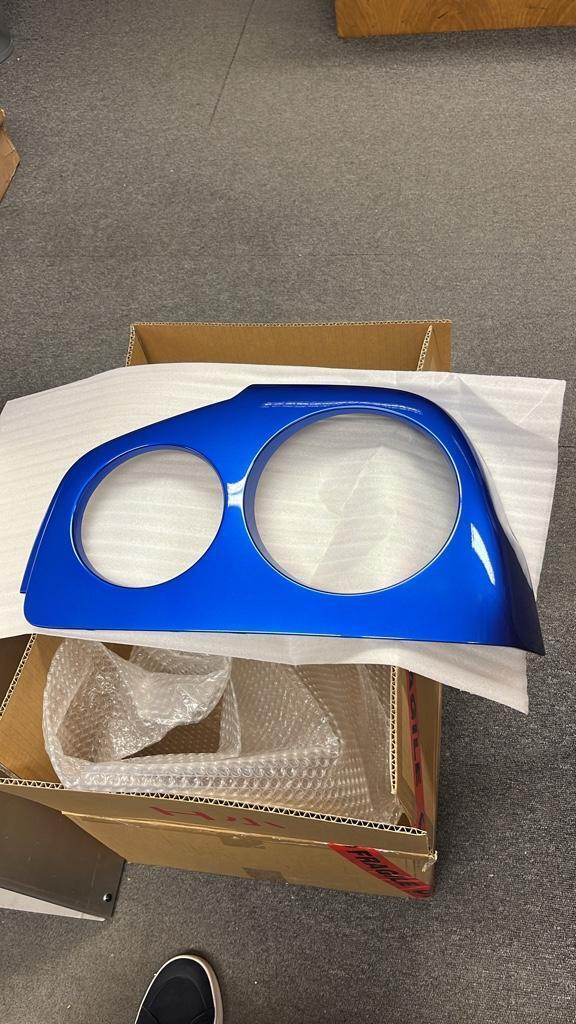 I whipped my tails off, stripped them apart, gave them a quick clean and then temporarily reassembled with the new GTR covers on the car for safe keeping. These will be used for aligning the new quarters, before being disassembled again during final paint and assembly in the future. 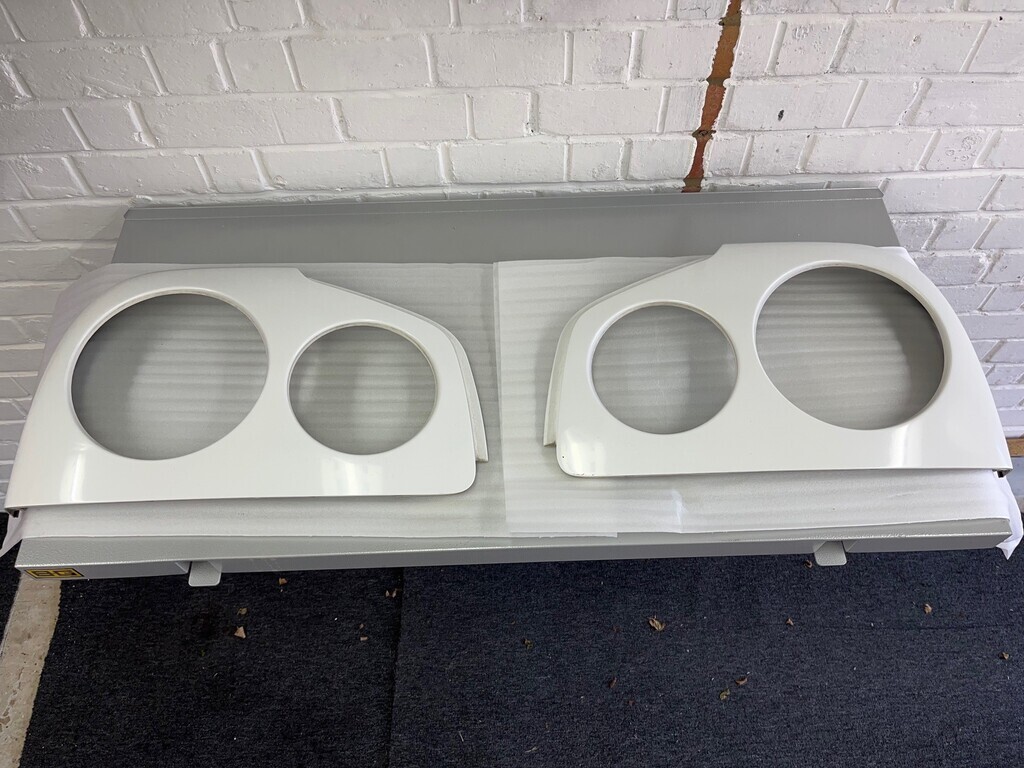  |
| |
|
|
stealthstylz
Club Retro Rides Member
Posts: 14,841
Club RR Member Number: 174
|
R34 - Getting out of handstealthstylz
@stealthstylz
Club Retro Rides Member 174
|
|
|
|
That's a good solution. I'll mention it to a guy who brings his in for MOT's who didn't want to spend out on proper lights for his GTR so built some standard ones up with polyfilla then scratched the joining line back in with a chisel. Looks as terrible as you would imagine.
|
| |
|
|
|
|
|
|
|
Nice project you have and a decent starting point by the looks of it. If you haven't already I'd highly recommend Youtube channel Broken Silvia as he's done and about to redo an R34 GTT to GTR  |
| |
Last Edit: Nov 3, 2022 14:29:39 GMT by daver555
|
|
|
|
|
|
|
|
Reads thread so far, clicks bookmark, opens a can of Thatchers (classy!), and settles back in the sofa.
|
| |
|
|
|
|
vertex
Part of things
Posts: 918 
|
|
|
|
|
Have a look at trust kikaku
Over 300 skylines in stock for parts along with new old stock off the shelf
There channel has some subtitled vids but they have English speaking staff like Hanna
Sammit has a more detailed tour around what they have
|
| |
|
|
jossd
Part of things
Posts: 31
|
|
|
|
Thanks all for the comments  This past weekend was spent prepping the car for it’s hip transplant. It needed some of it’s bodywork removing, and as much interior as possible removed from the work areas. The windows will come out as part of the work. First things first, roll the car out of the garage, flip up the BG Folding Table (a godsend if you need a retractable working area in a tight space) and load up some tunes. Album this week: The Bitter Truth – Evanescence. 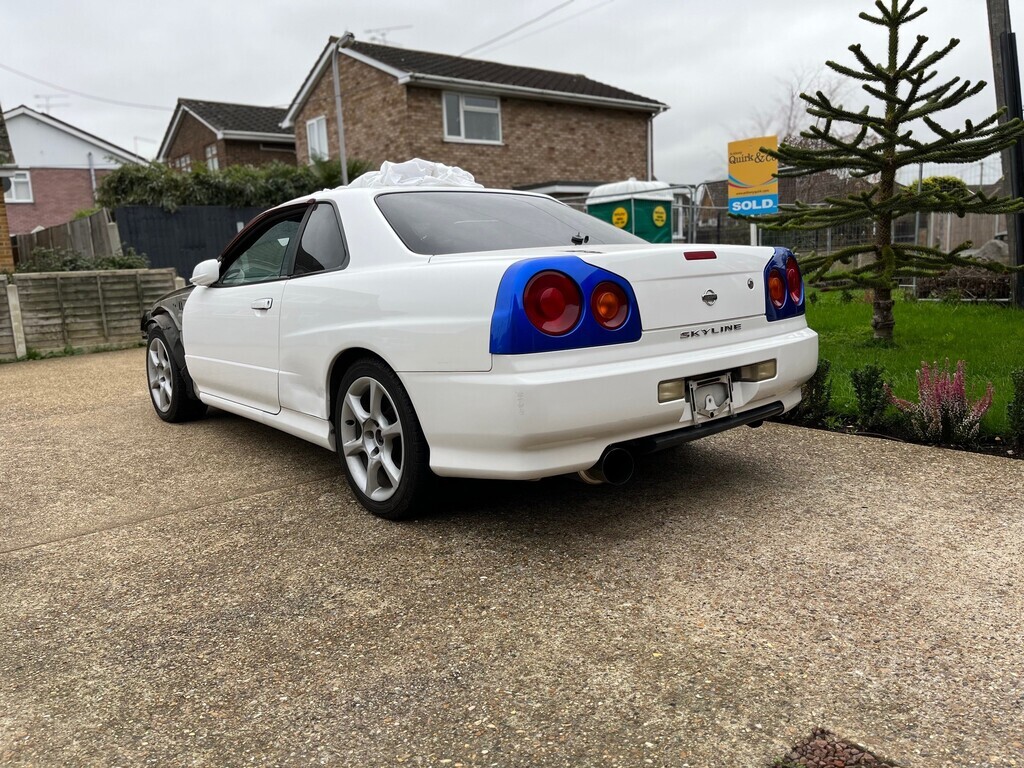 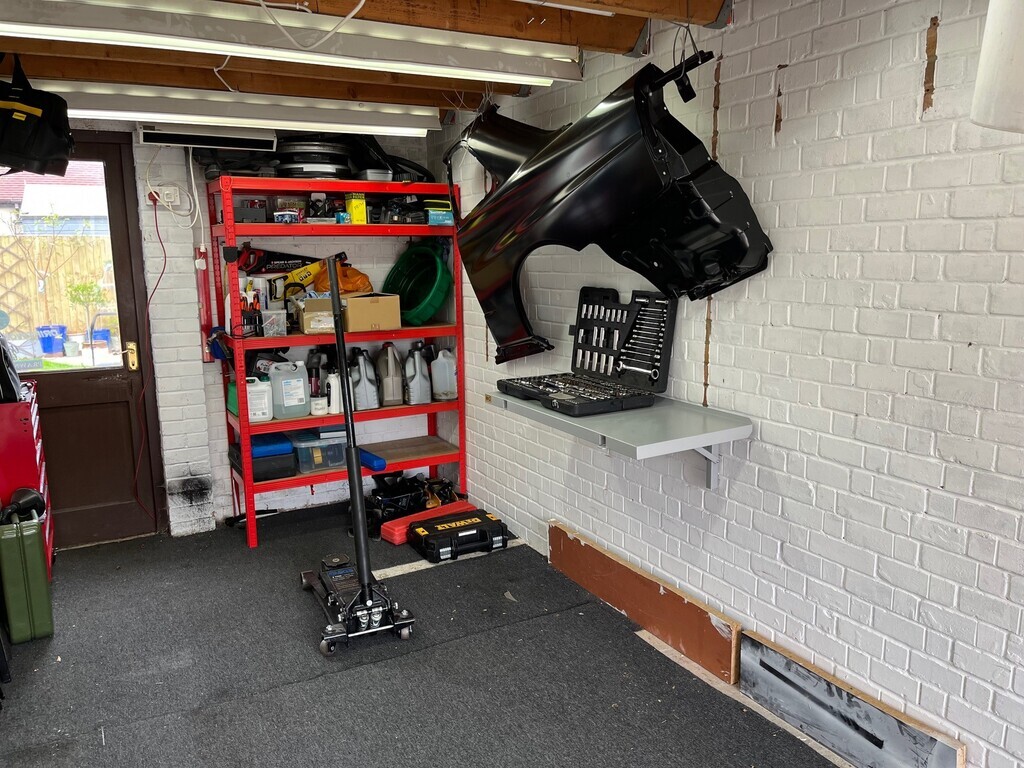 I wanted to have a good look under the rear of the car, and removing the rear end is easier with the wheels off, so I threw it up in the air. Note the multitude of wheel nuts, variety is the spice of life. 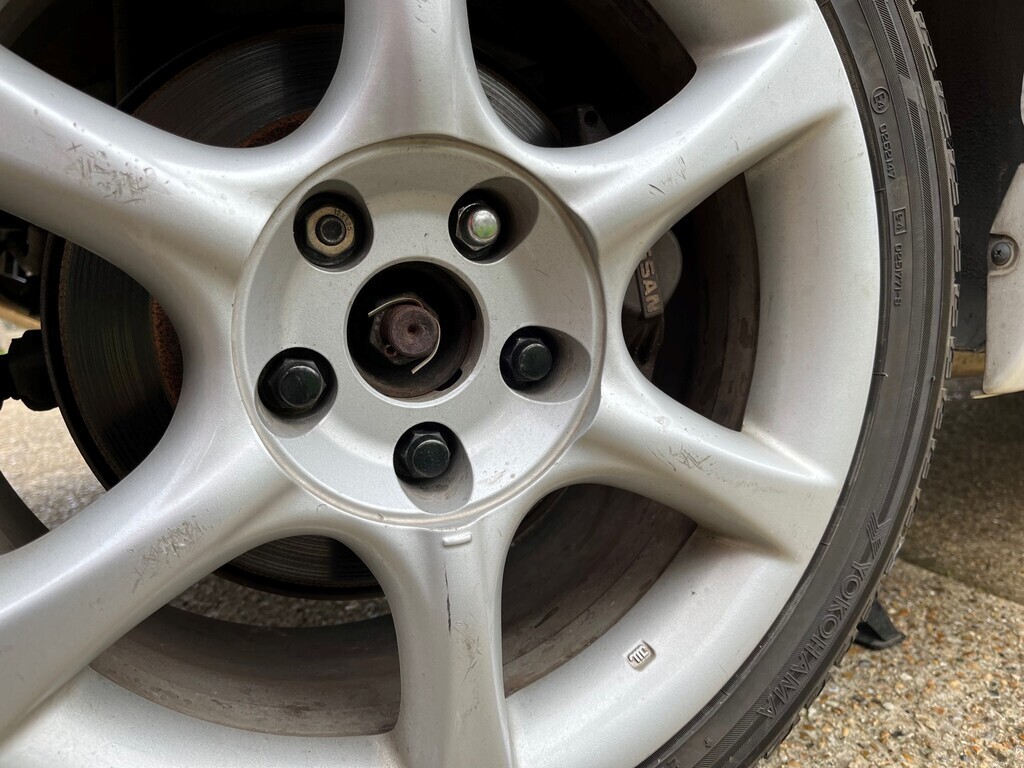 The sideskirts are removed by 1x fixing in the arch, and 3 or 4 fixings underneath, depending if any of yours have disappeared. Ensure you break all of the trim clips upon removal of the first side, before photographing the second side and pretending you did no such thing. I have been keeping everything in a handy multi drawer cabinet, only cheap but very neat and hangs on the wall out of the way – it’s quite therapeutic being so methodical, it’s not something I’ve done too much of previously. 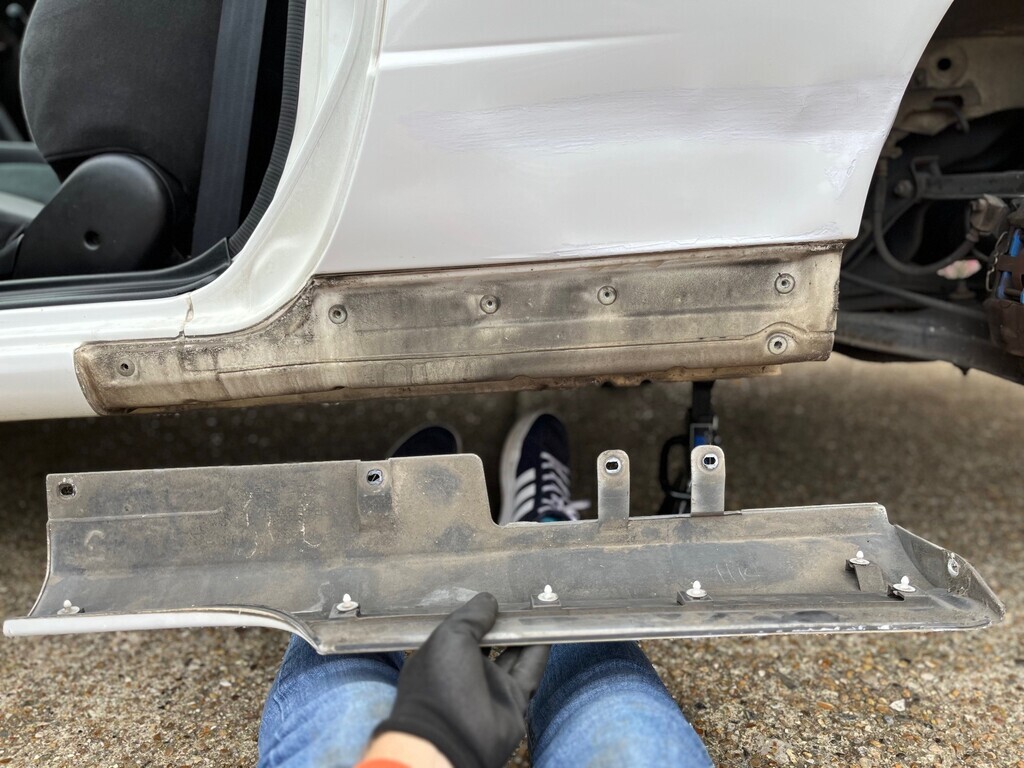 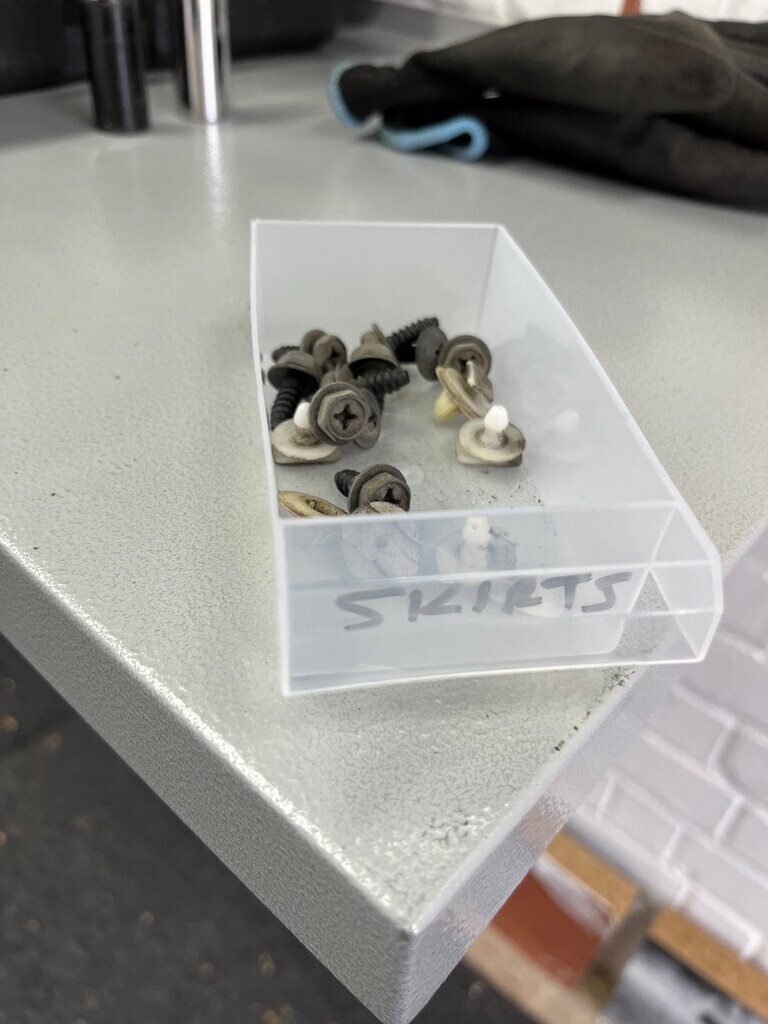 Quick look in the arch and a view of the GReddy/Trust coilovers. These will be rebuilt as part of the underside refresh - I don't think they're the best of the suspension options but I'd like to keep them due to the exclusivity, I don't remember seeing any sets of these before. 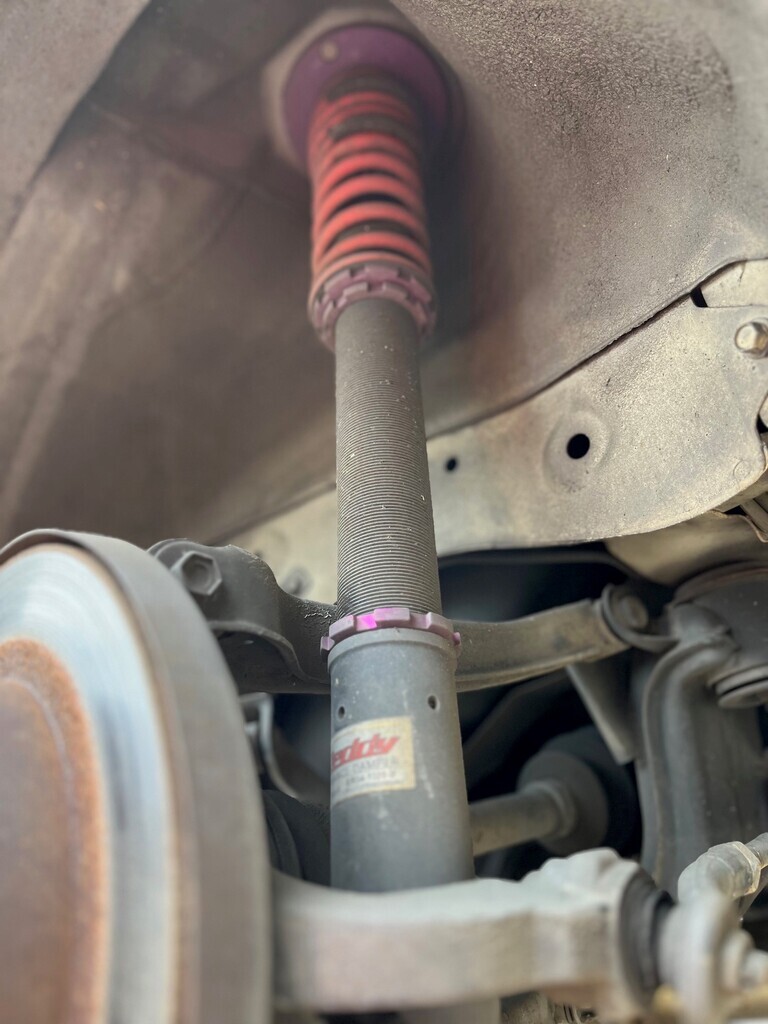 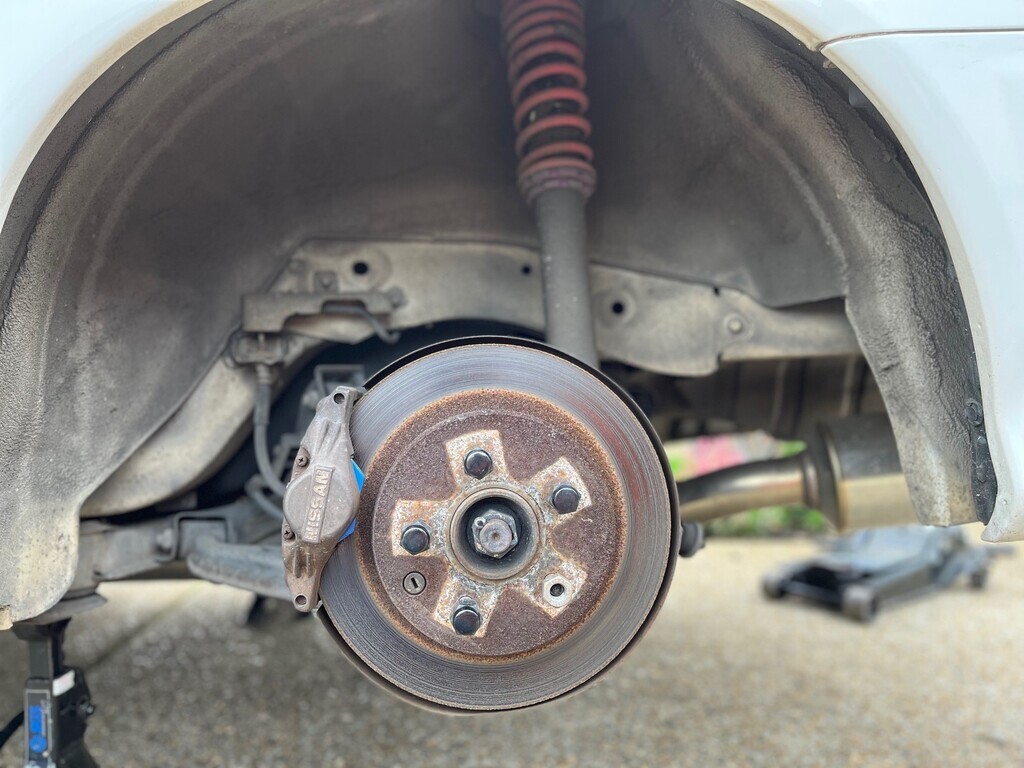 To remove the rear bumper, there are fixings in the arch, under the bumper behind the wheels, under the rear lip in the middle and inside the boot beside the tail lamps. There are usually some clips in between the tail lights where the boot latches also but of course, mine were all missing. There is also a clip which attaches to the hinged rear number plate bracket, easy to overlook. I carefully removed all 3,000 trim clips holding the boot trims & panels in place, remarkably not breaking a single one. These went into another drawer in the cabinet on the wall for reuse. A quick inspection revealed some light surface rust from water ingress around the rear lamp area (they all do that sir) but nothing awful, plus some Japanese archaeology, I think possibly a receipt for the terrible LEDs fitted in the old tail lamps. 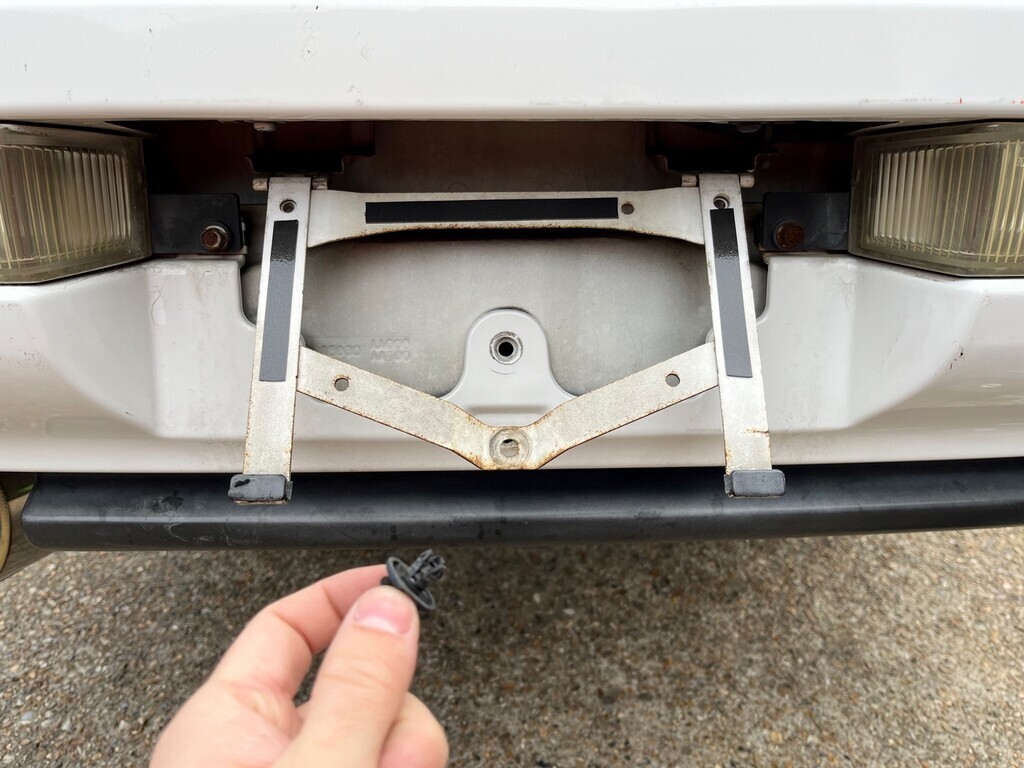 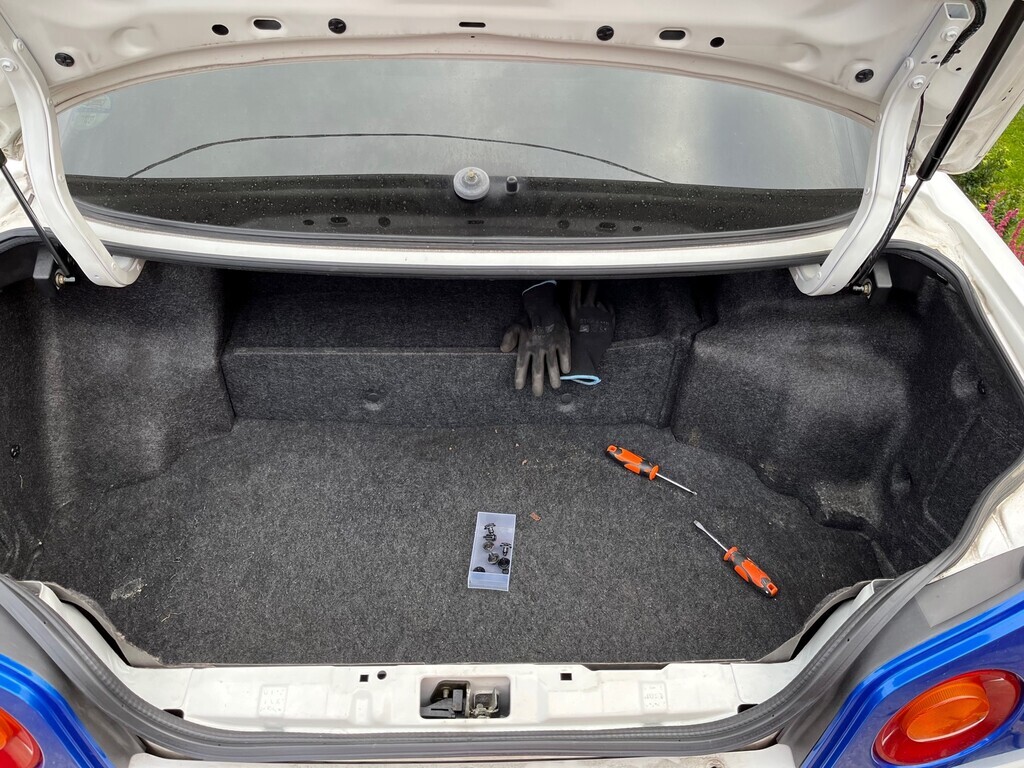 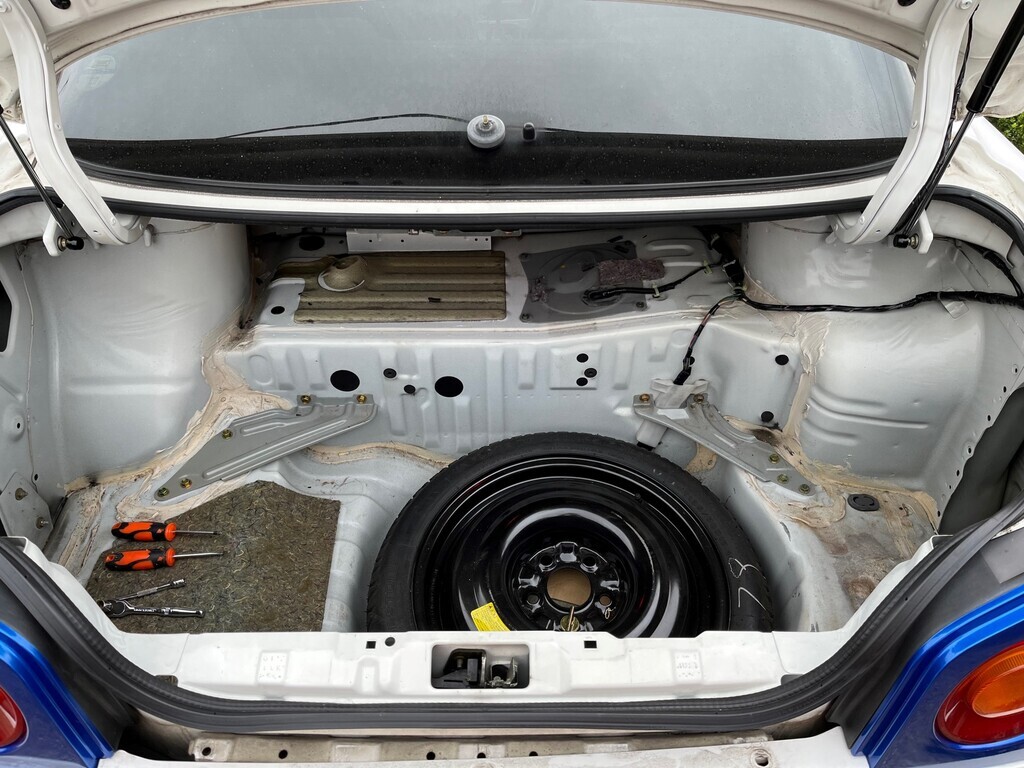 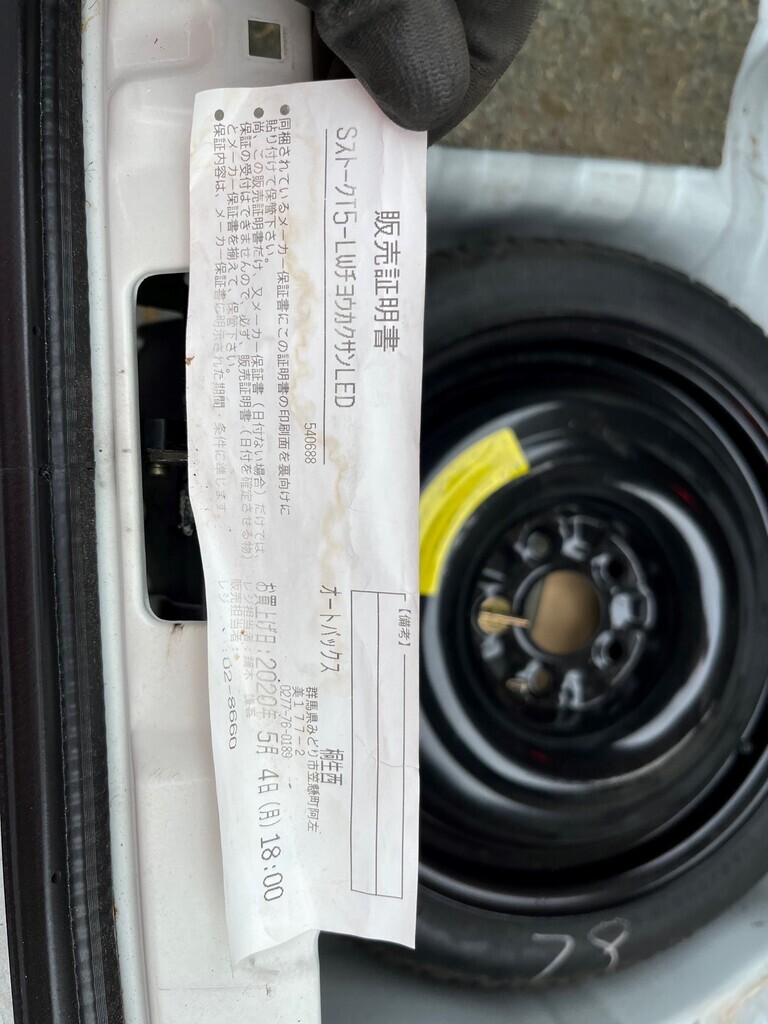 Bumper off and it’s a grubby but rot-free sight, nice. I’m really looking forward to cleaning this all up and protecting it. 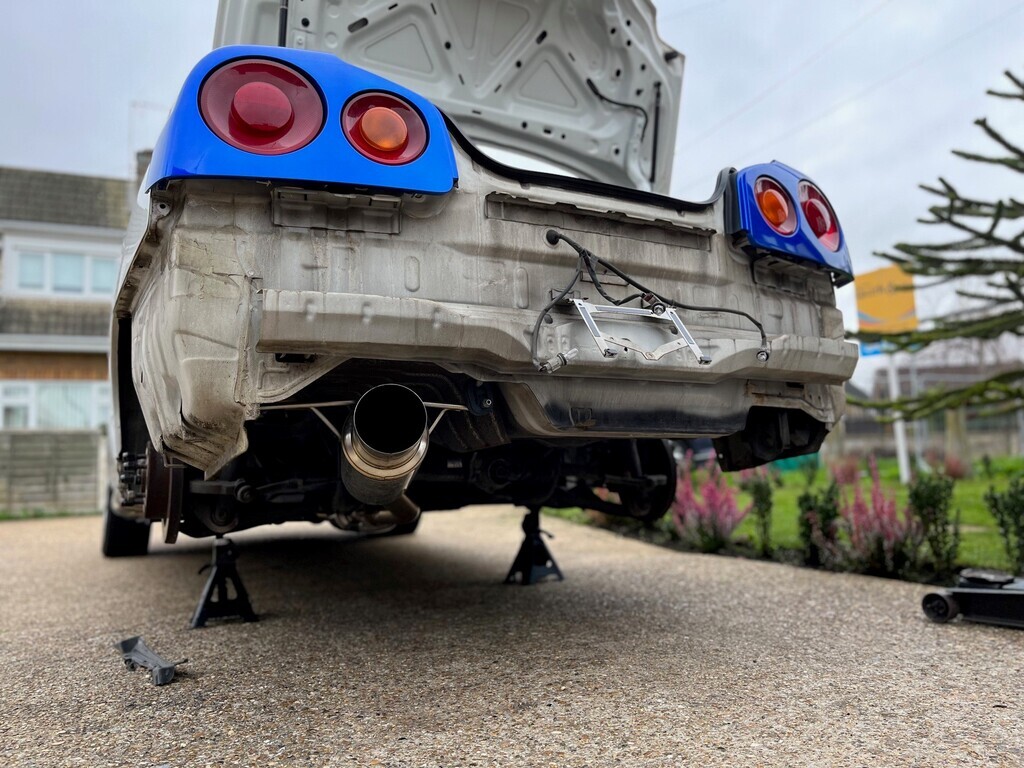 Bonus pic of the rear wheel steering or HICAS mounted on the rear subframe – standard fit on many Japanese cars through the late 80s through to the 00s. Often these are removed by UK owners as they appear to ‘malfunction’ but a lot of the time it’s self-inflicted – UK owners have their cars crudely converted from KMH to MPH through various means such as adding resistance to the clocks or using some other rudimentary converter. The car still thinks it is reading KMH and therefore activates the RWS at different speeds to normal. VERY VERY simplified explanation: from memory up to 80km/h the rear wheel steering turns opposite to the fronts, to tighten the turning circle and give better turn-in to slower corners. At over 80km/h the rear wheel steering turns in the same direction as the fronts, to keep the car more stable during ‘lane change’ style steering inputs (as it crabs sideways slightly). This of course also varies based on steering input, throttle position, etc etc. When the cars are tricked into reading MPH, these activation points all move and the car can misread driving style and driver inputs and apply the wrong action at the wrong time. Usually perceived as a malfunction, but in reality it’s a bi-product of the car being tampered with. The system works exceptionally well if well maintained operating as intended. 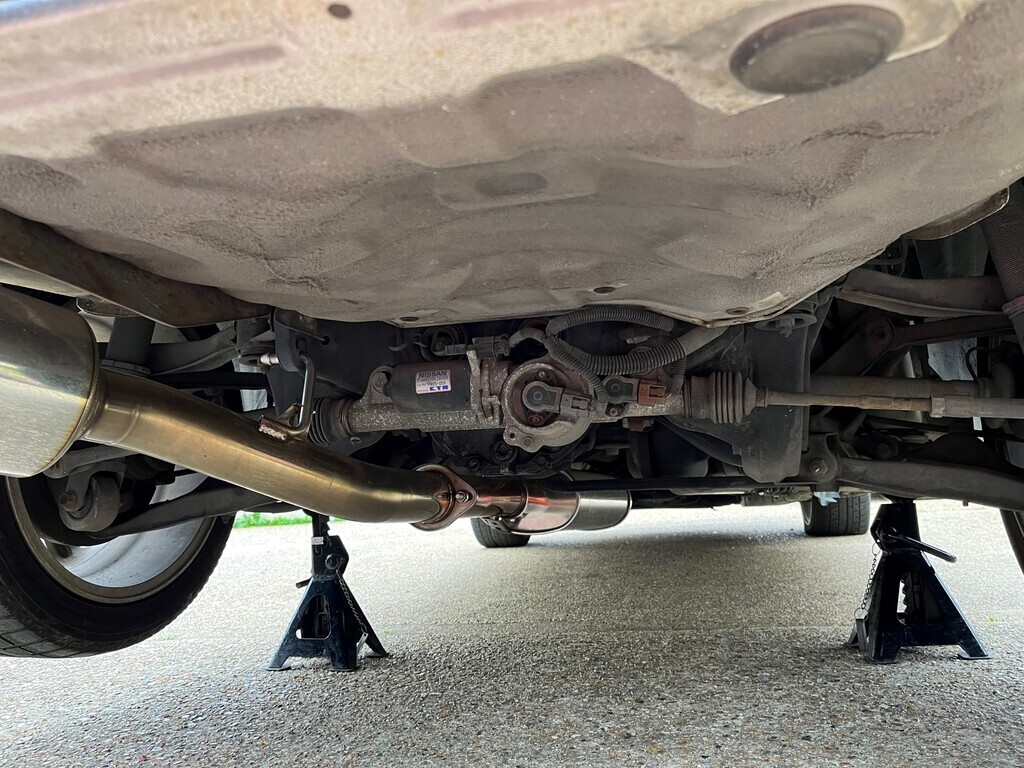 With the wheels back on and the car back on the ground, it’s time to start removing the interior. Passenger seat out first, then the 5 piece set of mats (6 piece if you include the piece of gherkin beneath the driver’s side) and rear bench removed. The rear ‘door card’ type panels then pop off, as do the sill plastics. Unfortunately, the heavens opened and my picture taking took a back seat as I rushed to get everything back under cover, but I did grab a snap of the garage with everything piled up. Believe it or not, the car did go back in here too. 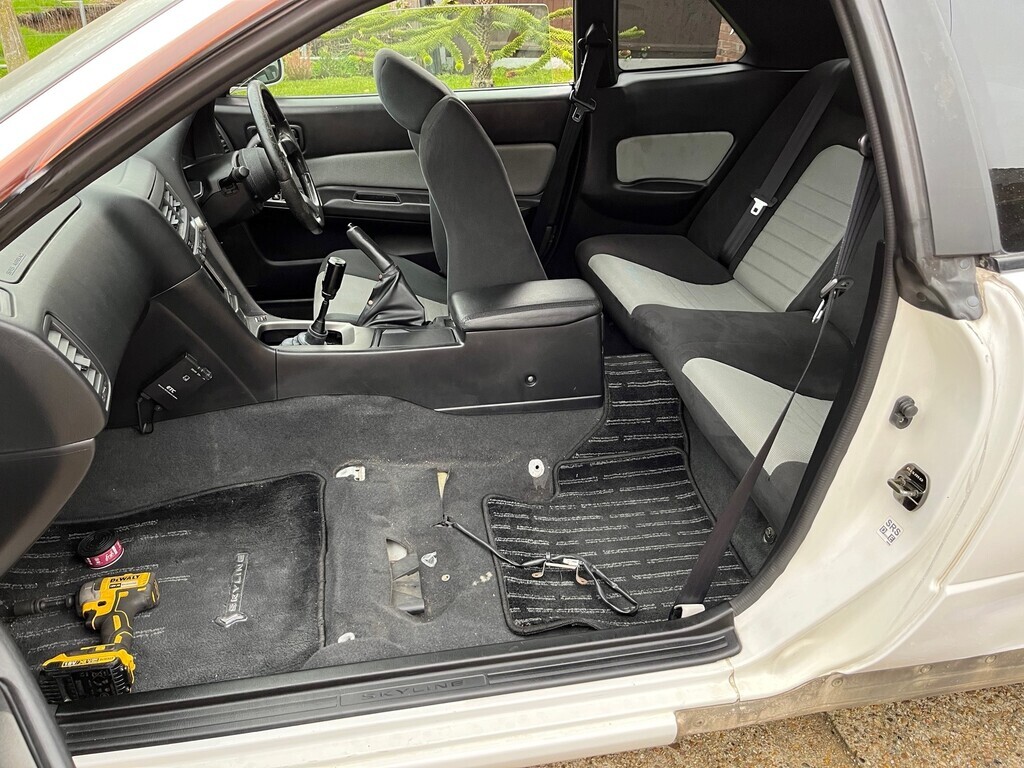 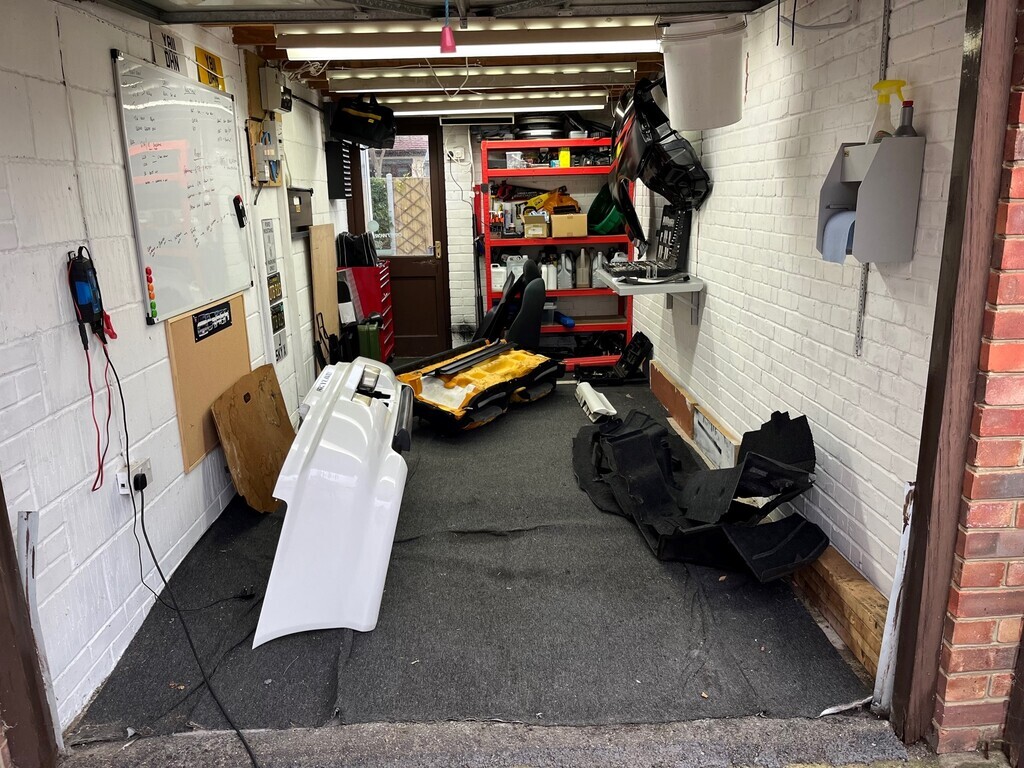 There’s a couple more bits to do but that’ll be next weekend, then it’s game on. |
| |
Last Edit: Nov 24, 2022 11:22:37 GMT by jossd
|
|
|
|
|
Nov 24, 2022 10:55:01 GMT
|
|
Anyone else not able to see the pictures in the latest post?
Bookmarked anyway...this sounds ace.
|
| |
|
|
|
|
jossd
Part of things
Posts: 31
|
|
Nov 24, 2022 11:22:58 GMT
|
Anyone else not able to see the pictures in the latest post? Bookmarked anyway...this sounds ace. Re-uploaded, let me know if that fixes it! |
| |
|
|
|
|
R34 - Getting out of handHARDCORE
@hardcore
Club Retro Rides Member 190
|
Nov 24, 2022 11:41:25 GMT
|
Anyone else not able to see the pictures in the latest post? Bookmarked anyway...this sounds ace. Re-uploaded, let me know if that fixes it! Works for me |
| |
|
|
|
|
|
Nov 24, 2022 13:19:04 GMT
|
|
Very cool project! Looking forward to seeing how this unfolds!
Can you just throw boost at these stock engines non-turbo engines, or do they need built to take it?
|
| |
|
|
|
|
|
Nov 24, 2022 14:05:41 GMT
|
|
Props for doing the work in such a tiny space. Takes a level of discipline I'd find quite alien!
|
| |
|
|
jossd
Part of things
Posts: 31
|
|
Nov 24, 2022 14:08:12 GMT
|
Very cool project! Looking forward to seeing how this unfolds! Can you just throw boost at these stock engines non-turbo engines, or do they need built to take it? Thank you, Since this is the NEO variant of the RB25, the turbo and non-turbo are the same internally, aside from missing oil squirters (not really essential for OEM levels of boost) and N/A specific pistons with a taller CROWN. it’s quite possible to slap a Wuhan Whirly-Boi to the side of one of these and make some perfectly respectable horsepower. The higher N/A compression helps spool the turbo faster but means the peak safe power level will be lower than a factory turbo variant. The head is restrictive too compared to the turbo version, if I remember rightly (but I may be wrong). My plans differ slightly, and involve a Nitto 2.8 stroker kit rated to 11,000rpm (not that I intend to rev it that high). |
| |
|
|
jossd
Part of things
Posts: 31
|
|
Nov 24, 2022 14:08:38 GMT
|
Props for doing the work in such a tiny space. Takes a level of discipline I'd find quite alien! Thank you! It's certainly a challenge. |
| |
|
|
|
|
|
Nov 24, 2022 14:15:18 GMT
|
Very cool project! Looking forward to seeing how this unfolds! Can you just throw boost at these stock engines non-turbo engines, or do they need built to take it? My plans differ slightly, and involve a Nitto 2.8 stroker kit rated to 11,000rpm (not that I intend to rev it that high). Well, that sir, is a bold comment to drop right in at the end there!!!! Very exciting. |
| |
|
|
|
|
|
Nov 24, 2022 16:16:50 GMT
|
|
Oooh, if you're talking Nitto Stroker kits have you considered going the RB30 3.2 stroker route?
|
| |
|
|
stealthstylz
Club Retro Rides Member
Posts: 14,841
Club RR Member Number: 174
|
R34 - Getting out of handstealthstylz
@stealthstylz
Club Retro Rides Member 174
|
Nov 24, 2022 21:48:47 GMT
|
|
Just caught up on progress, funnily enough I've been machining a couple of RB blocks this week (a 25 and a 30). Many swear words uttered, I'm sure the actual reason they're so strong is they're so bad from the factory everything just sort of flops about in there.
|
| |
|
|
|
|
|
Nov 25, 2022 12:00:26 GMT
|
|
In another life I'd absolutely be listing to Evanescence while working on an R34. Unfortunately I too completely missed the boat on them and didn't have any memories to fall back on so this thread is extremely helpful, in a vicarious sense.
|
| |
|
|
|
|