bstardchild
Club Retro Rides Member
Posts: 14,976
Club RR Member Number: 71
|
1970 Morris Oxford - 20/9/24 - bstardchild
@bstardchild
Club Retro Rides Member 71
|
|
|
Quite nice to go into the new year with it looking like a whole car though. 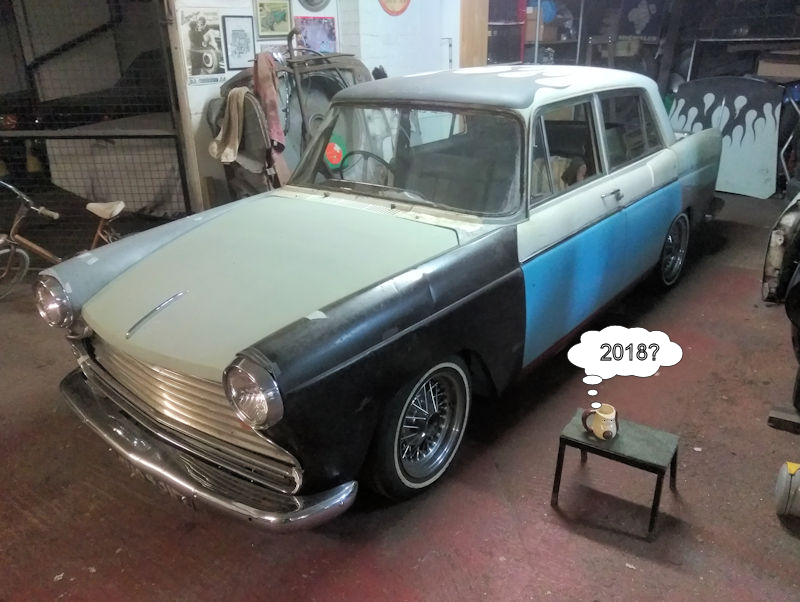 Looks excellent - in fact as I had an few hours to kill I read the whole thread again  always nice to see an update on my bookmarked threads even ones that were first bookmarked in 2006  I'm still of the opinion that the colour scheme should remain true to it's roots with you but it's your car  |
| |
|
|
|
|
|
|
|
|
|
It was such an awesome paintjob style to begin with, I'm sure you will come up with something that will do it and yourself justice. But if it all falls through, I personally will forgive you for reverting back to the flames over two-tone.  |
| |
|
|
qwerty
Club Retro Rides Member
Posts: 2,421
Club RR Member Number: 52
|
1970 Morris Oxford - 20/9/24 - qwerty
@qwerty
Club Retro Rides Member 52
|
|
|
|
I tend to agree with the above comments. In my head "Seth's Oxford" shoulbe be white over blue with black flames.
However I am prepared to be proven wrong!
Tom
|
| |
Last Edit: Jan 3, 2018 19:42:46 GMT by qwerty
|
|
|
|
|
|
|
|
Love this build, all the little period custom style touches, yet still so subtle. Id like to see it remain as it was, but with posh black flames. Whatever you decide I'm sure will look awesome.
|
| |
|
|
Seth
South East
MorrisOxford TriumphMirald HillmanMinx BorgwardIsabellaCombi
Posts: 15,543
|
|
|
|
|
The blue/white/black flame combo might well re-appear in the future but my feeling is that after the years of work I've put into it I'd quite like it to actually look different too. At least for a while. Then I can decide whether it still feels like 'my car' or not.
|
| |

Follow your dreams or you might as well be a vegetable. |
|
|
|
|
|
|
Lime green stripes with fuscia pink circles on a deep red Base? With bright orange pinstripes.  |
| |
|
|
|
|
|
|
|
Lime green stripes with fuscia pink circles on a deep red Base? With bright orange pinstripes.  Just sayin....   Actually, i´d do anything except put the black flames back on. I love the car, but those just weren´t right IMHO. Just blue and white maybe? |
| |
|
|
Seth
South East
MorrisOxford TriumphMirald HillmanMinx BorgwardIsabellaCombi
Posts: 15,543
|
|
|
|
Thanks, err, for all the suggestions! I have struggled a bit it feels over the last month or so. Probably just winter lack of motorvation coupled with having to spend some time welding up a bit of the Hillman for its MOT. The job that has been a bit of sticking point has been finishing the front valance. This has involved a lot of trial fitting, bolting on, taking off etc of the front bumper irons and bumper to make sure that the holes in the valance are in the right place (they weren't to begin with) and so that the bumper is centred to the car with a roughly even gap each side where it comes close to the wing. These are details I'd have not bothered with before but kinda seem worth sorting out this time around. Anyhow, eventually I got to here: 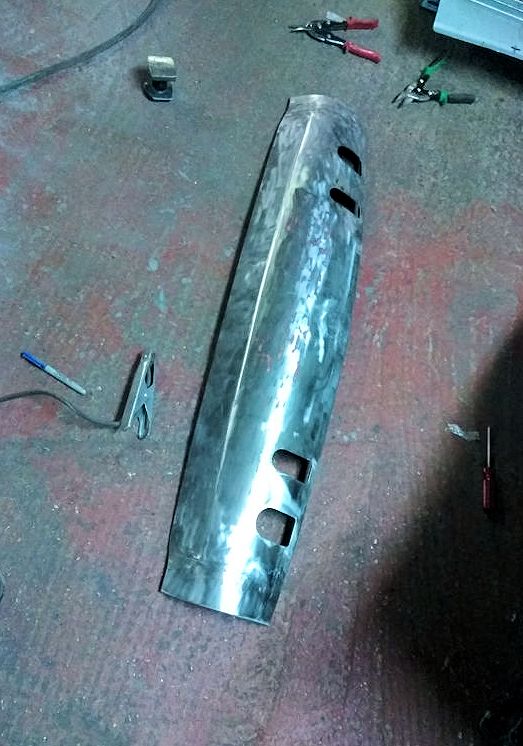 From the inside you can see the various repaires that have been needed.  Both ends to match the wings, a hole in the middle filled and then alterations to the old drivers side bumper iron holes. The end result is reasonably pleasing. 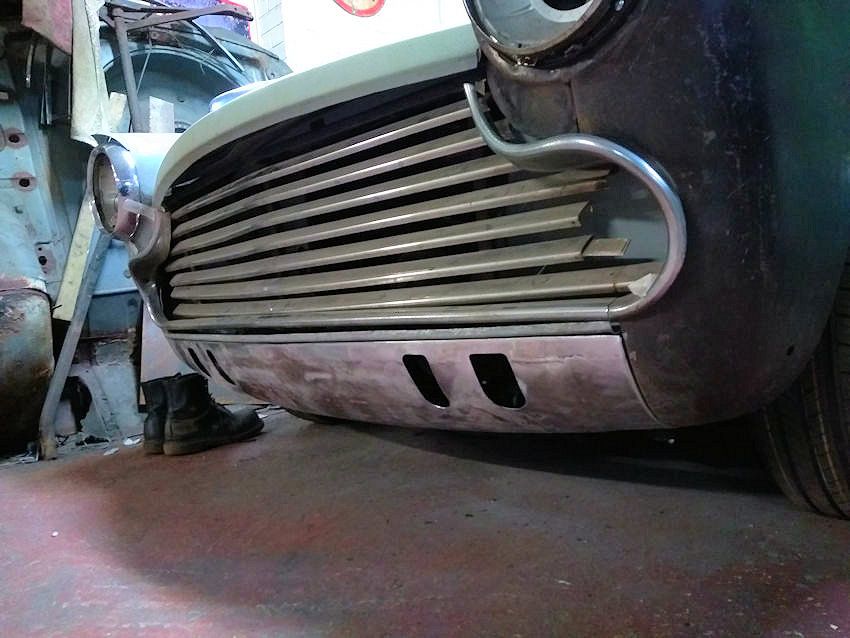 In a couple of photos from a month or so back some bits of cardboard are visible taped to the fronts of the wings. I did quite a bit of thinking (with input from other dungeoneers) and have finally commited to a new peak design in the metal. Tacked in place:  Fully welded and ground back.  A bit of paint this side and the other side also all welded. The intention was to echo the peaks on the back wings while not being too lairy or batmobile-esque.  Need a little more clearancing for the headlight bezels but another job ticked off the list. |
| |

Follow your dreams or you might as well be a vegetable. |
|
|
|
|
|
|
|
Love this rebuild, the attention to detail, the metal work skills and the anticipation of each update and ultimately the finished article! A great old school kustom.
|
| |
|
|
vulgalour
Club Retro Rides Member
Posts: 7,287
Club RR Member Number: 146
|
1970 Morris Oxford - 20/9/24 - vulgalour
@vulgalour
Club Retro Rides Member 146
|
|
|
|
Those peaks are nice, a subtle extension of the wing top crease and almost make it look like the headlight bezels are hung from the point rather than being stuck to the front of the wing. Valance is lovely too, it'll be a shame to hide that behind a bumper!
|
| |
|
|
|
|
|
|
|
|
|
|
I know it wouldn't flow with the lines of the wing, but if those peaks were rolled about 30 degrees inboard, it'd be a REALLY angry face!
|
| |
|
|
|
|
|
|
|
|
|
Just make sure they have a 5mm radius on the tips - just a legal futureproof tip  |
| |
|
|
|
|
|
|
|
|
Every little touch to this car has been nailed.
Or welded...
|
| |
|
|
Seth
South East
MorrisOxford TriumphMirald HillmanMinx BorgwardIsabellaCombi
Posts: 15,543
|
|
|
|
|
Thanks for comnments chaps. It is quite rounded at the end of the peak - no sharp corners!
|
| |

Follow your dreams or you might as well be a vegetable. |
|
|
|
|
|
Seth
South East
MorrisOxford TriumphMirald HillmanMinx BorgwardIsabellaCombi
Posts: 15,543
|
|
May 17, 2018 21:50:42 GMT
|
Over three months since the last update. Here is the news. Mostly involves bits and pieces on the front panels. The NOS pass side wing, for some reason didn't have enough metal between the headlioght and the curve of the grill so I added a bit to fill the gap. Also welded on the bracket that the grill screws to. 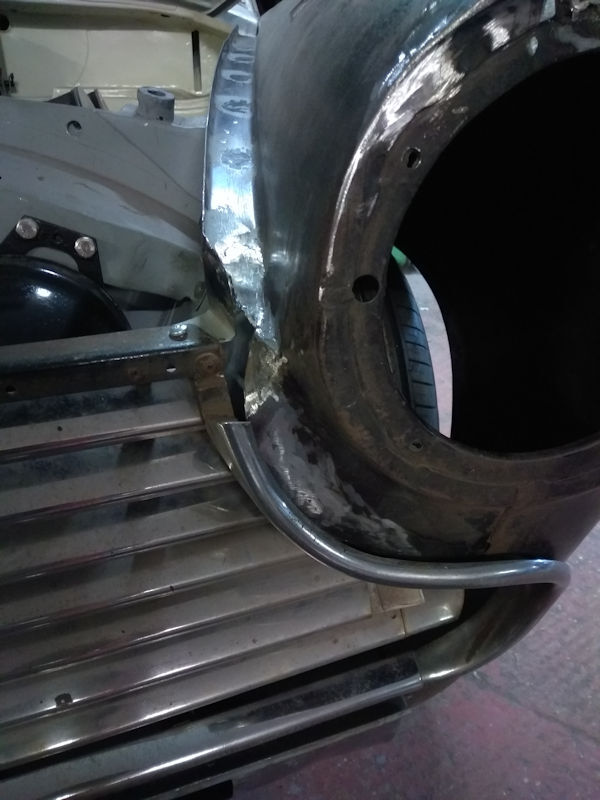 P clips added to retain the wiring to the inner wing area. 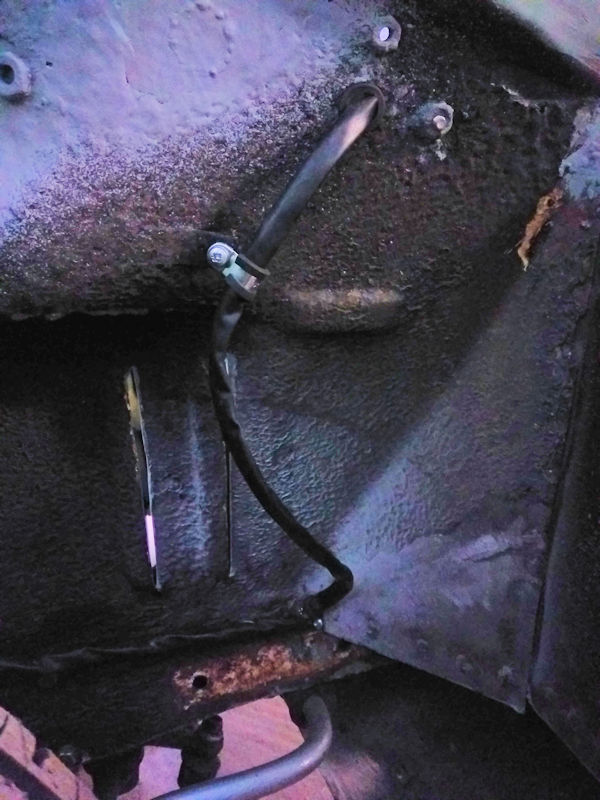 Middle grille bracket repaired at the bottom where it had got bent and broken by rust. 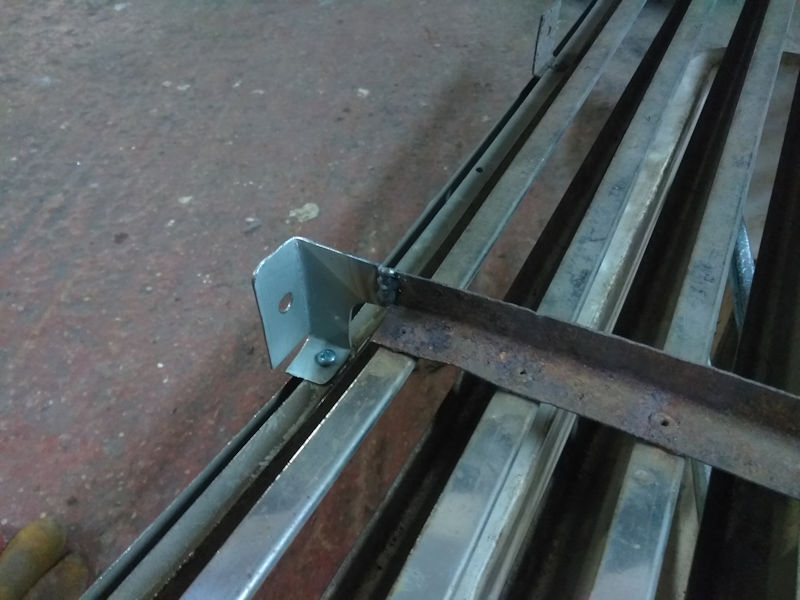 The NOS wing was obviously all rust free but had picked up a couple of dents in 50 years of storage. I had a go at them myself but knew I'd struggle and once one area started 'popping' I knew I was out of my depth. So I called up my friend Lance and paid him a visit. I knew exactly what was needed (hot spotting) but lack Oxy gear and the several decades of experience. One of his sons wielded the torch to heat up a 1" or so spot to cherry red before Lance performed magic with a mallet and a dolly. 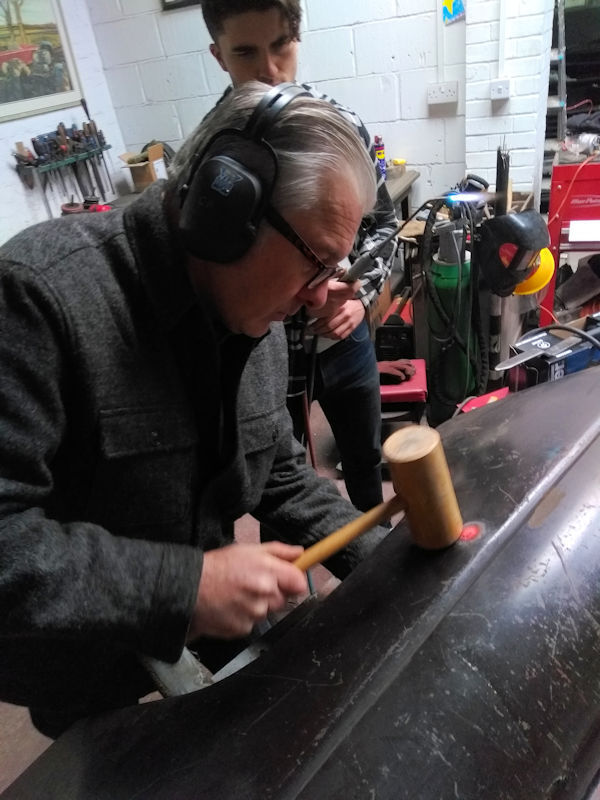 I feel rather privileged to have had some of his craftsmanship on my car - not the usual 'Farina' designed car to receive it. 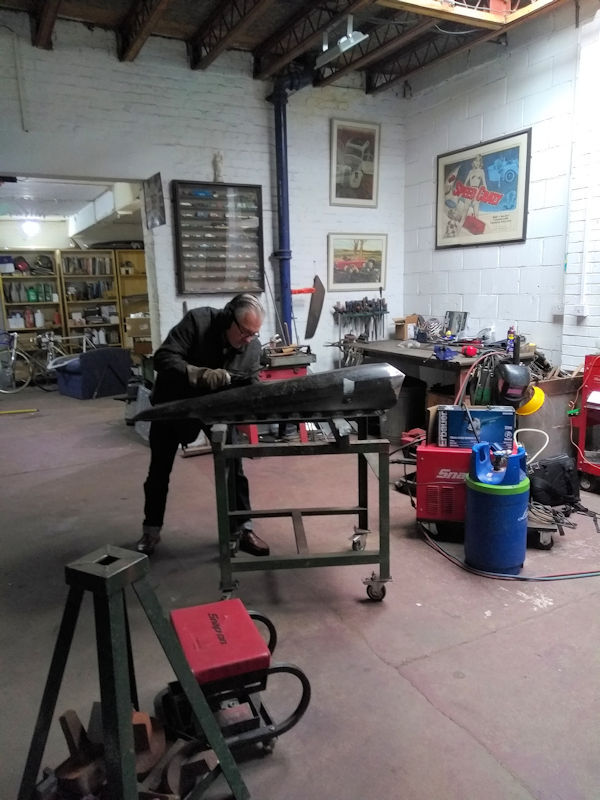 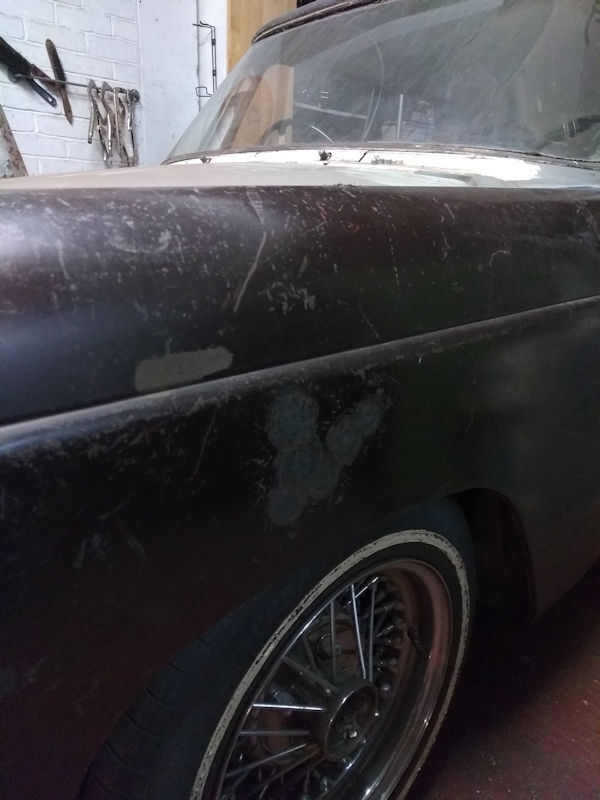 Back to the grill, and when I originally removed the sidelight/indicators from the grille I extended the bars by chopping up a spare bar and using strips of aluminum behind with double sided tape. It kind of worked but I now wanted to do better. 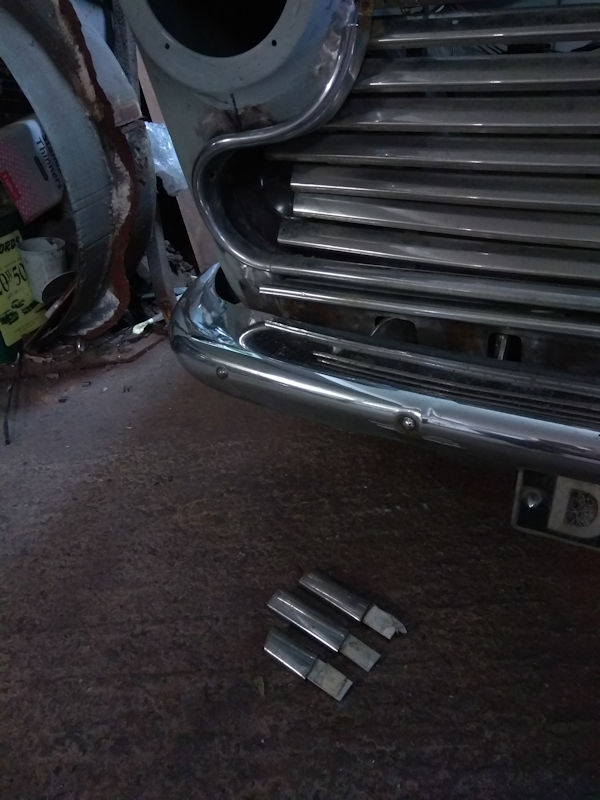 So with some stainless wire in the welder I tacked the extensions into place. Much stronger and less likely to droop. 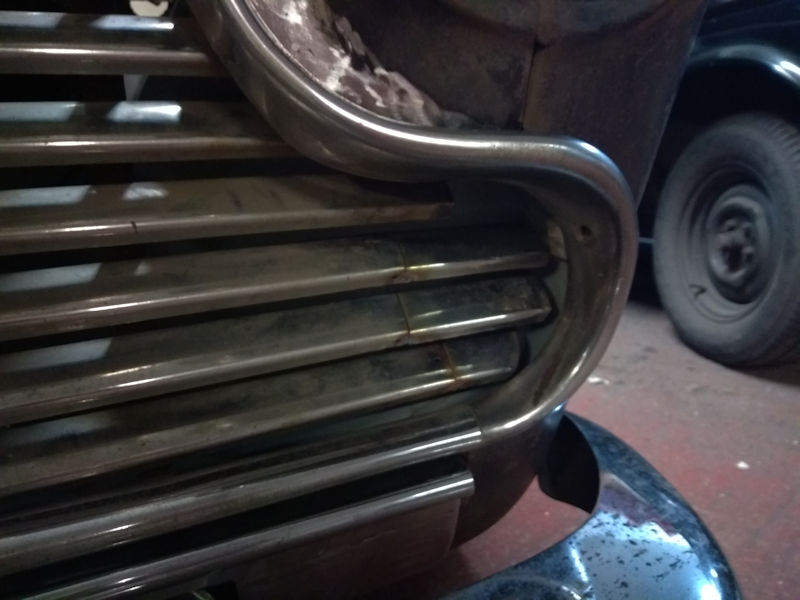 The bumper had been bugging me for months and to be honest I got quite tired of taking it and the bumper irons on and off, tweaking, bending etc to try and get it into the right place. Eventually I was persuaded (thanks Paul!) to start all over, bring it up and closer to the body by modifying the already modified bumper irons. Very pleased with the result in the end.  Playing around with that so much also lead to a new and better way of sorting out the front indicators. Small brackets to mount those have the second function of supporting the bar between grille and bumper 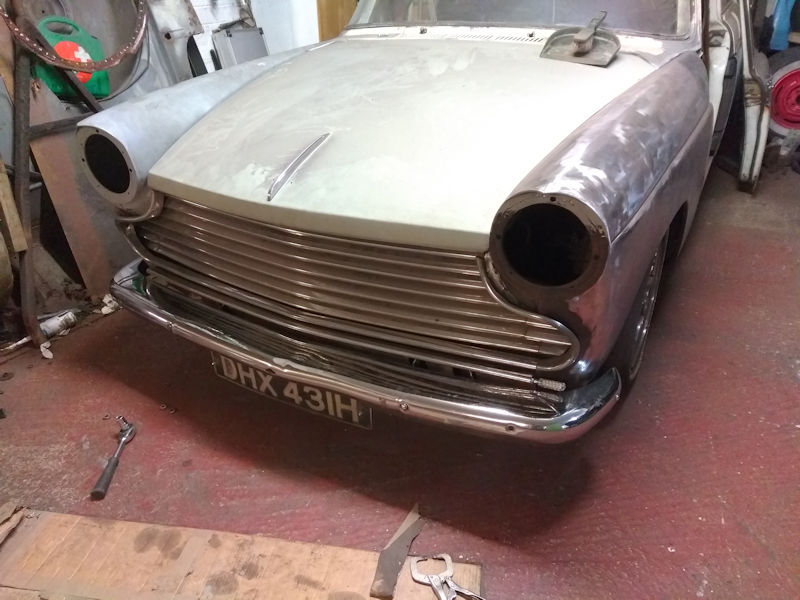 Through all of this time the doors have been off so that I could repeatedly take the front wings on and off for trial fitting etc. I fitted the bonnet onto hinges for the first time in years to enable me to do some final tweaking and finishing to a couple of places and then it was time to strip/paint inside the wings and make sure the A pillars and awkward areas were well coated in stuff. 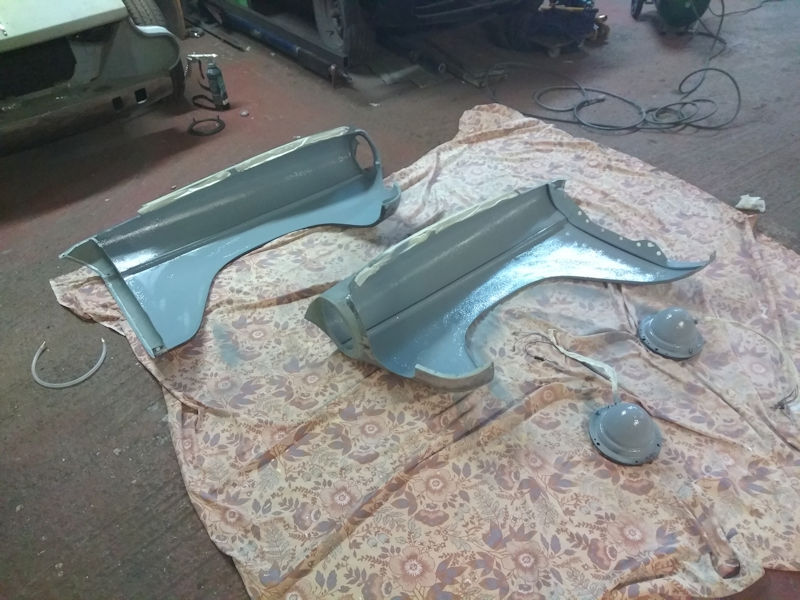 I sprayed some of the looser wax stuff designed for inside box sections etc into the back edge of the wings and left them to stand upright for a few days before covering other trickier places to reach with them on with Dynax wax. 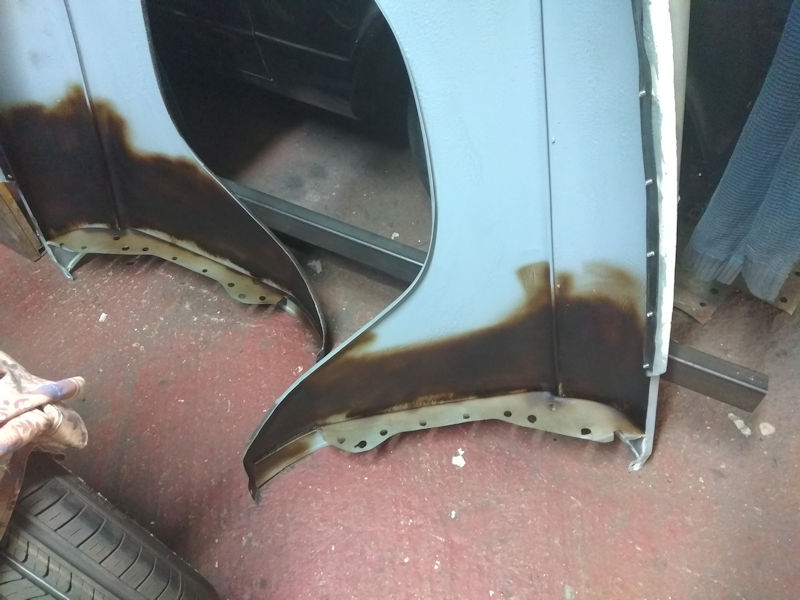 And so, bringing this up to this past weekend, the wings are now on and bolted in place down the A pillar. I don't want to ever take them off again. I've put the doors back on too so it's looking like a car again which is most satisfying. 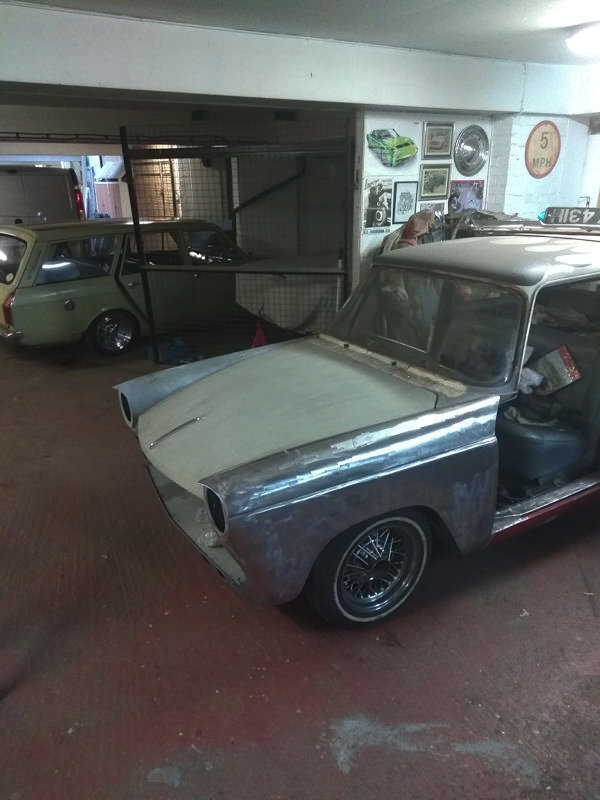 I'll get the front valance welded into place in the next week or so and that'll be the front sheet metal pretty much done. I created a 'to do' list about six months ago to help me get through this stage now that the car is getting a bit nearer completion. It is quite nice to be ticking more things off that list than I am adding. |
| |

Follow your dreams or you might as well be a vegetable. |
|
|
|
|
May 17, 2018 22:13:35 GMT
|
|
I like the indicators.
|
| |
|
|
|
|
|
May 17, 2018 22:28:47 GMT
|
|
Really cool.
I hate to even mention it, but that hard corner on the front of the bonnet looks a little at odds with all the curves of the car. Would it be worth rounding it off?
|
| |
|
|
|
|

 always nice to see an update on my bookmarked threads even ones that were first bookmarked in 2006


