|
|
|
Apr 17, 2021 22:20:05 GMT
|
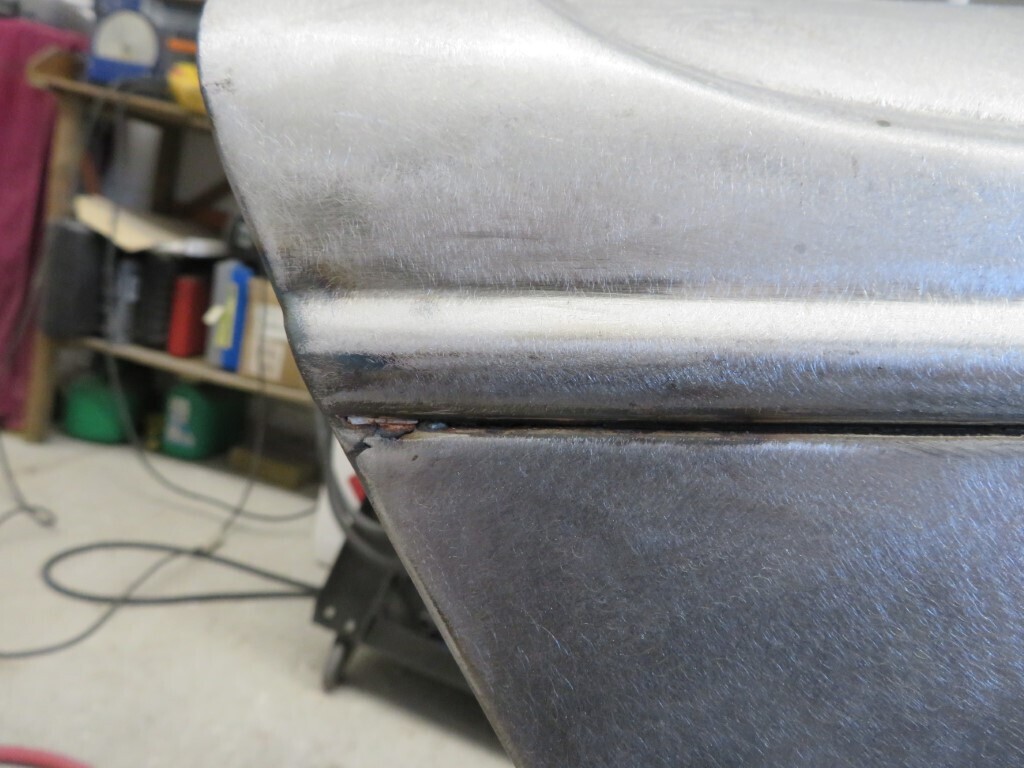
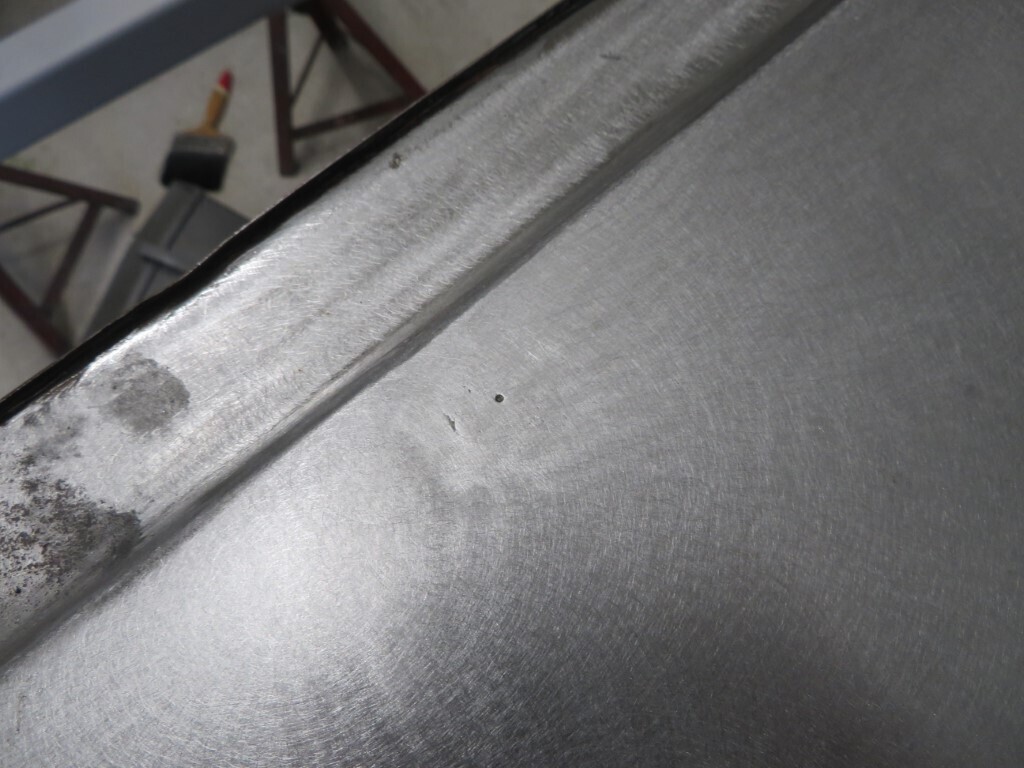
I got a few more hours in today, I stripped the bonnet, it looked perfect but when stripping a lot of filler got removed. I'm not sure why there was so much on it as it looks pretty straight underneath. There are some bad areas though. I got the gaps pretty good in the end, though its stll a bit tight in this area. I might need to grind the edge back & weld it up again.
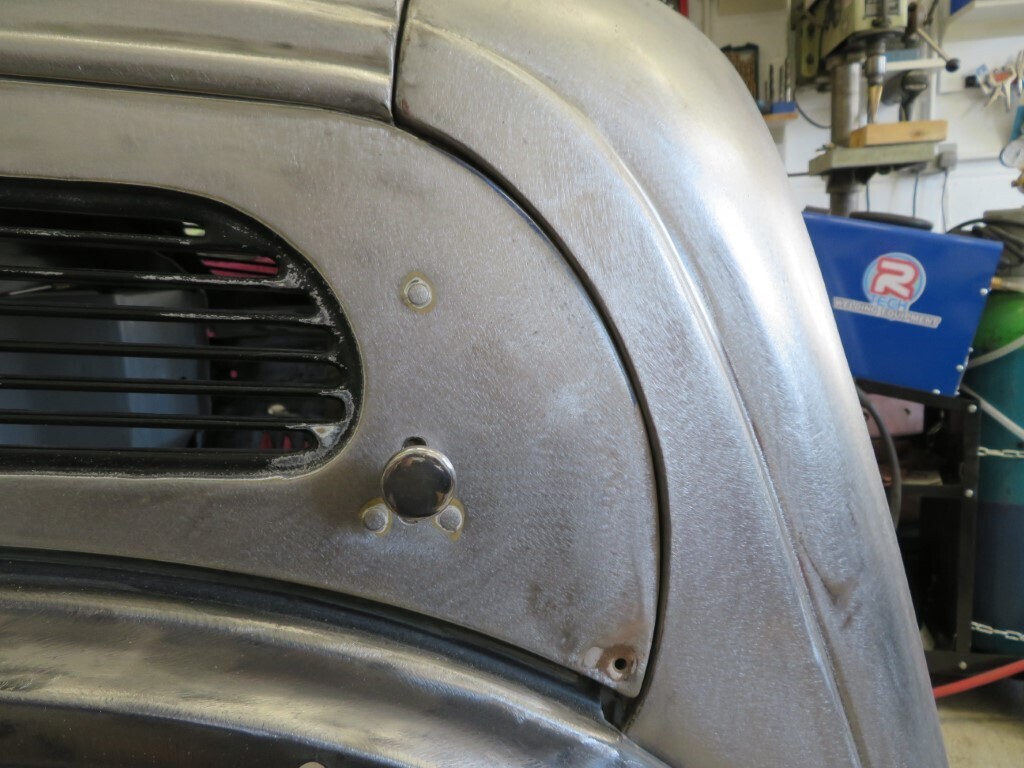 All looking good here, inner wing is partially stripped.
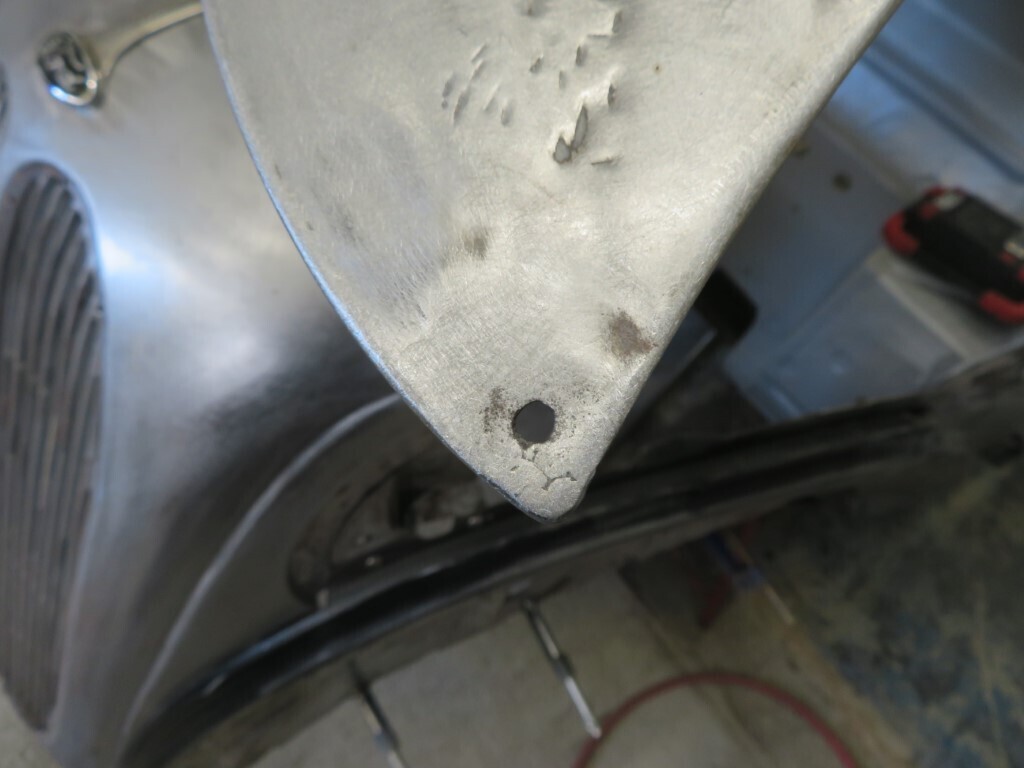
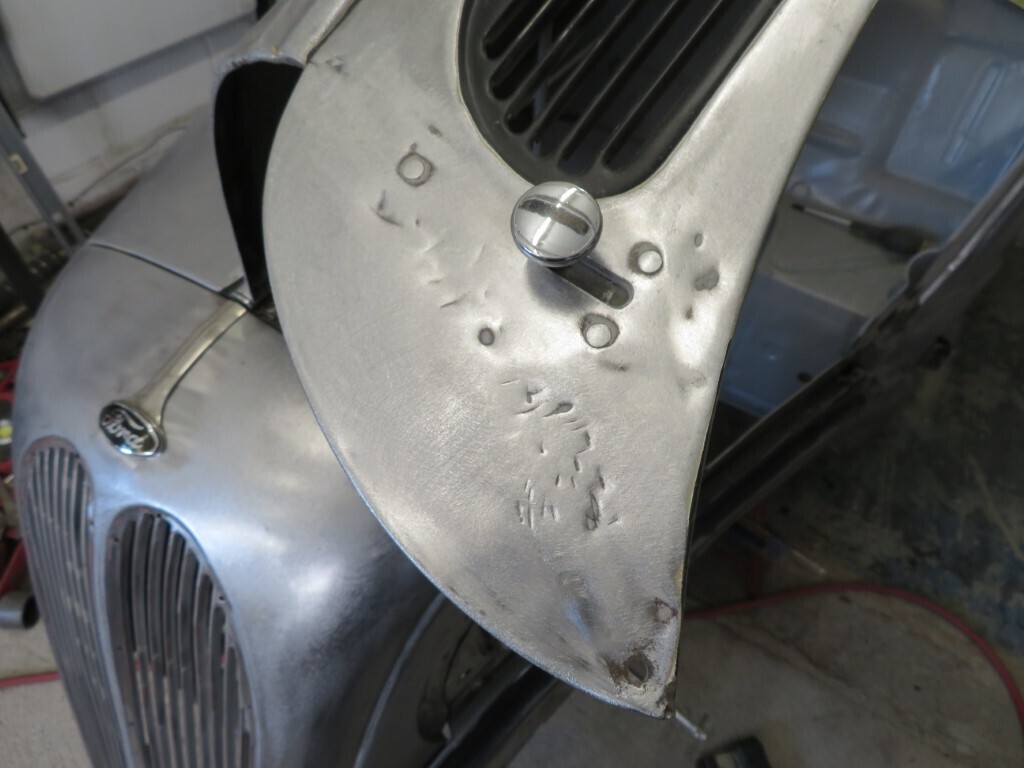
 This is the worst part that was hidden by the filler, not quite sure how it got damaged like this in the past? note the rusted corner,
The corner was split & rusted out, so it's built up with weld here;
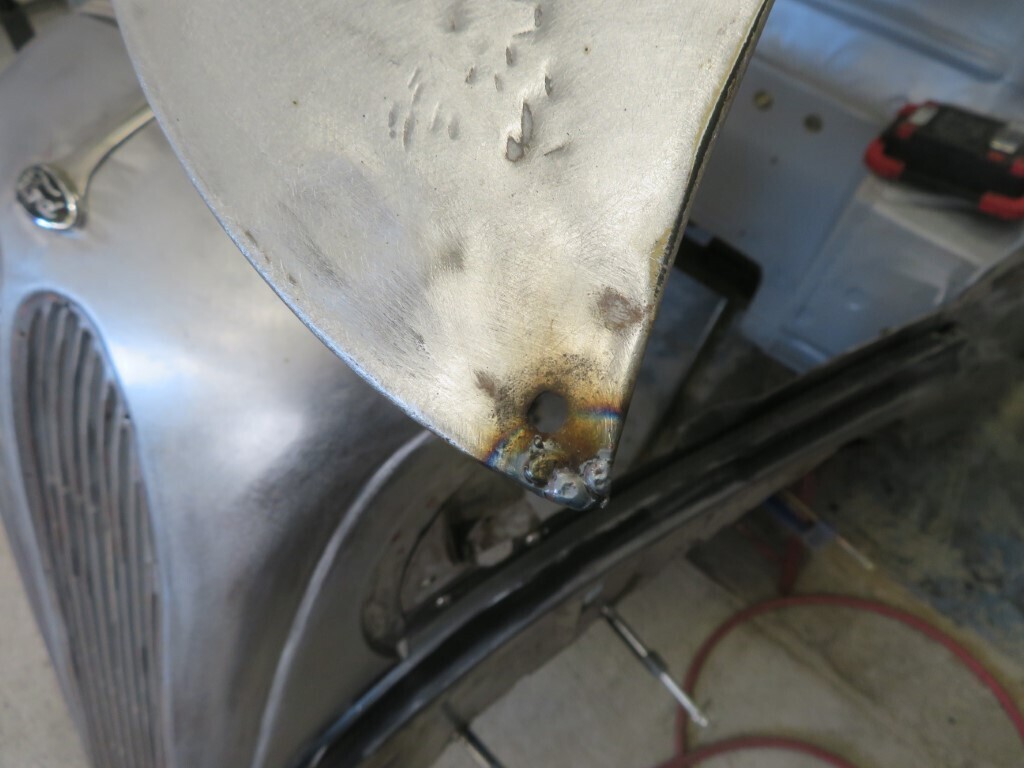 And cleaned back with a little radius on the corner now.
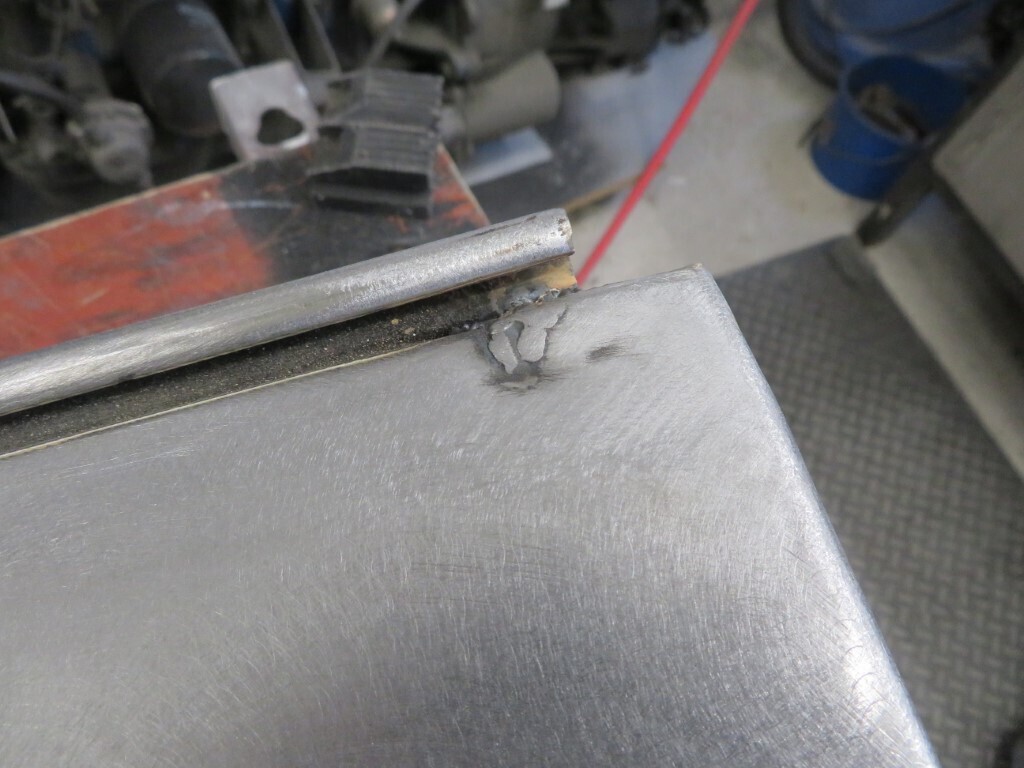
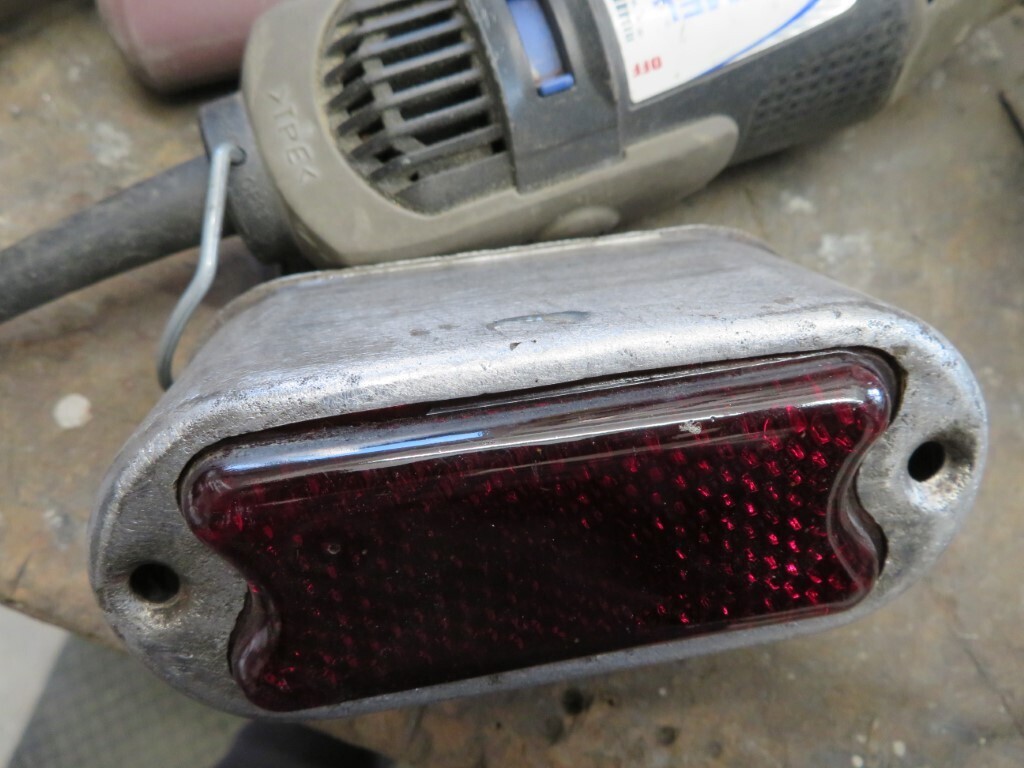
 I'm happy with these gaps; 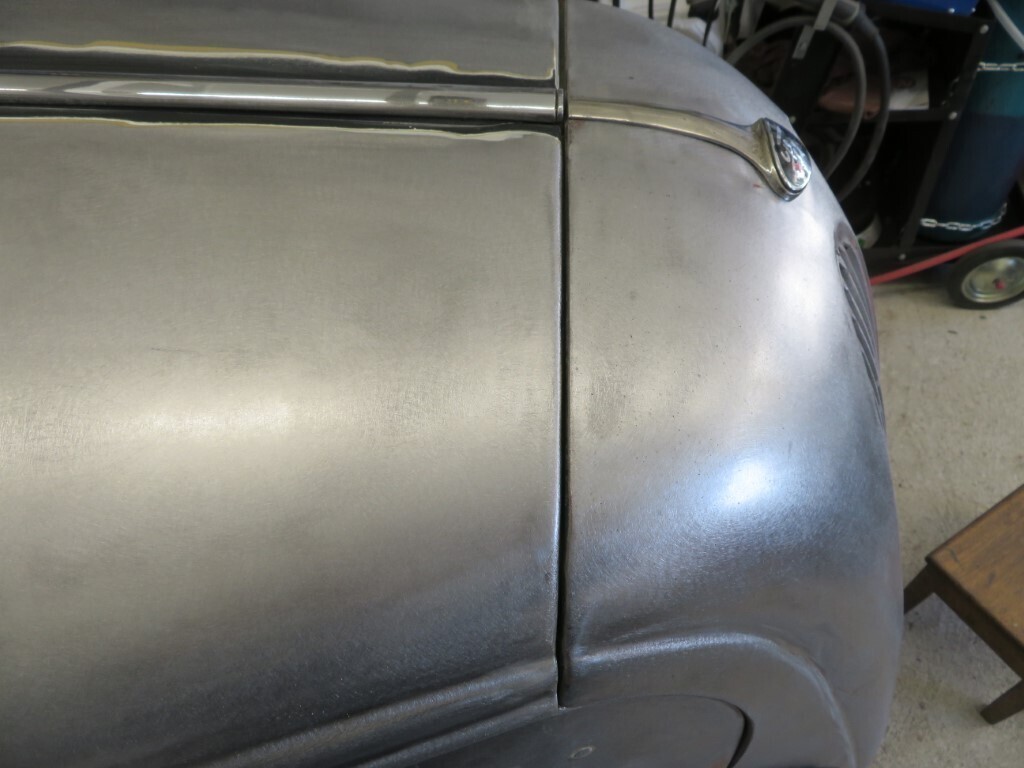 The rear lamp edge was rotted away, so I very carefully built it up with weld - the new welder makes this possible, my old welder would have just punched holes in it as its really thin. It looks messy because I could only literally weld for a fraction of a second or it would melt the metal away.
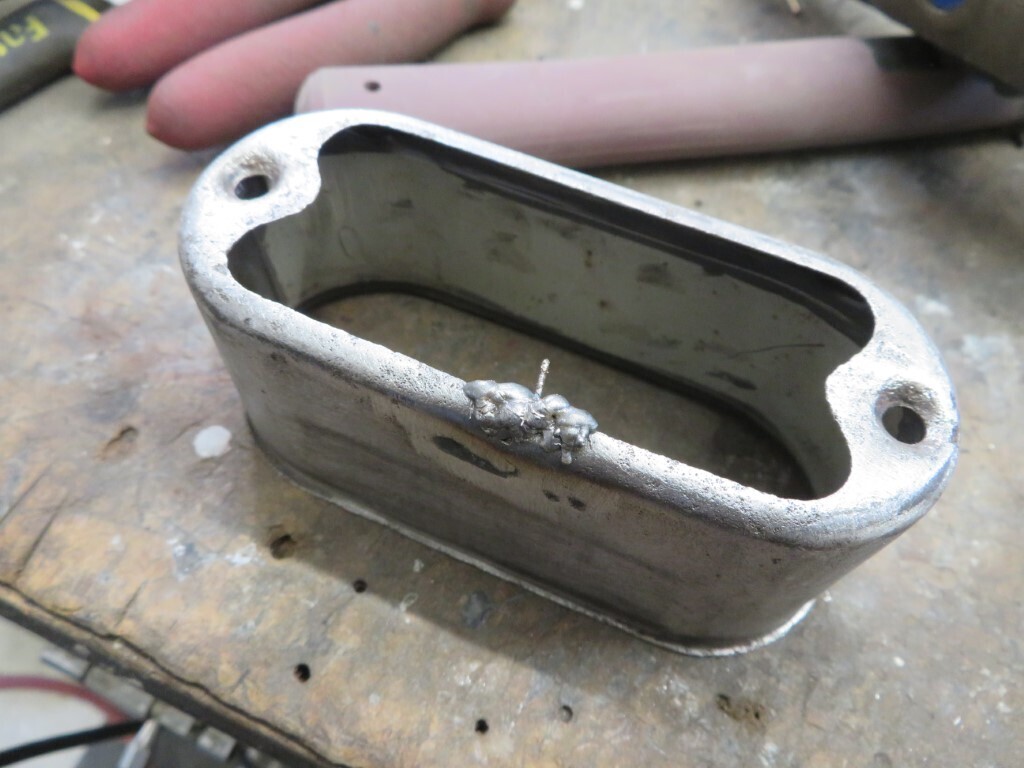 but it all ground down nicely so I'm pretty pleased with that.
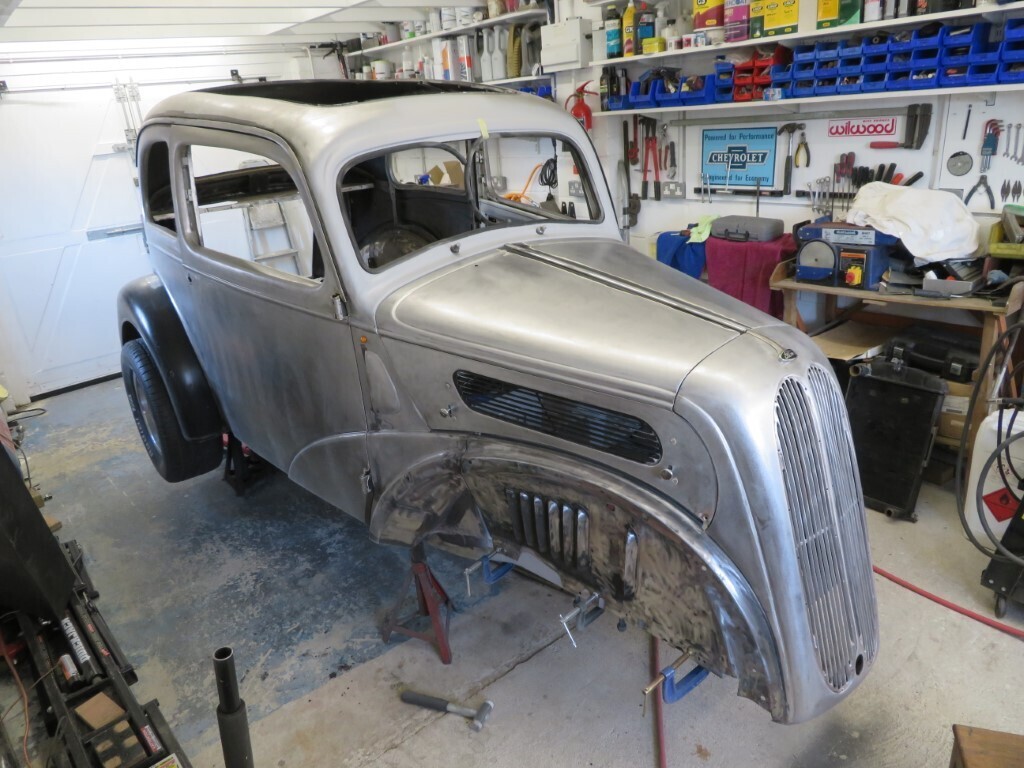
 Bonnet open shot; 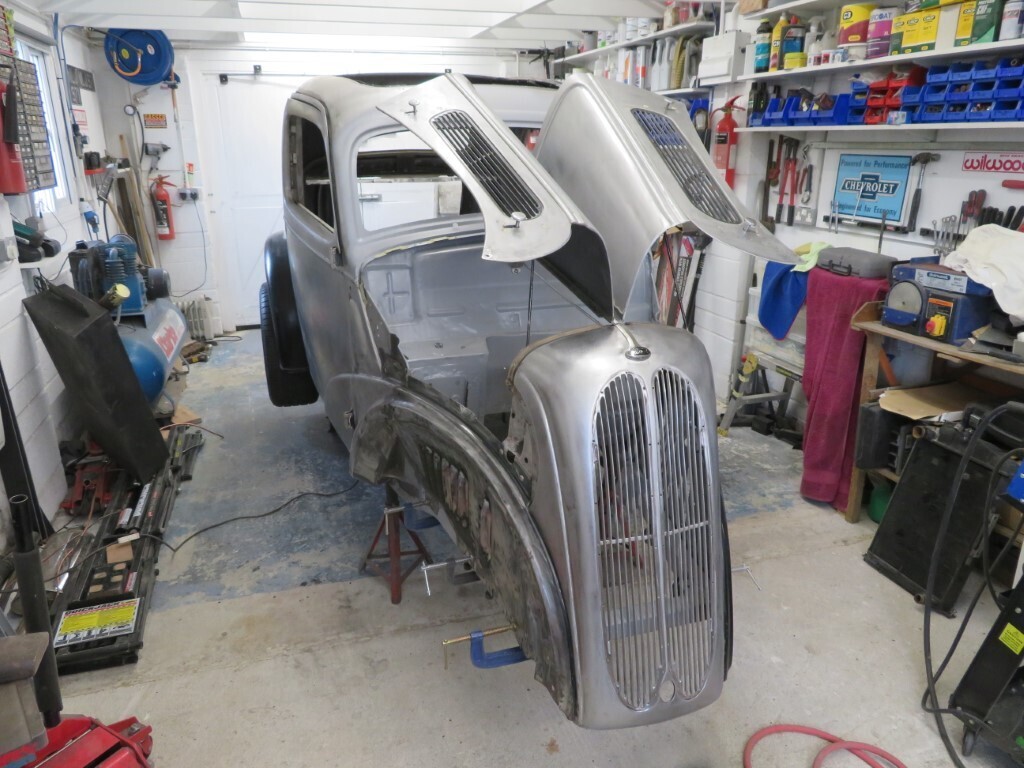 There is nothing fixing the inner wings at the top apart from the outer wings, I will be making some tabs that will be welded to the bulkhead so the wings can bolt to these.
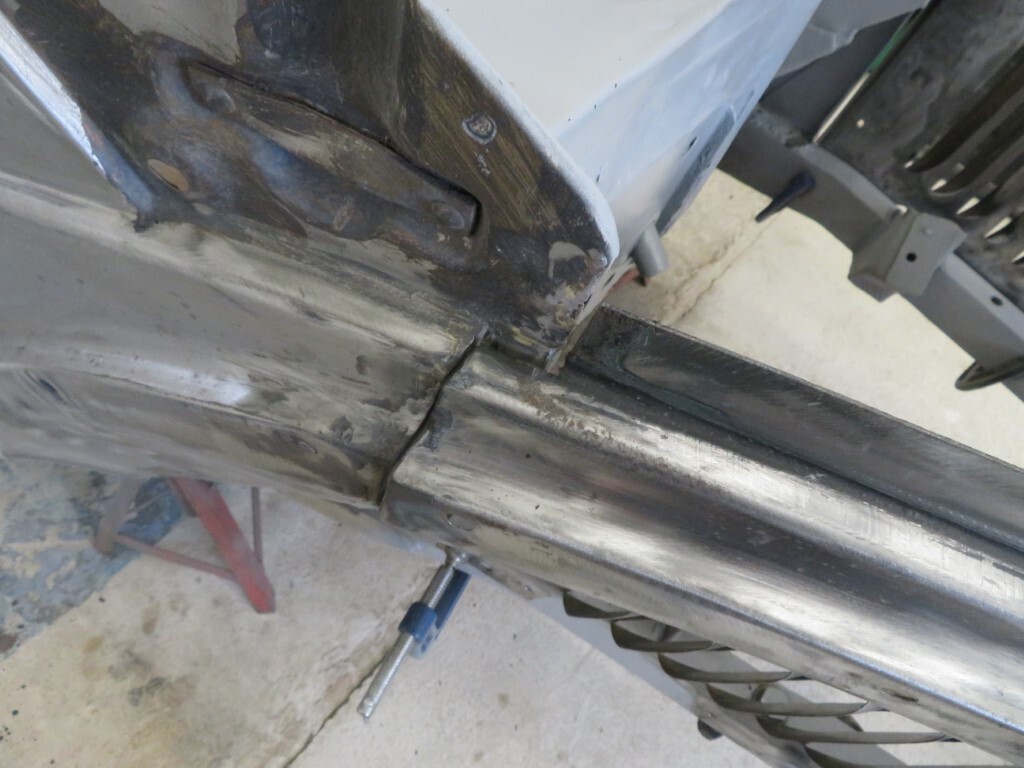 The bonnet is generally very good, but has split in the usual areas around the central hinge points, someone has already been here before with the welder but had not ground the welds down (lack of access) and had just covered them with filler. I got in as best I could with the Dremel but I'll need to use a finger sander to do the rest. It needs welding again so I'll need to be careful doing that. This is one of the rear splits/welds that needs work.
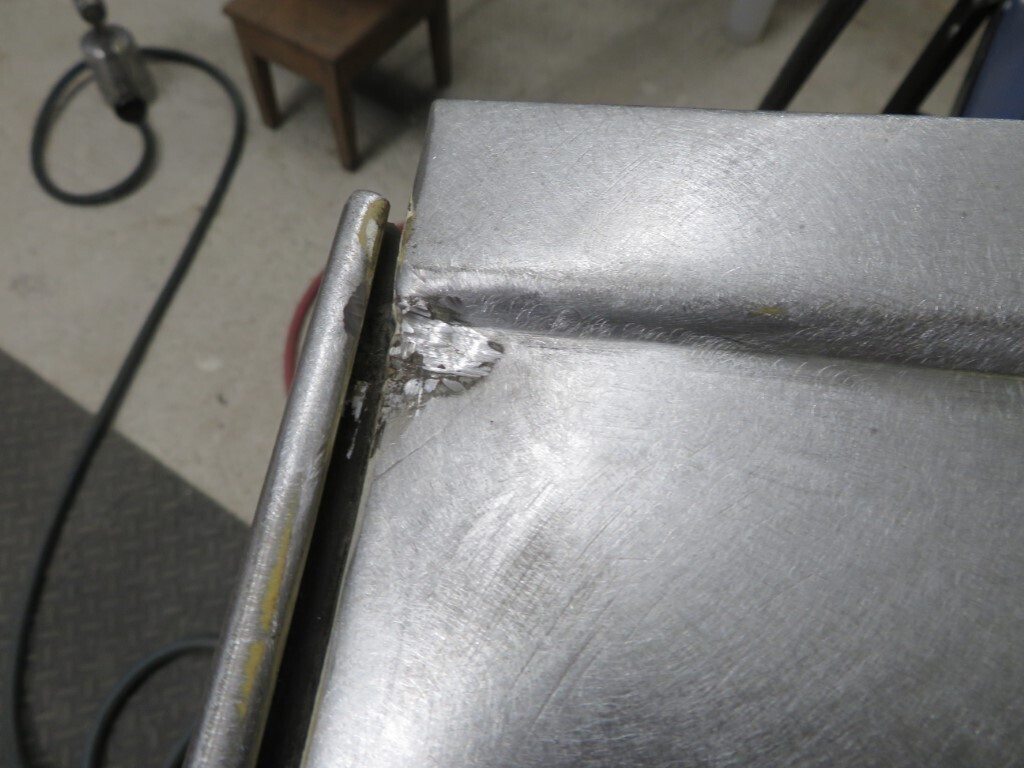 And the other one.
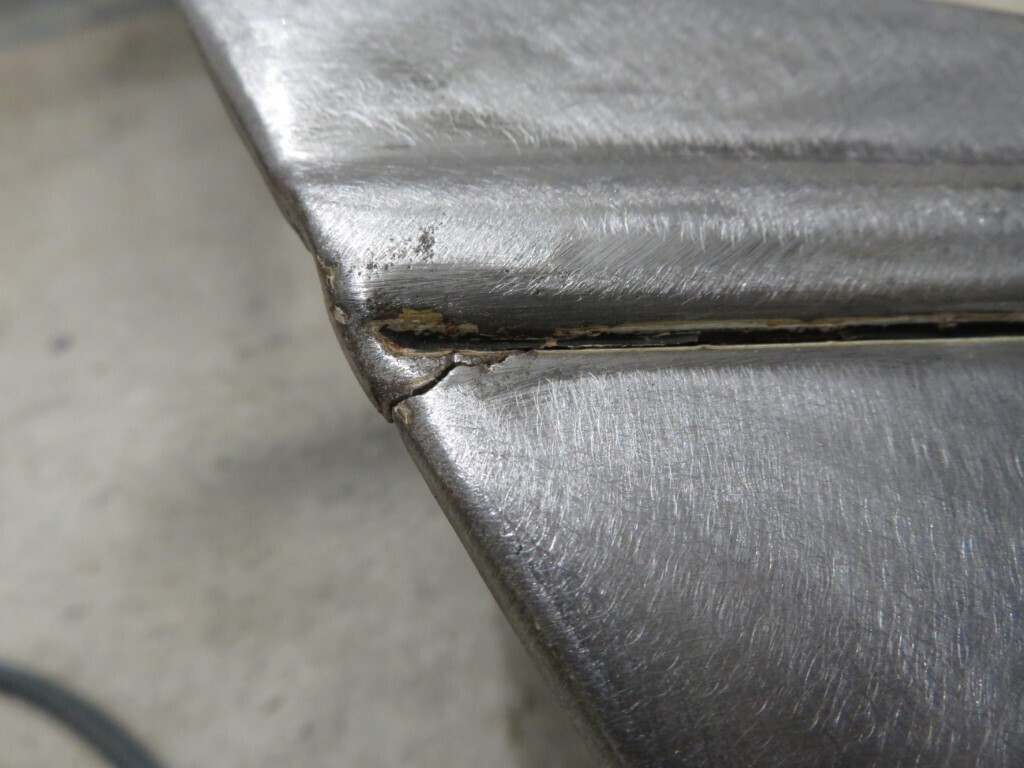
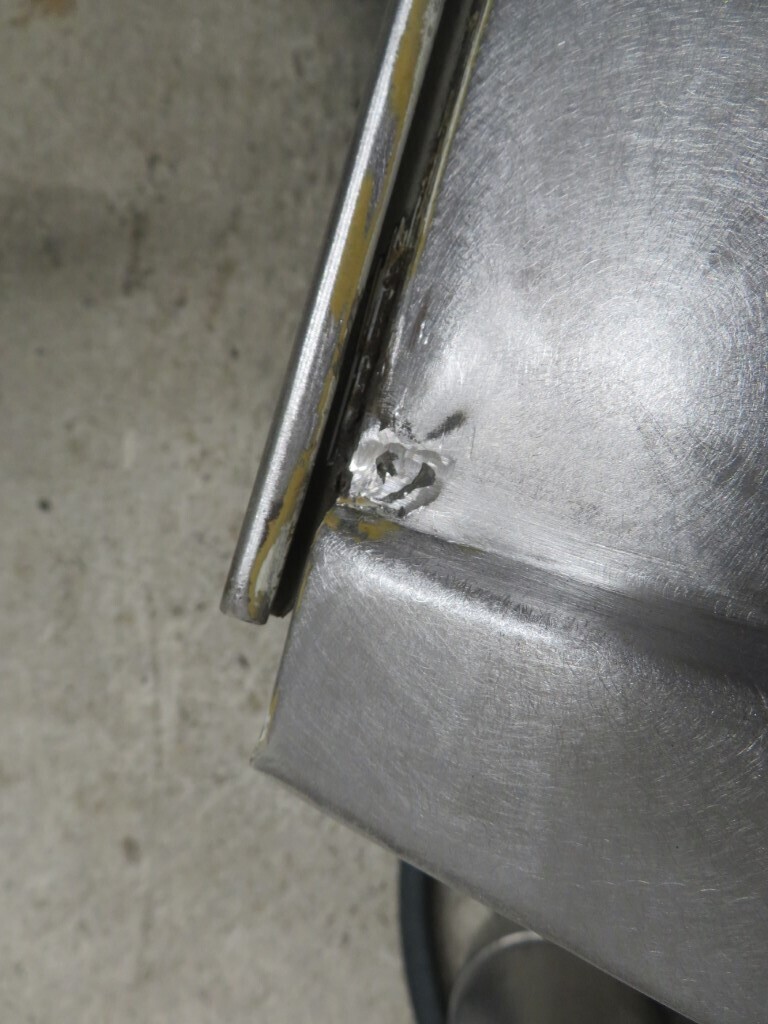 and one of the front joints that was previously repaired & filled over; 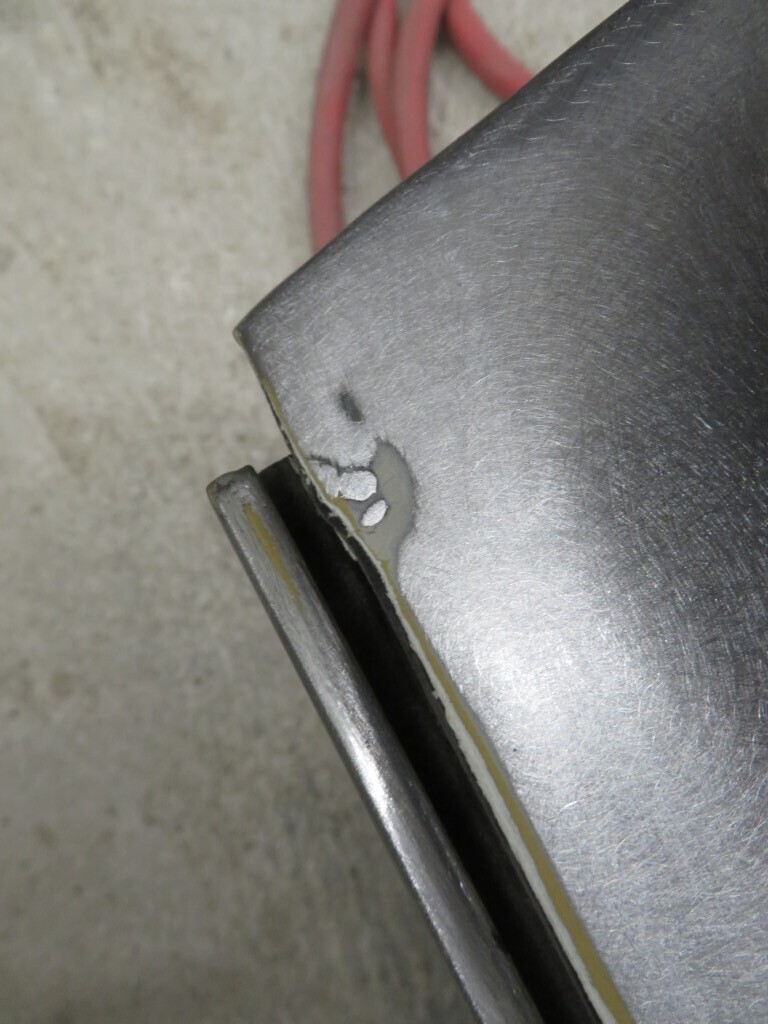 Where the top sections join to the sides is a common place to split, and this bonnet is no exception, more careful repairs needed here;
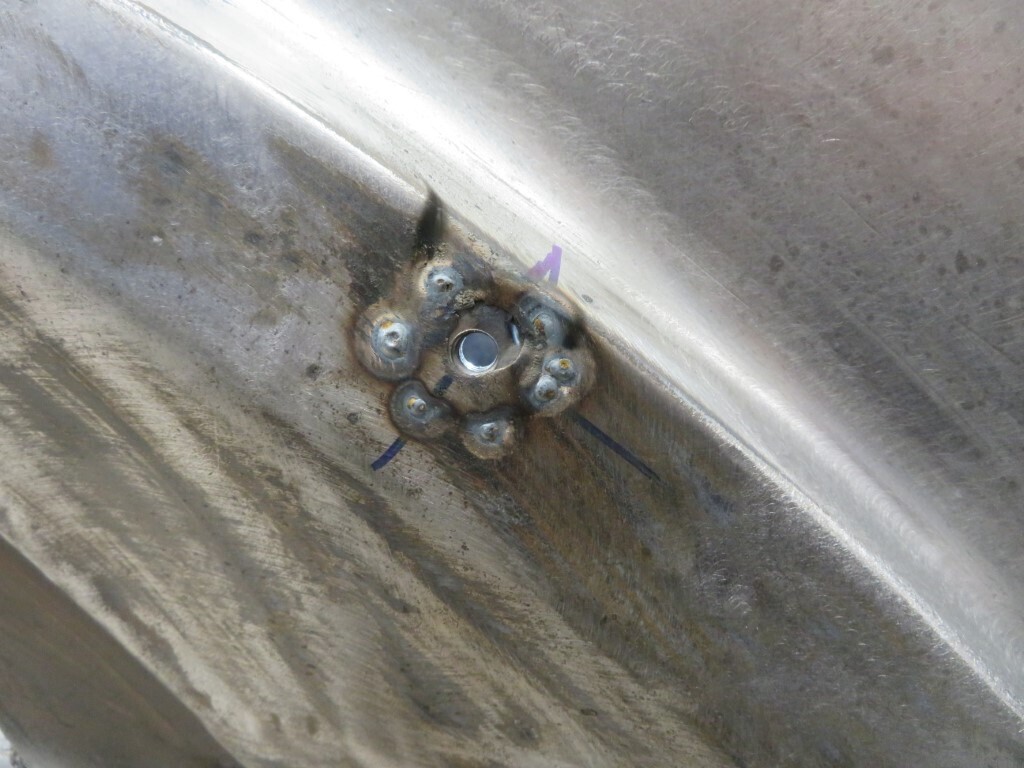
 The next job involves one of my favourite tools  the air powered 6mm steel Rivnut tool; 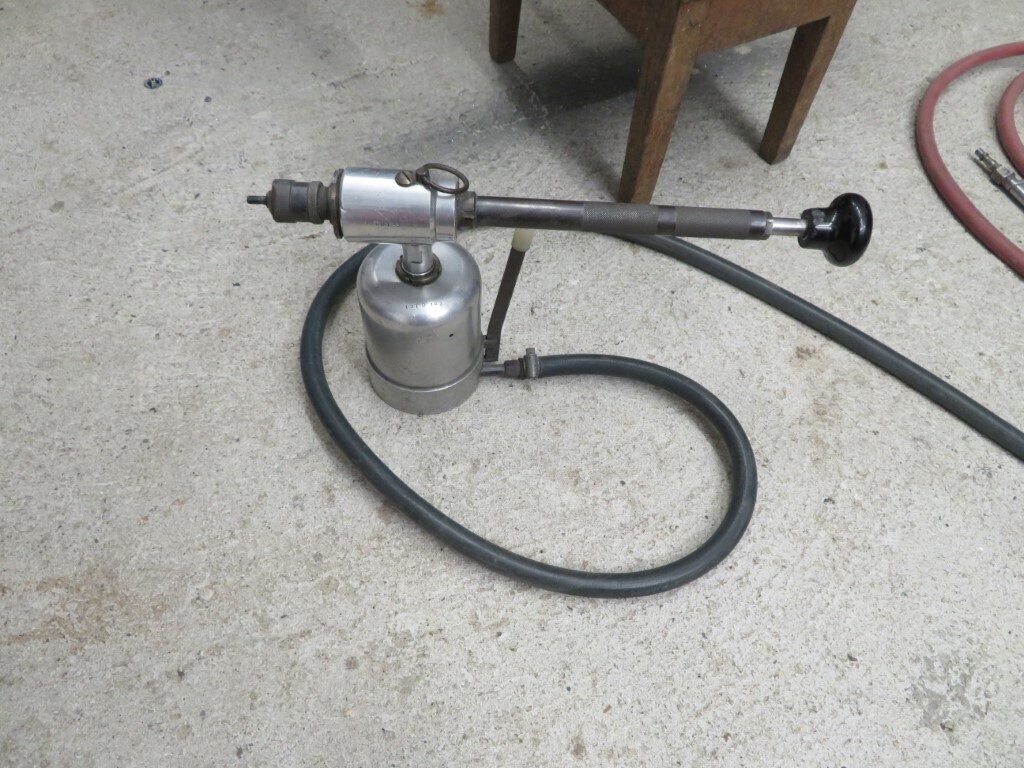 Rivnuts fitted to chassis so inner wings now bolt up nicely; 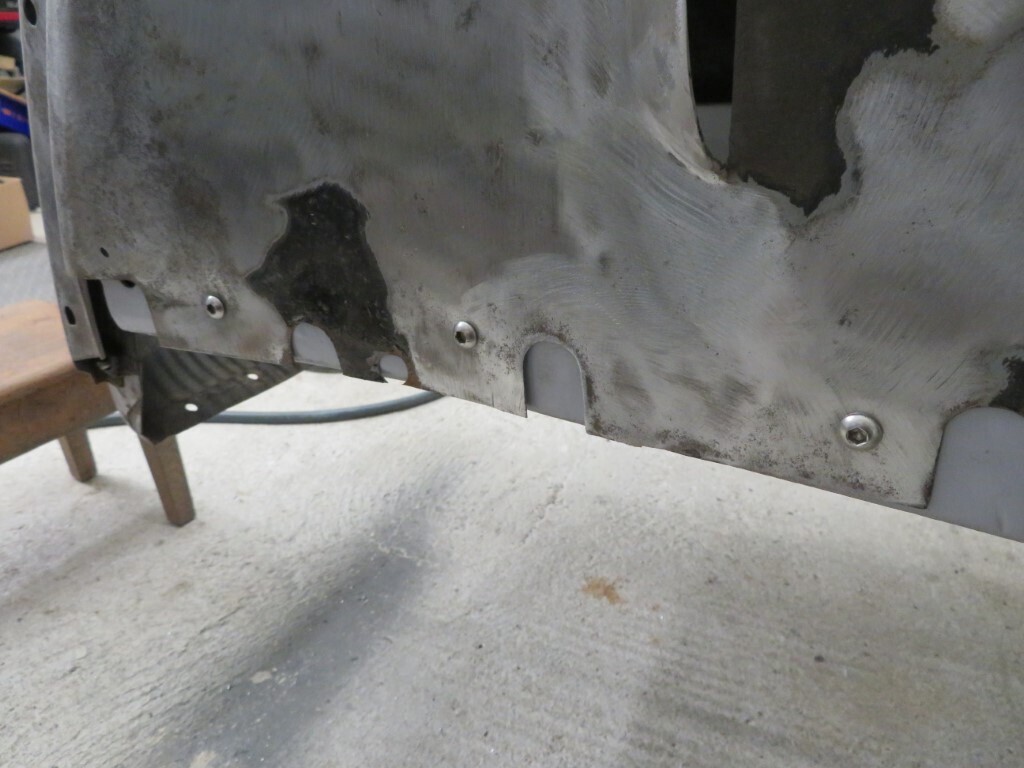 More tomorrow. 135.5 hours |
| |
|
|
|
|
|
|
|
|
|
|
Great progress Mark. Ive never used rivnuts, how does the gun work? Were there originally captive nuts for the inner wings?
|
| |
|
|
|
|
|
|
|
|
I love that first pic, close up and showing the curve on the front panels.
Your progress continues to both impress and inspire.
|
| |
|
|
|
|
|
|
|
|
i think if i was really rich ,and wanted my car renovated really properly , i would buy a huge workshop and pay mark to do it .full stop.
|
| |
|
|
|
|
|
Apr 18, 2021 12:23:18 GMT
|
|
Elky,
The gun is a bit like a big rivet gun, you thread the rivnut on it, poke it in the hole & pull the trigger, it then compresses the rivnut. Pull on the knob at the back & it spins the thread round to release the tool. I think the inner wings were fixed with self tappers originally.
Grizz, thanks.
Ivanhoe *blushes* you are too kind.
|
| |
|
|
|
|
|
Apr 18, 2021 20:41:14 GMT
|
More progress today, though not much to show for the time. I made some brackets and welded them into the A posts so the inner wings now bolt up at the top. Does not look much but this took a fair time as these things often do. The inner wings are nice and solid now. 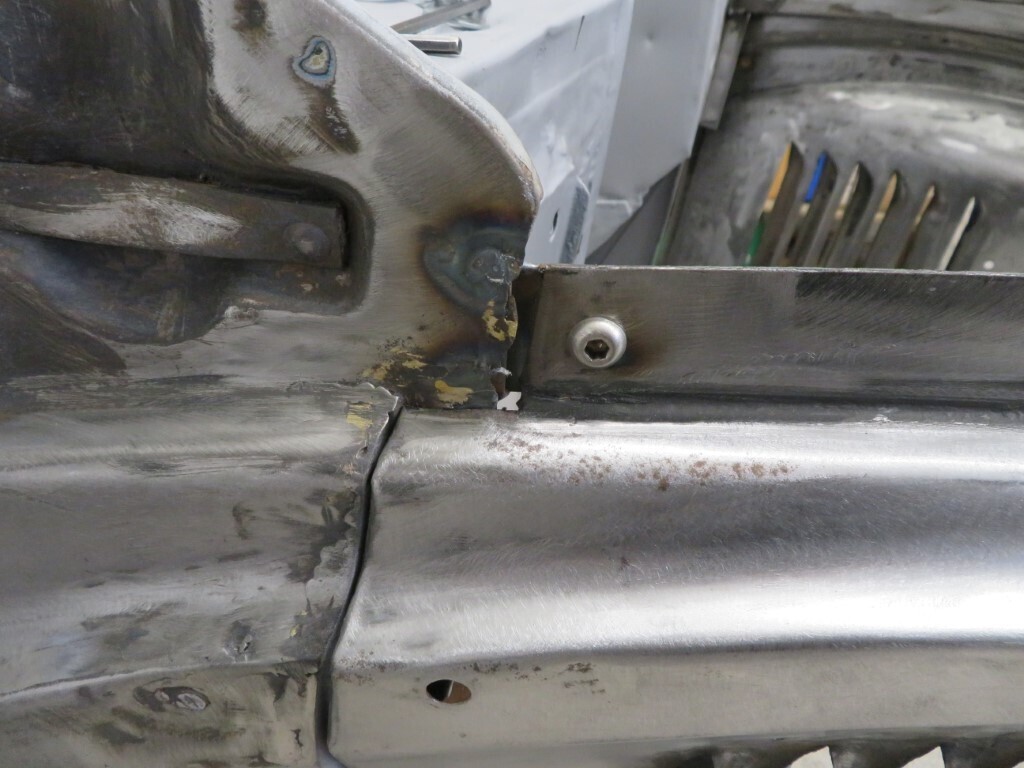 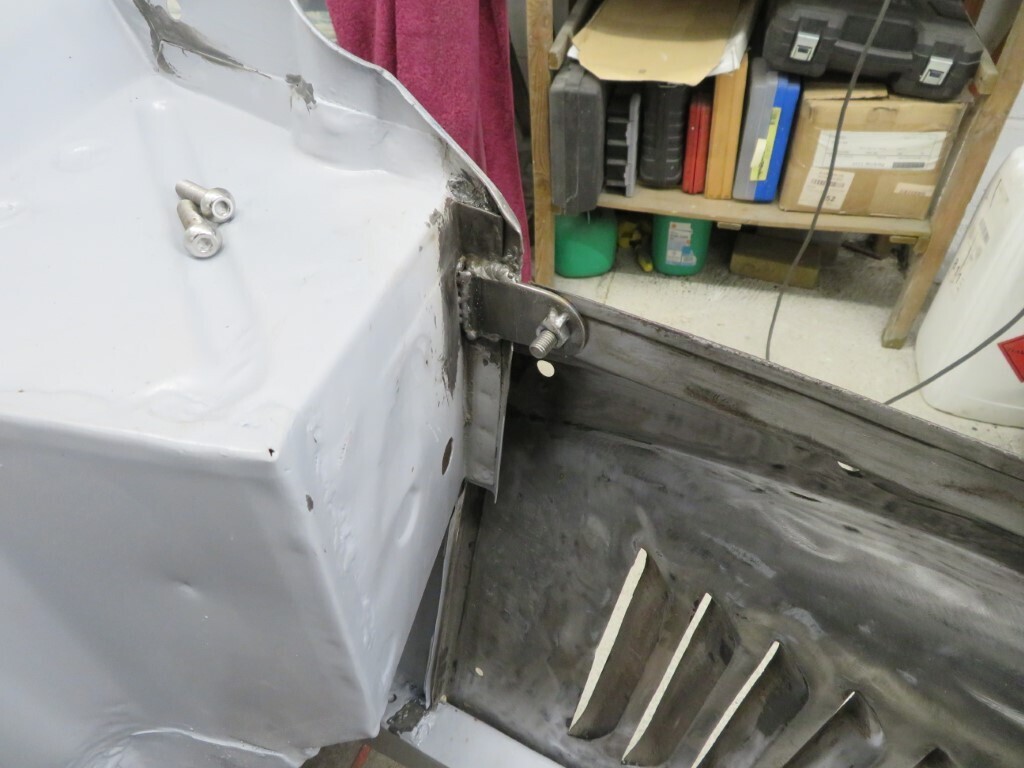 Then the rest of the afternoon was spent designing and making the front grill brace. Some flat bar and some old steel curtain rail got turned into a nice stiffener. It took a fair time as I had to crawl in under the car to get inside the nose area to measure/fit/weld as I cant move any of the sheet metal until all the fixings are completed. I have drilled small locator holes in the panels so I can use those to align it all again once its removed. The idea with the brace - apart from the stiffness it has added to the sheet metal is it also locates the front end. 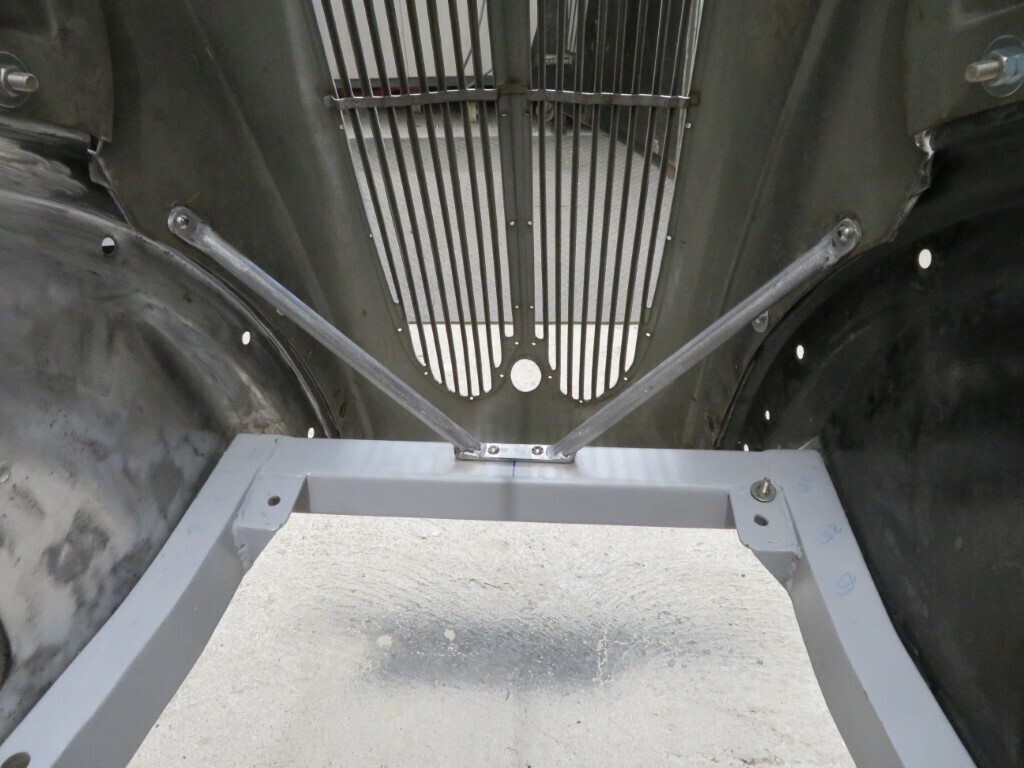 141 hours. |
| |
|
|
|
|
|
Apr 18, 2021 20:55:50 GMT
|
|
Paul,
The adhesive is Permabond ET5392.
On my test peice I tried it in the vice with mole grips and it came apart relatively easily - disappointing - but I think it's because the test metal was not prepped properly. It can be used with an adhesion promoter, which would be better I think.
I think where I have used it on the car it will have bonded fine as I prepped that metal better. I'll try another test peice next time and do a more thorough job with the prep.
|
| |
|
|
|
|
|
Apr 19, 2021 22:10:59 GMT
|
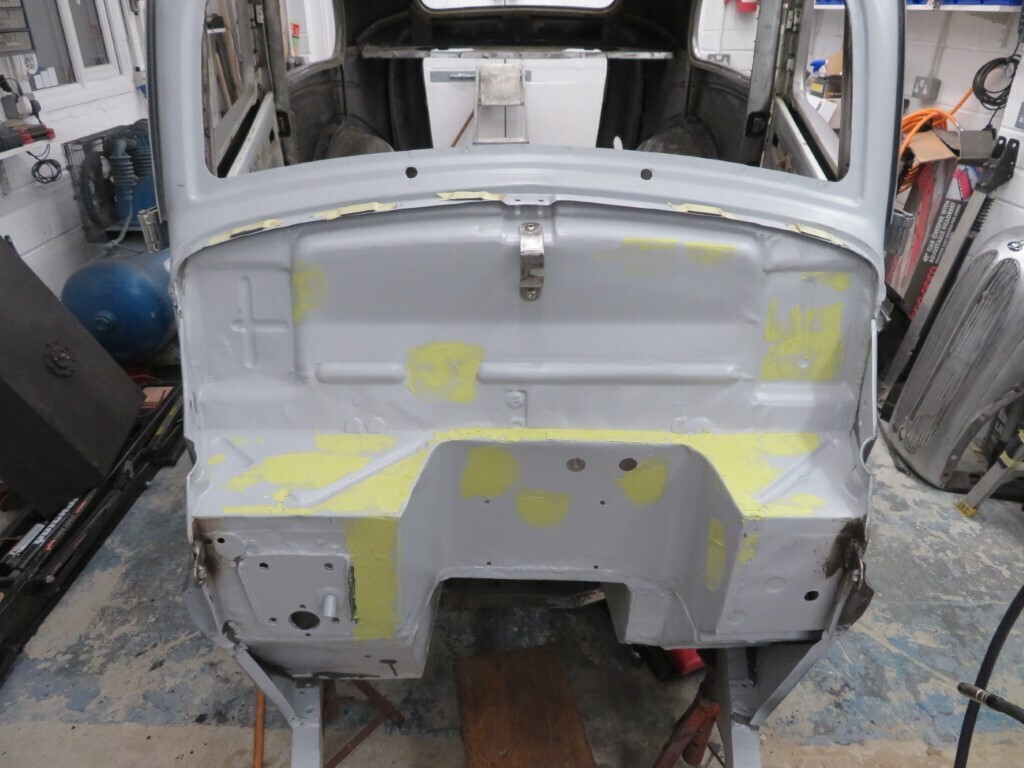
Tonights work was taking the front metalwork back off and finishing off the welding on the tabs on the A posts. Then it was on to welding in captive nuts on the passenger A post. This was one of the better ones, I wont show the top one as I ended up chasing holes in the metal as its tin foil thin. I must admit though - that R-Tech welder is brilliant - you can just dial the power right down so it welds the thinnest of metals. To give myself a break from welding I put on some filler in the 3 areas on the rear that need it;
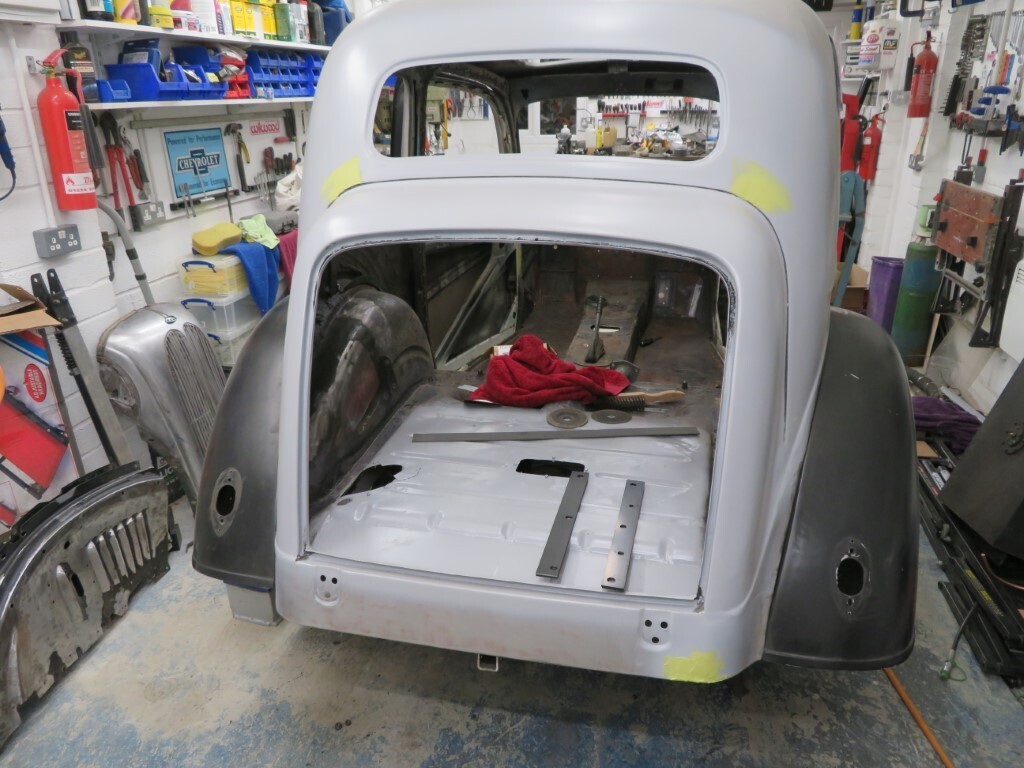 And a good amount on the front bulkhead. I also put some over the recessed door push metal that I added in the A posts. I did this before welding the captive nuts, so I managed to rub most of this back down and get a second coat on before I packed up for the night.
 Another small job was making some spacers to lower the fuel tank slightly as its a bit tight to the boot floor, these are 3mm thick polyproplyene sheet (1 or 2 per side - depending on what is needed) so wont rust out. 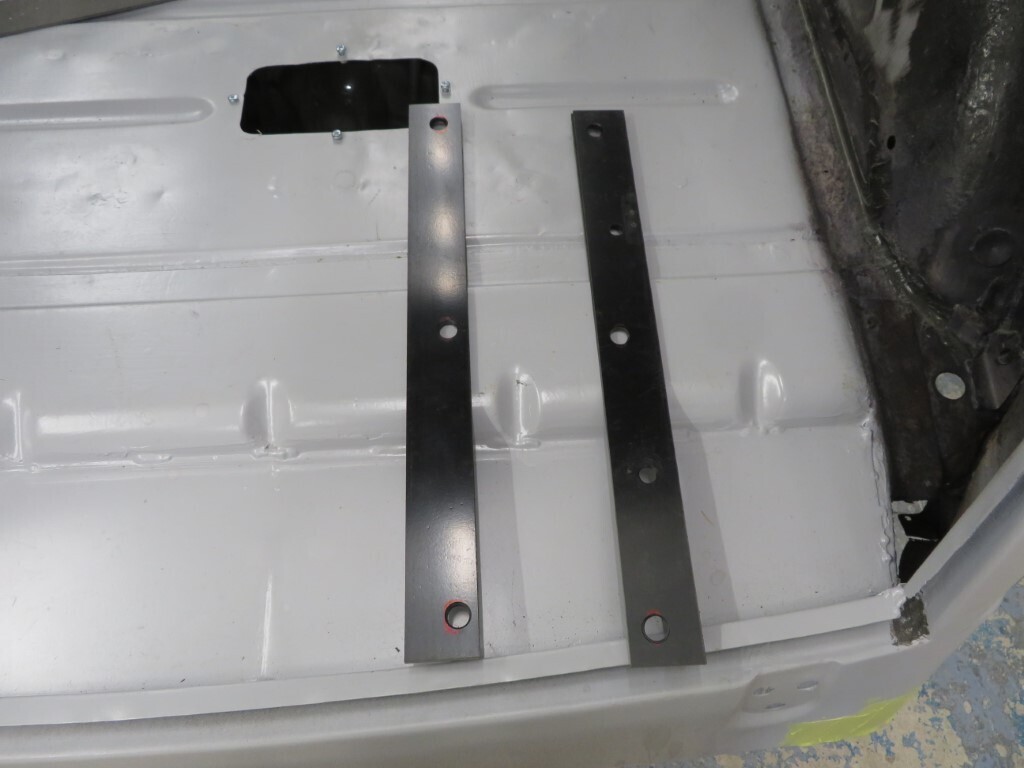 143.5 hours.
|
| |
|
|
|
|
|
|
|
|
Excellent work as usual,
I must say the standard of your work is first class,
Nigel
|
| |
BMW E39 525i Sport
BMW E46 320d Sport Touring (now sold on.)
BMW E30 325 Touring (now sold on.)
BMW E30 320 Cabriolet (Project car - currently for sale.)
|
|
|
|
|
Apr 20, 2021 19:09:27 GMT
|
Thanks Nigel, I just try to do a good job that will last. Quick 1/2 hour before dinner tonight, Phil has modern LED teardrop rear lamps, and while they work well they look pretty aneamic. 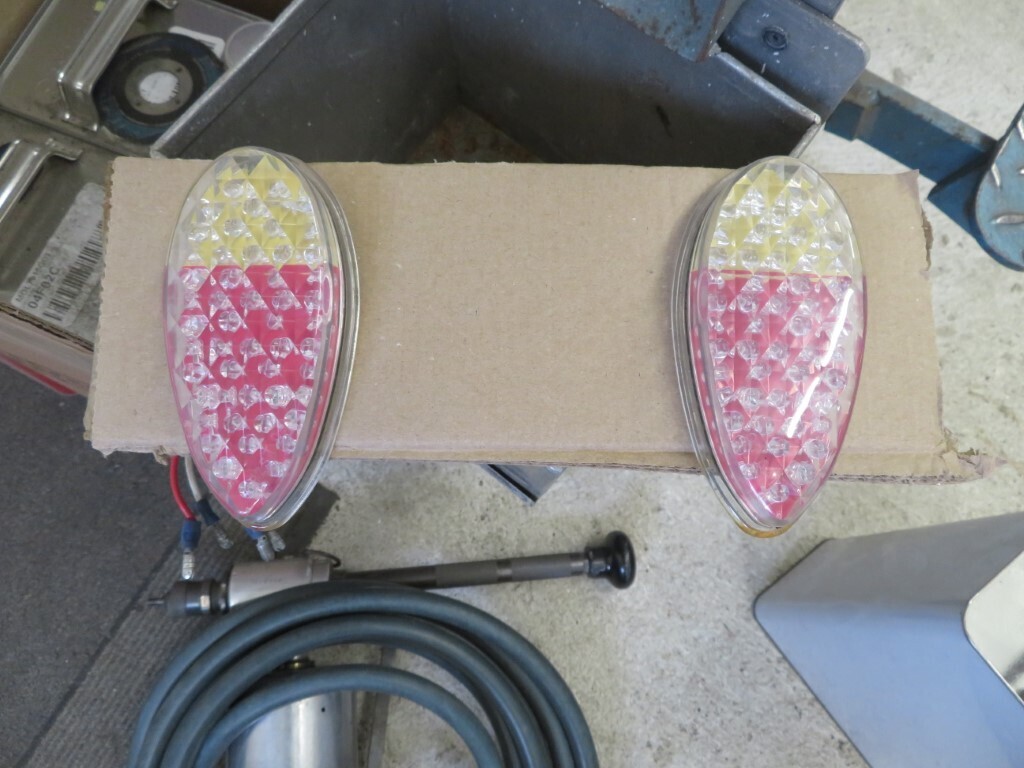 I managed to convince Phil  that we could do better, so some red light tint was bought. Applied here I think it looks far better, a little polish to smooth the finish and they should look really good. They actually look better in real life as the camera can't capture the transparency of the red. 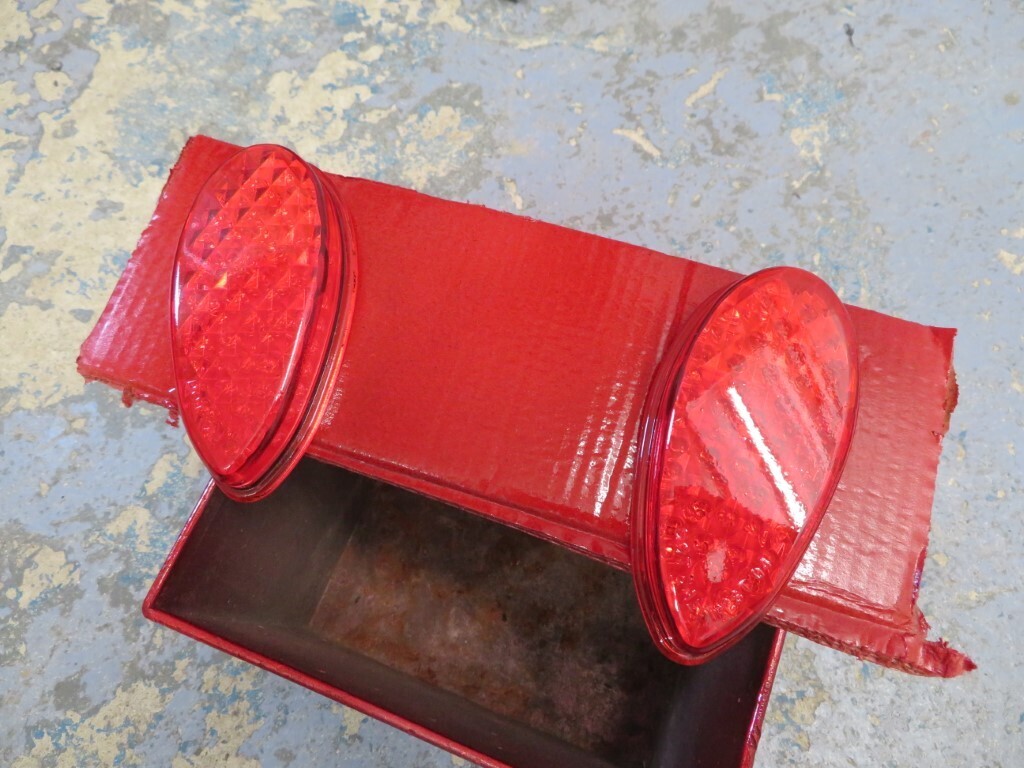 The lights shine through without any issue - so bright in fact the camera cannot tell its red sidelights and orange indicators that are lit up. 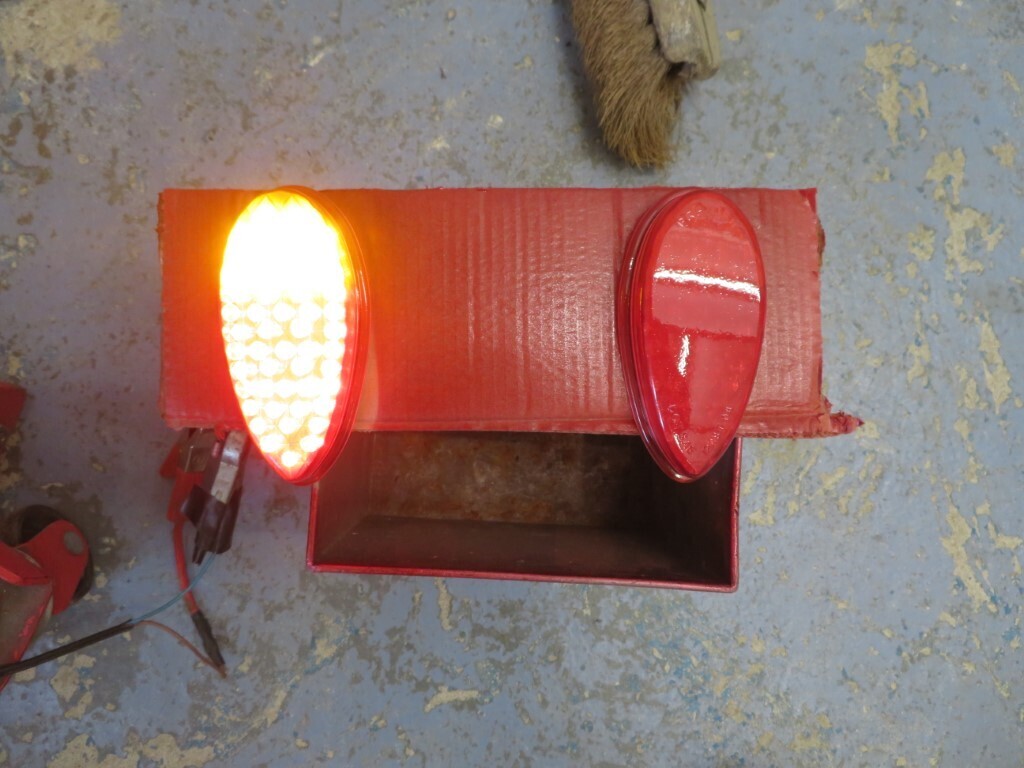 Another coat of filler was applied as well so I can rub that down later and hopefully get another guide coat of primer on top to assess progress. 144 hours. |
| |
|
|
|
|
|
Apr 20, 2021 19:13:09 GMT
|
|
Regarding the adhesive, I could bore you for hours on the subject, but essentially none of them are particularly strong in peel, not even Scotch Weld 9323 which I think is the strongest of the structural adhesives. So if you were pulling it apart in a sort of peeling action it might have felt a bit weaker than you were expecting it to. Surface prep does make a massive difference though. Very clean, rough and free of debris is best.
|
| |
|
|
|
|
|
Apr 20, 2021 19:30:46 GMT
|
|
Interesting John, yes I put it in the vice and twisted it as you say in a peeling motion. It popped straight off. Brand new steel which had been whizzed over with a 40 grit air sander disc and cleaned with Acetone.
|
| |
|
|
|
|
|
Apr 20, 2021 23:06:30 GMT
|
Another couple of hours put in after dinner. Rubbed the filler down and then prepped several areas of the car ready for some primer. The outer A posts got primed, as did the filled areas of the bulkhead, the inner front door jambs where I had filled them and also the inside of the dashboard area. 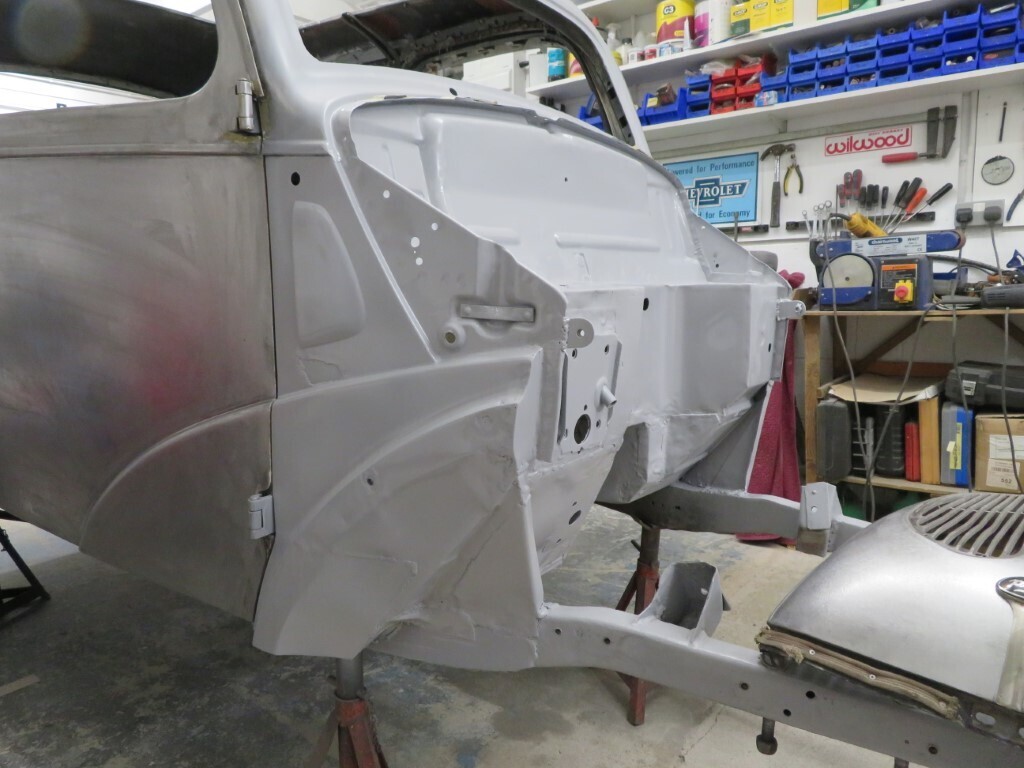 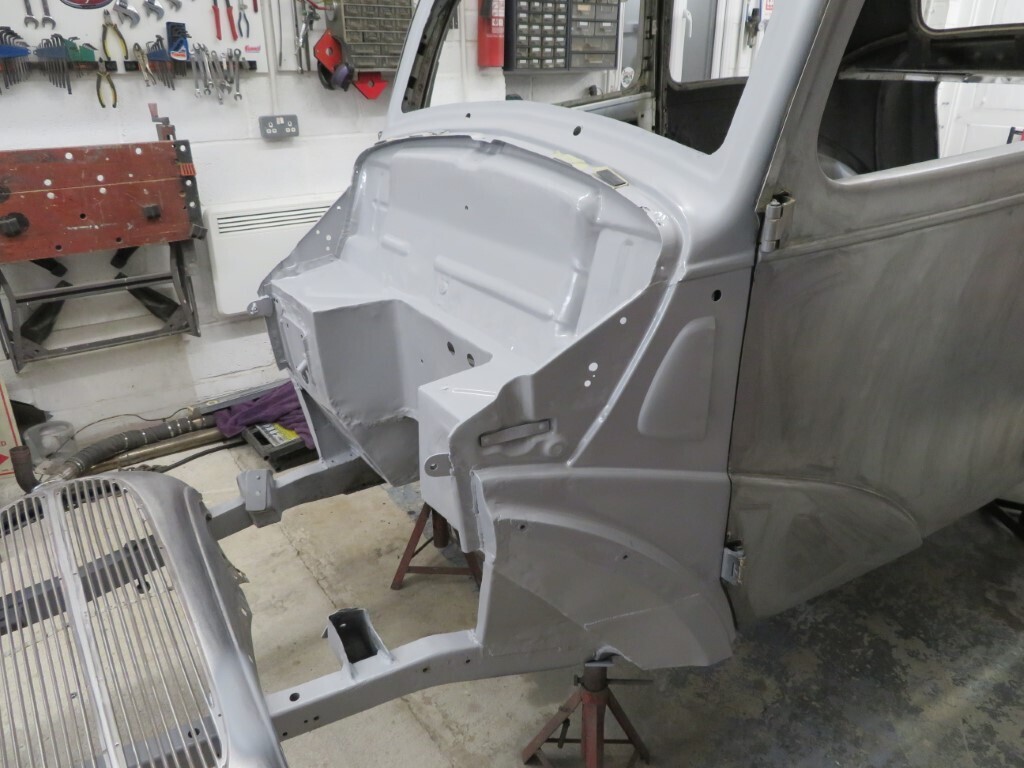 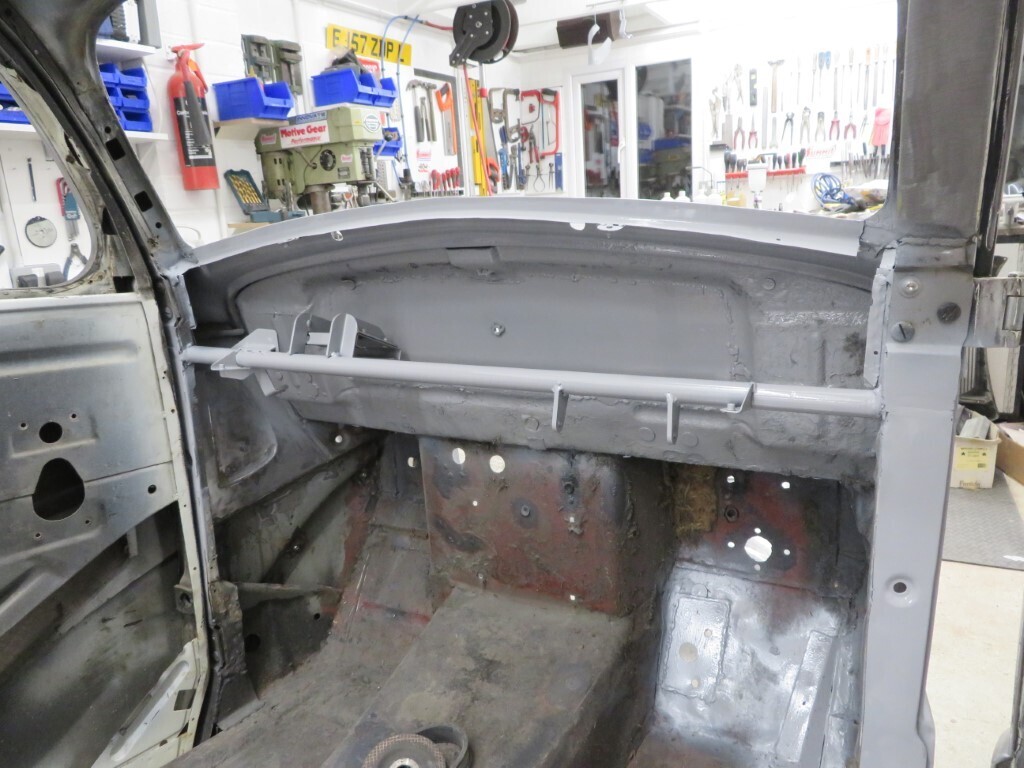 The rear of the car got primed over the filled areas and also the body seam where seam sealer had been applied. I did the whole of the rear valence as that needs a good going over with filler as its not quite as flat as it should be. 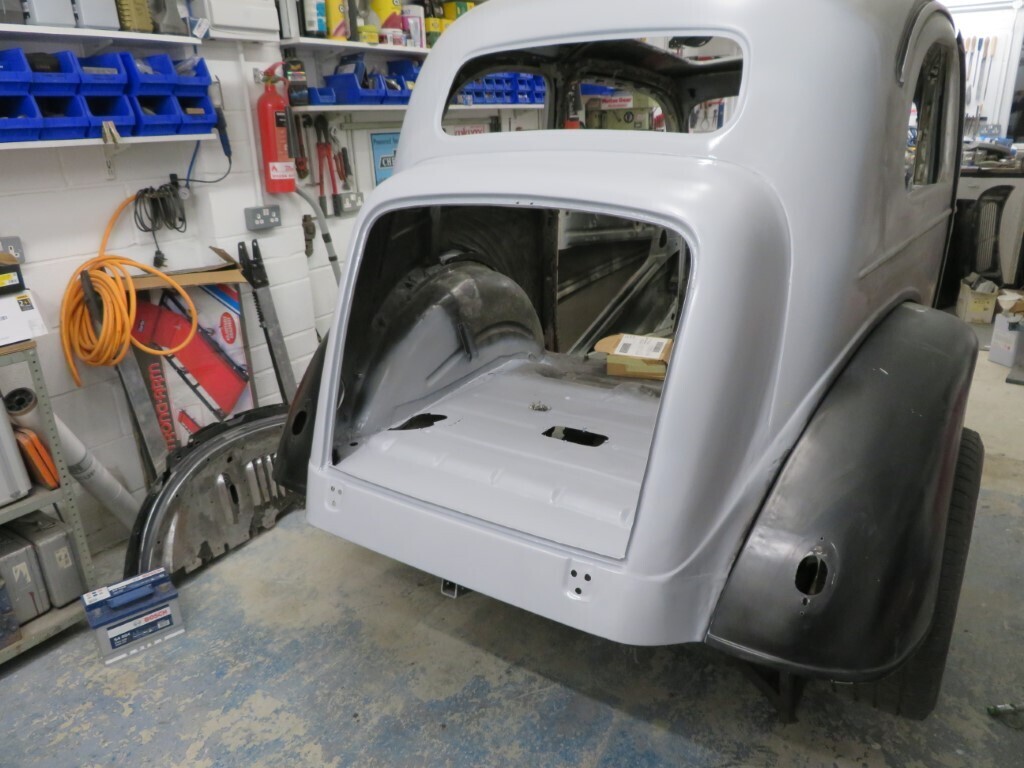 Front grill got spotted in where it needs some filler 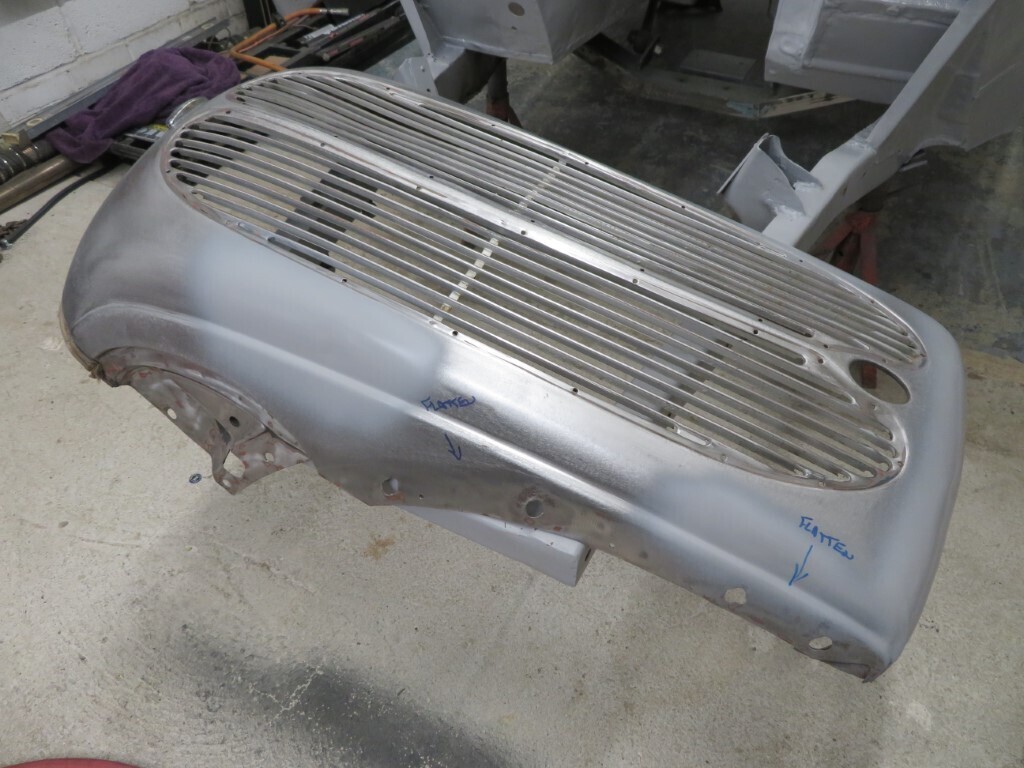 And the leftovers in the gun got used for covering part of the floor that I had cleaned up & rust treated. 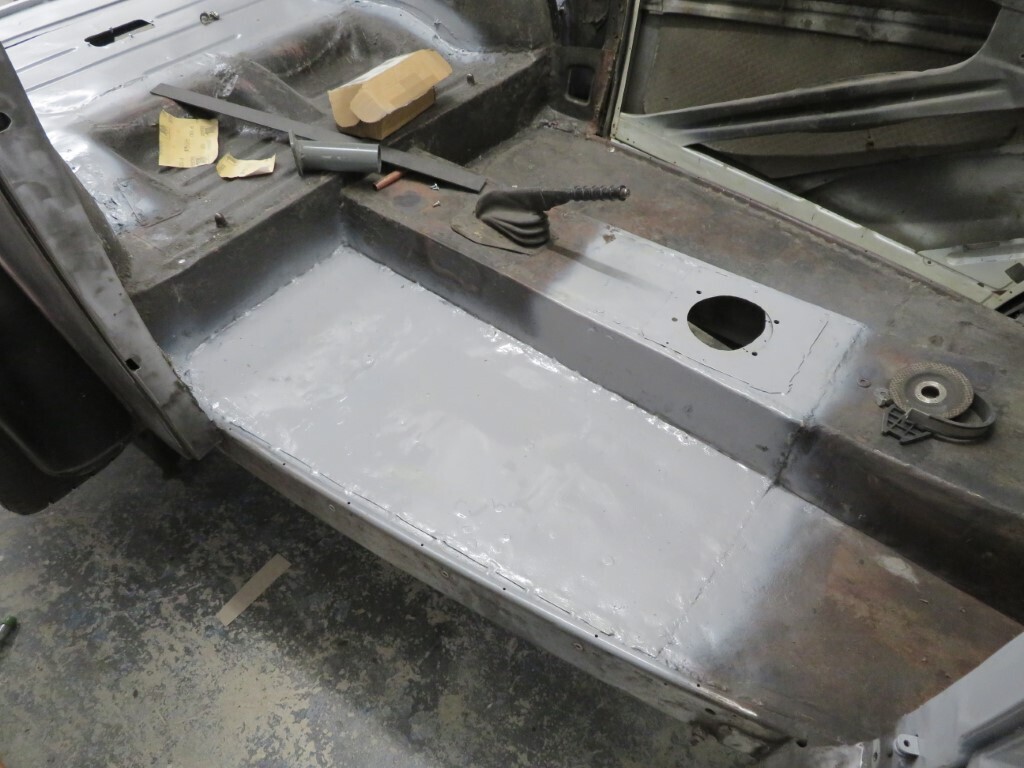 146 hours. |
| |
|
|
|
|
|
|
|
|
Getting there now mate, will be a corker when done.
|
| |
|
|
|
|
|
Apr 22, 2021 22:41:42 GMT
|
|
Grind, grind, weld,weld.
Sand filler off, put filler on. Sand it off again, put more on again.........
You all know the drill......
151 hours.
|
| |
|
|
|
|
|
Apr 24, 2021 20:38:25 GMT
|
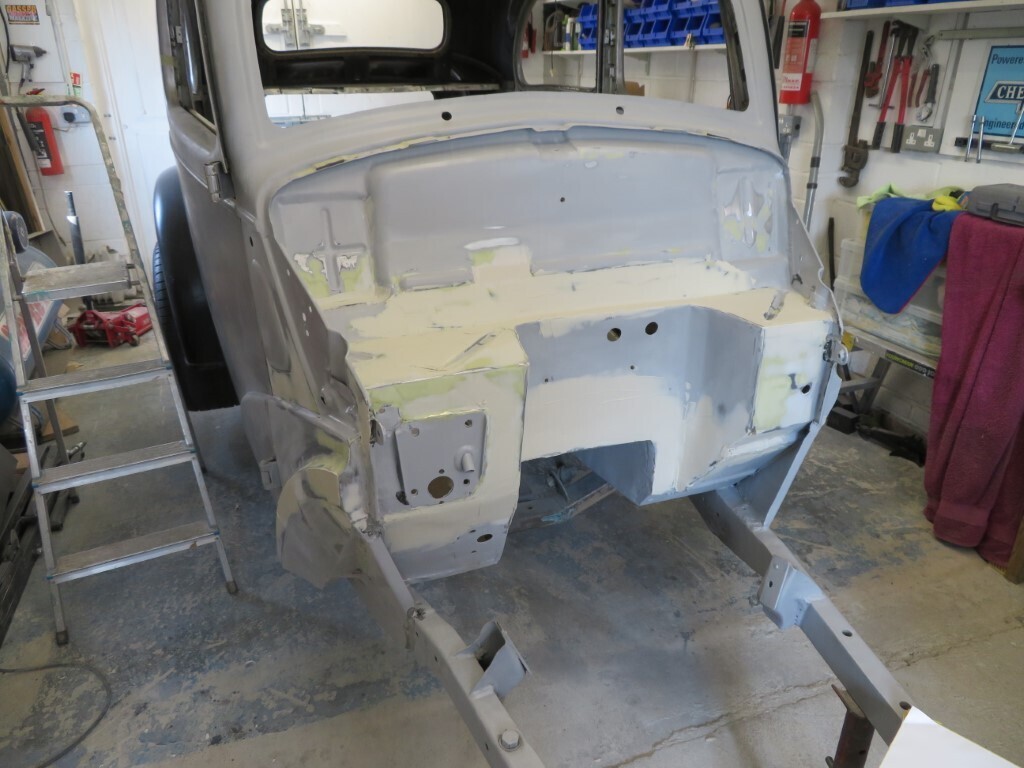
When we first started the bulkhead I said to Phil that we will cover most of it with stonechip as it was just too uneven/messed up to gloss it. I lied  Hmm.....I seem to have got a bit carried away with the filler, it will get glossed after all  I've gone back to the filler I used on my car, Upol Smooth 7 as it is just a nice filler to use and has a high bond strength. The Evolution Rage I had been using is also lovely filler but I think it's more a finishing filler as it is far finer and a lot more liquid.
 Grill shell is mostly finished from a filler point of view; 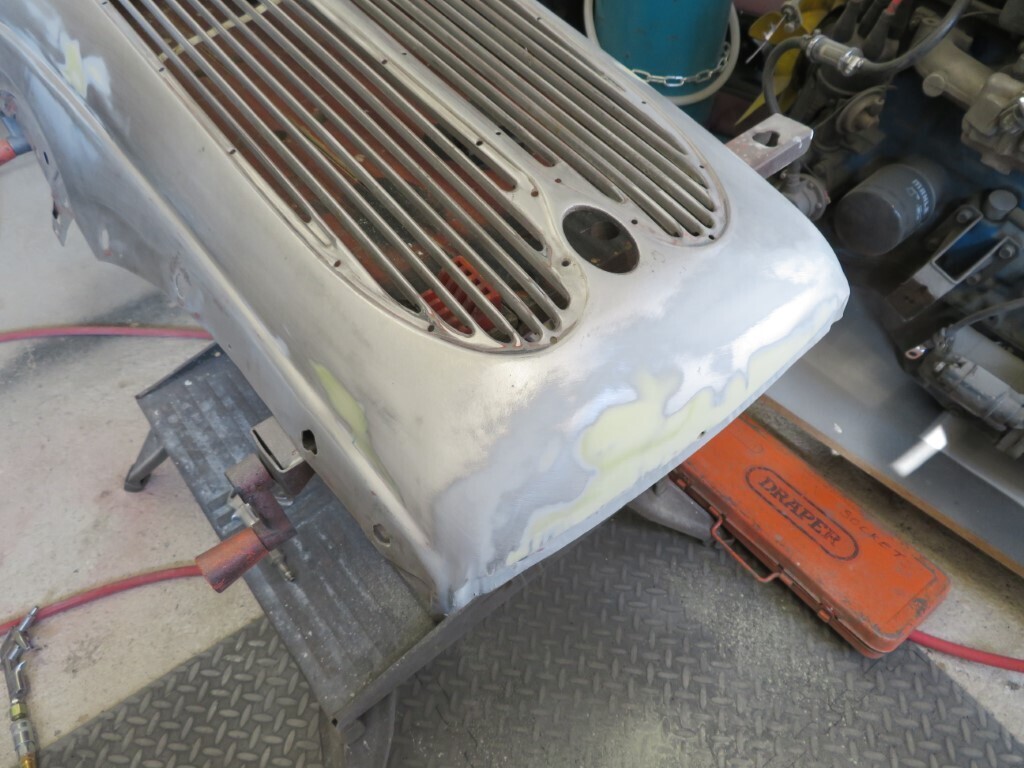 And the roof gets it's first coat of filler - ther is a big dip just here where the original roof joint is; 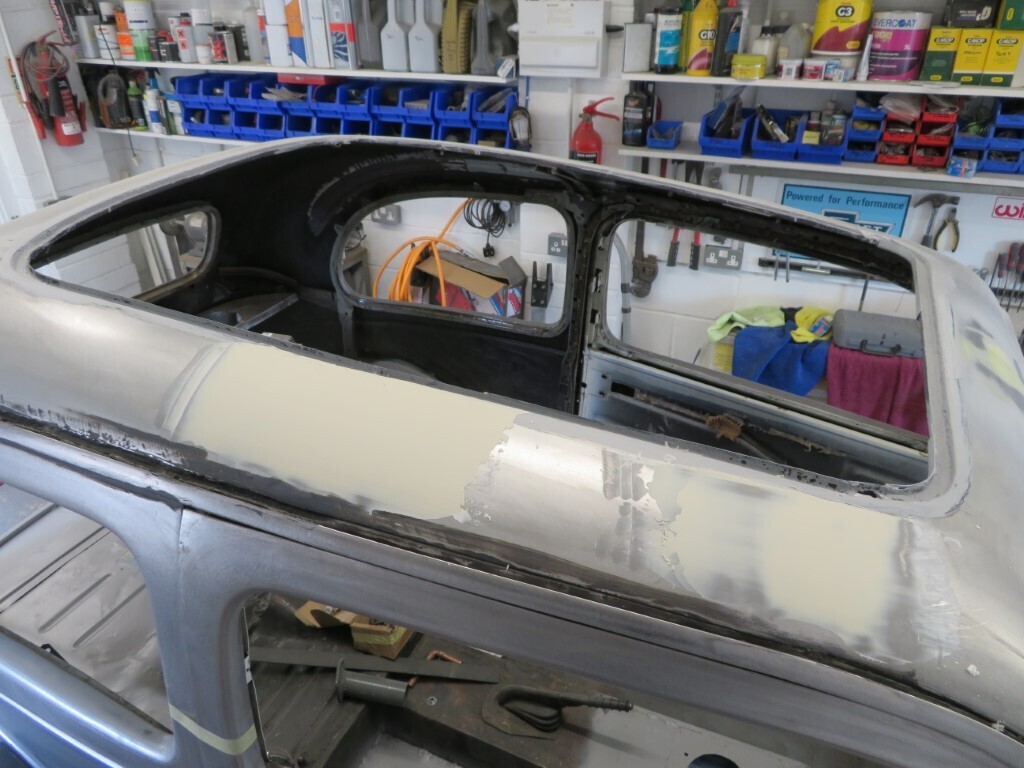 The A post is coming on nicely where the welded part was; 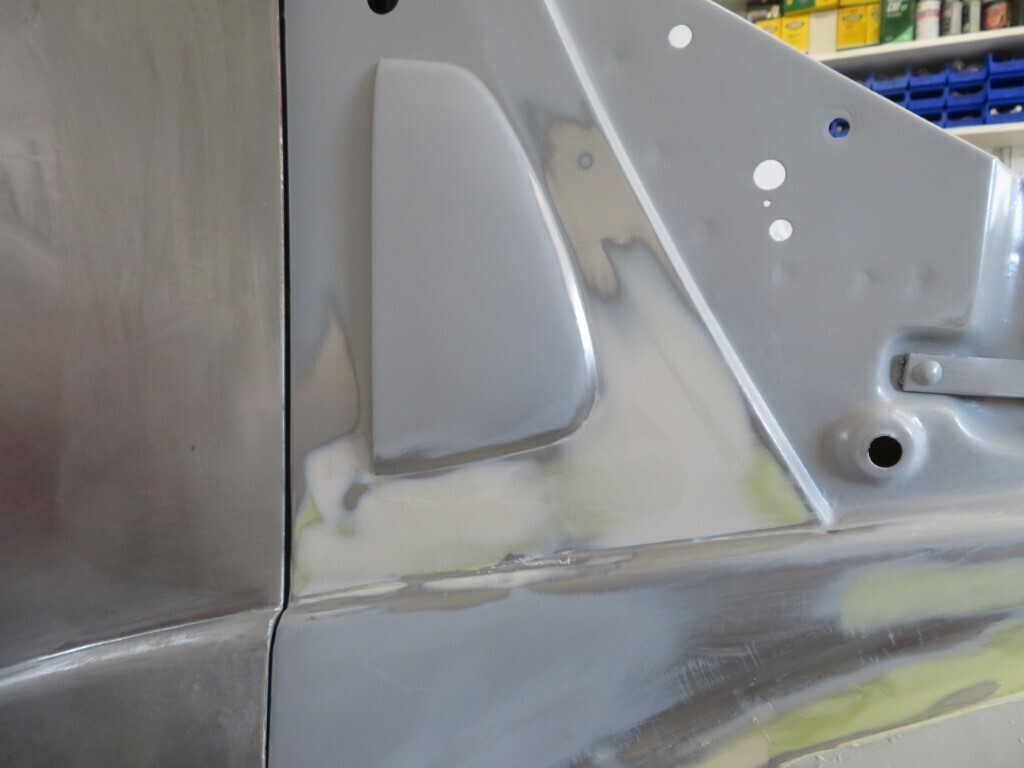 While the filler was curing I moved on to the bonnet. The first half is stripped of paint on the inside of the upper section ready for the welding repairs. I was just going to sand the paint smooth and paint over it - but I'm glad I stripped it back as there were some rusty patches hiding under the paint - nothing major but they needed treating. 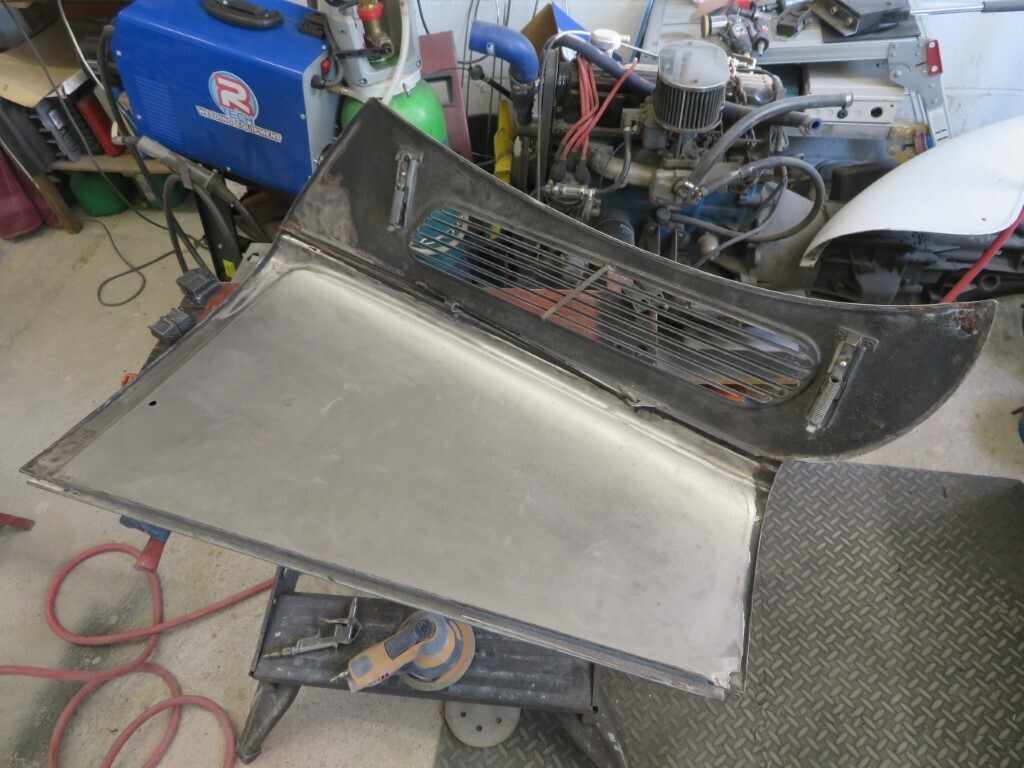 The first repair to the bonnet was the split at the rear on the hinge line, 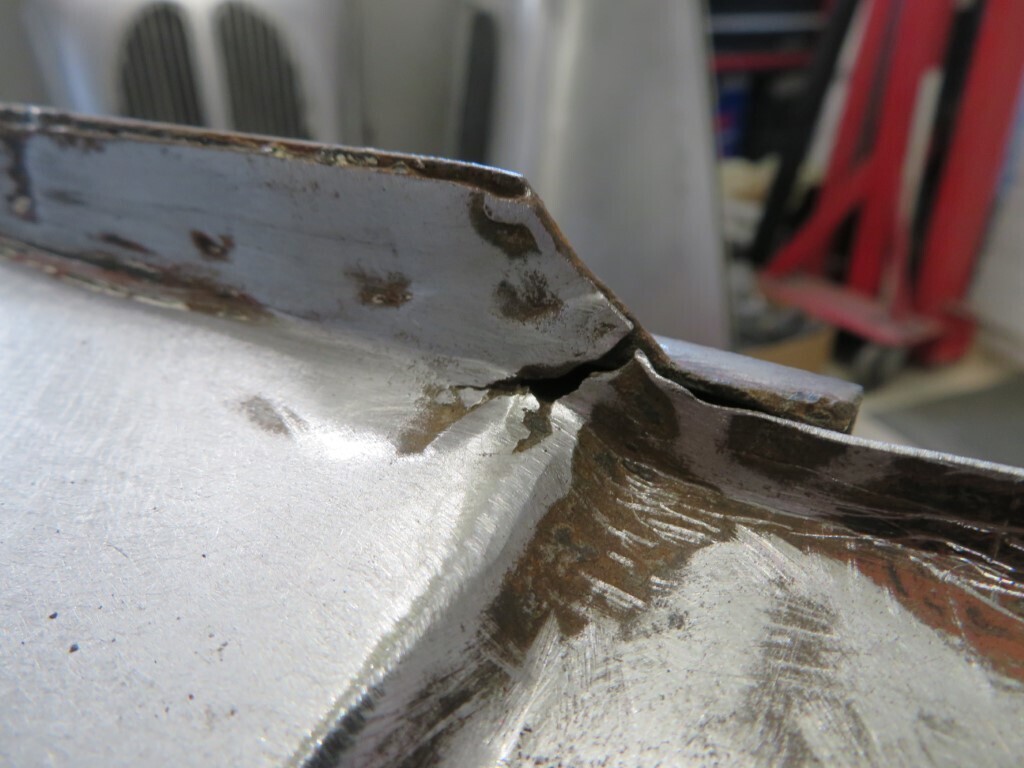 And all welded up
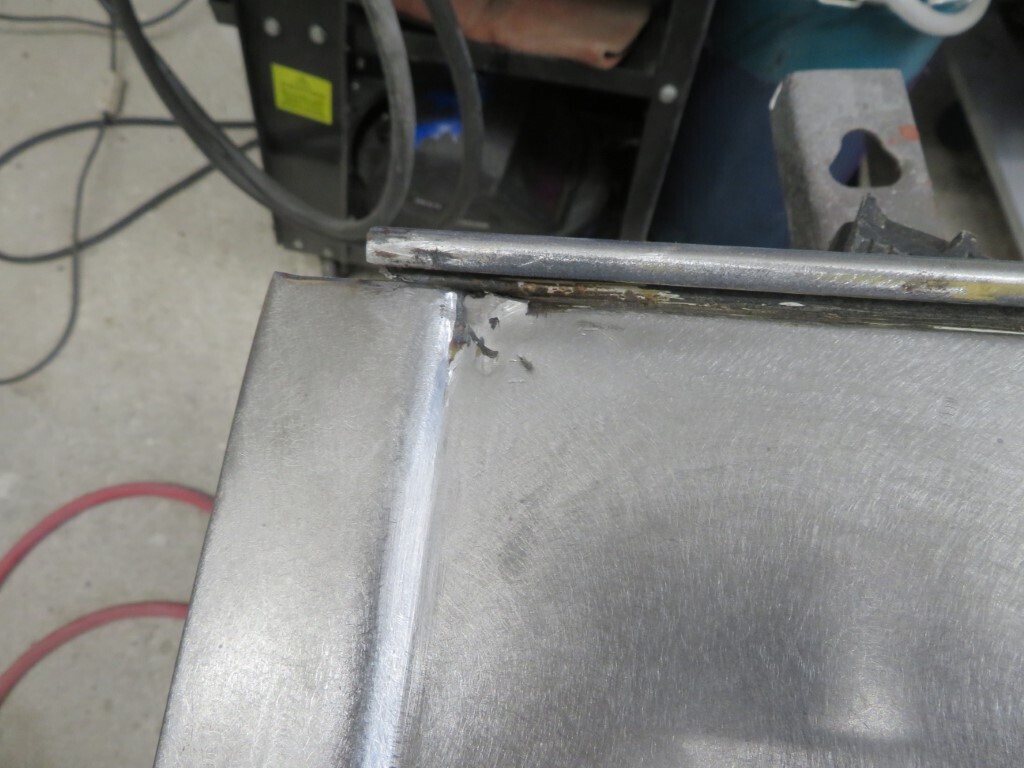 Next bit was the edge split; 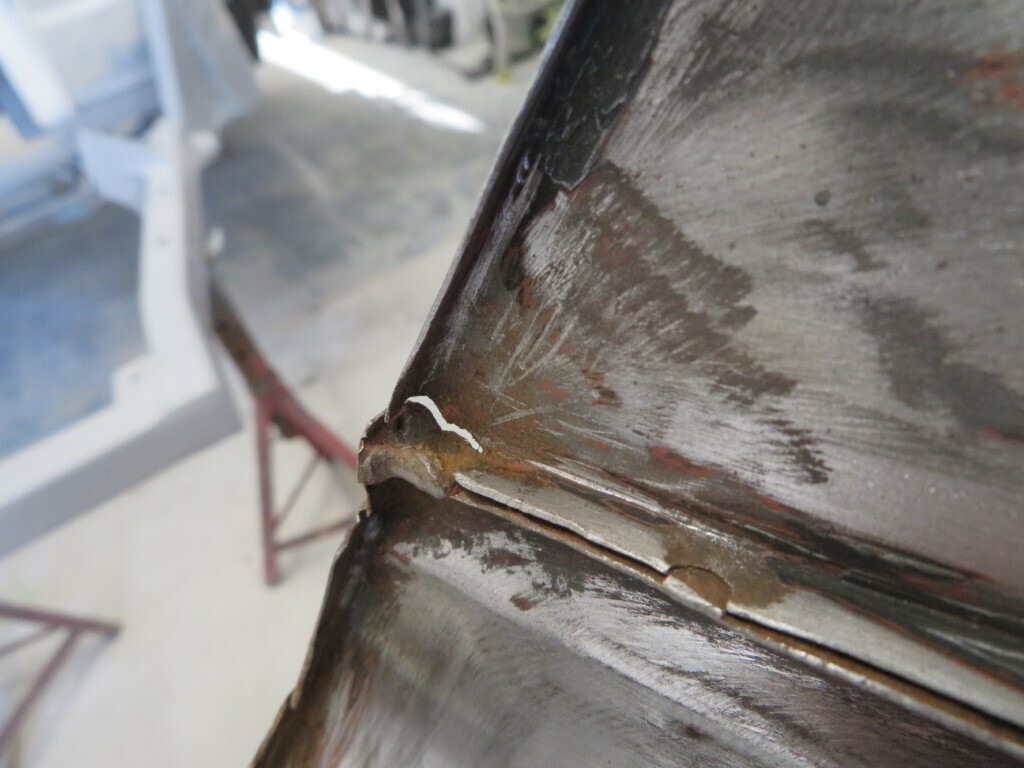 And all welded up; Front hinge edge was also welded; A little skim of filler and all will be invisible.
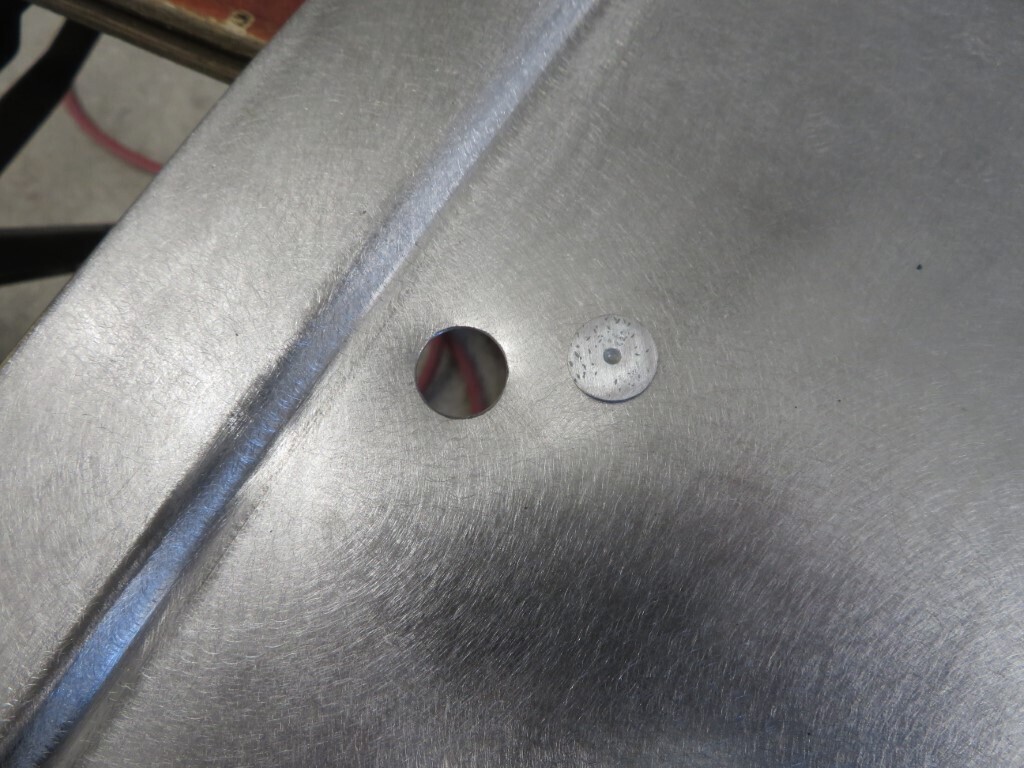
Then on to the hole in the bonnet that was for the screenwash jet, I opened the hole up to match the infill metal I had;
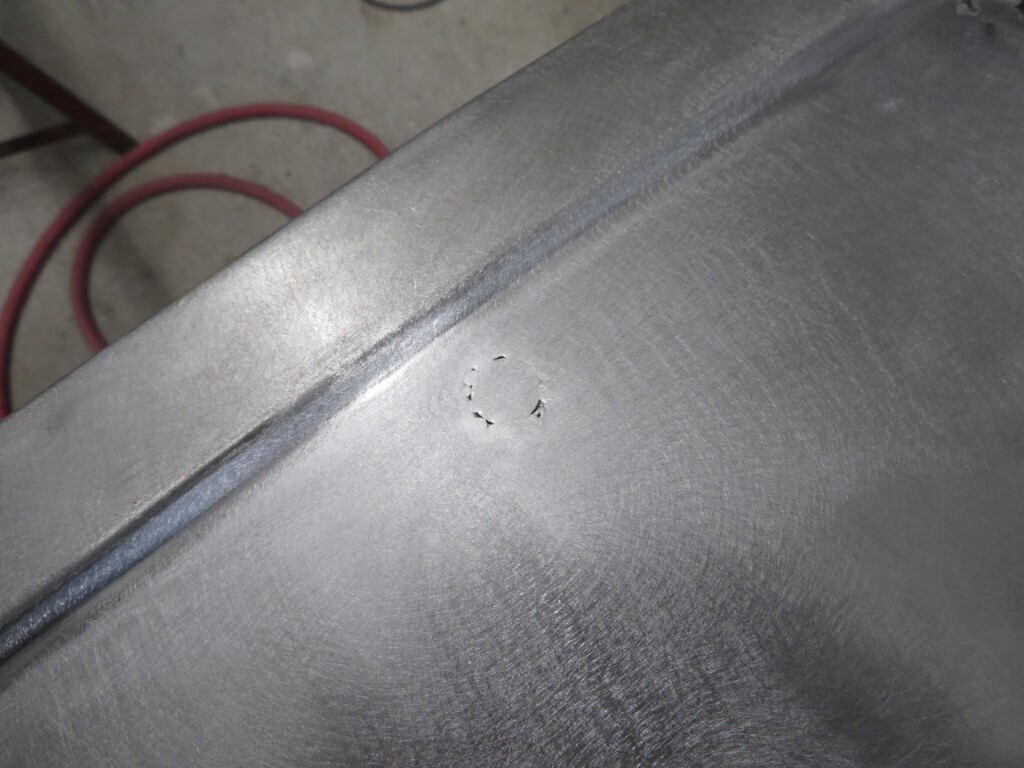
And welded it in from the back so the dressed weld did not show on the outside;
Inside looks good too  pretty bl00dy chuffed with that repair 
157 hours.
|
| |
|
|
|
|
|
Apr 25, 2021 15:08:03 GMT
|
|
Just amazing work mate.
Just keep being impressed.
|
| |
|
|
|
|
|
Apr 25, 2021 20:05:51 GMT
|
Many thanks Grizz. More filler work today, the bulkhead has had about 8 sessions of filler on (& off) now and is nearly there. If anyone wonders how much time it takes to get a show finish on things, there is about 30 hours work in the bulkhead so far and I think it will be at least another 10-20 hours yet before it is done & painted. 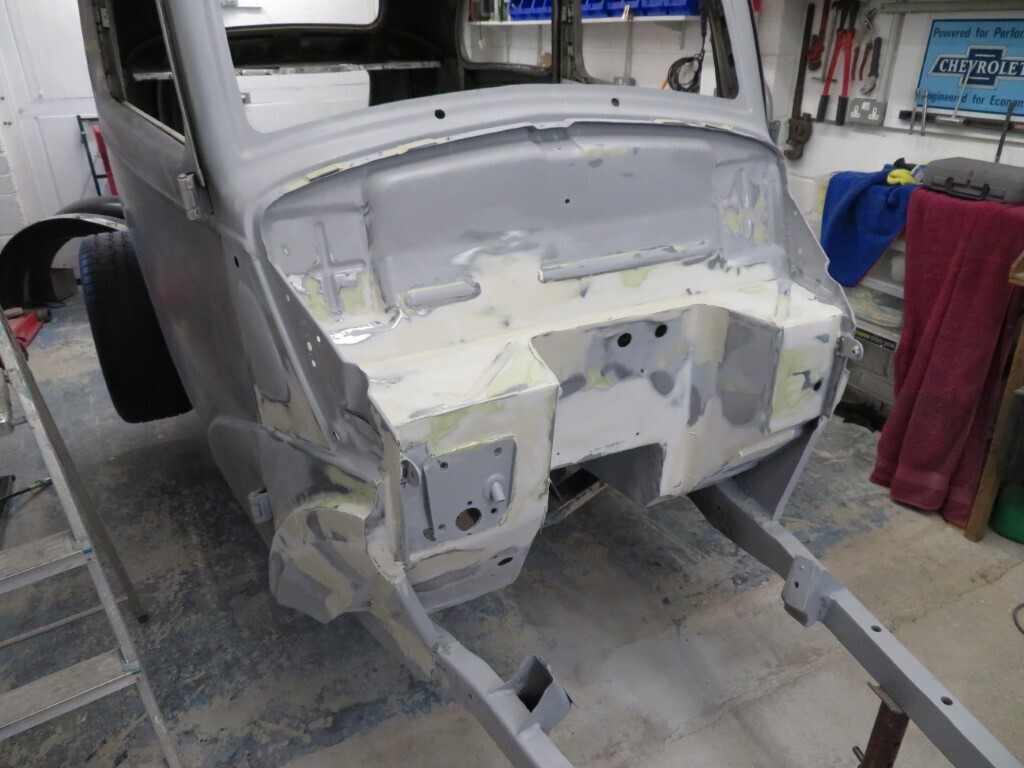 Roof is almost there now; 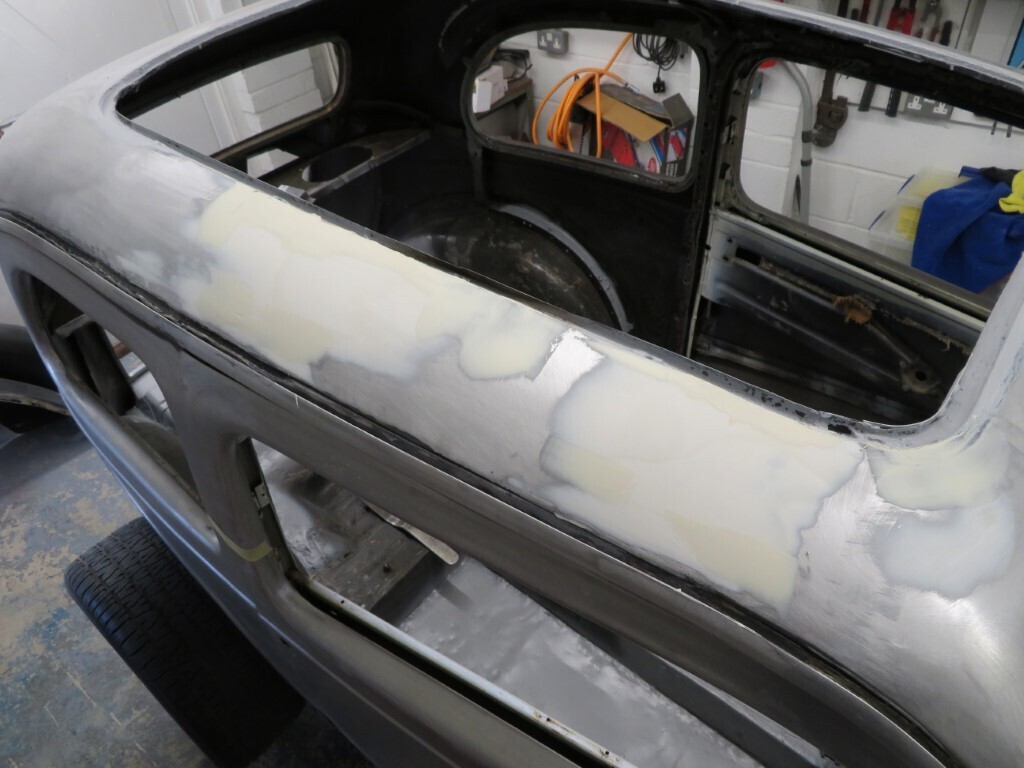 And the rear starts getting filler applied, even in the bootlid gutter. 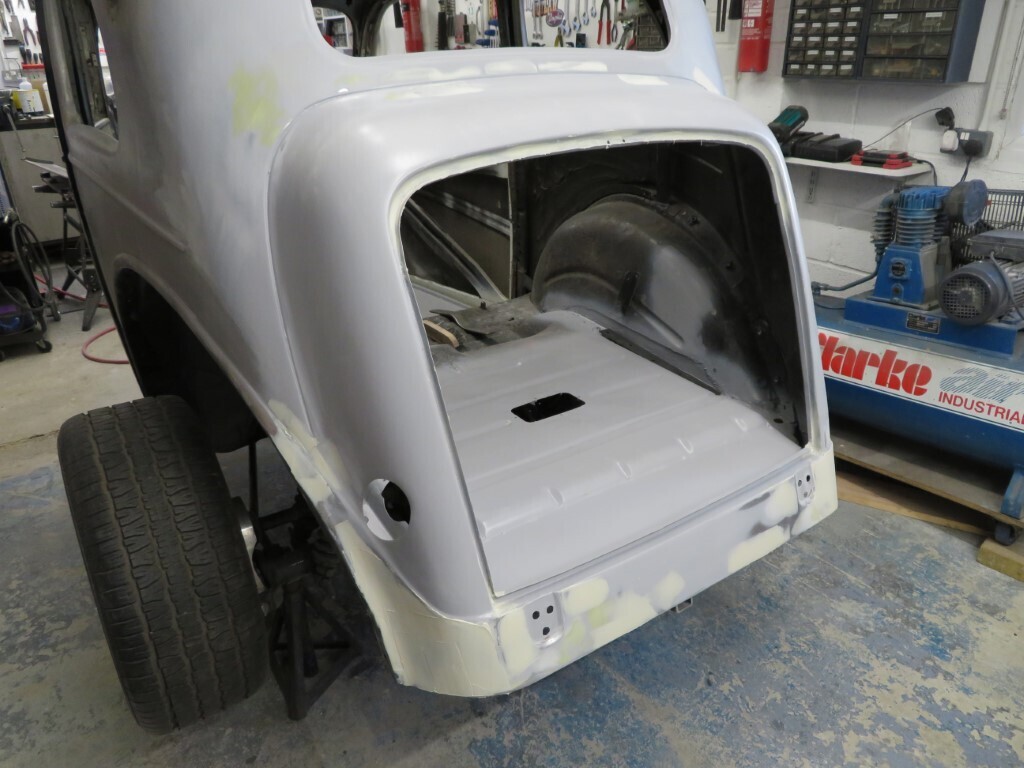 162 hours. |
| |
|
|
|
|
|
|
|
|
Excellent work,
Really enjoying, and looking forward to, each update,
Nigel
|
| |
BMW E39 525i Sport
BMW E46 320d Sport Touring (now sold on.)
BMW E30 325 Touring (now sold on.)
BMW E30 320 Cabriolet (Project car - currently for sale.)
|
|
Norman
Part of things
 
Posts: 449 
|
|
|
|
|
Hi Mark, As has been said by many great work. I don’t have the patience to achieve that level of finish. Looking forward to the next update, all the best, Norman
|
| |
|
|




 the air powered 6mm steel Rivnut tool;
 the air powered 6mm steel Rivnut tool;




 that we could do better, so some red light tint was bought. Applied here I think it looks far better, a little polish to smooth the finish and they should look really good. They actually look better in real life as the camera can't capture the transparency of the red.


