|
|
|
Jul 25, 2024 15:09:52 GMT
|
From experience I have found some newly refurbished or new steering racks can be a bit stiff at the beginning but loosen up after a few hundred miles. Good to hear John, that is my thoughts on it as it did seem stiff to turn when it was off the car prior to assembly. Jimi - That's why i took the column off again last night - to check that was free and to isolate it. There is only the rack & the U/J's left after that and I cant see U/Js being an issue ever. |
| |
|
|
|
|
Darkspeed
Club Retro Rides Member
Posts: 4,882
Club RR Member Number: 39
|
|
Jul 25, 2024 17:01:25 GMT
|
|
There are also track rod ends and suspension ball joints - You should not underestimate the resistance some ball joints can have when they are new.
|
| |
|
|
|
|
|
Jul 25, 2024 17:22:46 GMT
|
There are also track rod ends and suspension ball joints - You should not underestimate the resistance some ball joints can have when they are new. Absolutely right, there has to be a cumulative from every component. |
| |
|
|
|
|
|
Jul 25, 2024 18:09:30 GMT
|
All reassuring comments, thanks! Took it for another drive around the block tonight, it's getting better, starting to self centre from turning corners now, which seems to bear out the stiff new parts theory. I did try out the electric open headers, big grin as it sounds bloody excellent   |
| |
|
|
stealthstylz
Club Retro Rides Member
Posts: 14,960
Club RR Member Number: 174
|
|
Jul 25, 2024 22:56:27 GMT
|
Has somebody been going through your bins? LOL 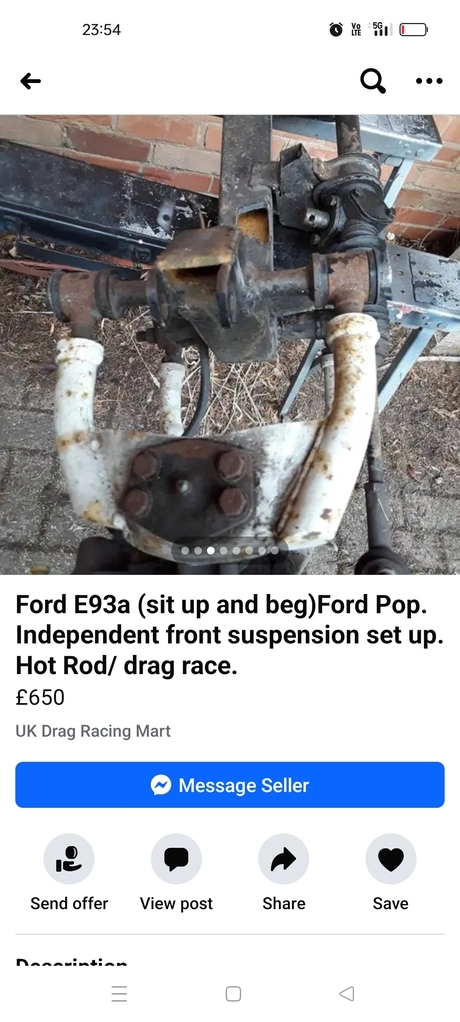 |
| |
|
|
|
|
|
Jul 25, 2024 23:02:56 GMT
|
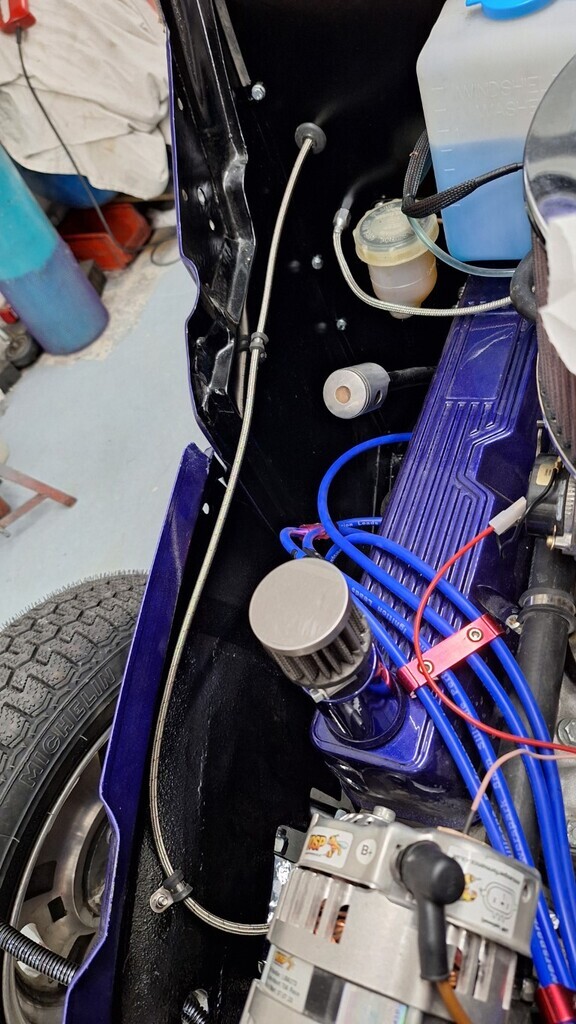
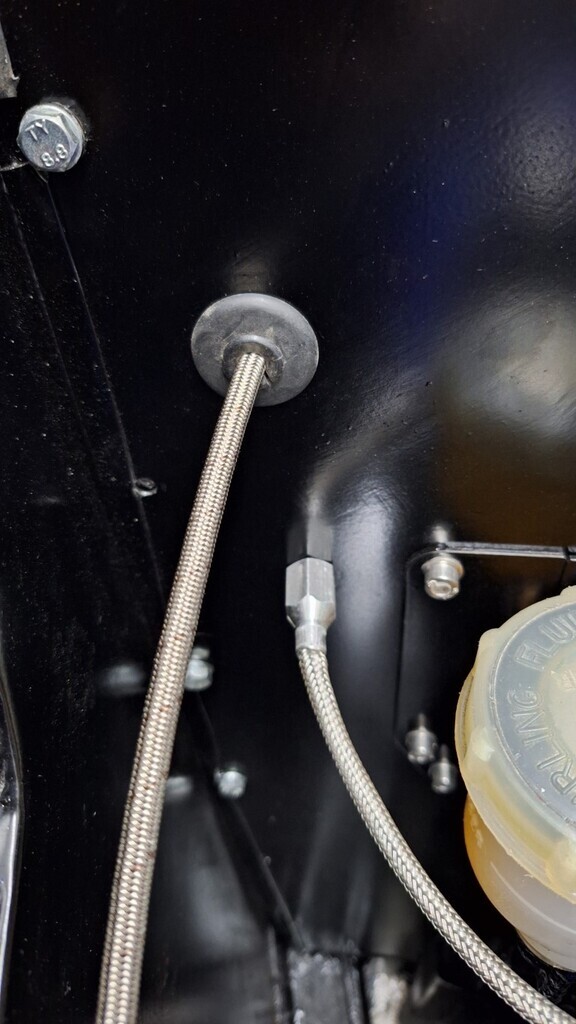
bouyed up by the reassuring comments and the improving steering I felt more positive working on it tonight. The inner wings are now back on the car and the wiring loom attached to them. Passenger side headlamp cables clamped both side of the wing; 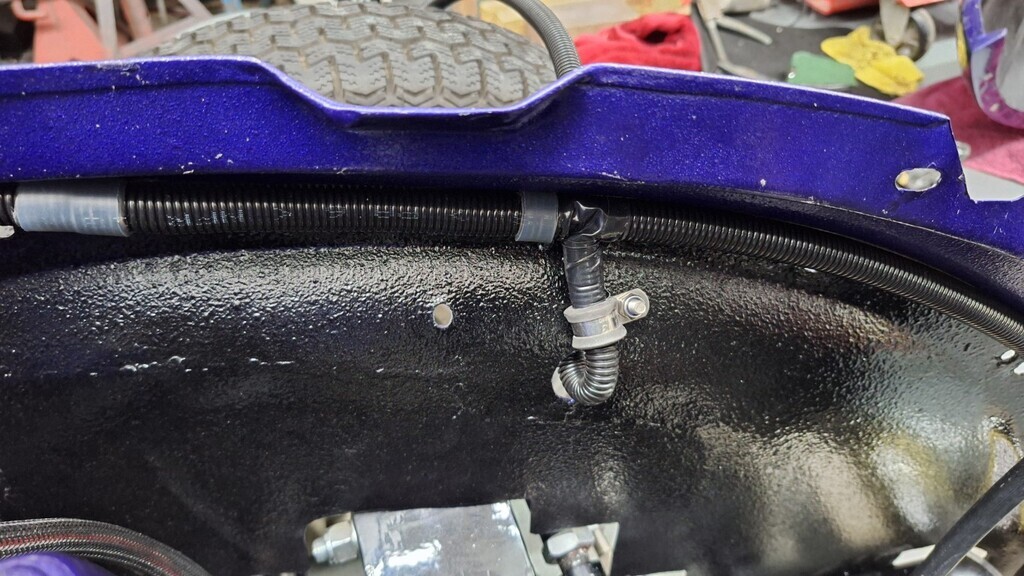 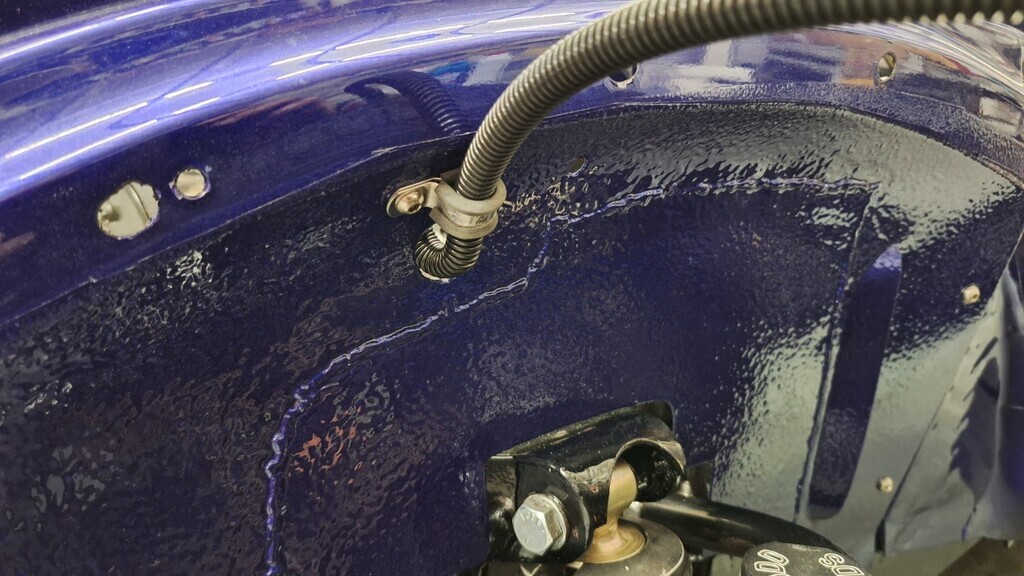 This is so the cables remain tight to the front wing as the headlamp mount is almost over the front tyre. There is approx 100mm clearance between the two so I want to keep the cables as high as possible. Driver side also done as the oil gauge tube arrived today (gauge arrives tomorrow). 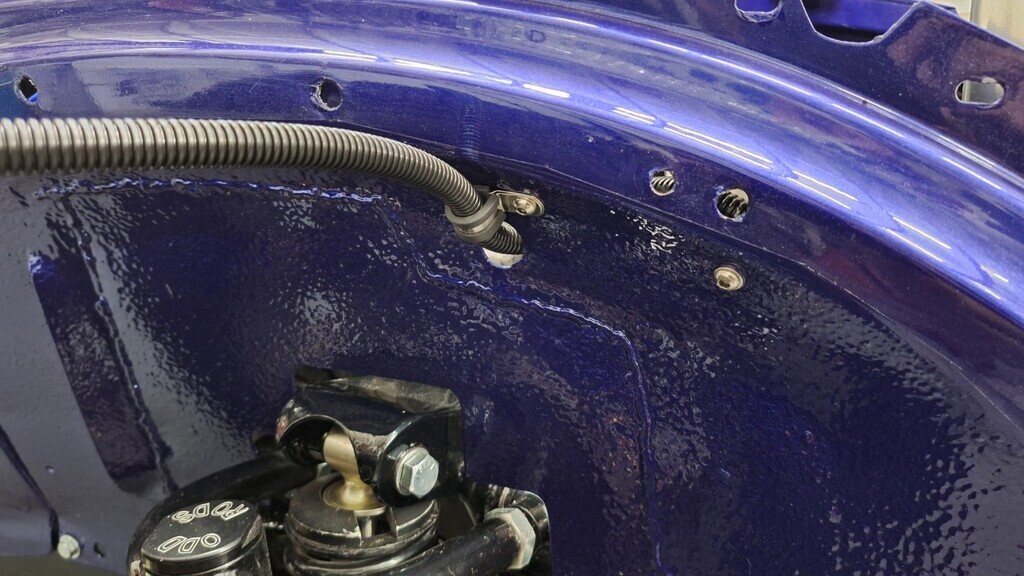 Oil feed tube has a nice swivel swept bend on it to keep it away fron the exhaust. 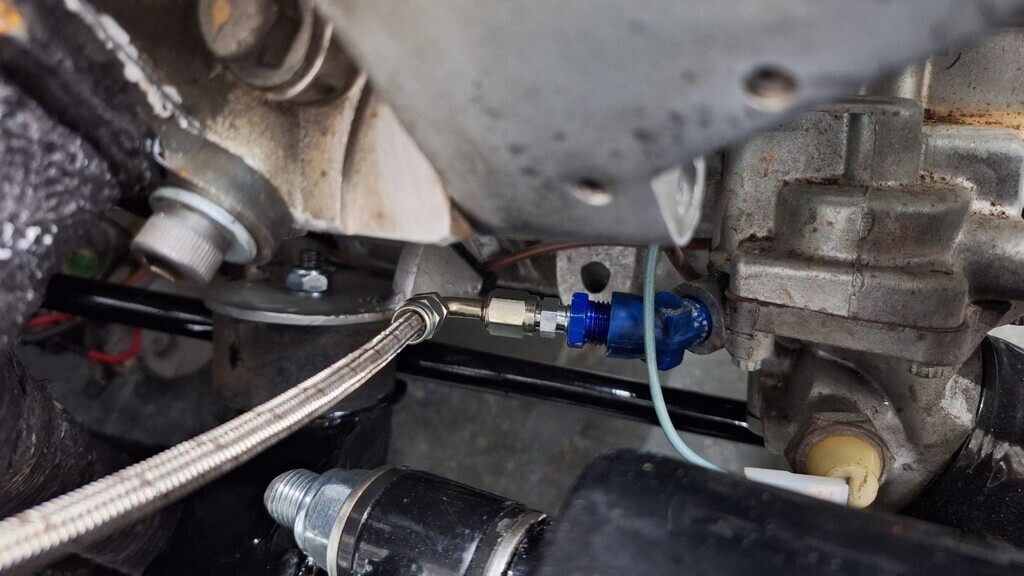
It has been fitted to the inner wings with P clips;
And double grommeted through the bulkhead.
 Getting nearer completion now. 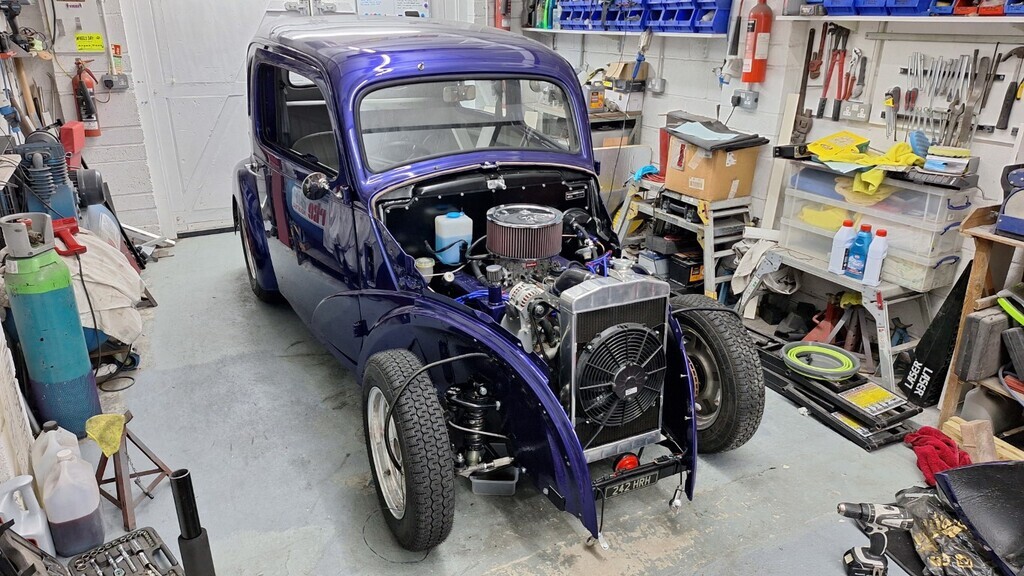 |
| |
|
|
|
|
|
Jul 25, 2024 23:04:37 GMT
|
Has somebody been going through your bins? LOL  Jesus!! that looks like a carbon copy of the one on Andy's car. 'Built' by the same rod shop no doubt. I hope no-one buys it  |
| |
|
|
|
|
|
|
|
|
Coming along very nicely, on the steering a very small amount of friction can have a significant effect on the feel, as others have said a lot of the re-production stuff can have a fair bit of initial friction, the other thing is a lot of the racks are stuffed full of grease, oil or semi fluid grease can help but often it's just a case of using it for a while until it's all displced.
|
| |
|
|
|
|
|
|
|
Has somebody been going through your bins? LOL  Decimal point is out by two places . Coming along nicely Mark. How's the oil pressure with the new gauge? |
| |
Last Edit: Jul 26, 2024 8:43:48 GMT by crockpot
Proton Jumbuck-deceased :-(
2005 Kia Sorento the parts hauling heap
V8 Humber Hawk
1948 Standard12 pickup SOLD
1953 Pop build (wifey's BIVA build).
|
|
|
|
|
Jul 26, 2024 12:18:35 GMT
|
|
Oil gauge only just arrived on my desk at work Paul, will fit it tonight.
|
| |
|
|
|
|
|
Jul 26, 2024 16:07:11 GMT
|
I'll take this as a win 🏆 Oil pressure at idle cold. 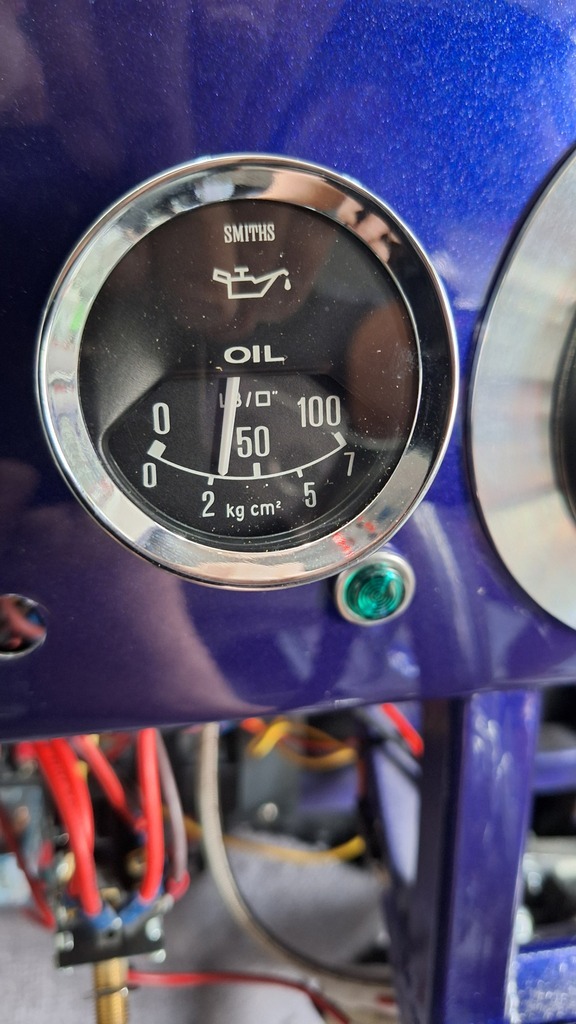 And at approx 3000 rpm cold. 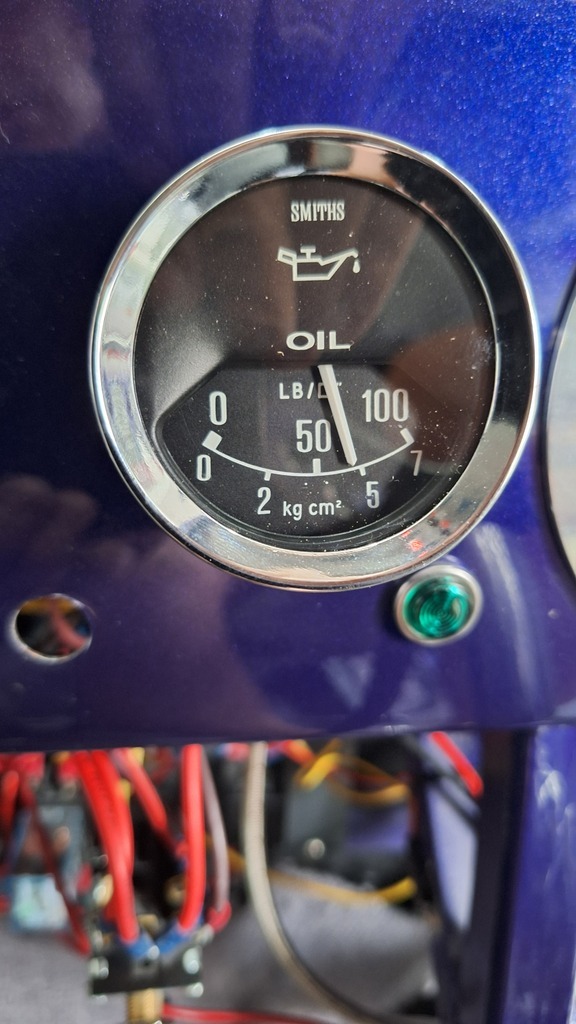 |
| |
|
|
|
|
|
Jul 26, 2024 18:59:38 GMT
|
The steering wheel had a go on the polishing mop, and the grotty slot head screws were replaced with polished stainless button head bolts. 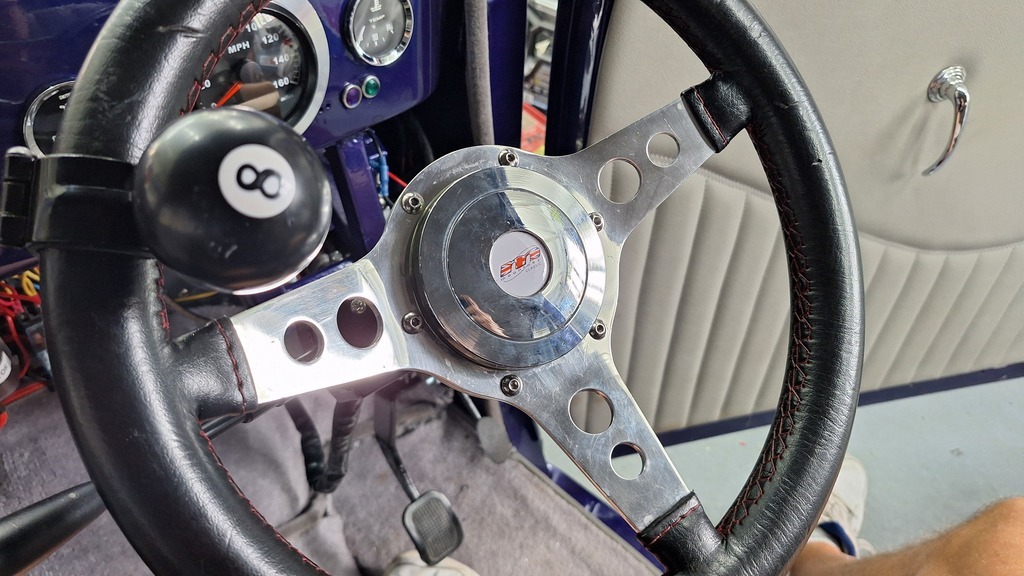 That's not an earth cable, THIS is an earth cable, lol 😆 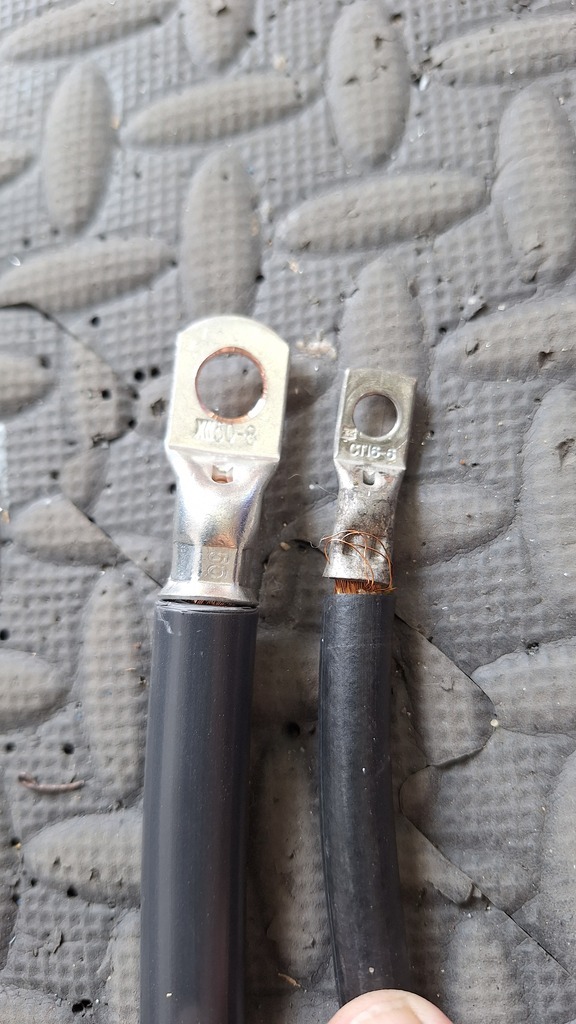 Cable kindly donated by www.Antares.co.uk |
| |
|
|
|
|
|
Jul 26, 2024 22:39:46 GMT
|
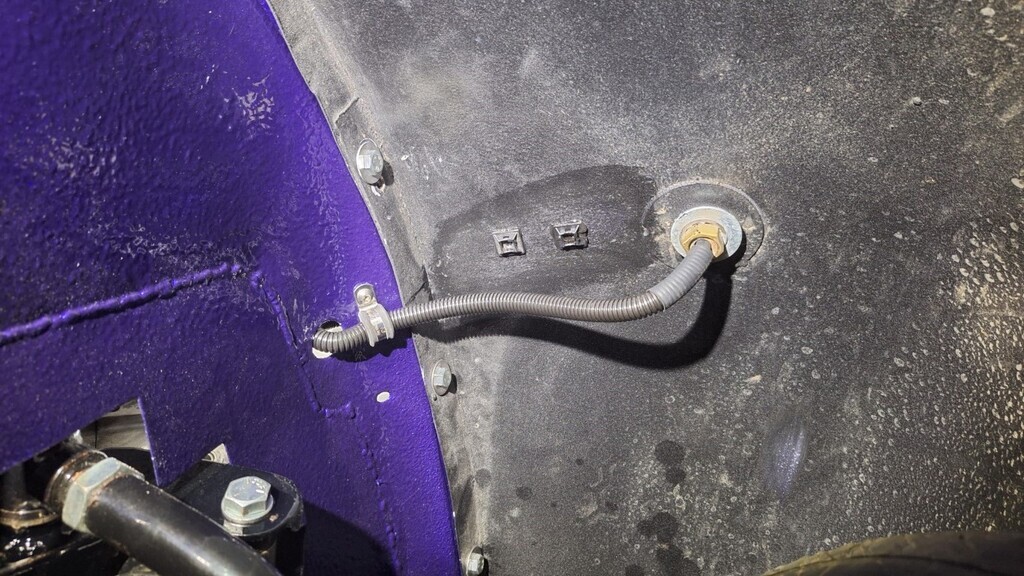
A busy evening tonight. With the help of mrs Blackpop the front wings were reassembled on the car. 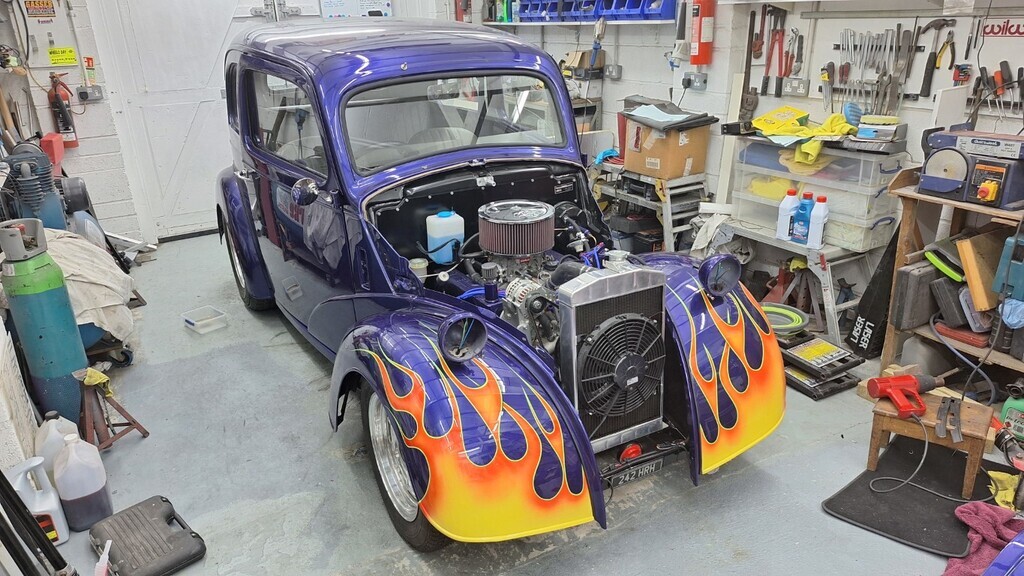 With those back on I could get on with the wiring for the headlamps. It's now cut down to size & heatshrink fitted to seal & protect the cables as they pass through the hollow fitting bolts. I sikaflexed a couple of wire tie fixings in case it needs to be held out of the way, but checking the clearances I don't think they will be needed  Off to view a new car for Mrs Blackpop tomorrow morning but I hope to get the headlamps and grill back on tomorrow and then start on modifying the bonnet strip fixings to get the bonnet to fit properly.
|
| |
|
|
|
|
|
Jul 27, 2024 21:54:36 GMT
|
Well a pleasant day was had buying the new car for mrs Blackpop, it was down in Chichester so it seemed rude not to go to the coast for a bit and we had a very pleasant full english in the morning and then a nice pub lunch off the beach. 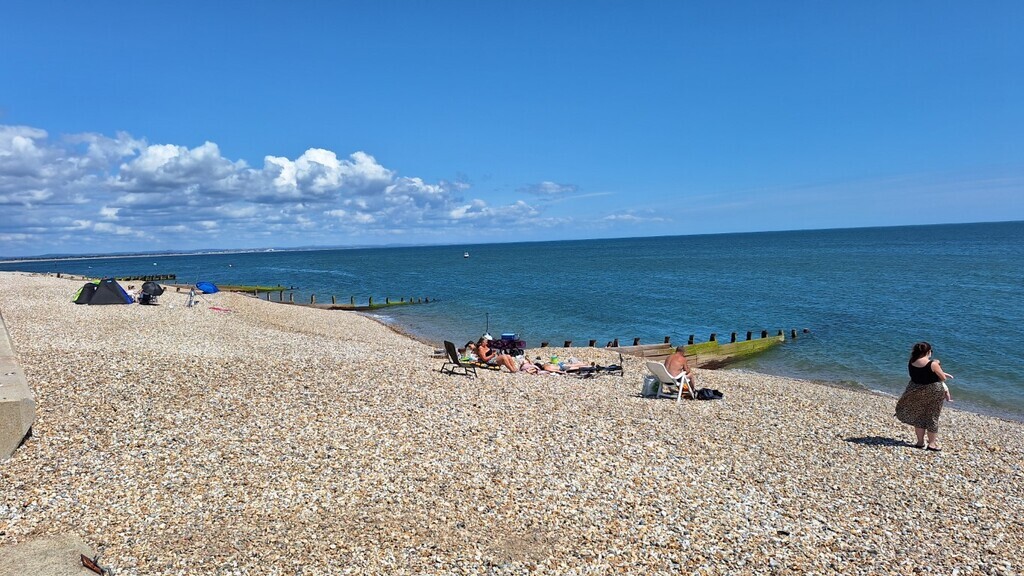 As such we got back a bit later than planned with an extra car. Back into the garage and time to fit the nose back on........aah.....bum..... forgot I had not painted it. Oh well, a speedy mask up was done, 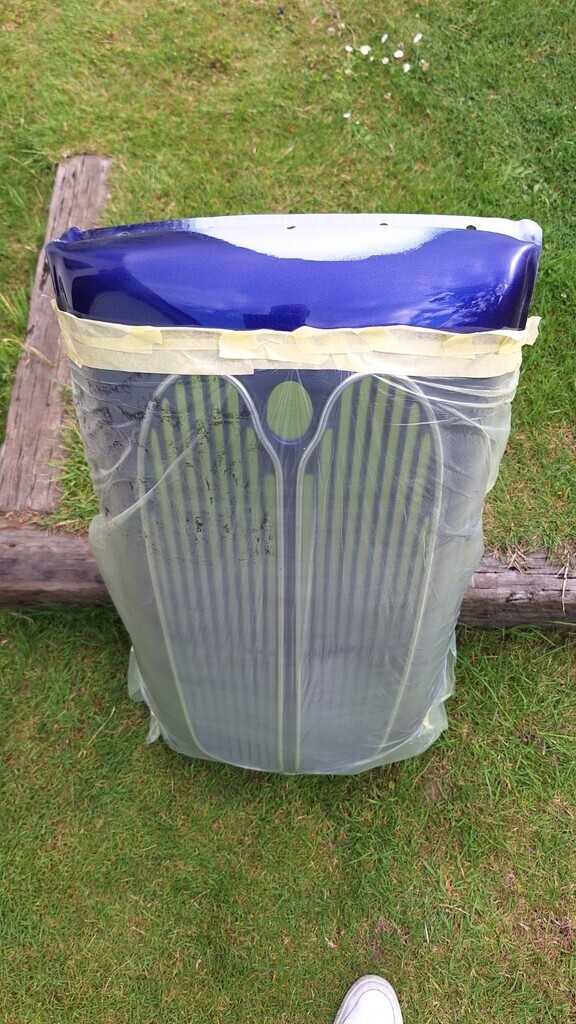 And basecoat went on. 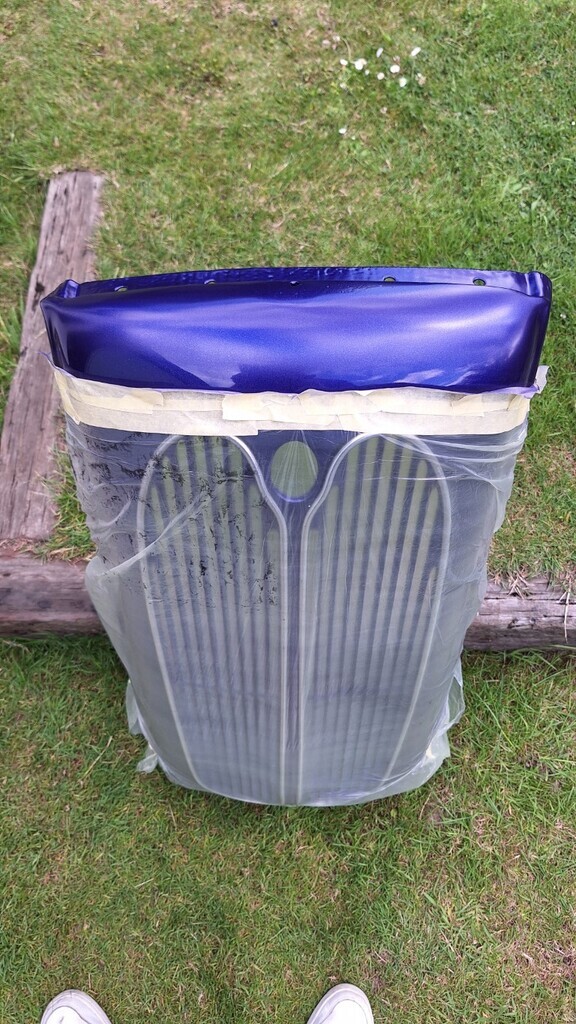 Then a couple of coats of clearcoat. I added a couple of drops of rocket into the paint mix, 1 hour later I was fitting the grill to the car  I can colour sand it & polish it on the car. It's not obvious in the photos but the masking is curled back and not stuck down on the paint side - this gives a nice blend rather than a thick paint line. 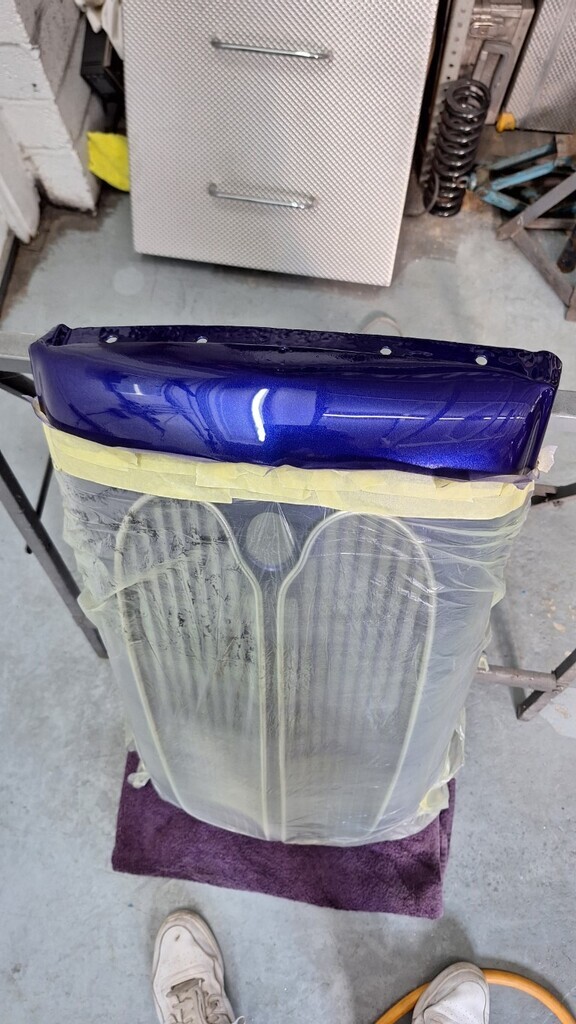 With the grill fitted it was time to fit the grill support rod that friend Mike had supplied........ah his fancy machined part is bigger that the threaded section.
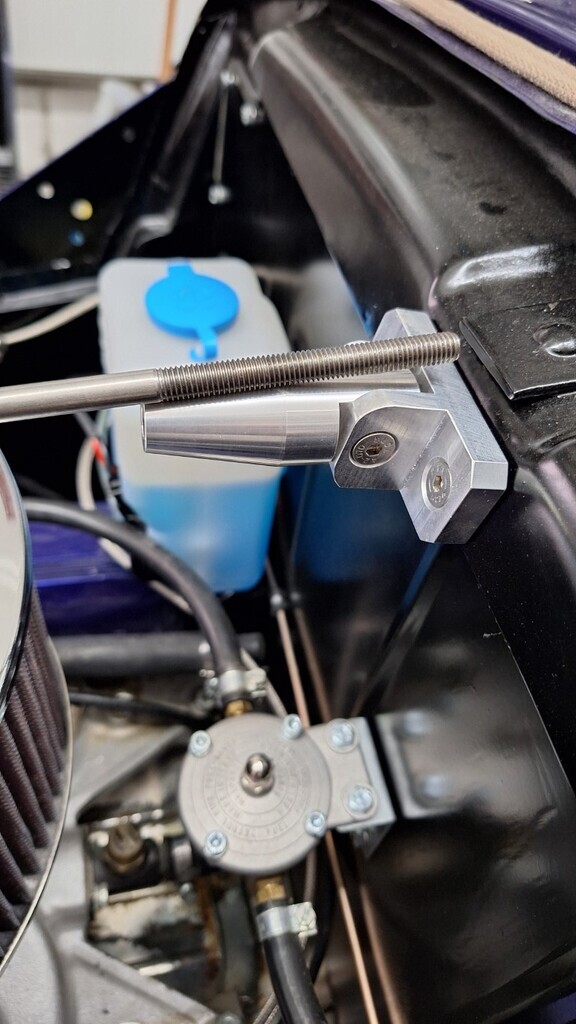 Not the easiest metal to cut threads into as it is Stainless steel, but I managed it and also shortened the rod.
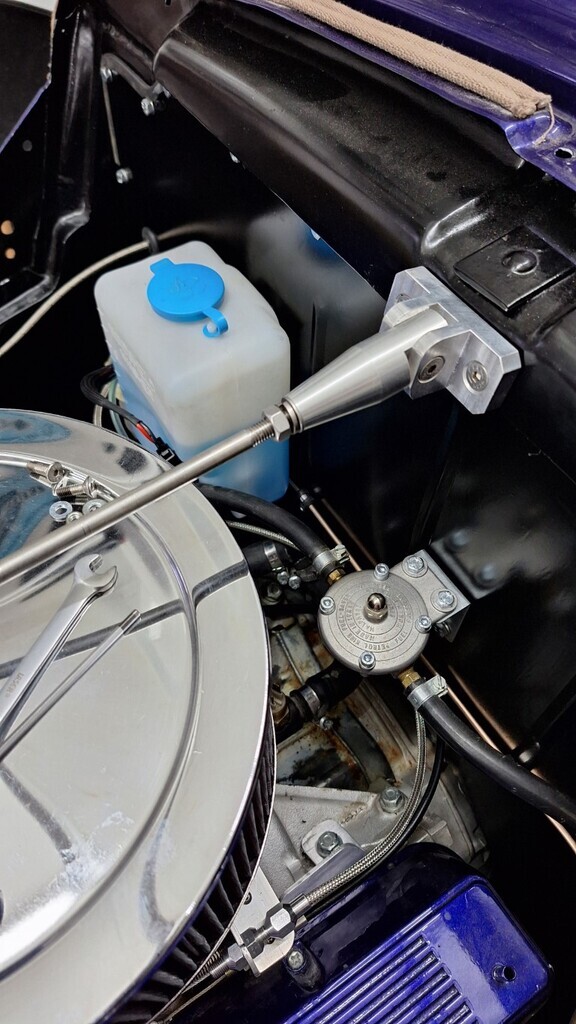 While the paint was curing on the grill I wired up the headlamps, the bonnet is fitted here but needs some work as it can slide up and down the centre strip - which it should not be able to do. If it slides into the wrong place the bonnet fouls the body or the grill with a resulting loss of paint. Annoyingly the headlamps being wired up had thrown up a wiring fault - main beam flash function is not working - I'll need to investigate.
 Here is the issue with the bonnet - the curled blue bits should be longer to reach the chrome end peice - this stops the bonnet moving up & down. As you can see thay are about 6mm short - hence the movement. I'va a cunning plan to fix this very simply - details when it's done tomorrow. 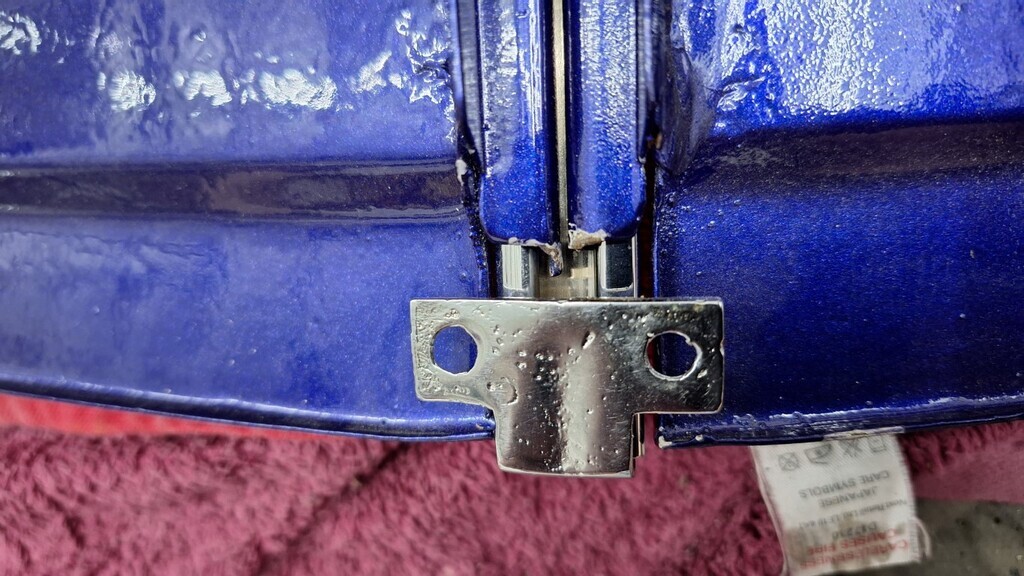 With the bonnet off it was another job to fit the bonnet props kindly donated by Pop Browns This is a nice kit - all in stainless steel. I'll fit this tomorrow as well. 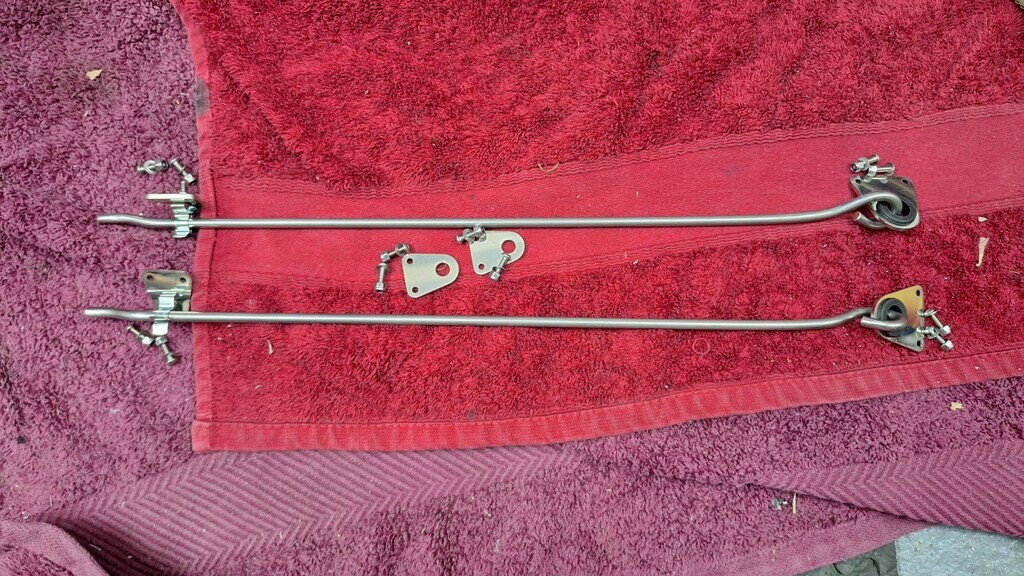 |
| |
|
|
|
|
|
|
|
|
Terrific work and great attention to detail, all so very impressive. Very well done indeed.
|
| |
|
|
spacekadett
Part of things
  F*cking take that Hans Brrix!!
Posts: 838
|
|
Jul 28, 2024 12:17:57 GMT
|
|
Coming along great 🙂. I used a similar masking tape trick when I blew in the repairs on my Sierra; folding it over to give a softer edge. Learned it from my brother and you can fold the flap to whatever size you need, referred to as tight flaps or granny flaps by him 🤣🤣
|
| |
Mechanic's rule #1... If the car works, anything left on the floor after you finished wasn't needed in the first place  |
|
jimi
Club Retro Rides Member
Posts: 2,231  Member is Online
|
|
Jul 28, 2024 14:04:14 GMT
|
That's not an earth cable, THIS is an earth cable, lol 😆  Cable kindly donated by www.Antares.co.ukThat's a properly crimped cable  unlike the other one which is a mess  |
| |
Last Edit: Jul 28, 2024 14:06:19 GMT by jimi
Black is not a colour ! .... Its the absence of colour
|
|
|
|
|
Jul 28, 2024 22:13:47 GMT
|
Fitting the bonnet stays. First job was to remove the original mounts as seen here. 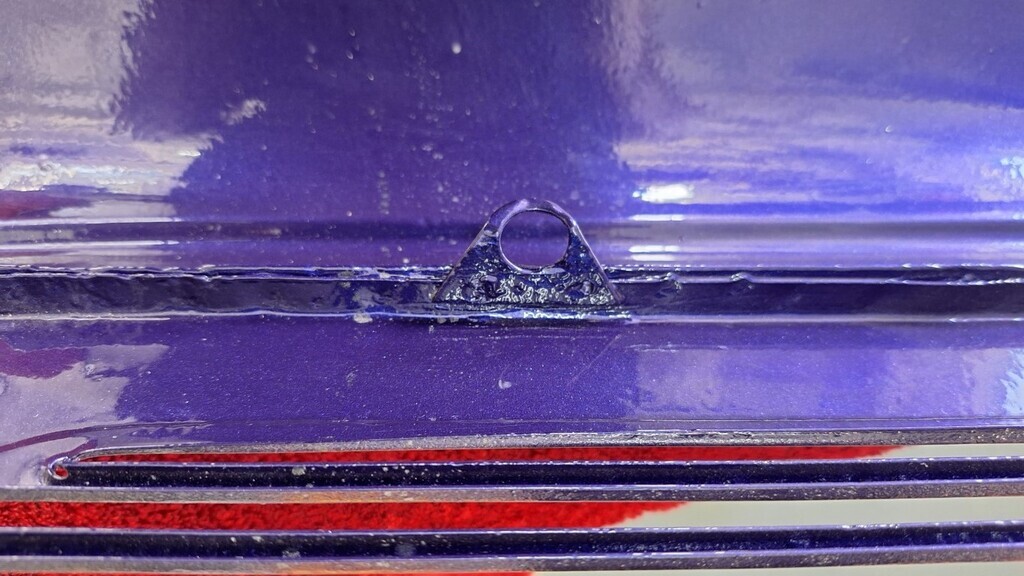 A dremel with a cutting disc made short work of this.
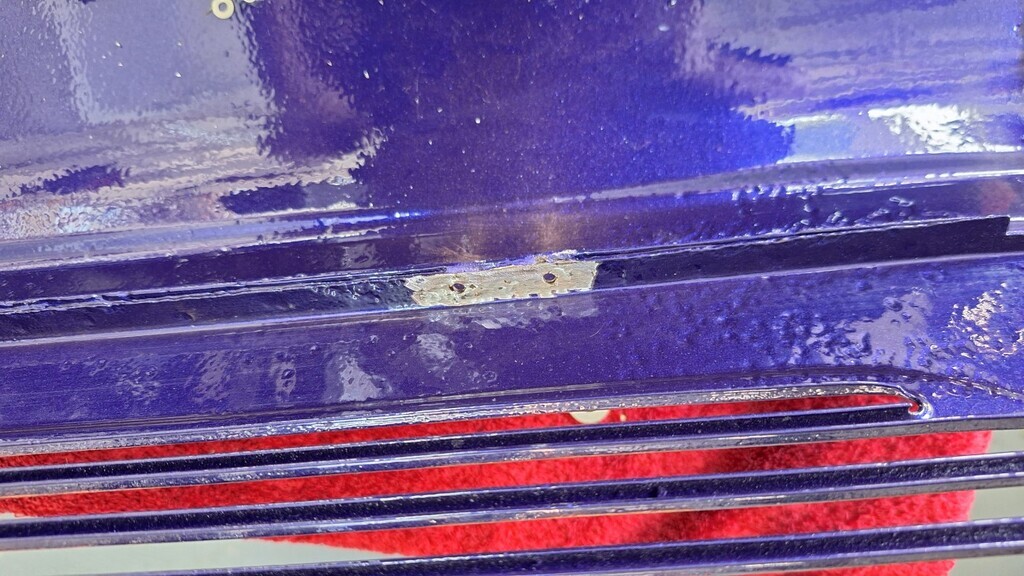 All temporarily fitted prior to the bonnet being repainted.
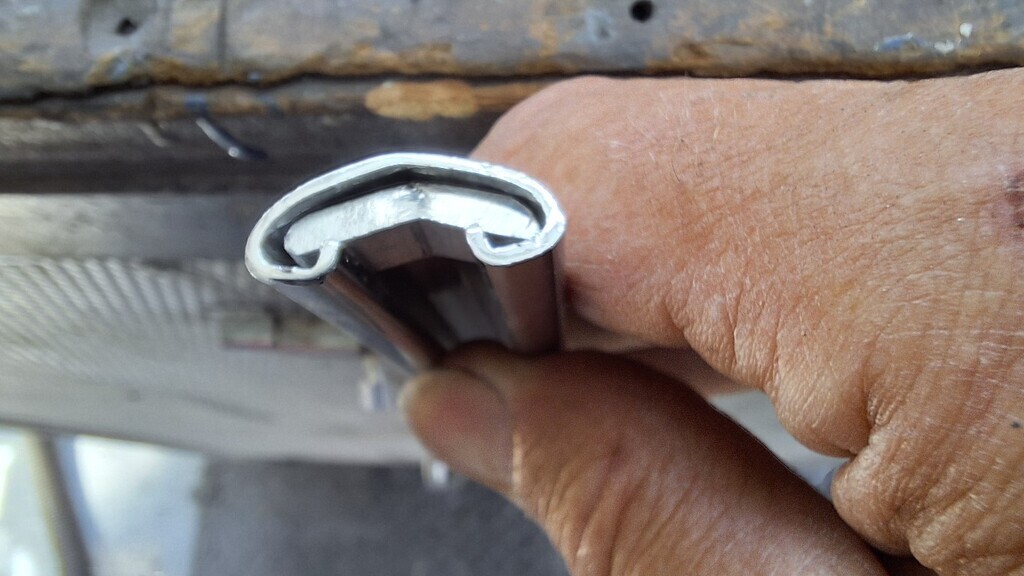
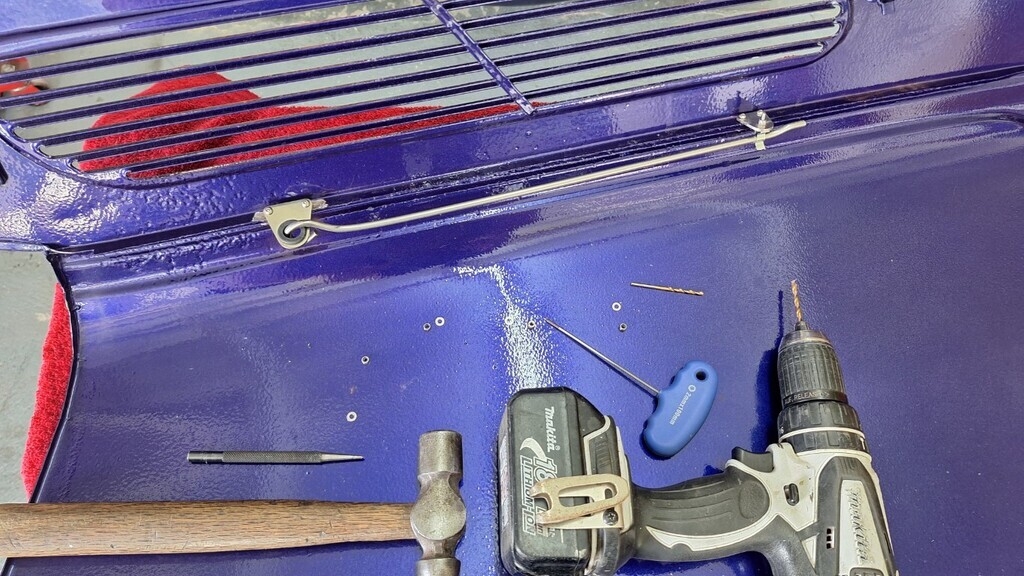 And is if by magic it's all painted and reassembled  The cunning plan formed yesterday was a bit of very hard aluminium bent and shaped to fit inside the bonnet strip.
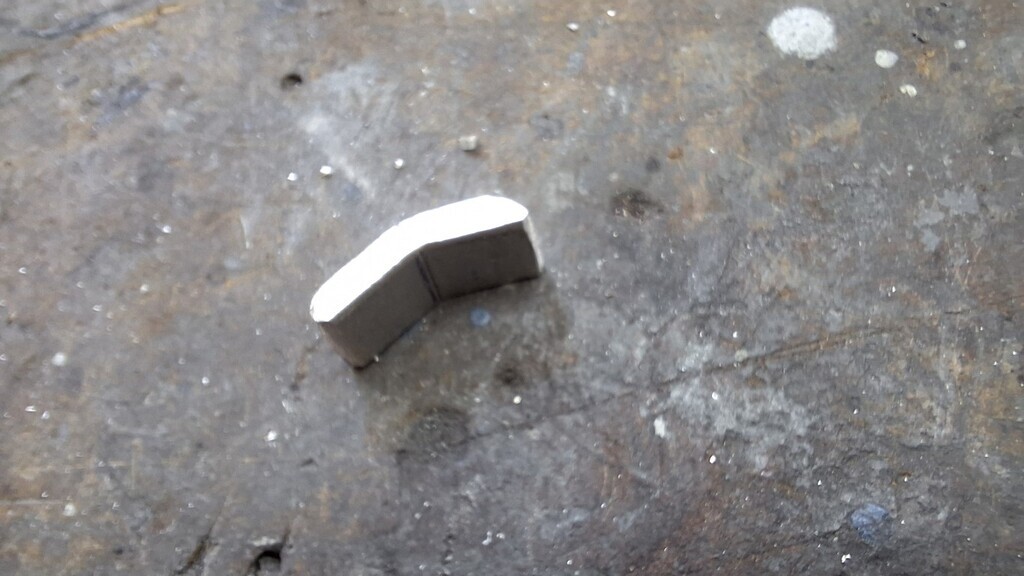 It fits inside like this and will take up the slack 10mm nicely.
 The bonnet welting was rivetted on - which is fairly standard, except they had used full sized rivets on the nose section so the bonnet was rubbing on them as they were proud of the welting. I prefer to bond the welting on - no rivets and it does not move around either. The frayed ends were sealed with some heat shrink to make them much tidier. I may stain the welting black at some point in the future.
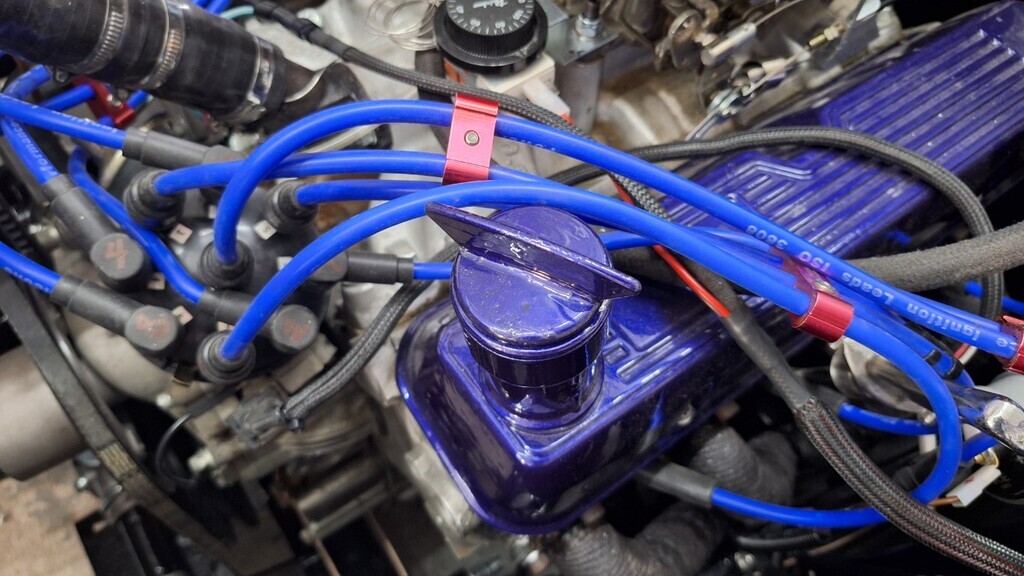
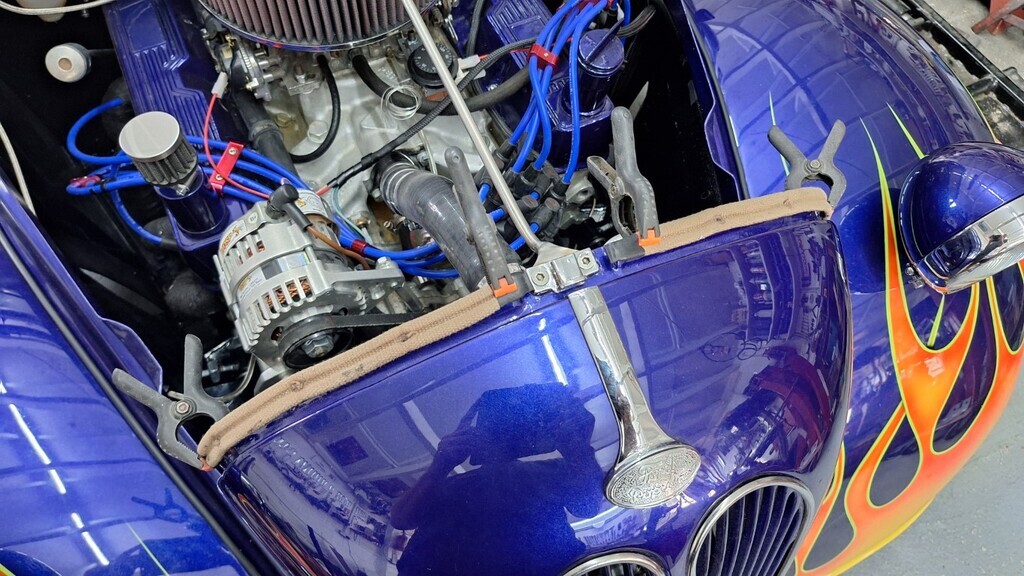 The rear welting was fixed with the correct small rivets so I just added adhesive under the welting to stop it wandering around. 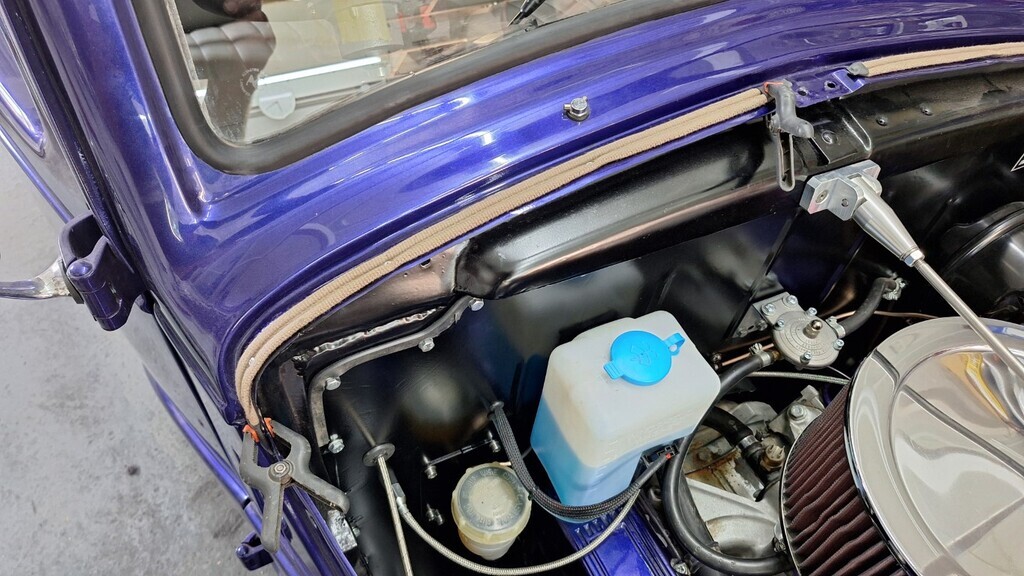 Bonnet stays are now fitted to the car with the bonnet back on. I had to modify the ends of the rods to work with the little brackets, they needed bending 90 degrees with a Mapp torch but now work perfectly. 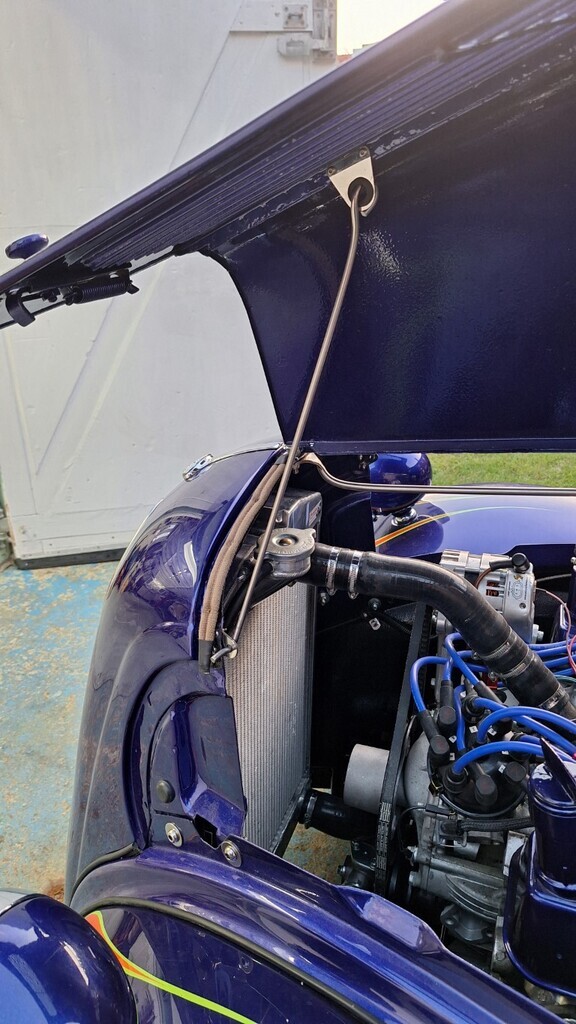 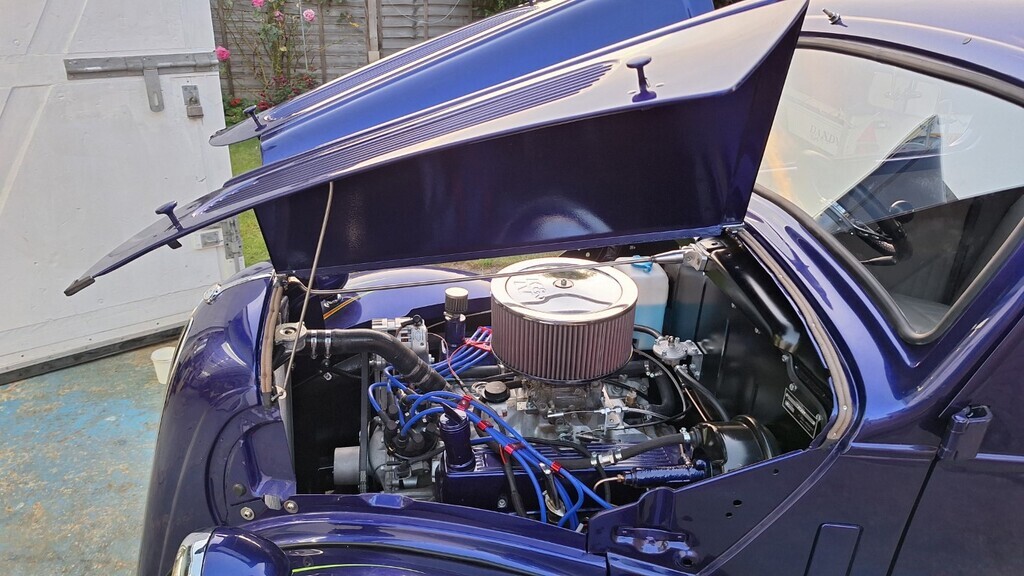 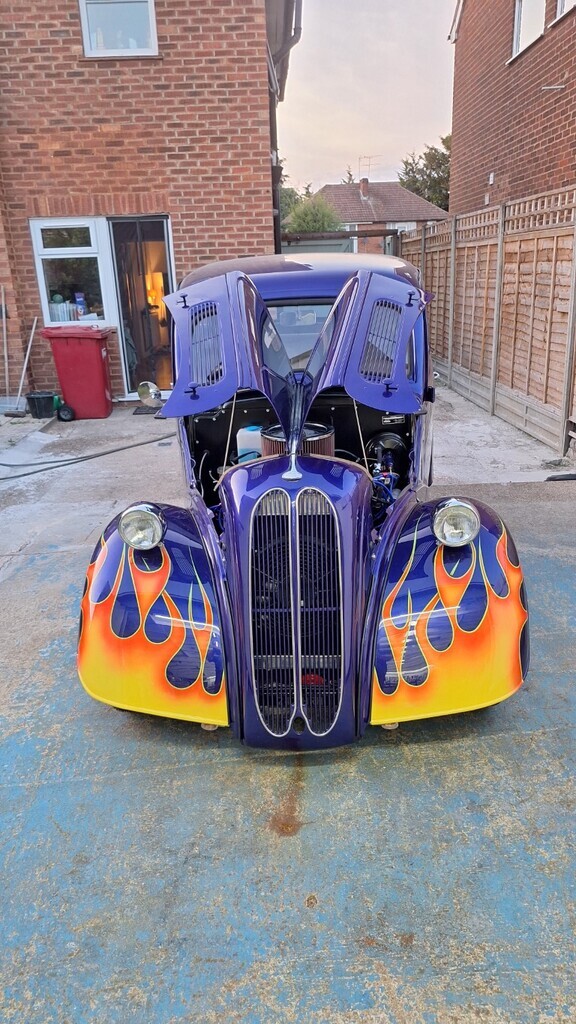 Someone told me the big ugly orange plastic top to the oil filler could be cut off and leave the aluminium cap underneath. So it was removed and cleaned up - I decided to paint it rather than polishing it.
 The car is getting a final wash and the paint got mopped to remove any overspray.
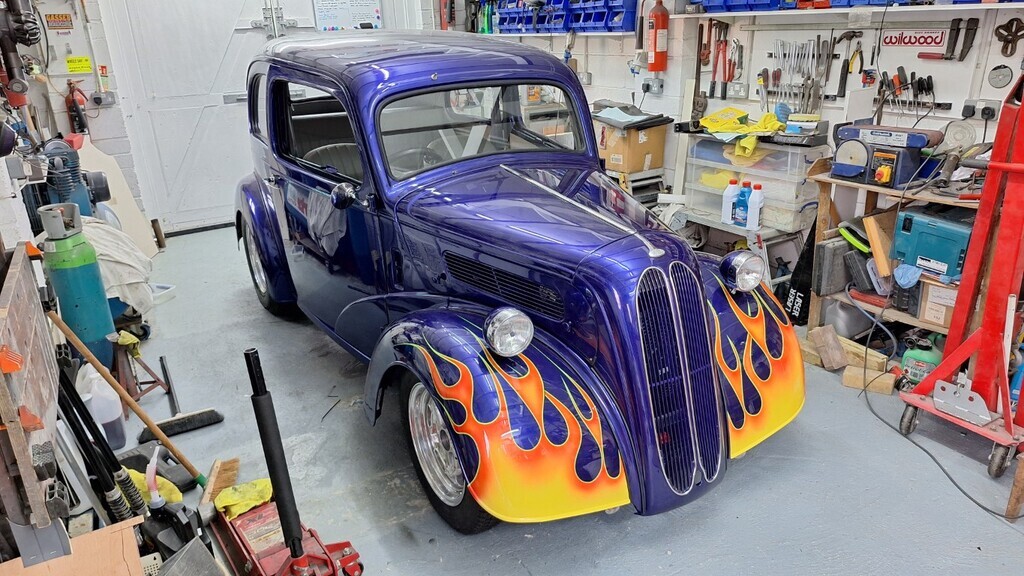
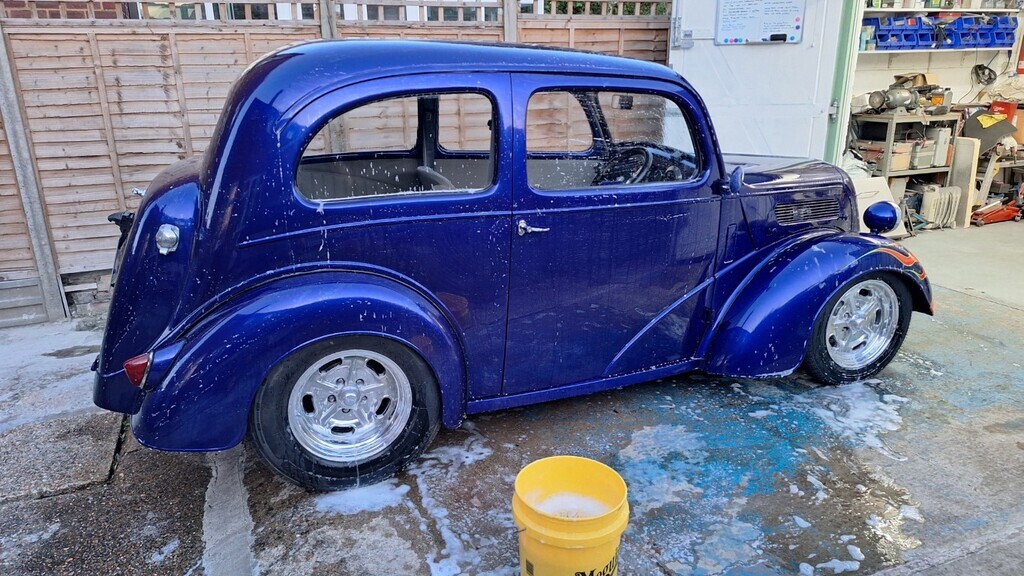 And........it's done  .........well almost, there are a few smaller jobs still to do but it's done enough for now and I promised it would be done for the Supernats for Andy & Kim. It does need some stiffer springs on the front - it's dropped about 5/8" from the height it was set at when I welded in the suspension, but we expected that. Andy will have to be careful over speed humps and kerbs for the time being. 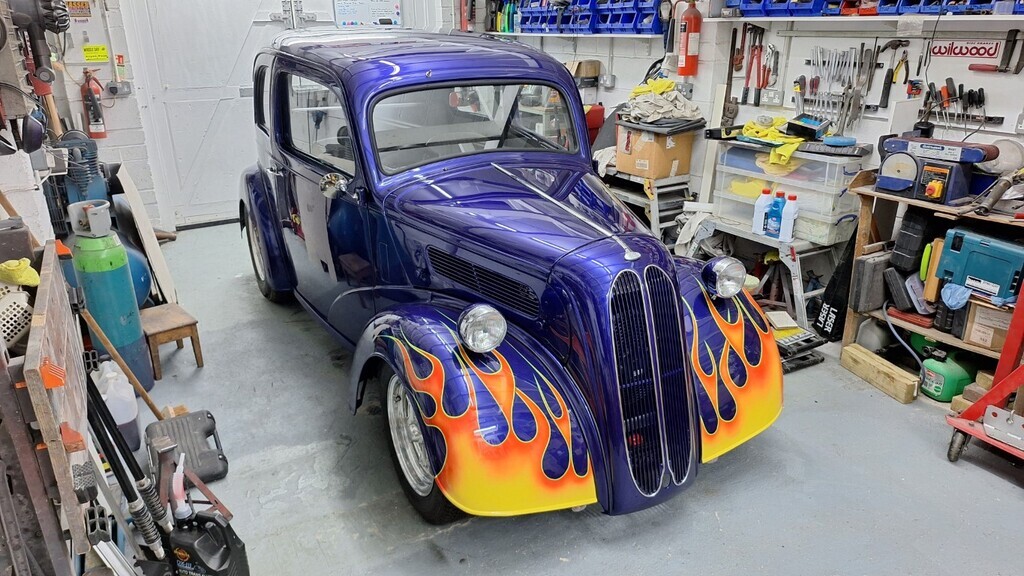 I'll take it back to Andy tomorrow evening.
|
| |
|
|
mk2cossie
Club Retro Rides Member
Posts: 3,062  Club RR Member Number: 77
Member is Online
|
|
|
|
Amazing work there blackpopracing  I hope Andy is over the moon with it, I know I would be  |
| |
|
|
|
|
|
|
|
Amazing work there blackpopracing  I hope Andy is over the moon with it, I know I would be  Same here, wonderful work not to mention the dedication and single mindedness to get the job done to the highest of standards. Well done Mark, we are all in awe of what you have achieved. |
| |
|
|


