Brigsy
Part of things
 
Posts: 617
|
|
|
|
|
|
| |
|
|
|
|
fer4l
Posted a lot
   Testing
Posts: 1,497
Club RR Member Number: 73
|
|
|
|
|
Looking great !!!
|
| |
|
|
Brigsy
Part of things
 
Posts: 617
|
|
Feb 16, 2020 22:18:35 GMT
|
|
|
| |
|
|
Adey
Posted a lot
  
Posts: 1,443
Club RR Member Number: 171
|
|
Feb 17, 2020 21:01:10 GMT
|
|
havent been on rr for ages, didnt realise you had updated over here too, nice tidy work as always man
|
| |
|
|
Brigsy
Part of things
 
Posts: 617
|
|
Mar 30, 2020 11:14:06 GMT
|
|
|
| |
|
|
Brigsy
Part of things
 
Posts: 617
|
|
Mar 30, 2020 11:24:05 GMT
|
Time for fuel system Made a bracket out of 3mm steel to drop the fuel pump level with the outlet on the swirl pot 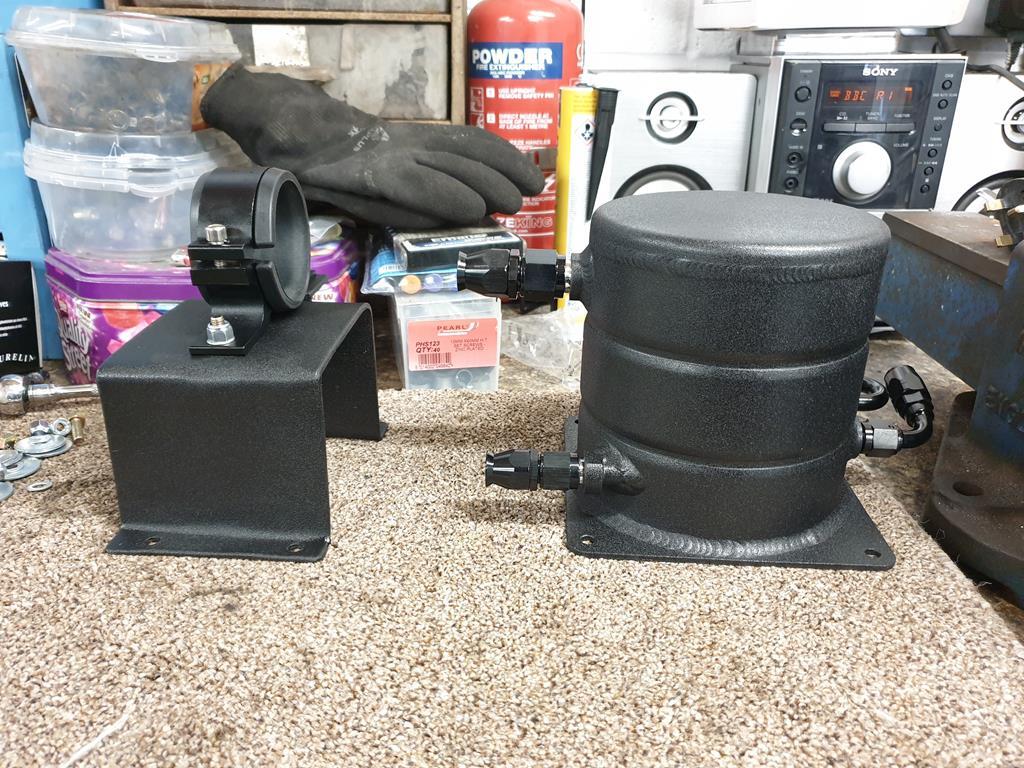 Mtrs and mtrs of an6 ptfe hose to fit 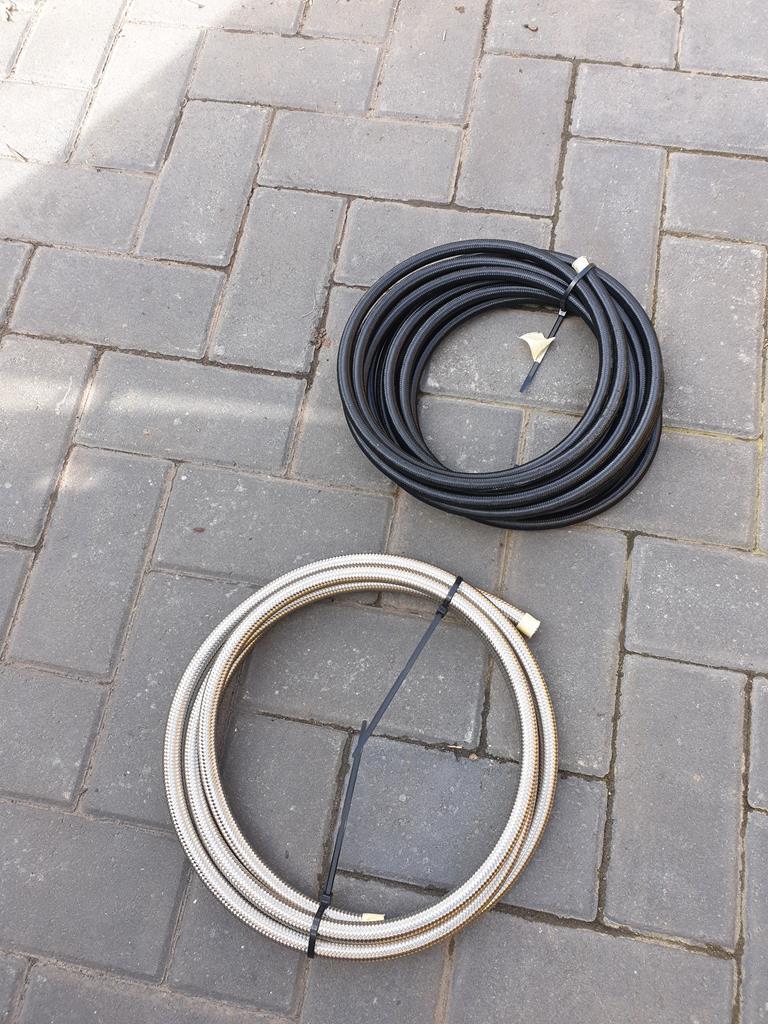 Horrible job to do on your back on the drive 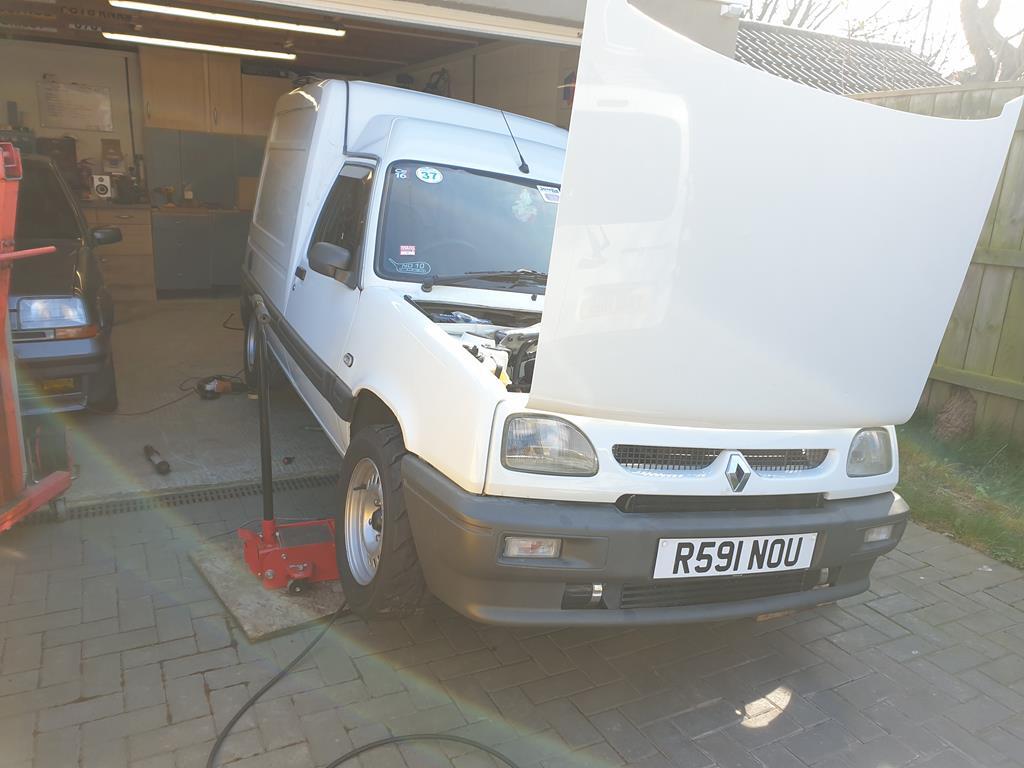 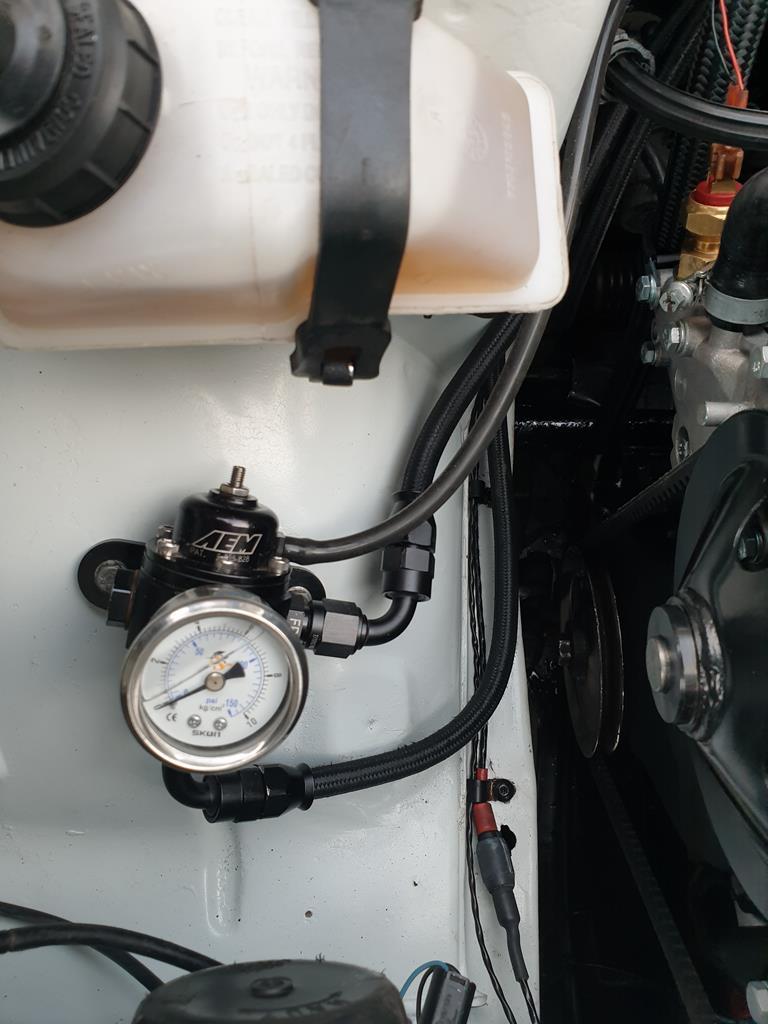 1.5ltr top mount Swirl pot and aps fuel pump fitted, using original pump as lift. 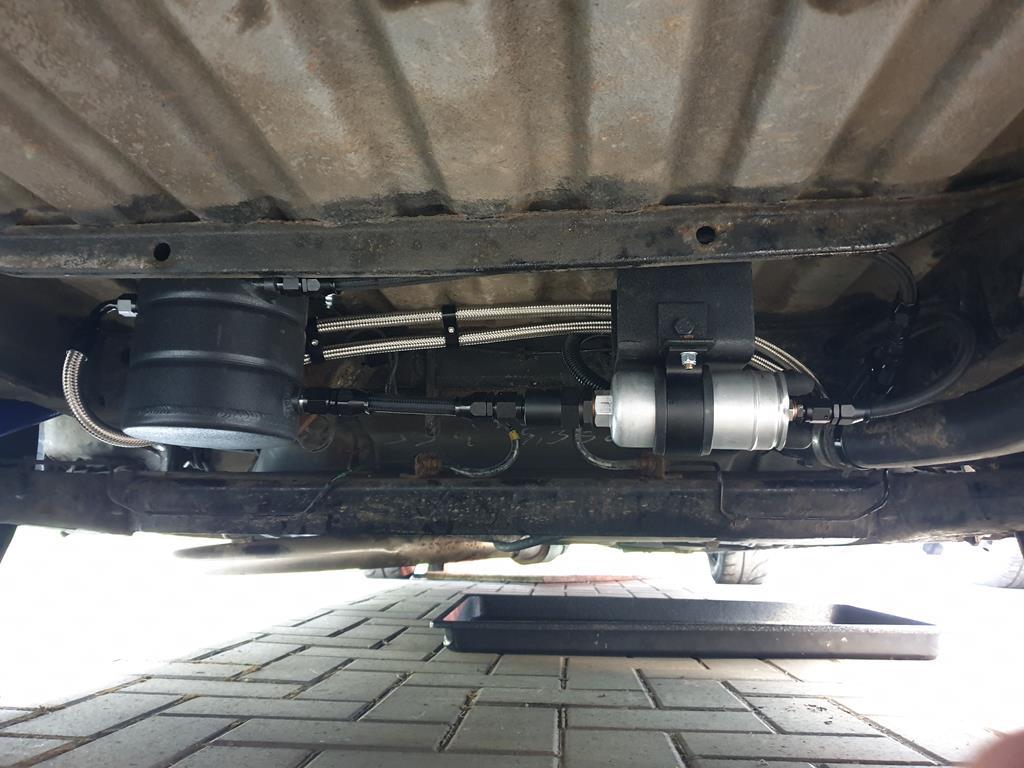 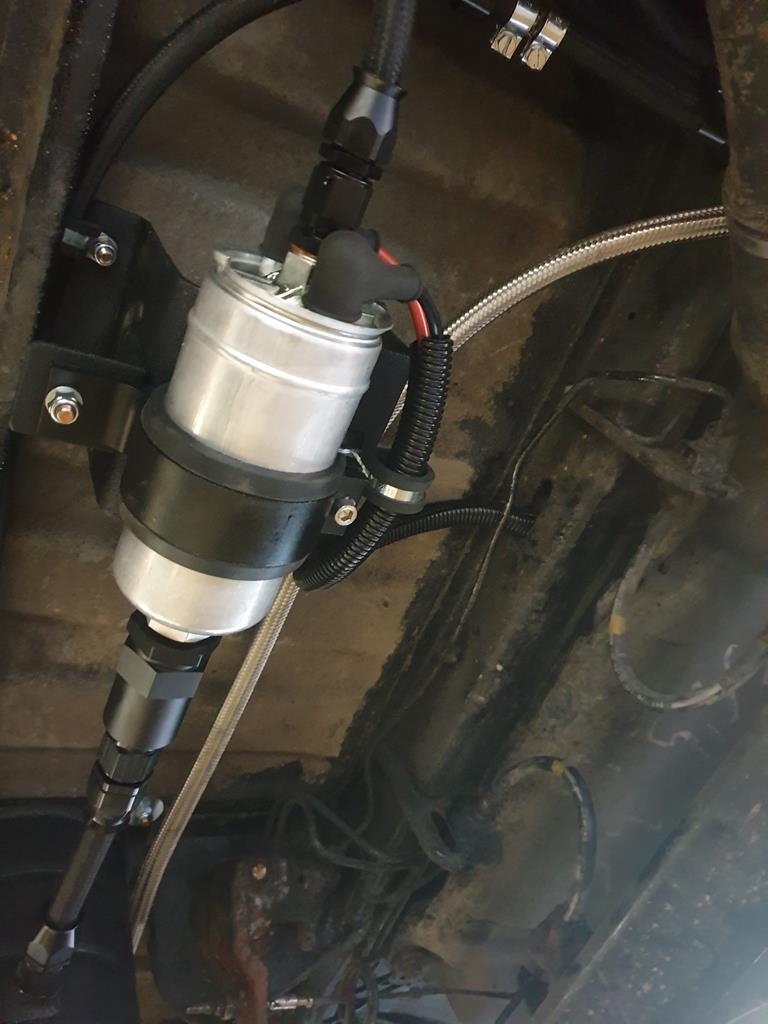 40a relays for each pump and heavy duty 6mm wiring to main pump. 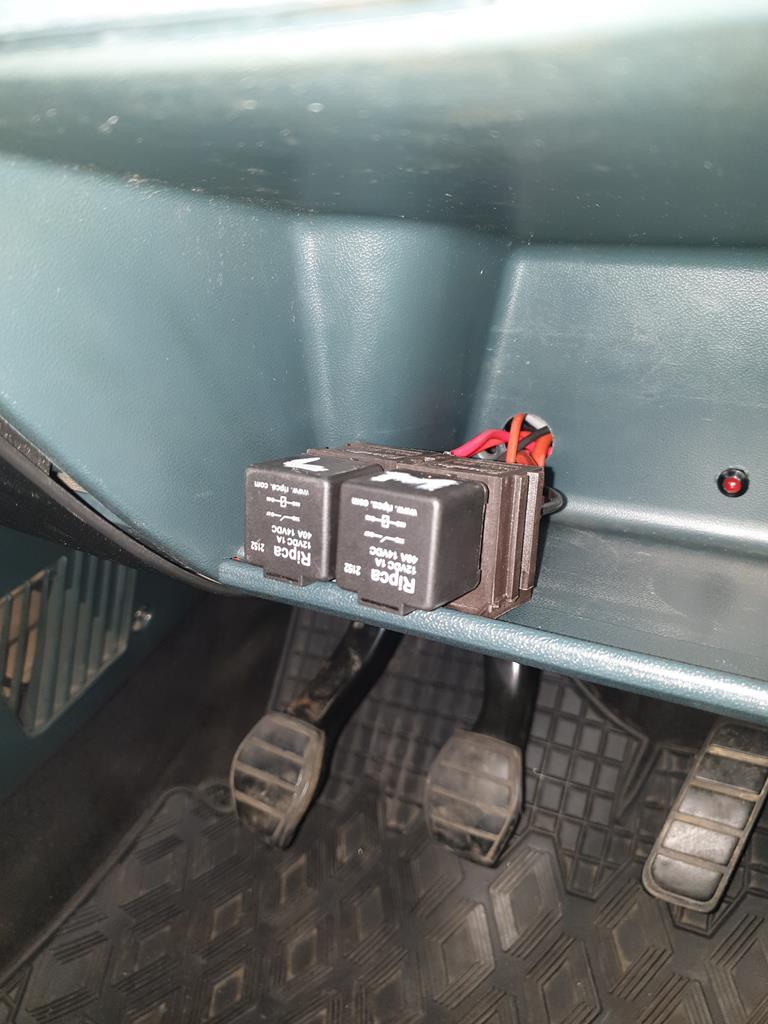 |
| |
|
|
Brigsy
Part of things
 
Posts: 617
|
|
Mar 30, 2020 11:34:07 GMT
|
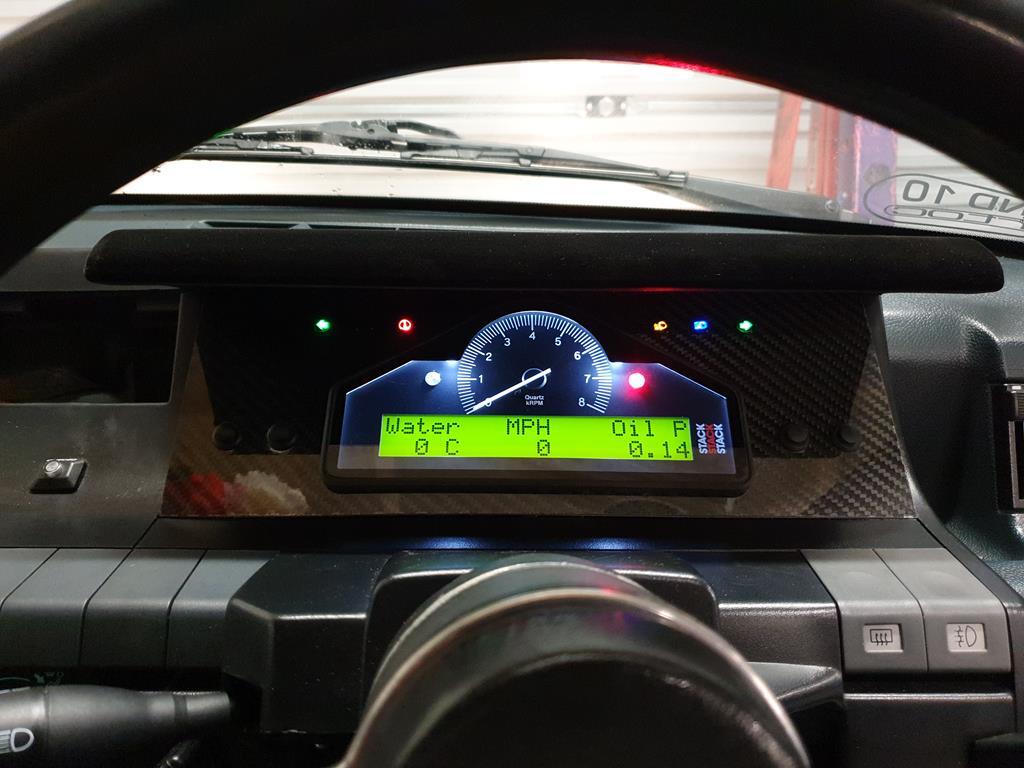
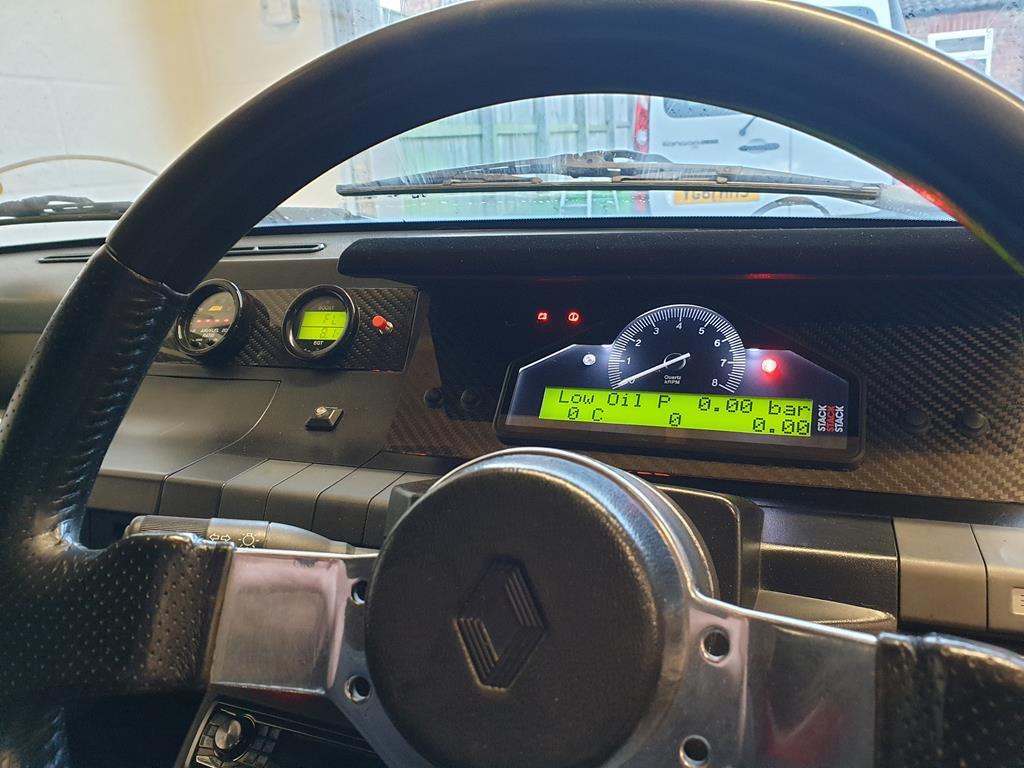
Bridged lift pump wiring and checked for fuel leaks and to fill swirl pot, only needed to nip one clip up on fuel filter, fired main pump up and no leaks on high pressure side. Filled the oil up with mineral oil, primed the oil system up with a drill to lubricate before first start. Primed up straight away and seen a healthy 4bar which is good for the c series engine Tickled the starter and seen rpm on the laptop so plugged the fuel pump relays in and went for it. Was a nice moment to hear it wanting to fire straight away as i had changed quite a few parts and had to configure the trigger pattern myself for the new flywheel. Stack dash fired up Ran it up to temp, little bit smokey initially from oil in the bores but soon cleared, sounds good so pleased with that. Pulled a plug to check after run up, looks ok 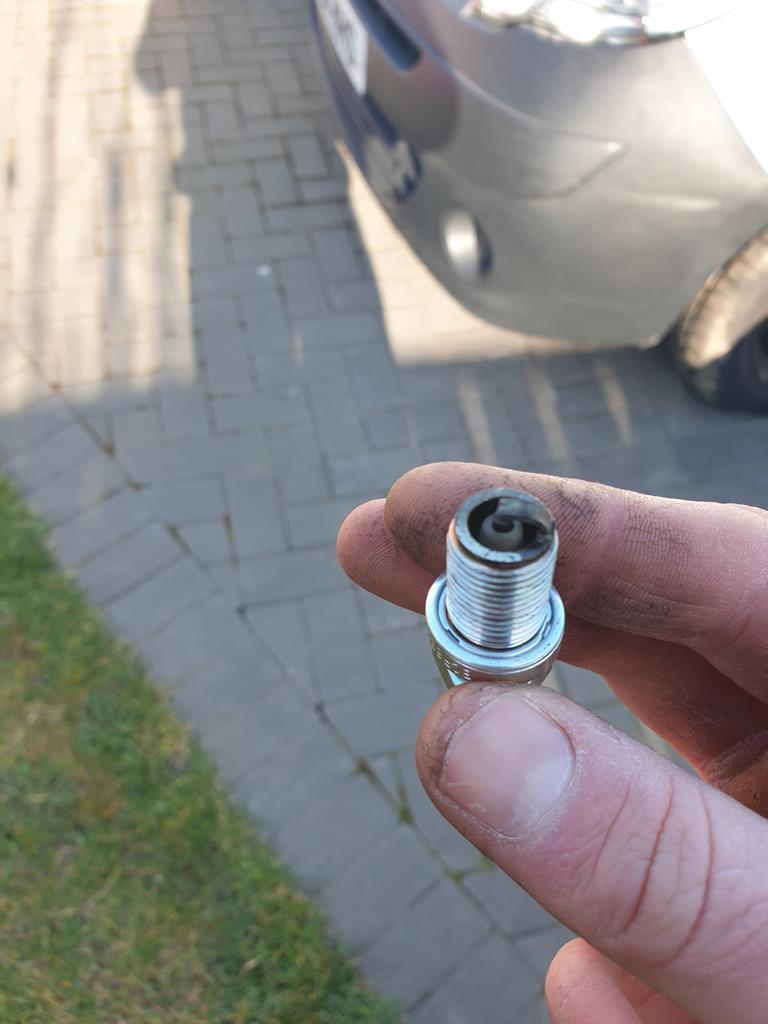 Interestingly it fired up although a bit lean, 15 ish afr at around 2k rpm, noted egts rising quite fast to around 700deg, upped master trim on ecu to add more fuel richening afr to 13s and the egt instantly dropped to 500deg. Never had an egt gauge hooked up so was a novelty to see. Few small coolant leaks to attend to and a few small jobs to do but should be good for first run after lockdown ends. Thanks for reading! |
| |
|
|
Adey
Posted a lot
  
Posts: 1,443
Club RR Member Number: 171
|
|
Mar 30, 2020 12:30:47 GMT
|
|
Van of win
|
| |
|
|
Brigsy
Part of things
 
Posts: 617
|
|
|
|
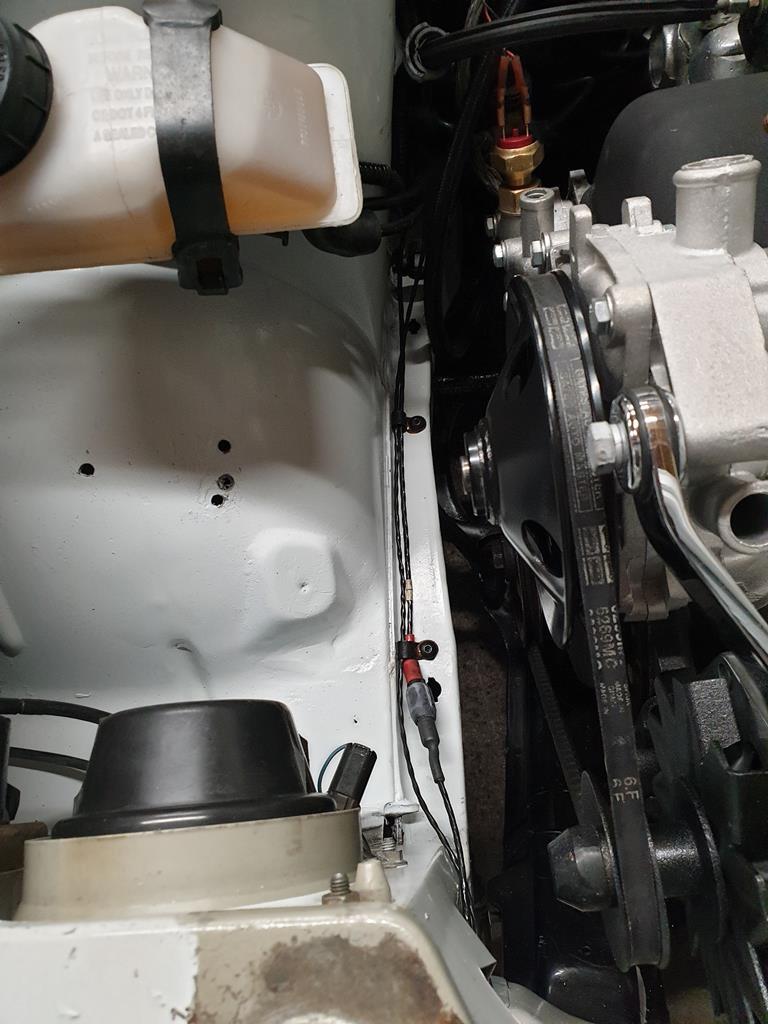
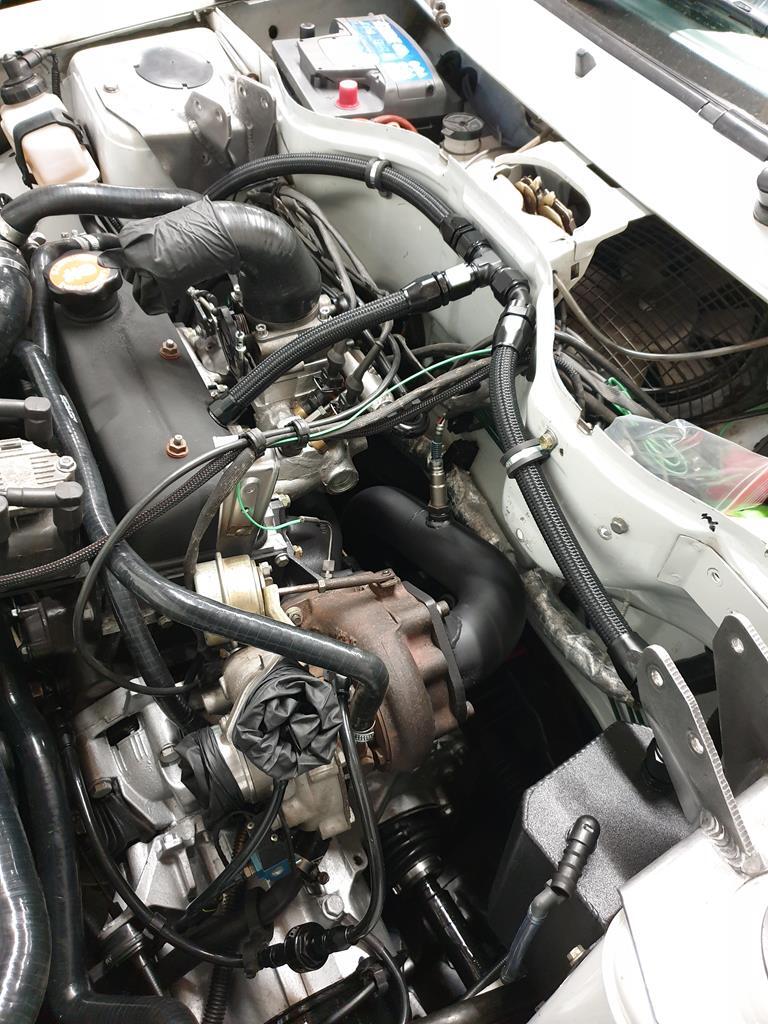
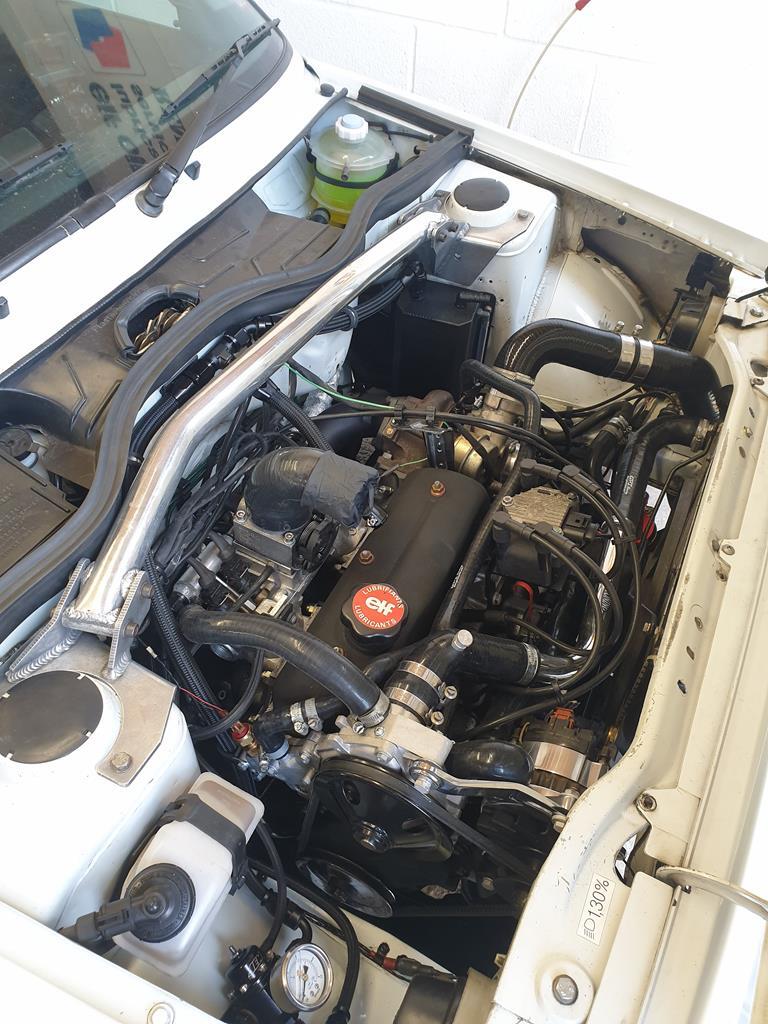
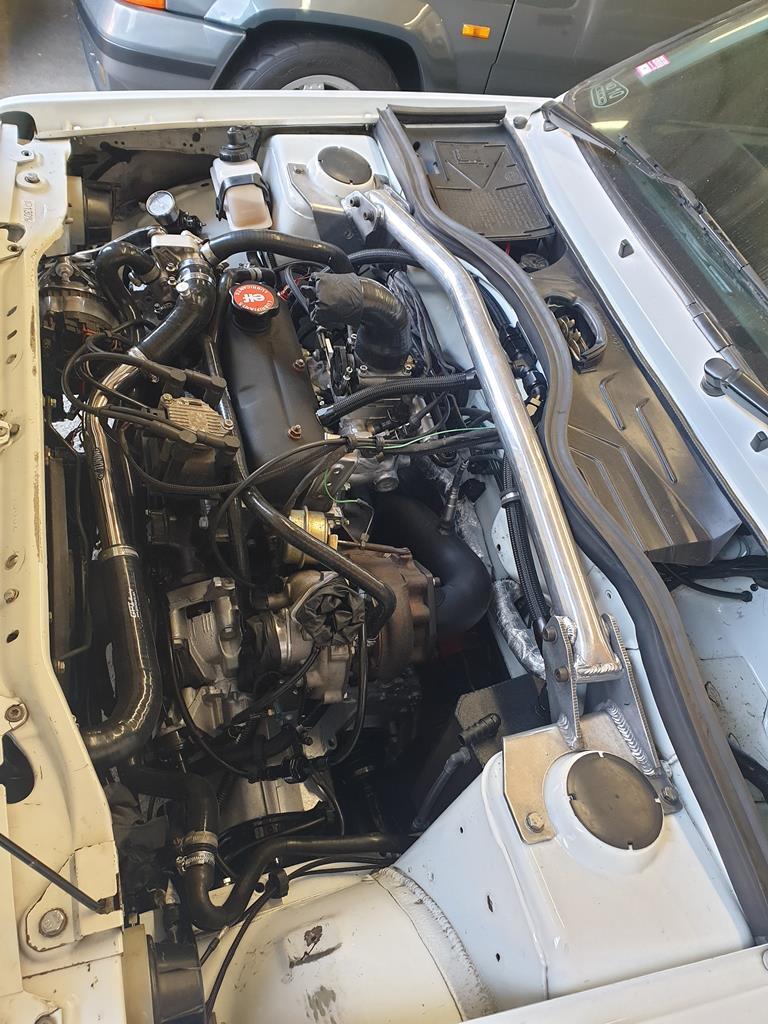
Ordered an Airtec cosworth grp a filter as the old JR cone filter i had was blue, did not really fit in with the new look. Forgot how big they are when unwrapping 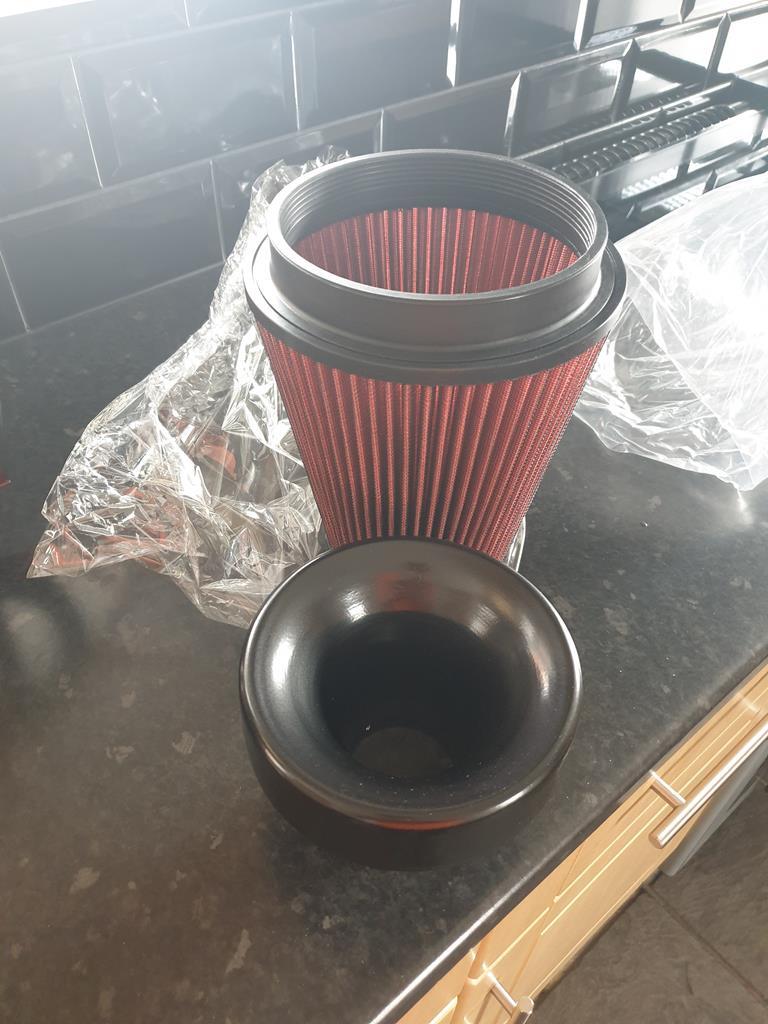 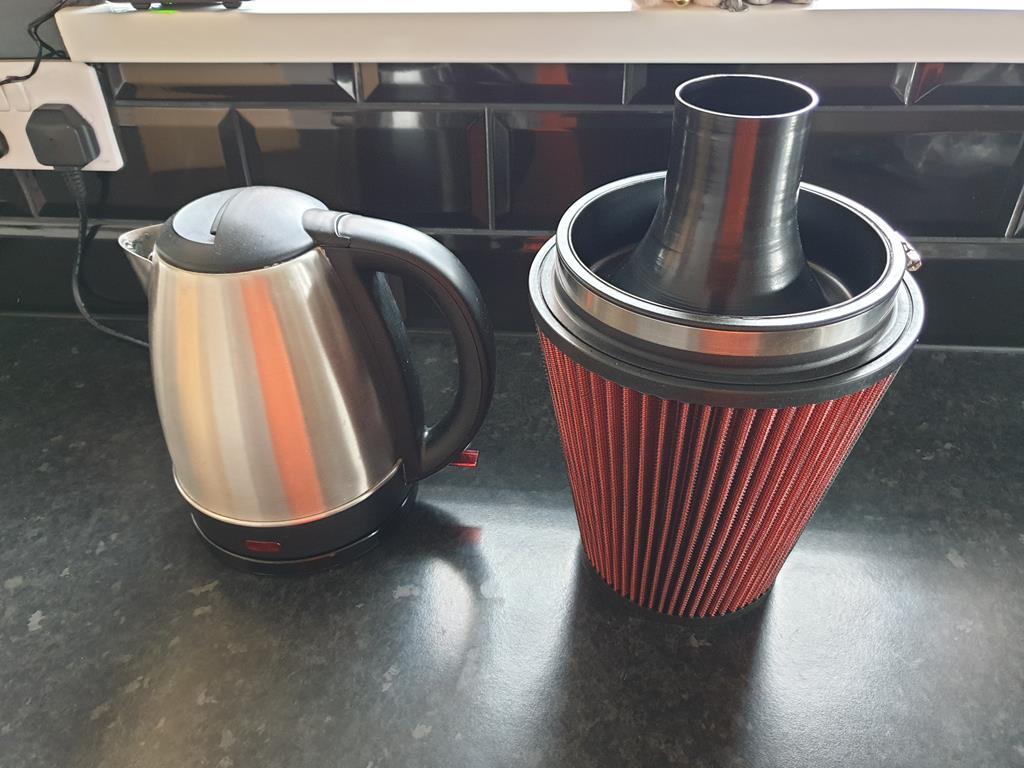 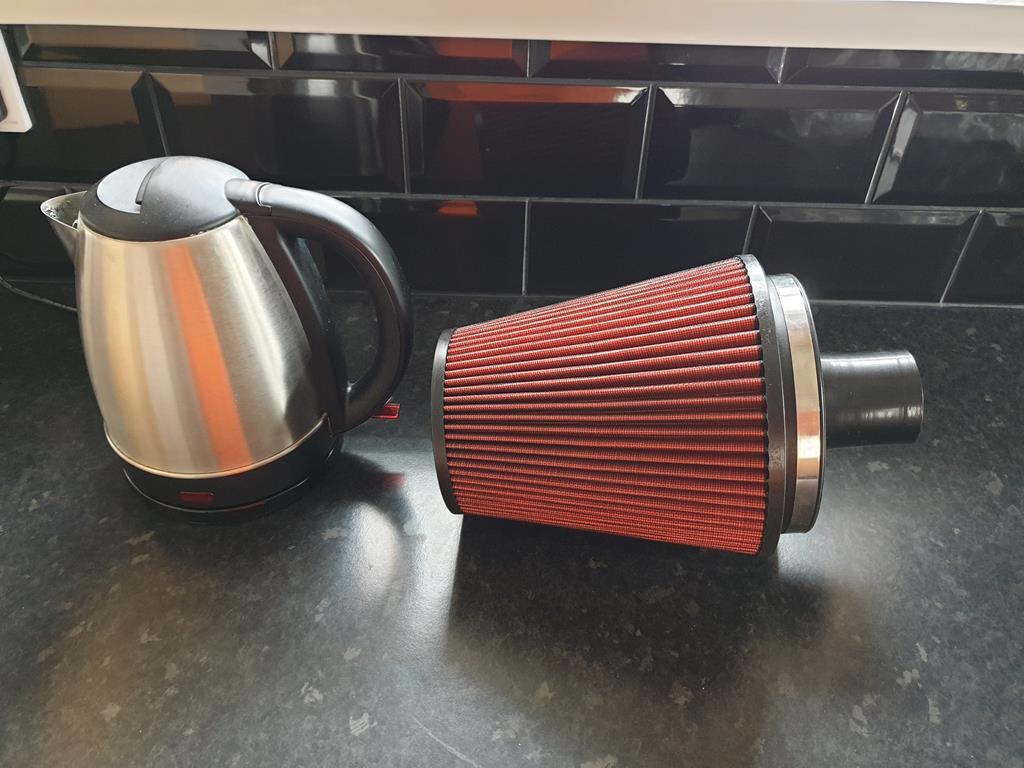 Fitted, i planned on boxing it in but too big so can stay as is. 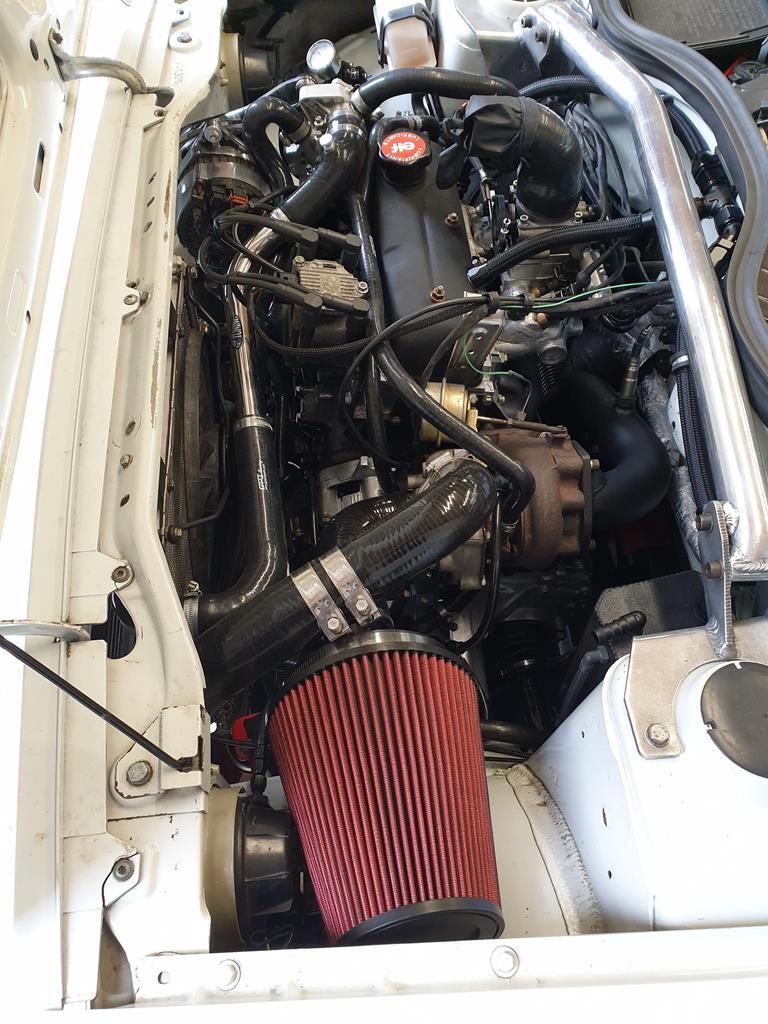 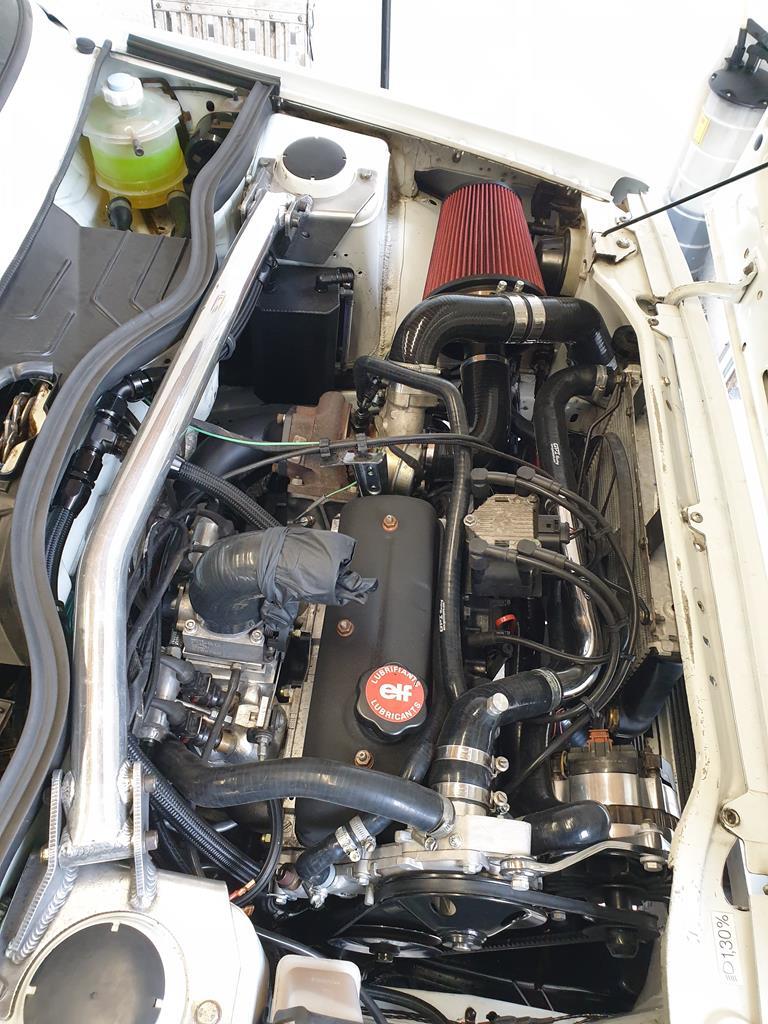 Added some fuses for both fuel pumps under the bonnet. 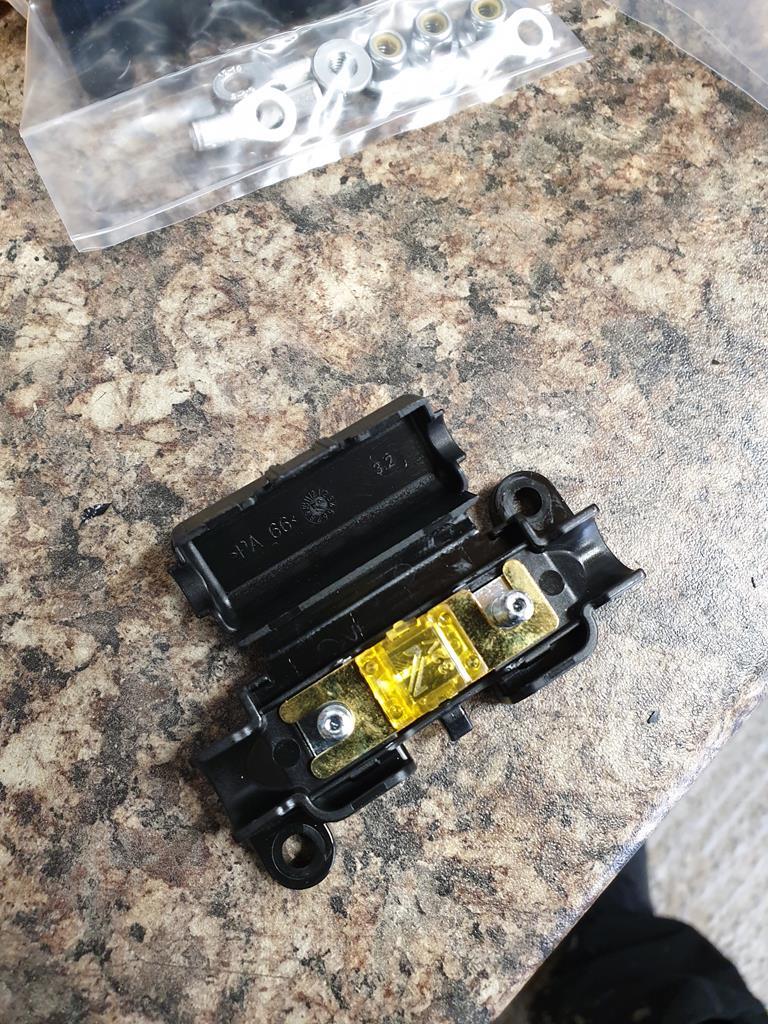 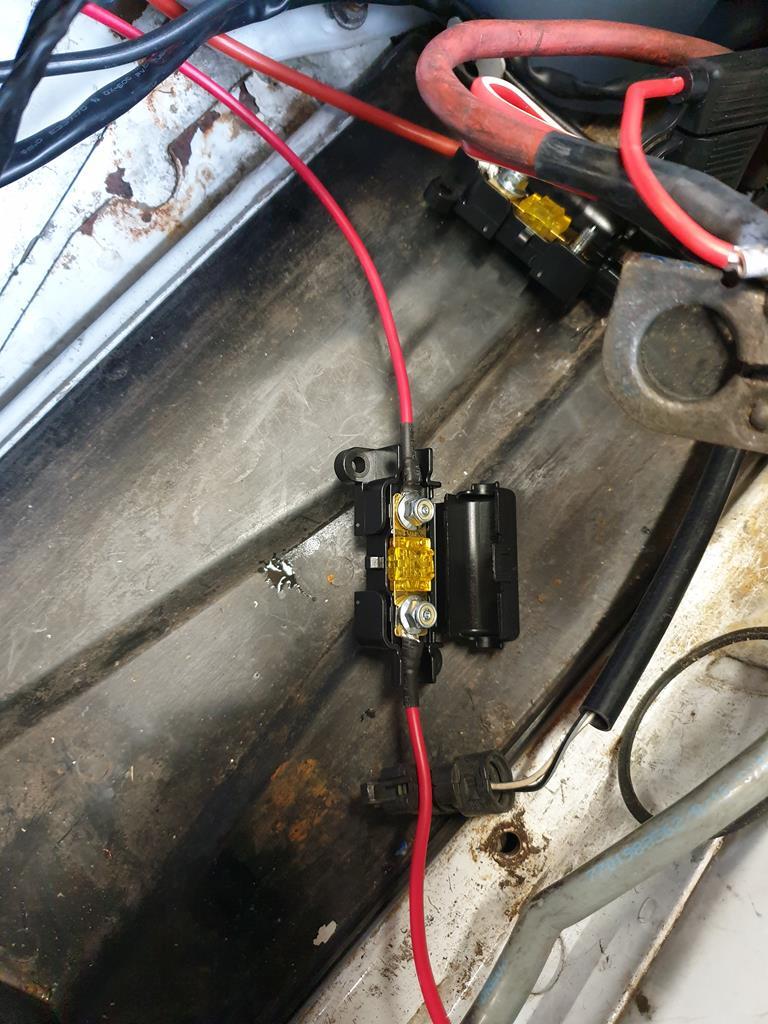 Awaiting a few small parts and should be complete in the engine bay soon. Thanks for reading! |
| |
|
|
|
|
|
|
|
|
What heat soak protection will you be fitting around the turbo and exhaust connection pipe?
Nice set up with minimal turbo lag potential.
|
| |
|
|
|
|
Brigsy
Part of things
 
Posts: 617
|
|
|
|
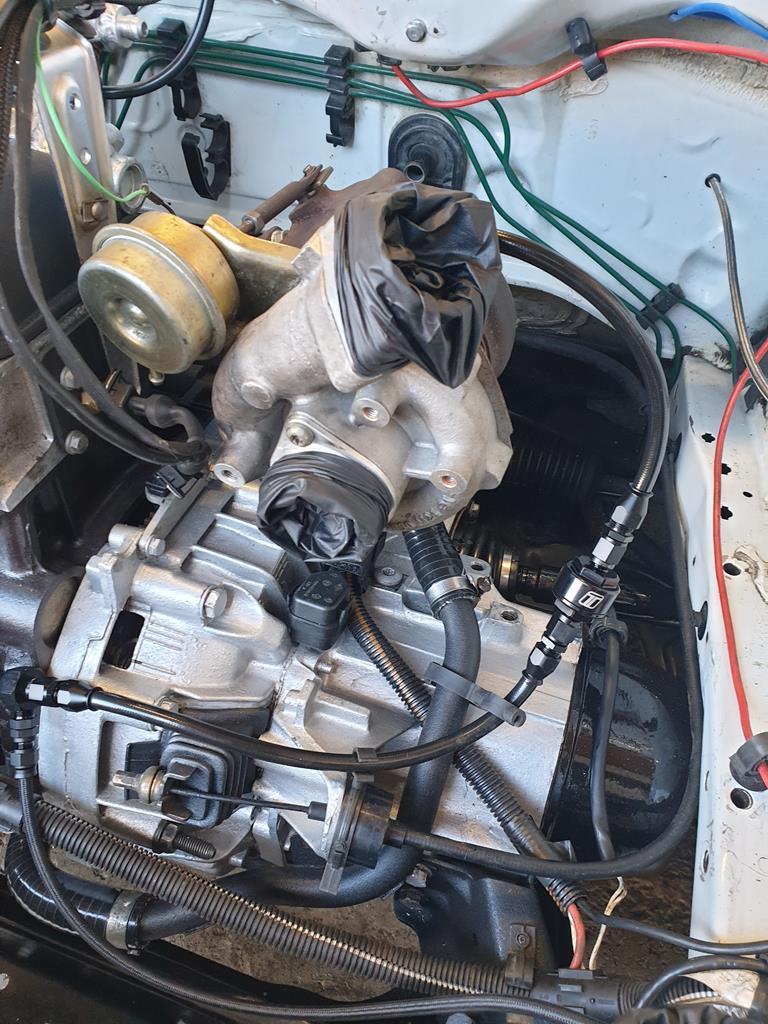
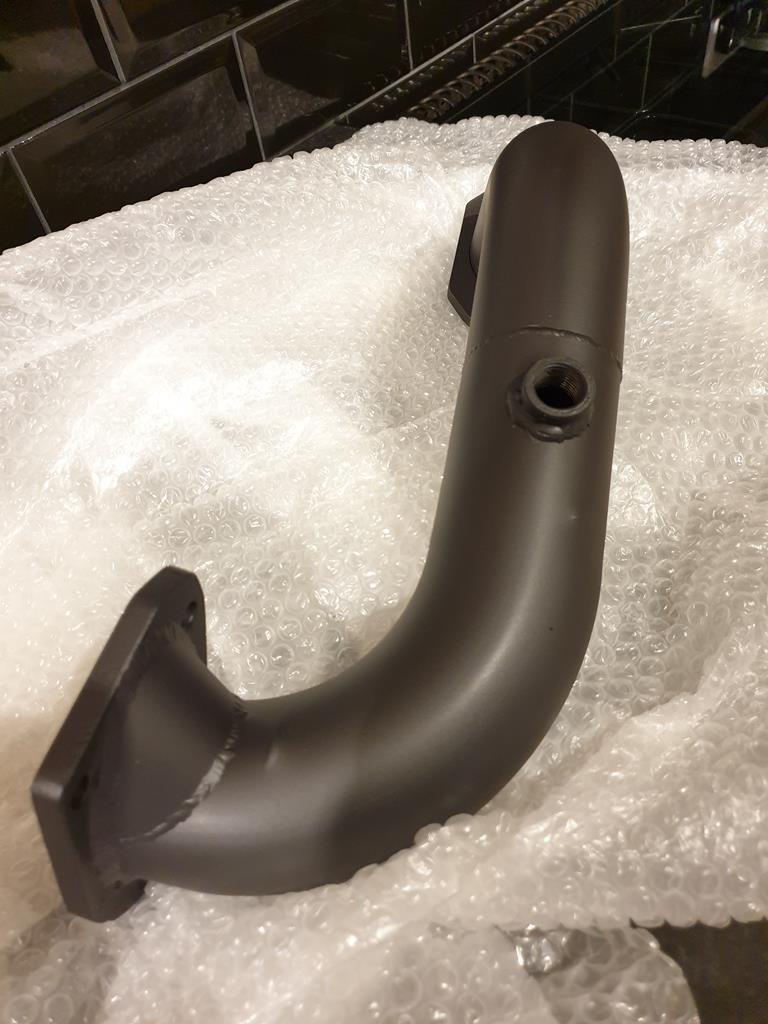
What heat soak protection will you be fitting around the turbo and exhaust connection pipe? Nice set up with minimal turbo lag potential. Cheers mate, hoping the fuel injection and raised comp should give it more response over the previous setup. Did not have any issues in past with no heatshielding and track use, however I'm thinking about putting a bag on the exhaust housing this time round. I really wanted to get the turbo exhaust housing ceramic coated to match the downpipe and manifold, but I'm toying with changing the turbo for a garrett gtx2860r gen2 soon. In hindsight should have sent it off as the price was fine, but messed about and did not want any more delays as the lead time was a few weeks. Ive ordered some nice heatproof sleeving for all wiring above the turbo just waiting for it to arrive. Also I'm moving my charge temp sensor from the manifold to the boost pipe, just before throttle body as the sensor sees a lot of heatsoak in the inlet manifold. Also looking at some pressed louvres in the bonnet for cooling, as the front end could do with a paint. Cant wait to get it out and run in post lockdown. |
| |
Last Edit: Apr 3, 2020 18:35:59 GMT by Brigsy
|
|
|
|
|
|
|
|
|
|
This is Grade A AWESOME.
Just make sure you get a grommet on the wires going through the bulkhead to the relays, it'd be tragedy to lose this beast to fire!
|
| |
1987 Supercharged BMW R1150 Citroen 2cv Hillclimb Monster
1995 Renault Master Mk1 Race Transporter
1994 Mazda MX5 Mk1 / NA Road Going Class Hillclimber
1991 UMM Alter II Crew Cab OM606 SuperTurbo Diesel MegaUMM Overlander
1992 UMM Alter II Station Wagon
1980 UMM Cournil - survivor - resto project
1979 Lomax 224
2014 VW T5.1 Transporter Kombi Highline
|
|
Brigsy
Part of things
 
Posts: 617
|
|
|
|
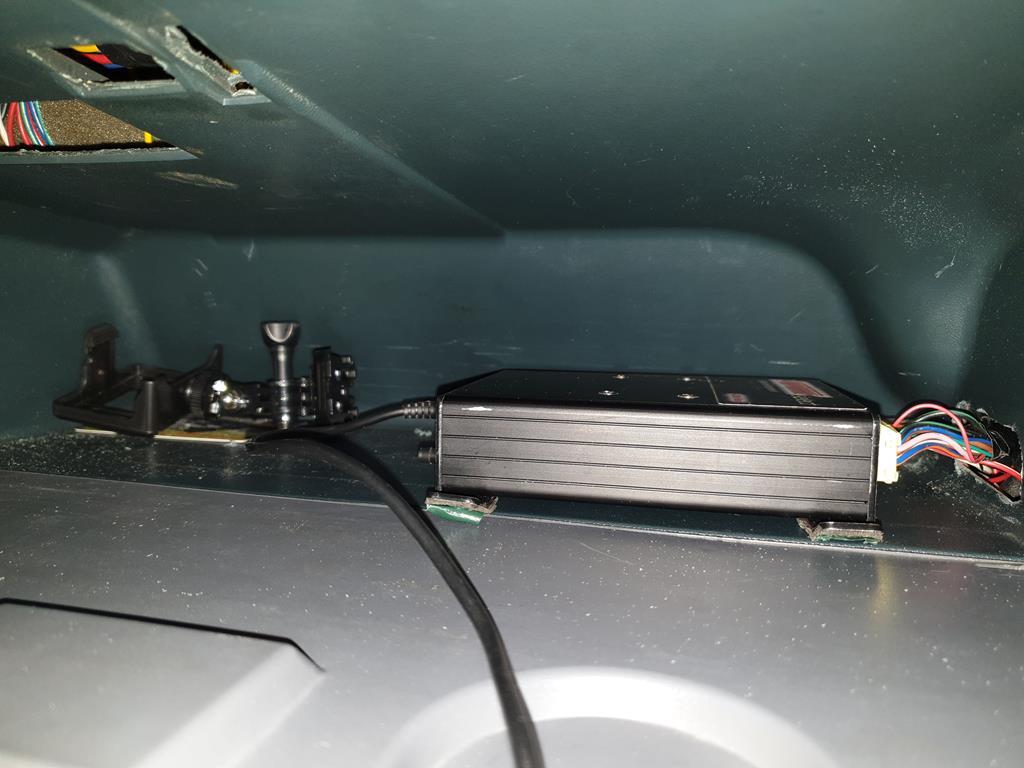
This is Grade A AWESOME. Just make sure you get a grommet on the wires going through the bulkhead to the relays, it'd be tragedy to lose this beast to fire! Cheers mate, i forgot to fit one to be fair, the dash is plastic with no sharp edges so not too much of a risk. All the wiring through the metal bulkhead has grommets on. Fitted one now to keep it tidy. 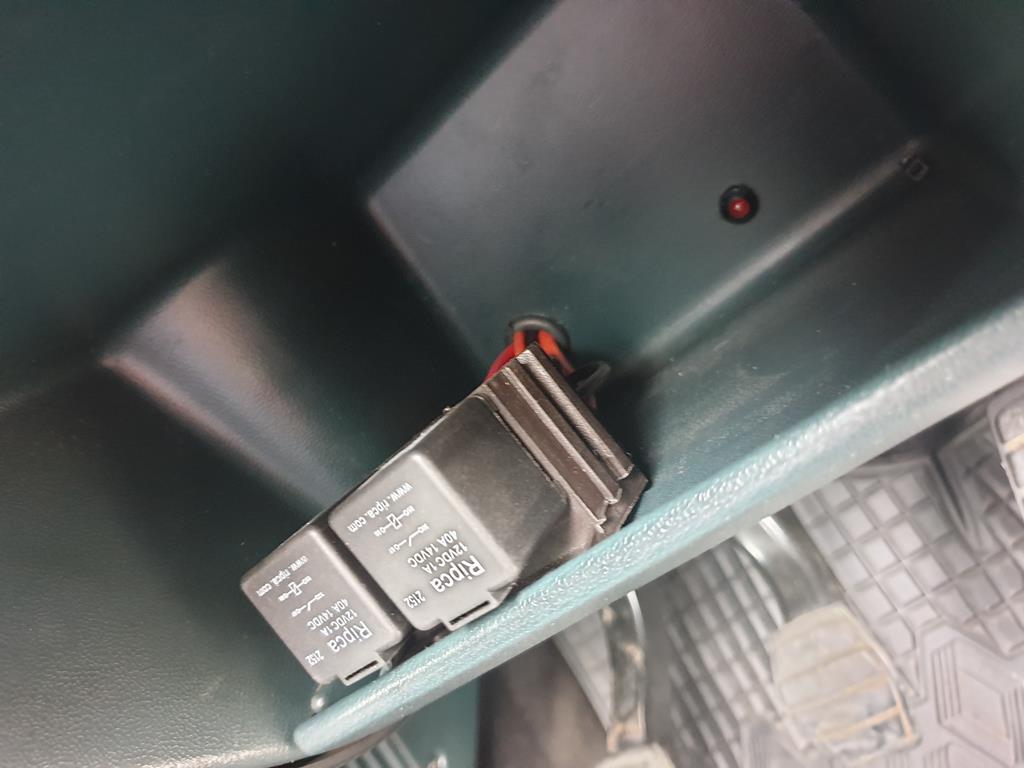 |
| |
|
|
Brigsy
Part of things
 
Posts: 617
|
|
|
|
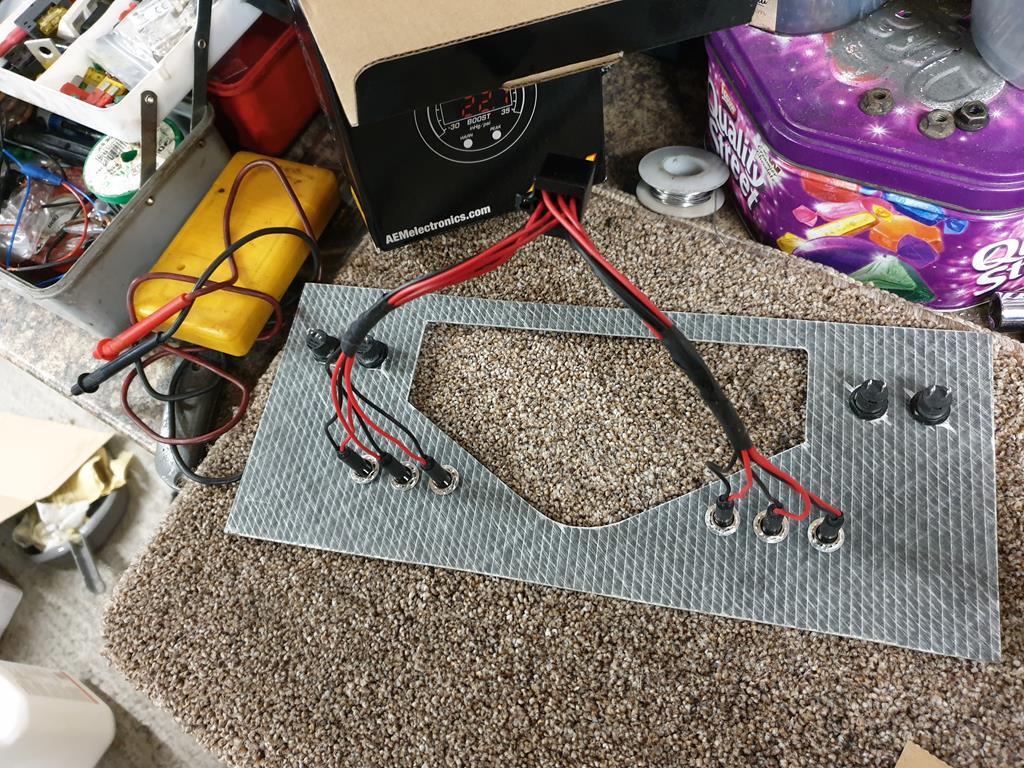
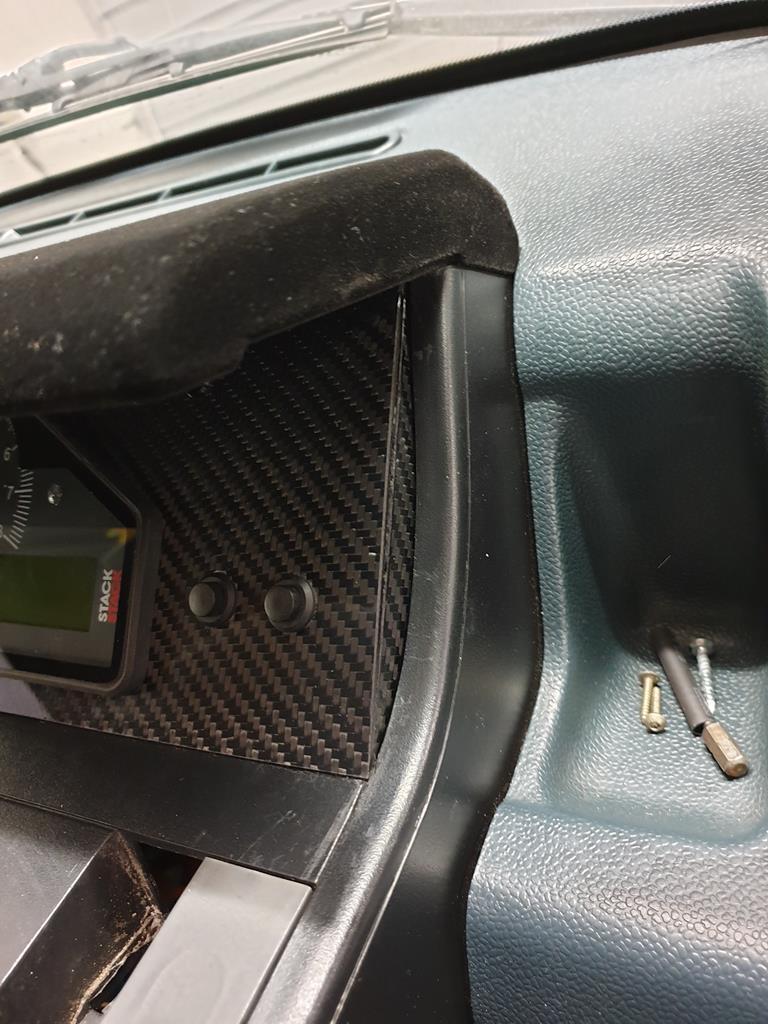
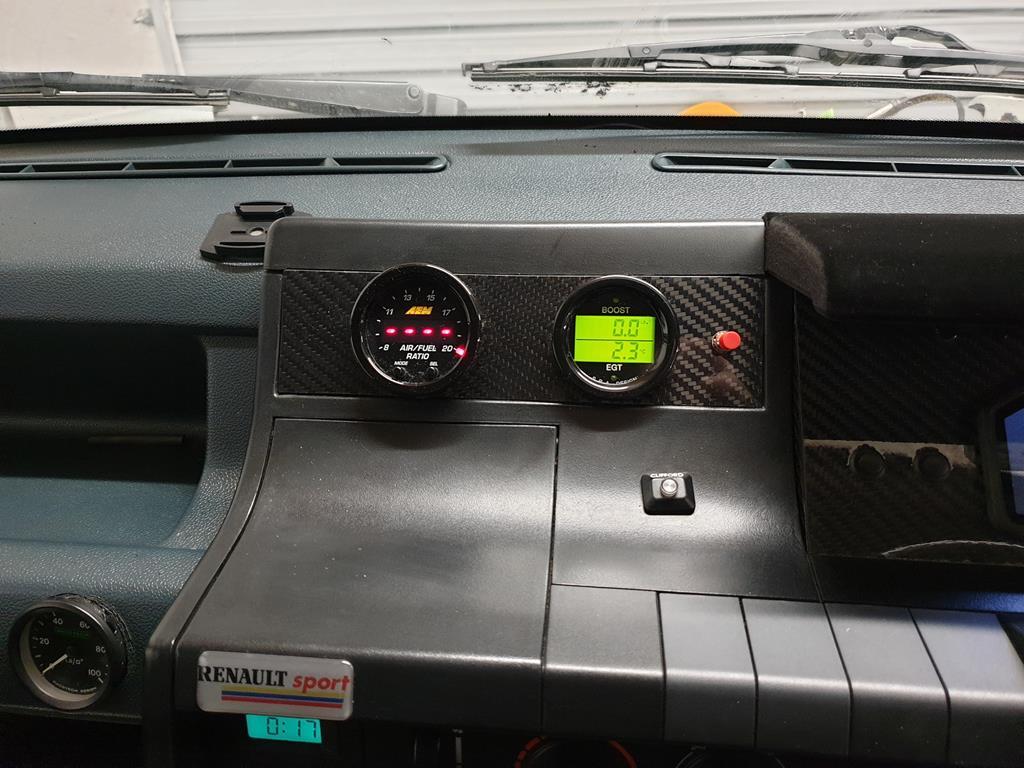
Updates from the weekend, Awaiting parts to finish off under the bonnet so cant really go any furthur forward until they arrive so doing the little bits. Finished the last little bits in the interior and give it a good clean up. 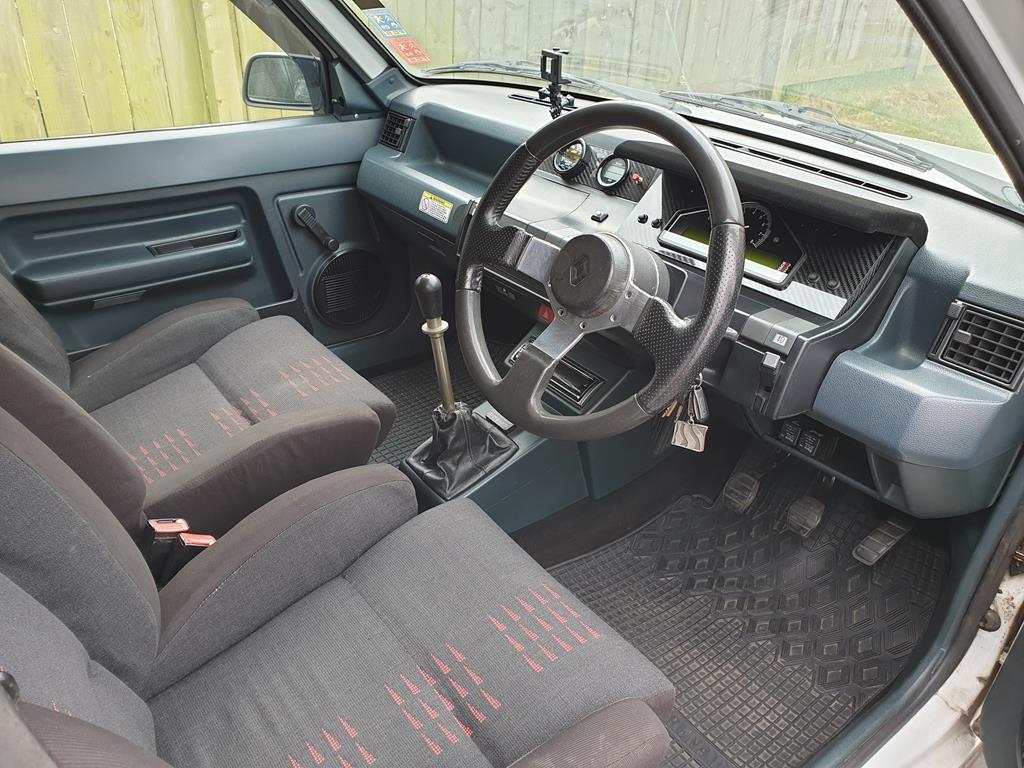 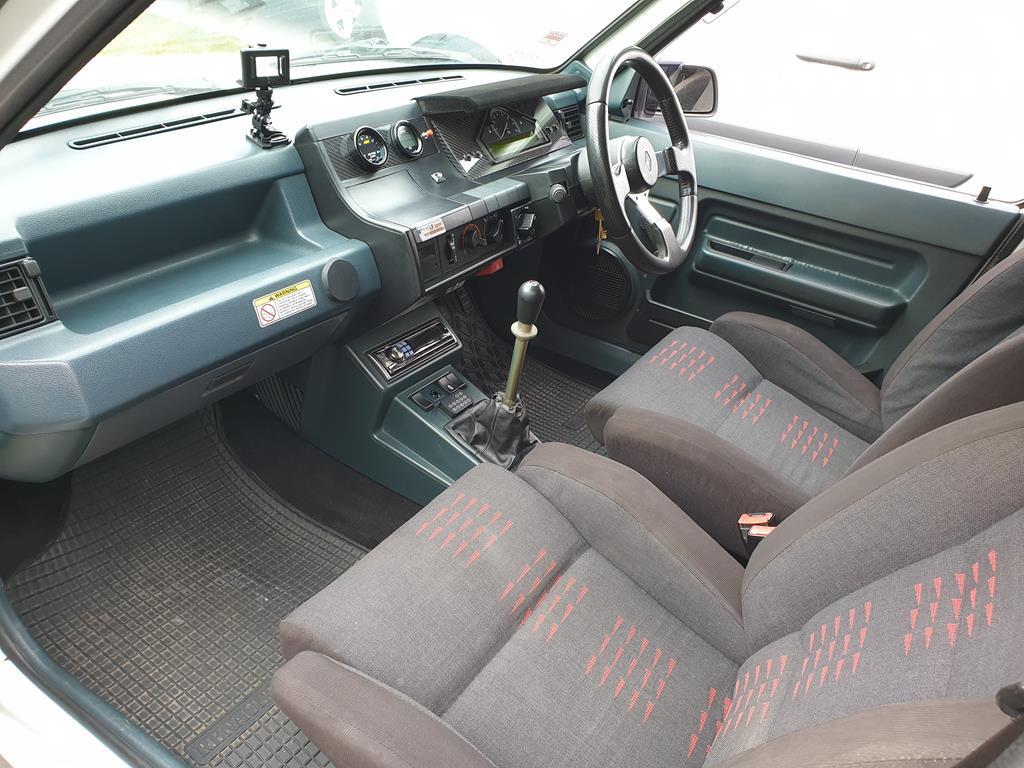 Not too keen on the polished steering wheel anymore and fancied a change, so dug out a spare steering wheel and give it a makeover with bedliner paint, as i love the textured hard wearing finish. The boss was looking tatty so give that a once over too. 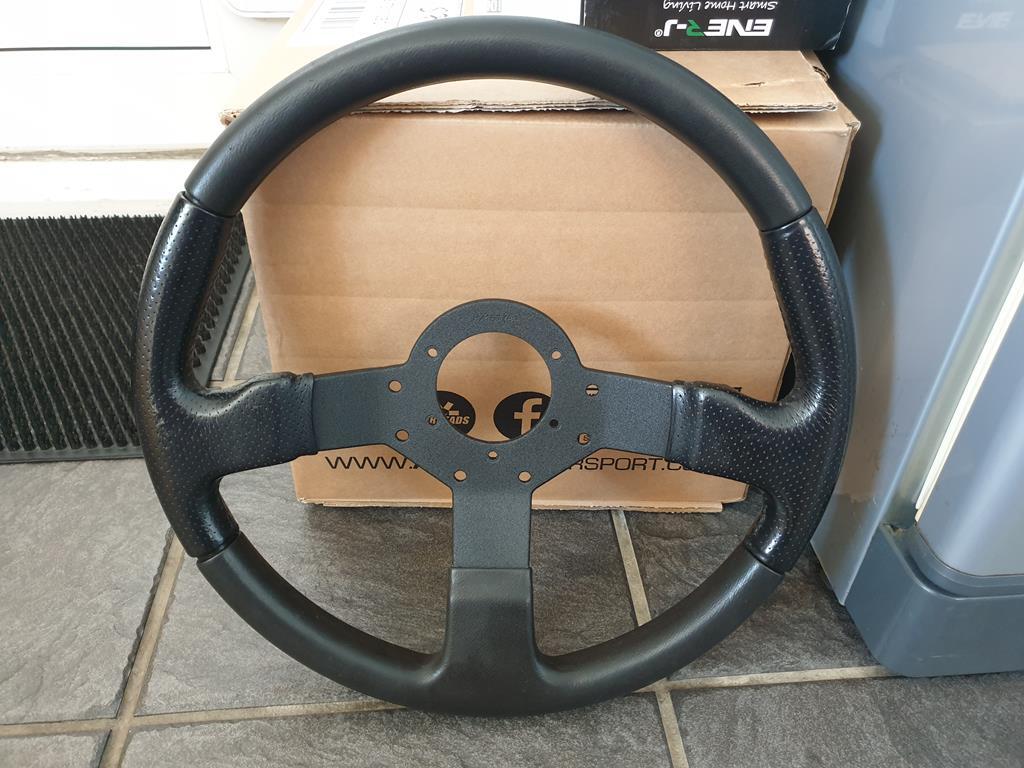 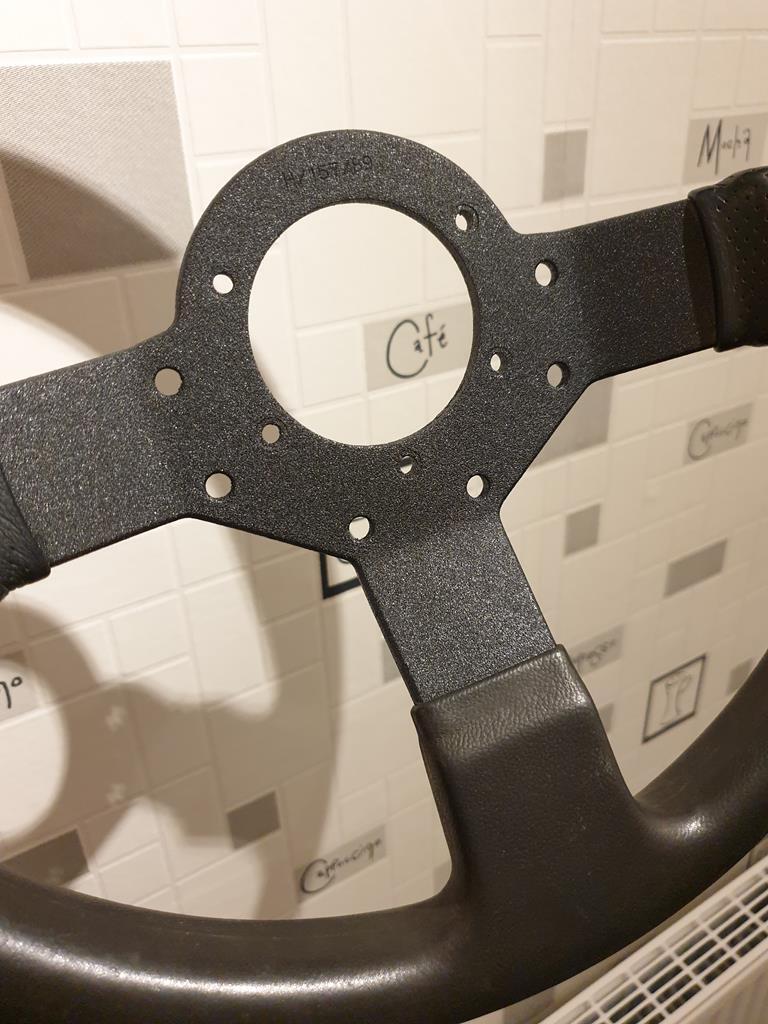 Fitted, looks more oem+ 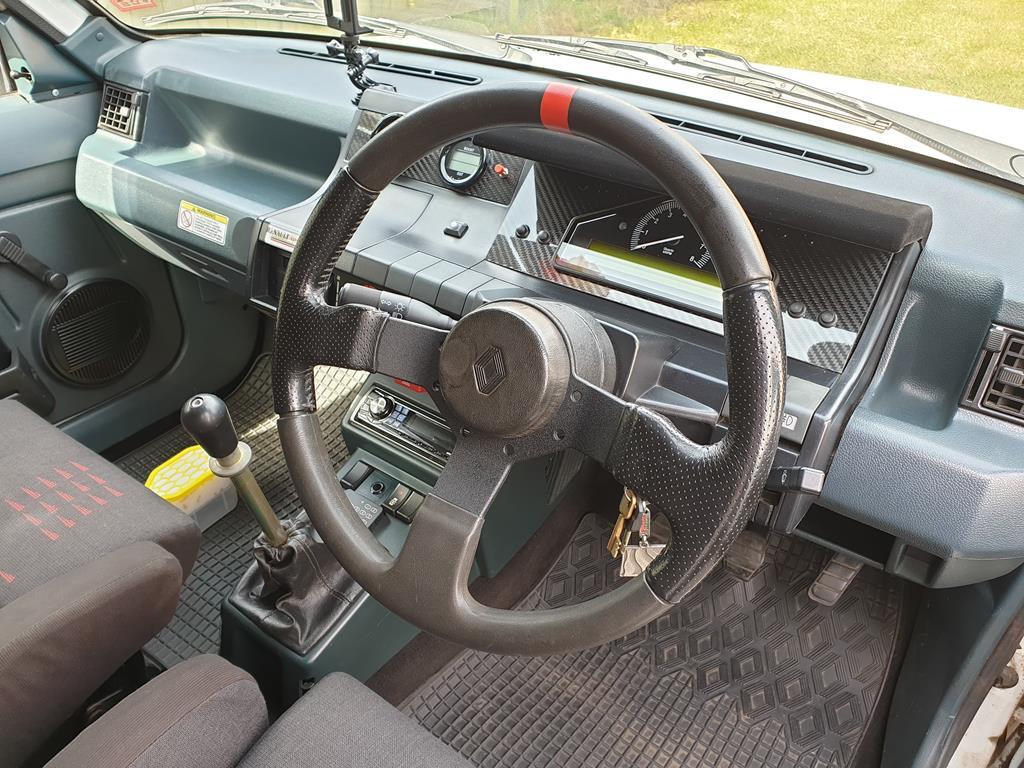 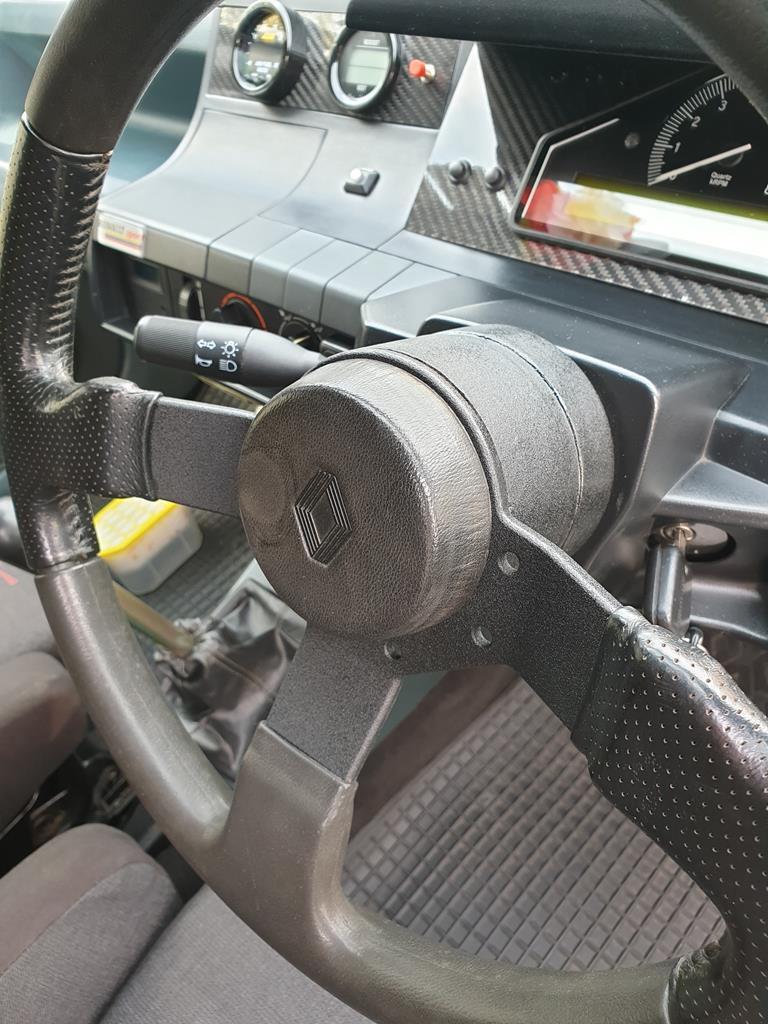 Pulled out the Leda front coilovers i bought a while back to clean up and check condition. The bloke who i bought them off reckoned he pushed them down once a month to keep the seals in good nick, i call Bullplop to that as the springs are solid and i cannot move them whatsoever when built up. I planned on doing this ages ago but did not have a socket the right size to remove the top nut, i took one of the legs down to my local garage and they did not have one either! Eventually we found out that it is a 26mm socket, queer size for whatever reason. Ebay to the rescue for a 26mm impact socket! Gunned the nut off with my Dewalt no bother and stripped down, solid compbrake top mounts removed and springs off to reveal 350lb and 8" long. No way did the previous owner compress these by hand, unless hes superman lol. 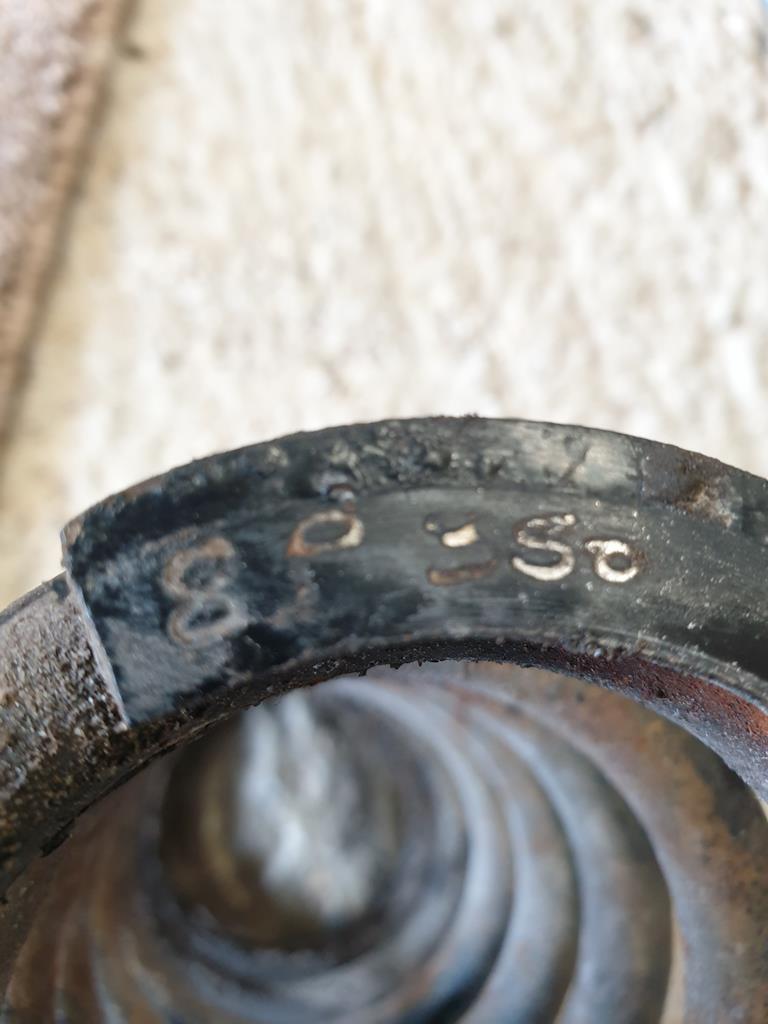 Stripped, threads cleaned, degreased. Checked both shafts for movement and work fine, damping works ok. I was not too worried if as the price to get them rebuilt from Leda is not too expensive. Stripped top mounts down and regreased the spherical bearings as dry, could probably do with renewing them soon but ok for now. 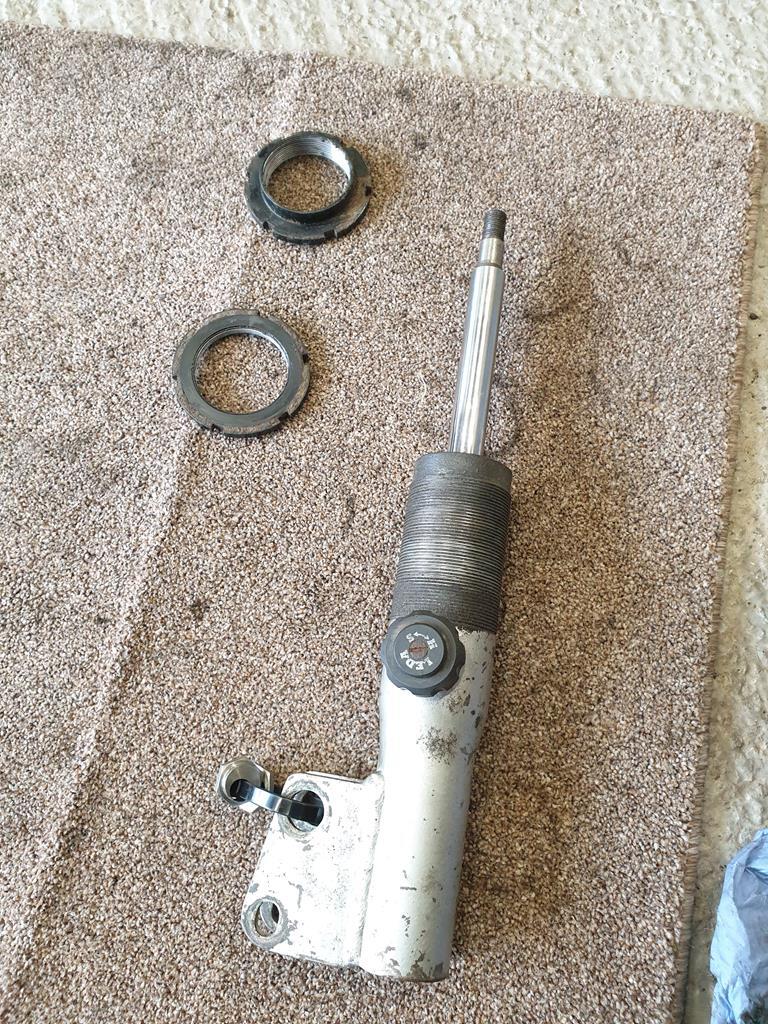 Rebuilt, threads greased with anti corrosion grease, and coated in acf50. I was very tempted to paint them black with bedliner paint but the tin is nearly empty. Just noticed i put one top mount on upside down, only loosely fitted though for now. 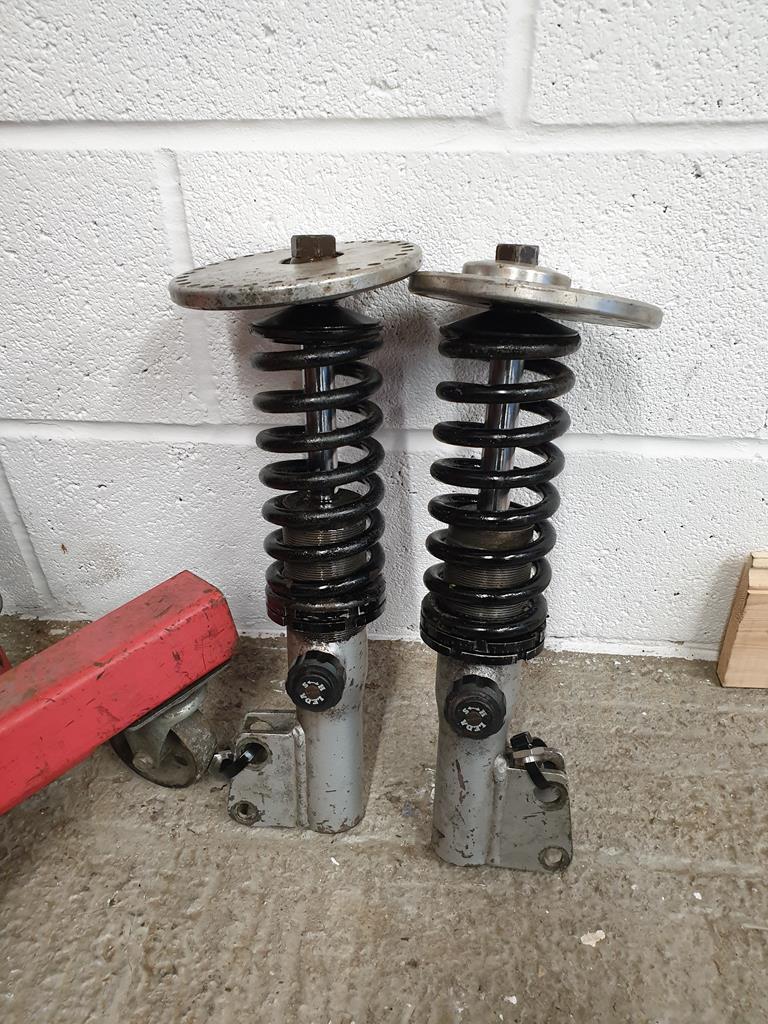 |
| |
|
|
Brigsy
Part of things
 
Posts: 617
|
|
|
|
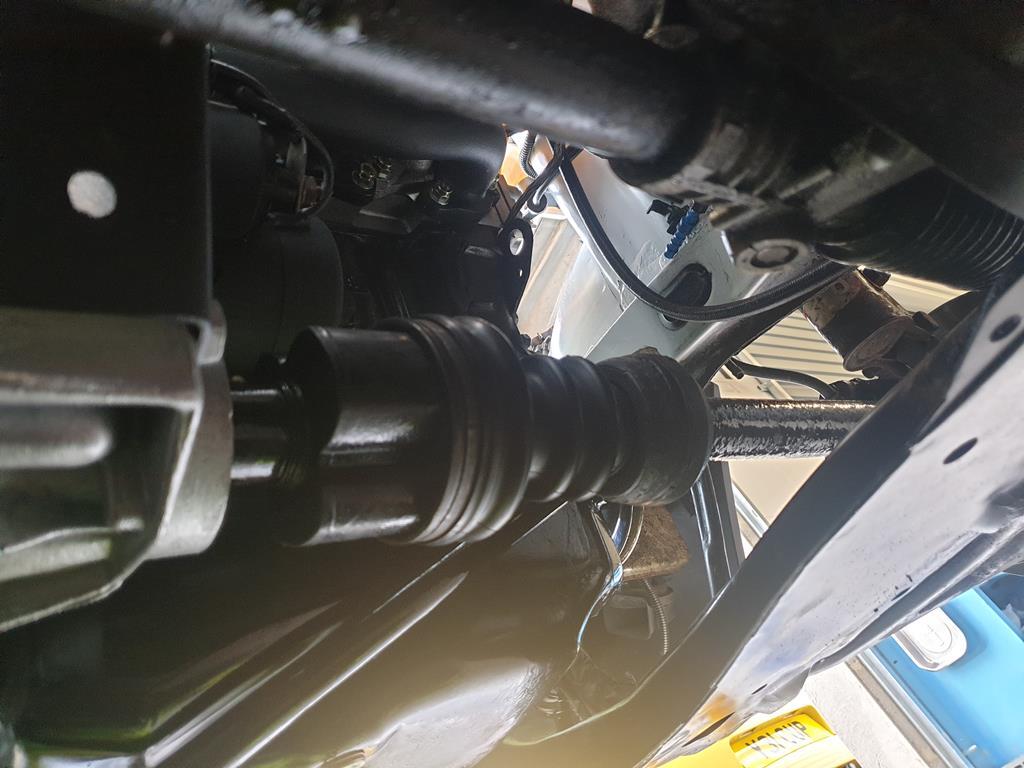
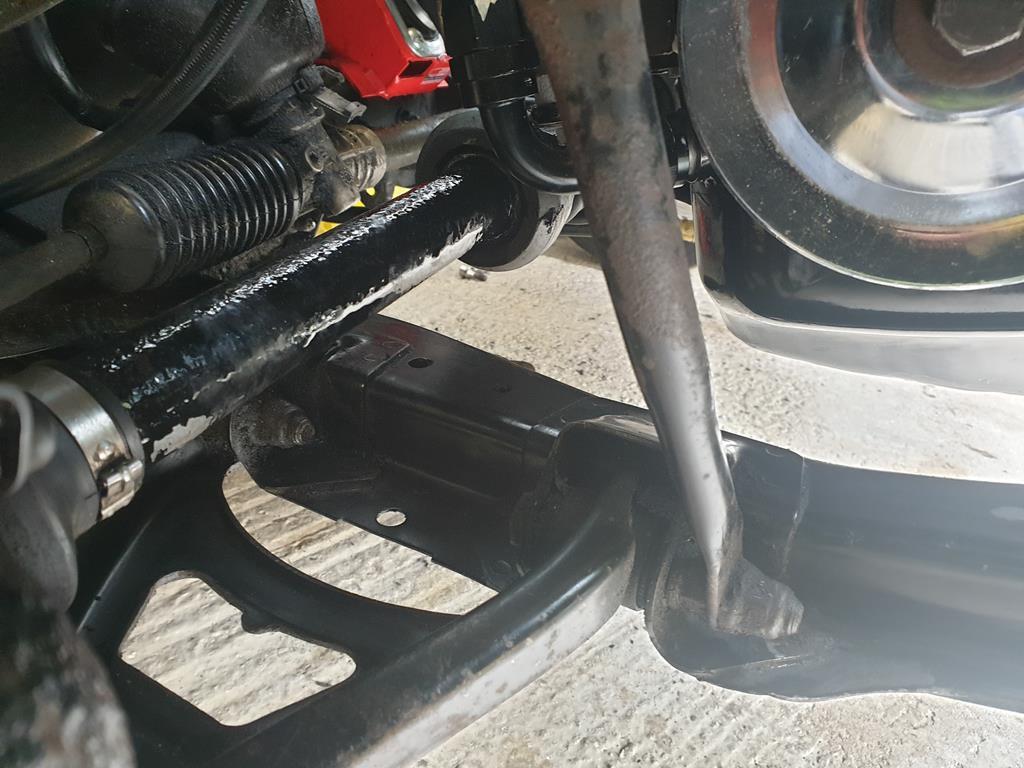
Had a good look around the bodywork too, its looking well used I'm some places, and could benefit from a pair of front wings and a couple of other bits tidying up soon but still passes the ten foot test. Built to be driven, not to be washed! 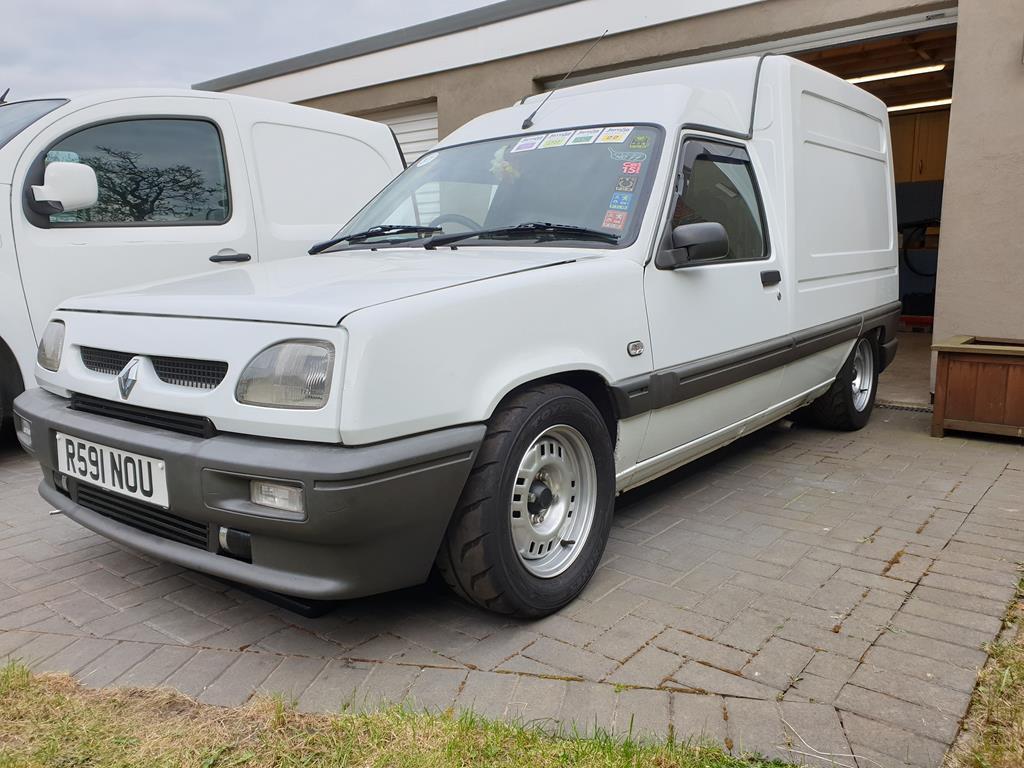 Had a good look round the underside, the front floorpan is absoultely mint due to the mega oil leaks over the years, but the rear floor around the fuel tank will need a clean up soon. Its easily mot passable for the next few years as still solid, and i would say more solid than 90% of the gt turbos out there. Its at the stage of fix it now, and it will last forever, or leave it 5 years to develop and spend time on your back welding bits up. Rear beam needs a rebuild, will drop that and the tank in the winter. The current lockdown would be the perfect time to do it, but i have no gear and if i start then prob be off the road this year. Give it an mot pre check, needs the brake pipes doing front to rear, as i pulled the plastic cover off revealing a 6" scabby section of brake pipe underneath. This is another classic mot pass, yet should fail as they cannot remove the cover to check the pipes. Cant moan as its still on the original 23year old brake pipes. Will get these done as soon as the local motor factors is open again, no biggie as the brake fluid needs changing anyway. Also looked at date stamps on my r888, and the rears are 2011 so not the best, seem to be in ok nick and soft, so will keep an eye on them. Thanks for reading! |
| |
|
|
Ritchie
Club Retro Rides Member
Posts: 771  Club RR Member Number: 12
|
|
|
|
Thats a cracking van and must be great fun. I remember these were very popular fish delivery vans where I live, oh how I enjoyed driving them for MOTs etc. 
Incidentally I just spotted this on ebay which is quite smart, and it was an original dealers van..
|
| |
|
|
lebowski
Part of things
  Hillman Avenger, Clan Clover
Posts: 488
|
|
|
|
|
This is an interesting project and excellent performance figures from the previous engine spec. Is it running the standard cam? What kind of revs are you using to get 230bhp? I ask as my Turbo Avenger project is reaching max power at only 5800rpm before slightly tailing off, and I'm sure I'd get better figures if I could rev to 7000rpm+. Perhaps I need to get a turbo cam ground.
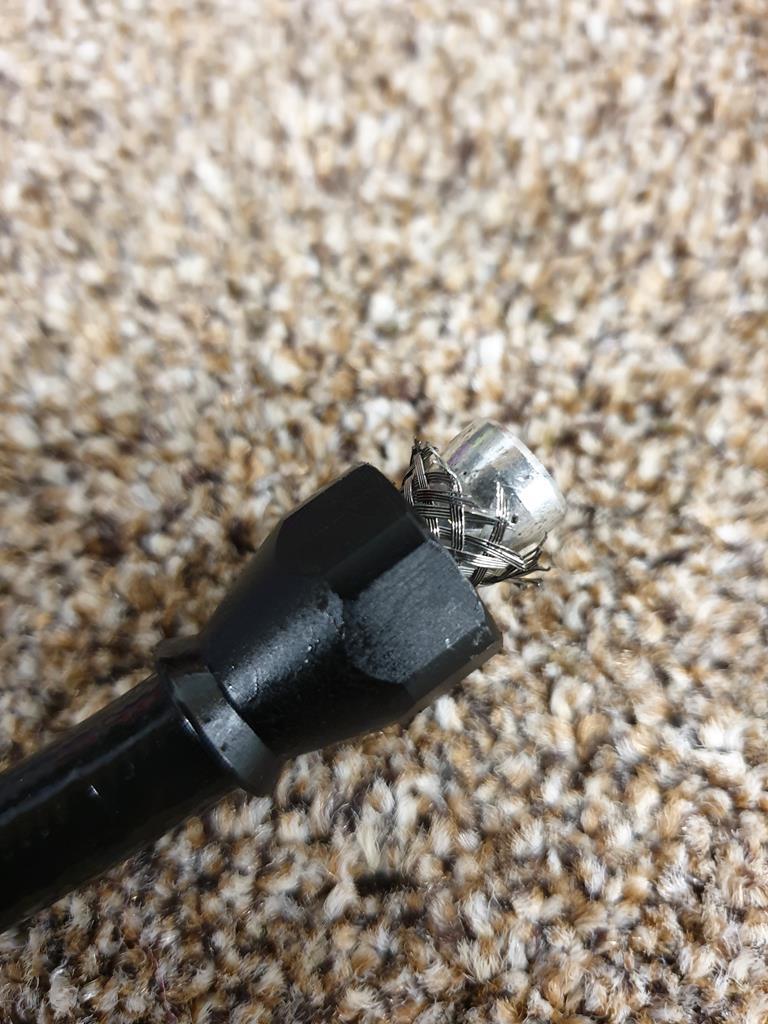
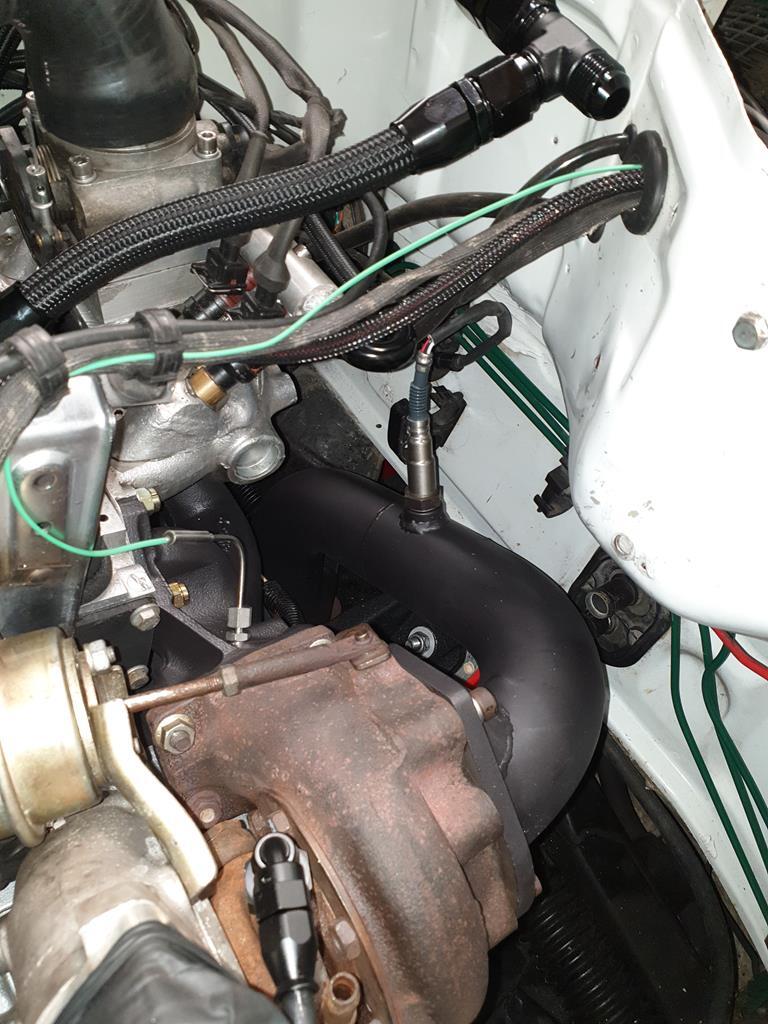
I notice that your lambda sensor is very close to your turbo. Is it going to survive there? I know that mine (Spartan 2) said to mount the sensor something like one metre away and hence I have mounted it under the car rather than in the much more accessible position of the engine bay.
|
| |
|
|
Adey
Posted a lot
  
Posts: 1,443
Club RR Member Number: 171
|
|
|
|
|
that's the basics of gaining horsepower right there. If you can get the engine to hold torque to a higher rpm it will make more power. torque x rpm ÷ 5252 = horsepower.
|
| |
|
|
lebowski
Part of things
  Hillman Avenger, Clan Clover
Posts: 488
|
|
|
|
that's the basics of gaining horsepower right there. If you can get the engine to hold torque to a higher rpm it will make more power. torque x rpm ÷ 5252 = horsepower. Yes, I understand that. It's why the old V10 F1 engines only made something like 250lb/ft torque but made 800bhp+. Since there were never any turbo cams made for an Avenger I can potentially make large gains in this area by allowing my engine to rev higher. |
| |
|
|
|
|
