johnrh
Part of things

Posts: 958
|
|
May 27, 2012 19:37:52 GMT
|
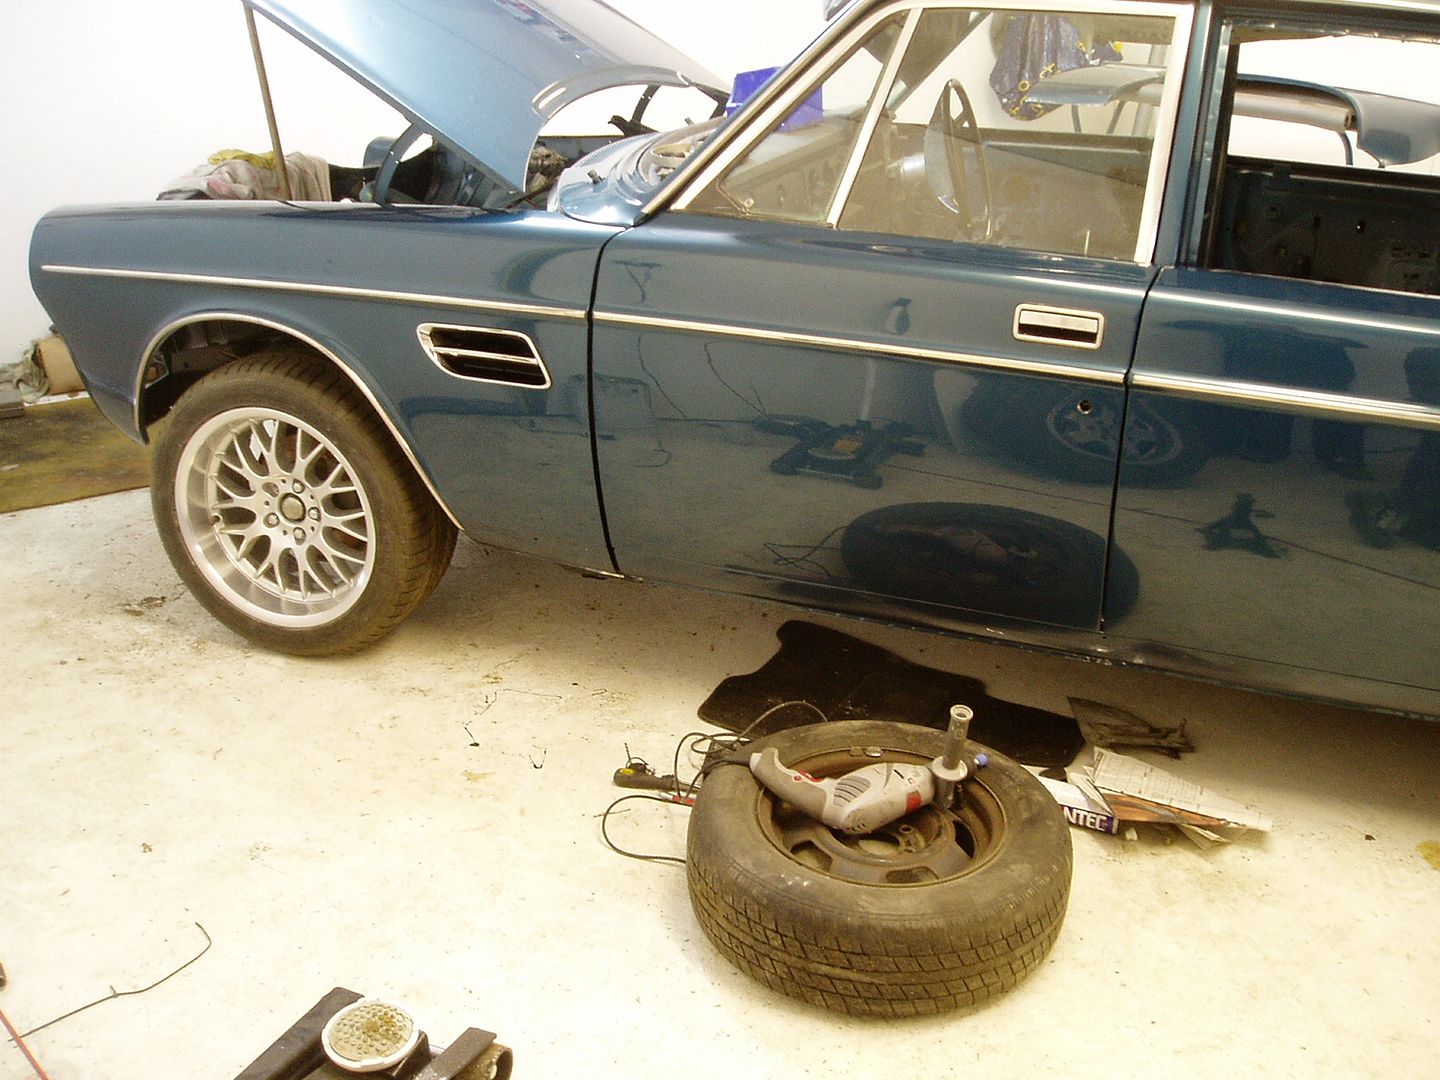
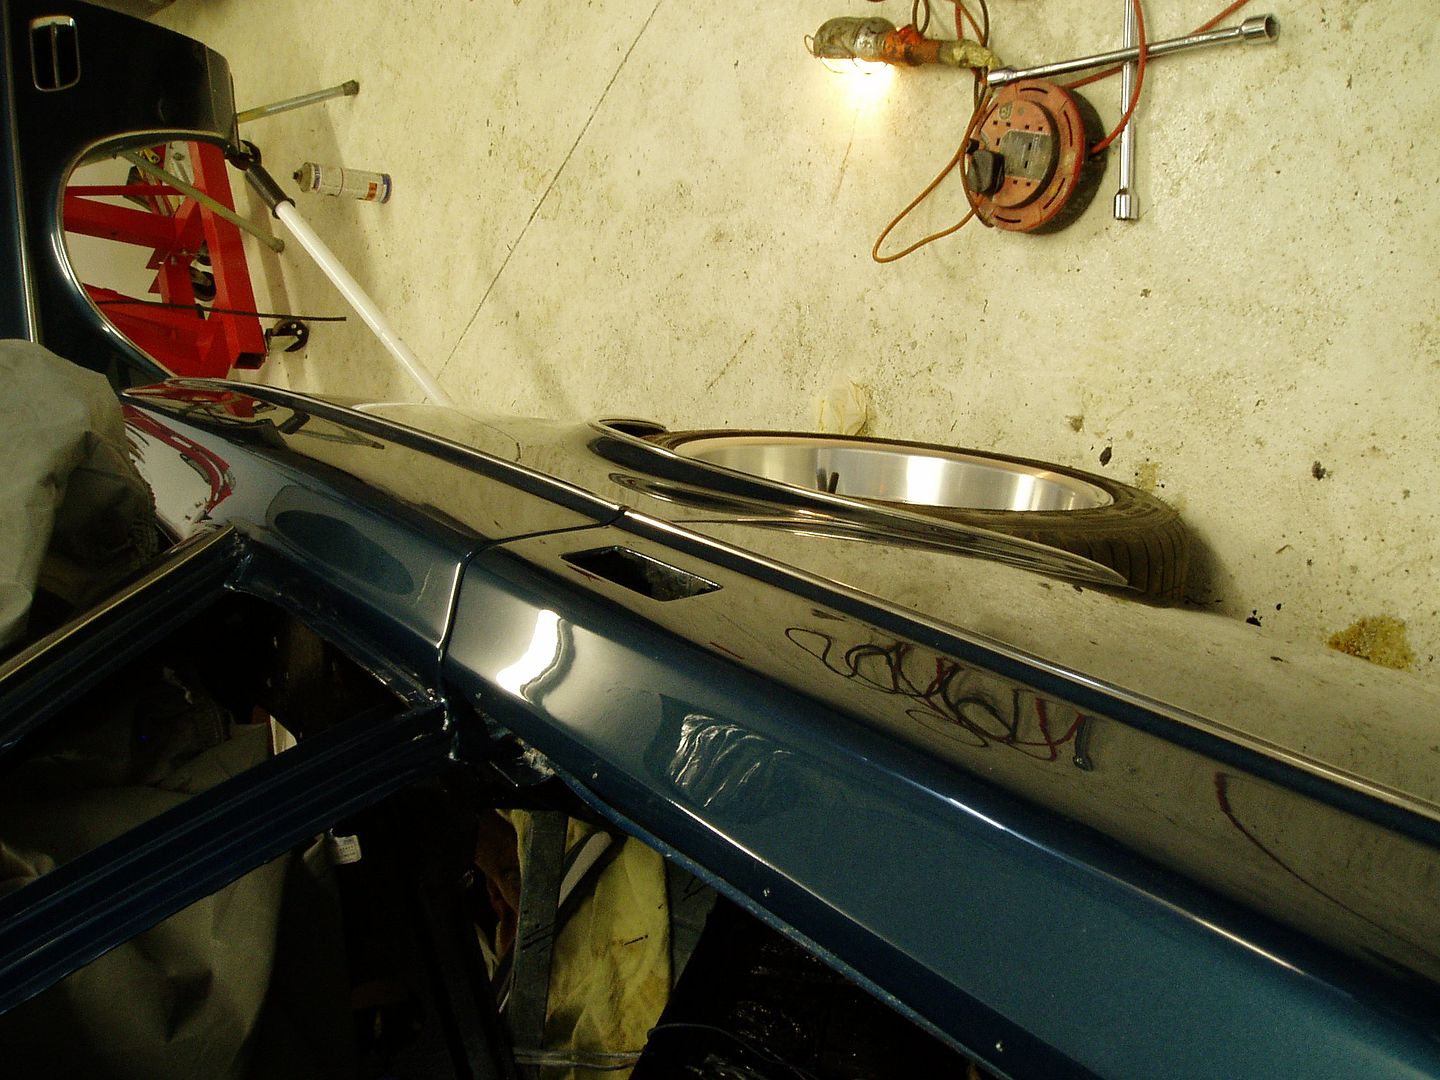
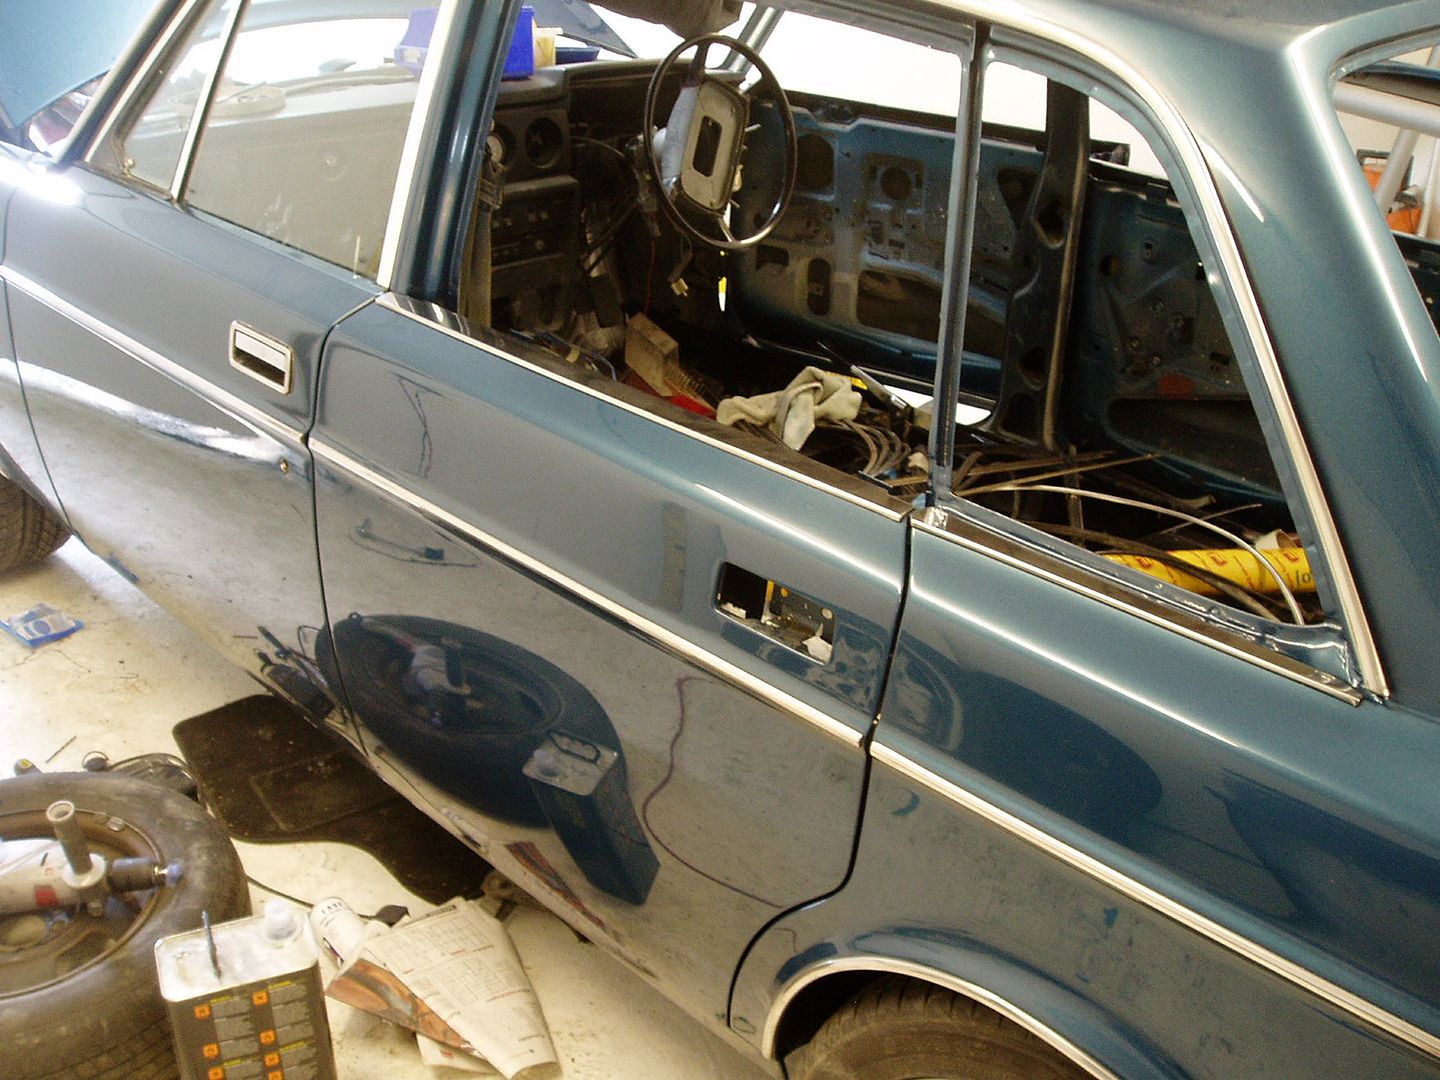
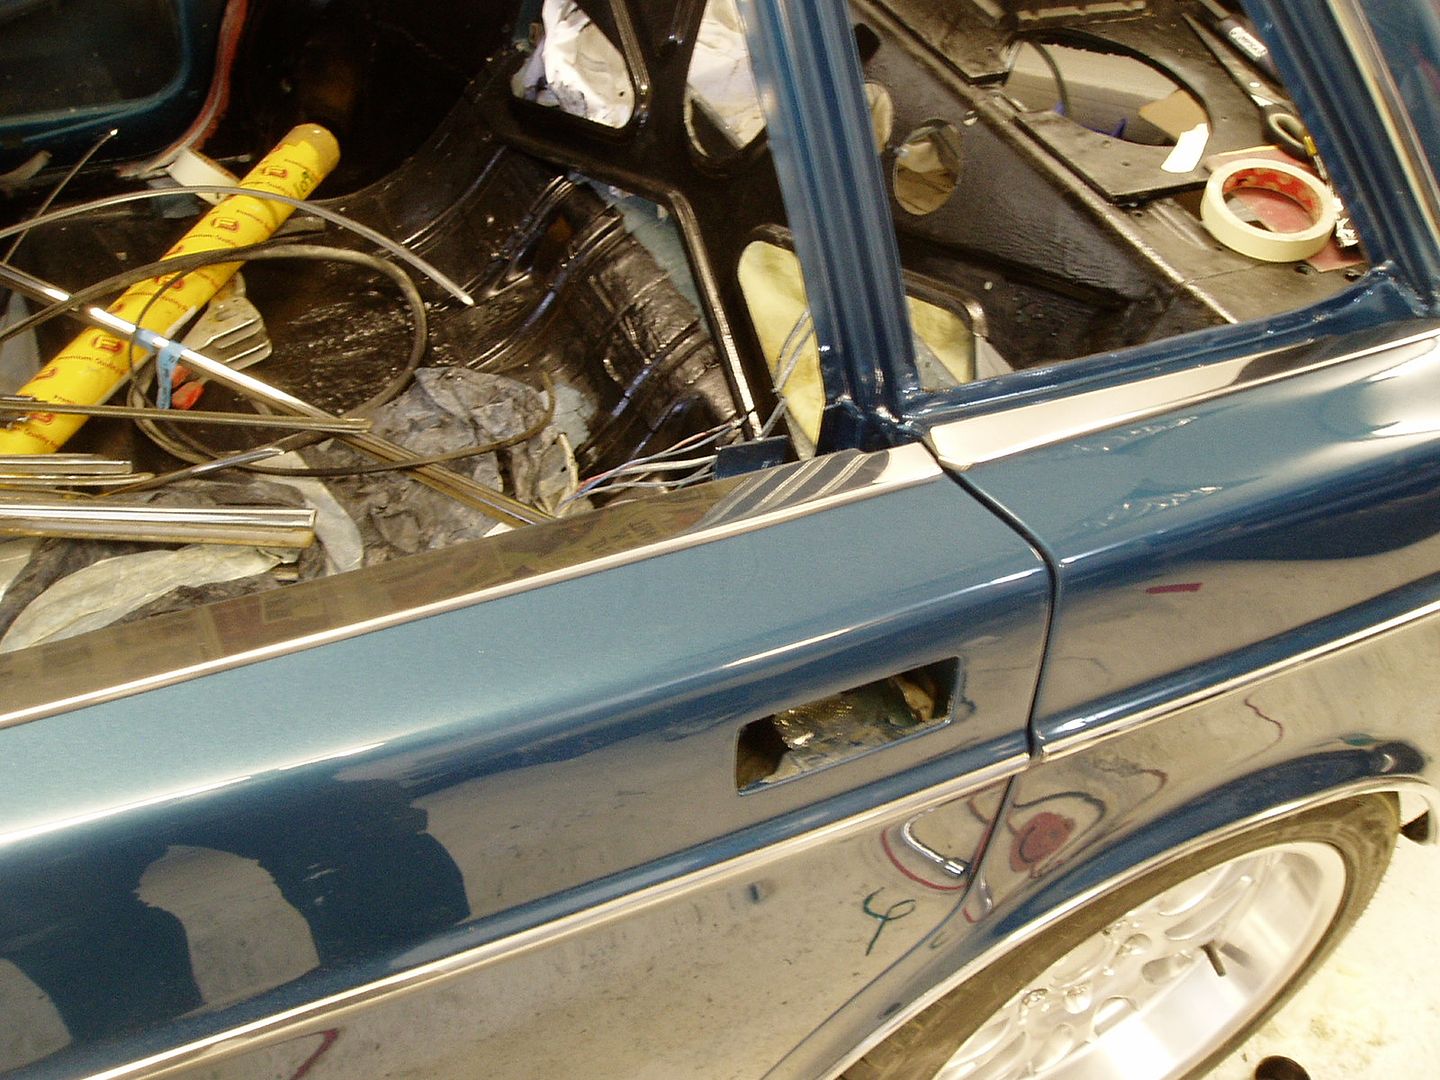
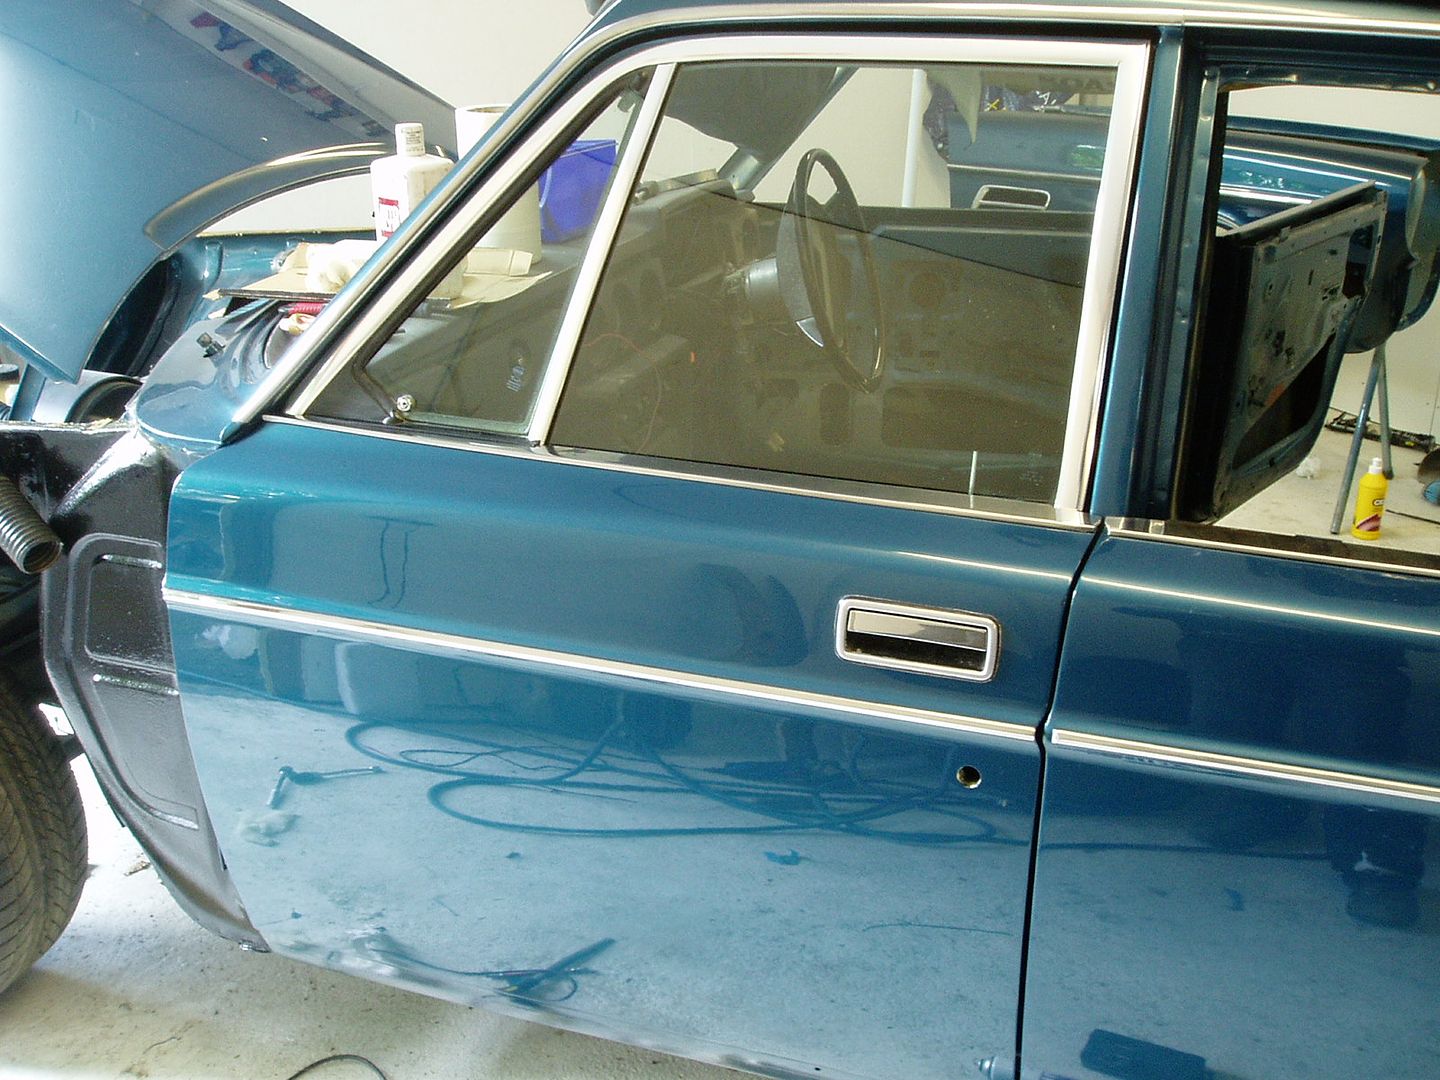
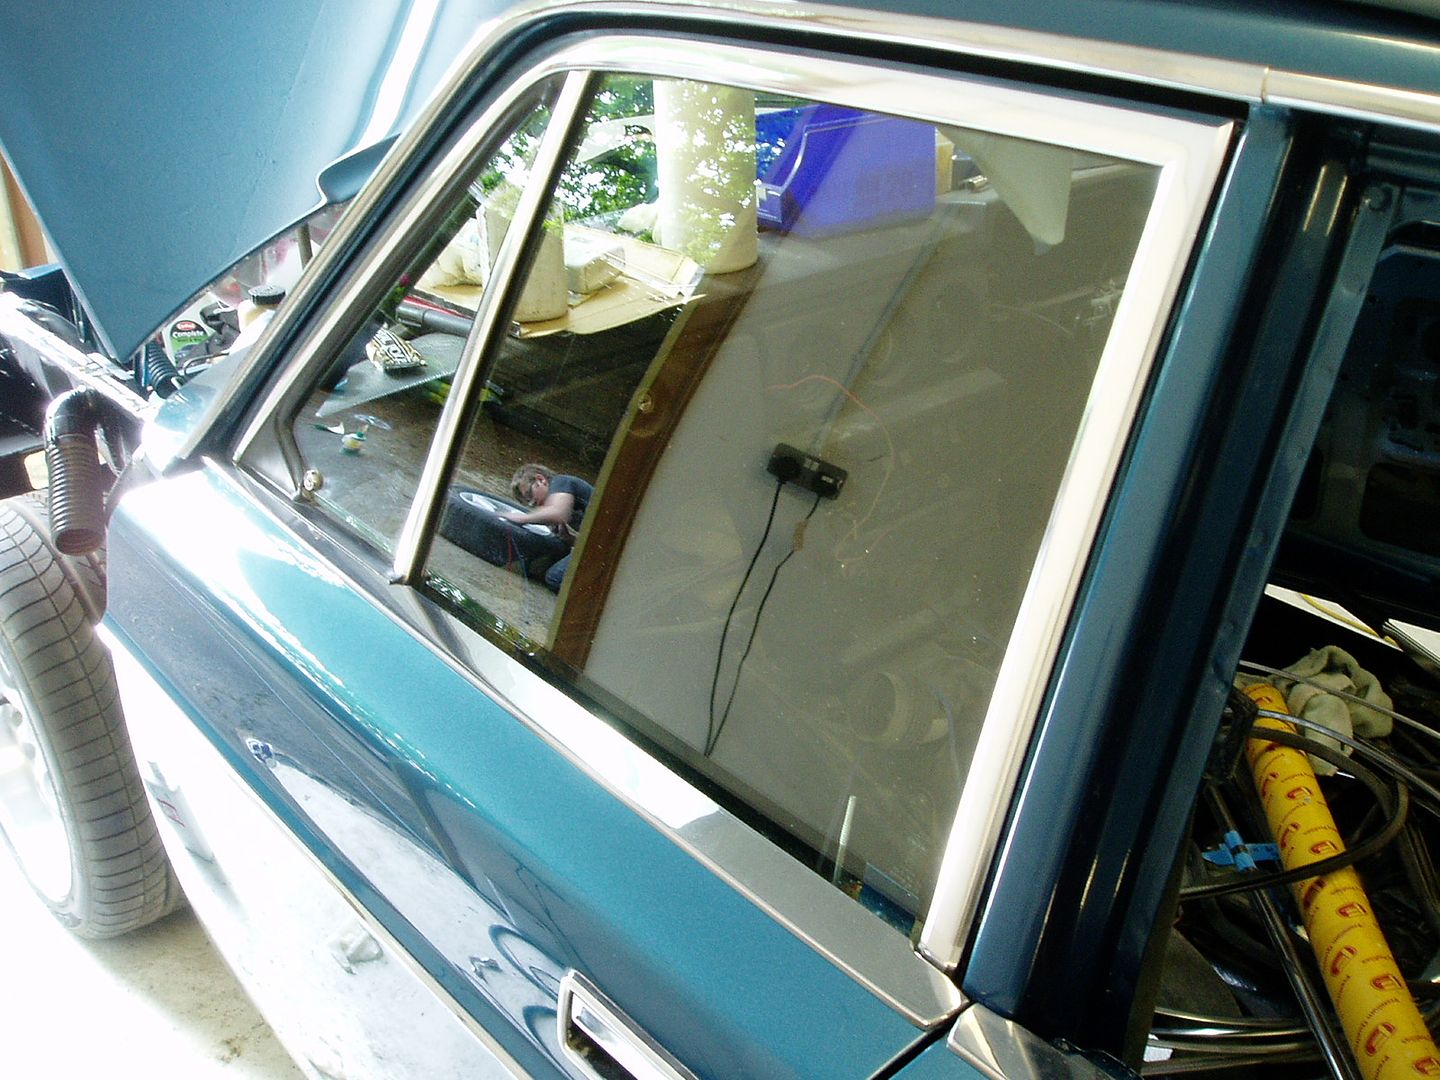
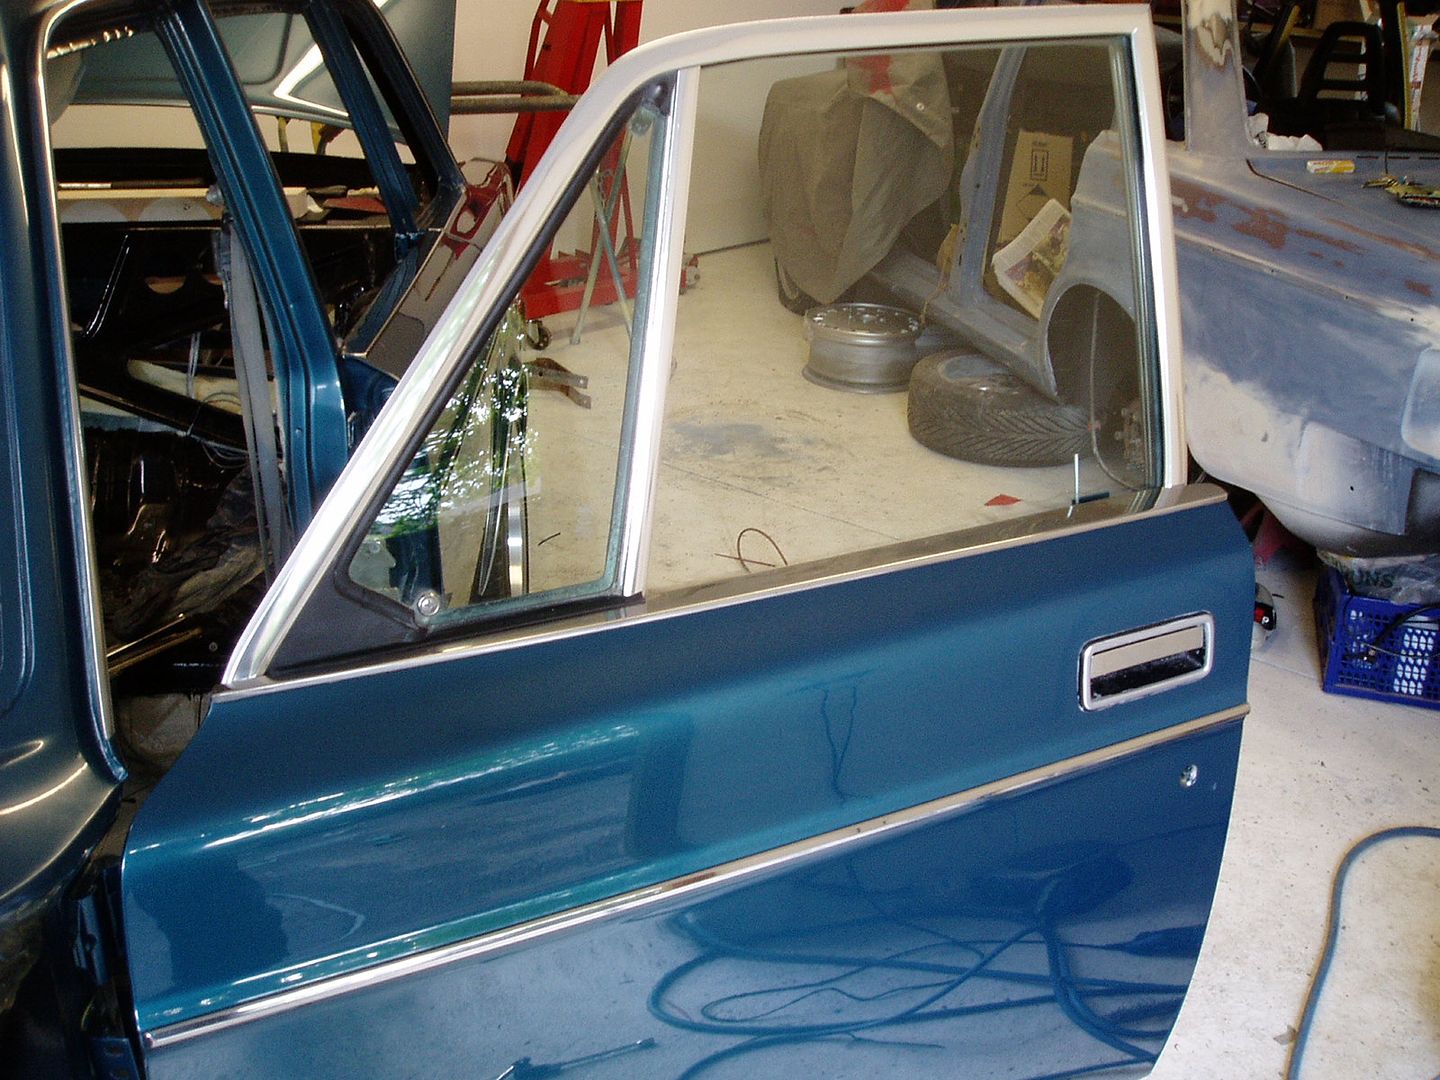
Mini-update: more of the chrome trims refitted. (The front wing is only resting in place here; the trims will all line up properly when all panels are finally fitted). 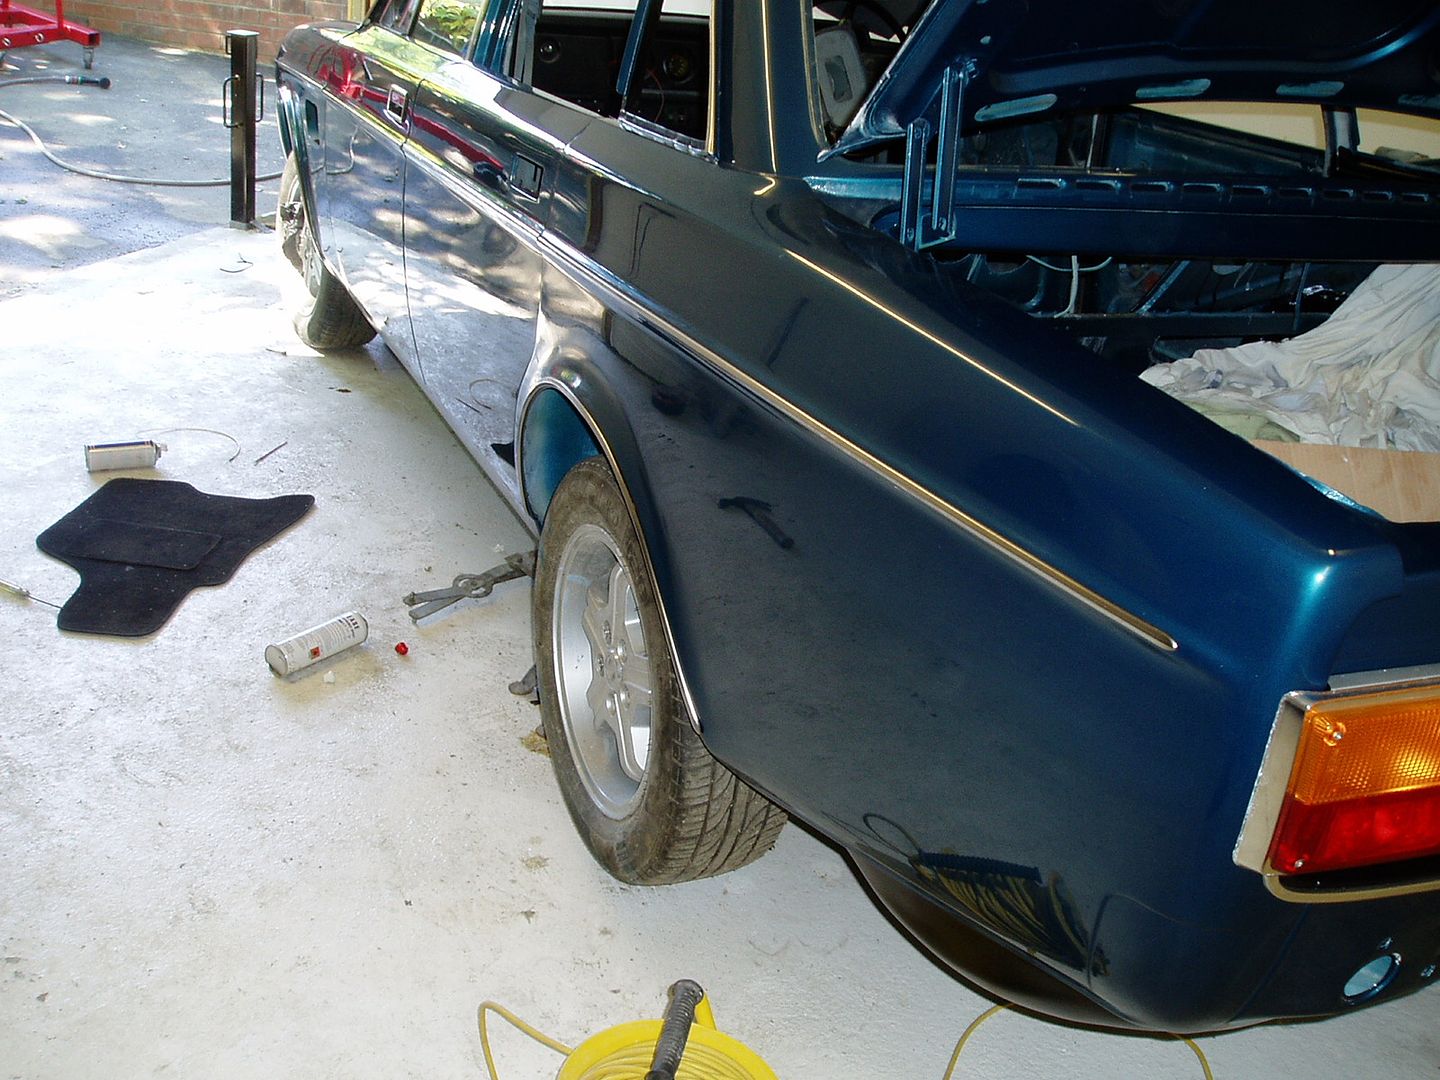 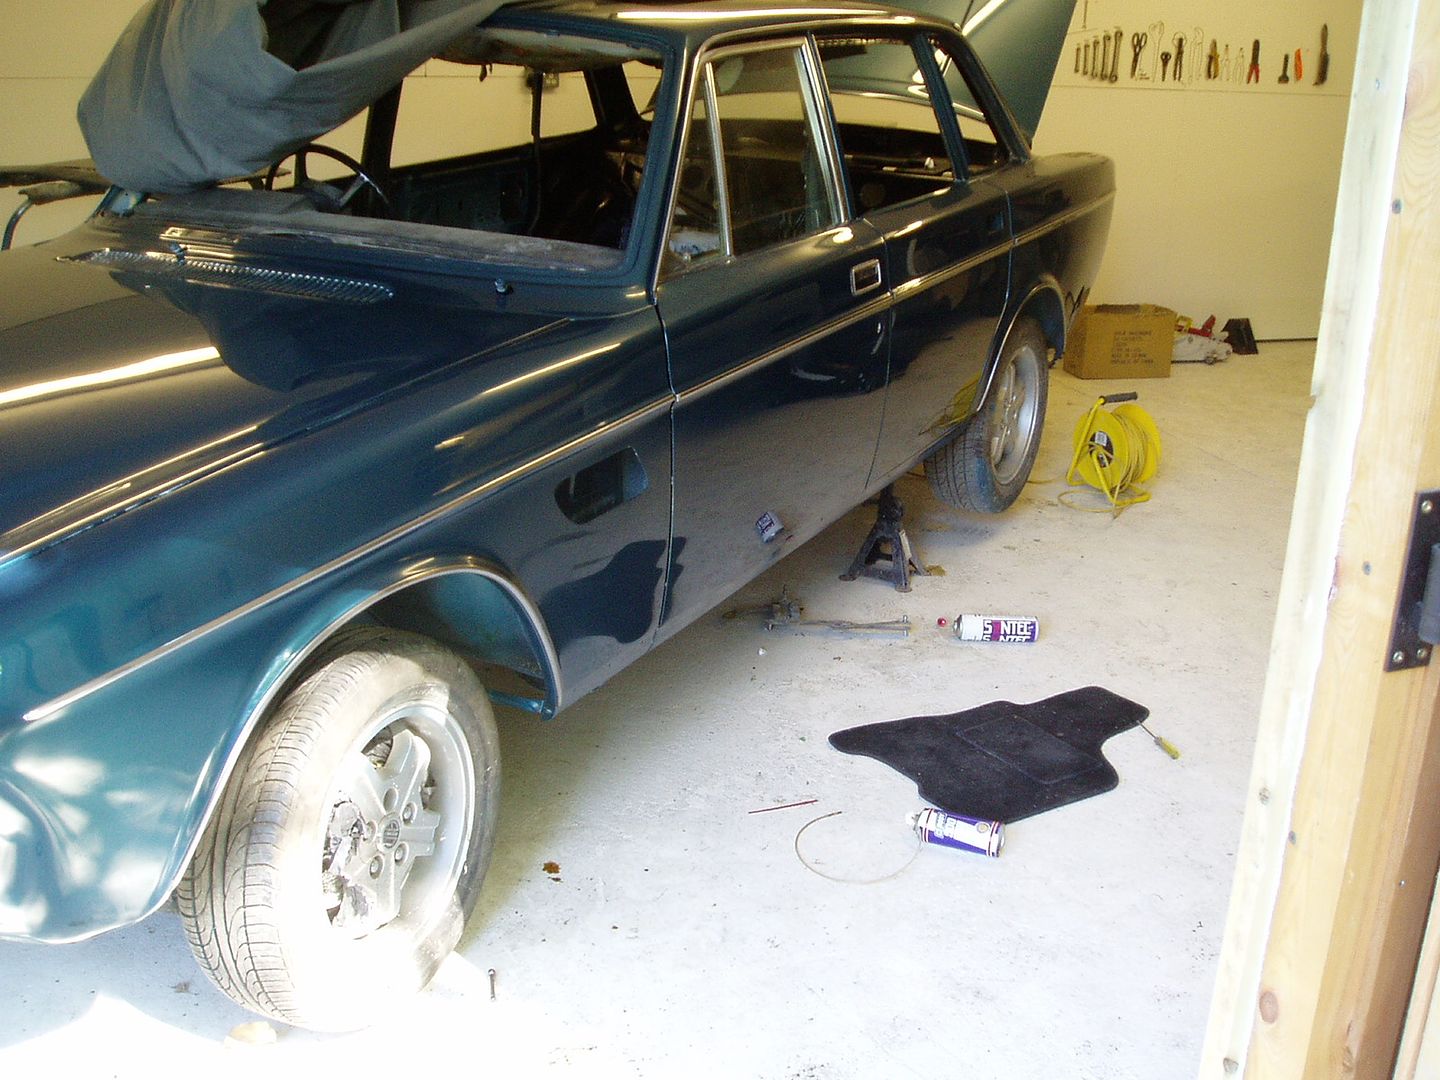 The trim-fitting 'how-to' detail is here: www.volvoforums.org.uk/showthread.php?t=154148Cheers John |
| |
|
|
|
|
|
|
|
May 27, 2012 19:59:05 GMT
|
|
Just caught up on this after a 4 month break or so - it's looking LOVELY now. I love reading threads by people with huge levels of attention to detail, and wishing that someday I could find the time, space and motivation to do something similar.
Keep up the good work!
|
| |
The journey of 1000 miles starts with a single coffee.
I don't like coffee!
|
|
|
|
|
May 27, 2012 20:49:13 GMT
|
|
I've said it before but there's no harm in saying it again: stunning!
|
| |
|
|
75nut
Part of things
Posts: 512
|
|
May 27, 2012 20:59:57 GMT
|
That looks mint!! Goner be a stunner! Can I ask a quick bit of advice, I have the same G8 cutting products, both the corse and the finishing compounds, but find if I use it ont he laquer after spraying I actually end up with a flatter shine that if I left the laquer alone, what am I doing wrong as your shine is great! How are you using it? My technique is basically: wet flatting; coarse cutting with G3 and machine buffer; fine cutting with G10 manually. If you look at my posts on 1/4/12 and 5/4/12 you'll see detail and photos. Thanks for the kind words! John Many thanks for the reply John. I use it the same way as you list bar I manually did the G3 so Il switch my machine polisher. Cheers |
| |
90 Alfa 75 3.0 V6 Cloverleaf
79 MGB Roadster
88 Saab 900i Convertible
94 MK1 MX5 1.6
05 Volvo V70
|
|
|
|
|
|
|
|
paint looks great John!!
this is going to looking stunning
the satin black between the rear lights was a good choice too
|
| |
|
|
|
|
|
May 28, 2012 12:51:13 GMT
|
Oh my word that can only be described as ball-achingly stunning...!!! Cripes...  |
| |
***GARAGE CURRENTLY EMPTY***
|
|
johnrh
Part of things
Posts: 958
|
|
|
|
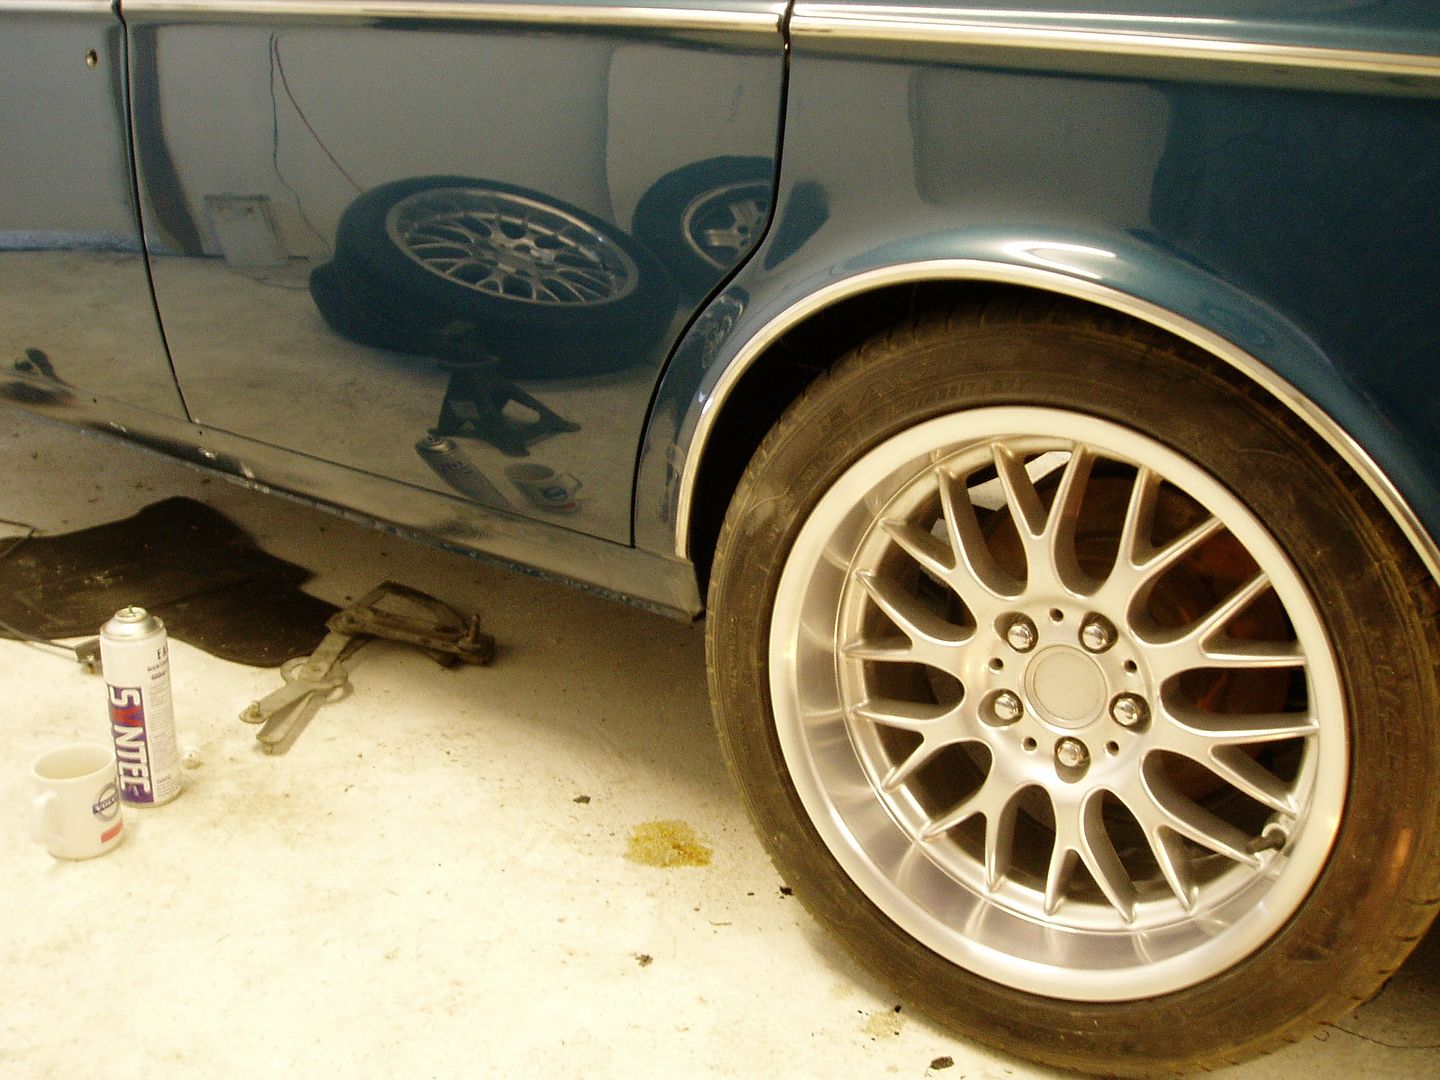
paint looks great John!! this is going to looking stunning the satin black between the rear lights was a good choice too Oh my word that can only be described as ball-achingly stunning...!!! Cripes... Haha, many thanks guys! Four days on it this weekend (thanks, Your Majesty, for doing 60 years in the job to give me an extra day on the project) and looking forward to a trial fit of the Super DTM wheels soon!! |
| |
|
|
mirafioriman
Posted a lot
My next project.......
Posts: 1,361
|
|
|
|
|
Looking good. When will it hit the streets do you think?
|
| |
|
|
johnrh
Part of things
Posts: 958
|
|
|
|
Looking good. When will it hit the streets do you think? It won't be soon. Before that happens, there are some costly bits I need to save up for.... leather retrim, engine management, custom manifold & exhasust... etc. Plus I have to do the engine build and create the supercharger installation... I'm looking forward to that! Maybe a year approx, depending when/how much money the other cars need spent on them in the meantime |
| |
|
|
johnrh
Part of things
Posts: 958
|
|
|
|
|
|
| |
|
|
|
|
mirafioriman
Posted a lot
My next project.......
Posts: 1,361
|
|
|
|
Nice wheels  |
| |
|
|
johnrh
Part of things
Posts: 958
|
|
|
|
|
|
| |
|
|
|
|
|
|
|
|
My goodness, this car is incredible.
|
| |
|
|
mirafioriman
Posted a lot
My next project.......
Posts: 1,361
|
|
|
|
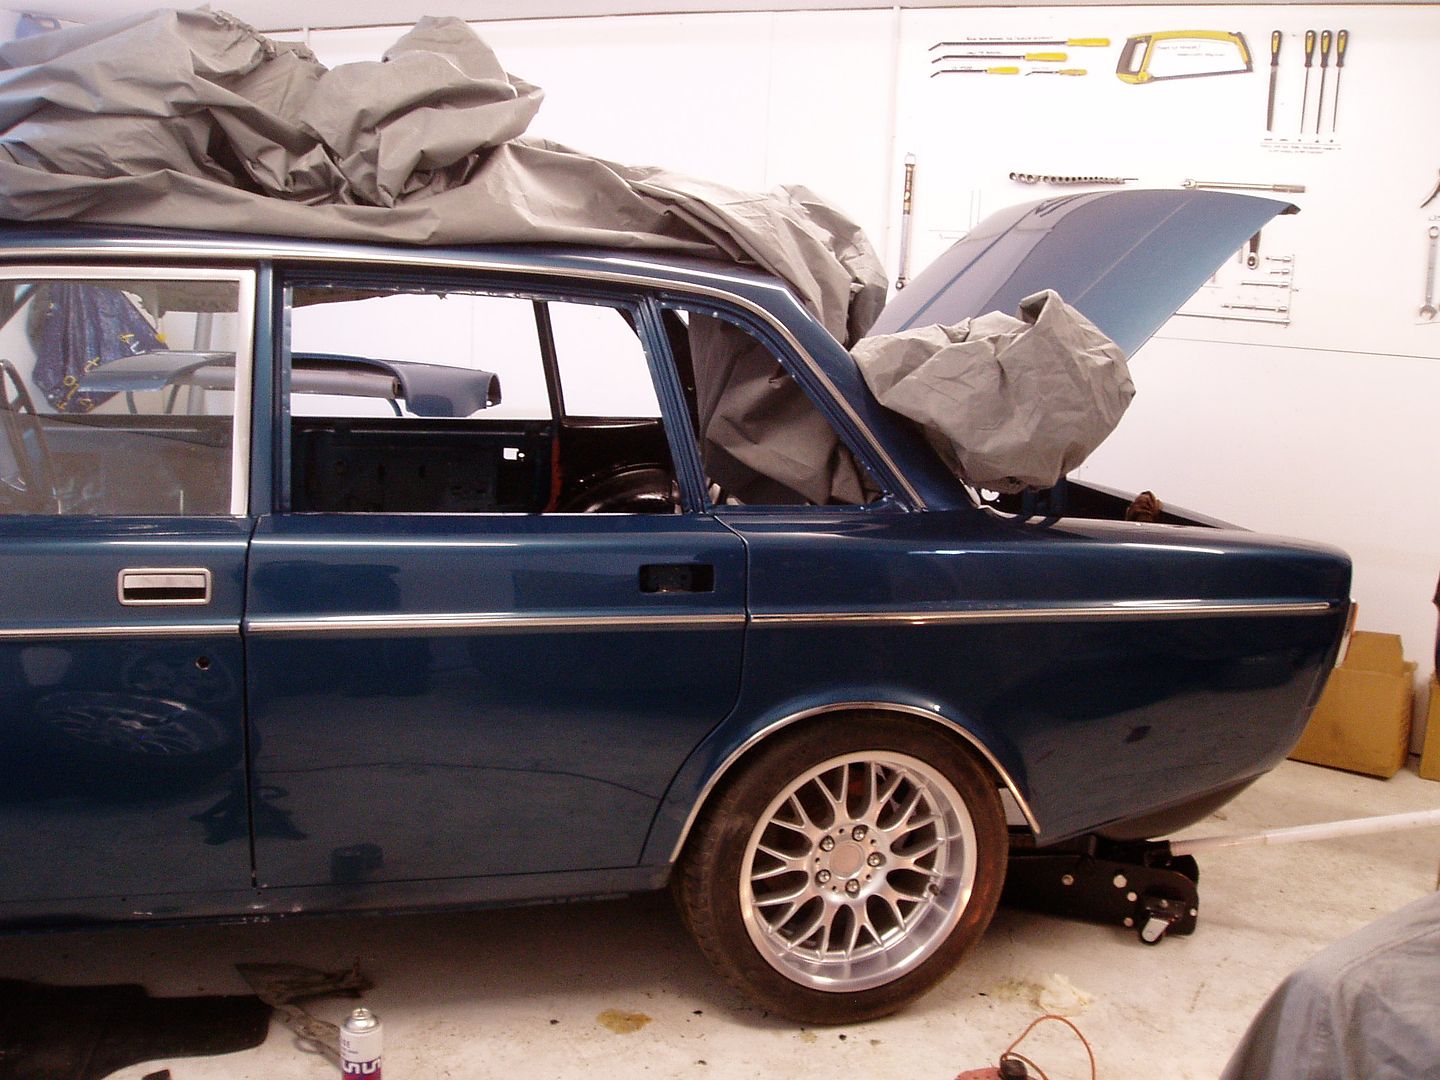
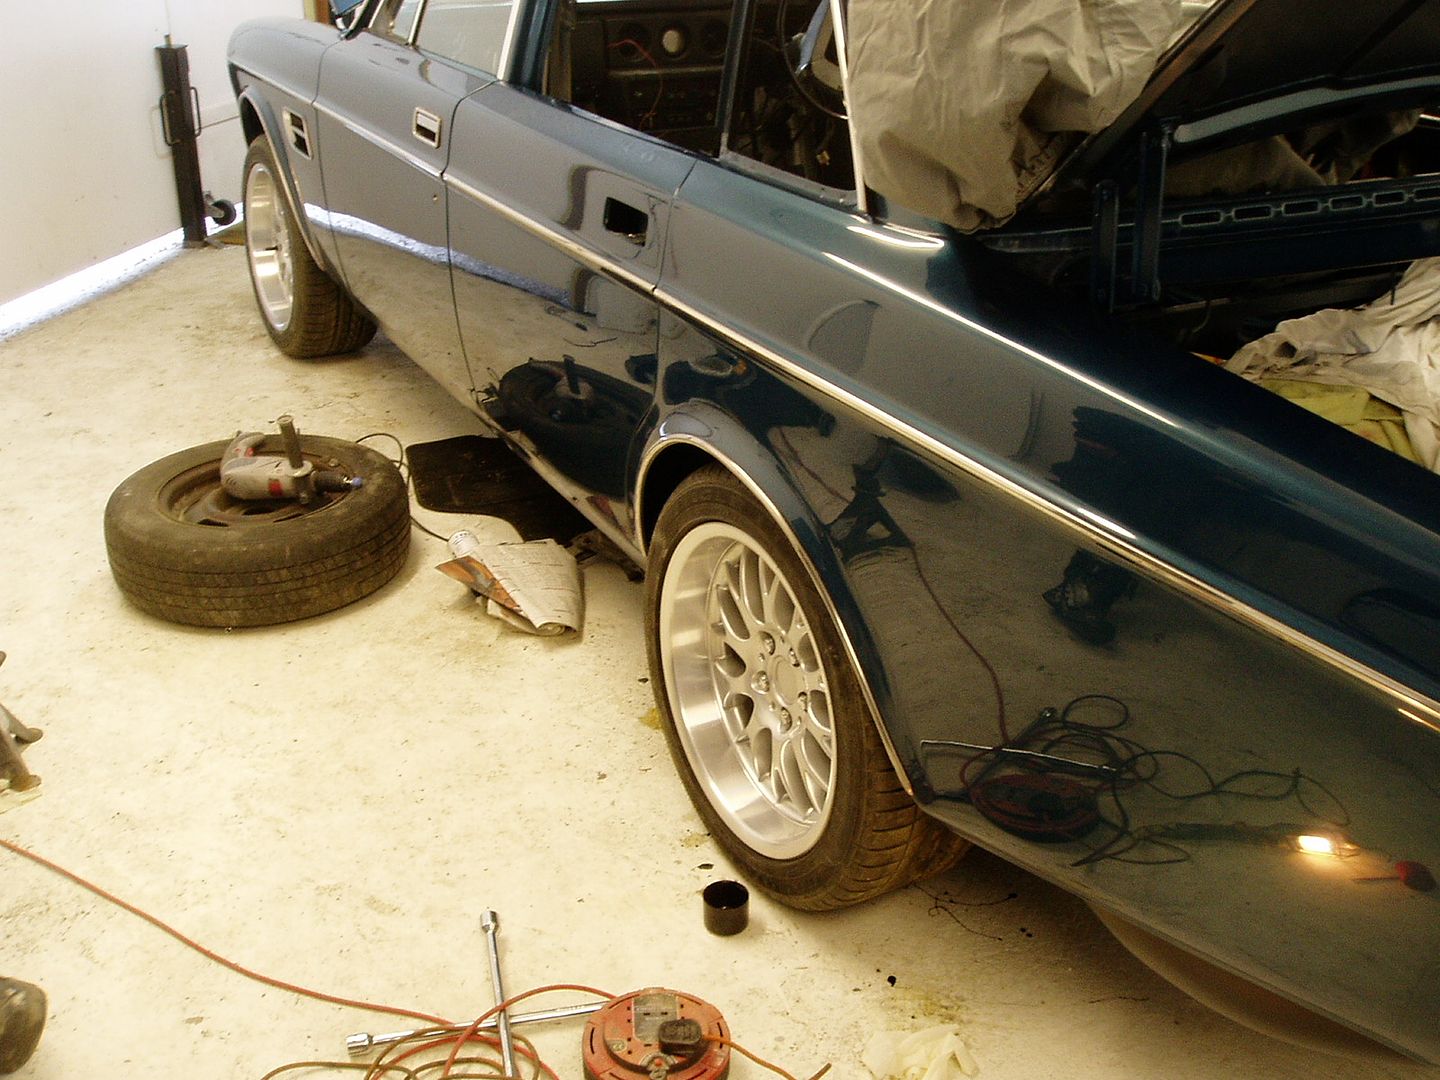
Lots of progress there! Neat tip with the wing join. I have a similar fitting on the Fiat 130. Wheels look good on the car and the chrome is all looking great and adding to the look of the car nicely |
| |
|
|
|
|
|
|
|
|
looks fantastic, wheels really set it of nicely.
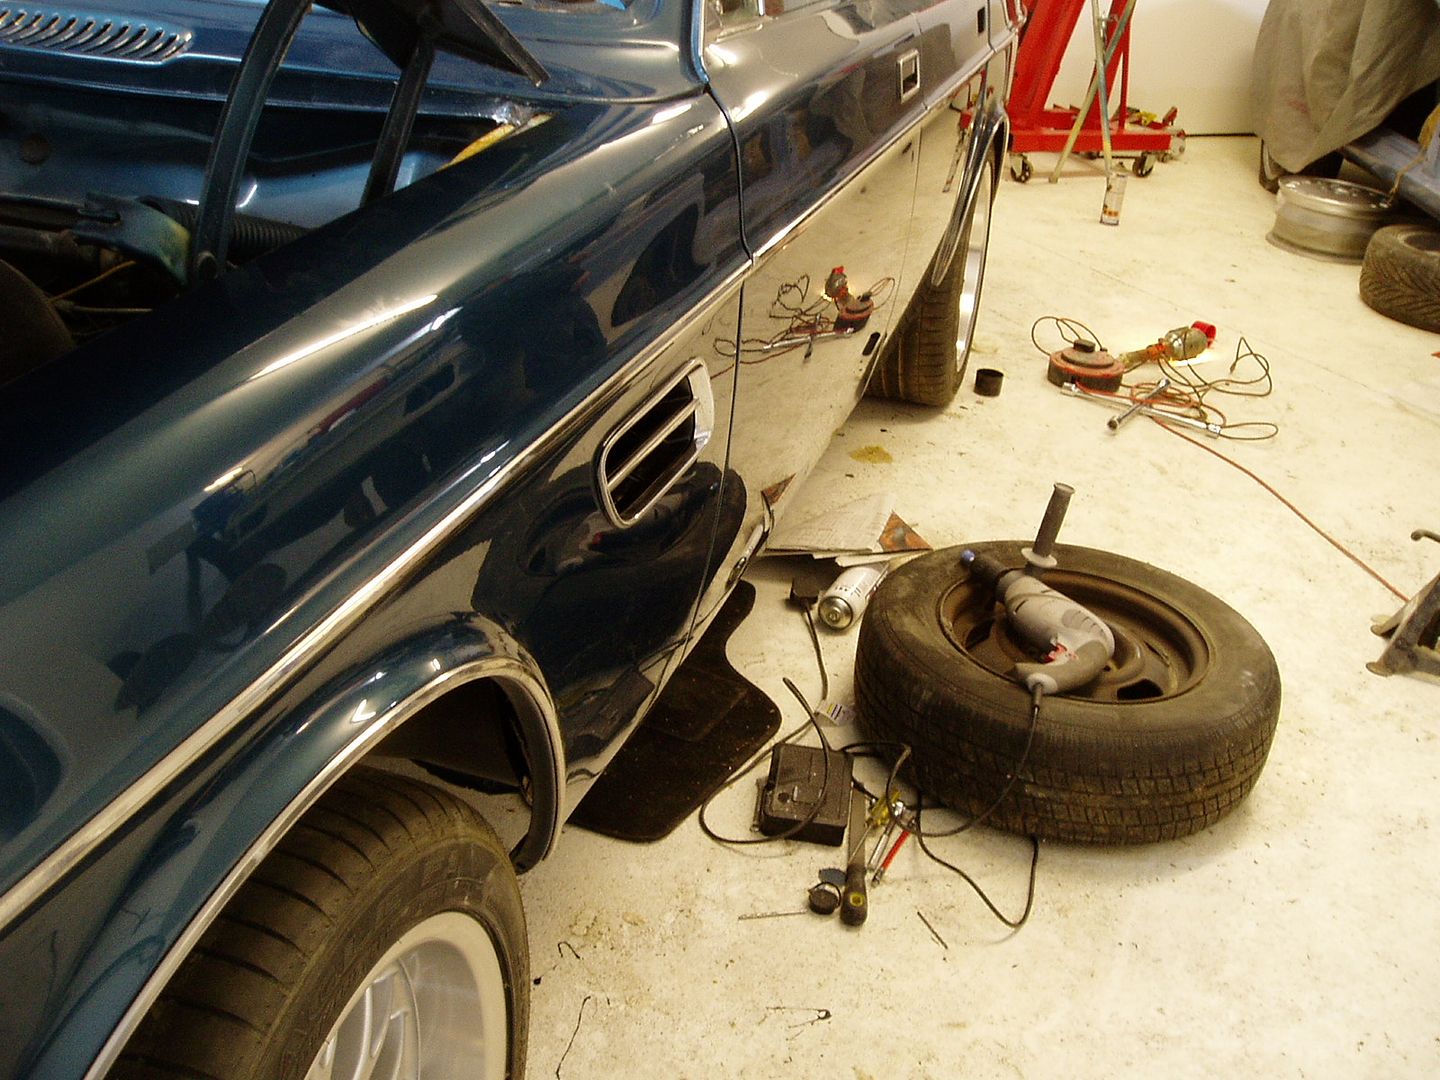
i'm curious how you got the side vent to marry up the the venting pipe? have you any pictures?
great trick with the strip of foam BTW
|
| |
Last Edit: Jun 5, 2012 16:56:17 GMT by franko14
|
|
johnrh
Part of things
Posts: 958
|
|
|
|
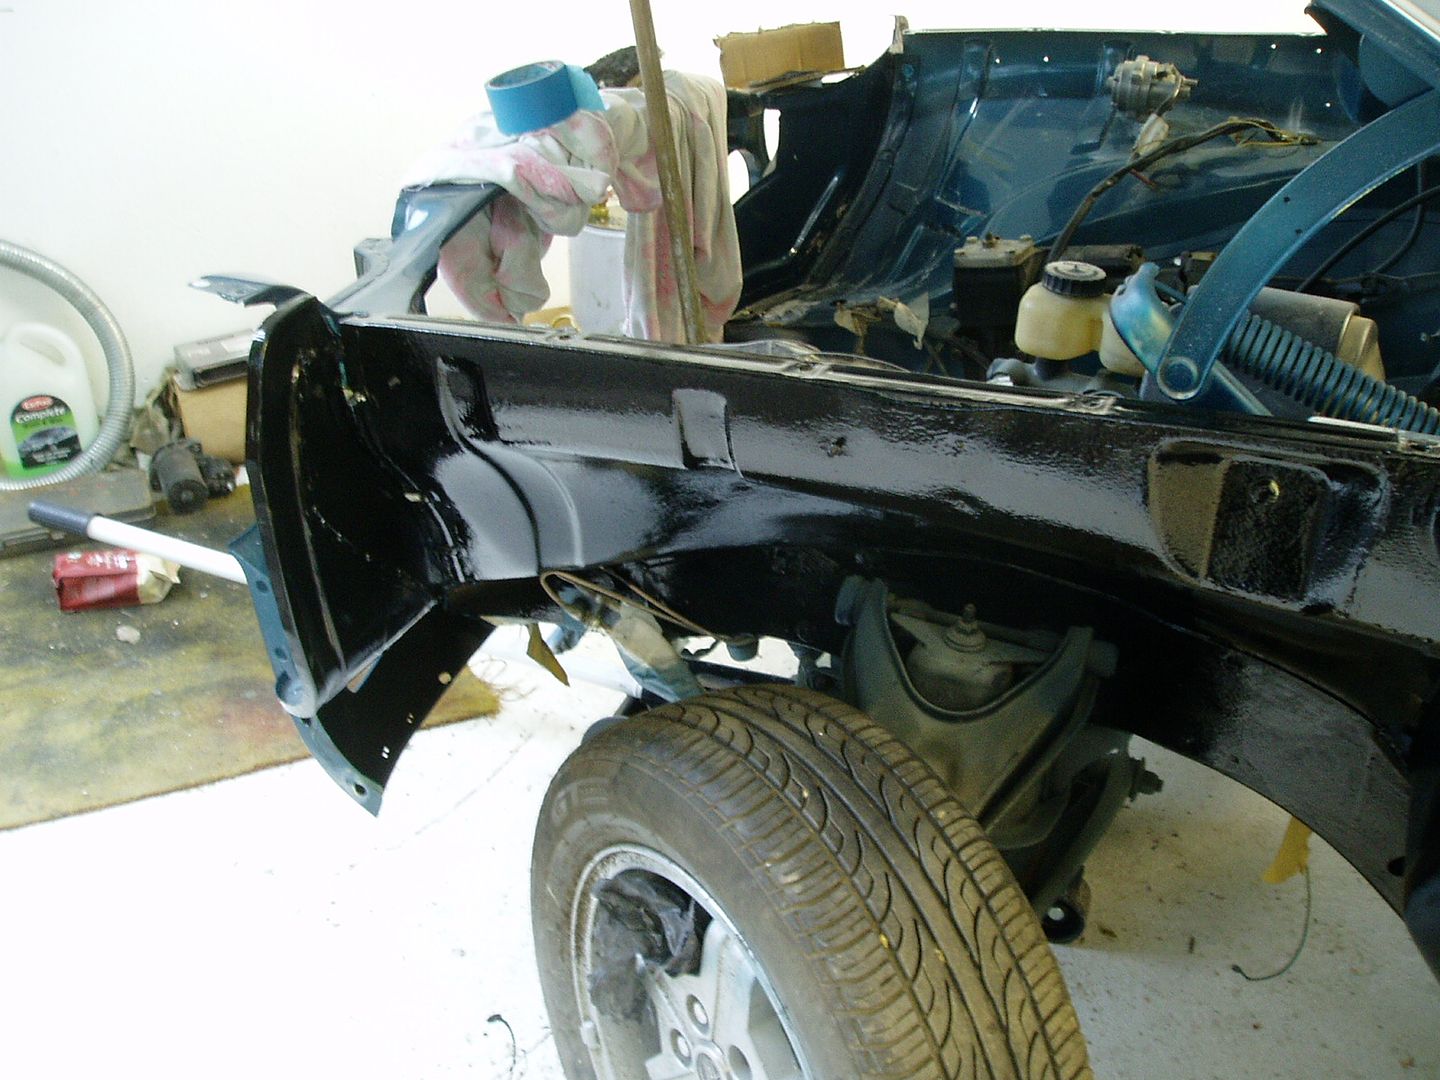
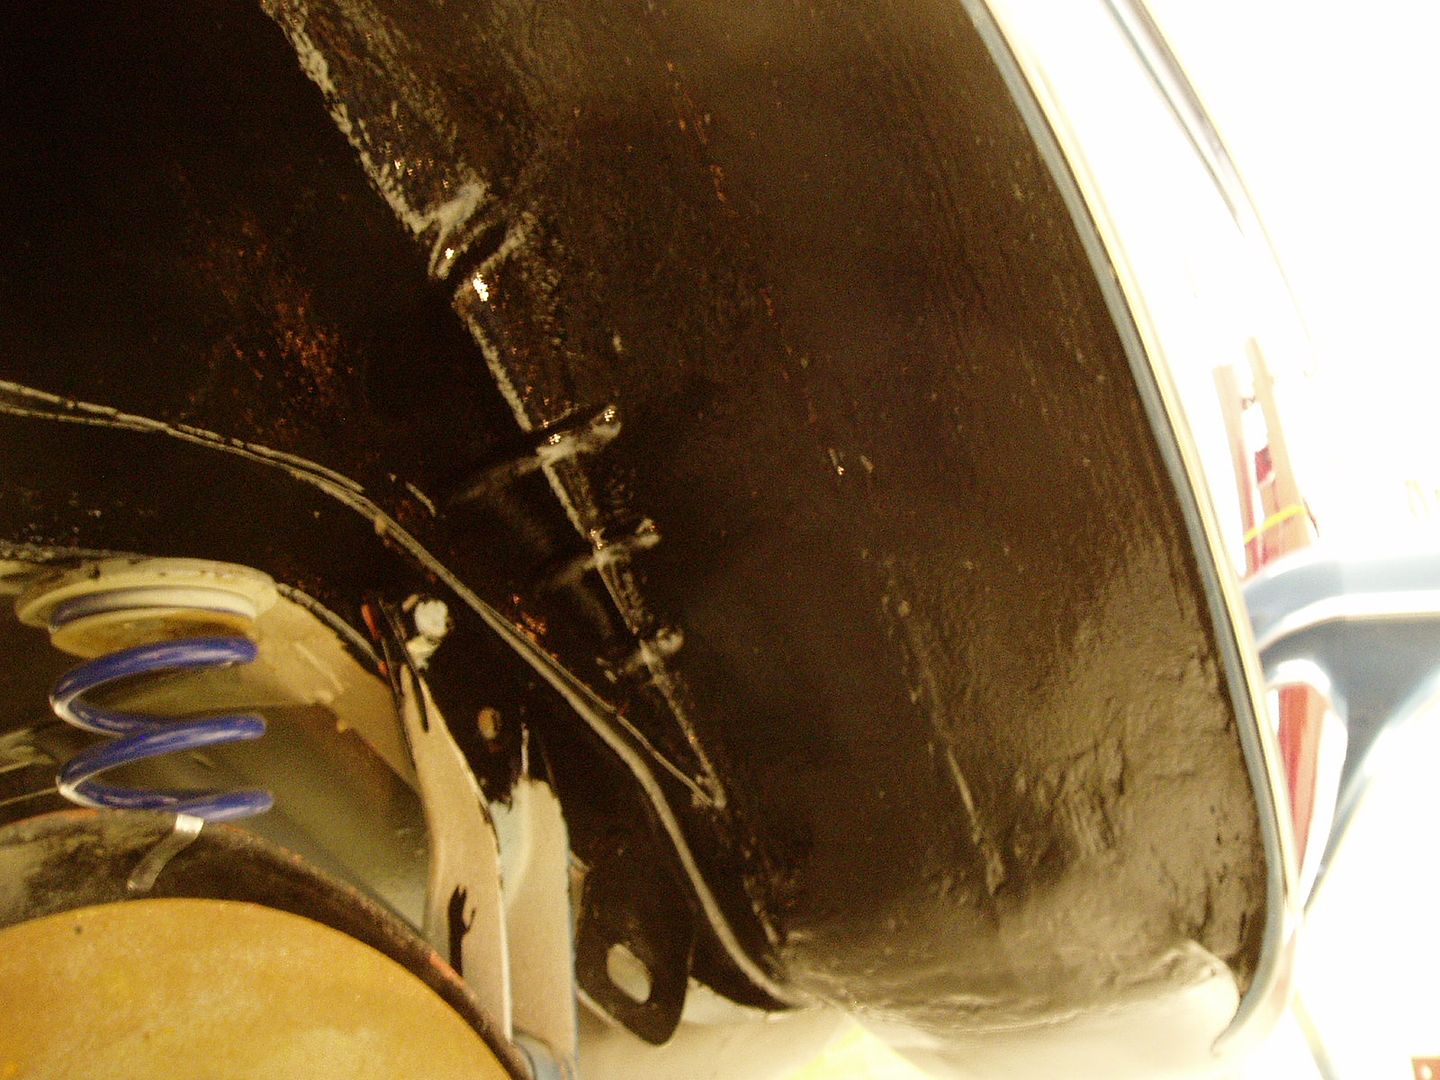
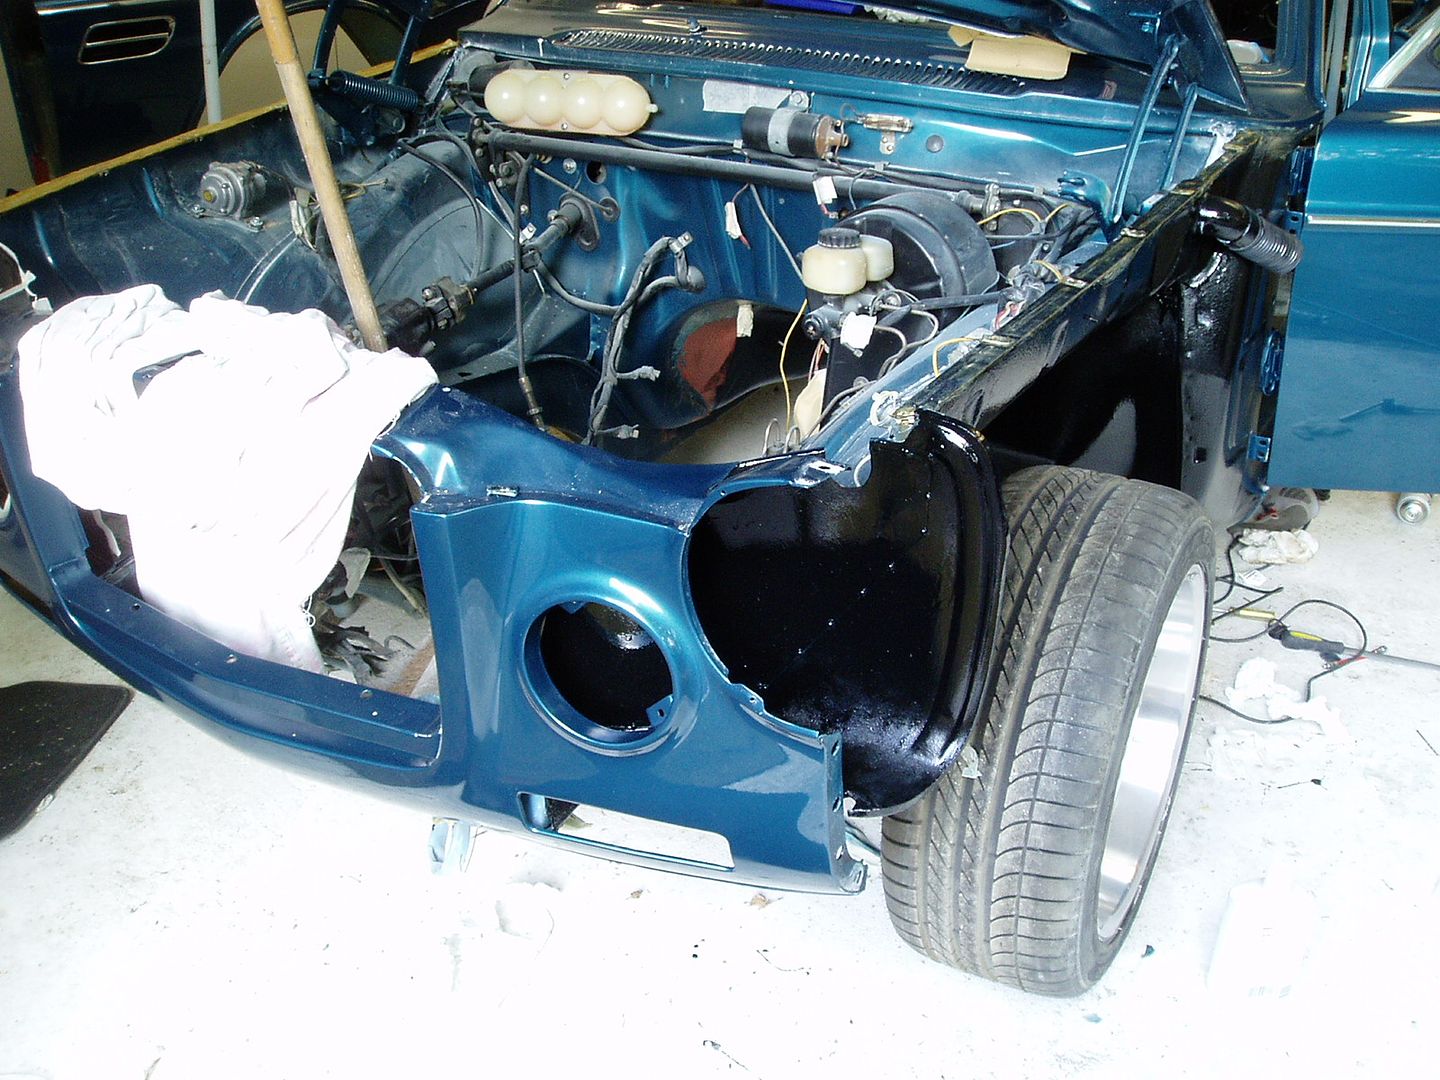
Mini update; didn't get as much done today as I hoped. I fitted the chrome trim to the grille aperture. Believe it or not, the section on the bonnet took 3 hours to fit! It's a badly made trim and nowhere near the right shape. Lot's of careful persuasion with the vice, rubber mallet and mole grips to get it to an acceptable fit. 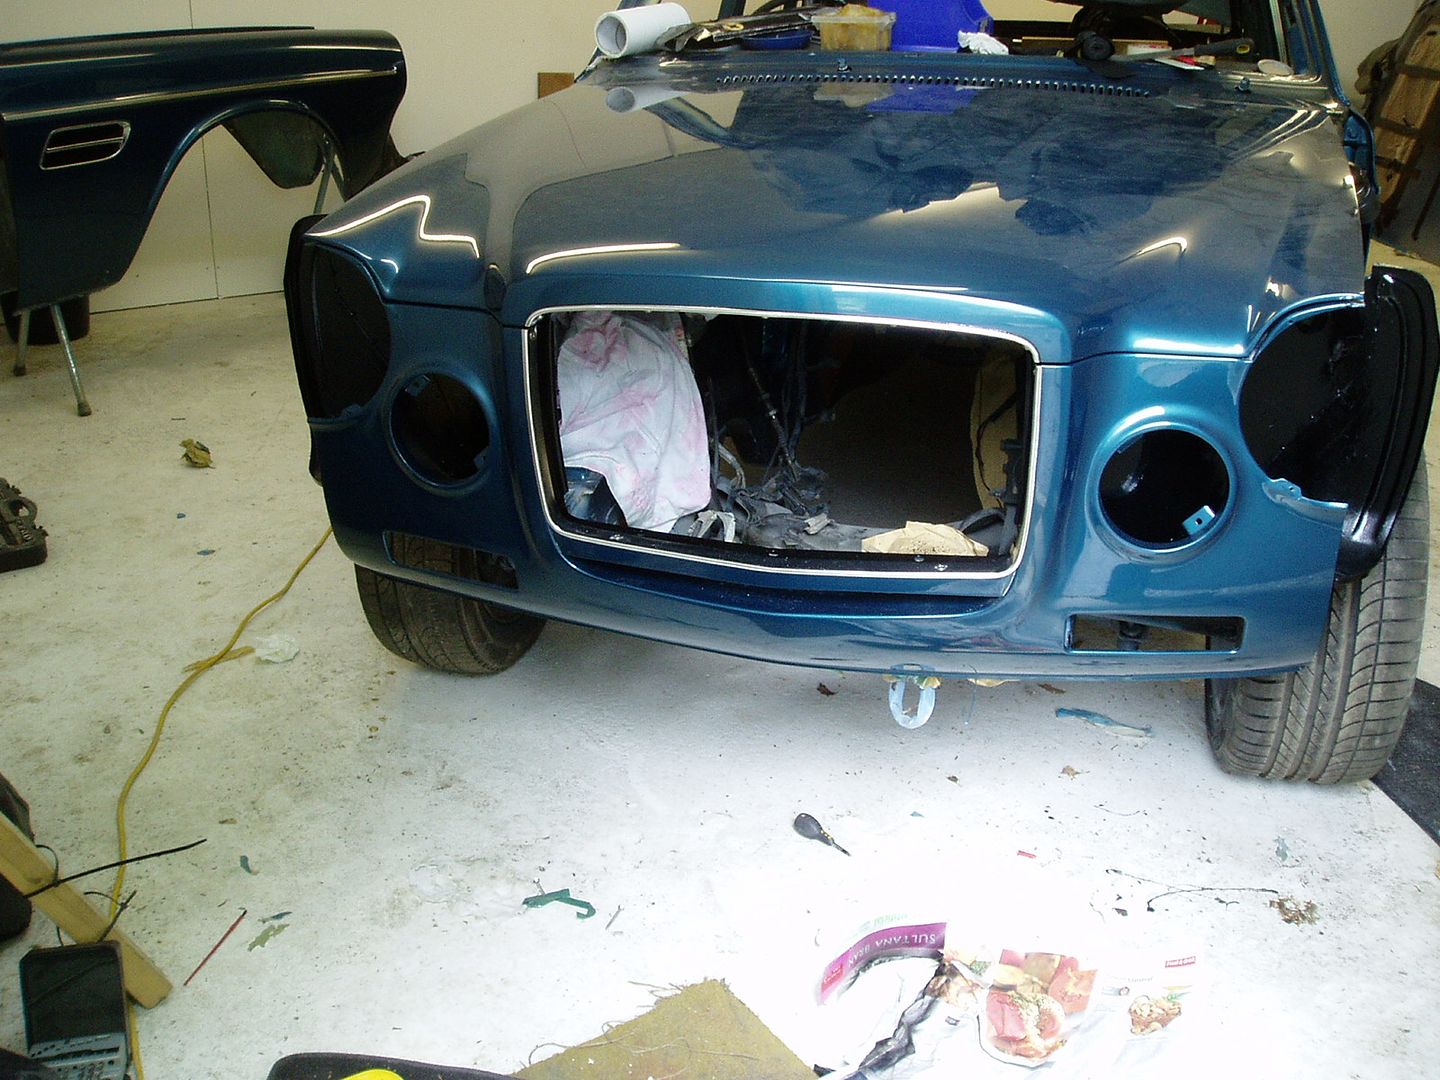 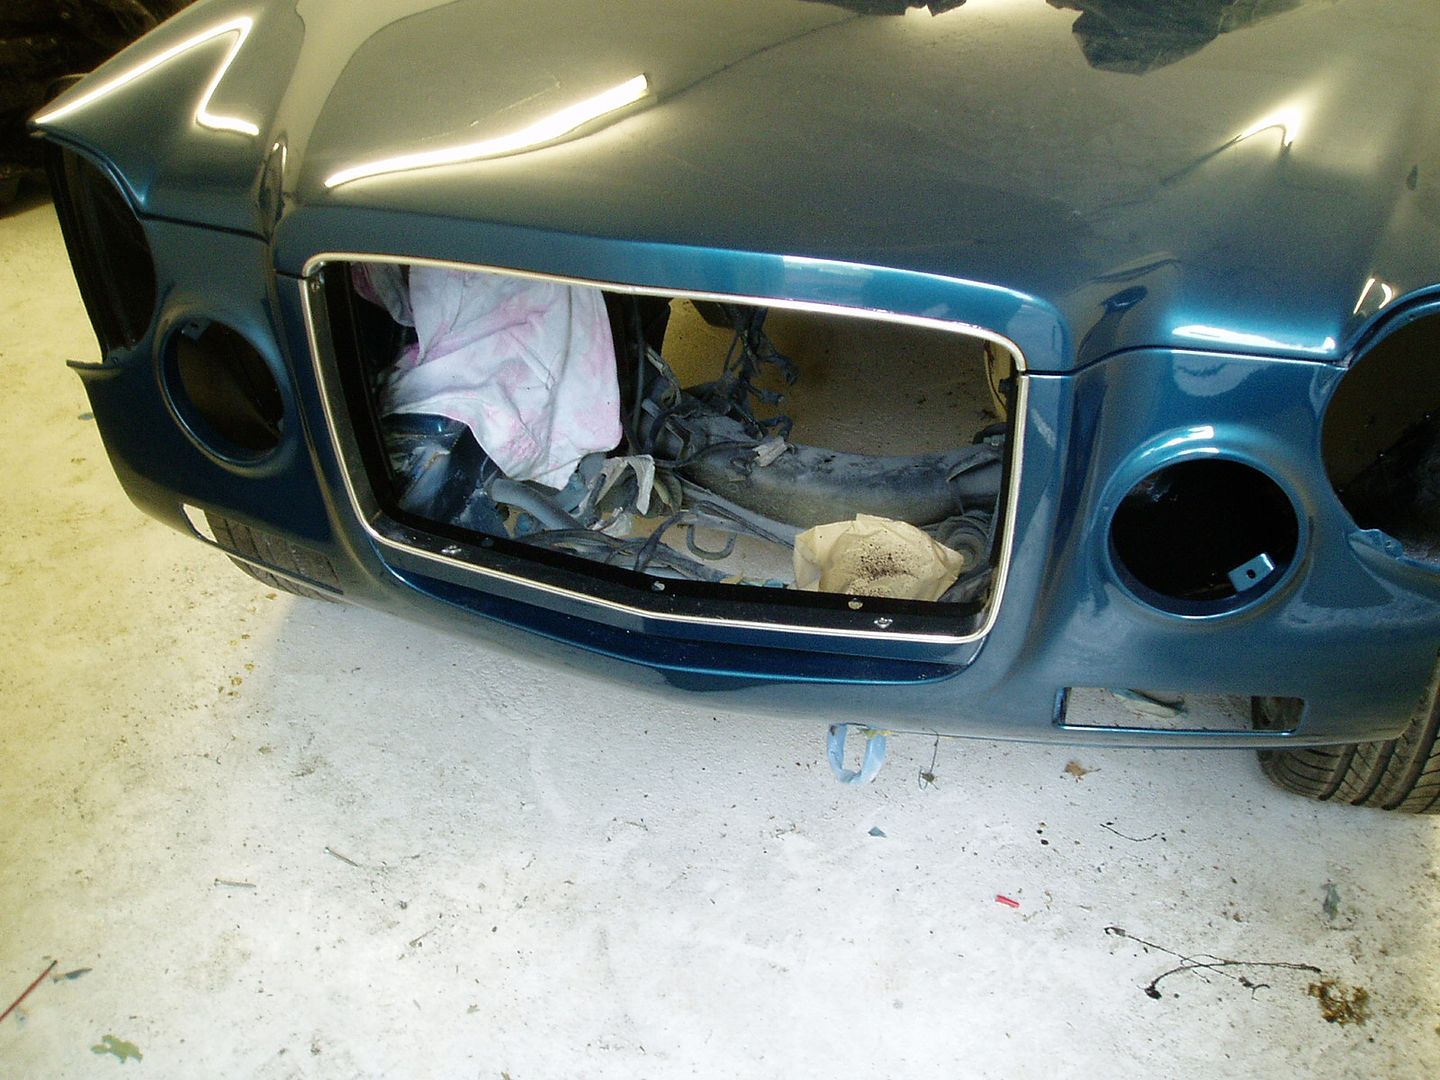 I found a better set of front bumper mounts in my stock of parts. These will come up like new with careful prep 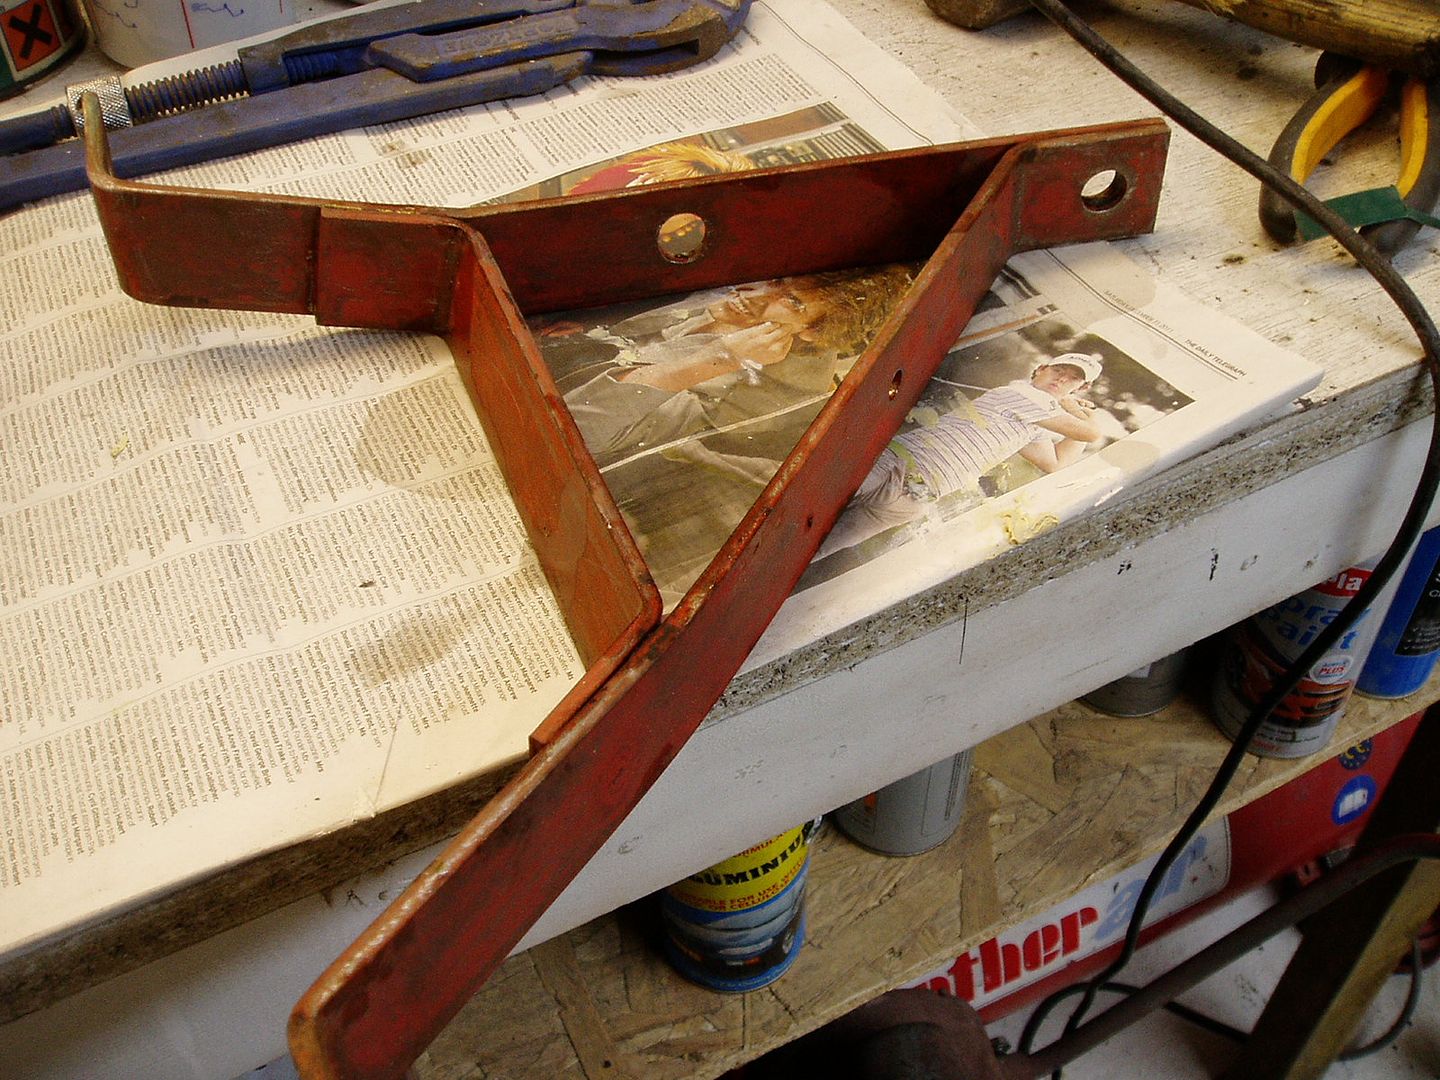 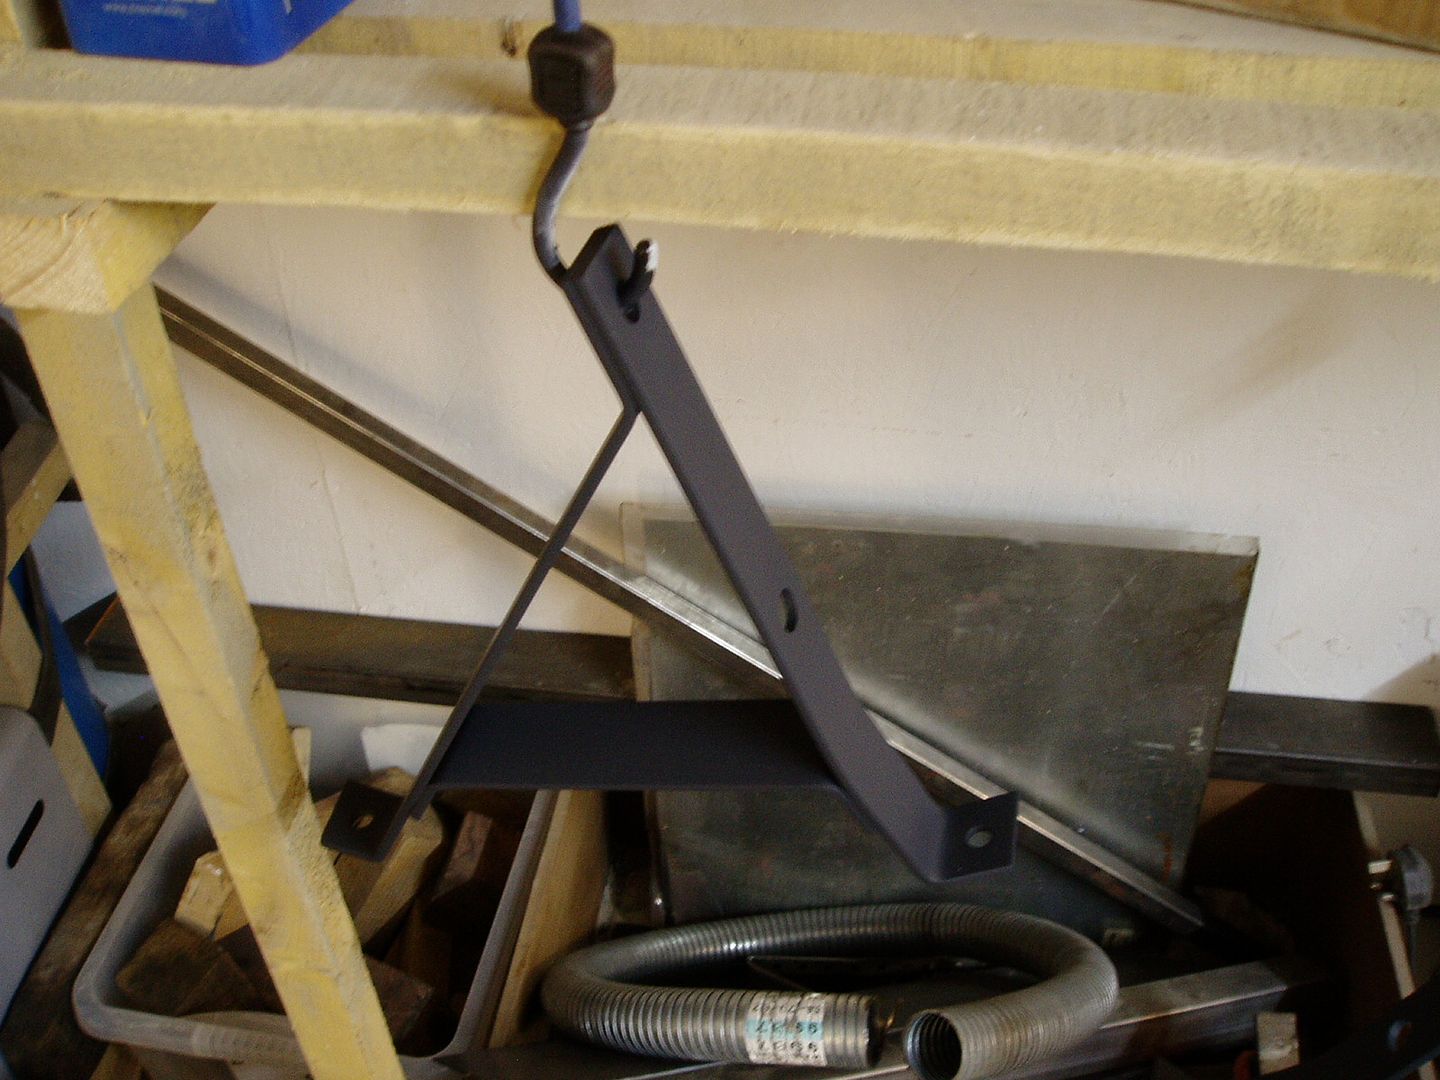 Cheers John |
| |
Last Edit: Jun 5, 2012 19:11:40 GMT by johnrh
|
|
johnrh
Part of things
Posts: 958
|
|
|
|
My goodness, this car is incredible. Many thanks! Lots of progress there! Neat tip with the wing join. I have a similar fitting on the Fiat 130. Wheels look good on the car and the chrome is all looking great and adding to the look of the car nicely looks fantastic, wheels really set it of nicely. i'm curious how you got the side vent to marry up the the venting pipe? have you any pictures? great trick with the strip of foam BTW Cheers, yes I love the chrome, and I had my heart set on those wheels from the outset, but they were hard to get hold of! I'll get an 'in situ' photo of the vent, connected up, but basically I have joined a piece of tube the right diameter for the flexi hose to the back of the vent sealed up the back of the vent. Cheers John |
| |
|
|
|
|
|
|
johnrh
Part of things
Posts: 958
|
|
Jun 10, 2012 15:48:09 GMT
|
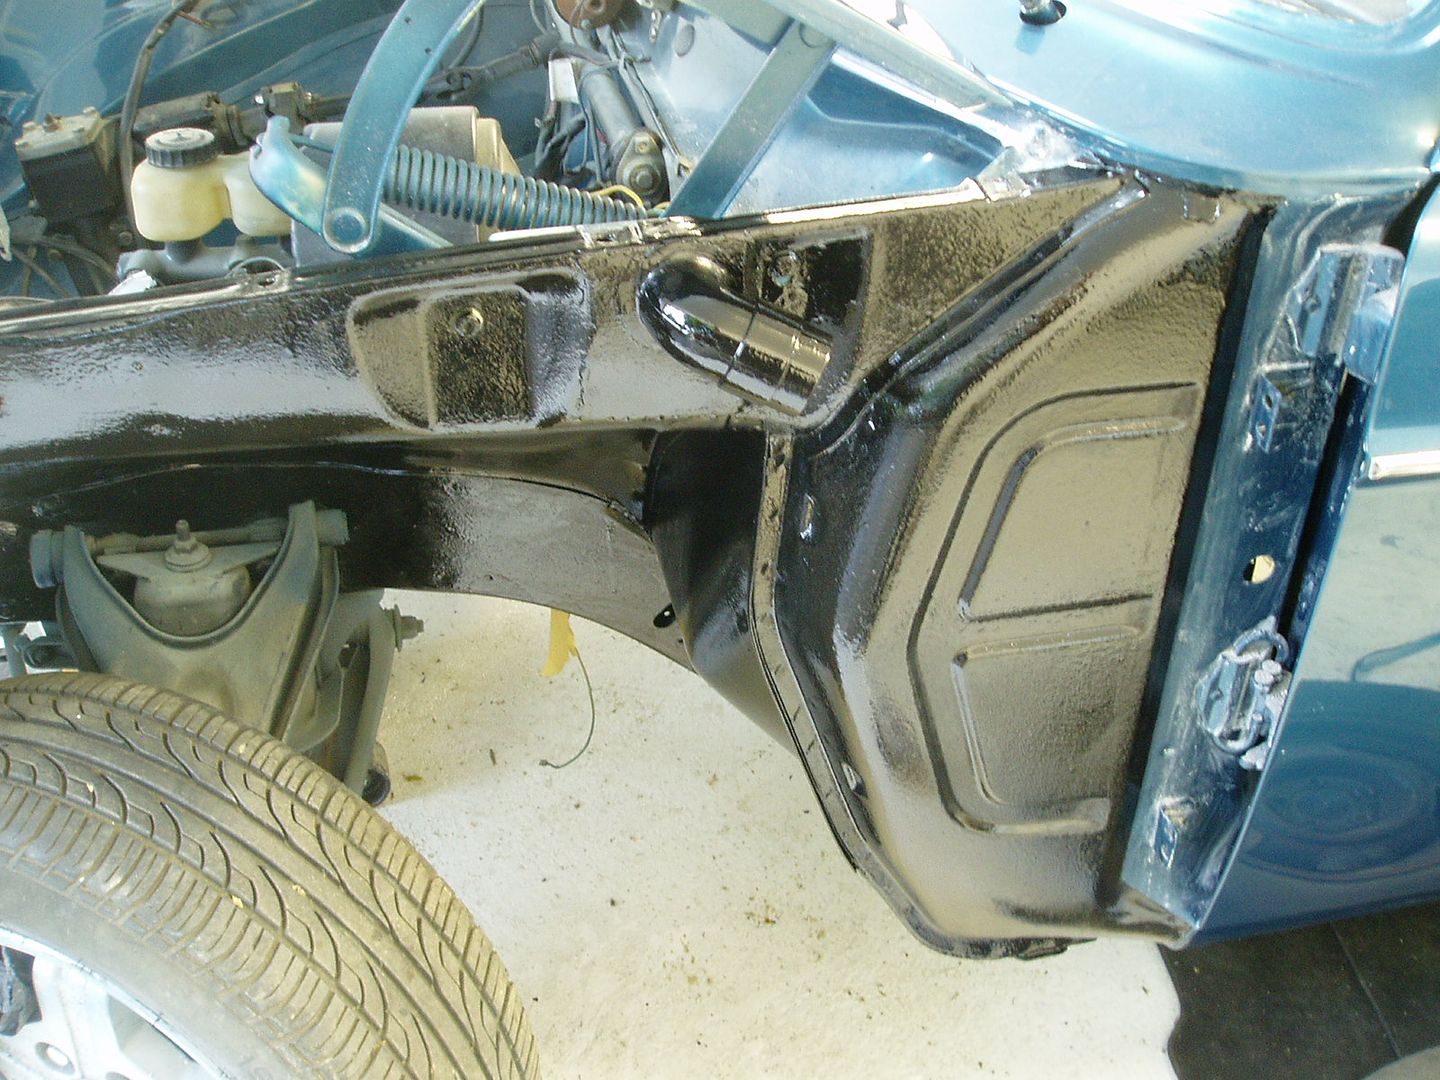
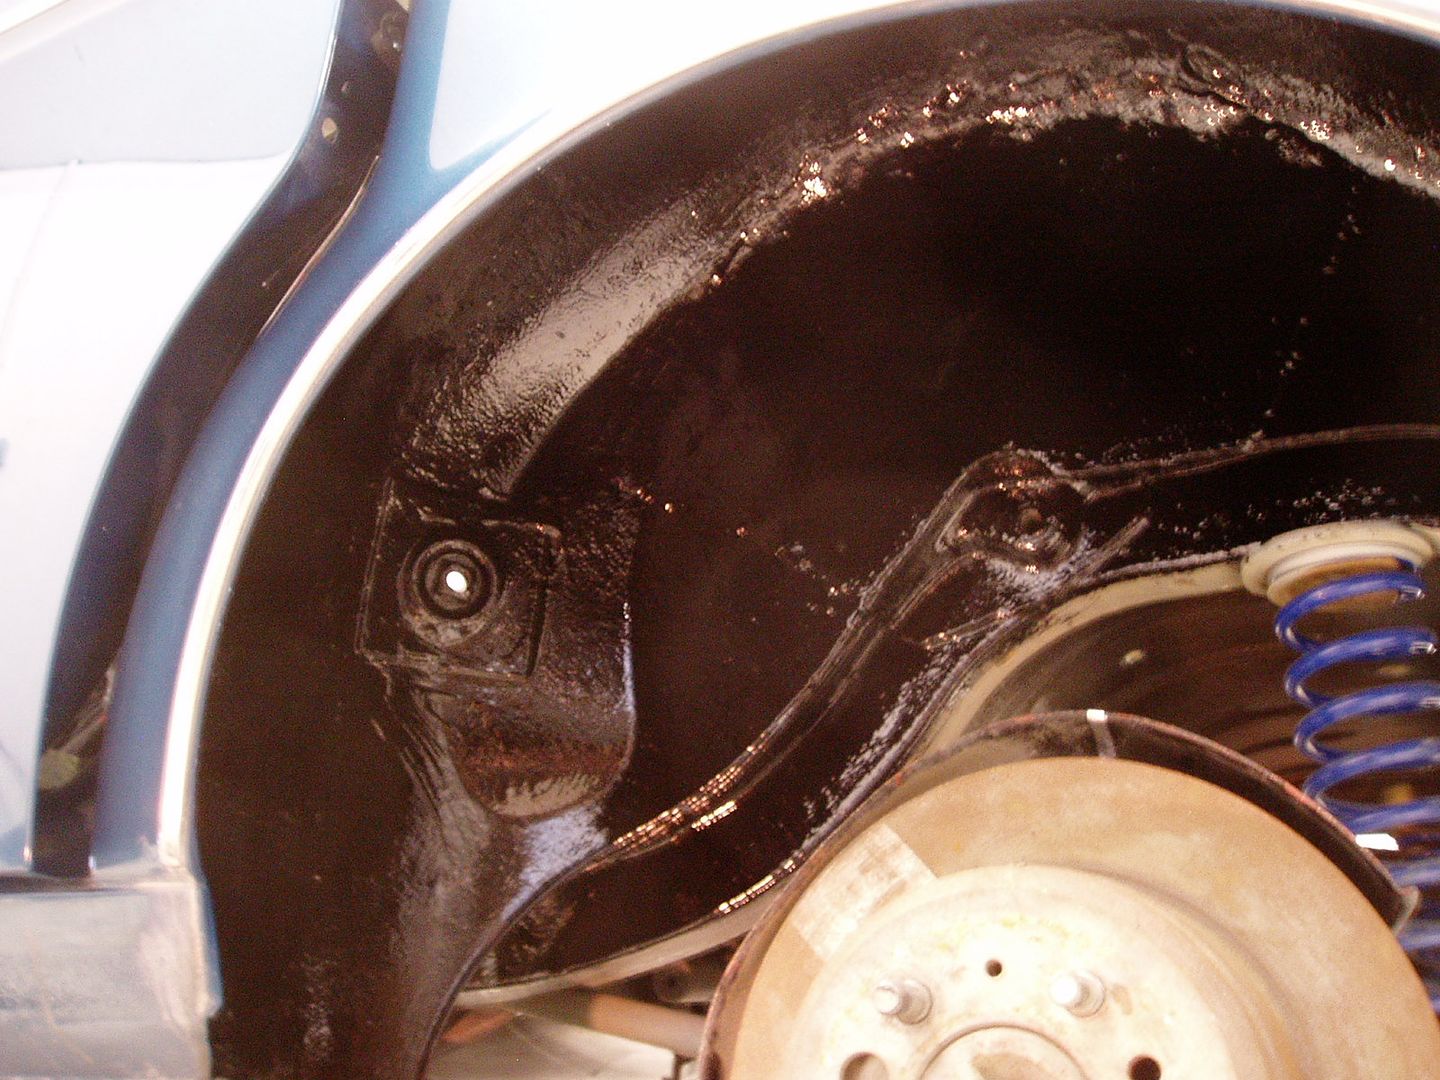
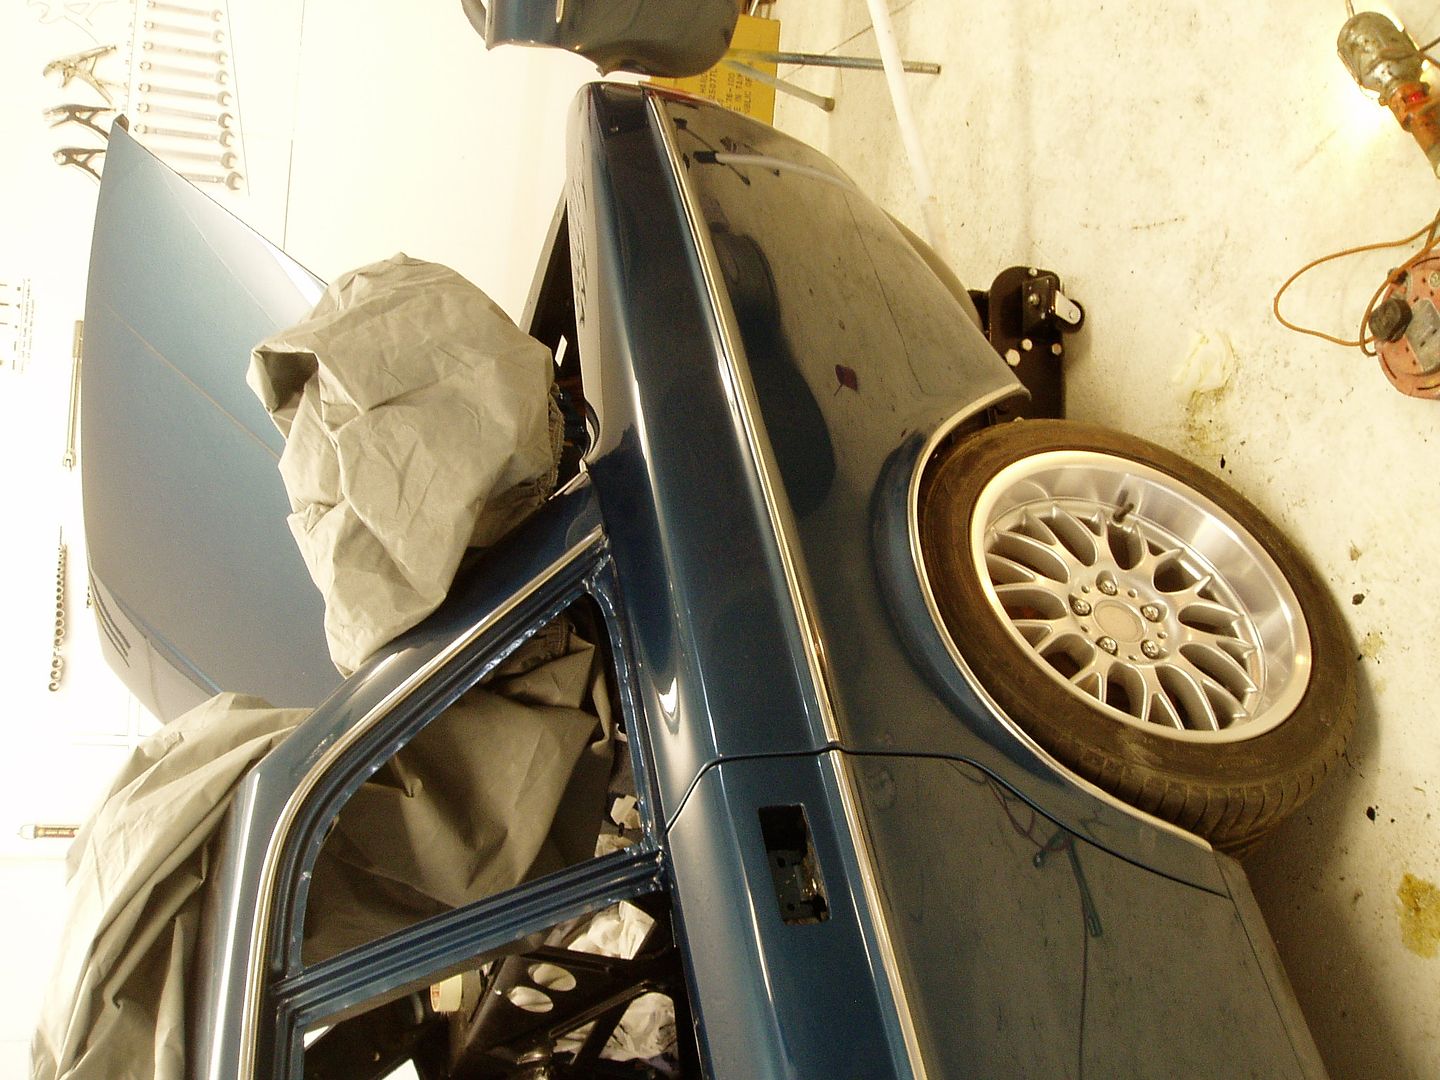
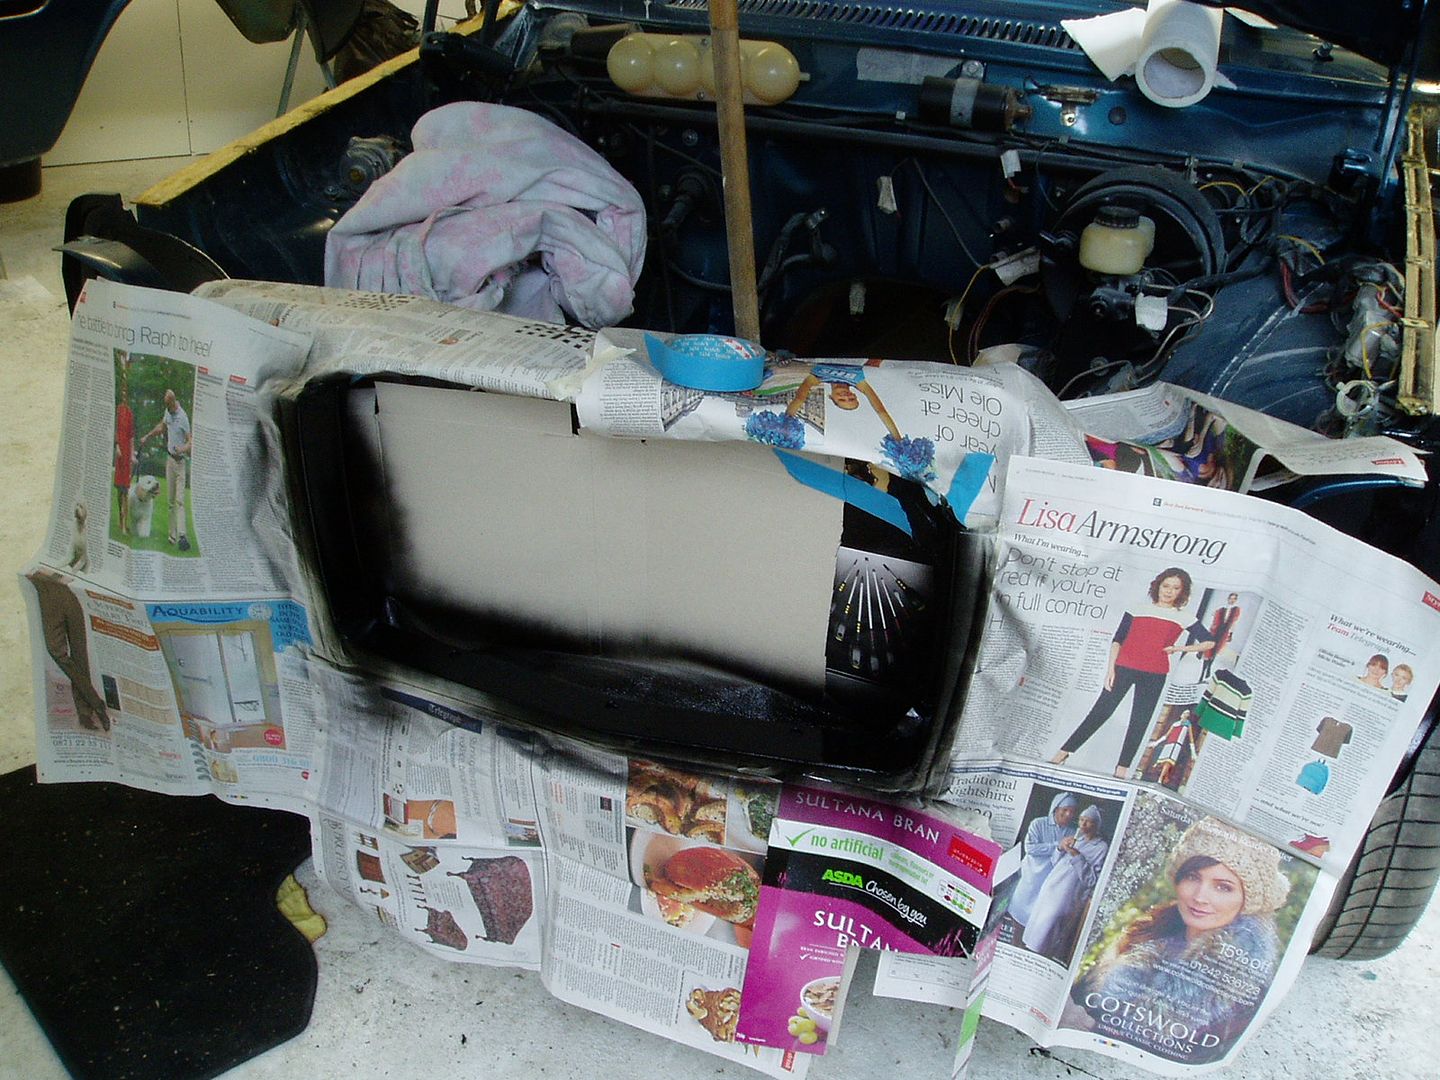
Thanks guys! Some more progress: Spoiler fitting I made some brackets to support the lower edge of the spoiler - don't want it flexing too much on the Autobahn!  Cutting square tube to make a pair of brackets that will bolt onto the bumper mounting 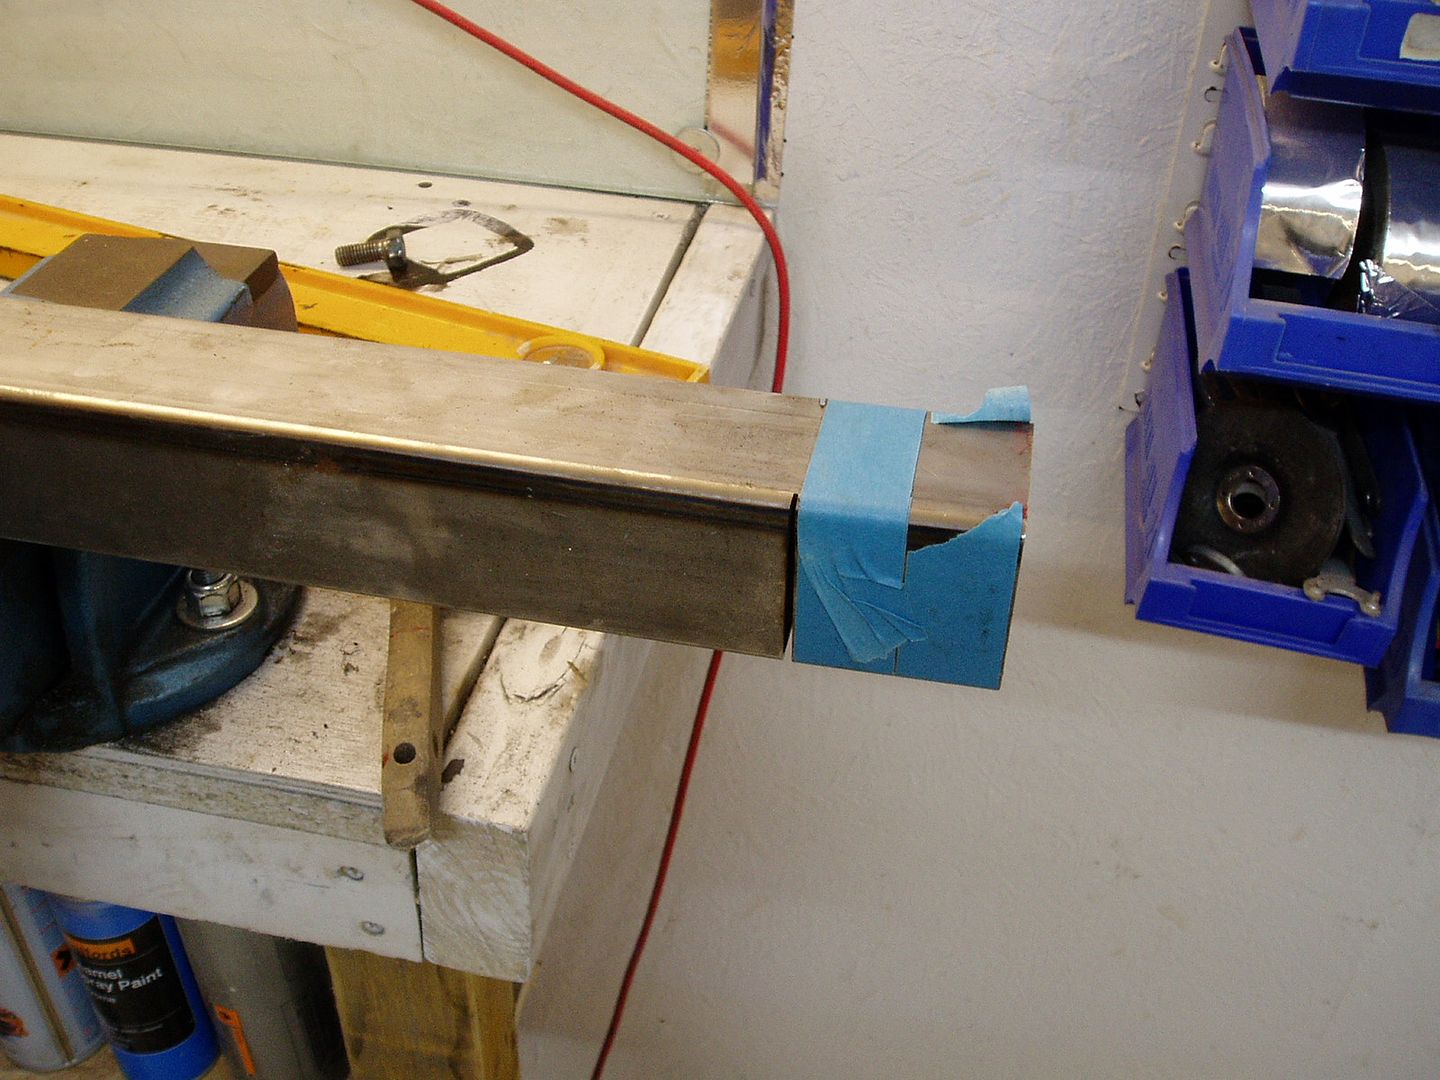 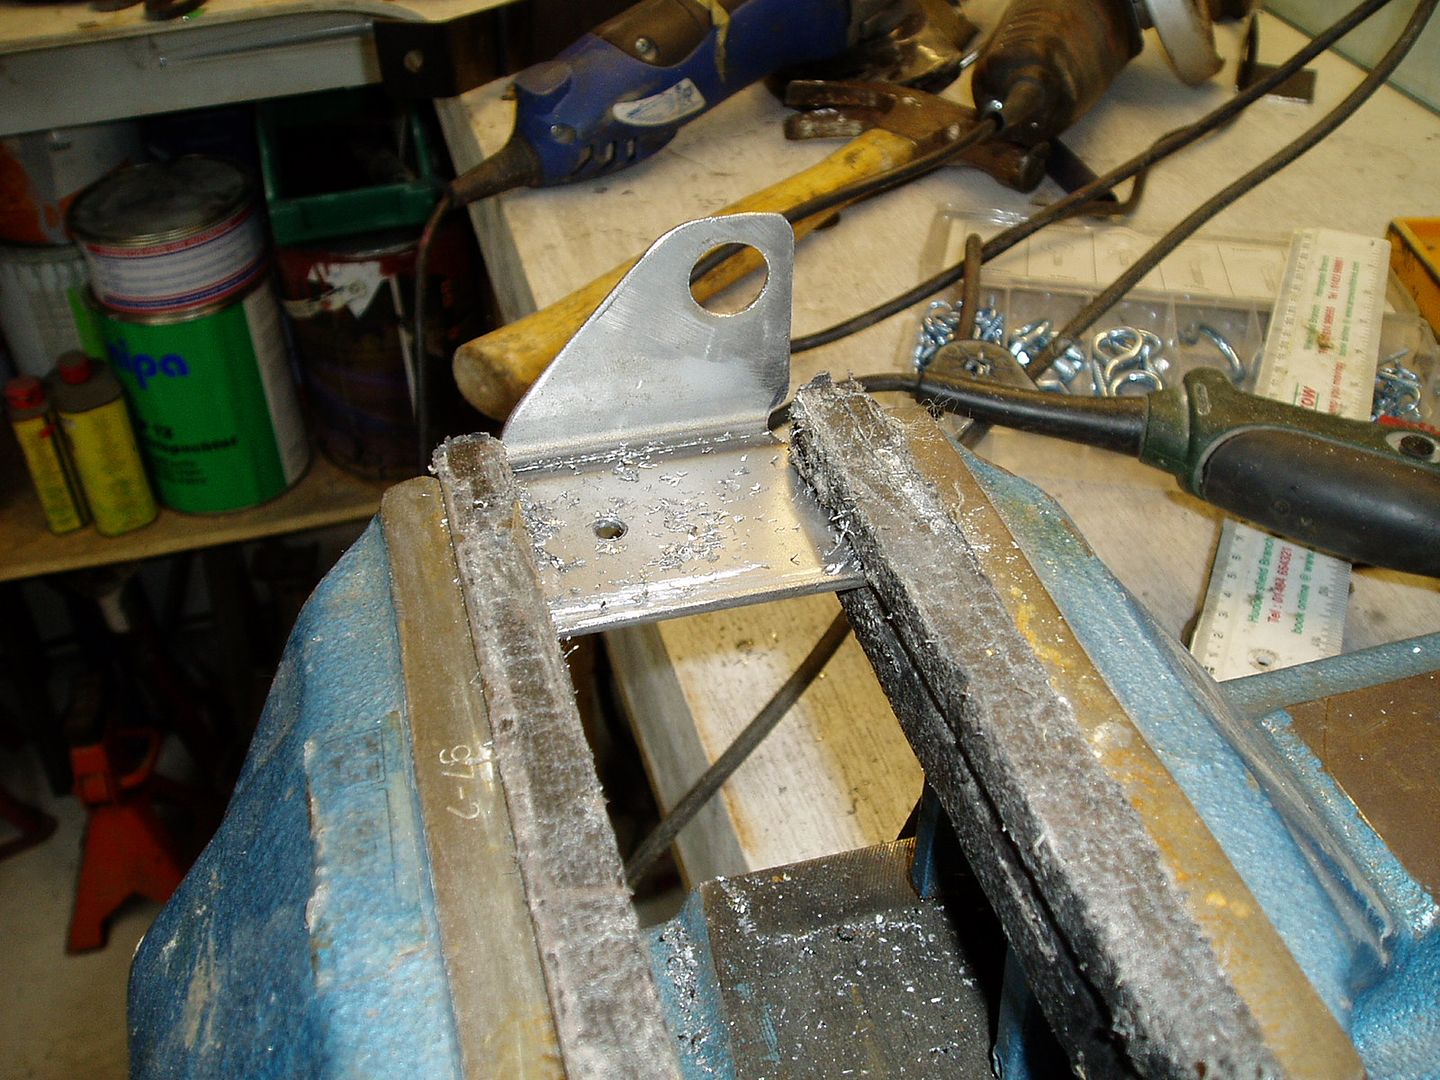 Test fitting. Threaded bar bent into an L-shape joins the spoiler to the bracket, and (quality bodging!) a bathroom door bolt slider, bonded in place, attaches the bar and spreads the load at the spoiler end. 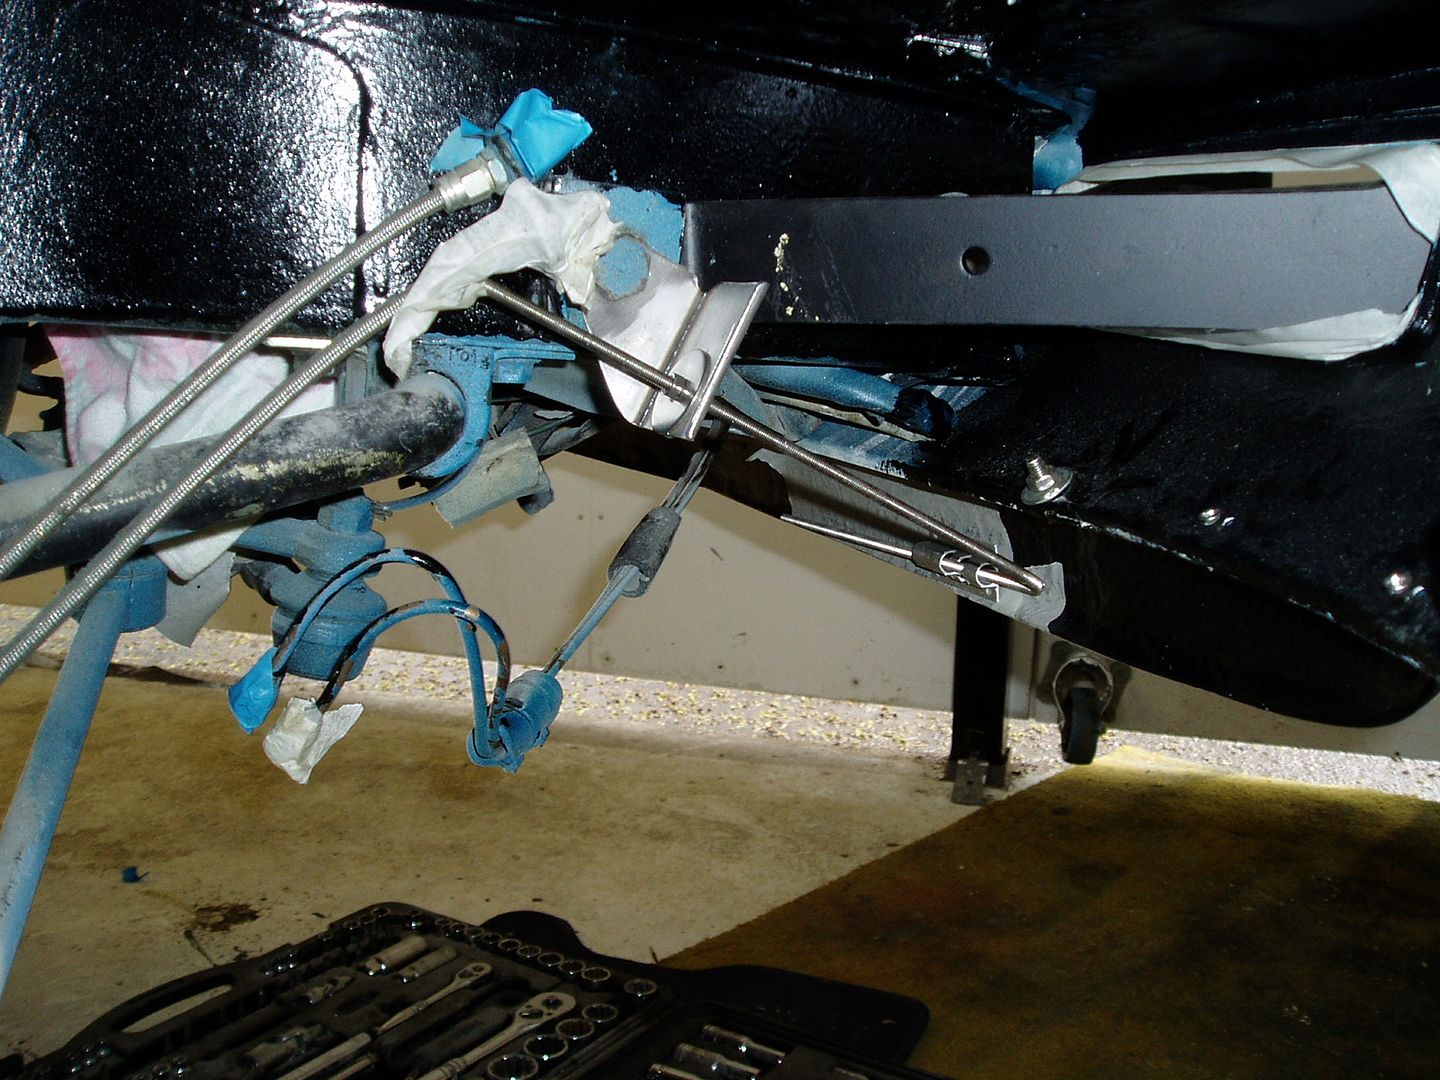 Fitted 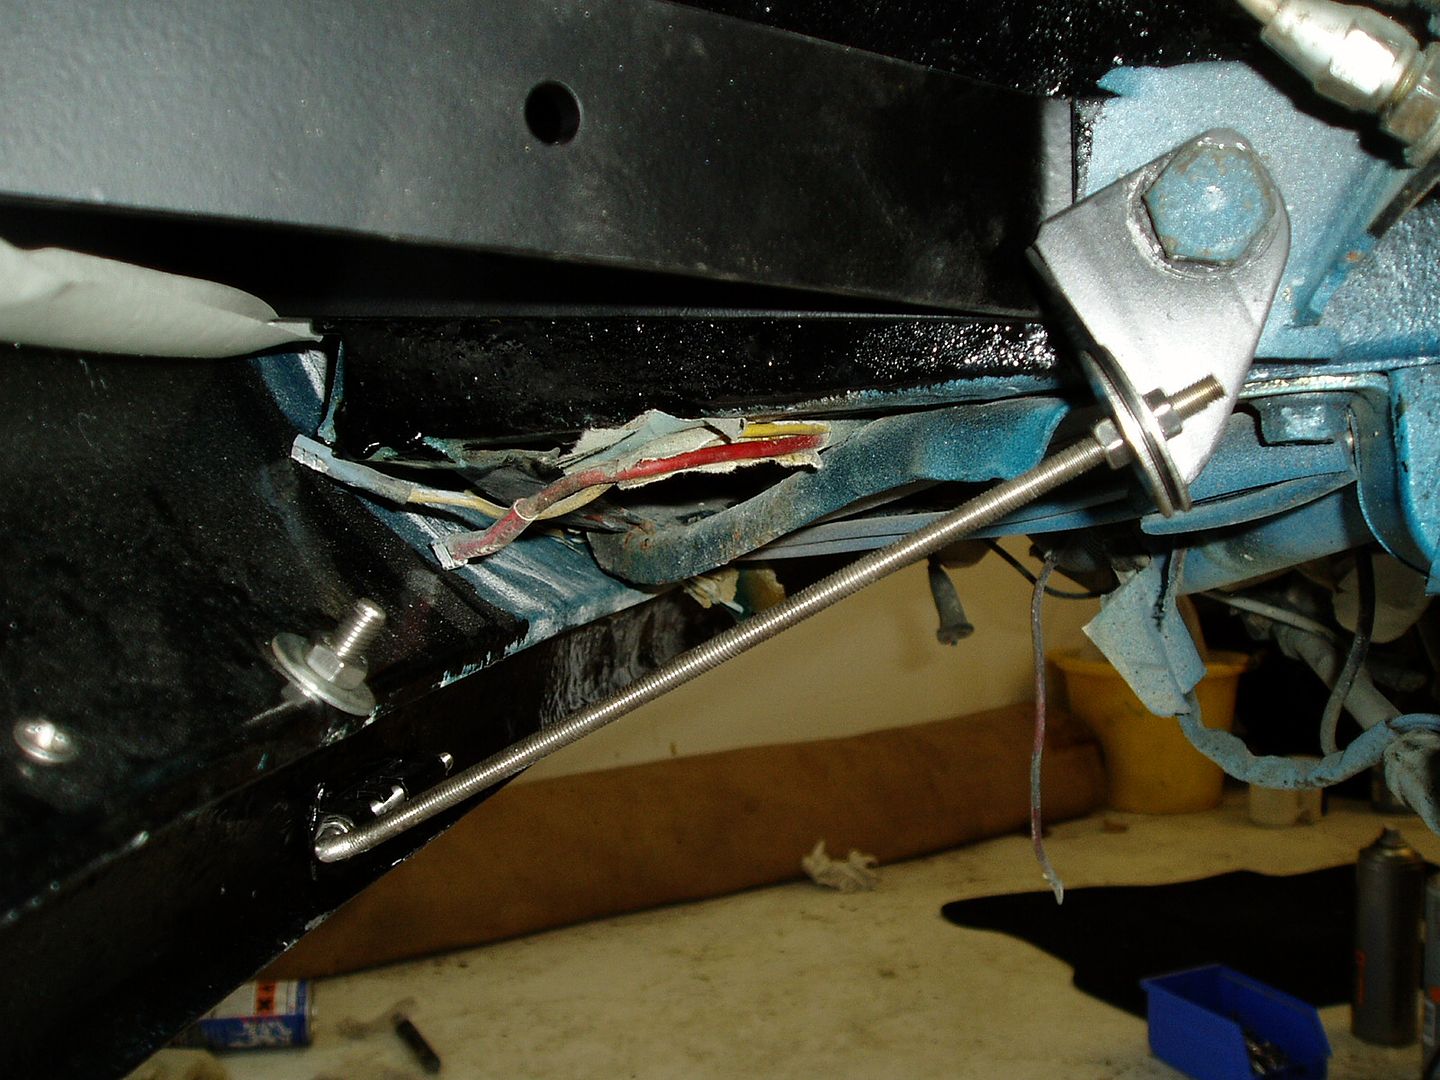 Random bits Random bitsI was asked for photo showing how my flexi pipe would join to the back of the wing vent. This shows the round section that will link it up 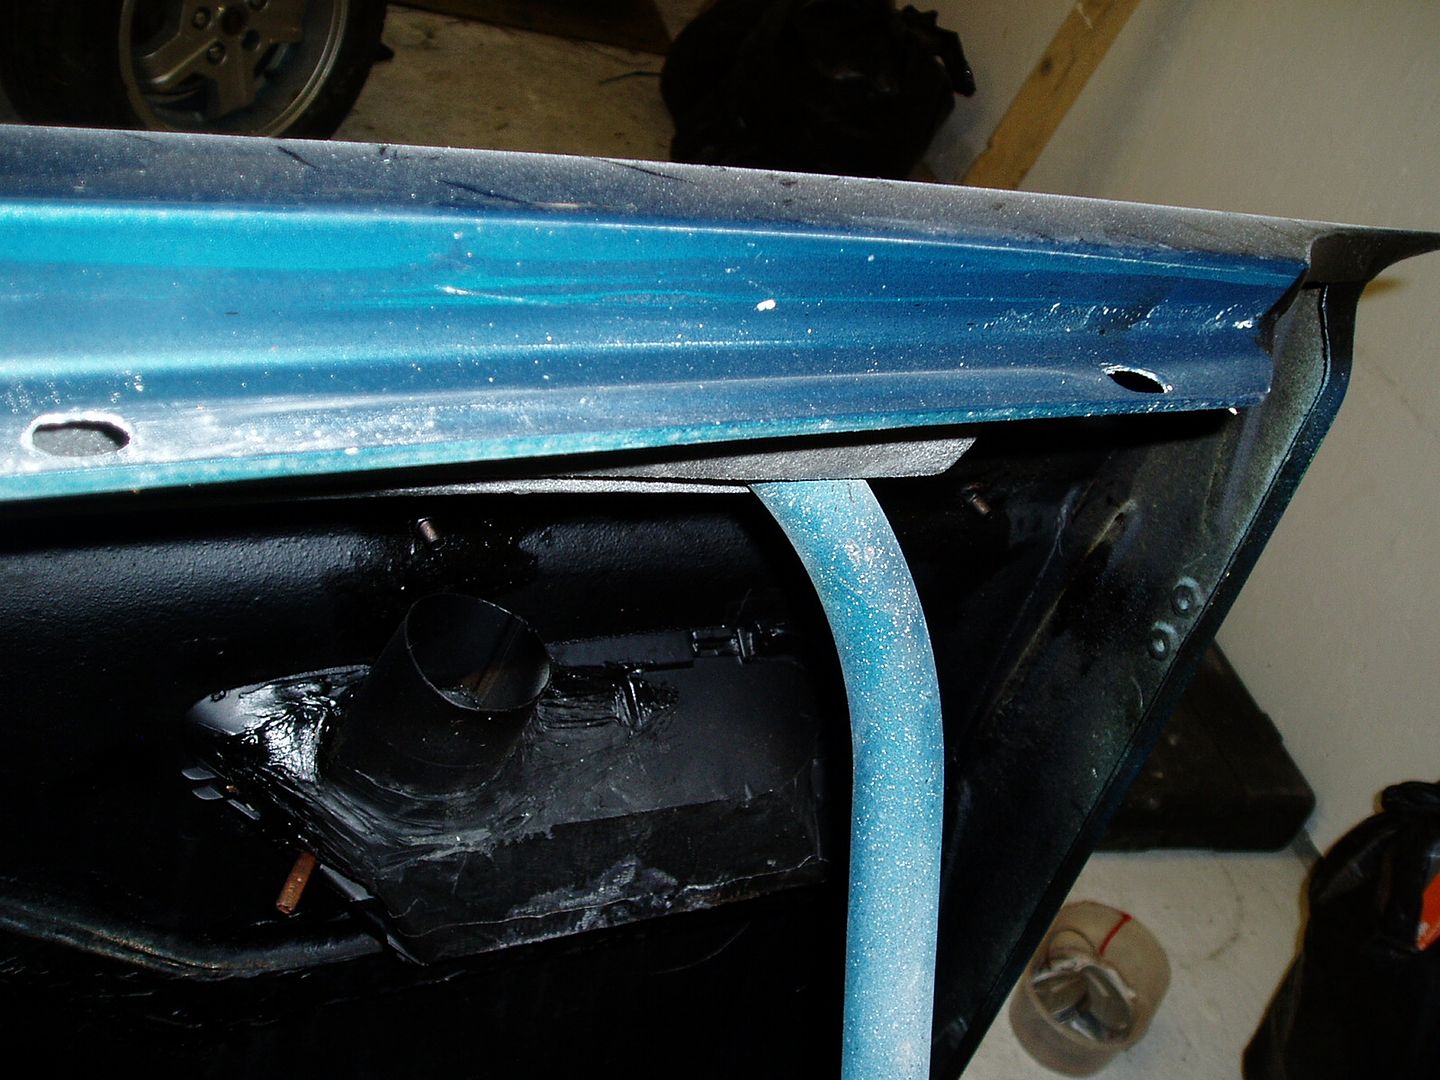 Here my obsession on detail is going to a slightly embarrassing level... refurbishing plastic grommets, which are partly visible behind the rear bumper mounts. (They were previously cover in grinder marks from an earlier respray).  Grille GrilleMaking fittings for my home-made egg-crate grille. The top fixing, using an off-cut of the threaded bar 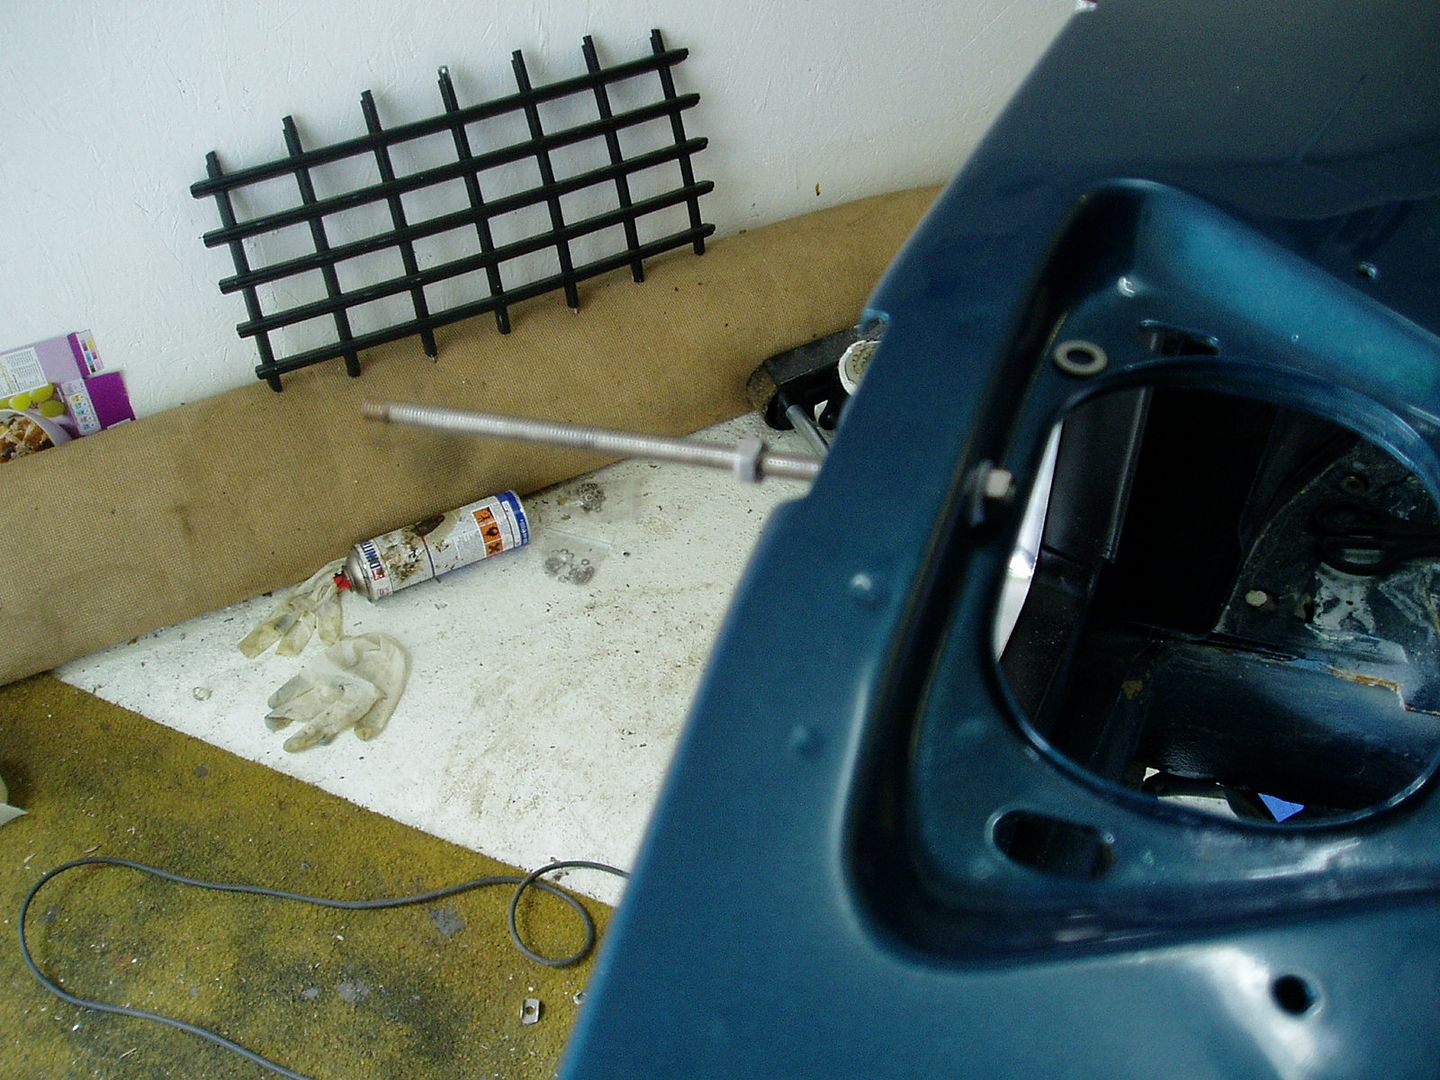 Poor photo, but there is a metal section bonded in to strengthen the top fitting hole. 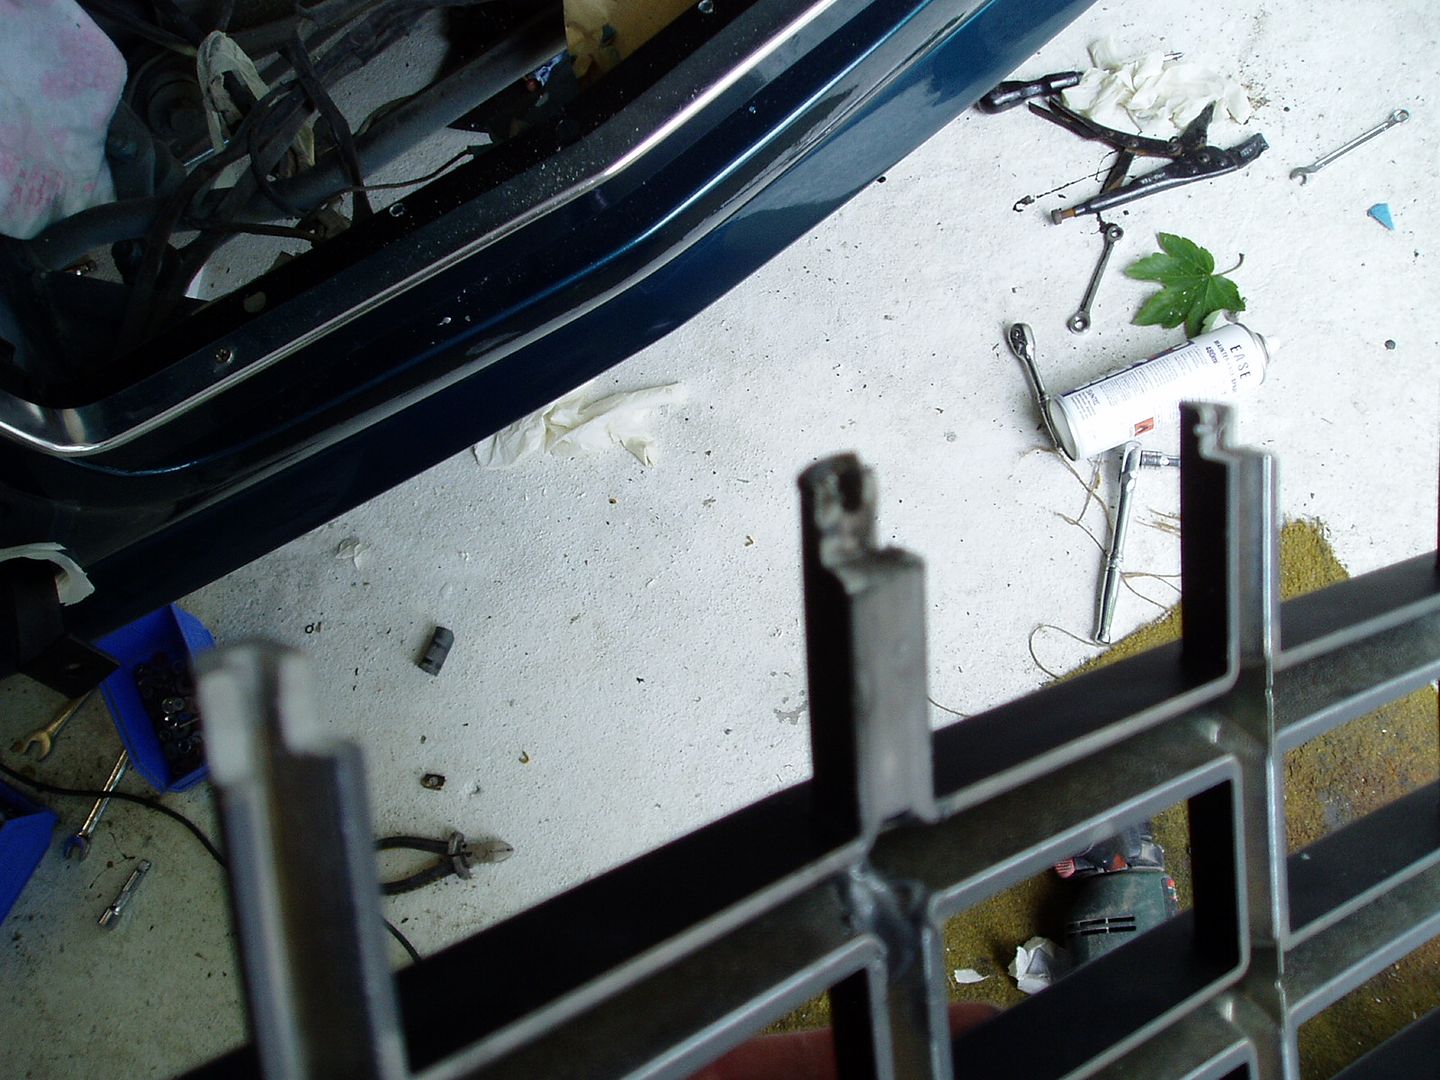 Shaped a washer to support the top mounting 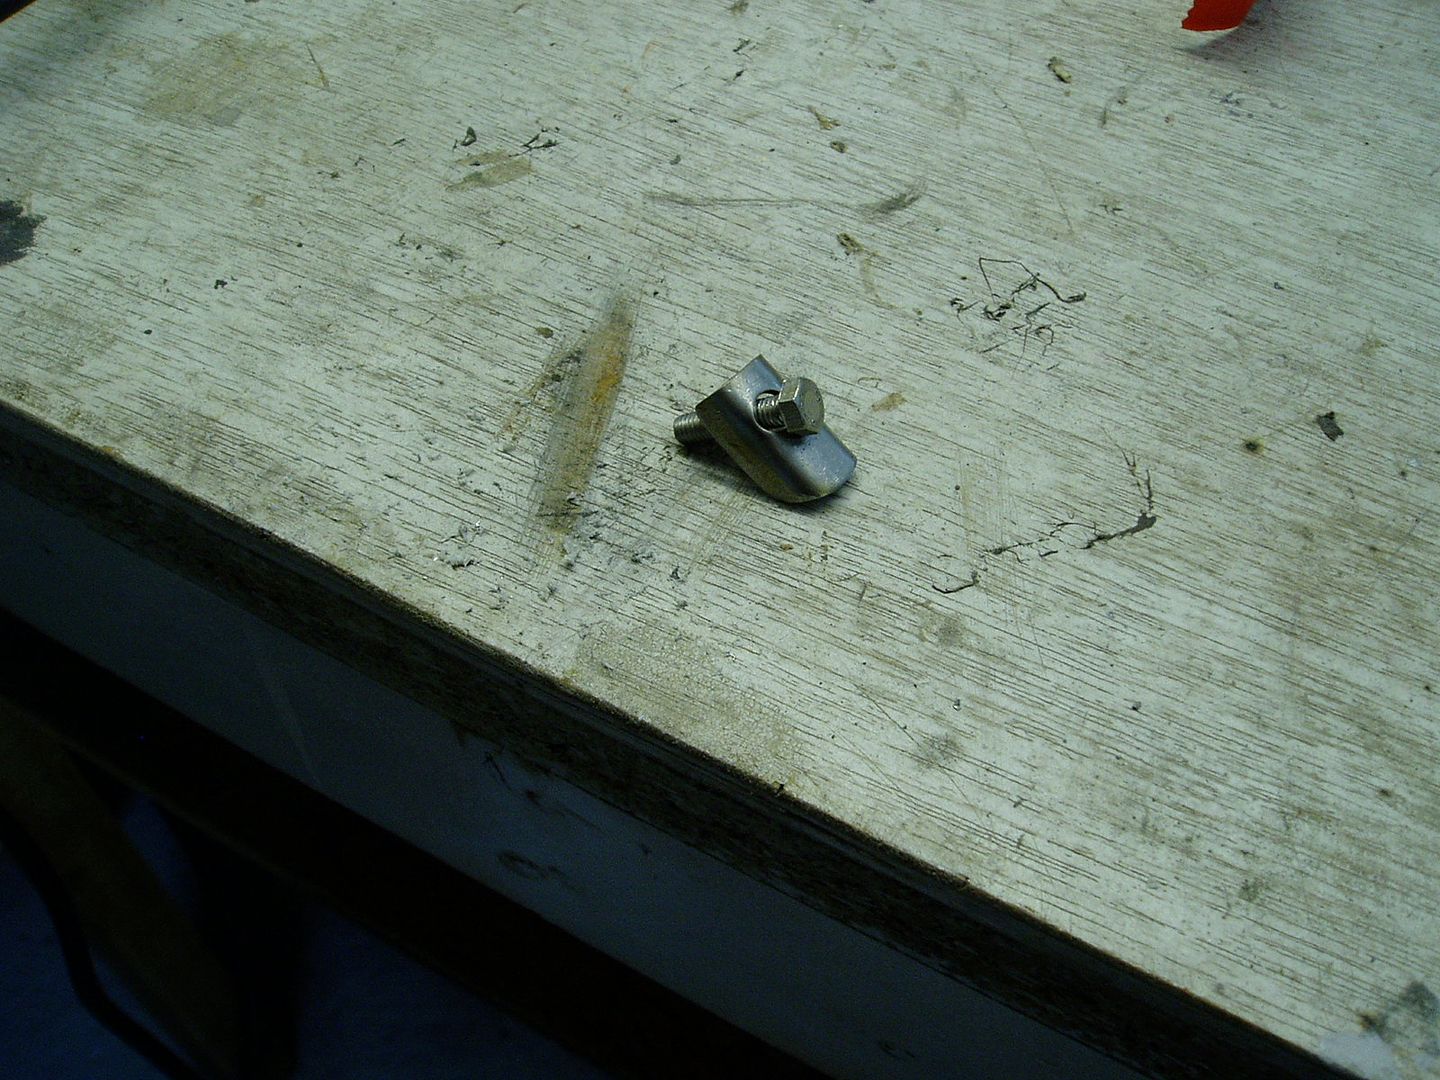 Holes drilled in the lower panel for pegs that I have attached to the grille. 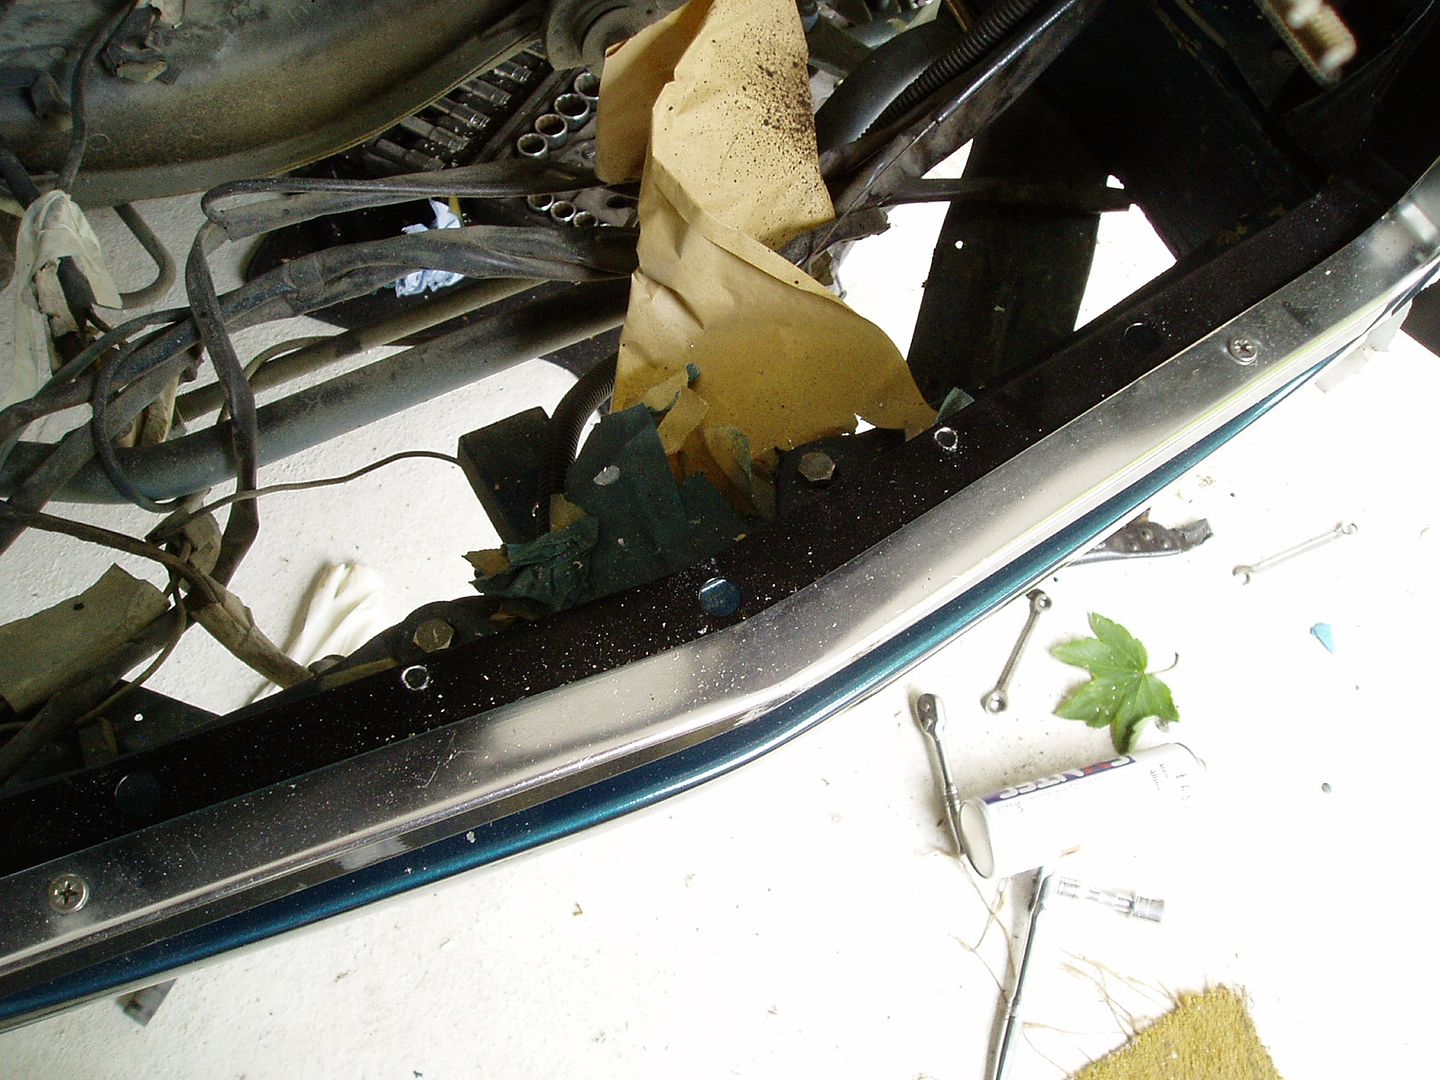 The grille needs more work yet, not least fitting a Volvo badge and diagonal chrome strip! After that it will re-repainted. However a test fit of the grille, spoiler and also the front bumper seemed like a good excuse for a clean-up and some photos! 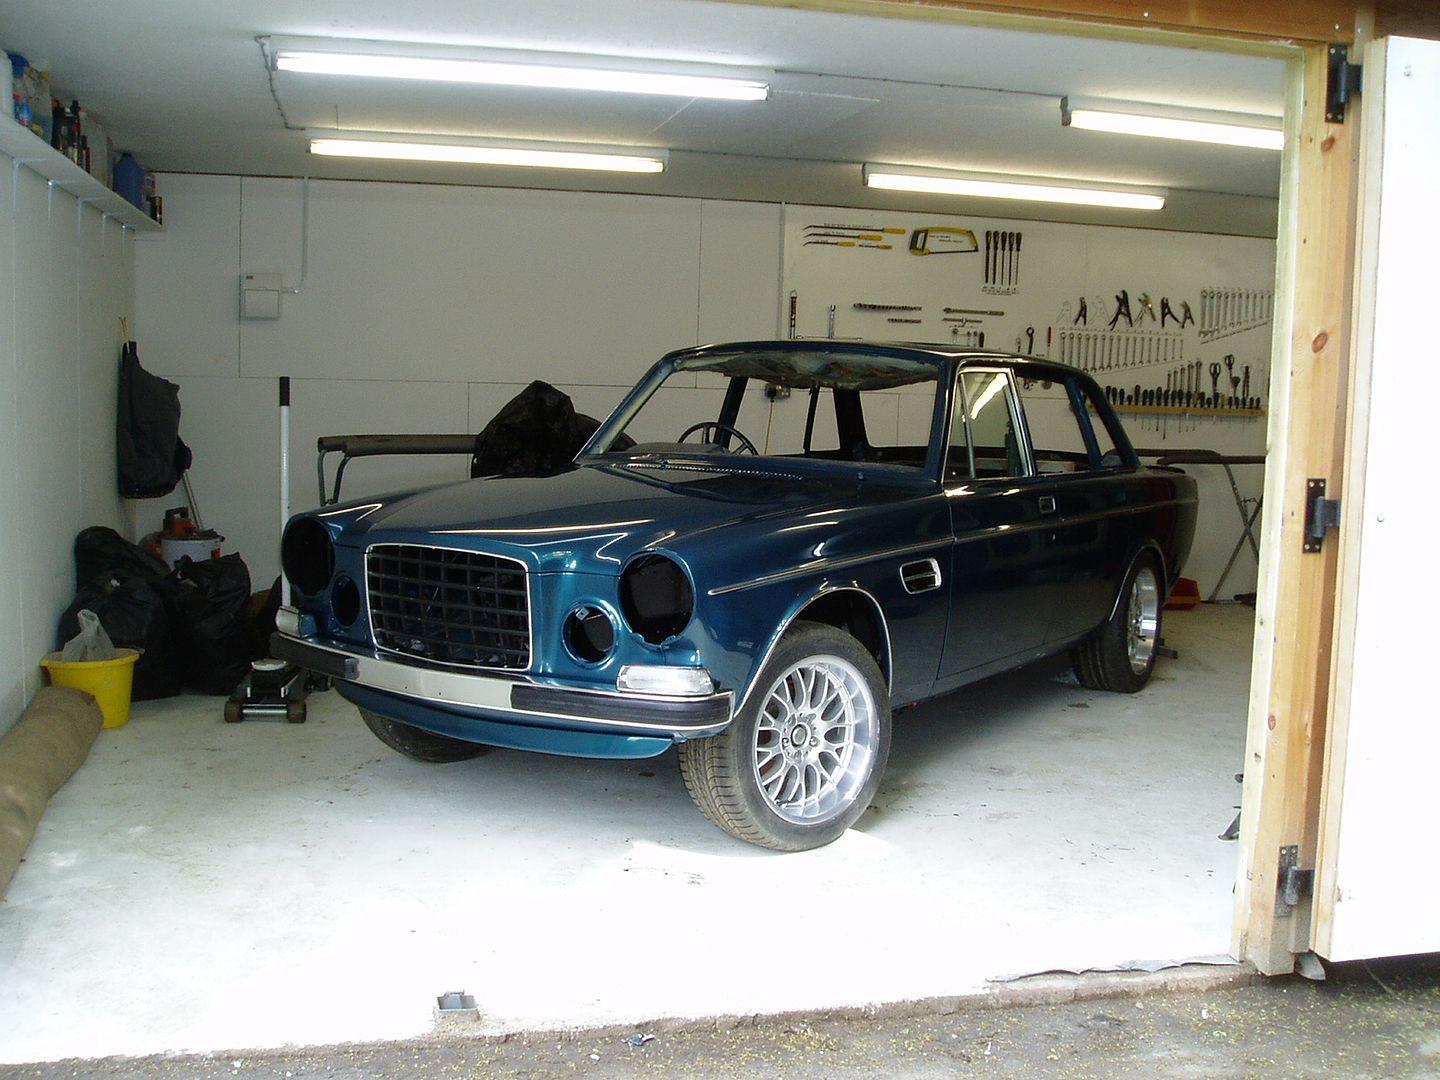 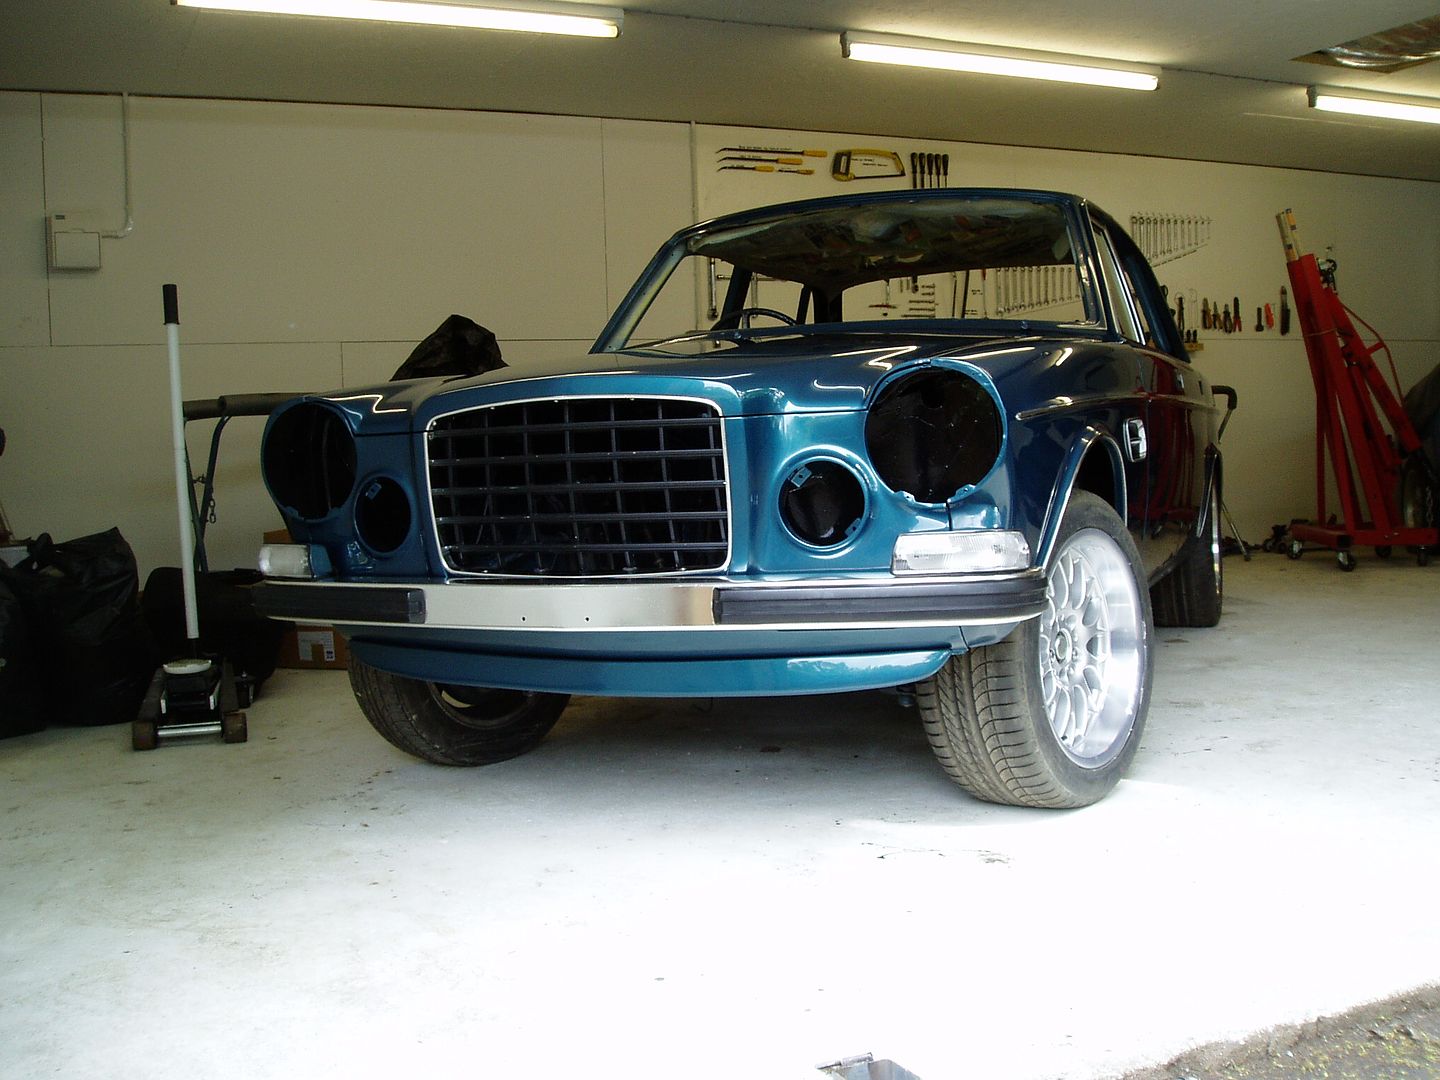 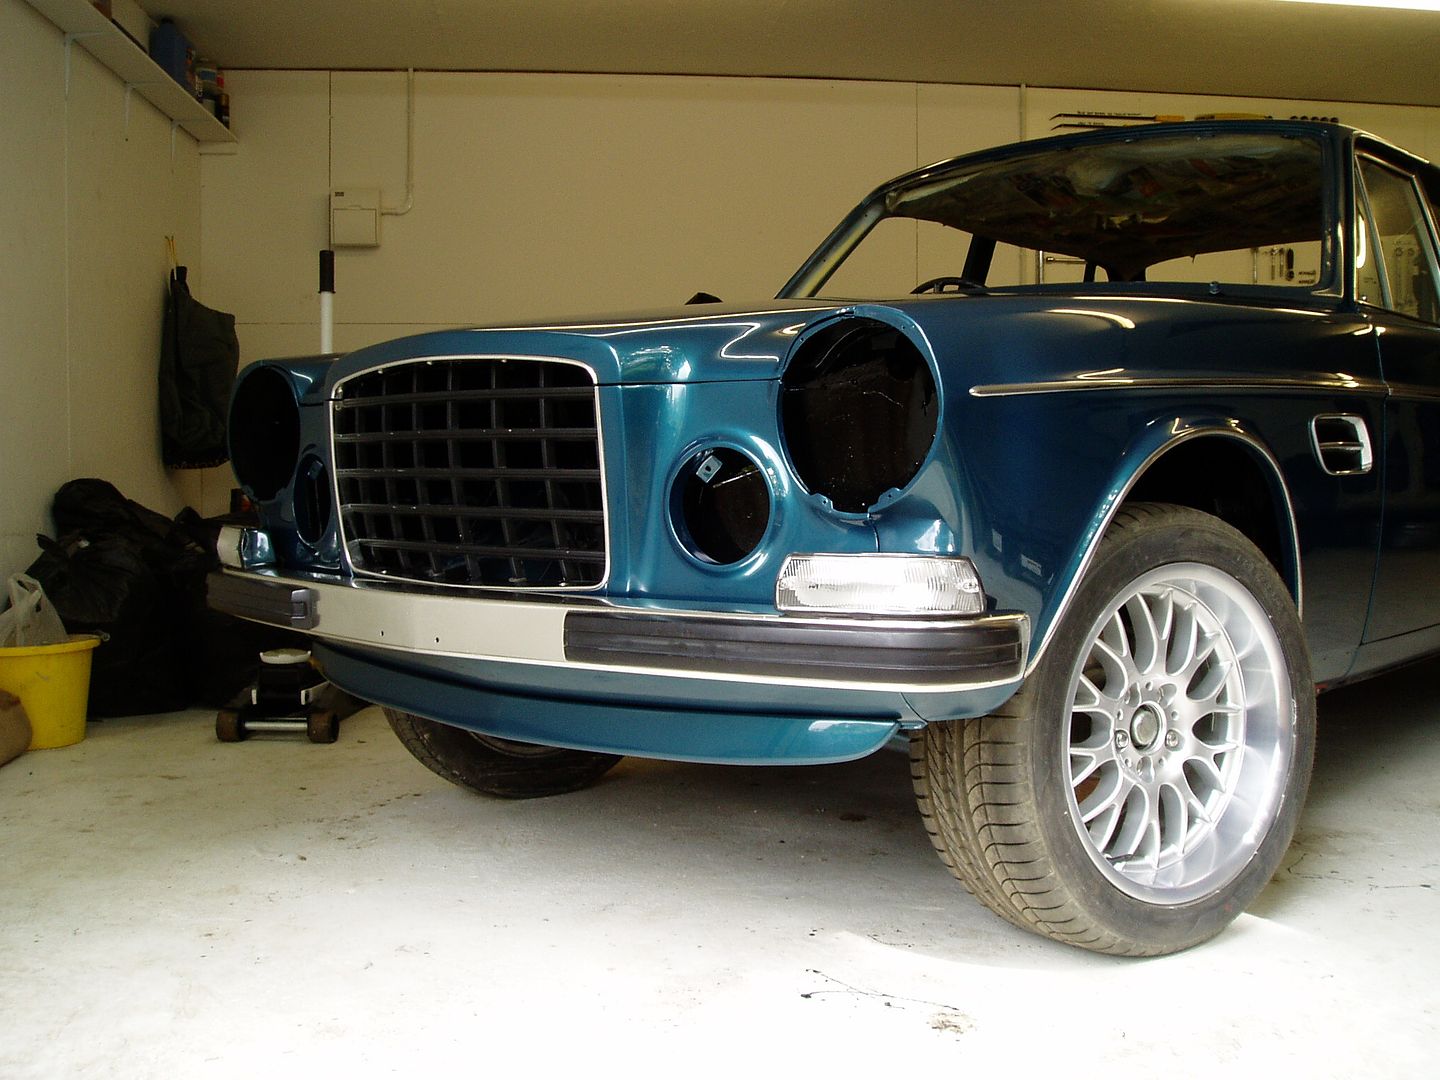 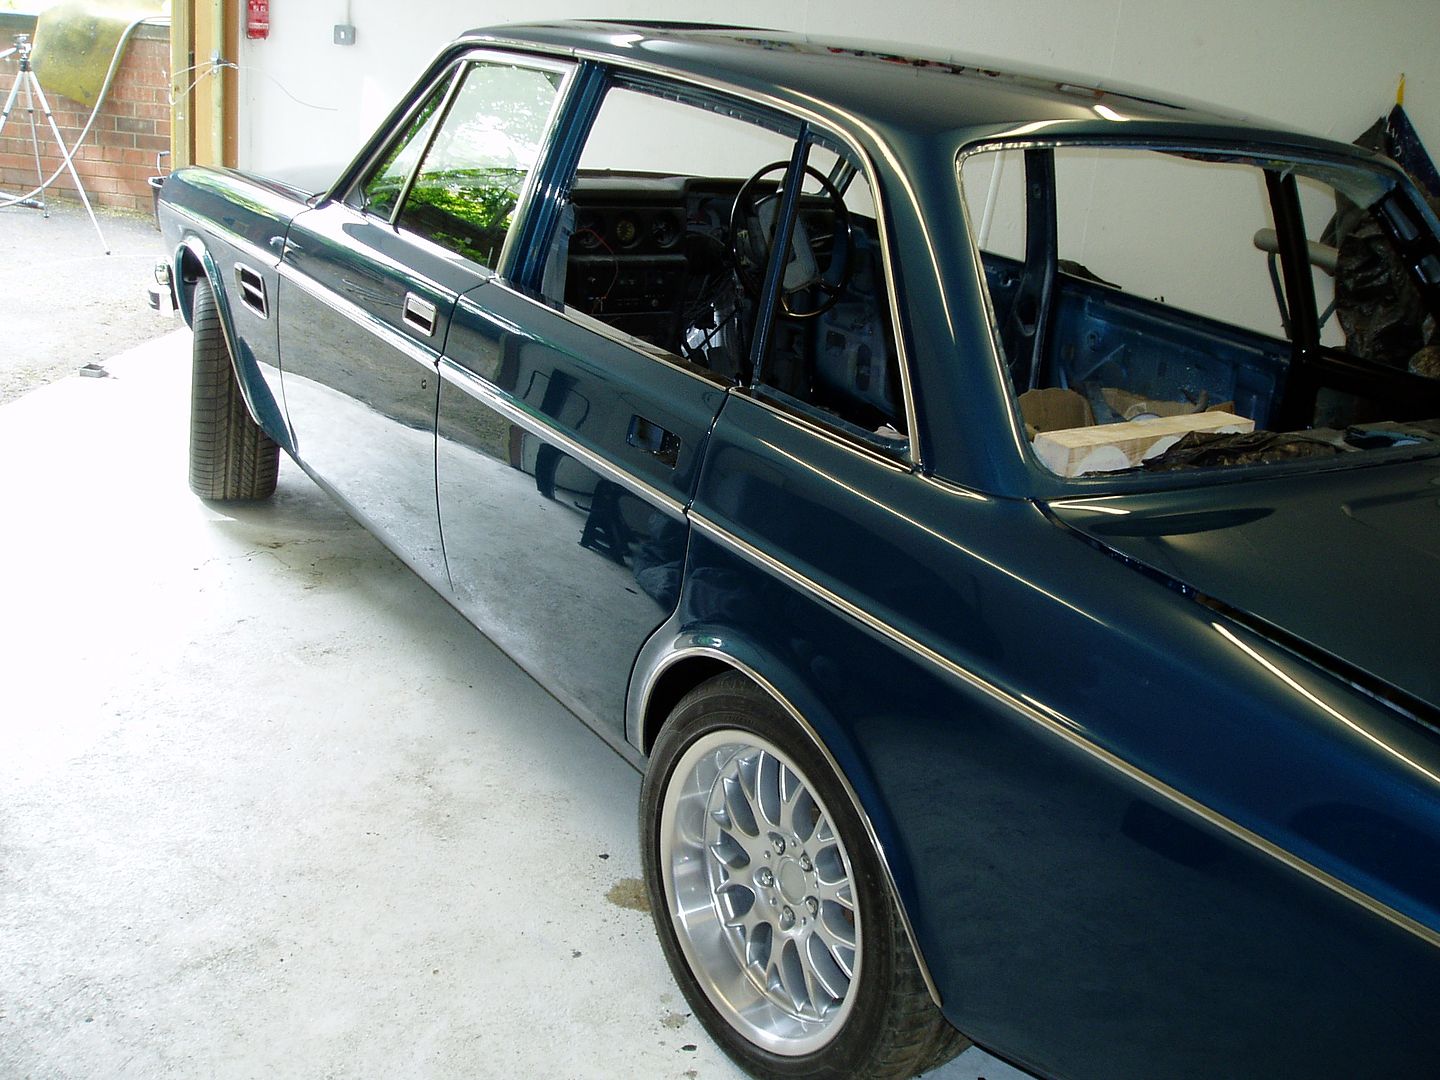 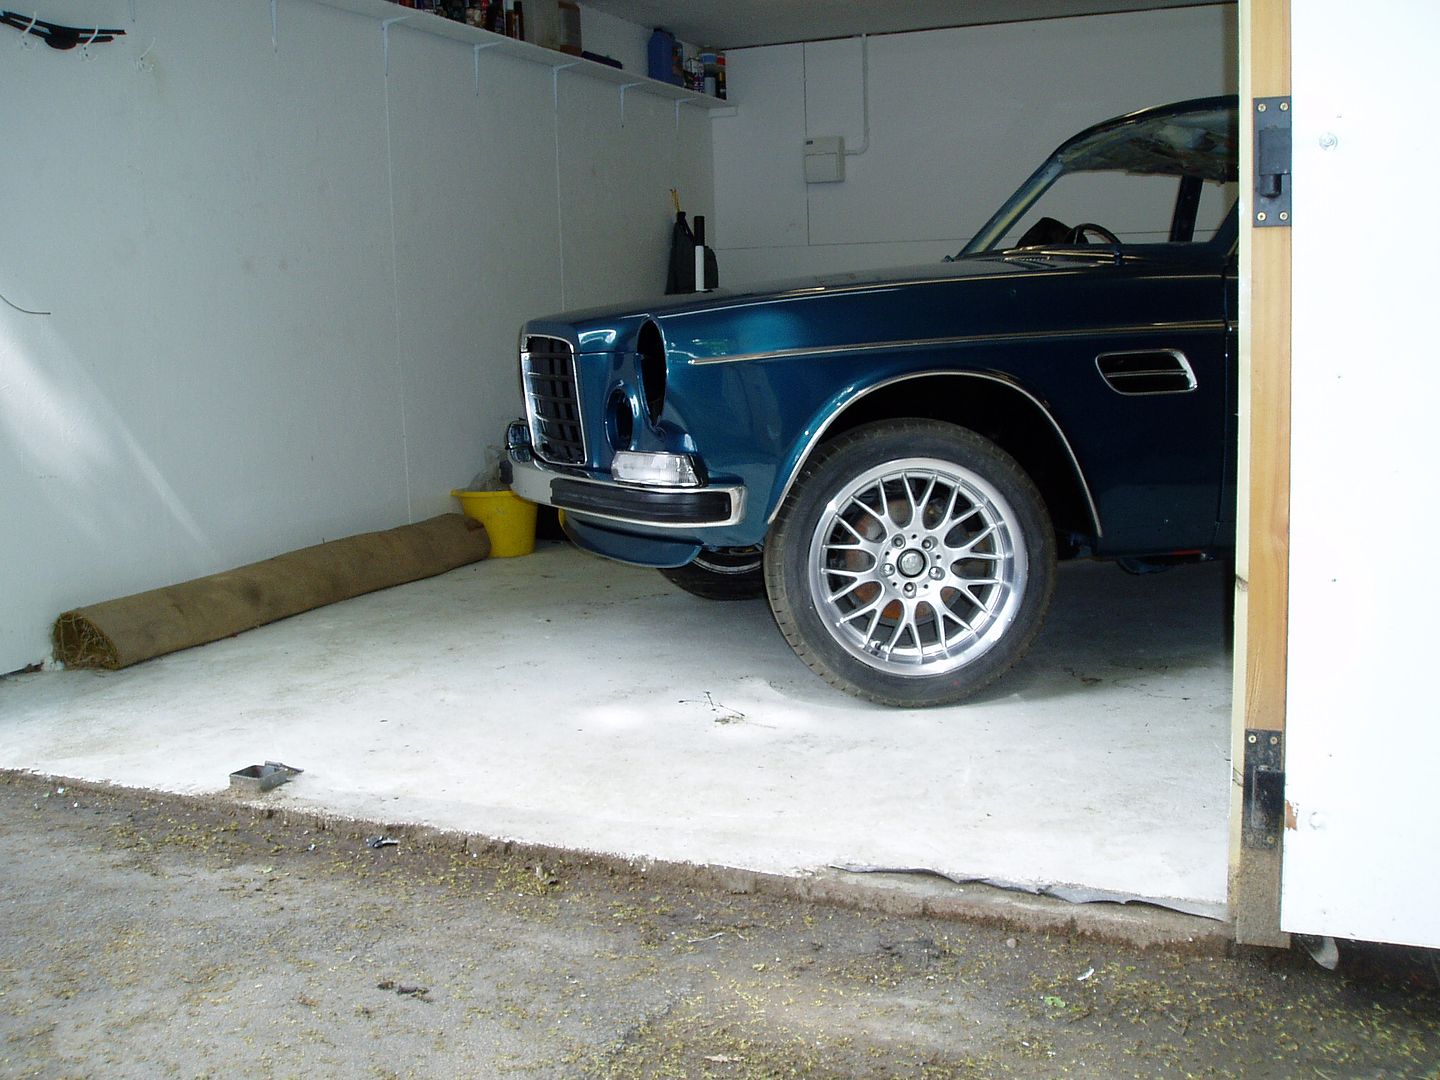 I'd be very pleased if any clever photo-shopper out there could tweak the last two pictures for me, to show the eventual ride height. It will be about 60mm lower at the front and 25mm at the back. All for now. Cheers John |
| |
|
|
|
|