|
|
|
|
|
June 3rd 2009 Hello all  I have recently purchased a 1979 Reliant Scimitar SE6a. Its pretty much standard and would like to keep it that way. lots of little jobs to do though. Picked it up last Thursday in Oxford and drove it ~450 miles home. Didn't have any problems on the way but a lot of rattles that will need to be sorted. So I'm going to keep an online diary of the restoration and iv chosen Retro rides as the main and only one. I'm doing it over the next year so its going to be slow but that's the best way. hopefully will get lots of pics on the way too. Advice and comments of course are Welcome  I'm going to make a post of each item below and update the list as I get them done and as new jobs arrive. I'll also be posting cost along the way of things I have to buy. if I have it already then I'm not adding it to the list. Pics will be kept in this online album which I will update as I go but I think the link will always be the same Here is a picture of her anyway 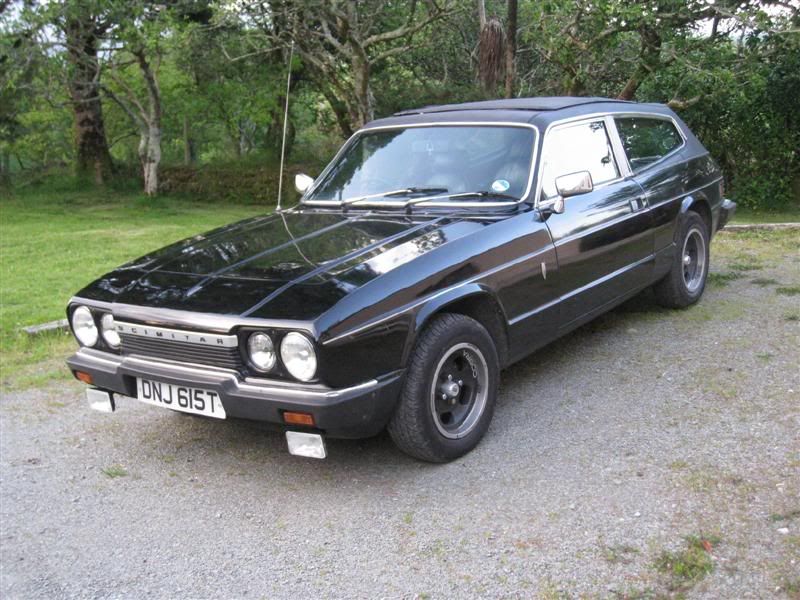 and a slideshow here (not dial up friendly) www.photoshop.com/user/Joey_o_sullivan/?trackingid=BTAGC&galleryid=e4f51b632f524c4c840bb28ac07afd7b&wf=shareSo here is the TO DO LISTEngine:Engine seems OK but has some minor things that need sorting. 1. Fix leaking radiator DONE2. Oil and filter change DONE3. Change 1 spark plug that wasn't changed by previous owner DONE4. Change Spark Plug Leads5. Change Fuel Lines (engine bay done)6. Change Fuel Pump Gasket DONE6. Change Sump Gasket 7. Change Rocker Cover Gaskets 8. Change Starter Motor 9. Upgrade Alternator Mechanical and running gearA lot of work has been done to the suspension already by previous owners. 1. Fix Power Steering leak. DONE and IN PROGRESS (again) 2. Drain and Replace rear axle oil 3. Drain and Replace Gearbox oil. 4. Fix offside exhaust hitting underbody on idle. DONE5. Fit Shiny Wolfrace Alloys DONEElectrical Electrics seem to be good. 1. Fit Electric Ariel DONE2. Fit new Radio DONE3. Fix nearside Headlight bulb DONE 4. Fix Fuel Gauge DONE5. Fix Time Clock DONE6. Fix map light 7. Re-wire Fog light switch so that fronts come on first on click one then both front and rear on click two. 8. Fit new Electric window Regulators. DONE9. Fix floor light at bottom of passenger door DONE10. Fix Weak wipers motor : DONE11. Custom fit Boot light with boot open switch. 12. Fix Central Locking DONEExteriorpaintwork is clean and straight but does have some minor cracks here and there. 1. Paint scimitar badges. 2. Replace Webasto Sunroof 3. Paint the aluminum center pillars black. 4. Fix rear hatch handle DONE5. Adjust Drivers Door DONE6. Fix Passenger wing mirror adjuster DONE.Interior1. Restore leather seats. (In Progress) 2. Fit new black carpet. 3. Replace Headlining 4. Repaint Steering wheel 5. Fit Larger 3point rear seat belts. Shopping list1. Unleaded additive : €72. Ignition Leads €12.18 3. Fuel Sender €17.22 4. Tow Bar 5. Carpet 6. Leather Restorer €207. Wiper Motor Bushes kit 8. Radiator -reconditioned : €125 9. New Steering rack rubbers : €58.9410. Wolfrace Wheels including delivery : €272.4711. Wolfrace Wheel nuts €1212. Power Steering Fluid €7013. M043 - Alterpart : €4.1714. Scimitar workshop Manual : €25.0415. Thermostat : €1012. Steering Rack €17013. Starter Motor €47.79 14. BOTTOM RADIATOR HOSE €8.9415. Steering wheel center and heater control cover €11.04 16. Sump/Rocker Cover/Fuel Pump Gaskets €21.1317. Sealed Beam Headlight18. Fuel lines €4.4019. 10 Hose Clips €7.5320. Number Plates €56 21. Vinyl Restorer €2022. Steering Rack II €220Total on parts : €950.85 |
| |
Last Edit: May 14, 2010 22:22:58 GMT by JoeySully
|
|
|
|
|
|
|
|
|
|
That looks coooooool ;-)
|
| |
1982 Ford Capri 2.0S
2006 Mondeo ST daily
|
|
Nathan
Club Retro Rides Member
Posts: 5,650
Club RR Member Number: 1
|
|
|
|
|
Just niggles then.
Looks a minter
|
| |
|
|
|
|
|
|
|
i cant seem to link any photos from that bladdy photoshop Express thing. the links don't have .jpg extensions so the " ![]() [/img]" tags don't work how do i embed pics that don't have .jpg extensions?? thanks |
| |
|
|
|
|
|
|
|
June 3rd 2009 This evening I got the radiator out. no pics though I forgot to bring the camera. it was easy enough really. removed the spare wheel and tray which was held on with 6 bolts, 2 of them go into the top of the rad. taped up the bottom pipe and filled it but couldn't see any leaks. So its off to Lee Radiator Services in the morning. Hopefully they will find something small wrong and it wont cost me any limbs  June 5th 2009 Well didn't get the radiator back from the shop today as expected but had plenty to keep me busy anyway. The vast folder of history had no mention of purchasing a thermostat so I went and got one this evening, 10E. Got some wet and dry paper too to sand down surface before fitting the gasket. 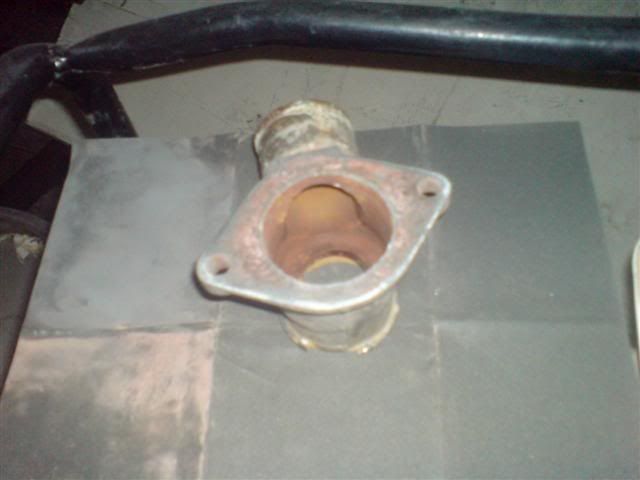 Got the old one out, it was quite dirty. It was an 82 degree thermostat which Is good but it may not work at all. I fitted a new 88 degree and new gasket after sanding down both surfaces. I'll see how this one goes and if it doesnt cool well enough then I'll source a lower temp thermostat. I have been told that some people use a 92 degree. 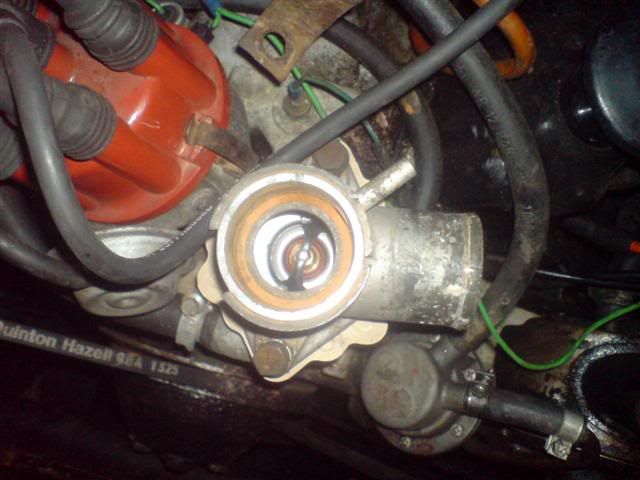 While the rad was out I got some painting done too to the bottom tray 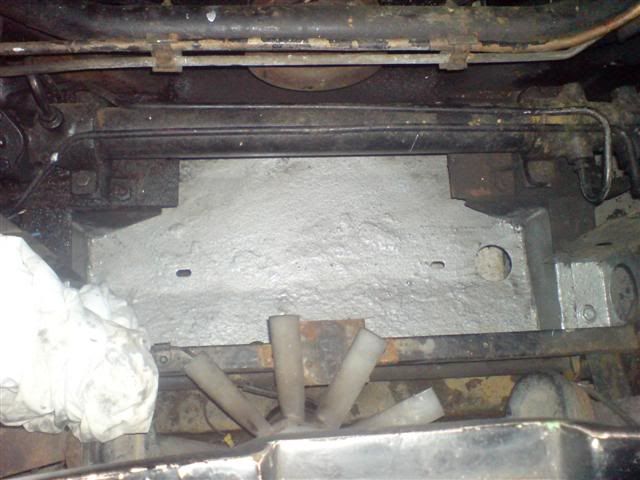 June 8th 2009 I put Both the new and old thermostat into a pot of water to test them this evening. slowly brought it to up to temperature and the old one opened first which was expected as it rate 82 degrees and the new one was 88 degrees. So I'm Going to refit the old one and keep the new one for the winter as it will help speed up the heating process. but glad to know that the old one works. June 9th 2009 Got the Radiator back today - they said it was very blocked with junk and had to cut it apart clean it and reseal it. Came back all painted in shiny black which was nice. Got it on and flushed the water out using the method in the book. Take out radiator drain plug and thermostat and put a hose in the filler cap. Regulate the water flow in the hose so that the water is going in at the same speed that its going out. Then start the engine and ran it for a while. lot of dirty water came out. I have some water system cleaner that I will use to flush the system next week before filling it 50/50 with water and coolant. Cant do anything more for the moment the car went in friday to the Mecanic to replace the steering rack rubbers. Was supposed to be done saturday but looks ile it will be tuesday evening before they get it done  |
| |
Last Edit: Jul 22, 2009 18:04:55 GMT by JoeySully
|
|
|
|
|
|
|
June 6th 2009 As the rain is expected this weekend I had also planned to work on the wiper motor. I haven't used them in the rain but when I swipe them in the dry they just move to the middle of the screen and die. so here is a pic I took before I started to remember where the wires went back 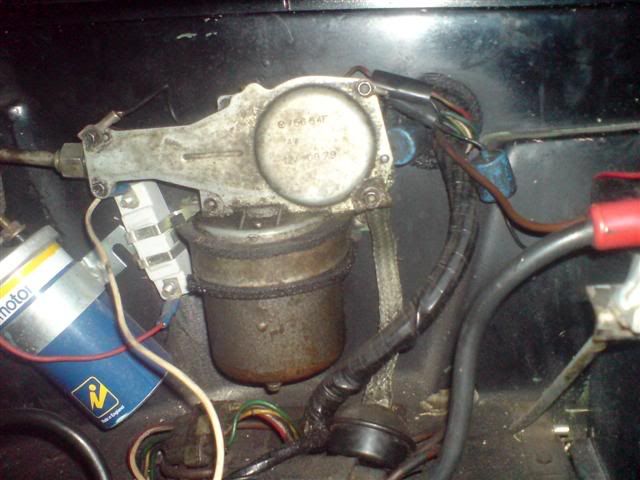 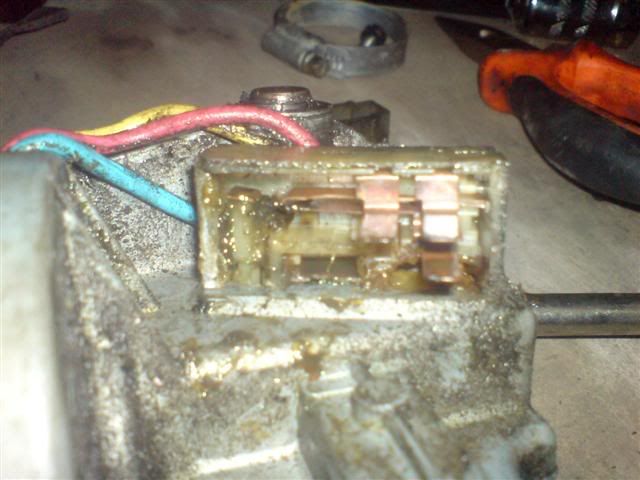 Removal was quite easy. Remove the silver face on the motor then undo the cable from the motor. you need a set of very small spanners to do this or small vice grips. 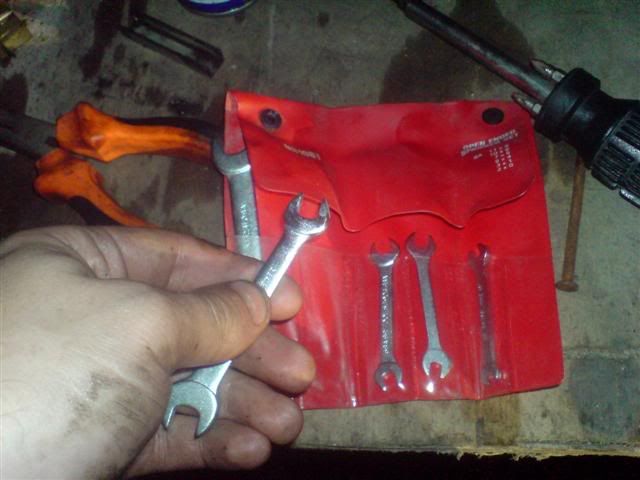 Once I got it to the bench I got the Plastic connector off and gave it a good cleaning out with WD40. 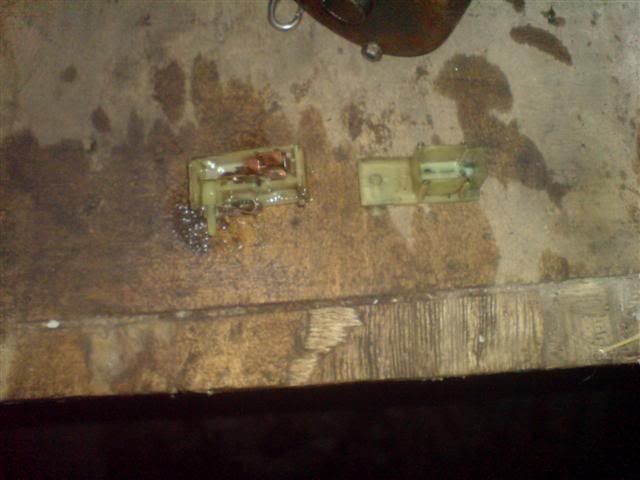 Then I removed the two small bolts at the bottom of the motor to get access to the bushes. Look how dirty they are  Nearly worn to bits too will have to replace soon. 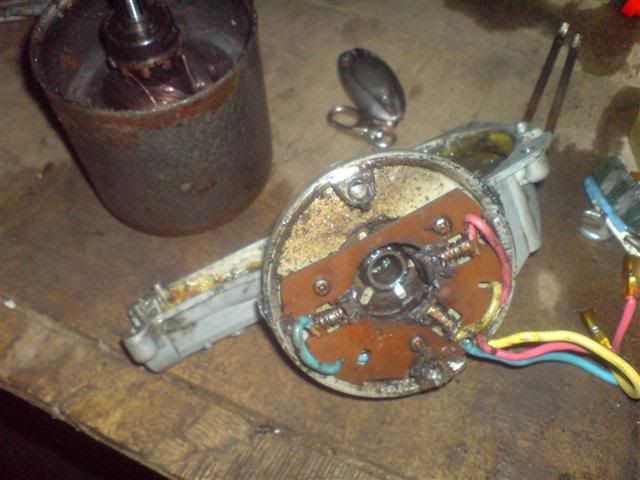 Got the spindle out then - it just pulls out. gave it a good wipe down with a cloth being careful not to damage any wires. 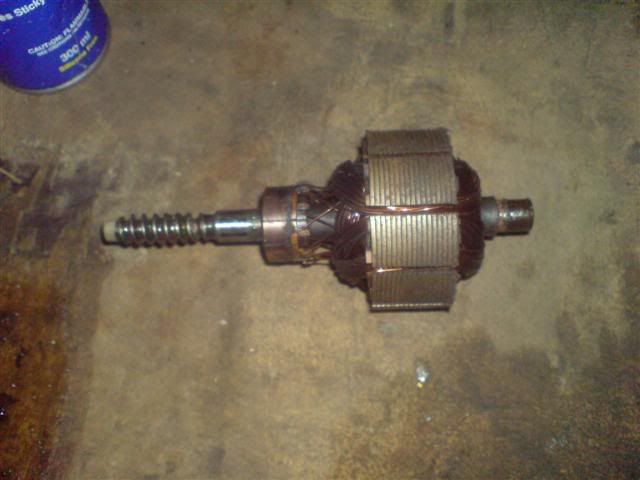 I then cleaned the gunk and rust from the bottom of the motor caseing but it all stuck to the Magnets DOH! so had to carefully remove the magnets and clean them. Getting them back in was not easy though. Had to use an old hacksaw blade to lift the clamps up to get the magnet under them. 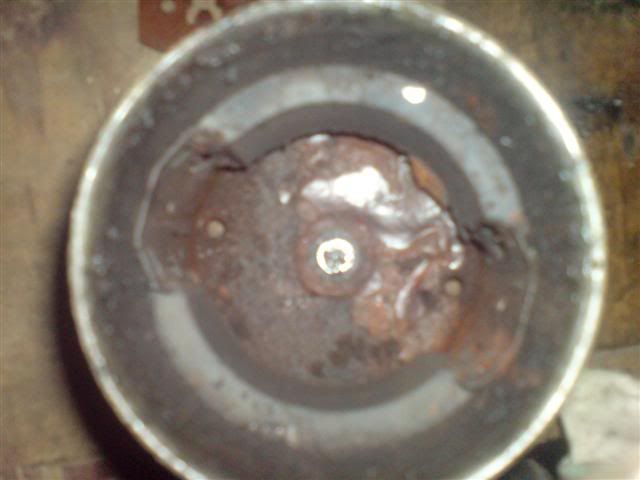 Cleaned all the old grease out of the mechanism and replaced with some 2009 stuff instead of the Smelly 30 year old gunk that was there. 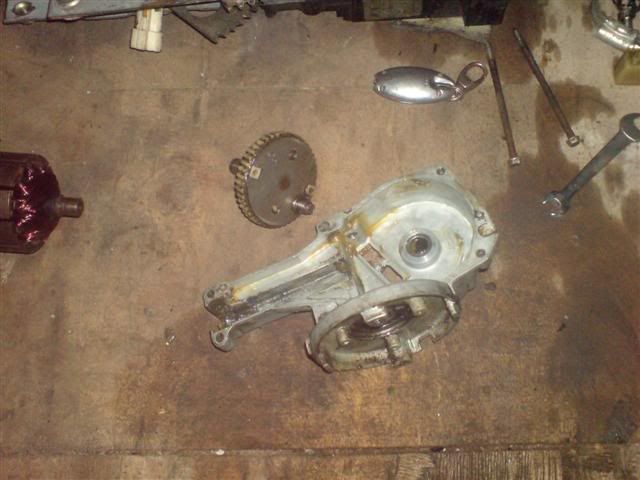 Refitted the bushes to the top of the motor and fed the spindle into them. Its a bit tricky holding 3 of them so that you can fit the spindle. But just look how clean it is  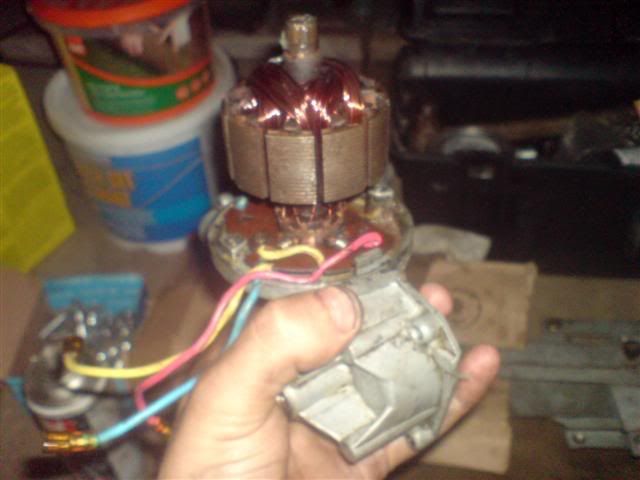 After that it was just a case of fitting the lower motor cover and tightening the long Bolts. Refitted the mechanism ensuring the wheel was at the same place as when I started. then brought it to the car and attached the drive cable and then the silver cover with all its wires - 3 earths as far as I can count !! whats with that! Broke a clip too putting it back together  it was very weak and bent - broke when I tried to straightened it. will have to get a new one. Mechanism works anyways.  so the moment of truth  reconnected the battery and pulled both wipers off the windscreen held breath and pressed the swipe and it worked  Put it on intermittent and checked the motor, all sounded ok. put the wipers down on the windscreen one by one and wow it had plenty of power even with a dry windscreen. It even works on fast now too. Will have to get new set of bushes soon for it but for now its all good. It took about 2 hours to get it of cleaned and back on but worth it as these are hard to come by or cost 50e or more. Here is the after pic  More electrics tomorrow - widow regulators  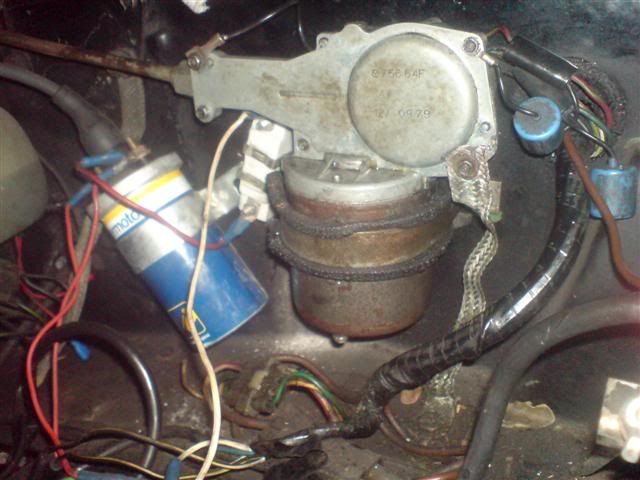 |
| |
Last Edit: Jul 22, 2009 17:58:10 GMT by JoeySully
|
|
|
|
|
|
|
looks a really nice example, from the slideshow - I ll be watching your progesss with interest  any scimitar parts you need, don't hesitate to ask  |
| |
Last Edit: Jun 6, 2009 1:18:17 GMT by Autofive
Someone just shot the elephant in the room. |
|
|
|
|
|
|
Well haven't added an update in ages  probably because iv had one problem that I've had is the power steering fluid leak.  I got a Seal kit sent over from GW and got it fitted by a mechanic but its now 2 weeks later and the bladddy thing is still leaking even after replacing all the seals. So I sourced a (believed ) good one to fit hopefully next week. So what else have I been up to  Well got the radiator back from the shop - all nicely sprayed black looks like new. The rad was blocked completely so they cut it apart cleaned it and resealed it. Got it fitted and and filled the system up with water. I had several leaks but after a bit more tightening they were all gone. I flushed the system back flushed the heater matrix and put some cooling system flush in and went for a spin. Flushed it out again and refilled the system. Got all the air out of the system and its now running nicely with no overheating. sitting at about 85 @ 60mph 90 @ 30mph and 95 stop start traffic. I fitted the new electric window regulators, both drivers and passenger. Seem to work the same as the old ones though looks like the seals are just tight against the glass rather than bad motors. Passenger one was noisy though - its nice and quiet now. 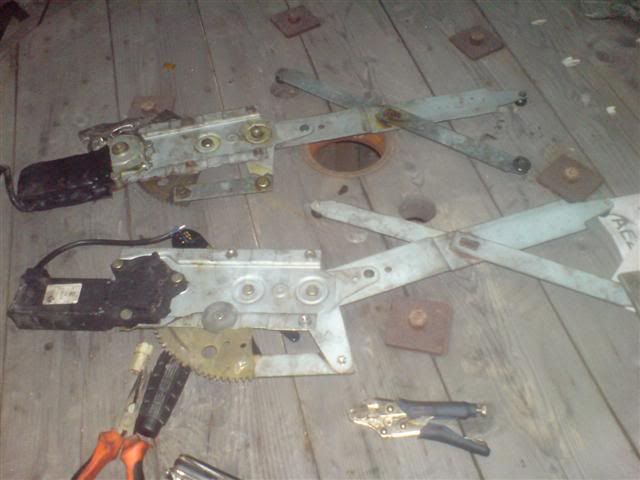 While I had the door cards off I noticed that there is central locking installed in the car but its broken. The controller box at the drivers footwell has a rusted circuit so will hopefully find a replacement one. The Puddle lights under the doors were not working and the bulbs had rusted to their holders so I replaced them with some blue LED's  looks pretty cool at night. 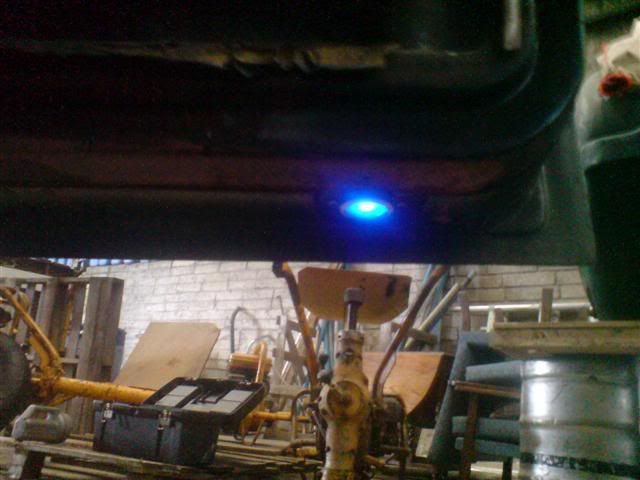 I found a fuel leak at the front of the engine where the metal fuel line bends to go under the engine   It was rubbing on the brake line from the vibration of the engine and wore a pin hole in it. So got it off and cut off the offending bit and replaced with longer rubber hose and sequred so that its not rubbing off anything. Replaced all other rubber hoses and clips as I don't want a fire starting in a Fiberglass car and for this to happen  bought a set of Wolfrace Alloys too cant wait to get these on - wheel nuts on the Cobra wheels are different size so will have to wait till the budget can afford wheel nuts and center caps. 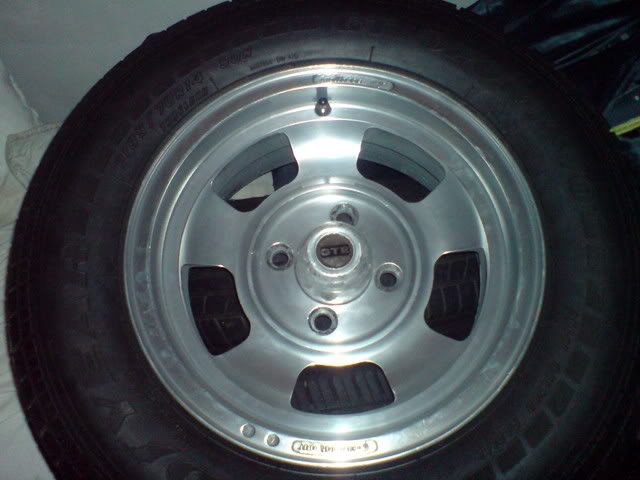 So what else Fitted a new clock so now I know what time it is  |
| |
Last Edit: Jul 22, 2009 18:01:26 GMT by JoeySully
|
|
chaz
Part of things
 
Posts: 403
|
|
|
|
|
Nice car and some very detailed info,
keep it up mate.
|
| |
|
|
|
|
|
Jul 22, 2009 18:33:59 GMT
|
Some more progress this week Got some gaskets for the Scimitar First one to fit was the Fuel Pump gasket as it was leaking oil. The seal was made previously with some liquid gasket and just wasn't doing the job 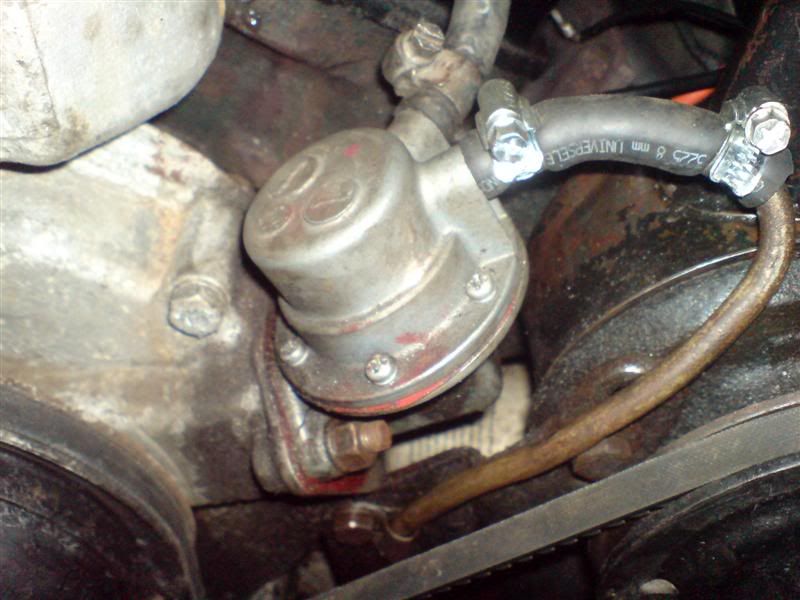 Got the pump off with some difficulty as the power steering pump gets in the way. 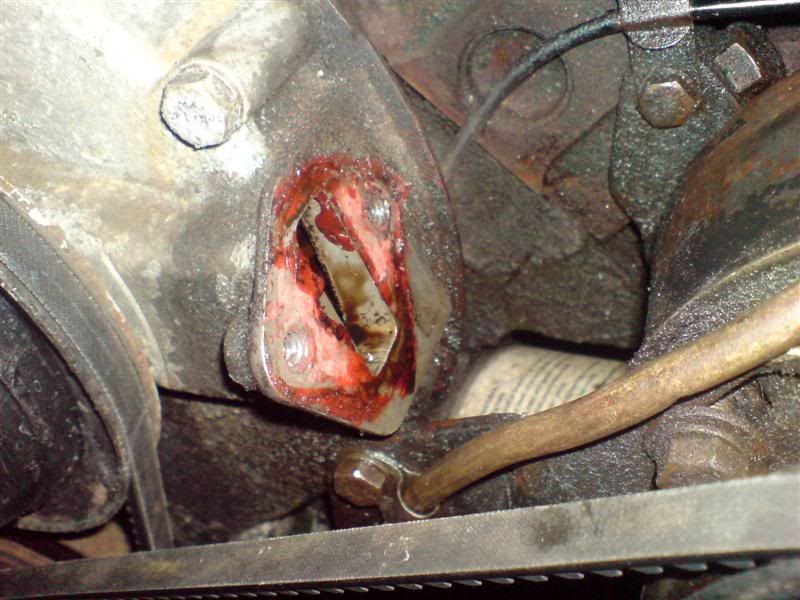 As you can see the bolts came out of the block as well instead of just the nuts. they came off too easily. I think they were not fixed into the block fully so when it came to tightening the nuts they ran out of thread. While I had it open I had a good look at the timing gear which was supposed to be steel but that don't look like steel to me.  Got both faces cleaned down 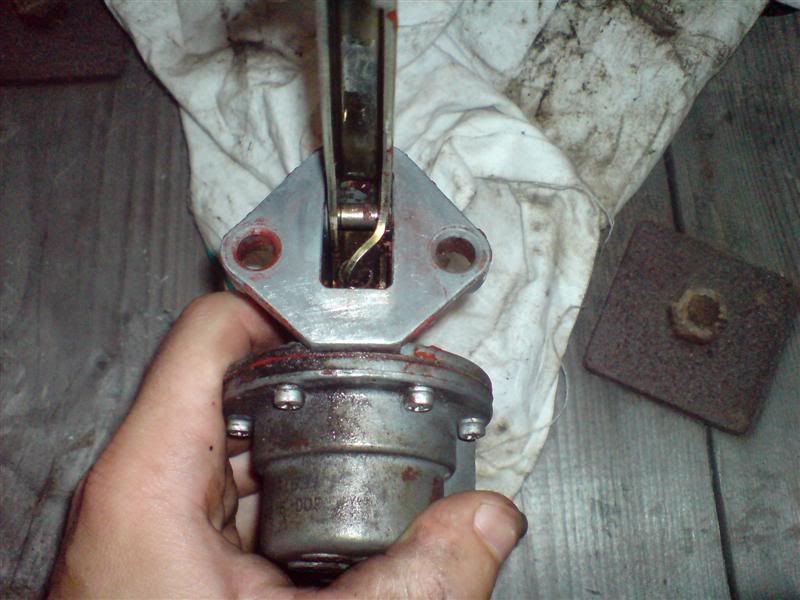 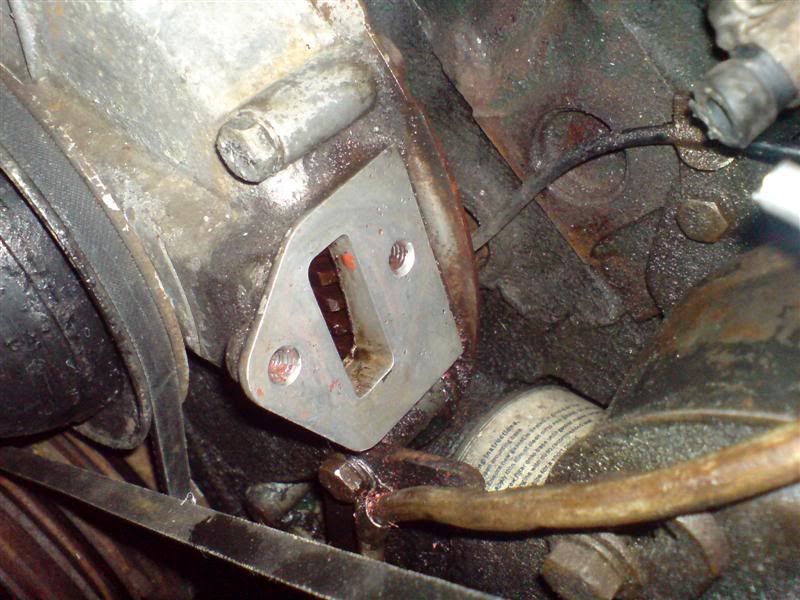 Screwed in the bolts well 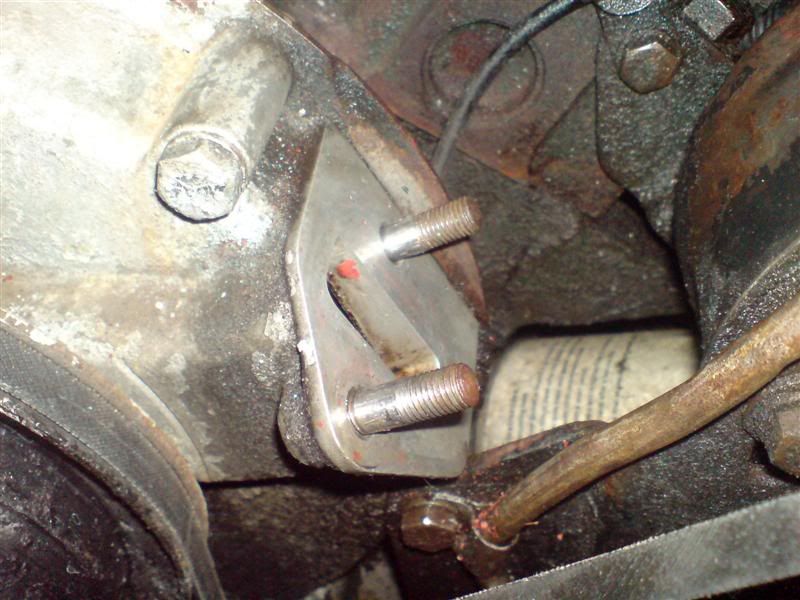 Put in the new gasket 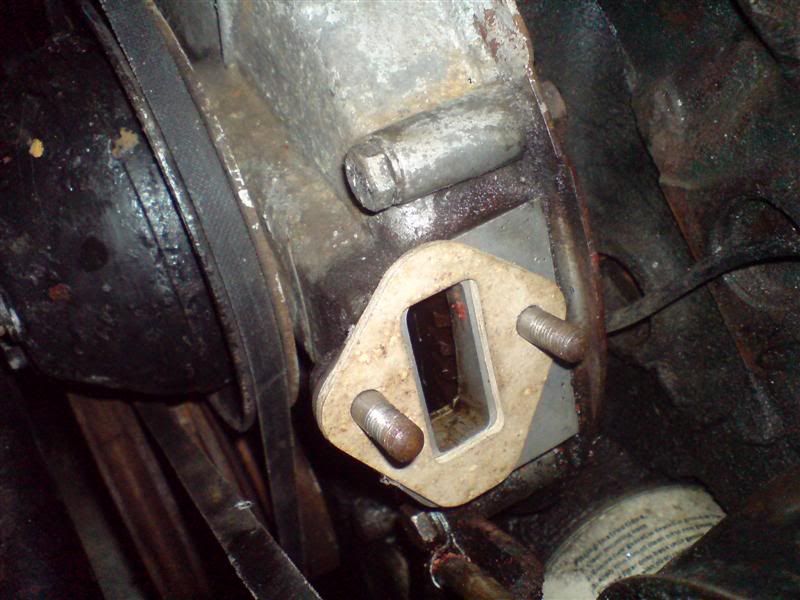 and refitted the pump All nice and clean now and no oil leaks  Easy Job done. Spent some time gluing down some of the vinyl roof that has come away from the body - just small bits but looks shabby. While I was at it I said I migh as well have a go at fixing the wire that had come out of the Webasto Sunroof. It took ages to get the wire back into its home along one side of the roof but eventually it got there. Reattached it to the metal frame at the back and tightened it up at the front. It sits down a lot better now. The front frame is quite rotten but I do have a good friend that said he can replicate any piece of wood so will get it down to him soon and see if he can make the front frame of the roof as its sitting high at the front due to the wood being swelled. After that I went for a drive but the battery was very weak starting and pulling out of the drive it stalled and it would not turn over  Had to turn it around and push start it down the hill and it was grand. Went for a spin, about 10 miles and the roof noise was much better. Got home and turned the engine off and tried to start it but no good. the battery was even more dead  I was worried it was the alternator so checked all connections and all seemed fine. Cheapest option was to get a new batter so went and got one and It has held up for a week and 250 miles so must have been the battery. |
| |
Last Edit: Jul 22, 2009 18:34:33 GMT by JoeySully
|
|
|
|
|
|
|
Jul 22, 2009 19:14:58 GMT
|
Got a steering rack sent over from the UK 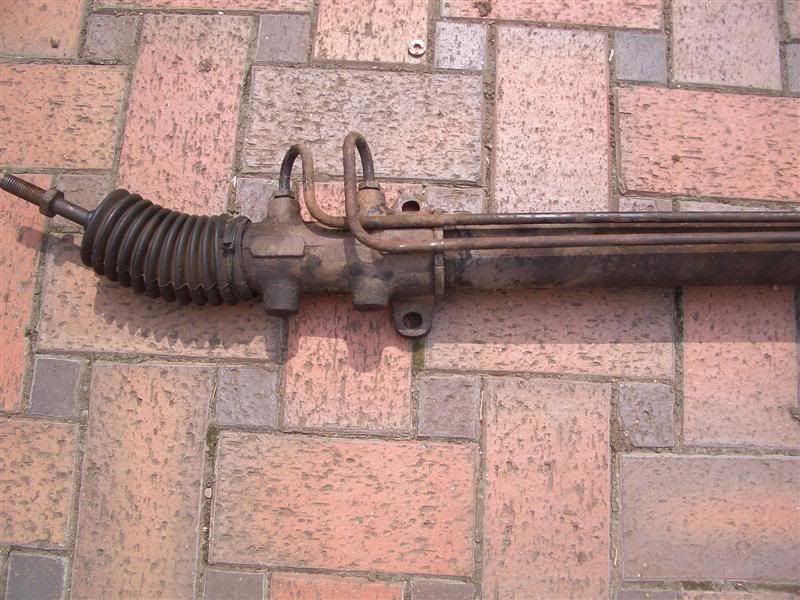 was all dirty so cleaned it down with a drill attachment and gave it a nice coat of paint 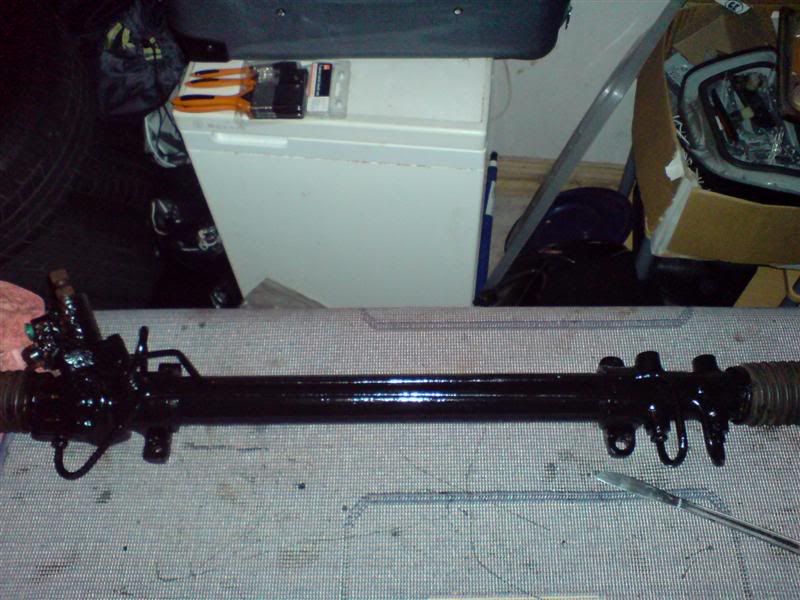 Will get this fitted soon - have to wait till the funds improve, focusing on low cost jobs at the moment. While I was at a classic car show (here I am) 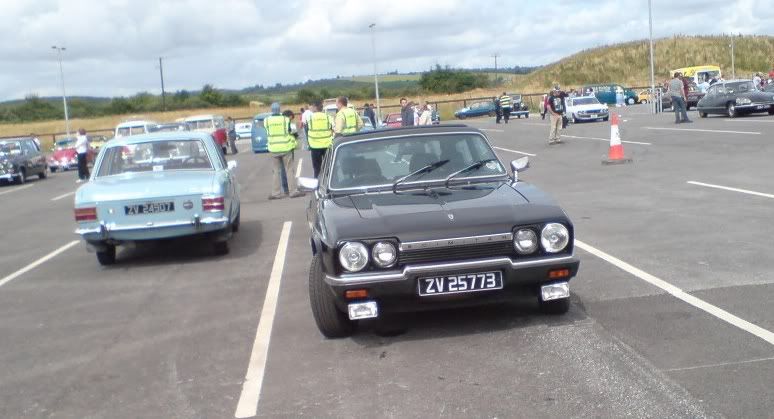 I got some Autoglyme leather conditioner and cleaner. Gave the interior a good cleaning with the cleaner and the used the conditioner. Looks a lot better now and even smells good. the rear seat had a few buttons that had rusted so I got it out to see what the cause was. It was all wet under the seat so will have to trace down the leak(s). I removed the rubber grommet under the seat so this should leave any water out in the future. So I decided to take the rear seat apart as I will need to replace the buttons. it also made it a lot easier to clean down Before 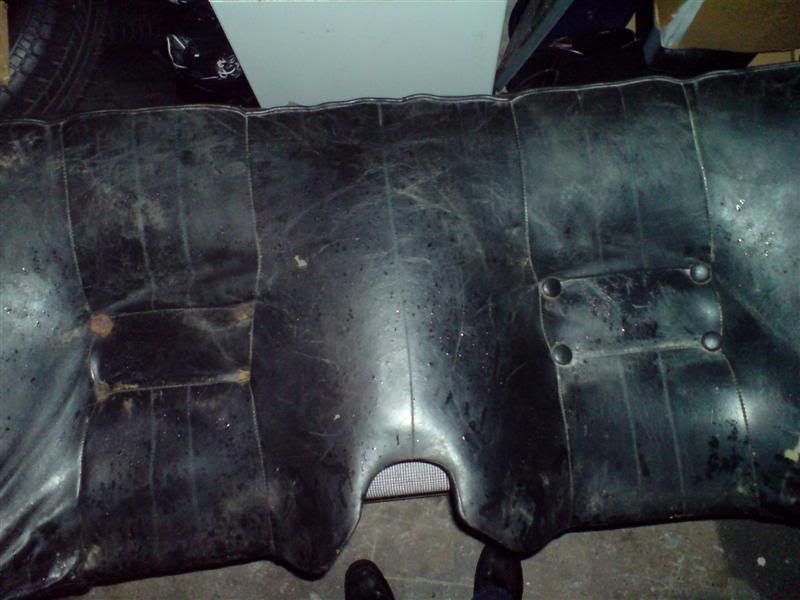 Fiberglass base 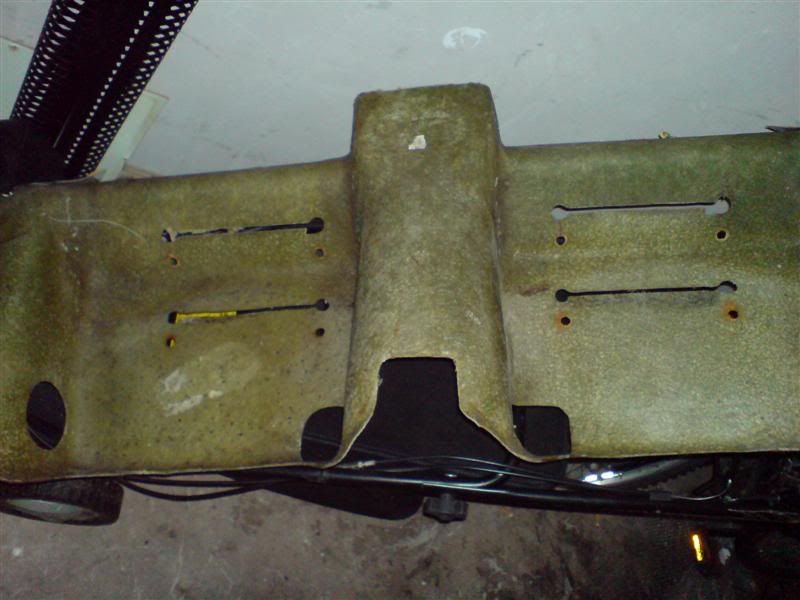 Foam 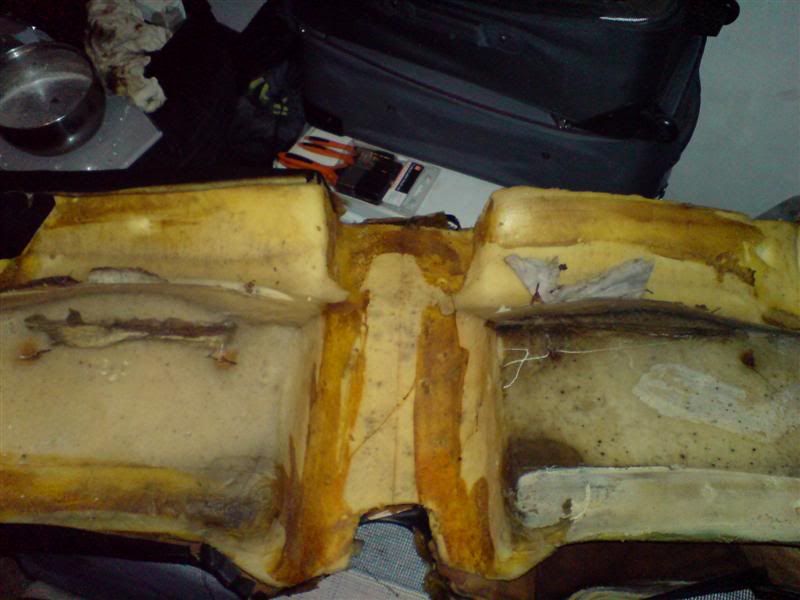 thats definiatly some sort of animal skin 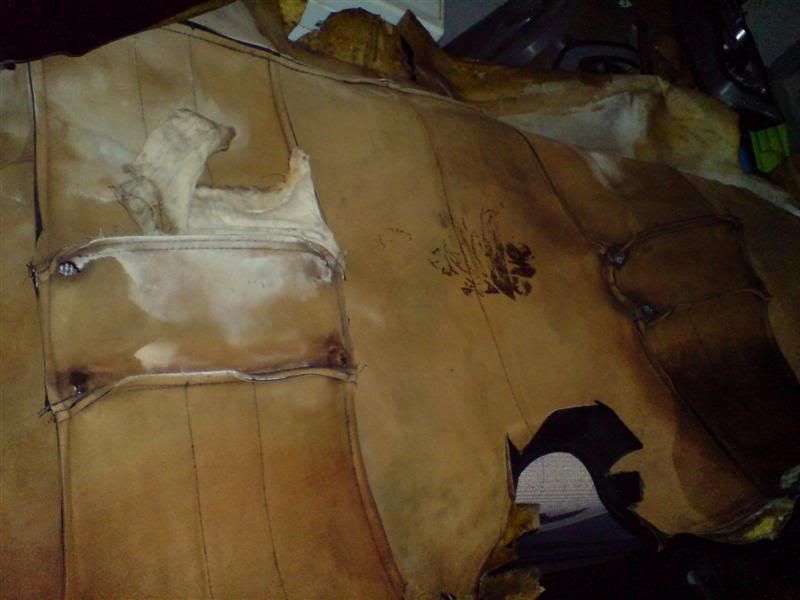 after a few cleans 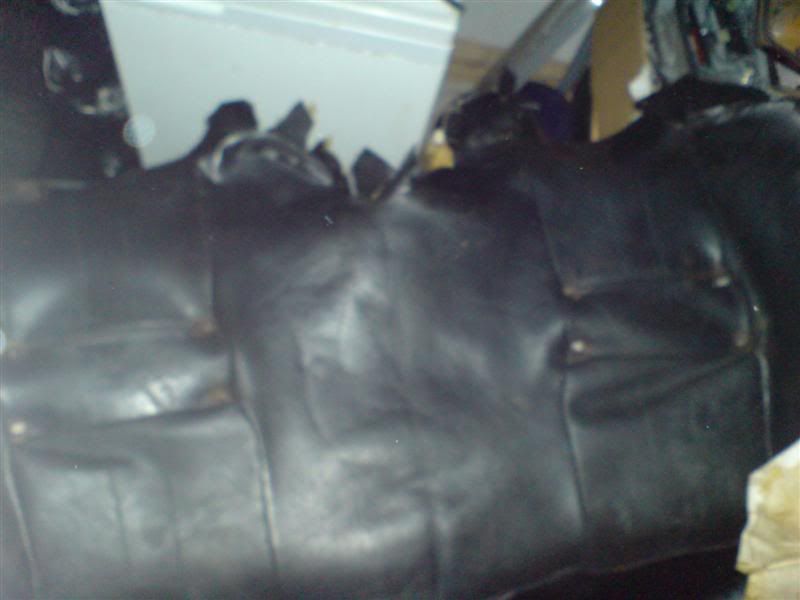 and some conditioner 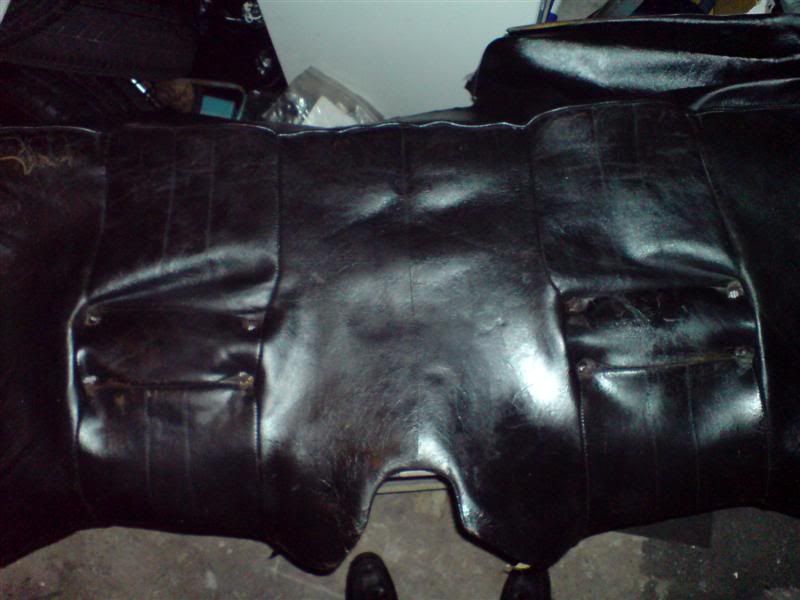 this nice black shininess faded though after the cream had dried. Might invest in some good leather restorer die in the near future Here's how bad the buttons are - 4 ggod ones and 4 rotten ones. the water had been soaking up through the foam and killed the buttons. 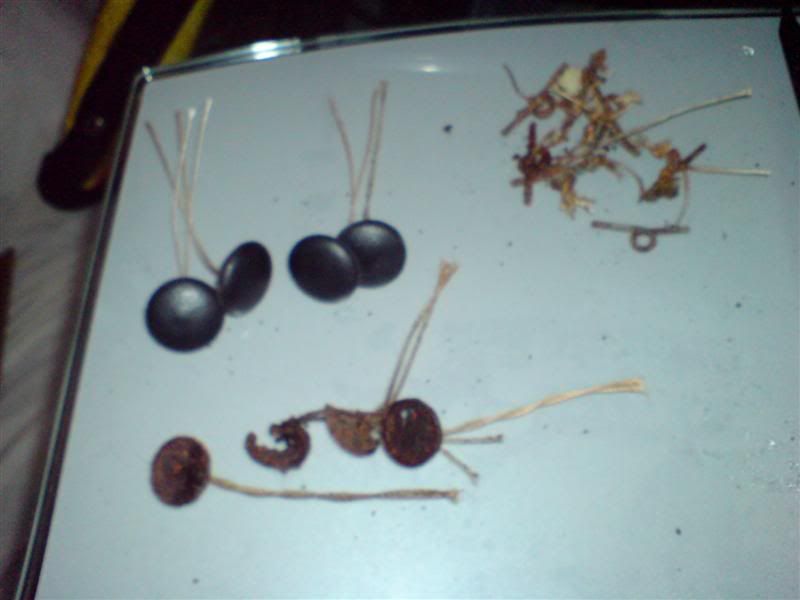 Ohh here's the water before and after cleaning 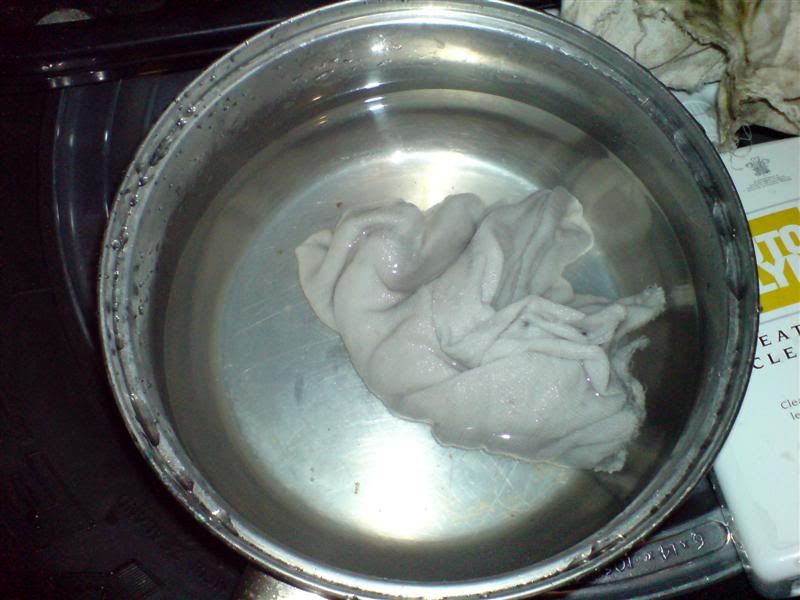 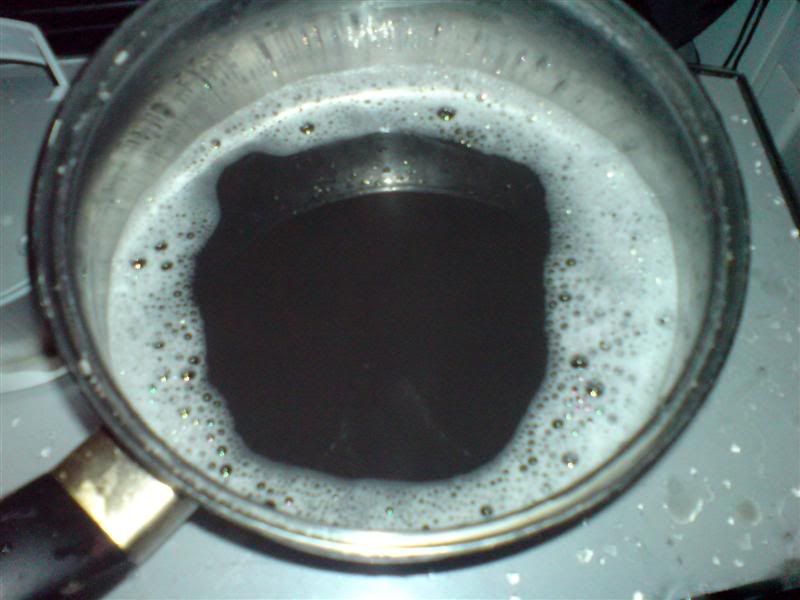 so not bad finish but not great either. will have to source some similar buttons but until then I'll leave it all dry out. Got the rear wiper motor out to see if I could improve it like I did with the front one but I was distracted by this lump of expanding foam over the Fuel tank filler. 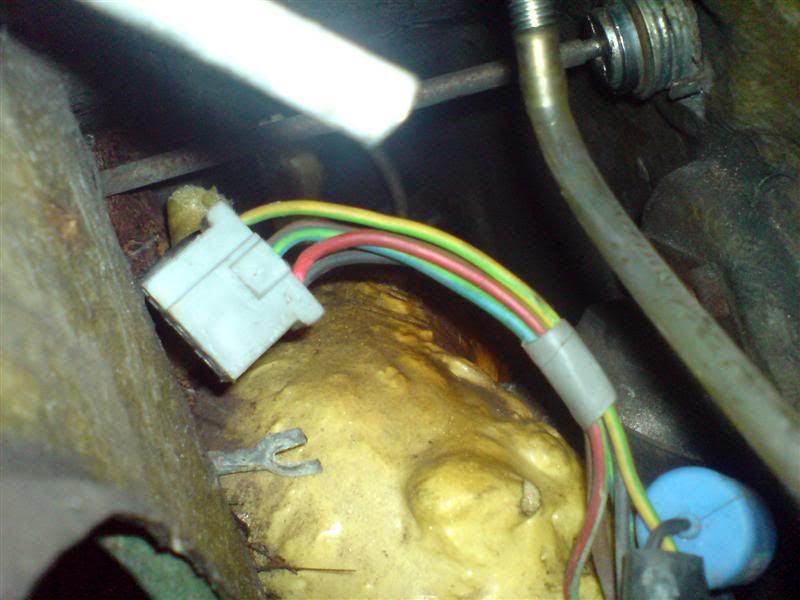 I got it all cleared away but I cannot see why the hell it was in there. I'm going to have to drop the tank as i have seen petrol on the ground when filling it at the petrol station so I probably have a leak here and this was some sort of quick fix. |
| |
|
|
|
|
|
|
|
Well the race is on  finally found someone to go with me to RR09 so iv been busy the last two weeks. Dropped the tank to take a look how bad is was and this is what I found 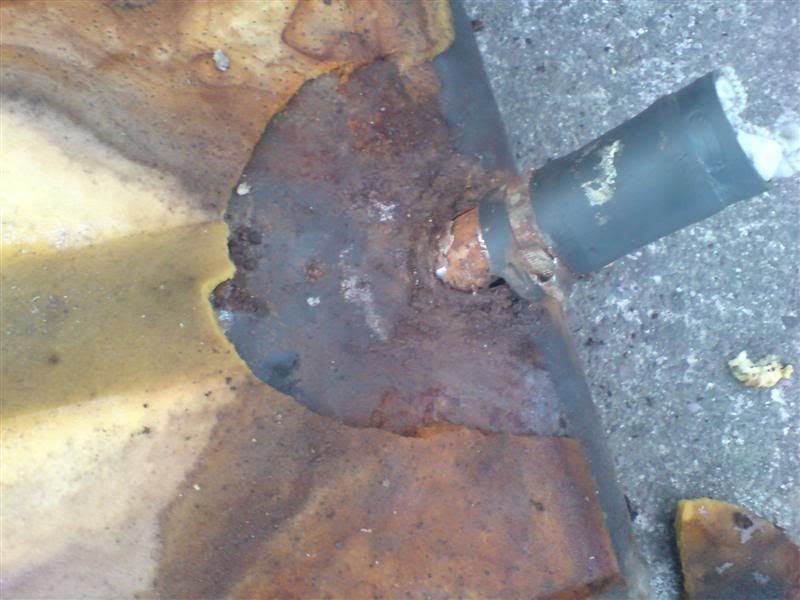 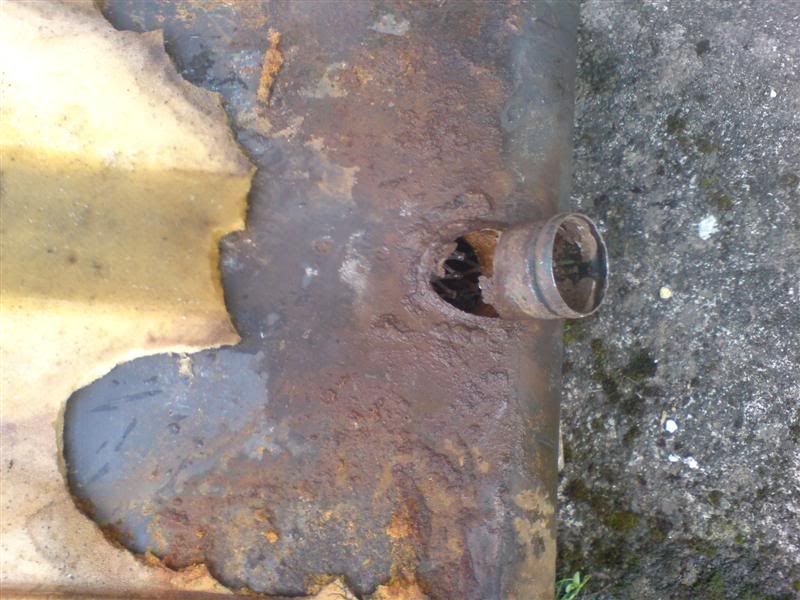 Looked bad but then I cleaned it down and it got worse - there were holes all over the top of it 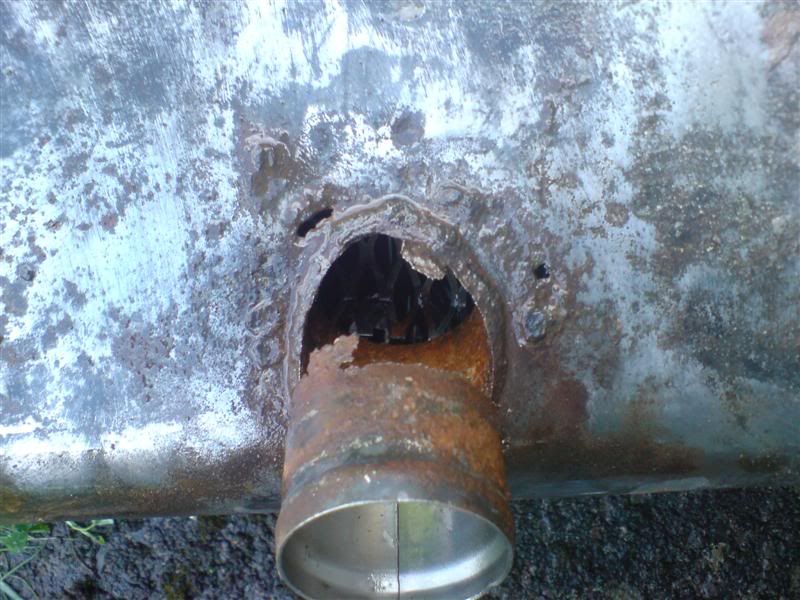 I was told I could fiberglass it but after having a quick look on eBay I found a good solid tank of a 81 GTC which would fit. So ordered that but it tool over a week to arrive so had to park up  got the new one all painted up. 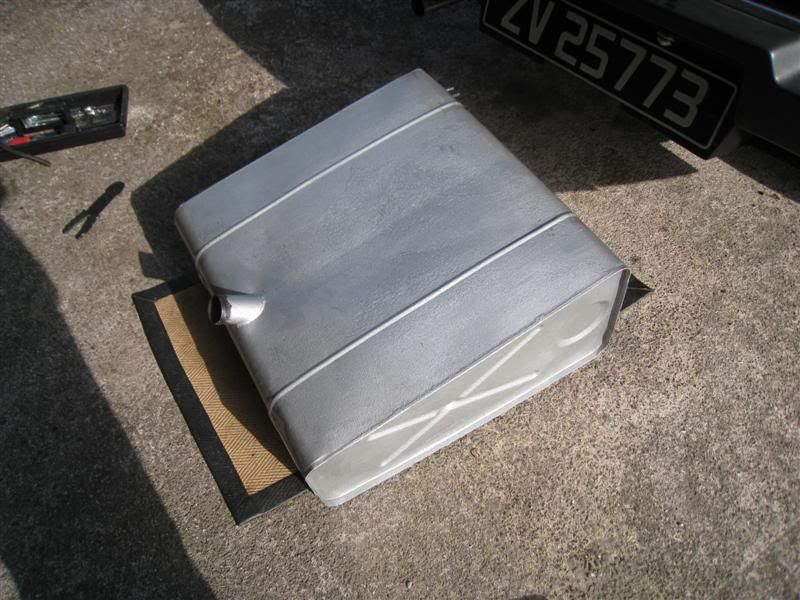 and got it into place which was not an easy task on my own but got there eventually. 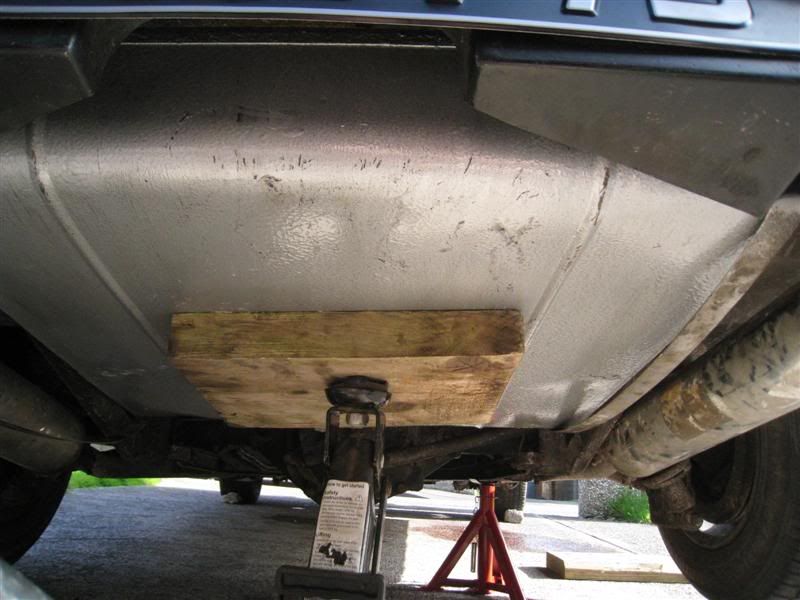 Fitted a new Fuel sender too so now I have a working fuel gauge which is not really a good thing because now I can actually see how fast I'm using fuel. But at least I'm not having it flowing out the back of the car now. 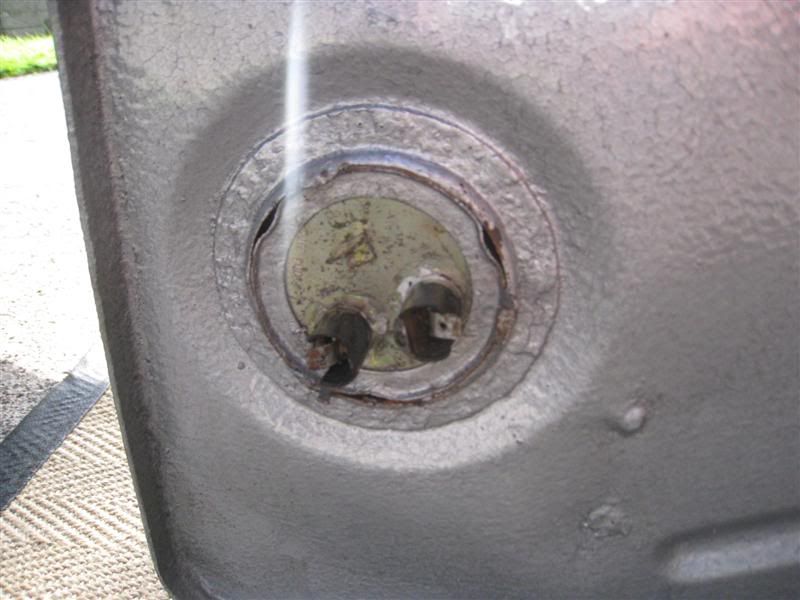 Fitted a new fuel pipe at the filler cap which was a b**ch to fit but went on eventually. Very cramped space to get it on in there. 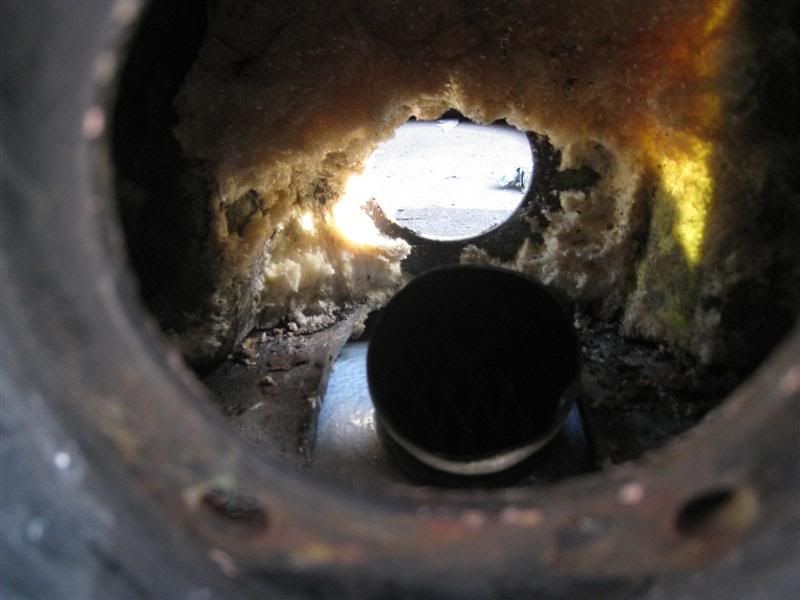 I was getting a bad smell of petrol before but I don't even get a hint of it anymore. Glad to have this job done. |
| |
Last Edit: Aug 10, 2009 0:23:23 GMT by JoeySully
|
|
|
|
|
|
|
When it got dark a went about putting the back seat together. Got some new buttons made up and with some help I tried my hand at some re-upholstery. I had to sew some cloth to the back of the leather to support it at the back and with the help of some weights i gleued it down to the base 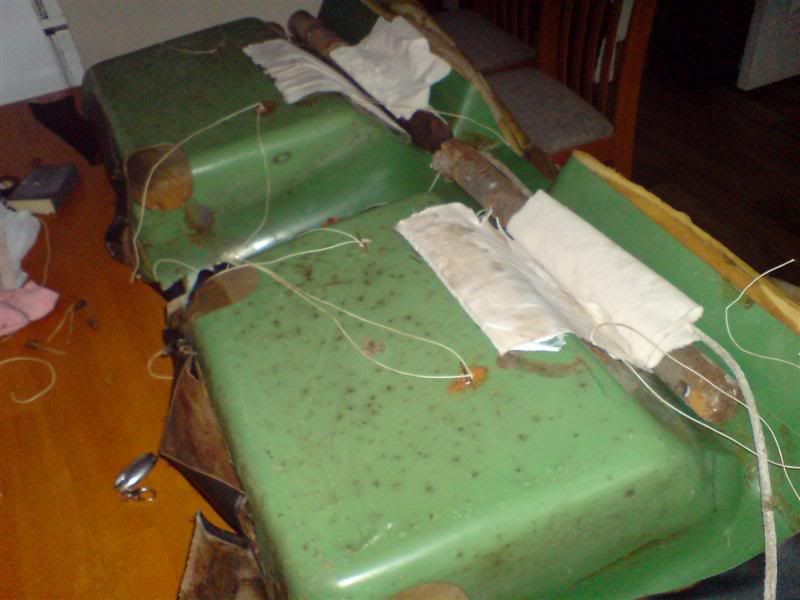 one of the buttons went right through the leather so had to put a bit of leatherette behind it to support it 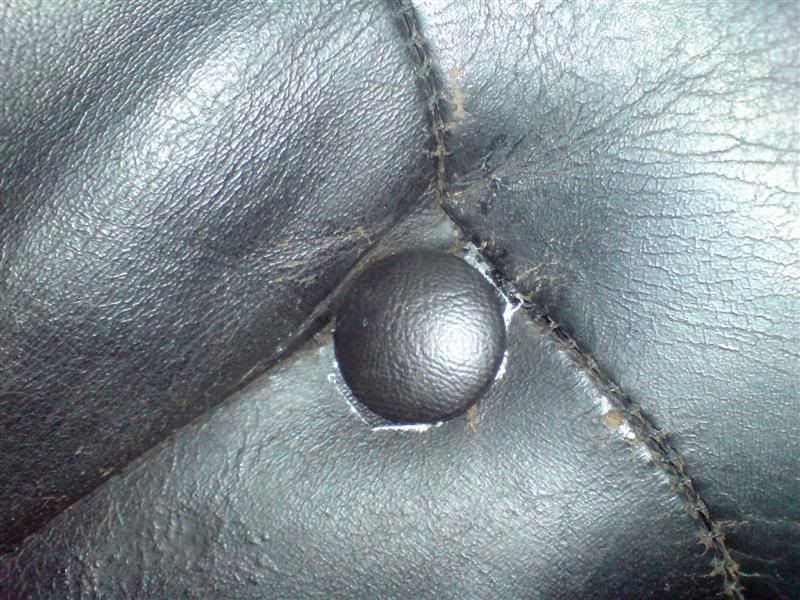 well here is the before and after  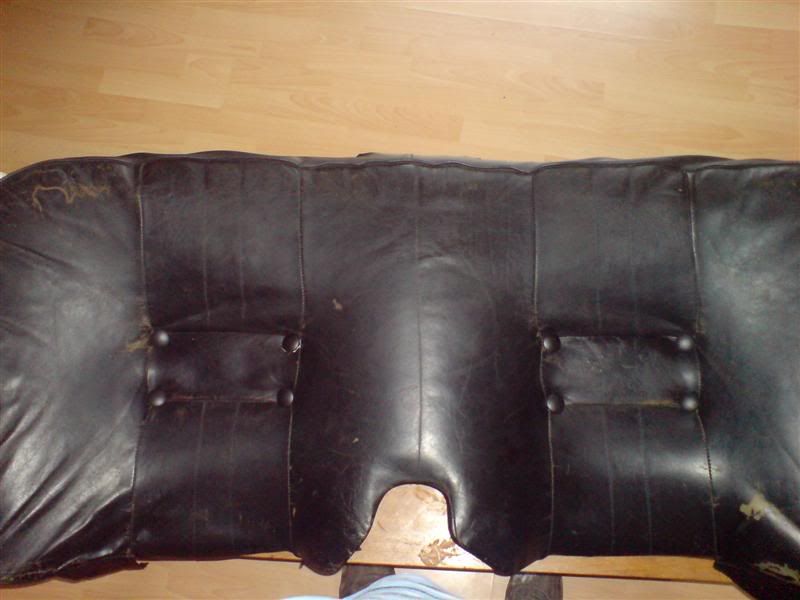 not a huge inprovement but I will get back to leather dying when i have the rest of the seats in a good structural state. |
| |
|
|
|
|
|
|
|
|
great stuff
i too have a petrol tank problem, when climbing a steep hill i get a whiff of petrol inside the car, i supect, after seeing your photos, that my se6a has the same problem with the tank
|
| |
Someone just shot the elephant in the room. |
|
|
|
|
|
|
great stuff I too have a petrol tank problem, when climbing a steep hill I get a whiff of petrol inside the car, I supect, after seeing your photos, that my se6a has the same problem with the tank Yeah I got the smell under hard acceleration or going up a hill. If its not as bad as mine you can fiberglass them, i was told by a mechanic. he said he had done it a few time with good results. |
| |
|
|
|
|
|
May 14, 2010 22:50:53 GMT
|
Well its been a while since I've done an update so loots to say  I've been slowly working through replacing pretty much everything on the car. Over the winter it went up on axle stands for a while so I could sort out the front suspension and steering rack. Got all new bushes and ball joints as well as a second hand steering rack. I was expecting to do it in a week but It took me ages to get all the work done. Cleaning down and painting took the longest part. Paint just doesn't want to dry in a cold wet shed and makes working conditions curse word. So pictures tell 100 words so here goes New to mee steering rack all painted up and ready to go in. 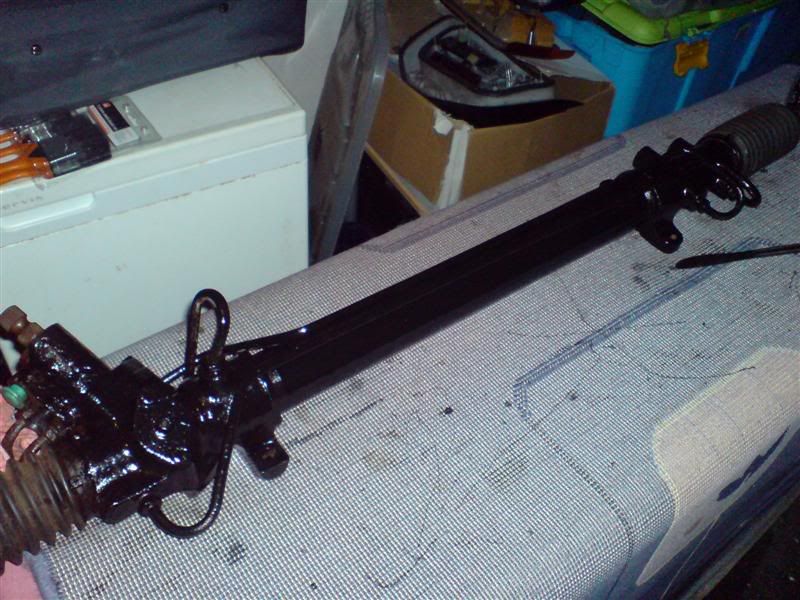 Took the old one out and stripped down the suspension for de-greasing and painting 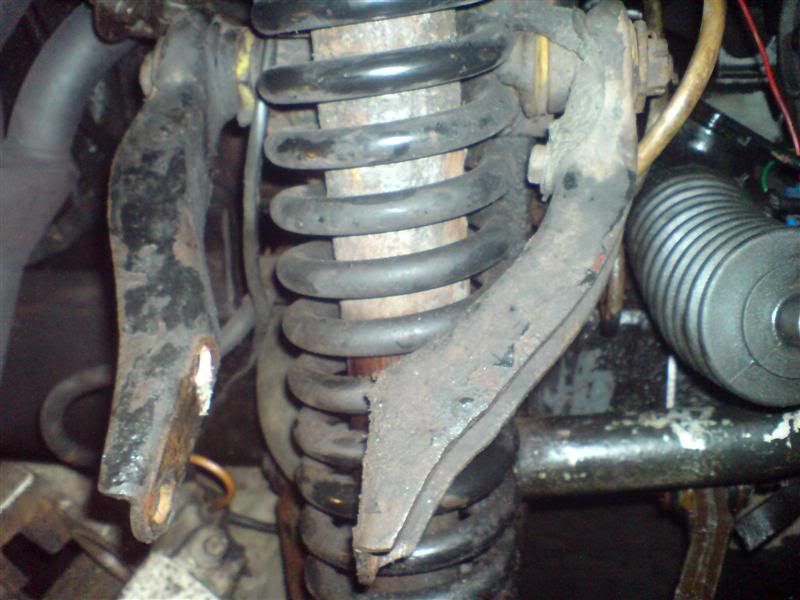 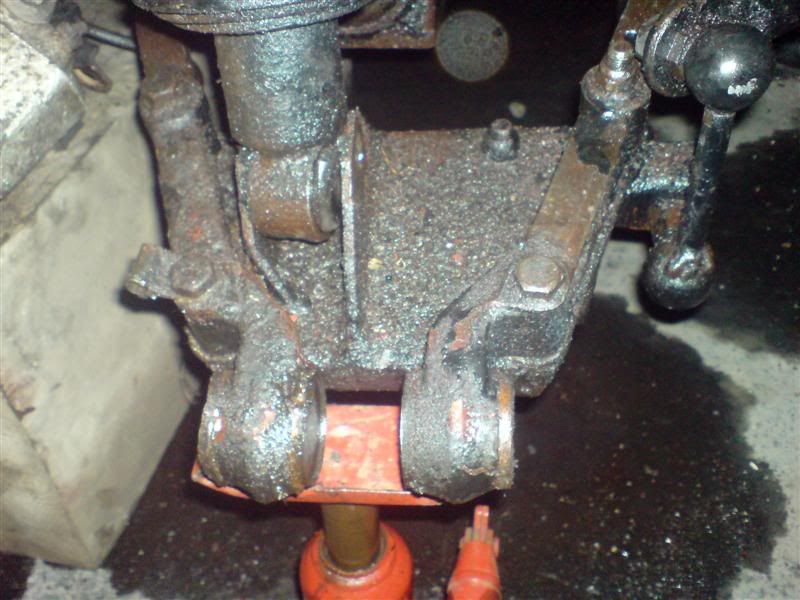 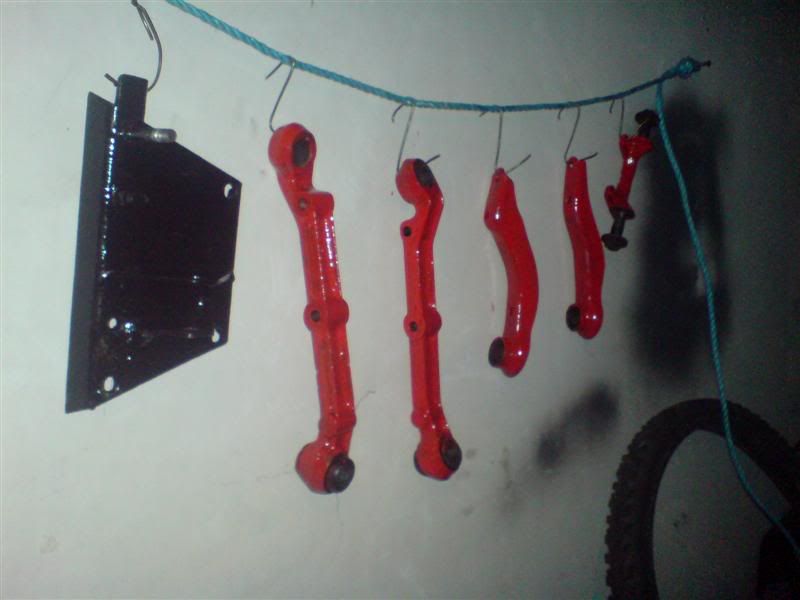 Once it was all dry i got it back together 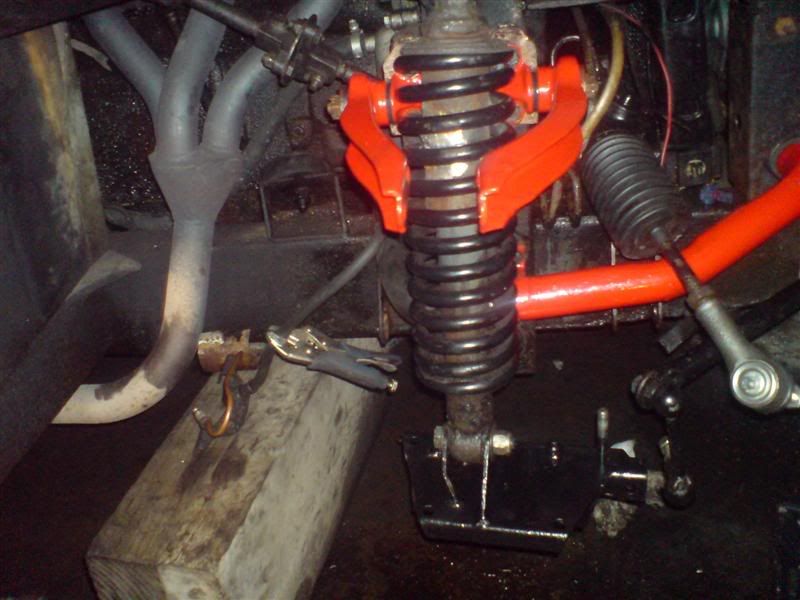 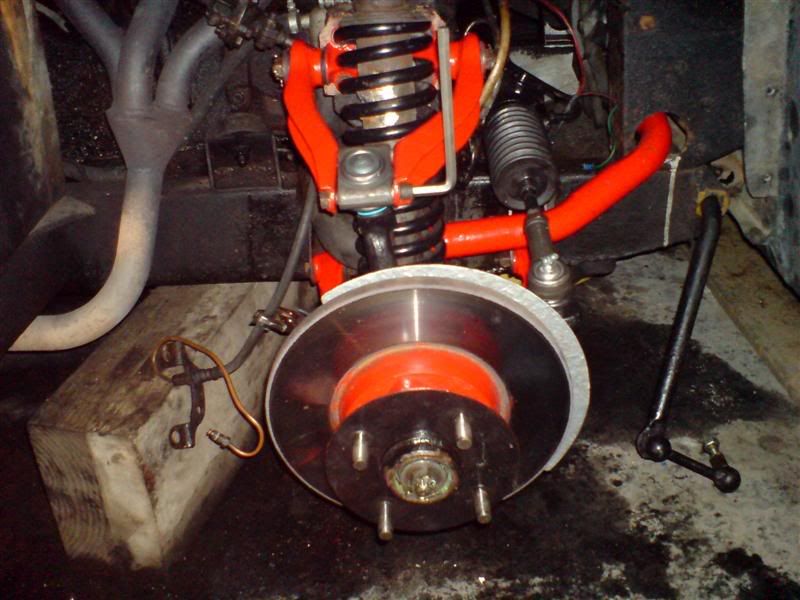 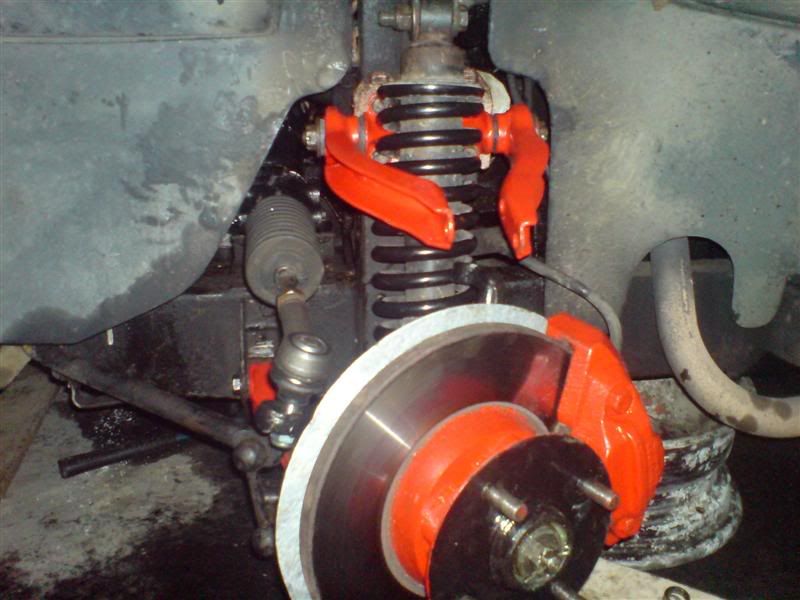 Got the steering fluid all filled up and before I had the car back on the ground I spotted a little leak in one of the pipes 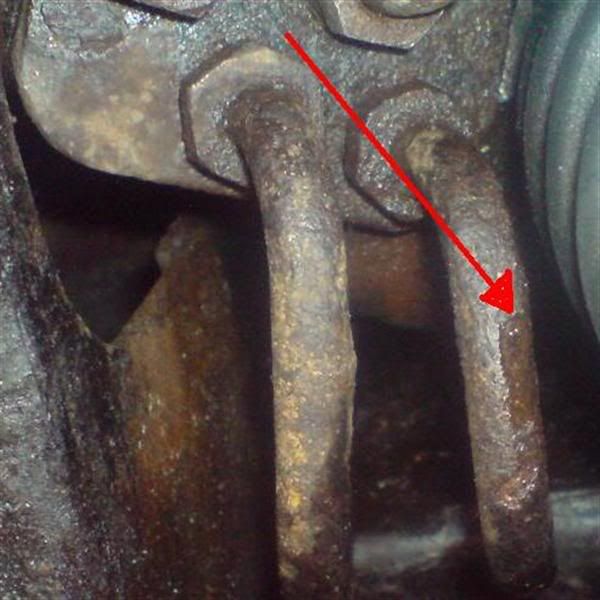 So back out with the Rack to swap the pipes over  They were truly rotten Both pipes shared when I tried to remove them from the rack 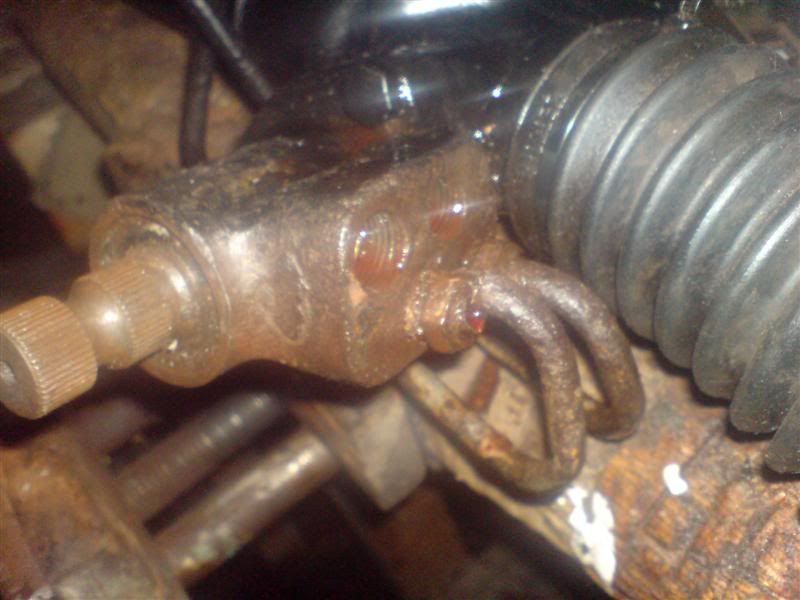 Luckily the old rack had good pipes to swap over. When putting the thermostat housing back on it cracked 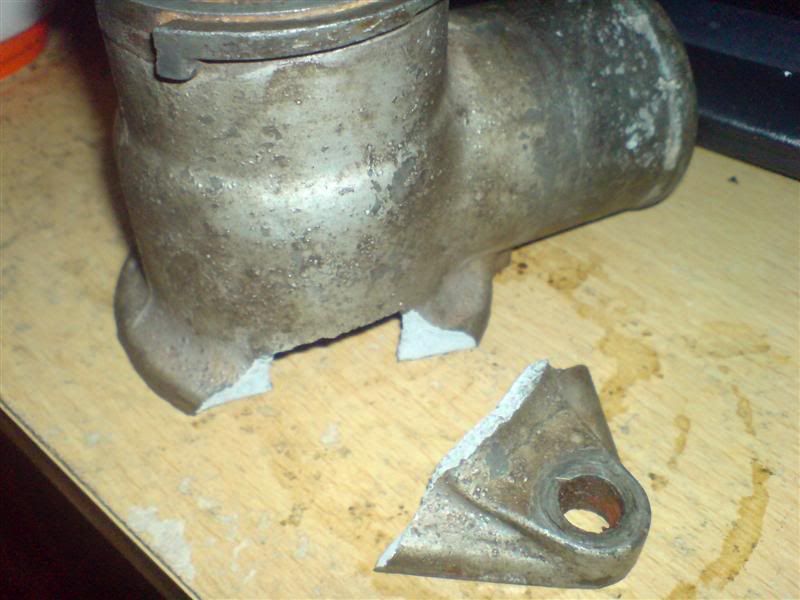 Took me about 2 weeks to get a new one. Turned out that the gasket was too thin and caused the old one to crack. I did try to repair it with Liquid weld but it broke again because i used the same skinny gasket  I had my fingers crossed for the rack to be good but it didn't help. After about a week I noticed there was a drop in fluid level. This was not good. Rack had been out 3 times already and too many €€€ spent. Options were running out! So after thinking about it for a few weeks and doing some budgeting I decided to just bite the bullet and get a new Recon steering rack from a company fin the UK. They sent it over and took two of my old racks off me and this made it a bit cheaper. So out with the rack again!! yes the 4th time. Luckily the rack came with a one year warranty because after about a month I noticed a bit of play in the steering. Turned out to be the inner tie rod cut had cracked in its housing. So they sent out another one next day. So fitted the latest new one and so far its great  |
| |
|
|
|
|
|
May 14, 2010 22:59:06 GMT
|
My headlights were acting up as well as the dash gauges. I found that the fuse box was the problem. Iv also had a few blown fuses for no reason for the last while. I set about replacing it with a good spare I had that was attached to a loom. First I checked that the fuse box wiring was the same. The wires matched up so started by labeling the replacement loom before I cut the wires so that they could be easily identified if needed in future. 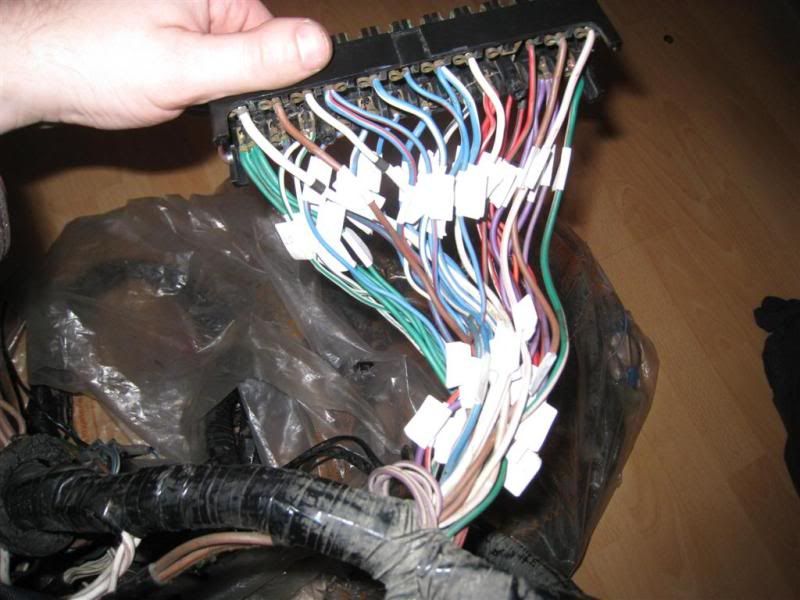 Then cut the wires and stripped a bit off at the ends, twisted each one and bent over the exposed wire. Slid on 2 strips of shrink wrap on each wire, one slightly larger than the other. 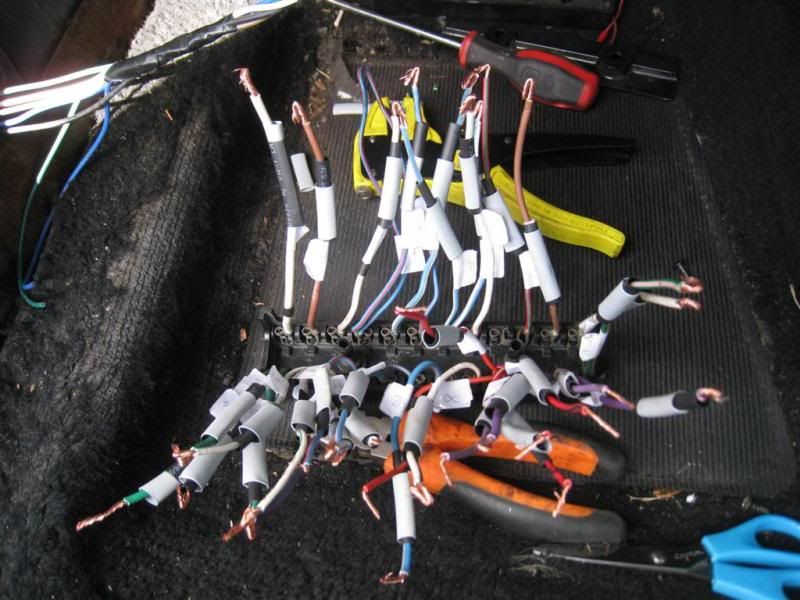 Cutting the first wire on the cars fuse box was a bit of worrying moment. Cut one and id have to do them all. I started off slowly cutting one then attaching it to the new fuse box, soldering, shrink wrapping then moving on to the next. The only wires that can be mixed up are the Blue and white wire for the lights although I think they would just be on the wrong side of the fuse box rather than the wrong fuse. There is also one wire that does not get cut. The small Blue/Red wire goes from 13 to 17. 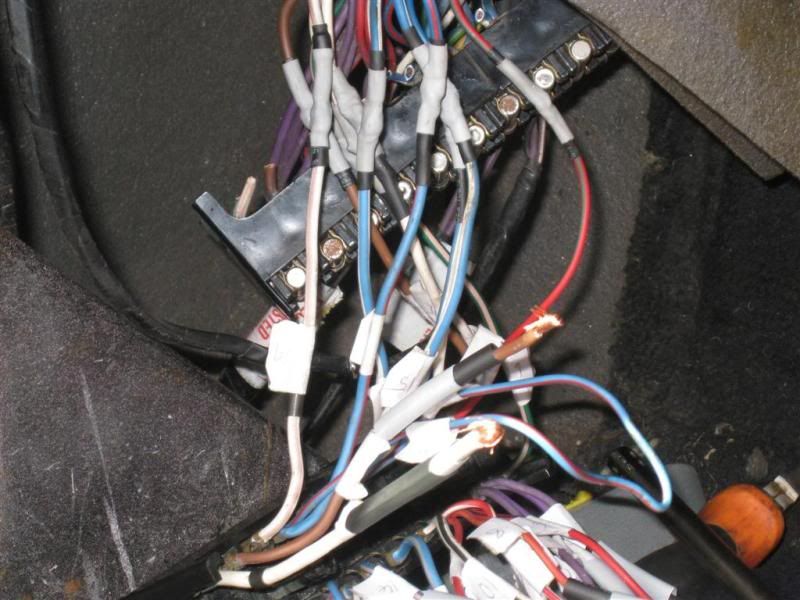 Once my confidence increased and I was on a roll I started to do a few wires at a time. Unplugging the soldering iron gave me a nice break to while waiting for it to heat up again as working in the footwell is tough on the Neck/Shoulders/Back/Legs  Luckily the sun came out and I had some great natural light to work in which made it much easier. Finally got them all rewired and ready for the first test. It took almost 3 hours and that doesn't include preparing the replacement box. 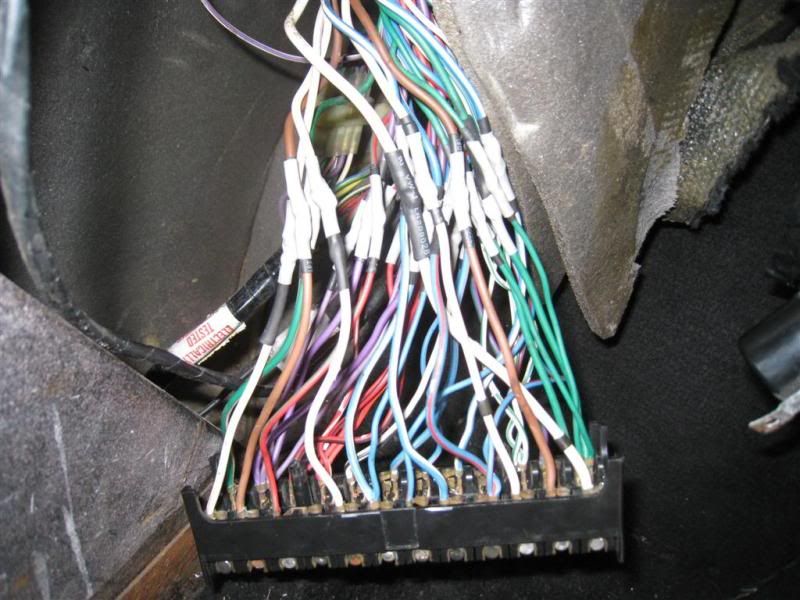 Reconnected the battery and checked for any heat building up in the connections. I was confident I had done them well but I just had that bit of worry, while the replacement fusebox looked good I could not be sure of its condition. So started checking all electrical items in the car one by one. Luckily the brother had just called over so he gave me a hand checking lights etc. So fired her up and all was good. A friend of mine made up a new kick panel as the old one was pretty rotten and it fitted perfectly. 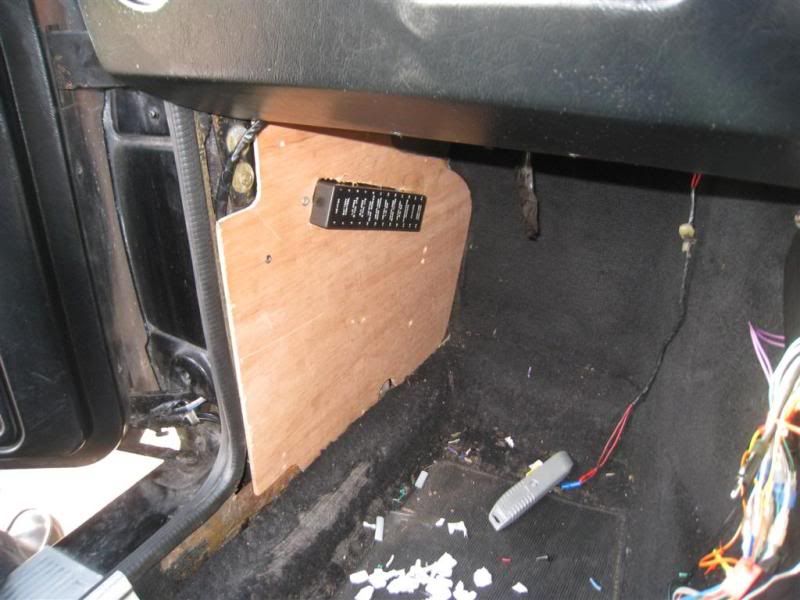 ![]() i599.photobucket.com/albums/tt78/JoeySully/Work/IMG_1582Large.jpg i599.photobucket.com/albums/tt78/JoeySully/Work/IMG_1582Large.jpg[/img] Drove ~120 miles over the weekend mostly in the dark and had no problems. The dash lights are all brighter now too. I'll be keeping an eye on it but looks like all is good. |
| |
|
|
|
|
|
May 14, 2010 23:16:01 GMT
|
I had temporary fitted a radio under the glovebox and planned to put some shiney new one into the dash but decided that id like to keep the stock look so when and bought an AMP instead. Plan was to run the amp off a MP3 player and maybe connect the original radio too. This turned up on ebay for a bargain price. New and unused. 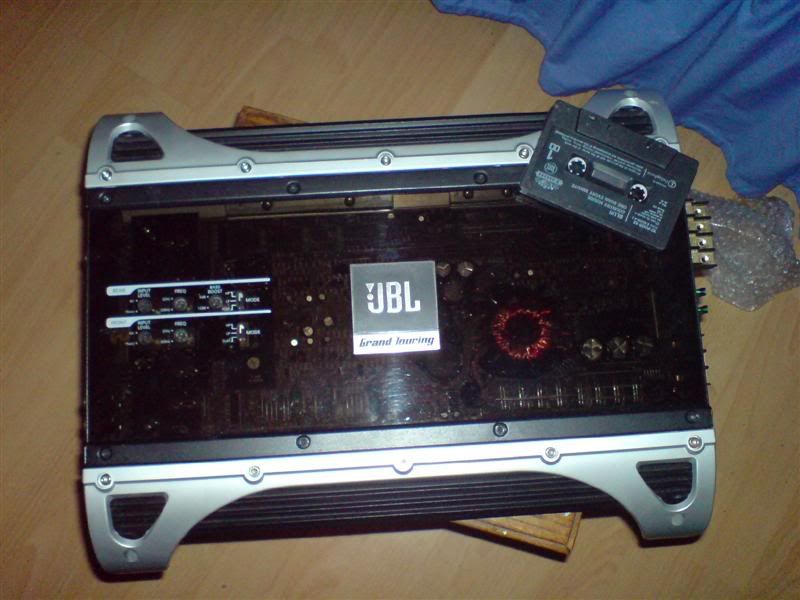 A friend of mine made up a nice box for it 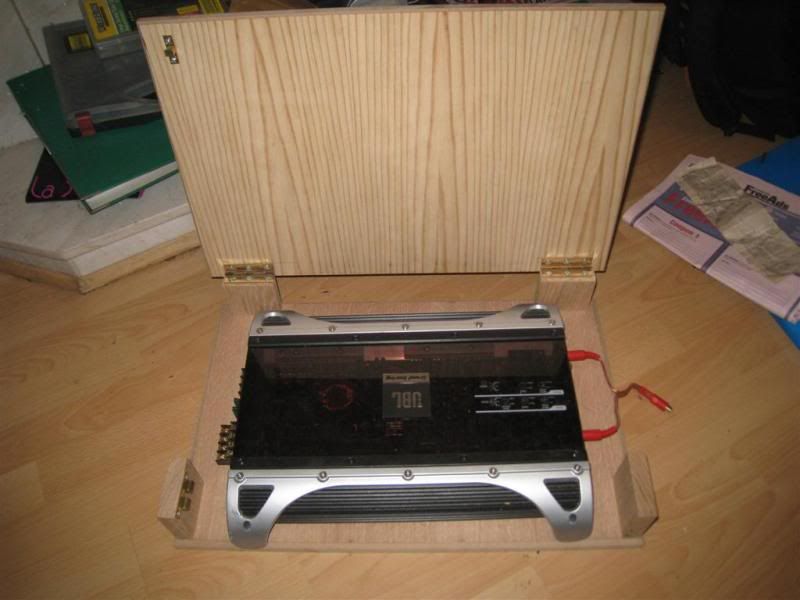 Then I wrapped it in Vinyl and stuck some Scimitar badges on it. 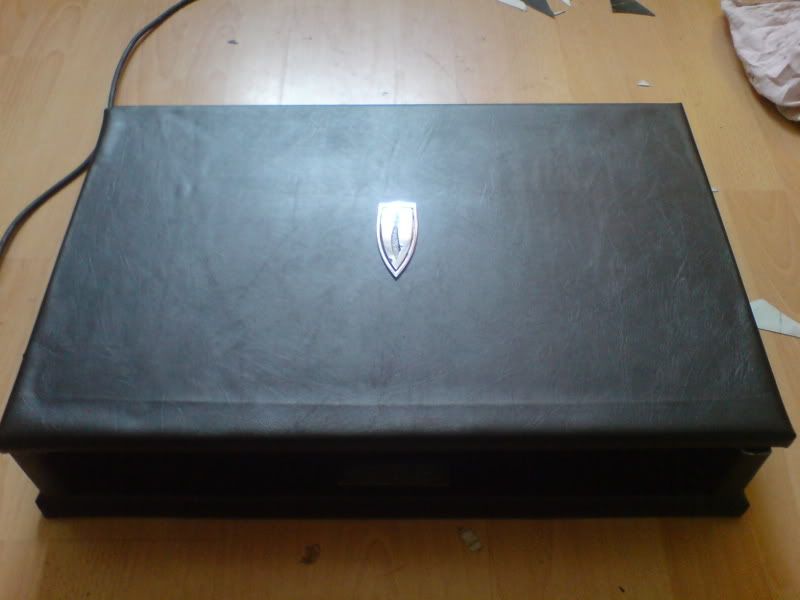 There was just enough space in the read for some 6" speakers. Had to extend the hole a bit. 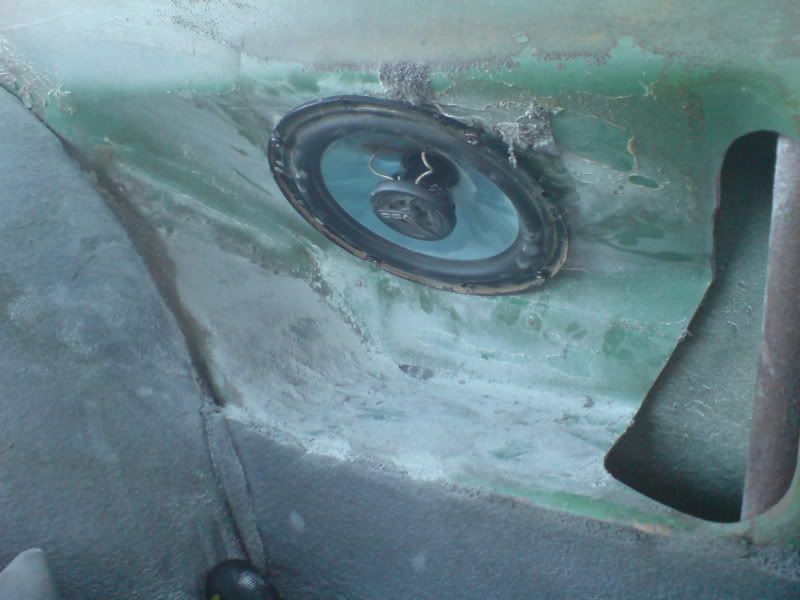 Doing the wiring was a PAIN! Every single panel had to be removed from the car so I could feed the power and signal wires. 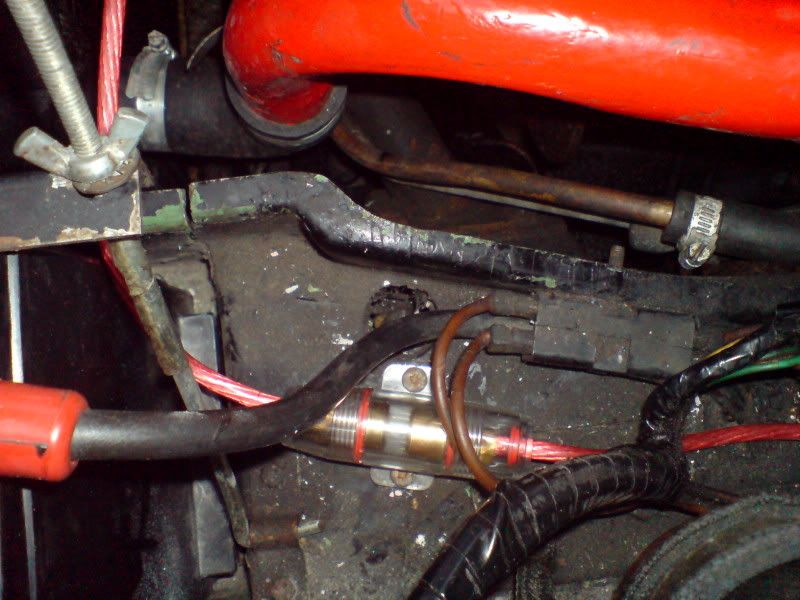 While I was at it I added some USB power feeding into the center console 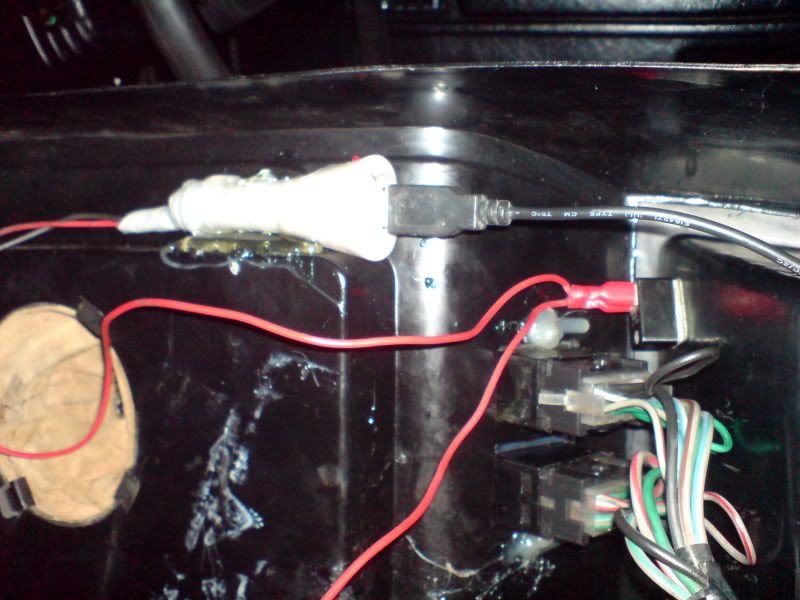 It all fitted in nicely in the end. Nice and discreet until you turn it on:D 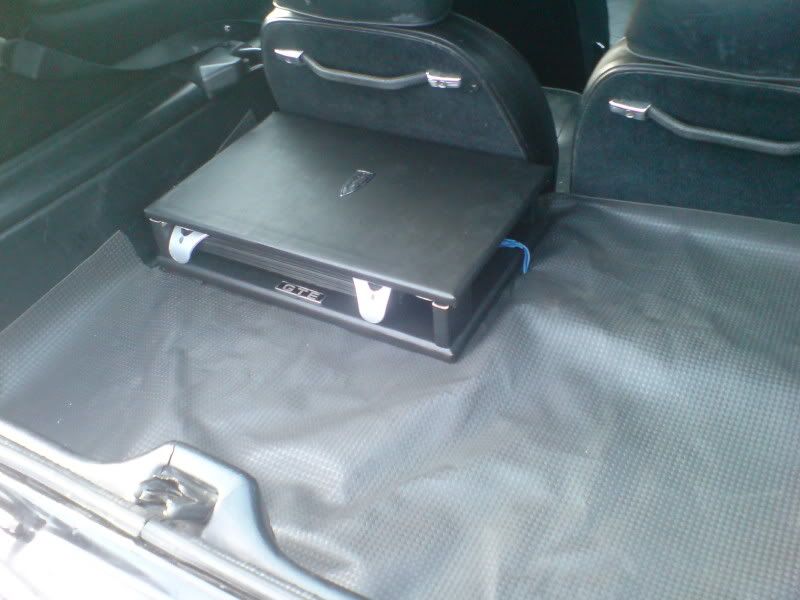 The original 70's radio had a automatic ariel power so I used this as the auxiliary on for the amp. I still have to fit some speakers to the rear boot panel but I'm thinking of putting some Small 6" subs in there instead. I've already got four speakers and the sound is pretty good, just missing some bass! |
| |
Last Edit: May 14, 2010 23:19:59 GMT by JoeySully
|
|
|
|
|
|
|
Well its been a while since my last update. I've got a good few jobs off my to do list done. I got a nice remote central locking kit off eBay sent from Germany which was pretty easy to fit. The car already had central locking fitted but the motors were both broken as well as the control box. Its soo handy now not having to unlock the passenger door to let people in. I moved the location of the motors a bit from where the previous owner put them so that they were directly below the locking bar. The old motors had broken because they were bent out of shape from being fitted too far to the right 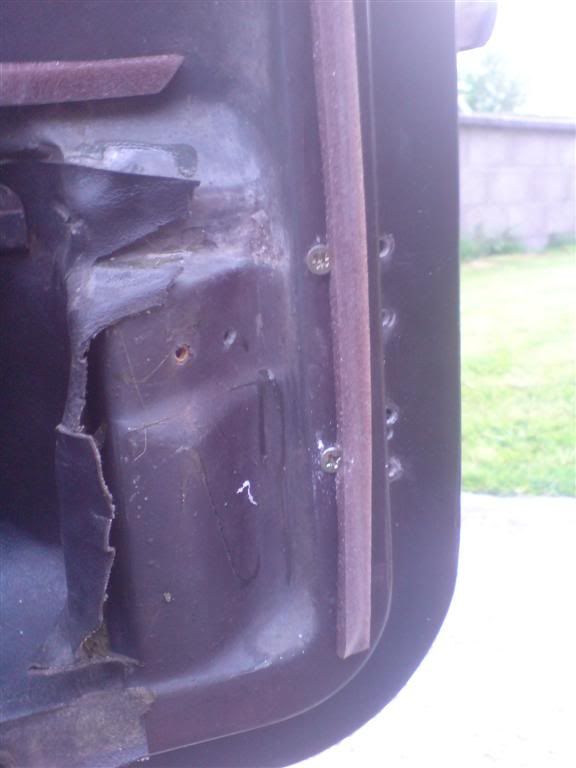 Got some new shocks and springs some time ago but was waiting to get a spring compressor and after finding my new method I could finally get them together Bit of paint first 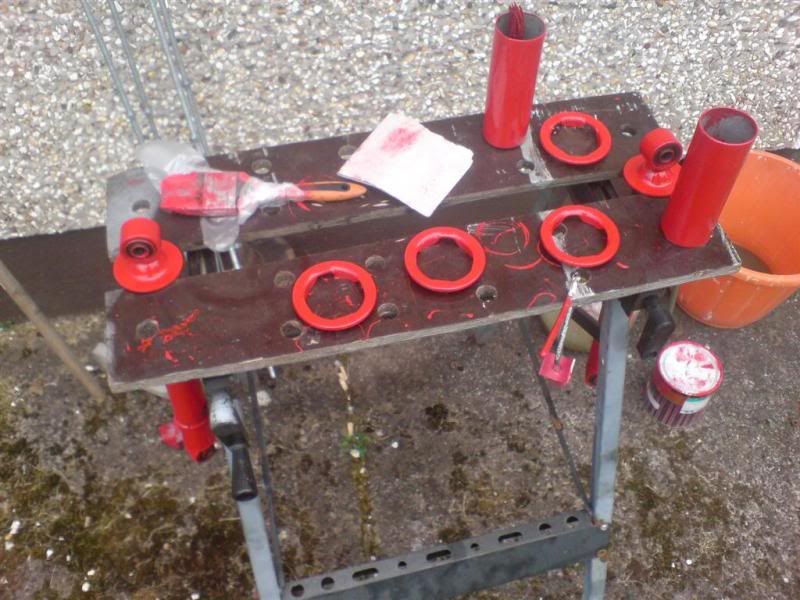 and compress them up - a ratchet spanner would have been a great help here but didn't have one the correct size. 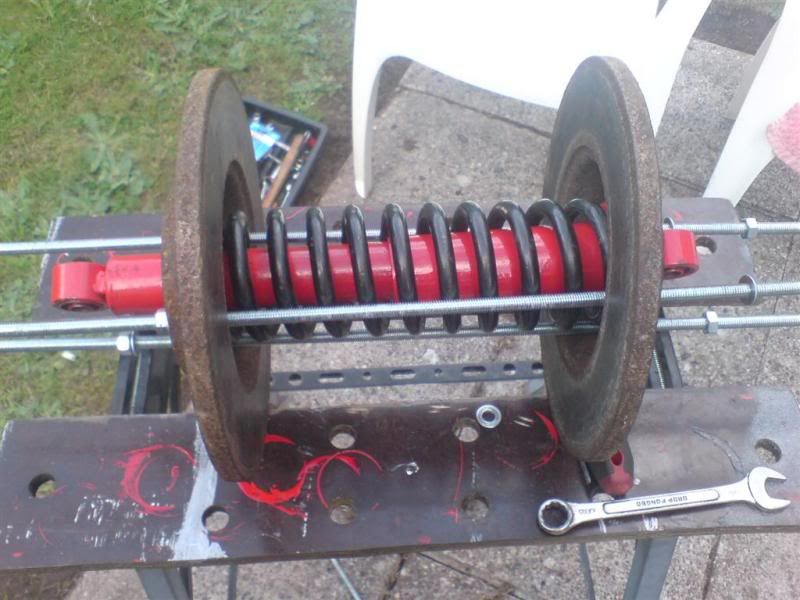 The "New" springs I got seem to have been chopped a bit. I didn't really mind because the car was running a bit high anyway. You can see it on the right one here 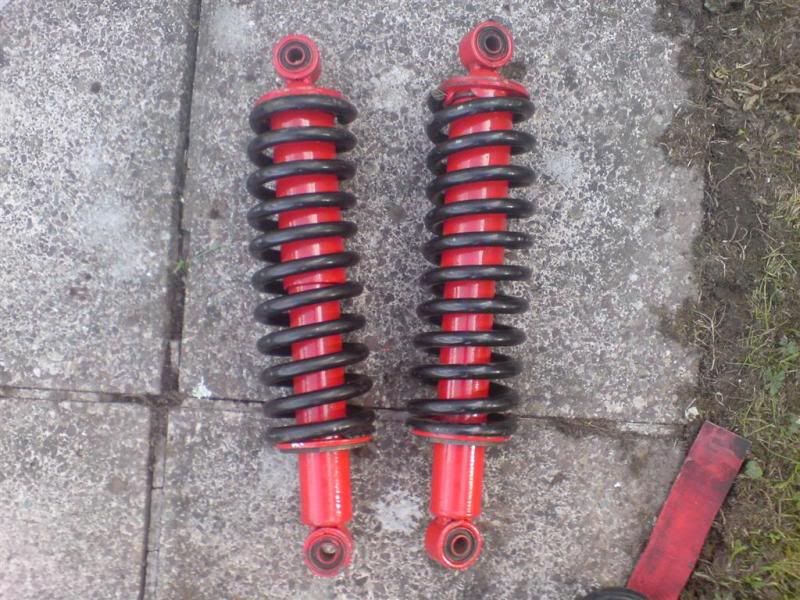 Bit difficult to get them fitted into the bottom wishbone with the 2 little stepped washers but got there eventually. I had left one of these washers out last time I put the shocks on and that was a bit of a mistake. It pushes the Rubber out of shape if you don't fit them! 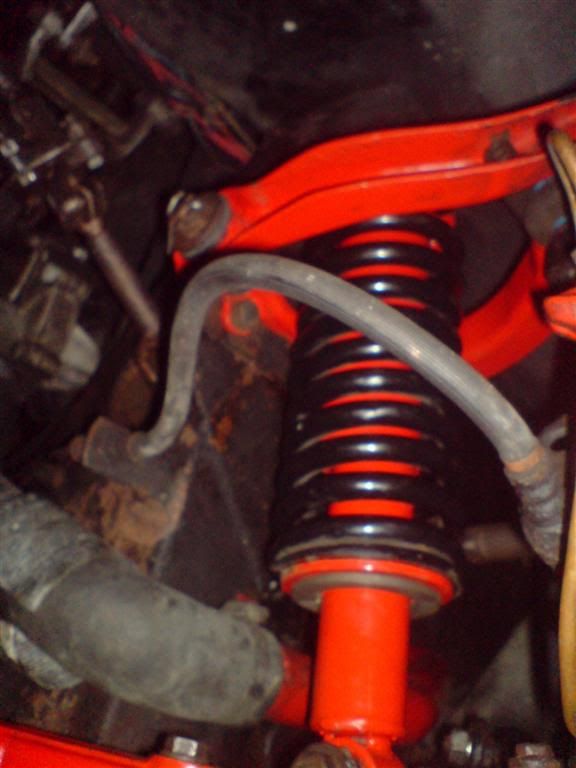 Onto the rear ones then. I didn't have any new springs for the rear but has some old spar ones. After a good wire brush clean they seemed to be in good nick so decided to use them instead of the ones on the car as they were in worse condition . Bit of paint and they looked grand 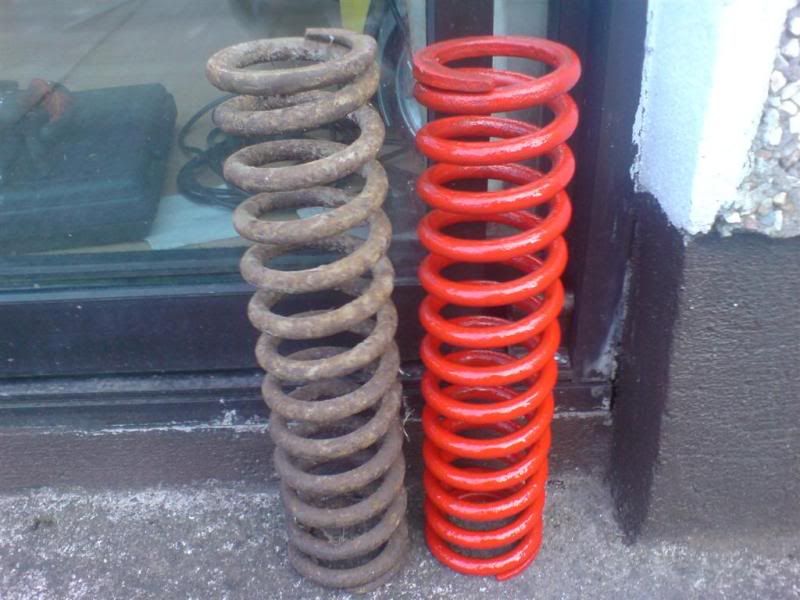 they were so much easier to fit than the front ones. 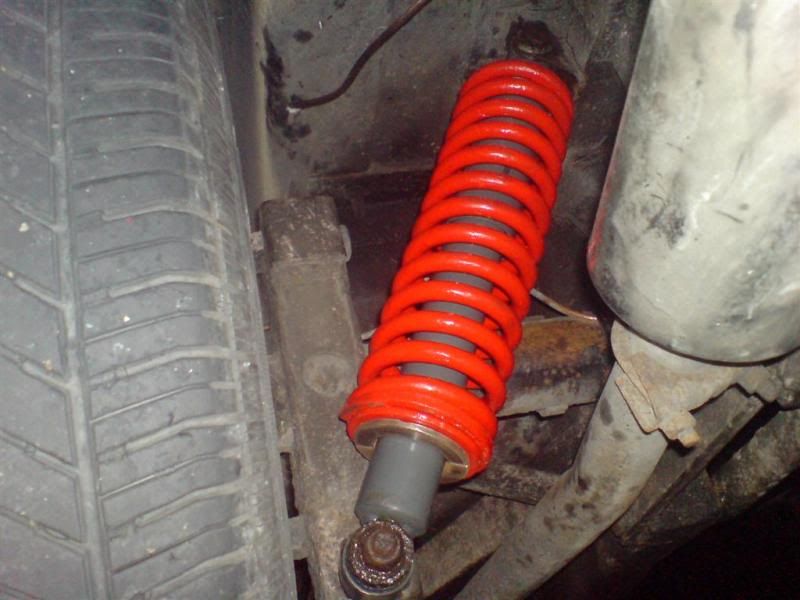 So end result the rear is higher and the front is lower 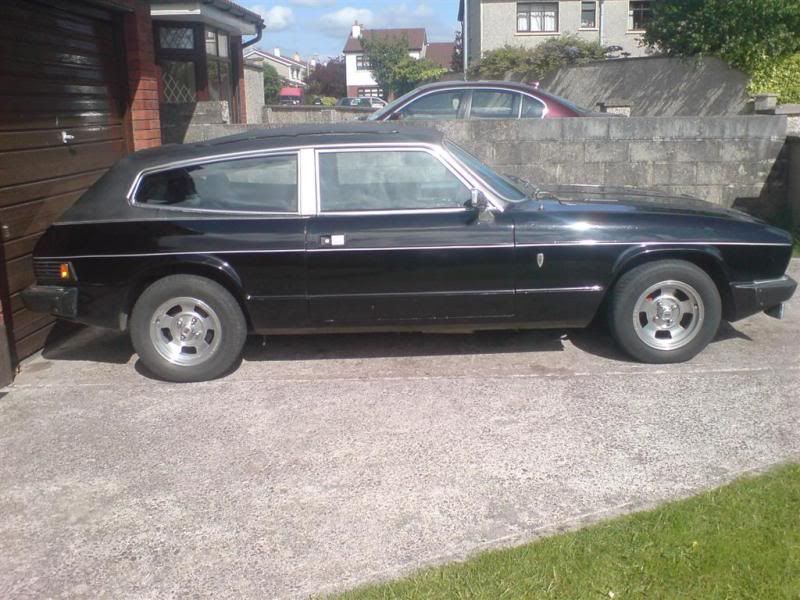 I think its a lot better now - It was a bit Nose in the air before 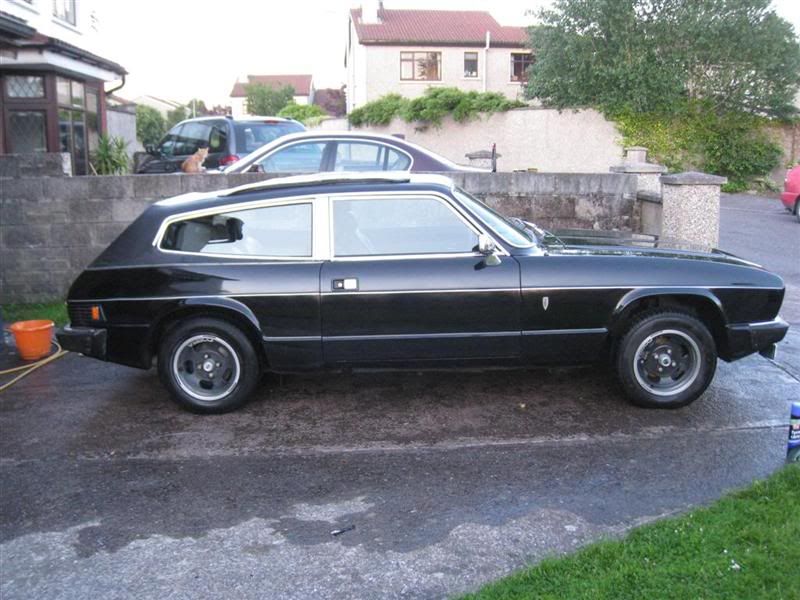 Running a lot smoother over bumps too. I think the old front springs were very hard. They were the hardest to remove with the compressor and bumps would make the whole car jump. I think they may even have been rear springs :shock:. There wasn't much in the difference of height between the front ones I removed and the rear ones. Cleaned out the rear axle breather hole and it seems to have dried up a lot since. |
| |
Last Edit: May 25, 2010 11:23:56 GMT by JoeySully
|
|
PhoenixCapri
West Midlands
Posts: 2,685
Club RR Member Number: 91
|
|
May 25, 2010 10:32:29 GMT
|
Looking very nice  Glad you put some pics of the electric window motors up, those look just like what I need for the E-type! |
| |
|
|
|
|


 Nearly worn to bits too will have to replace soon.


